Essential Tips
With product photography, it's all in the little things. Attention to detail is very important, and not even having the best camera settings is going to compensate for negligence.
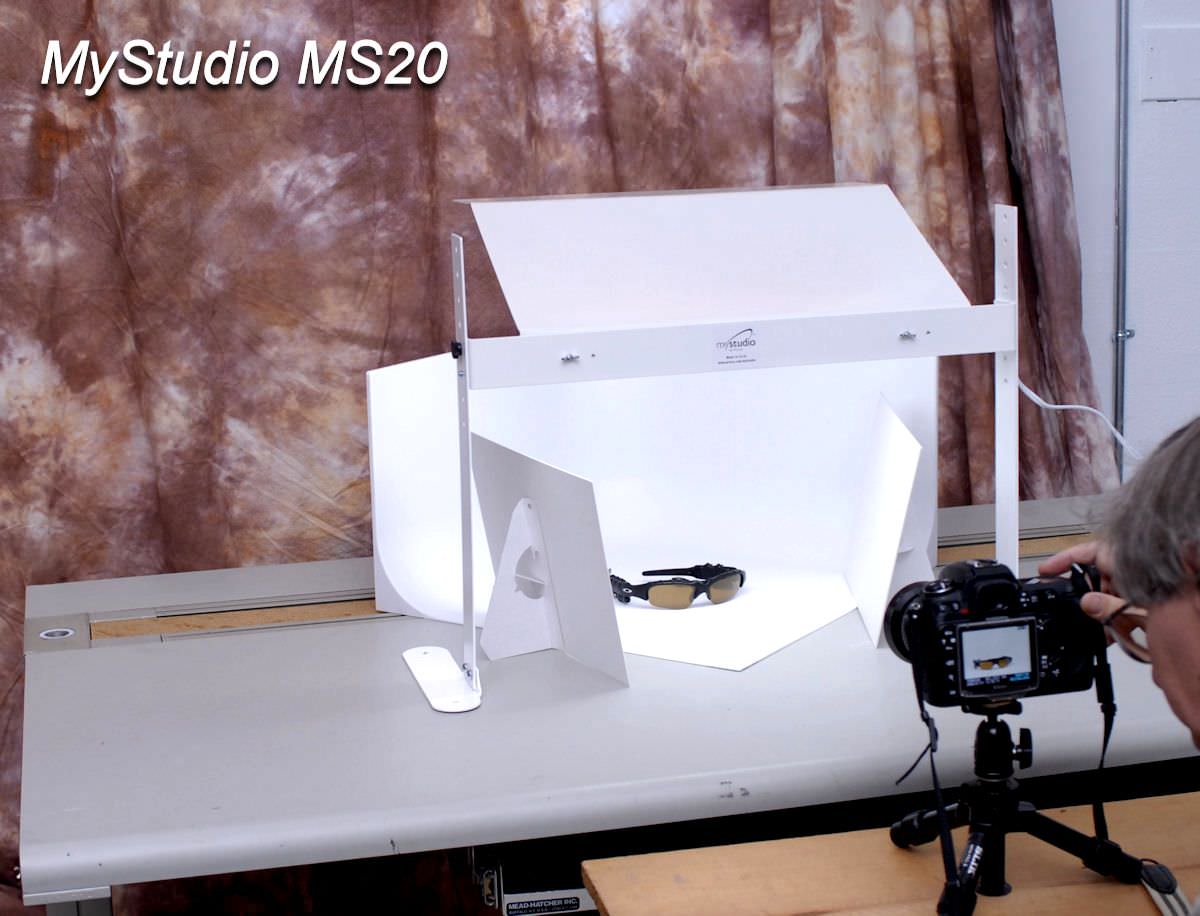
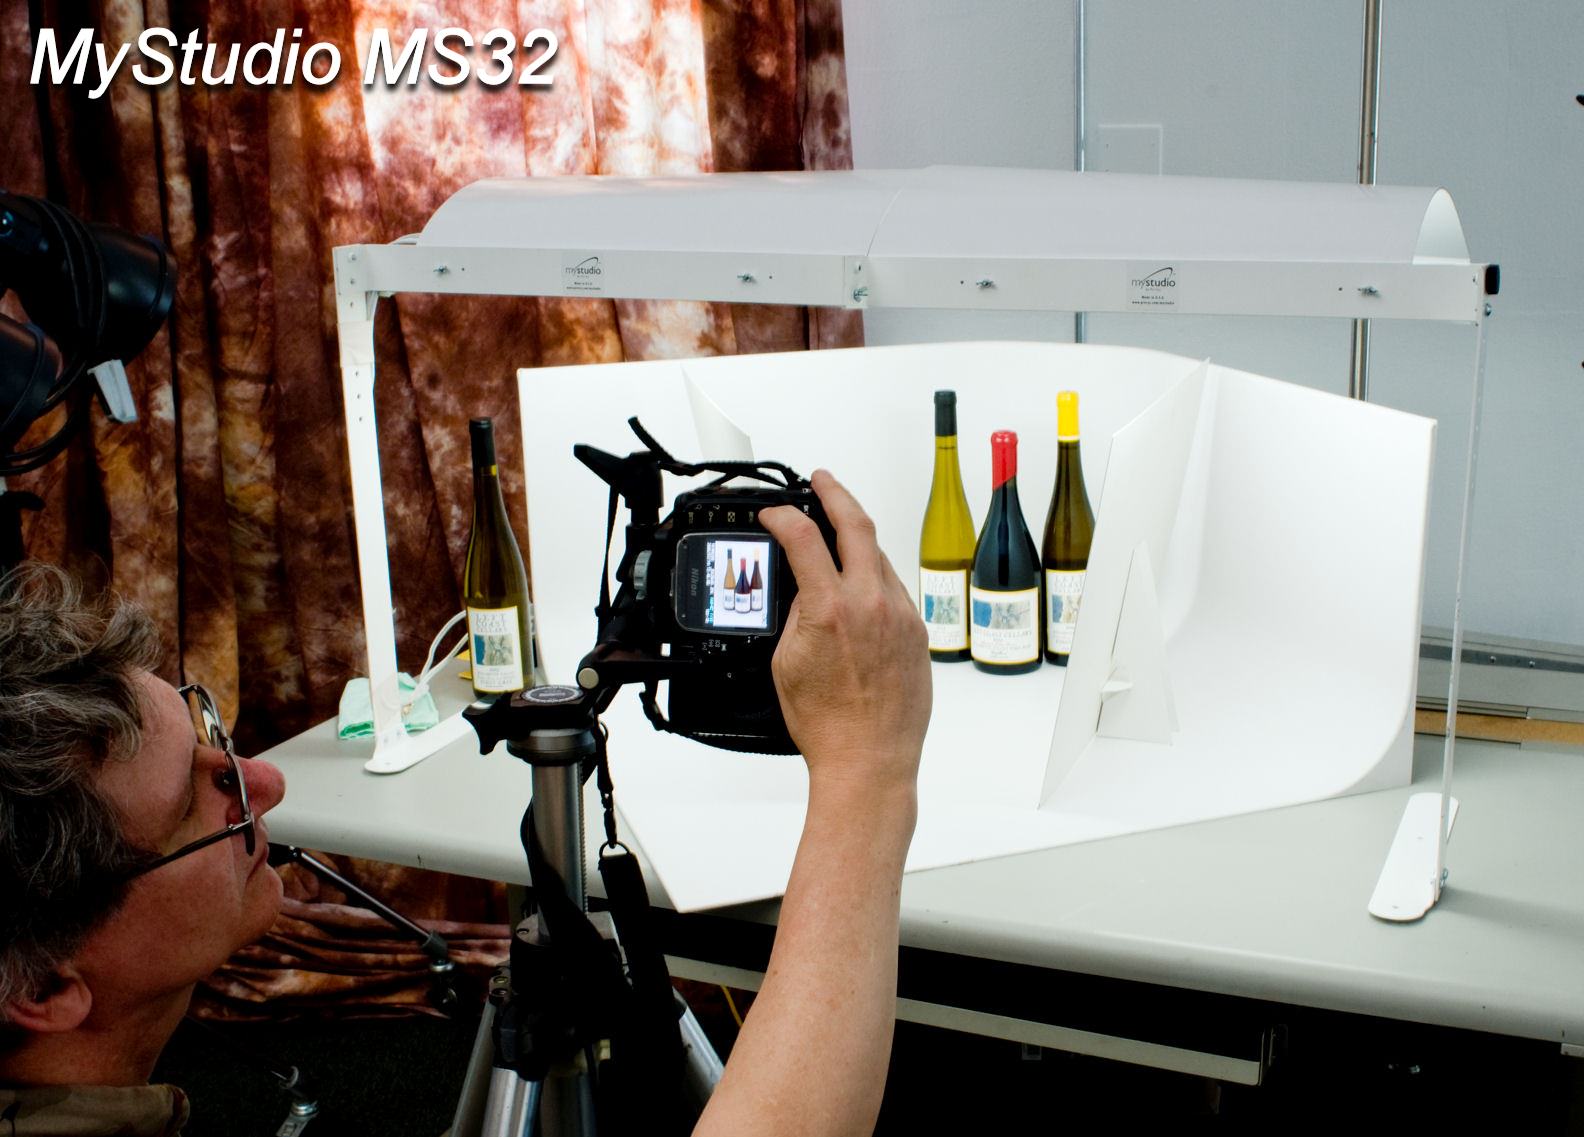
Amazing tools like the MyStudio products will give you a great edge, but you still need to know a few basic things before you get started.
Let's start with the camera position. Stability is absolutely critical and we cannot emphasize this enough. Use a tripod because even the slightest camera movement will cause loss of detail. Exposure times are usually too long for shooting handheld so you can forget about that if you were considering it.
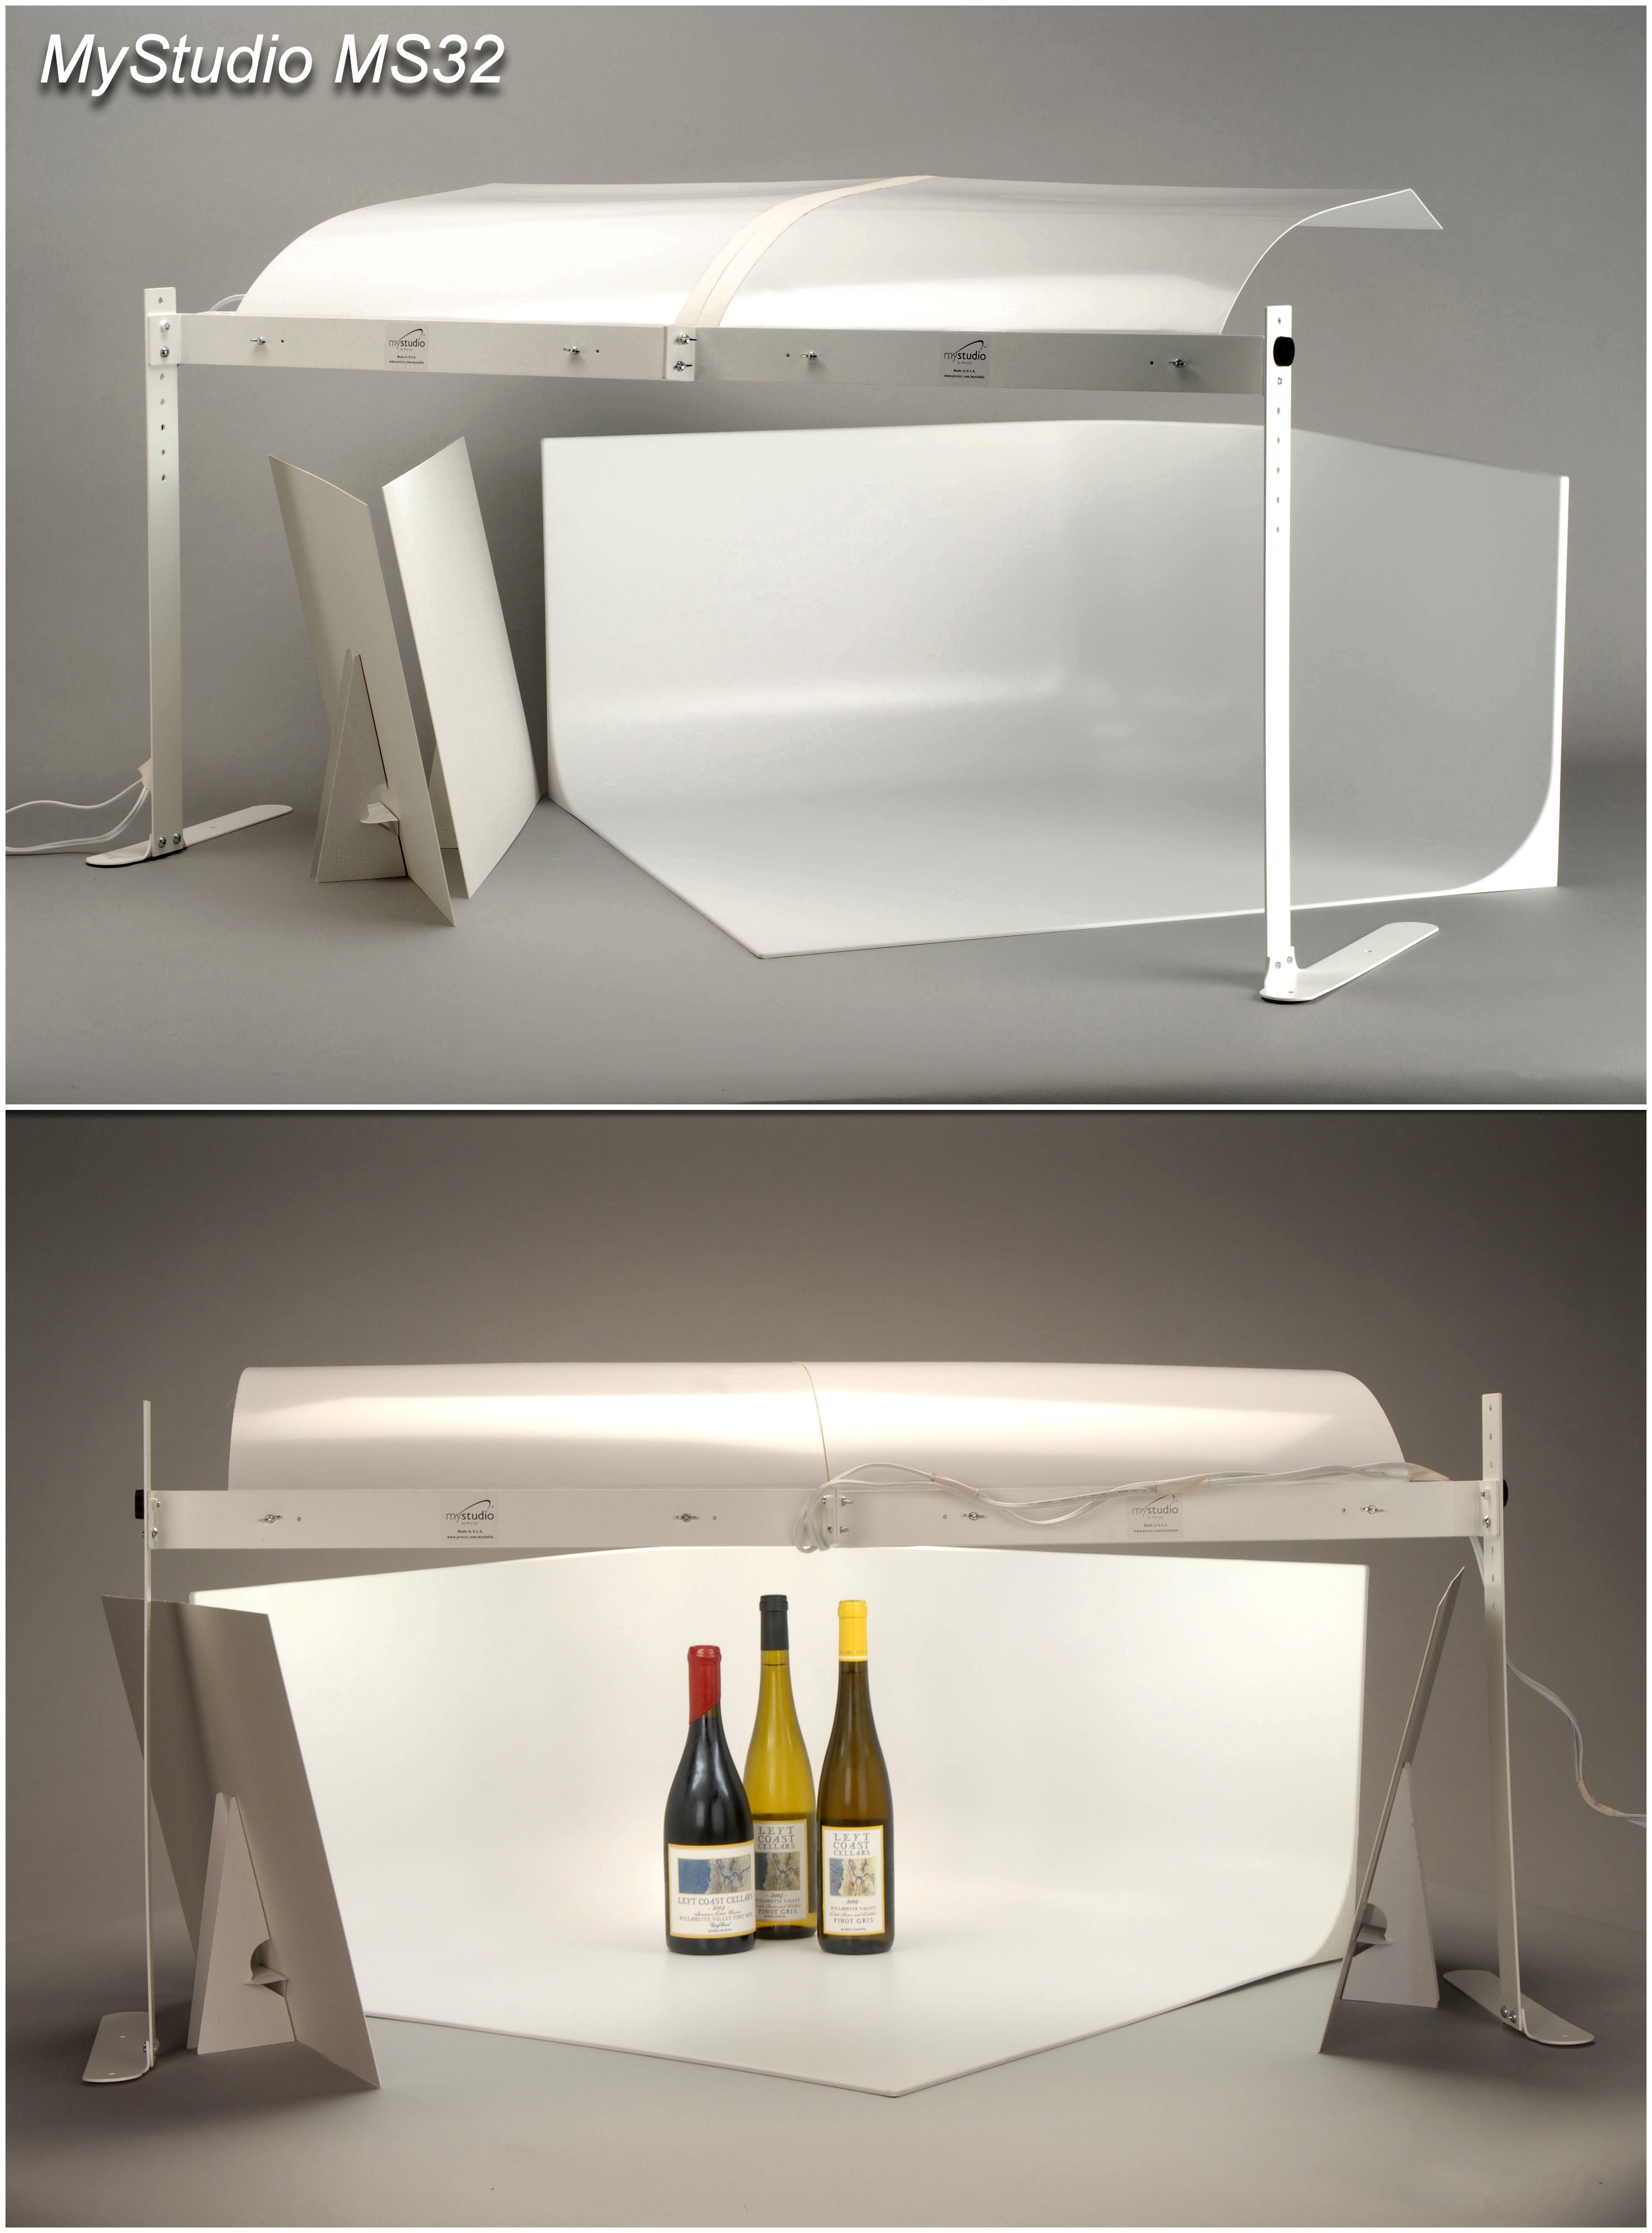
In regard to lighting, it's best to let the studio lights do their job and to minimize all other elements that could influence the result. Turn off the lights in the room where you’re shooting.
Automatic white balance should be good enough, especially since the 5000k light is close to daylight.
Shutter speed and f-stop are to be determined on the spot, but generally it's better to increase exposure and close down the aperture for more detail.
If the object you plan to photograph has measurable depth, place your focus point 1/3 of the way behind the front the object. If you aren't sure about precise focusing, use the live view mode on your camera and focus manually.
Your object should be placed at least 6-12 inches away from where the curves start. Small objects and jewelry should be positioned closer to the lights.
As we've mentioned in a previous article, when shooting with MyStudio setups, you don't need a high end camera. Any consumer DSLR will do and you can even get good results with a quality compact camera that has RAW capability. Regarding focal length, it depends on the object you're shooting and how much details and close-ups you want.
In most cases, a focal length between 35-70mm should do the job but again, the best way to determine the right focal length is to do some tests.
The final step in product photography is editing. MyStudio systems are designed to help you "get it right" from the camera. Even if you're photos will start looking a lot better than ever before, they will still require some minimum adjustments in brightness, contrast and detail. Some spots or dust particles might also have to be removed so be prepared to spend a few minutes in front of your computer.
We also recommend shooting tethered. Connect your camera to a laptop or desktop and see your shots in real time. That way you'll be able to see the results instantly and it will also help you notice if anything needs changing.
Last but not least, have fun experimenting. Change the position of lights and bounce cards and study the differences between photos. Happy shooting!