How to Shoot and Retouch the Milky Way
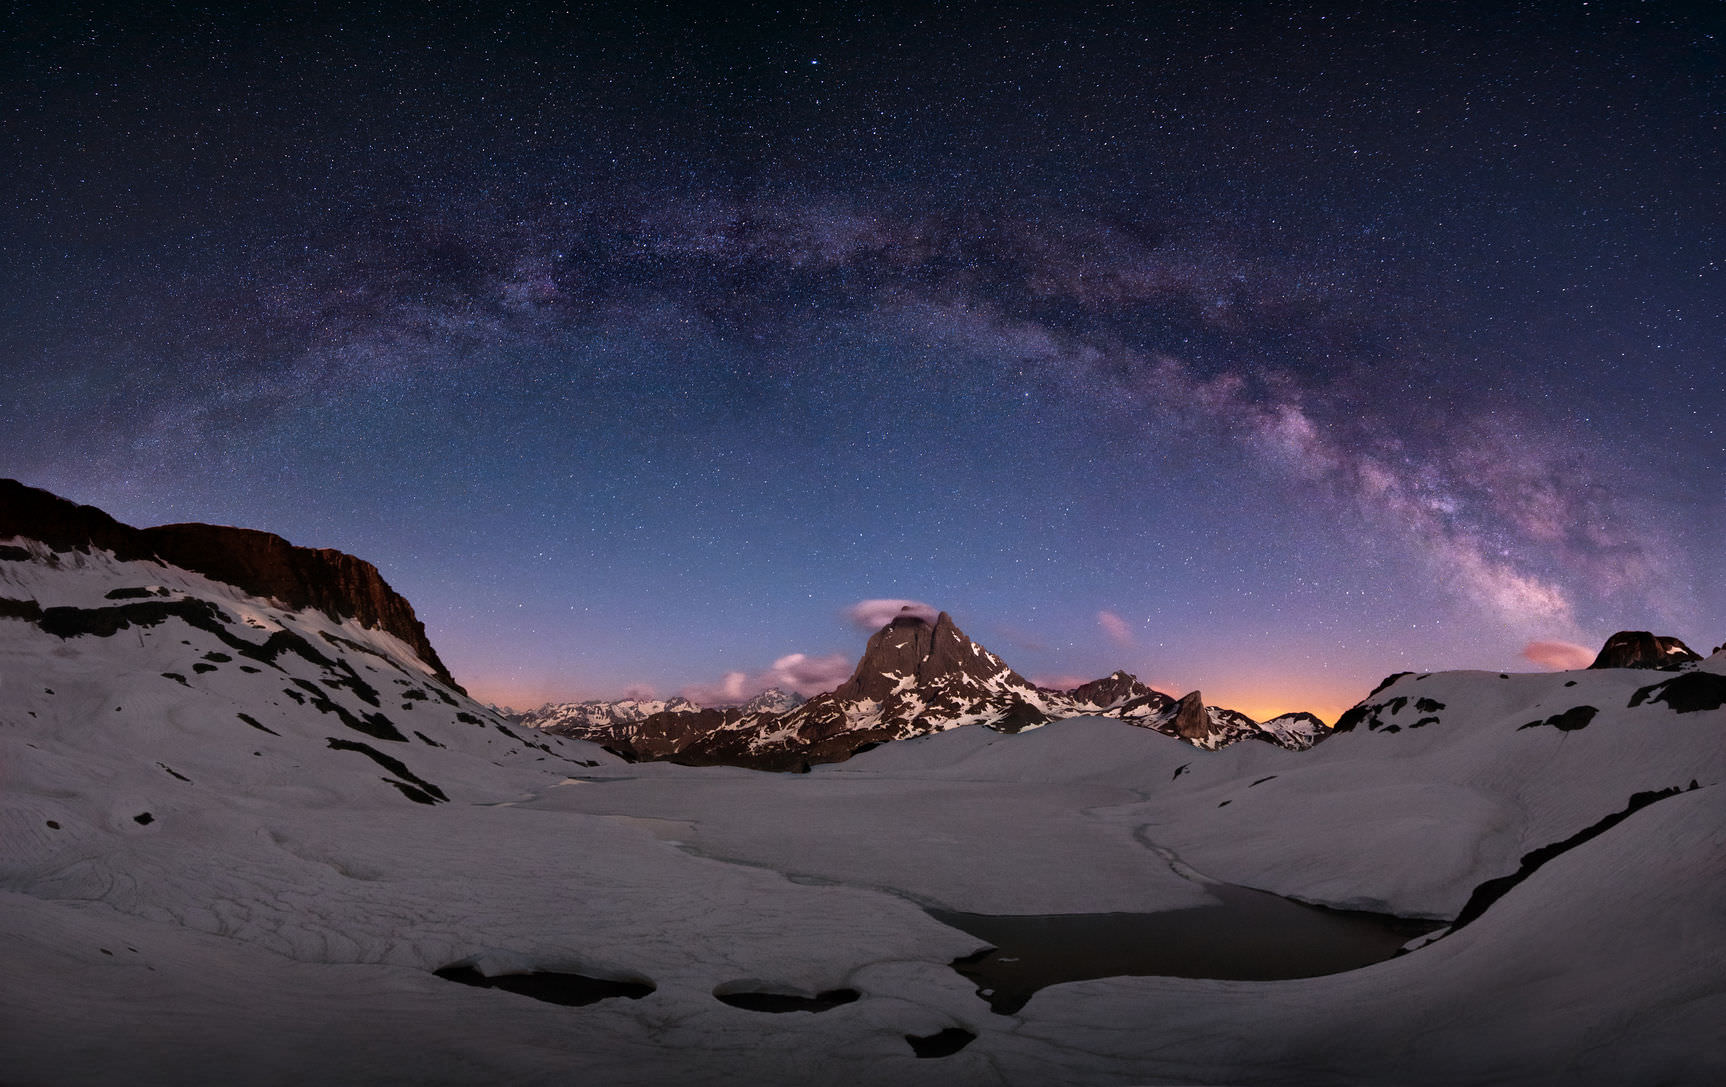
The Milky Way is one of the best looking subjects you can point your camera at, and if you know how to shoot it right, you can end up with spectacular images.
It's not the most difficult subject to photograph and retouch, but it's certainly no walk in the park, either. First of all, you have to find the right location. Ideally , you should be as far away as possible from any towns or villages because public lighting, any artificial lighting in fact, will pollute the scene and make it harder to see the stars. Second, you're going to need a tripod. Exposures can be quite long when photographing the stars, with shutter speeds of 20 or 30 seconds.
One of the misconceptions made by less experienced photographers when shooting the stars involves ISO settings. Although you're going to be using a tripod, it's proably stil going to be necessary to set your ISO very high when shooting the Milky Way. Don't be afraid to use a setting of 3200 or 6400 if your camera produces useable results at those speeds. Remember, the light you're shooting is VERY far away.

In terms of composition, it's often best to frame your shot while there is still available light. This gives you the opportunity to compose the landscape while you can still see it. No matter what camera you use, from a pocket-sized point and shoot to a Nikon D4, it will have some trouble focusig in low llight. Switch to manual and set your focus to infinity. If your lens doesn't have an infinity mark, focus on something far away. DOn't just run the focus ring to the stop - most lenses will turn past infinity and blur the image.
Retouching your Milky Way photos can be tricky, too, but it is a lesson best learned by demonstration, so I'm going to let French photographer Serge Ramelli show you how in this detailed tutorial.
Have fun!
Find more useful information on how to photograph the stars from these recommended books: