
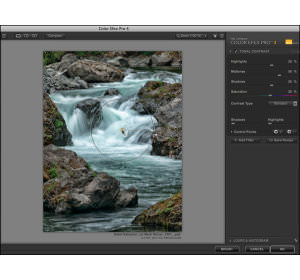
The Detail Extractor Filter utilizes a new and unique technique to enhance details giving us the ability to create interesting, stylized photos. This filter balances light and tonality and extracts details that are not readily apparent. In this image we’ll extract a lot of detail in the water as well as in the surrounding rocks.
Let’s begin by taking a closer look at the different controls that we have available with the Detail Extractor, Contrast, and Saturation sliders.

The Detail Extractor Controls
The Detail Extractor is the main slider which evens out the tonality throughout the image by lightening the shadows and darkening the highlights, bringing out the details in the image.
Contrast is a global control slider that will increase or decrease the amount of contrast in the image. By default it is set at -6%. Simply move the slider to the right to bring up the contrast in the image, or move the slider to the left to reduce the amount of contrast throughout the image.
The Saturation slider defaults at -6% but simply moving it to the right will increase the saturation of colors throughout the image. Moving the slider to the left will decrease the saturation, and moving it all the way to -50% will desaturate the colors leaving just a hint of color.

The Detail Extractor Controls
The Effect Radius options will add extra texture to the fine, medium or large details in the image. Choose from one of the three following options: Fine, Normal or Large. (Try hovering your mouse over the different options and you will get a preview of that effect on your image.)

The Effect Radius Option
To apply or remove the effect to only certain parts of your image, click on the plus or minus Control Point buttons.

Control Point Buttons
Place the Control Point on the area that you would like to either add (+ Control Point) or remove (- Control Point) the filter effect from. Click and drag the top slider to change the ‘area of influence’ in order to include more or less of the similar pixel information. In the example below, the plus Control Point has been added to the water to bring out more of the detail in that area.

Example of using a plus Control Point to add the filter effect to the water
Tip: Don’t forget that you also have the ability to decrease the filter effect globally throughout the image by clicking and dragging the Opacity slider towards the left.
