
4 Halloween Photography Tips to Make Your Photos Scary Good
- Halloween Photography Tips: Add Smoke to Your Photos
- Halloween Photography Tips: Set the Mood With the Surroundings
- Halloween Photography Tips: Get Detail Shots Before Dark
- Halloween Photography Tips: Light Up the Night (But Not Too Much)
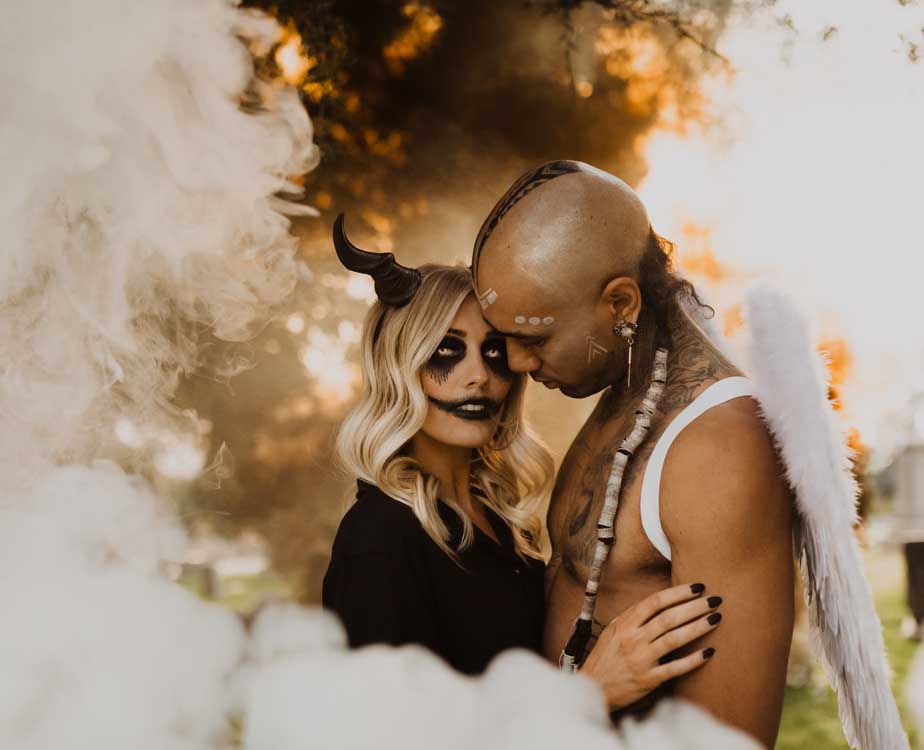
Photo courtesy of Smoke Effect
I know Halloween is a ways off yet (I'm writing this at the end of July), but as the old saying goes, prior preparation prevents poor performance. So, let's start preparing now so our Halloween photos are scary good!
The question is, what can you do to improve your photos on such a challenging occasion. After all, your subjects will be masked and costumed, the lighting will be dim, and everyone will be on a sugar high. Not a great combination for photography.
But, with these Halloween photography tips, you'll learn how to maximize the visual appeal of your images for some truly spooky results (hint: using smoke bombs from Peacock Smoke and Smoke Effect is very effective!).
Table of Contents
Halloween Photography Tips: Add Smoke to Your Photos
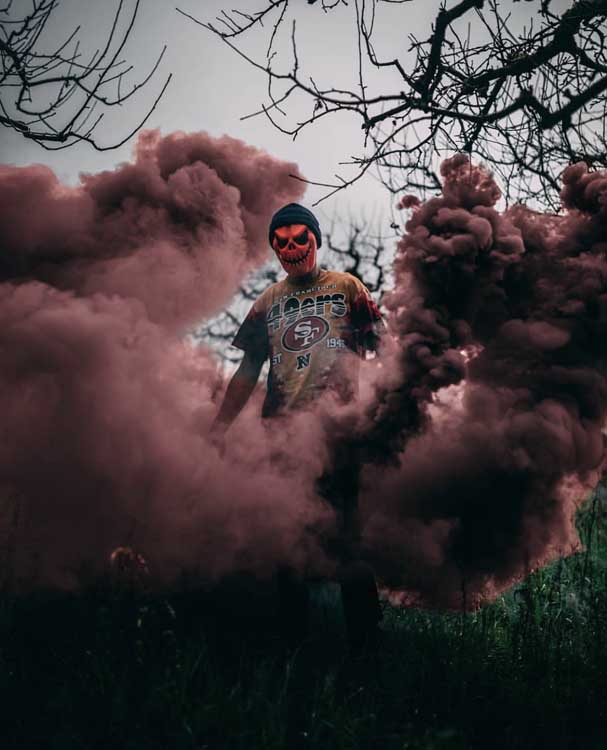
Photo courtesy of Smoke Effect
One of the best props you can add to your Halloween photos is smoke.
Think about it - smoke offers so much in the way of making an impactful, scary shot...
Smoke adds color and texture, creates an air of mystery, and can help draw the viewer's attention to the subject. In the image above, for example, the smoke envelops the subject to help keep our attention on them. The billows of colorful smoke also add visual interest to the shot.
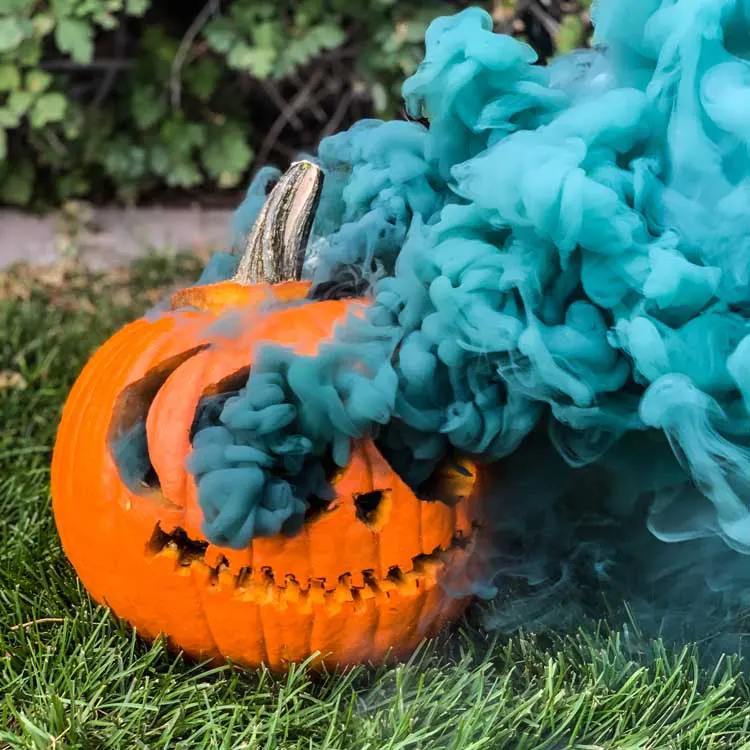
Photo courtesy of Smoke Effect
In the image above, you can see how adding smoke to the shot makes a rather mundane subject - the jack-o'-lantern - really pop.
Putting the smoke bomb inside the pumpkin allows the smoke to flow out of the eyes and other cutouts. The result is a super spooky jack-o'-lantern! Best of all, you only need a pumpkin and a smoke bomb to create an impactful image like this.
All your smoke bomb needs can be met by Peacock Smoke, which you can buy at Smoke Effect.

Photo courtesy of Smoke Effect
No matter what kind or color smoke bomb you want, you can find it at Smoke Effect. Wick smoke bombs? You bet. Dual-vent smoke bombs. Those are in stock, too!
In fact, you can get single-vent smoke bombs, ring-pull smoke bombs, and smoke bomb packs, too.
If you want a ton of smoke over a short period, choose Peacock Smoke's single-vent smoke bomb. These bombs last about 90 seconds and are a perfect option for adding mystery and spookiness to your Halloween portraits.
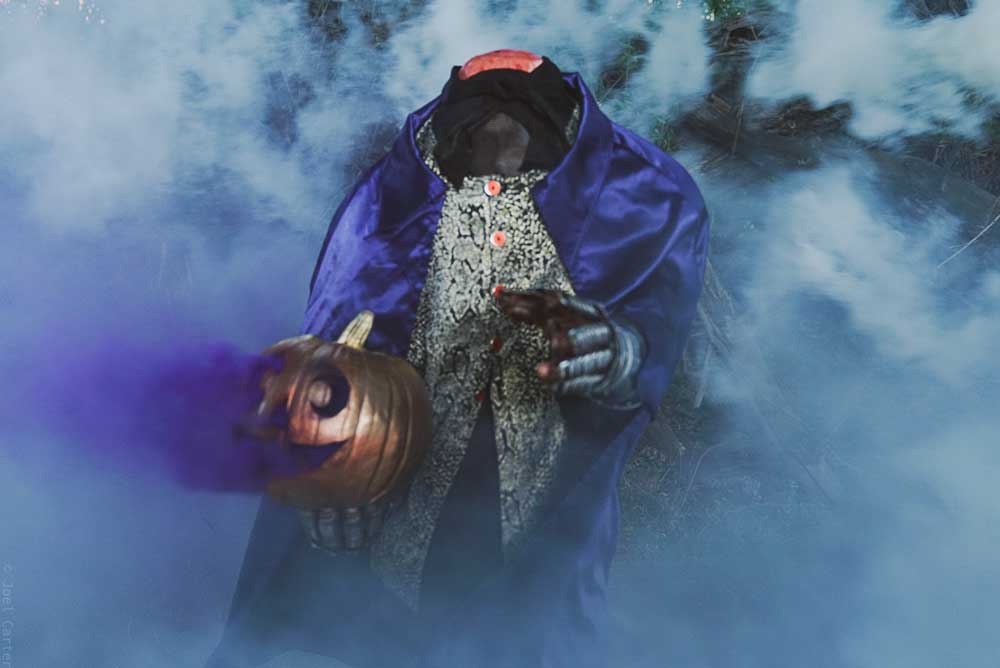
Photo courtesy of Smoke Effect
For the jack-o'-lantern shots shown earlier, you might try a wick smoke bomb.
These smoke bombs require a lighter to get started, and put out smoke for about 30-45 seconds. Just light the fuse, put it in a jack-o'-lantern, and fire off shot after shot as the smoke billows out of the pumpkin.
If you want to maximize the smoke output, though, a dual-vent smoke grenade is the way to go. These smoke bombs give you about 20-30 seconds of smoke. The volume of smoke is perfect for environmental Halloween portraits and cosplay.
In other words, as far as Halloween photography tips go, the simplest one is also the most impactful. Just pop a little smoke, and you'll immediately have a more interesting, eye-catching, and impactful photo, no matter if you're photographing people, decorations, jack-o'-lanterns, or something in between.
Learn More:
Halloween Photography Tips: Set the Mood With the Surroundings
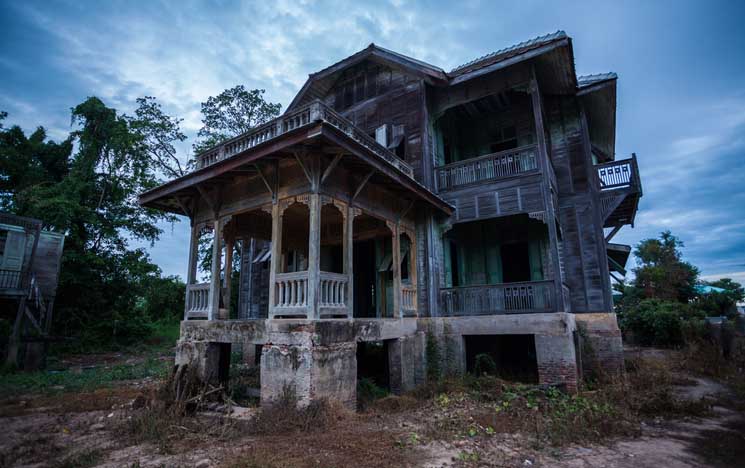
Photo by Witthaya via iStock
To get the most impactful Halloween images, you can't just rely on the subject's costume and make-up. Instead, you need to set the mood with the surroundings.
Think about it - a photo of ghosts and goblins on the front porch isn't nearly as spooky as ghosts and goblins in front of an abandoned building.
Now, obviously we don't all have an abandoned building at our disposal, but you can improvise with a wall covered with vines, a wall covered with graffiti, or even a dimly-lit tunnel.
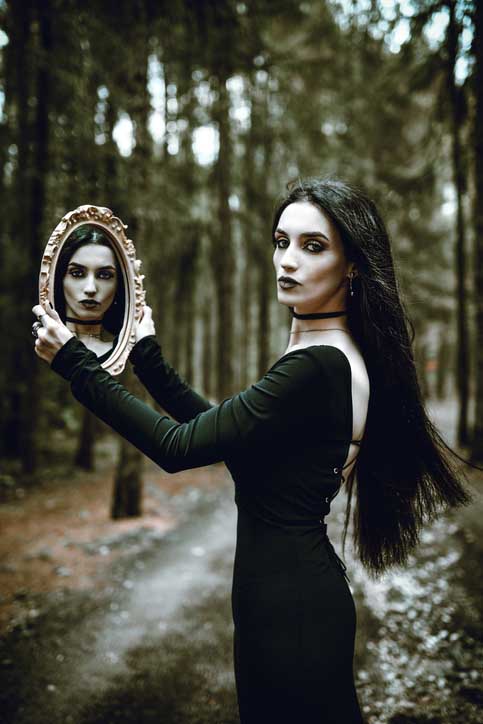
Photo by AleksandarGeorgiev via iStock
Heck, a forest will even do the trick!
The point is that the costumes and surroundings need to work together to get the scariest result. You might need to get creative to find a good shoot location, but the images you create will be worth the hassle.
Just be safe and smart when you head out for your photoshoots. Don't trespass!
Halloween Photography Tips: Get Detail Shots Before Dark
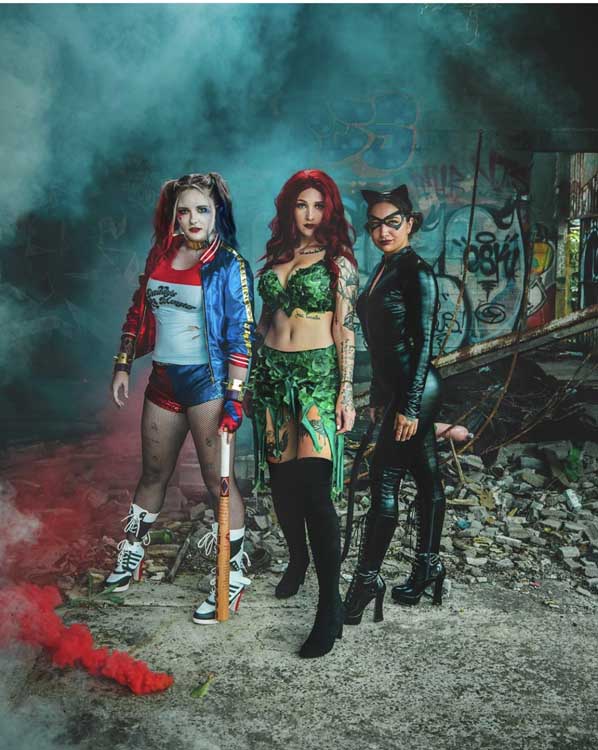
Photo courtesy of Smoke Effect
Next up on our list of Halloween photography tips is to wrangle up your costumed models and get some photos before dark sets in.
Having good light to show off the intricate details of the subject's costume is essential. This doesn't mean you need to take their portrait at high noon - that would be a huge mistake because of the harsh, deep shadows the noontime sun would create.
Instead, wait until just before golden hour, so you have some nice, soft light. As discussed earlier, pop some smoke to add some color and texture to the shot, and to create a darker, more intimate-feeling portrait.
In the image above, you can see this play out. There's plenty of natural light so we can see the intricate details of each subject's costume. The blue smoke bomb helps set the subjects apart from the background, while the pop of red smoke adds even more visual interest.

Halloween Photography Tips: Light Up the Night (But Not Too Much)
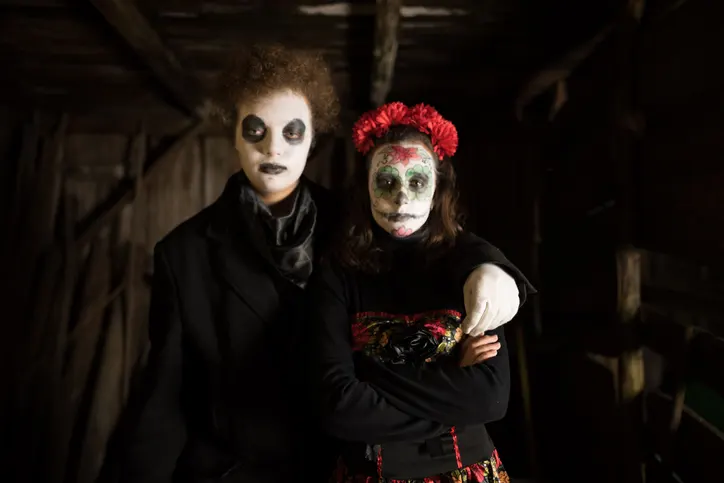
Photo by suteishi via iStock
Getting detail shots before dark doesn't mean that your job ends when the sun goes down. Instead, that's when the fun really begins!
Taking photos at night can be a challenge, but the spookiest shots are often taken in low-light situations.
There's a few things you can do to help your camera capture the scene when it's dark...
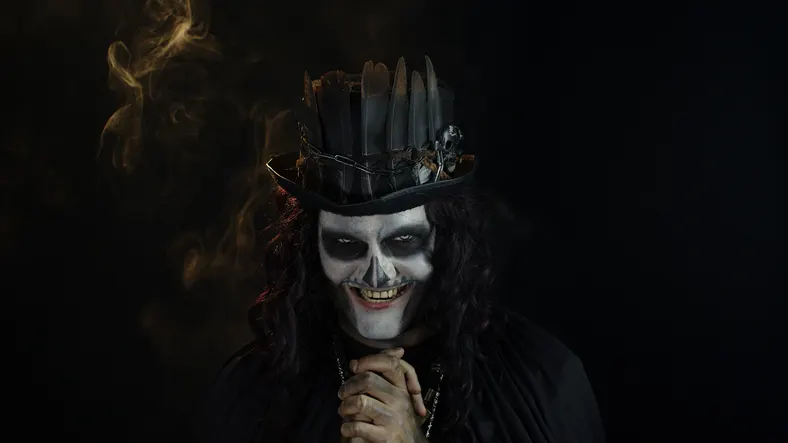
Photo by Andrii Iemelyanenko via iStock
First, consider bumping up the ISO. Doing so makes the camera's sensor more sensitive to light. Doing so also introduces noise to the shot, which looks like film grain. While this might not be desirable for most situations, it can add to the scariness of a Halloween shot.
Second, try adding ambient light to the scene. This helps boost contrast and will enable your camera to more easily lock onto your subject. A few candles here, a well-placed lamp there, and you should have plenty of light for a spooky result.
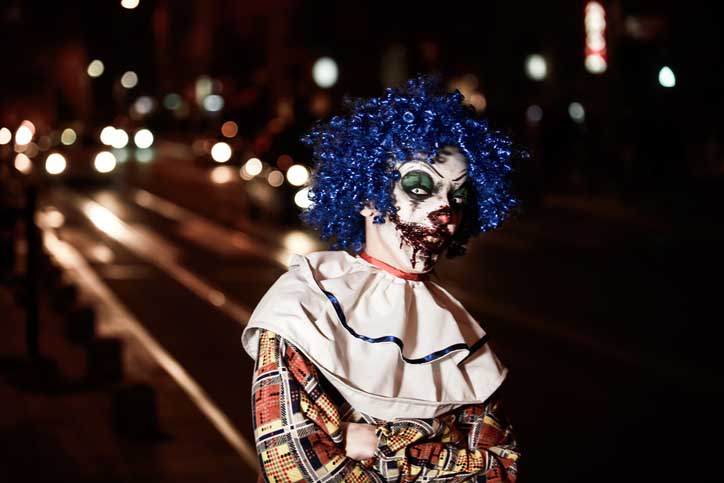
Photo by eldinhoid via iStock
Whatever method you try, put your camera on a tripod. Having a stable base ensures that your images will be tack-sharp. It's also necessary in case you need to slow the shutter speed down to get a well-exposed image.
Don't be afraid to err on the side of the image being too dark, though. After all, Halloween is all about darkness and mystery!
Now that you have a few Halloween photography tips at your disposal, it's time to practice. Get some Peacock Smoke bombs from Smoke Effect, wrangle up some models and costumes, and get shooting!