5 Critical Tips for Long Exposure Night Photography
- What is Long Exposure Night Photography?
- How To Do Long Exposure Night Photography
- Long Exposure Night Photography Equipment
- Some Long Exposure Night Photography Ideas
- The Basics of Astrophotography
- Light Painting!
- Post-Processing Essentials
- Displaying Your Long Exposure Night Photography
- Final Thoughts On Long Exposure Night Photography
- Recommended Photography Gear
- How To Turn Photos into Wall Art
- Benefits of a High Quality Metal Print
- Creative Options for Printing Your Photos
- The Moon
- Planetary Conjunctions
- Deep Sky Objects
- Cityscapes
- Rural Landscapes
- Nighttime Storms (Lightning)
- Architecture (Well Lit or Unlit)
- Lakes, Rivers, Ocean
- City Roads and Rural Highways
- Light Painting
- Monuments and Statues
- Mixed Flash and Ambient Light
- HDR Photography
- Blue Hour (Morning and Evening Twilight)
- 4 Things You Need to Know about Metal Prints
- How To Impress Your Photography Clients
- Why You Should Print Your Images On Metal
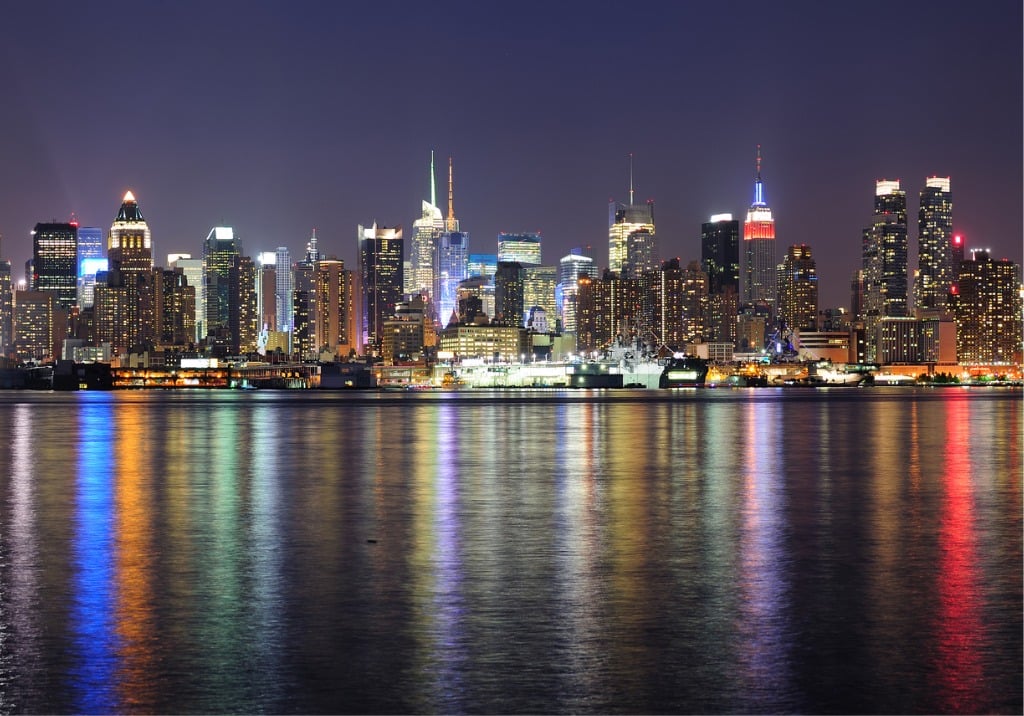
Photo by rabbit75_ist via iStock
Sooner or later, adventurous photographers will want to try their hands at long exposure night photography. Use this guide of critical tips for long exposure night photography to get you started sooner.
Long exposure night photography lets you capture and display a world that is not easy to see with the naked eye. With long exposure night photography, you can see deep into space, turn moving lights into works of art, or capture otherworldly scenes in your own backyard.
If you’re ready to attempt it, let’s get you started on your own adventures with light exposure night photography.
Table of Contents:
What is Long Exposure Night Photography?
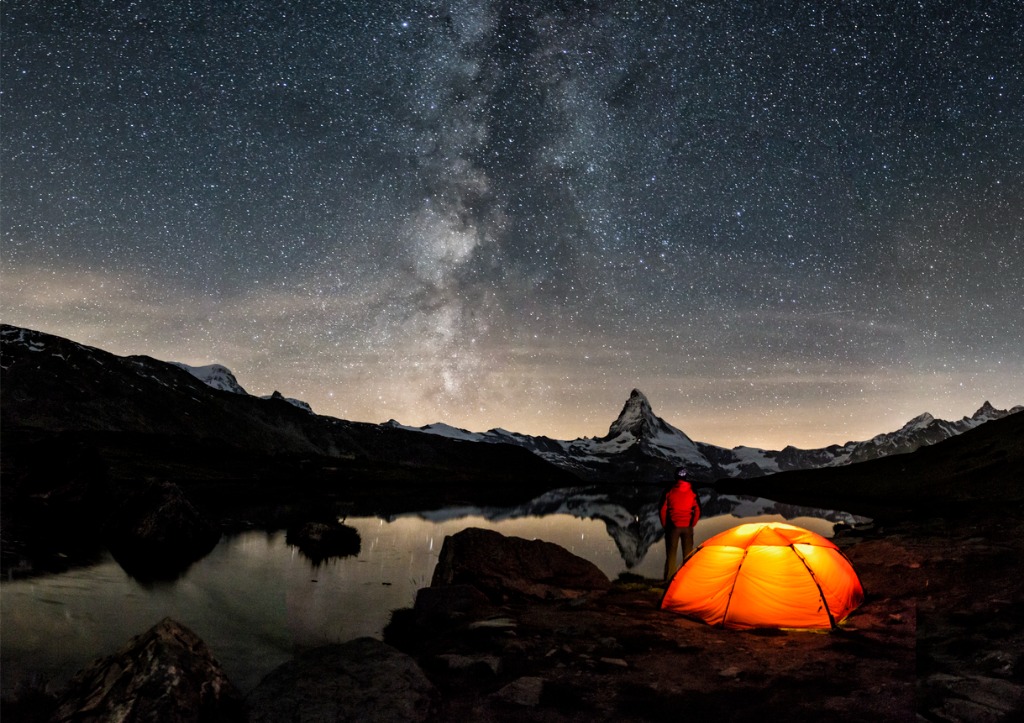
Photo by DieterMeyrl via iStock
First up, let’s get a good, usable description of what is long exposure photography. Obviously, we are using long exposure times. Shutter speeds aren’t really expressed as the shutter speeds that we’re used to in daylight or bright ambient light, where the speeds are mere fractions of a second.
Instead of saying “shutter speed,” we usually start using the phrase “exposure time” as being more descriptively accurate. Since there are several types of long exposure photography, such as adding ND filters to increase exposure times for daylight scenes to blur moving water, we’ll specifically refer to long exposure night photography as being done outdoors at night.
How To Do Long Exposure Night Photography
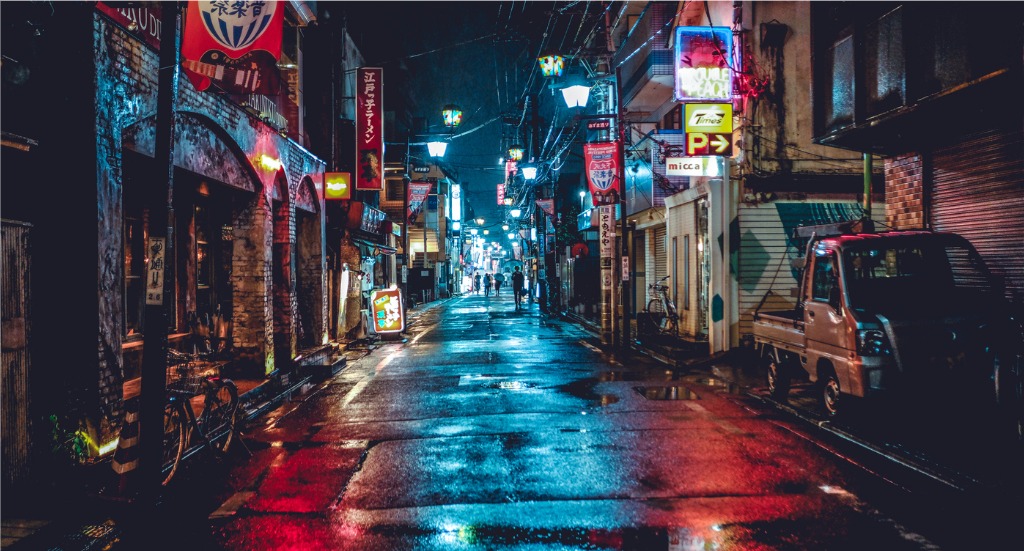
Photo by Greg Nicod via iStock
There are two main methods of capturing long exposure night photography, one very long exposure time or several shorter exposures stacked together and post-processed. Plus numerous variables in between.
It’s not only the shutter speeds of exposure times that are considered when calculating or estimating exposures. The Exposure Triangle still exists even in this extreme type of photographic exposure. The lens aperture or f-stop and the ISO sensitivity of the sensor or film have just as much importance as in daylight photography.
Opening up the lens aperture or increasing the ISO are available to shorten the extremely long exposure times we might encounter. There are a couple of warnings about that, though.
Concerning lens aperture, opening up to the widest f-stop or using an extremely fast lens will shorten exposure times, but that introduces optical problems. A limited depth of field might not be good for the arrangement of subject elements. Focusing precision can be tricky when photographing at night.
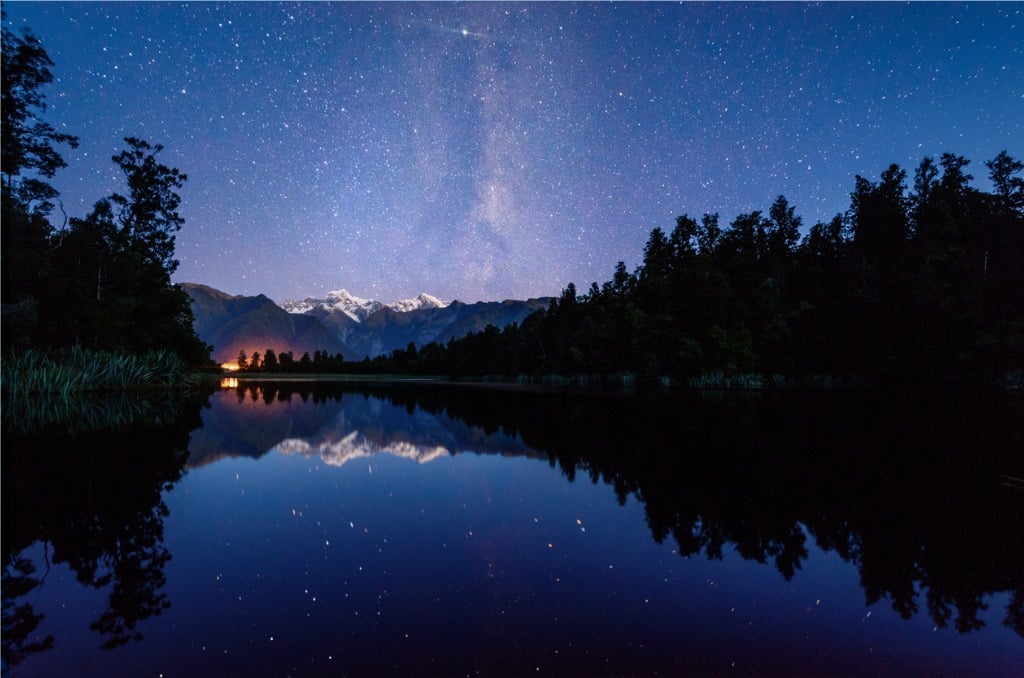
Photo by Photo by FLASH via iStock
Also, any point light source, such as we encounter in astrophotography, will likely be distorted, regardless of how well-corrected a lens may be. We get around this issue by stopping a lens down to the sweet spot aperture, which requires a longer exposure time. In the Exposure Triangle, they’re all connected.
Increasing the ISO sensitivity will shorten exposure times, but there’s a limit to this, too. Raising the ISO (higher numbers) will also increase electronic noise. Sometimes, this can be used artistically, such as mimicking analog film grain, but it can bring in a level of image degradation, not being as sharp as we might want.
Stacking exposures, like we might do in HDR photography, can handle some of the issues of digital noise or the dynamic range issues of a night scene, but there are pros and cons there, too, such as subject motion or star and planet movement.
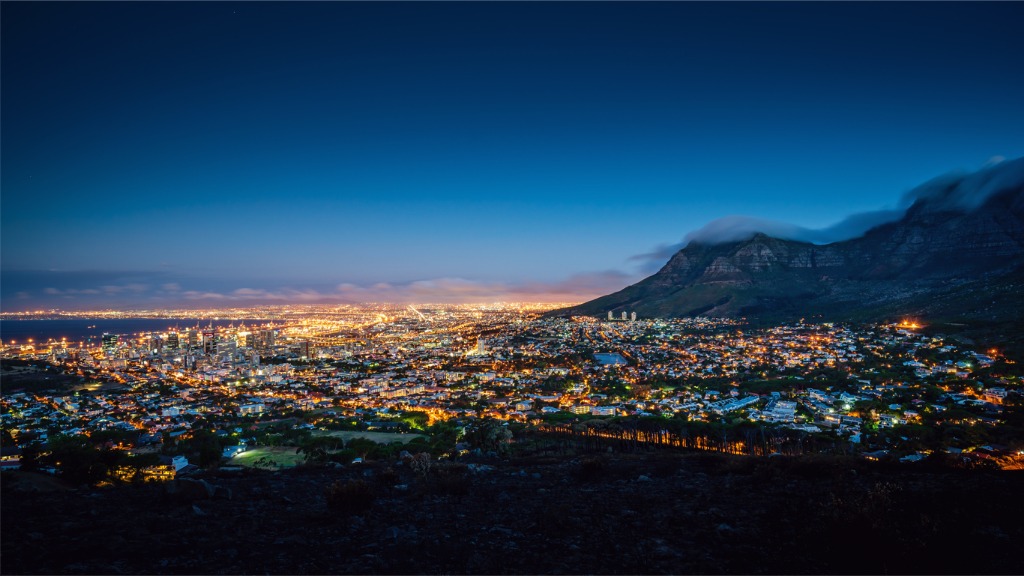
Photo by Mlenny via iStock
Metering for long exposure night photography can be accomplished with the camera’s exposure meter for exposure times in the range of a few seconds or so. But it may be better to consult exposure tables to get into the right range for anything longer than that. And then adjust up and down from those recommendations. Under the right circumstances, you could use the camera viewscreen or a tethered device to check exposures.
With most long exposure night photography, AF auto-focus won’t help much. Manually focusing accurately is possible with preset zone focusing (hyperfocal distance principles apply) or by using the viewscreen and increasing magnification.
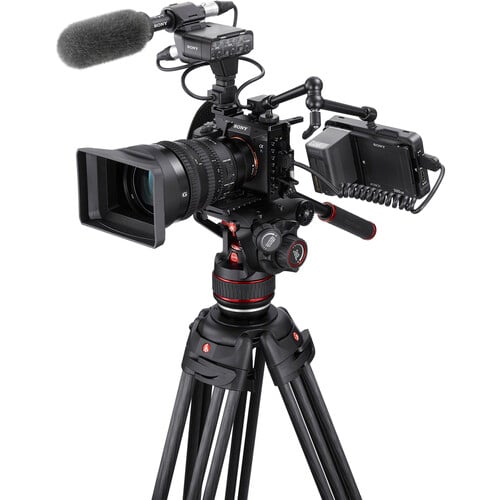
Long Exposure Night Photography Equipment
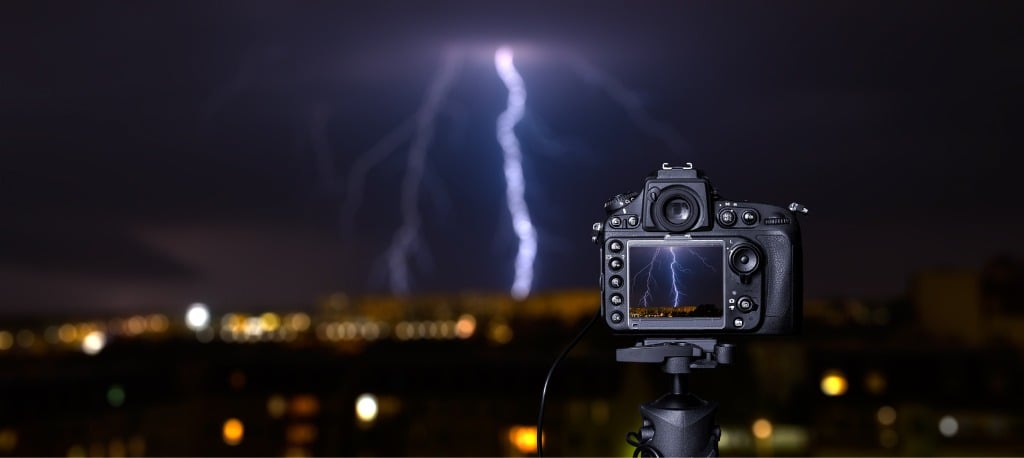
Photo by scyther5 via iStock
Here’s an encouraging thought. The camera gear you have right now is probably all you need for making amazing long exposure night photography images.
Let’s make sure with a brief overview of the necessary gear. You will need a camera that allows for manual exposure adjustments. The larger formats will be better at low-light imaging, so MFT, APS-C, and Full Frame camera sensors are preferred.
Any high-quality lens will be a good choice. It can be a zoom, prime focal length, wide-angle, normal, or telephoto. It depends on your vision of the final image, just as in daytime photography. Fast lenses or a moderate maximum aperture lens are both good ideas.
A good, sturdy, heavy-duty tripod is preferred over lighter travel tripods since exposure times could be very long, measured in full seconds and minutes. A tripod alternative like a camera mount would also be great.
Mirror lock-up function if your camera has that feature and a remote release, wired or wireless, round out your equipment needs. Lastly, a flashlight, either a regular style or one made for astronomy or hunting, with a deep red filter, is handy to have.
Learn More:
Some Long Exposure Night Photography Ideas
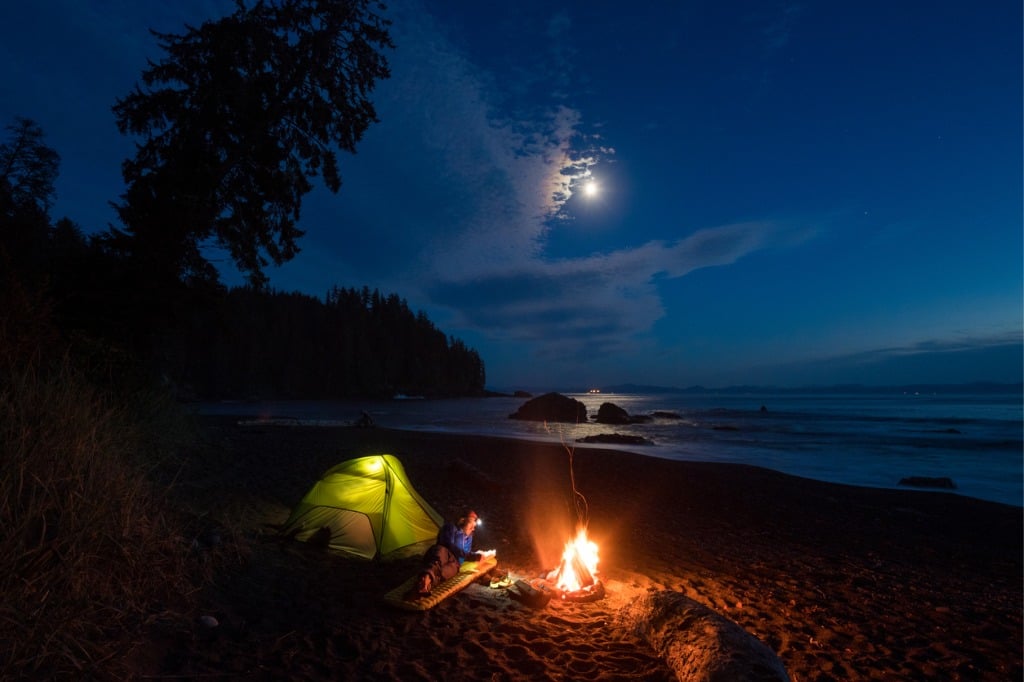
Photo by stockstudioX via iStock
Now that we have all that out of the way, here are some long exposure photography ideas that cover multiple types of night imaging:
You can find detailed discussions on all of these subjects in other Photography Talk articles.
The Basics of Astrophotography
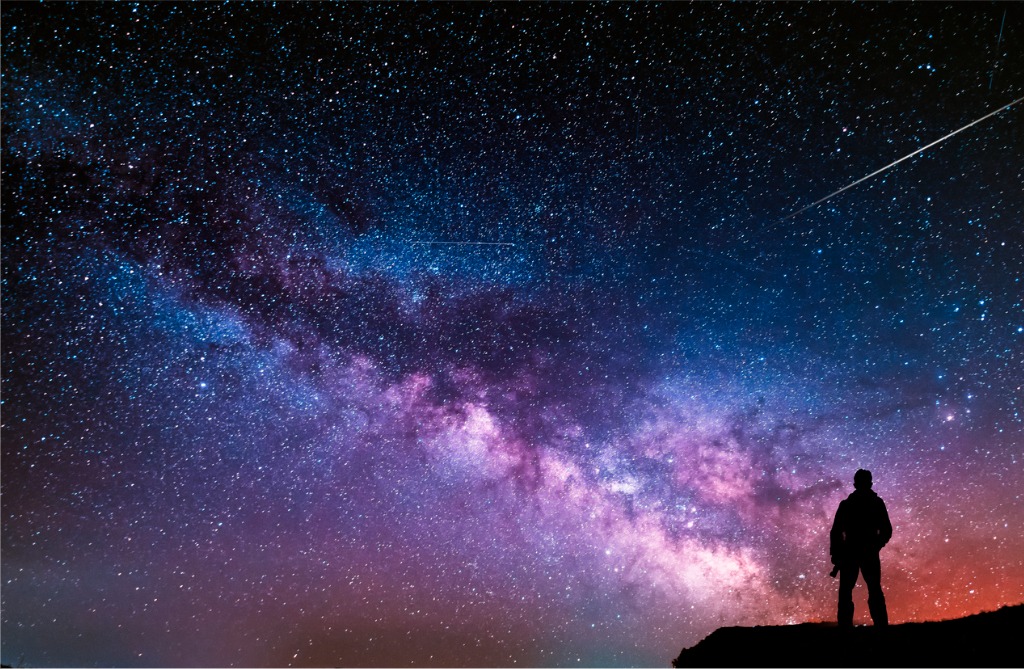
Photo by Inga-Av via iStock
Astrophotography is one aspect of long exposure night photography that may make you want to invest in other, more specialized photographic equipment. That could include an equatorial mount, a telescope, light pollution filters, and filters for specific light wavelengths.
Taking pictures lit by moonlight differs from taking pics of the Moon itself. A moonlit landscape or lake view is much dimmer than the same scene in daylight, so you’ll use longer exposure times. But a photo OF the Moon captures a very bright object lit by direct sunlight.
When imaging the planets, you’ll notice they move across the more static star-filled background, but even that star field is not motionless. Some tips can be found in our articles covering the 500 Rule and Night Landscapes.
Light Painting!
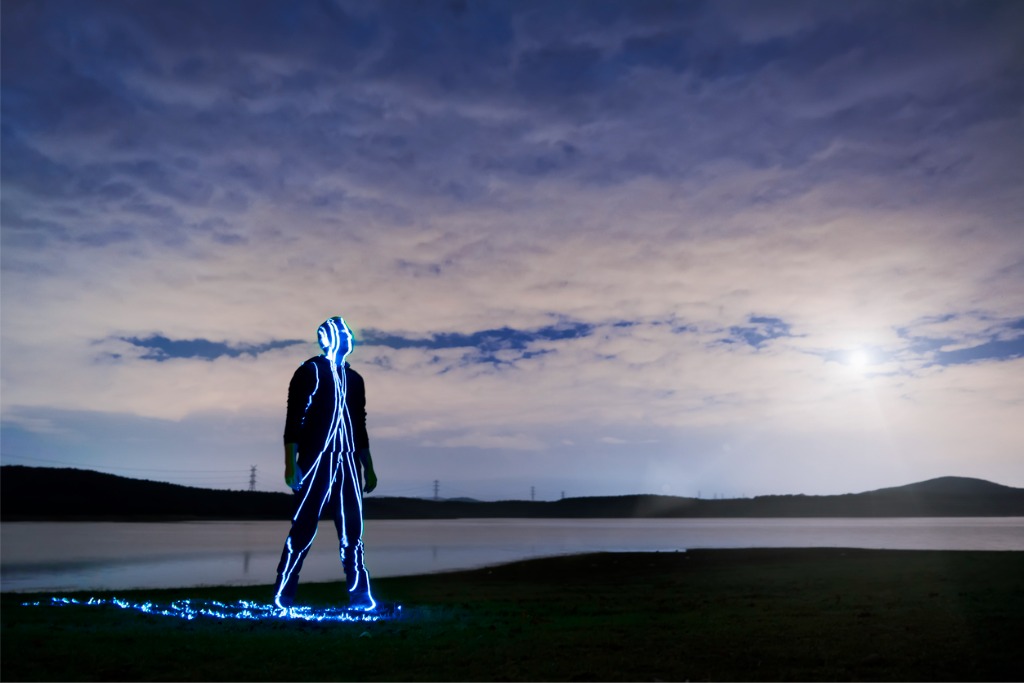
Photo by Enes Evren via iStock
Light painting is a fun form of long exposure night photography. In light painting, you keep the shutter open and use a flashlight or other portable and small light source as a brush on an invisible canvas. It takes a little practice to get it down well, but you can be as simple or elaborate as you wish.
Check out this short YouTube video tutorial on light painting by photographer Kyle Nutt:
Related to light painting is using a flash or a continuous video light to bathe a subject element with a wash of light to make it stand out against the long exposure background. It can be fun to make portraits this way, but any subject matter will work.
Post-Processing Essentials

Photo by AleksandarNakic via iStock
Some simple post-processing adjustments can make your long exposure night photography look its best. One trick is to use your slider exposure controls to adjust highlight, mid-tone, or shadow values. You can also adjust separate color channels this way. You can opt for small, subtle tweaks or large-scale significant changes.
Blending exposures in a bracket and merge or HDR program can solve certain dynamic range issues you may encounter while working on your long exposure photography ideas. These programs often have a setting to eliminate or lower digital noise.
Many programs have a specific control for adjusting digital noise that can be used for any style of long exposure photography. On some, it’s a preset; on others, you can adjust it as you want.
The noise mostly appears in large areas of density or shadow and can obscure shadow detail or be an annoying artifact. You can also leave it in the image if your artistic vision leans that way for a certain image.
Digital noise is a big issue for a lot of long exposure night photography images of astronomical subjects. You could use the noise control of your program, or you can go all out towards eliminating astrophotography digital noise by shooting some dark frame image files and blending them in using a specialized program designed for astrophotography.
Displaying Your Long Exposure Night Photography
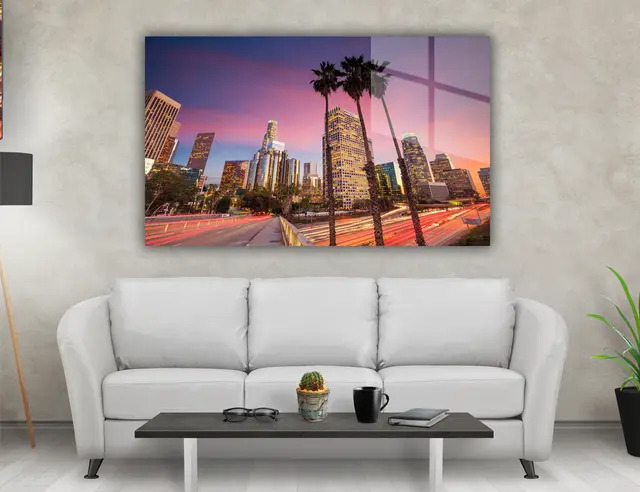
Now that you have these amazing image files of your long exposure night photography, you’ll want to display them to their best advantage. One of the best mediums for night photography is an HD metal print.
Artbeat Studios is a top-quality source of premium HD Metal prints for showing off your night photography. Artbeat Studios uses a dye sublimation process and industry-leading ChromaLuxe® brand aluminum sheets to bring out the colors of your images of all types.
Metal prints work great for night photography because of the excellent color fidelity and the deep, rich black tones. Depending on what finish you choose, the highlights in an image show up in a special way as well.
Your images look like they're floating against the wall with a recessed mount. You can also opt for a flush mount or put them in a low-profile frame. Artbeat Studios can make these metal prints in any size, from 8x8” up to 40x60” wall art.
While you’re there, check out their HD acrylic prints, which work wonderfully for long exposure night photography images. Artbeat Studios has easy eCommerce integrations and other programs for professional photographers.
Final Thoughts On Long Exposure Night Photography
Photo by Masisyan via iStock
So, what do you say? Are you ready for some long exposure night photography?
Using these tips and ideas to supplement your refined technique and creativity, you’ll have a great time making and then showing off this fantastic style of photography.