5 Mistakes Photographers Make With Long Exposures
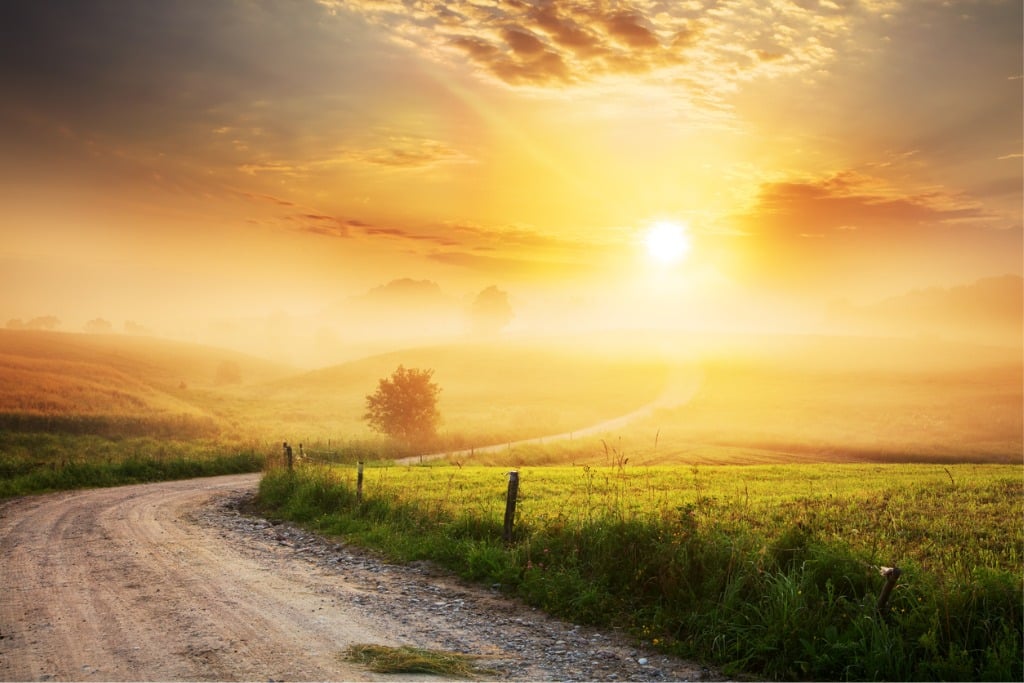
photo by miroslav_1 via iStock
Long exposure photographs like the one above are unmistakably beautiful. But they can be a challenge to do well.
Capturing a gorgeous long exposure image takes time, planning, and preparation, as well as the right gear. If all these things are done well, you can expect to create a compelling image.
You’ll need to minimize your mistakes, though. With that in mind, here are five common long exposure mistakes you need to avoid.
Leaving Image Stabilization On

photo by FocusEye via iStock
Though not all cameras and lenses have stabilization systems, many do. These systems are hugely beneficial for shooting handheld and in low-light situations, but when used when your camera is mounted on a tripod, they can actually be a detriment.
Camera and lens makers call their stabilization systems by all kinds of different names, but they all essentially work the same - they detect movement and try to counteract it by moving the sensor in the camera or moving a group of elements in the lens.
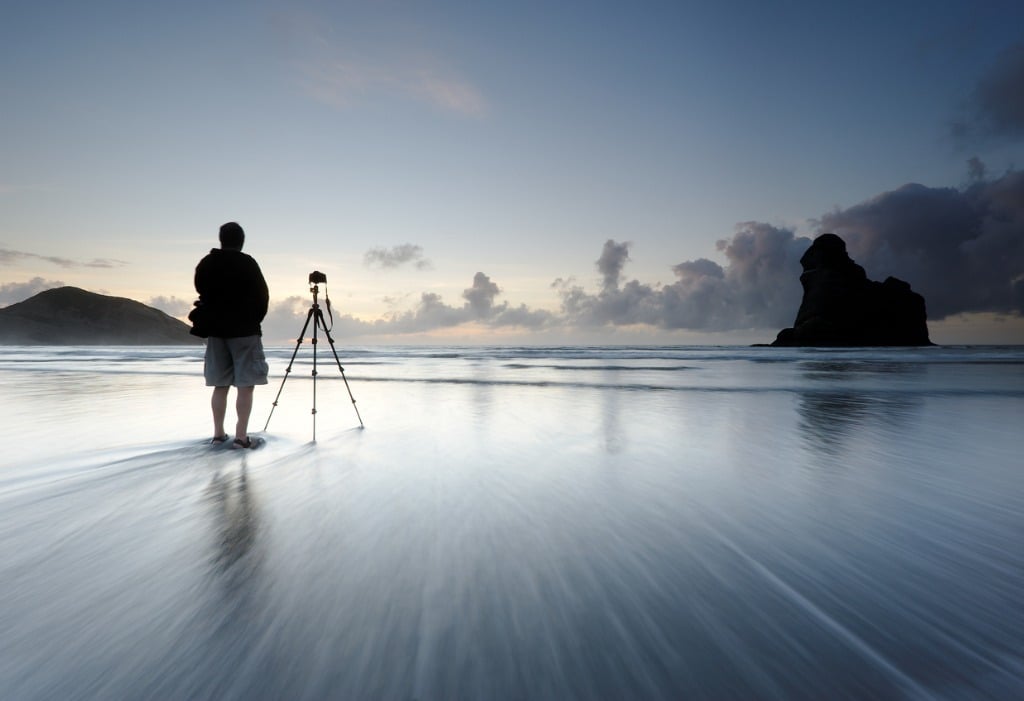
photo by dchadwick via iStock
But when your camera is mounted on a tripod (as it must be for long exposures), there shouldn’t be much - if any - vibration. The problem is, the camera or lens might still try to compensate for movement. The result is that movement is introduced to the camera or lens, thereby causing blur in the image.
So, before you take a long exposure, be sure that any image stabilization systems are in the off position to avoid this very common long exposure mistake.
Using the Wrong Aperture

photo by kyoshino via iStock
A mistake that many landscape photographers make is slamming the aperture down to its smallest opening - usually f/22 - with the thought that it will maximize depth of field and help prevent long exposures from being overexposed.
The problem is that the smaller the aperture opening, the greater the likelihood of diffraction, which, as Tony & Chelsea Northrup discuss in the video below, results in a loss of image sharpness. So while smaller apertures do contribute to a larger depth of field, it doesn’t do you much good if the image isn’t optimally sharp.
Likewise, there’s no need to close down the aperture to avoid overexposure. Shooting long exposures in the daytime necessitates having the right filters for the job, like neutral density filters, which block much of the light coming into the lens to prevent an overexposed image.
A better course of action is to select a larger aperture to avoid diffraction and use high-quality neutral density filters to avoid overexposure.
By and large, most lenses are their sharpest at around f/8 or f/11. And assuming the nearest object in the foreground is several feet away, you’ll still get a good depth of field that gives you sharpness from front to back.
Learn More:
Using Cheap Filters

photo by Koldunova_Anna via iStock
Cheap and poorly made filters often leave a color cast in your shots. They can also soften the image, so all the work you did finding the sweet spot of your lens is for naught.
Instead, it’s worth your time, effort, and money to research high-quality filters and invest in something that gets you the best image quality possible.
For my money, H&Y Filters offer the best bang for the buck. I’ve come to that conclusion after more than a decade of testing countless filters.
There are tons of filters available from many different manufacturers, and some are really quite good, but just as many are quite bad.
H&Y represents the cream of the crop for a variety of reasons, not the least of which being how innovative their filters and filter holder systems are.

I have the K-series filter holder, which I use in conjunction with three different drop-in neutral density filters: a 5-stop ND and polarizer hybrid, a 10-stop ND, and a 12-stop ND.

I love the drop-in design because it allows me to compose the shot and then add the filter to the filter holder without disturbing my camera. In other words, there’s no messing around with screwing filters onto the lens and unscrewing them each time I need to compose and focus the next picture (composing, then focusing, and then adding the filter is a must, as it is impossible to focus with these super dark filters in place). From a convenience standpoint, these drop-in filters are tough to beat for long exposure photography.


Likewise, H&Y takes durability to the next level with these filters.
These particular filters have anti-smear, anti-scratch, and anti-reflective coatings. They’re water repellant, oil repellent, and offer neutral light transmission so you don’t have to worry about those pesky color casts I mentioned earlier.


Truly, these filters have risen to the occasion each and every time I’ve used them for long exposure photography. They will do the same for you!
Learn more about H&Y filters by visiting their website.
Not Using Mirror Lock-Up

photo by nicky39 via iStock
Obviously, if you shoot with a mirrorless camera, this doesn’t apply to you...
But if you’re a DSLR user, not using mirror lock-up is one of the primary mistakes photographers make with long exposures.
When you take a photo with a DSLR, the mirror flips up and out of the way of the sensor. The shutter activates, the shot is taken, the image is recorded, and the mirror flips back down.
As Scott Wyden Kivowitz explains in the video above, the action of the mirror flipping up and down can create enough vibration in the camera to cause image blur. By engaging mirror lock-up, you negate this problem.
Not all DSLRs have a mirror lock-up feature, so you’ll need to consult your camera’s owner’s manual to determine if the feature is available and how to turn it on. Your images will be better for it!
Not Covering the Viewfinder

Photo by Neil Thomas on Unsplash
Even though light is only supposed to enter your camera through the hole created by the aperture blades in the lens, this isn’t the only access point for light to get in.
In long exposure photography, light often finds its way into DSLRs through the viewfinder. When this occurs, your photos usually have a purple blob in the image that ruins the shot.
Some cameras have a built-in cover for the viewfinder that you can switch on. Again, check your camera’s owner’s manual to see if your camera has this feature.
If it doesn’t, once you’ve composed the shot, simply cover the viewfinder with gaffer tape, painter’s tape, or any other dark, non-sticky material to prevent light leaks from occurring.
These are all simple mistakes, but each one can have huge negative consequences for your long exposure images. The next time you head out to take photos, be sure to avoid these mistakes, and the images you get will be far, far better.
Learn More: