
Astrophotography lets you capture the incredible beauty of the night sky. Stars, planets, and even the Milky Way can be seen through your camera lens. It might seem complicated, but getting started is easier than you think.
You do not need fancy or expensive gear. With simple equipment and the right approach, you can create amazing photos. These astrophotography tips will help you begin your journey and take your first beautiful night sky shots.
This guide breaks down everything you need to know. From picking a good location to post-processing your images, the tips are easy to follow. Let’s explore how you can start capturing the cosmos tonight.
Table of Contents
- Choose the Right Location
- Get the Right Gear (Without Breaking the Bank)
- Use a Tripod—Stability Is Key
- Learn the Basic Camera Settings for Night Sky Shots
- Understand the 500 Rule
- Use a Remote Shutter or Timer
- Start With the Moon and Bright Constellations
- Try Light Painting for Foregrounds
- Keep an Eye on the Weather and Moon Phases
- Basic Post-Processing Tips
- Practice, Experiment, and Be Patient
- FAQs
Choose the Right Location
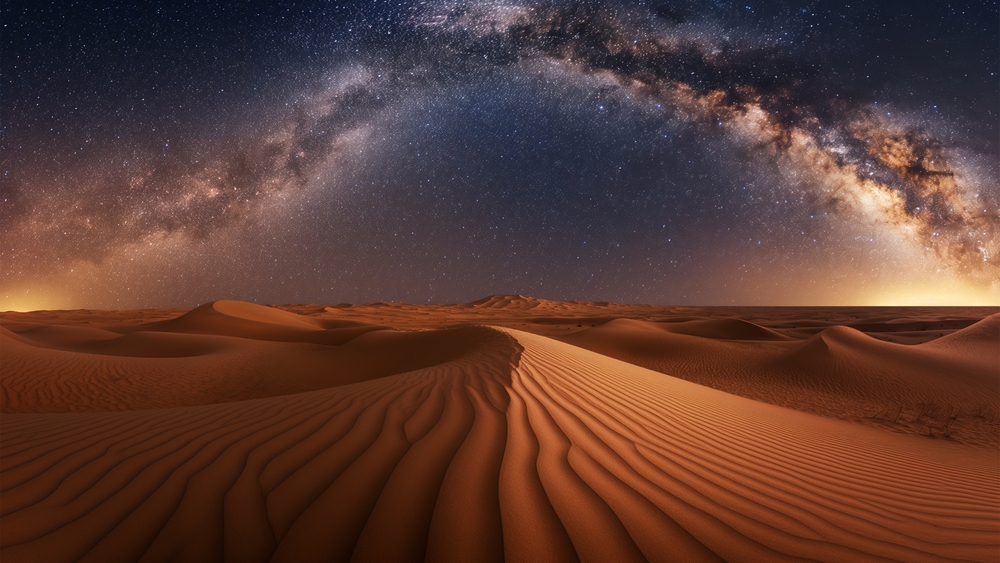
Photo by Abd Awwad via Shutterstock
One of the most important astrophotography tips is to find a dark spot away from city lights. Light pollution washes out stars and ruins your shots. The darker the sky, the better the photos.
You can use free online light pollution maps to find good locations near you. Apps like Dark Site Finder or Light Pollution Map show you the best areas for night sky photography. Look for dark blue or black areas on the map.
National parks, open fields, and remote mountain areas often have clear, dark skies. If you live in or near a city, try driving 30 minutes or more to escape the glow of streetlights. Visit your location during the day to scout the best spots and plan your setup before nightfall.
Get the Right Gear (Without Breaking the Bank)
Photo by paulista via Shutterstock
You do not need to spend thousands on camera equipment to start astrophotography. One of the best astrophotography tips is to use what you have. A DSLR or mirrorless camera with manual mode is ideal, but many newer smartphones also have night modes.
For lenses, a wide-angle lens with a fast aperture (f/2.8 or wider) works best. A wide lens lets you capture more of the sky and gather more light. If you don’t have a fast lens, try your fastest one or even the kit lens that came with your camera.
Other useful gear includes a sturdy tripod, extra batteries (cold weather drains batteries fast), and a headlamp with a red light to preserve night vision. Optional accessories like a star tracker or lens heater can come later as you improve your skills.
Use a Tripod—Stability Is Key
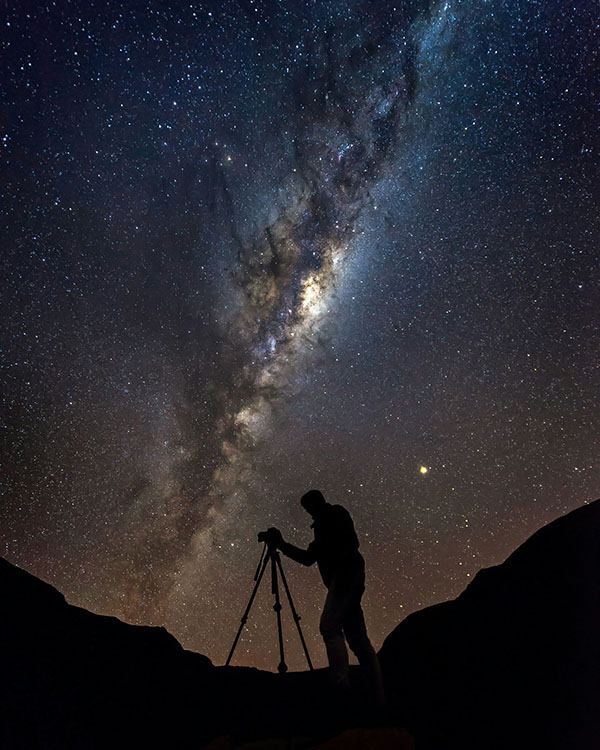
Photo by Kyle Goetsch on Unsplash (license)
Long exposure shots require your camera to be perfectly still. That is why using a tripod is essential for beginners. Even the slightest movement causes blurry photos. A tripod holds your camera steady during long exposures.
When picking a tripod, look for one that is sturdy but portable. Adjustable legs help you set up on uneven ground. A ball head allows you to quickly aim your camera in any direction.
If it’s windy, hanging a weight bag or backpack from the center column will reduce shaking. This simple step can improve the sharpness of your images a lot.
Learn the Basic Camera Settings for Night Sky Shots
Photo by Yash Savla on Unsplash (license)
Mastering camera settings is key to capturing great astrophotography. One of the easiest astrophotography tips is to shoot in manual mode. This lets you control aperture, shutter speed, and ISO.
Start with these settings: set your aperture as wide as possible (f/2.8 or lower), use an ISO between 1600 and 3200, and choose a shutter speed between 10 and 25 seconds. These are good starting points to capture enough light without too much noise or star trailing.
Focus manually on a bright star or a distant light. Many lenses have an infinity focus mark but check sharpness by zooming in on your camera’s live view screen. Autofocus usually does not work well in dark conditions.
Understand the 500 Rule
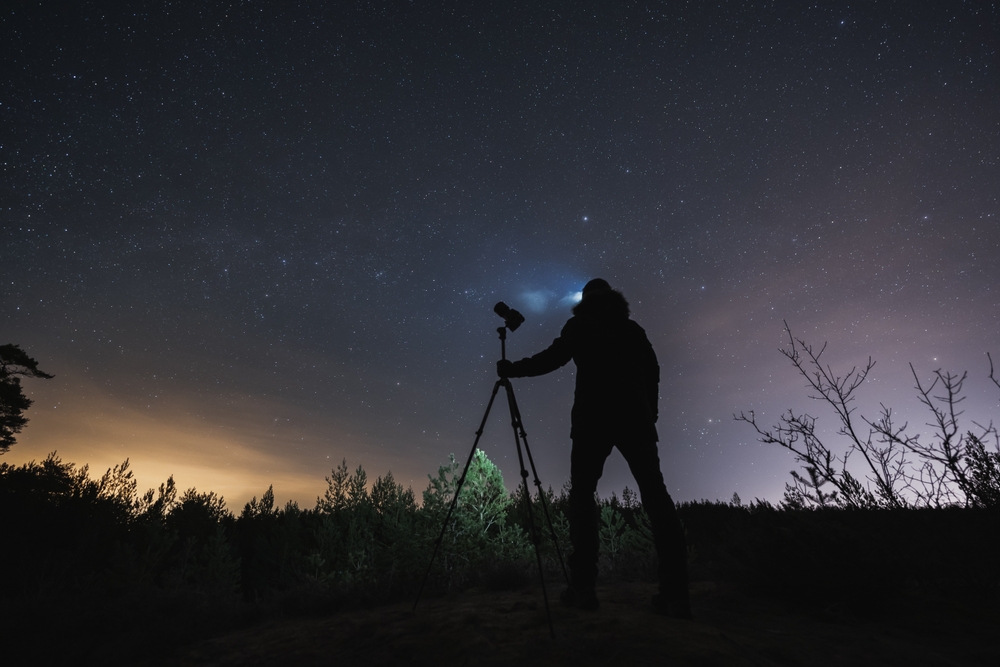
Photo by Dmitri T via Shutterstock
The 500 Rule is a simple formula to avoid star trails caused by Earth’s rotation. It tells you how long your shutter can stay open without stars appearing to move.
Divide 500 by your lens’s focal length. For example, with a 20mm lens on a full-frame camera, 500 ÷ 20 = 25 seconds. That means you can safely expose for up to 25 seconds without noticeable star trails.
If you use a crop sensor camera, multiply your focal length by 1.5 or 1.6 first before dividing. This rule is an easy astrophotography tip that helps keep stars sharp in your photos.
Use a Remote Shutter or Timer
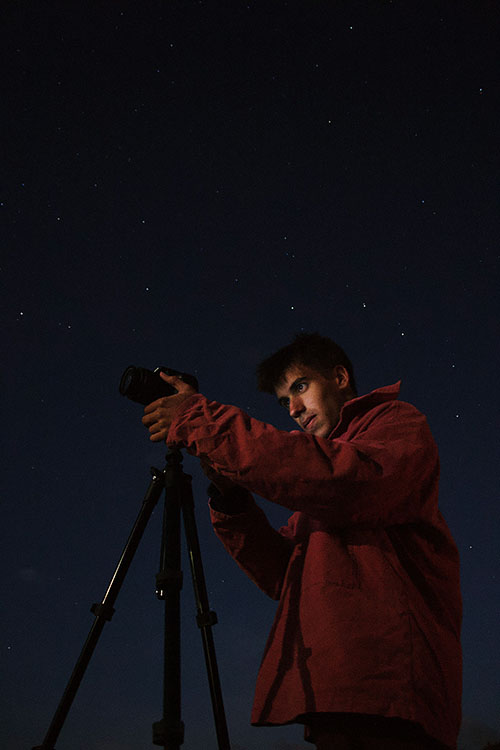
Photo by Maël BALLAND on Unsplash (license)
Pressing the shutter button directly can cause tiny vibrations that blur your images. To avoid this, use a remote shutter release or your camera’s built-in timer.
A two-second or ten-second timer lets the camera settle before taking the shot. Remote shutter releases or intervalometers allow you to trigger the camera without touching it. Some cameras even support smartphone control apps for this purpose.
Using a remote shutter or timer is one of the simplest astrophotography tips that can greatly improve your image sharpness.
Start With the Moon and Bright Constellations
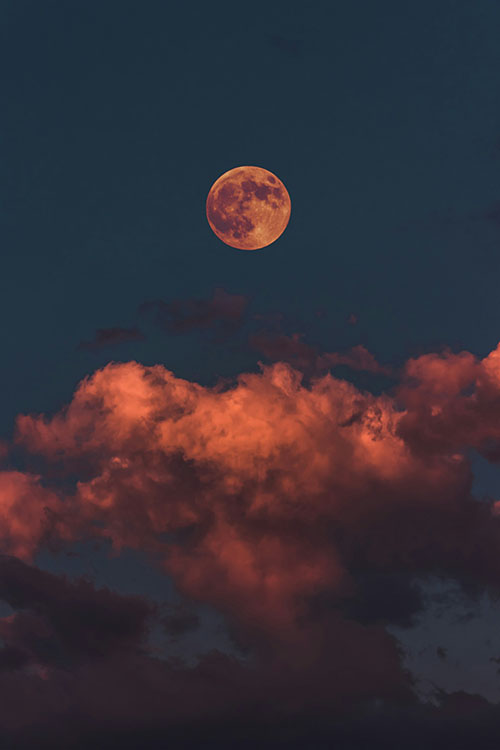
Photo by Altınay Dinç on Unsplash (license)
The moon is an easy first target for astrophotography. It’s bright and large, so you can practice your settings and focusing skills. When photographing the moon, use a lower ISO and faster shutter speed than for stars.
Bright constellations like Orion or planets like Jupiter and Venus are also great to start with. They are easy to find and add interesting shapes to your photos.
Apps like Stellarium, Sky Guide, or Star Walk help you locate stars, planets, and constellations in real time. Using these apps is one of the best astrophotography tips for beginners learning the night sky.
Try Light Painting for Foregrounds

Photo by Trevor McKinnon on Unsplash (license)
Adding an interesting foreground can make your night sky photos more compelling. Light painting means briefly shining a flashlight or LED on a foreground object during a long exposure.
This technique adds depth and context to your images. Use a low-powered warm light and move it quickly to avoid overexposing any one spot. Trees, rocks, or buildings work well as foregrounds.
Experiment with different colors or light sources to create unique effects. This creative tip adds personality and balance to your astrophotography shots.
Keep an Eye on the Weather and Moon Phases
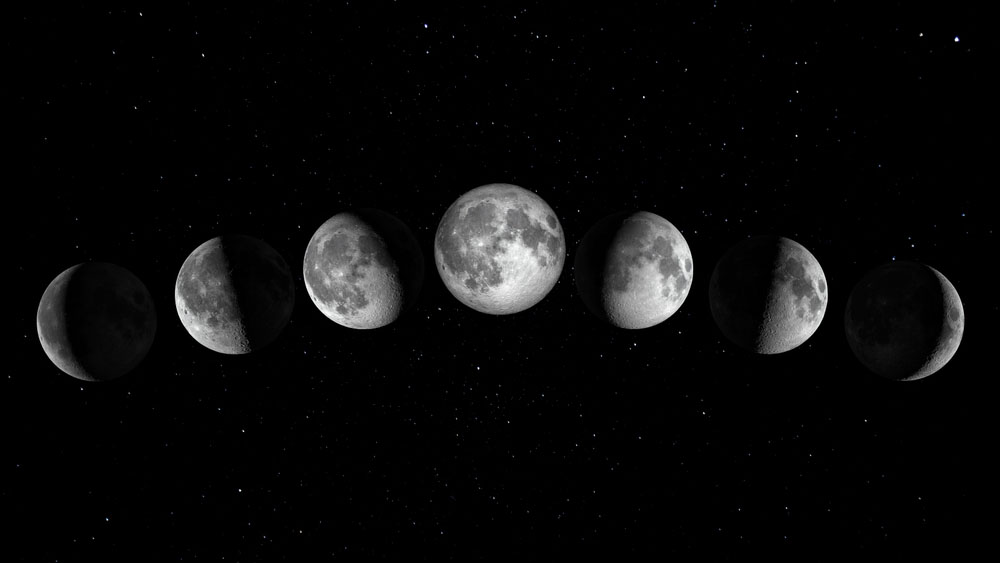
Photo by bupropion via Shutterstock
Good weather is crucial for night photography. Clear skies with little humidity give the best visibility. Use weather apps like Clear Outside or Weather Underground to check forecasts.
The moon phase affects how bright the night sky is. A full moon lights up the landscape but can drown out stars and the Milky Way. For star-filled skies, shoot around the new moon or when the moon is below the horizon.
Also watch out for dew, which can fog up your lens. A lens warmer or hand warmer wrapped in a sock can help keep moisture off your glass.
Basic Post-Processing Tips

Photo by Prathankarnpap via Shutterstock
Post-processing helps bring out details and colors in your astrophotography. Always shoot in RAW format to capture the most information.
Programs like Lightroom, Darktable, or GIMP allow you to adjust exposure, contrast, white balance, and noise reduction. Keep edits natural to avoid an over-processed look.
When you’re ready, try stacking multiple images with software like Sequator or DeepSkyStacker. This reduces noise and improves detail, especially for deep sky objects.
Practice, Experiment, and Be Patient
Photo by Ryan Hutton on Unsplash (license)
Astrophotography is a learning process. You will not get perfect shots every time. Keep notes on your settings, locations, and conditions to track your progress.
Don’t be discouraged by early failures. Many great images come after many attempts and adjustments. The key is to stay curious and keep experimenting with different techniques.
Enjoy the journey. Every night under the stars is a chance to improve and see the universe in a new way.
FAQs
Photo by Zoltan Tasi on Unsplash (license)
Can I do astrophotography with my phone?
Yes. Many phones have night modes or manual settings. Use a tripod and a long exposure app to get the best results.
What lens is best for beginners in astrophotography?
A wide-angle lens with a fast aperture like f/2.8 or wider is ideal. It captures more sky and gathers more light.
When is the best time of year for astrophotography?
Late spring through early fall is great for Milky Way shots. Winter skies offer crisp stars and easy constellation viewing.
How long should I expose my shots?
Use the 500 Rule as a guide. Usually, exposures between 10 and 25 seconds work well to avoid star trails.
Do I need expensive gear to start?
No. You can begin with a basic camera, tripod, and patience. Upgrading gear comes as you improve.
Our articles might have affiliate links and the occasional sponsored content, but don’t sweat it – if you buy something, we get a little kickback at no extra cost to you, and we only hype products we truly believe in!
Learn More:
- Astrophotography Tip: How to Get Clear, Sharp Pinpoint Stars
- Astrophotography on a Budget: Gear and Tips for Beginners
Hero photo by Rob Marmion via Shutterstock