

You’re standing on the sidelines. The crowd is roaring. A key play is unfolding, and you raise your camera, only to find the photo comes out blurry. Sound familiar?
Capturing sports action isn’t just about being in the right place at the right time. It’s about having your camera dialed in and ready to freeze those fast-moving moments. Knowing the best camera settings for sports can make all the difference whether you’re shooting soccer under the sun or basketball in a dimly lit gym.
In this guide, I’ll break down exactly what settings you need for different sports, lighting conditions, and skill levels. I’ll cover shutter speed, aperture, ISO, autofocus, and more, plus share real-world examples and personal tips that help you shoot with confidence.
Let’s get to it!
Table of Contents
- The Three Most Important Camera Settings for Sports
- Shutter Speed Guidelines by Sport
- Aperture Settings: Depth vs Speed
- ISO Management in Various Lighting Conditions
- Autofocus Modes and Tracking Tips
- Drive Mode: Why You Should Shoot in Bursts
- Image Stabilization: When It Helps and When to Turn It Off
- Sport-Specific Setting Examples
- Pro Tips for Getting the Shot
- Final Thoughts
- FAQ
The Three Most Important Camera Settings for Sports
When it comes to the best camera settings for sports, the exposure triangle—shutter speed, aperture, and ISO—is your foundation. These three settings control how light hits your sensor and how motion is captured.
In sports photography, shutter speed takes top priority. You need it fast enough to freeze the action. Aperture comes next, helping you control depth of field and light intake. ISO is your backup—it boosts exposure when lighting conditions are less than ideal.
It’s a balancing act. Fast shutter speeds limit light, so you’ll often open your aperture wider or increase ISO to compensate. Learning how to adjust each based on the environment is a huge part of mastering the art of action photography.
Shutter Speed Guidelines by Sport
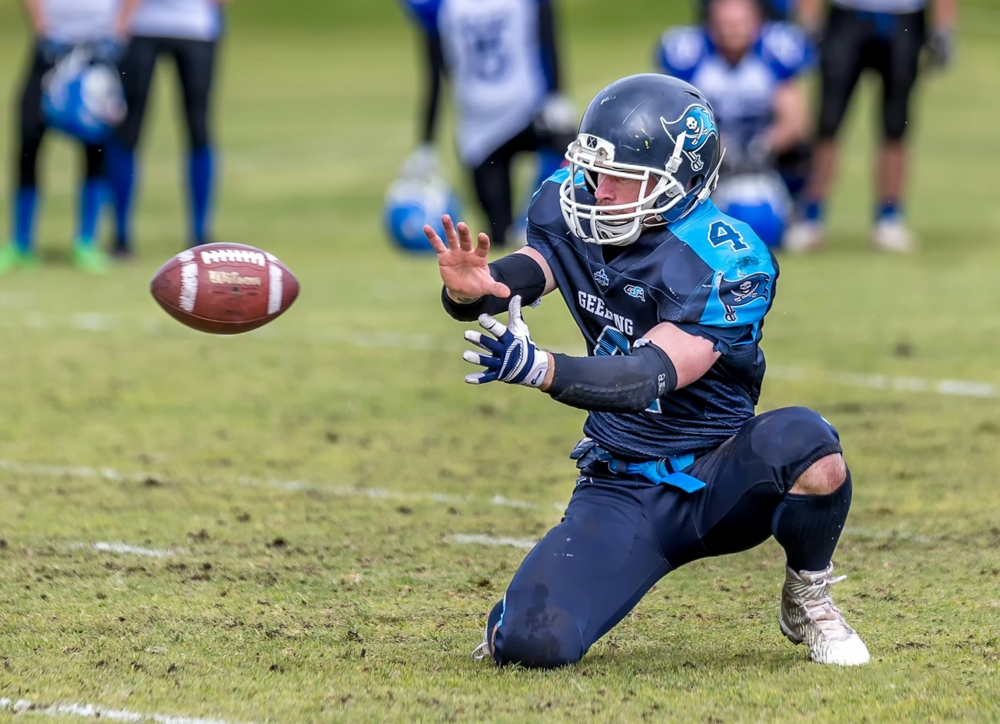
Photo by John Torcasio on Unsplash (license)
The number one rule for freezing motion? Use a fast shutter speed. For most sports, 1/1000 sec is a good starting point. It’s fast enough to stop players mid-stride, balls in flight, or even water droplets during a swim meet.
Here’s a quick breakdown:
- Football, soccer, basketball, hockey: 1/1000–1/2000 sec
- Baseball (especially pitchers and batters): 1/2000–1/3200 sec
- Track & field, tennis, golf swings: 1/800–1/1600 sec
- Indoor sports: 1/800 sec minimum, but faster is better if lighting allows
Experimenting with slower shutter speeds can also be fun. Panning at 1/250 or slower introduces motion blur, which can emphasize speed in a photo. But for beginners, stick to faster speeds until you’ve nailed your timing and tracking.
Aperture Settings: Depth vs Speed
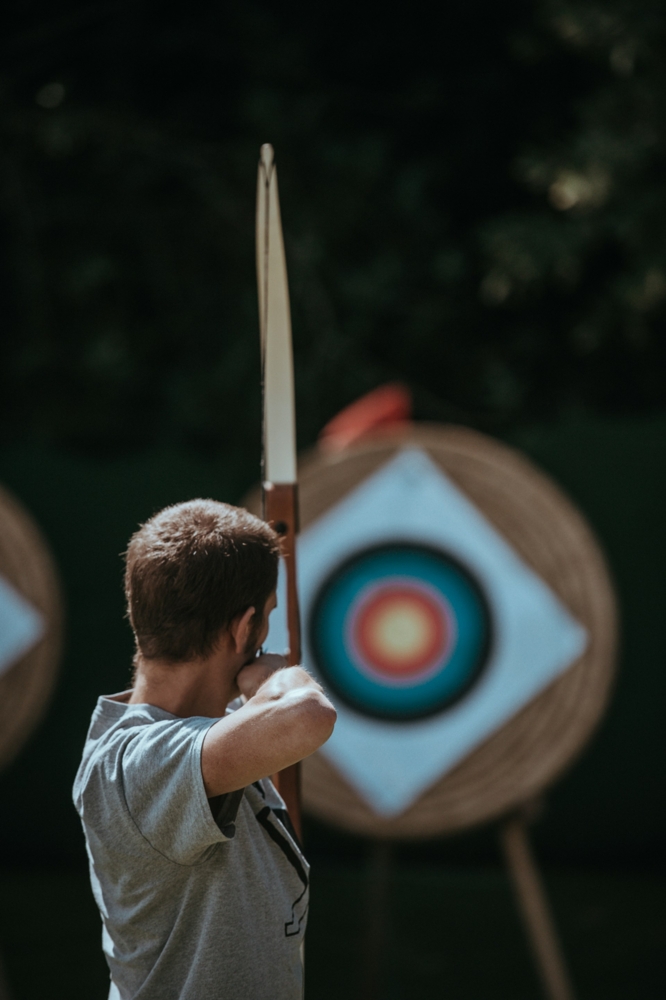
Photo by Annie Spratt on Unsplash (license)
Your aperture setting affects two key things: how much light your lens allows in and how much of your scene is in focus. In sports, a wide aperture like f/2.8 or f/4 is ideal. It lets in more light and helps isolate your subject from the background.
This separation is great for making players “pop” against a messy or distracting background. But there’s a trade-off. At wider apertures, your depth of field becomes very shallow. This means that if your focus is even slightly off, your subject may not be sharp.
In my experience, f/4 is a sweet spot for team sports. It offers enough subject separation while giving you a little wiggle room with focus. If you’re photographing one athlete, f/2.8 or faster can work beautifully, especially with prime lenses.
ISO Management in Various Lighting Conditions
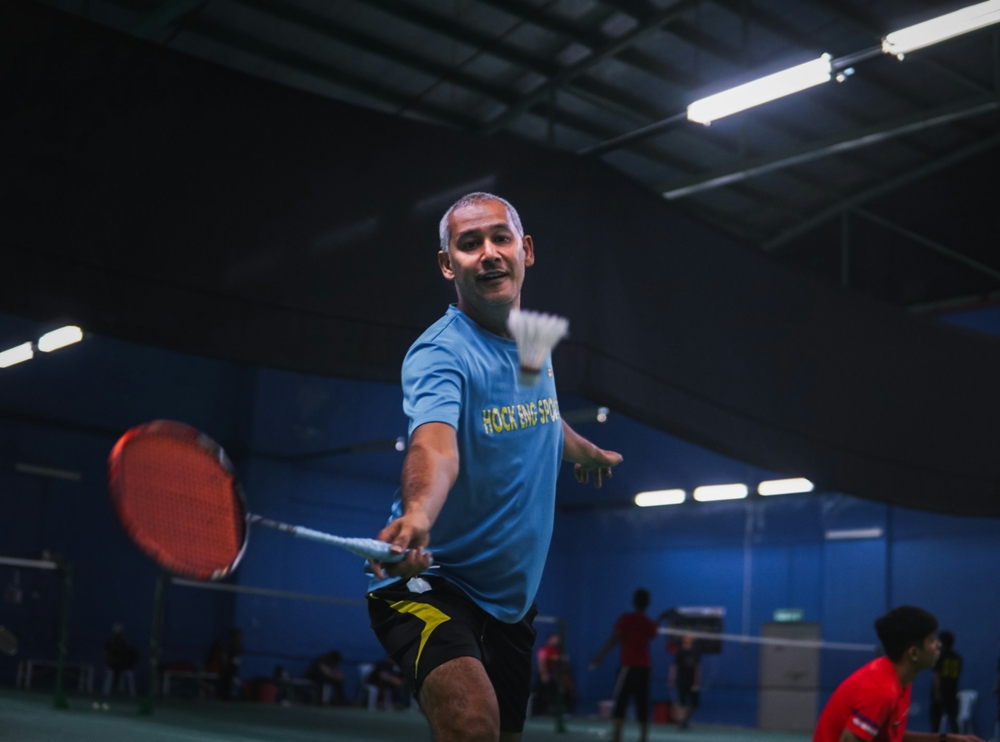
Photo by Muktasim Azlan on Unsplash (license)
ISO plays a supporting role when you need to keep your shutter speed high and aperture wide. The darker the scene, the higher your ISO needs to go. Outdoor games in daylight can use ISO 100–400, but indoor arenas often push you to ISO 3200 or more.
Modern cameras handle high ISO better than ever, so don’t be afraid to bump it up if needed. Grainy but sharp is better than clean and blurry. Just be mindful of noise—especially in shadows—and clean it up during post-processing when necessary.
Using Auto ISO is a great option when light conditions change rapidly. Just set a minimum shutter speed and let your camera handle the rest. But for full control, manual ISO will always give you the most consistent results.
Autofocus Modes and Tracking Tips
As Jack Beasley discusses in the video above, fast and accurate autofocus is essential. Continuous AF (AI Servo for Canon, AF-C for Nikon and Sony) keeps focus locked on a moving subject. Always use this mode for sports—it’s built for tracking movement.
Tracking autofocus, such as 3D Tracking or Zone AF, helps the camera follow your subject across the frame. I recommend using a dynamic zone or a smaller group of focus points so your camera isn’t jumping to the wrong subject.
If you haven’t tried back-button focus yet, give it a shot. Separating focus from the shutter button gives you more control. I use this technique all the time to track players without accidentally firing off a shot too early.
Drive Mode: Why You Should Shoot in Bursts
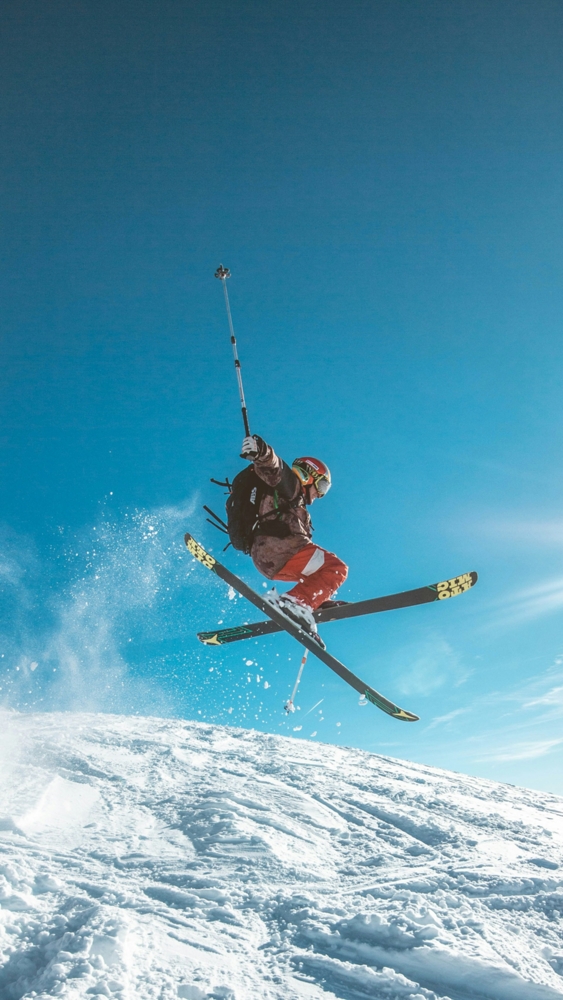
Photo by Matthieu Pétiard on Unsplash (license)
Sports move fast, and so should your camera. High-speed continuous shooting—or burst mode—gives you multiple frames per second to choose from. One of them is bound to be that perfect mid-air, mid-yell, or mid-slide moment.
Shooting in bursts increases your chances of capturing peak action, especially in unpredictable sports. Be prepared for a lot of files to sort through later. And make sure your memory card is fast enough to handle the buffer.
If you’re shooting RAW for editing flexibility, you may need to balance burst rate with buffer limits. In certain situations, switching to JPEG can help extend your burst, particularly during lengthy sequences.
Image Stabilization: When It Helps and When to Turn It Off
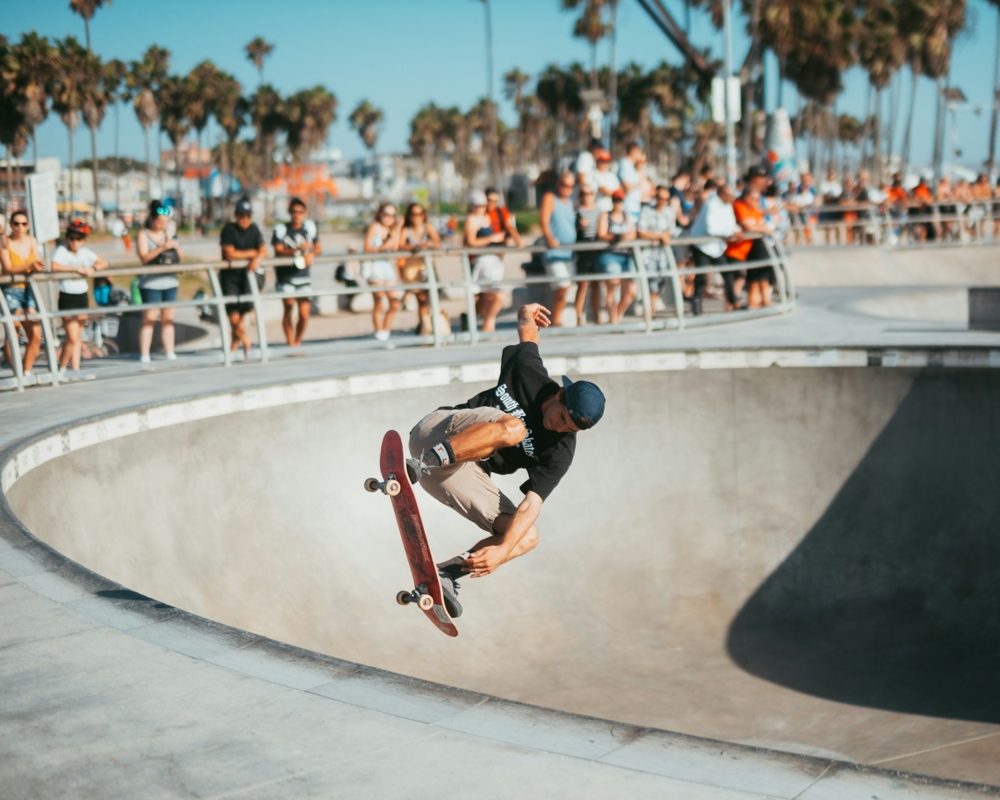
Photo by Taylor Smith on Unsplash (license)
Image stabilization (IS, VR, or IBIS depending on the brand) reduces camera shake. But at fast shutter speeds—like 1/1000 or more—it’s usually not needed. In fact, some photographers turn it off to avoid unintentional corrections that could introduce blur.
Stabilization shines when you’re shooting slower shutter speeds or doing panning shots. It can help keep the background steady while your subject blurs, creating a sense of motion.
When using a monopod or tripod, turn off image stabilization unless your camera specifically supports stabilization while mounted. Otherwise, you might get “drift” from the system trying to correct non-existent movement.
Sport-Specific Setting Examples
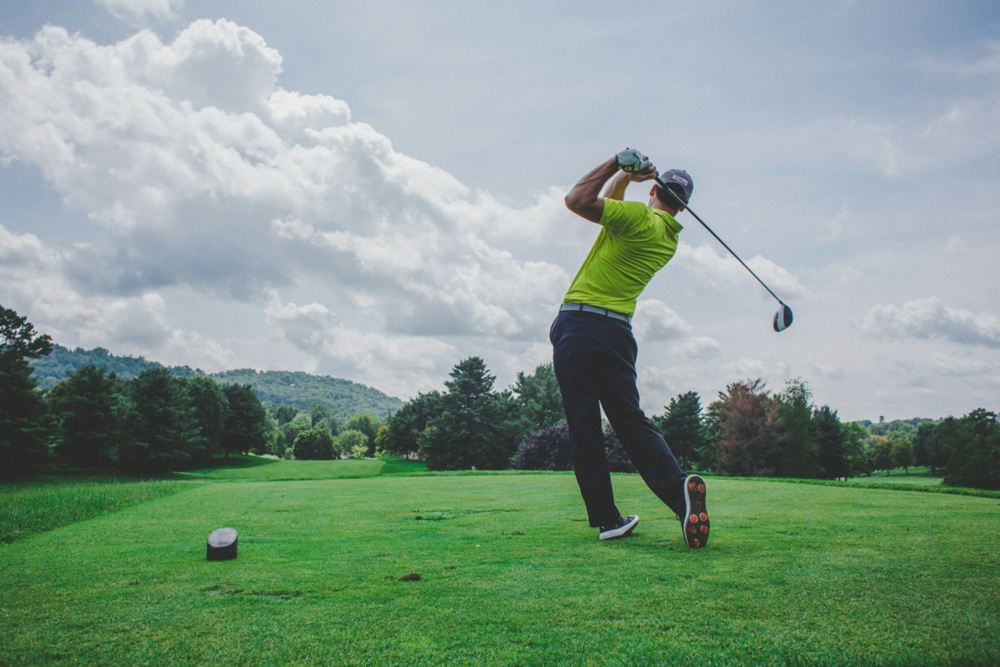
Photo by Courtney Cook on Unsplash (license)
Let’s break down the best camera settings for sports with a few real-world scenarios:
- Football (Daylight): 1/1600 sec, f/4, ISO 400, AF-C, high-speed burst
- Basketball (Indoor): 1/1000 sec, f/2.8, ISO 3200, AF-C, zone tracking
- Baseball (Night Game): 1/2000 sec, f/2.8, ISO 6400, AF-C, 3D tracking
- Track & Field (Overcast): 1/1600 sec, f/4, ISO 800, AF-C, single-point focus
Every situation is different, but these examples give you a strong foundation. Use them as starting points and tweak as needed based on available light and how fast the action is moving.
Pro Tips for Getting the Shot
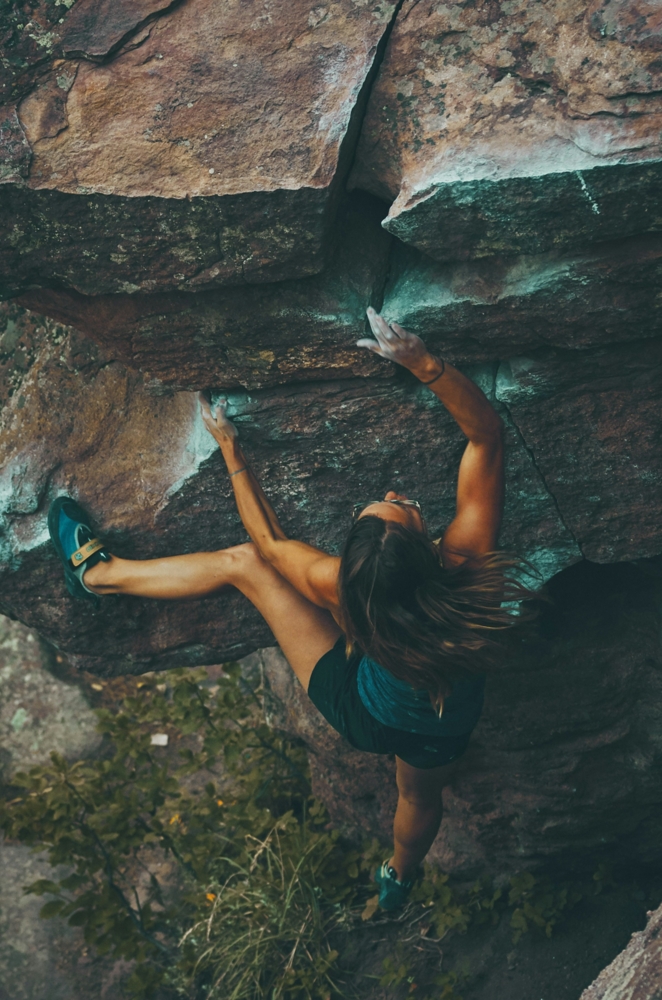
Photo by x ) on Unsplash (license)
The best camera settings for sports can only take you so far—you also need good instincts. Anticipate the action. Know the sport. Watch the play develop and be ready to track your subject before the peak moment arrives.
I always recommend keeping both eyes open. One eye watches through the viewfinder while the other scans the field for where the play is headed. It helps you stay one step ahead.
Pre-focus can be a game changer, especially in sports like tennis or hurdles, where the action hits predictable spots. Focus on the zone, wait, and fire when the subject enters it. It’s a great way to stay sharp, even with wide apertures.
Final Thoughts
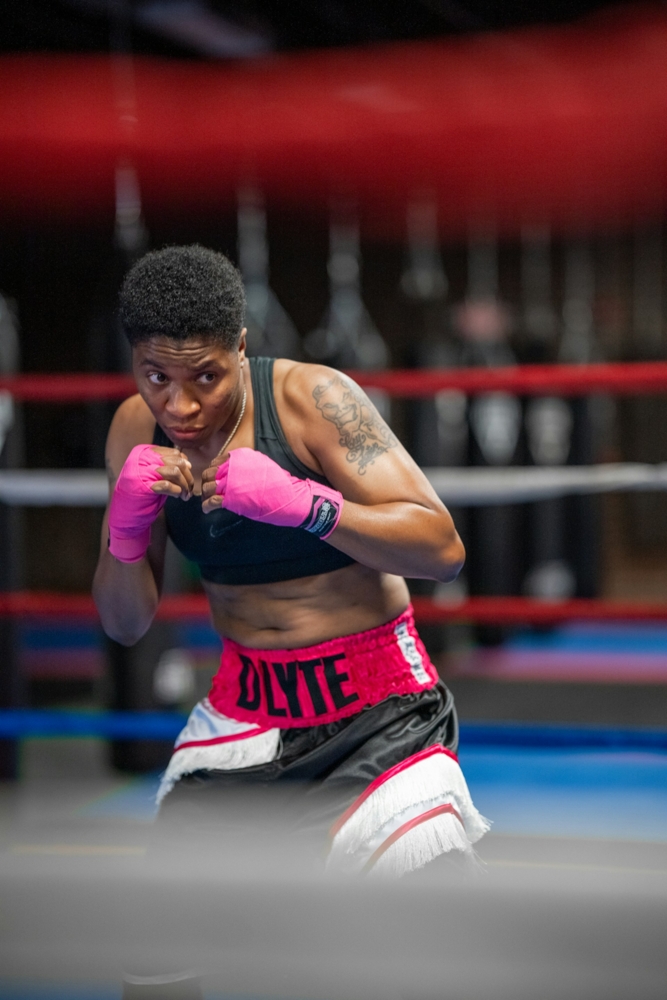
Photo by Zachary Kadolph on Unsplash (license)
Learning the best camera settings for sports doesn’t happen overnight, but once you master the fundamentals, the game slows down—figuratively, at least. You’ll be better prepared to capture those jaw-dropping, high-impact moments.
Start with fast shutter speeds, open up your aperture, and don’t be afraid of higher ISO. Practice tracking subjects, using burst mode, and refining your composition. The more you shoot, the more second nature these decisions become.
Now get out there and shoot like you mean it. The action won’t wait!
FAQ
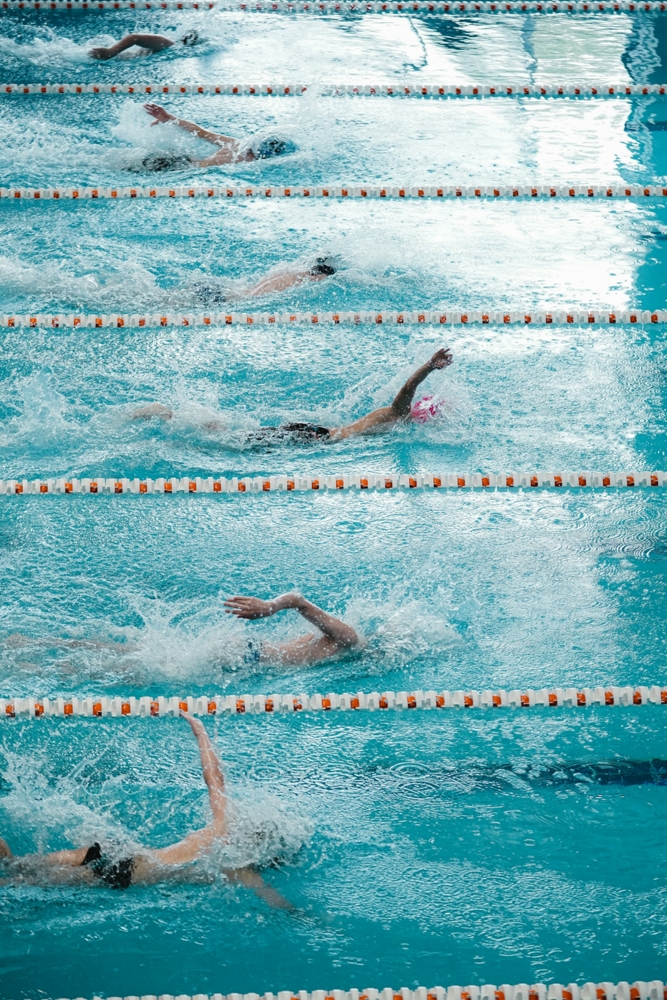
Photo by Maksym Tymchyk 🇺🇦 on Unsplash (license)
What is the best shutter speed for sports photography?
Generally, 1/1000 sec or faster. Faster sports like baseball or football may require 1/2000 sec or more to freeze motion.
What ISO should I use for sports photography?
ISO 100–400 in daylight, ISO 800–1600 in overcast conditions, and ISO 3200+ for indoor or night games.
Should I shoot in JPEG or RAW for sports?
RAW offers more editing flexibility, but JPEG allows longer bursts and faster file handling. Choose based on your priorities and camera’s buffer capacity.
Which autofocus mode is best for sports?
Use continuous autofocus (AF-C/AI Servo) with zone or tracking modes for the best results when following moving subjects.
Is image stabilization necessary for sports?
Not usually, since you’ll be using fast shutter speeds. Turn it off for most action shots, but consider using it for panning or slower shutter experiments.
Heads up: Clicking on our affiliate links and exploring our sponsored content helps us at no extra cost to you, and we only recommend gear we’re absolutely crazy about!
Learn More:
- Mastering Action Shots: Tips for Freezing Motion in Sports Photography
- How to Anticipate the Action in Sports Photography
Hero photo by Jannes Glas on Unsplash (license)