
Every photographer, whether beginner or seasoned, knows the frustration of a blurry shot. You may have the perfect composition, the right lighting, and a beautiful subject—but if the camera isn’t held properly, those efforts can vanish in a fraction of a second. Learning how to hold a camera correctly is one of the simplest yet most transformative steps you can take to improve your photography.
Many people overlook this fundamental skill, thinking stabilization comes from expensive gear or high shutter speeds. While those tools help, nothing replaces a steady hand, proper stance, and mindful grip. By mastering how to hold a camera, you gain more control over your shots, reduce the risk of camera shake, and enjoy longer, more comfortable shooting sessions.
So, with that, I’ll walk you through everything from the basic two-handed grip to advanced stabilization techniques, special considerations for different lenses, and exercises to develop muscle memory. No matter if you’re capturing landscapes, portraits, or action shots, these strategies will ensure you get the sharpest images possible. By the end, holding your camera will feel intuitive, almost second nature.
Table of Contents
- Understanding Camera Anatomy and Grip Points
- The Basic Two-Handed Grip
- Advanced Stabilization Techniques
- Special Cases: Lenses, Angles, and Movement
- Common Mistakes and How to Avoid Them
- Exercises to Improve Camera Handling
- A Foundational Skill
- FAQ
Understanding Camera Anatomy and Grip Points
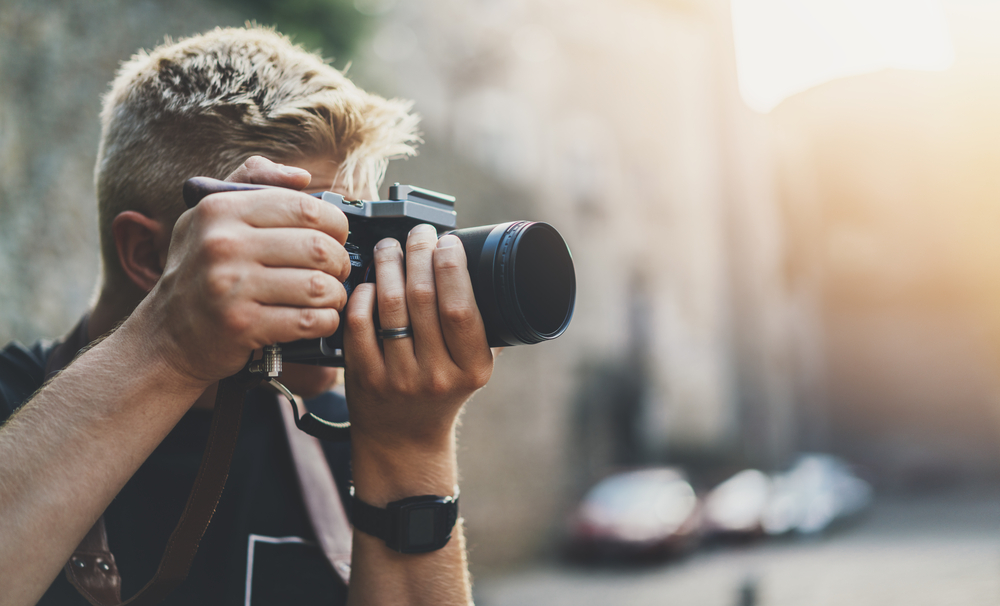
Photo by ImYanis via Shutterstock
Before you can master how to hold a camera, it’s important to understand the parts of the camera that interact with your hands. Each camera has key grip points designed to help you maintain stability while accessing essential controls.
The right hand is generally responsible for holding the main grip, operating the shutter button, and adjusting key dials. Your left hand, meanwhile, supports the lens and helps manage focus or zoom controls. The interplay between both hands is crucial for stability, especially with larger, heavier DSLRs or telephoto lenses.
Camera accessories also play a significant role. Straps, hand grips, and battery grips can enhance your ability to hold the camera securely. Lens hoods not only prevent flare but also offer an additional surface for supporting your left hand. Understanding these points is the first step toward consistent, stable shots.
The Basic Two-Handed Grip
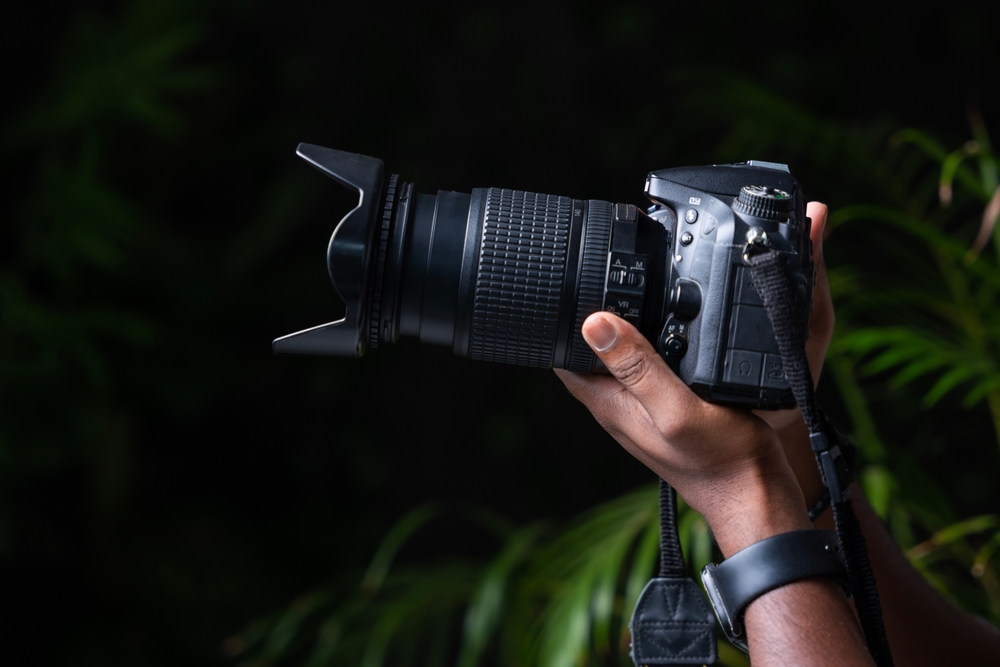
Photo by Sarath maroli via Shutterstock
One of the most effective ways to hold a camera is with a two-handed grip. Start with your right hand around the camera’s main grip. Place your index finger lightly on the shutter button, and let your thumb rest comfortably on the rear control dial. This allows you to control exposure and settings without moving your hand excessively.
Your left hand should support the lens from underneath. If you’re using a larger zoom or telephoto lens, position your palm under the lens barrel and use your fingers to stabilize it. The weight distribution between both hands reduces fatigue and helps prevent shake, even during extended shooting sessions.
Body posture also contributes to stability. Keep your elbows tucked close to your torso, feet shoulder-width apart, and knees slightly bent. This stance gives you a solid foundation while remaining flexible enough to adjust angles quickly. Combined with the two-handed grip, these posture tips form the cornerstone of learning how to hold a camera correctly.
Advanced Stabilization Techniques
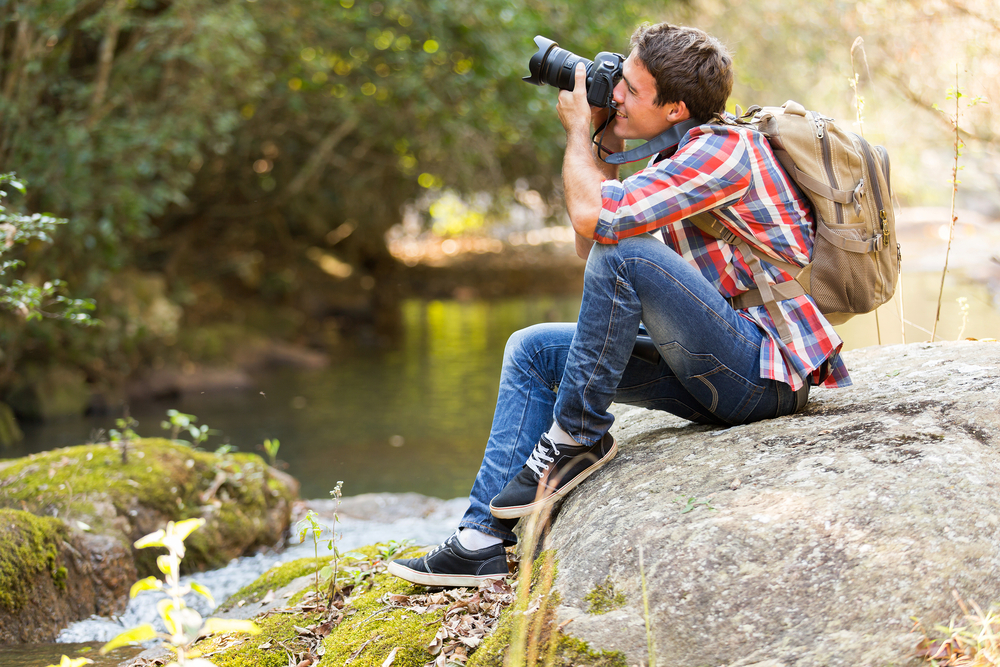
Photo by michaeljung via Shutterstock
Once you’ve mastered the basic grip, there are additional techniques to further minimize camera shake. One simple method is bracing your body against solid objects like walls, railings, or tree trunks. Resting your elbow on your knee while sitting down also works well. This extra support can dramatically improve sharpness in low-light conditions or when using longer lenses.
Breath control is another often-overlooked technique. Exhaling slowly as you press the shutter reduces subtle movements from body motion. Pairing breath control with a stable stance creates a surprisingly effective method for sharper handheld shots without resorting to tripods.
For situations where handheld stability isn’t enough, consider tools like tripods, monopods, or handheld stabilizers. Each offers varying degrees of support, and learning when to use them versus relying on your hands alone is an essential skill for photographers looking to elevate their work.
Special Cases: Lenses, Angles, and Movement
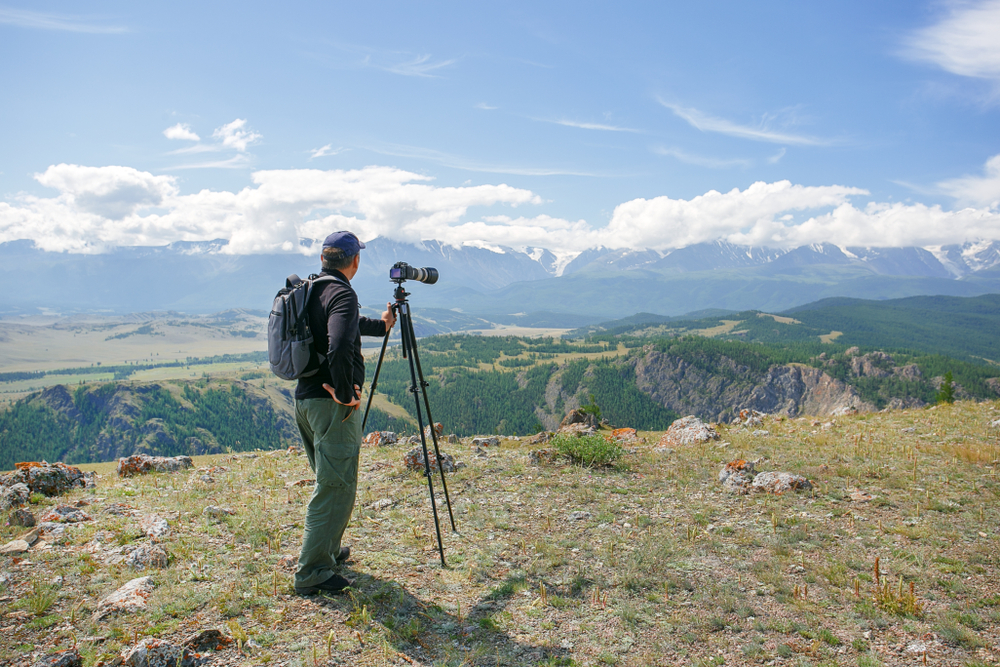
Photo by CHUYKO SERGEY via Shutterstock
Different lenses and shooting scenarios require adjustments to how you hold a camera. Long telephoto lenses, for instance, demand extra support from your left hand and sometimes a tripod or monopod for extended shoots. Even a slight shift in grip can prevent blurry results and reduce strain.
Low or high-angle shots also challenge stability. Crouching, kneeling, or lifting the camera overhead requires conscious attention to your stance and grip. Using your body to support the camera in unconventional positions ensures consistent results without sacrificing safety or comfort.
Action photography adds another layer of complexity. Panning with moving subjects or capturing fast motion relies on fluidity and controlled movement. Understanding how to hold a camera while anticipating subject motion improves your chances of freezing the moment sharply and creatively.
Shooting in low light amplifies the importance of a proper grip. Combine steady holding techniques with higher ISO settings or image stabilization features to achieve crisp photos when lighting conditions are less than ideal.
Common Mistakes and How to Avoid Them
Photo by jaboo2foto via Shutterstock
Even experienced photographers can fall into bad habits. Extending your arms too far from your body, relying on one hand for long periods, or neglecting to secure the camera strap are common mistakes that compromise stability.
Another trap is over-relying on post-processing to fix camera shake. While software can help, nothing replaces proper technique. Awareness is key. Regularly check your grip and posture, especially during long shoots.
Simple adjustments, such as keeping elbows tucked, using both hands consistently, and anchoring the camera to your body, can immediately improve stability. These small tweaks are easy to implement yet have a significant impact on your image quality.
Exercises to Improve Camera Handling

Photo by Rawpixel.com via Shutterstock
Building muscle memory for how to hold a camera takes practice. Start with a lightweight camera to get accustomed to the basic two-handed grip. Gradually introduce heavier lenses to challenge your stability and develop strength in your supporting muscles.
Daily exercises, even for just two or three minutes, can make a noticeable difference. Hold the camera in shooting position, breathe steadily, and simulate taking shots without actually pressing the shutter. This trains your body to remain steady over time.
Experiment with different grips and compare the sharpness of your images, too. Incorporate breathing and stance drills to reinforce stability. Over time, these exercises will make proper handling feel instinctive, allowing you to focus on creativity rather than worrying about shake.
A Foundational Skill
Photo by kapinon.stuio via Shutterstock
Mastering how to hold a camera correctly is a foundational skill that can dramatically improve your photography. From understanding grip points to adopting a solid stance and practicing stabilization techniques, every element contributes to sharper, more professional-looking images.
Consistent practice develops muscle memory, making proper handling second nature. The techniques covered here are versatile, applicable to a variety of cameras, lenses, and shooting scenarios. With patience and awareness, holding your camera correctly will enhance your ability to capture stunning images consistently.
Remember, great photography doesn’t start with expensive gear. It starts with control, stability, and mindful handling. Take the time to refine how you hold a camera, and you’ll see the difference in every shot you take.
FAQ
Photo by Ollyy via Shutterstock
Why is learning how to hold a camera correctly important?
Proper handling reduces camera shake, prevents fatigue, and allows for sharper images. It also improves comfort during long shoots and increases control over your camera settings.
Can I hold a camera with one hand?
While possible for quick snapshots, one-handed shooting is less stable and can lead to blurry images, especially with larger cameras or longer lenses. A two-handed grip is recommended for most situations.
Does lens size affect how I hold a camera?
Yes. Larger lenses require additional support from your left hand and sometimes benefit from a tripod or monopod. Always balance the weight between both hands for stability.
Are camera straps necessary for stability?
Camera straps primarily prevent accidental drops, but they can also offer extra support. Wrapping a strap around your wrist or neck can help reduce fatigue during long sessions.
How can I improve my camera grip if I feel shaky?
Practice proper stance, use both hands, brace against solid objects, control your breathing, and consider stabilization tools like tripods or monopods. Exercises to build muscle memory can also help over time.
Hero Photo by Ollyy via Shutterstock
Dropbox URL Shortener
[…]Here are a few of the web-sites we suggest for our visitors[…]