Day 16 Lesson: Photograph Something in Low Light
When people hear the term low light in photography, they naturally think of night photography. However, low light photography is about much more than that – snapping an image indoors without much ambient light or taking a photo in a darkened forest are both prime examples.
For today’s challenge, your assignment is to photograph something in low light. We’ve assembled a few tips and techniques to get you started and have some stunning low light shots to show you what’s possible when the available light is at a premium.
Think About Different Low-Light Situations
Before we jump into the tips and techniques, let’s think for a moment about potential subject matter for this challenge.
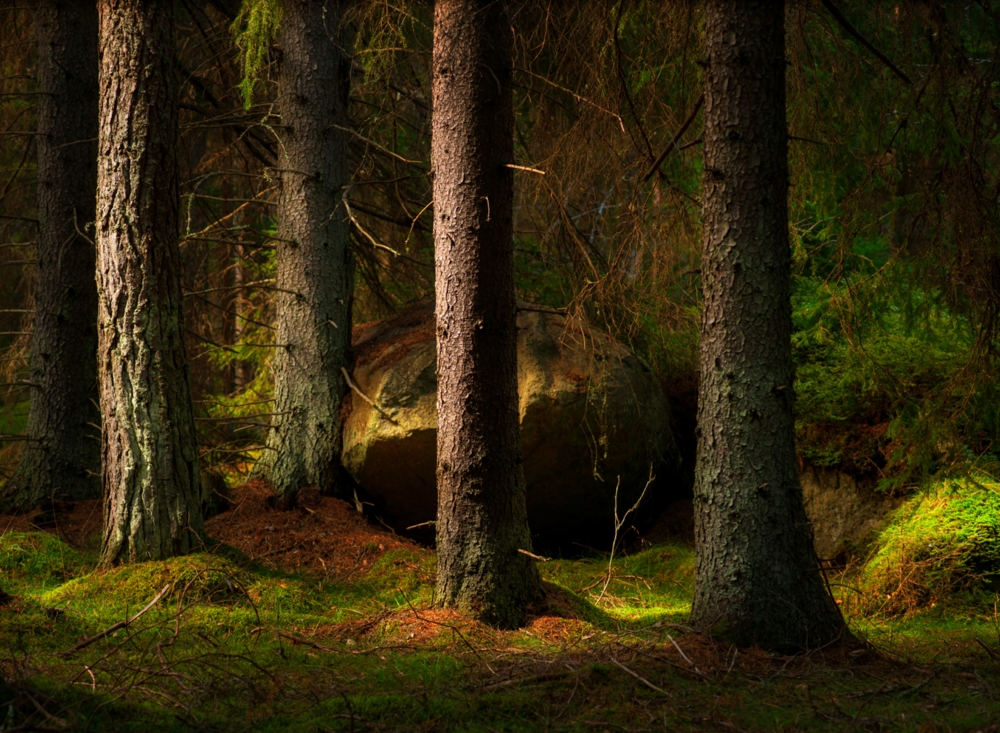
Low-light situations can be found anywhere. You can take images outside at night, or during the daytime inside in a room that has little natural light. Certain landscapes, such as thick forests, deep canyons, or caves have little light, even during midday. Even taking a picture of something that’s in deep shadow during the bright afternoon hours can even be considered a low-light situation.
The point is, the challenge to capture an image in low light doesn’t mean you need to learn astrophotography and capture an image of the Milky Way in the dead of night. There are other options out there that require far less time!

So, now that you’ve got some ideas for the images you’d like to take, let’s explore how you can make those images happen.
Use Single-Point AF When Photographing People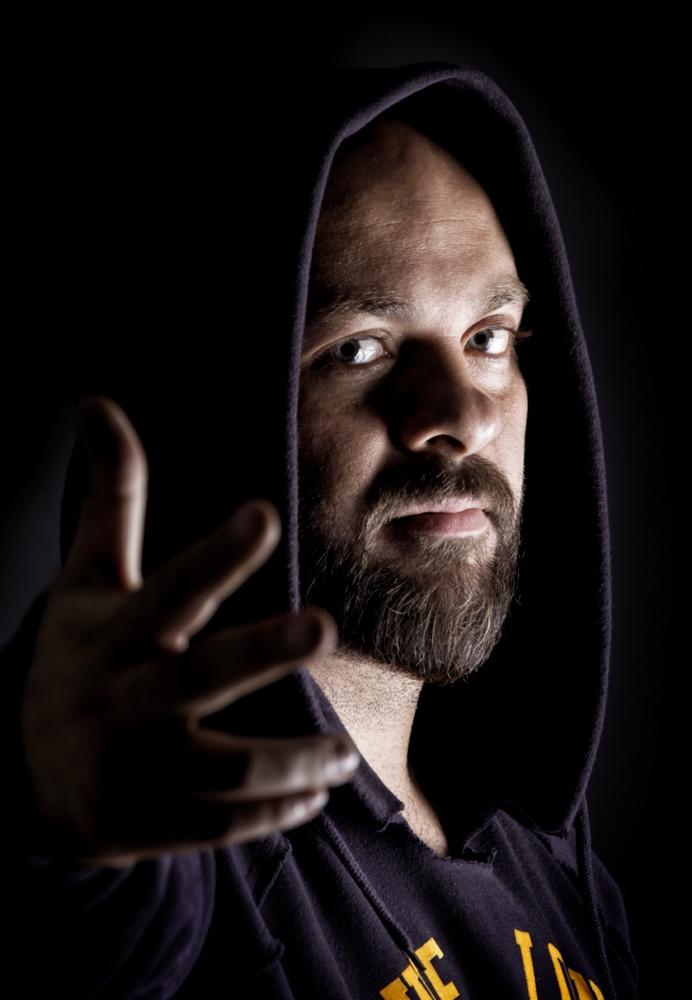 Getting pin-sharp images when shooting in low light conditions can be a little on the difficult side. To help get those sharp shots, use a single-point AF to give you more control over where your camera focuses. Using a single-point AF helped the photographer of the image above ensure the model’s face, and not his hand, was in focus.
Slow Down Your Shutter Speed
The slower your shutter speed, the more light is able to enter your lens and reach your camera’s sensor. Clearly, this gives you the capability to shoot in situations in which there isn’t much light.
However, a slower shutter speed means that your camera must remain absolutely still for a longer period of time. If you’ve got shaky hands, or if you will need a shutter speed slower than about 1/60th of a second, make sure you have a tripod handy. As we’ve already discussed, it’s hard to get well-focused low-light shots. You don’t need to make things even more difficult by introducing camera shake to the equation!
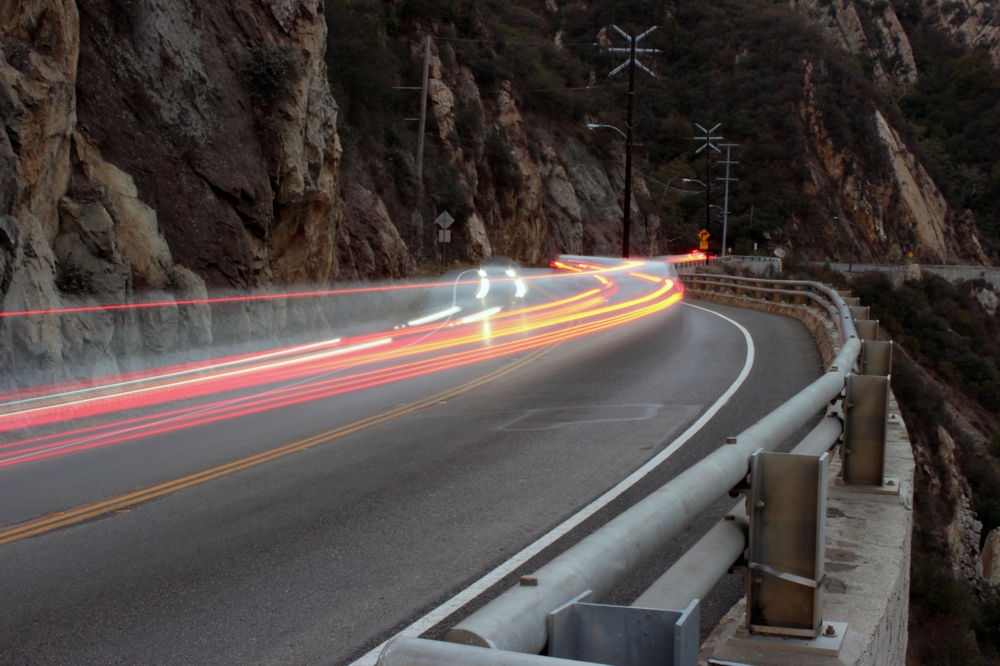 Remember as well that the slower the shutter speed, the less you will be able to freeze movement. If you’re photographing a scene like the one above, you can get really nice light trails from cars passing by. If you’re photographing a scene and you want to be able to freeze movement, you will need to shoot at a faster shutter speed. To compensate, you will have to increase ISO and widen the aperture, if possible.
Change the ISO
How sensitive your camera’s sensor is to available light is controlled by ISO. ISO on most cameras goes as low as 100 or 200, with a higher end usually in the 1600 range. As the ISO decreases, the less sensitive your camera’s sensor is to light. As a result, low ISOs are best suited for well-lit situations while high ISOs are necessary for shooting in low light.
 The problem that you will run into shooting in a low-light situation at a high ISO is the introduction of noise into your images. Noise is essentially the equivalent of grain in film photography, and is visible in the image above. And while it can be used in an artistic manner, most often, noise is not something you want to be introduced into your image. As a result, you will have to find the right balance between shutter speed, ISO, and aperture to ensure you don’t get too much noise in the shot. There are many editing programs that have noise-reduction algorithms, however, so if you are forced to use a high ISO, you may be able to minimize the effects of noise in post-processing.
Open Up the Aperture
In low-light situations, you’ll need to open up the aperture to let in as much light as possible. This is done by dialing down the aperture number because the smaller the number, the wider the aperture. If you’ve got a standard kit lens, this might be difficult as they typically don’t have a wide enough aperture to get good low-light results. However, slowing down the shutter speed and boosting the ISO will overcome this, to a point. Get your aperture as wide as possible and experiment with shutter speed and ISO to determine the best settings for getting low-light shots.
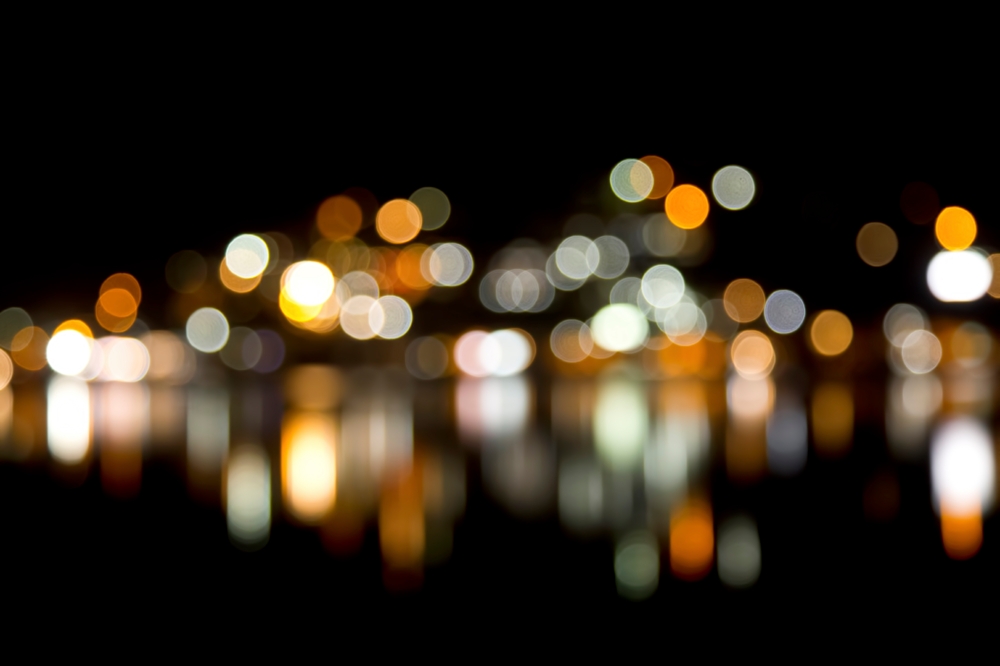 Something to remember, however, is that when you’ve got a wide aperture, the depth of field is diminished. This is great for creating a bokeh effect, like the one pictured above. But if you need the entire scene in focus, adjustments will need to be made to ISO and shutter speed to help you get a larger depth of field.
Move Closer to a Light Source
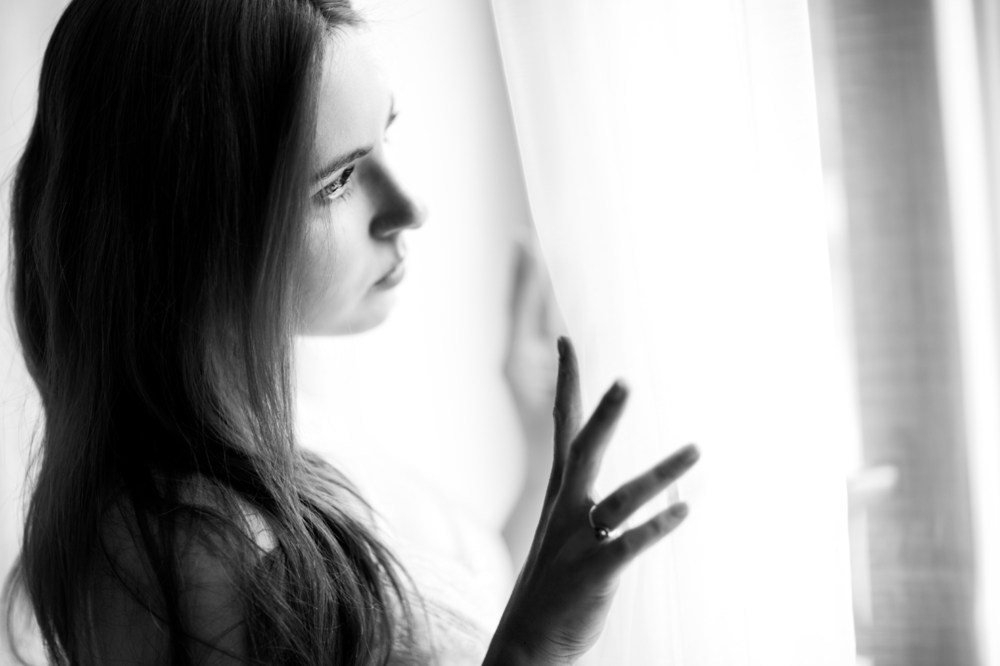
Probably the simplest method for shooting a low-light scene is to move your camera closer to any available light sources. If you’re taking a portrait in a dimly lit room, for example, move closer to a window so your camera has more light to work with, as was done in the image above. This will allow you to use a faster shutter speed and lower ISO and avoid both camera shake and noise.
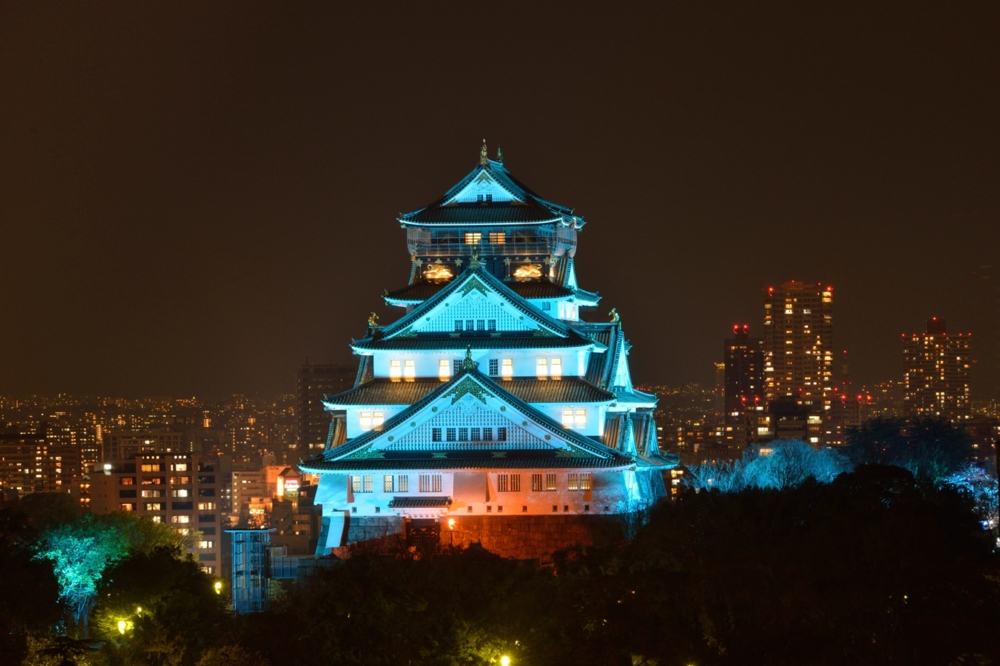
If you’re outside, use any artificial light sources to your advantage. In the image above, the photographer placed themselves under a street lamp to get as much illumination in the foreground as possible. Combined with the lights on the building in the background, they had enough light to shoot at a narrower aperture, thus resulting in an image that is sharp from foreground to background.
Practice and Participate!
Shooting in low light is a more complex challenge than many of the other assignments in our 30-Day Challenge. However, if you utilize the techniques we’ve discussed here, including manipulating shutter speed, ISO, and aperture, using a single-point AF, and moving closer to available light sources, you should be able to generate some interesting low-light shots.
So, arm yourself with your camera and other gear and go out and practice your low-light photography. Shoot as many photos as you can so you get a better feel for the camera settings required to shoot in low light. And, as always, select your best image and upload it to the forum for today’s challenge to get involved with the other photographers that have participated.