Day 22 Lesson: Nighttime Long Exposures
Do you see those ethereal nighttime long exposure shots with stunning star trails or light trails, and wonder how you can capture similar images?
Today’s challenge is just that – to venture out at night and capture some nice long exposure shots. We’ve compiled some awesome nighttime long exposure photos to get your creative gears turning, and have compiled three simple, straightforward tips to help you take action and get those stunning shots you’ve always wanted. Let’s dive in!
Capturing Star Trails
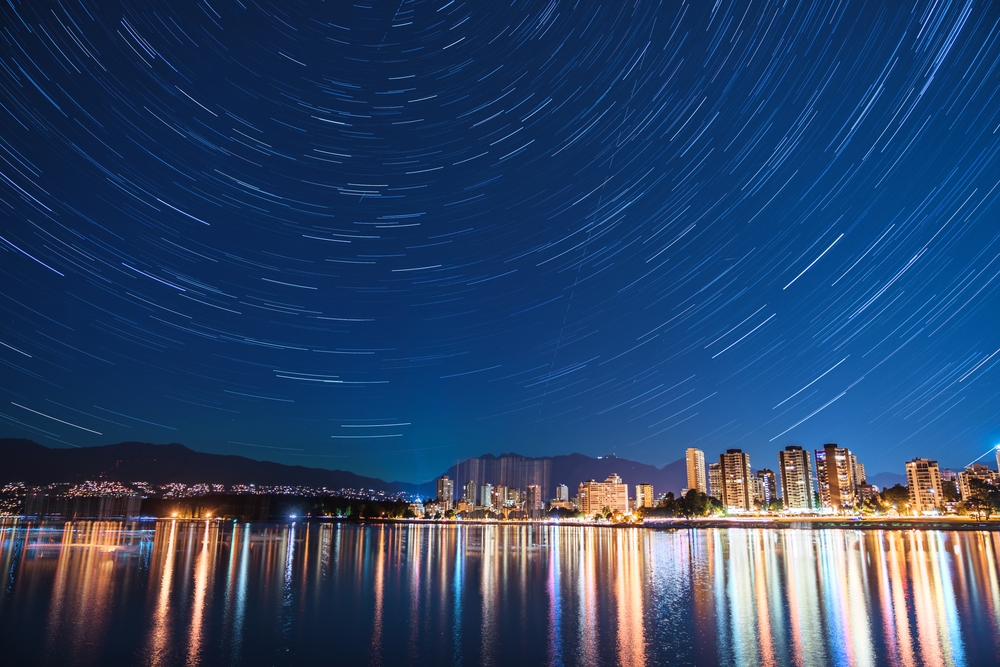
Images like the one above take your breath away. But what most beginning photographers don’t realize is that it’s relatively simple to get a shot just like the one above!
You will need a tripod and a remote shutter release to capture star trails because the exposure time is usually quite long. Camera shake is any image’s enemy, but when you’re trying to capture the movement of stars in the night sky, camera shake is particularly detrimental. The best remote release for nighttime long exposures is one that is lockable, or one that has a built-in timer so you can get extremely long exposures without having to manually hold the trigger down the entire time.
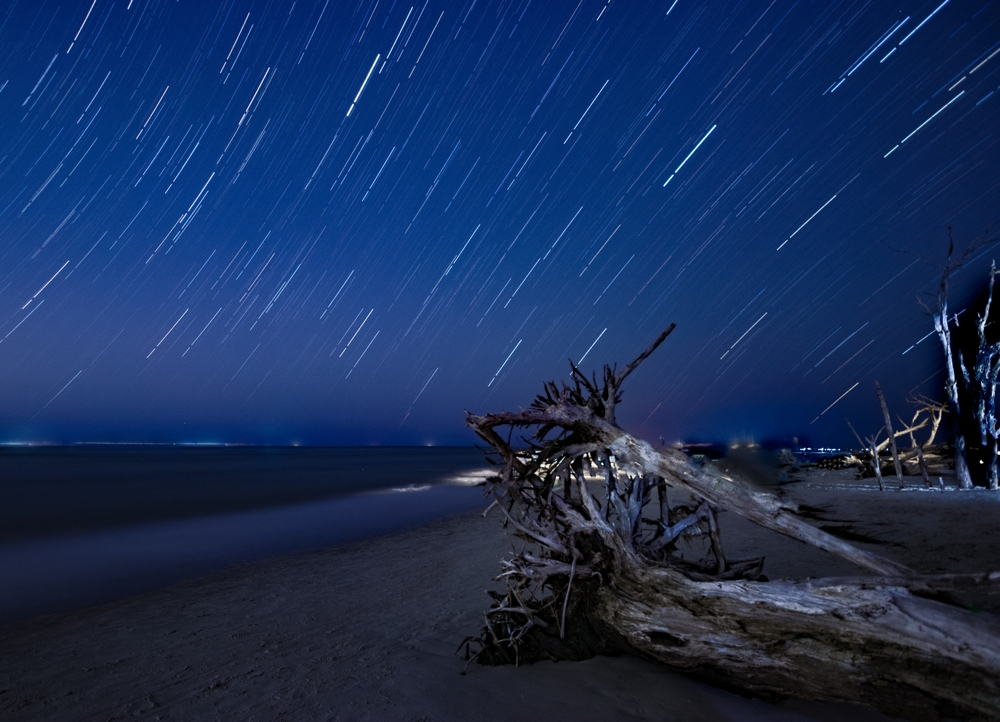
To begin, frame the shot such that there is some kind of element of interest in the foreground. A building, an interesting tree, or rock formations are popular choices. Focus your lens to infinity and set the camera to bulb mode, which means the shutter will stay open until you release it via a remote trigger. For the best results, a wide aperture, such as f/2.8-f/4, and a low ISO, say, 100, should be used. A wide aperture will collect as much light as possible while a low ISO will ensure you avoid digital noise in the shot.
Getting awesome light trails will take some practice and a whole lot of patience. Exposures may need to be anywhere from several minutes to several hours long, so get comfortable and wait for the magic to happen!
Creating Light Trails

Like star trails, light trails give an image an otherworldly look that is quite visually engaging. And, like star trails, getting shots of light trails is much less complicated than one might think.
Again, you will need a tripod and a remote shutter release to avoid camera shake. Frame the shot such that you have a wide view of the area you’re photographing. An overpass over a busy freeway is an excellent vantage point. There will be some trial-and-error with light trail photography, as you will need to take images at varying shutter speeds to see the kinds of trails you get.
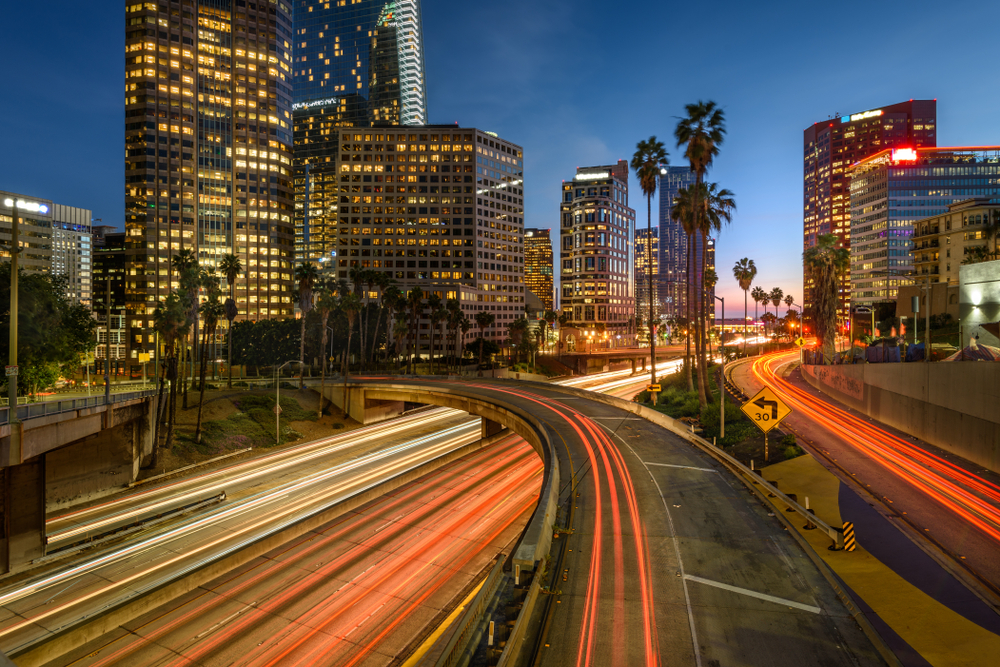
Put your camera in shutter priority mode so you have control over shutter speed while your camera retains control over the aperture to get the correct exposure. Begin with a shutter speed of 1 second and examine how the light trails look. If the trails are too short, slow the shutter speed down step by step until you get the length of light trails you desire. Remember, the longer the shutter is open, the longer the light trails and the more light trails you will have in the image.
Blur the Waters
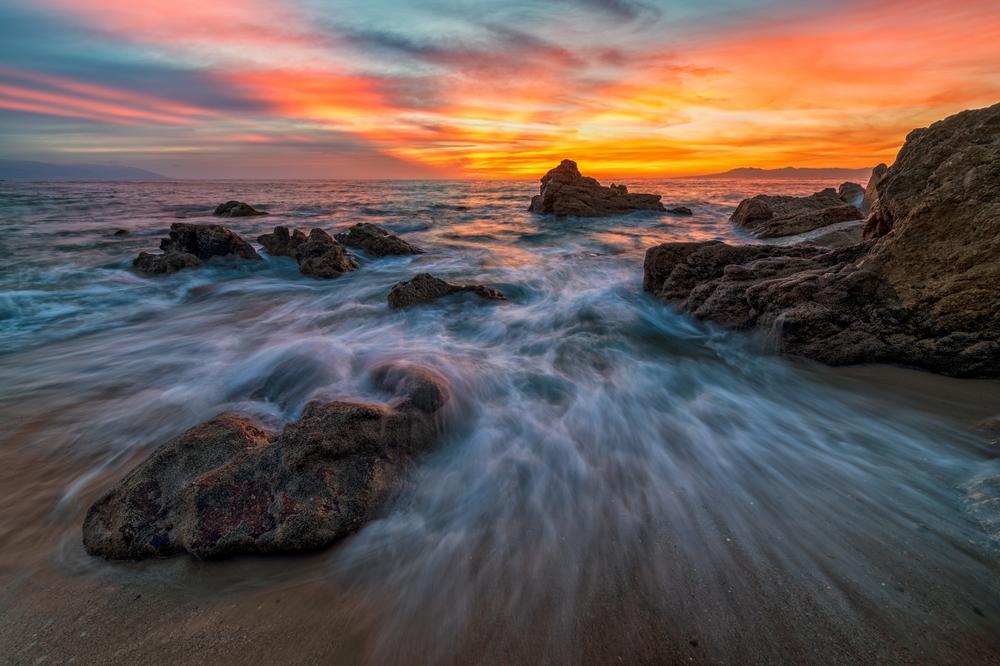
Another prime subject for nighttime long exposures is a body of water. These shots can be especially dramatic at sunset, so you not only get the misty water effect that looks so great, but you also get a dramatic, color-filled sky to go along with it.
Set your camera up on a tripod and have your remote trigger ready to go. If you have a wide-angle lens, use it so you can capture as much of the scene as possible. Adjust your aperture to a small value so that you have a scene that’s in focus from foreground to background. Focus the lens to infinity and place the camera in bulb mode.
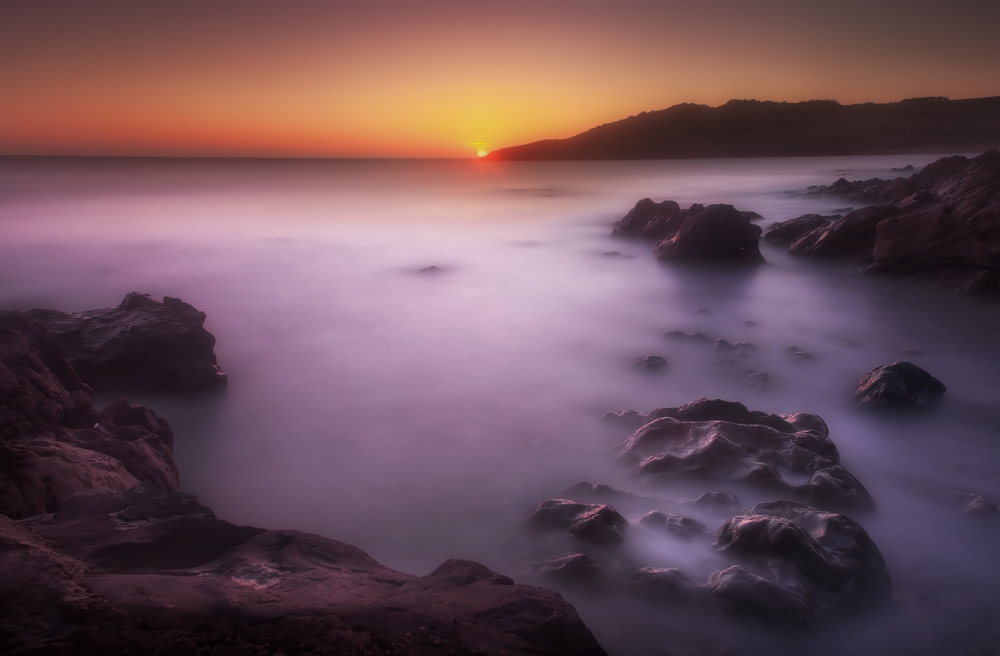
The shutter speed you use will depend on the level of blur you want in the movement of the water. For less of a misty effect, try a shutter speed in the 5-second range. For a more pronounced effect, like the one shown in the image above, extend the time the shutter is open step by step until the desired level of mistiness is achieved. Bear in mind that you may need 20-30 seconds to get the effect seen above.
Practice and Participate!
The key to nighttime long exposure photography is to find the right shutter speed that gets you the desired motion effect without negatively impacting the exposure. Just like with daytime photos, you want to capture both shadows and highlights such that they look pleasing and add to, not detract from, the image.
Having a tripod and remote shutter release are absolutely necessary to get good nighttime long exposures. You may need to spend some time practicing with various nighttime subjects so you can get a feel for the most appropriate camera settings for star trails, light trails, and the movement of water.
Now that you’re armed with some quick and easy techniques for capturing nighttime long exposures, it’s your turn to show us what you can do! Get your gear, snap some images, process them, and then select one to share in the forum thread for today’s challenge.