A New Kind of Landscape Photography: The Photography Trek
- Over the course of this series, I’ll focus on the following:
- Actionable steps for taking a bike-based photography adventure.
- Highlighting the ability to enjoy nature and one’s surroundings while getting valuable exercise.
- Exploring the benefits to the environment of using your bike (rather than your car) for photography adventures.
- Bike safety recommendations and how to safely carry photography gear.
- Feature photography gear that’s especially attuned to the mountain biking experience, such as weather-sealed camera bodies, action cams like GoPros, and drones for epic cinematic footage of your bike treks.
- Landscape photography tips for mountain bikers.
- Mountain bike buyer’s guide.
- The bike needed to provide a comfortable riding experience without sacrificing durability.
- I wanted a bike with a carbon frame to save weight. This bike also happens to have carbon wheels!
- A top-end suspension that could soften the blows of riding rugged trails was a must.
- I wanted a bike that is extremely responsive, and the stiffness-to-weight ratio of this bike delivers.
- It had to be lightweight, yet durable to stand up to the rigors of outdoor adventures.
- I wanted a bag with a padded compartment for my photography gear.
- Side access panels were a must so I could quickly access my gear.
- Small form factor, which makes it easy to carry in my bag.
- Weather-sealed body for those rainy, snowy, muddy adventures.
- Fantastic ergonomics that make it a joy to use - the button layout is intuitive and the grip is nice and chunky.
- There are customization options galore - 14 custom control options for still photography and 12 for video.
- Superb autofocus system for tracking moving objects, like wildlife you might encounter on the trail.
- An absolutely incredible array of lenses.
- Weather sealing
- 5 stops of image stabilization
- Excellent sharpness throughout the focal range
- Wide-to-standard focal range
- Is lightweight, yet super strong thanks to its carbon fiber construction
- Has low-profile cam levers that don’t get stuck when trying to get the tripod out of your bag
- Holds up to 20 pounds of gear
- All components are weather-resistant
- Components are also impact resistant
- 48-megapixel Quad Bayer sensor, which captures beautiful colors and detail.
- Upgraded intelligent flight modes that makes creating cinematic videos a breeze.
- Some 8K video options, like in Hyperlapse mode, for ultra-high-quality video.
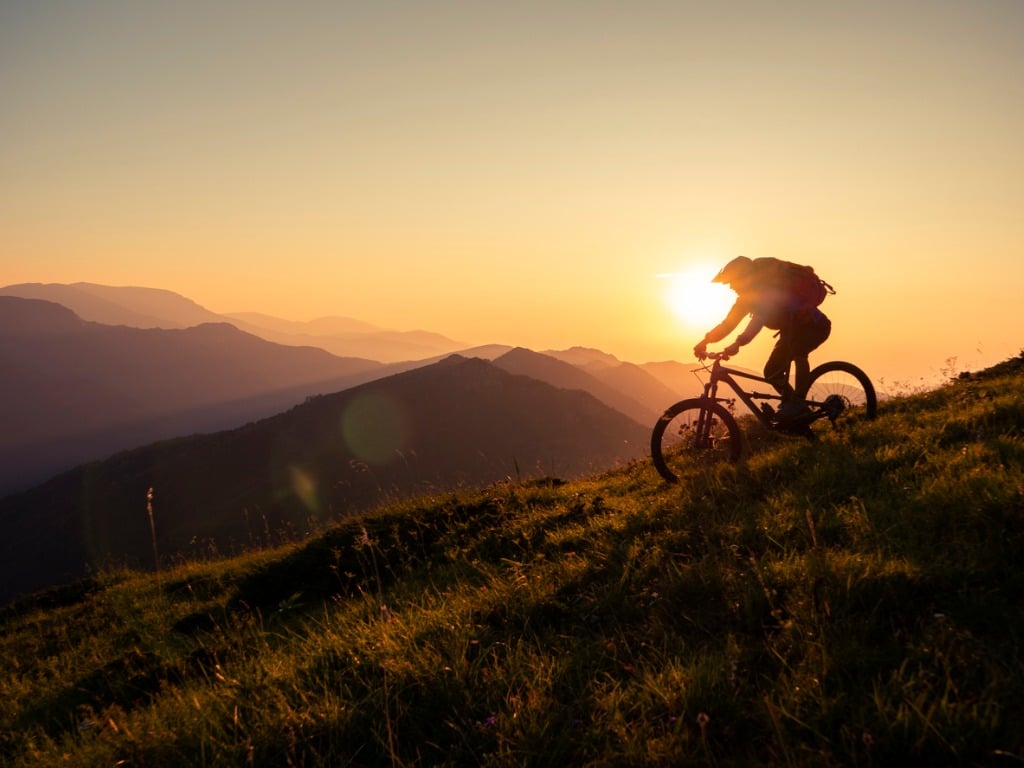
photo by ArtistGNDphotography via iStock
It’s no secret that we live in a vastly different world today than we did just a few months ago. The way we live, recreate, and take photos has changed - as has virtually every other aspect of our lives.
I’ve had a lot more time recently to think about life in general and more specifically, photography.
Those of you that follow my writings on PhotographyTalk know that my first love is landscape photography. You’ve come along with me on many journeys, from trips to Norway and Istanbul to my explorations here locally in Southern California.
Since I can’t very well hop on a plane and fly around the world, and because long car rides aren’t something I’m down with at the moment, I thought of a new way to get out and take landscape photos - a photography trek by bike.
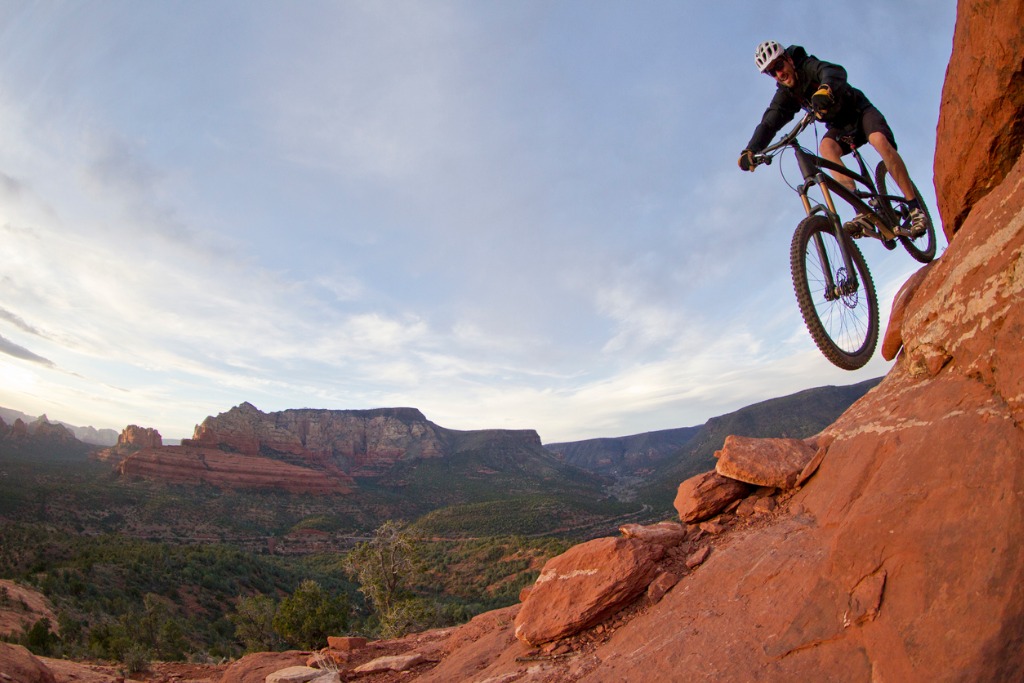
photo by GibsonPictures via iStock
With social distancing measures in place and gyms closed, I need a way to keep fit. But rather than viewing my forays into the great outdoors as just an opportunity for exercise, why not use my bike as my new vehicle for exploring the landscapes around me? It seems others are gearing up the same and #GoByBike.
Photography opportunities abound here - and they do where you live as well. It’s a simple matter of getting on your bike and heading out the door with your camera! We all need a break from the monotony of being indoors so much, and a little fresh air and sunshine never hurt anyone.
So, with all that in mind, I’ll be exploring this photography trek idea over the next few weeks. My goal is to provide you with all the tools you need for planning your own photography trek by bike, investing in the right gear, staying safe, and, of course, taking gorgeous shots.
Let’s get this party started!
Why Photography Trekking? Why Now?
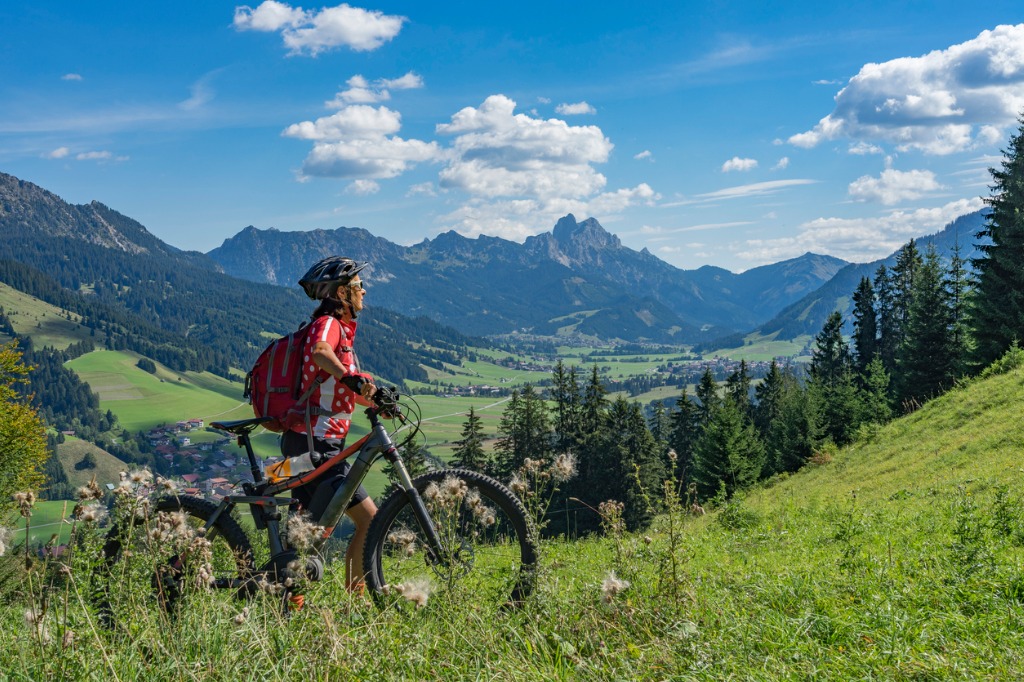
photo by Uwe Moser via iStock
Living in Southern California means that I get to deal with smog on a regular basis. But as we’ve all been driving less and staying home more, I’ve noticed a significant difference in the air quality where I live.
And it’s not just in the Los Angeles area, either - carbon emissions have drastically diminished around the world since the pandemic started.
I don’t know about you, but I prefer to breathe cleaner air. And in my mind, one of the keys to keeping the air cleaner is to ditch our cars and take to our bikes more frequently.
So, that’s the first reason why a photography trek by bike is such a great idea…
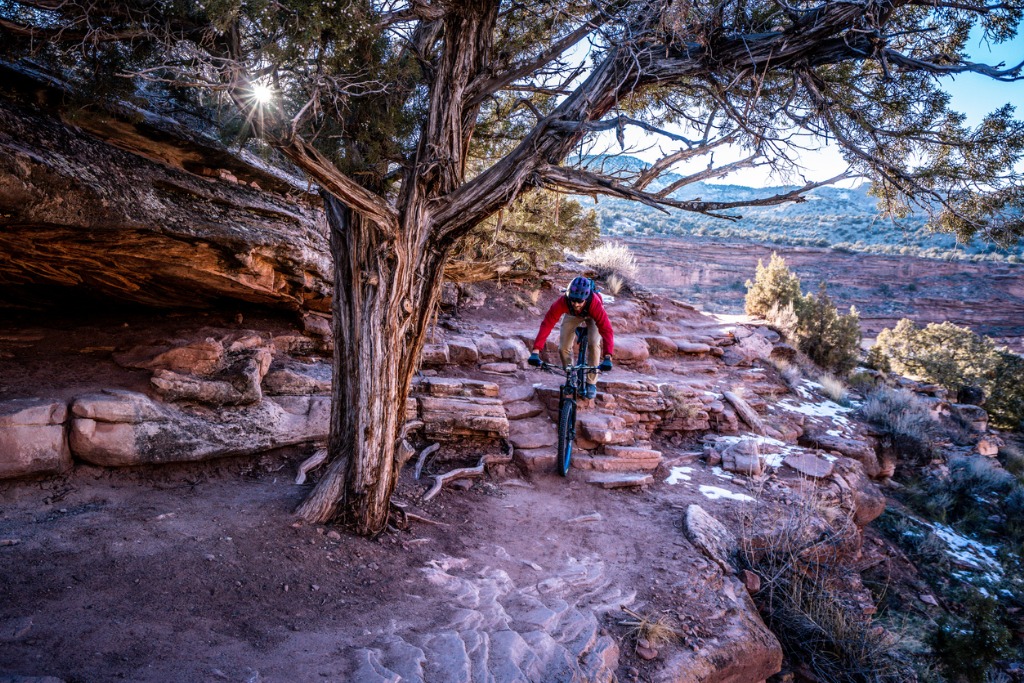
photo by Dave Grossman | Confluence Images via iStock
As I noted in the introduction, another reason for taking up a photography trek by bike is to get some quality exercise.
As states begin to lift their stay-at-home orders and people begin to interact with one another again, it’s important to maintain social distance. I, for one, will forgo the gym for a while in favor of biking because it’s much easier to maintain a safe distance from others. Besides, the sun on my back and wide-open vistas in front of me is a much better vibe than the smell of sweat at the gym!
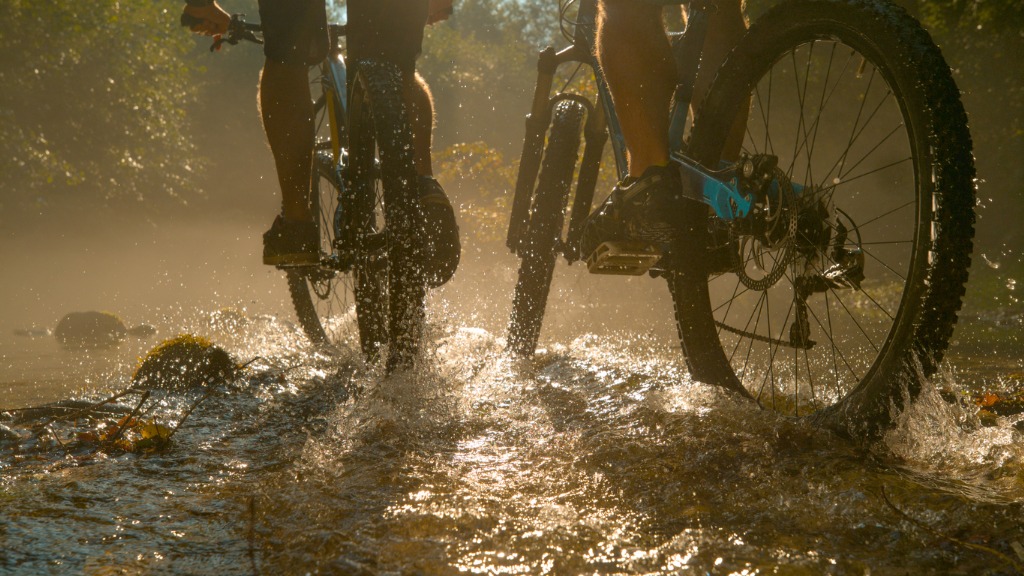
photo by helivideo via iStock
Besides, photography treks by bike are a much more economical way to explore the landscapes in your area.
When I hop in my car to head to the beach for a sunset shot, I’m on the road for a solid 30 minutes (or far longer, if traffic doesn’t cooperate). But I can hop on my bike and ride it right out of my garage and find beautiful things to photograph within a few minutes. So not only am I helping spare the environment a few carbon emissions, but I’m also keeping more money in my pocket by not needing to buy gas as much. It’s a win-win!
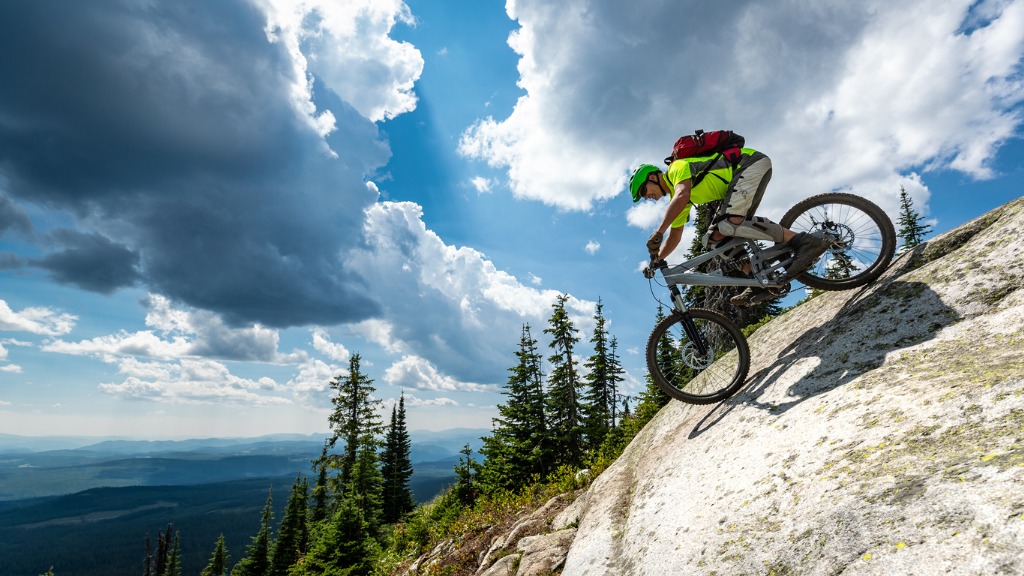
photo by ZargonDesign via iStock
Those are the broad strokes of why I’m all about photography trekking by bike. And over the next several weeks, I’ll share 11 more articles on this topic with the goal of helping you realize your photography trek goals right alongside me.
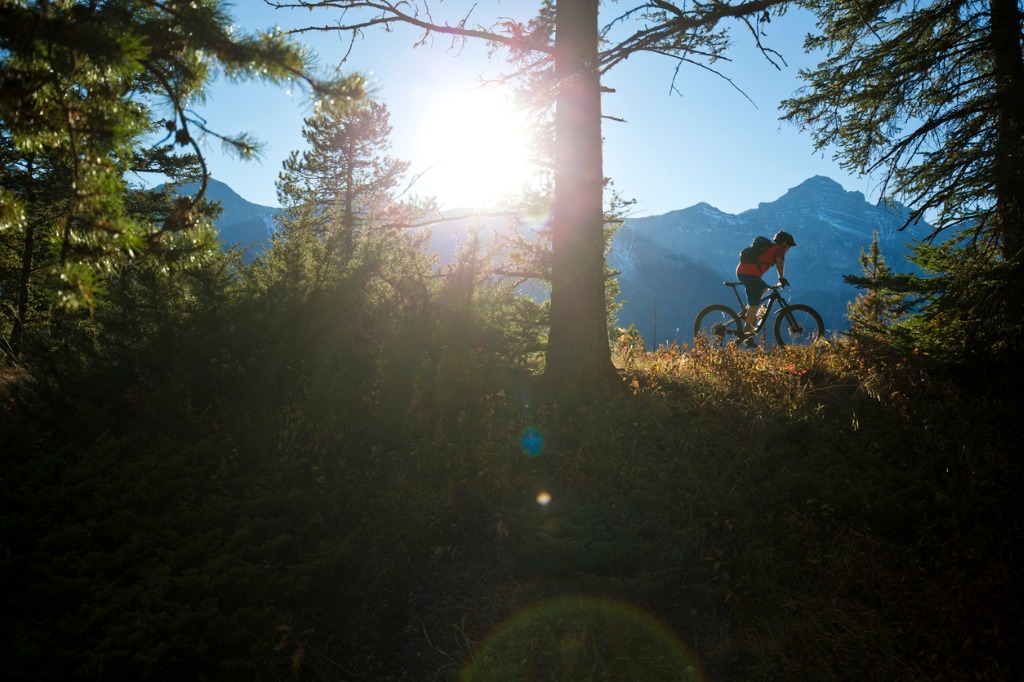
photo by GibsonPictures via iStock
For now, though, I’d like to give you an overview of the gear I have. I’m listing this gear purely for reference - this is what I’ve collected over the years that really works for me for photography treks by bike.
Use my list of gear as a reference point - you have to have the right tools (for biking and photography) to get the job done. What works for me may or may not work for you. But either way, you’ll have some detailed information to help you determine what gear is right for you.
So, without further ado, let’s get to my photography trekking gear list.
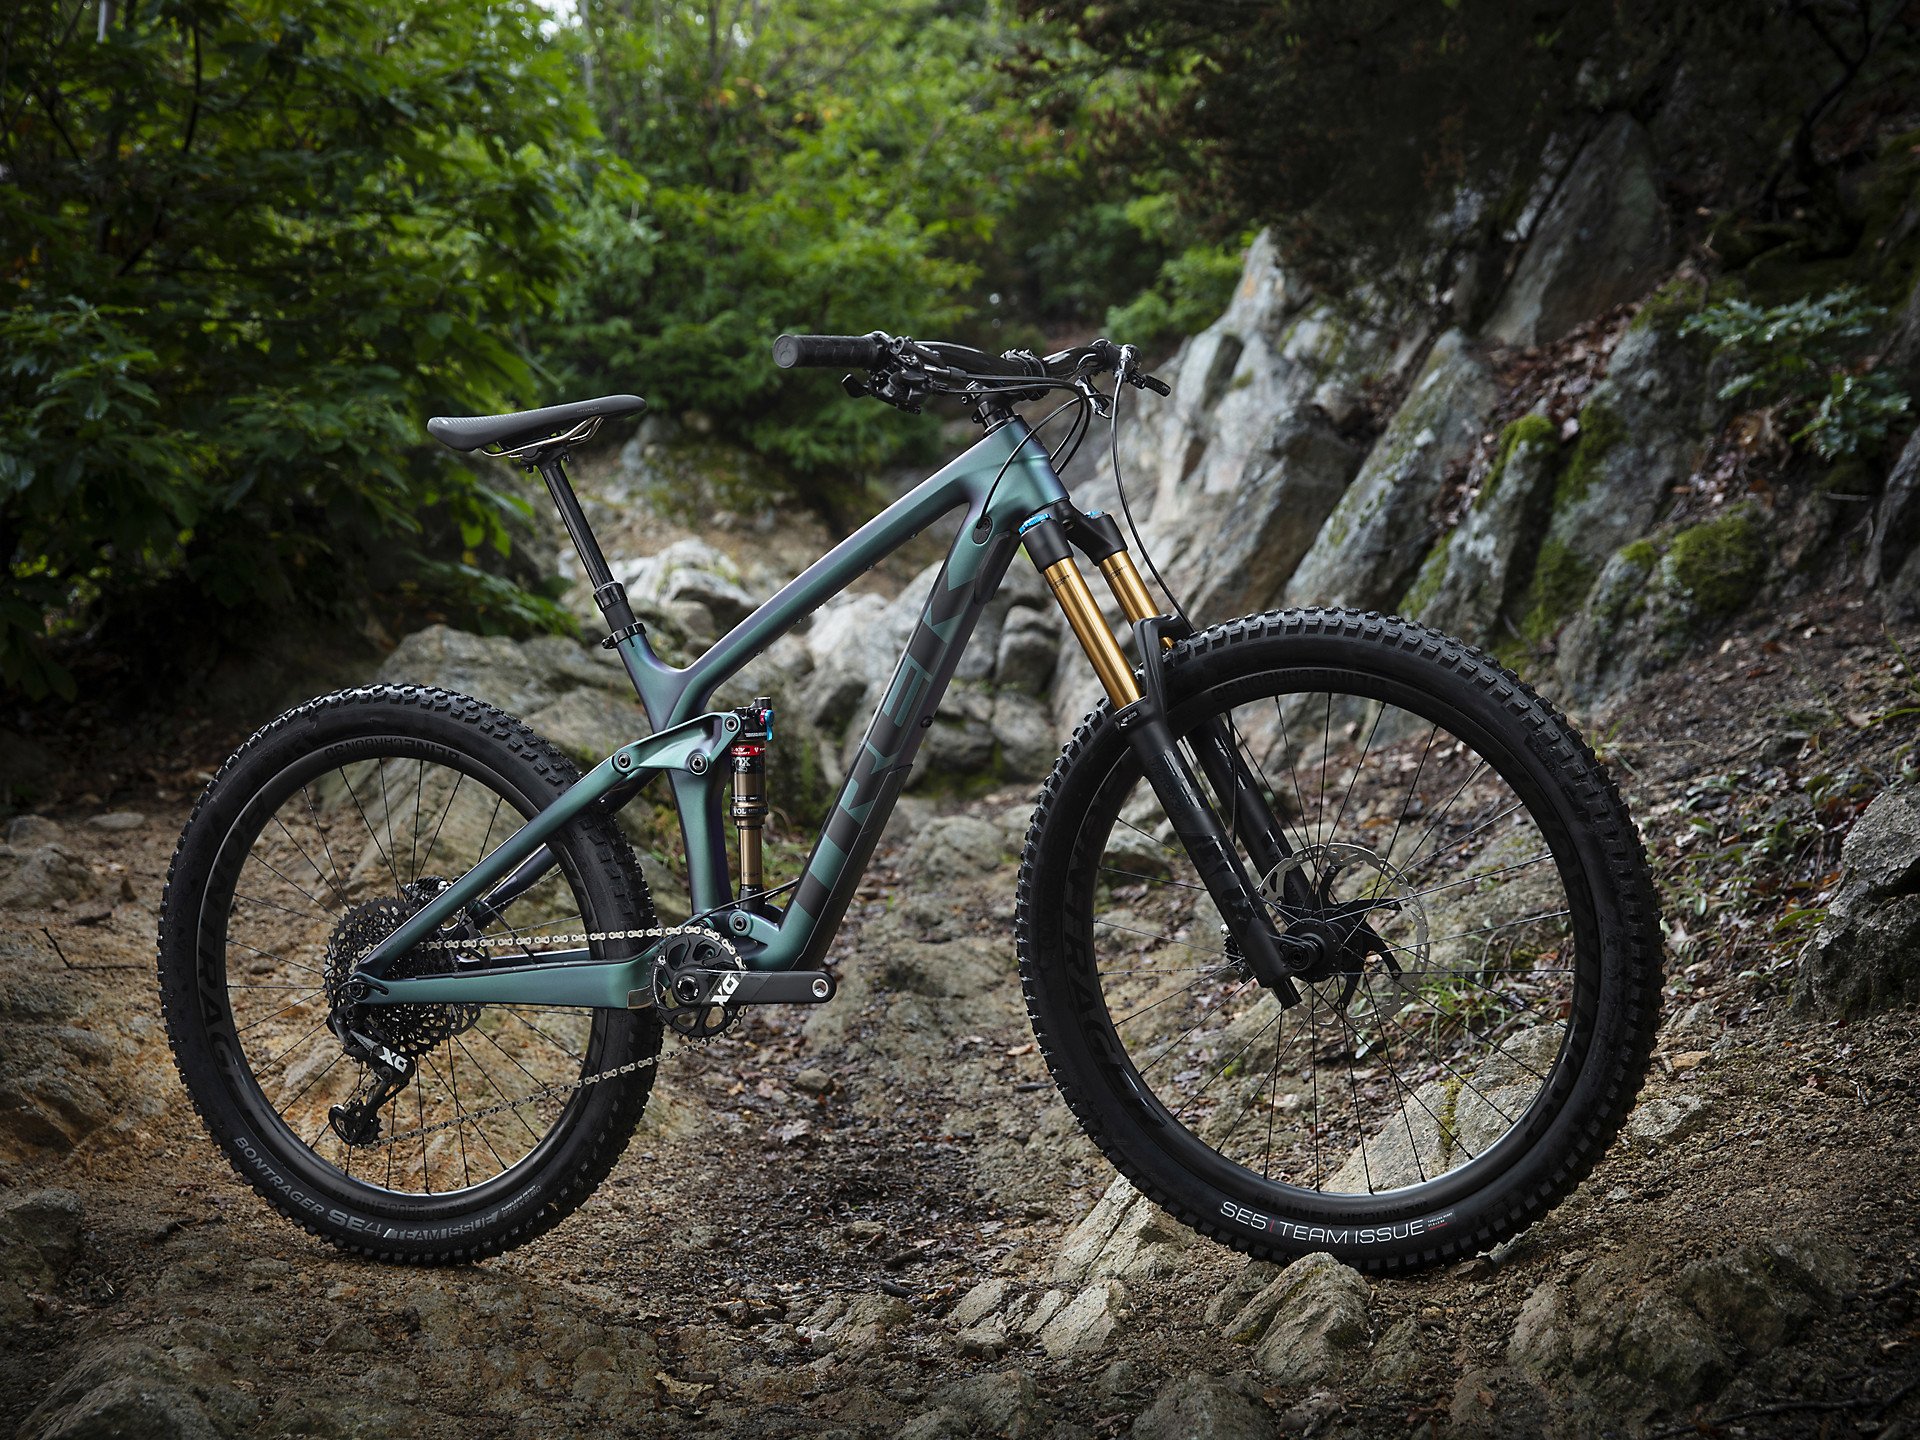
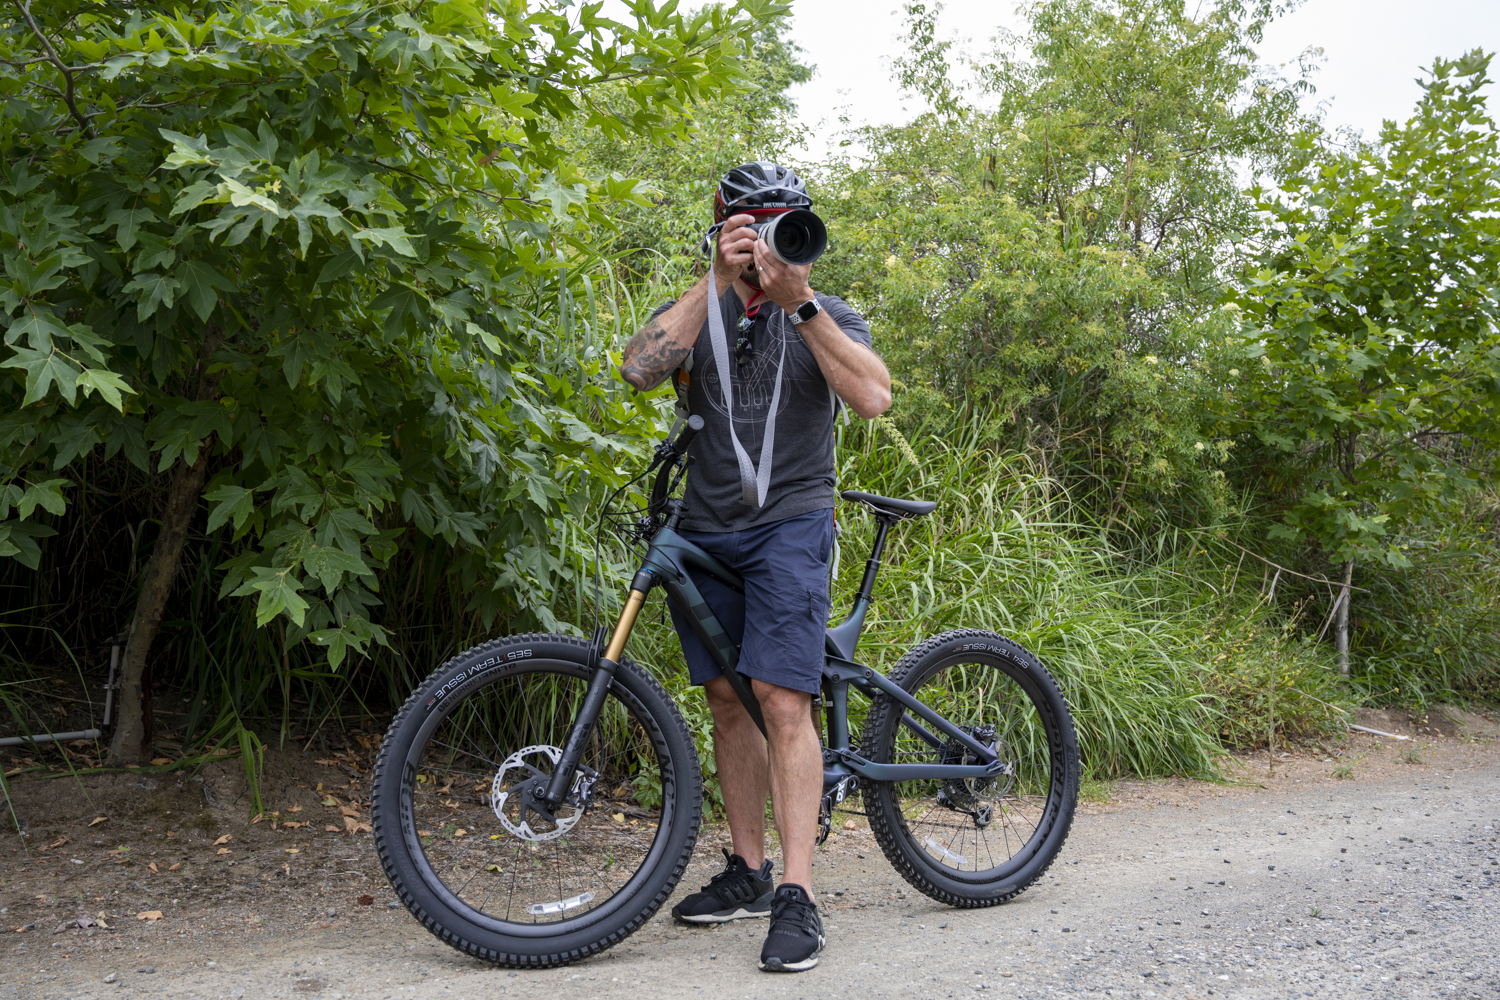
My Bike: The Trek Remedy 9.9
As many of you know, I’ve been a Specialized bike guy for more than a decade. In fact, my entire family has been outfitted with Specialized bikes for years and years.
But I’ve been itching for a change recently (not unlike my desire to switch from Nikon to Canon), so I decided to make the move over to Trek.
I have to say, so far, the change has been nothing but positive…

The Trek Remedy 9.9 is now my weapon of choice for attacking the trails near my home and exploring the great outdoors.
Like with cameras and lenses, talking about bikes can get very technical very quickly. But it’s important to note some of the features that I looked for in shopping for a new bike:
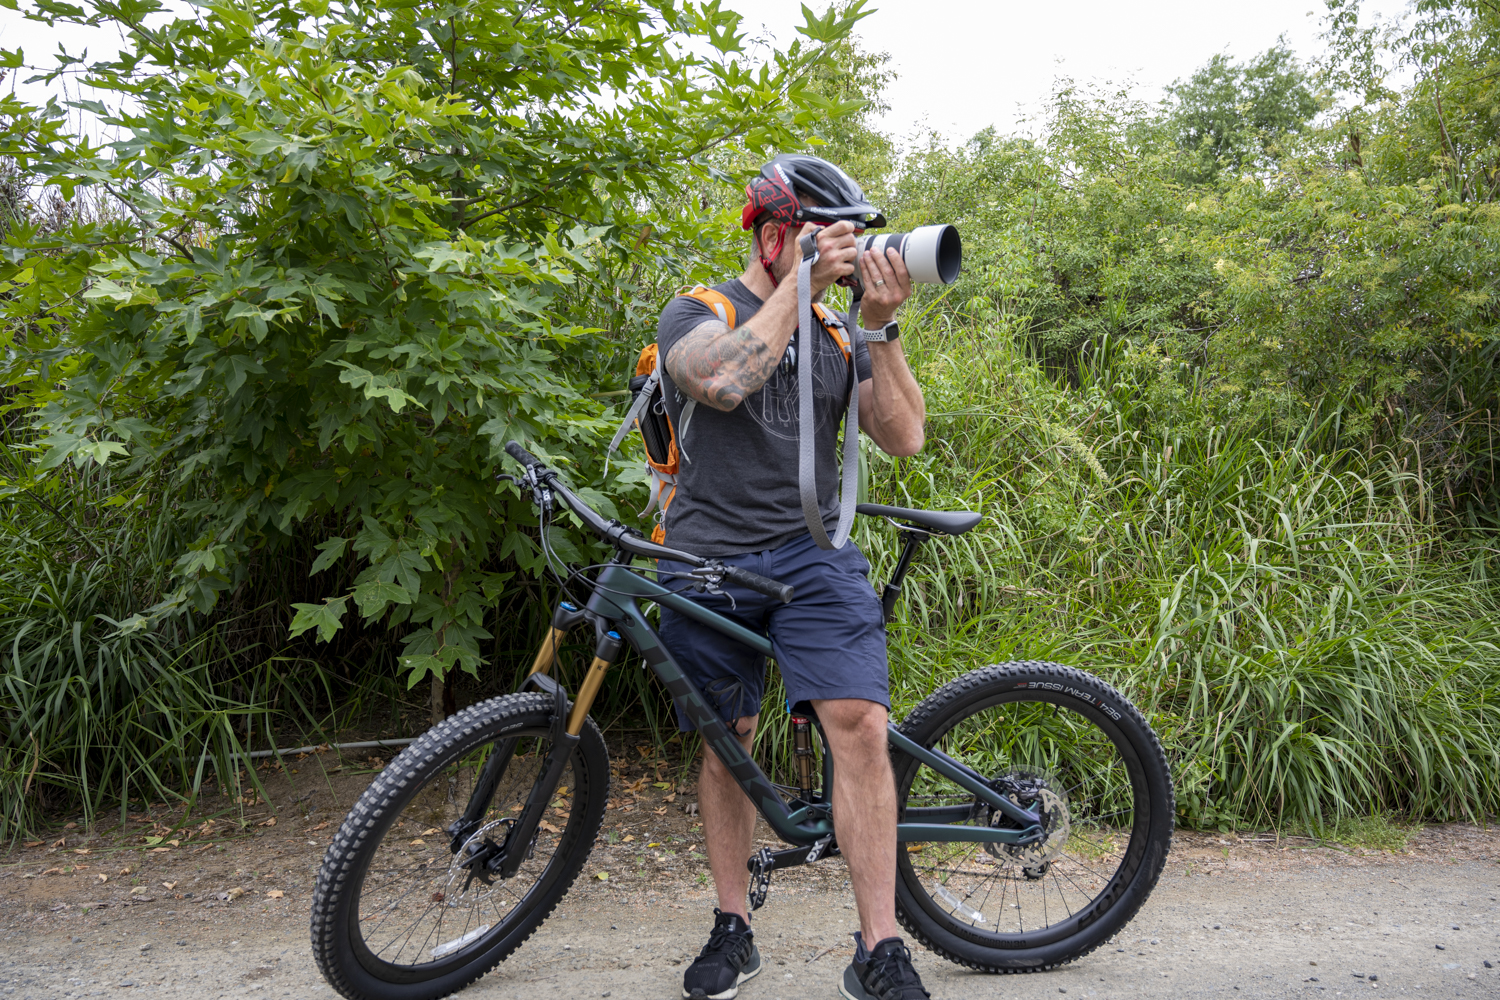
Additionally, this bike offers 12 speeds, a Fox fork, 150mm of rear travel, and Shimano XT 4-piston hydraulic disc brakes.
In other words, this bike was purpose-built for attacking even the most rugged trails. Admittedly, I’m not biking the same trails I did in my 20s, but who knows - with all the biking I’m doing these days, maybe those harder lines are in my future once again!
When getting out on a mountain bike to follow your passion, you have to have the right tools - just like in photography. The process of selecting the right bike is highly similar to selecting the right photography gear. There’s research and planning involved, you must establish a budget, test the gear, and make an informed decision.
Based on that, I would encourage you to visit your local Trek dealer and see for yourself why so many rave about these bikes. For me, that process brought me to the Trek Remedy 9.9!
My Camera Bag: The LowePro Photo Sport 200AW
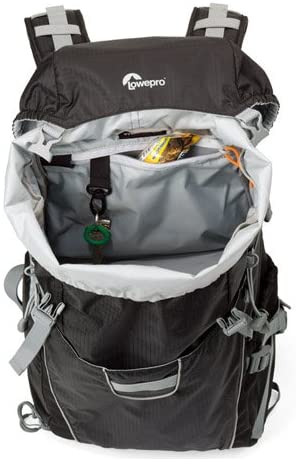
There is no getting around it - I have a lot of camera bags. Yet, there is just one bag that I turn to over and over again for my biking adventures, and that’s the LowePro Photo Sport 200AW.
I’ve had this bag for over 10 years and it has gone with me on an untold number of epic bike adventures. It’s still going strong, so why replace something that’s worked so well all these years?
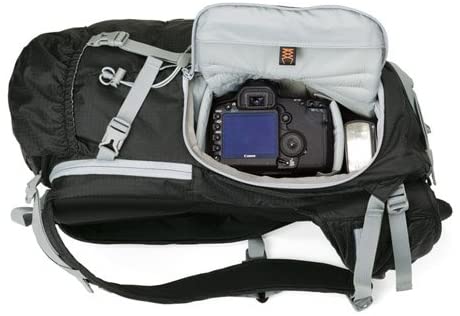
It’s perfect for biking because I can fit all my camera gear, a drone, and still have lots of room left for a jacket, snacks, and so forth.
Back in the day when I got this bag, I had a number of requirements:
This bag ticked all the boxes back then, and it still ticks all the boxes now.
I would also add that it’s extremely important to have a bag that allows you to rotate it to your chest for quickly getting out your camera. Again, this bag does the job - I just slide one arm out of the shoulder strap, rotate the bag forward, unzip the side access pocket, and grab my gear.
My Camera: The Canon EOS R

I was a die-hard Nikon shooter for my entire life up until a few months ago when I made the switch to Canon.
After testing the EOS R, I found that it was a much better fit for my needs than my collection of other cameras, which included a Nikon Z7, a Panasonic GH5, and a Sony a6400.
Don’t get me wrong - I loved many things about all of those cameras. But none of them could singularly meet my specific needs as well as the EOS R, so I got rid of all those cameras and invested in the EOS R.
You can check out my detailed explanation of why I switched to Canon in the video above, but for our purposes here, there are a number of key features that make this a fantastic outdoor adventure camera:
I also love the video capabilities of this camera, even though it has a huge crop when shooting in 4K. But in terms of being a fantastic camera for both photography and videography, nothing beats the EOS R, in my opinion.
Whatever camera you invest in, make it a rugged, lightweight body to save space in your bag that can also stand up to your adventures.
My Lens: Canon RF 15-35mm f/2.8L
As I explain in the video above, there is no lens I would rather take with me on an adventure than my Canon RF 15-35m f/2.8L.
Not only is this the ideal focal length for the types of landscapes I photograph, but the RF build quality and optical quality is truly second-to-none. And for my outdoor adventures, it meets just about my requirements:
I will be the first to admit that this lens is big and heavy, but I’m willing to carry around the extra weight for the advantages this lens offers in the image quality department!
This is a spendy lens, but you can find less expensive alternatives with a similar focal range. For me, that’s one of the most important factors in a landscape lens - having the ability to get nice and wide shots while also having the ability to zoom in a bit for some more detailed shots.
My Tripod: The Peak Design Travel Tripod
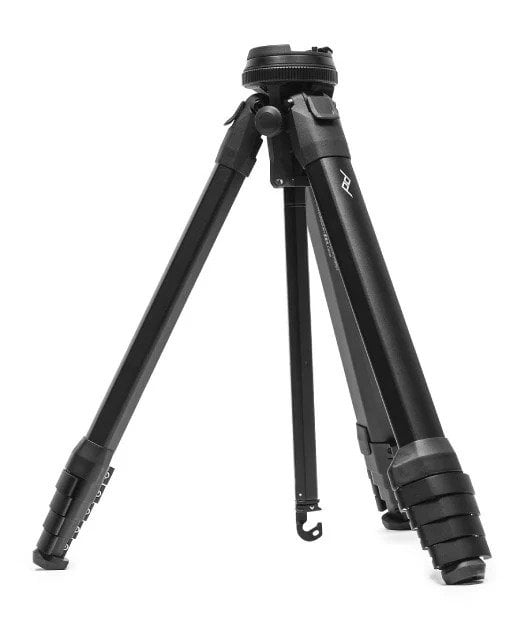
I try not to throw around too many superlatives when describing my gear, but in the case of the Peak Design Travel Tripod, it’s hard not to gush.
When this tripod is folded up, it’s got about the diameter as a water bottle. It’s simply astonishing that a tripod with this kind of durability and stability can compact itself into such a small size. Needless to say, that is one of the very best features of this tripod for trekking adventures - it fits easily into your bag without taking up a ton of space.
Additionally, this tripod is an ideal companion on the trail because it:
In a word, this tripod is rugged. If you can get yourself and your bike up the mountain, down the stream, or wherever it is you want to go, this tripod will be a reliable companion and give your camera and lens the support they need to capture photographic magic.
Again, this is a spendy option, but you don’t have to spend a ton of money to find a quality, rugged tripod that’s lightweight, weather-resistant, and can hold a lot of gear. Keep these features in mind as you shop for a tripod, and you’re sure to find something that fits your budget.
My Drone: The DJI Mavic Air 2
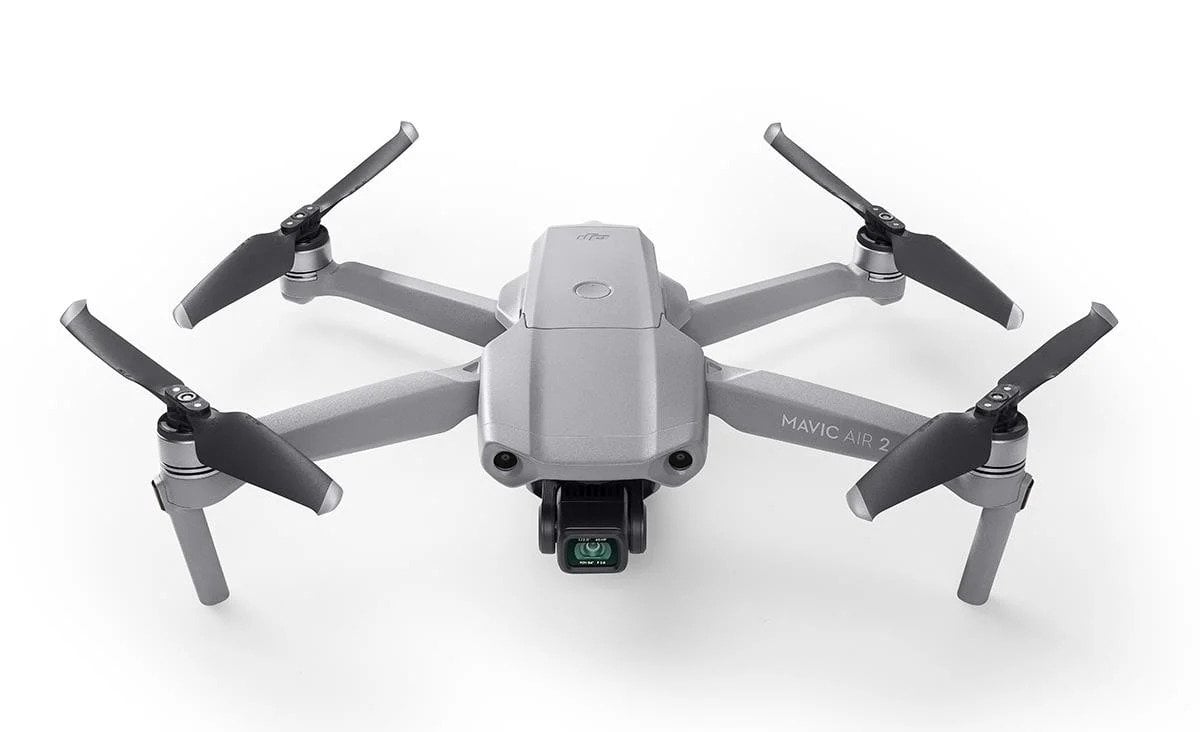
I’ve had DJI drones for years and I currently own a DJI Mavic Mini and a DJI Mavic 2 Pro. But after testing the Mavic Air 2 for a couple of weeks, it’s become clear to me that it’s the best suited for my biking-photography adventures. I’ll be adding one to my gear bag shortly!
The Mavic Air 2 is a perfect blend of the best features of the Mini and Mavic 2 Pro. It’s small, compact, and easily transportable like the Mini, but has a more robust sensor with improved photo and video capabilities like the Mavic 2 Pro. The Mavic Air 2 sits nicely between these two drones as an affordable yet powerful mid-range alternative.
For photography trekking, I like what the Mavic Air 2 has to offer:
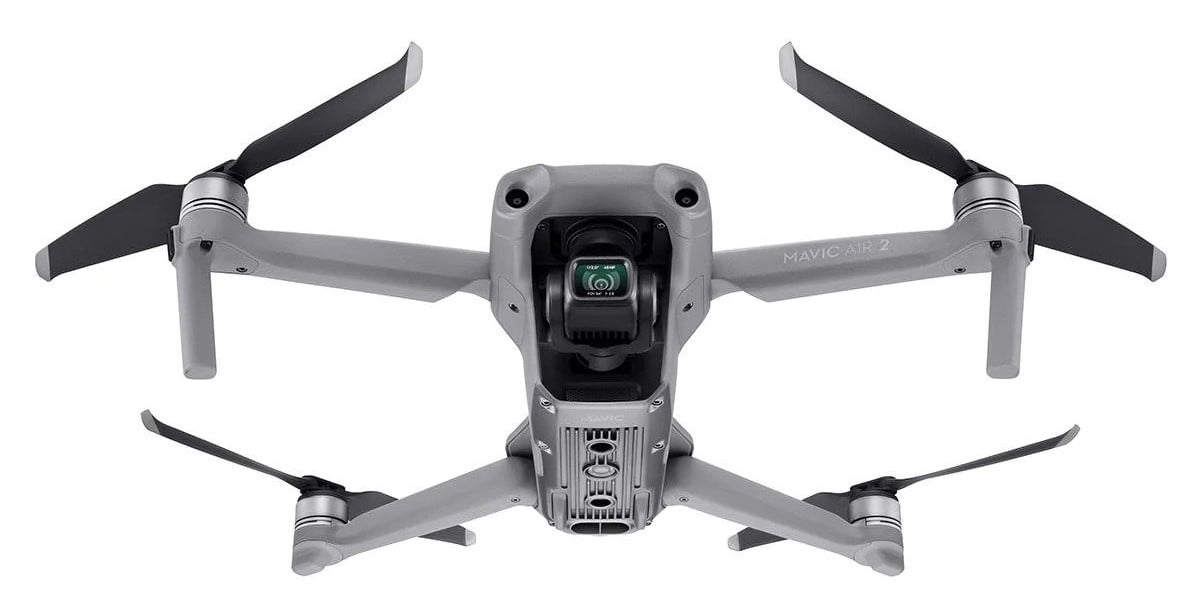
Plus, at $799, I think this drone is an absolute steal. You get tons of high-end features without paying a high-end price!
Whatever drone you opt for, I’d strongly suggest that you prioritize the camera and sensor specs so you can maximize the quality of the photos and videos you create.
With that, you have a detailed look at the primary gear I use when I head out on my bike for a photography adventure.
Again, use this as a guide for finding the right gear for your needs. Do your due diligence and spend time researching different brands. I’ll have many more tips coming up in the next few weeks, so stay tuned for more advice on making the most of your bike-based photography treks!