Advanced Photography Tips for More Professional-Looking Photos
- How to Create Heirloom Portraits
- 5 Photography Decisions That Can Make or Break How Your Image Looks
photo by master1305 via iStock
I get to talk a lot about beginner photography tips in this blog, but I don’t frequently get to talk about advanced photography tips. This is mostly because I’m always concerned with bringing more readers in, since there are constantly new photographers, but it’s also because it’s just easier. A lot of advanced photography tips aren’t short and sweet like beginner photography tips are.
But, over the years, I do feel like I’ve collected plenty of advanced photography techniques, many of which don’t really take that much practice. For the most part, a lot of my advanced photography tips just take patience. I think that as you get better at photography, and you stop focusing on the technical aspects of your photos as much, you have a lot more freedom. But, this freedom just takes patience because you’re then looking for photos that really speak to you.
All of the advanced photography tips in this article are tips you could try out today, and I think that all of them will teach you how to get professional-looking photos.
Don’t Be Afraid to Use More Black Colors
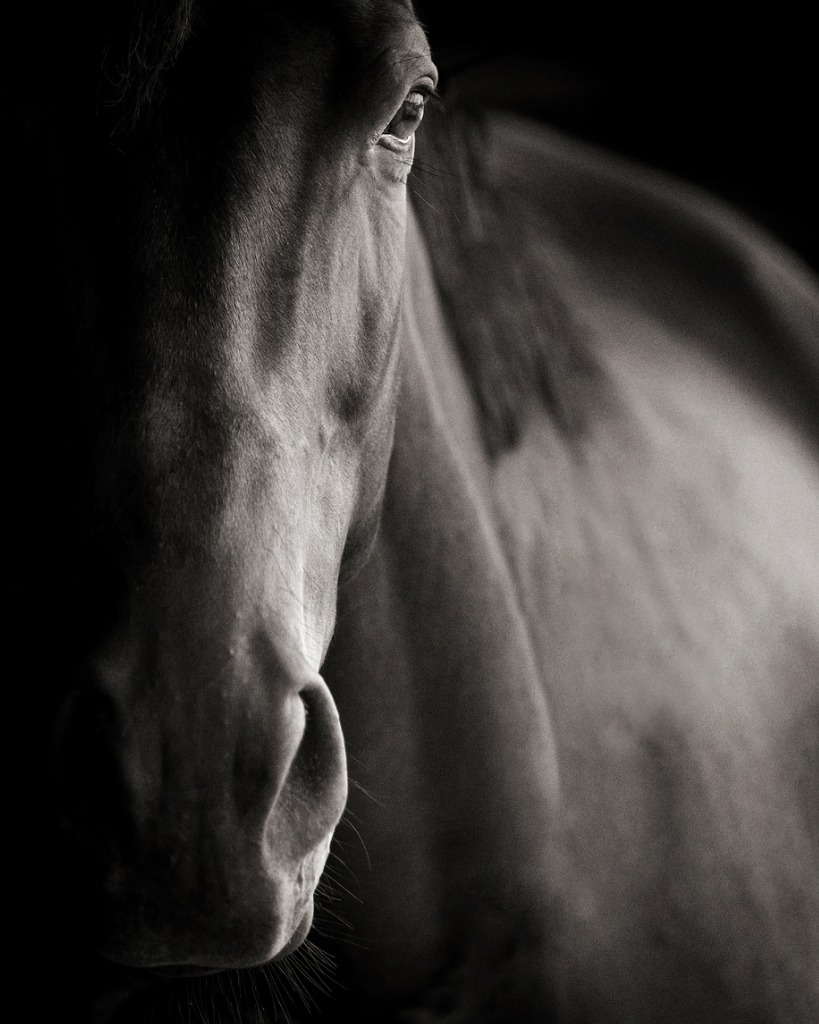
photo by Christine Navarre via iStock
I recently did a review of the Leica M10 Monochrom camera. If you aren’t familiar with it, the whole selling point of it is that it only takes black and white photos. But, unlike some other gimmicky cameras that do the same, it takes absolutely exquisite black and white photos.
I can’t really decide where I personally land on the Leica M10 Monochrom. I think it’s a really fascinating idea and I would be willing to try it, but for the thousands and thousands of dollars it would take me to buy it, I sort of think I’d be much better off buying two or three different cameras.
However, black and white photography obviously has merits, or Leica would have never come out with this camera in the first place. While I’m not recommending that you strictly shoot in black and white, I am recommending that you learn to use deeper blacks in your photos.
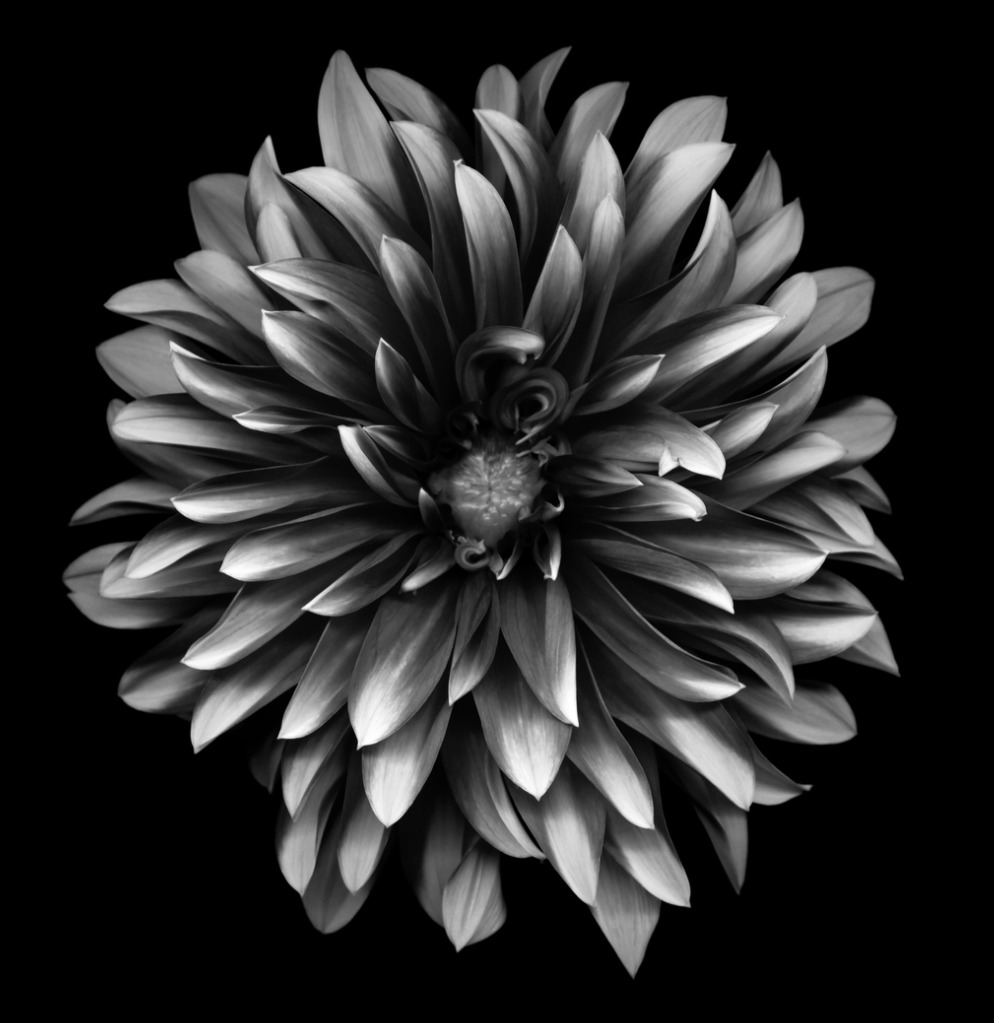
photo by OGphoto via iStock
I recognize that when you do this you’re going to lose a lot of the detail of your image, but sometimes this sort of white noise is exactly the thing you need to make your images look far more professional.
And this is one of the simplest advanced photography tips in this article because you can do a lot of the work in the editing stage.
For instance, you can take an image like you normally would, focusing on the portions of the image that you would like to be deep black, and then take that image into Lightroom. There you can enhance those shadows and blacks for a more dramatic look.
Frame Your Subjects
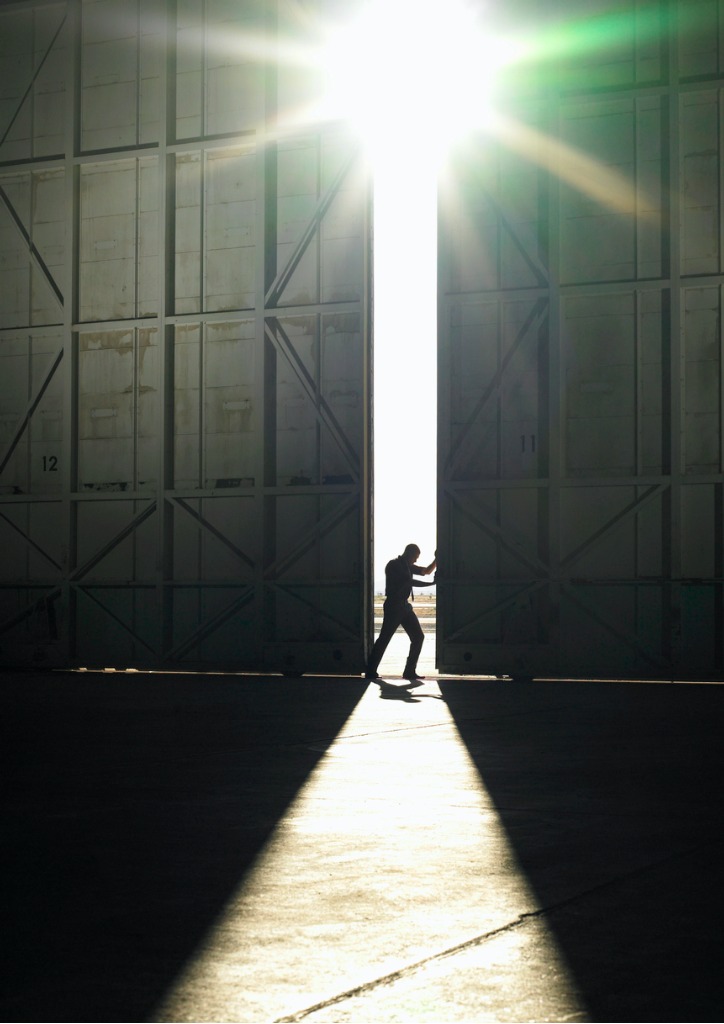
photo by Ryan McVay via iStock
I got the easiest tip out of the way so that I could get you to read the whole article, but as I mentioned, a lot of advanced photography tips are about nothing but patience and this is one of them.
Instead of chasing subjects down, as you normally would, you can find the backdrop of your photo and wait for a subject to come to you. This technique is something that wildlife and street photographers do quite often, but the rest of us can learn from them.
In order to try it out, all you need to do is find a backdrop that a subject will likely have to interact with. That could be a window leading out into an alleyway, a door, a small hole in the wall that might attract a child...it can really be anything.
Then, set up your camera in front of your frame and wait for a person to walk by. I promise that it will be one of the more natural shots you’ve ever taken.
Learn More:
Use Stories

photo by skynesher via iStock
I’ve talked about this a couple of times, but my photography mentor was a photojournalist and I think I learned a ton from him. But, my favorite tip was to chase down stories with my photography.
Any level of photographer can take a good photo with excellent composition, just by following some basic rules of photography, but it takes a really great photographer to tell a story with their image.
Before you ever take a photo, make sure that you know exactly what you want it to say. What is the feeling you want to convey? What emotions do you want the viewer to feel?
I’m not saying that you need to sit down and storyboard every photo you take. However, focusing on what you want your image to say will help you create more impactful images.
Get Professional Prints Made

If you’ve ever tried to learn how to print your photos, then you know just how frustrating it can be working with a home printer. The image quality is never where you want it to be and the colors always seem a little off. I’ve wasted hundreds of dollars on home printers before, but I always end up going to see the professionals.
By getting your photos professionally printed, you’re better able to show them off to the world. When you go to a printing studio you also get the option of printing your photos on different surfaces.
For example, I get a lot of my photos professionally printed at Artbeat Studios because they offer canvas, acrylic and metal prints.

If you’ve never had the chance to see your work on any other medium than paper, then I highly recommend you either opt for a metal or acrylic print because they make the colors in your photos jump off of the wall at their viewers.
Plus, metal and acrylic prints are surprisingly cheap with Artbeat Studios. You can get a metal print for as little as $26 and an acrylic print for as little as $69. That’s an investment I’m always willing to make because that is a very small price to pay for a fantastic, high-quality print!