Basic Night Photography Tutorial
- A DSLR or mirrorless camera (you’ll need to shoot in manual mode)
- A sturdy tripod
- A remote shutter release
- A natural night filter
- Exposure mode: Manual
- Focus mode: Manual
- Drive mode: Single shot
- Aperture: Lowest possible setting
- ISO: 800
- Shutter Speed: 10 seconds
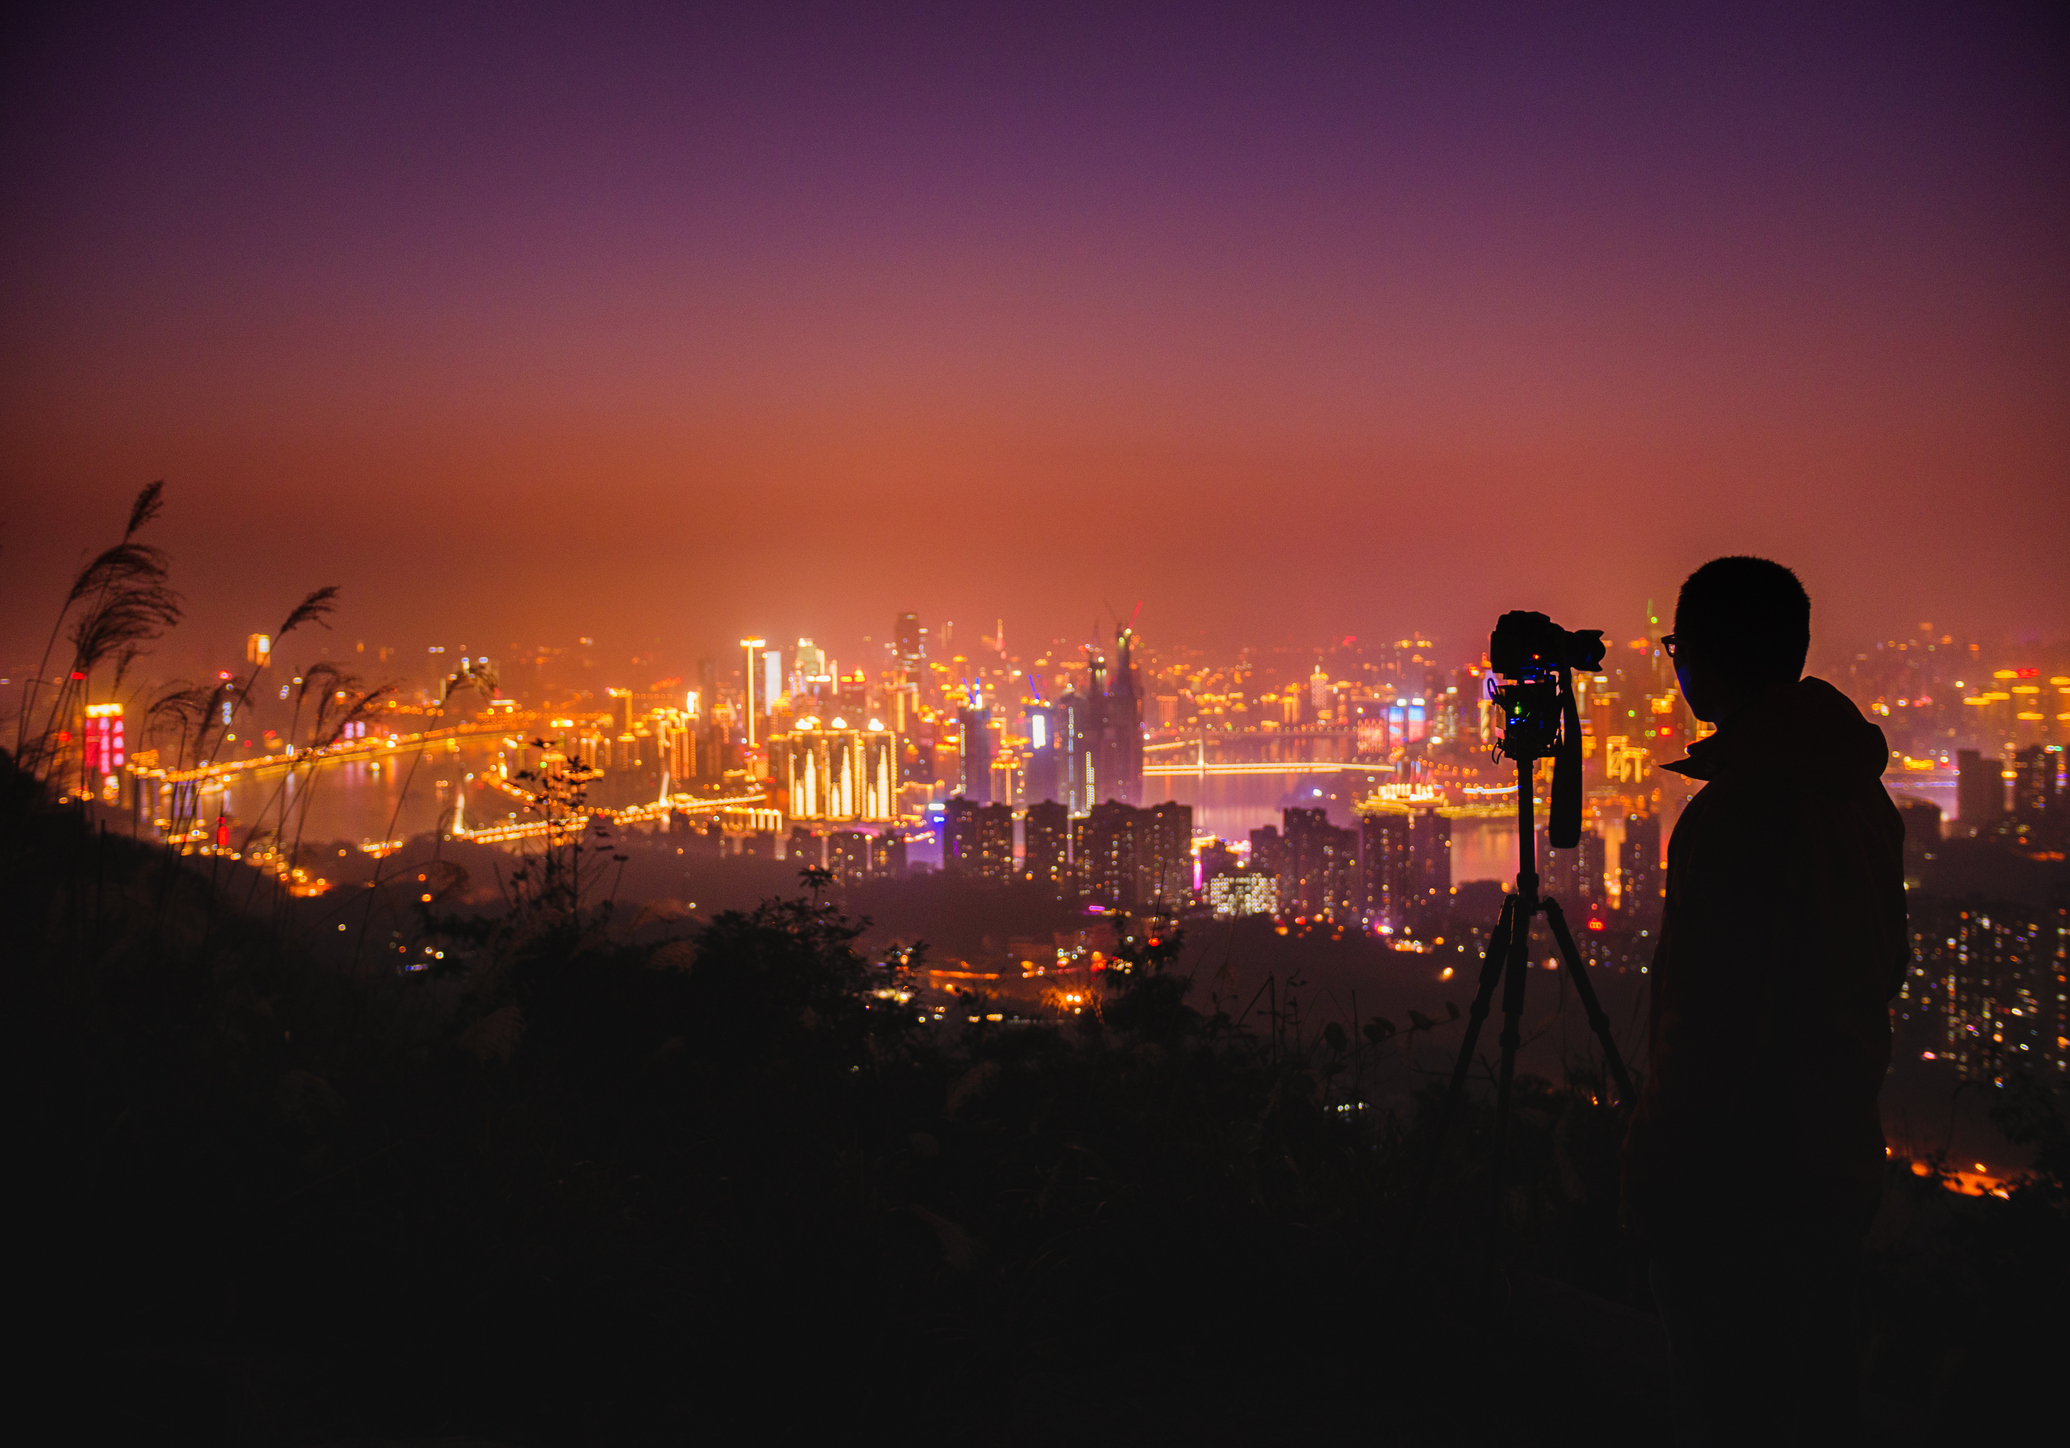
photo by pkujiahe via iStock
I understand if you think about night photography with some trepidation.
After all, images like the one above must be difficult to achieve, right?
Well, not exactly.
Yes, night photography is a different animal than shooting during the day, but in the end, it’s still all about composition, lighting, camera settings, and so forth.
In this basic night photography tutorial, you’ll learn the essentials of what it takes to get started in night photography.
Necessary Gear for Night Photography
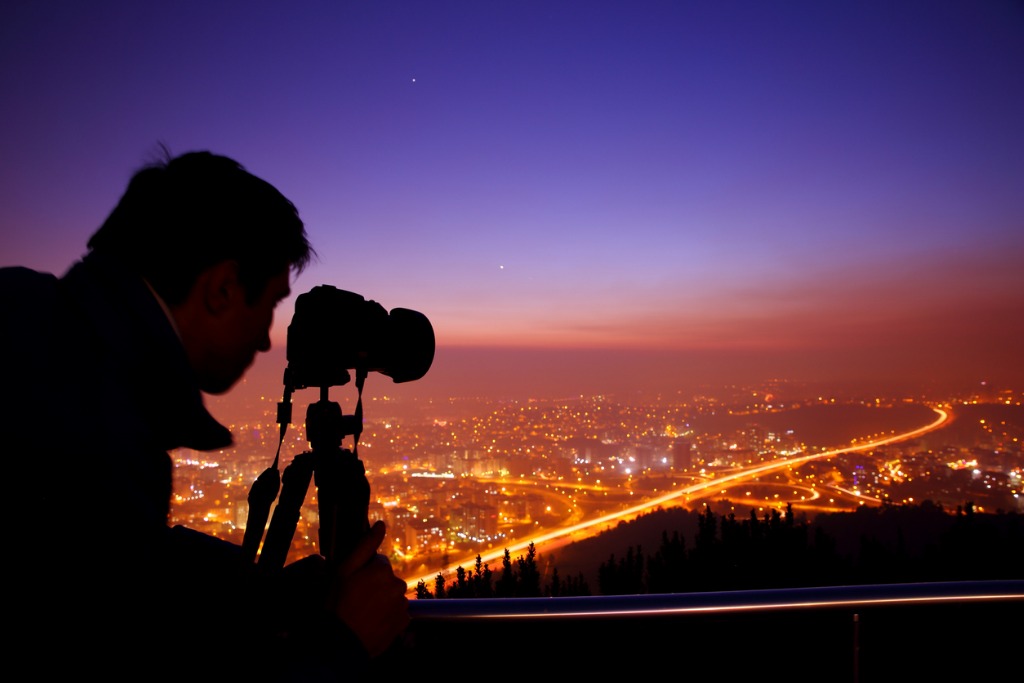
photo by aydinmutlu via iStock
First things first, you need the appropriate gear for night photography. This includes:
Now, these items are self-explanatory, for the most part.
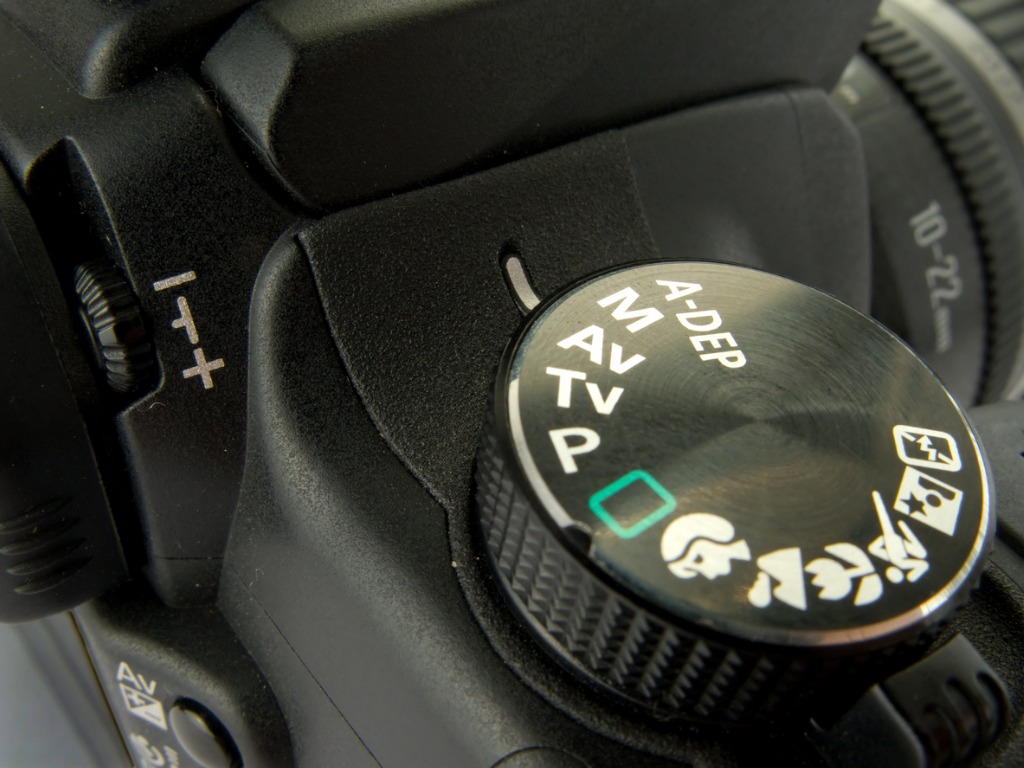
photo by tockPhotosArt via iStock
You need a camera with manual controls so you can manipulate its settings to get a well-exposed image. There will be more on settings in a moment.
Since you’ll be dealing with long shutter speeds, your camera needs rock-solid support, thus the necessity of a tripod. After all, even people with the steadiest of hands can’t remain absolutely still while holding a camera.
A remote shutter release is a good addition to your night photography kit as it allows you to avoid touching the camera to trigger the shutter. Doing so minimizes the chances of camera shake and will help you get a sharper photo.
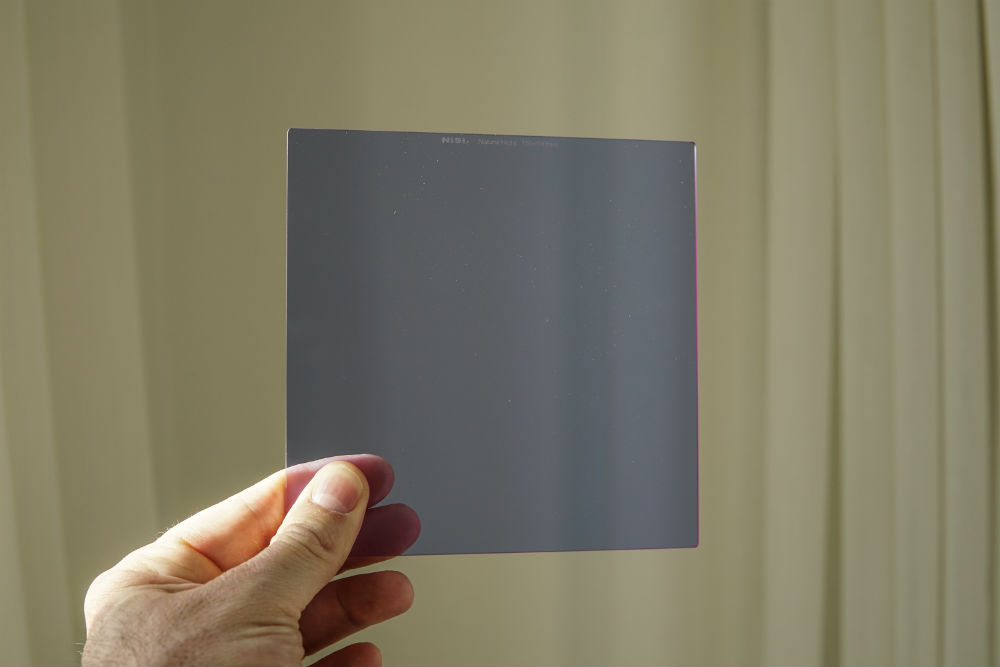
The one piece of gear that might need some explanation is the natural night filter (shown above).
When shooting at night in inhabited areas, there can be a lot of light pollution.
Between the lights in homes and other buildings, street lights, and cars, and even sodium and mercury vapor in the air, you will often find that your night images have murky skies and colors that are off.
This is the very reason why a natural night filter is a must-have.
I have one of these filters, and the difference between a night photo with it and a night photo without it is quite something.
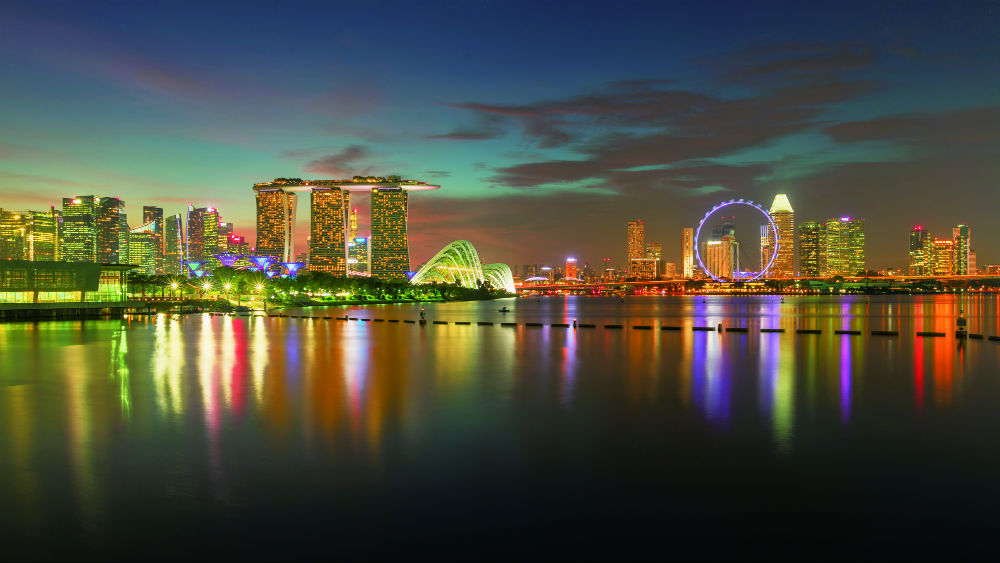
Photo by Jerry Wang
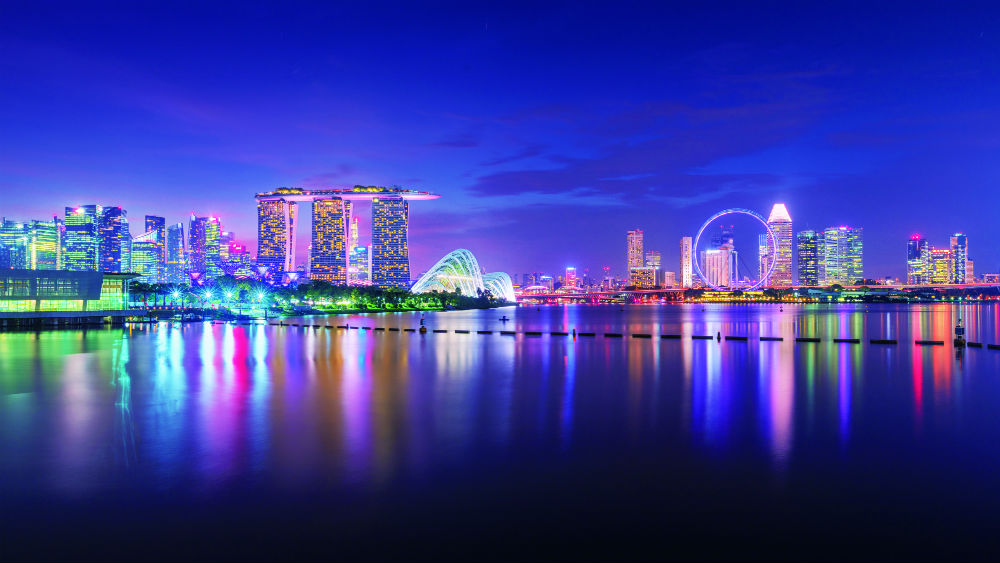
Photo by Jerry Wang
These filters work by blocking out light pollution such that you’re left with a crisp, clear image, as shown above.
My filter is from NiSi, which has made this filter to be waterproof and oil-resistant so it protects against fingerprints. There’s a double-sided multi-layer coating as well, so it helps minimize reflections.
Paired with an appropriate camera, a tripod, and a remote shutter release, you can’t go wrong with these filters when shooting at night!
Night Photography Tips: Use Manual Focus
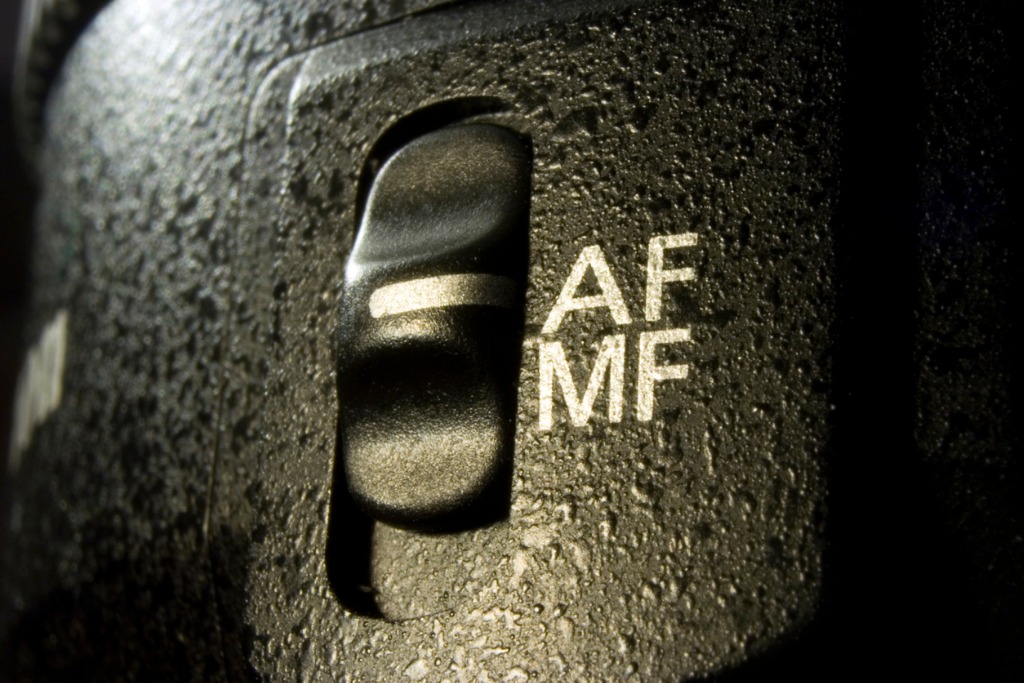
photo by BirgerNiss via iStock
Before we get to basic camera settings for night photography, it’s important to note that you’ll need to manually focus your lens.
Though today’s cameras (even inexpensive entry-level ones) have reliable, accurate autofocus systems, they struggle at night. By using manual focus instead, you ensure that you will get a sharp image.
Learning how to manually focus your lens isn’t scary or difficult. In this situation, simply switch from AF to MF and focus at infinity (the sideways 8 symbol on your lens). Doing so ensures that everything from front to back in the shot is sharp.
To check sharpness, turn on Live View on your camera and zoom in to see if the focus is spot-on. Adjust as needed until the primary subject is tack-sharp, and leave the lens in manual focus throughout the shoot.
Essential Night Photography Camera Settings

photo by Easyturn via iStock
Though every night photography situation will require slightly different camera settings, there are some basic starting points of which to be aware.
First, open the aperture as wide as it will go. This setting will depend on your lens.
For example, if you’re shooting with a kit lens that came with your camera, the largest aperture is going to be f/3.5-f/5.6. If you have a 50mm f/1.8, the largest aperture is f/1.8.
The reason you want to set the aperture as low as possible is that it allows the lens to collect the most light. Obviously, this is important when you’re shooting at night.
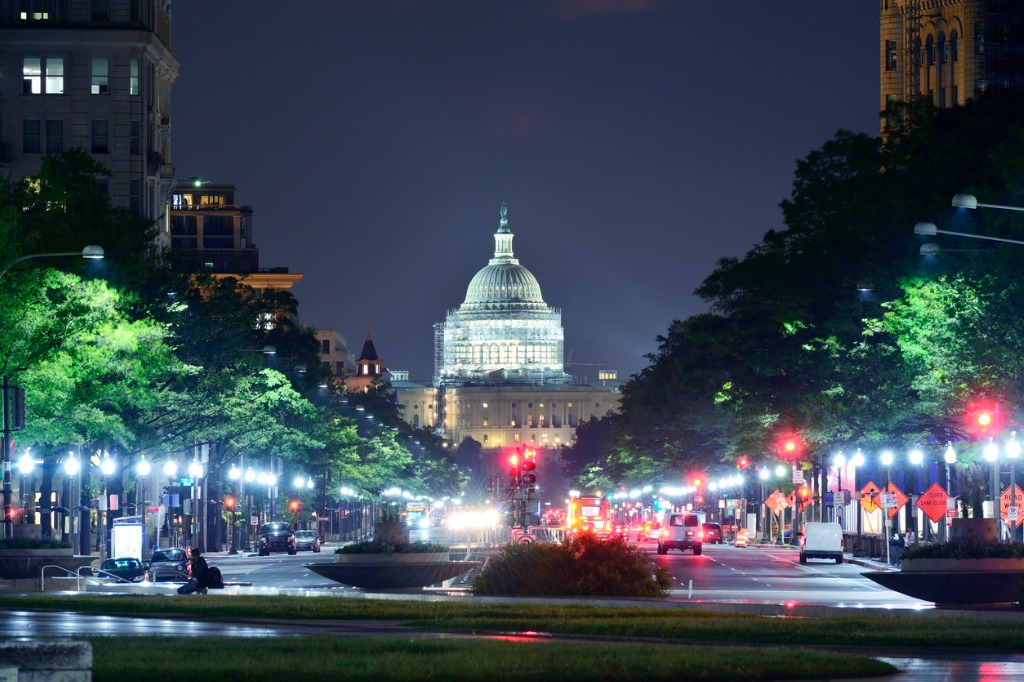
photo by zorazhuang via iStock
Next, set the ISO to 800. The ISO determines the sensitivity of the camera to light. The higher the ISO, the greater the sensitivity, but the higher the ISO, the greater the digital noise (which has the appearance of grain).
Most cameras these days can easily handle ISO 800 without getting too grainy. Many other cameras can push it to 1600 with no problem, either.
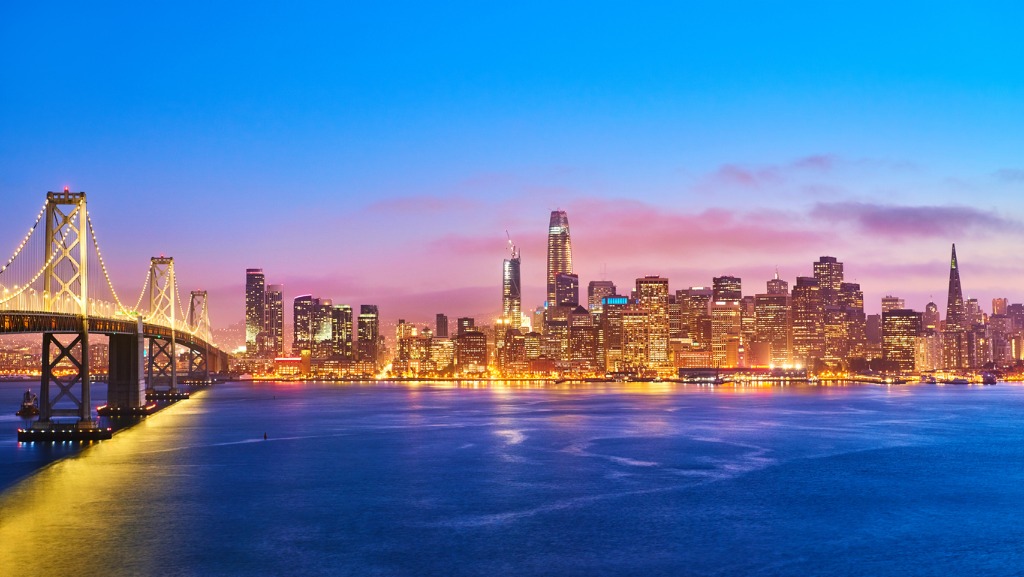
photo by zorazhuang via iStock
Lastly, set the shutter speed to 10 seconds. Again, this is just a starting point, and you will find that of the three exposure settings, this is the one that will require the most fine-tuning.
If at 10 seconds the image is still too dark, increase the shutter speed (i.e., to 13 seconds, or 15 seconds) and try again. Conversely, if the image is too bright, reduce the shutter speed (i.e., to 8 seconds) and give it another go.
So, to review, here’s our basic night photography camera settings:
Night Photography Tutorial: Final Step
photo by Gian Lorenzo Ferretti Photography via iStock
At this juncture, all that’s left to do is fine-tune your camera settings to get a well-exposed shot.
This is the point at which some beginner night photographers get the most frustrated because it requires that you manually adjust the camera’s settings.
Just remember that you can leave the aperture alone and the ISO alone for the most part (just choose between ISO 800 and 1600).
photo by MarsYu via iStock
Really, the linchpin is the shutter speed. But if you approach making adjustments one stop at a time, taking a sample shot and examining it, and making another incremental adjustment to the shutter speed, you will simplify the process and find the sweet spot where you get the best results.
So, grab your gear, head out tonight, and put your newfound night photography skills to the test!