Beginner Flash Photography Tutorial
- The Biggest Misconceptions About Flash Photography
- How to Take Control of Your Off-Camera Flash
- Guide Numbers
- Dim Light - Probably the most common reason we use flash in everyday photography is when the light level gets too low for us to hold the camera still enough or too low for us to clearly discern the main subject. Fully automatic mode is fine, though you may want to adjust the lens aperture yourself for depth of field control.
- Outdoor Portraits - Direct sunlight is a great light source but it can be harsh for portraits. Turning the subject in a direction that the Sun is directly lighting their face and then using the flash for fill delivers amazingly pleasant facial expressions with good exposure and detail. Choosing your aperture for depth of field or selective focus and allowing the flash automation balance the light levels is a good method for this.
- Indoor Mixed Light - Whether photographing people indoors or capturing images of the area such as for real estate, indoor settings often have multiple types of lights ranging from cool to warm. Using flash will tame the various color temperatures by basing exposure primarily on the flash output.
- Directional Light - Directional light, especially from the wrong direction, can negatively affect our images. This is similar to outdoor portraits with fill flash but we’ll expand and include any situation indoors or out where highly directional light is involved. Offices and public places with overhead lighting can be imaged properly with good shadow detail or shadow elimination by using flash.
photo by Tom Merton via iStock
Beginner photographers tend to have many questions about flash photography settings and how to use a flash. That’s good, because flash photography has a bunch of variables about flash modes, types of flash units, when to use a flash, how to use a flash, and other flash photography basics.
Our beginner flash photography tutorial presented here will guide you in how to use a flash, flash modes, general and special flash photography settings, and what to look for when first choosing a speedlight for beginners.
Why You Need a Flash
photo by innovatedcaptures via iStock
A flash or speedlight is an essential part of our camera gear, so much so that many of our cameras from entry level to professional caliber have a small flash built in. While these small speedlights are great to have, they are extremely limited in range and features.
An external flash or speedlight for beginners will increase the useful flash range and offer extra features that are beneficial for beginner to intermediate photographers.
As the first part of our beginner flash photography tutorial, let’s examine why we need flash in the first place. There are many good reasons but two top reasons are low light conditions and reducing deep shadows.

photo by FilippoBacci via iStock
Our cameras have outstanding ability to give us correct exposure and stable shutter speeds for hand holding the camera in many lower light situations, but sometimes that image would simply look better with added light from a speelight. In bright light such as a portrait in midday sunlight, deep shadows may appear under a person’s nose, chin, or brow ridge that an added flash can lessen or eliminate.
There are other situations where a flash is beneficial, but for our beginner flash photography tutorial, we’ll concentrate on these.
What to Look For When Buying a Flash
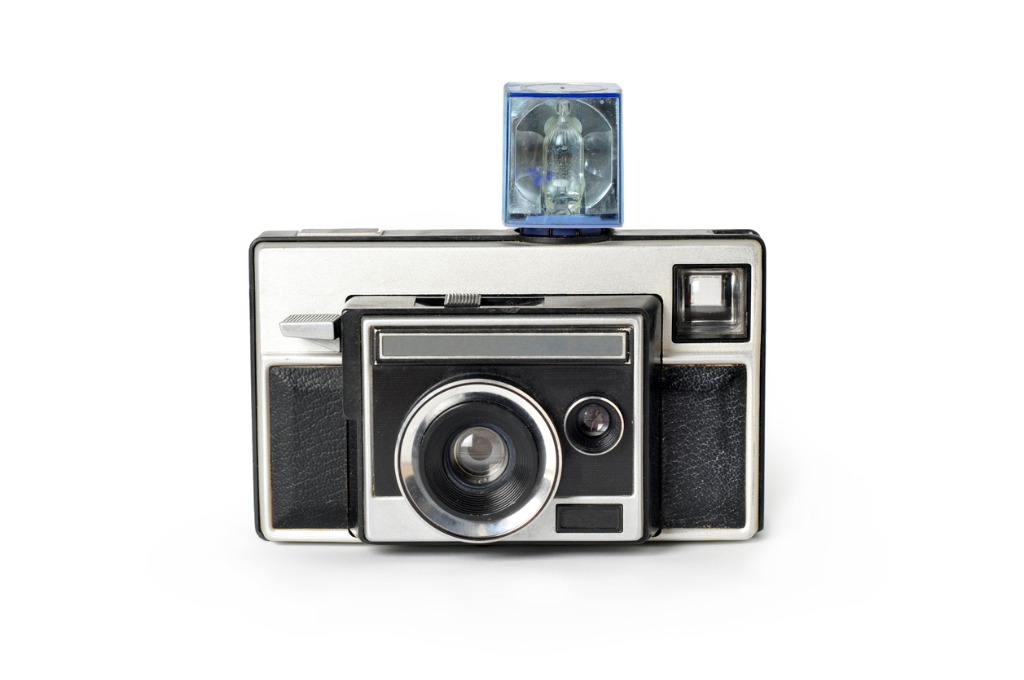
photo by stephanie phillips via iStock
In part two of our beginner flash photography tutorial, we’ll help you find a speedlight for beginners. Among other considerations, there are two huge factors to be considered for your first flash, power and automation compatibility.
Let’s look at automation compatibility first. For most photographers, the days of putting together a cheap manual flash to use with fully manual settings and exposure and distance calculations are long gone. Along with autofocus, flash exposure automation is one of the best features to have evolved with modern technology. Even seasoned, experienced, and professional photographers have embraced these two photographic technologies.
However, the way flashes and cameras communicate electronically with each other for this automation is not universal. A speedlight designed specifically for a Canon DSLR will not work properly with a Sony or Nikon for instance. The incompatible electronics could actually damage the camera.
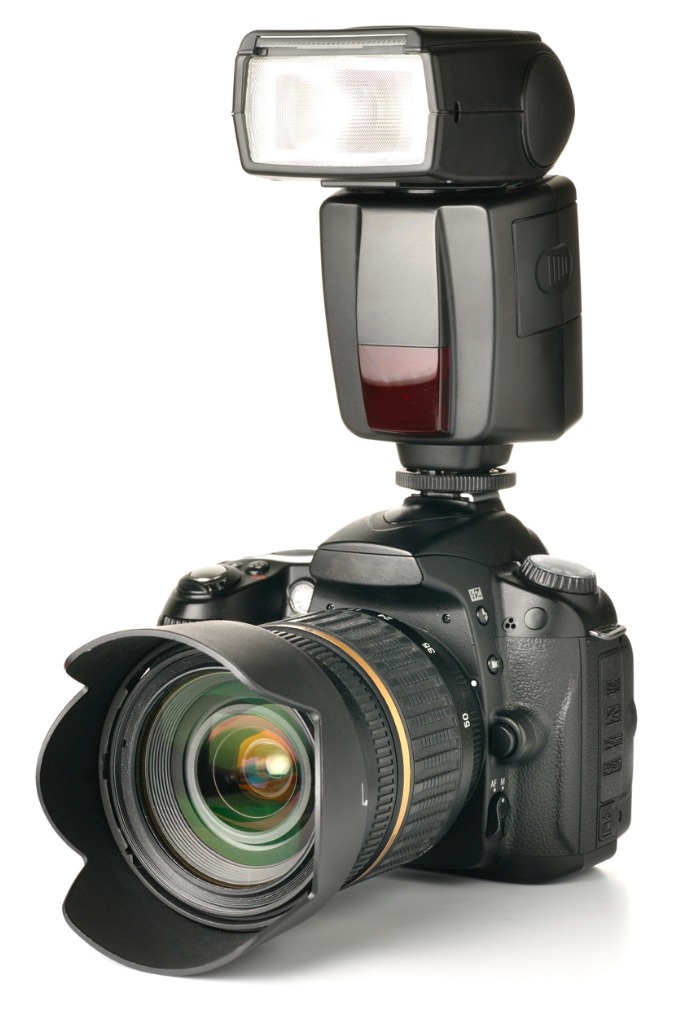
photo by Sergey_Peterman via iStock
You aren’t required to only purchase a Canon flash for your Canon camera though, or Nikon for Nikon, or other brands. But you do need to make sure they are compatible. Similar to how you can buy a Sigma, Tokina, or Zeiss lens for your Canon camera in the Canon EF mount. Most of the brands call this having dedication for a certain camera line or model.
Many of the camera manufacturers have several speedlights at different price points, including reasonably priced flashes perfectly matched to an entry level camera, so you aren’t locked into either buying an expensive camera brand flash or a 3rd party flash for cost effectiveness. Lots of options for a great first speedlight for beginners.
Learn More:
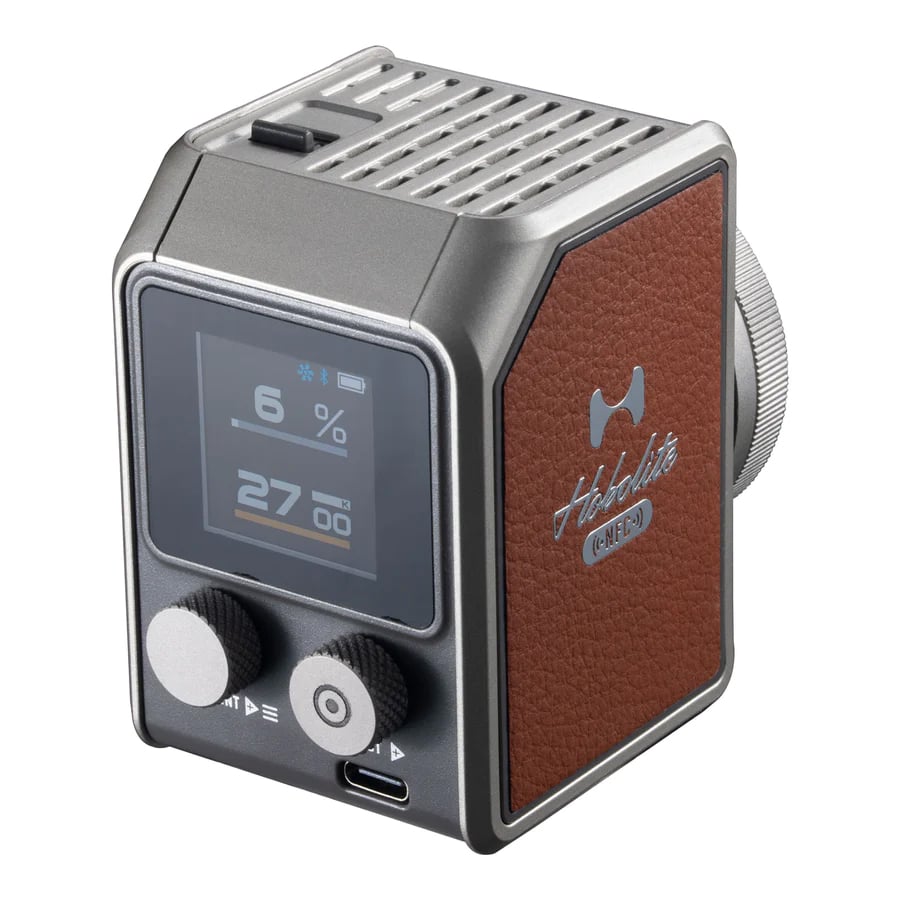
Guide Numbers
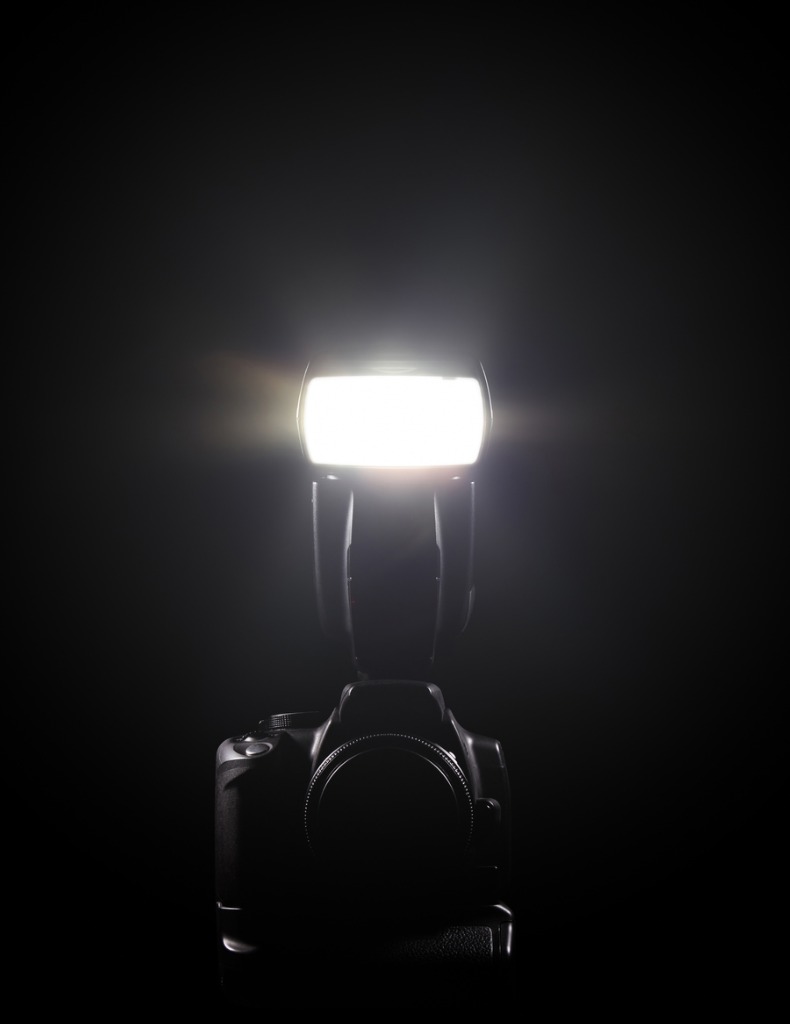
photo by Gavh via iStock
Another huge factor to consider for purchasing a flash unit is the power output. Flash power is usually referred to by the Guide Number or GN, a number that is determined by measurable standards and is consistent across brands and formats. A GN 50 flash for a Panasonic MFT format camera puts out the same lighting power as a GN 50 flash for a Fujifilm medium format camera. The larger the number, the more powerful the flash.
Using Guide Numbers was one of the flash photography basics for exposure calculations, now we see it mostly as an indicator of power for comparison. When comparing flashes, though, be sure the GN is based on the same standards. GNs can be measured in meters versus feet or at different ISOs, just make sure you’re comparing apples to apples when shopping.
Flash Modes and Camera Modes
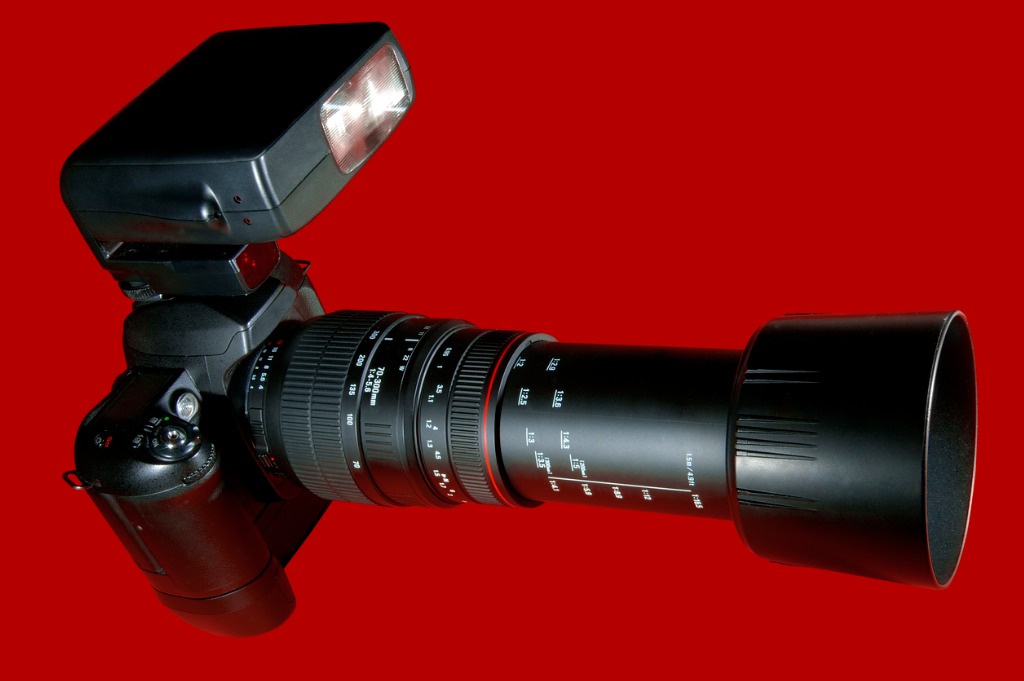
photo by basslinegfx via iStock
Our flash photography tutorial continues with a look at how camera modes and flash modes work together to make your flash exposures. Camera modes that affect flash exposure are the automatic, semi automatic, and manual modes for the settings of lens aperture and shutter speeds, plus the autofocus modes.
While it’s easy to see how camera exposure modes will affect flash photography exposures, it may not be readily evident how focus modes fit in here. The reason is because flash to subject distance is a primary part of the calculation for proper flash exposure.
Flash to subject distance readings helps determine just ahead of the actual exposure what shutter speed and f-stop or lens aperture are going to be, with the ISO setting being a part of the calculation, and then during the exposure itself, the flash and camera adjust exactly how light the flash will put out. These flash photography settings all happen virtually instantaneously when we are using the automatic modes.
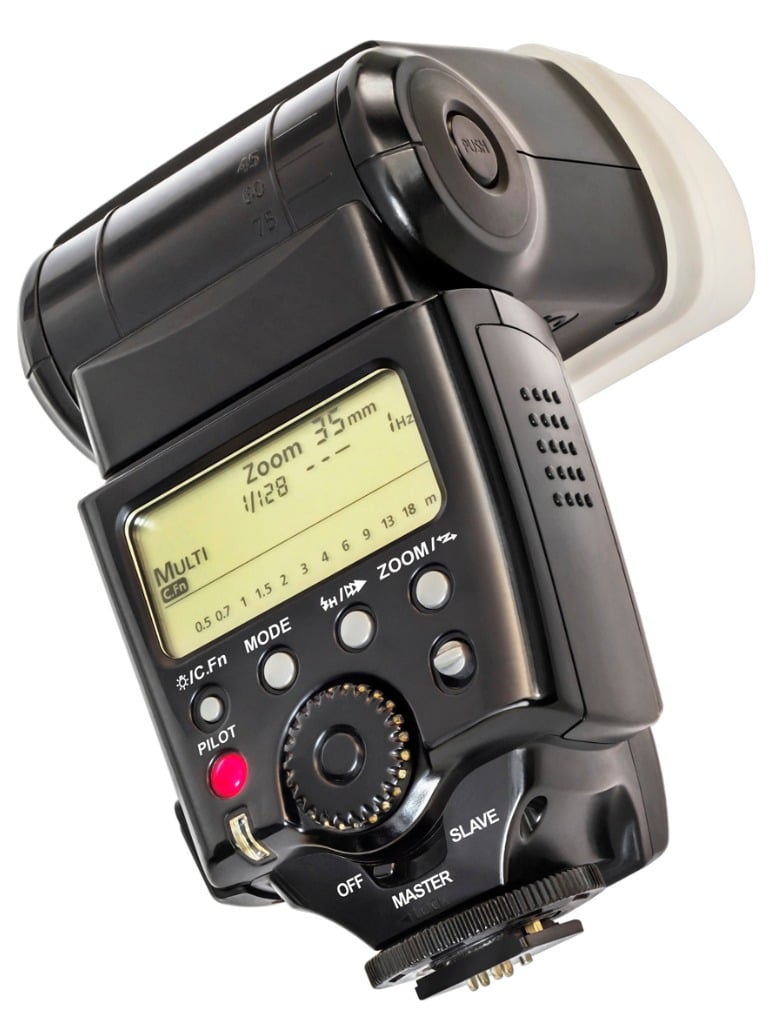
photo by Mubera Boskov via iStock
In order to have all of this automation work for us, we may have to adjust dials, knobs, and switches or delve into the camera or flash menu. For the simplest method, turn on AF, any of the modes, and then use P, A, or S camera exposure automation mode. Finally, make sure your flash is set to TTL auto, which may be labeled somewhat differently depending on brand. Check your instructions or online for the specifics of your gear.
Many of the cameras and speedlights also allow a huge variety of semi auto and fully automatic modes, too. If in manual modes, be sure not to exceed the maximum flash shutter speed of your camera, which is usually well marked and is most likely to be 1/60th, 1/125th, or 1/250th of a second.
Again, double check your instructions to be certain of this speed as you won’t get full images if the speed is too fast in manual. This has to do with the way shutter curtains or blades move across the sensor or film to make an exposure. The highest flash synchronization speed is the fastest speed that exposes the entire frame at once.
When and How to Use a Flash

photo by Jenae Spriensma via iStock
The final part of this beginner flash photography tutorial will cover some flash photography basics of when and how to use a flash. We’ll hit the most important parts of various situations, please look at some of our other tutorials that dive deep into the methods, techniques, or situations that interest you the most.
Advanced Flash Techniques Are Within Your Grasp
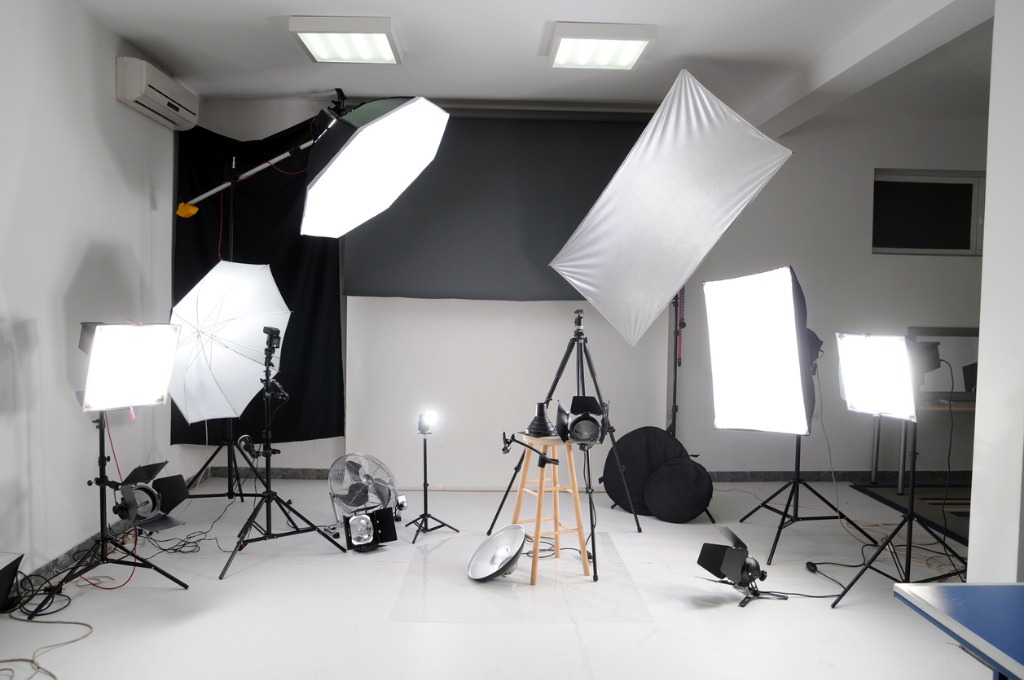
photo by Gizmo via iStock
This beginner flash photography tutorial has hopefully helped you overcome any reasons for hesitation of using flash in your photography. There are many ways to use flash that employ these simple techniques plus one or two extra things to consider as a photographer.
Thankfully, modern flash photography is a lot easier to do correctly than ever before, opening us up to applying our creativity while achieving correct flash exposures.