
Common Real Estate Photography Mistakes (Part 1)
- Basic Business Tips for Real Estate Photographers
- How to Market Yourself as a Real Estate Photographer
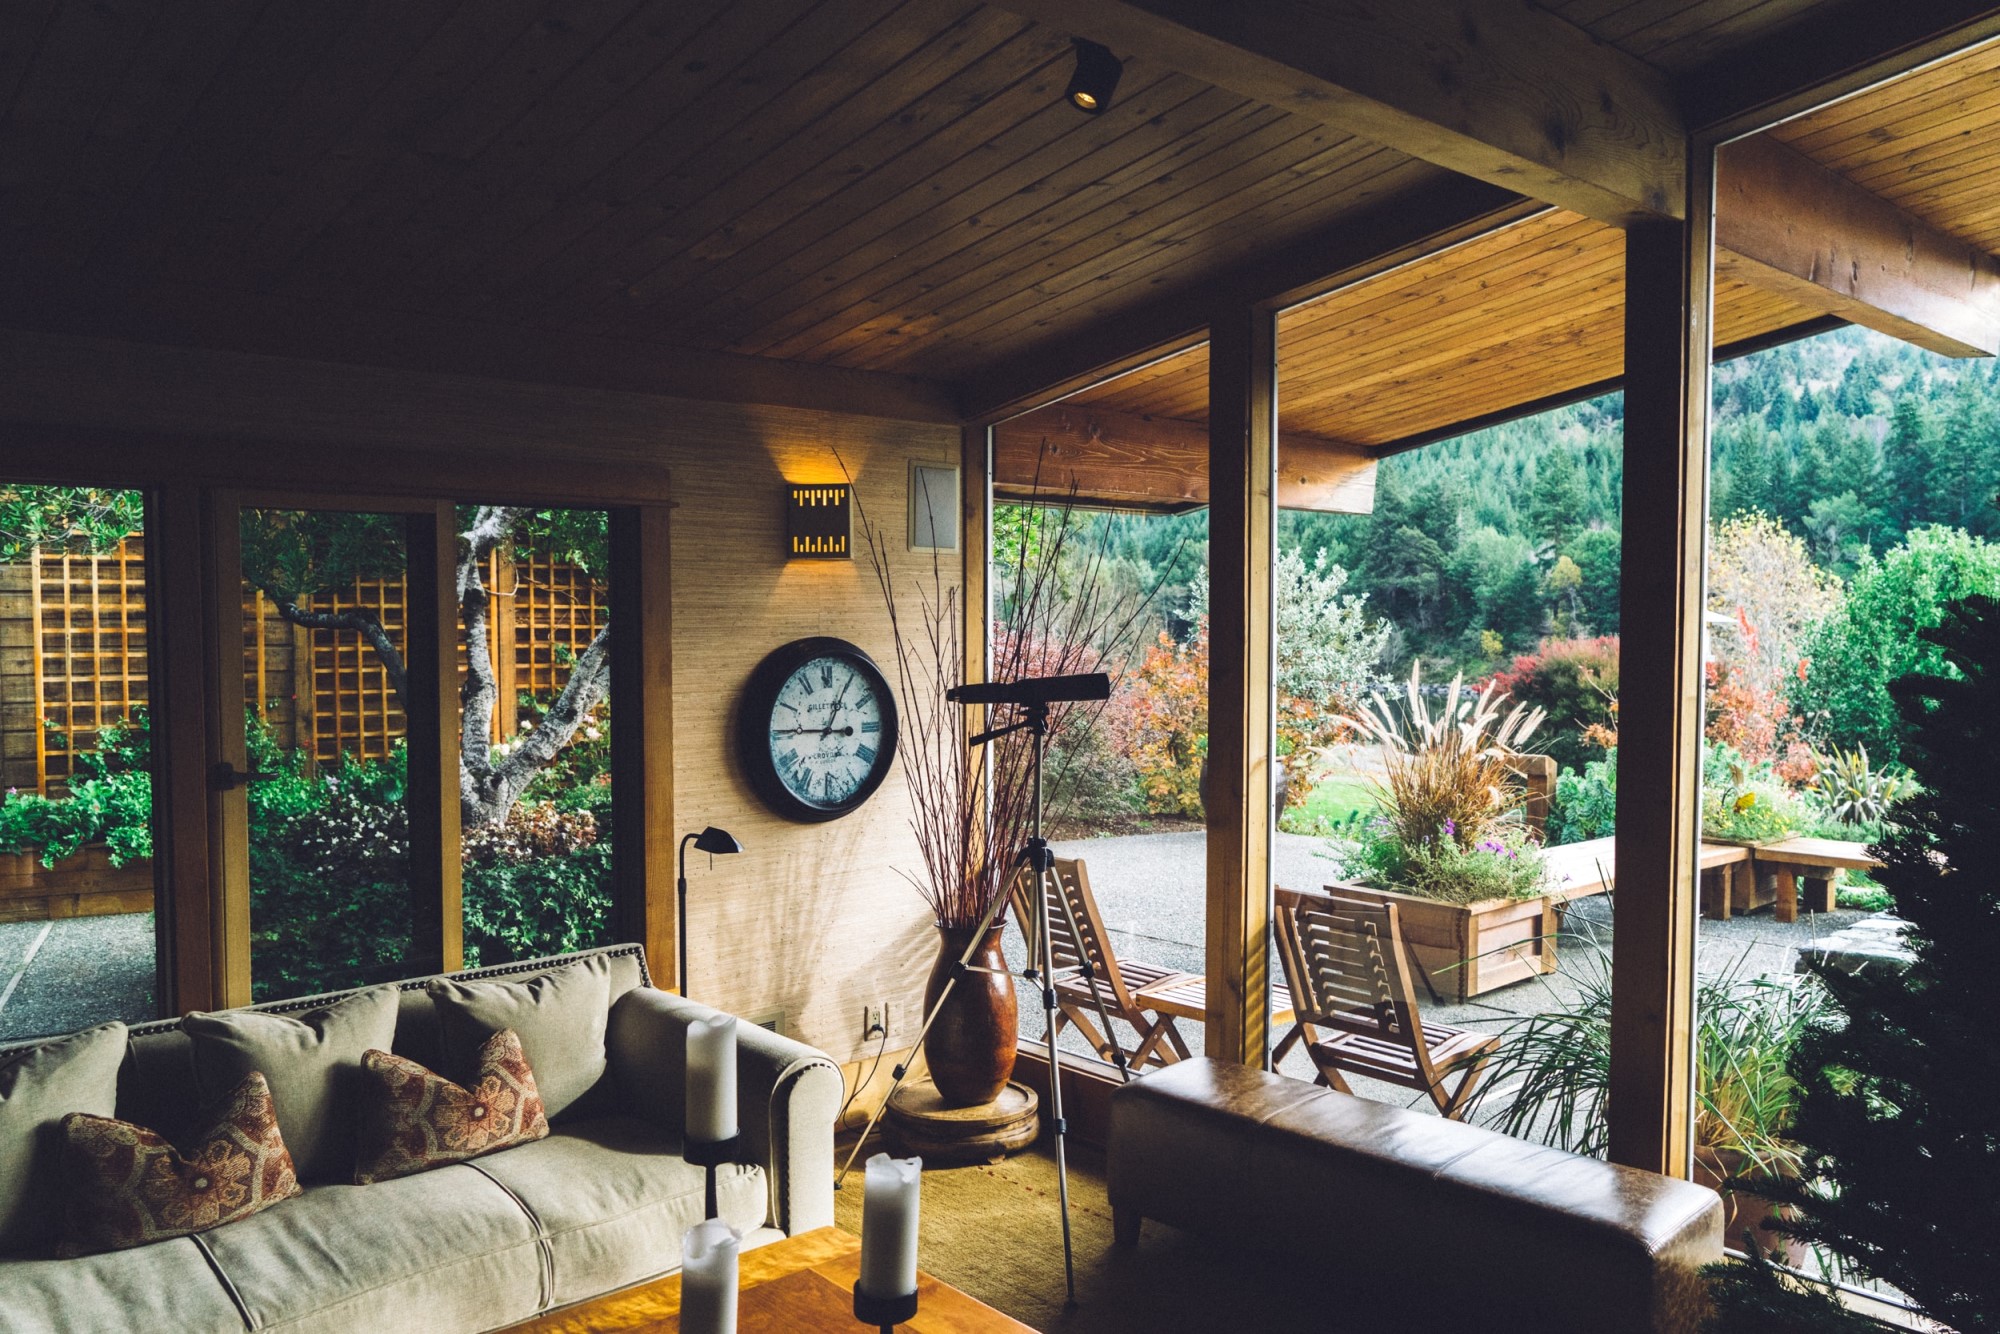
Photo by Joshua Ness on Unsplash
Like any other kind of photography, there are many mistakes that can trip you up in your endeavor to capture high-quality real estate photos.
From color temperatures that shift from one room to the next to forgetting to give your clients a to-do list to prepare the home before you arrive, you need to be aware of common real estate photography mistakes, that way you maximize your time and minimize the need for reshoots.
In this quick guide, you’ll learn about five mistakes to avoid at all costs. Let’s get started!
Forgetting to Tell Your Client How to Prep for Your Shoot

Photo by Jason Abdilla on Unsplash
Selling a home is a stressful event, to be sure. As such, many homeowners are distracted by the big picture element of selling the home and forget other details, like your photos, that can make the sale a reality.
Not every homeowner understands what needs to be done to create the best-looking shots, so assuming that they do is a big mistake on your part.
Just like a wedding photographer has a shot list they create with their clients, you need to create some kind of guideline for your sellers before you take a single photo of their property.
Photo by Jens Lindner on Unsplash
Reminders for the little things are often the most important as they can be easily overlooked. That is, most homeowners remember to clean the kitchen counters and make the bathrooms sparkle, but they might not remember to clean the windows to remove streaks and dirt or to iron the bedsheets so they aren’t all crumpled up.
It’s better to go into a real estate photo shoot thinking that the homeowner needs detailed reminders for preparing the property rather than thinking they already know what they’re doing!
Quick Tip: Provide homeowners with reminders to tidy up both interior and exterior spaces. Their Realtor should also provide home staging tips, and together, these to-dos and reminders will be a good start in prepping the property for marketing.
Including Crooked Lines
Photo by Kara Eads on Unsplash
Take a quick look at the above photo. Notice anything odd?
The vertical lines of the walls aren’t quite vertical, and it makes the room look off-balanced.
If the photographer of the photo above had looked up “beginner real estate photography tips” beforehand, then they would have known that with a quick shifting of their feet and leveling the camera, these distracting lines could be mitigated.
While you can fix this problem by changing your shooting position and the position of the camera, you can also easily correct crooked lines and perspective issues in post-processing. Either way, it’s a simple task, yet one that can have a profound, positive impact on your real estate photos.
Learn More:
Being Too Shy to Ask for a Property Release
Photo by Thomas Drouault on Unsplash
I go into every single contract with this mentality: I’m going to shoot the best shot of my career at this house.
And, if I’m going to shoot the best shot of my career, I’m going to want to show it off at some point.
But, I won’t be able to unless I have a property release. So, I make it a habit of getting a property release for every house, unless the owners have a really good reason not to sign it (i.e., someone prominent lives there).
I just send it along with the rest of my paperwork to make it seem like less of a hassle. If you’re my client you get my contract, my property release, and my invoice in the same email chain.
Beginner real estate photography tips lists always forget to go over the property release, which is a shame because it’s such an important part of being able to grow your real estate photography business.
Quick Tip: You don’t have to create a brand-new property release form on your own, as there are many excellent templates out there you can use for free.
Having Photos With Different Color Temperatures

Photo by Francesca Tosolini on Unsplash
It’s just a given that some rooms in a home are going to have warm light while others have cool light.
What’s important is that you strive to create a consistent color temperature across all the photos, that way the images feel like a cohesive set.
Adjusting the color temperature of images in post-processing is quick and simple, but there are things you can do when shooting the photos that will help too.
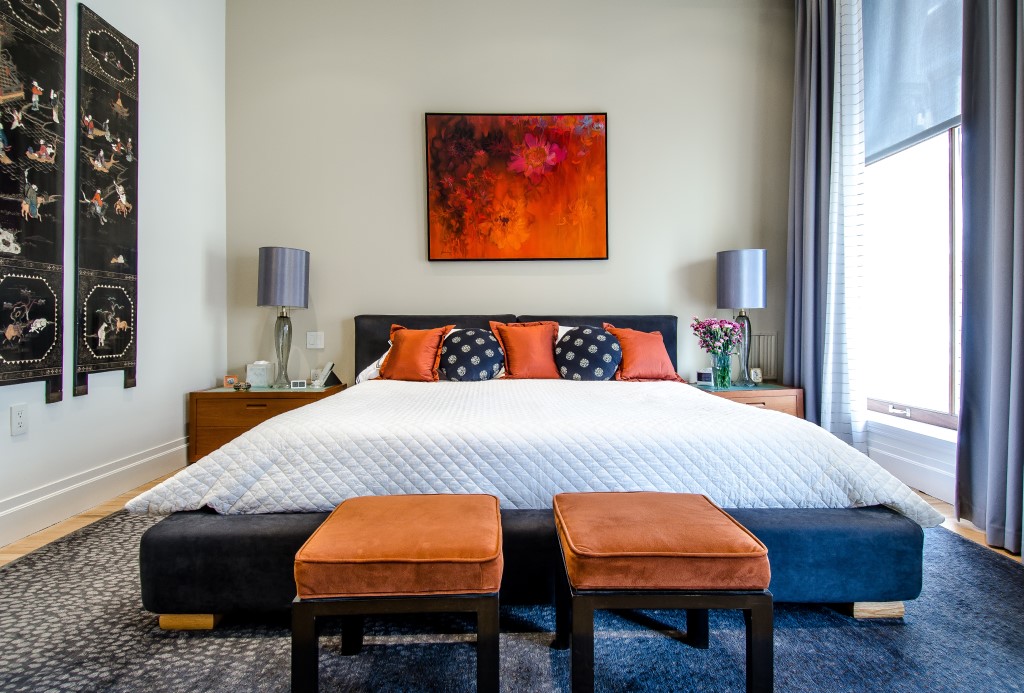
Photo by Francesca Tosolini on Unsplash
Primarily, you can rely on natural sunlight (more on that in a minute) rather than using artificial lights.
By turning off artificial lights when at all possible (as was done in the image above), you can avoid the color casts of light bulbs and instead get more consistent lighting coloration in each room.
Learn More:
Not Using Sunlight to Your Advantage
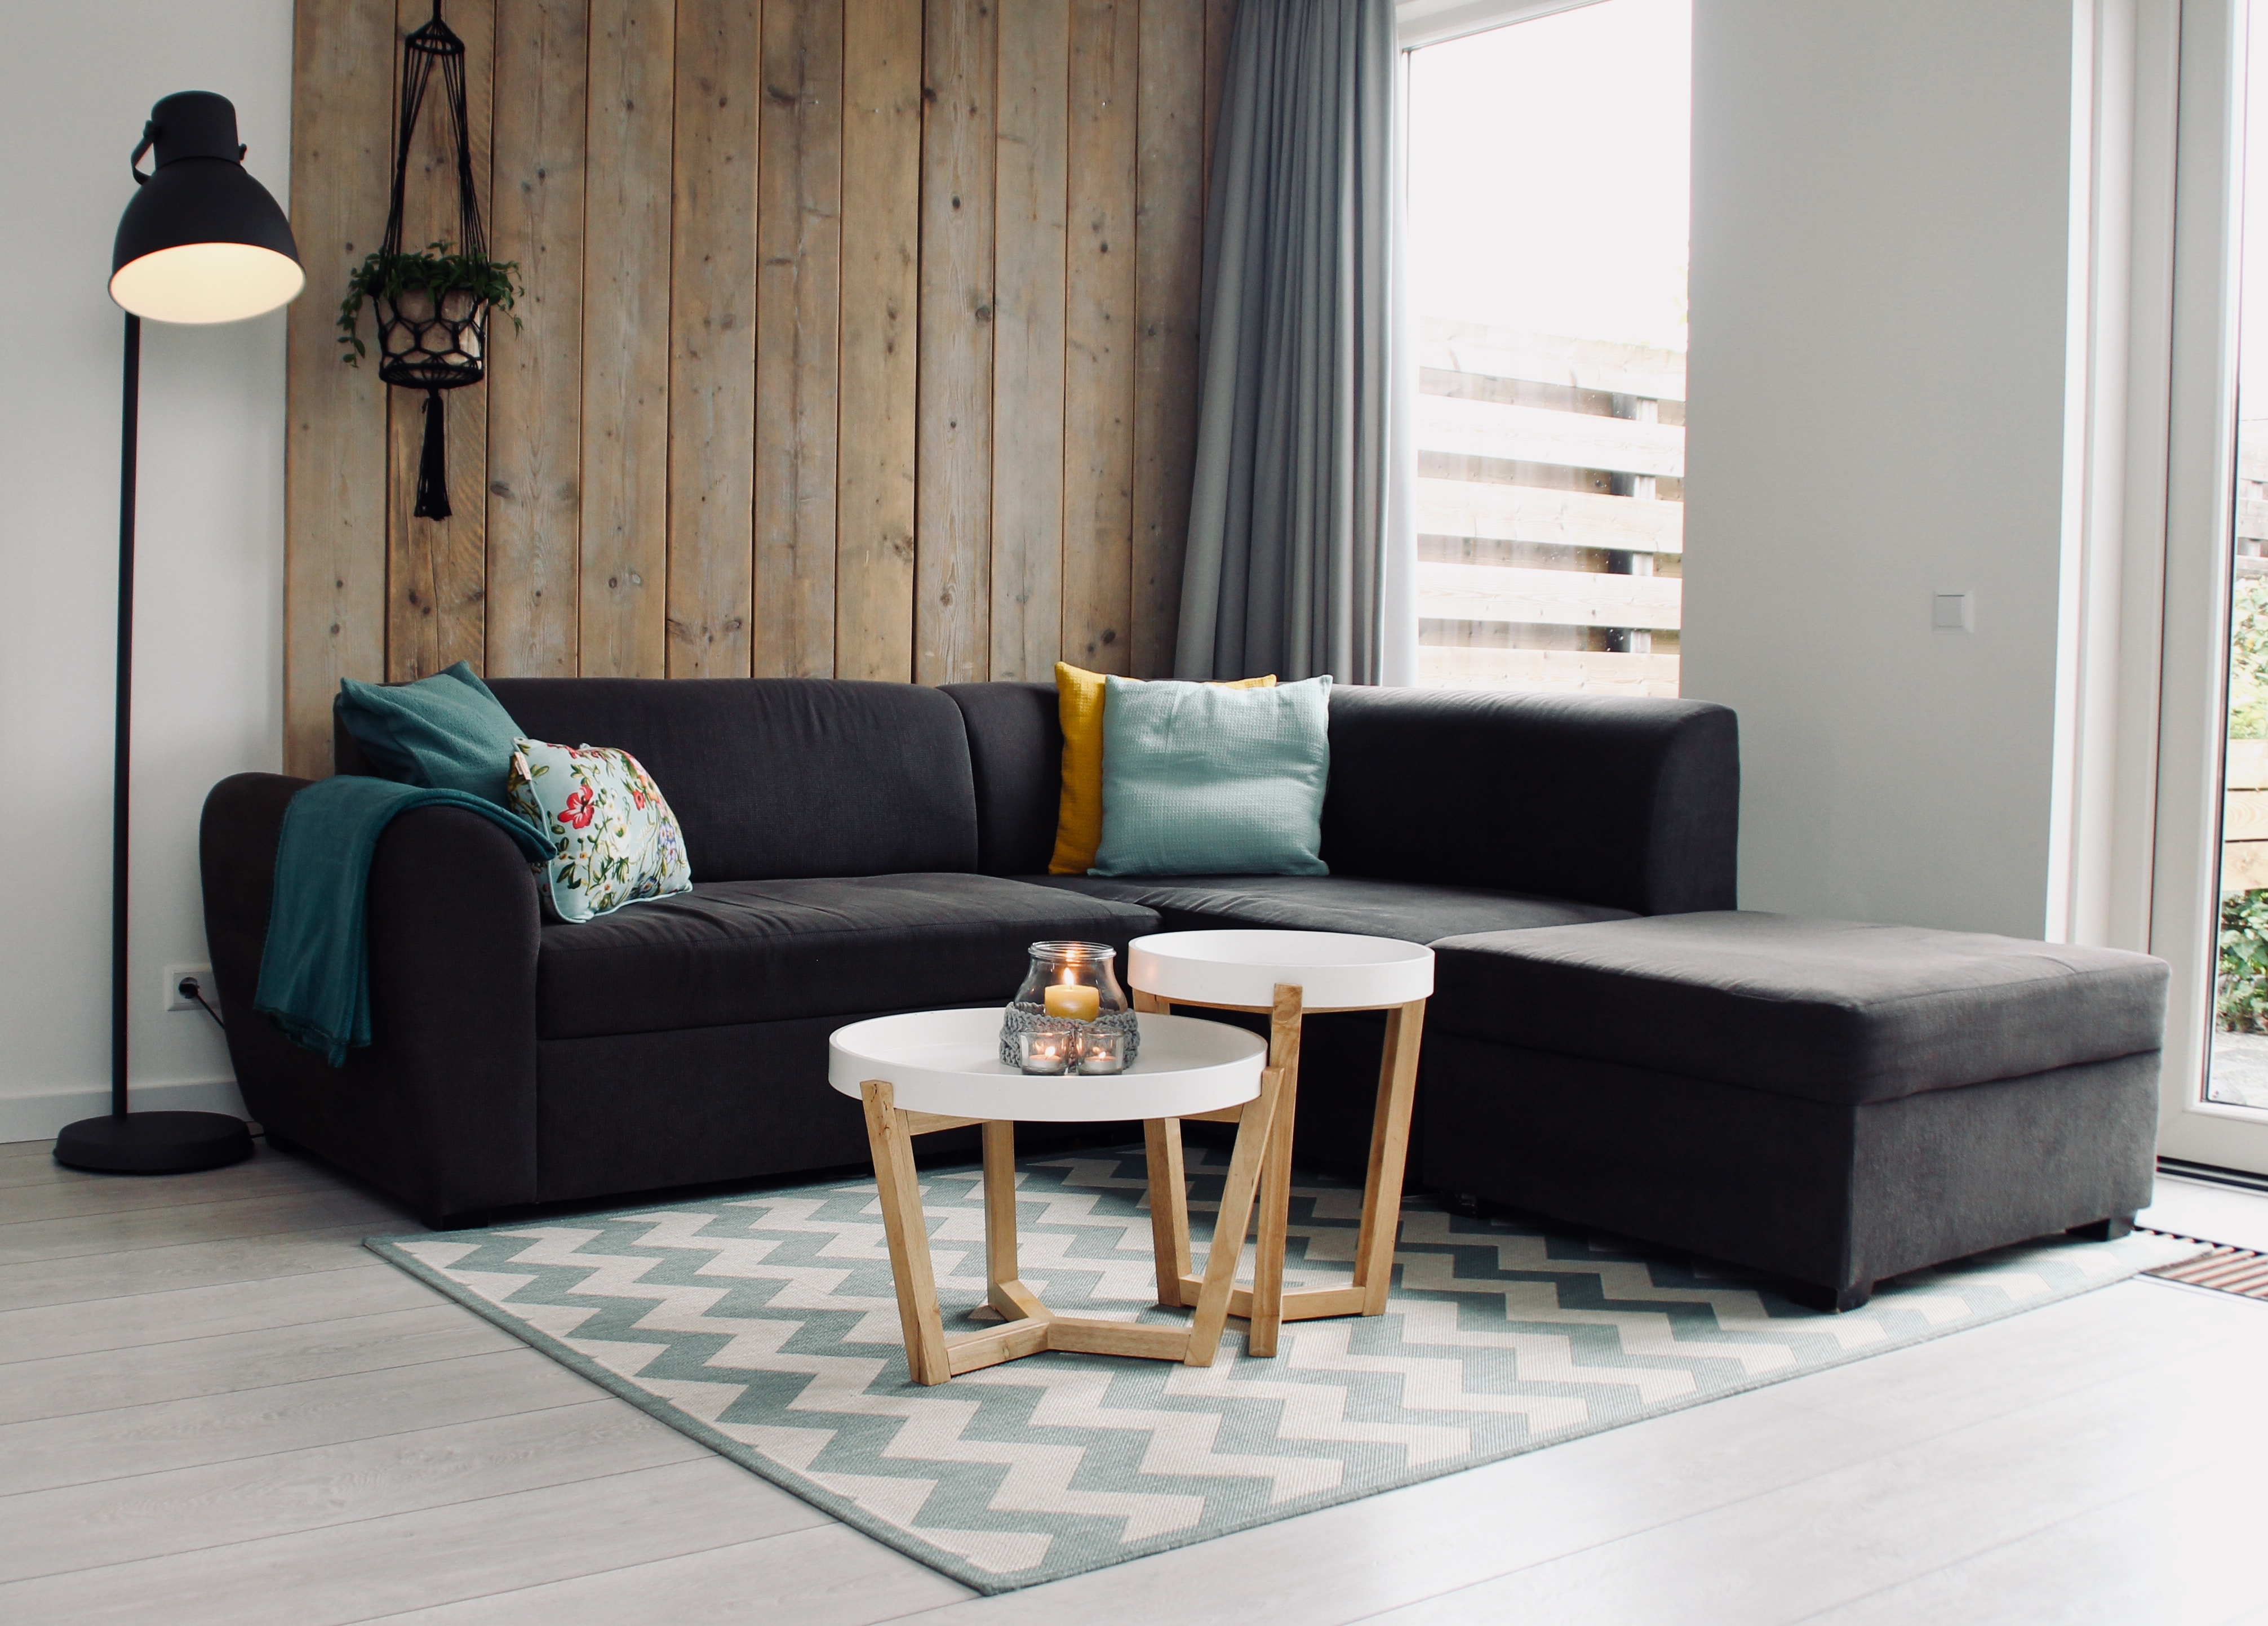
Photo by Sven Brandsma on Unsplash
As noted above, using natural light rather than artificial light for interior photos will make the task of getting a consistent look throughout your photos a much easier task.
Besides, natural light flooding into a room gives it a brightness and lightness that’s difficult to pull off when using artificial light sources.
The primary difficulty with using natural light is that windows and doors are much brighter than the rest of the room.
Fortunately, this issue can be easily overcome using the bracket and merge technique outlined in the video below.
As the video demonstrates, bracketing exposures allows you to capture highlights, midtones, and shadows in great detail, and merging them together gets you a final composite image that’s well-exposed throughout.
The sample images in the video show just how valuable this technique is in creating the most impactful real estate photos. After all, there is only one chance for you to help make a property give a good impression, and with this technique, that good impression is much more likely to occur!


