
Common Real Estate Photography Mistakes (Part 2)
- Best Camera Settings for Real Estate Photography Interiors
- Real Estate Photography Tips for Consistently Great Photos
- Professional Real Estate Photography Kit: What’s in the Camera Bag?
- How to Get Started in Real Estate Photography

Photo by Evelyn Paris on Unsplash
The list of what not to do in real estate photos is long. Real estate photography is more methodical than almost every other photography niche, and it shows when someone is new to the sport.
As a follow up to last week’s article on real estate photography mistakes, I bring you part two.
Not Asking for Feedback From the Market

Photo by Kobu Agency on Unsplash
Feedback from the market comes in two forms: direct feedback from your client and feedback from other professionals, including other real estate photographers and real estate agents.
I created a standard email that I copy and paste to each client after I finish working with them that asks for feedback.
I ask them to rate things like my communication and the finished product, and I leave some space for general comments. I want to know if one of my clients was expecting something I didn’t or couldn’t deliver.
You should also be listening to feedback from the property listing agent. While they might not have the photography background that you do, they most certainly have a good understanding of what works and what doesn’t from a marketing standpoint.
Quick Tip: Engage with other real estate photographers to get feedback on your work as well. While you might be in competition with these people for local jobs, the photography community is a welcoming and supportive one. You’ll often find that if you ask for guidance from a more experienced photographer that you’ll get a constructive response in return.
Using Direct Flash

Photo by Awed Creative on Unsplash
This is a real estate photography mistake that I see way too frequently...
While it might be tempting to set up flashes in a room like the one above, in which there is virtually no natural light at all, there is a better alternative.
Since artificial light can be so harsh and distracting, a better option is to bracket your exposures and merge them together.
This technique works great for all kinds of rooms, but particularly those in which there are bright windows. Since bracketing exposures gets you images that are exposed for the highlights, shadows, and midtones in a room, the final composite image is well-exposed throughout, revealing all the details of the space.
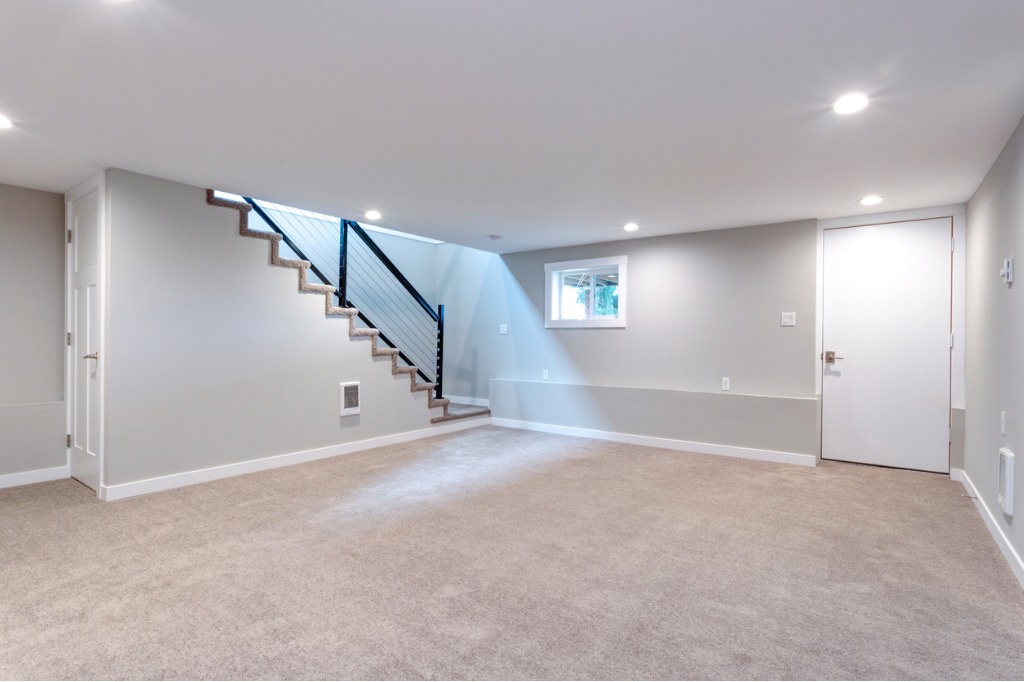
photo by alabn via iStock
However, it can also work for dim rooms with little natural light. Just turn on overhead lights and lamps to illuminate the room, bracket the exposures as you normally would, and merge them together in post-processing.
As I noted in the first part of this two-part series, keeping an eye on the color temperature is absolutely critical. This is particularly important when you have to turn on artificial lights to illuminate a dark room because incandescent lighting has a much warmer color temperature than natural light.
Learn More:
Editing Photos Individually
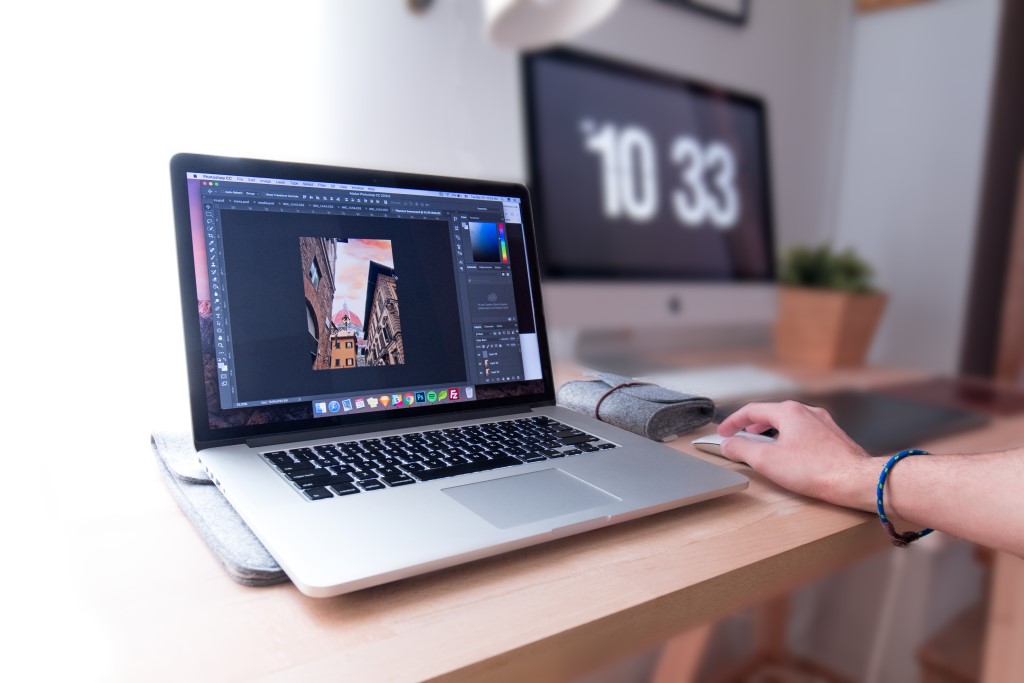
Photo by Domenico Loia on Unsplash
Not only is individually editing your photos a huge waste of time, but it also isn’t what your clients want.
Think of real estate photography more like Instagram than any other type of photography. You want your personal brand to be the same across the board on Instagram the same way you want your house to look the same in each room.
This is where presets come in.
The next time you edit real estate photos, make sure you save them as presets. Better yet, don’t edit each one of those photos the next time you’re editing, but edit the first one, select the rest of the shots and use the Sync button to copy those edits across the board.
Quick Tip: Alternatively, you can use a Lightroom plugin like this one to batch edit HDR images quickly and easily.
Not Adhering to a Shot List

Photo by Glenn Carstens-Peters on Unsplash
Beginner real estate photography tips will only get you so far in almost every case, but using a shot list is the one beginner real estate photography tip you need to remember.
If you’re going to make the most efficient use of your time, and you have to if you’re going into real estate photography, you need to keep a shot list with you in your car.
Most homes are not so unique that you will need to change this shot list very much. Plus, you can always change it if you realize you forgot something or the homes in your part of the world are a little different than anywhere else.
A shot list allows you to get in, get out and get the exact right photos you need in the process.
Learn More:
Shooting with Ultra-Wide Angle Lenses
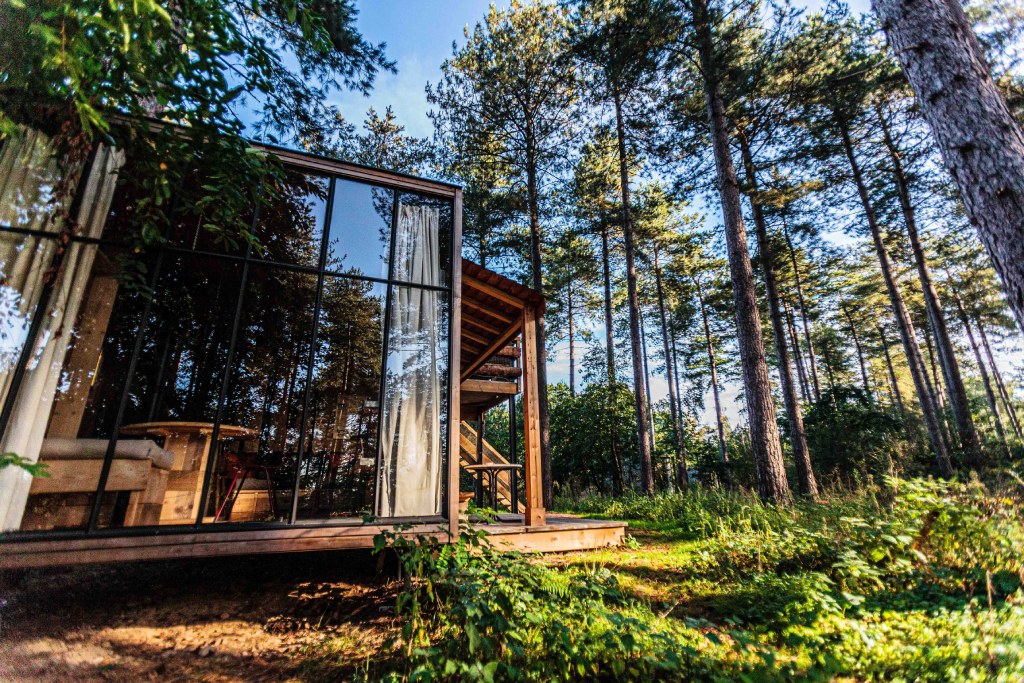
Photo by Kenny Timmer on Unsplash
There’s no reason to shoot real estate with a lens wider than 16mm.
While architecture photographers frequently use ultra-wide angle lenses, or fisheye lenses, this does not apply to real estate.
It will distort sizing of objects in your photos and your clients will not use them to list their house.
Plus, we talked about straightening lines in last week’s common real estate photography mistakes list. While using lens profiles will “de-fish” ultra-wide-angle lenses, they can be difficult to work with unless you really know the lens.
Instead, rely on traditional wide-angle lenses (i.e., a 24mm prime) or even zoom lenses (i.e., 24-70mm) for the bulk of your work.
If you follow these quick tips, you’ll be able to minimize your mistakes and create images that help get properties sold!


