Day 23 Lesson: Photograph Weather
Weather is a wide-open category with a lot of fodder for excellent photos from storms rolling across the plains to rainbows to moody, foggy landscapes. Perfecting weather photography takes an immense amount of practice. However, there are several basic tips that will help you start that journey towards snapping those incredible weather photos you so often see.
Tips for Photographing Lightning
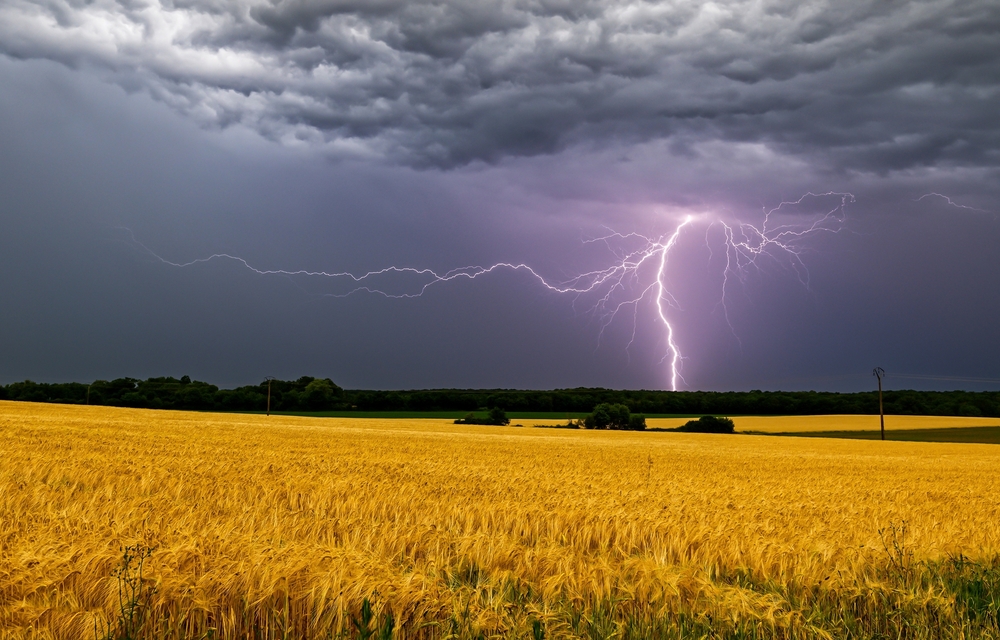
There’s a distinct beauty in lightning, even if it poses a significant danger to life and limb. And while there is a good measure of luck involved in getting good lighting shots, there are some fundamental steps you can take to set yourself up for success.
First, you’ll need a tripod and a remote release because to increase your chances of capturing lighting you will need to shoot a long exposure shot. Once your gear is set up, switch your camera to manual mode, put the aperture somewhere in the f/8 to f/11 range for a good depth of field, and set your shutter speed to 30 seconds. Manually focus your lens to infinity and frame the shot such that there is plenty of sky in the composition.

After that, it’s mostly a matter of firing your shutter at the right time and getting lucky. Naturally, if your images are wildly underexposed or overexposed, you will need to make adjustments to the aperture and shutter speed to correct that. But with a little practice and trial-and-error, you should get the feel for how to photograph lighting.
Tips for Photographing Rainbows
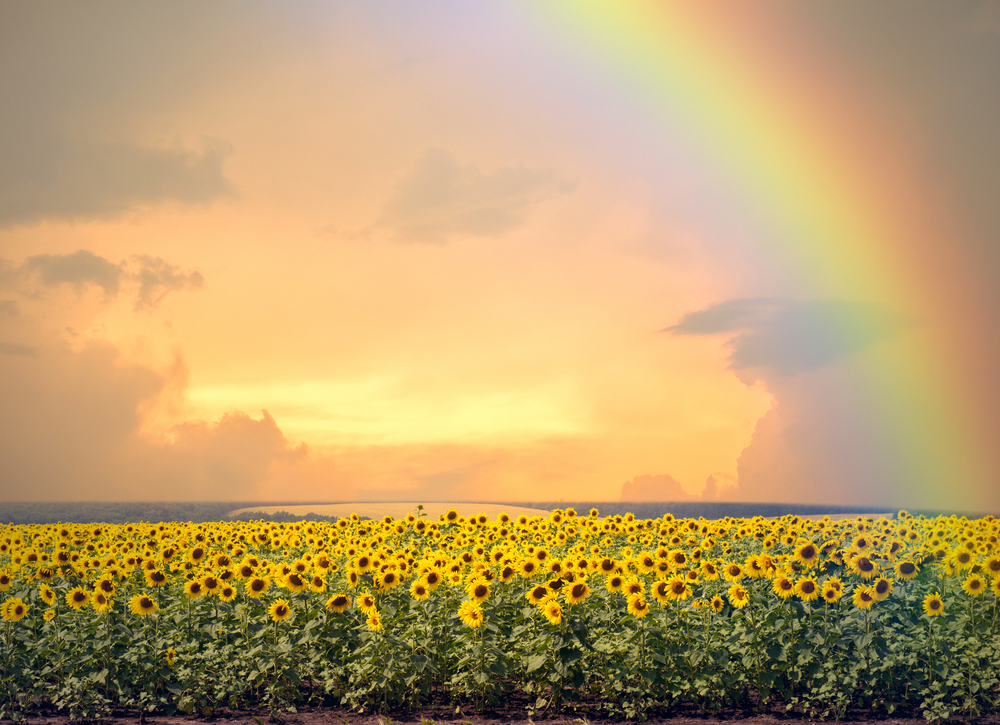
Rainbows are naturally beautiful but tend not to translate well in photographs. Part of the problem is that rainbows are actually pretty dull when composed in a shot all by themselves, as you can see in the image above. Instead, try incorporating something else of interest in the shot that enhances the value of the rainbow.

In the image above, the presence of the rainbow is enhanced by all the visual interest in the foreground of the shot. The grass gives the foreground a lot of texture while the road leads the eye deeper into the scene toward the rainbow.
The camera settings you will need to photograph rainbows will depend on a whole host of factors, including available light and the distance between you and the rainbow. But a good rule of thumb is to go for a small aperture to maximize depth of field and a slower shutter speed to get a properly exposed image. Try for an f-stop in the middle range of your lens’ capabilities, say f/11 to begin with. A shutter speed of 2-5 seconds is a good place to start as well.
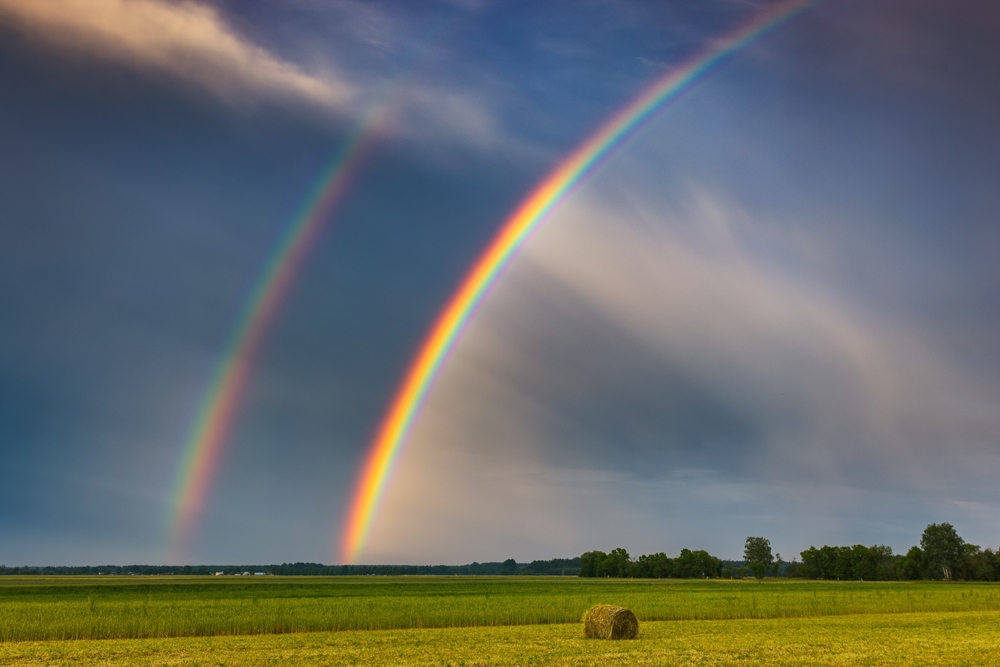
If you have a polarizing filter, use it. Polarizers do a great job of deepening the range of colors in a rainbow. If you are without a polarizing filter, you can get a similar effect by slightly underexposing your image. This will increase the saturation and help the rainbow to stand out.
Tips for Photographing Fog and Mist

The mood and mystery created by the presence of fog are hard to beat. But it can also be incredibly hard to photograph well.
The culprit of most fog photo fails is light. Remember, clouds act as giant diffusers, so when you’re photographing fog and you are quite literally in the clouds, the impact on the photo can be quite pronounced. The scene may look overly flat, and you might end up with underexposed images because fog reflects light and will trick your camera into thinking there’s more light available than there actually is.
To get around this, use your camera’s exposure compensation feature to overexpose the image. One or two stops should do the trick to bring the exposure of the image to normal. It is also a good idea to keep your exposure times toward the long side, again, to help your camera gather the light it needs for a proper exposure. But be warned – keep your shutter speed to 1 second or faster. Anything slower may capture the movement of the fog and result in a blurry image.
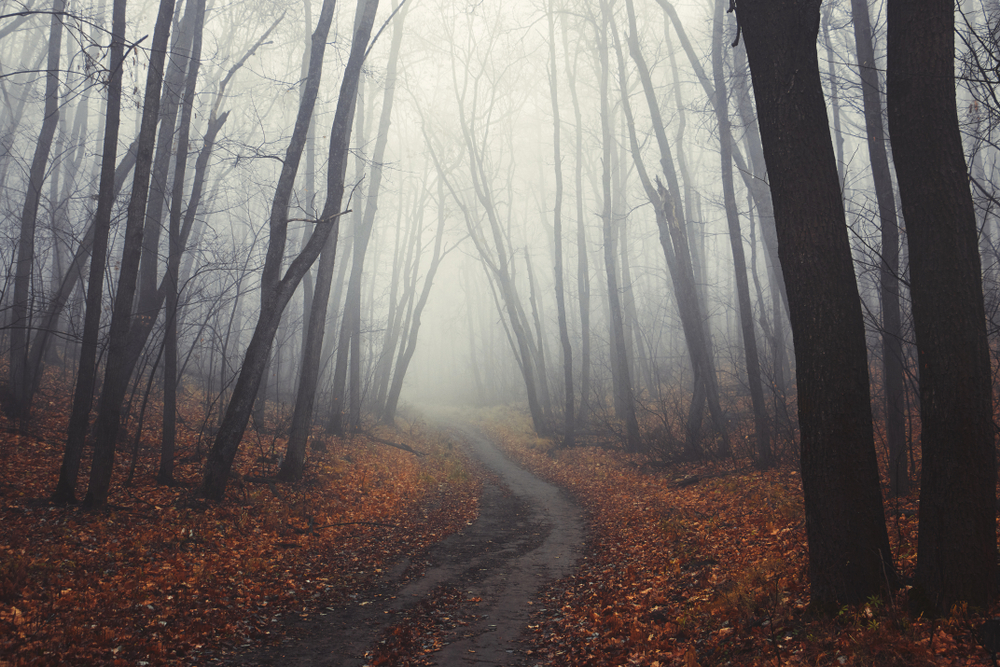
To help give depth and dimension to your foggy shots, find interesting foreground elements to include in the frame. This is a great trick for virtually all photos, but given the flat nature of foggy photos, it is especially helpful. Something colorful and with contrast will help too, as it will give a much-needed punch to an otherwise soft image.
Practice and Participate!
This is by no means an exhaustive list of weather-related phenomenon you can capture for today’s challenge. However, the weather photography tips we’ve included here should give you a strong foundation for photographing some of the more common weather events that occur in your area.
Remember, weather photography is just as much about being in the right place, at the right time, as it is about composition and camera settings. But becoming familiar with the best settings for lighting, rainbows, and fog, and getting out there and practicing your composition are important steps to take in your pursuit of photographing weather.
Once you’ve taken and processed your images, upload your favorite one to the forum thread for this challenge. You can also admire the work of other Photography Talk users, and maybe even get inspired to tackle another weather photography challenge in the future.