Day 9 Lesson: Photograph Birds
Birds are plentiful in our everyday lives, and can make for a convenient subject to photograph. But there are certain obstacles you must be able to overcome to capture the quick movements of birds.
Today’s challenge is all about snapping photos of birds. We’ve put together a short list of quick and easy tips that will help you in that endeavor. Let’s begin!
Properly Equip Yourself
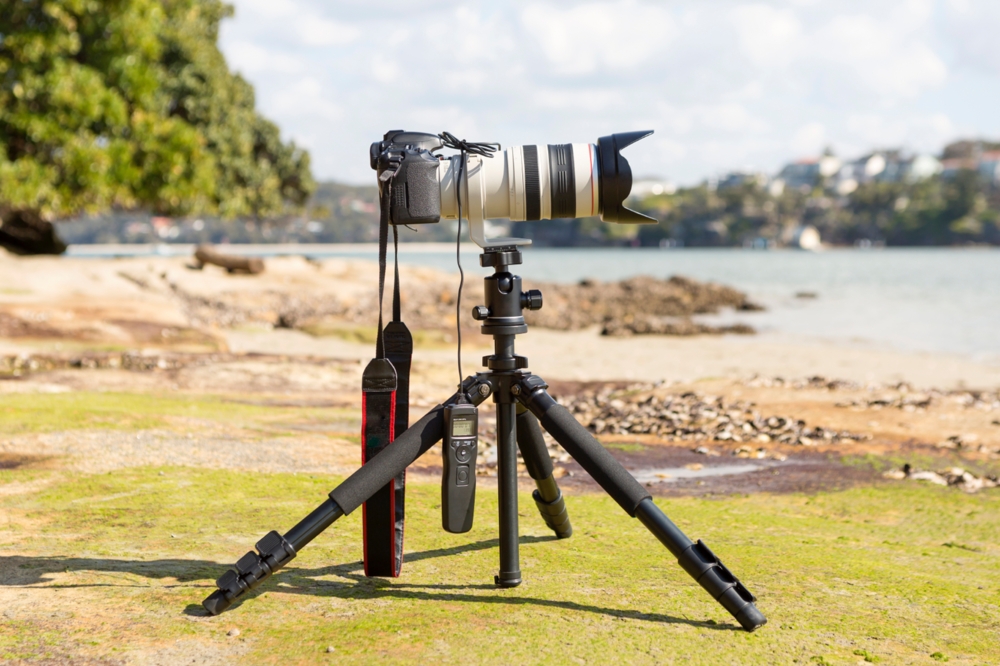
You don’t have to go out and buy all kinds of fancy camera equipment to photograph birds. If you’ve got a DSLR and a kit lens, go with that! But if you have a telephoto lens at your disposal, especially one in the 300-400mm range, you’ll have more options for capturing the activity of birds in a still image. Not only will you be able to photograph birds that are farther away, but you’ll also be able to zoom in on birds for tightly framed shots.
A must-have piece of gear is a tripod, especially if you use a telephoto lens when photographing birds. The stability of a tripod will help prevent camera shake, and if you have a ball head on your tripod, you’ll be able to easily and smoothly change the positions and angles from which you shoot.
Camera Settings: Shutter Speed, Aperture, and ISO
You will need to shoot with a fast shutter speed, especially if you want to capture an image of a bird in flight. A good place to start is 1/500 sec. If that proves to be too slow, continue to select faster shutter speeds until you’re able to freeze the image of the bird.
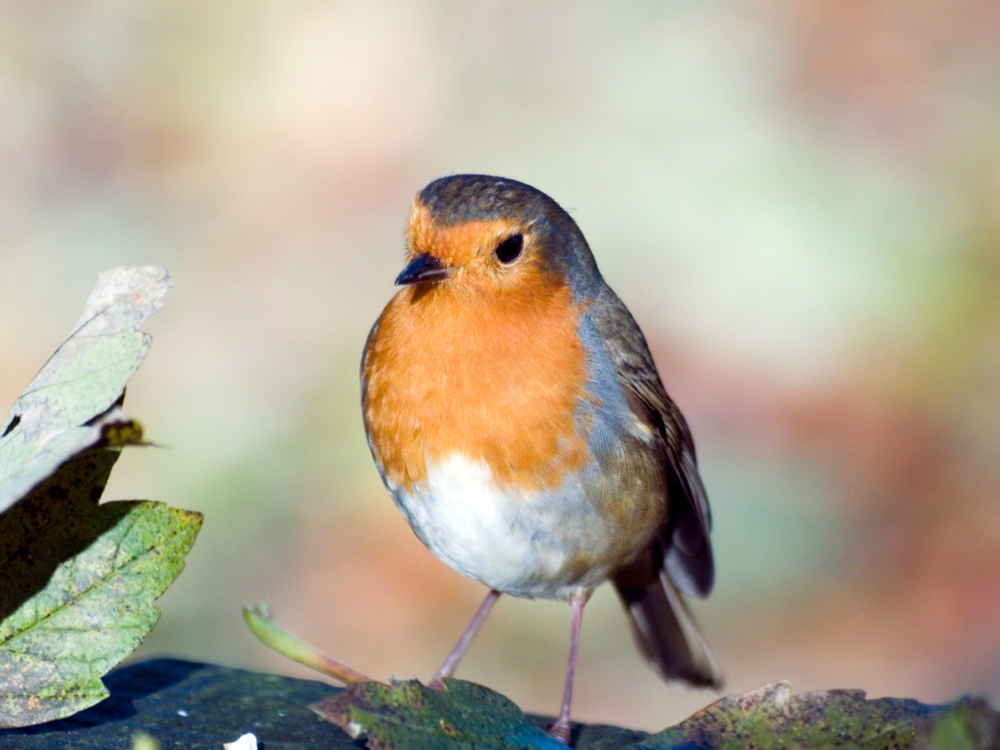
When shooting birds, get out of auto mode and put your camera in aperture priority mode. This puts the power of determining aperture in your hands, so you can make the adjustments you need to get an appropriate depth of field. Typically, bird images benefit from a shallow depth of field. This puts the bird in sharp focus while blurring the background, which helps the bird stand out, as seen in the image above. A wide aperture in the f/4-5.6 range will do the trick, and will also allow you to shoot at faster shutter speeds to keep up with moving birds.
When selecting your ISO, 400 is a good place to start. If you find that your images are a little too dark, you can increase the ISO to make the camera sensor more sensitive to light. But beware – if you crank up the ISO too high you run the risk of an image with a lot of noise.
Photographing a Bird in Flight
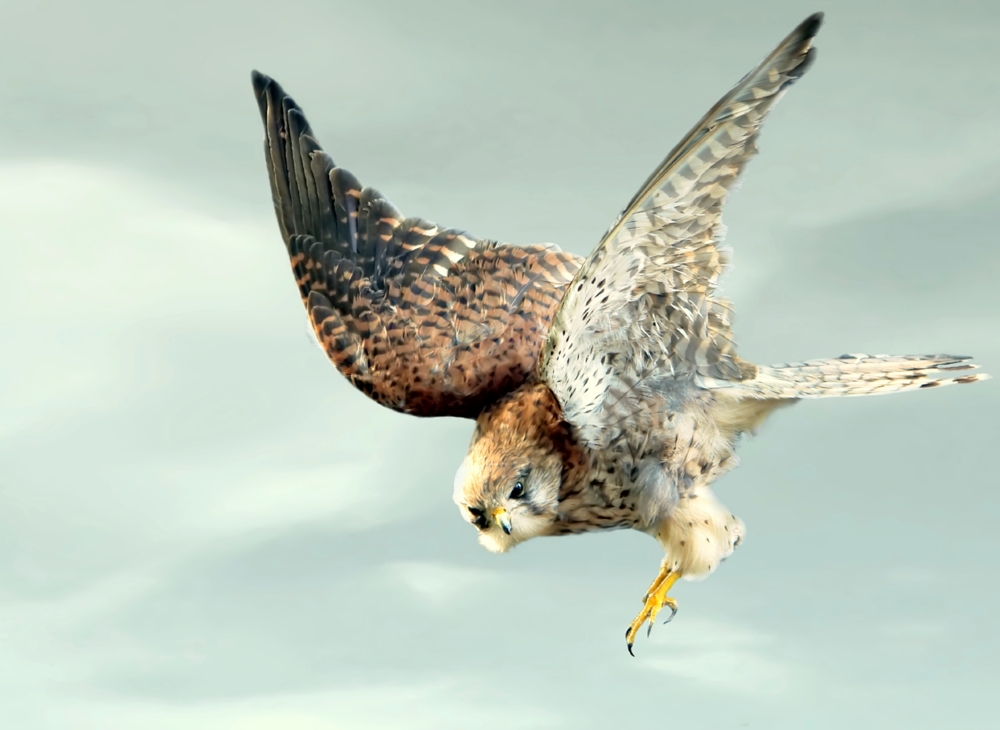
A photo of a bird in a tree can be great, but a photo of a bird in flight is much more dynamic and interesting. However, the movement of a bird in flight makes it much more difficult to get a good shot.
To give yourself the best chance of snapping an image of a bird in flight, compose your shot in advance. If, for example, you’ve spotted an eagle on a perch, pre-frame the shot such that the bird has room to fly into the frame. This also works if you’ve noticed a bird already in flight – get your lens aimed ahead of where the bird is going so it can fly into the frame when you trigger the shutter.
Another quick solution is to put your camera in continuous shooting mode. This will give you the ability to rapid-fire the shutter and get a string of photos as the bird is in flight. With more photos in the sequence, the greater the likelihood that you will get that one amazing image of a bird in flight.
Practice and Participate!
Finding birds to photograph will likely be the easiest part of this challenge. You need not go any farther than your yard to find a subject! But before heading out, ensure that you’ve got the gear you need to give yourself the best opportunity of photographing a bird. Also preset your DSLR to the appropriate shutter speed, aperture, and ISO, that way you are immediately ready to shoot.
Also challenge yourself to tackle photographing a bird in flight. Use the framing tips we mentioned above, and shoot in continuous mode to give yourself the best chance of success. Then, as always, select your best work and upload it to the forum for this challenge and share your bird photography with your fellow photography enthusiasts!