
Easy Real Estate Photography Tips for Better Interior Photos
- Shoot From the Hip
- Bring Props
- Use Natural Light
- Use a Wide Lens
- Join a Real Estate Photographer Class
- The Business of Real Estate Photography: A Comprehensive Guide to Starting your own Real Estate Photography Business
- Photographing Real Estate Interiors and Architecture: A Comprehensive Guide to Equipment, Technique and Workflow for Real Estate Photography
- Critical Real Estate Photography Mistakes You Can’t Afford to Make
- Real Estate Photography Staging Tips
- Real Estate Photography: A Beginner’s Guide for Getting Started
- Budget-Friendly Real Estate Photography Gear
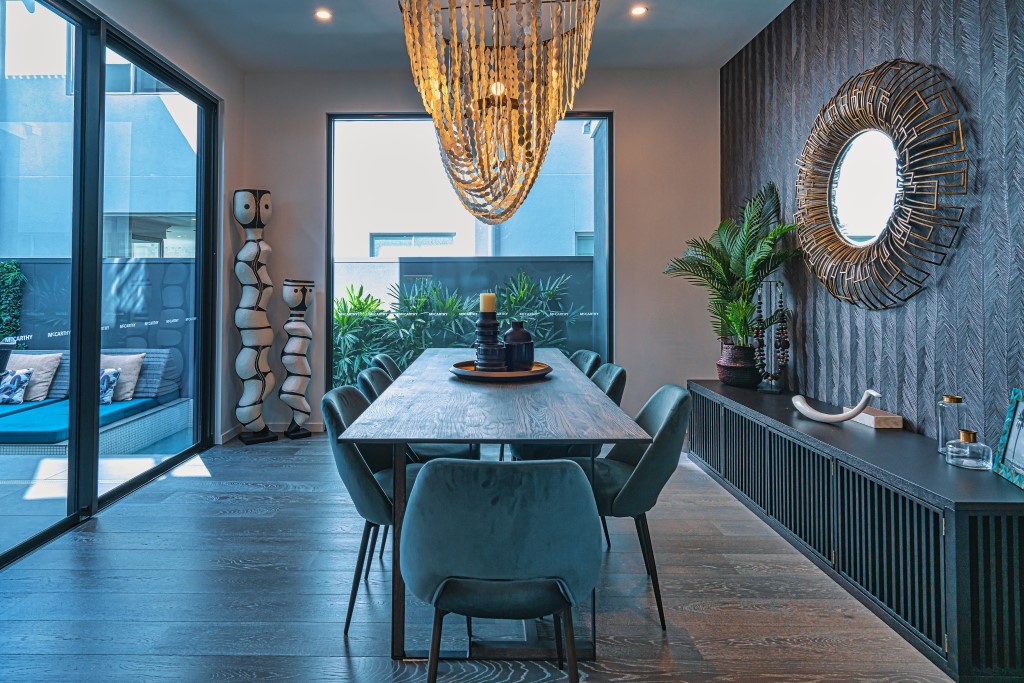
Photo by Michael Glass on Unsplash
It’s hard to sort through real estate photography tips online because you’re never quite sure what competing information to listen to, and this is especially true when it comes to grabbing the “perfect shot,” because the “perfect shot” is different to everyone.
But, there are some real estate photography basics just about everyone agrees on. In an attempt to boil down all the information floating around online, I wrote this real estate photography tips list for people just starting out in the trade.
But, don’t thank me, thank Mango Street for creating the awesome video on which I based this list. It’s filled with real estate photography tips for shooting interiors, but more importantly, it’s only a few minutes long, so even if you’re cramped for time, you can catch their tips.
Check out the video above, and for more details, keep reading below!
Table of Contents:
Shoot From the Hip
Photo by Chastity Cortijo on Unsplash
This is one of those photography tips made popular in street photography. But you can use a version of it to take better real estate photos, too.
With street photography, you’re literally shooting from the hip - just holding your camera low and snapping away.
Shooting from the hip in real estate photography is a little different in that it refers to shooting from hip height with your camera on a tripod.
Doing so allows the room to appear neutral with natural-looking lines. For instance, if you shoot from eye height, the image can have odd angles and look as though you’re looking down into the room rather than across it.
In the image above, this issue is rectified by shooting at hip height. Notice how the vertical lines are parallel with the edges of the frame - just what you want!
Quick tip: Always use a tripod to ensure you get a perfectly sharp image. Even if you feel as though you have steady hands, they aren’t as steady as a tripod!
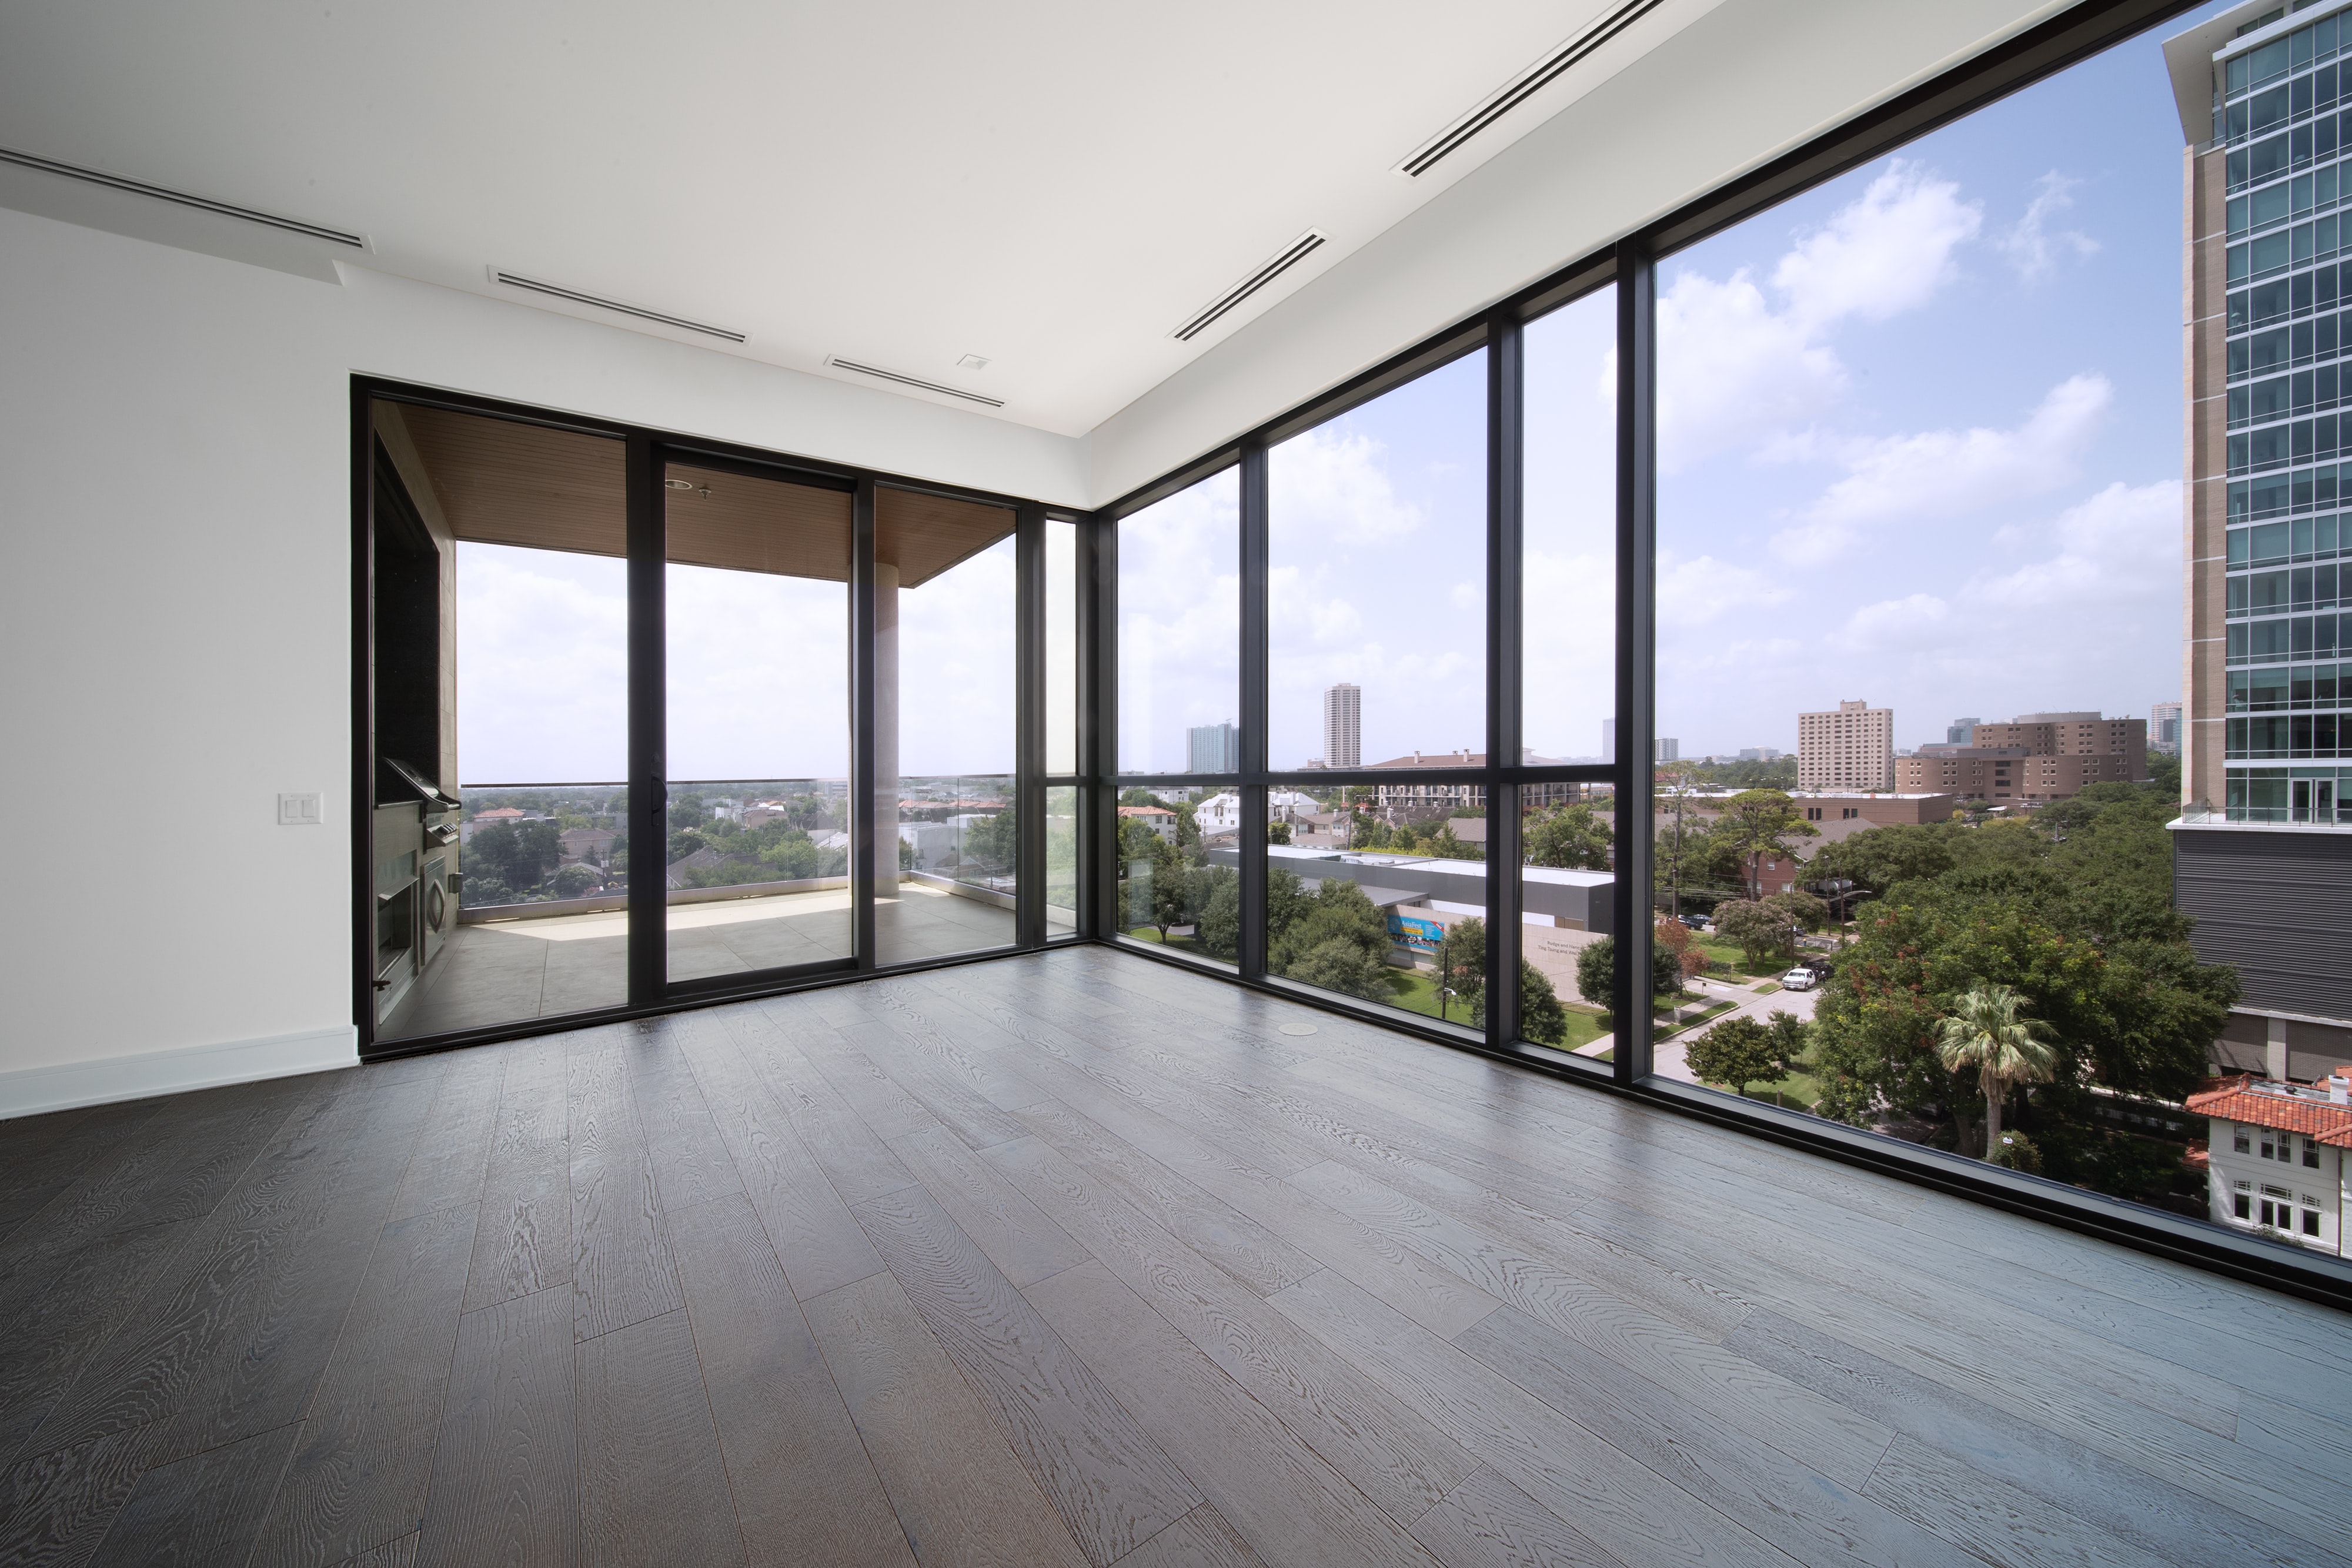
Photo by Random Sky on Unsplash
Shooting from hip height can also have the added benefit of making a room appear larger.
When people are shopping for properties online, they typically want large spaces. This is especially important with high-dollar or corporate clients.
In the image above, dropping the eye level to hip height allows more of the incredible view to be taken in by potential buyers. Since views often sell properties, this is a simple trick to both improve your photos and make a sale more likely.
Recommended Real Estate Photography Reading:
Bring Props

Photo by NeONBRAND on Unsplash
One of the hardest real estate photography tips to listen to is this: view your furniture as people.
Now, I understand that doesn’t make sense right off the bat, but in real estate photography, the furniture is an important subject. If you’re switching to real estate photography after having worked in another photography niche, then you’re going to need to get used to viewing your furniture as one of the stars of the show.
But, sometimes the star of the show needs makeup. For instance, a coffee table without a book can look pretty bland. Or, a shelf without any plants just sort of looks like a boring shelf.
Photo by Hutomo Abrianto on Unsplash
I always recommend real estate photographers bring a few books, small plants, neutral-colored throw blankets and pillows to their shoots to liven up any particularly boring shots.
Though many realtors ask their clients to stage their properties (or stage the property for them), this isn’t always the case. It never hurts to have a few eye-catching accessories in your trunk to bring a little more interest to your interior real estate photos.
Quick tip: Composition works the other way around as well. Did the homeowner forgot some dish soap by the sink? Remove it. Is a dog bed in the corner of the room making your shot look messy? Put it in a room you’ve already shot. Adding accessories can benefit your shots, but so too can decluttering!
Use Natural Light
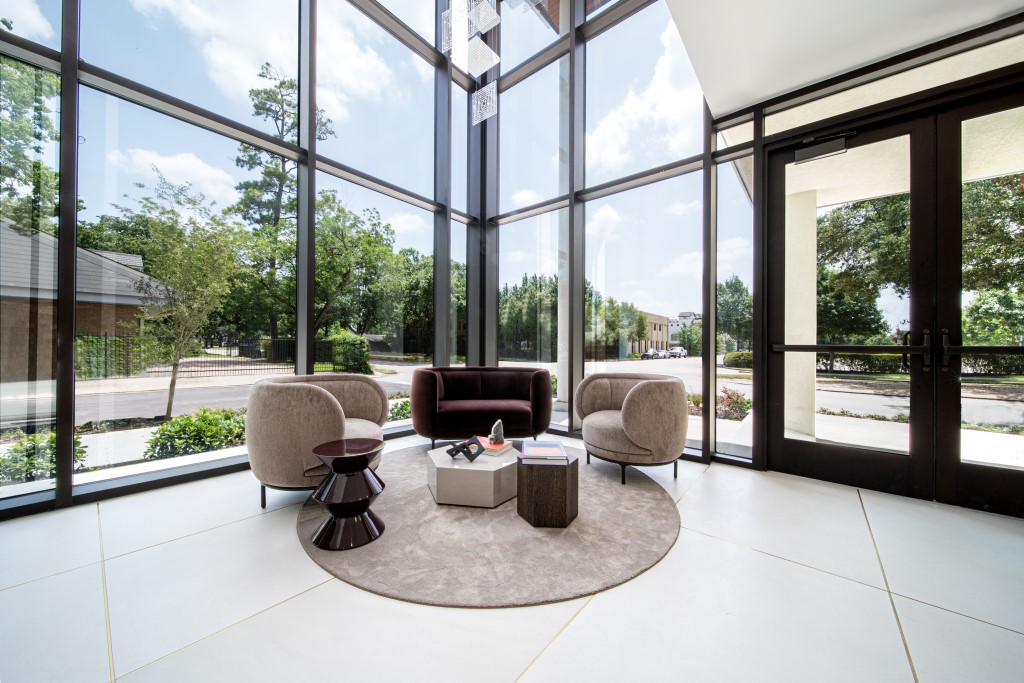
Photo by Random Sky on Unsplash
Real estate photography interior photos that use artificial light almost always look less welcoming. Artificial light can cast harsh shadows on walls and ceiling fixtures and mess with the color temperature of your shot.
As such, it’s important to shoot during the most bright time of day (typically between 10am and 3pm), that way the property is as filled with light as possible.
But using natural light doesn’t just offer the benefit of looking better. It’s also free!
Why would you want to lug around expensive lighting equipment when you can just rely on natural light while also getting a better result?
If you use HDR techniques and bracket your exposures, you can merge them together in post-processing to create a final image that is well-exposed throughout.
Doing so means you don’t have to worry about blown-out highlights or blocked up shadows. Instead, the images you create showcase the room’s features and help you put the property’s best foot forward.
If you’re not sure how to merge bracketed images together, check out the tutorial video above for a quick primer.
Learn More:
Use a Wide Lens
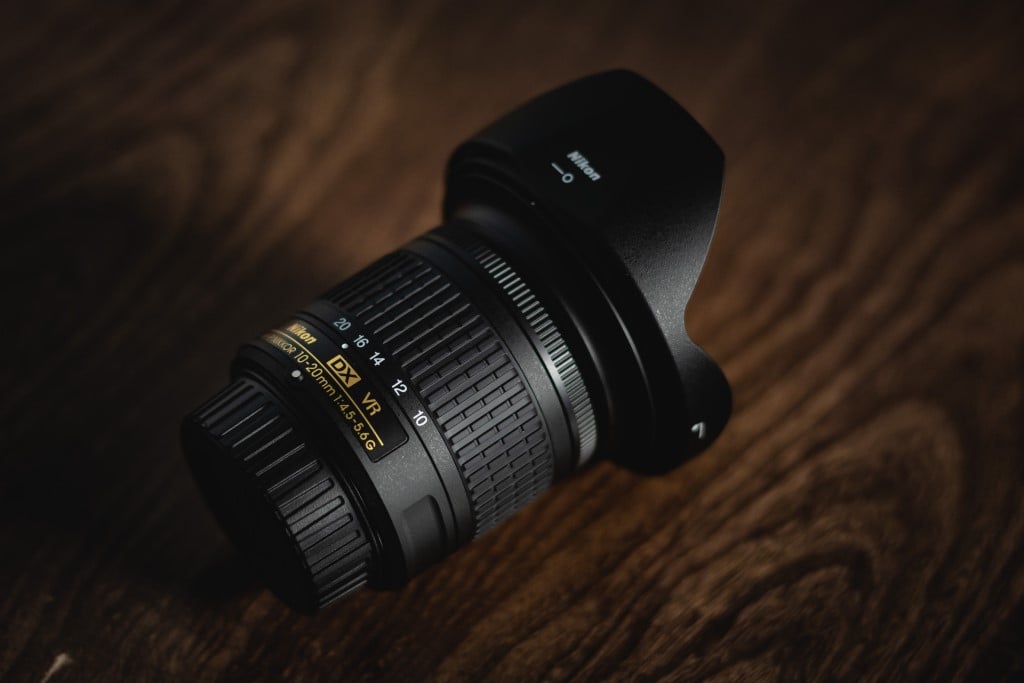
Photo by Ashkan Forouzani on Unsplash
While it’s great to have a wide variety of lenses to choose from, you’ll probably find yourself reaching for two lenses the most often: either a 24mm or 35mm and your nifty fifty.
The 24mm or 35mm is just wide enough to capture an entire room without being so wide that the room starts to look warped and distorted. This is a great option for exterior photography as well because it allows you to highlight the property in the context of its surroundings.
You can use your nifty fifty to snap close-up images of details you love about the property - interesting architectural details, custom features, and the like.
Granted, these focal length recommendations assume that you’re shooting with a full frame camera. If you use a crop sensor camera, you’ll need to take its crop factor into account.
Join a Real Estate Photographer Class
photo by dusanpetkovic via iStock
Real estate photography is a high stakes game because one client can make or break your career.
With that being said, you should exert additional energy into learning everything there is to know about how to photograph interior spaces, but moreover into learning everything there is to know about real estate photography as a whole.
Fortunately, others have learned the ins and outs of real estate photography through trial and error so you no longer have to.
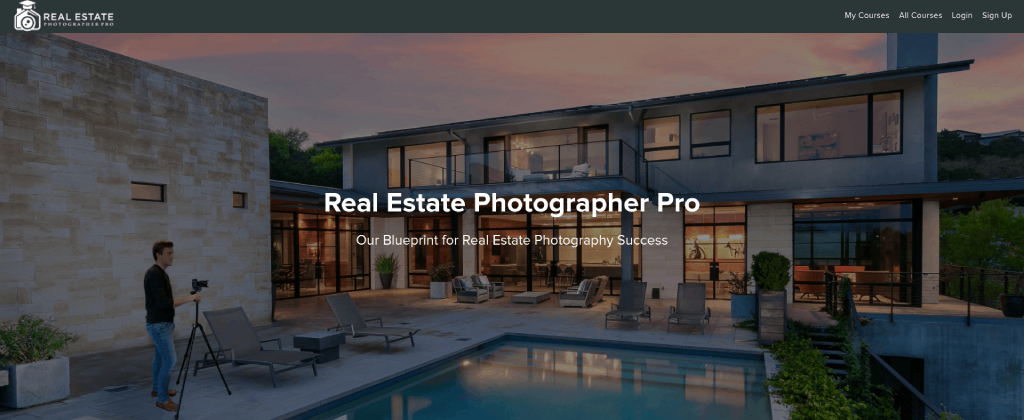
I joined Real Estate Photographer Pro based on the recommendation of a friend and I’ve never looked back.
Real Estate Photographer Pro has a ton of features like video tutorials, a members-only Facebook group, downloadable pictures, templates and presets, and, most importantly, access to a live Q&A every week. This course is basically a networking seminar and a certificate all wrapped into one.
Plus, if you purchase a membership and don’t love it as much as I do, there’s a 30-day money back guarantee. With no risk to you, why not give it a try?
You might just find that the tips you learn with Real Estate Photographer Pro help take your business to the next level.
Learn More:


