Essential Camera Accessories for Vlogging
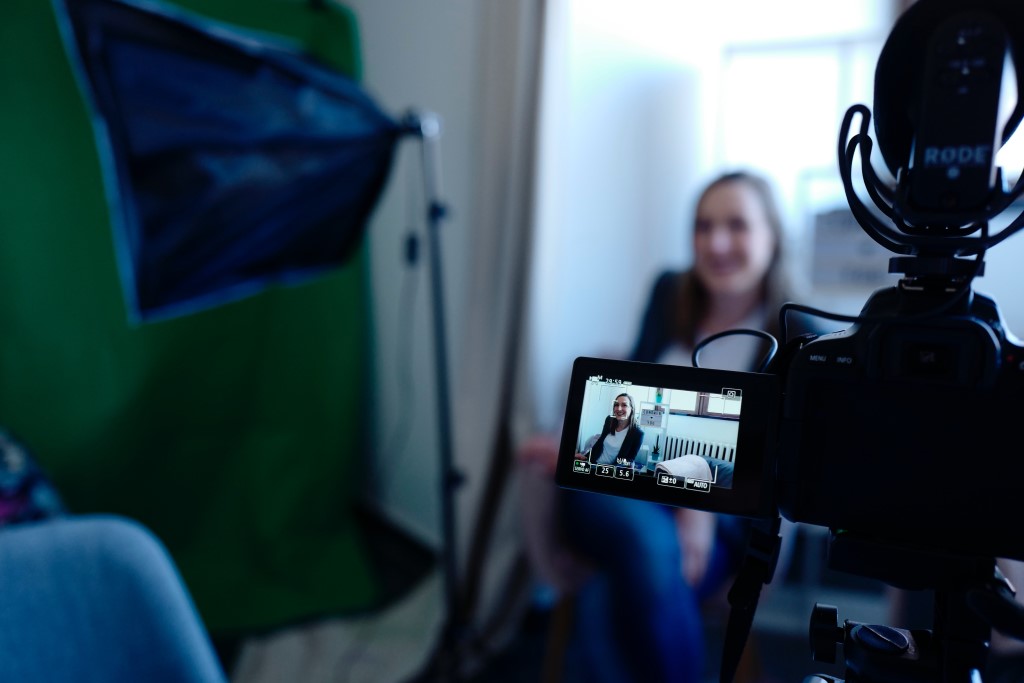
Photo by CoWomen on Unsplash
When I first started foraying into vlogging, I was overwhelmed with the amount of camera accessories for vlogging there is on the market.
How was I supposed to know which products worked and worked well on a budget?
Thankfully, I had mentors in the industry to walk me through all of these vlogging accessories (and mentors willing to tell me when I was going overboard on a project). As it turned out, I was going way overboard.
In an effort to prevent you from spending incredible amounts of money on vlogging accessories you really don’t need, I’m going to break down the bare minimum equipment you can get away with as a beginner vlogger.
Lighting
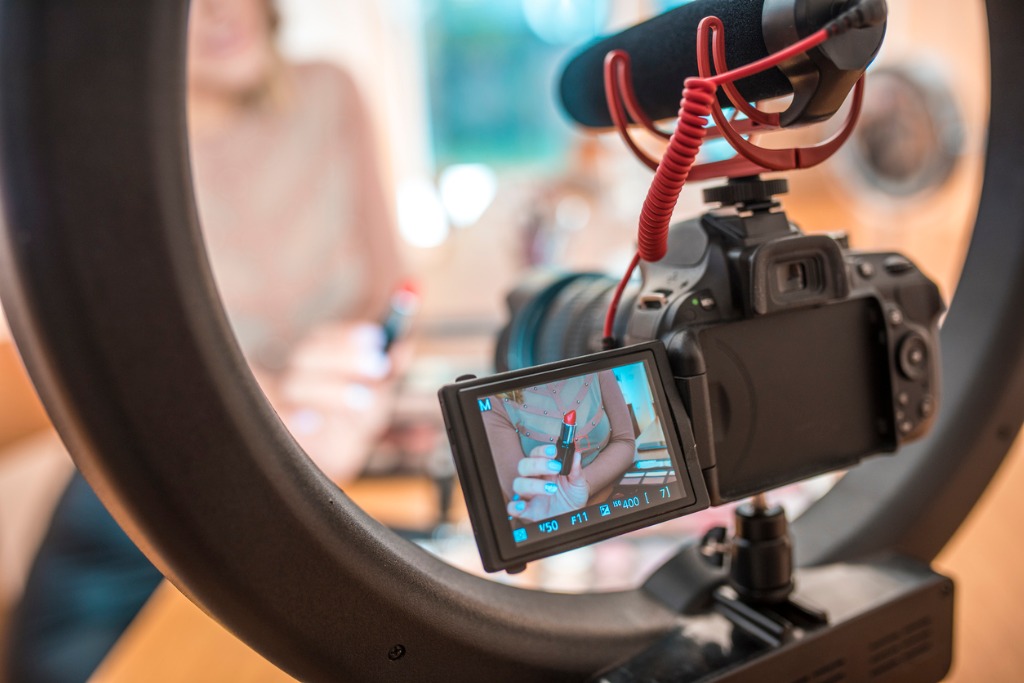
photo by AzmanL via iStock
People ask me, “what do you need for vlogging,” all the time and my answer is the same across the board: lighting. If you aren’t worrying about your lighting, you’re probably doing it wrong.
But, here’s the thing, you don’t need fancy lighting you just need good lighting that will properly frame you or your subject as the center of attention. I do not recommend relying on natural lighting for one reason: weather and humans are unpredictable.
The chances that it’s going to be overcast when you need to shoot an episode are high, as are the chances that your schedule could get thrown off and you may need to shoot at night.
So, one of the best accessories for vlogging are natural-looking light kits that are inexpensive.
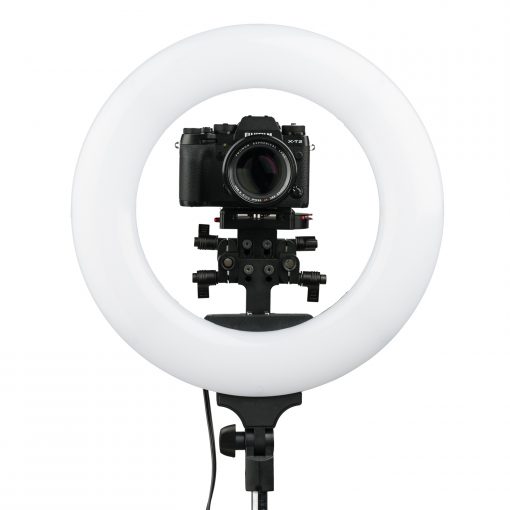
That’s where the Oryon 18” Bi-Color Ring Light shown above comes in…
This light offers the perfect amount of illumination for your vlog (and creates a beautiful catch light, too!).
It has a large opening in the middle to accommodate a range of camera sizes while the rear control knobs give you quick access to change the brightness and color of the light.
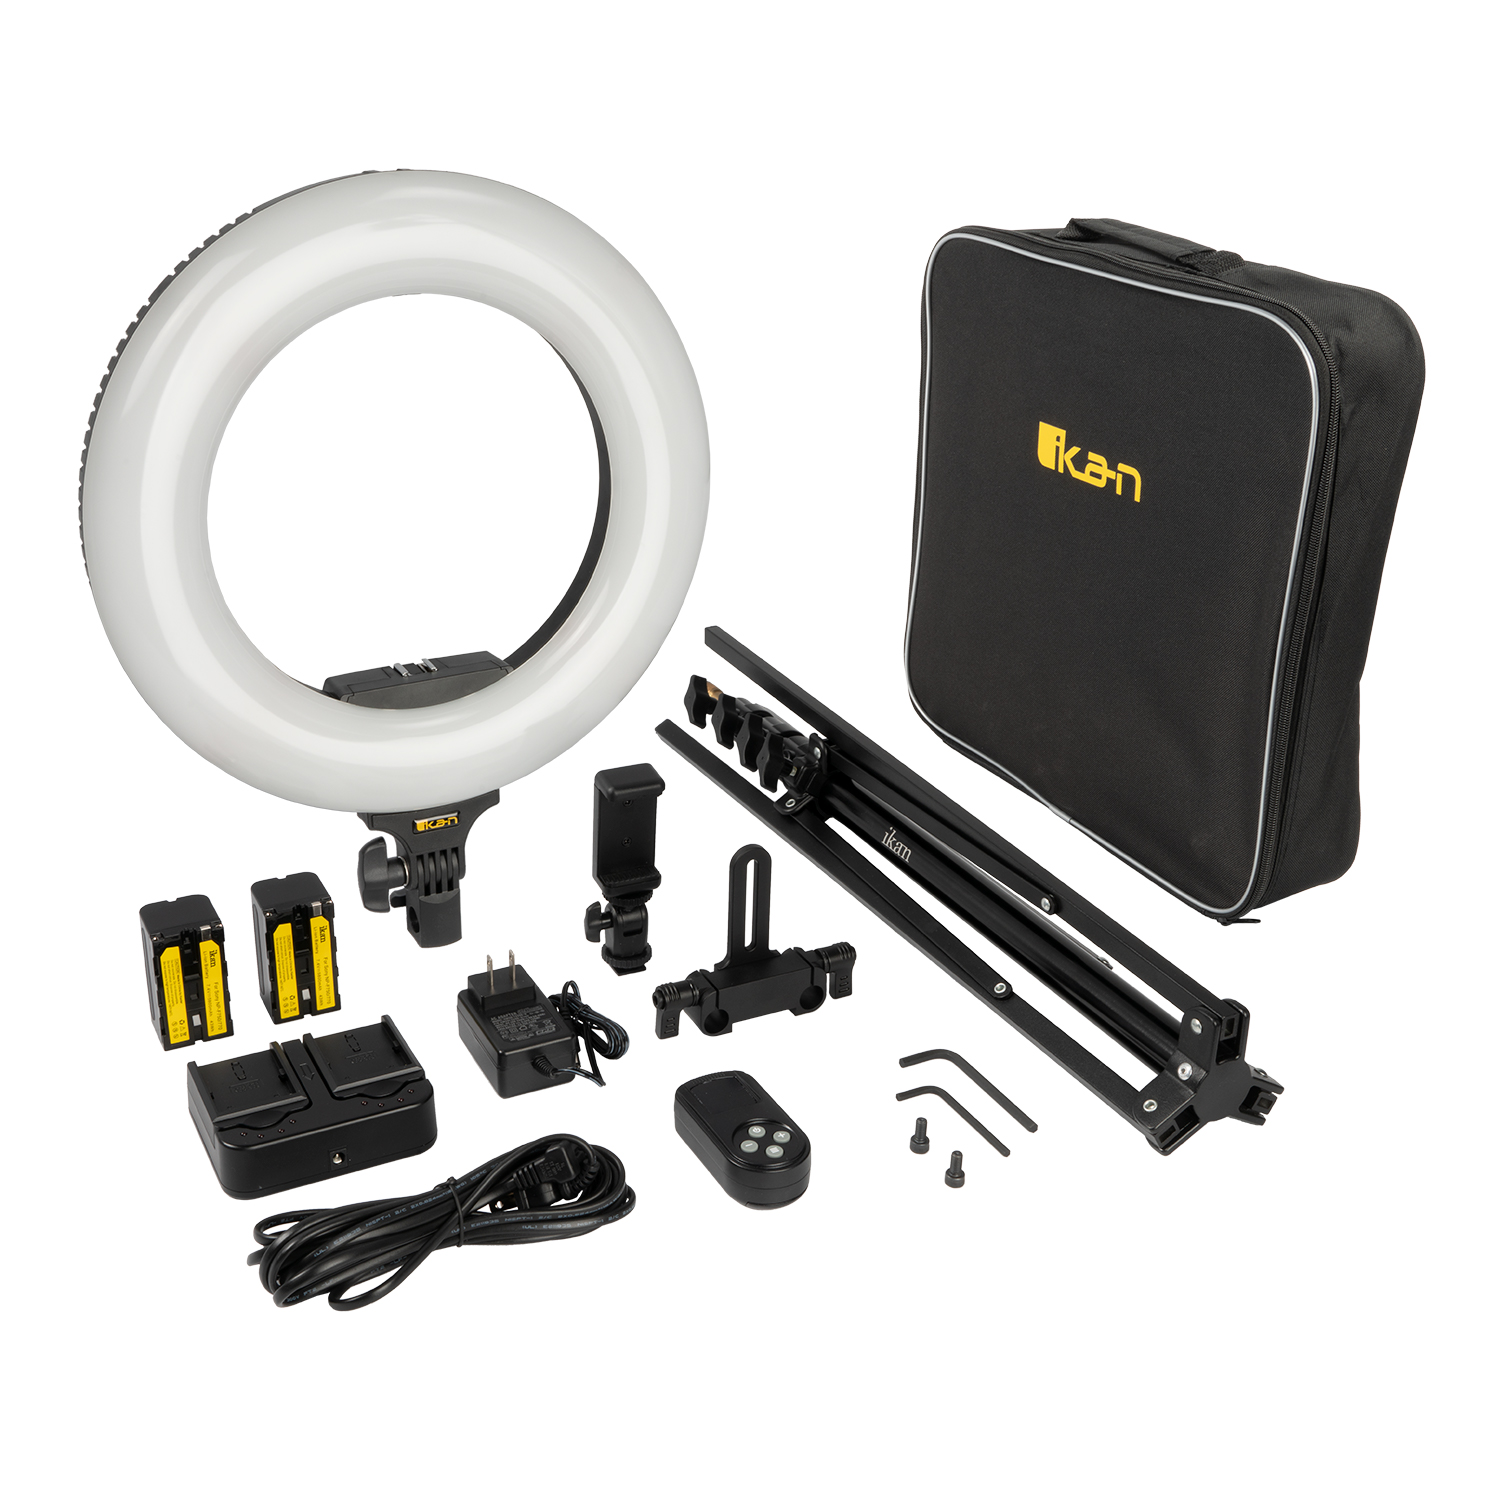
There are multiple mounts on the light for customized positioning, while the soft diffused LEDs emit bright, clean light that envelops you as you film.
And since this is a kit, it comes with multiple goodies, like a heavy-duty, yet compact light stand, two batteries, a dual battery charger, and a carrying case.
If you need fewer accessories, you can get a smaller kit with the light, a smartphone adapter, and a remote, and save a little money too!
Just like with photography, videography depends on good lighting. And when you’re vlogging, a ring light is a great option for getting that high-quality light you need.
Tripod

photo by RapidEye via iStock
If you’ve ever piled your camera on top of a stack of books ever so precariously, then you’re suffering from needing to buy a tripod syndrome.
I know. I’ve been there, but tripods allow you to fully express your creativity through your vlogging. They also keep your camera steady and out of the reach of any nuisances (like animals or kids).
You’ll need to purchase different tripods depending upon what type of vlogging you’re planning on doing. For instance, if you’re a travel vlogger, you might want a tripod that folds up and is light, or if you’re only planning on vlogging out of your home or studio, you might want a mini-tripod that you can stick on your desk and forget about.
Gimbal
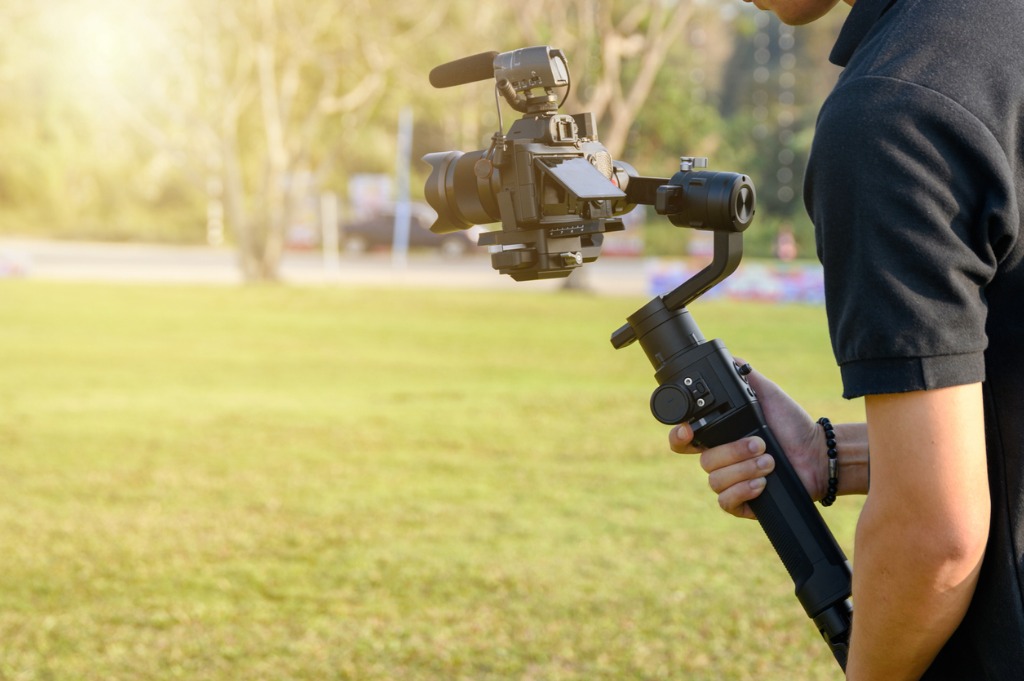
photo by Mumemories via iStock
Your vlogging accessories kit also isn’t complete without a gimbal. Gimbals allow you to rotate your camera on multiple axes. They basically allow you to get the same shot from 360 degrees and are used frequently in travel vlogging.
While you don’t necessarily need an expensive gimbal if you’re just starting your vlogging journey, I purchased my favorite gimbal about a year into my vlogging journey and I’ll never go back.
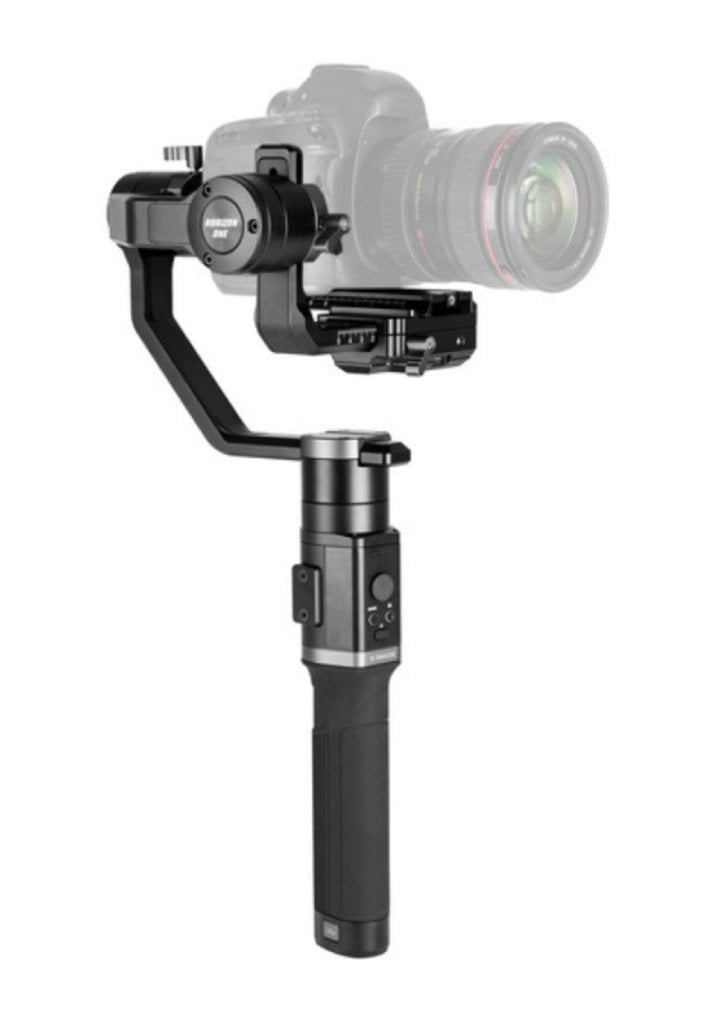
The E-Image Horizon One gimbal is incredible because it features a universal quick release plate, it allows you to shoot full 360 degree shots on 3 different axes, and it carries up to 8 lbs (which is more than enough for almost any vlogger).
In the video above by Ikan International, you can see how valuable a good, solid gimbal can be for vlogging and other videography pursuits.
You can purchase the E-Image Horizon on B&H for $400.
Learn More:
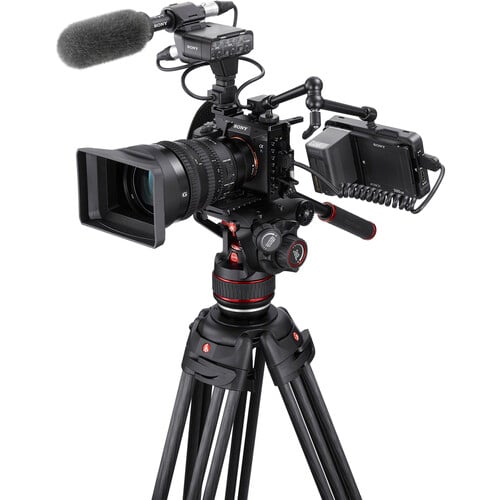
Camera Cage
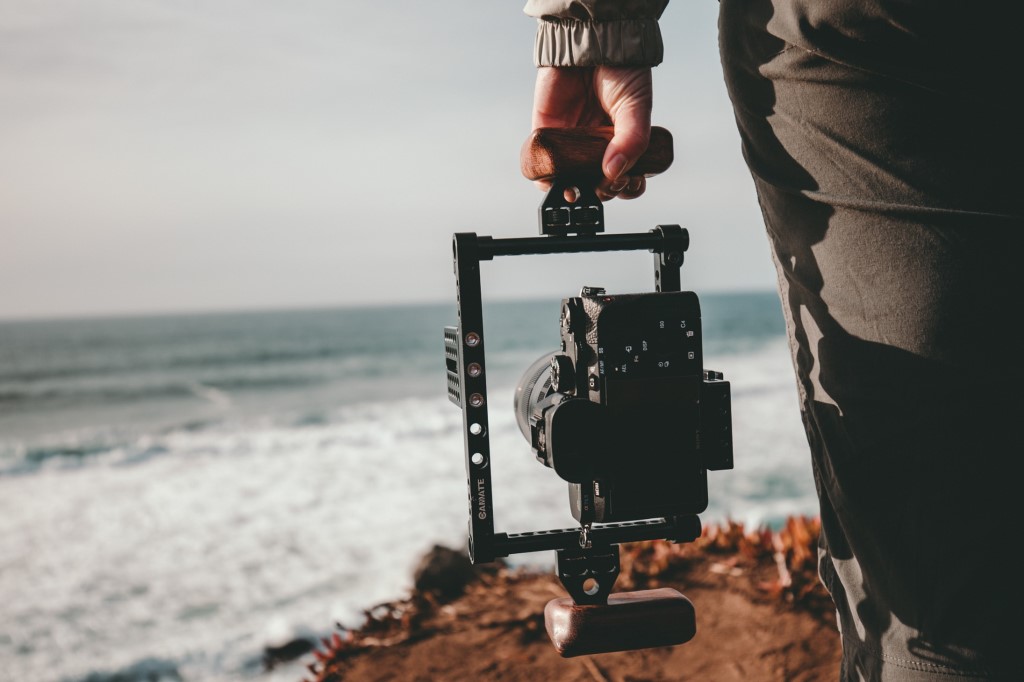
Photo by KAL VISUALS on Unsplash
As you get more and more into vlogging and have more and more of the needed accessories for upping the production value of your videos, you’ll find that having a camera cage is a Godsend.
A camera cage is exactly what it sounds like - it’s a metal cage that surrounds the camera body and gives you multiple points of attachment for accessories like microphones, lights, monitors, and so forth.
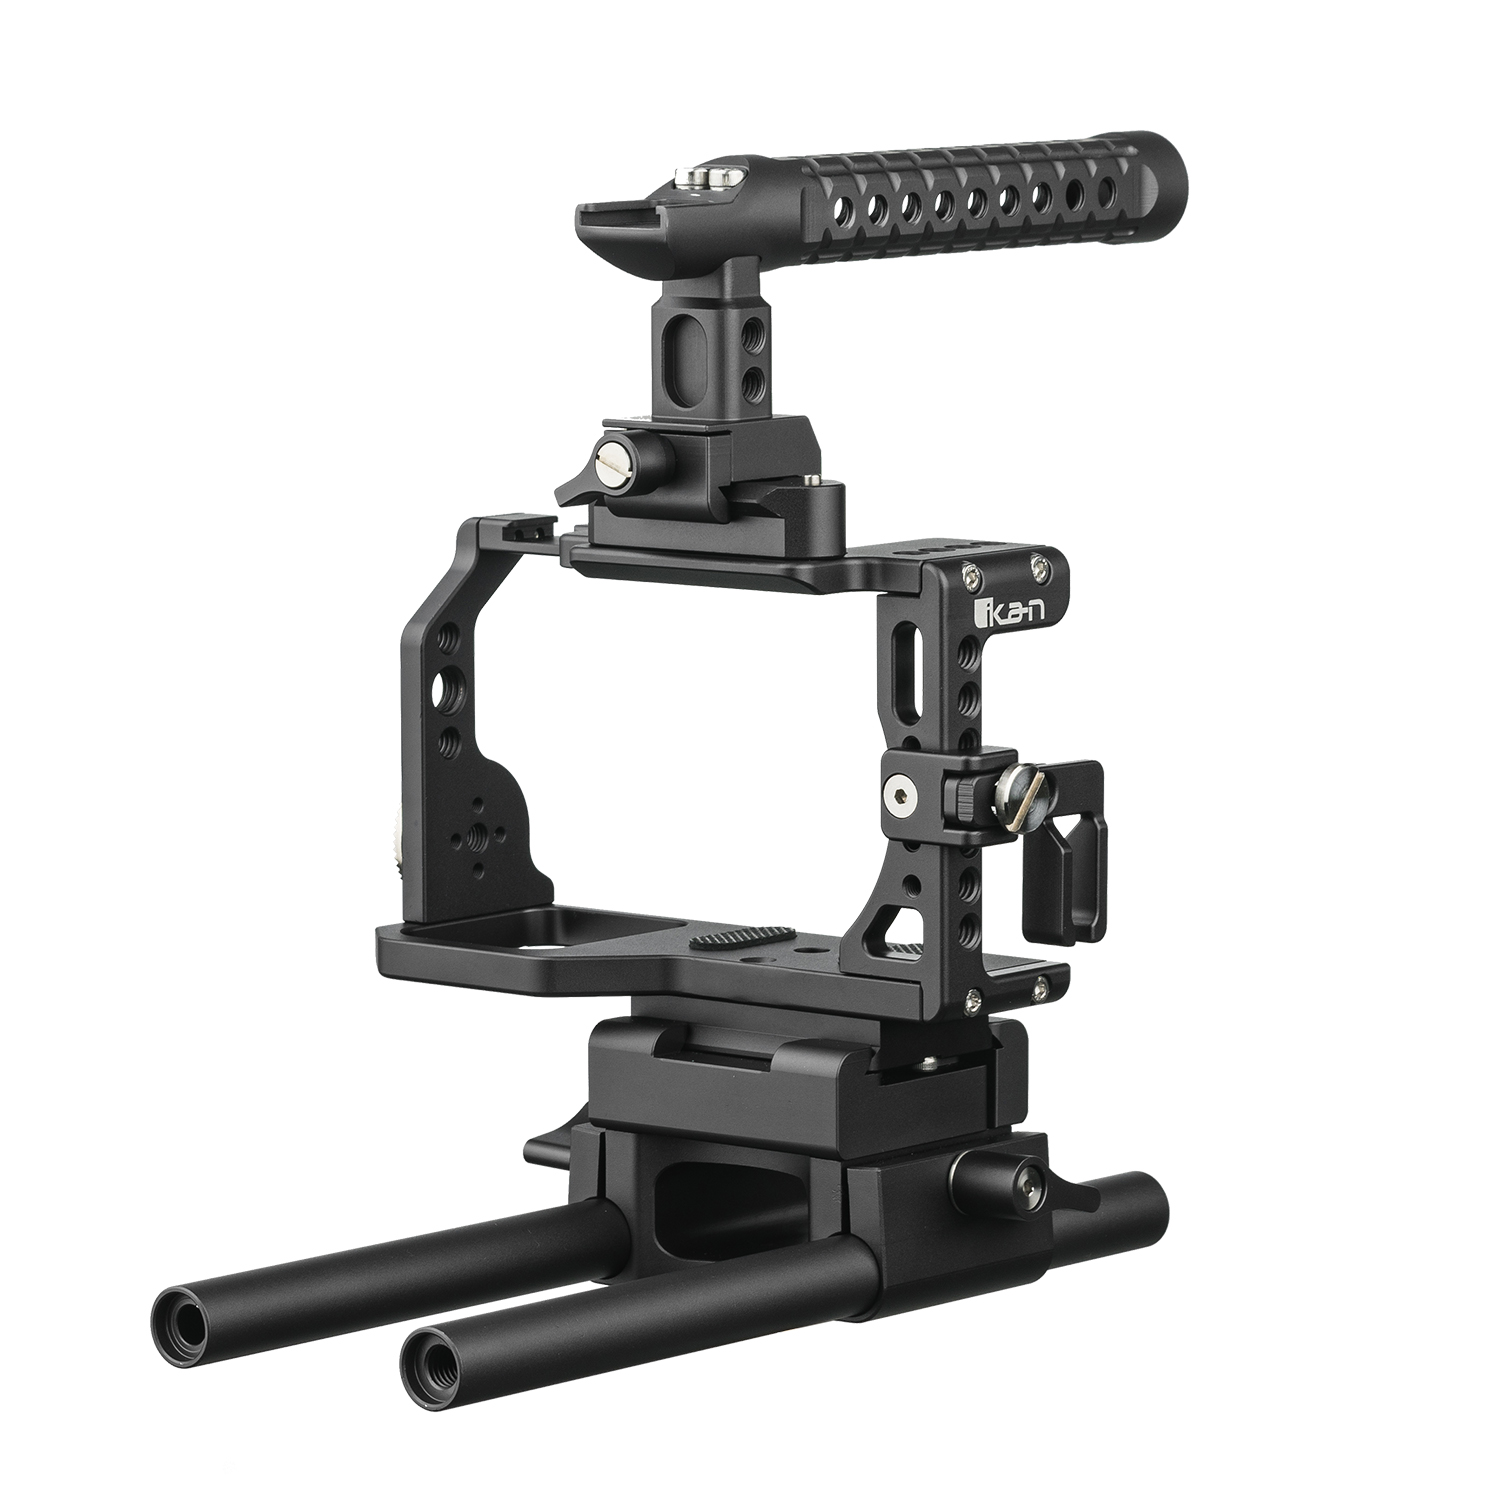
The Ikan Stratus Cage for the Sony a6500, 6400, a6300, and a6000 shown above also gives you a top handle, rods, a base frame, and a cable clamp to keep all the accessory cables out of your way.
Cages like this are form-fitted to your camera, so you have to be sure to select a cage that was designed for your specific camera body. With cutouts for the battery door and memory card slot, a perfect fit is a must!
Once you have your camera mounted to the cage, you can go about adding the accessories you need to create vlogs with high production value.
Cages aren’t necessarily cheap. However, they are definitely worth the investment because they expand the capabilities of video production so much.
Microphone
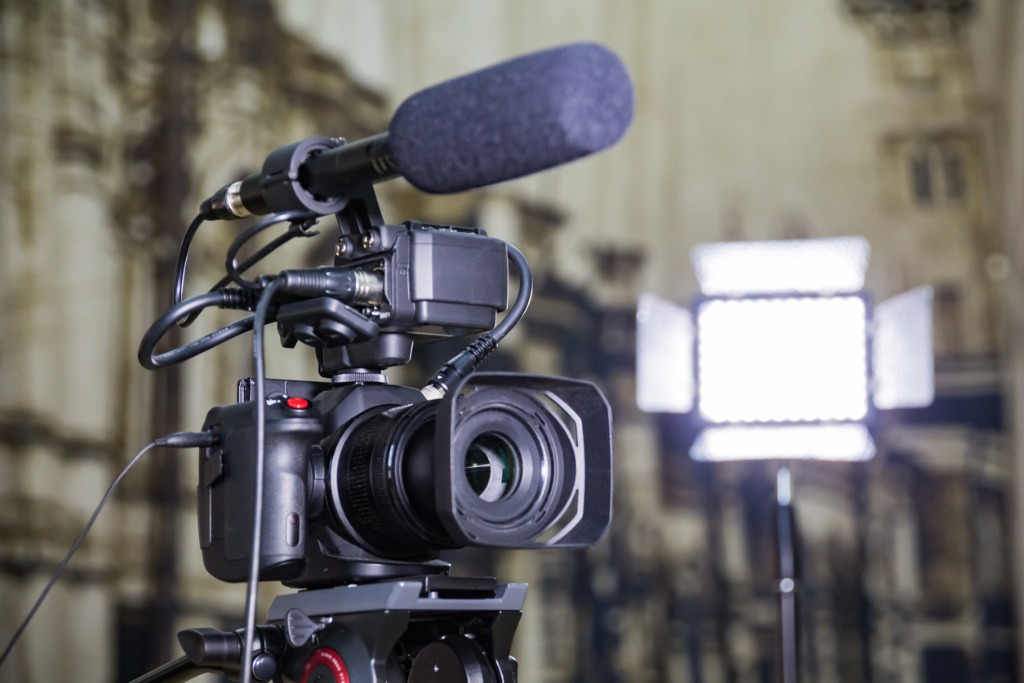
photo by lapandr via iStock
This is the section of vlogging accessories where I feel tons of people get ripped off because there are so many types of microphones, beginner vloggers think you need one of each.
I think there are four main types of microphones people should consider adding to their vlogging accessories kit: the lavalier microphone, the shotgun microphone, the USB microphone, and the portable audio recorder.
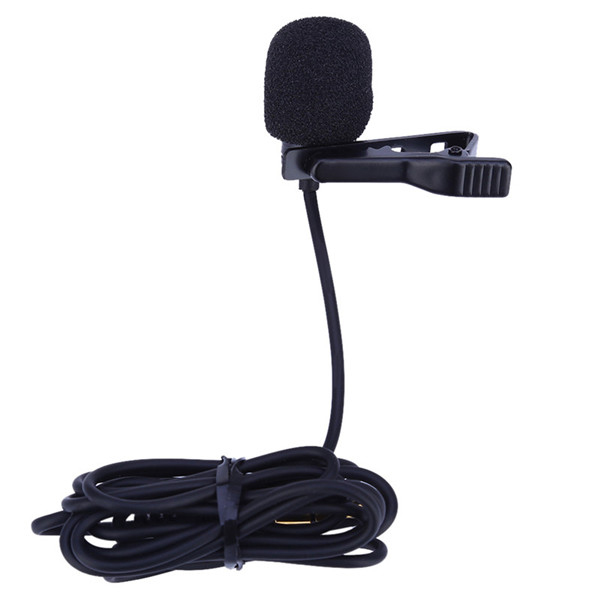
The lavalier microphone, also recognized as the broadcast journalism microphone, allows you to easily interview people without needing to take a ton of time to check your audio levels because the lavalier gets strapped directly on their chest.
If you’re going to be interviewing anyone in your vlogging journey, definitely invest in a lavalier microphone (especially since you can get the one pictured above on B&H for a whopping $15).
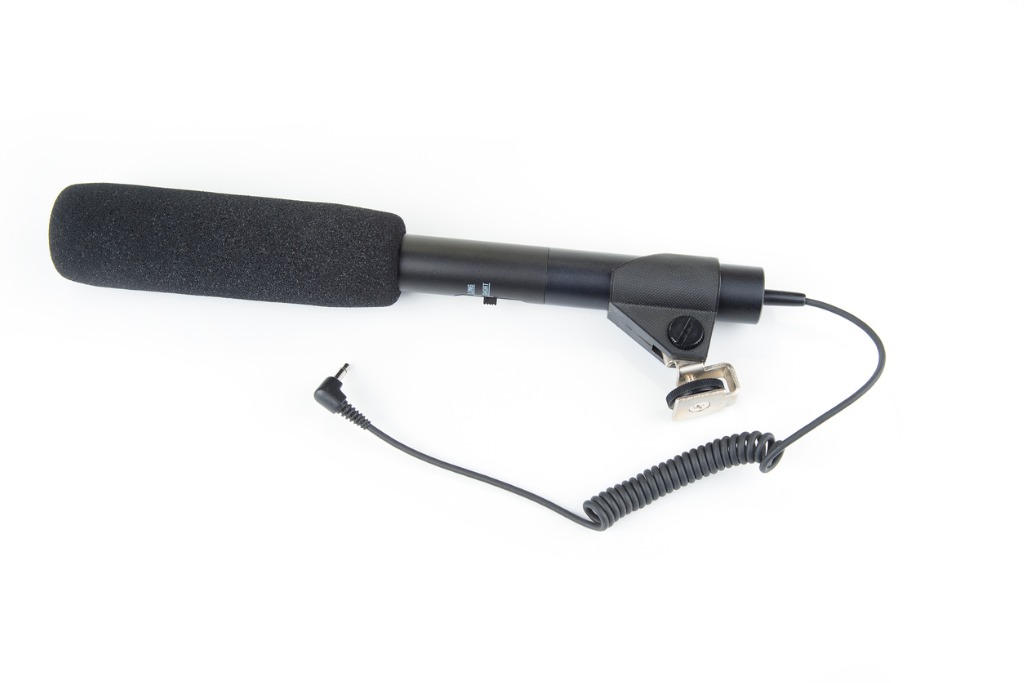
photo by undefined undefined via iStock
The next type of microphone, the shotgun microphone, can either be placed a few feet above you or it can be placed directly on your camera. Shotgun microphones are great at only picking up audio from the area where they are pointed at.
The third microphone type, the USB microphone, is perfect for voice-over work for transitions in your vlogs. Just sit one on your desk in your studio and get to work!
Finally, the portable audio recorder allows you to replace the audio from your camera. It does this by separately recording your audio. You can then sync this audio with your video with your editing software. The ability to record audio separately from your camera can come in handy in many situations, including when your camera is a good distance away from the subject.
Editing Software
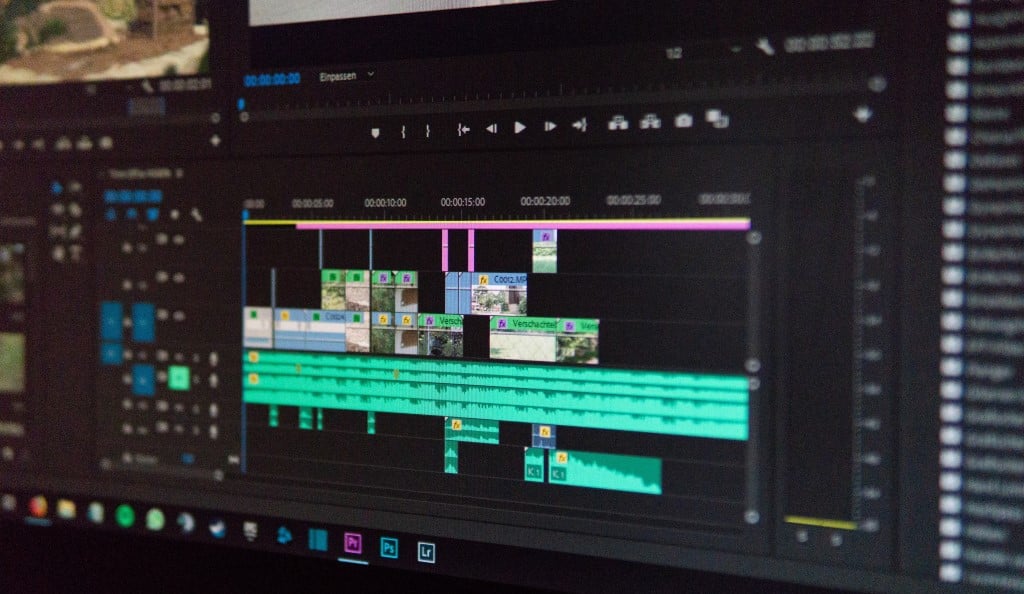
Photo by Wahid Khene on Unsplash
You’re not going to get very far in your vlogging career if you don’t own editing software, but figuring out which editing software to purchase can be difficult.
Adobe’s line-up of products is universally recognized as among the best editing software, so if you can afford to splurge on Adobe Premiere Pro, you should.
But, if you don’t want to spend money on a monthly subscription for any of Adobe’s lineup, there are still options for you.
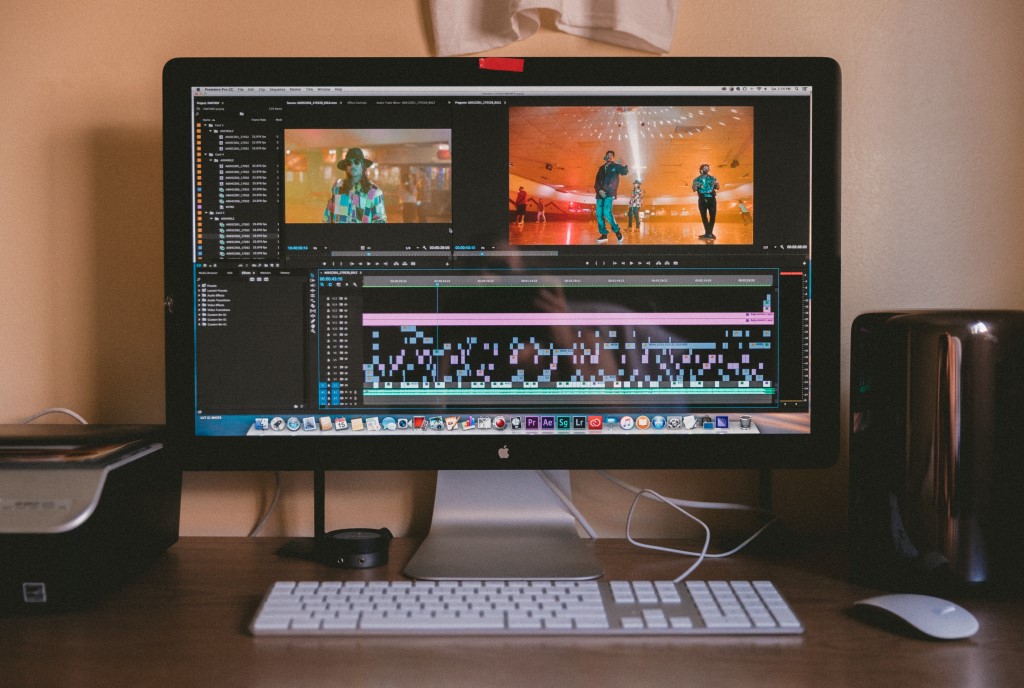
Photo by Jakob Owens on Unsplash
Take a look at this article on the top 10 Adobe Premiere alternatives for ideas in case Adobe’s products aren’t in your price range.
When it comes down to it, there are just a few must-haves for vlogging if you want to create the best content (and who doesn’t want to do that?!).
If you invest smartly in the accessories outlined here, you’ll have a great setup for producing engaging videos that look good, sound good, and engage viewers!
Learn More: