Get Better Landscape Photos With These Simple Tips
- How to Make Better Landscape Photos
- Previsualization
- Rules of Composition
- Filters and Tripods
- HDR Photography
- Shoot in RAW
- Improve Your Landscape Photography
- The Landscape Photography Book: The Step-by-Step Techniques You Need to Capture Breathtaking Landscape Photos Like the Pros
- National Geographic Greatest Landscapes: Stunning Photographs That Inspire and Astonish
- The Art, Science, and Craft of Great Landscape Photography
- How to Improve Landscape Photography
- Mountain Photography Tips
- 4 Reasons to Use a Mirrorless Camera for Landscape Photography
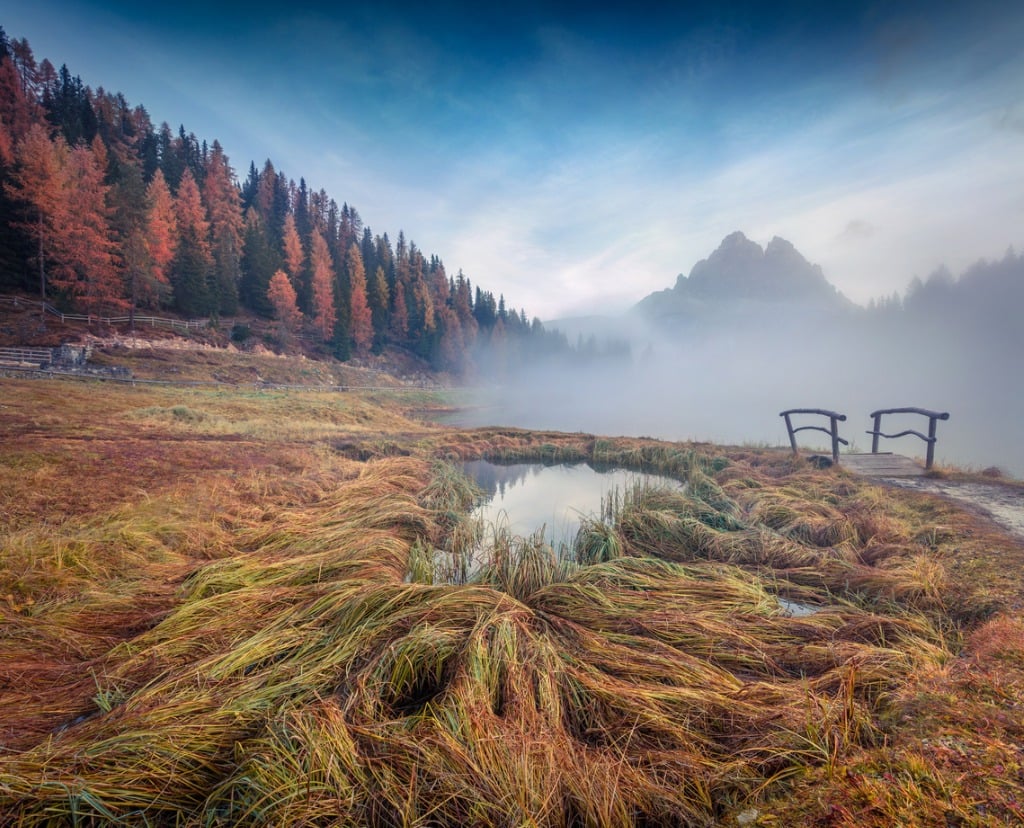
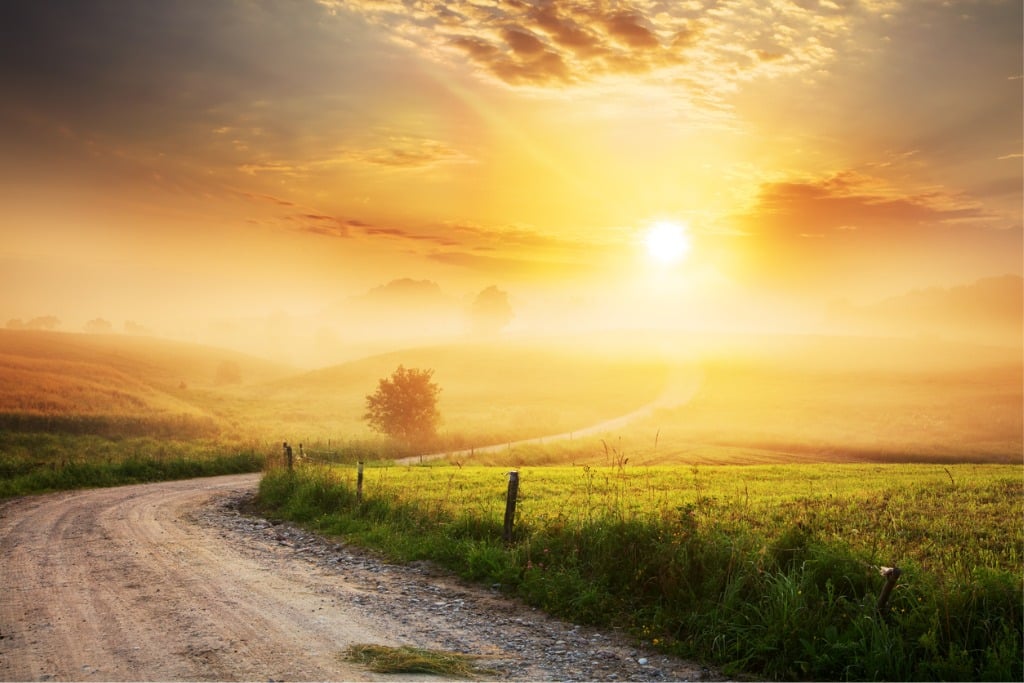
photo by Andrew_Mayovskyy via iStock
Every photographer I know wants to improve their images. Doesn’t matter if the photographer is a beginner or a working pro, using a smartphone or the latest mirrorless digital camera.
One of the topics I see a lot and get asked frequently concerns how to improve landscape photography, and how to make better landscape photos.
Table of Contents
How to Make Better Landscape Photos
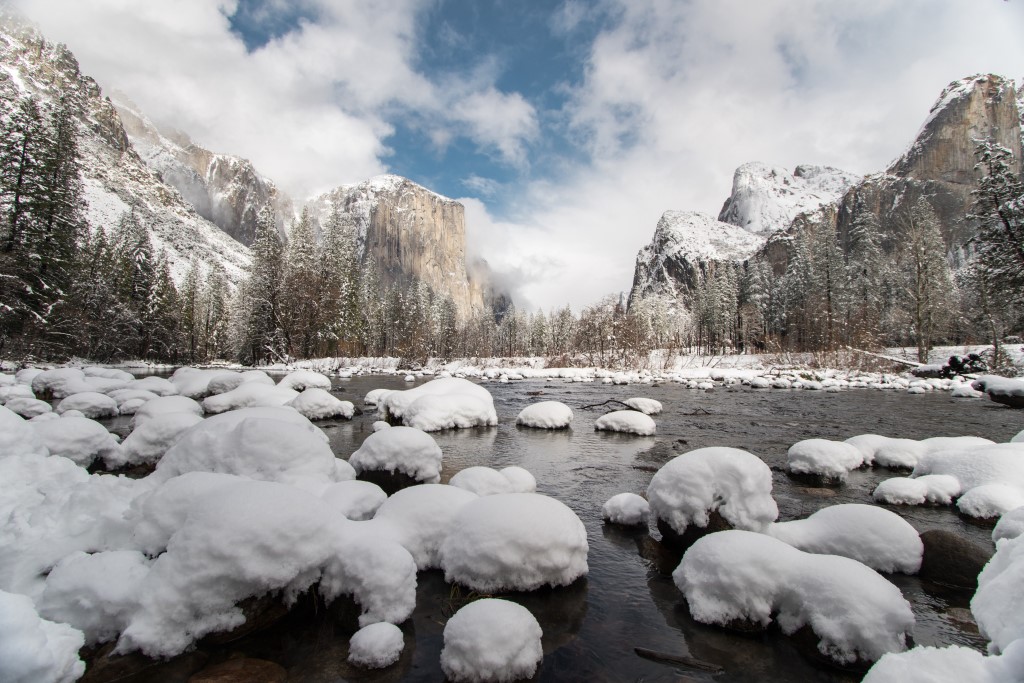
Photo by Robert Murray on Unsplash
Landscape photography can be a very personal endeavor for us as photographers. Oftentimes it’s just us and nature out there together. We enjoy the experience and desire to show others exactly what we see, how we feel about the scene in front of our lens.
Without having to guide or direct anyone else during the photographic process, we can concentrate on our art. Which brings me to the first of my easy landscape photography tips, previsualization.
Recommended Landscape Photography Reading:
Previsualization
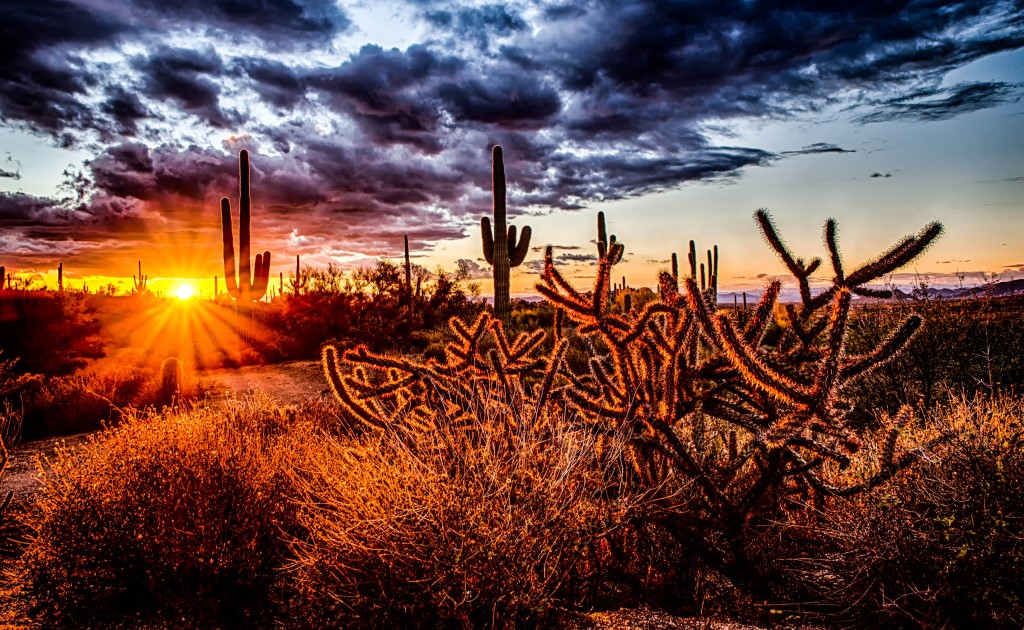
Photo by Jeremy Bishop on Unsplash
In order to create better landscape photos, I like to go back to a technique used by the masters of film photography from the 20th Century. Photographers such as Ansel Adams, Edward Weston, Dorothea Lange, and William Brandt would imagine the finished print and design every step of the way in order to achieve the desired result.
They knew the characteristics of the equipment and the processes they were using, thus they were able control them to their advantage. Film processing was an inherent part of their equations, so was the use of on-lens filters.
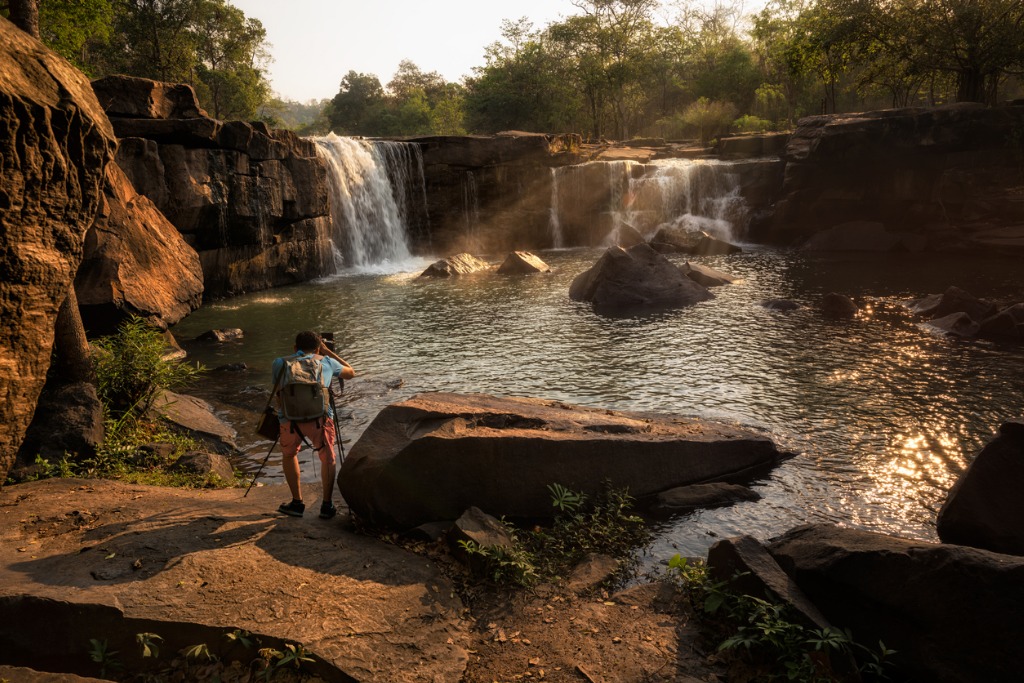
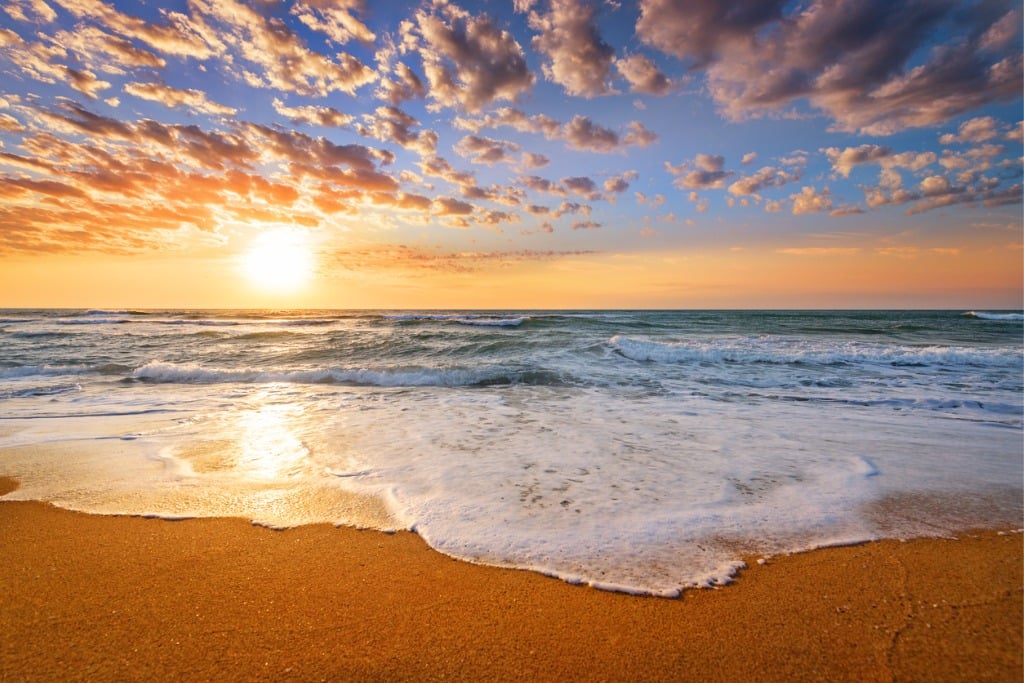
photo by x-reflexnaja via iStock
Previsualization continues to be a valid working method for modern photographers, the modern digital processes and equipment we used have their origins in film photography after all. This method also forces us to slow down and really craft the image we’re wanting, instead of relying so much on the awesome technology and automation at our fingertips.
I said this was one of my easy landscape photography tips, though it sounds like it takes a lot of work and knowledge. Well, it does indeed take some work, but it’s a type of work that seems to come naturally to artists and photographers. The effort put into this step is richly rewarded by better landscape photos.
Learn More:
Rules of Composition
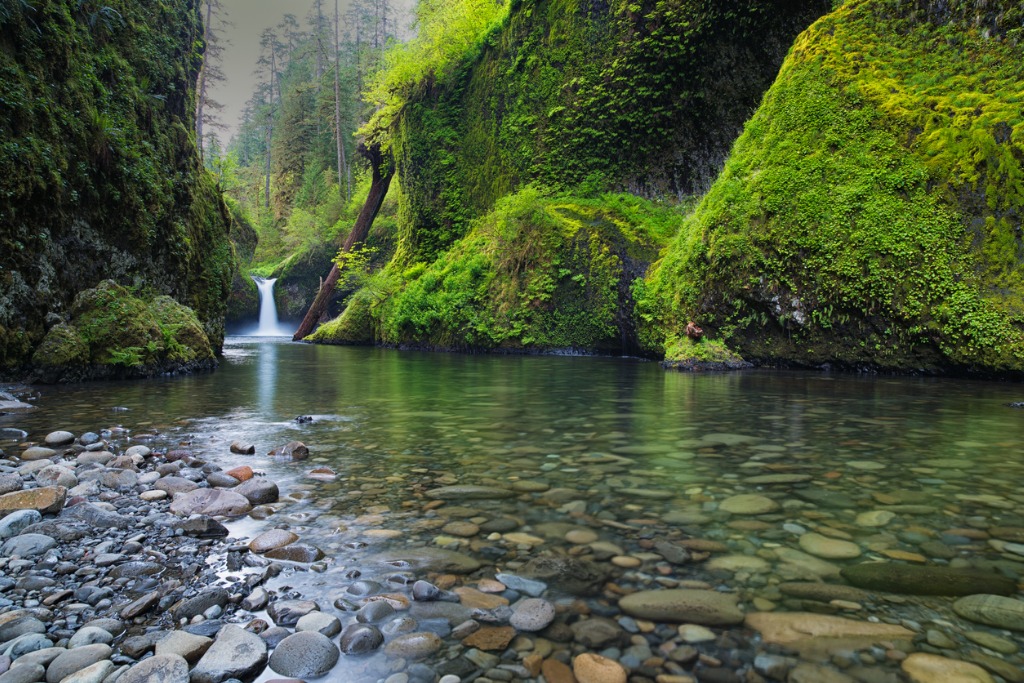
photo by july7th via iStock
The rules of composition in photography are virtually the same rules that have been used in painting since the Middle Ages. Landscape artists were among the first to utilize rules of composition.
A couple of the most recognized of these is the Rule of Thirds and S Curves. The Rule of Thirds is a visual tool that has your scene divided into 9 equal parts. Two lines divide horizontally into thirds, two lines divide vertically. Placing subject or scene elements along the lines, in the 9 parts, or on any of the four line intersection points results in a natural appearing balance.
An S Curve can be any gentle curve within the scene that either leads you to or away from something. This composition method can be combined with the Rule of Thirds or other composition techniques. Using the rules of composition really does often result in better landscape photos.
Filters and Tripods
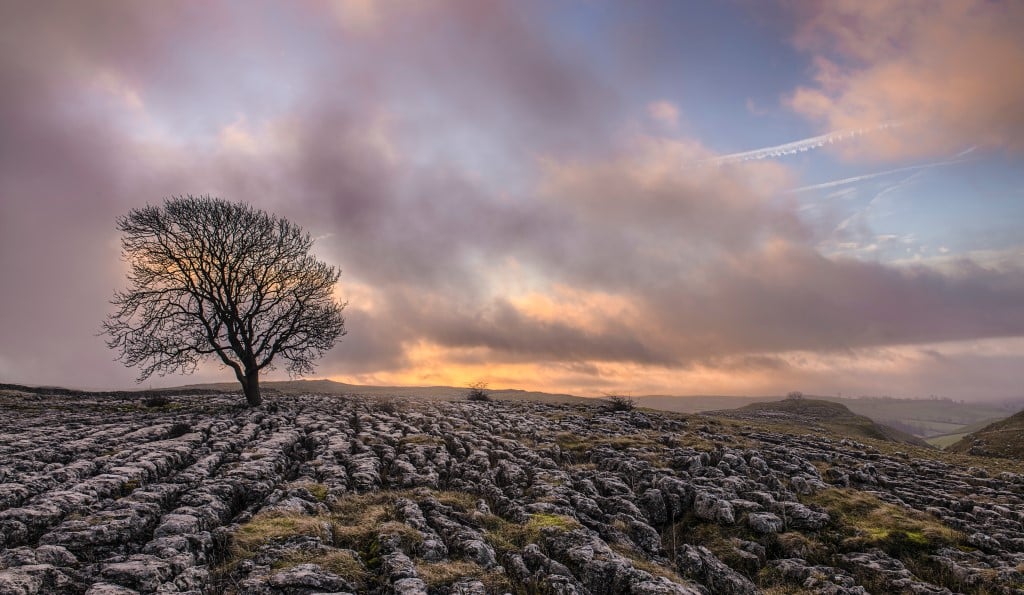
Photo by v2osk on Unsplash
The right landscape photography gear can also assist you in capturing better landscape photos. Obviously, gear alone won’t improve your images. You have to be making use of the proper methods and techniques first, but some gear and accessories can make it easier to get great shots with those methods.
Two essential pieces of landscape photography gear are a good tripod and a set of filters. The filters I recommend for digital photography are circular polarizers (C-PL), neutral density (ND), and graduated neutral density (GND) filters.
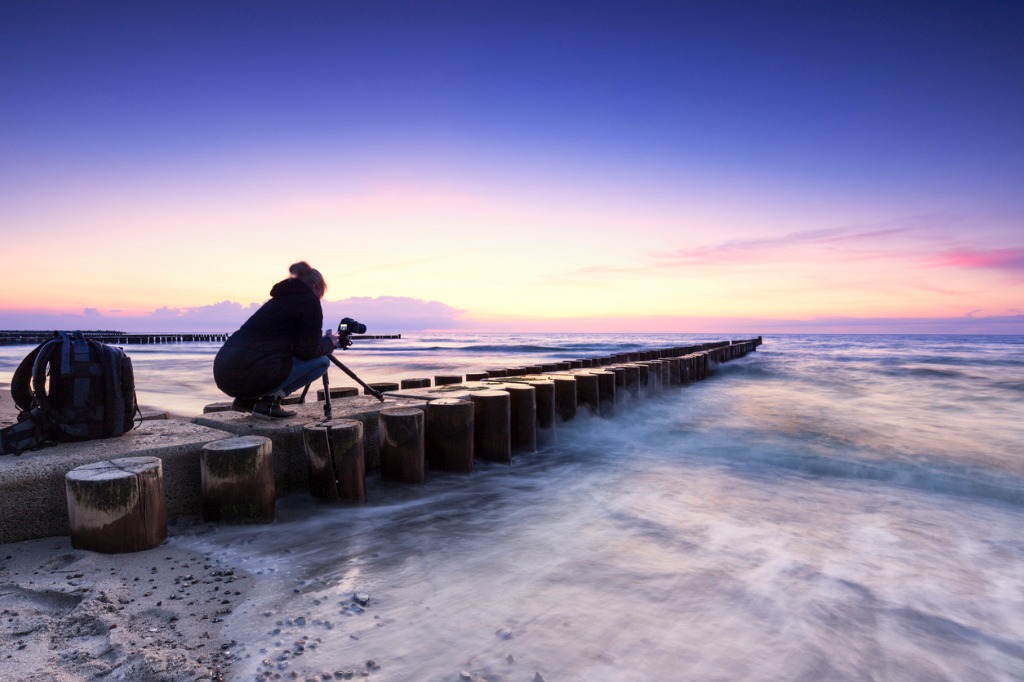
photo by nicky39 via iStock
A sturdy tripod will allow you to set up and use filter systems, implement techniques such as HDR photography, use long shutter speeds for water and cloud motion blur effects, and use smaller apertures to maximize depth of field.
In regards to filters, I like to use a filter system with a holder and different filters which attach to the lens via adapters for the correct size of the filter mount of the lens. This lets me invest in very high quality filters without needing a different set for each size of lens I have.
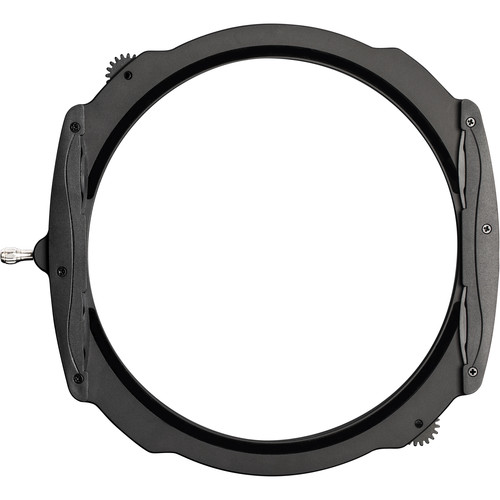
A filter system I’ve been very happy using is from Haida, the Haida M15 magnetic filter system. The holder can take round filters like their circular polarizers as well as square filters (shown below), such as the different GND filters Haida makes.
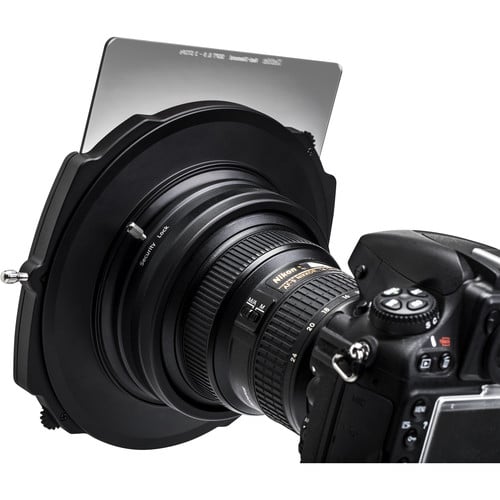
A good quality GND or C-PL filter can really raise your landscape photos from excellent to outstanding. The learning curve for using a filter system like the Haida M15 magnetic filter system is very easy. The optical quality of their filters is superb.
HDR Photography
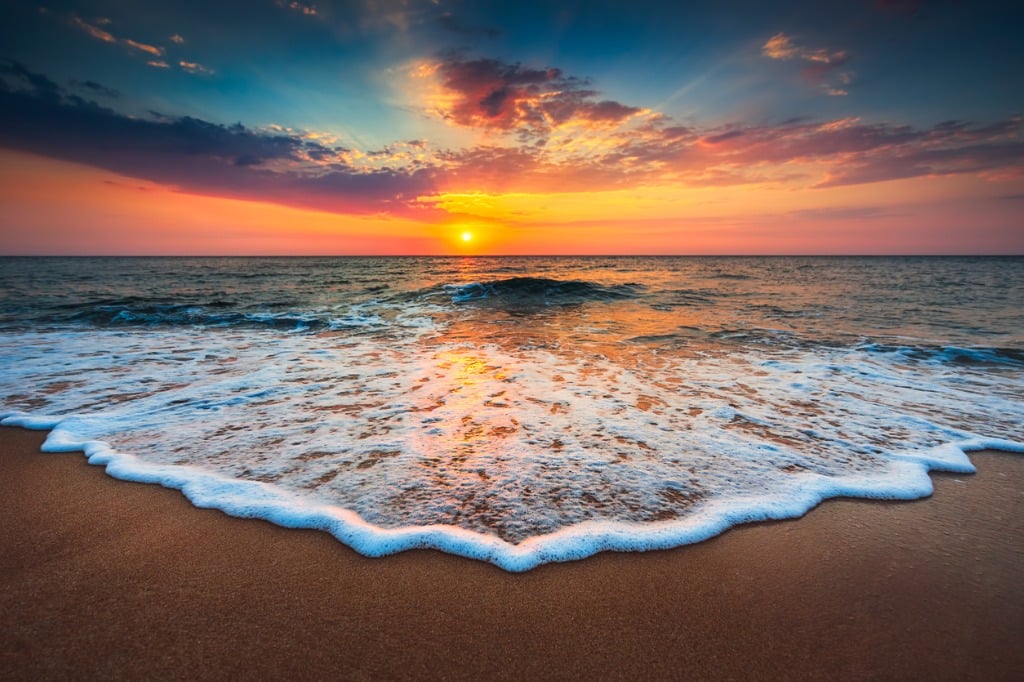
photo by valio84sl via iStock
One of the newest methods that digital photography makes possible is high dynamic range (HDR) photography. A tripod is an essential piece of landscape photography gear if you are going to get usable results from HDR photography.
HDR photography combines 2, 3, or more exposures in order to enable you to capture the entire range of exposure values within your landscape scene. When it first came up in photographer’s awareness, HDR images we were shown tended to look rather odd and unnatural. Natural looking HDR is very simple to accomplish and it really looks great in your final images.
Shoot in RAW
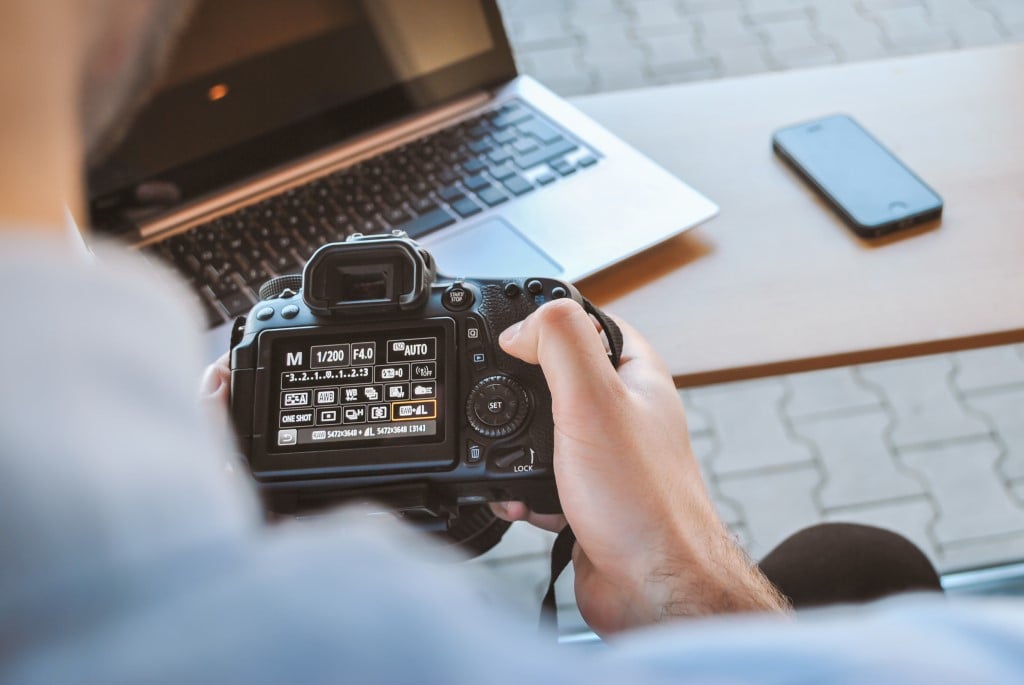
Photo by JESHOOTS.COM on Unsplash
You see me suggest this quite often. The reason is because it gives us more options for creating better landscape photos. A RAW image file contains more exposure information than a JPEG does, which means we have a greater ability to enhance and tweak our picture to end up with the final image we previsualized.
Of course, it means we will have to learn how to use a decent post processing program, but that’s one of my landscape photography tips too, choose and learn a good post processing program.
Adobe and other companies such as ACDSee have low cost subscriptions for these amazing programs. Free tutorials for the programs are found on YouTube and on the company websites. Take advantage of the tutorials even if you are already using such a program, it’s time well spent.
Improve Your Landscape Photography
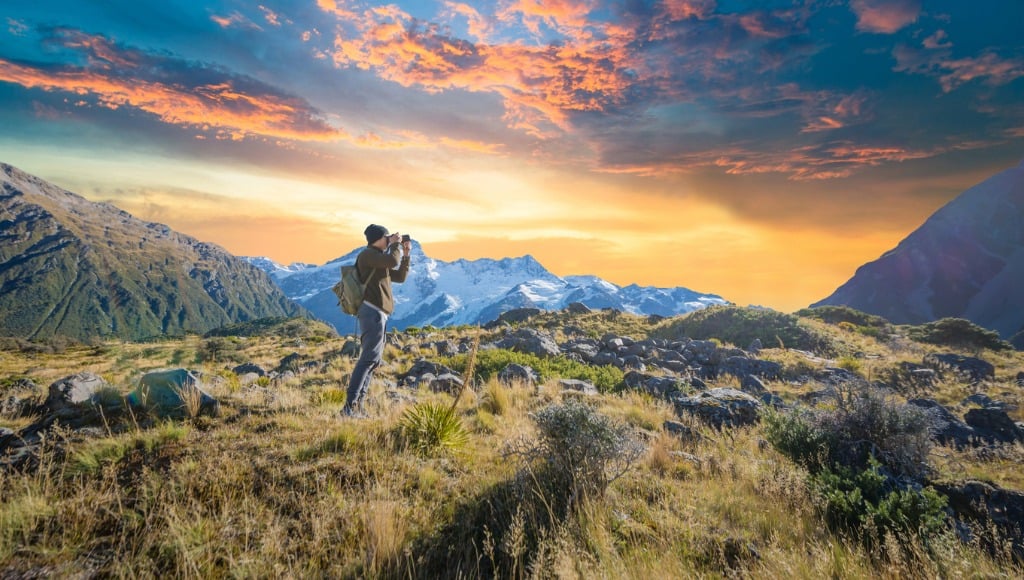
photo by primeimages via iStock
Achieving your goals of making better images of your favorite landscape scenes is within your grasp and easier than you might have thought. You’re already a good photographer, let’s move on up and get better. Trust me, you’ll love the results of these basic landscape photography tips.
And when you're ready to really step up your game, I'd suggest participating in an intensive photography workshop.
What's great about a photography workshop is that you get a lot of instruction and a lot of time to practice over the course of a short period - five days to a week, for example.
That means that you can learn and grow very quickly and leave the workshop with many new skills that will help you jumpstart your pursuit of being a better photographer.
For my money, an all-inclusive photography tour is the way to go. After all, why would I want to worry about hotels and food and where we're going?! I want to focus my attention on gaining new skills and honing existing ones.
That's exactly what you can do on a photography tour with Scott Setterberg from ColorTexturePhotoTours.
I've known Scott for a while now, and he's a knowledgeable, experienced photographer that's really down to earth and can help you elevate the quality of your photos with his easy-going and laid-back style of teaching.
What's more, Scott's tours are small - usually limited to just four people - so you are sure to get plenty of one-on-one time with Scott to learn new things and get feedback on your work.
Plus, in such a small group, you're bound to make new photography buddies that you can share your experience (and your photos!) with for years to come.
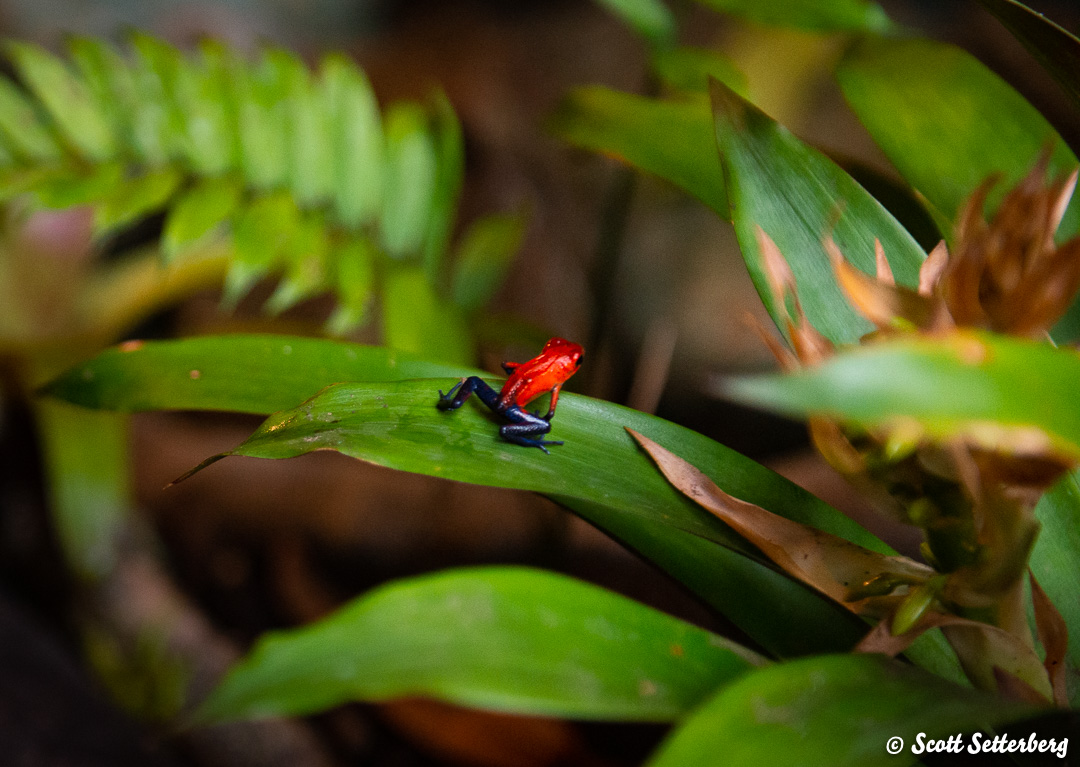
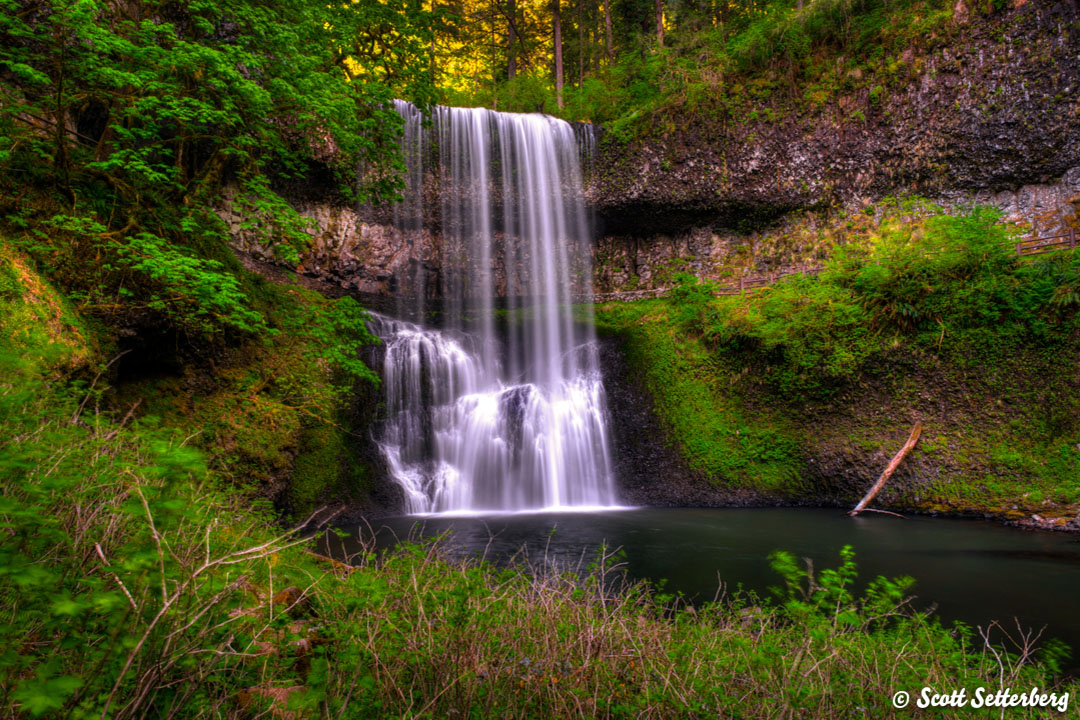
Scott offers tours in Costa Rica and Oregon, and in both cases, you just have to get yourself there, and he takes care of the rest.
It's one thing to learn simple tips and techniques in a photography article. It's another thing to learn from an expert in the field where you have hours and hours each day to practice what you learn. There's simply no better way to learn photography!
Learn More: