How to Display Photos on a Wall: 3 Tips for Success
- National Geographic Photo Basics: The Ultimate Beginner's Guide to Great Photography
- Photography: The Definitive Visual History
- Read This if You Want to Take Great Photographs
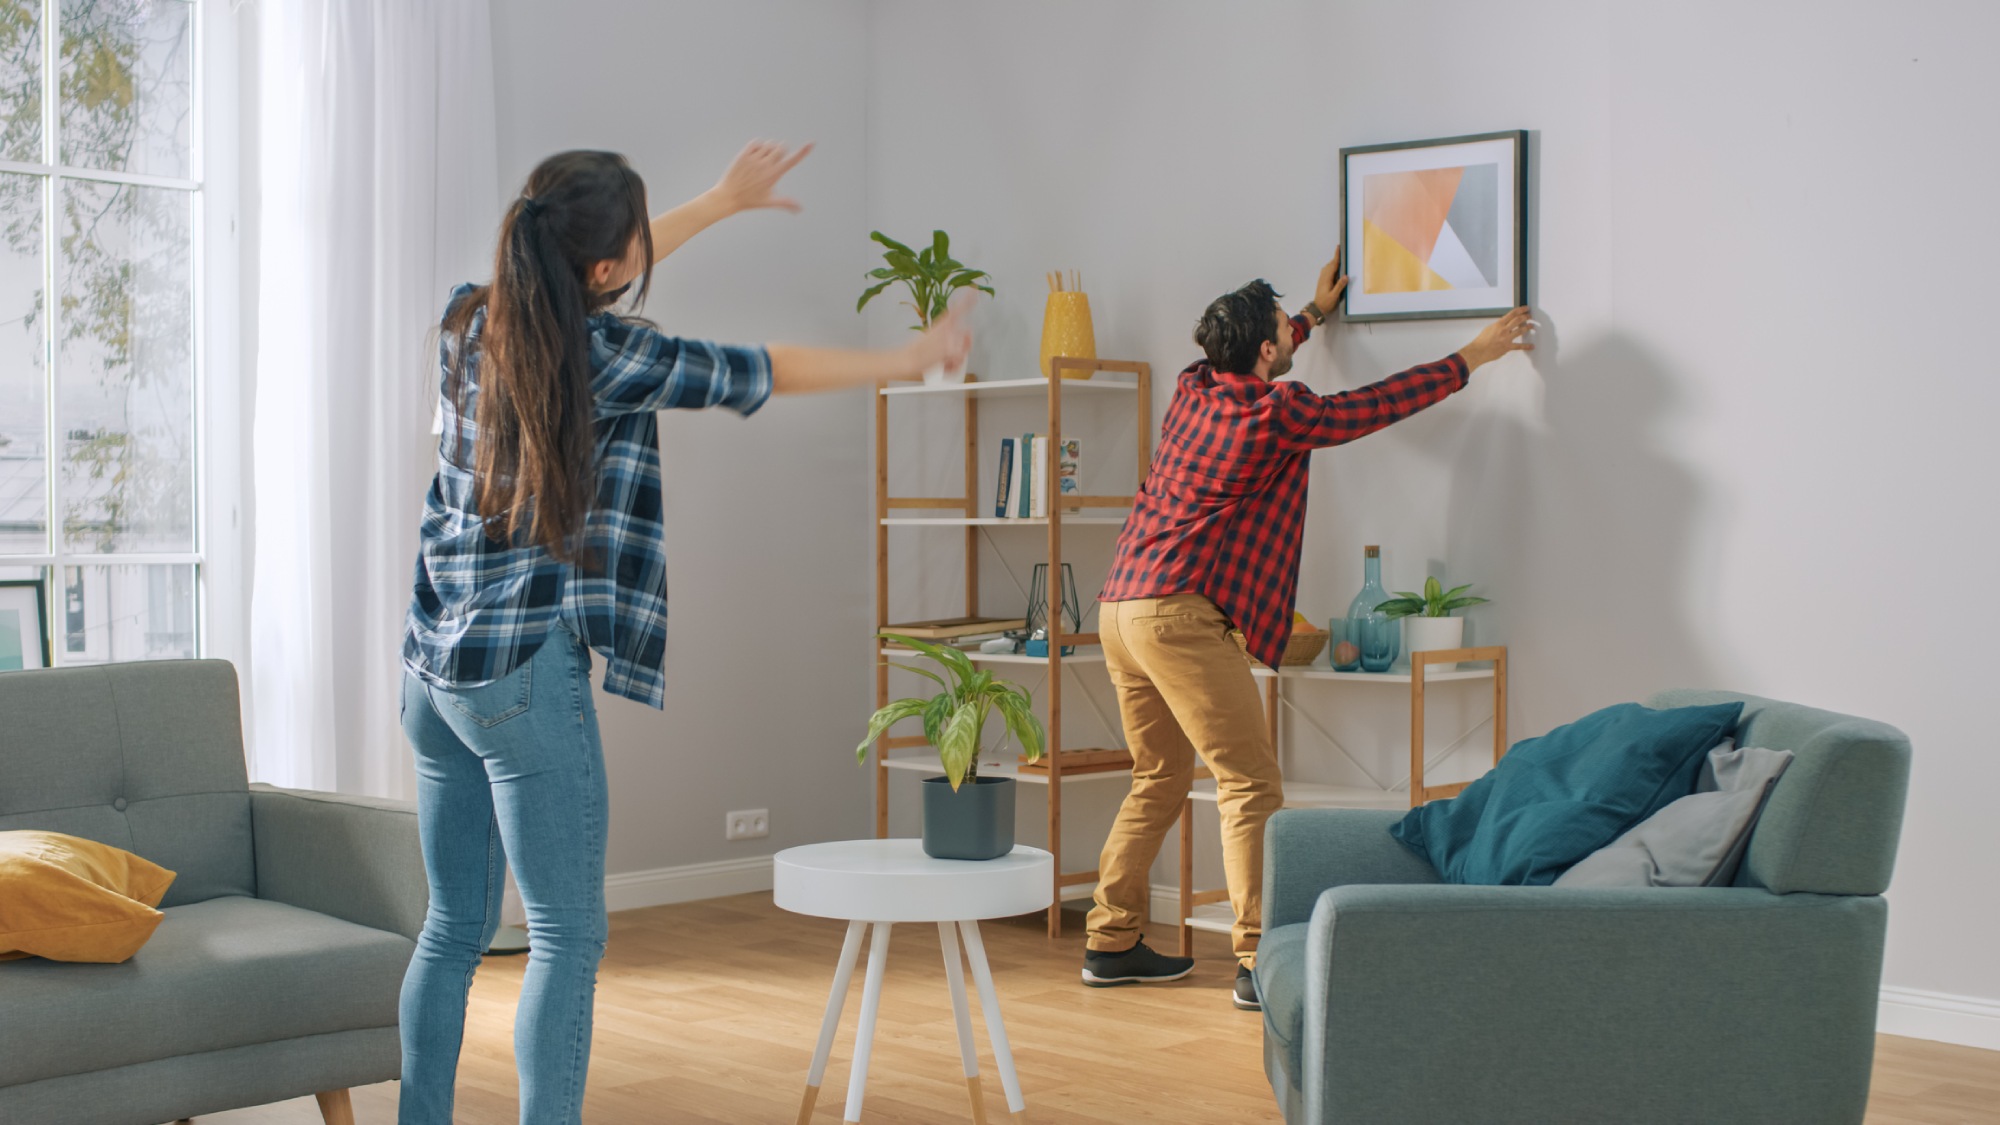
Photo by gorodenkoff via iStock
I don't know about you, but as confident as I am behind the lens, historically, I've been equally not confident actually hanging prints on the wall.
I tended to make it much more stressful than it needed to be because I'm a perfectionist (yes, I find the precise midpoint of the wall when hanging photos...) and because I waffled back and forth about what photos to display where.
Then I realized that hanging my photos on the wall really comes down to a few fundamentals. And once I figured that out, displaying my photos and other artwork became a breeze.
Let's explore a few of these tips so you can display photos on a wall with confidence. But before we do...check out the results of my 2020 canvas print shootout in the video below:
It's Not as Simple as "Hang Photos at Eye Level"
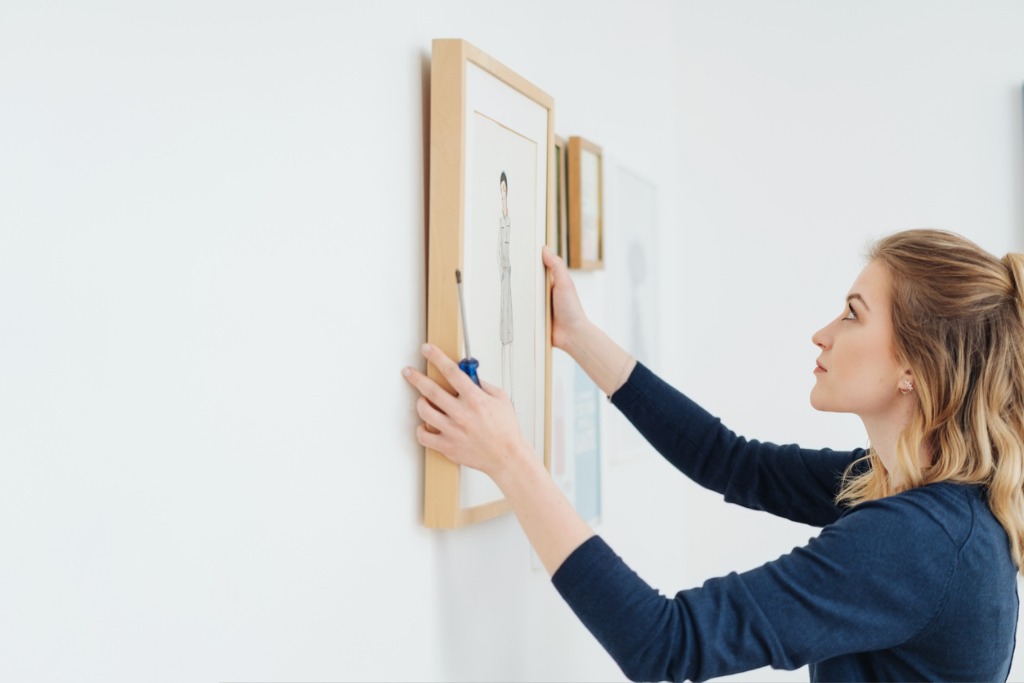
Photo by stockfour via iStock
I'm well over six feet tall. My wife is barely five feet tall. That makes our eye levels much different.
So, if I hang photos at my eye level, she's looking up at them. If they're hung at her eye level, they're far too low for me to enjoy.
A good rule of thumb is to put the midpoint of the photo about 58-60 inches above the floor. This is a good height so that most people can see the photos without having to crane their neck up or down.
The key phrase here is most people. If everyone in the family is 5'5", then by all means, hang your photos a little lower. But if you're a family where everyone is over six feet tall, opt for a slightly higher elevation for your photos.
The point is to tailor how your photos are displayed to you and your family. Don't worry about all those short or tall people that come over - make your photo displays something you enjoy!
Recommended Photography Books
Spacing is Everything
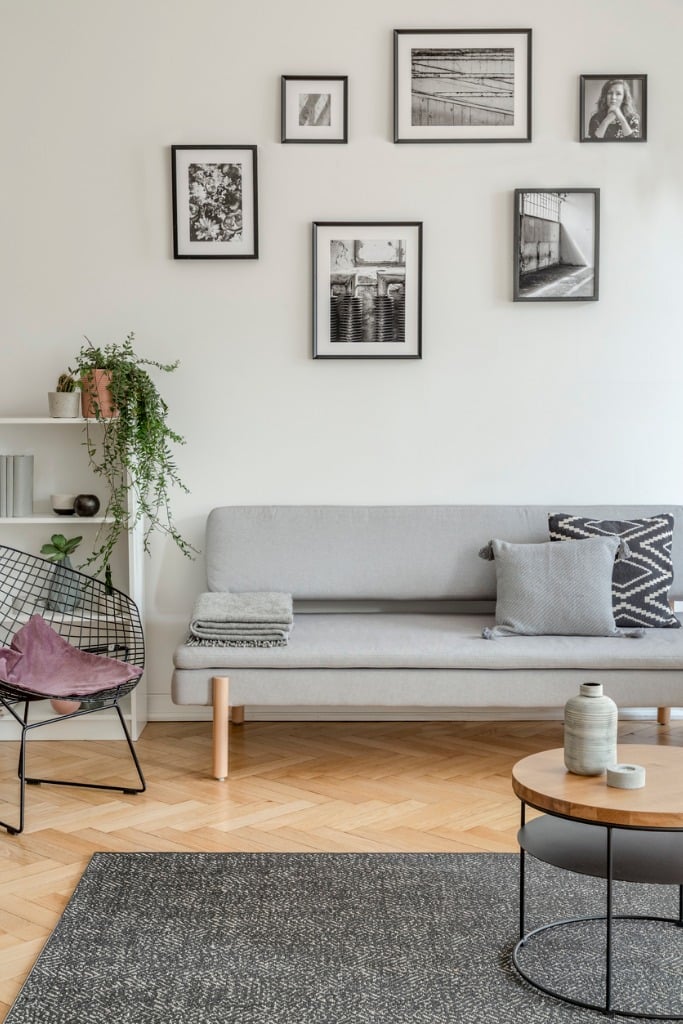
Photo by KatarzynaBialasiewicz via iStock
There are a couple of elements to this tip...
First, when creating a gallery wall (more on that in a minute), you want to ensure that the spacing between each print isn't too narrow or too wide.
Of course, judging what distance is ideal depends on the situation, but when it's off, you'll notice it.
For example, in the image above, the photos are way too far apart. All that negative space in between each print makes the display look as though it was haphazardly put together.
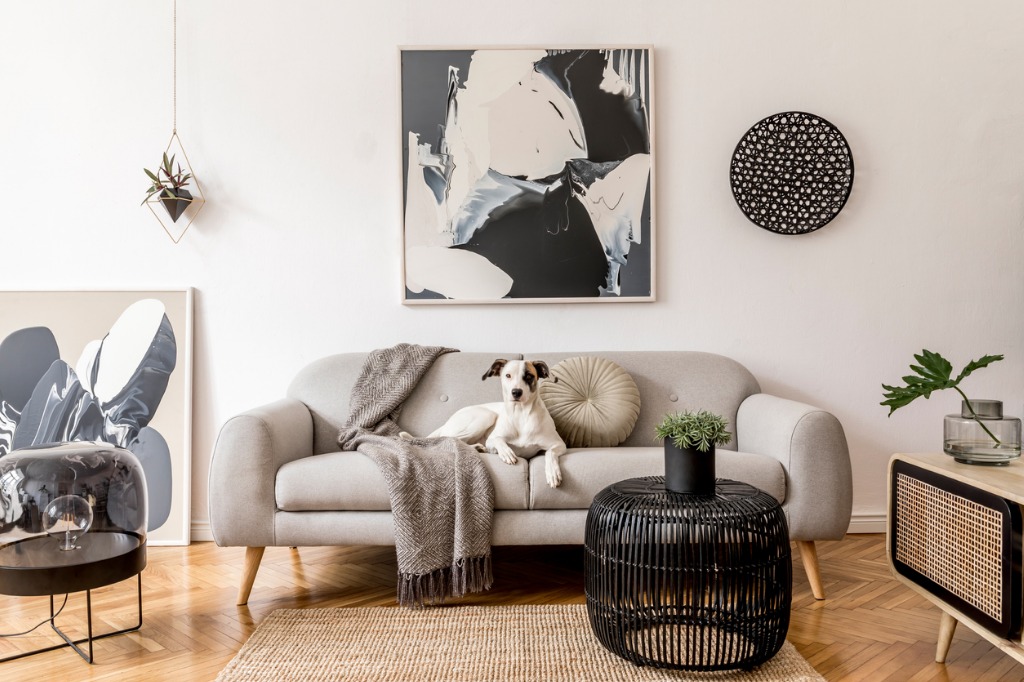
Photo by FollowTheFlow via iStock
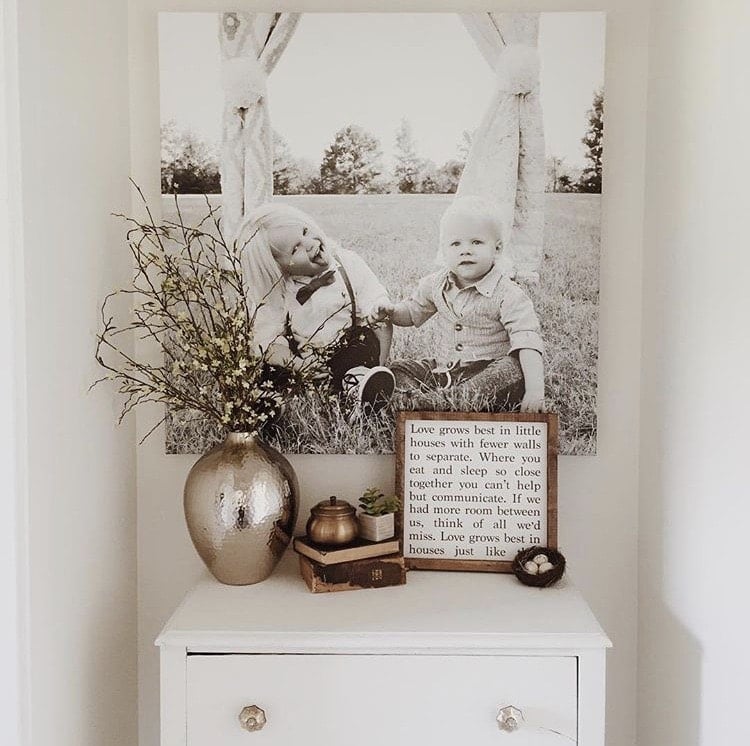
Secondly, make sure that your prints or gallery display are the right size for the wall space.
If you have a huge, blank wall in your living room, you need a large print (as shown above) or a display of many small ones to fill the space.
Conversely, if it's just a little nook that needs some art on the wall, a small print is a better option.
Again, this is one of those situations where if the sizing is off, you'll know it right off the bat.
Learn More:
Don't Be Afraid of Gallery Walls
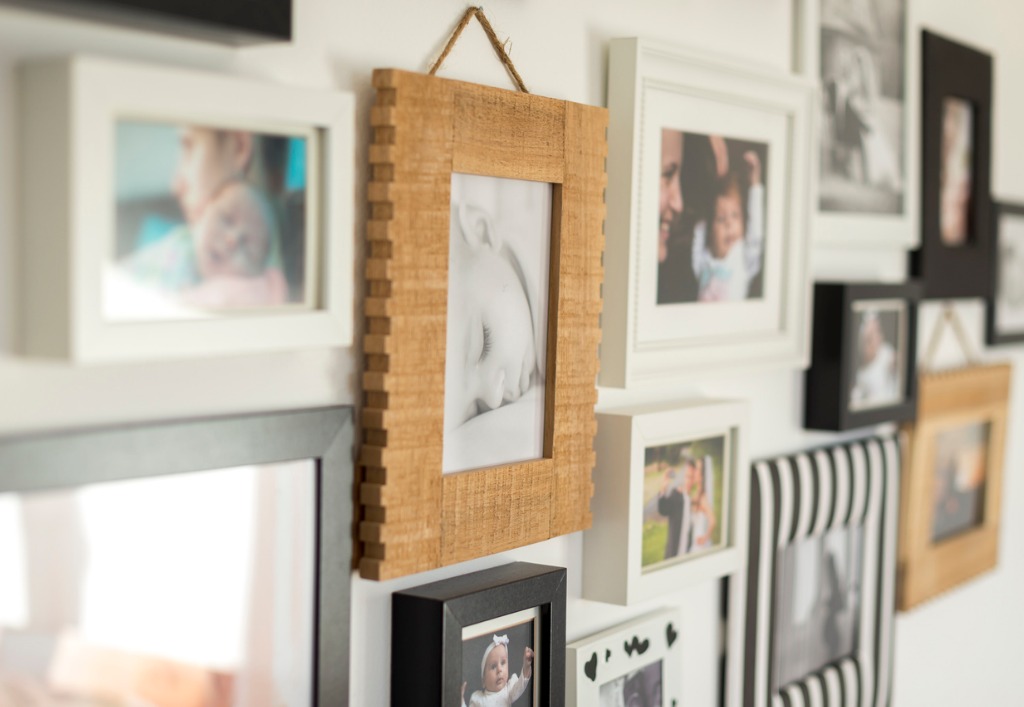
Photo by Ondrooo via iStock
I tend to like very clean, minimalist things, so gallery walls were a little hard for me to get behind at first.
That's because I was limiting myself to thinking that a gallery wall was like the one above - with tons of photos, each of which is in a different-sized frame with various styles and colors.
Though that particular kind of gallery wall isn't up my alley, that doesn't mean that it isn't a perfect option for your photos.
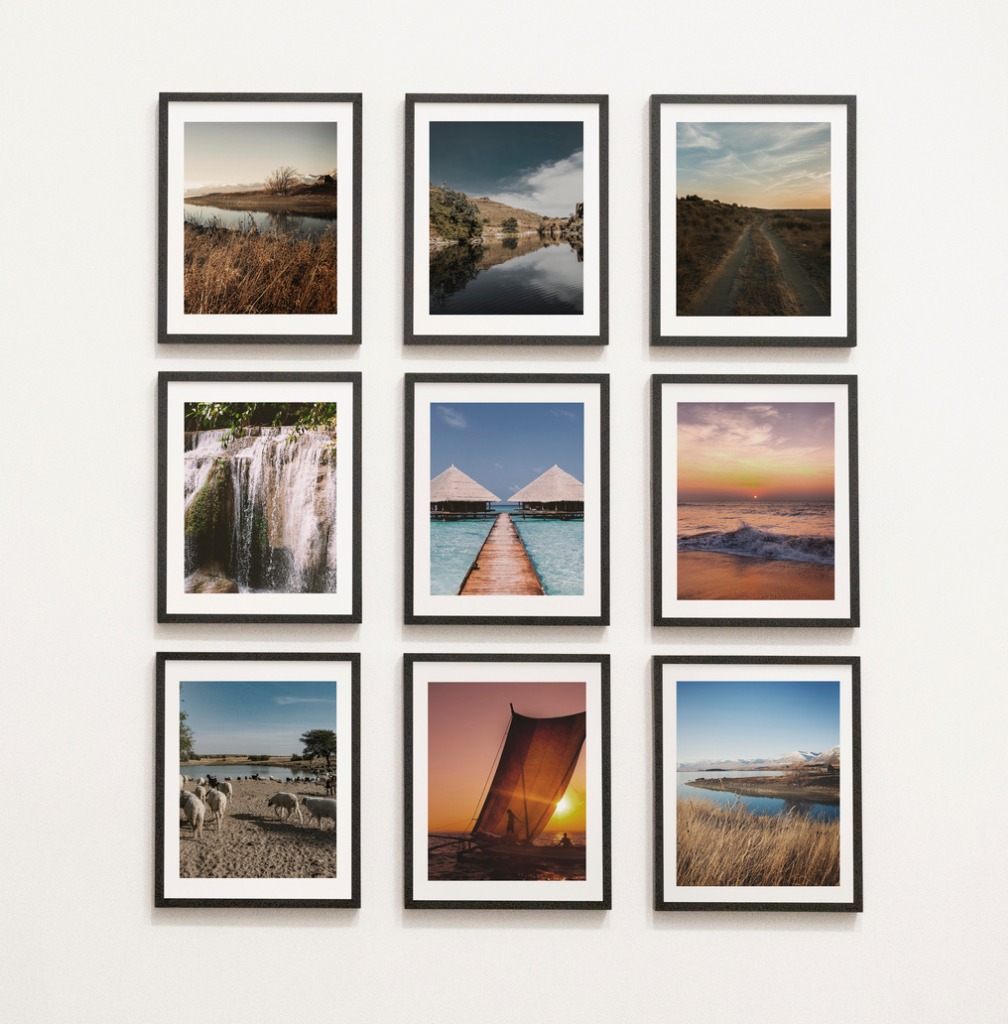
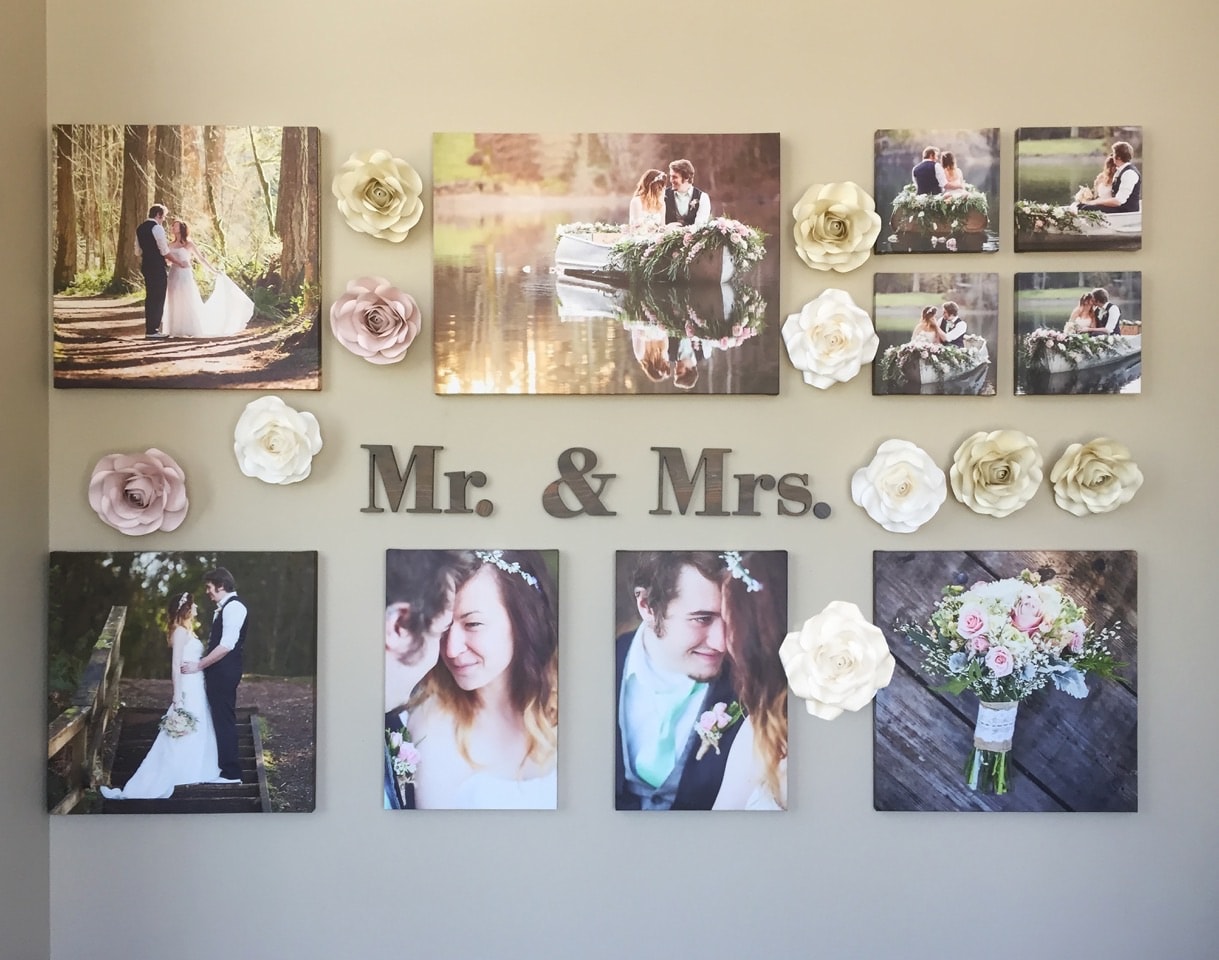
Photo by Rawpixel via iStock
The key to a great gallery wall is that it tells a story. The images within it need to be related in some way, shape, or form.
Now, it's important not to take this too literally - every photo in the gallery display doesn't have to be from the same vacation you took five years ago...
Maybe the story you're telling is "fun," or "family," or "travel." Whatever the case, having images that all relate to one another helps give the gallery display cohesion. When each frame is a different size, shape, or color, having something to connect the dots is helpful in creating the best gallery wall. And now that I think about it, even if the gallery wall is like the one above - very uniform and symmetrical - you still need a story to tell that's cohesive.
Take the Leap With High-Quality Prints
One thing that's helpful in pushing yourself to display more of your photos is to have them printed as high-quality prints.
There's definitely a difference between the cheap paper print you can get at the local pharmacy and a print you have specially made for your home.
The great thing about having quality prints made is that you don't have to spend an arm and a leg to get them.
In my case, I get prints from CanvasHQ because of their low prices and the incredible quality of their prints. It really is a win-win!
A while back I did a canvas print shootout, and CanvasHQ was the winner hands-down.
Their combination of high-end materials, hand-crafted frames, excellent customer service, and fast shipping won them the crown in that competition.
Since then, I've filled my home with CanvasHQ prints, and I couldn't be happier.
I have some large-format prints that occupy a large wall, small prints for those little nooks and crannies throughout the home, and I even have a gallery wall of photos of my son.
Even if you've never gotten prints made before, CanvasHQ makes it easy.
Just upload your photos, choose the size and print options, and CanvasHQ will take it from there. They'll even let you know if the sizing and options you chose aren't ideal and give you tips for how to make the print better.
You'll get your print within a couple of days, and trust me when I say that you'll be impressed when you open the box.
Hanging your photos on a wall requires that you have prints that inspire you. CanvasHQ can bring your photos to life and give you that inspiration to fill your home with your favorite memories!
Learn More: