Few things are as frustrating in photography as looking back at a shot you thought was perfect, only to find that your subject is blurry. You nailed the composition, the light was just right, but the image falls flat because the focus is off. Sharpness is the foundation of photography—without it, even the most creative images lose their impact.
Learning how to focus your camera doesn’t have to be intimidating. In fact, once you understand the basic principles, it becomes second nature. The trick is knowing when to let the camera do the work for you and when to take control yourself. With the right techniques, you’ll start capturing consistently sharp images whether you’re photographing people, landscapes, or fast-moving action.
This guide will walk you through everything you need to know about focus: how it works, the different modes and tools your camera offers, and how to apply those techniques to different shooting scenarios. By the end, you’ll feel confident in how to focus your camera properly in any situation—and that confidence will show in the clarity of your photos.
Table of Contents
- Understanding How Camera Focus Works
- Auto Focus vs. Manual Focus
- Focus Modes and Focus Areas Explained
- Choosing the Right Focus Point
- How to Focus Your Camera for Different Types of Photography
- Depth of Field and Its Role in Focus
- Common Focusing Mistakes (and How to Fix Them)
- Tips to Improve Your Focusing Skills
- Recommended Beginner-Friendly Settings
- Building Confidence Through Practice
- FAQ
Understanding How Camera Focus Works
At its core, focus is about making your subject sharp while letting other parts of the image fall into varying degrees of blur. Your camera achieves this by adjusting the position of the lens elements until the light converges correctly on the sensor. When you learn how to focus your camera, you’re really learning how to guide this process so that it matches your creative vision. Get more details about camera focusing in the video above by Photo Genius.
Most modern cameras use two main systems to achieve focus: contrast detection and phase detection. Contrast detection, common in mirrorless cameras and live view modes, evaluates differences in tonal contrast until it finds sharpness. Phase detection, more common in DSLRs and advanced mirrorless bodies, measures the phase difference of incoming light and locks onto focus more quickly. As a beginner, you don’t need to get bogged down in the science—just know that these systems work to help you nail sharp images.
Understanding these systems matters because it explains why your camera sometimes struggles. Low light, low contrast, or very fast subjects can make autofocus less reliable. Knowing when your camera might struggle prepares you to step in with different settings or manual adjustments.
Think of focusing as teamwork between you and the camera. The more you understand its strengths and weaknesses, the easier it becomes to consistently capture sharp images in all conditions.
Auto Focus vs. Manual Focus
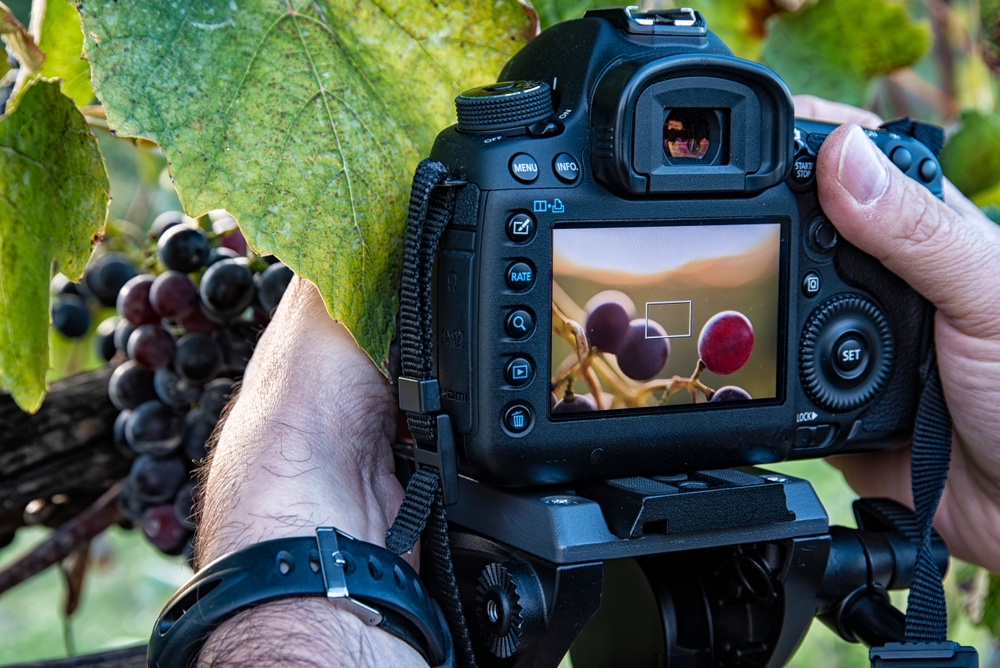
Photo by COLOMBO NICOLA via Shutterstock
Most beginners rely heavily on autofocus, and for good reason—it’s fast, accurate, and designed to make your life easier. Autofocus is ideal for everyday photography, whether you’re capturing your kids running in the yard or taking a portrait of a friend. Modern cameras even offer eye detection, which is fantastic for portraits. Learning how to focus your camera in autofocus mode is often the best starting point.
There are several autofocus modes to be aware of. Single-shot AF (called AF-S on Nikon or One Shot on Canon) locks focus when you press the shutter halfway. This is perfect for still subjects. Continuous AF (AF-C or AI Servo) tracks moving subjects, adjusting as they move toward or away from you. There’s also hybrid or automatic modes that try to guess which one you need. Understanding these modes gives you flexibility and control over how to focus your camera properly in different situations.

Photo by Milos Batinic via Shutterstock
Manual focus, on the other hand, takes more practice but opens up possibilities. It’s useful in low-light conditions where autofocus struggles, or when shooting macro photography where focus is extremely precise. Many modern cameras help with manual focus through focus peaking or magnification, making it less intimidating than it once was. As you grow more comfortable, you may find yourself switching between auto and manual focus depending on the shot.
The key is not to see it as “autofocus versus manual focus,” but as two different tools in your kit. Both have their place, and both will help you learn how to focus your camera with more confidence.
Focus Modes and Focus Areas Explained
Beyond autofocus types, your camera also offers different focus area modes. These tell the camera how much of the frame to evaluate when searching for sharpness. Understanding these will help you avoid missed shots. The video above by Camera Zone explores this topic in detail.
Single Point AF allows you to select one specific focus point, giving you precision. It’s excellent for portraits, macro work, or any situation where you want total control. Zone AF uses a cluster of points, letting the camera track movement within that area. This is useful for subjects that move unpredictably. Wide or Auto Area AF evaluates the entire frame, letting the camera decide where to focus. It’s great for casual shooting but less reliable for critical work. Face and eye detection modes, available on many newer cameras, are fantastic for portraits.
Each of these modes comes with strengths and weaknesses. Beginners often default to auto area AF because it feels simplest, but this can lead to the camera locking onto the wrong subject. Experimenting with single point AF gives you a lot more control. It may feel slower at first, but it’s an important step in mastering how to focus your camera.
A good practice exercise is to shoot the same scene using different AF area modes. You’ll quickly see how the results differ and when each setting shines. This hands-on learning builds the instincts you’ll rely on later.
Choosing the Right Focus Point
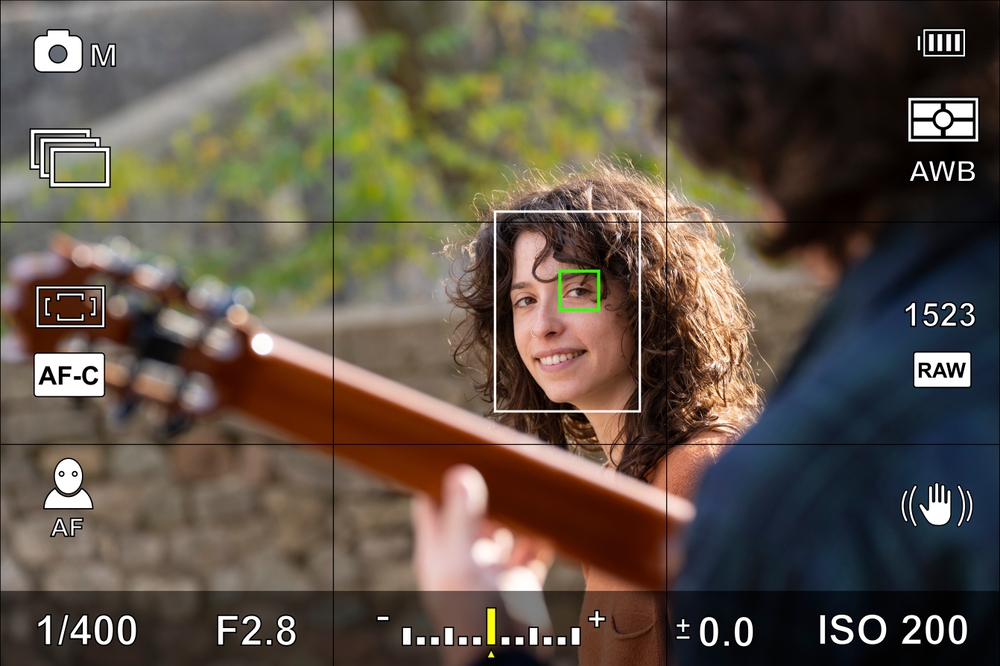
Photo by Markus Photo and video via Shutterstock
Picking the right focus point is one of the most overlooked aspects of focus, but it’s crucial. In portraits, for example, the eyes are the most important place to focus. If the eyes are sharp, the photo works—even if other areas are softer. In landscapes, focusing about one-third into the frame often gives you a pleasing balance of sharpness throughout the scene.
Most cameras allow you to move the focus point using a joystick or d-pad. Learning to quickly shift points will save you time and frustration. The alternative is the “focus and recompose” technique, where you lock focus on your subject and then adjust your framing. This works, but can be less accurate with wide apertures and shallow depth of field.
A common mistake beginners make is leaving the camera on the center focus point and relying on recomposition for every shot. While this sometimes works, it often leads to slightly missed focus—especially at wide apertures. Taking the time to move your focus point will drastically improve your results.
When you’re practicing how to focus your camera, challenge yourself to select different focus points intentionally. It’s a simple habit that leads to much sharper images.
How to Focus Your Camera for Different Types of Photography

Photo by Alexey Stiop via Shutterstock
Different genres of photography require different focusing approaches. Portraits benefit from precision—your subject’s eyes should always be tack sharp. Using eye detection autofocus, if your camera has it, can make this effortless. With wide apertures, depth of field is very shallow, so careful focusing is even more critical.

Photo by Denis Belitsky via Shutterstock
In landscapes, the goal is often maximum sharpness throughout the frame. As mentioned earlier, focusing roughly one-third into the scene is a simple way to approximate the hyperfocal distance, which ensures both foreground and background are acceptably sharp. In the image above, you’d focus roughly at the point of the furthest foreground rock. Pair this with a smaller aperture like f/8 or f/11, and you’ll get strong results. Understanding this balance is a key part of learning how to focus your camera for outdoor work.
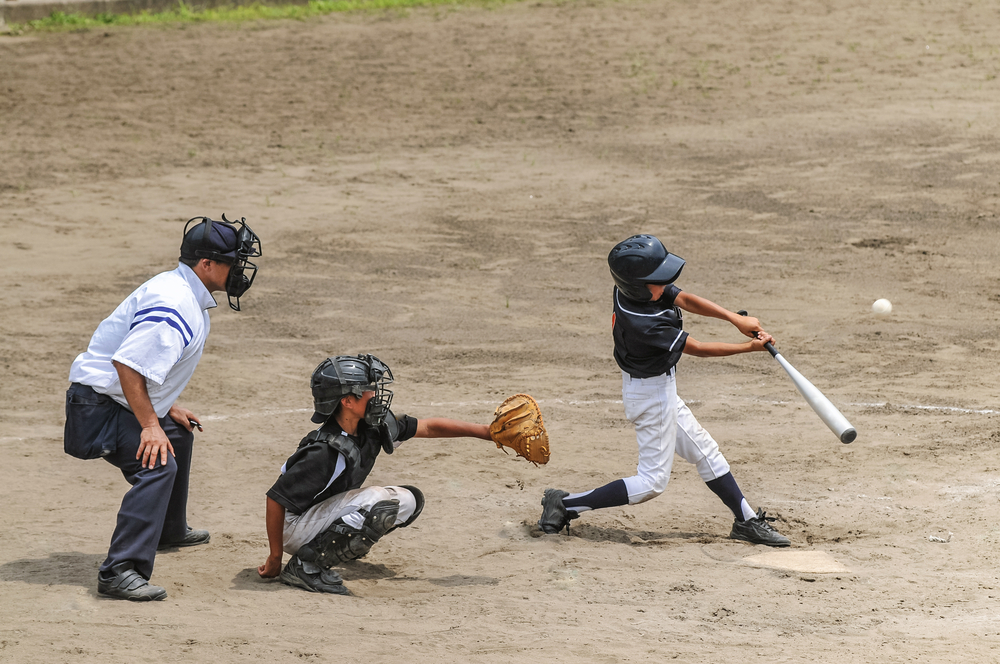
Photo by mTaira via Shutterstock
Sports and action photography demand speed. Continuous autofocus paired with tracking modes is your best friend here. Instead of locking focus once, the camera continually adjusts as your subject moves. It takes practice to keep your subject framed, but it’s the only way to capture crisp action shots.
Macro photography presents a unique challenge because the depth of field is razor thin. Even the slightest shift can throw the subject out of focus. Manual focus often works best here, combined with tools like focus peaking. Low-light photography also challenges autofocus systems, so switching to manual or using live view magnification may save the day.
Depth of Field and Its Role in Focus

Photo by Rachel Salles on Unsplash (license)
Depth of field is the range of distance in your photo that appears sharp. It’s controlled by aperture, focal length, and subject distance. A wide aperture like f/1.8 creates a shallow depth of field, giving you that creamy background blur in portraits. A narrow aperture like f/16 creates deep focus, keeping most of a scene sharp. Understanding this relationship is vital to mastering how to focus your camera.
Focal length also plays a role. Telephoto lenses naturally produce shallower depth of field, while wide-angle lenses keep more in focus. Subject distance matters too—the closer you are, the thinner your depth of field becomes. That’s why macro photography is so tricky.
Once you understand depth of field, you can use it creatively. You may choose a shallow depth to isolate your subject or a deep one to show off an expansive landscape. Knowing where to place your focus point in each case is what brings your vision to life.
Experiment with different aperture settings on the same subject to see how depth of field changes. This hands-on test is one of the fastest ways to grasp how to focus your camera with intention.
Common Focusing Mistakes (and How to Fix Them)
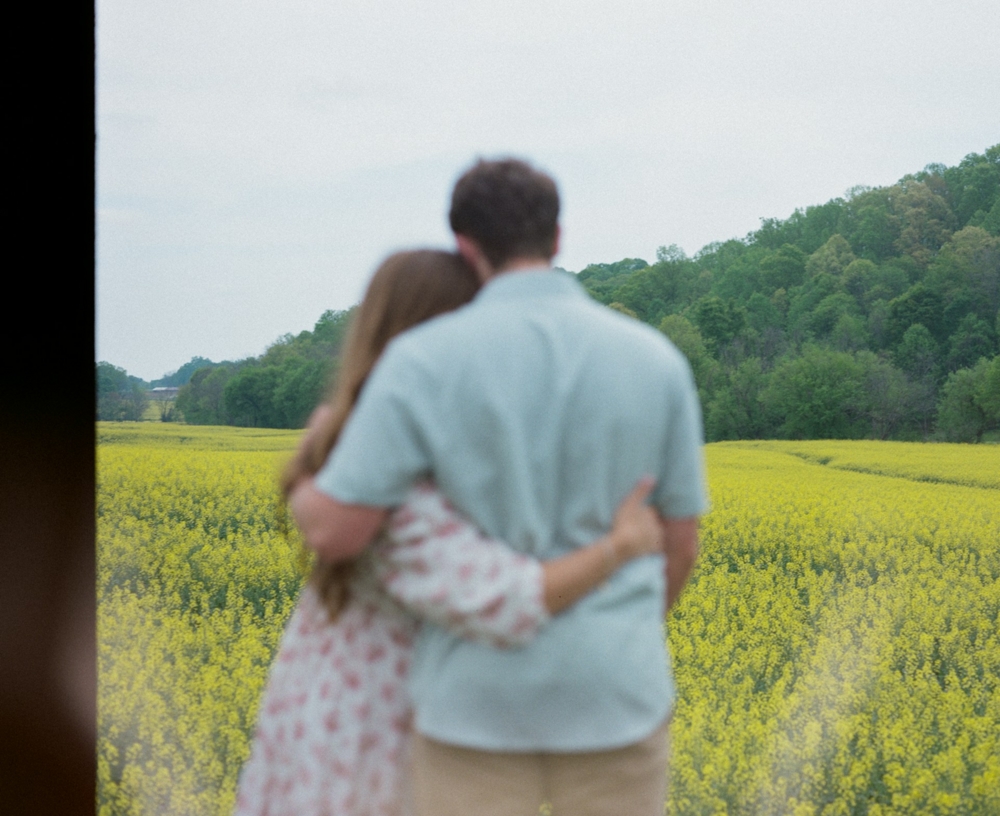
Photo by Brooke Balentine on Unsplash (license)
One of the biggest mistakes beginners make is trusting autofocus blindly. While it’s powerful, it isn’t perfect. Cameras may lock onto the background instead of the subject, or struggle in low light. Don’t be afraid to override it when needed. Reviewing images on the back of the camera and zooming in is an easy way to catch problems early.
Another mistake is choosing the wrong AF mode. Using single-shot AF for sports or action almost guarantees blurry results. The opposite is true for portraits—continuous AF may hunt unnecessarily. Matching the mode to the subject is a critical part of learning how to focus your camera properly.
Focusing on the wrong part of the subject is also common. For portraits, beginners often end up with sharp noses but blurry eyes. For landscapes, they might focus too close or too far into the scene. Developing the habit of thinking intentionally about your focus point is an easy fix.
Finally, sometimes what looks like a focus problem is actually camera shake. If your shutter speed is too slow, even perfect focus won’t help. Pairing good focus technique with proper shutter speeds ensures consistently sharp results.
Tips to Improve Your Focusing Skills
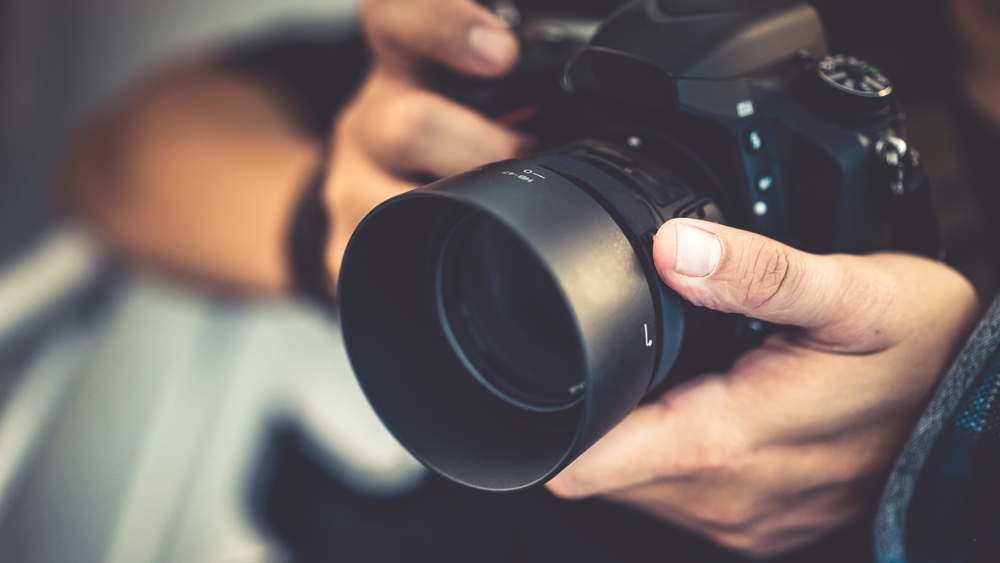
Photo by Aris Suwanmalee G via Shutterstock
Like any skill, focusing improves with practice. Start with simple subjects—objects that don’t move—and test different focus modes. Get used to how your camera behaves. The more familiar you are, the faster you’ll be at adjusting in the moment.
Back-button focus is a technique many photographers swear by. It separates focusing from the shutter button, giving you more control. Once you try it, you may never go back. It’s one of the most effective ways to master how to focus your camera with consistency.
Another trick is to take multiple shots with slight adjustments. This is especially useful in critical focus situations like macro work. You can then choose the sharpest image later. Pre-focusing, or setting your focus in advance of a moving subject, is also helpful for sports and action.
Above all, review your work critically. Don’t just check if the shot looks good overall—zoom in and see if the focus landed where you intended. This feedback loop accelerates your improvement.
Recommended Beginner-Friendly Settings

Photo by Ilya Oreshkov via Shutterstock
If you’re just starting out, a few default settings will simplify your learning. For portraits or still subjects, single point autofocus is your best bet. For moving subjects, switch to continuous autofocus. If your camera has face or eye detection, leave it on—it’s a lifesaver for portrait work.
Leave autofocus assist features enabled. These include focus assist beams or contrast boosts that help the camera in low light. Use live view magnification when you need critical accuracy, like in macro photography.
Remember, these are starting points. As you grow more comfortable, you’ll naturally adjust your approach. The important thing is to build confidence and consistency as you learn how to focus your camera in different scenarios.
With these settings, you’ll eliminate a lot of the guesswork and focus more on composition and creativity.
Building Confidence Through Practice

Photo by Stokkete via Shutterstock
Confidence with focus doesn’t come overnight—it builds with repetition. The more you shoot, the more instinctive your choices become. At first, you may overthink every setting and second-guess yourself. Over time, these decisions will feel natural.
Practice in different environments. Shoot indoors in low light, outdoors in bright sun, and in fast-paced situations. Each scenario teaches you something new. The beauty of digital photography is that you can experiment without cost—take advantage of that freedom.
Think of focusing as a conversation with your camera. The better you understand it, the smoother that conversation becomes. Soon, you’ll know exactly how to focus your camera without hesitation, allowing your creativity to flow without technical distractions.
At the end of the day, sharp focus is about more than technical mastery. It’s about trust—trust that your vision will be captured clearly. And once you have that trust, the possibilities are endless.
FAQ
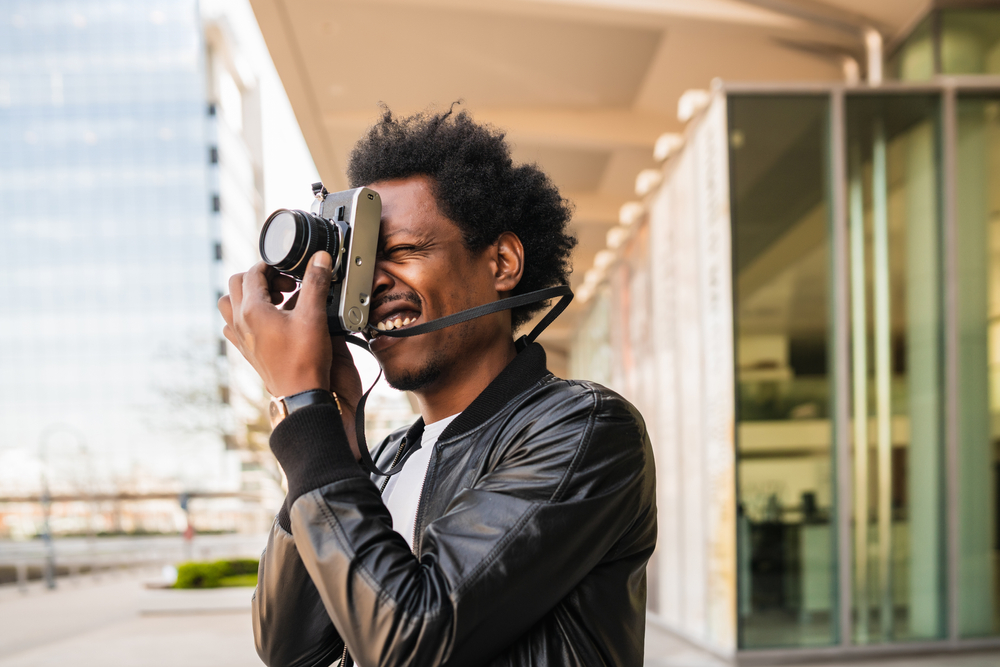
Photo by Mix Tape via Shutterstock
Should I always use autofocus?
No. Autofocus is excellent for most situations, but manual focus is often better in low light, macro work, or when you need very precise control.
Why are my photos blurry even when I focus correctly?
Blur can come from camera shake, subject movement, or using too slow of a shutter speed. Make sure your shutter speed is fast enough for the lens you’re using.
Where should I focus for portraits?
Always focus on the eyes. If your camera has eye detection autofocus, use it. Sharp eyes make or break a portrait.
How do I focus for landscapes?
Focus about one-third into the frame and use a smaller aperture like f/8 or f/11 to maximize depth of field.
Is back-button focus worth learning?
Yes. It separates focus from the shutter release, giving you more control. Many photographers find it speeds up their workflow and improves consistency.
Learn More:
Hero photo by Aris Suwanmalee G via Shutterstock

Bulk URL Shortener
[…]usually posts some pretty fascinating stuff like this. If you are new to this site[…]