How to Get Better at Street Photography
- The 7 Essential Rules of Street Photography
- Hitting the Streets: Street Photography With Your Smartphone
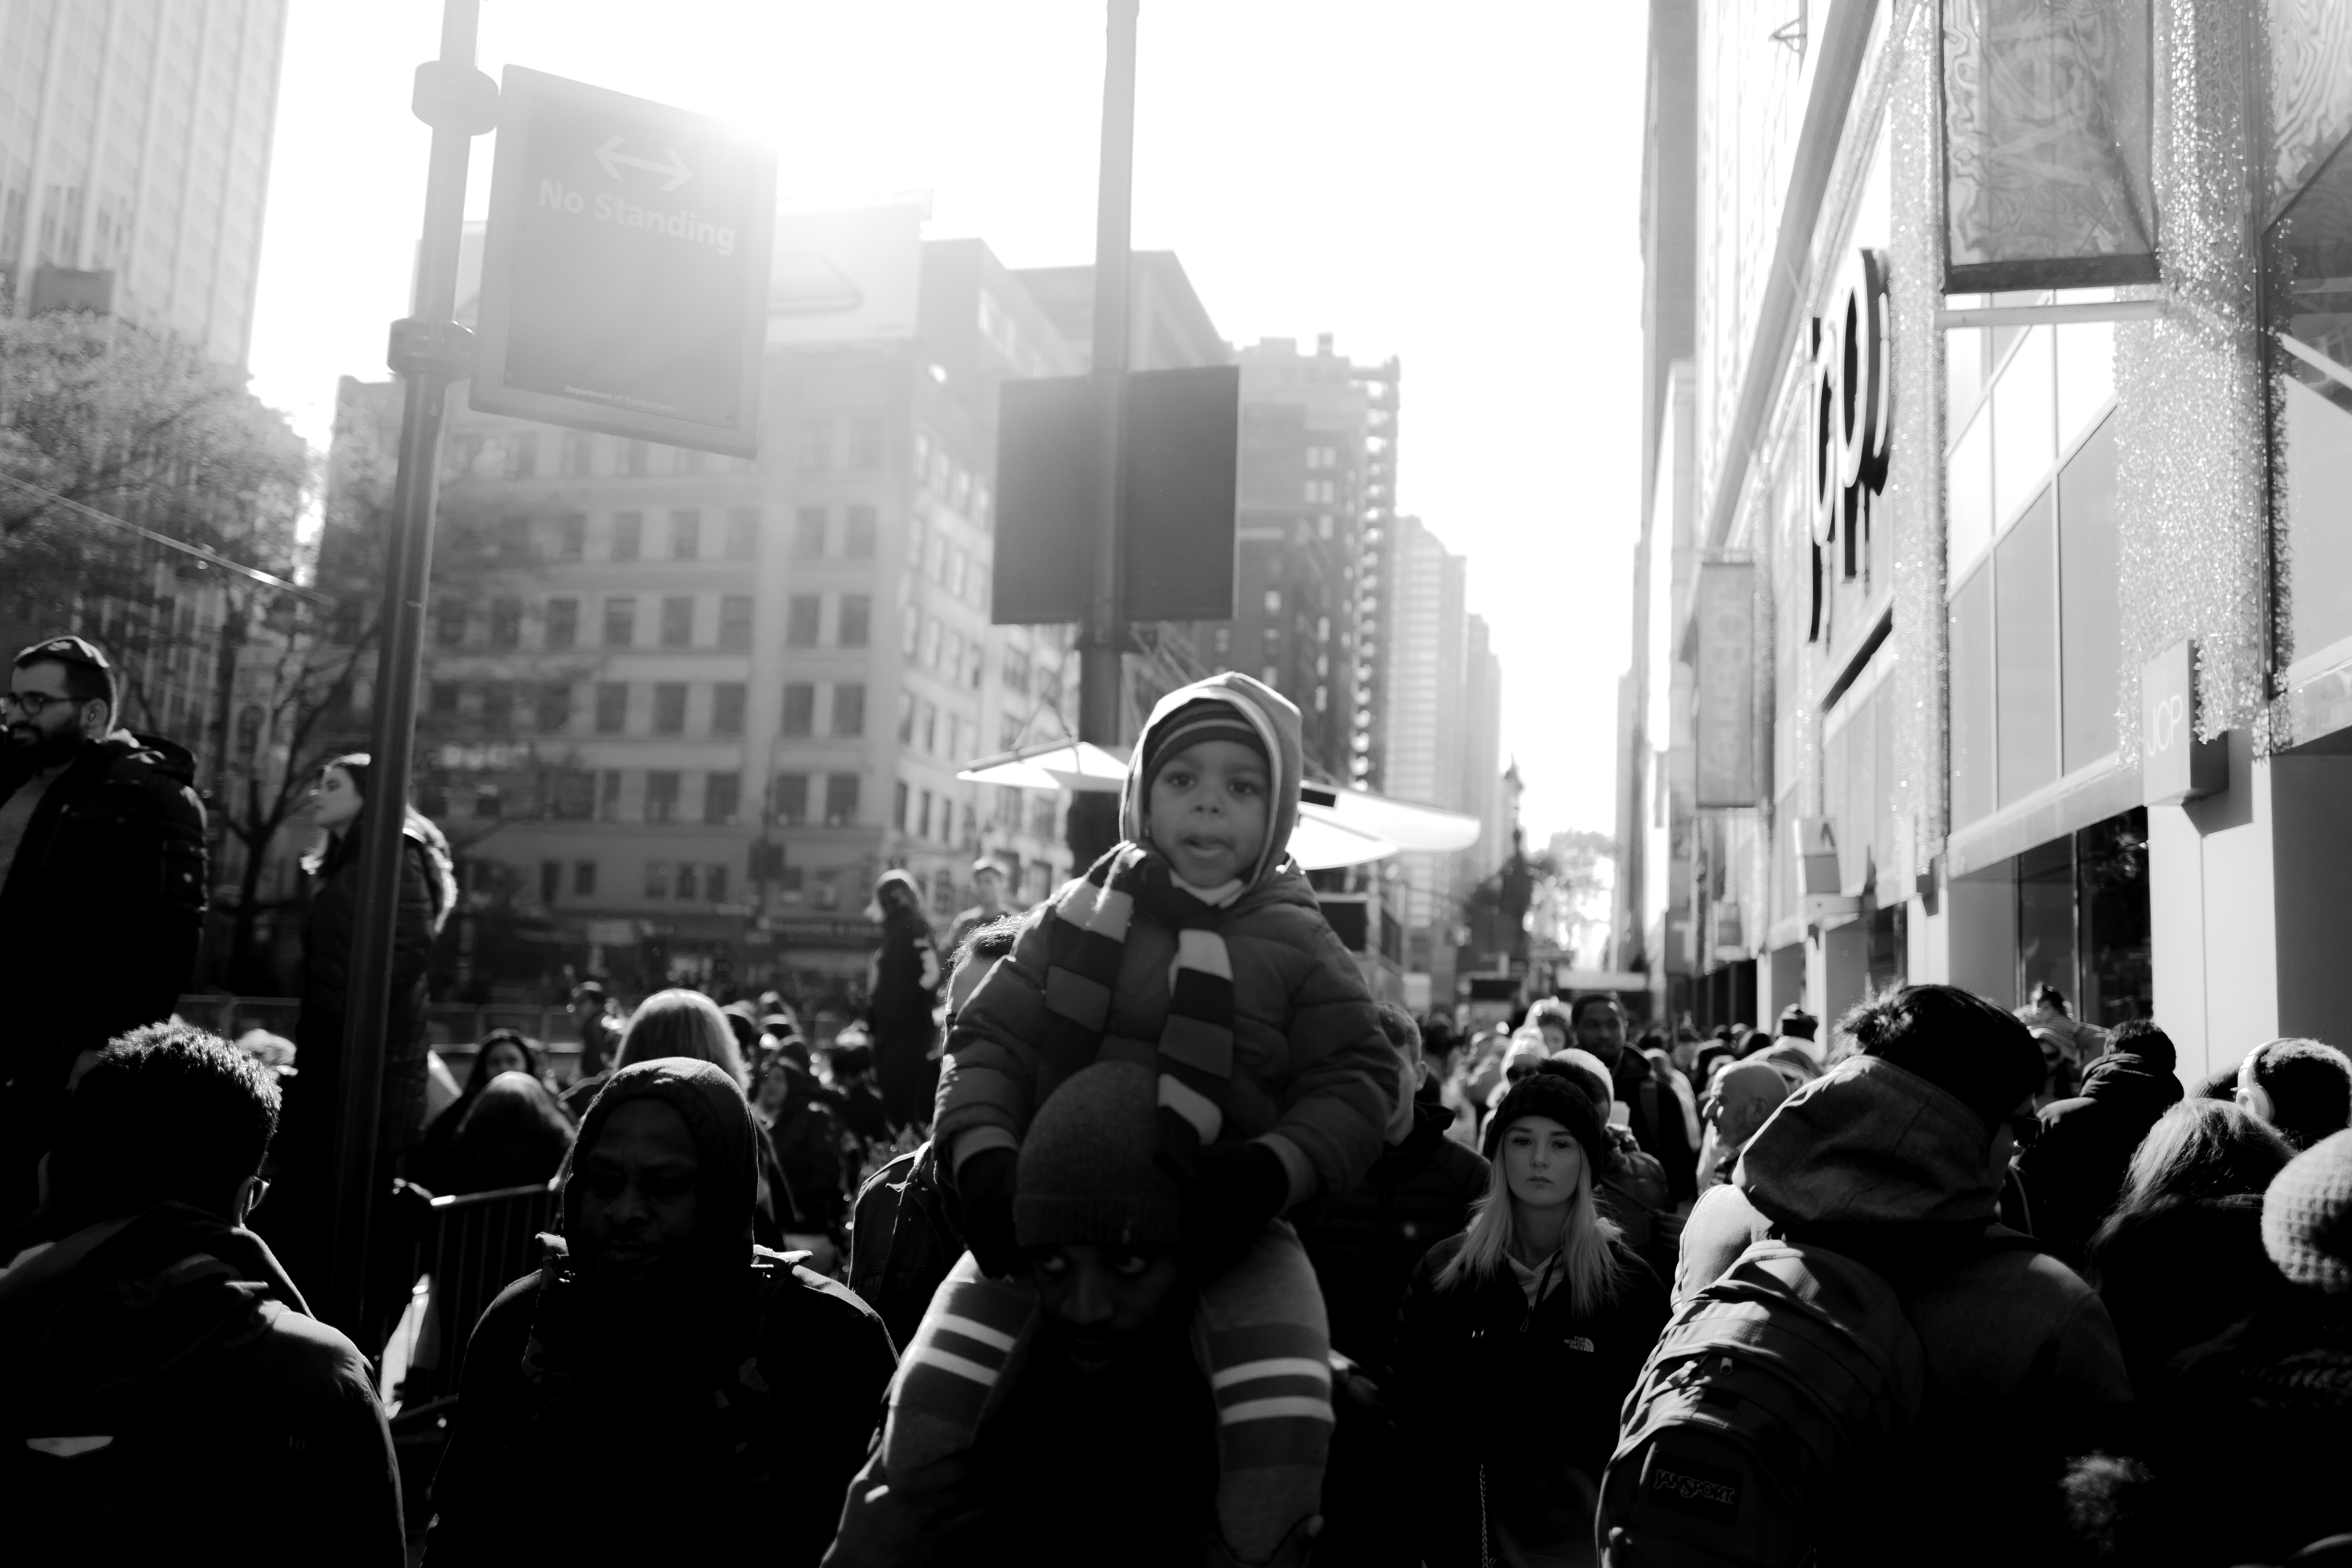
Photo by KE ATLAS on Unsplash
Street photography, perhaps more than any other kind of photography, takes a certain confidence to pull off.
After all, photographing the movement and activity of urban life is difficult enough, but add in approaching perfect strangers to photograph them, and you have a recipe for a challenge.
Maybe that’s why it’s such a gratifying form of photography - overcoming those challenges to create beautiful photos is totally satisfying.
If you’re not sure where to begin your street photography journey, look no further than the street photography tips I’ve outlined below.
How to Get Better at Street Photography: Keep Your Kit Simple
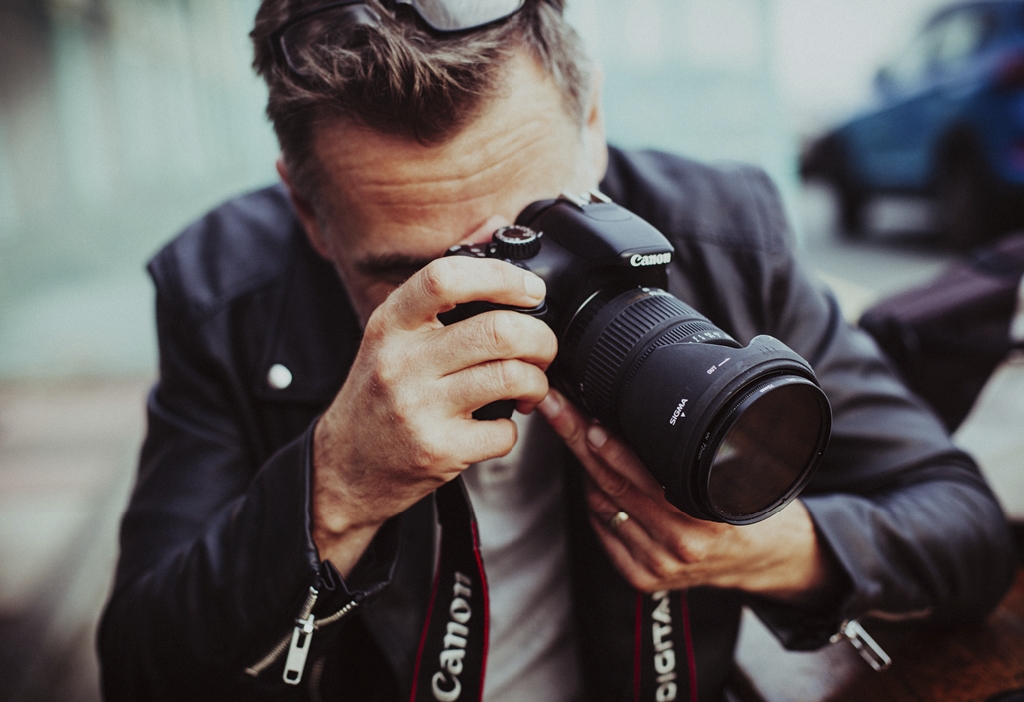
Photo by Clem Onojeghuo on Unsplash
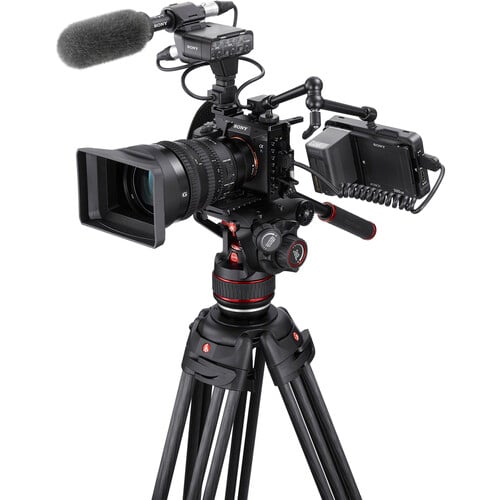
When you’re in the urban jungle, you don’t need a three-camera harness, five lenses, a tripod, and so forth.
In fact, many successful street photographers will tell you to take one camera, one lens, and little else.
The thinking is that if you have less gear, you’ll spend less time swapping lenses and fiddling with camera settings. And the less time you do those things, the more time you have to focus on more important factors like composition, chasing good light, and surveying street scenes to find interesting shots.
Quick Tip: Prime lenses are great for street photography because they have a small form factor and typically weigh less than a zoom. Give a 35mm or a 50mm lens a shot the next time you head out for some urban photos.
Learn More:
How to Get Better at Street Photography: Camera Access is Key
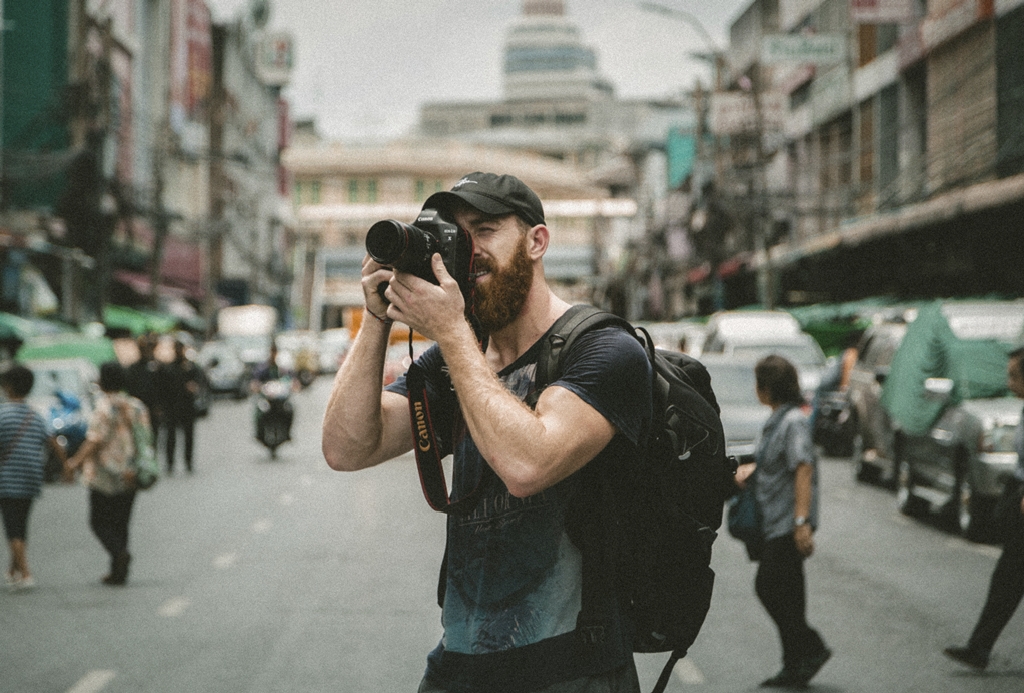
Photo by Jakob Owens on Unsplash
There are a couple of layers to this tip that I want to explore.
First, when you’re making your way through busy city streets, you want to have your gear easily accessible, that way you can quickly take pictures when the moment strikes.
When I’m out shooting, I often use a hand strap with my Sony a6300, that way I don’t have a camera strap flapping around just waiting to get tangled on a passerby’s arm.
But when I’m moving from one area of the city to the next, I like having a small yet accessible camera bag that gives me a comfortable carrying experience while keeping my gear easy to retrieve.
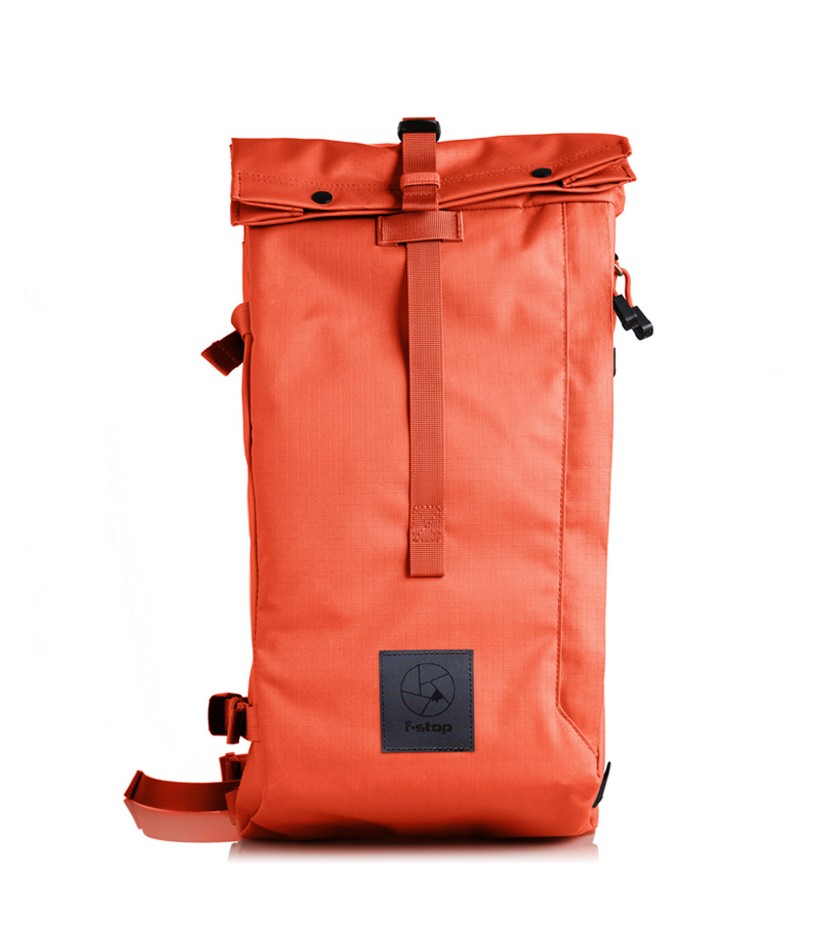
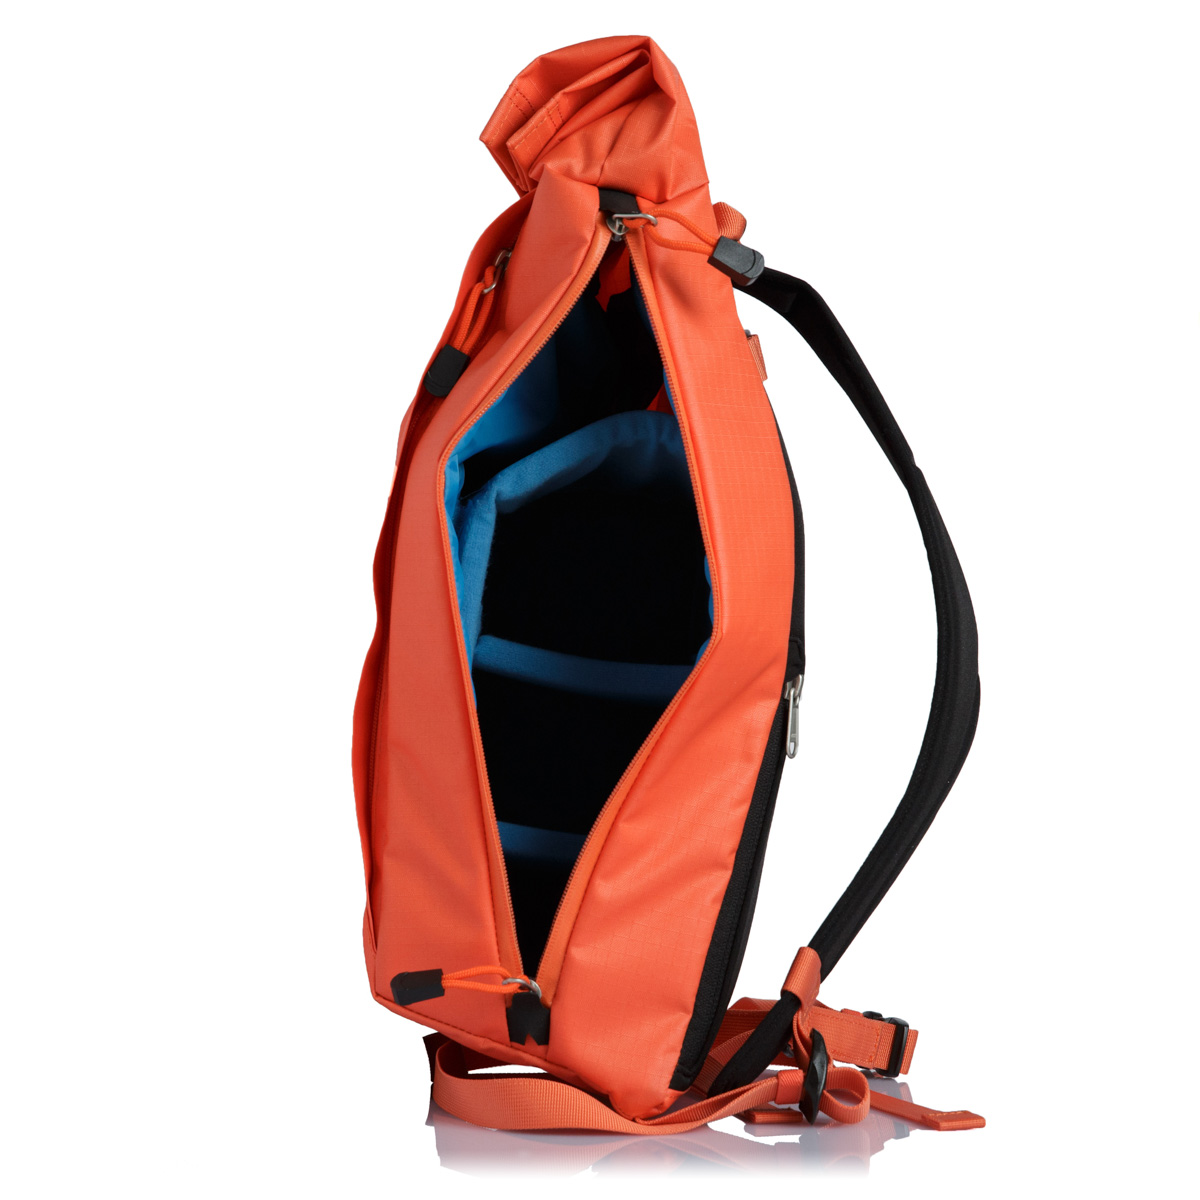
I particularly like sling bags, like the f-stop Fitzroy pictured above and below, because I can just slide the bag around to grab my gear.
What makes bags like this even more functional is the full side access to the camera compartment, so there’s no digging around through the top access to try to find what I need.
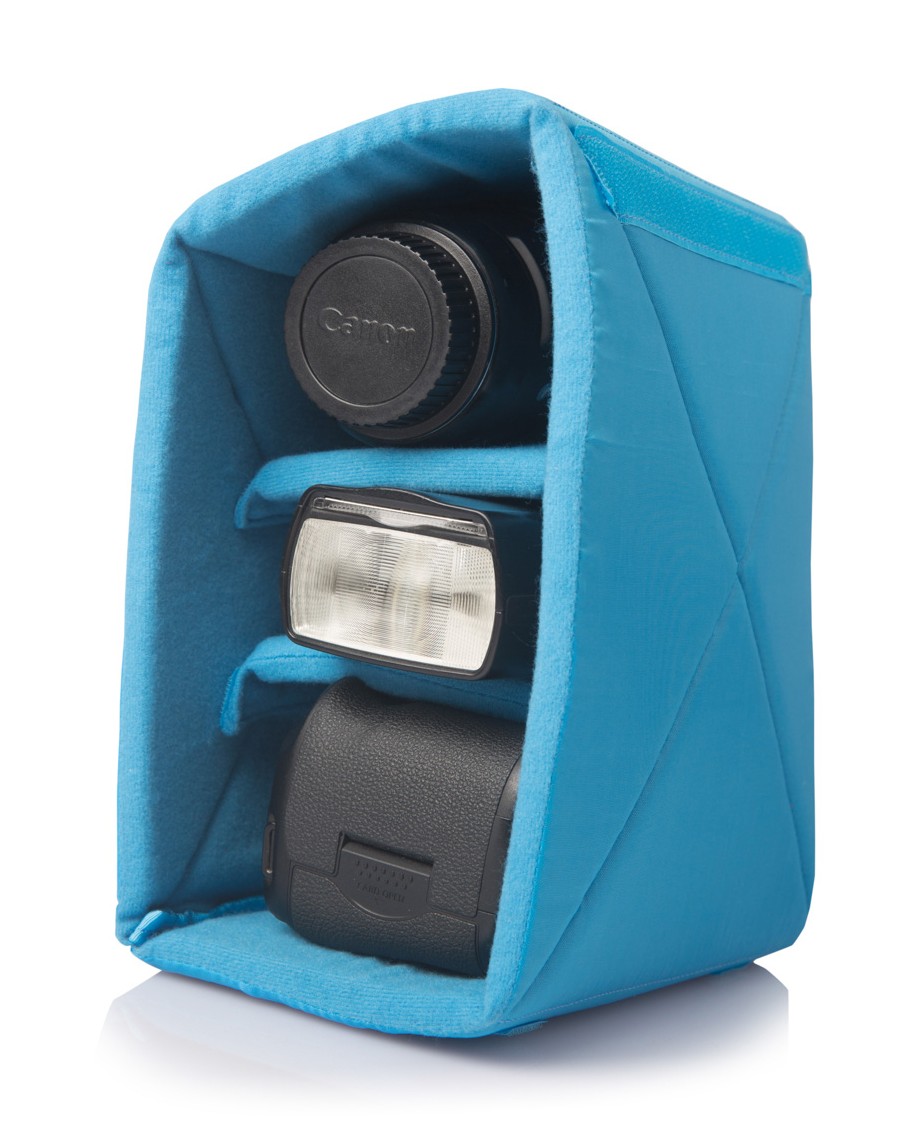
Additionally, I appreciate that bags like this can accommodate just the right amount of gear. This particular bag holds up to 11 liters of gear, yet is just 4.7-inches deep, 9.1-inches wide, and 15.7-inches tall.
In other words, it’s the perfect size for my a6300, my Sony 35mm f/1.8 OSS lens, and another accessory like a flash or spare batteries. The three-compartment padded insert keeps my gear safe and organized, too.
Something else to consider when shopping for an urban photography bag is its weatherproofness.
In Southern California I don’t have to worry about rain all that often, but when the skies open up, this bag is ready.
Not only does it have weather-sealed zippers, but the DWR 420D Ripstop Nylon with TPU Laminate ensures the rain stays out.
Add in side attachment straps for those occasions when you need to carry a bit more gear, a pocket for a 12-inch tablet, and a padded back, and you have the makings for a perfect companion for your next street photography adventure!
How to Get Better at Street Photography: Slow It Down
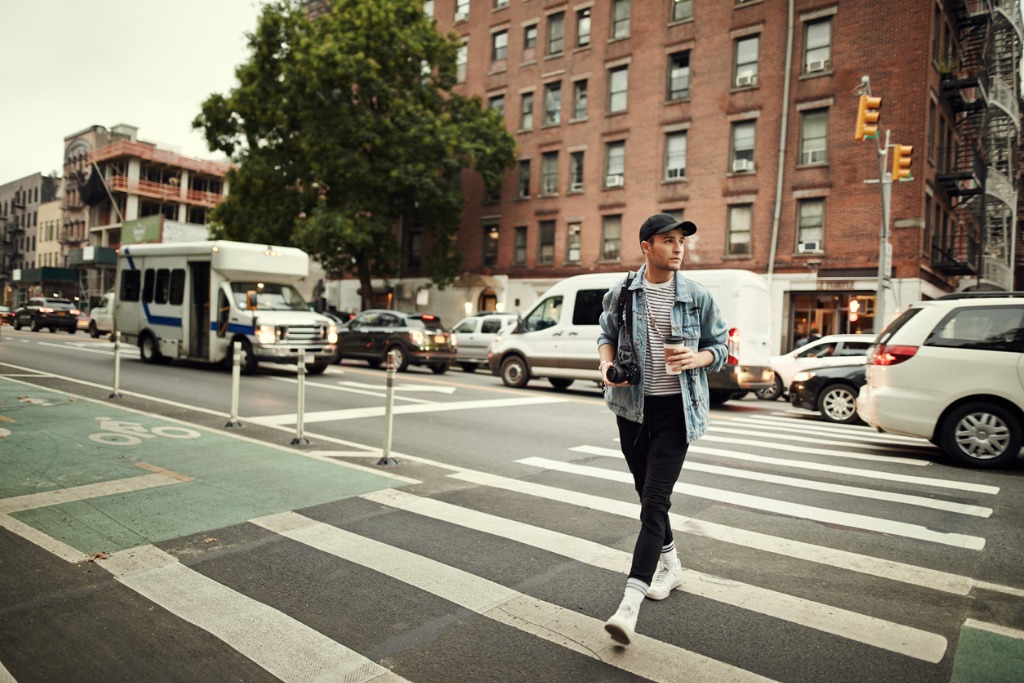
photo by AJ_Watt via iStock
Between the sights, the smells, the noise, and everyone seemingly in a rush to get where they’re going, slowing yourself down can be quite the challenge when you’re on the street with your camera.
But slowing down is exactly what you need to do to get better results.
When you rush through your shots, the likelihood of making a mistake is vastly increased. It’s easy to forget to check the corners of the shot, ensure there’s a pleasing background, dial in the right camera settings, and so forth.
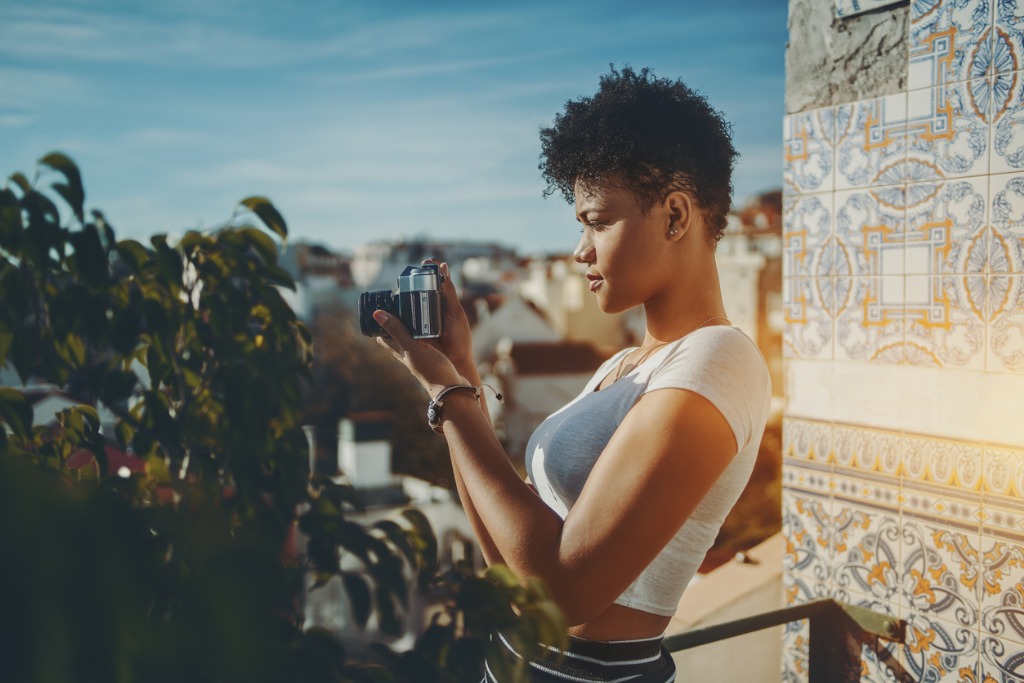
photo by skyNext via iStock
Instead, take a measured approach. Key in on an interesting subject. Study ways to make it more interesting. Take a shot, and then another, and then another. Move to a different position to reframe the shot.
None of these things take an especially long time, yet they can help you take your street photos from blah to beautiful!
Learn More:
How to Get Better at Street Photography: Find a Spot and Stick With It
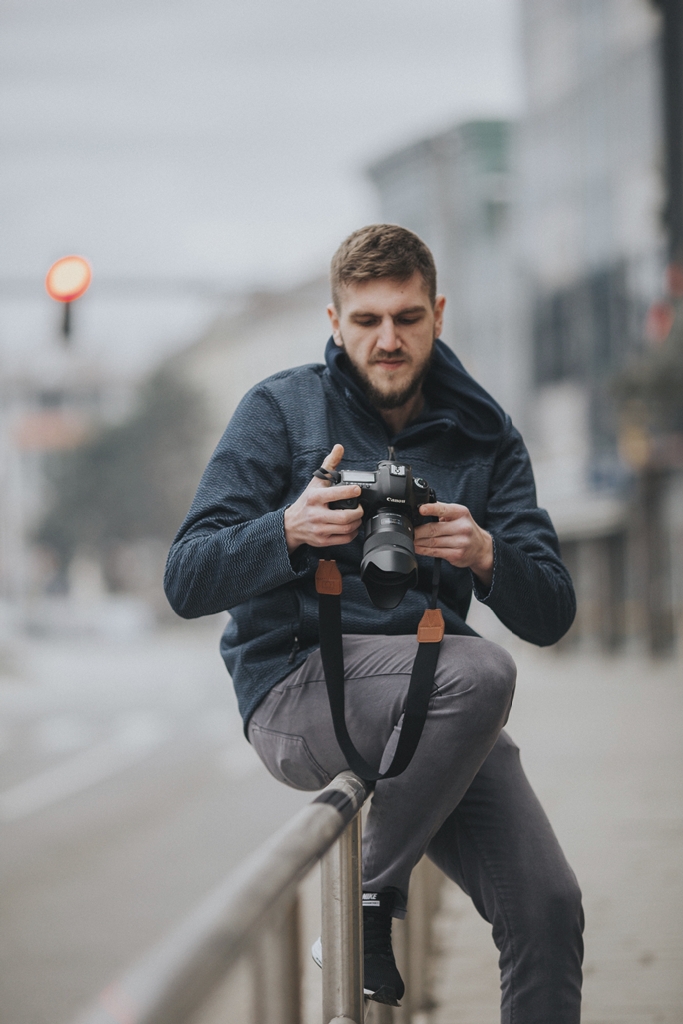
Photo by Ramiz Dedaković on Unsplash
While it might be tempting to rush around the city in the hopes of finding the best shots, sometimes it’s better to find a spot and let the action come to you.
This technique requires that you hunt for the perfect shooting position. Perhaps that means having a pleasing background. Maybe you find an ideal spot with perfect light.
Whatever the case, by letting the liveliness of the urban environment come to you rather than you chasing it around, you’re likely to get better shots, and more of them.
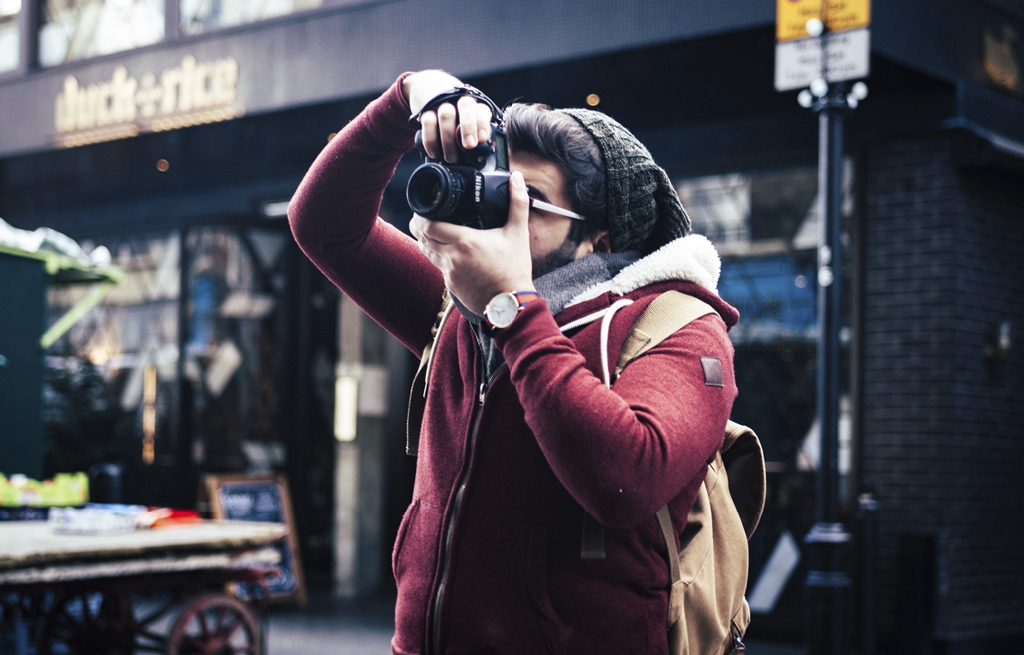
Photo by Clem Onojeghuo on Unsplash
That is, without concentrating on getting from Point A to Point B or fighting through throngs of people on the sidewalk, you can plop yourself down, frame up a shot, and concentrate on composition and framing.
Quick Tip: If the people on the street are coming to you, you eliminate the need to approach people, which many new street photographers find to be a wholly uncomfortable experience.
How to Get Better at Street Photography: Get Creative!
Creating photos that have impact and visual appeal is often about finding creative ways to capture the subject.
Rather than shooting black and white street portraits as has been done so often and so well by so many people, approach your street photography in a different way.
If you need a little creativity boost in that regard, have a look at the video above by COOPH. They’ve outlined some fun ways to make street photography your own.