
How to Photograph Real Estate With a Smartphone
- How to Get Started in Real Estate Photography
- Professional Real Estate Photography Kit: What’s in the Camera Bag?
- Real Estate Photography Mistakes You Don’t Want to Make
- How to Photograph Bedrooms to Enhance Their Appeal
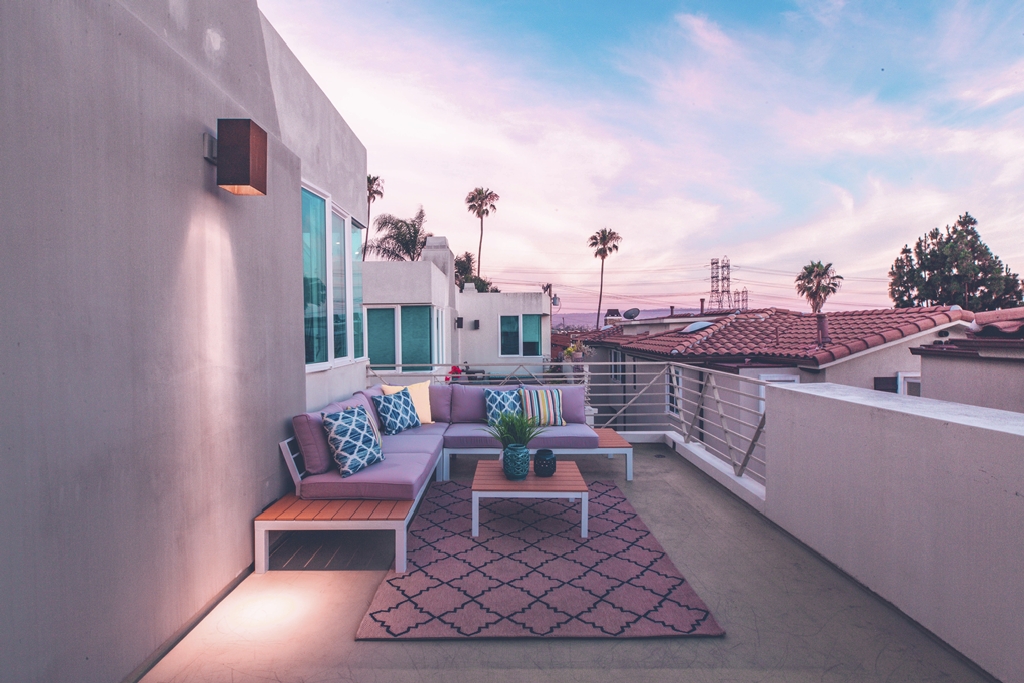
Photo by Marion Michele on Unsplash
Smartphone technology has come a very long way in recent years, making them a more-than-viable option for real estate professionals and real estate photographers to use for both interior and exterior shots.
And while smartphones might not have the flexibility and performance of an interchangeable lens camera like a DSLR or mirrorless system, modern smartphones have quality built-in lenses and sensors with enough resolution to create great-looking shots for online listings.
Consult this quick guide for some critical tips that will allow you to take the best possible photos with your smartphone.
How to Photograph Real Estate With a Smartphone: Hold Your Phone Properly
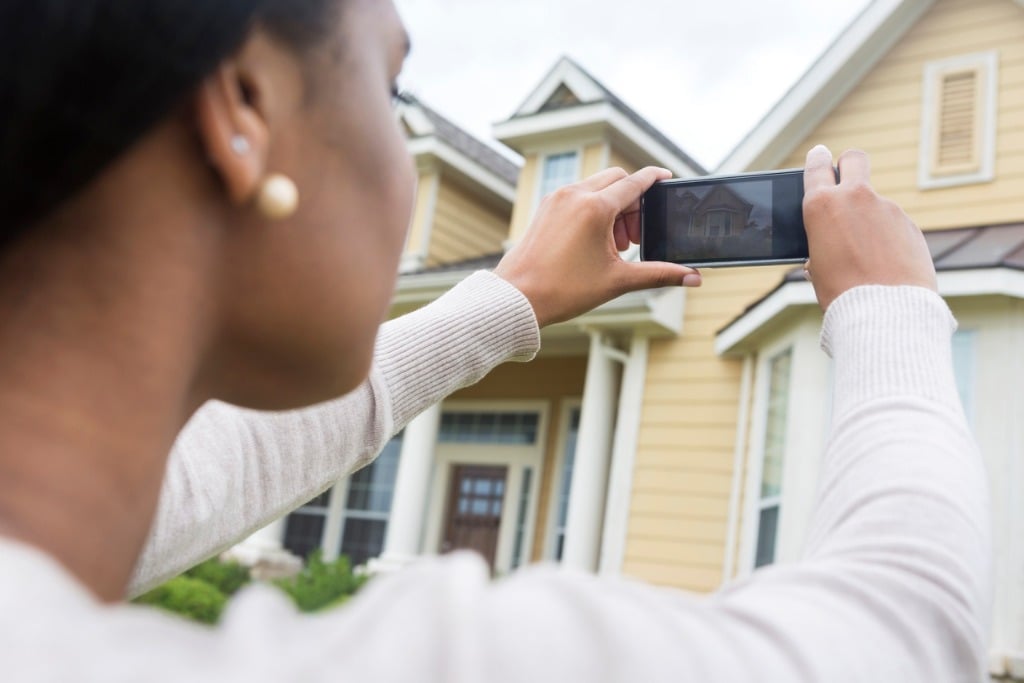
photo by Steve Debenport via iStock
One of the most common mistakes people make when taking photos with their smartphone is not giving the phone the proper support it needs to get a tack-sharp image.
Naturally, holding your phone at arm’s length (as shown above) is the most natural inclination when using a smartphone for photographing a home’s exterior and interior spaces. However, this is the worst way to hold a smartphone if you want sharp images.
Instead, you’ll get sharper photos if you bring your elbows inward and plant them in your chest or kneel down and rest your elbows on your knees. Doing so helps stabilize your forearms and wrists, which gives your smartphone camera a more stable base for photo-taking.
Additionally, rather than using the screen-based shutter button to trigger the shutter, it’s often a better choice to hold your phone with both hands and utilize the volume button to trigger the shutter. This allows you to keep a firm grip on the phone with both hands and further the camera’s ability to get a sharp image.
Quick Tip: Never, ever use a smartphone’s zoom to photograph real estate. The digital zoom on a smartphone really isn’t a zoom - it just crops the photo to make the subject bigger. The problem with this is that it also makes the photo very grainy and pixelated. Instead, to get better real estate photos, simply move closer to the subject without using your phone’s zoom.
Real Estate Photography With a Smartphone: Invest in a Tripod
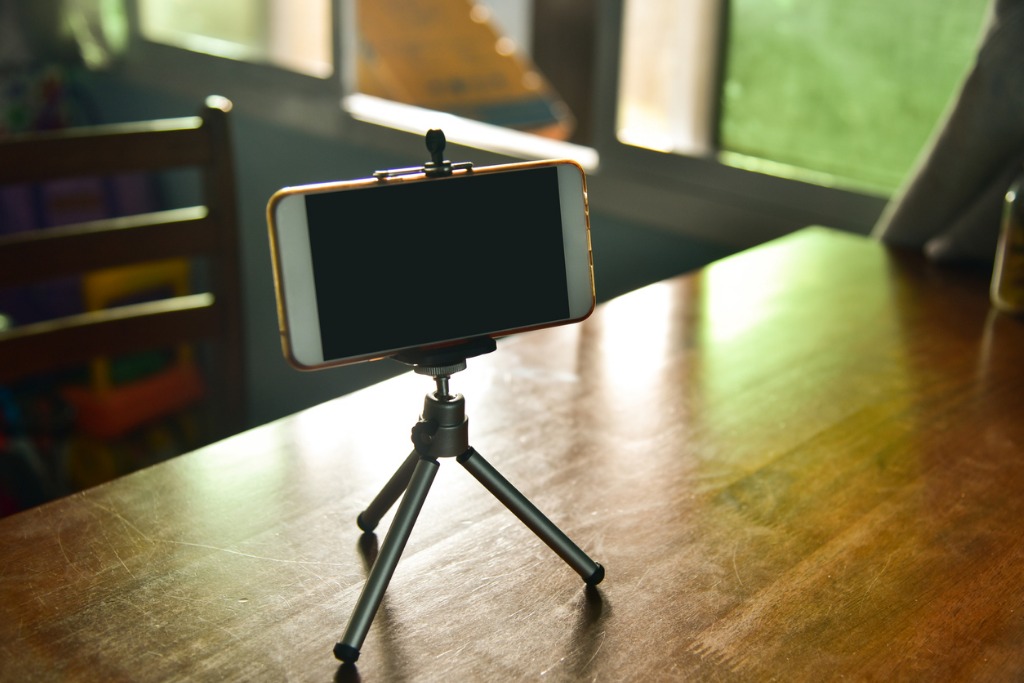
photo by Jeng_Niamwhan via iStock
An even better solution for getting the sharpest photographs is to utilize a tripod for your smartphone.
There are dozens of smartphone-sized tripods on the market that are small, lightweight, and easy to use, like the one shown above. These tabletop tripods will give your phone the added stability it needs for sharp images. Some models also provide the added benefit of having legs that can be manipulated around objects to get photos from a unique perspective.
You can invest in a smartphone adapter for a traditional tripod as well, that way you can make use of a much taller tripod for more traditional real estate photos. This is also advantageous if you shoot some images with your smartphone and other images with a DSLR or mirrorless camera because you can simply swap out which camera is attached to the tripod.
When using your smartphone on a tripod, you can take advantage of your phone’s self-timer to trigger the shutter. This is another great way to get sharp images because you don’t have to worry about the camera moving as you press the shutter and causing unwanted motion blur.
Learn More:
Smartphone Tricks for Real Estate Photography: There’s an App for That
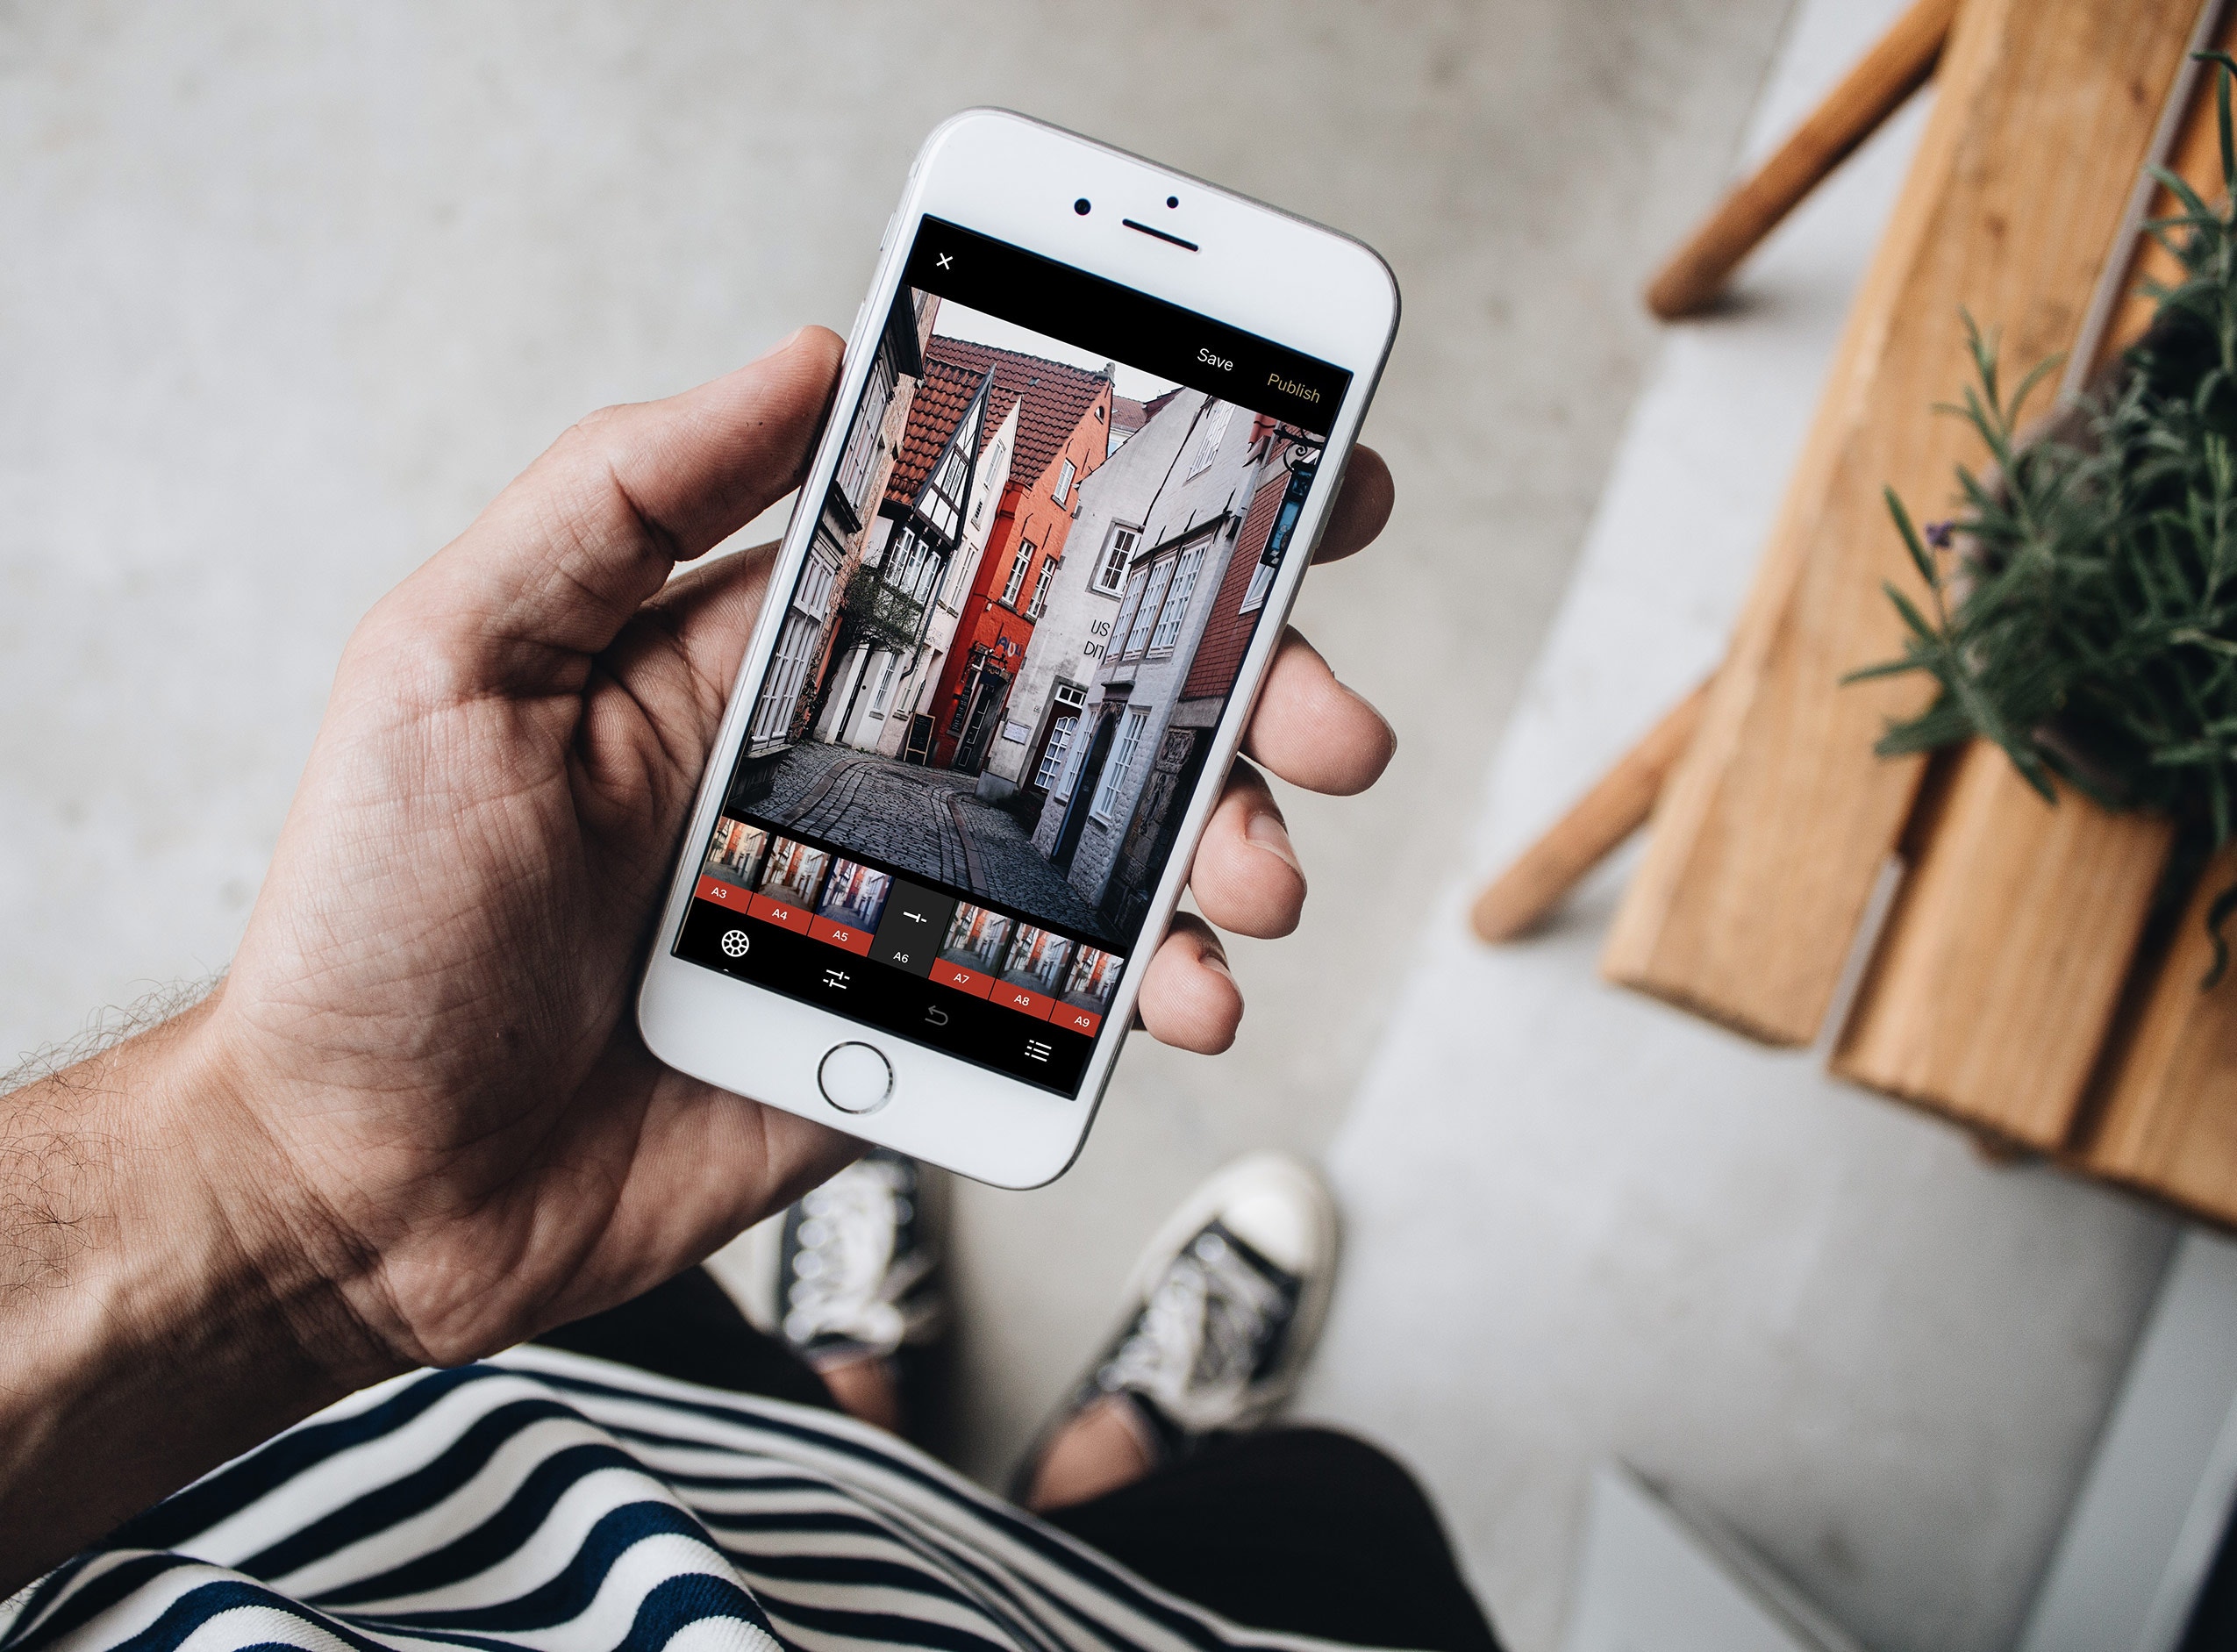
Photo by Le Buzz on Unsplash
One of the biggest advantages of using a smartphone for this type of photography is that you can process your images immediately on your phone.
Using an app like Snapseed (iOS and Android) or VSCO is ideal when images need to be processed quickly to post on social media. These apps give you the power to lighten or darken images, manipulate color and contrast, manage highlights and shadows, and other tools to help you enhance your images. That includes much more powerful camera apps than what many native smartphone cameras offer.
One of the most common challenges for real estate photographers is overcoming the wide dynamic range that’s found in interior spaces.
Since the room is darker than the light coming through the windows, it’s hard for your smartphone (or any camera, for that matter) to accommodate that wide dynamic range.
However, you can easily overcome this issue with specialized apps for real estate photography.
For more details on this process, consult the video above.
Quick Tip: Keep an eye on the white balance of your photos as you move from one interior space to the next. In some rooms, the light might be quite cool while in others it might be quite warm. This back-and-forth can be jarring to the eyes as potential buyers look at property photos. By editing your images and giving them a consistent white balance, you’ll have a much more consistent and pleasing collection of images.
Composition Tips for Real Estate Photos: Shoot Horizontally
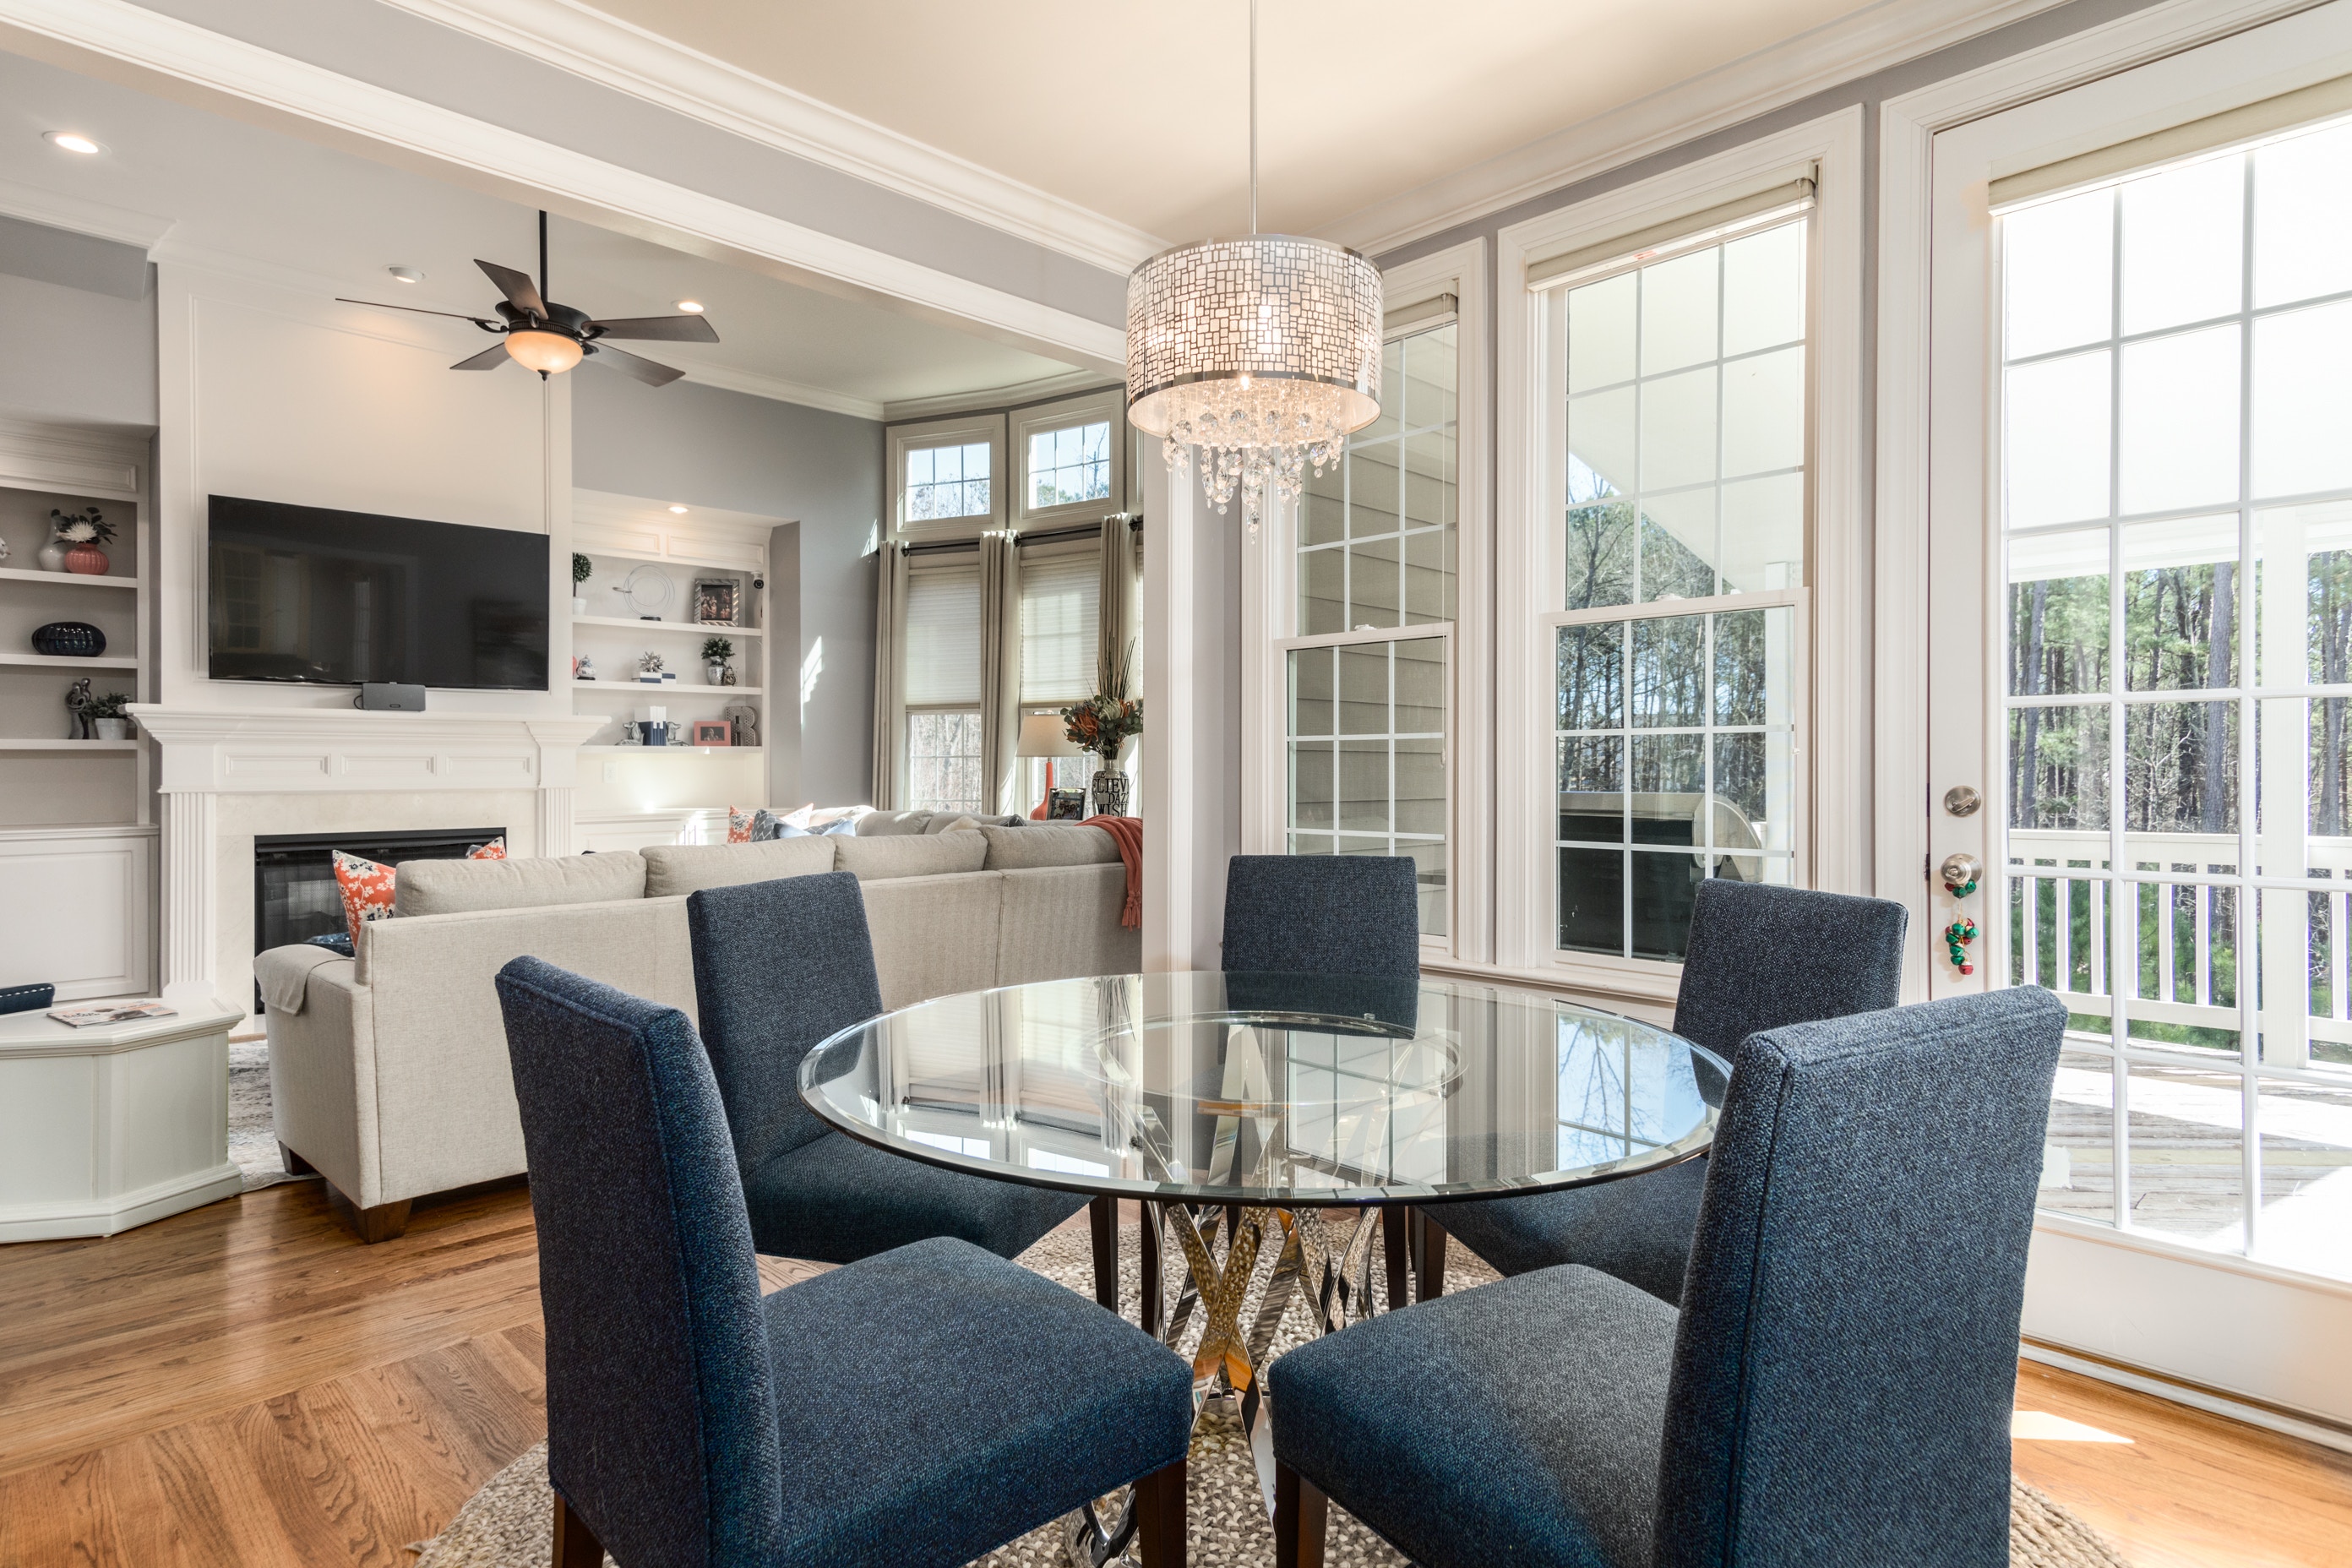
Photo by Douglas Sheppard on Unsplash
Though the natural inclination when shooting photos with a smartphone might be to hold it upright, you’ll get much better photos if you hold the phone sideways for a landscape-oriented view.
This is true not just of exterior shots - where most properties are wider than they are tall - but it is also true of interior shots where it is preferable to show as much of the room and its details as possible in one frame.
There are some situations, of course, in which vertical photos are preferable - photographing a staircase, for example - but by and large, horizontally-oriented photos are a much better way to give potential buyers the clearest, most detailed view of a property.
Learn More:
Photography Techniques for Real Estate: Find the Corners
Photo by iAlicante Mediterranean Homes on Unsplash
One of the primary obstacles of using a smartphone for interior real estate photos is that the lens offers a rather narrow angle of view. This means that less of the room is captured in a single image.
One way to get around this problem is to position yourself (or your tripod-mounted phone) in the corner of the room. Doing so increases the distance from the camera to the furthest corner of the room and allows you to convey a greater sense of the space.
Of course, you can also use your smartphone’s panoramic photo setting to create a wide-format image of the room or purchase a wide-angle lens for your smartphone. There are many lenses on the market today that increase the field of view by as many as 2x.
Either method certainly allows for interior real estate images that include more of the room in a single shot, though it is important to be aware of the distortion that can result from using the panoramic setting or a wide-angle lens. Straight lines the corner of walls or where ceilings and walls meet can appear bowed without applying lens corrections in post-processing.
Following these quick and easy smartphone tips for real estate photography will put you in a much better position to get the high-quality photos you seek!


