
When you first pick up a camera, it’s easy to feel stuck. You might think you need exotic travel, perfect weather, or expensive gear to get good photos. But here’s the truth: some of the best photographers in the world started by practicing right at home.
Learning how to practice photography doesn’t require a plane ticket or a fancy studio. Your home is full of everyday beauty just waiting to be captured. Whether it’s soft window light, interesting objects, or simple routines, everything around you can help sharpen your eye and improve your skills.
In this guide, I’ll show you how to practice photography inside your house—step by step. These creative exercises will not only boost your confidence but also help you see your space in a whole new way. Let’s dive in!
Table of Contents
- Use What You Have: Everyday Objects as Photo Subjects
- Play with Light: Understanding Shadows and Natural Light Indoors
- Create a DIY Studio for Small Scenes
- Self-Portraits and Learning to Pose
- Tell a Story in 5 Shots
- Learn to Edit: Boosting Your Shots with Simple Tools
- Print Your Favorites: Why Seeing Your Work in Print Matters
- Keep a Home Photography Journal
- FAQ
Use What You Have: Everyday Objects as Photo Subjects
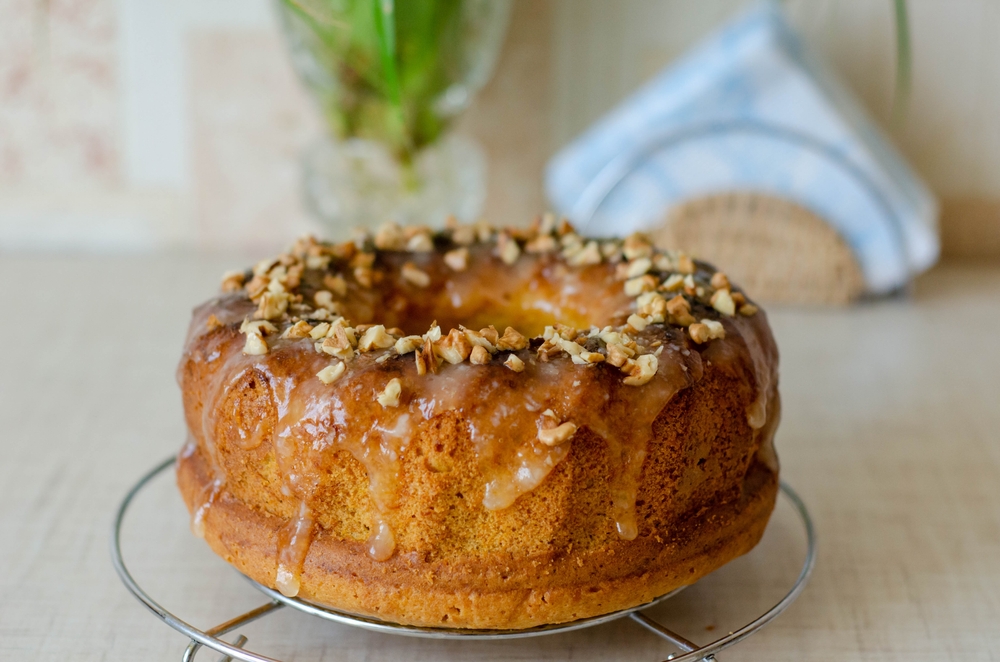
Photo by LytvynD via Shutterstock
If you’re wondering how to practice photography without leaving your house, start by looking at what’s already around you. Everyday objects like a cup of coffee, a stack of books, a doughnut, or a houseplant can make excellent subjects.
Try placing items on a clean surface near a window. Play with how you arrange them. Change your angle—shoot from above, below, or from the side. Move closer to highlight texture and detail. These simple changes will help you better understand composition and perspective.
Practicing with objects teaches you to work with limited elements, which is great for developing your creative eye. Don’t worry about making it perfect. Instead, focus on seeing familiar things in new ways. This is the foundation of strong photography.
When I first started, I took dozens of photos of my morning coffee on the kitchen counter. Over time, I noticed how the light shifted, how different mugs created different moods, and how to make something ordinary look interesting. That’s what growth looks like.
Play with Light: Understanding Shadows and Natural Light Indoors
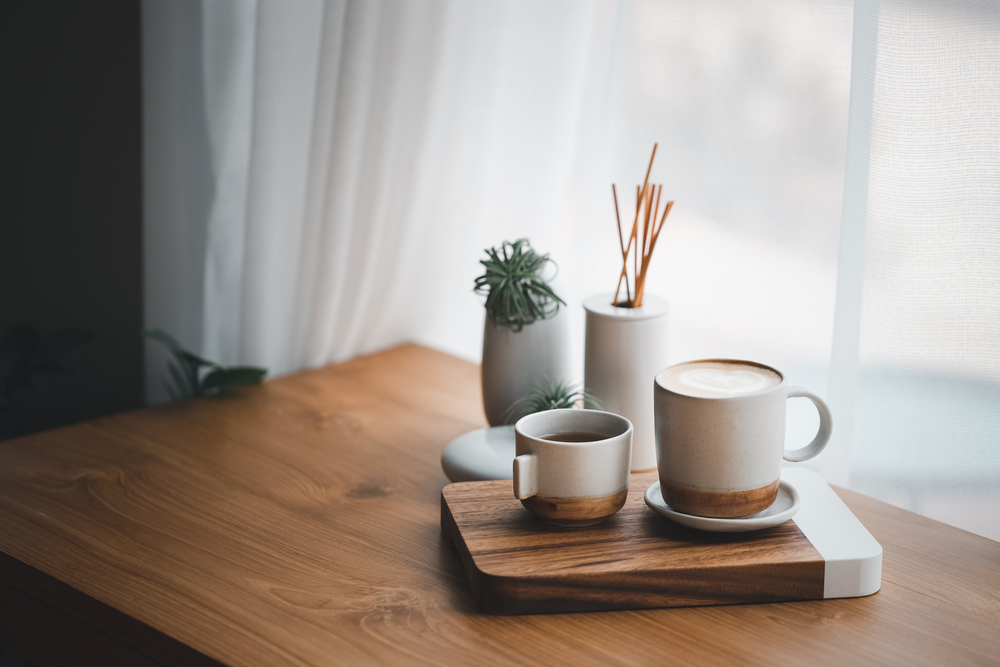
Photo by onsuda via Shutterstock
Learning to see and use light is one of the most important steps in mastering photography. The good news? You don’t need professional lighting gear. Natural light is one of the best teachers—and it’s free.
Pay attention to how light moves through your home. Morning light is often soft and cool, while evening light tends to be warm and golden. Shadows become longer and more dramatic as the day ends. Use this to your advantage.
To practice, try photographing the same object at different times of day. Observe how the mood changes with the light. You can also experiment with placing objects near a window, using curtains to diffuse harsh sunlight, or turning off overhead lights to avoid color cast.
Understanding how light works—its direction, intensity, and color—will make your photography stronger in any setting. This is a key part of how to practice photography effectively indoors.
Create a DIY Studio for Small Scenes

Photo by Ishpal FIlms via Shutterstock
Creating a mini studio setup at home doesn’t require a spare room or expensive equipment. All you need is a table, some natural light, and a few simple materials like white poster board or fabric for a clean background.
Set up near a bright window. Use a white sheet or foam board to bounce light back onto your subject. Even a lamp with a white T-shirt draped over it can act as a soft light source. The goal is to control your environment in a simple, manageable space.
Try photographing small items like food, jewellery, or handmade crafts. Focus on details. Change one thing at a time: the light angle, background color, or camera height. This process helps you understand how each element affects the final image.
This kind of controlled setup is one of the most useful ways to practice at home. It teaches you how to make intentional choices—a major step in learning how to practice photography effectively.
Self-Portraits and Learning to Pose

Photo by VesnaArt via Shutterstock
One powerful but often overlooked way to practice is by photographing yourself. It may feel awkward at first, but it’s one of the best ways to learn about light, focus, posing, and framing.
Use a tripod or stack of books to hold your camera or phone. Set a timer or use a remote. Try different outfits, lighting setups, and expressions. Move around and observe how your body language changes the mood of the shot.
This hands-on experience helps you become more comfortable behind and in front of the camera. You’ll also learn how to direct other people when you photograph them in the future.
Self-portrait practice is a meaningful part of how to practice photography at home. It boosts your confidence and sharpens your ability to see subtle changes in posture and light.
Tell a Story in 5 Shots
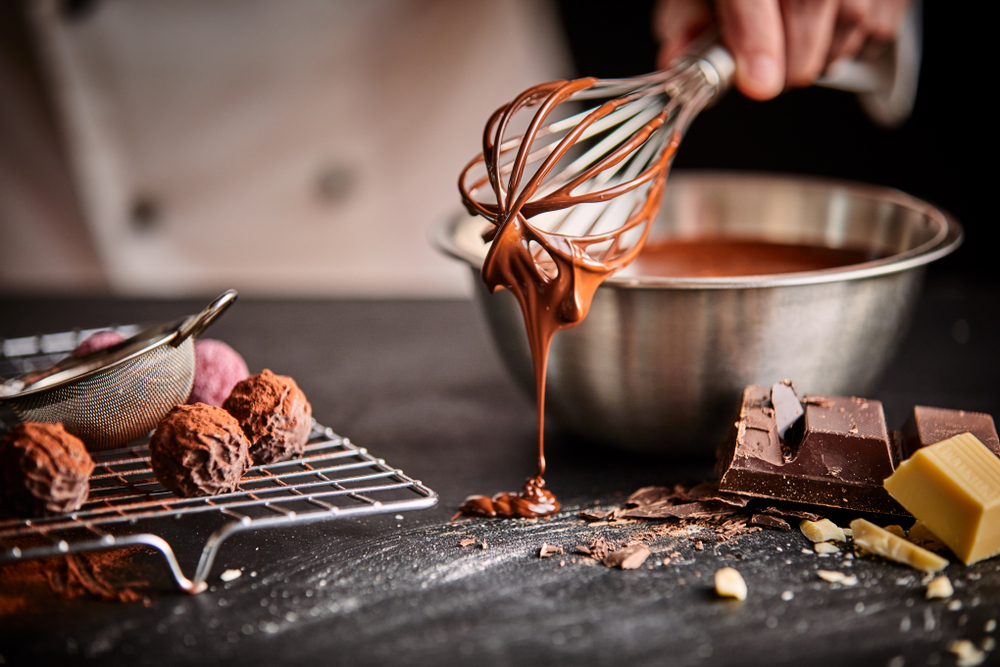
Photo by stockcreations via Shutterstock
Photography isn’t just about capturing things—it’s about telling a story. One great exercise is to create a photo story using just five images.
Pick a simple routine, like making tea or organizing a shelf. Use one shot to establish the scene, one to show action, one for a close-up detail, one for emotion or atmosphere, and one to wrap it up.
This teaches you how to think like a visual storyteller. You’ll learn to plan your shots, find variety, and build a narrative—all skills that will make your photography stronger.
Once again, this is a practical and fun example of how to practice photography without needing to leave your home.
Print Your Favorites: Why Seeing Your Work in Print Matters

There’s something special about holding your photos in your hands. It makes your work feel real—and it shows you how far you’ve come.
Printing helps you see your images in a new light. You might notice things you didn’t catch on a screen—like color shifts, fine details, or minor distractions. It’s a powerful tool for learning, improving, and pushing your photography forward.
Try printing a few of your favorite shots each month. Even basic prints can help, but if you want something truly stunning, consider metal prints from Shiny Prints. Unlike many labs, Shiny Prints is dedicated exclusively to metal printing—and they do it right. Every square inch of their production facility is focused on one thing: delivering the highest-quality metal prints in the industry.

What makes them stand out? First, they only use ChromaLuxe aluminum panels, which are the gold standard for professional photographers and artists. These panels produce brilliant colors, deep contrast, and sharp detail—and they’re built to last over 65 years. Other labs might cut corners with cheaper materials, but Shiny Prints refuses to compromise.
They also use Epson’s F-Series printers, which offer the sharpest, most color-accurate results in the dye-sublimation industry. Unlike labs that use converted printers and third-party inks (resulting in blurry or washed-out images), Shiny Prints delivers clean, crisp, gallery-quality work every time. See what I mean in the video below by our own Alex Schult:
And it’s not just about appearance—metal prints are incredibly durable. They’re waterproof, scratch-resistant, and perfect for high-humidity areas like bathrooms and kitchens. You can even display them outdoors using their EXT option. Whether you frame your print or opt for a sleek edge-mount, the results are museum-worthy and built to withstand the elements.
Shiny Prints offers custom sizes, shapes, and a variety of mounting options—all made from aluminum for a polished, professional look. They even support AdobeRGB (not just sRGB), which means your colors will shine like never before.

For those who take their photography seriously, it’s worth working with a lab that takes printing seriously too. Shiny Prints partners with professional photographers and artists every day, offering competitive pricing, excellent support, and a satisfaction guarantee. Whether you’re printing a single image or a large run, their quality control and consistency are second to none.
So go ahead—print your work. Put it on your wall. Give it as a gift. Let it inspire you to keep shooting and improving. When you see your photos printed with the care and precision that Shiny Prints provides, you’ll be reminded why you fell in love with photography in the first place.
FAQ
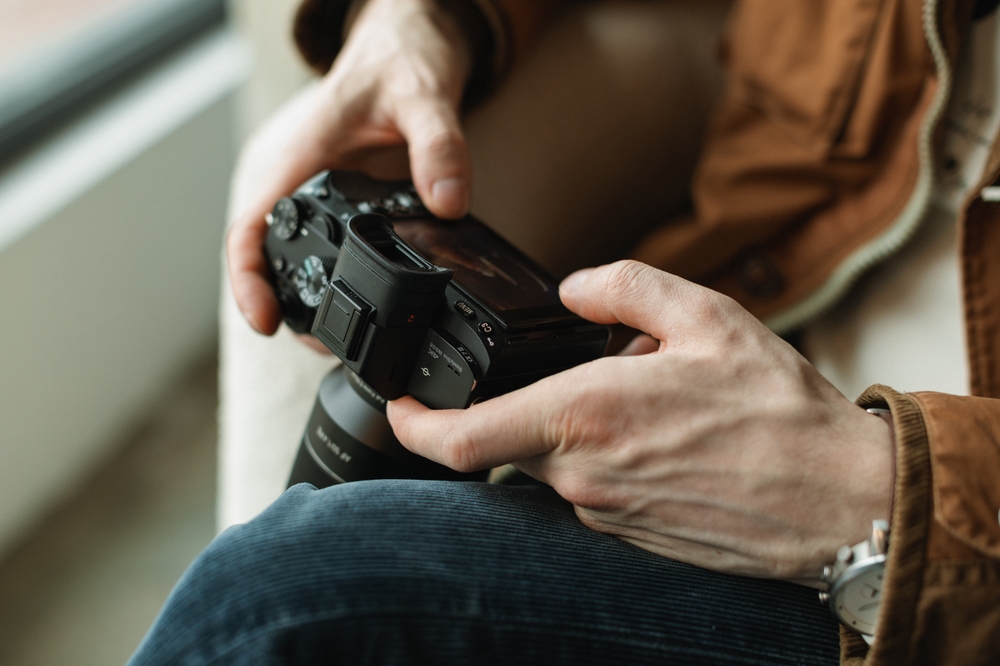
Photo by Creative Nina via Shutterstock
How can I improve my photography skills at home?
Practice regularly using everyday items, experiment with natural light, try self-portraits, and learn basic editing techniques. Consistency is key.
Do I need a fancy camera to practice photography at home?
No! A smartphone camera is more than enough to get started. Focus on composition, lighting, and creativity.
Is printing photos really necessary?
It’s not required, but printing helps you evaluate your work in a new way. It also feels rewarding to see your progress displayed physically.
What’s the best way to stay motivated?
Set small challenges, keep a photo journal, and print your favorite shots. Seeing your growth is the best motivator.
How often should I practice photography?
Try to shoot a little bit every day, even if it’s just for 10 minutes. Regular practice leads to faster improvement.
Just so you know, some of the cool stuff we mention comes with affiliate links, meaning we earn a commission if you buy (no extra charge to you!). Plus, we occasionally feature sponsored content, but rest assured, we only shout out products we genuinely stand behind.
Learn More:
- 5 Beginner Photography Tips That Make Your Shots Print-Worthy
- How to Get the Best Color Accuracy in Your Metal Photo Prints
Hero photo by DavideAngelini via Shutterstock