How to Shoot Quality Video Footage
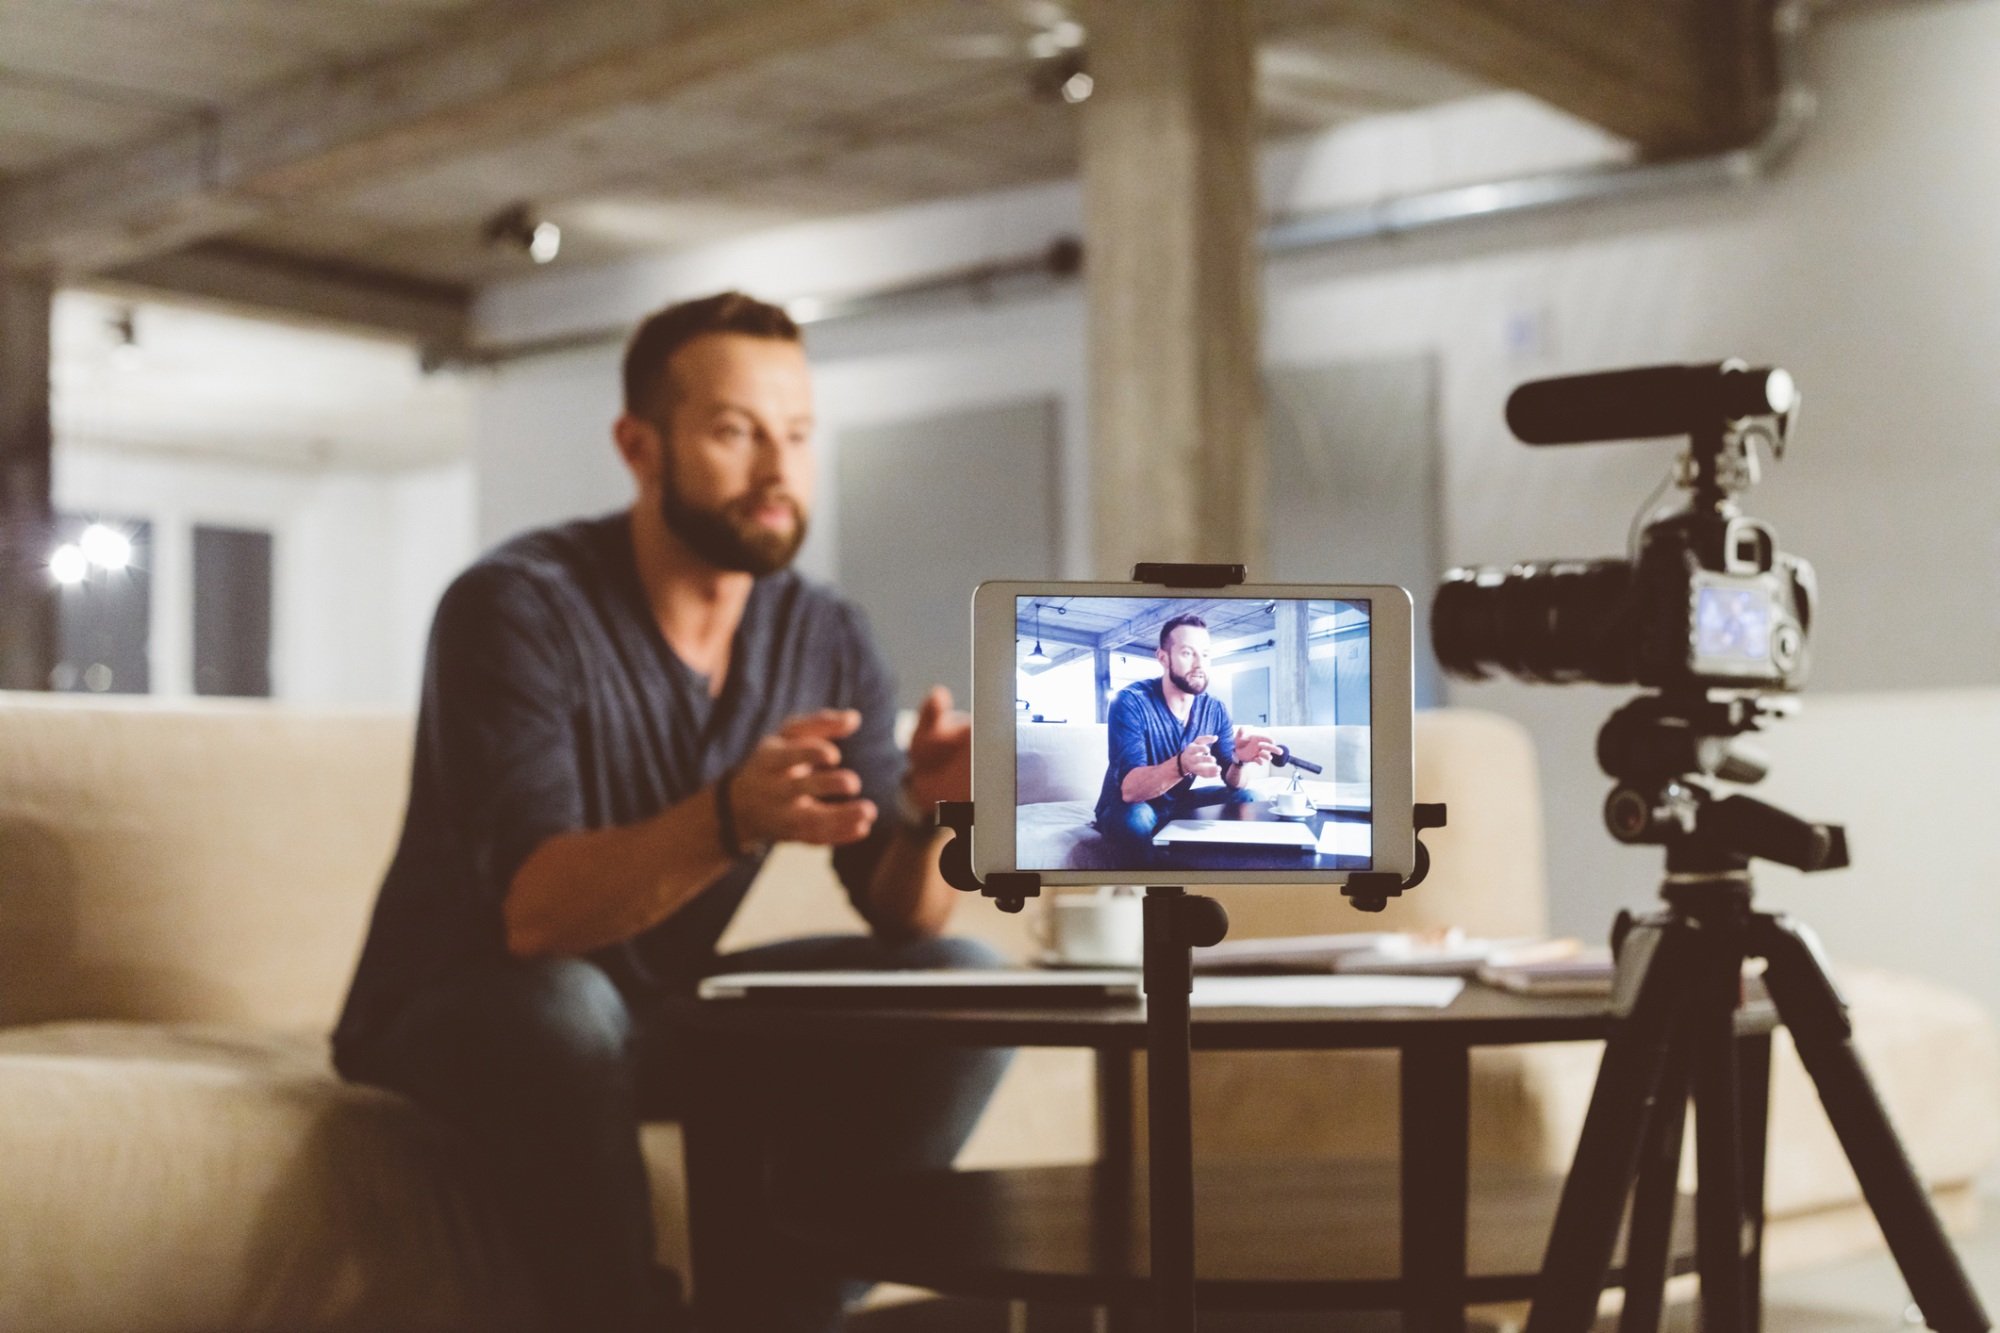 photo by izusek via iStock
Sure, you can stand in front of a scene, put your camera in video mode, and record stuff pretty easily.
But if you want to shoot high-quality footage that’s visually appealing, compelling, and tells a unique story, then you have to put in more time and effort than that.
But shooting quality video footage doesn’t have to be difficult. Instead, if you follow these essential videography tips, you’ll be well on your way to creating top-notch videos.
Beginner Videography Tip: Take It Easy With Zooming
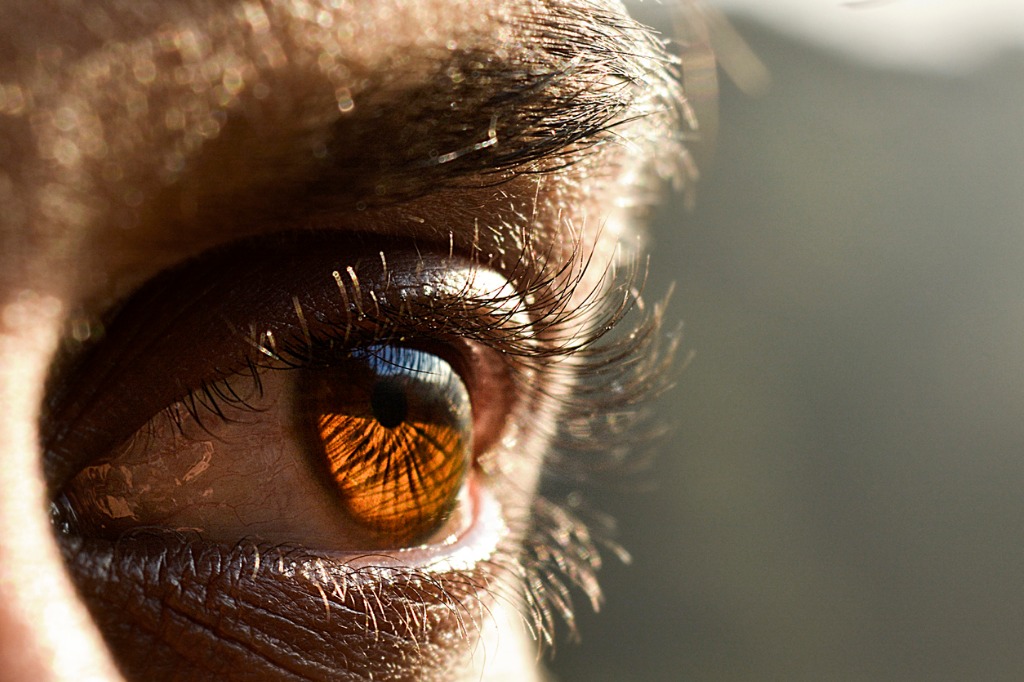 photo by DigitalSoul via iStock
Watch any feature film and you’ll notice that zooming from a wide shot to a close-up is quite gentle. What’s more, there isn’t a ton of zooming to be found in professionally-produced videos.
That’s because too much zooming and zooming in and out too quickly can be incredibly distracting to the viewer.
Not only that, but sequence after sequence of zooming in and out can make people sick to their stomachs, even if the zooms don’t light up the radar gun. Get a quick tutorial on how to pan, tilt, zoom, and more in the video below by Shutterstock Tutorials.
When you think zooming is necessary, consider how to best incorporate it into the video sequence. Also consider if you’d be better served by creating a sequence of footage in which you have a wide shot and then a separate sequence with a close-up with no zoom in between.
As is the case with many things, simpler is often better, so take the time to think about whether you need to zoom, and if you don’t, you might just end up with a better-looking sequence.
The same advice goes for panning shots. Moving the camera too much or too quickly from left to right or right to left can feel overdone, chaotic, and unnecessary.
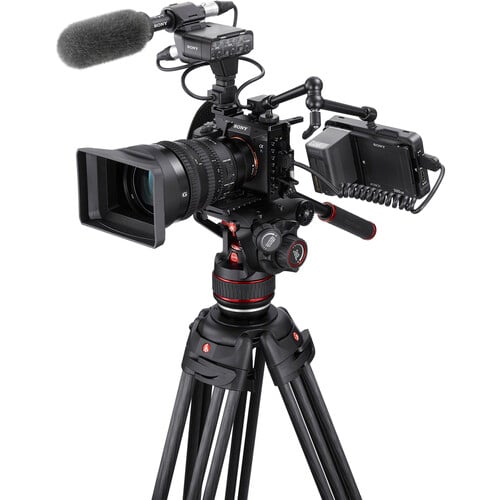
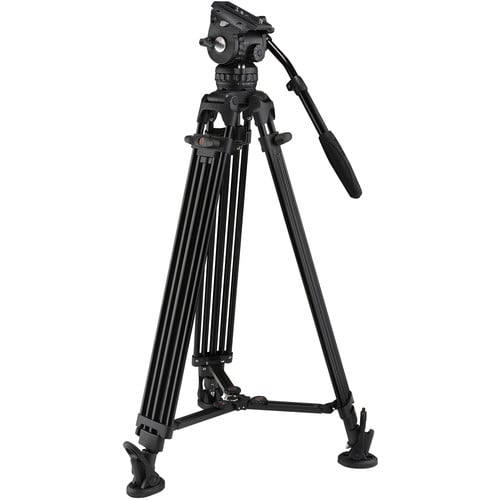
To get beautiful smooth panning shots, you need a tripod with a fluid head like the E-Image GA752 shown above.
This tripod kit includes a GH06 fluid head that features three drag settings that enable you to adjust the fluid head to fit the needs of the shot and your particular shooting style.
What’s more, tripods like this hold a lot of weight (13 pounds, in this case) and have a wide height range (32.5-72.5 inches) to vary the eye level of the footage you shoot.
With the support of a solid tripod like this and the functionality of a smooth fluid head, you’ll be able to create gorgeous panning shots that add production value to your videos.
Invest in a Good Microphone
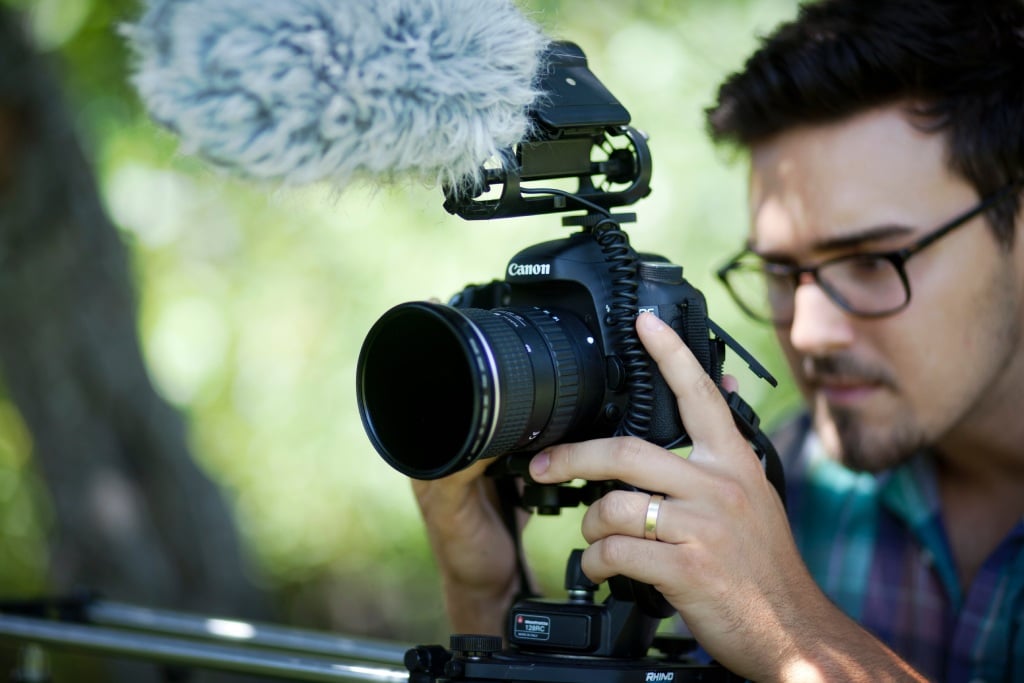 Photo by Maddy Baker on Unsplash
One of the keys to producing excellent video content is excellent audio, and you can’t get excellent audio with the built-in microphone on your phone, DSLR, or mirrorless camera.
This doesn’t mean you have to spend an arm and a leg on a professional mic and a boom and other audio accessories, either. Just get started with a quality mic you can attach to your camera.
A great option is the Comica CVM-V30-Pro-R Shotgun Mic.
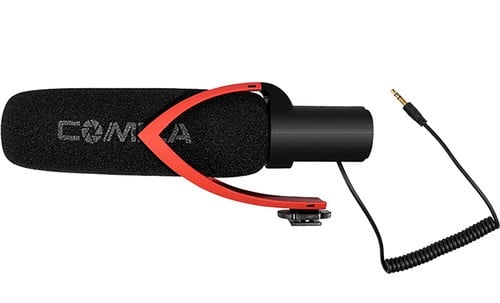
This professional supercardioid mic is ideal for filming in noisy environments in which you need to eliminate background noise and noise coming from the sides of the shot. This enables you to get crisper, cleaner audio from your subjects.
It is compatible with any camera with a 3.5mm audio jack, and can easily mount to the camera's hot-shoe.
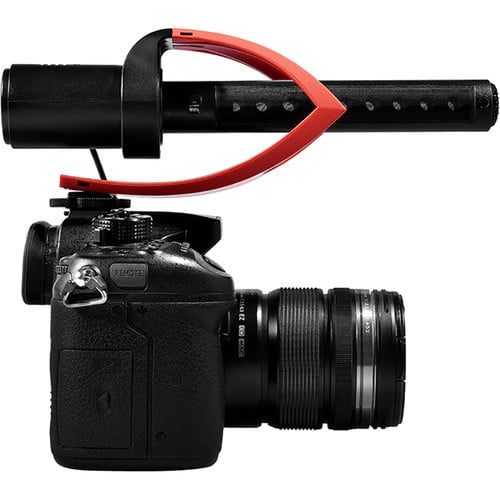
With a low-cut filter, 10 dB sensitivity adjustment, and a shock-absorbing design that reduces vibration noise, this is an excellent choice for beginner videographers. The price of less than $55.00 isn’t bad either!
No matter how beautiful the video footage you capture might be, if you pair it with subpar audio, the video will fall flat.
By investing in gear that helps you improve the production value - as a shotgun microphone will certainly do - you set yourself up for greater success as a videographer.
Learn More:
Vary the Types of Shots
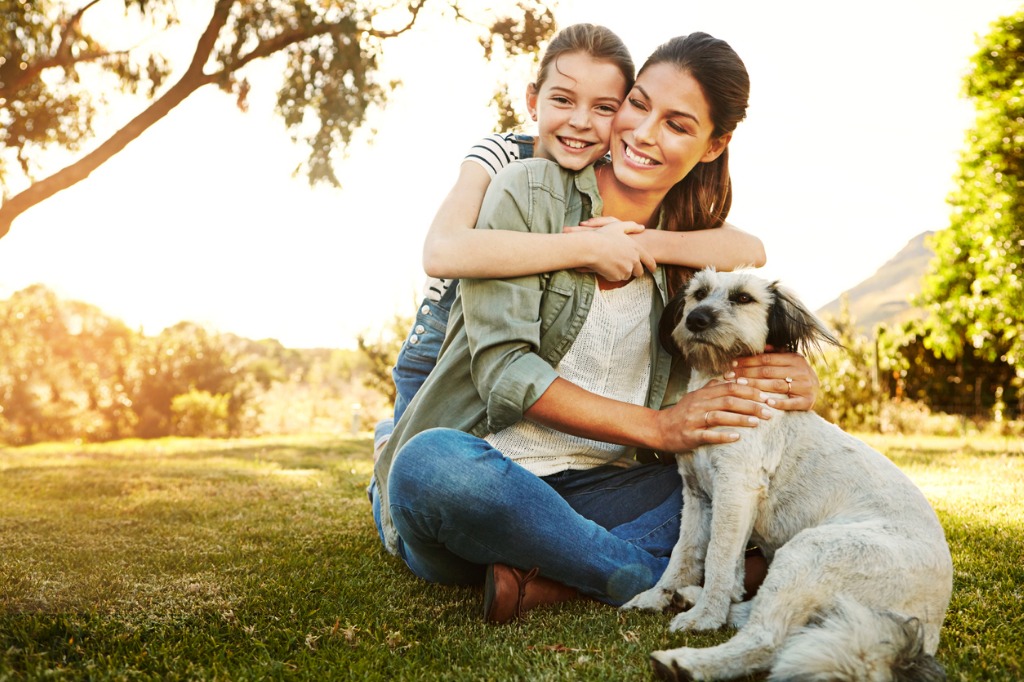 photo by gradyreese via iStock
If you’re wondering how to shoot high-quality video, varying the types of shots you record.
While there are more than a dozen basic cinematography techniques, from bird’s eye shots to close-ups to tilt and pan shots, there are three primary types of footage you absolutely need to learn: wide shots, medium shots, and close-ups.
Wide Shots
 photo by Jacob Ammentorp Lund via iStock
Commonly known as full or long shots, wide shots serve the purpose of showing the subject in the context of their surroundings.
The wide shot gives the audience a feel for what’s going on in the scene and how various actors relate to one another in space. But these shots are far enough away that the actors’ emotions and feelings are not necessarily evident.
Wide shots are framed up with the subject’s entire body in view. Doing so makes the audience feel almost like a fly on the wall, able to take in the totality of the scene from a point of view that makes you feel as though you’re right there with the actors.
Wide shots are often used as an introductory sequence, again, to give the audience a lay of the land. From there, medium shots often follow to provide deeper details with close-ups coming after that for sequences in which the actor’s emotions or feelings need to be on full display.
See what I mean in the video above by StudioBinder.
Medium Shots
 photo by SolStock via iStock
The purpose of a medium shot is to create a more intimate look at your subject that a wide shot just can’t produce.
Medium shots usually highlight a person from the waist up and are typically used in an informative manner, such as showing scenes in which there’s a group of people or when two or more people are engaged in dialogue. Many interviews are also shot at medium length.
Medium shots help viewers focus more on the subject or dialogue at hand, but in a way that still shows some of the surroundings. Doing so helps viewers gain a better understanding of the relationship between the subject and their surroundings.
See how medium shots look (and learn how to implement them) by checking out the video above by StudioBinder.
Close-Ups
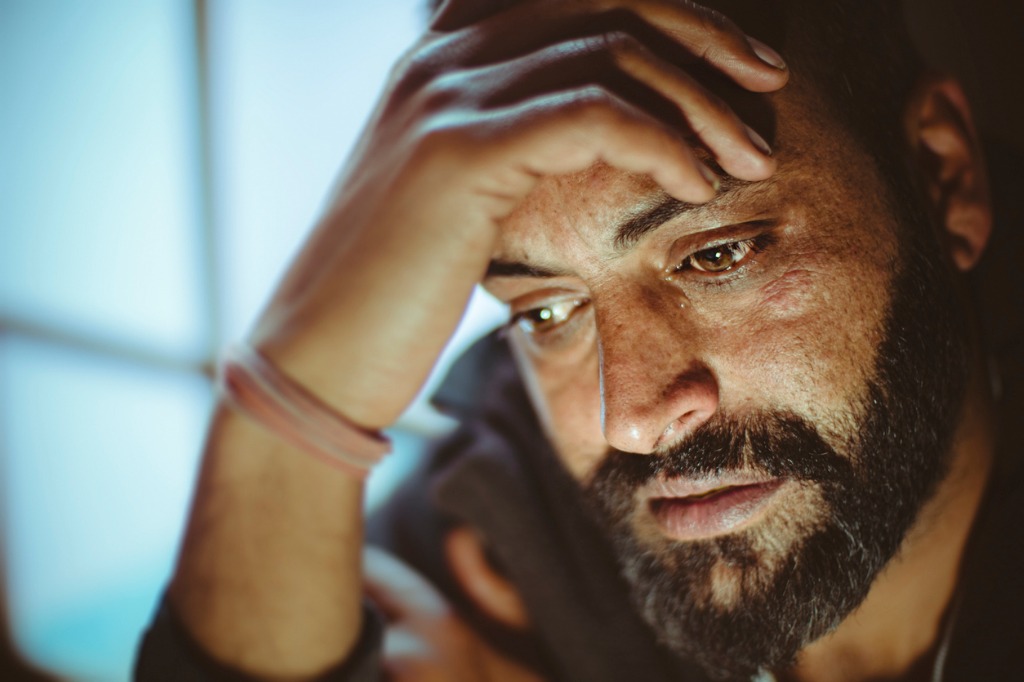 photo by gawrav via iStock
Close-up shots get the audience right into the action. When framing the shot on an actor, you often see nothing but their face, though sometimes their neck shows too.
The purpose of a close-up shot is to help viewers feel more engaged in the video. Likewise, close-ups permit you to see the emotions expressed by the actor in a way that isn’t quite as intense as in a medium shot, and especially a wide shot.
Since close-ups show virtually nothing but the actor’s face, their facial expressions become most important. This is what helps convey the feelings and emotions of the moment.
In the video above, StudioBinder offers their take on how to create the perfect close-up.
With that, you have some essential videography tips that will help you create more impactful videos.
Give each of these tips a try, incorporate them into your workflow, and reap the rewards of creating videos that have an improved look and feel.