How to Use a Follow Focus System
- Comes with a highly functional geared mechanism for better focus throw
- Has no loose joints, so you can expect less vibration
- Allows the focus puller to stay out of the camera operator’s way while racking focus
- Comes with a clear white disc that allows you to write and erase markings easily

photo by Silvrshootr via iStock
Granted, you don’t need a follow focus system for every shot!
Let’s say you are capturing some unplanned moments with your DSLR or shooting a documentary with a handheld camera, where autofocus works just fine.
But what if you’ve carefully planned every shot? Imagine how much time and money you’ll save, simply by nailing focus every time.
Also, a follow focus system can save your life when the lens has a thin focus ring and/or an extremely short focus throw.
But wait! If you know zilch about a follow focus system, don’t worry! Here’s the complete low-down on what a follow focus system is, its various components, and how you should use it.
What is a Follow Focus System?
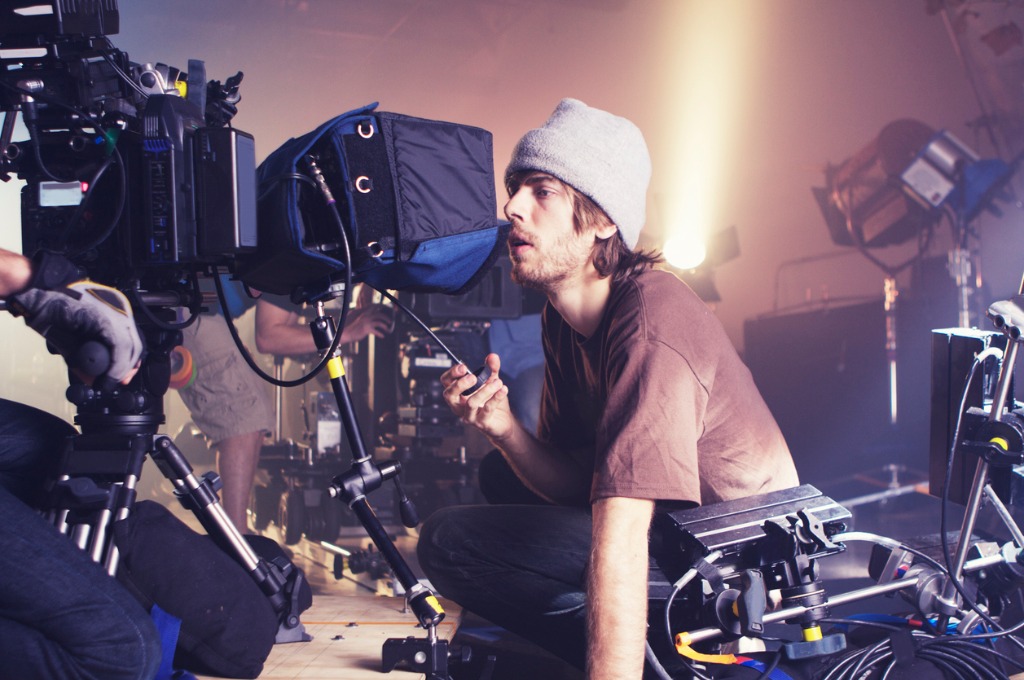
photo by bjones27via iStock
As the term suggests, a follow focus system is a set of mechanisms that enable the focus to move smoothly with the action. The act of pulling focus to follow the action is known as racking, and the person in charge of it is called a focus puller. Typically, the First Assistant Cameraman does the focus-pulling on a production set, but some camera operators prefer doing in on their own.
Using a follow focus system allows you to devote more attention to the creative aspect of video production. You no longer have to worry about unnecessary sound or vibration, just as the video above by creativecowofficial shows.
Parts of a Follow Focus System
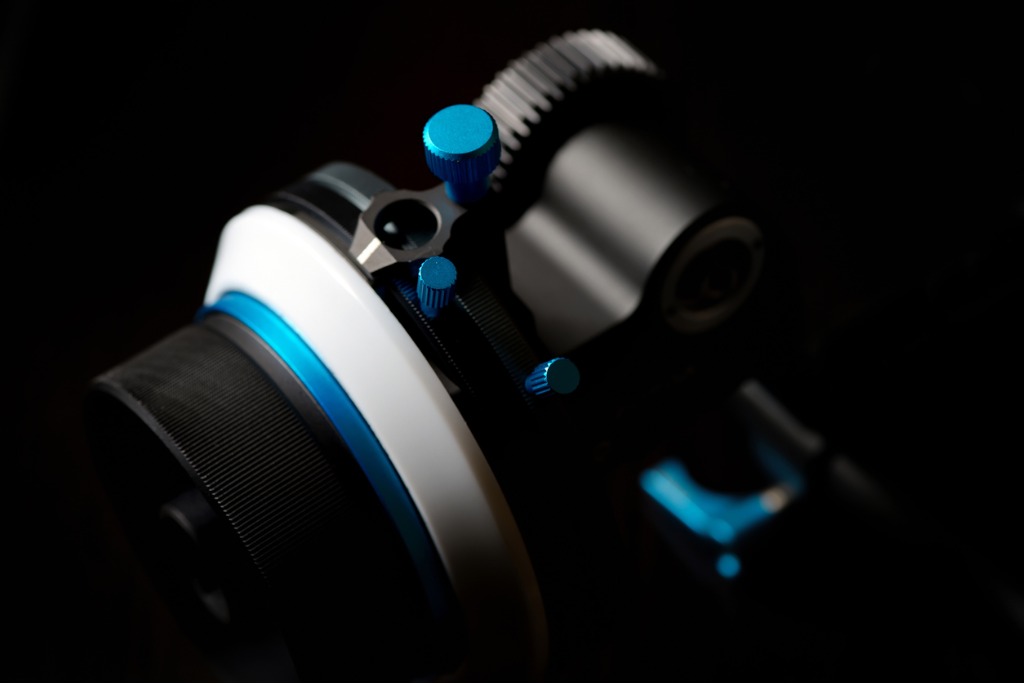
photo by mady70 via iStock
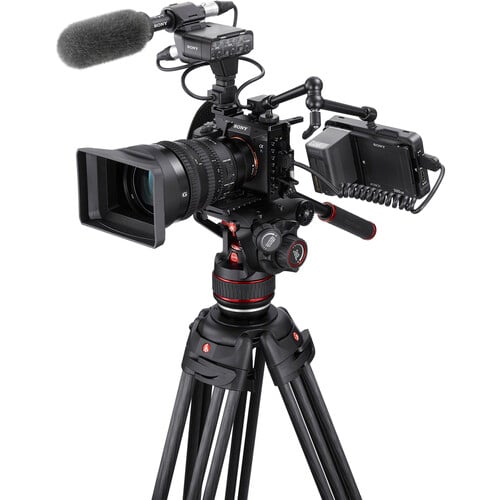
In order to use a follow focus system, you first need to attach it to the teeth of your camera’s focus ring. Now all you need is to turn the knob on your focus controller device, and it will spin the teeth.
This may sound very simple but a lot of parts work together to make the follow focus system work. So, here’s a rundown on the parts of a follow focus system.
The rod clamp or mount: The base of a camera rig is formed of two rods, to which a rod clamp/mount is attached. To set it up, you need a base plate in addition to these two rods. These can either be 15mm rods, with a spacing of 60mm (the standard spacing for the cheapest variety) or 100mm, or 19mm rods placed 104mm apart.
The arm: This part attaches to the rod clamp, and you can either make it rigid or flexible, depending on the types of lenses you will need to work with. Experts recommend keeping it as flexible as possible, or at least one that can move laterally. If it pivots, even better, since it will allow you to accommodate the size of the lens.
The gear: This is arguably the most important component of the whole mechanism. It is connected to the arm, and is rotated with the help of teeth that link to the focus knob. Usually, 1-to-1 gears allow rotation to the same degree as the focus knob (known as ‘throw’). A focus puller may need different kinds of throws with their gears. A larger throw refers to getting a larger focus ring turn even with a small turn of the focus knob. However, when the focus marks have very fine spacing, to get a higher degree of focus smoothness, a smaller throw is more useful.

photo by Fatanfilm via iStock
The lens gear ring: The gear attaches to this part of the rig, wrapping tightly around the lens where the focus ring is. A lens gear ring is necessary when the focus ring doesn’t have teeth. Those working with many different kinds of lenses require as many types of lens gear rings.
Focus knob: This is what you turn to focus with a follow focus system. Normally, when you don’t have a focus knob, you turn the lens’ focus ring using your arm bent at 90 degrees with respect to the camera. However, this is very inconvenient and can cause vibration in video. This is where the focus knob comes into the picture, since it allows you to avoid straining your arm. It also lets the focus puller stay clear of the way of the camera operator while racking focus.
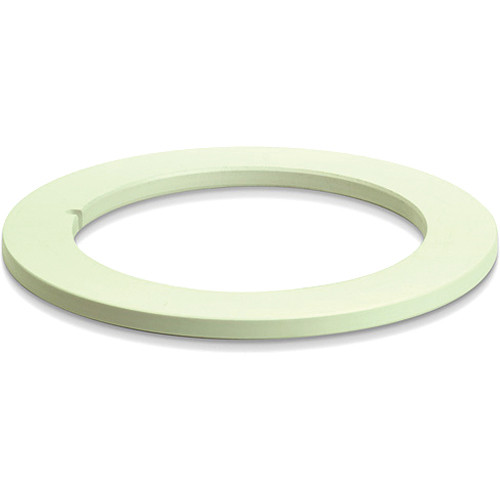
White disc: This is another crucial component of a focus follow system. A good quality white disc allows you to write and erase focus marks on it as many times as you want. These days, glow-in-the-dark marking discs (pictured below) like the one that comes with the PDMovie Live Pro Three-Channel Focus/Iris Zoom Control System, are all the rage, thanks to their functionality in darker environments.
In addition to the components discussed above, you can use a few accessories to bring greater functionality to your focus follow system. For instance, you can attach a speed crank to the focus knob when need to turn focus very fast.
Learn More:
How to Use a Follow Focus System
The first step is to find the Greek letter phi (Φ) on your camera. Now, a DSLR won’t have it, since these cameras either use autofocus or manual focus with live view.
The next step is to carefully measure the distance between the point of focus and the phi mark. You will need to do it using a good measuring device. For distances up to 25 feet, you can use a sturdy measuring tape that comes with a locking mechanism. For tapes under 15 feet, a half-an-inch width will do. You will need a tape that is 1” wide if the tape is over 15 feet.
For distances up to 300 feet, you will need a fiberglass tape. Carry a 50-foot and a 300-foot roll but use the latter only when required. In case of even greater distances, it is necessary to use a laser rangefinder with a range of around 100 feet. But remember to never point the laser at another human being or the camera.
The above video by Felicia Smith talks about using a laser rangefinder when shooting at night, especially in situations where you cannot get closer to the action.
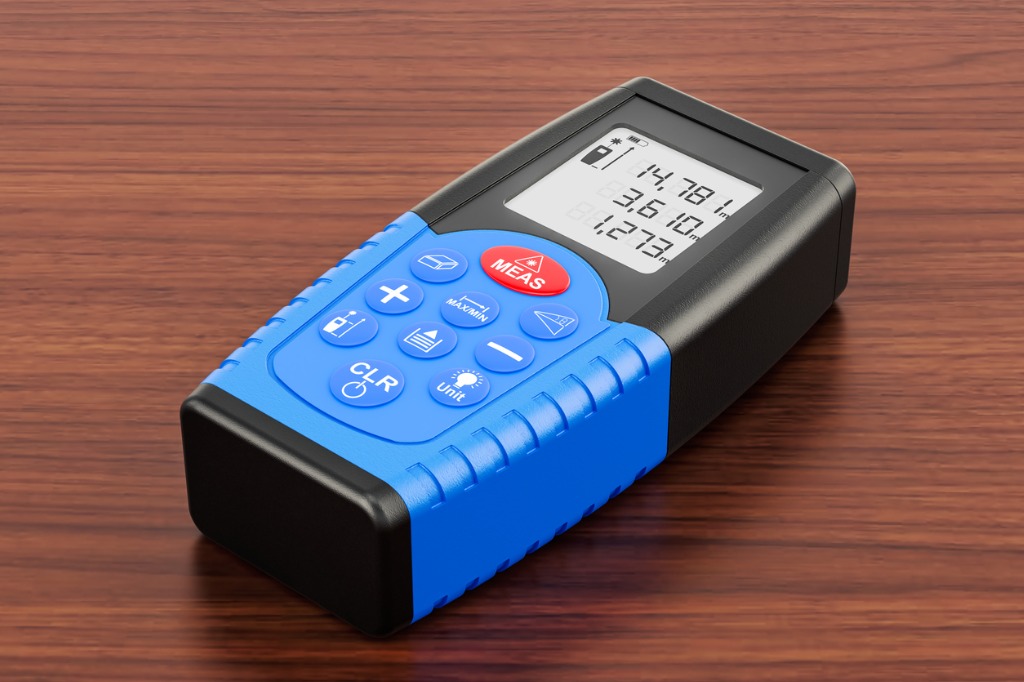
photo by AlexLMX via iStock
Now that you know the basics of a follow focus system, you may want to know what follow focus system you should choose. Of course, it depends on your needs. Ideally, you should look for one that….
Another important thing to consider is your budget. Brands like PDMovie, for instance, offer a number of options to suit almost every budget.
For those looking for a budget option, the PDMOVIE Live Air Compact Wireless Lens Control System could be a great option. It is easy to set up and allows you to adjust focus from up to 33 feet away. All you have to do is to attach the mini motor to your camera’s focus ring and then adjust focus remotely with the wireless Bluetooth focus controller. You can attach the controller to a tripod or monopod or Glidecam.
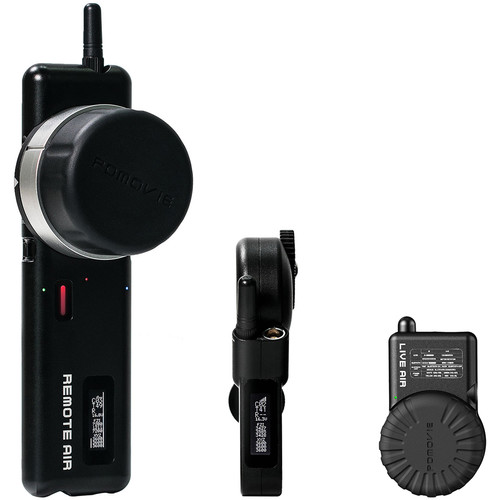
If, however, you often need to adjust focus far away from the action, it would be a good idea to spend a little. You can find high-quality focus control systems in a mid-range budget. For instance, the PDMOVIE Remote Air 4 Single Motor Wireless Lens Control Kit comes with an additional handwheel for Wi-Fi. With that, you can adjust focus from up to 328 feet away.
If you wouldn’t mind paying for a high-end system, go for the PDMOVIE Live Pro Three-Channel Focus/Iris/Zoom Control System. It comes with three motors, so you can adjust not just the focus but also the zoom and the iris.
Learn More: