

Hyperfocal distance represents the closest focusing distance that keeps everything from half that distance to infinity acceptably sharp, making it the single most important technical concept for landscape photographers seeking maximum depth of field. Understanding and applying this principle eliminates guesswork from focusing decisions and ensures consistently sharp results across entire landscape compositions.
Traditional landscape photography required complex calculations and printed charts to determine optimal focusing distances, but modern technology has simplified the process dramatically. Apps like PhotoPills and specialized calculators now provide instant hyperfocal distance calculations based on specific camera sensors, lens focal lengths, and desired sharpness standards.
The power of this technique becomes apparent when photographing landscapes with strong foreground elements—flowers, rocks, driftwood—combined with distant mountains, buildings, or horizons. Proper hyperfocal distance usage delivers sharp focus throughout the entire scene without the need for focus stacking or compromise between foreground and background sharpness.
Table of Contents
- Understanding the Hyperfocal Distance Formula
- Modern Calculation Tools and Apps
- Field Application Techniques
- When Hyperfocal Distance Isn’t Enough
- Advanced Hyperfocal Techniques
- Lens-Specific Considerations
- Digital Viewfinder and Focusing Aids
- Common Hyperfocal Distance Mistakes
- Focus Stacking Integration
Understanding the Hyperfocal Distance Formula
The mathematical foundation follows the formula H = (f²)/(N × c), where H equals hyperfocal distance, f equals focal length, N equals aperture number, and c equals the circle of confusion for your camera sensor. While you don’t need to calculate manually in the field, understanding these relationships helps predict how changes affect focusing distances. See this concept in action in the video above by Simon d’Entremont.
Circle of confusion represents the size of the smallest blur spot that appears acceptably sharp to human vision, and it varies based on sensor size and intended viewing conditions. Full-frame sensors typically use 0.030mm circle of confusion for standard viewing, while high-resolution cameras and large prints may require tighter standards of 0.020mm or even 0.015mm.
Key relationships show that hyperfocal distance increases with focal length (longer lenses need greater focusing distances), decreases with smaller apertures (f/16 has closer hyperfocal distance than f/8), and varies significantly with sensor size (larger sensors require greater hyperfocal distances than smaller sensors).
Practical implications mean that wide-angle lenses (16-35mm) have very manageable hyperfocal distances, often just a few feet at f/11, while telephoto lenses may have hyperfocal distance values of hundreds of feet, making hyperfocal focusing less practical for telephoto landscape work.
Modern Calculation Tools and Apps

Photo by Irfan Photographer786 via Shutterstock
PhotoPills remains the gold standard for hyperfocal distance calculations, providing instant results with augmented reality visualization that shows exactly where to focus in real-world scenes. The app accounts for your specific camera model and allows customization of circle of confusion values for different quality standards and viewing conditions.
Hyperfocal Pro offers a simpler interface focused specifically on depth of field and hyperfocal calculations without PhotoPills’ comprehensive feature set. These specialized tools often work more quickly in the field when you need rapid calculations for changing compositions.
Built-in camera features increasingly include hyperfocal assistance through focus peaking, depth of field preview, and even automatic hyperfocal focusing modes on some mirrorless cameras. Sony and Olympus cameras, for example, offer particularly advanced focus assistance that can display depth of field coverage in real-time through the viewfinder or LCD screen.
Online calculators and printable charts are good backup options when phone batteries die or apps aren’t available. Many photographers create laminated distance charts for their most-used focal lengths and apertures, providing instant field reference without technology dependence.
Field Application Techniques

Photo by TariqHassan82 via Shutterstock
Pre-composition focusing works most efficiently by determining your final composition, checking the closest important subject distance, then using hyperfocal distance apps to find optimal focus points. Focus first, then fine-tune composition rather than constantly refocusing as you adjust framing.
Manual focus techniques become essential, too, because autofocus systems often focus incorrectly for hyperfocal distance work, especially in low light or low-contrast situations. Use live view magnification to achieve precise focus on the calculated hyperfocal point, typically 1.5-3 times the distance to your closest important subject.
Get in the practice of confirming focus as well. Focus confirmation methods include checking depth of field preview (if available), using focus peaking features, or taking test shots and checking results at 100% magnification on your camera’s LCD. Many photographers take multiple shots with slightly different focus points to ensure optimal sharpness.
Distance estimation skills improve with practice and enhance field efficiency, too. Learn to estimate distances to foreground subjects and important background elements. Rangefinding aids like measuring tape, rangefinder binoculars, or even smartphone apps can provide accurate distance measurements for precise hyperfocal calculations.
When Hyperfocal Distance Isn’t Enough

Photo by Christopher Hawhins via Shutterstock
Ultra-close foregrounds within 2-3 feet of ultra-wide lenses often require closer focusing than hyperfocal distance allows, even at maximum depth of field apertures like f/16. In these situations, focus stacking becomes necessary to achieve sharpness throughout the entire composition.
Likewise, high-resolution cameras with 40+ megapixels may require stricter sharpness standards than traditional hyperfocal calculations provide, especially for large prints or critical commercial work. Consider using tighter circle of confusion values (0.015-0.020mm instead of 0.030mm) for these demanding applications.
Be aware that telephoto landscape work creates hyperfocal values that are often impractically far for landscape subjects. For example, a 200mm lens at f/8 might have a hyperfocal distance of 500+ feet, making traditional hyperfocal techniques irrelevant for most telephoto landscape compositions.
Critical sharpness requirements for stock photography, large prints, or commercial applications may demand focus stacking techniques even when hyperfocal distance would provide “acceptable” sharpness. The definition of “acceptably sharp” varies dramatically based on intended use and quality standards.
Advanced Hyperfocal Techniques

Photo by Andrew Mayovskyy via Shutterstock
The double-distance method provides an alternative approach when hyperfocal calculations seem impractical. So, focus at twice the hyperfocal distance for ultra-sharp infinity focus, then capture a second image focused on foreground elements for later blending. This technique often provides sharper results than single-point hyperfocal focusing.
The split-hyperfocal technique involves taking two images: one focused at the hyperfocal distance for maximum depth of field, and another focused at one-third the hyperfocal distance for optimal foreground sharpness. Blending these images provides better results than either single focusing point could achieve alone.
Aperture optimization is another option. This technique balances depth of field against diffraction effects that reduce sharpness at very small apertures. Most lenses perform optimally between f/8-f/11, with f/16 providing maximum depth of field at the cost of some overall sharpness due to diffraction. Choose apertures based on your priorities: maximum sharpness vs. maximum depth of field.
Lastly, focus breathing compensation accounts for lenses that change focal length slightly when focus distance changes. Some lenses effectively become wider when focused closely, affecting hyperfocal distance calculations. High-end lenses typically minimize focus breathing, while budget lenses may show significant focal length variation with focus distance.
Lens-Specific Considerations

Photo by ShotPrime Studio via Shutterstock
Wide-angle lens advantages make hyperfocal distance techniques most practical and effective. Lenses in the 16-35mm range typically have hyperfocal distances between 3-15 feet at f/8-f/11, making it easy to achieve sharp focus from close foregrounds to distant backgrounds in typical landscape compositions.
Meanwhile, standard focal length challenges (35-85mm) create moderate hyperfocal distances that require careful subject placement and composition planning. 50mm lenses at f/11 might have 25-foot hyperfocal distances, requiring thoughtful positioning of foreground elements for effective hyperfocal distance application.
As noted earlier, telephoto limitations make hyperfocal distance techniques largely irrelevant because the calculated distances exceed typical subject distances in landscape photography. Focus instead on optimizing focus for your specific subject distance and using appropriate apertures for desired depth of field.
Zoom lens variability requires recalculating hyperfocal distance for each focal length change. Many photographers stick to specific focal lengths (like 24mm, 35mm, 50mm) to memorize hyperfocal distances and streamline field workflow. Prime lens users often memorize hyperfocal distances for their most commonly used apertures.
Digital Viewfinder and Focusing Aids
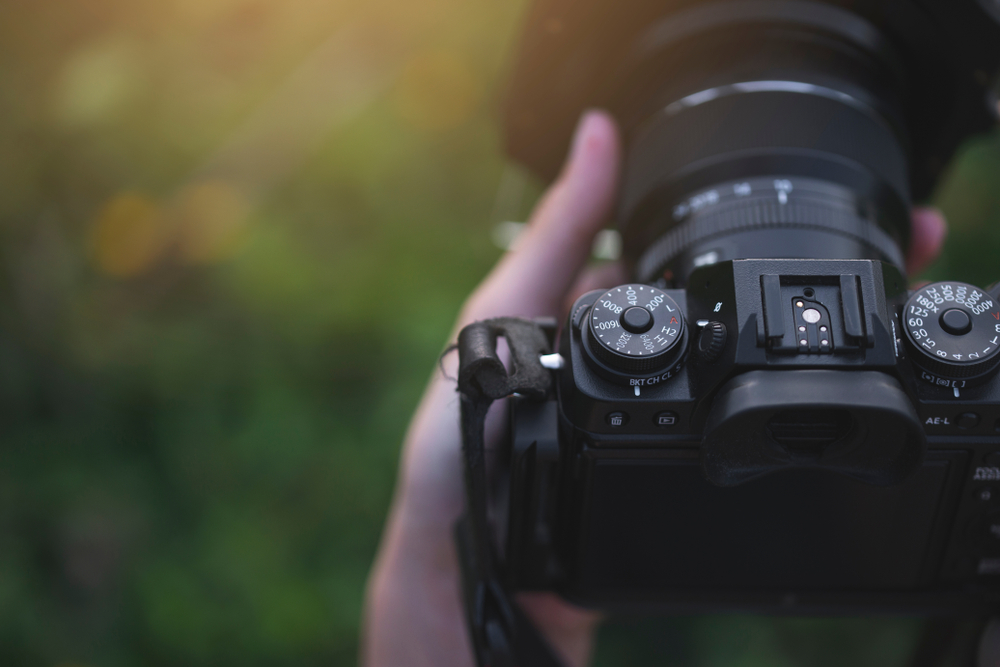
Photo by structuresxx via Shutterstock
Focus peaking technology highlights sharp areas in red, yellow, or white overlays, making it easier to verify hyperfocal distance accuracy through live view displays. Adjust peaking sensitivity to match your sharpness requirements—higher sensitivity shows more areas as “sharp” but may be less accurate for critical work.
Magnification features in live view also allow for precise manual focus on calculated hyperfocal points. Use 5x-10x magnification to focus on high-contrast edges at the hyperfocal distance, then return to normal magnification to check overall composition. Focus confirmation through magnification is more reliable than relying on distance scales on modern lenses.
Yet another option is using the depth of field preview button on your camera, if so equipped. This feature stops down the aperture to show actual depth of field through the viewfinder, though this feature becomes less useful at small apertures when viewfinders become very dark. Electronic viewfinders handle small apertures better than optical viewfinders for depth of field assessment.
Focus assist features like split-screen focusing, focus confirmation beeps, and automatic magnification when manual focus is engaged all help achieve precise hyperfocal distance focusing, too. Learn your camera’s focus assistance capabilities and customize them for efficient landscape photography workflow.
Common Hyperfocal Distance Mistakes
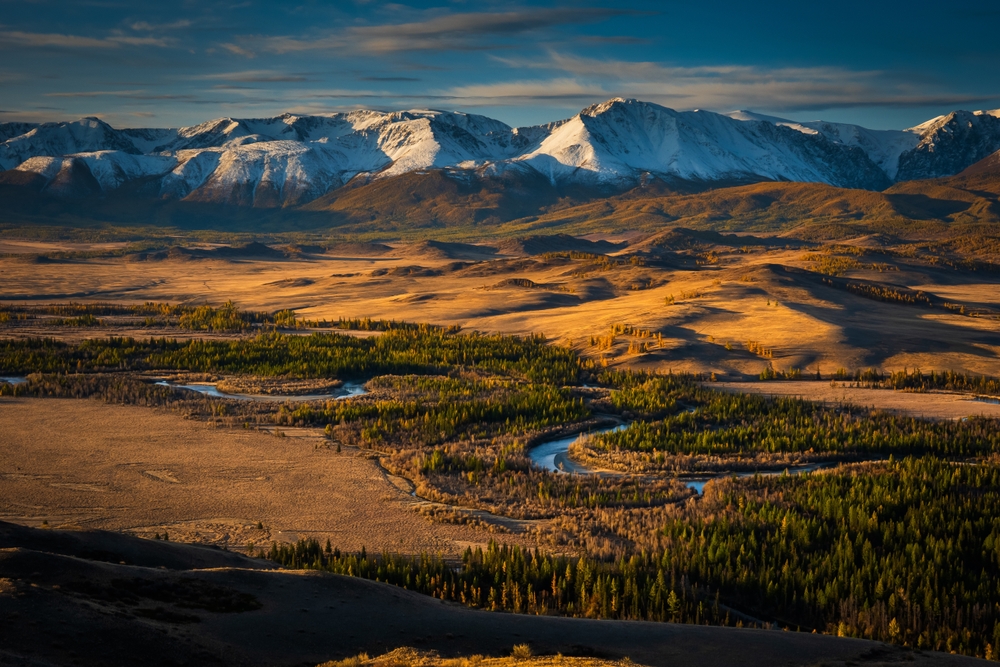
Photo by Anton Gvozdikov via Shutterstock
Trusting lens distance scales on modern lenses often leads to focusing errors because many lens distance markings are approximate and may not align with hyperfocal distance calculations. Use apps and manual focus techniques rather than relying on lens distance markings for critical sharpness.
Moreover, ignoring circle of confusion standards for your specific output requirements can result in images that appear sharp on camera LCDs but show softness when printed large or viewed on high-resolution monitors. Match circle of confusion values to your quality requirements rather than using default app settings.
Forgetting to switch to manual focus after achieving optimal hyperfocal focus allows autofocus to refocus incorrectly, especially in low light situations where autofocus may hunt or focus on unintended subjects. Lock focus manually once hyperfocal distance is achieved to avoid this issue.
Over-relying on hyperfocal distance for all landscape situations ignores scenarios where focus stacking, specific subject focusing, or other techniques might provide better results. Remember: hyperfocal distance is a tool, not a universal solution for all landscape photography focusing challenges.
Focus Stacking Integration

Photo by Smit via Shutterstock
Understanding when to combine techniques involves recognizing that hyperfocal distance provides a starting point, but focus stacking may be necessary for ultimate sharpness in demanding situations. Use hyperfocal distance calculations to determine the minimum number of focus points needed for effective focus stacking.
Blending hyperfocal distance with stacking might involve taking one image at hyperfocal distance for overall scene coverage, then adding specific focus points for critical foreground or background elements that need maximum sharpness. This hybrid approach minimizes post-processing work while ensuring optimal results, which is why it’s a popular option for many landscape photographers.
Focus stacking alternatives like small apertures (f/16-f/22) combined with hyperfocal focusing can provide adequate results for many applications without complex post-processing requirements as well. Balance technical perfection against practical workflow considerations based on your specific needs and output requirements.
It’s necessary to plan for post-processing, too. This involves capturing sufficient focus points to ensure smooth blending while avoiding unnecessary complexity. 3-5 focus points typically suffice for landscape focus stacking when combined with proper hyperfocal distance planning.
Frequently Asked Questions

Photo by DreamPixels Studio via Shutterstock
What is hyperfocal distance and why does it matter?
Hyperfocal distance is the closest focusing distance that keeps everything from half that distance to infinity acceptably sharp. It matters for landscape photography because it allows you to achieve maximum depth of field, keeping both foreground and background sharp without focus stacking.
How do I calculate hyperfocal distance?
Use the formula H = (f²)/(N × c), where H is hyperfocal distance, f is focal length, N is aperture number, and c is circle of confusion. However, modern apps like PhotoPills make this calculation automatic and instant.
Which apps are best for calculating hyperfocal distance?
PhotoPills is the gold standard, offering augmented reality visualization and precise calculations. Hyperfocal Pro and DOF Calculator are simpler alternatives for quick field calculations. Many cameras also have built-in hyperfocal distance assistance features.
Does hyperfocal distance work with telephoto lenses?
Telephoto lenses often have impractically large hyperfocal distances (hundreds of feet), making traditional hyperfocal distance techniques ineffective for landscape work. Wide-angle lenses are far more practical for hyperfocal distance photography.
Should I use autofocus or manual focus for hyperfocal distance?
Use manual focus for hyperfocal distance work, as autofocus systems often focus incorrectly for these calculations, especially in low light. Once you achieve your hyperfocal point, lock focus manually to prevent refocusing.
When should I use focus stacking instead of hyperfocal distance?
Use focus stacking when your foreground is extremely close (within 2-3 feet), when shooting high-resolution cameras requiring stricter sharpness standards, or when you need critical sharpness for large prints or commercial work.
What is circle of confusion?
Circle of confusion is the size of the smallest blur spot that appears acceptably sharp to human vision. Full-frame sensors typically use 0.030mm, while high-resolution cameras may use 0.015-0.020mm for stricter standards.
Can I memorize hyperfocal distances instead of using apps?
Yes, many photographers memorize hyperfocal distances for their most-used focal lengths and apertures. Sticking to specific focal lengths like 24mm, 35mm, or 50mm makes this practical for streamlined field workflow.
Heads up: Clicking on our affiliate links and exploring our sponsored content helps us at no extra cost to you, and we only recommend gear we’re absolutely crazy about!
Learn More:
- Golden Hour vs Blue Hour: When to Shoot What in Landscape Photography
- Best Cameras for Landscape Photography in 2025
Hero photo by Smit via Shutterstock