
Night is where atmosphere lives. For many photographers, the cover of darkness used to mean grainy, blurry phone pictures, but modern phones deliver more than documentation: they capture mood, texture, and subtle color when you know how to work with the light. If you want photos that feel intentional rather than accidental, you need practical techniques that translate straight into better results.
This article collects field-tested methods for smartphone photography at night: what to set, how to stabilize, when to trust your phone’s computational tricks, and when to override them. These are not gimmicks or overly technical theories; they’re concrete steps you can use right away to lift your smartphone images from passable to remarkable.
I’ll walk you through the core technical ideas, creative lighting approaches, thoughtful editing, and common mistakes. Along the way, I’ll share a personal camping shot that I had printed by Artbeat Studios. The print quality proves that smartphone photography at night can produce gallery-grade results when technique and craft meet great printing.
Table of Contents
Understanding the Challenges of Smartphone Photography at Night
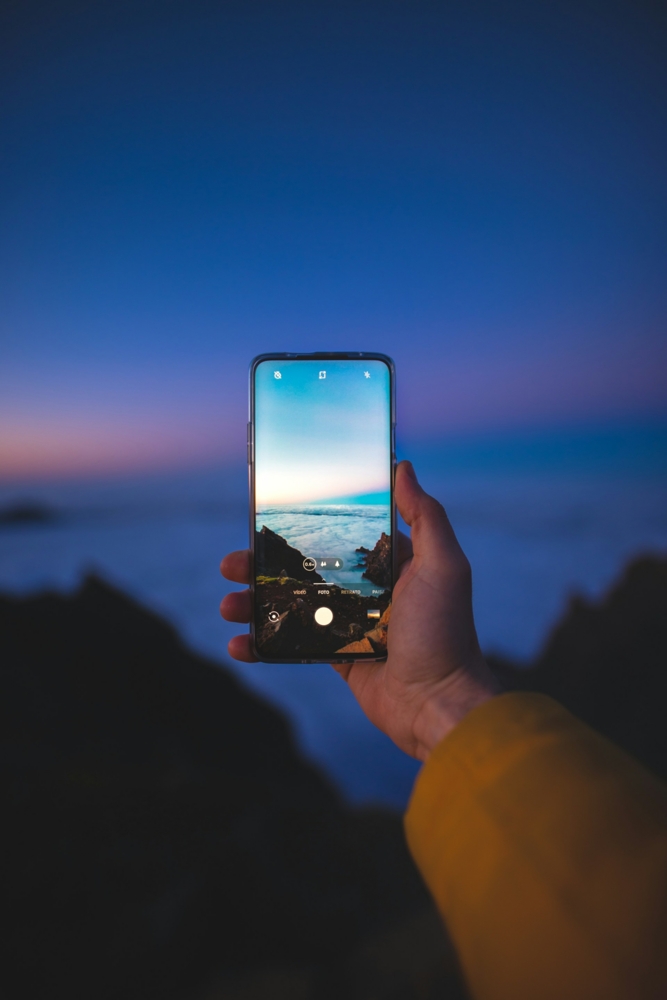
Photo by Kote Puerto on Unsplash (license)
Shooting after dark is fundamentally about the quantity and quality of light. Less light means your phone must either collect more light (longer exposures) or amplify the signal (higher ISO). Both approaches have trade-offs: longer exposures bring motion blur and higher ISO brings noise. Computational photography helps by blending multiple frames, but it doesn’t eliminate the physics.
Color fidelity and dynamic range shift at night. Artificial lights often introduce mixed color temperatures that confuse automatic white balance. Highlights from lamps and headlights can clip quickly, while shadows swallow detail. Recognizing these limitations helps you plan shoots rather than rely purely on automatic modes.
Different night scenes behave differently. Urban nightscapes may reward lower ISO and shorter exposures because of ambient lighting, while Milky Way or remote-camp scenes demand long-exposure discipline and the cleanest sensor possible. Treating all night situations the same is a quick route to mediocre results in smartphone photography at night.
Optimize Your Smartphone for Low Light — Smartphone Photography at Night
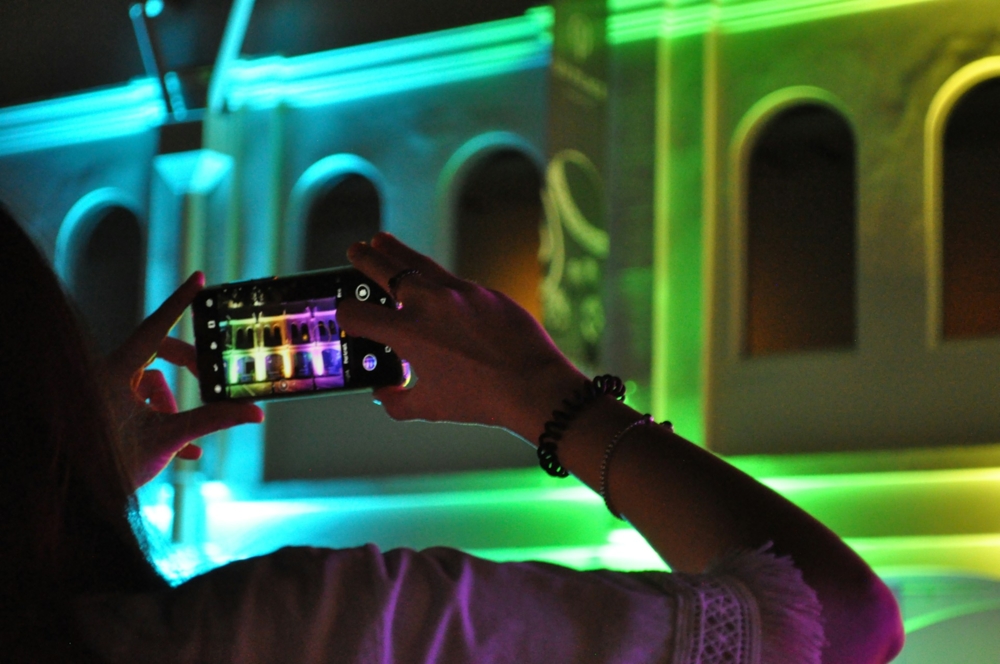
Photo by Carla Limatola on Unsplash (license)
Your phone’s settings make an immediate difference. Whenever possible, shoot RAW to retain shadow data and color information that phones otherwise compress away. RAW gives you latitude in post, especially when you want to recover deep shadows or correct tricky white balance in smartphone photography at night.
Turn off flash unless you want that harsh, flat look. Use Night Mode when it helps, but understand that Night Mode often relies on multiple stacked frames over several seconds — stability is required. If your phone has a Pro or Manual mode, try setting ISO and shutter manually to control noise and motion artifacts.
Switch to the primary main lens for low light; ultra-wide and telephoto lenses on many phones use smaller sensors or crops that perform worse in dim conditions. Manually set white balance when tungsten or sodium-vapor lights are dominant, and lock focus to prevent hunting during long exposures. These small choices elevate your results in smartphone photography at night.
Exposure and ISO: Getting the Balance Right
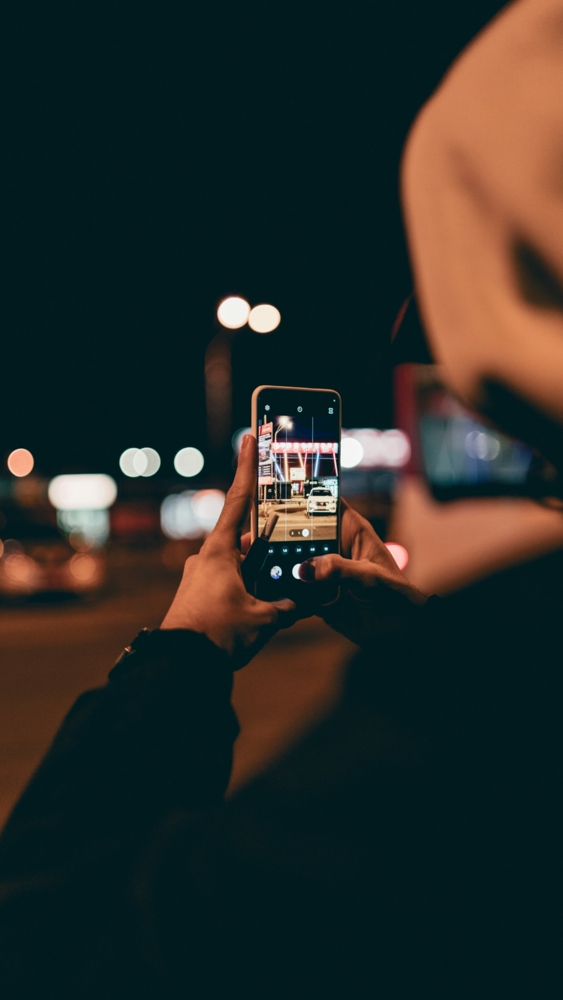
Photo by Vitalii Khodzinskyi on Unsplash (license)
ISO is the amplifier; shutter speed is the collector. On modern phones, staying under a moderate ISO (think ISO 400–800 as a practical guide) preserves detail and color. When you need brightness, prefer increasing exposure time while mitigating motion — either with stabilization or by composing around static elements.
Slightly underexposing can save you from blown highlights when bright lights are present. It’s far easier to lift shadows in post than to retrieve clipped streetlights or neon. When you bracket exposures, you create options for blending or choosing the best frame, and that’s especially useful in high-contrast nighttime scenes.
For moving subjects, freeze motion with a faster shutter and accept higher ISO, or embrace motion for creative intent (light trails, blurred water). Understanding the visual result you want will dictate whether you prioritize shutter speed, ISO, or both — a core decision in smartphone photography at night.
Stabilization: How to Eliminate Motion Blur
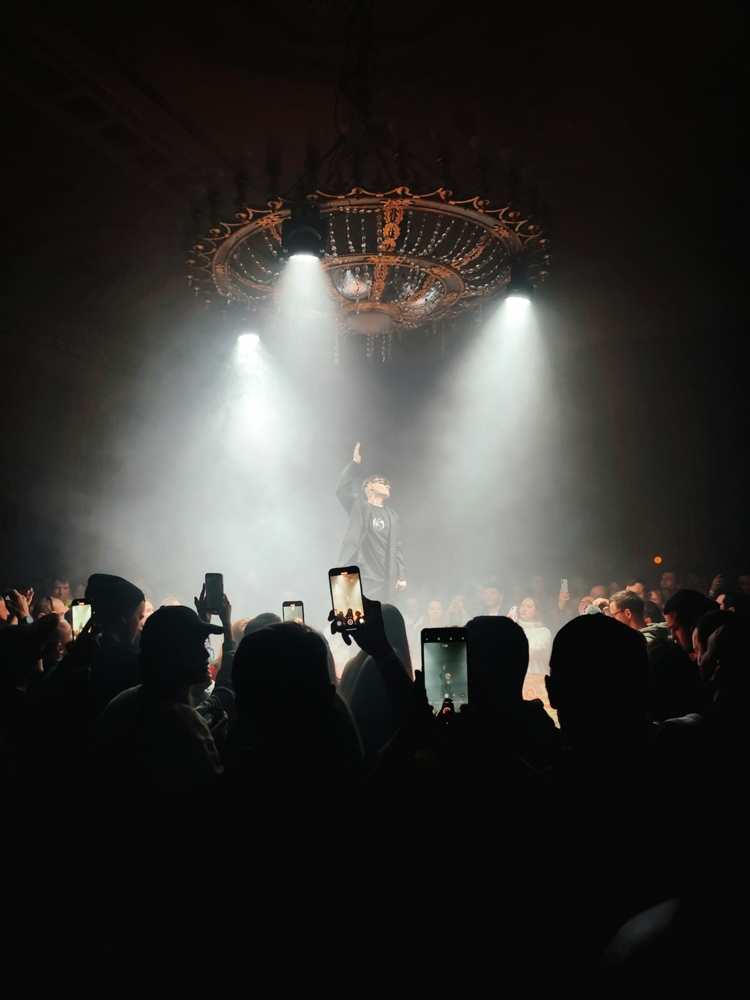
Photo by Evgeniya Pron on Unsplash (license)
Stability changes everything. A small tripod or phone mount will instantly improve sharpness and unlock longer exposures without noise penalties. I carry a compact flexible tripod that fits in a pocket; it’s saved countless low-light shots and is cheap insurance for smartphone photography at night.
When gear isn’t available, improvise. Brace your phone against rocks, use a backpack as a rest, or place it on a stable ledge. Use a self-timer, volume-button shutter, or remote release to avoid tap-induced shake. Even a tiny vibration at a multi-second exposure ruins fine details — these simple stabilization habits pay off in every night shoot.
Night Mode and multi-frame stacking still expect steady input. If your phone warns you to hold steady, listen to it: positional drift between frames blurs the composite. Stabilization also helps when you want to do creative long exposures, like smoothing water or capturing star trails — controlled motion makes intentional effects readable and beautiful.
Creative Use of Artificial and Ambient Light for Smartphone Photography at Night
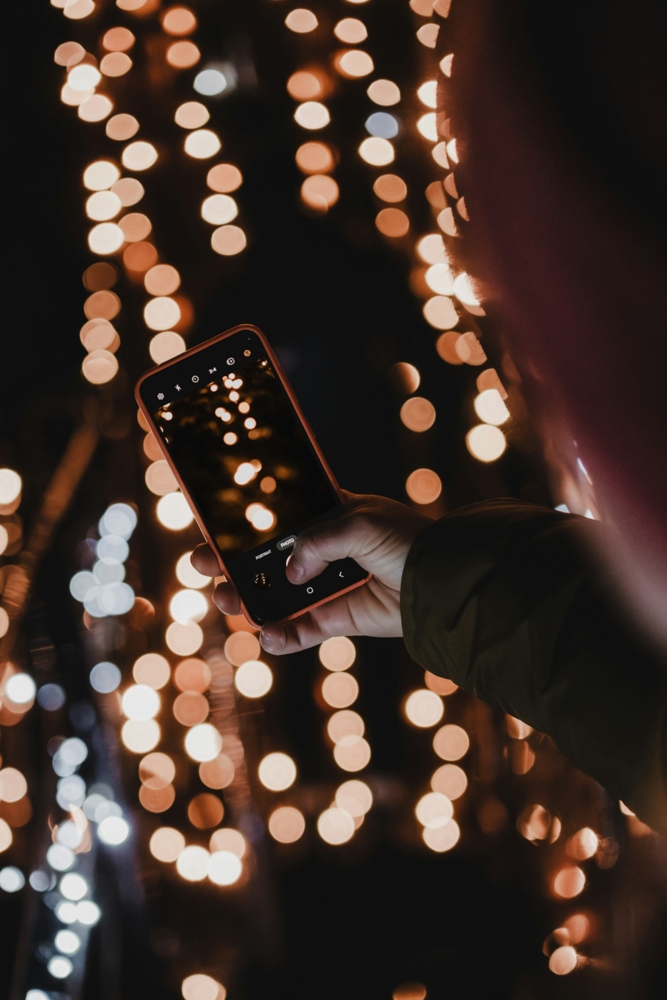
Photo by Christian Holzinger on Unsplash (license)
Night is an opportunity to sculpt light. Street lamps, neon signs, tent lanterns, and campfires are tools, not distractions. Position subjects relative to these light sources to create depth and separation; backlight a silhouette, or use side light to emphasize texture and shape in smartphone photography at night.
Light painting is a practical trick: use a small flashlight or headlamp to selectively illuminate foreground elements during a long exposure. I’ve used a dim headlamp waved gently for ten seconds to reveal rock texture at a campsite while preserving the dark sky above — subtlety is the key to making the effect look natural.
Reflections amplify light in dramatic ways. Wet streets, puddles, and calm water mirror colored lights and multiply visual interest. When you compose for reflections, lower your viewpoint and frame carefully so reflections echo the main scene rather than compete with it. These compositional choices can turn ordinary night scenes into strong images in smartphone photography at night.
Story from the Field: My Camping Night Photo and Artbeat Studios Print
On a trip a while back, I set up in the desert, a campfire glowing and a clear sky above. I stabilized my phone on a mini tripod, used manual exposure to favor the fire’s warm tones, and kept ISO modest so the starfield would remain clean. I also used a faint light-paint pass to gently illuminate a foreground log, creating a compositional anchor.
The resulting file was one of those rare frames where everything aligned: color, contrast, and atmosphere. I processed the RAW file to control noise and balance the warm campfire with cool sky tones, then sent the file to Artbeat Studios for a physical print. The print reaffirmed something I already believed: great technique plus a good printer makes smartphone photography at night tangible and lasting.
Artbeat Studios delivered an exceptional product. I rated the print 29/30: perfect scores for color, value, presentation, packaging, and image detail, and a 4/5 for the frame. Their consistency and craft transformed a smartphone capture into a piece I’ll enjoy for years. That outcome is proof that with the right approach, smartphone photography at night can produce prints worthy of wall space.
Editing for Clean, Vibrant Night Images
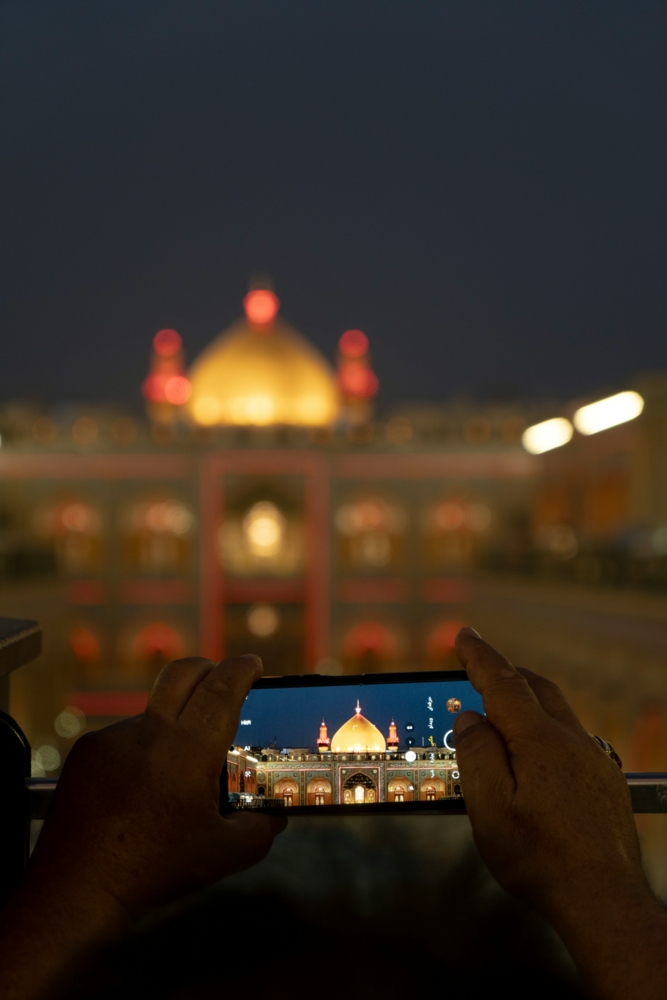
Photo by أخٌفيالله on Unsplash (license)
Start with noise reduction, but apply it selectively. Overaggressive smoothing kills texture; target noise reduction to shadow areas while preserving sharpness in highlights and edges. I tend to reduce noise first, then recover micro-contrast to avoid a plasticky look.
Correct white balance carefully. Night scenes often have mixed temperatures, so use local tools to tame strong color casts without draining the scene’s mood. Bring up shadows to reveal detail, but retain contrast to preserve depth — flat images lose the night’s atmosphere.
Local adjustments like graduated filters, radial clarity boosts, and selective sharpening make a big difference. Export a high-quality TIFF or max-resolution JPEG for printing, and check the file on a calibrated screen if possible. Proper editing completes the chain from capture to output in smartphone photography at night.
Common Night Photography Mistakes and How to Avoid Them
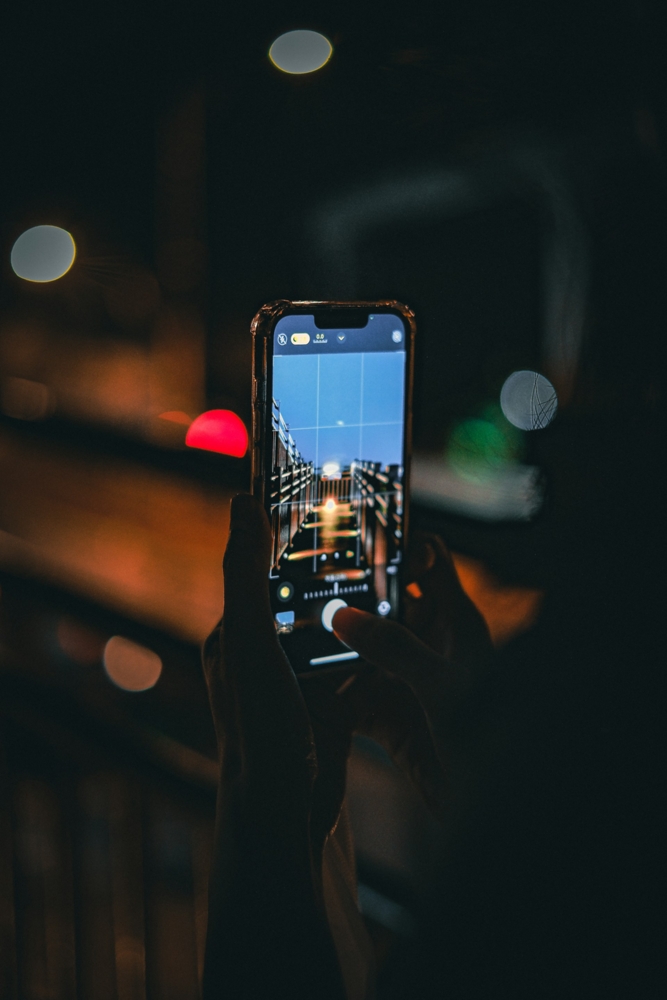
Photo by Finn on Unsplash (license)
Relying blindly on full auto can overexpose highlights or produce heavy processing artifacts. Learn a couple of manual adjustments to rescue difficult scenes. Even small tweaks — locking exposure or reducing ISO — quickly improve results in smartphone photography at night.
Using the wrong lens hurts low-light shots. The ultra-wide or digital-zoom feeds are often noisier after dark; favor the main lens. Also, don’t over-edit: extreme sharpening or saturation creates halos and unnatural tones that are easy to spot in prints.
Lastly, ignore safety at your peril. Night shoots often happen in slippery, dark, or unfamiliar places. Bring a headlamp, stay aware of surroundings, and plan setups so you’re not balancing on dangerous ledges for the perfect frame.
Capturing the Night Like a Pro
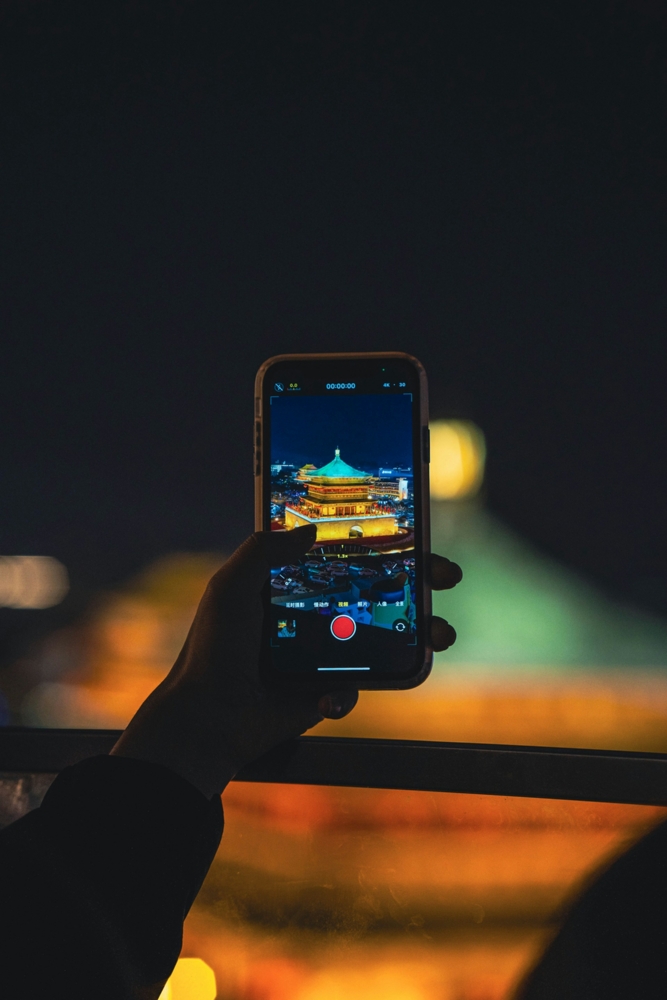
Photo by BIlly Xue on Unsplash (license)
Smartphone photography at night is less about the phone model and more about choices: which lens, how you stabilize, how you expose, and how you treat light. Practice those choices and you’ll quickly see improvement. Night photography rewards patience; a single well-executed frame can outweigh dozens of mediocre ones.
Remember the print I mentioned: turning a carefully shot phone image into a physical object made the effort feel undeniably worthwhile. If you want your night work to last, invest in a good printer and learn basic color-management steps so the prints reflect the care you put into the capture.
Go out and experiment. Try bracketing exposures, paint with light, and print your favorites. The night is not a limitation; it’s a toolkit, and smartphone photography at night, when practiced and processed thoughtfully, can produce images that matter.
FAQ
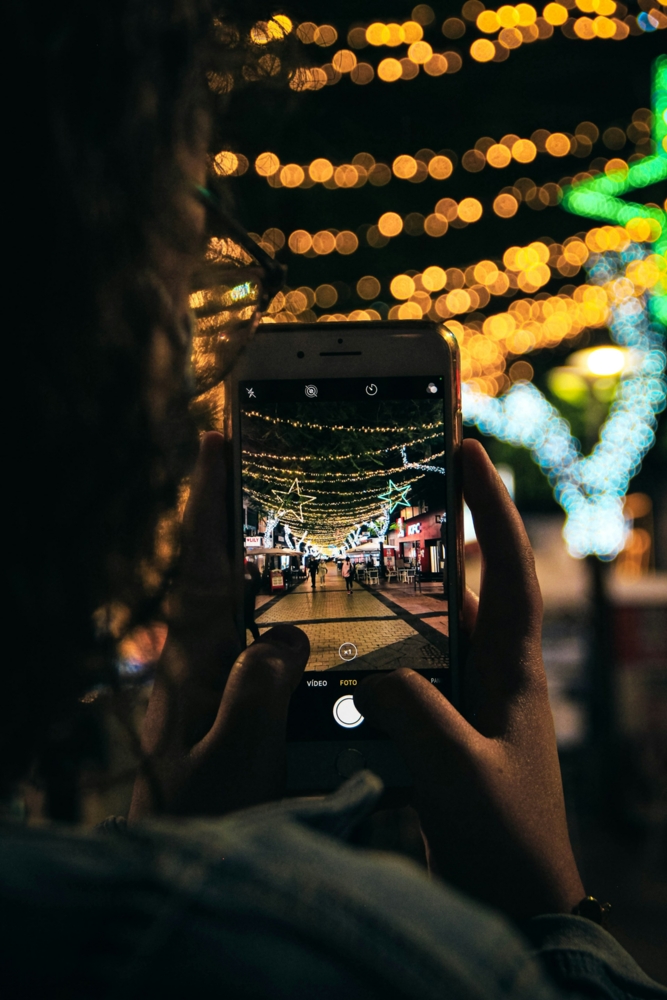
Photo by Francisco de Frias on Unsplash (license)
How do I reduce noise in smartphone night photos?
Shoot RAW when possible, keep ISO moderate, stabilize the camera, and use targeted noise reduction in editing. Avoid aggressive global noise removal to preserve texture.
Should I use Night Mode or manual settings?
Use Night Mode for convenience and multi-frame blending in handheld situations. Use manual/Pro mode when you need precise control over ISO, shutter speed, and white balance.
Can smartphone photos look professional when printed?
Yes. With careful shooting, RAW processing, and a quality lab, smartphone images can print beautifully. I had a camping night photo printed by Artbeat Studios and rated the print 29/30 for overall quality.
Which lens should I use on my phone for low light?
Prefer the main 1x lens. Ultra-wide lenses and digital zooms tend to use smaller sensors or crops that perform worse in dim light.
How important is stabilization for smartphone photography at night?
Crucial. Stability enables longer exposures with lower ISO, producing cleaner and sharper images. Use a tripod, mount, or improvised support plus a remote shutter.
Heads up: Clicking on our affiliate links and exploring our sponsored content helps us at no extra cost to you, and we only recommend gear we’re absolutely crazy about!