Motion Blur Photography Tutorial
- Long Exposure Photography Gear List
- These Long Exposure Mistakes are Preventing You From Taking Awesome Photos
- A Beginner's Guide to Long Exposure Photography
- Use Long Exposures to Create More Unique Landscape Photos
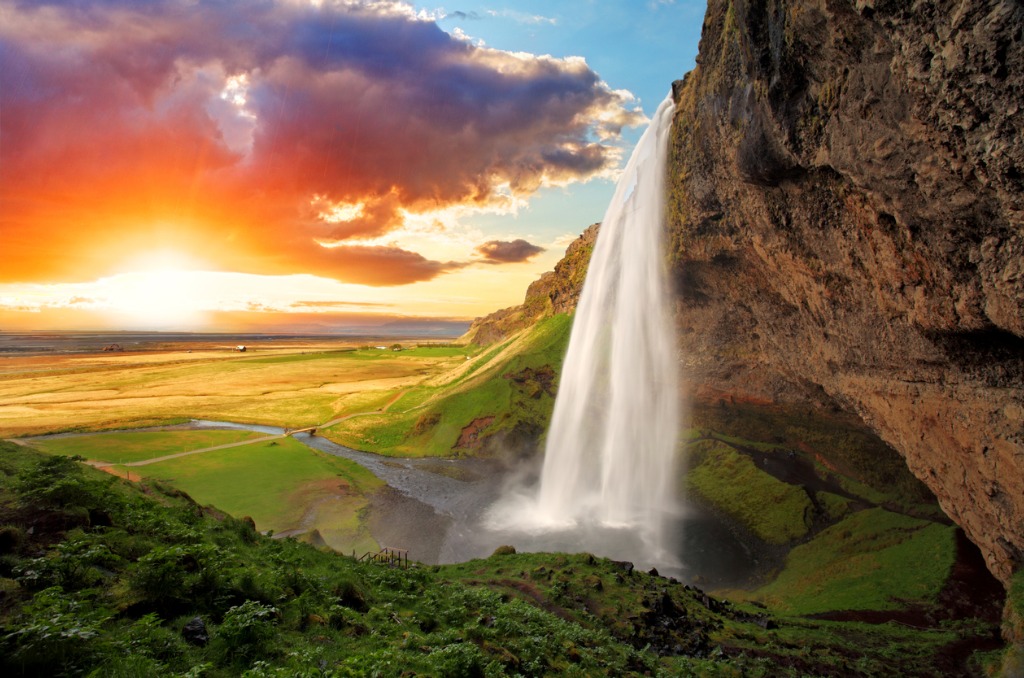
photo by TomasSereda via iStock
As photographers, we often have the mindset of needing to arrest any motion of the camera or subject in order to capture the sharpest possible, but creatively using motion blur photography opens up a lot of interesting possibilities.
Motion Blur Photography Ideas
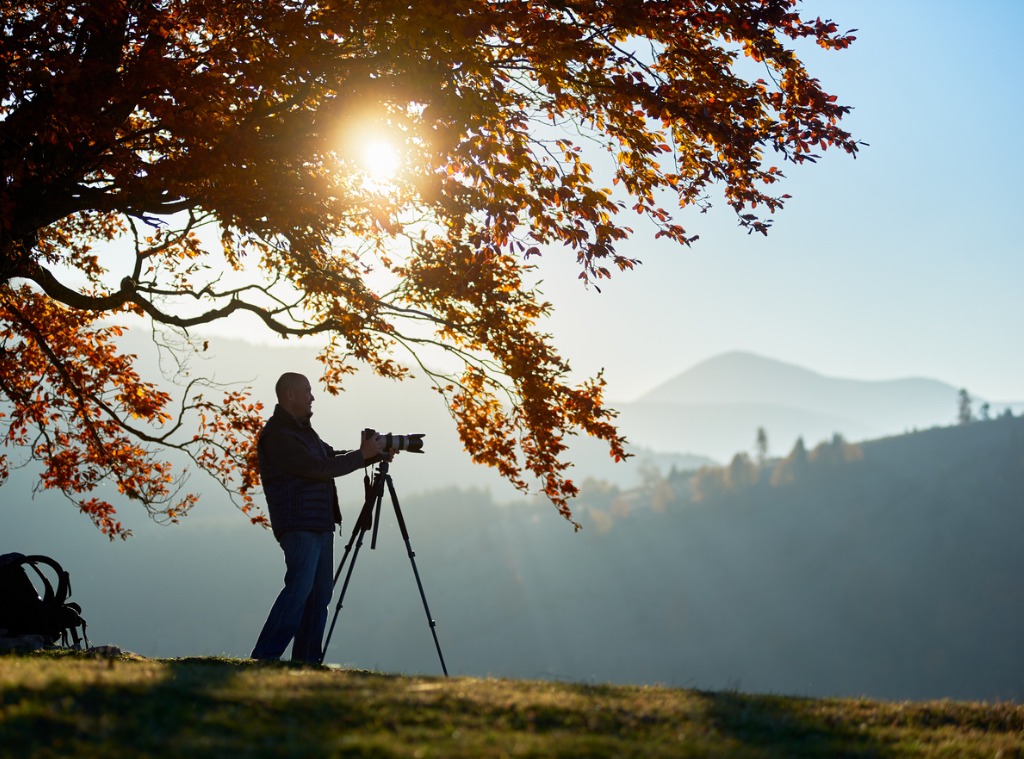
photo by anatoliy_gleb via iStock
Thinking about motion blur photography ideas, we automatically think of various sports. Motor sports, any type of racing, sports where you swing an instrument such as a golf club, tennis racket, jai alai scoop, or baseball bat, and other controlled movements such as skating or gymnastics.
Other motion blur photography ideas are blurring moving water such as waterfalls, waves, or streams, blurring cloud movements, making light streaks at night, moving the camera during exposure, and ghosting out people from crowded scenes.
Each of these motion blur photography techniques use their own tips and camera settings. Follow along with this motion blur photography tutorial to get your own ideas of how to capture motion blur.
Motion Blur Photography Settings
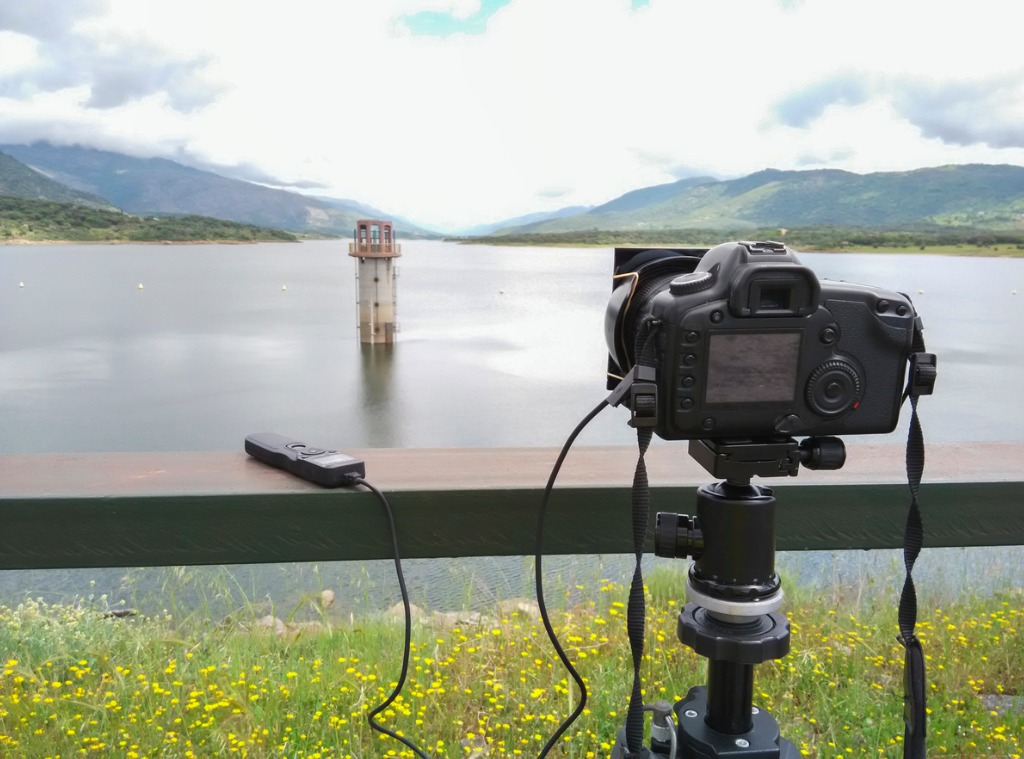
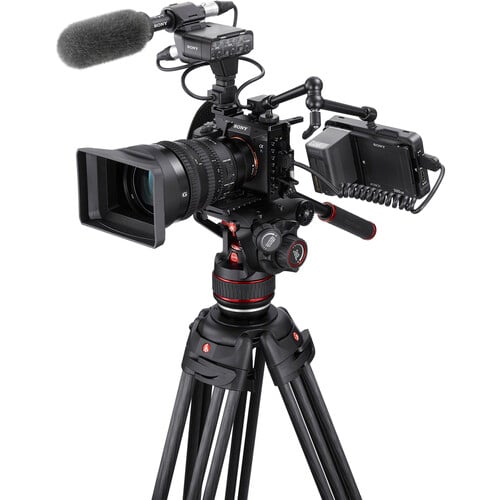
photo by Mario Elias Munoz Valencia via iStock
When shooting action, our motion photography settings for arresting motion center around short or fast shutter speeds. We like shutter speeds of 1/4000th and 1/8000th of second if our light levels and ISO allow for them, or we pan with the motion and await the peak of action if we’re forced to use slower or longer speeds.
In order to purposefully capture any type of motion blur, photography settings skew toward slower or longer shutter speeds. For some styles, it’s not unusual to have motion blur photography settings with shutter speeds measured in full seconds or even minutes instead of fractions of a second.
In order to achieve longer shutter speeds, we adjust the other parts of our exposure triangle, the lens aperture and ISO. An ISO of 100 or 200 is available on most entry level and intermediate level cameras. Many prosumer and professional cameras have the ability to set a lower ISO such as ISO 50 or 25 by means of their extended range.

photo by Nakteve via iStock
A smaller lens aperture will result in longer shutter speeds, too. Many lenses have minimum apertures of f/16 and f/22, while some may have minimum apertures of f/32. I’ve used some lenses for large format cameras that have even smaller f-stops, f/64 and f/128, but those aren’t usually available in lenses for Full Frame, APS-C, and MFT formats.
Neutral density (ND) filters are extremely useful for many motion blur photography techniques. A 2 stop, 6 stop, or 10 stop ND filter can allow us to reach those extremely long exposure times measured in full seconds and minutes.
Now let’s consider some motion blur photography tips for the ideas mentioned earlier.
Sports Photography Motion Blur
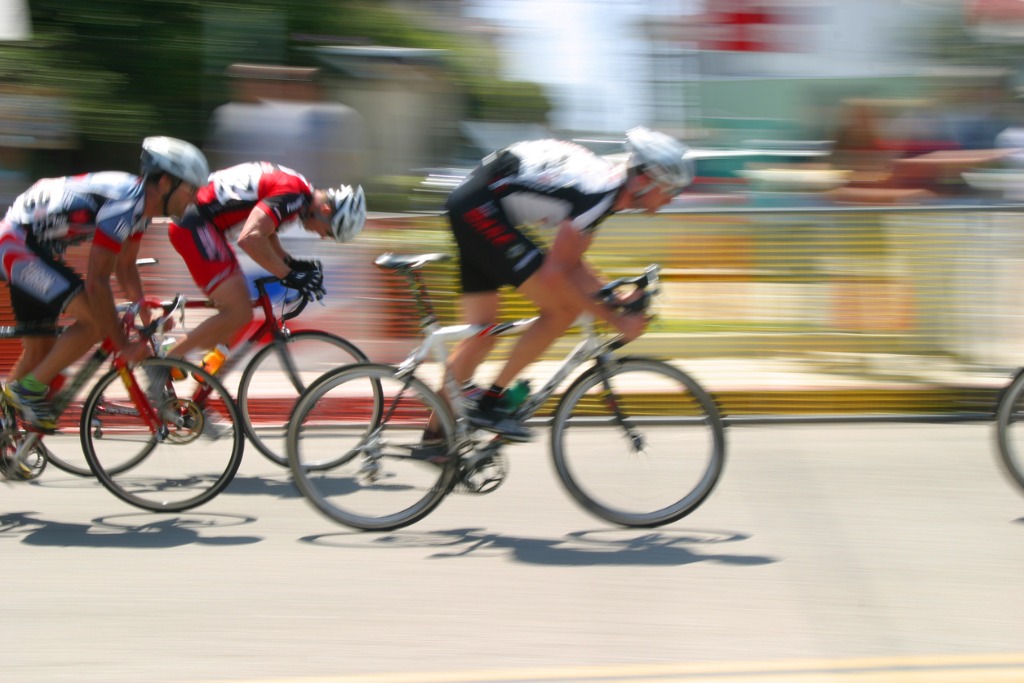
photo by P_Wei via iStock
There are two lines of thought for sports motion blur photography. One is to keep the camera relatively still and let the slow shutter speed blur the subject in motion while the background remains sharp. The other is to pan along with the subject movement which keeps the subject relatively sharp while the background blurs.
Panning with the subject motion means that we move our tracking camera along with the subject and keep that movement going during the time the camera shutter is open. A shutter speed of 1/30th of second to perhaps ½ second will get you these photos for most sports subjects.
You can reach those shutter speeds even in broad daylight by lowering the ISO and stopping down the lens aperture. You don’t need to worry about the small aperture giving too deep depth of field because the blurred background will isolate the main subject. If you need a little slower speed then adding a 2 stop ND filter is probably all you need.
Learn More:
Water and Cloud Movement
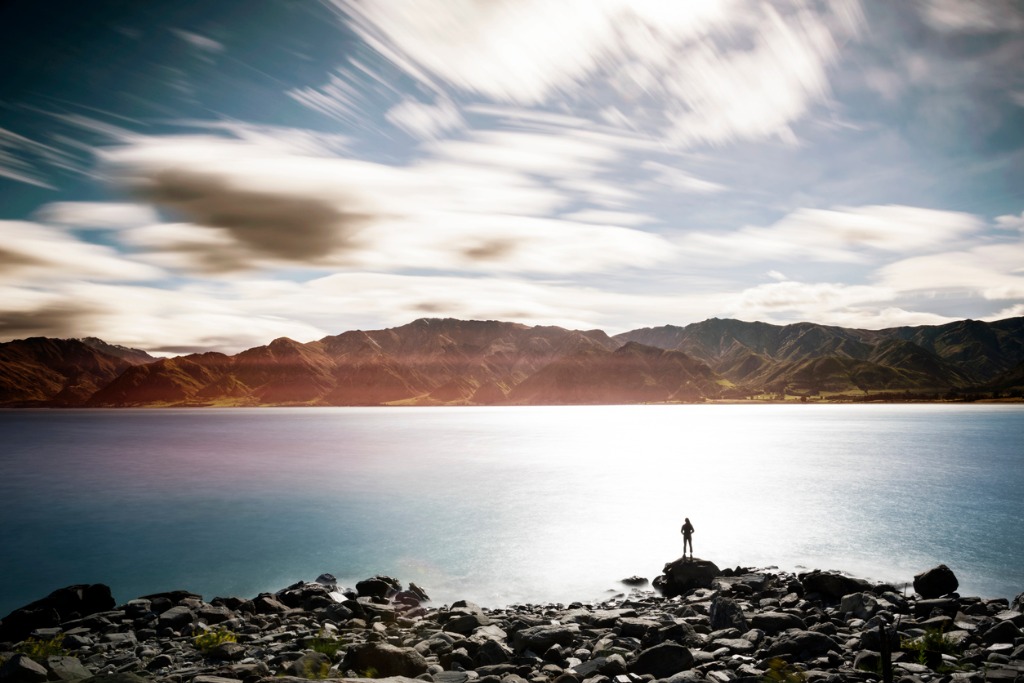
photo by subman via iStock
This is probably the subject matter most photographers think about when reading a motion blur photography tutorial. There are also two general lines of thought for this technique, too. One is only slightly blur the water motion with a shutter speed of ½ second to maybe 2 or 4 seconds depending on how fast the water may be moving.
The other method is to calculate for a very long shutter speed, such as in the 15 seconds ro longer range, going into full minutes for some scenes. This will create a very smooth blur with virtually no detail at all in the moving water or clouds.
To capture these motion blur photography images, you’ll also need to use a heavy duty tripod or camera mount to keep the camera rig as motionless as possible. ND filters are a virtual necessity, too. There’s no way to get a shutter speed of multiple seconds in daylight without using ND filters, not in DSLRs and mirrorless cameras anyways.
The lens aperture will make a difference in exposure, but it also will factor into our depth of field calculations since we’re using a tripod to keep the camera still.So choose whatever lens aperture you want and add ND by means of filters if you want a specific range of exposure time.
Light Streaks at Night
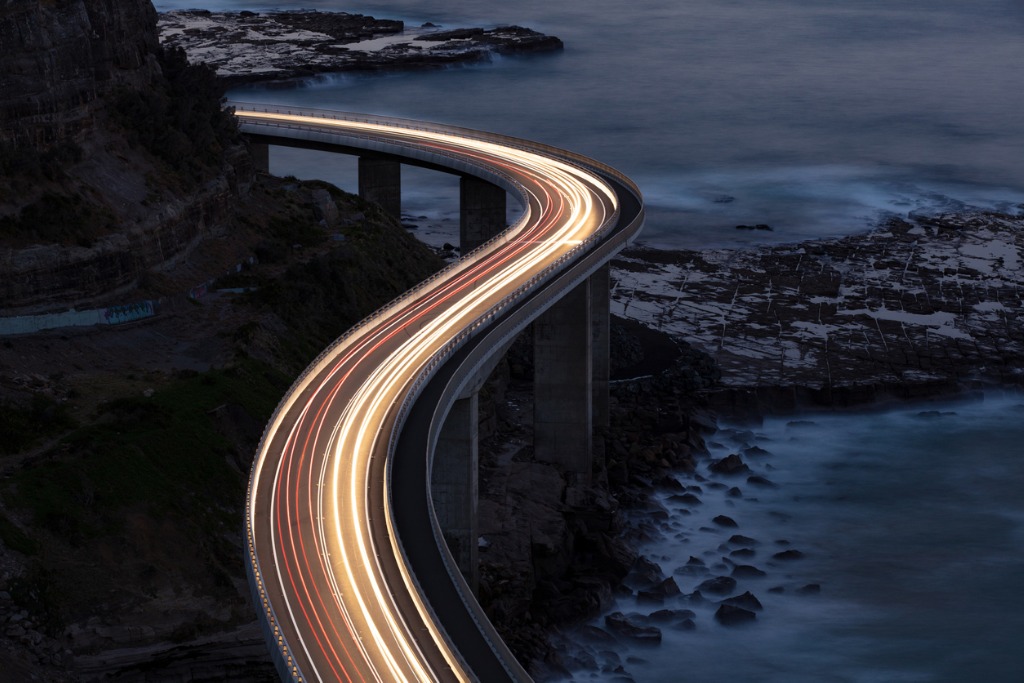
photo by Veni via iStock
One of the most simple of the motion blur photography techniques, it’s also full of variables in how we can do it. We can use our camera on a tripod and let automotive traffic paint light streaks. We can use a penlight with or without color gels to paint the scene while the camera’s shutter is open.
Or we can mount the camera on a moveable device and move through a scene of lights. Astrophotography gives us even more options as we can use the Earth’s rotation to create star trails. The shutter speeds are likely going to be measured in multiple seconds up to many minutes.
Moving the Camera
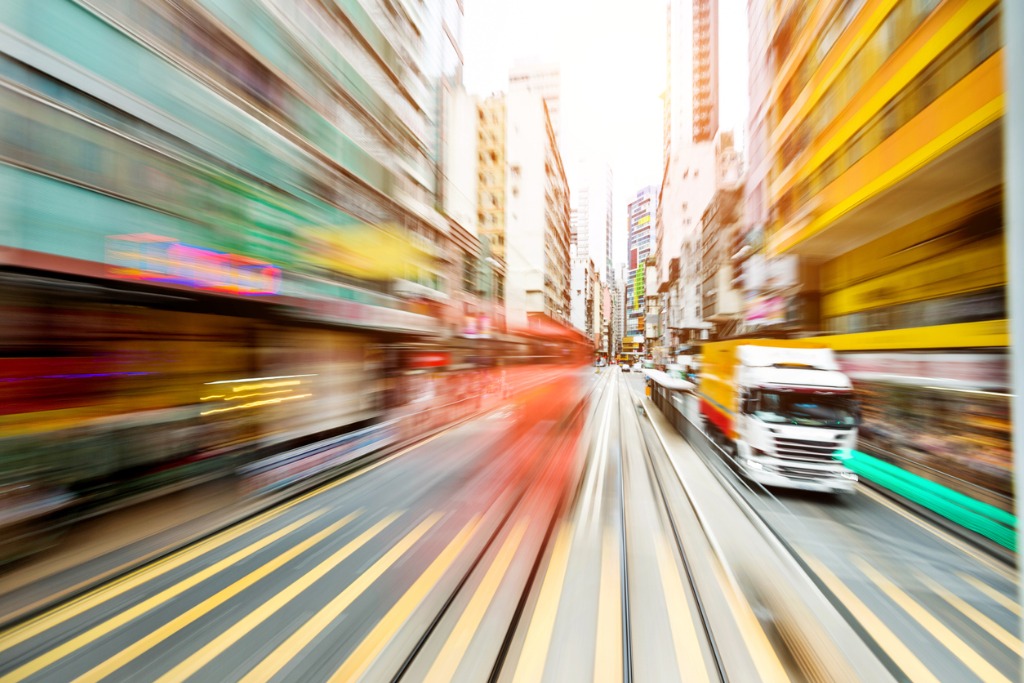
photo by baona via iStock
This motion blur photography technique can be done with a wide range of shutter speeds. If you have videography gear such as a dolly or a slider, you can open the shutter up for any length of time while moving the camera and create a blur of subject or streaks of light.
You can also handhold the camera with a moderately slow speed such as 1/8th of a second or so and rotate the camera around the axis of the lens causing an interesting motion effect.
Ghosting People
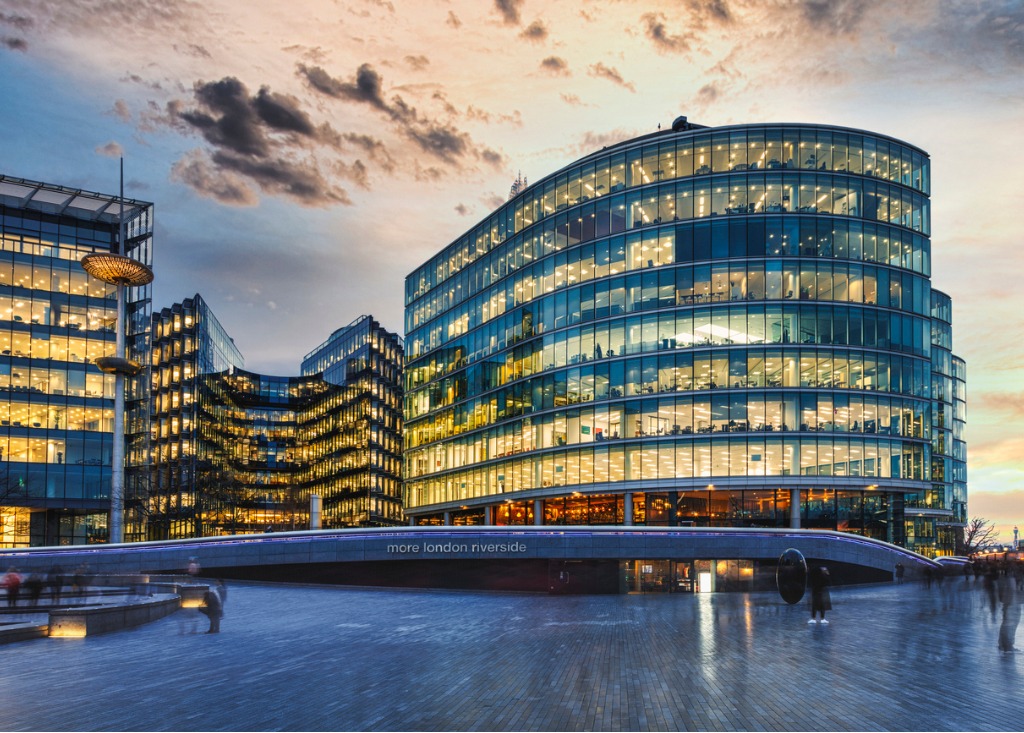
photo by petekarici via iStock
When shooting architecture or some other large subject that has a lot of people milling about, in the way of our subject, a long exposure can effectively remove moving people from the image. The way it works is that if the static exposure is long enough, a scene element moving fast enough will not register in the image file.
There is another way to this, making multiple exposures as though making an HDR image but not altering the exposures by bracketing, simply taking multiple pictures spaced seconds apart. Then when you merge the exposures together, you choose the option in the program to ghost out what the program considers spurious image elements.
It’s Going To Take Experimenting
photo by matrixnis via iStock
The problem with trying to predetermine motion blur photography settings such as just what shutter speeds or exposure times will work is that there are many variables to consider. Sometimes, light values within a scene may even change during exposure as when clouds cover and uncover brighter areas of sky.
So, have some fun with creating your own personal motion blur photography tutorial by playing with these ideas and tips to find what works for your photographic vision.