
What Makes Real Estate Photos Look Good?
- What You Need To Do Before Taking a Single Real Estate Photo
- The Importance of Quality Real Estate Photos
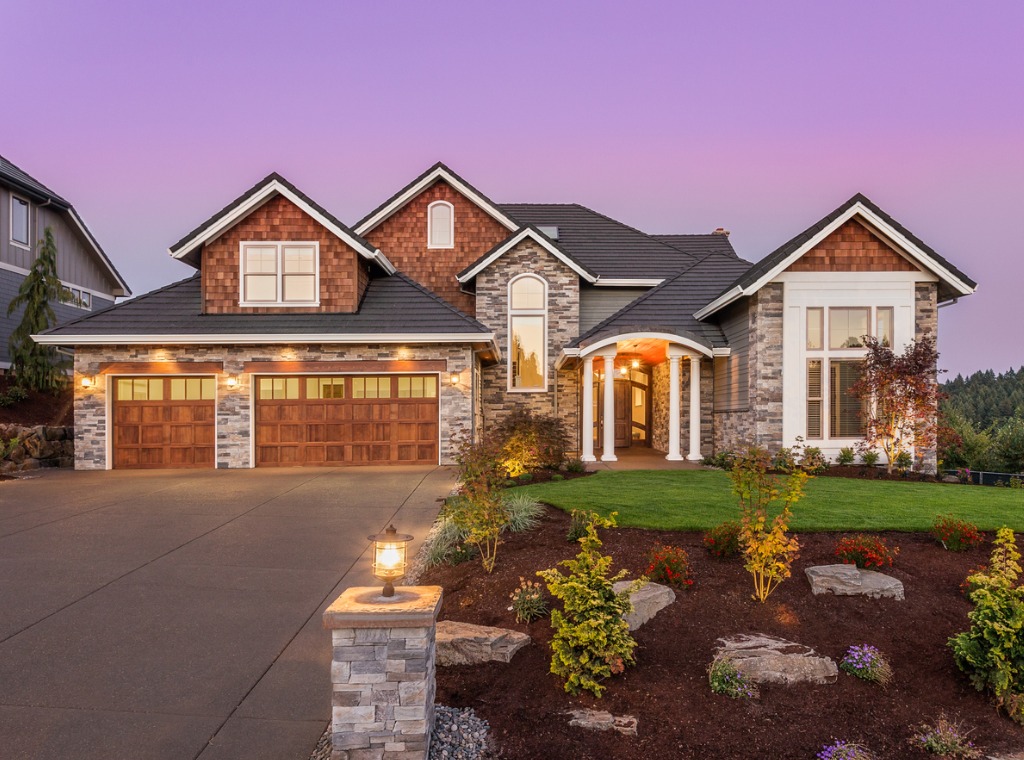
photo by hikesterson via iStock
We have easy answers for what makes any of our photos look bad, many times the answer is staring us in the face. If we’re working in photography, poor images could lose us either sales or clients. Especially so in the competitive field of real estate photography. But, what makes real estate photos look good is a little less obvious.
We could always work backwards from the thought of what is bad photography, identify the mistakes, and then avoid them. Or, focus on the positive and examine helpful tips for good real estate photos. Here are 4 real estate photography tips to help us do the second option.
Make Sure Property Is Ready
photo by shaunl via iStock
In order for you to provide the best possible real estate photos for your client, whether a realtor, property manager, or homeowner, the property needs to be prepared properly. While we as the photographer can help out, this really falls on the client.
I find that it helps to give new clients a brief real estate photography tutorial. You don’t need to teach them how to become a professional photographer, but it really does help to be on the same page with regards to realistic expectations and how to maximise the presentation.
Clean and uncluttered is often the best approach towards staging a property for real estate photos. If the property is currently in use or not, ask the client to replace light bulbs, dust ceiling fans, vacuum carpets, mow the lawn, etc... If it is definitely occupied, ask that personal effects are minimised, such as bathrobes, fridge magnets, doggie dishes, and so on.
As the photographer, I like to do a pre shoot walkthrough to make sure the property is fully ready, touching up as needed or asking them to. Giving the client basic and simple real estate photography tips ahead of time will also greatly speed up your overall workflow.
Create Balanced Exposures

photo by hikesterson via iStock
In many other forms of photography, lighting for contrast is used to create interest in the final image, but adding contrast is not my first choice for real estate photos. Contrast is caused by a difference in highlights and shadows. We can use exposure tricks or lighting techniques to either add or subtract contrast.
For real estate photos, we are concerned with contrast levels and the overall dynamic range of a scene. I like to use the bracket and merge technique to control contrast and increase the dynamic range of the entire image. Instead of working with artificial lights like a strobe unit or photo floods, this technique lets us get good exposure values of the brightest highlights, deepest shadows, and everything in between by using the proper real estate photography camera settings.
Sometimes we may still need to add a portable light or two to supplement the window light and existing lighting fixtures, but my experience has shown that bracket and merge takes care of all but the most difficult lighting conditions. Here is a YouTube video that helps explain it all.
To capture the middle exposure reading for HDR bracket and merge, I use my camera in spot meter mode or a handheld meter and meter off of a neutral color wall in what I eyeball as the middle light range of the scene. Absent of neutral color walls, an 18 percent gray card is a good substitute.
Learn More:
Level Camera, Straighten Lines
photo by panpa sukanda via iStock
I usually like to capture 3 walls of most of the rooms I’m shooting with my chosen wide angle lens so there are going to be a lot of straight lines in the image. With an ultra wide lens, we have to be very careful of how long straight lines can appear distorted.
A major source of distortion for this combination is the camera not being level. There’s a simple fix to this, a solid tripod and a spirit level. Some cameras have a level built-in that you access via the viewscreen. For other cameras, a level that fits in the hot shoe costs about the same as a mid afternoon snack or two.
Sometimes the level isn’t enough to fix the distortion issue and we have to adjust it in post processing. Many of the programs even have plug ins for the known distortion of specific lenses, otherwise we can use adjustment tools.
Shoot RAW and Correct Colors
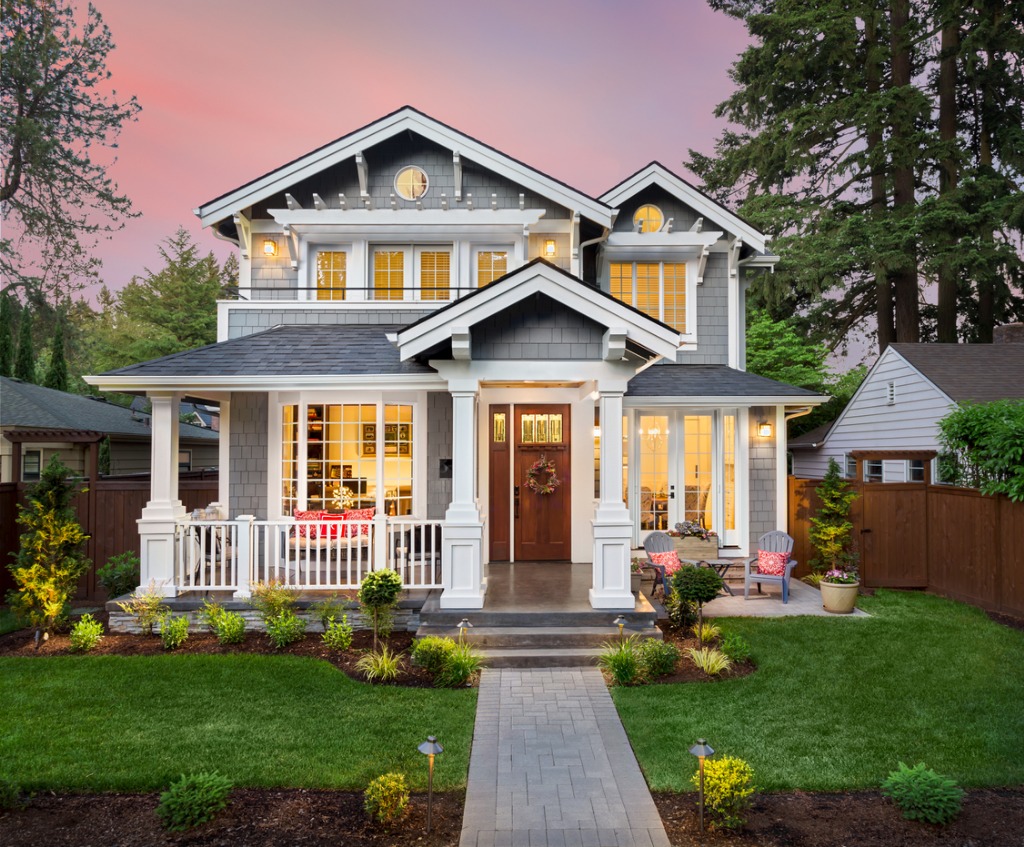
photo by hikesterson via iStock
Real estate photos tend to be shot in a variety of light types from incandescent, quartz, and natural sunlight which all have different color temperatures. Capturing JPEGs would require assigning a white balance for best results.
Shooting RAW not only provides more image detail to work with for post processing, HDR and regular, it also allows us the capability of assigning a white balance and a color profile during processing. With many post processing programs we can even choose LUTs.
LUT stands for Look Up Table and is a predetermined set of color values that adjusts what is shot for the output value you want. It’s a common tool for professional video, using it for our real estate photos can simplify our workflow quite a bit.
Treat Every Job as Being Important
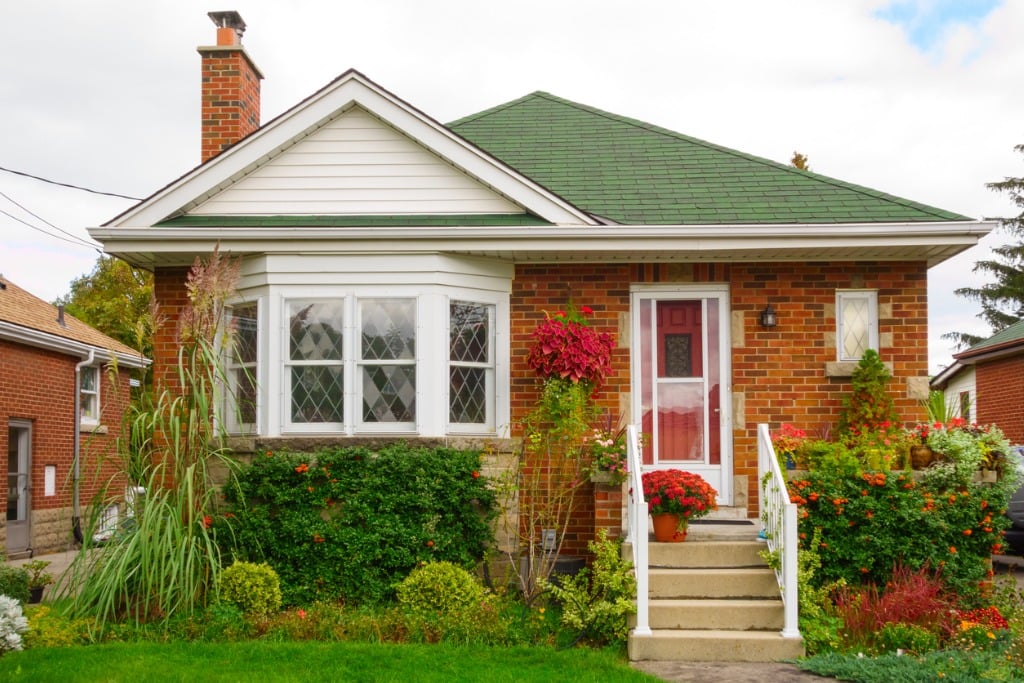
photo by benedek via iStock
Considering that real estate is the most expensive thing many of us will buy or sell in our lives, there is really no such thing as an unimportant real estate photography shoot. Every time we capture and deliver real estate photos, we make sure to do the best job we can.
We can still simplify our workflow by taking advantage of all of the real estate photography tips and techniques such as using LUTs, bracket and merge processing, and simple leveling techniques. Focus on the positive and create outstanding real estate photos that will please any client.
Learn More:


