
Real Estate Photography Camera Settings for Exterior Photos
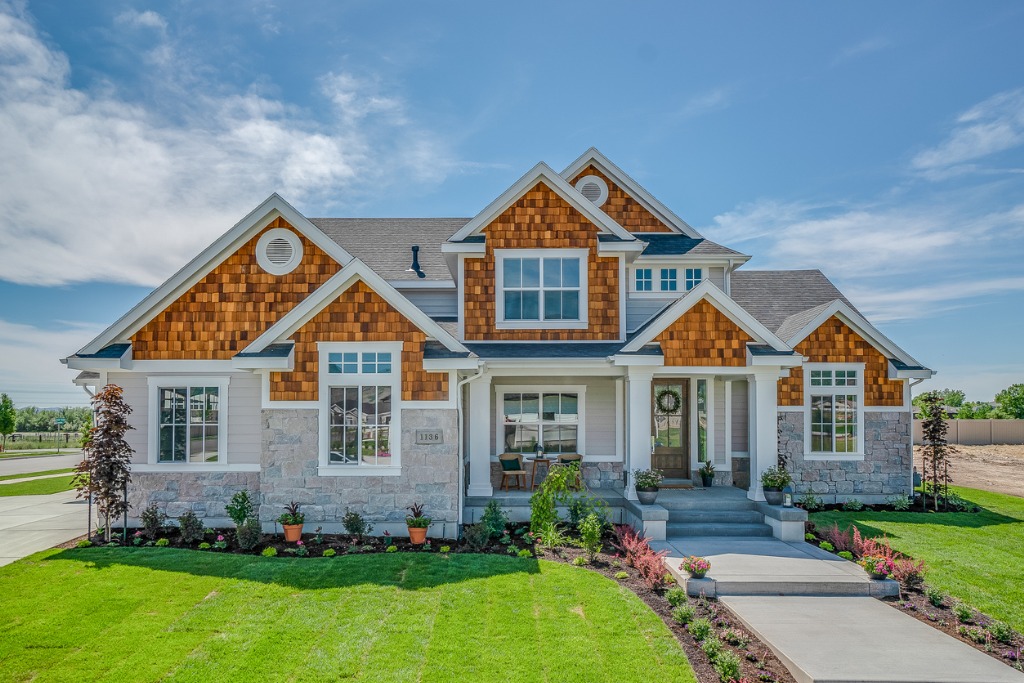
photo by PC Photography via iStock
Knowing how to take photos of real estate involves several skills that can be readily learned. Figuring out the right camera settings for exterior photos is a little different from the outdoor photography we’ve been doing, primarily because of the need for detail showing clearly in the shadow areas as well as the sunlit areas.
What are the best real estate camera settings for exterior photos? Many of our modern digital cameras have metering systems that work in all sorts of exposure situations, including some that might be considered difficult.
What usually makes real estate photography camera settings different is that we’re concerned with more than reaching what might be considered as correct exposure, but also with the entire dynamic range of the scene.
What IS Dynamic Range Anyways?
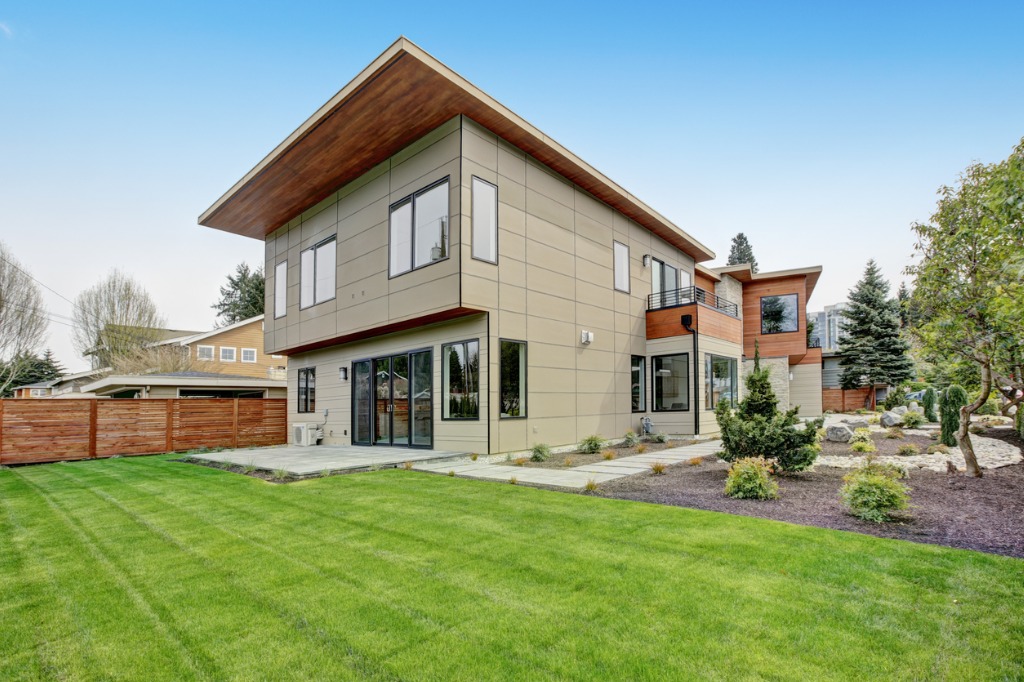
photo by irina88w via iStock
What is dynamic range, why should we be concerned with it, and why is so often discussed in real estate photography tips?
The dynamic range, photographically speaking, is the entire gamut of bright to dark within a scene. What we’re concerned with is that the correct exposure for bright parts of the scene will usually render whatever is in the shadows unreadable. And the opposite is true also, correctly exposing for the shadowy areas will cause the brighter parts to have no detail.
Talking about dynamic range is a beneficial real estate photography tip because we’re looking for a more accurate rendition than an artistic one. Artistically, we use the play between shadow and light to our advantage.
When engaging in real estate photography, the people who see our images don’t want to see an artistic vision, they want to see what they might be spending tens or hundreds of thousands of dollars on.
Bracket and Merge HDR
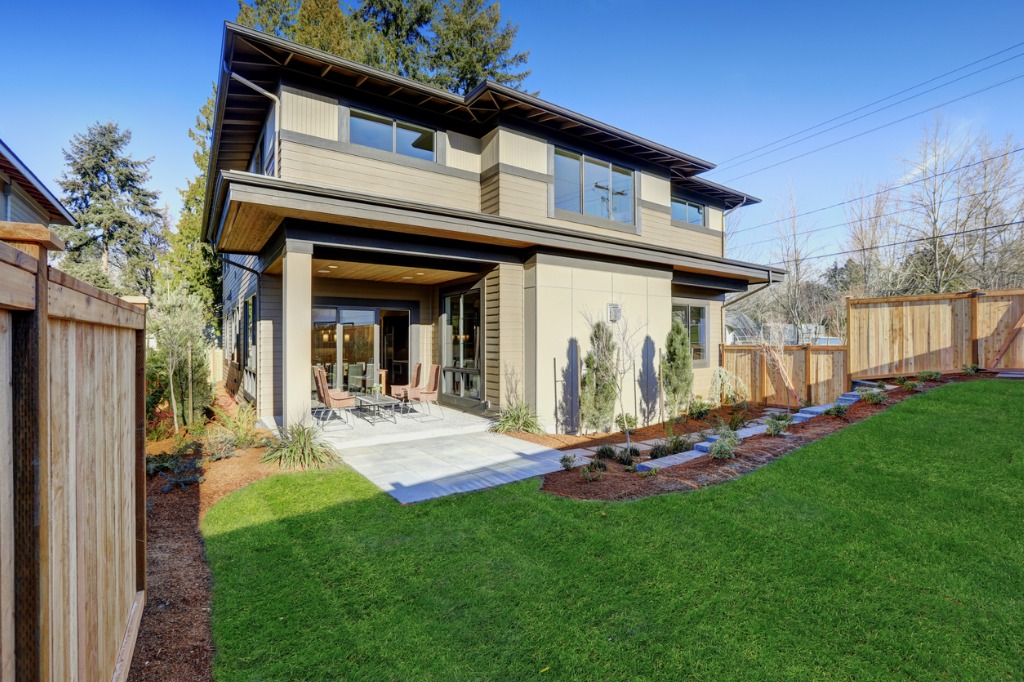
photo by irina88w via iStock
Which brings us to trying to figure out the real estate photography camera settings. One of the best things about high quality digital cameras is their ability to capture and use exposure and color information in ways barely dreamt about in the heyday of film photography.
In order to tame the issue of a wide or high range of light values in film and paper photography, we rely on exposure calculations, filter use, film processing variations for contrast control, and advanced techniques of selective adding or subtracting exposure value during printing.
Digitally, we can take several exposures optimized for the different parts of the scene and blend them together into one final image. This is called HDR or high dynamic range photography, named for the issue itself. It’s also sometimes called bracket and merge, based on the actual technique and method used for handling dynamic range of light and shadow.
HDR, or bracket and merge, can be used for interior and exterior real estate photos, as well as for more artistic images such as twilight photography. Twilight images are great beauty shots for real estate listings. Here is a helpful YouTube video discussing bracket and merge technique for real estate photography.
Learn More:
Exterior Real Estate Photography Tips
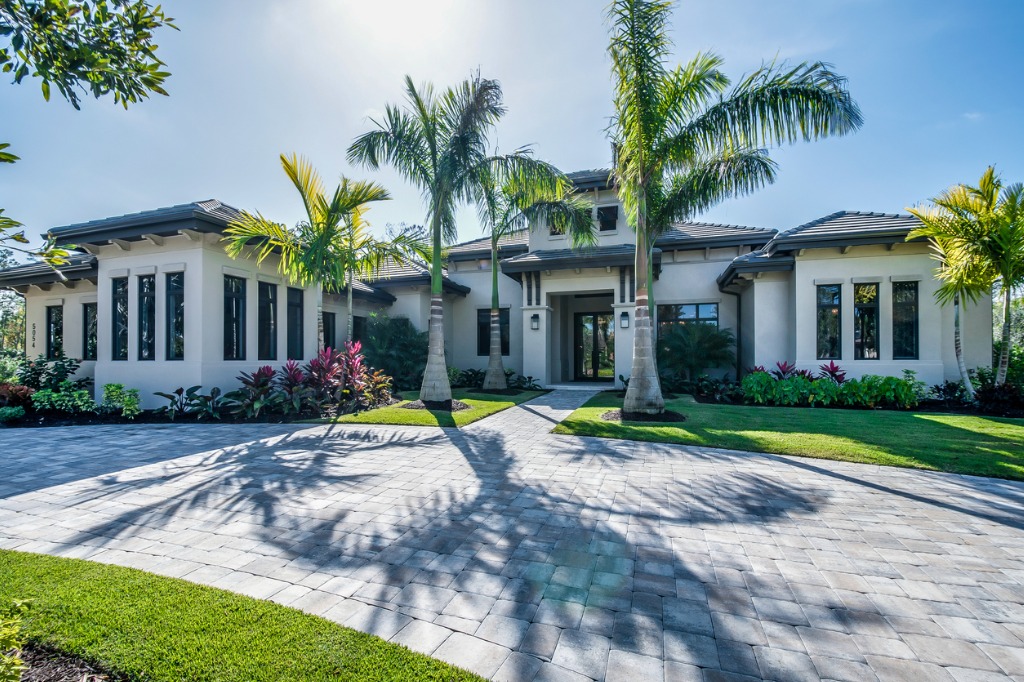
photo by PC Photography via iStock
You should check out our entire series of articles on real estate photography, as we discuss several aspects and give a lot of real estate photography tips we’ve learned from other pros and that we’ve adapted from other aspects of photography.
To close out this tips article, let’s examine several exterior real estate photography tips and some actual real estate photography camera settings.
First off, let’s assume you’re going to try out the bracket and merge HDR technique for the images. A set of 5 exposures, 2 stops apart, is a good starting place. This gives a starting range of 9 stops in 5 exposures, +4, +2, 0, -2, -4. If the 0 exposure is calculated for the scene’s average light value, this will provide an extraordinary amount of dynamic range in the final photo.
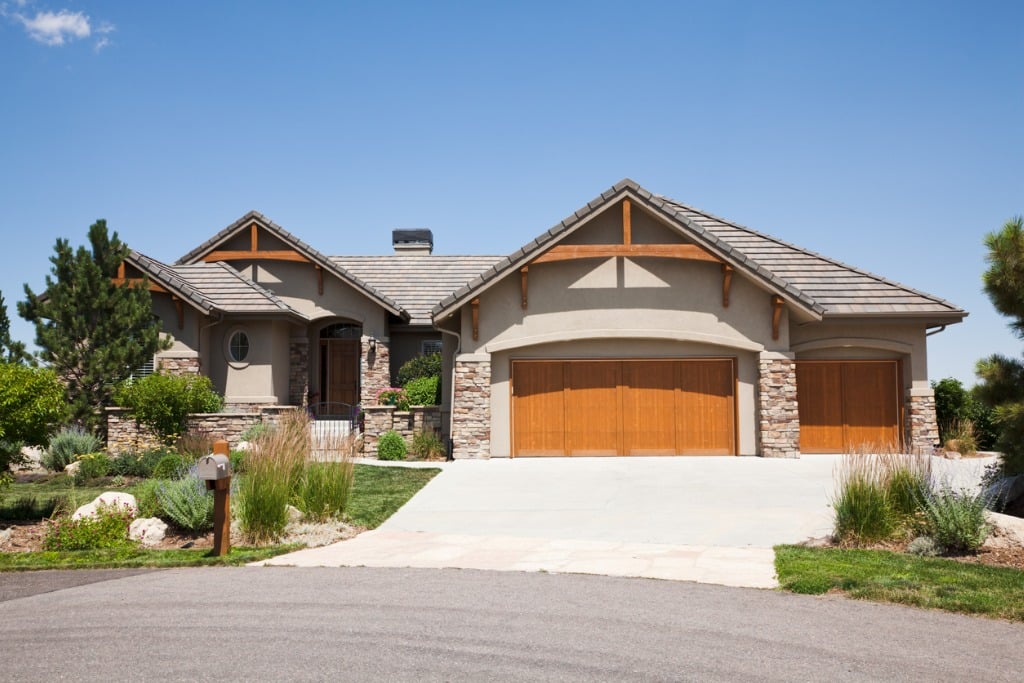
photo by rafalkrakow via iStock
You’ll need to be on a tripod since the bracket and merge program will blend together several image files and you don’t want the camera to move between exposures.
The time of day is a huge variable, we like to recommend late morning or early afternoon. You really don’t High Noon since the shadows will be extremely deep. Too early or late in the day and the light is very directional. Good for a balanced exposure of one side but all the other sides could have exposure issues. So, 2, 3, or 4 hours before or after Noon is good.
Actual Camera Settings
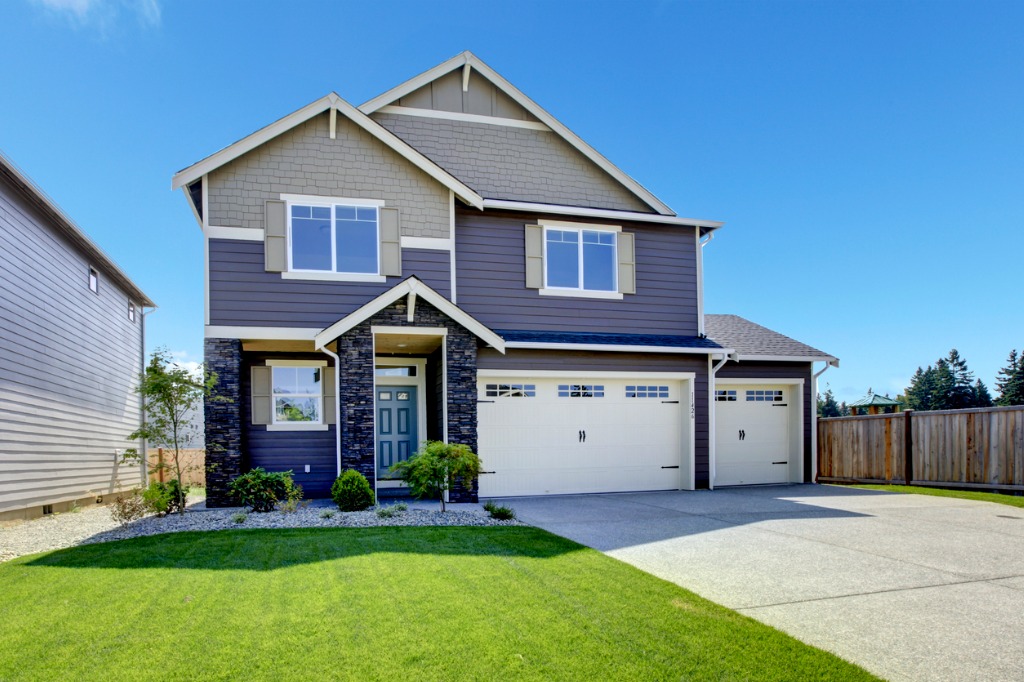
photo by irina88w via iStock
Hopefully it’s a nice day so we can use our Sunny 16 Rule for our starting settings. Using what we know about the Exposure Triangle concerning the camera settings, Sunny 16 states that the shutter speed for a lens aperture of f/16 on a sunny day will be the reciprocal of the ISO setting.
So, if we’re shooting on a clear day around 10:00am or 3:00pm, and our camera ISO sensitivity is dialed in at ISO 400, our shutter speed at f/16 would be 1/400th of a second. Let’s round it up to a shutter speed that matches what’s marked on many cameras, 1/500th of a second. For our purposes, this will work just fine.
With the bracketing set for 5 exposures varying by 2 stops each, our final shutter speed settings would be 1/30th, 1/125th, 1/500th, 1/2000th, 1/8000th. The f-stop or lens aperture should stay the same because that setting also affects depth of field in our focus and it looks weird to have the focus depth change.
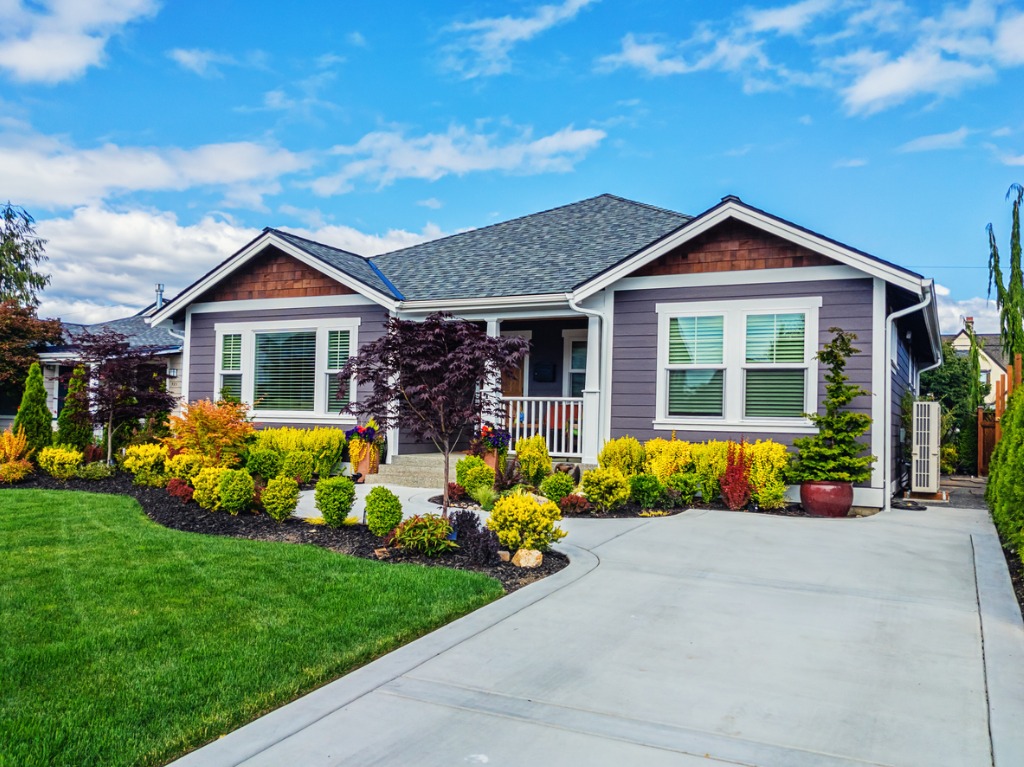
photo by jhorrocks via iStock
Obviously, we could change the ISO to be less sensitive, which decreases digital noise and provides a different range of shutter speeds. At ISO 100, our starting shutter speed would be 1/125th, with additional exposures at 1/8th, 1/30th, 1/500th, and 1/2000th.
Blend these separate exposures together in a bracket and merge program, and you will produce a final image with detail showing accurately and naturally in the deepest shadows and the brightest highlights of the house or business being photographed.
This is all a starting point. Your own initial meter reading may cause you to decide from the Sunny 16 Rule settings. Time of year, latitude, clouds, lots of tall trees, and other things can alter your starting exposure.
A review of your images on the camera viewscreen or on a wirelessly tethered device will confirm which way up or down you need to adjust. Practice on your own home to see what initial settings will work for you.
Learn More:


