
How to Edit Real Estate Photos

photo by nycshooter via iStock
Here are some post-processing tips for real estate photography to help you be comfortable with how to edit real estate photos. We’ll include several editing tips for real estate photography plus how to improve your real estate photography workflow.
Editing real estate photos can be surprisingly simple when the images are shot properly in the first place, so we’ll start with that tip first.
Shoot In RAW Format
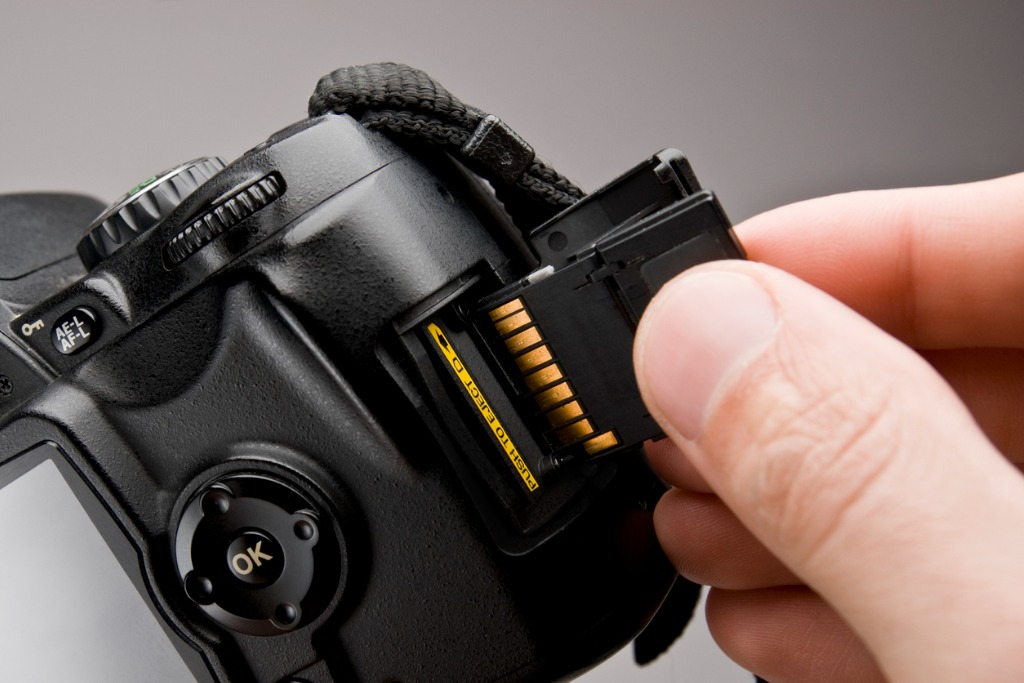
photo by nicolas_ via iStock
Whenever shooting with any sort of editing in mind, I find it’s best to shoot in RAW file format. RAW files hold much more exposure information than JPEGs, especially in regards to shadow detail.
Also, RAW files are uncompressed, so you are working with the entire image detail provided by the camera's sensor. As with most other photographic, audio, or video work, it’s a preferred practice to record in the highest quality available and then edit down the file quality and size to the need for the job at hand.
In addition to recording in the RAW format of your camera, you might also check if you can record in a higher bit depth. This helps to increase color depth and the dynamic range of the exposure. In 12-bit RAW, each sensor pixel can record 4,096 steps or levels, while a 14-bit RAW file can hold 16,384 steps in each pixel. Quite a difference.
You’ll probably never need to deliver a full resolution image file to a realty client, but as I said earlier, when learning how to edit real estate photos, or any photos actually, it’s a good practice to capture in the highest quality available and then edit down to whatever image file type and size is preferred.
Bracket and Merge Method

photo by Lucas Ribeiro Avila via iStock
The HDR technique, also known as the bracket and merge method, is one of the preferred methods of capturing the image files for editing real estate photos. It adds a little bit to your real estate photography workflow, but it actually saves time in the long run by easing up the time spent editing real estate photos.
To see how to edit real estate photos with the bracket and merge HDR method, check out this excellent YouTube video explaining the method and workflow. There’s a nice tutorial here you can follow, too.
This technique of bracket and merge HDR is also a very valuable tool for many other genres of photography. You can play around with the settings a lot for an artsy rendition or process for a natural look and feel.
Learn More:
Color Balance For a Natural Look
photo by luchschen via iStock
Since you’re post-processing with a program that blends bracket and merge image files for editing real estate photos, you’ll want to keep an eye on the color balance and naturalness of the final image output.
Besides the adjustments for contrast and several styles of presets, the color balance is a very important consideration.
When blending the HDR image files for real estate photography, there will be several different color temperatures in each image. An incandescent lightbulb has a warm color balance, window light isn’t as warm but can vary depending on the time of day but is often going to be much cooler, more like the temp of skylight or open shahid. Flood and fluorescents have yet another color temperature.
Blending it all together is controlled by program controls for color, blending modes, and contrast levels. The exposure values get blended in these steps as well, making the bracket and merge post-processing program an essential part of the real estate photography workflow.
Remove Noise

photo by alengo via iStock
The last step, or near the last step, of how to edit real estate photos, whether using bracket and merge processing, RAW files or JPEGs, but before sampling down to the image type and size for delivery, is to remove the digital noise from the finished file.
Many programs have an automatic setting for this which really simplifies the real estate photography workflow for processing, although you can input any value you want at this stage.
A word of wisdom, the presets built into most post-processing programs are very well balanced, we can actually do too much adjusting to the different aspects of noise removal when we start adjusting on our own.
Final Steps

photo by COMiCZ via iStock
The final steps in our workflow are resizing and compressing to the resolution, file size, and file type needed for delivery to either your client or to your own MLS listing site if shooting as a real estate agent for your own listings.
Be sure to keep the full resolution processed image files for accessing later on as necessary.
Learn More:


