
Getting Started in Food Photography: Beginner's Gear Guide
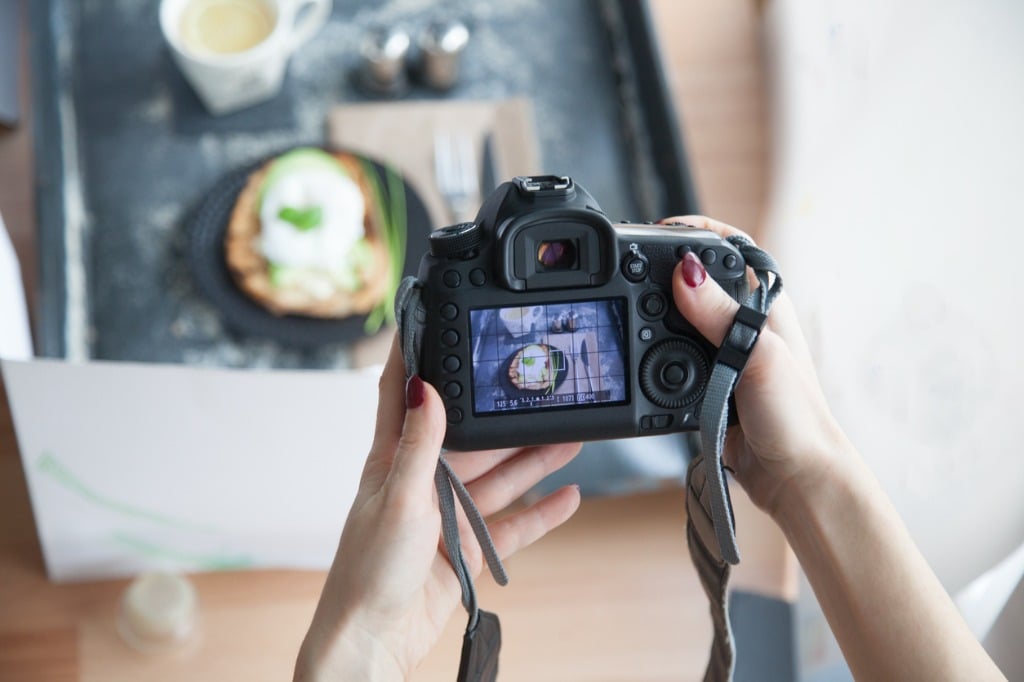
photo by Zdenka_Simekova via iStock
Food photography has experienced a resurgence over the last year and a half because it’s a photographic pursuit that you can easily do at home during lockdown.
An added component to this is the possibility of selling your home-based food photography on stock photo sites like iStockPhoto. While the rates that stock photo sites offer to photographers today aren’t what they were a few years ago, it’s still an option for making a little extra money in a side hustle.
Of course, getting started in food photography requires that you have the right gear to do so.
Fortunately, you really only need a few critical items, and there are easy ways to save money on food photography gear that helps ease the pressure on your pocketbook.
With that said, let’s explore the food photography gear you need to get started.
Food Photography Gear Guide: First, a Camera

photo by PeopleImages via iStock
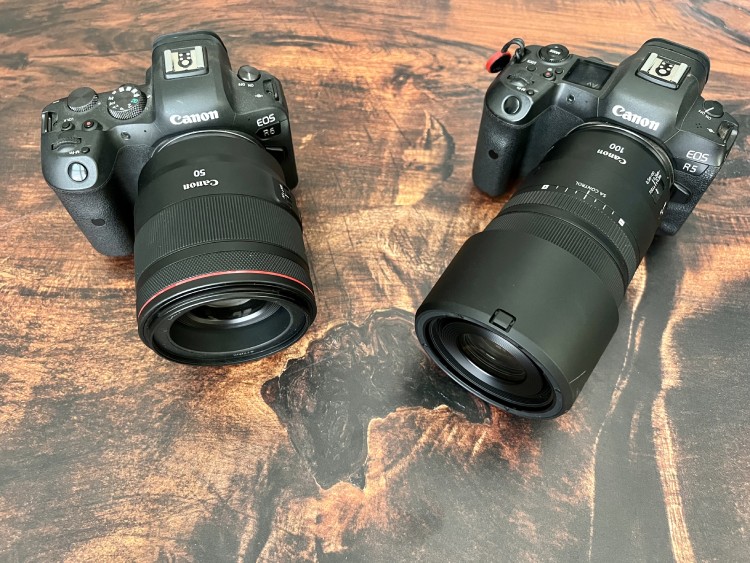
Sometimes, when people get into photography, they think they need to invest in a professional camera to get the best shots. This is a mistake, though.
Your ability to take high-quality food photography images (or any kind of image, for that matter) is based much more on your skills as a photographer than the gear you have. So, first, emphasize learning how to take great photos, and then as your abilities improve, you can invest in a better camera.
As a beginner, though, you can take great food photographs with your smartphone.
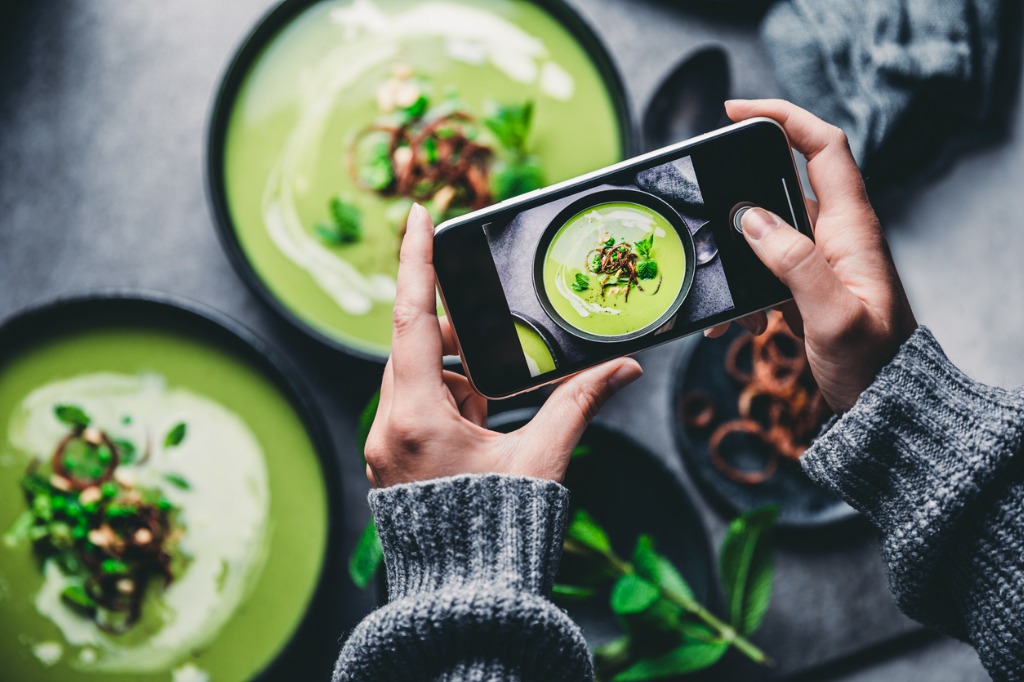
photo by alvarez via iStock
Today’s smartphones have superb imaging capabilities, and with computational photography like portrait mode that simulates beautiful, blurry backgrounds, smartphones are even more capable than ever for capturing high-quality images of food.
Is your smartphone going to be able to go toe-to-toe with something like my Canon EOS R5 or EOS R6? No. But if you already have a smartphone, it will be just fine for taking mouth-watering images of food.
Once your abilities have outstripped what you can do with your smartphone, the time will come to upgrade your photographic equipment.
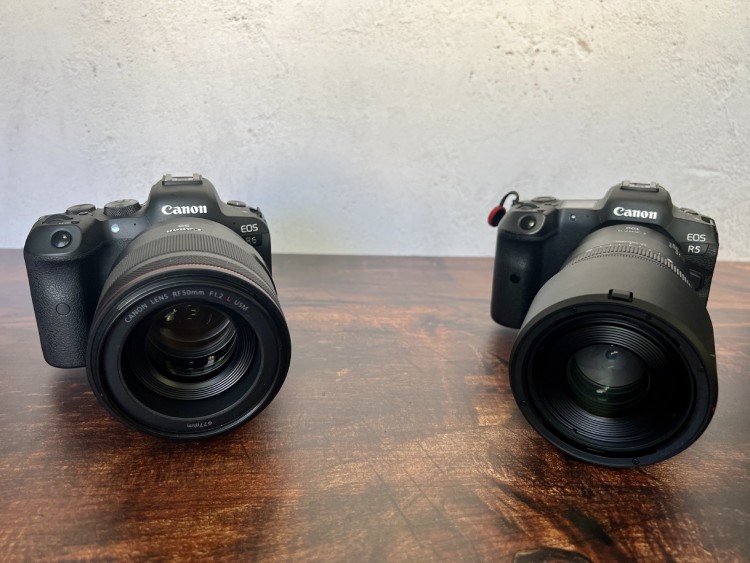
As I noted a moment ago, I have a Canon EOS R5 and EOS R6 (shown above), both of which are pricey cameras. But I’m a professional photographer with decades of experience behind the lens, so my photographic and videographic pursuits require high-end gear.
If you need to transition to something more capable than your phone, a nice mid-range DSLR or mirrorless camera, like the Nikon D3500 or the Sony a6000 - both of which are very budget-friendly options - might be a good choice.
Cameras like these have interchangeable lenses, which is a significant bonus for your photographic work. It enables you to invest in high-quality lenses that give you the ability to take beautiful food images. I’ll get into a deeper discussion of lenses momentarily, but for now, just know that having an interchangeable lens camera is the way to go for expanding your abilities behind the lens.
Lenses for Food Photography
Once you’re ready to invest in a camera system for food photography, you’ll need to pick up some lenses to go with the camera body.
Many entry-level and enthusiast cameras can be purchased with a kit lens - usually something like an 18-55mm zoom. While these lenses are fine for general-purpose photography, for food photography, you will want to consider investing in some higher-quality prime lenses.
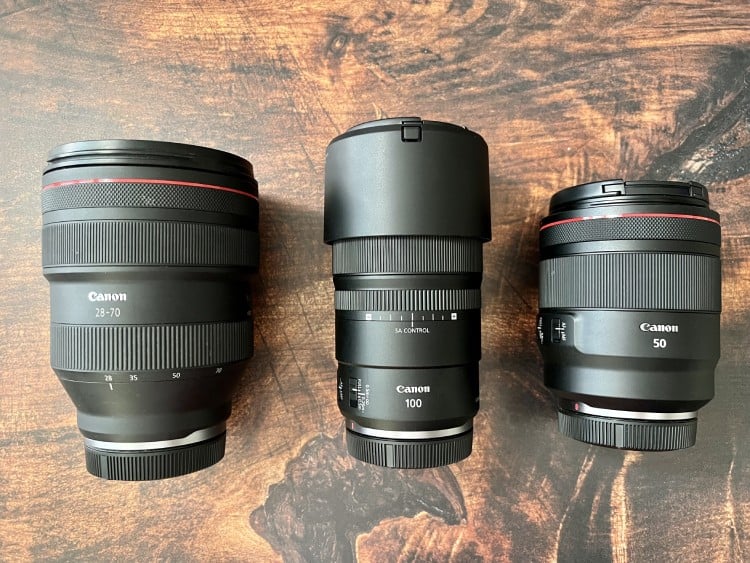
My food photography kit includes several lenses:
Each of these lenses offers different benefits for food photography.
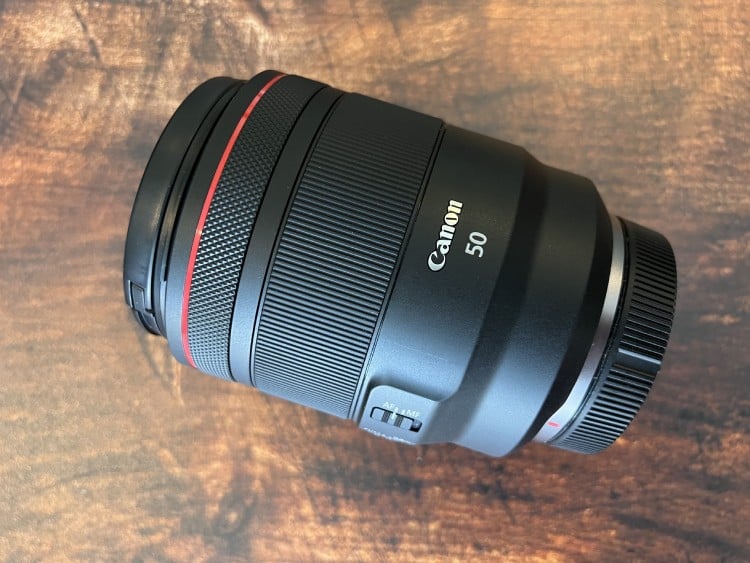
For example, the 50mm f/1.2 creates beautiful background blur because of the large f/1.2 aperture. This is important because blurring the background really helps accentuate the food in the image, which should be pin-sharp. Additionally, this lens has a minimum focusing distance of just over 1.3 feet, so you can frame up nice, tight shots of food.
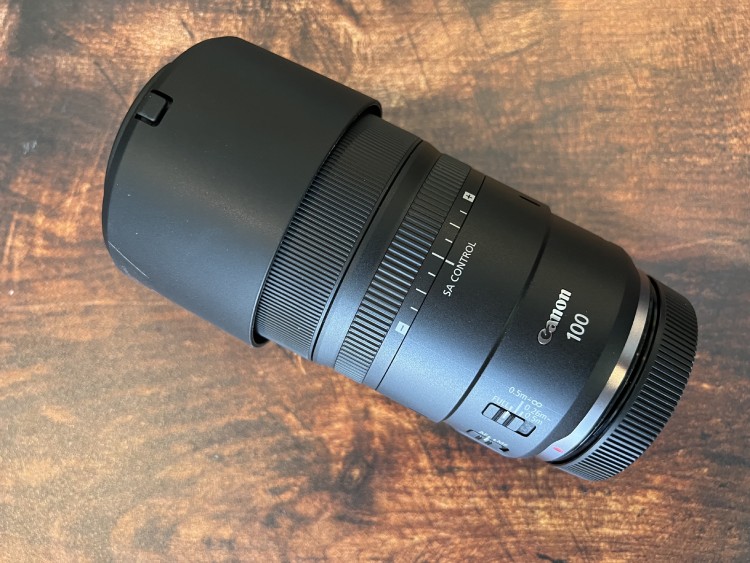
The 100mm f/2.8L lens is a great option for food photography because it’s a macro lens that allows me to get in really close for those nice, detailed shots of food. Though it doesn’t have as large of a maximum aperture as the 50mm lens, the f/2.8 maximum aperture is still plenty to help me get some nice bokeh in the background of my food images.
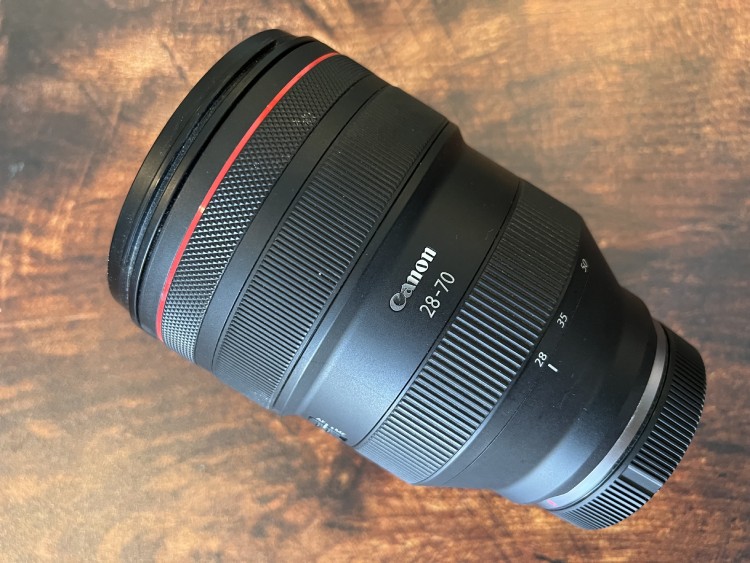
As a general purpose lens, I like using the 28-70mm f/2 zoom. It gives me the ability to frame up wide-angle, standard, and telephoto images of food, which gives me the ability to create a series of images that offer a different look in each shot. Of course, the close minimum focusing distance of 1.28 feet is nice for getting in close for some detail-rich images.
But, it’s important to note once again that this is a kit for a professional photographer. You don’t have to go out and buy thousands of dollars of lenses. Instead, start small - see what you can accomplish with the kit lens that comes with your camera. Then, as you progress in your skills, pick up a cheap 50mm f/1.8 lens, which will give you a big aperture to blur the background of your shots more easily. After that, think about a dedicated macro lens. You can take a slow approach to filling out your kit!

Good Lighting is a Must for Food Photography
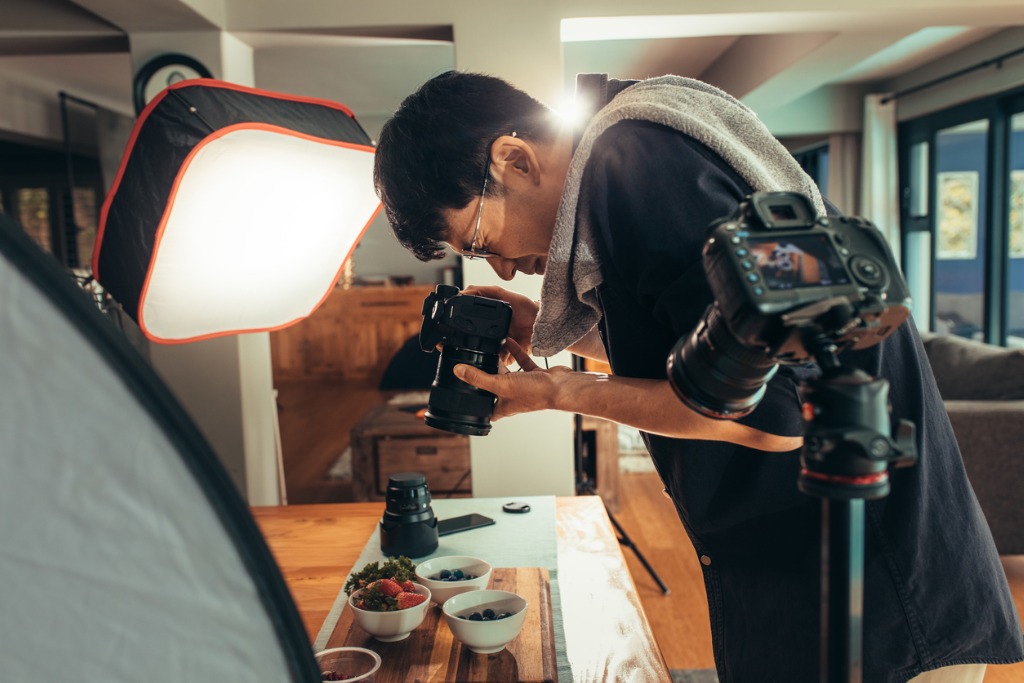
photo by jacoblund via istock
As with any kind of photos, you need good lighting to capture the best images of food. In some cases, you can use natural light - place the food next to a window and filter the light with a white sheet for beautiful, soft, and even light.
But to expand your ability to create compelling images of food, you’ll also want to invest in artificial lighting.
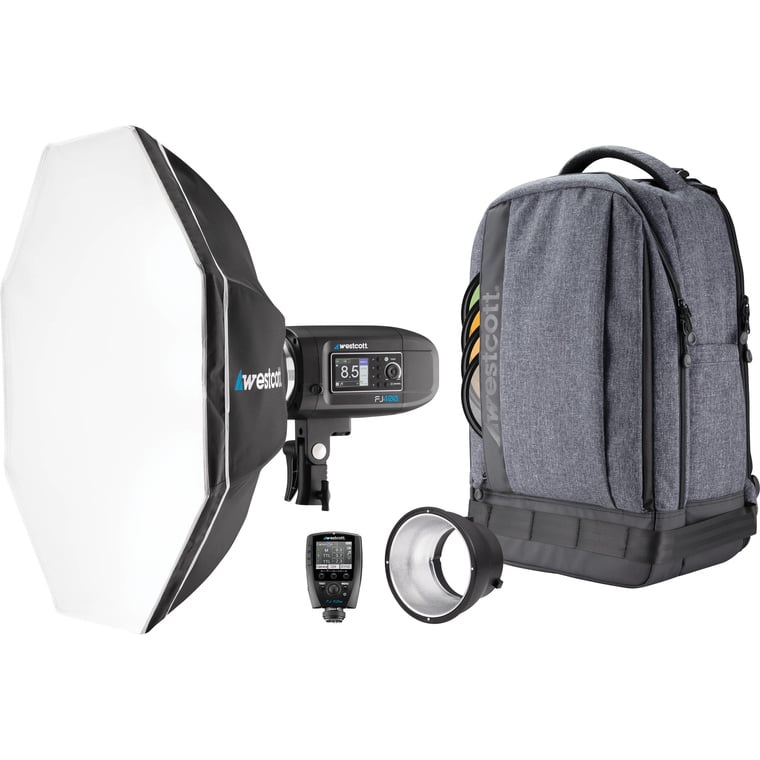
There are all sorts of lighting options you can buy, but I personally like to use a strobe kit with a softbox as I’ve found they are easy to use and give you natural-looking light to create realistic food images.
Just like with natural light, it’s important to soften artificial light, thus my recommendation to invest in a strobe kit with a softbox. As the name indicates, a softbox softens light and makes it more even. With more even light, you can create food images that have nice highlights and shadows with good dynamic range.
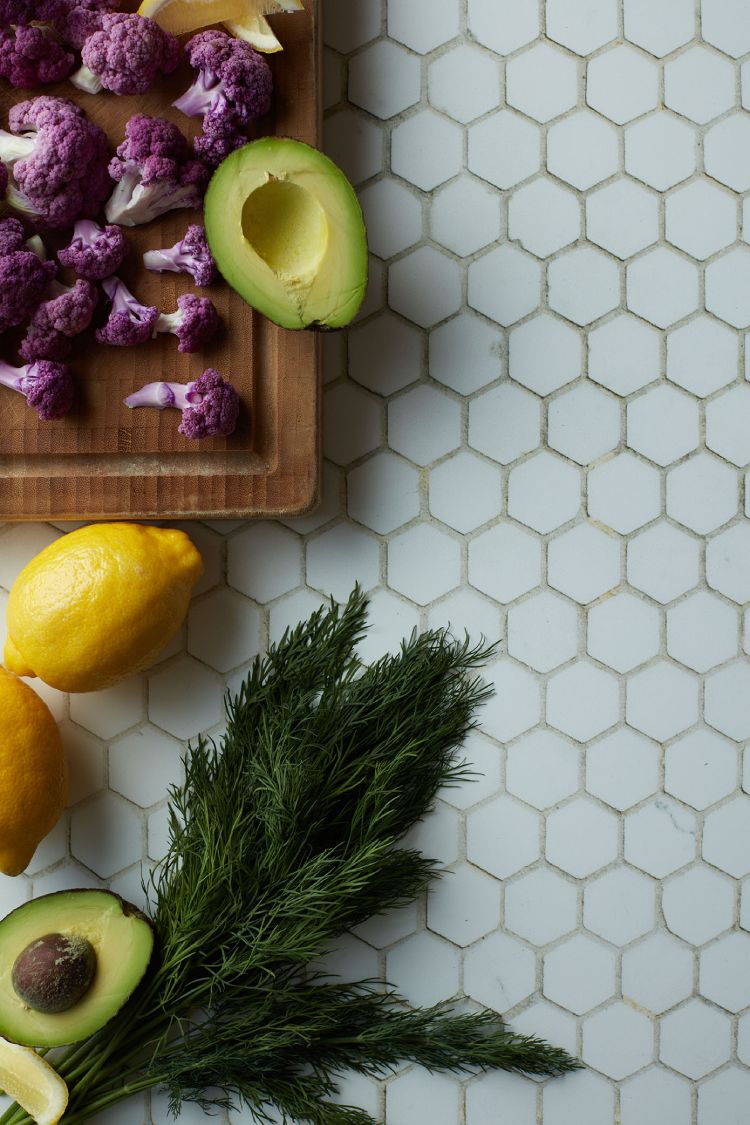
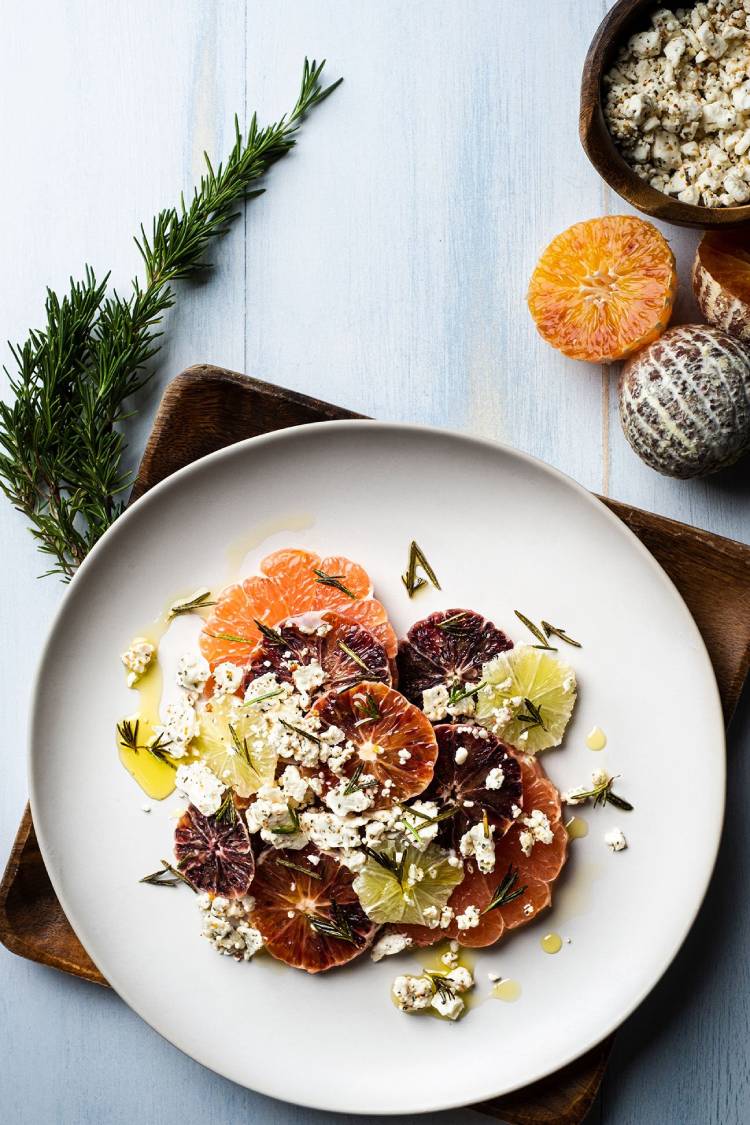
The Backdrop Matters as Well
To capture the best shots, you want to set the stage for your images of food by using a backdrop.
I’ve used a lot of backdrops over the years. Many of them have been perfectly fine. Some have been really good. Others have been truly terrible.
Recently, I started using Best Ever Backdrops, and I have to say that they definitely fall into the “really good” category. In fact, they tick all the boxes for food photography backdrops!
For starters, poorly-made backdrops often look great on the website when you buy them, but when you unbox them at home, the quality just isn’t there. But with Best Ever Backdrops, the quality is just as impressive in person as it is online.
In fact, when I got my first backdrops and pulled them out of the box, I was taken aback by how realistic they are. You really do feel like you could reach out and touch the texture of wood, plaster, brick, and so forth. As you can see above, the resolution of these backdrops is absolutely spot-on. It looks like a 3D textured surface underneath my gear and behind it, does it not?!
These backdrops are also sized perfectly for food photography at 24 x 36 inches. You don’t need a huge 8-foot roll-up backdrop for photographing food. Instead, these small backdrops give you all the staging you need for your photos without being heavy, cumbersome, or difficult to store. Heck, when I’m done taking images, I simply slide these backdrops under the bed so they’re out of the way.
Perhaps the best feature of these backdrops, though, is that they’re two-sided. Having multiple looks for your food images is of paramount importance, but you don’t want to pay a ton of money to get those looks.
Best Ever Backdrops solves that issue by essentially giving you two backdrops for the price of one. On top of that, the more backdrops you buy, the more money you save, so you can invest in two backdrops (four textures) for $124.50 per item, three backdrops (six textures) for $115.00 per item, or four or more backdrops (8+ textures) for $104.75 per item, INCLUDING SHIPPING!
While having a camera, lenses, and proper lighting are obviously important, having quality backdrops that help you create a vignette for your food imagery is also necessary. And for my money, no one does it better than Best Ever Backdrops!
Other Gear to Think About
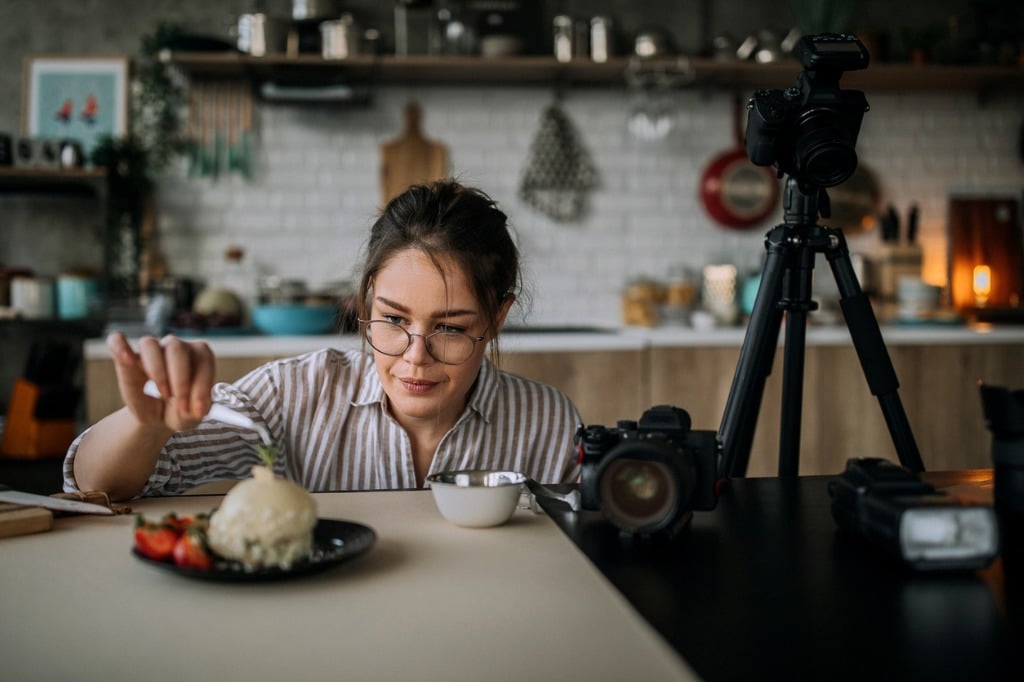
photo by Pekic via iStock
If you ask me, the items listed above are the most crucial for food photography. However, there are other items that could help make your pursuit of food photography perfection a little easier.
Having a tripod for your camera will help you capture tack-sharp photos. A tripod for your strobe light would be handy as well.
Speaking of lighting, adding a second strobe to the mix can help you create more dynamic lighting for your food photography scenes.
You might also think about investing in some props (or at least raiding your kitchen when the time comes to take photos).
Items like plates, flatware, cutting boards, centerpieces, table cloths, and napkins can help set the right mood in your food photos.
What’s important is to figure out what your aesthetic is and then begin to collect gear that helps you achieve that aesthetic in your images. Don’t buy first and then wonder how you’re going to use an item. Instead, be purposeful in thinking about what your creative vision is, and then start investing in the gear that will help you achieve that vision.