
White balance for dummies
- 2013 Photographer's Market: The Most Trusted Guide to Selling Your Photography
- How to Create Stunning D igital Photography
- Best Business Practices for Photographers
- The Fast Track Photographer Business Plan: Build a Successful Photography Venture from the Ground Up
- Group Portrait Photography Handbook
- 500 Poses for Photographing Women
- The Best of Family Portrait Photography: Professional Techniques and Images
- 500 Poses for Photographing Group Portraits
- Selling Your Photography: Ho w to Make Money in New and Traditional Markets
- Starting Your Career as a Freelance Photograp her
- Photographer's Survival Manual: A Legal Guide for Artists in the Digital Age
- Legal Handbook for Photographers: The Rights and Liab ilities of Making Images
- Taking Stock: Make money in microstock creating photos that sell
- Going Pro: How to Make the Leap from Aspiring to Professional Photographer
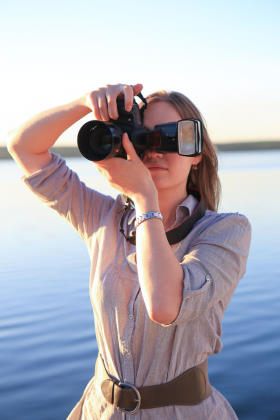 White balance is one of the most important settings to make before starting to actually photograph a subject. It can also be confusing for newcomers to photography, since it involves terms like temperature. So we would like to help everyone who has trouble understanding what white balance is all about.
Temperature
First of all, you need to have a clear understanding about color temperature. It is a characteristic of light and it is measured in Kelvin degrees, or K. A light with high color temperature, for example 6500K, will have a lot less blue in it than a light with a value of 3300K. In short, the hotter the temperature, the warmer the light. If you have ever photographed outside on a sunny day, but all your photos came out with a strong blue tone, it’s because your camera was set for the wrong light temperature, a much colder one.
Why is WB important?
It doesn’t take a degree in physics to know that there are multiple types of light. Sunlight, light from a light bulb or a neon tube, flash light, etc. All these types of light have different temperatures. Your camera will make the necessary measures using red, green and blue spectrums, but it will occasionally read wrong values.
Camera presets
Every digital camera has presets for each type of light. These are fixed Kelvin values that should be right, with approximation, for each specific light situation.
Auto- setting your camera to automatically measure white balance is the simplest thing to do and it is recommended for beginners. However, even high end cameras will occasionally mess things up and get faulty readings, so it’s a good idea to explore the other presets.
Tungsten- Use this mode when shooting indoors, where the artificial light comes from conventional light bulbs, or just about anything else, except neon lights.
Fluorescent – Use this mode to get warmer photos and still compensate for the cool shade of fluorescent light.
Daylight- You won’t find this setting on every camera, or on some it might be called Sunny. Use it for outdoor shots but don’t rely on it all the time.
Flash- This preset will usually give you a pretty warm color temperature. Use it best for compensating cold temperature conditions.
Cloudy- It’s ideal for days with no sunshine. It gives pleasant, warm tones.
Shade- Use this setting to compensate when photographing darker areas with cool temperatures.
Do it yourself
Just like with every other setting on a camera, the best settings are the ones you make yourself. Today’s cameras are high tech computers designed to be able to do things on their own, but their true value comes out when they are being told what to do. Think about a plane that also has an autopilot. It does the job, but it still needs the pilot .The same thing goes for your camera. In time, you will be able to figure out on your own how many Kelvin degrees are right for each lighting situation.
Also Read: 41 REASONS WHY YOU SHOULDN’T DATE A PHOTOGRAPHER
Recommended Reading: