Essential Portrait Lighting Tips
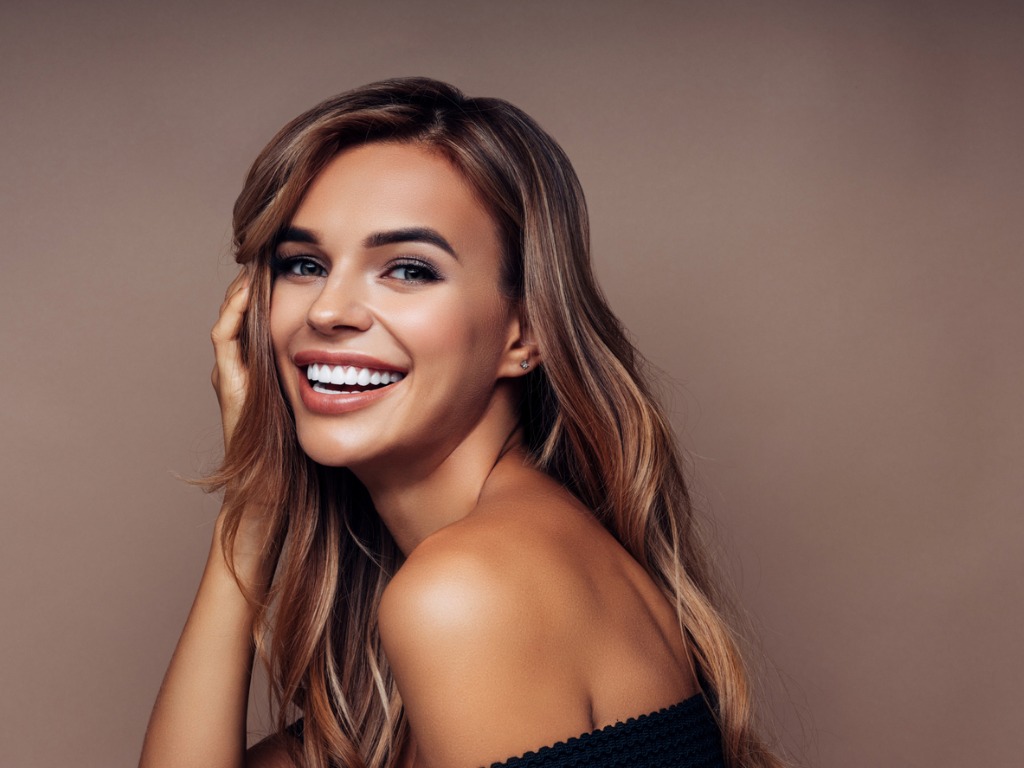 Photo by CoffeeAndMilk via iStock
Creating beautiful portraits depends on your ability to accomplish a variety of tasks - how you compose and frame the shot, the separation of the subject from the background, and, of course, the lighting that's used.
Not all light is made equal, and the manner in which you use lighting to illuminate the model will greatly influence how the final image looks.
In this quick tutorial, you'll learn a few techniques for manipulating lighting in a way that will enhance your portraits.
Let's get started!
Good Light Means Having Good Shadows
 Photo by VikaValter via iStock
In some portrait photography situations, you might strive to reduce shadows, like in a headshot.
In a headshot, shadows can be distracting. The point of a headshot is to be a clean, professional look.
But in other kinds of portraits, like the one shown above, shadows can actually greatly increase the visual appeal of the image. The interplay of the areas of light and shadow in this shot are hugely dramatic, are they not?!
It's important not to go crazy with shadows - they can be too much of a good thing - but experimenting with the placement of your lighting to create interesting shadows can be a fun and challenging exercise that helps you develop your creative eye.
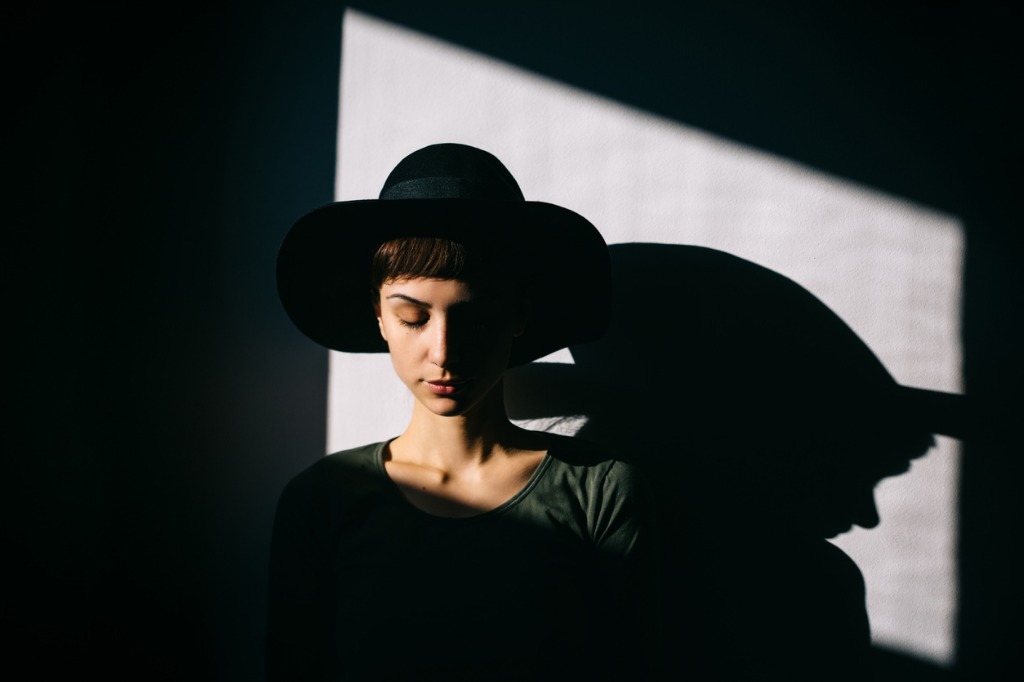 Photo by momcilog via iStock
Shadows balance out bright light while also giving your photos a much greater sense of depth and dimension.
As a result, the portrait will seem more three-dimensional and much more lifelike.
The image above is a great example of this - the woman's shadow on the wall makes this portrait much more interesting to look at while also providing some of that depth you want.
Learn More:
Understand How to Use Light to Get Just the Right Look
 Photo by HRAUN via iStock
Where you place artificial lighting will influence where the shadows fall in the shot. As discussed above, this can have an important impact on the overall look and feel of the portrait.
The positioning of the light also determines the kind of light you have to work with - frontlighting, backlighting, or sidelighting.
Where the light source is in relation to the model will have a significant impact on the results you get.
 Photo by izusek via iStock
For example, using frontlighting, in which the light source is directly in front of the model, helps illuminate the details of the person's face.
Shadows are minimized as well, because the shadows are cast behind them. This is often the kind of lighting used for headshots.
Frontlighting is quite easy to use - just place the light source a few feet in front of the model (at least to start...experimenting with distance is a good thing). There's one caveat, though - frontlighting can be a little flat and boring.
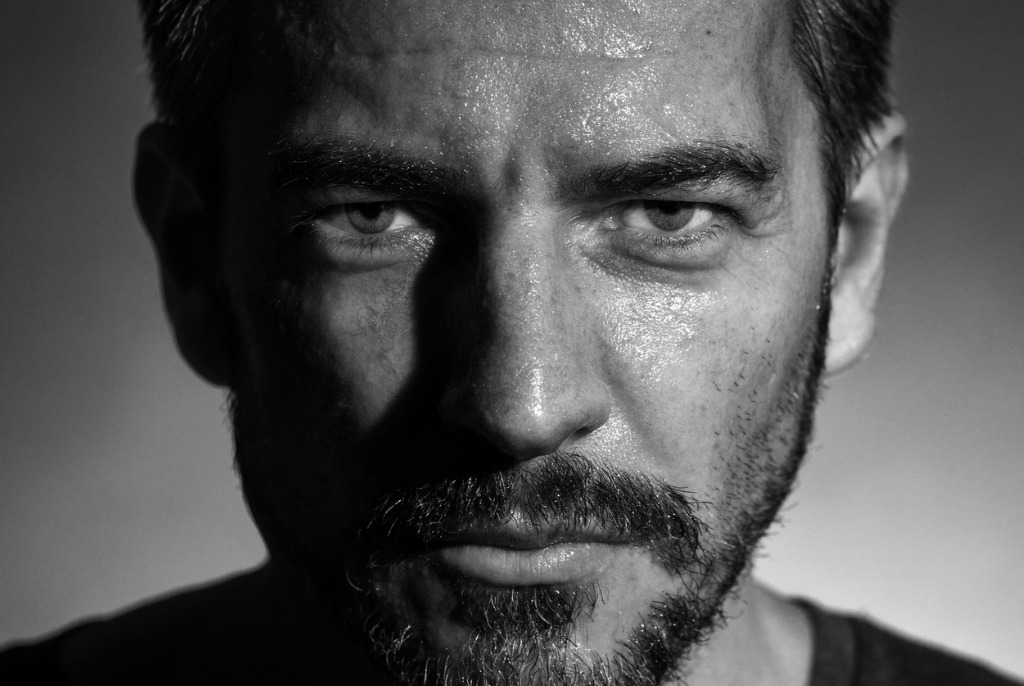 Photo by Umkehrer via iStock
Sidelighting, on the other hand, results from light emanating from the right or left of the model.
With the light falling across the model's face and body, shadows appear, which as I noted before, increased the depth and dimension in the photo.
Sidelighting is therefore more dramatic than frontlighting, but it's just as easy to use. But, sidelighting doesn't have to be as dramatic as shown above. In the image below, much softer sidelighting was used, yet there is still a lot of dimension in the model's face thanks the presence of shadows.
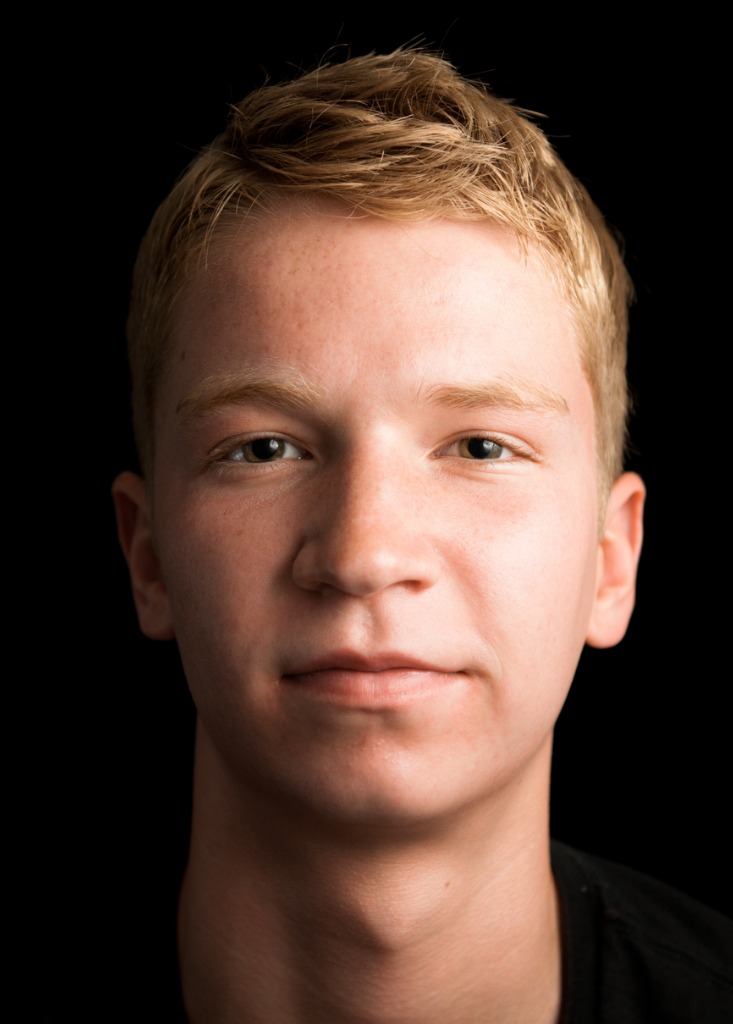 Photo by JacobVanHouten via iStock
Just have the model turn away from the light source or position the light source to one side or the other (it doesn't have to be at a 90-degree angle, so, again, experiment!).
Just take care in noticing where shadows are falling. If the shadows become a distraction, adjust the positioning of the model or the light source to manage the appearance of distracting shadows.
Backlighting is yet another option, but is the most difficult to pull off.
Since the light is behind the subject, the camera is bombarded with light. If you aren't careful, this can result in a silhouette (which can be quite fetching), but if that's not the look you want, you'll have to make some adjustments.
In the video above by Gavin Hoey, learn how to master the camera settings for a backlit portrait using just a single light source.
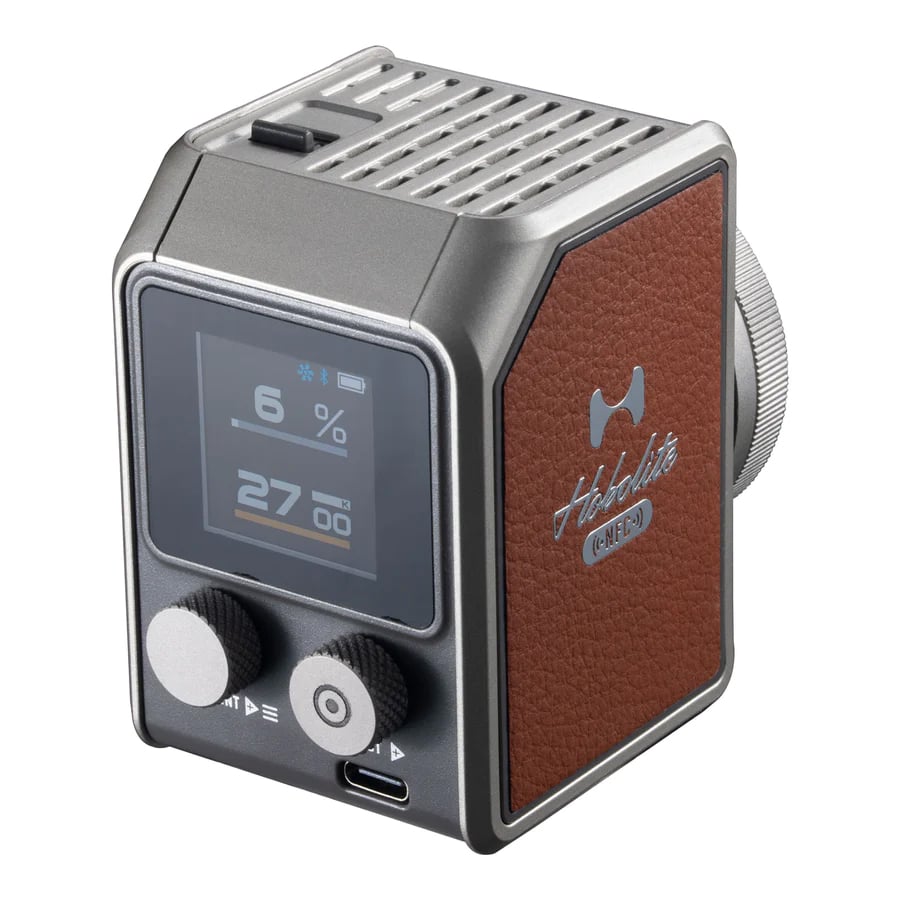
Invest in a Light That Expands Your Creative Possibilities
There are a lot of photographers that market themselves as "natural light photographers," and that's great, and most of them are truly masters at what they do.
But for some natural light photographers, it's a bit of a cop out because I've known a few natural light photographers over the years that use natural light because they're afraid of artificial light.
Yes, using artificial lighting can be trickier, but understanding how to create light and manipulate it to your needs is a skill worth having.

Back in the day when I was learning photography, using artificial lighting meant a scene in which there were light stands and diffusers and flashguns that had to be used.
But today, there are lights that are small, portable, offer tons of customization options, and are easy to use.
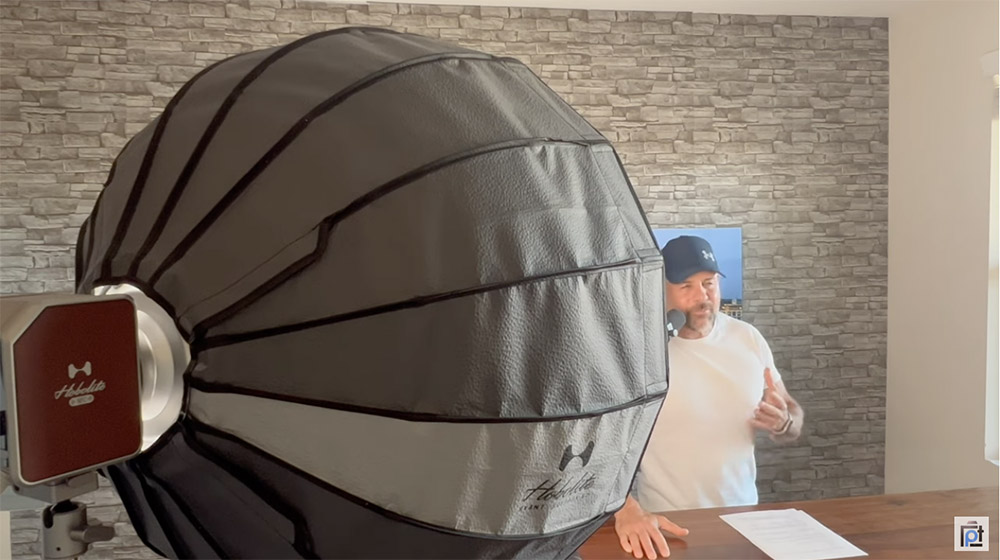
For example, I've been testing the Hakutatz RGB+AW LED light (shown above and below) for a few weeks now, and it is one of the handiest lights I've ever used.
Editor's Note: The Hakutatz Kickstarter campaign was a huge success! Their Amazon store will be open and ready for orders in early December.

Not only can you take advantage of crisp white light, warm amber light, and millions of RGB colors, but you can also change the color temperature of the light and use special effects to get truly unique results.
The accompanying smartphone app makes changing the light's settings a breeze, too.
Perhaps best of all, these lights can be used for frontlighting, sidelighting, and backlighting, and you can control multiple lights using the smartphone app.
Often, learning a new skill in photography takes a lot of time and practice. I'm not saying that you can master portrait lighting in a single afternoon, but armed with tools like the Hakutatz RGB+AW LED light, it's certainly an easier task!
Learn More: