
These Common Astrophotography Mistakes are Holding You Back
- Shooting mode - Manual
- Aperture - f/2.8
- Shutter speed - Will vary, though you can dial in up to 30 seconds on your camera, or use Bulb Mode for longer exposures.
- ISO - 1600 or below
- Get Sharper Photos by Finding the Sweet Spot of Your Lens
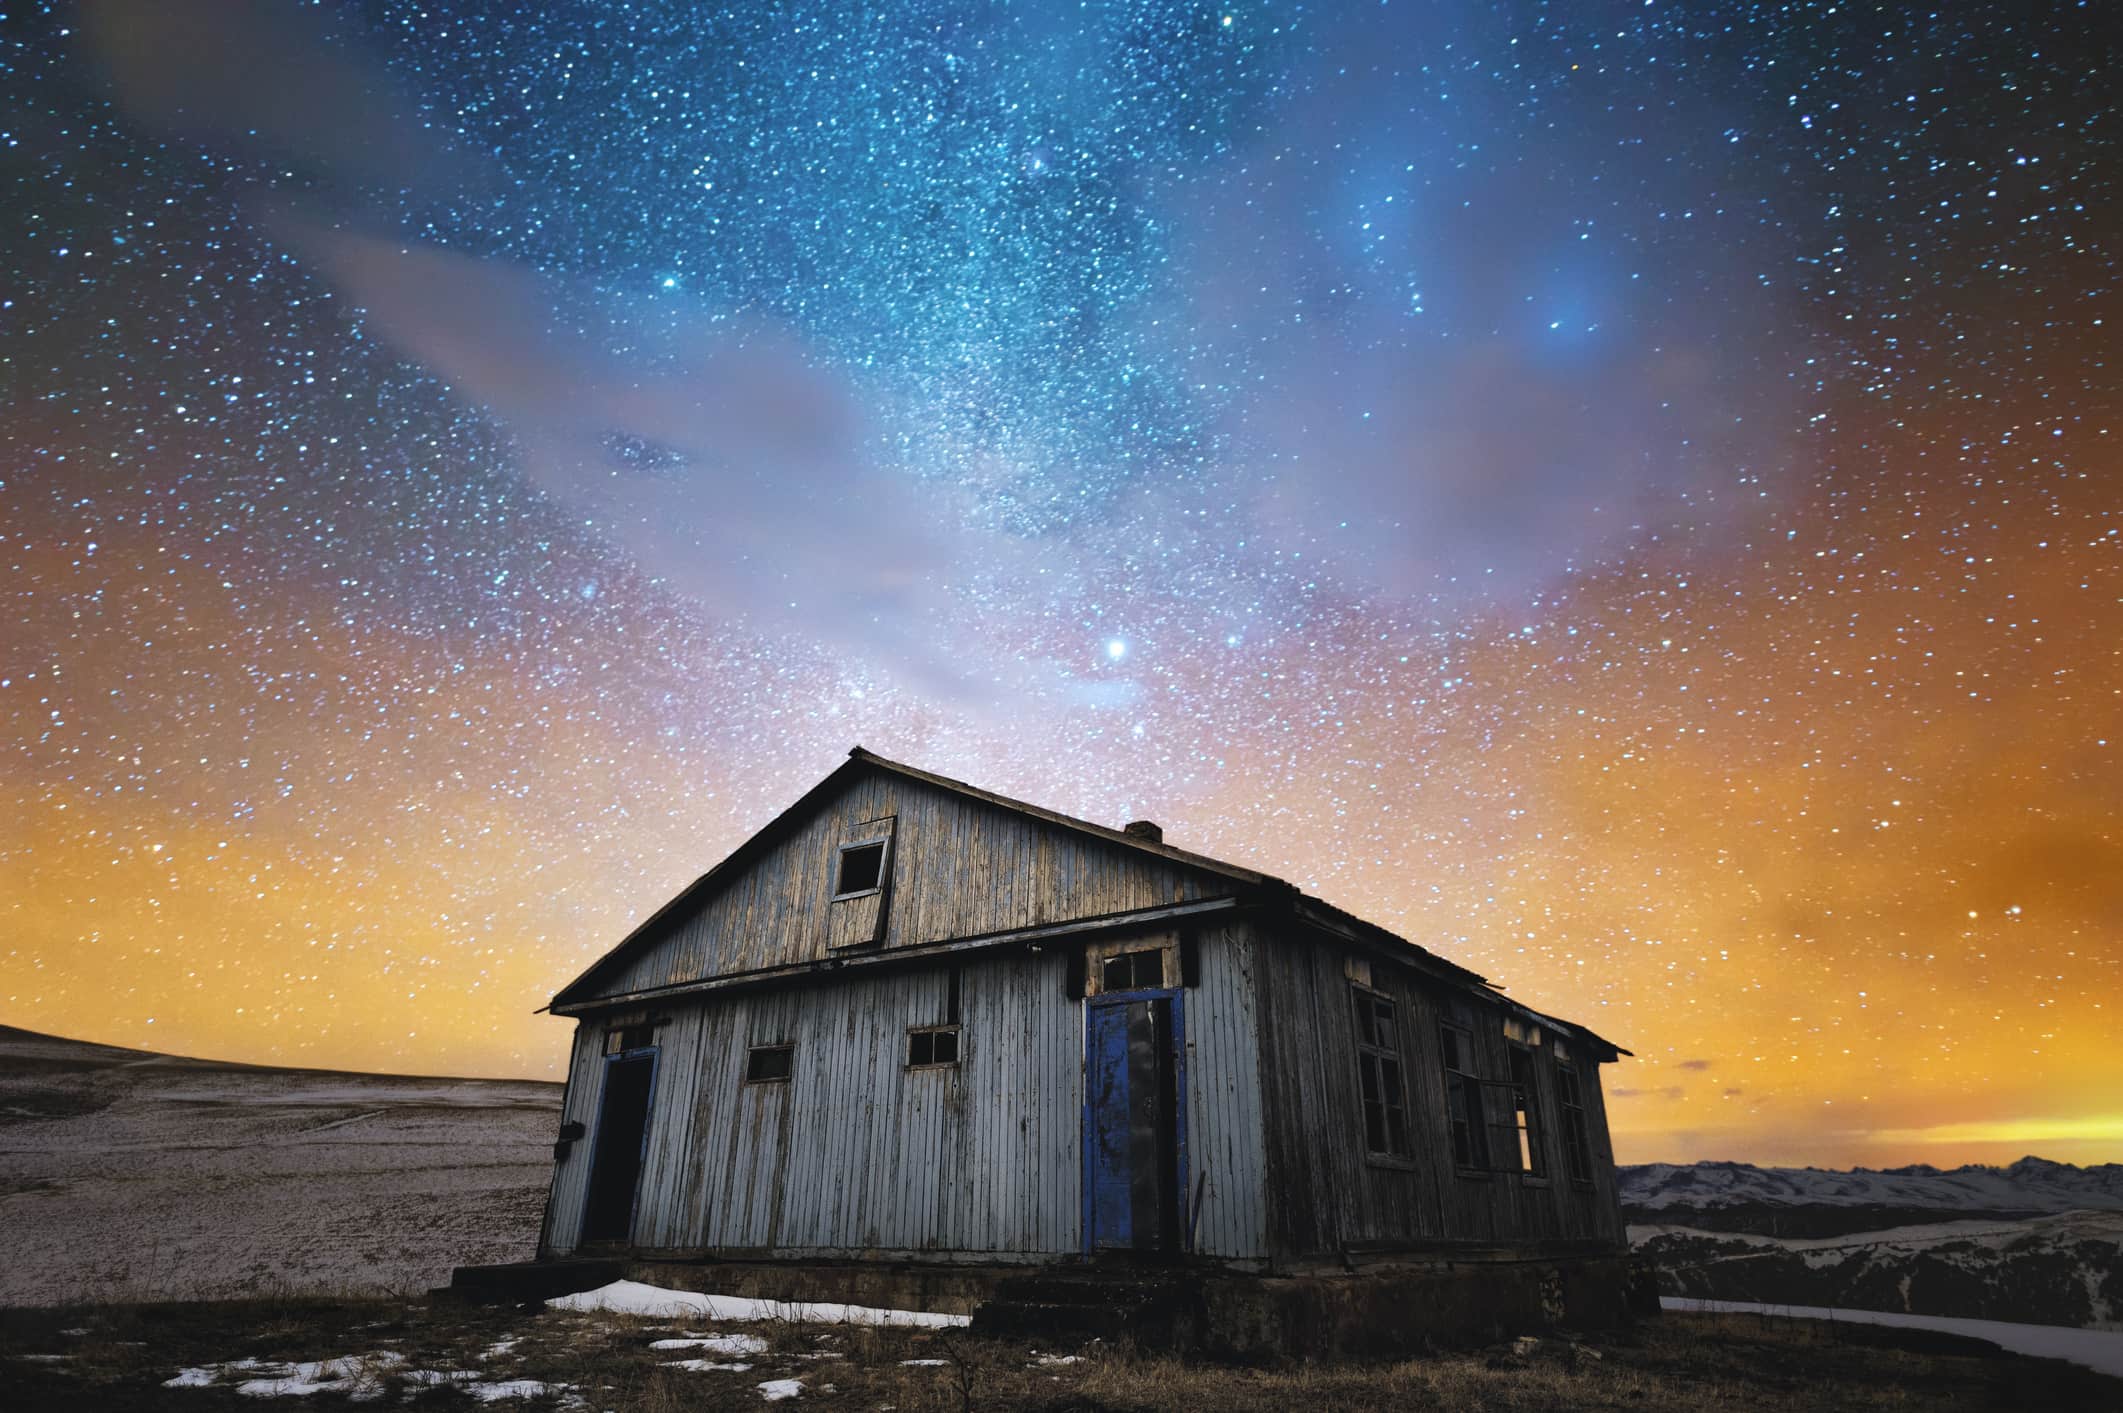
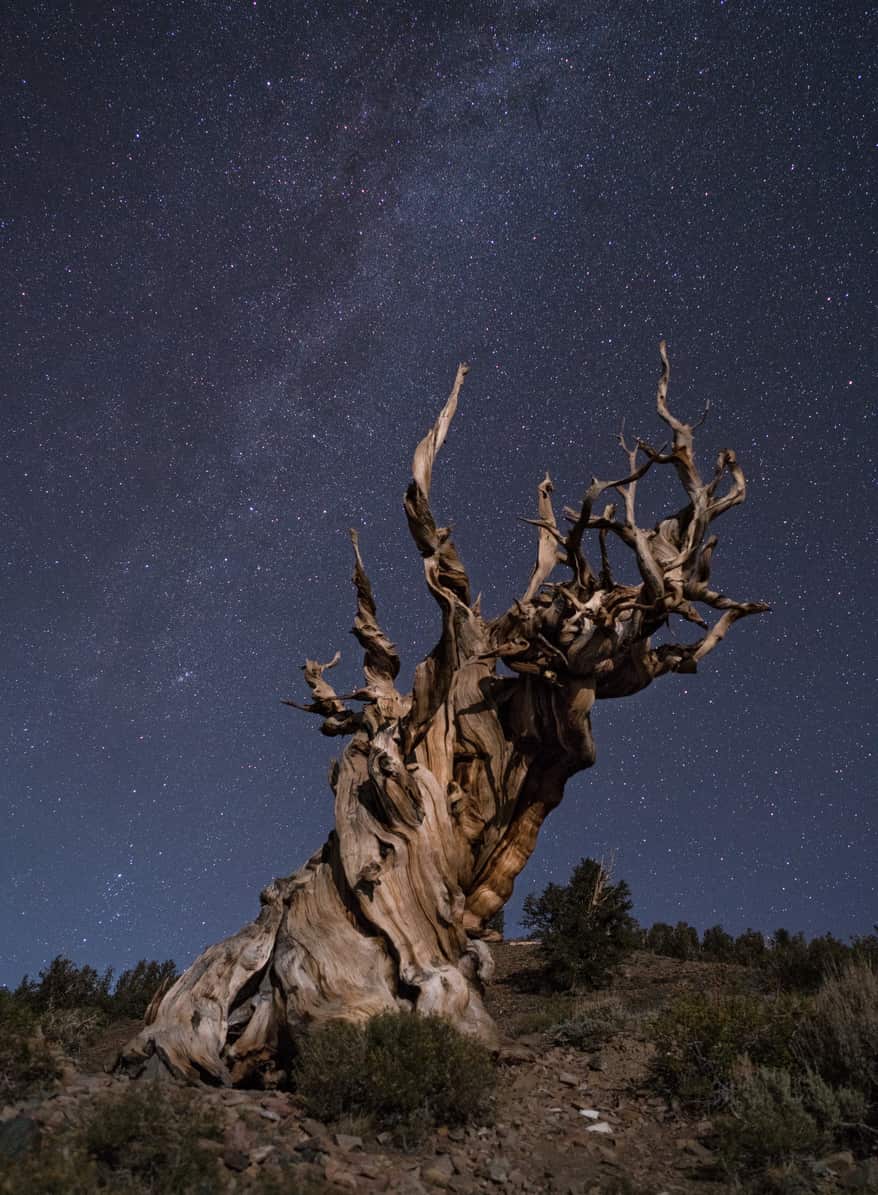
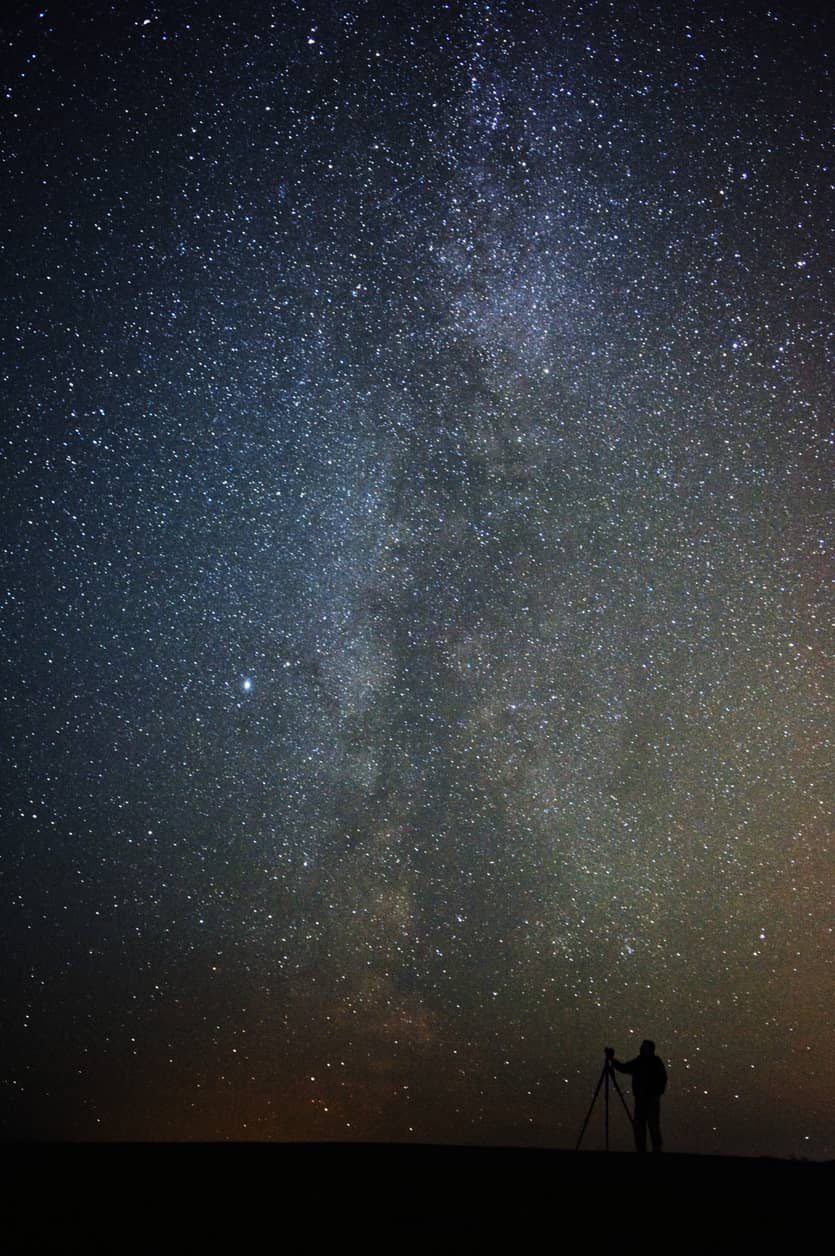
- How to Photograph the Milky Way (In Simple English)
Let's face it - photography is difficult to master.
And astrophotography, well, that's a tough cookie, too.
But just because it's difficult doesn't mean that with practice you can't master the art of photographing the night sky.
There are some common astrophotography mistakes to avoid, however, if you're going to reach your potential.
Editor's Tip: Part of becoming a master astrophotographer is having the proper tools. We highly recommend MrStarGuy for all your astrophotography needs. With a wide selection of telescopes, tripods, mounts, and other accessories, it's your one-stop shop for everything you need. Visit MrStarGuy to learn more.
Mistake #1: Forgetting to Change the Camera Settings
When you get your gear setup and you begin the process of framing the shot and getting it in focus, you need to use different camera settings than what you use for the actual exposure.
For example, when adjusting the focus, many astrophotographers use a very high ISO to shorten the exposure time so they can inspect the focus faster.
Unfortunately, some astrophotographers also forget to readjust the ISO for the actual shot, which renders their images too bright and full of noise.
Aperture can also cause a few problems for night photography.
If you shoot during the day, you'll likely use a much smaller aperture than you'd use at night given the abundance of light during daytime hours.
But if you forget that you switched the aperture from the desired nighttime setting, the first shot you take of the stars could very well be an underexposed mess.

Though these seem like silly errors, photographers of all skill levels make them from time to time.
Just be sure that when you're setting up for your nighttime shots that you take a few seconds to get your camera settings lined out, and you'll avoid this problem.
Learn More:
Mistake #2: Not Using the Ideal Aperture
To build off the previous point, some astrophotographers mistakenly believe that using the largest aperture their lens allows will give them the best shot because it allows the most light into the lens.
The problem is that no lens performs its best at its maximum aperture.
That is, if you have a lens that opens up to f/1.4, the lens will not be able to produce as sharp an image at f/1.4 as it can at f/2, f/2.8, and so on.
All zoom lenses have a sweet spot - the ideal aperture for sharpness - which is typically around f/8 or f/11. Using that small of an aperture could create problems with the exposure of a nighttime shot, though.
So, the next best thing is to step your aperture down by one or two stops.
The reduction in light that results from doing so is a worthy trade-off for working at an aperture that gets you sharper results.
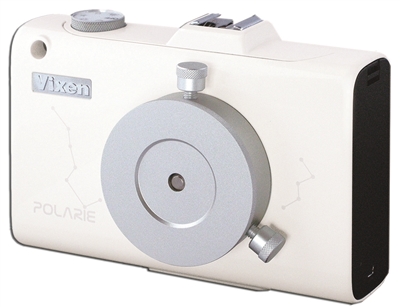
Editor's Tip: The aperture you use isn't the only factor in whether your photos of the stars are tack-sharp. To account for the rotation of the earth, you need a star tracking device like the Vixen Polarie Star Tracker (shown above), which eliminates star trails and helps you get images with gorgeous pinpoint stars. It's easy to setup, easy to use, and is compatible with any digital camera weighing up to seven pounds - including your mobile phone! Click here to learn more about the Vixen Polarie.
When discussing manual exposure settings for astrophotography, there are really no hard-and-fast settings because each situation is different.
However, when getting set up, consider the following as a guideline for where to start with your exposure settings:
Again, these are not settings that will work in every situation, but it's at least a good starting point from which you can fine-tune things for your specific needs.
Learn More:
Mistake #3: Poor Planning
As my dad used to say, "prior planning prevents poor performance."
If you want to create the best astrophotography images, you need to be willing to invest a lot of time and effort into the process, especially the part where you plan things out.
The less time you spend planning, the more time you'll spend wandering around trying to find a spot to take your photos.
What's more, if you don't take the time to actually learn how to use your gear (i.e., manually focusing your lens), then any time you save skipping those steps ahead of time will be spent getting frustrated in a dark field somewhere because you don't know what you're doing.
Along those same lines, if you don't understand when the sun sets, when it rises, the phases of the moon, weather patterns, and so forth, you might find yourself setting up in the dark, setting up too late to capitalize on the darkest hours of the night, or under the cover of clouds.
Naturally, none of these situations is conducive to astrophotography...
The point is that capturing gorgeous shots of the night sky isn't only dependent on your skill as a photographer and the gear you use.
Instead, a large part of your success will be determined long before you even set up your camera in the planning phase.
By having a solid plan in place, outfitting yourself with quality gear, and paying attention to your camera settings, you'll be able to minimize at least three common mistakes astrophotographers make and improve your chances of getting great shots of the stars.