
Real Estate Photography Tip: How to Photograph Exterior Elements
- Observe the Property Layout
- Cover Every Angle Possible
- Don’t Just Shoot From One Height
- Look for Exterior Features to Highlight
- Use Natural Light to Your Advantage
- How to Stage the Exterior of a Home for Real Estate Photography
- Composition Tips for Photographing Real Estate Exteriors
- Garages
- Porches, patios, and decks
- Landscaping
- Courtyards, water features, pools, and outdoor kitchens
- Entry and exit points to the property
- Basic Camera Settings for Real Estate Photography Exteriors
- Professional Real Estate Photography Kit: What’s in the Camera Bag?
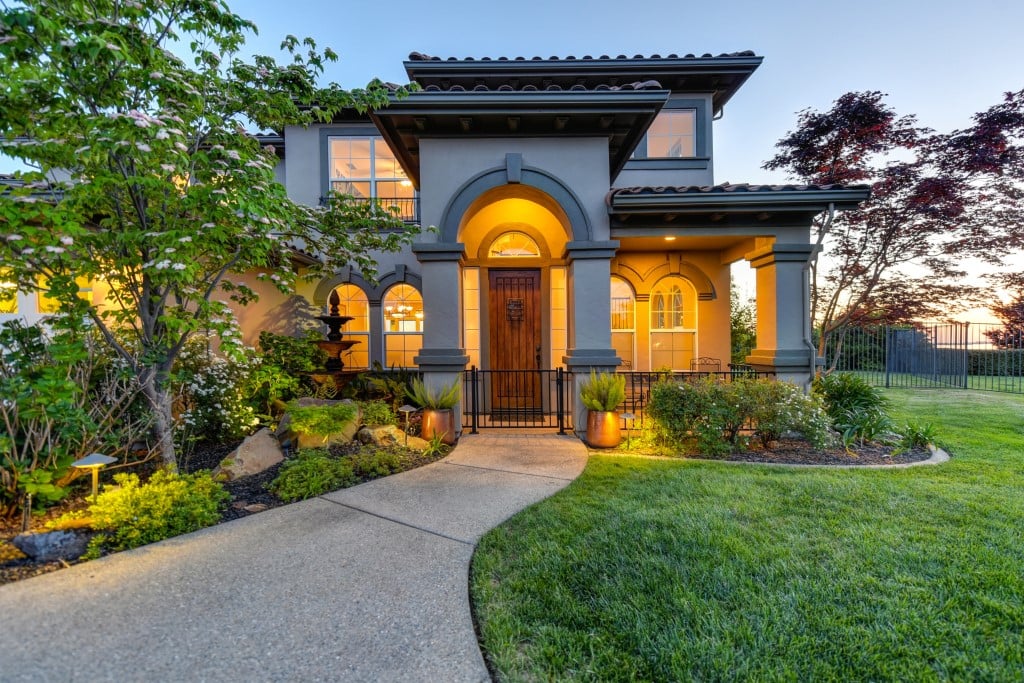
Photo by Stephen Leonardi on Unsplash
Real estate photography for beginners can be a complicated undertaking. But if you’ve been following our series on real estate photography, there are many simple, concrete steps you can take to improve the quality of your photos.
This tutorial follows the same footprint. Below, we’ve outlined a few tips for photographing exterior elevations that will ensure your photos highlight the curb appeal and exterior amenities of the property.
Table of Contents
Observe the Property Layout
Photo by Bailey Starner on Unsplash
The first thing you want to do when you approach a house for the first time is to look at the shape of the yard.
Is there any sloping in the yard? How does the driveway back up to the house? Essentially, you’re looking to even the playing field with your subject.
In whatever way possible, you want to shoot the exterior of your house without shooting up at it. Camera height for real estate photography is so important that people can spend thousands of dollars on equipment (like drones) to get the perfect shot.
photo by hikesterson via iStock
But you don’t have to spend a ton of money to get high-quality images from a compositional standpoint.
If the yard is sloping, use a bubble level to ensure the camera is level. If an unsightly driveway occupies a lot of the side view of the home, change your positioning such that something more appealing - green space, mature landscaping, flowers, and the like - takes up more of the view in the frame (as shown above).
This is why observing the property layout is so critical because it allows you to find the best vantage points from which to take photos. A little bit of legwork at the outset will result in far better pictures!
Learn More:
Cover Every Angle Possible
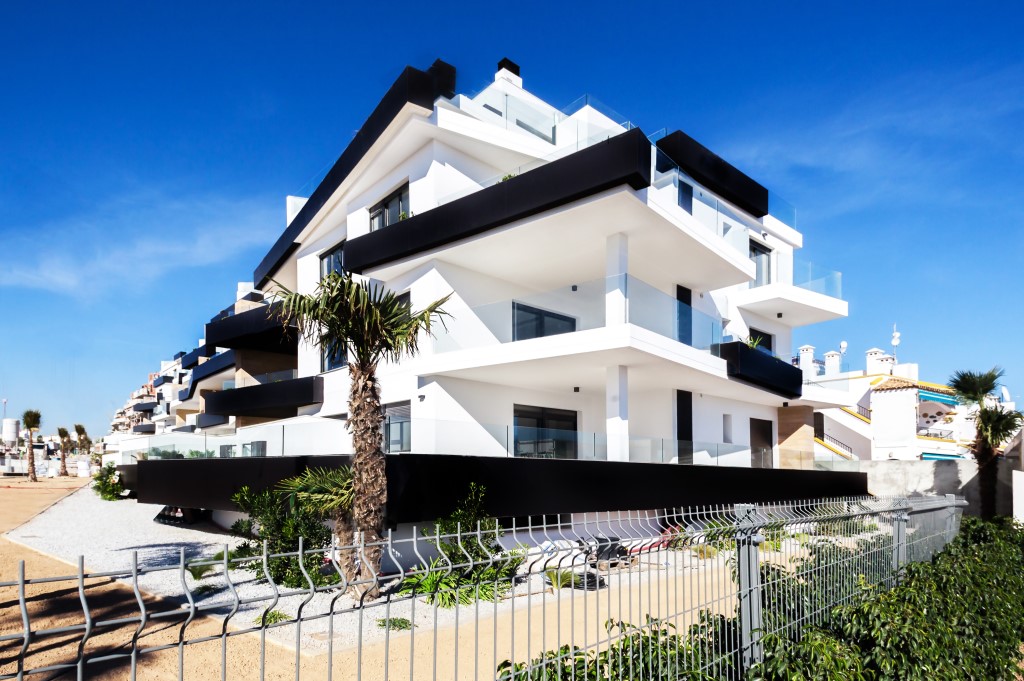
Photo by iAlicante Mediterranean Homes on Unsplash
The homes you photograph don’t look the same on every side. Though the overall architecture will be consistent (hopefully, anyway!), the way the home presents itself will vary from front to back, left to right.
No real estate photography tips list would be complete without this basic tip: shoot the exterior of the property from every angle possible.
Naturally, you’ll likely start in the front, but don’t just take a shot dead-on and move to the side and back of the property. Instead, front photos should be taken from the left-of-center and right-of-center too.
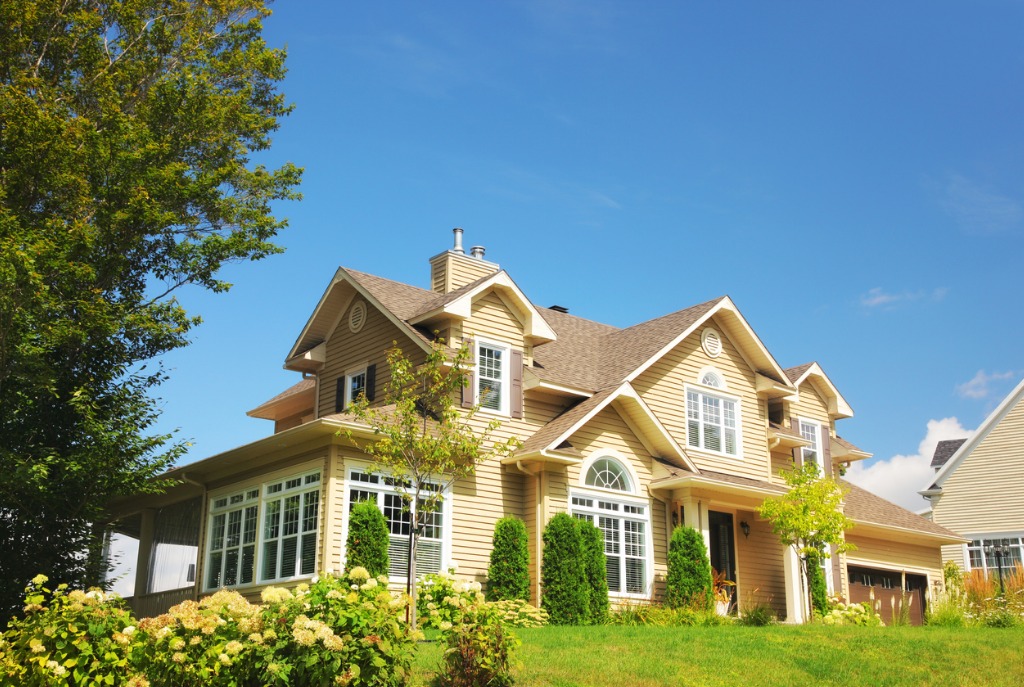
photo by buzbuzzer via iStock
Vary the distance from which you take your photos as well. A wide shot of the front elevation of the home is certainly needed, but so too is a close-up of the front door and any interesting features (i.e., a covered porch).
Follow this same procedure for the other sides of the property, getting close-ups and wide shots from multiple angles.
Furthermore, varying the angles from which you shoot allows you to capture the property’s features, the view, and capitalize on different kinds of light (discussed more below).
Quick Tip: As with any kind of photography, having more photos from which to make your final collection of images is always a good thing. Doing so means that you can select the very best images to present to the Realtor or client so the property listing has the strongest possible visual appeal.
>
Don’t Just Shoot From One Height
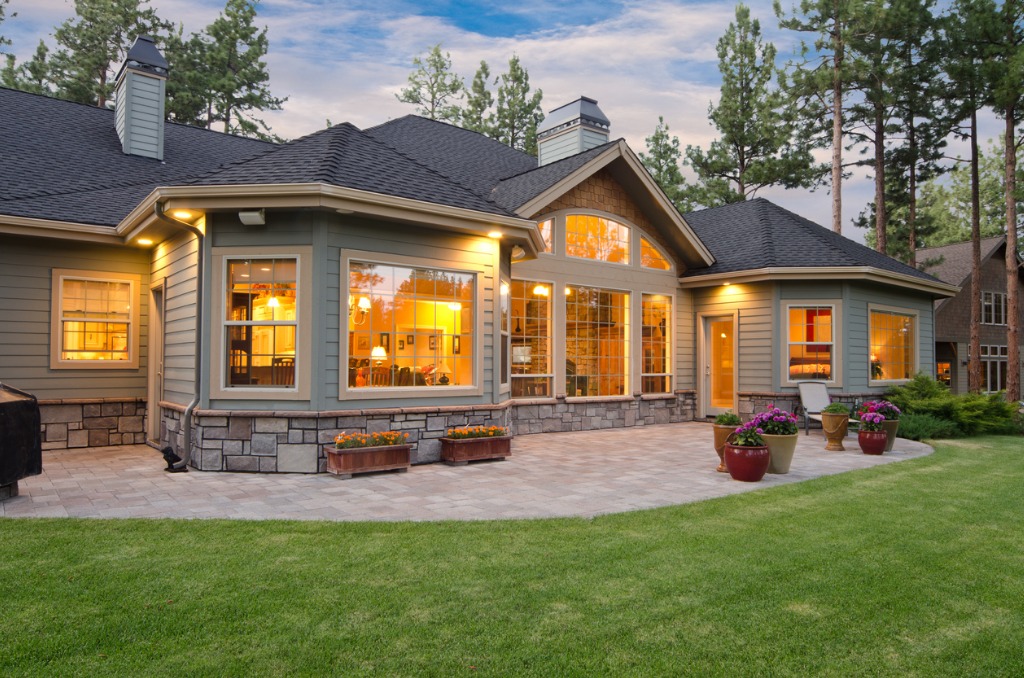
photo by chandlerphoto via iStock
No, this doesn’t necessarily mean you need to rent a helicopter or become a drone aficionado overnight. But, it does mean that the basic six-feet-off-the-ground shot might not cut it in all scenarios.
As I discussed earlier, you’ll want to keep your vertical plane in mind when you begin to play around with shooting heights. Whether the camera is above or below that mark, it must be level!
While a height of six feet is a good place to start, don’t be afraid to adjust the height of your camera as needed.
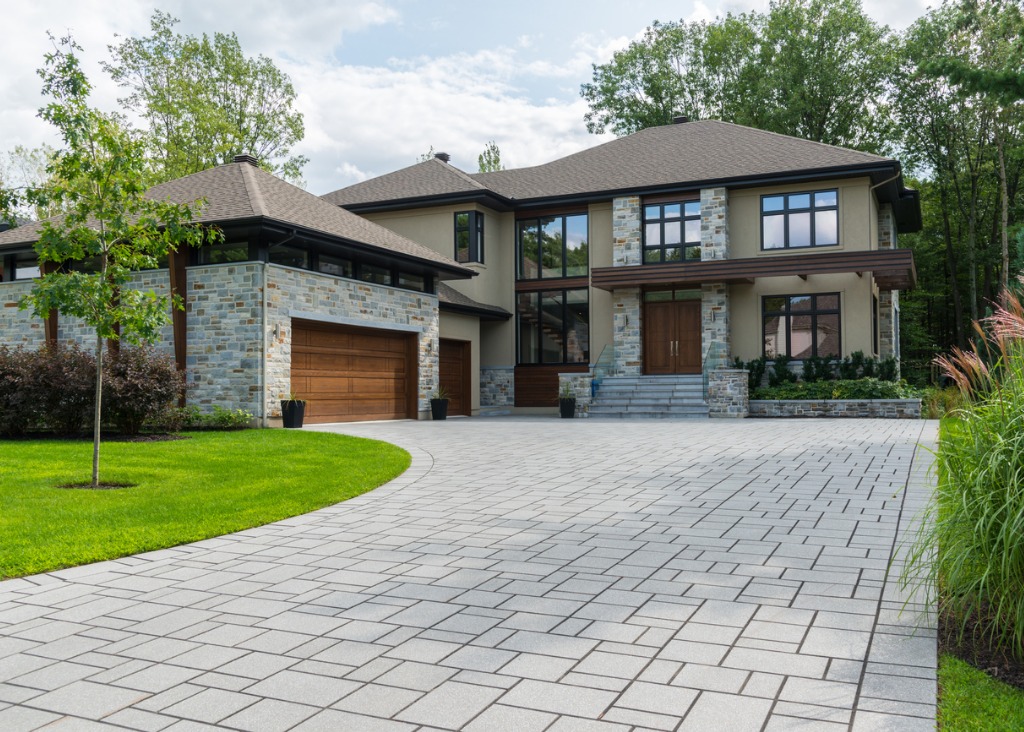
photo by jnnault via iStock
For example, the image above was taken at a slightly lower eye level to bring more of the brick-patterned driveway into view.
Not only is the driveway an interesting feature that’s worth highlighting, but the pattern of lines and the curvature of the driveway help direct our eyes toward the home.
If this shot had been framed at a typical eye level, we’d be missing some of the pattern and the curvature of the driveway that makes the front elevation of this home so interesting.
So, if there are interesting foreground elements, by all means, lower your camera a little to incorporate them into the shot. Conversely, if you want to showcase the property view or give potential buyers a better idea of the lot, a high perspective is appropriate.
Learn More:
Look for Exterior Features to Highlight
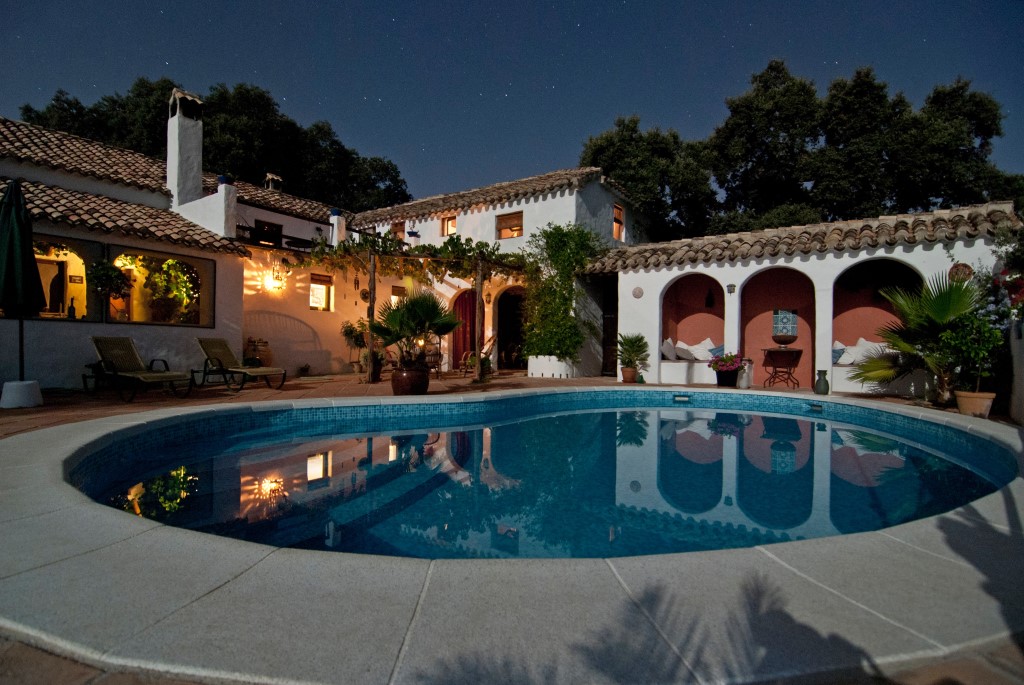
Photo by Vita Vilcina on Unsplash
While this gorgeous pool will definitely be on your shot list, you also shouldn’t forget other exterior amenities that potential buyers might like:
Your shot list is the most important way for you to begin learning how to photograph exterior elevations. Do your homework prior to the day of the shoot by touring the property with the Realtor or homeowner. Getting the lay of the land will help you devise an appropriate shot list.
You’ll be surprised how many people are specifically looking for a large yard or a three-car garage in their house search. Make sure you capture these details for them.
Quick Tip: As noted earlier, make sure you vary the angle, distance, and eye level of each image you take of exterior amenities. This allows you to show off the features of the property in a way that helps potential buyers understand the layout of the property and the relationship of each amenity to the home.
Use Natural Light to Your Advantage

photo by irina88w via iStock
Though some real estate photographers invest in expensive (and cumbersome) lighting equipment to photograph properties, it is our opinion that relying on natural light results in better images.
For one, by bracketing exposures and merging them together, you can get a well-exposed image throughout without having to use artificial lighting to brighten up darkened areas of the home’s exterior.
Secondly, using the bracket-and-merge technique is far more budget-friendly - rather than spending hundreds of dollars on speedlights, light stands, softboxes, and other artificial lighting gear, you can invest in an editing program that allows you to quickly and easily merge images together.
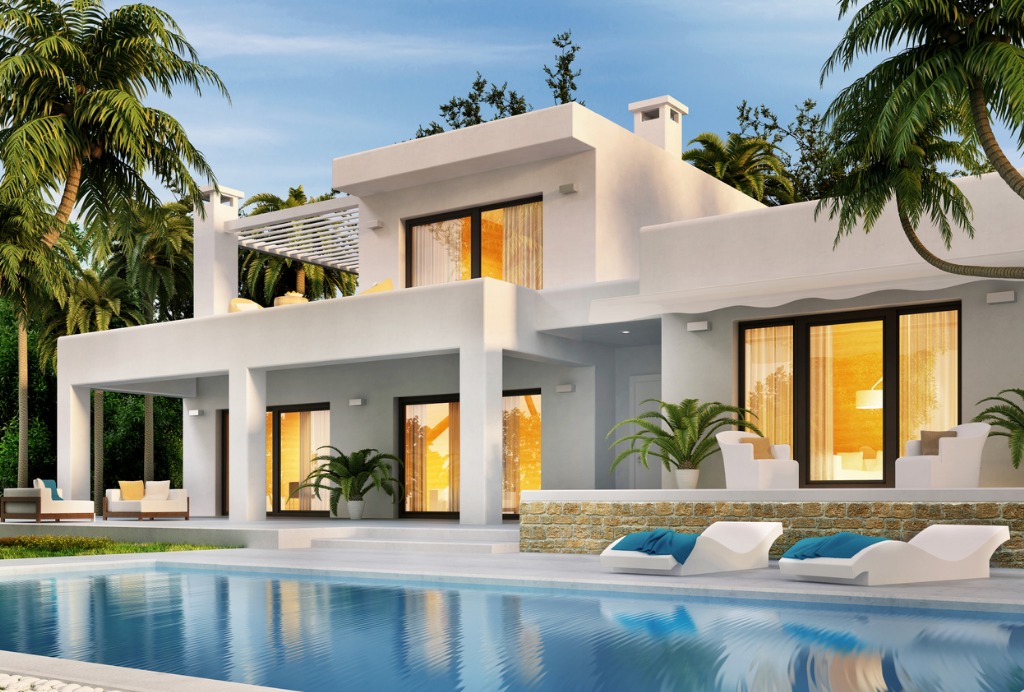
photo by sl-f via iStock
Of course, the time spent setting up lighting gear is time you can’t get back, so, again, using the bracket-and-merge technique is favorable because your precious time can be used actually taking photos rather than setting up and taking down gear.
It’s not always possible to time your photo shoots with the best light of the day at Golden Hour, and this bracket-and-merge technique will come in particularly handy during the day when the sunlight creates deep shadows and bright highlights. With a range of exposures to account for highlights, midtones, and shadows, this technique will get you beautifully-exposed and natural-looking results.
At the end of the day, that’s precisely the kind of deliverables you want for your clients!
Learn More:


