
Selling Your Home? Here's Some Tips for Taking Better Real Estate Photos
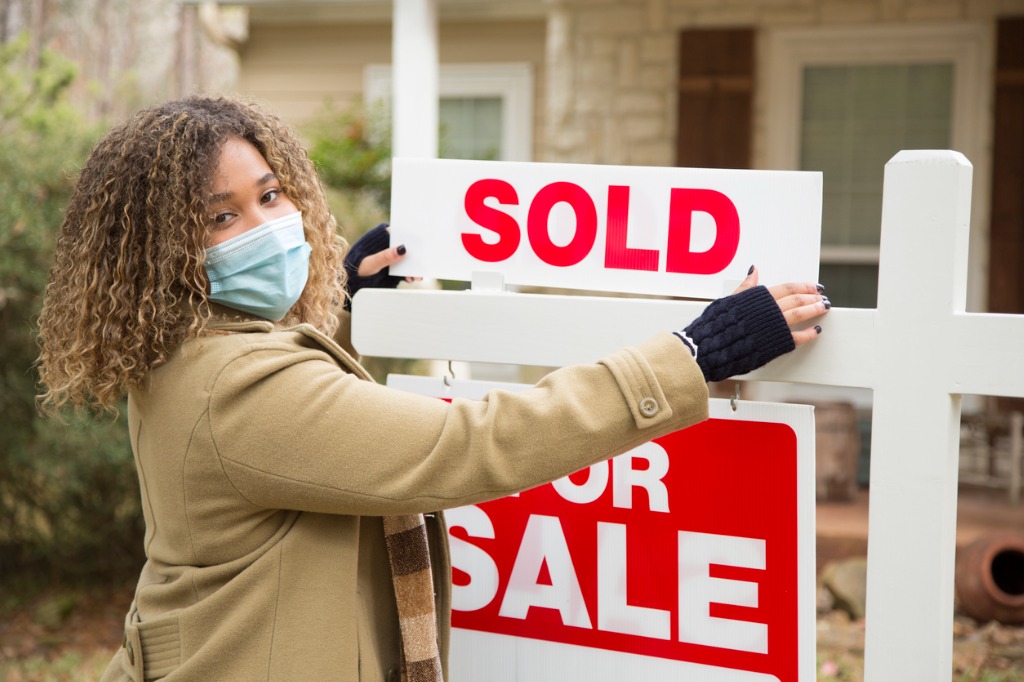
photo by LifestyleVisuals via iStock
Given the fact that the housing market is still going absolutely haywire, I’ve seen plenty of homes get sold without even making their presence known online.
But, if you really want to start a bidding war for your property, the best way to get it in front of the greatest number of people is still through the MLS, Zillow, Trulia, and other websites like them.
This means that you need tips for taking better real estate photos. While you may assume that the photos you’ve been taking of your home are good enough, the truth is that phenomenal photos of your home is the difference between selling it for asking price and selling it for $30,000 over.
Plus, there are so many actionable tips for taking better real estate photos that are simple, so you really don’t have any excuse.
Here are some tips for taking better real estate photos that you can implement before, during, and after your photoshoot to ensure you’re putting your best foot forward.
Before the Shoot: Buy a Real Camera
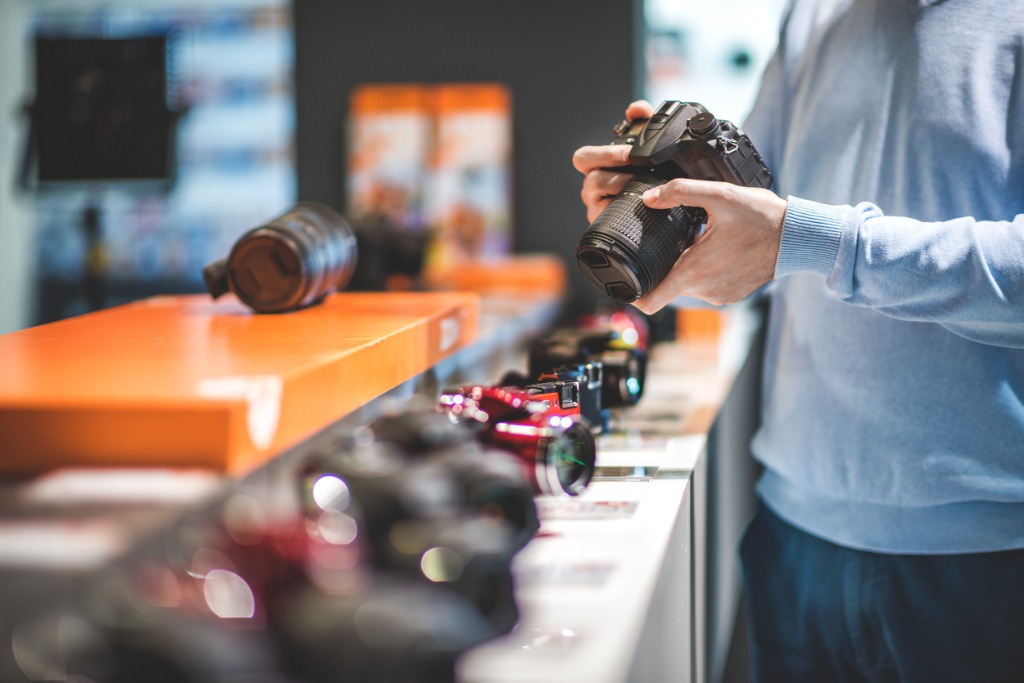
photo by EXTREME-PHOTOGRAPHER via iStock
One of the simplest tips for taking better real estate photos is to actually have the right equipment; this includes a real DSLR or mirrorless camera and a tripod.
You definitely don’t need to go out and spend thousands of dollars on a camera to take your real estate photos, but you shouldn’t be taking these photos on your phone.
If you do take your photos on your phone, they won’t be the quality that you’re looking for and it will make them far more difficult to edit after you’re done with the shoot. This means you’ll either need to pay someone more to edit them for you or you’re going to be wasting a lot of time doing it yourself.
Just about any customer service representative can point you in the direction of a good DSLR or mirrorless camera that you can purchase for a few hundred dollars for some quick real estate photos.
Likewise, you’ll want to buy a tripod that you can use with this camera to ensure all of your shots are taken from the exact same height.
If you ignore all of the other real estate photography tips on this list, don’t ignore this one.
Before the Shoot: Stage Your House (or Hire Someone To)
photo by Jodi Jacobson via iStock
Pretty much no interior real estate photography tips can save you from the perils of a house that isn’t ready to be photographed.
This means that it’s your job to prep your house before taking photos of it.
You’ll need to obviously deep clean the space. Even the parts that you don’t think will show up in photos, like the baseboards and windows.
You’ll also need to get rid of any politically charged or religious symbols. Take flags down and crosses off the walls. If your potential buyers don’t subscribe to your religion or political ideals, you will automatically turn them off from the property and they may not even realize it.
Make sure that your yard is neat and tidy, with bushes trimmed back and the grass mowed.
Essentially, you want your house to look like nobody has ever lived in it before. While there are definitely more innovative tips for taking better real estate photos out there, sometimes the simplest tips are the ones that work the best and since this list is filled with beginner real estate photography tips, I don’t want to overwhelm you with tips that you won’t actually follow through on.
Learn More:
During the Shoot: Strictly Use Natural Lighting
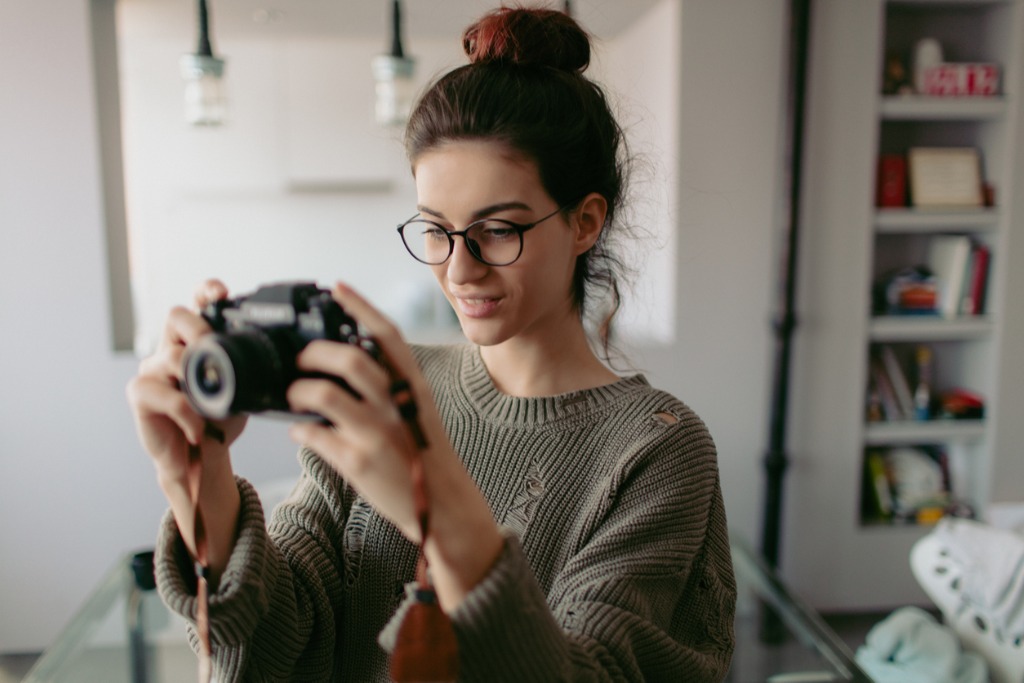
photo by CentralITAlliance via iStock
Some of these tips for taking better real estate photos are a little contentious. This is one of them. Some photographers insist that you can use artificial lighting in certain parts of your house. But, that artificial lighting has to be so super specific that it is way easier to recommend you don’t use it at all.
Think about it. If most of your photos are done with natural lighting, but then your bathroom is done with artificial lighting and your kitchen is done with artificial lighting of a different color, you are going to have to do a whole lot of color correcting in your editing.
It is far simpler to just wait until a bright, sunshiny day to take your photos.
Alternatively, you can use the bracket and merge technique which involves taking a series of photos (usually three) at different exposure values and merging them together into a single composite image.
The advantage of using this technique is that it avoids rooms having really dark shadows with no details and really bright highlights in which there are no details either. Usually, in a room with a window you either have to expose for the window’s brightness or expose for the darkness of the room, which can lead to the detail-free highlights or shadows I just mentioned.
But with bracketing and merging, you get around that problem and can easily create beautiful photos of your home.
During the Shoot: Don’t Be Afraid to Take Hundreds of Photos
If I was writing this article for professional photographers, this definitely wouldn’t be one of my tips for taking better real estate photos, since professional photographers know how to correctly set up their shots.
But, you don’t. You are brand new to photography and you haven’t had the option to mess around with angles or composition yet. Since you just bought a shiny new DSLR camera, use it! Use it to your heart’s content. Do not be afraid to take hundreds of photos from all different directions because with point and shoot, you’re bound to get something that looks good.
After the Shoot: Edit the Photos (or Hire Someone To)
photo by vgajic via iStock
Unfortunately, no matter how many tips for taking better real estate photos I give you, the photos still need to be edited after the shoot. You can either try and DIY it with YouTube videos or hire out.
Depending upon your level of comfort with photography, it may be far easier for you to hire someone to edit your photos after the shoot. Keep in mind that you can probably find a photography editor for pretty cheap.
After the Shoot: Focus on the Listing
photo by jsmith via iStock
Now that you have the incredible real estate photos, you have to make sure to pair them with an incredible real estate listing.
While the photos are likely more important than the story you tell about the home, there are still plenty of people who are going to read your entire listing front to back and you don’t want to disappoint them. Tell a great story about the type of life they could lead in your house.


