Step Up Your Video Game With These DJI Drone Tips
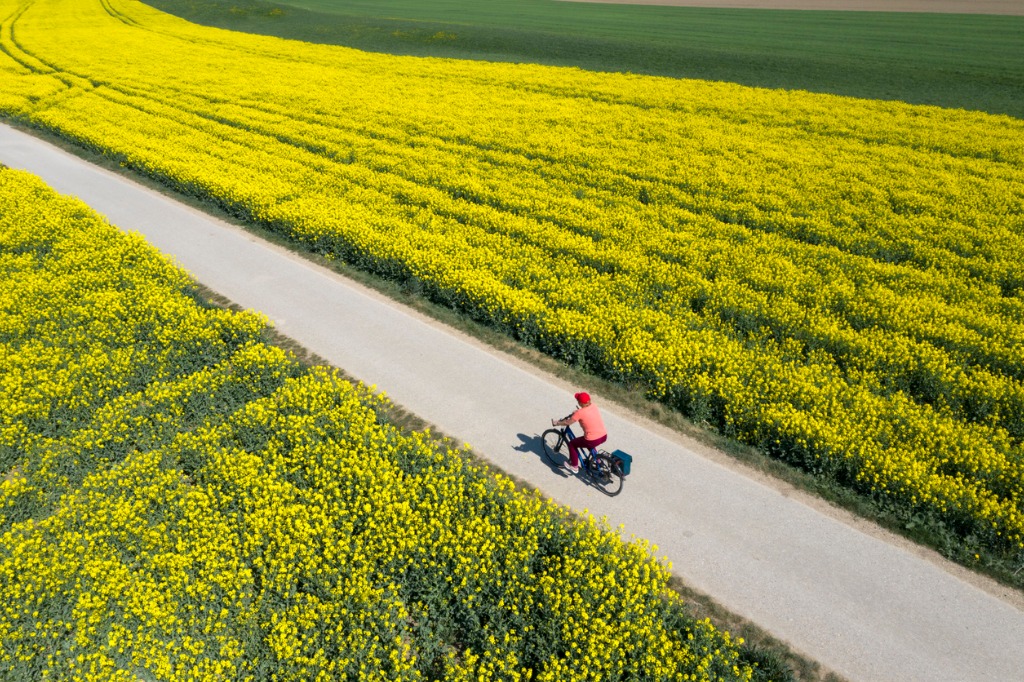
photo by Bim via iStock
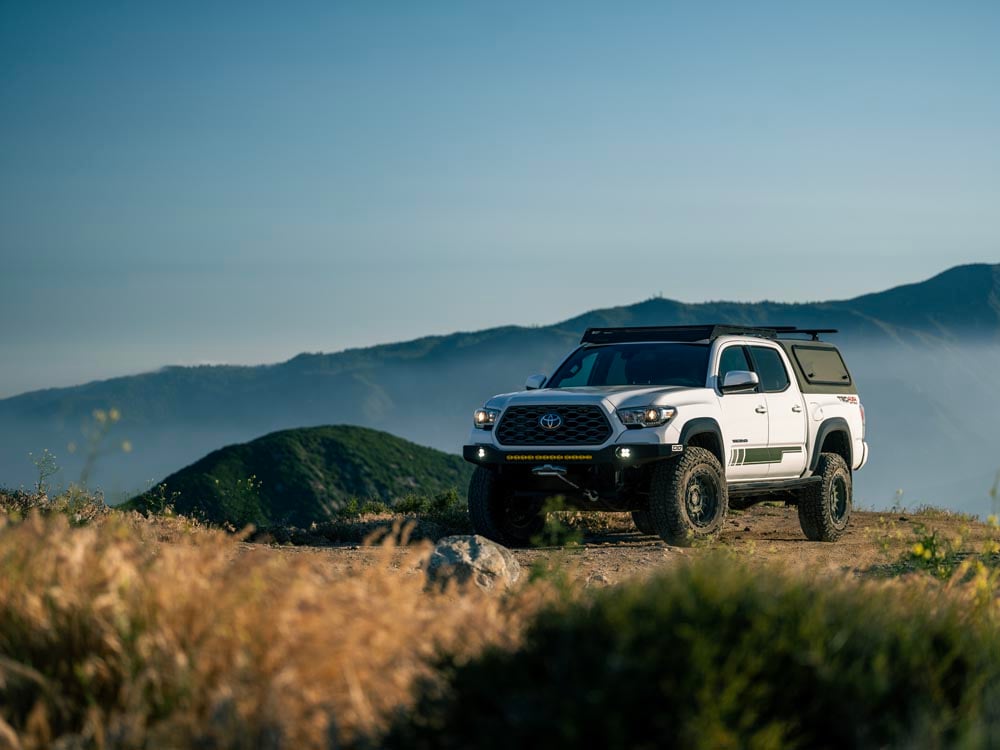
Photo trekking with action cams and drones allows you to create interesting videos and stills of the destinations you’re visiting and the trip to get there. Trek created the #GoByBike campaign to encourage travelling by bicycle while documenting and sharing our experiences, photos, and videos.
I believe photo trekking is one of the best ideas for a landscape photographer to enjoy our craft in new and exciting ways, so I have compiled a few DJI drone tips to highlight how to take advantage of the quality photos and video footage this drone is capable of giving you.
Basic Video Tips for Drones and Biking
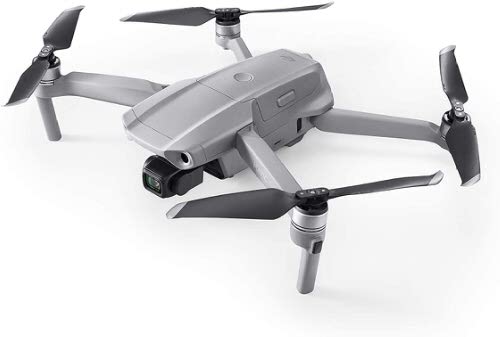
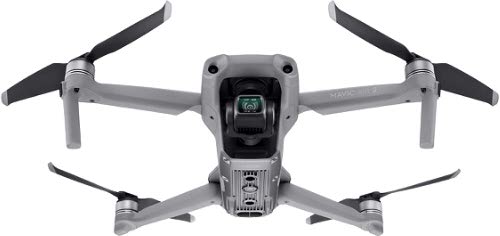
Learning the flight modes and learning how to adjust the drone camera settings for video and photo capture should be an early priority for anyone wanting the best results. Even if we already have experience in drone photography, the advanced capabilities of better drones, such as the DJI Mavic Air 2 deserve putting forth new effort to learn.
We want to do the same for our bicycle choices, too. A high-end bike like the Trek Remedy 9.9 Trail Bike which I upgraded to will have some features and capabilities that will enhance your photo trekking once you learn those too.
The Remedy 9.9 is one of the best bikes for photo trekking. It has carbon fiber construction for lightweight strength, even the wheels are carbon fiber! The full suspension adds a level of comfort and control to any ride, from a city street to a rugged trail.
You can employ some of these DJI Mavic Air 2 video tips for other DJI drones and other brands if they have the same features. One thing I know, though, is that the features, capabilities, and qualities of DJI and Trek are top of the line, so you’ll achieve amazing results with these drones and bikes.
Shoot 4K Video

Among the most important video tips for DJI Mavic Air 2 is to use the highest recording modes available whenever you can. So for the DJI Mavic Air 2, that would be 4K 60fps. This will enable you to have the highest quality raw footage which you can then edit down as needed.
That explains the recommendation for shooting in 4K, but why should we shoot in the higher frame rate of 60fps? This will let you slow down your video as needed without losing any resolution.
It takes up a whole lot of memory, but you will have to change to a fresh battery at some point anyways, so swap out memory cards as you do that. That means your computer might get bogged down, too, if it’s an older processor or has limited RAM. Sorry, we end up upgrading everything to get the best quality, don’t we?
Learn More:
Use HDR Video
High Dynamic Range works similarly for video as it does for still photography. You would use it to be able to capture a full range of highlight to shadow detail in your video, whether 4K or 1080p. The colors and contrast you achieve while filming in HDR is stunning.
There are a couple of drawbacks to recording HDR, though. It is only available with fully automatic exposure, so your controllability is limited. Plus, it really eats up memory to shoot HDR in the higher resolution recording modes.
Use Cinelink Color Profile
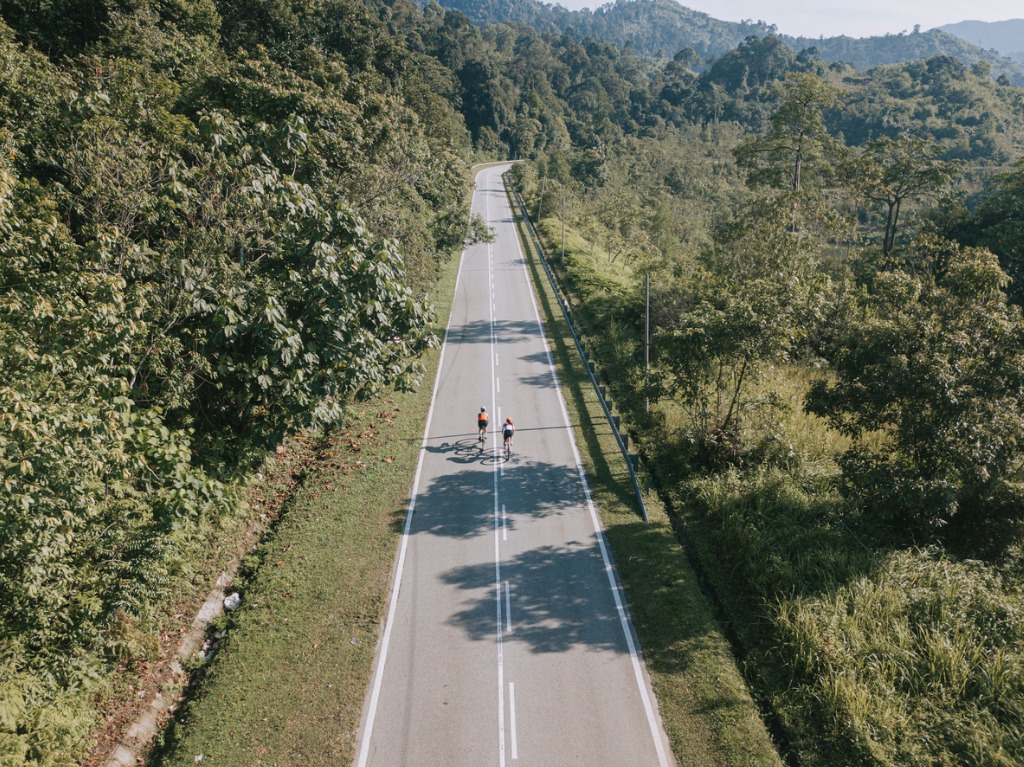
photo by chee gin tan via iStock
You can’t use Cinelink with HDR or vice versa. Cinelink is a DJI color profile video mode that lets you film regular 4K video and adjust the color profile in post processing. Your exposure settings are fully controlled by you, so you have a lot of other creative choices open to you.
In professional video production, using a color profile is preferred since it’s much like shooting RAW in still photography. You can’t post online or deliver unedited video footage to a client, but the end result can be superb once properly processed and edited.
Cinelink is the closest to LOG that is an option in the DJI Mavic Air 2, so you can also use this shooting mode when editing in drone footage as B-Roll for creating an epic video project combining action cam, drone, and your primary camera footage.
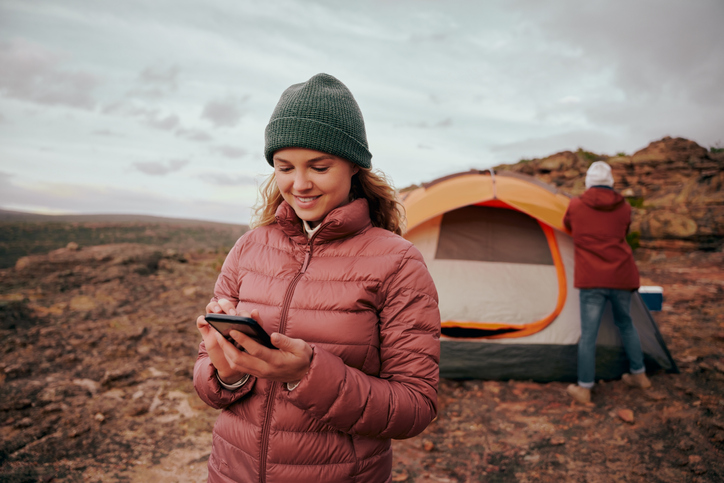
JPG Plus RAW for Still Images
If you want to post to Trek’s #GoByBike campaign while still in the field, you’ll want to have a JPG file. But if you want the fullest range of processing options and the highest image quality, then RAW is the file of choice.
On the DJI website, you’ll find DJI Mavic Air 2 tips which will increase your options when using the drone for capturing still images along with or instead of video footage. DJI Mavic Air 2 has two resolution modes, the full 48mp or the ¼ sensor mode with 12mp image capture.
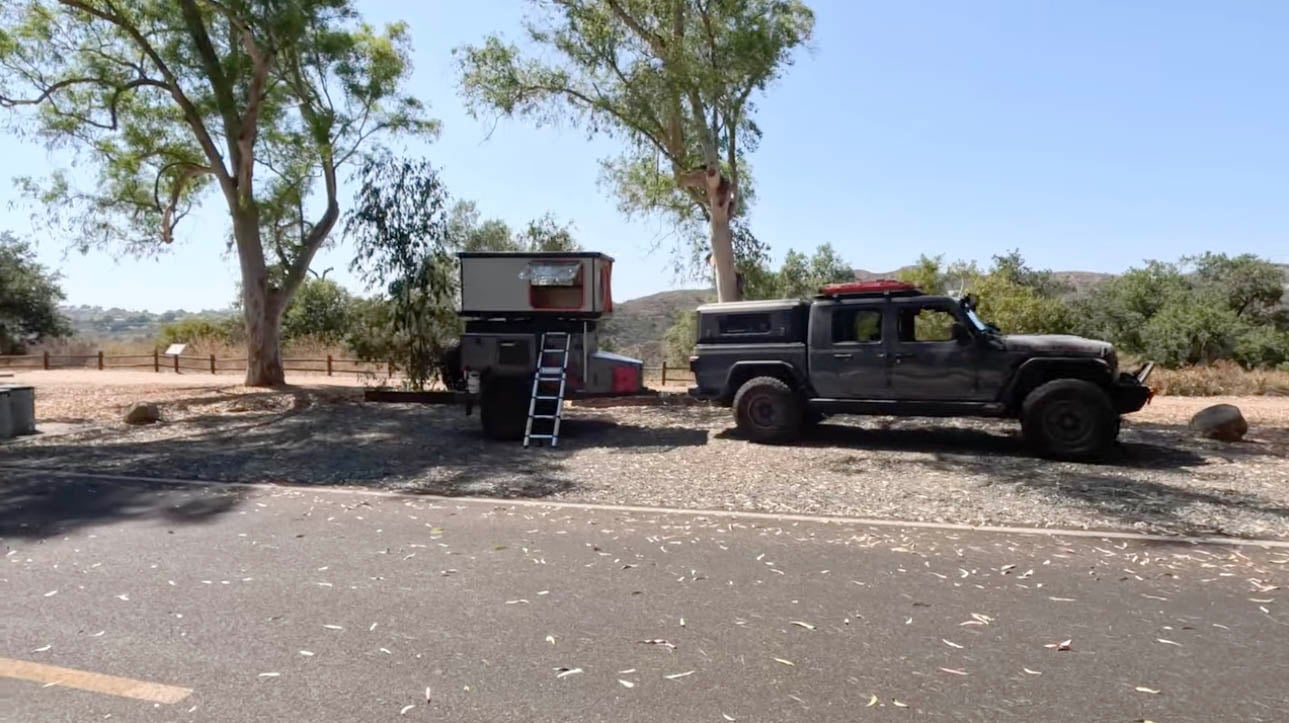
Intelligent Flight Modes
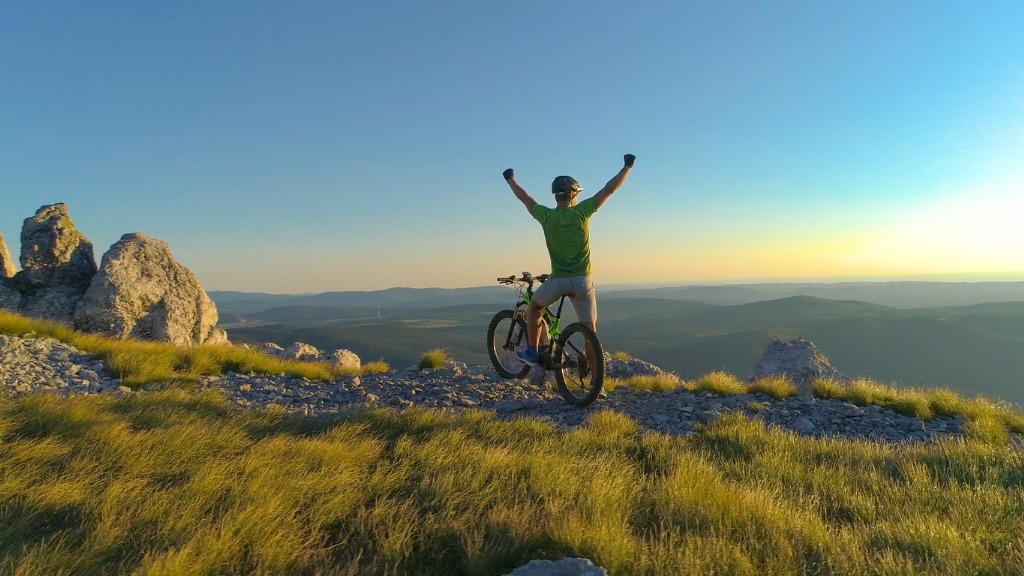
photo by helivideo via iStock
DJI drones have a full range of awesome automatic flight modes that are very useful for photo trekking. Some of the flight modes to practice before going out in the field are terrain follow mode, cinematic mode, active track mode, sports mode, and follow me mode.
For Photo Trekking, perhaps the Follow Me mode is the most intriguing. This mode lets you automatically follow persons or objects like your bicycle, while the drone keeps the subject centered in your videos.
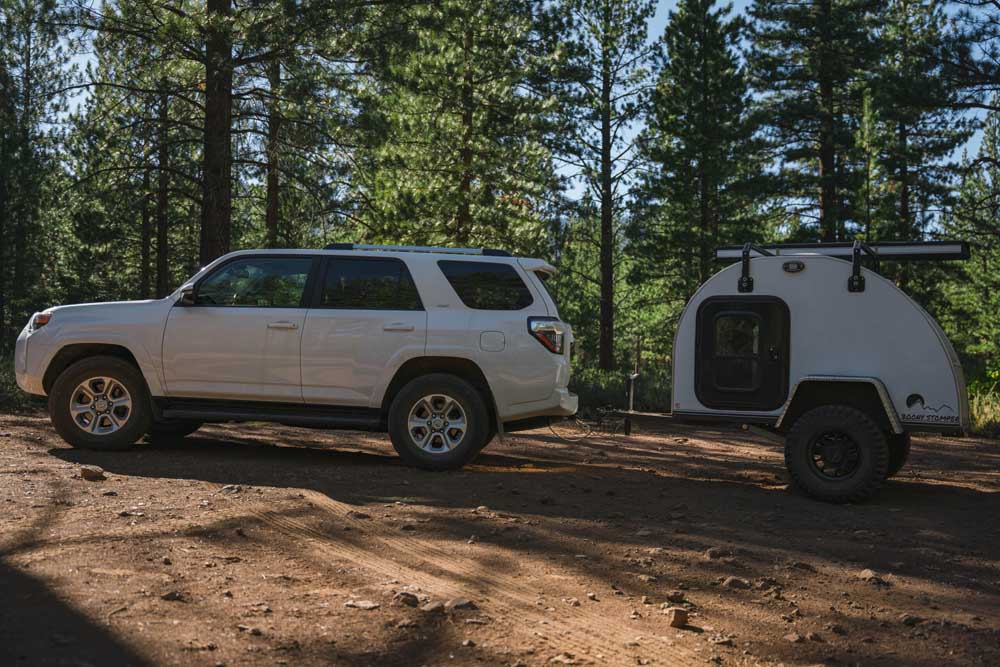
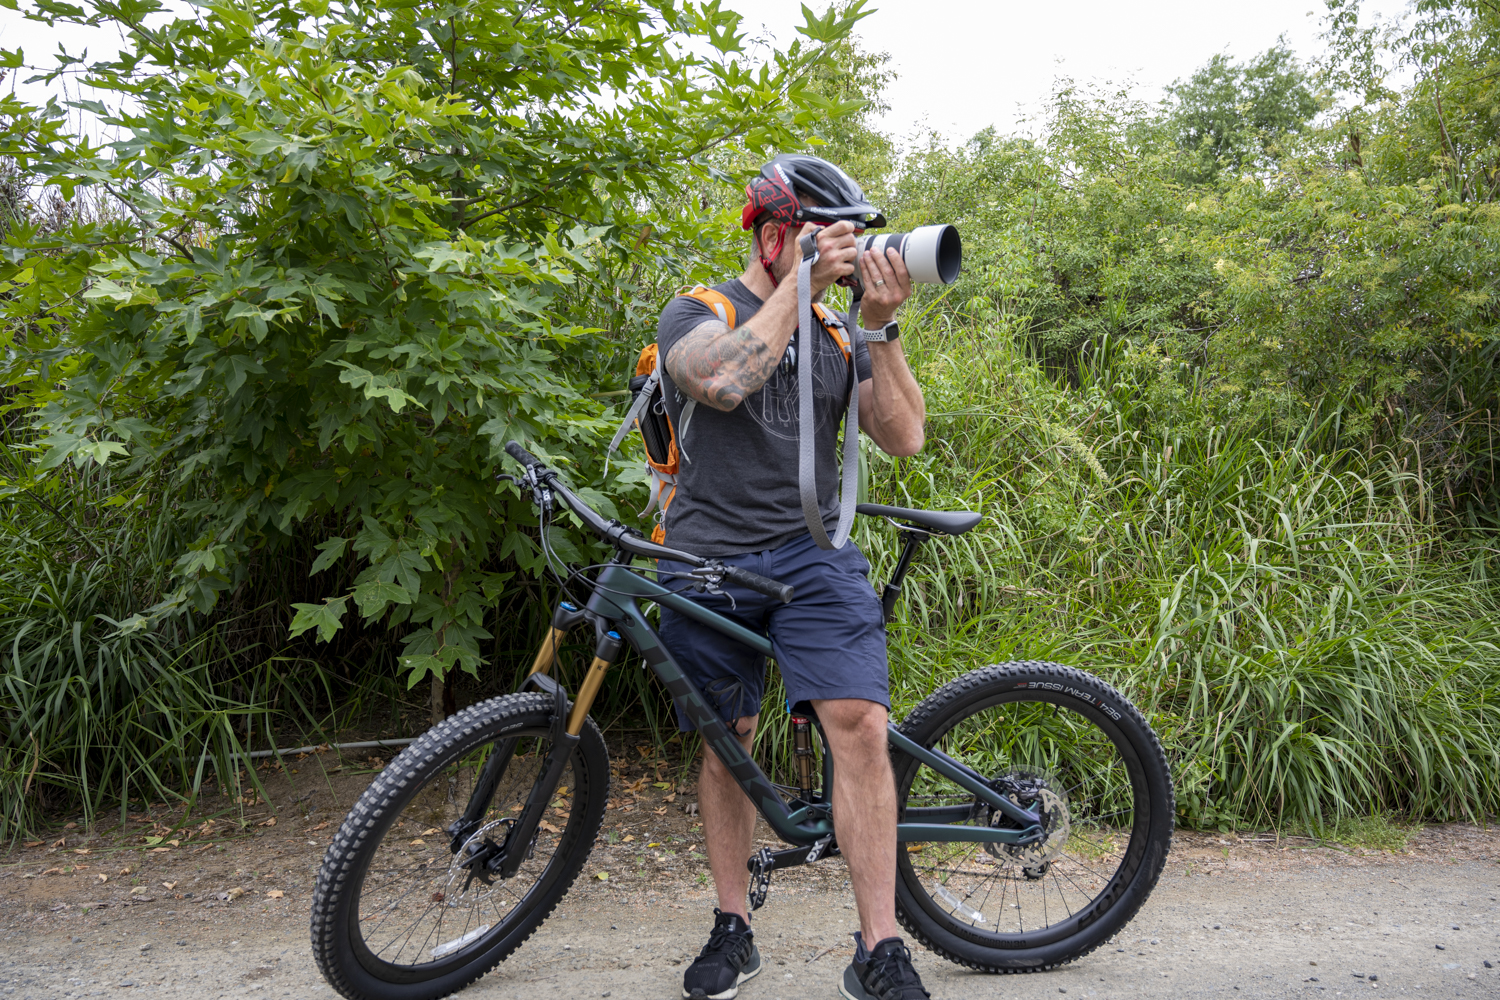
Make a Full Production

photo by recep-bg via iStock
Filming your photo trekking with a range of high quality gear opens up the opportunity to make a full production of your treks. Using action cam and drone footage as either B-Roll or primary footage can enhance your finished videos and create interest in your social media or your photography brand. Plus, it’s the best thing for your mind, body, and soul.