3 Simple Strategies for Nailing the Focus in Night Landscape Photography
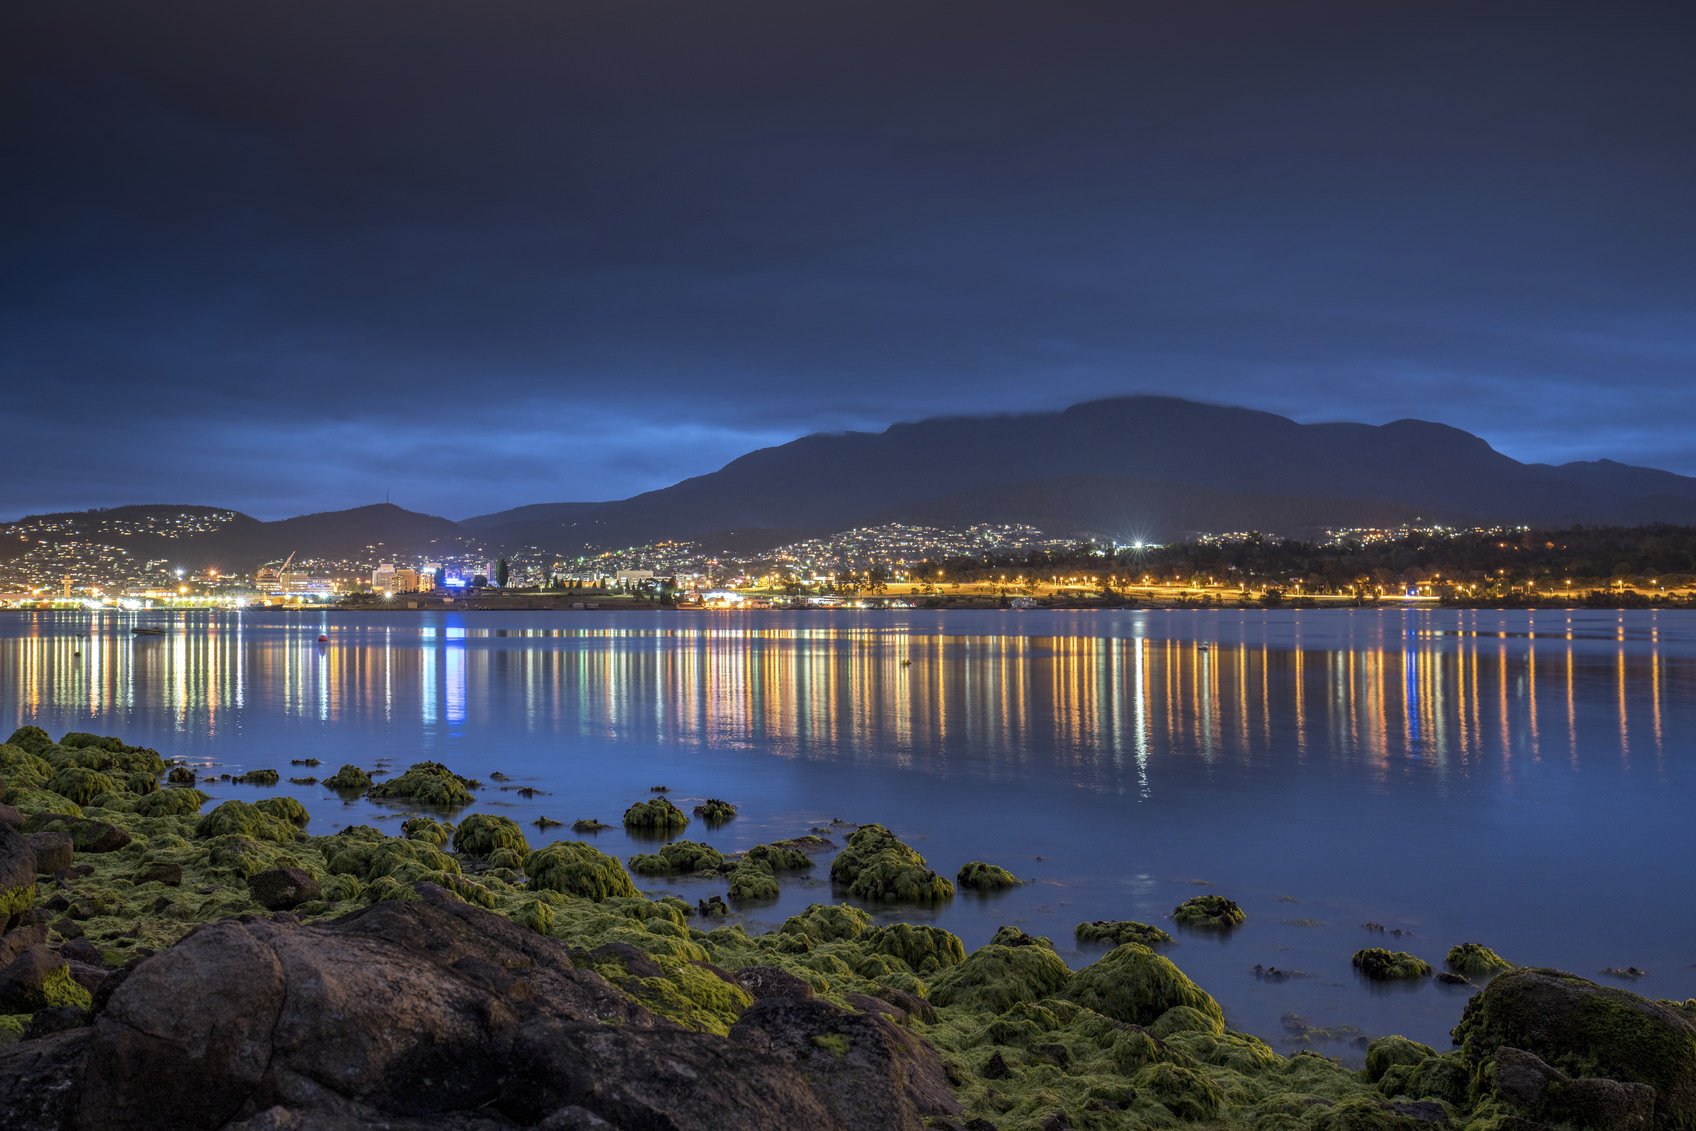
If you peruse photos in PhotographyTalk’s galleries, on Flickr, or on Instagram, it’s hard not to come across a great number of nighttime photos. These images often feature the movement of the stars or the Milky Way, they might include the Northern Lights, or show off the dazzling lights of a nighttime skyline.
Whatever the subject matter, photographing at night presents a number of challenges. Primary among them is getting the focus just right such that you have a sharp, final image. Here’s how to do that.
Use Live View
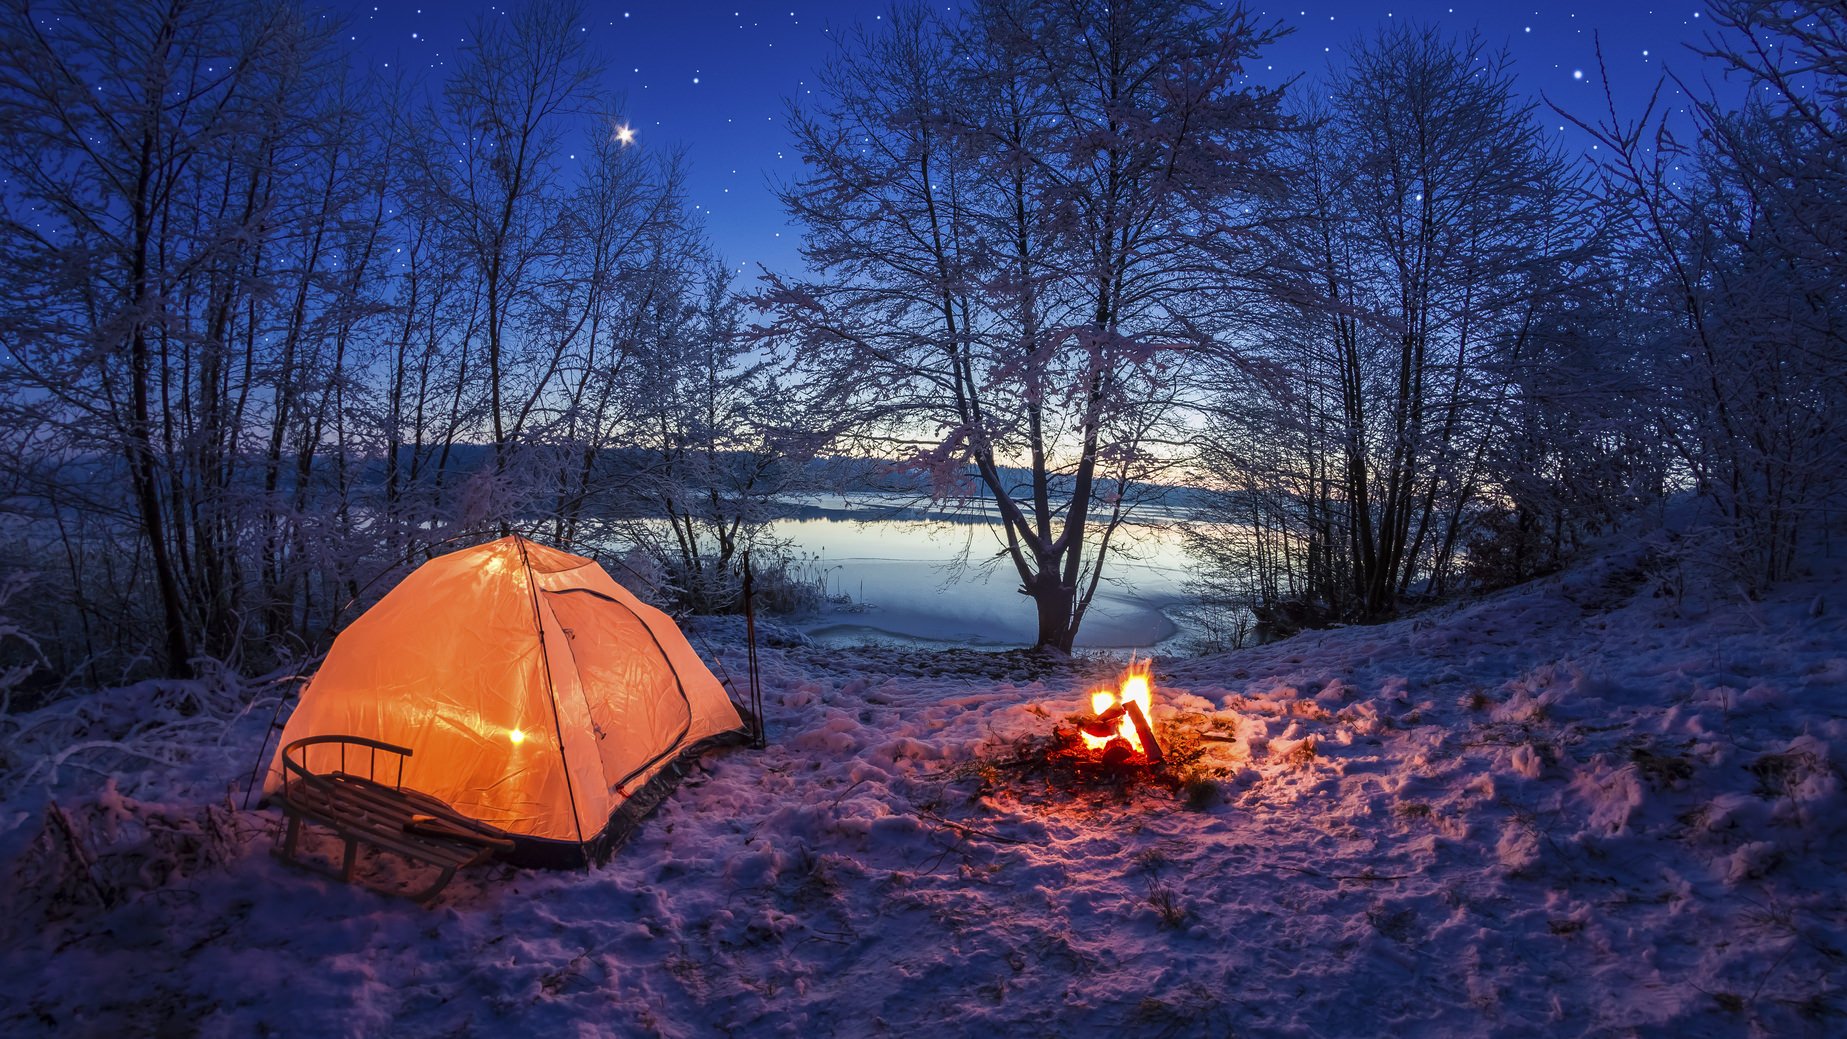
When shooting in the daytime, your viewfinder is the way to go, to be sure. But at night, it’s difficult to see all the details you need to see through the viewfinder. At night, use live view so you have a larger space to see the details you’re attempting to photograph. Look for the brightest area of the scene, then use the zoom function on live view to zoom in on that object. Use whatever that object is - a star, a streetlight, or the headlamp your friend is wearing off in the distance - as your focal point. Since you can more readily see it in live view, you can ensure that the entire photo will be in focus.

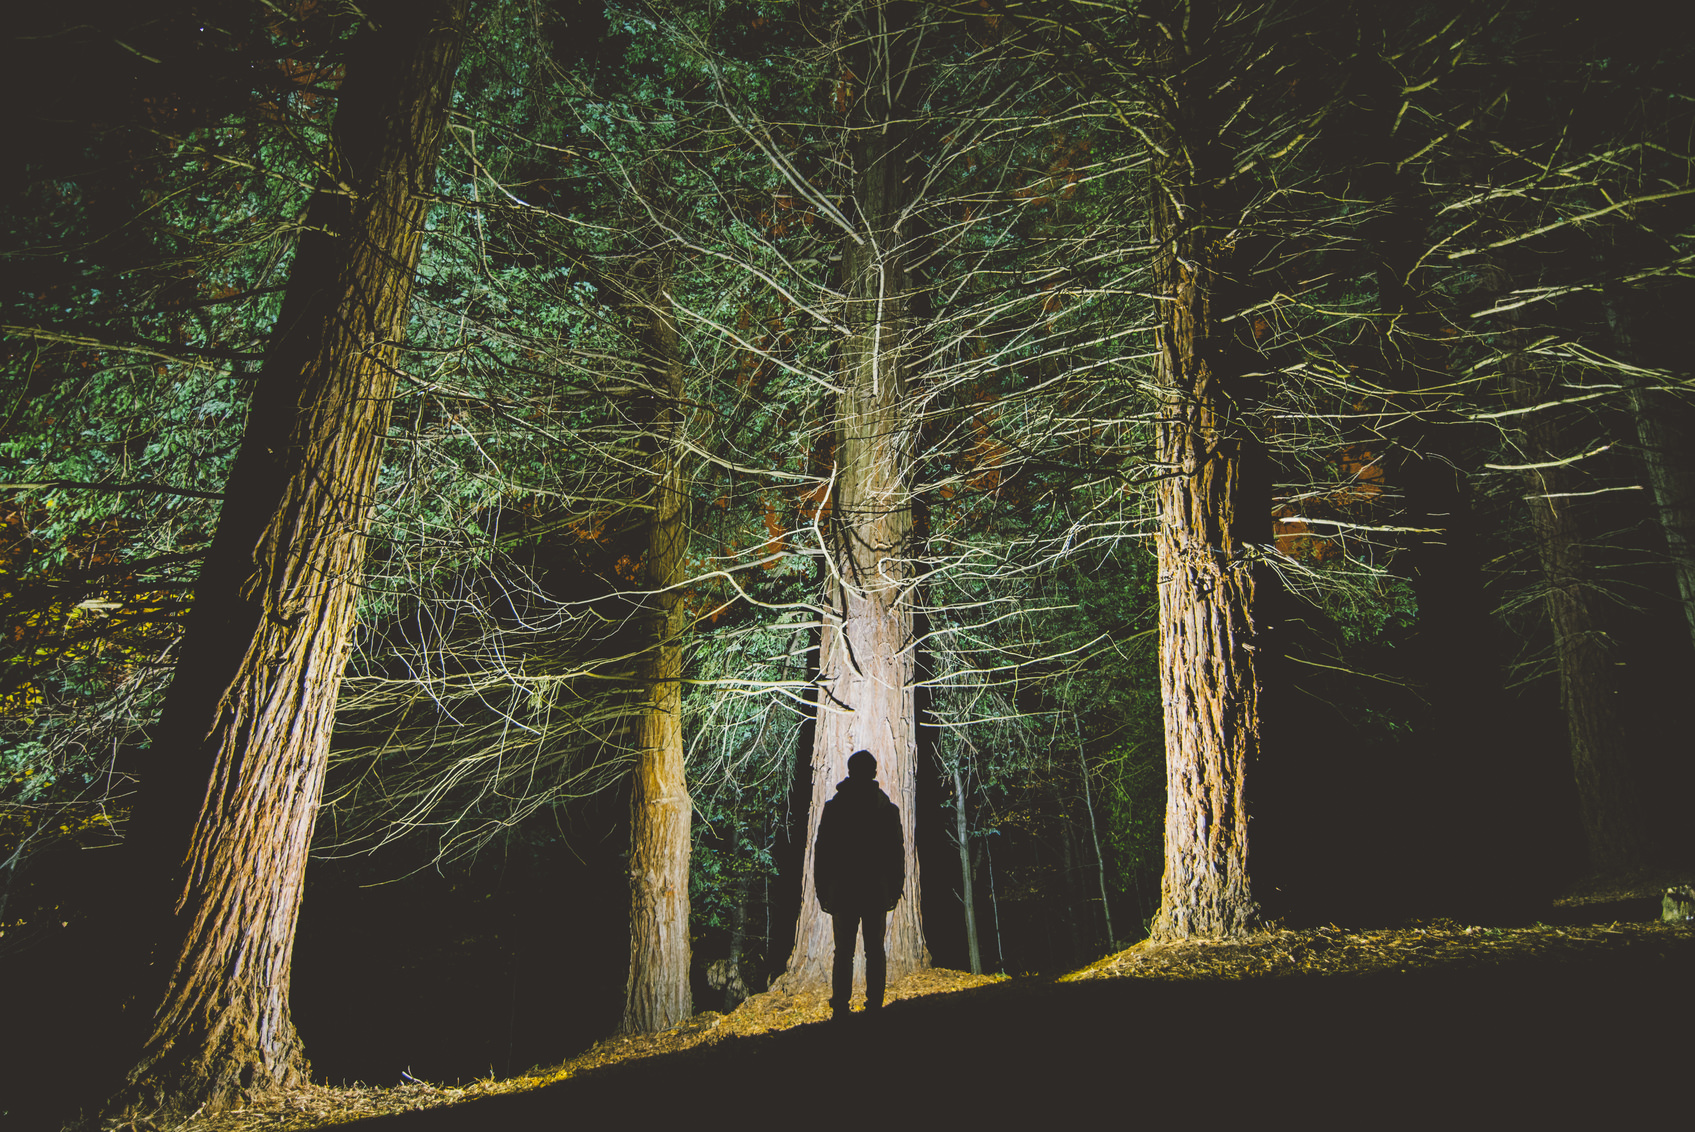
If the scene is very dark and there aren’t any bright objects upon which to focus, use a bright flashlight to illuminate the scene. Doing so allows you to select an area of focus, such as an object in the foreground, to ensure a sharp photo. You could even place your flashlight somewhere in the field of view of the camera facing toward you to serve as a bright focal point. Then turn off the flashlight, adjust the camera’s exposure settings, and take the photo.
Choose Manual Focus Over Autofocus
Autofocus is great, and with every new camera that’s rolled out each year, the power of autofocus seems to be vastly improved.
However, even today’s highly advanced autofocus systems still struggle to find a reference point on which to focus at night. As a result, manual focusing will get you better results.
With the brightest area of the photo referenced above serving as a guide, use the manual focus ring to adjust focus until the focal point is tack-sharp. You might need to adjust the focus back and forth several times to pinpoint the sharpest focus, but again, this process is made easier by using live view.
Try Focusing at Infinity
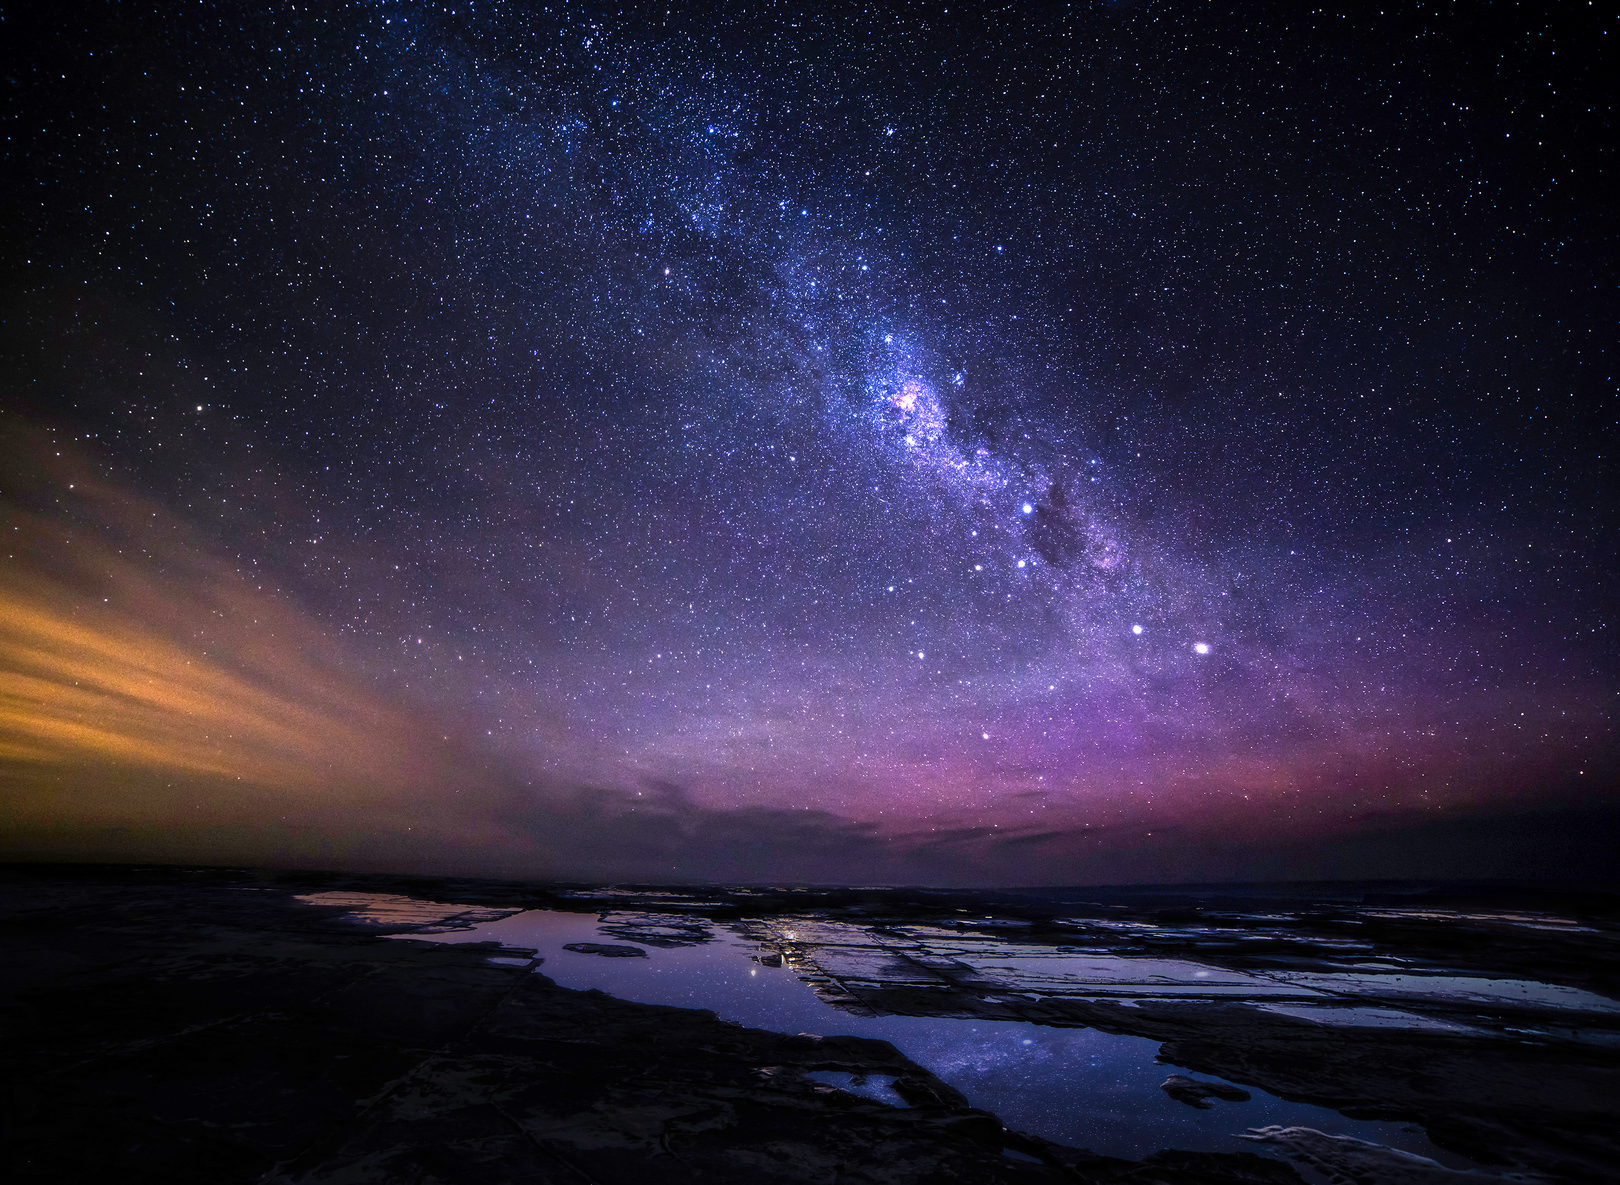
Perhaps the easiest trick you can use to obtain sharp nighttime photos is to focus at infinity. In many instances, this will get you relatively close to the sharpest point of focus and is a good starting point for sharper photos. For example, when shooting a star-filled sky, focusing at infinity will get you pretty good results.
There is a disclaimer for using this technique, though: the sharpest focus is usually slightly before infinity. As a result, go straight to infinity, and then dial back the focus just a touch. You’ll likely find that fine-tuning the focus in this manner will get you results that are nice and sharp.
This technique is a good trick to use if your camera isn’t equipped with live view. It won’t be perfect, and the results likely won’t be as sharp as those you can get with live view, but your photos should still be in greater focus than if you simply point and shoot using autofocus.
So, focusing at night is really quite simple. Stay away from autofocus, use live view, or try focusing at infinity. You’ll likely find the resulting images show a greater degree of sharpness!
We Recommend