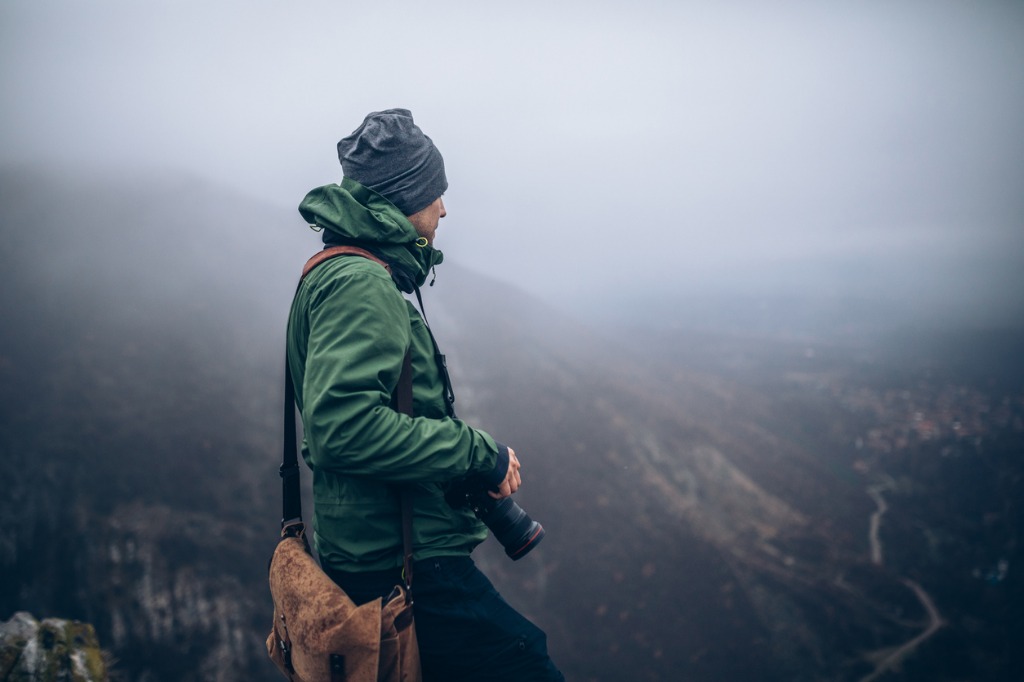
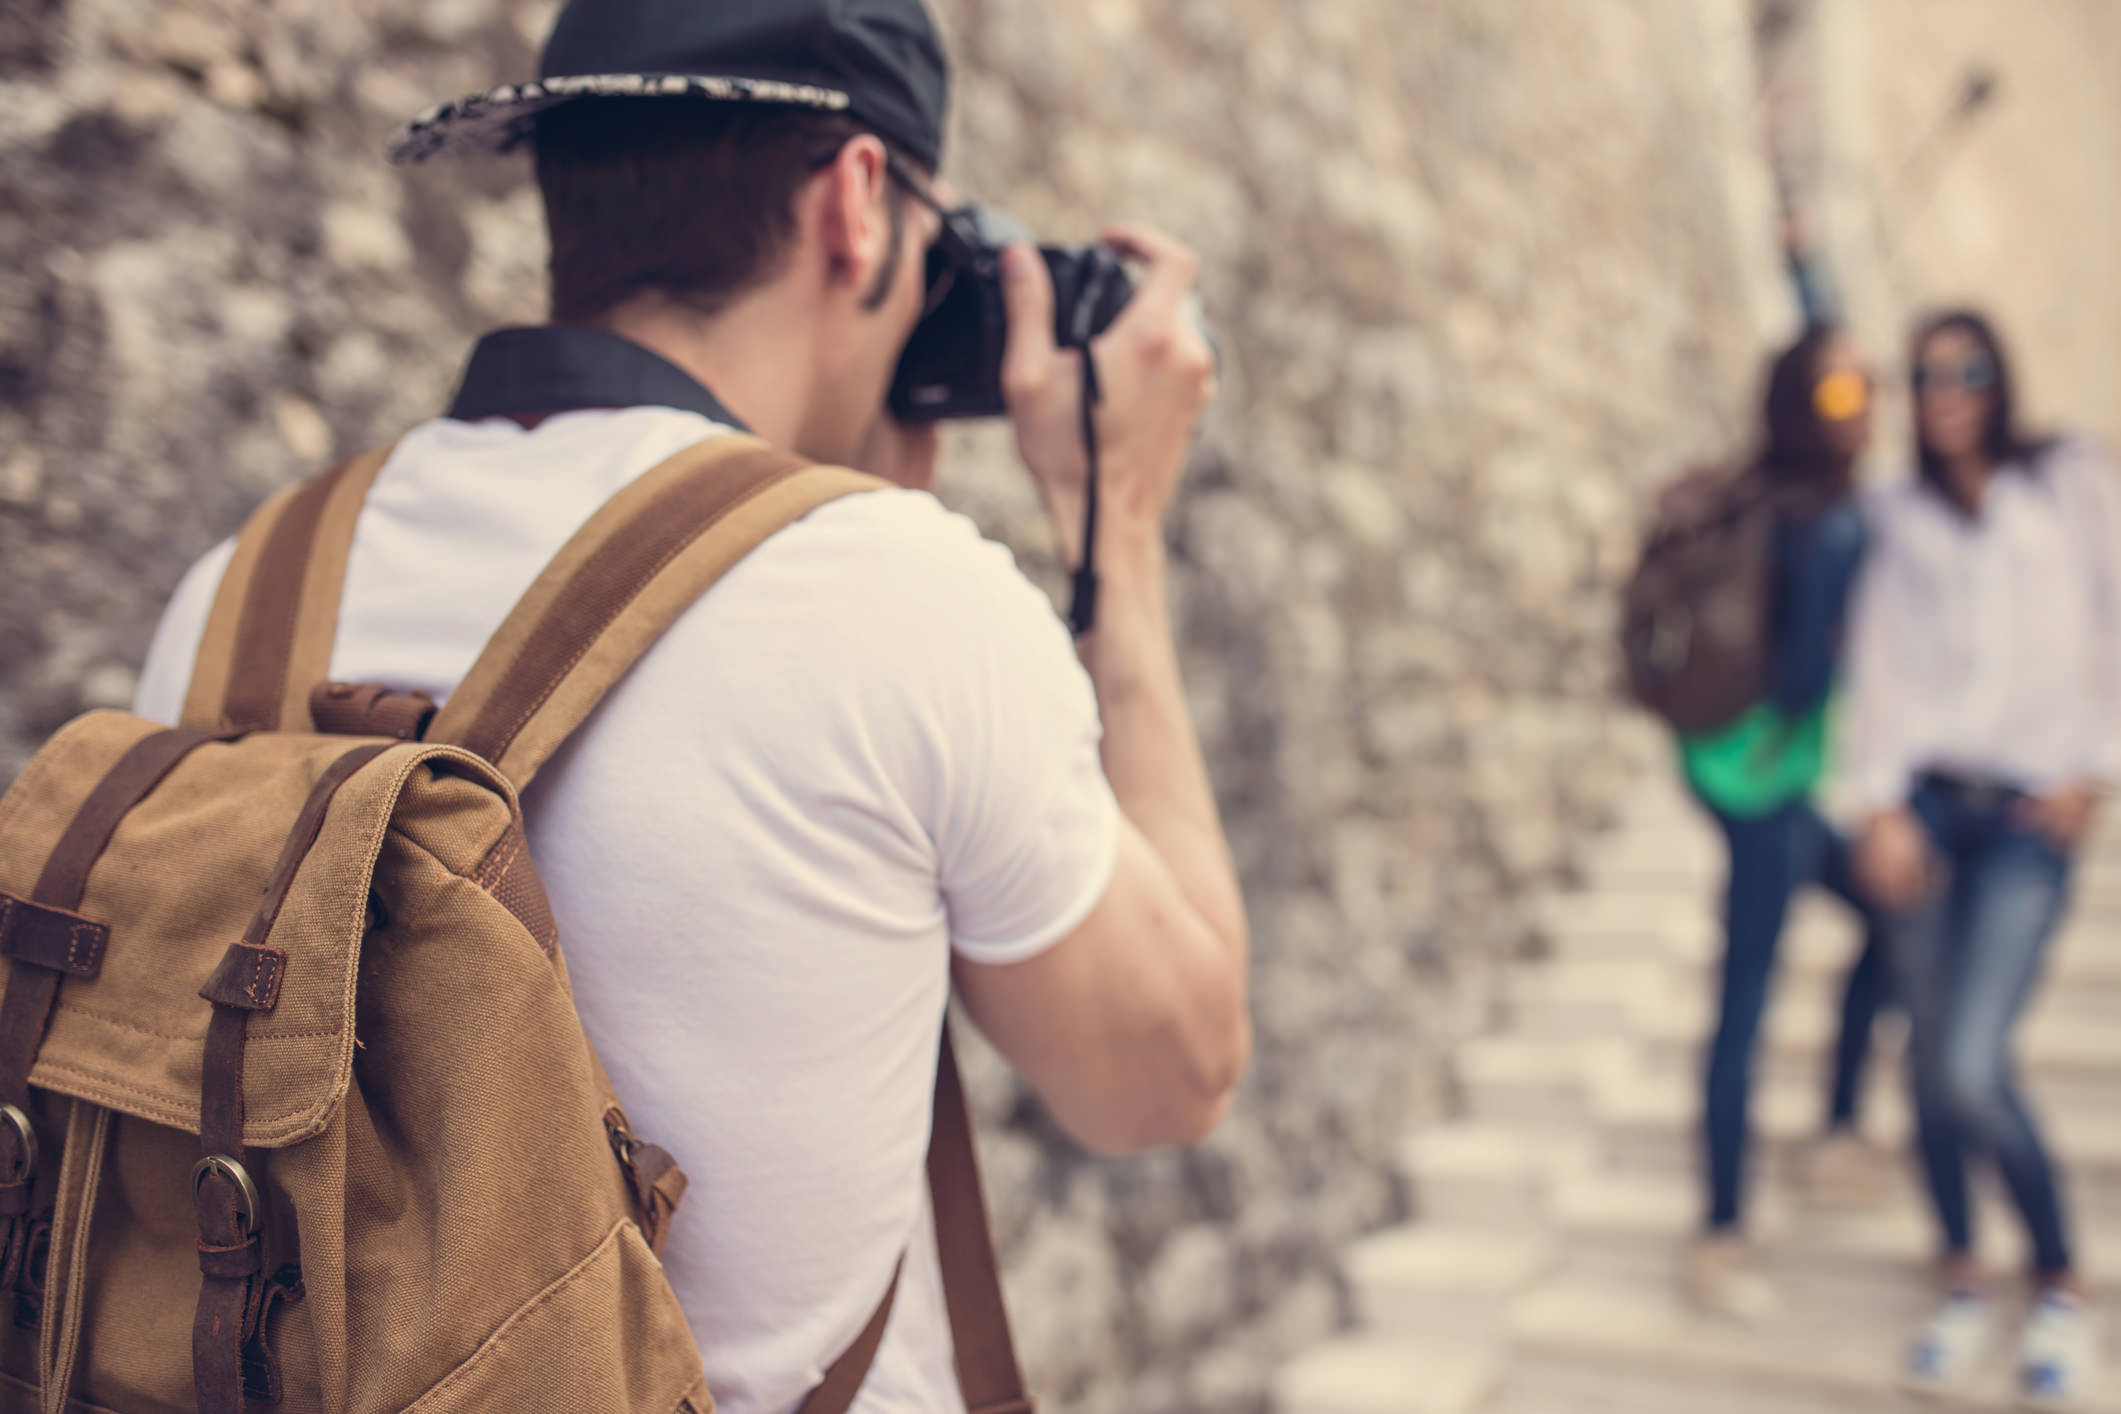
10 Beginner Photography Tips and Camera Settings You Need to Know

Starting out in photography is exciting, to be sure.
But it can also be a lot of work!
Working hard to improve your craft is a good thing, though, because in the end, photography is a journey, and the growth you experience along the way will be invaluable.
Of course, it's nice to know where to begin, too.
That's the purpose of this guide.
I've put together ten basic tips to help you start your photography journey. Each one is summarized below and includes a link to a more comprehensive discussion of each topic.
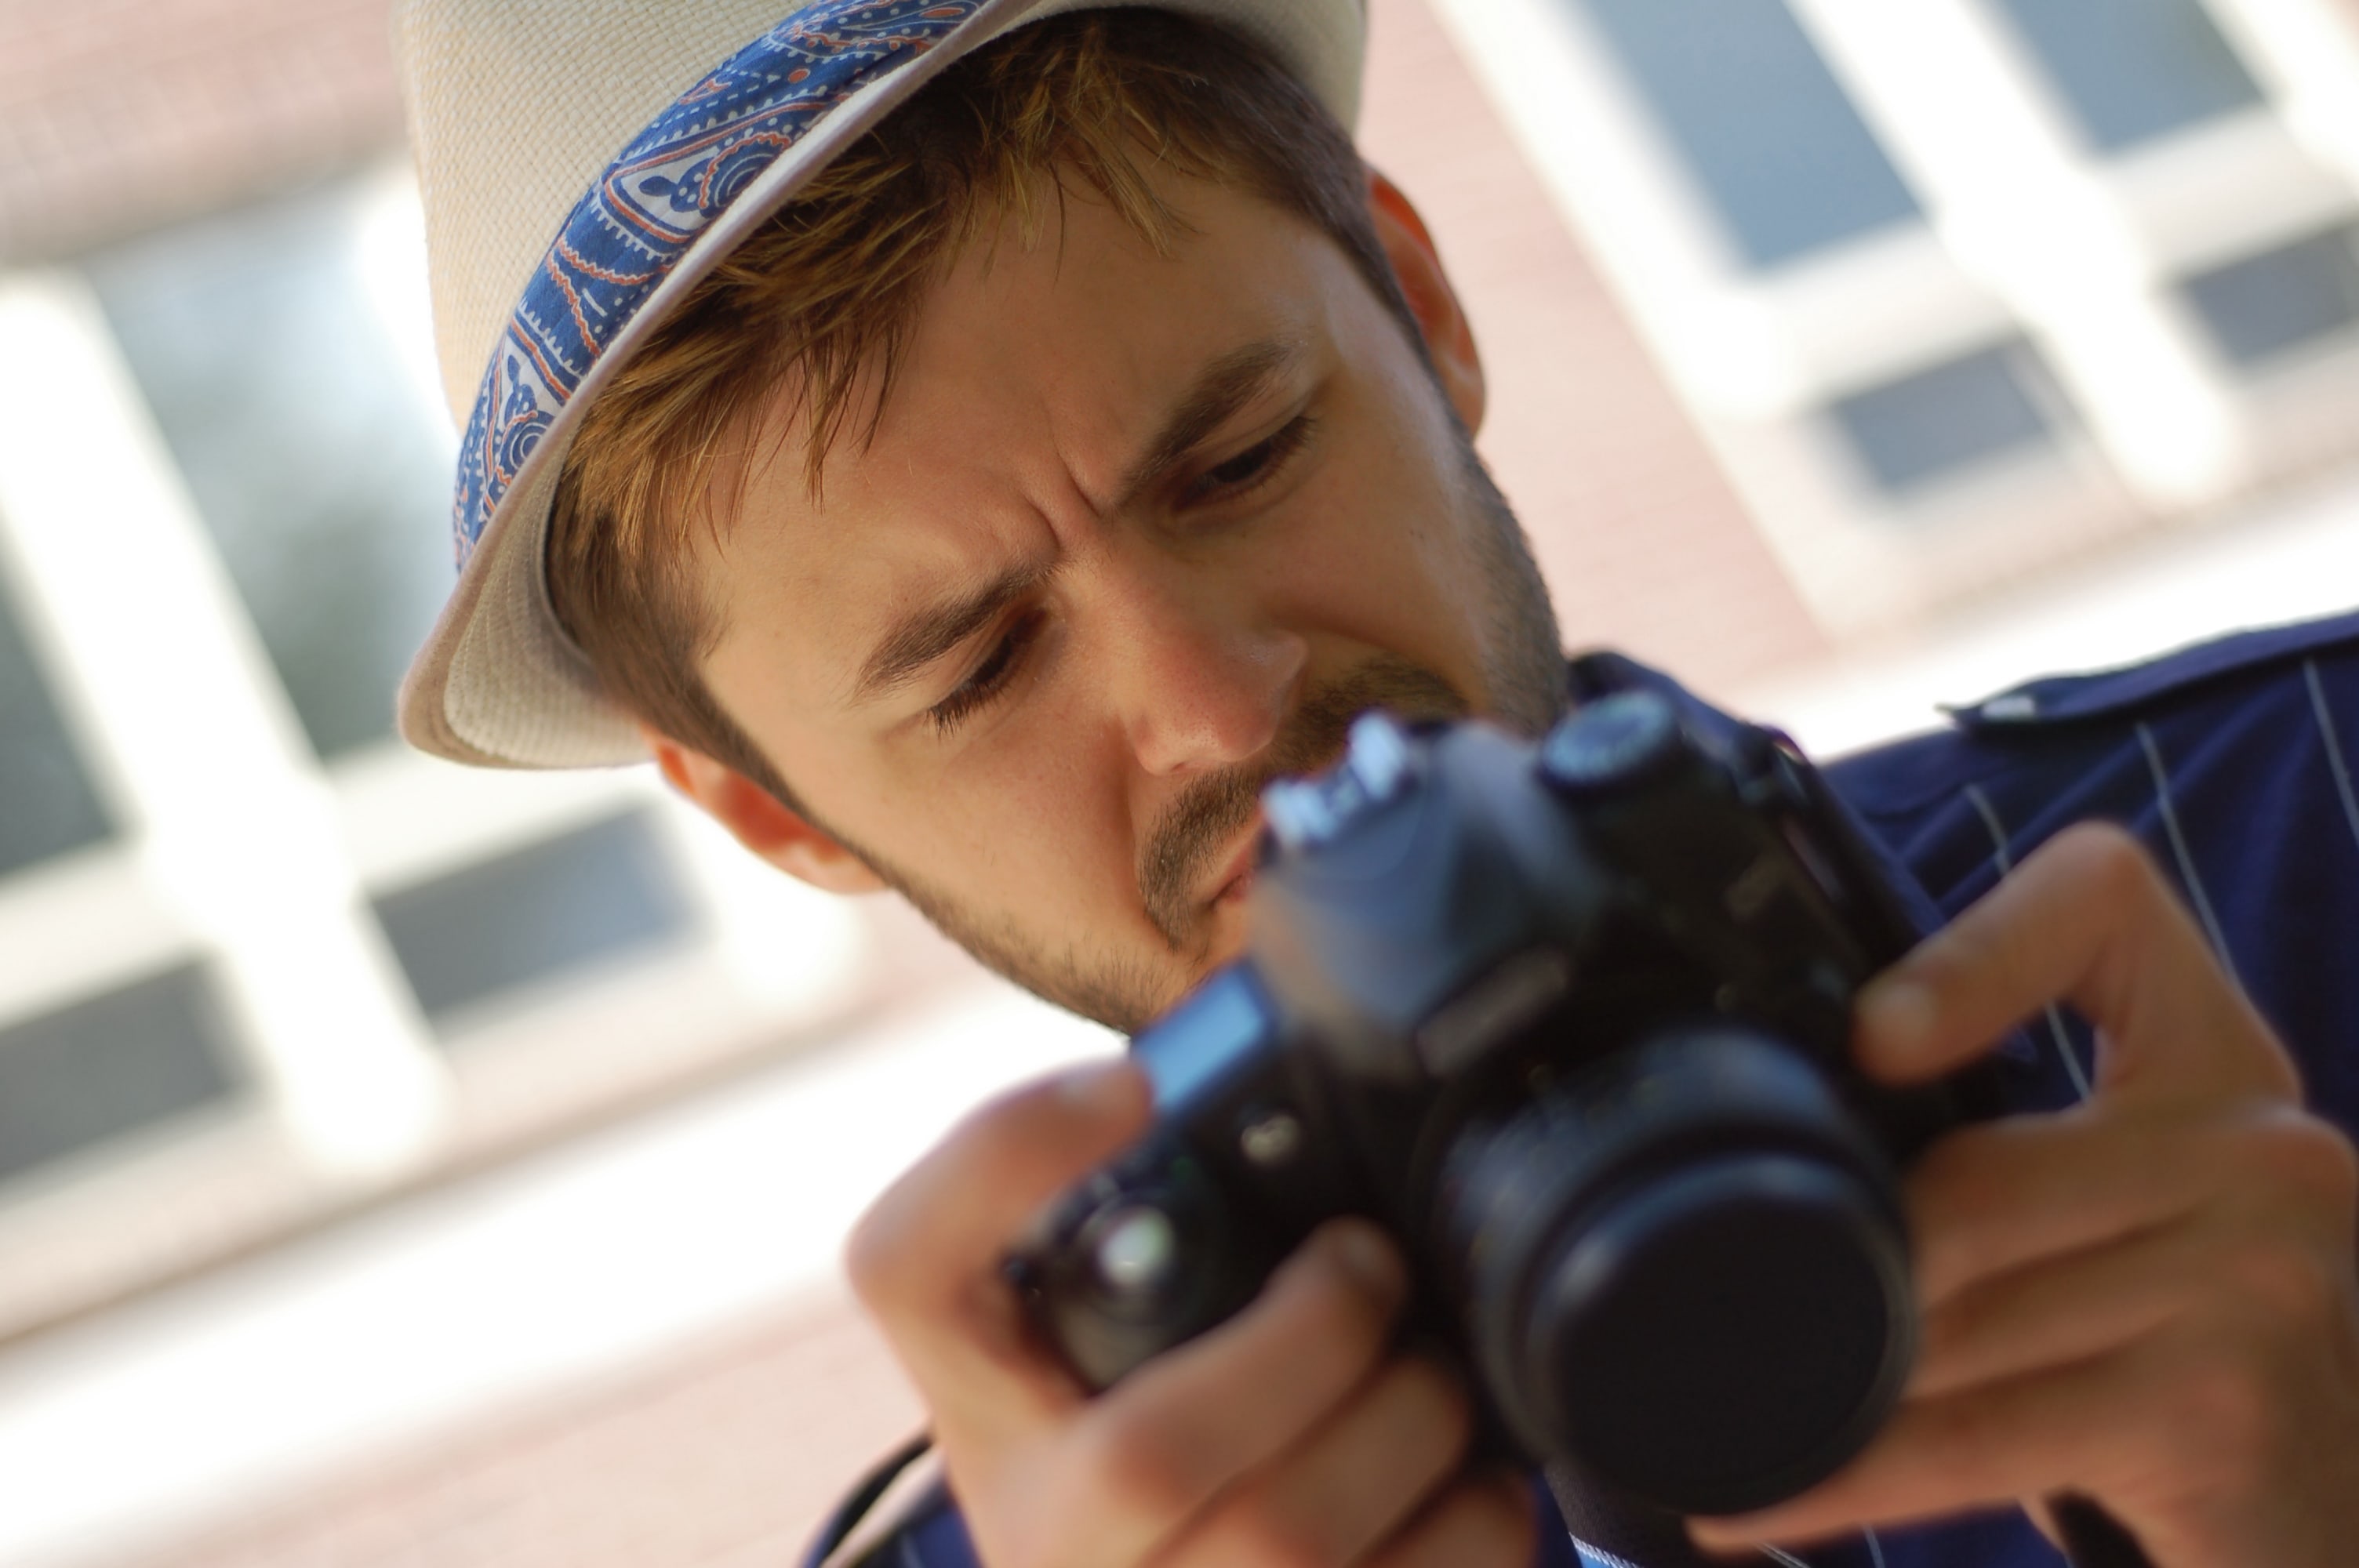
Camera Settings
Camera Modes

Looking at your camera dial and seeing M, A, P, A/AV, S/TV, and all the other little icons can be a little confusing, even if you read your camera's owner's manual!
But understanding what each camera mode does and the applications in which each one can help you will only serve to make taking better photos an easier task.
Don't continue to be confused about which mode does what...
For a good overview of the primary shooting modes, check out this guide and start taking better photos today!
Metering Modes

Your camera has various metering modes that allow it to "read" the light under different circumstances.
But with names like evaluative, spot, partial, and center-weighted, it's easy to understand why so many beginners aren't sure what each mode does, let alone when to use them.
Each metering mode is a specialist at helping you get a well-exposed image depending on the situation.
By learning what each mode does and how to use it, you'll have yet another way to take improved photos.
This comprehensive guide will introduce you to metering modes and explain the pros and cons of each.
Reading a Histogram

One of the most powerful tools in a photographer's toolkit - the histogram - is also one of the most underutilized.
In a nutshell, the histogram gives you a graphical representation of the brightness levels or tones in an image. It's a far more accurate method of judging the exposure than simply looking at your images on your camera's LCD.
That means you get a highly accurate view of the image's exposure levels so you know what needs to be changed to get a better-exposed photo.
View this tutorial on histograms to develop an understanding of what they are and how to use them to your benefit.
White Balance

Have you ever taken a photo and noticed that the color is off?
Maybe things that should be bright white are a little blue, or maybe a bit yellow?
That's color casting that's due to incorrect white balance, but you can control white balance with your camera.
The trick, of course, is learning how to do that!
Find out how to adjust white balance in this detailed article.
Want more beginner photography tips? Check out the video above for seven tips that will have an immediate impact on your photos!
General Photography Tips
How to Create More Dynamic Compositions

If you've noticed that your photos all look the same, are a little boring, or would otherwise benefit from a little compositional improvement, doing so isn't as hard as you might think.
In fact, one of the most well-known photography tips - using the rule of thirds - can help you achieve much better photos.
It's a simple concept, but one that requires a little bit of thinking and practice on your part.
Get a detailed overview of the rule of thirds in this guide, and see how much of an impact it can have on the photos you create.
How to Get Sharp Photos
One of the most common culprits of bad photos is them being out of focus.
And though there are many reasons why your images are blurry, there are also many ways to ensure that that doesn't happen.
For a detailed look at how to take tack-sharp photos, give this article a read.
How to Get a Shallow (or Deep) Depth of Field
When you look at a typical landscape photo, you might notice how everything from the foreground to background is in focus.
Then, when you look at a typical portrait, you might notice how the subject is in focus, but the background is not.
That's a result of the depth of field, and it's actually a lot easier to manipulate than you might think...
Learn how depth of field works and how to control it in this step-by-step guide.
How to Blur (or Freeze) Movement
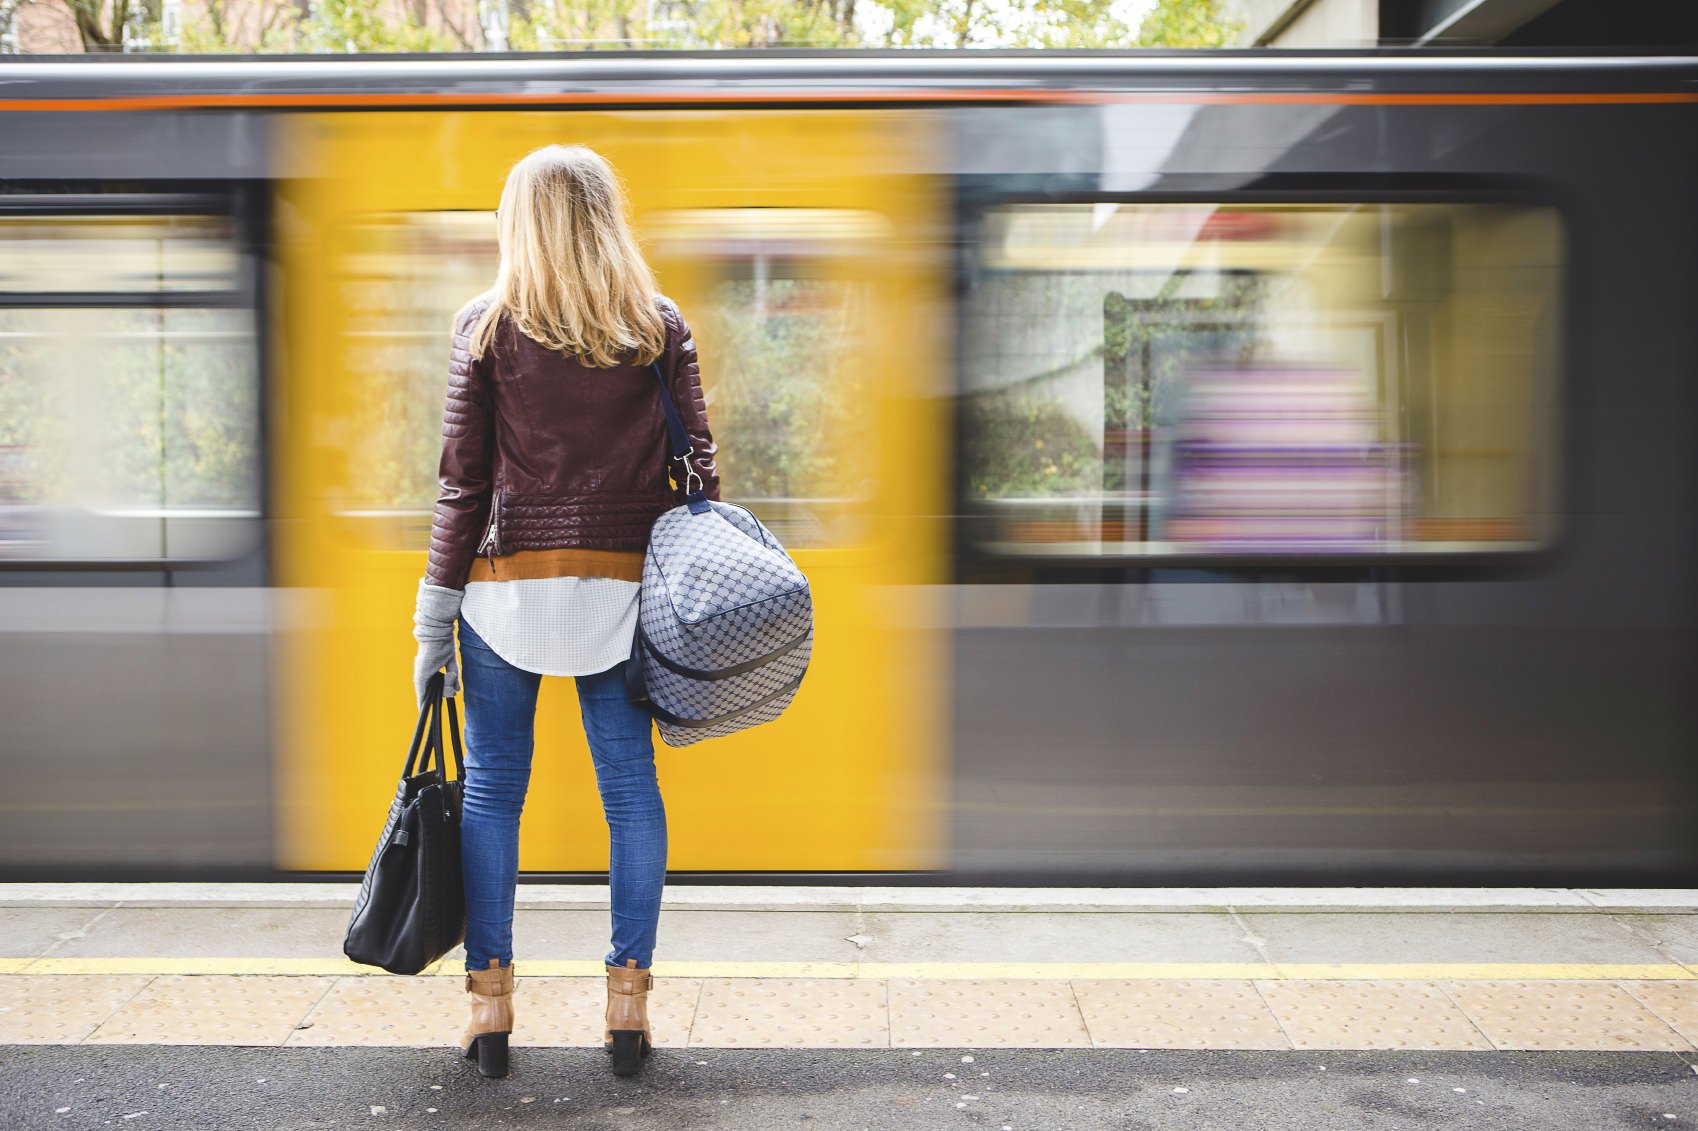
Images like the one above are impressive because of the manner in which the movement of the train is blurred.
When it comes down to it, to get that kind of look (or, conversely, to freeze movement) you need to worry primarily about one camera setting - shutter speed.
Learning to manipulate shutter speed might be a bit more of an advanced topic, but it's certainly one worth exploring.
Get the scoop on shutter speed, problems you might encounter, and how to fix them, in this tutorial.
Caring for Your Gear
How to Clean Your DSLR

Taking your lens off your DSLR and peering inside, you might very well see all kinds of dust and gunk on your camera's sensor and mirror.
But since those elements are extremely delicate, cleaning them can be a nail-biting task if you aren't sure what you're doing.
Check out this step-by-step guide for cleaning your DSLR the right way.
How to Clean Your Lenses
Your lens is your camera's window to the world, so there's not much point of cleaning your camera if your lens glass is dirty.
Though it isn't as delicate of a process as cleaning the inside of your DSLR, there's still a lot of tips and tricks to be aware of for getting your lens in tip-top shape.
If you aren't sure how to clean your lens glass, we've got this guideline that will walk you through the process.
There you have it - 10 must-know camera settings and photography tips to get you started on the right foot in photography.
There's plenty more to learn, but these guidelines and tutorials will be enough to occupy you for the time being.
Check out more beginner photography tips and composition tips to expand your photography knowledge even more!
We Recommend
10 Rules to Follow When Composing a Photo

You can have the most stunning subject to photograph in the most gorgeous lighting, but if you don't take care to compose the shot well, no amount of good light and inherent beauty will prevent the image from being a dud.
There are plenty of photography composition tips to help you create a better photo. That's the good news.
The bad news - if you can call it that - is that it just takes a bit of practice to become adept at using a compositional technique.
What's more, it can get a bit overwhelming trying to decide which compositional techniques to learn, let alone which ones to implement.
Again, a little bit of practicing a handful of compositional techniques will help you determine what you like to do to give your photos a boost.
Let's take a look at 10 compositional rules that will help you create a more impactful photo.
Shoot Both Vertical and Horizontal

When I first started in photography, I noticed something about my photos when I reviewed them...
Virtually all my landscape photos were in horizontal format and virtually all of my portraits were in vertical format.
There's nothing wrong with that approach; it's just expected. In photography, you want to give viewers something unexpected!
When I started forcing myself to change the aspect ratio I used to take photos, I noticed that it required me to think harder about the shot.
For example, when photographing a landscape in vertical format I had to take the foreground and background into more account, given that in vertical format both areas have more real estate in the frame.
What I found to be most helpful is to take both a horizontal and a vertical shot of the same subject, and then compare how they look and feel afterward. It really helped me to develop my eye for framing and composition and it will do the same for you.
Learn More:
Use Leading Lines

One of the most powerful compositional tools you can use, especially in landscape photography, is leading lines.
Leading lines are great because they help your viewers understand where they need to look in the photo.
Rather than their eyes wandering around the shot, a leading line will immediately grab their attention, allowing you to direct them towards the primary subject.
There are all sorts of lines you can use in a shot, from a roadway to a simple path to a fence or a wall.
But leading lines don't have to be so overt.
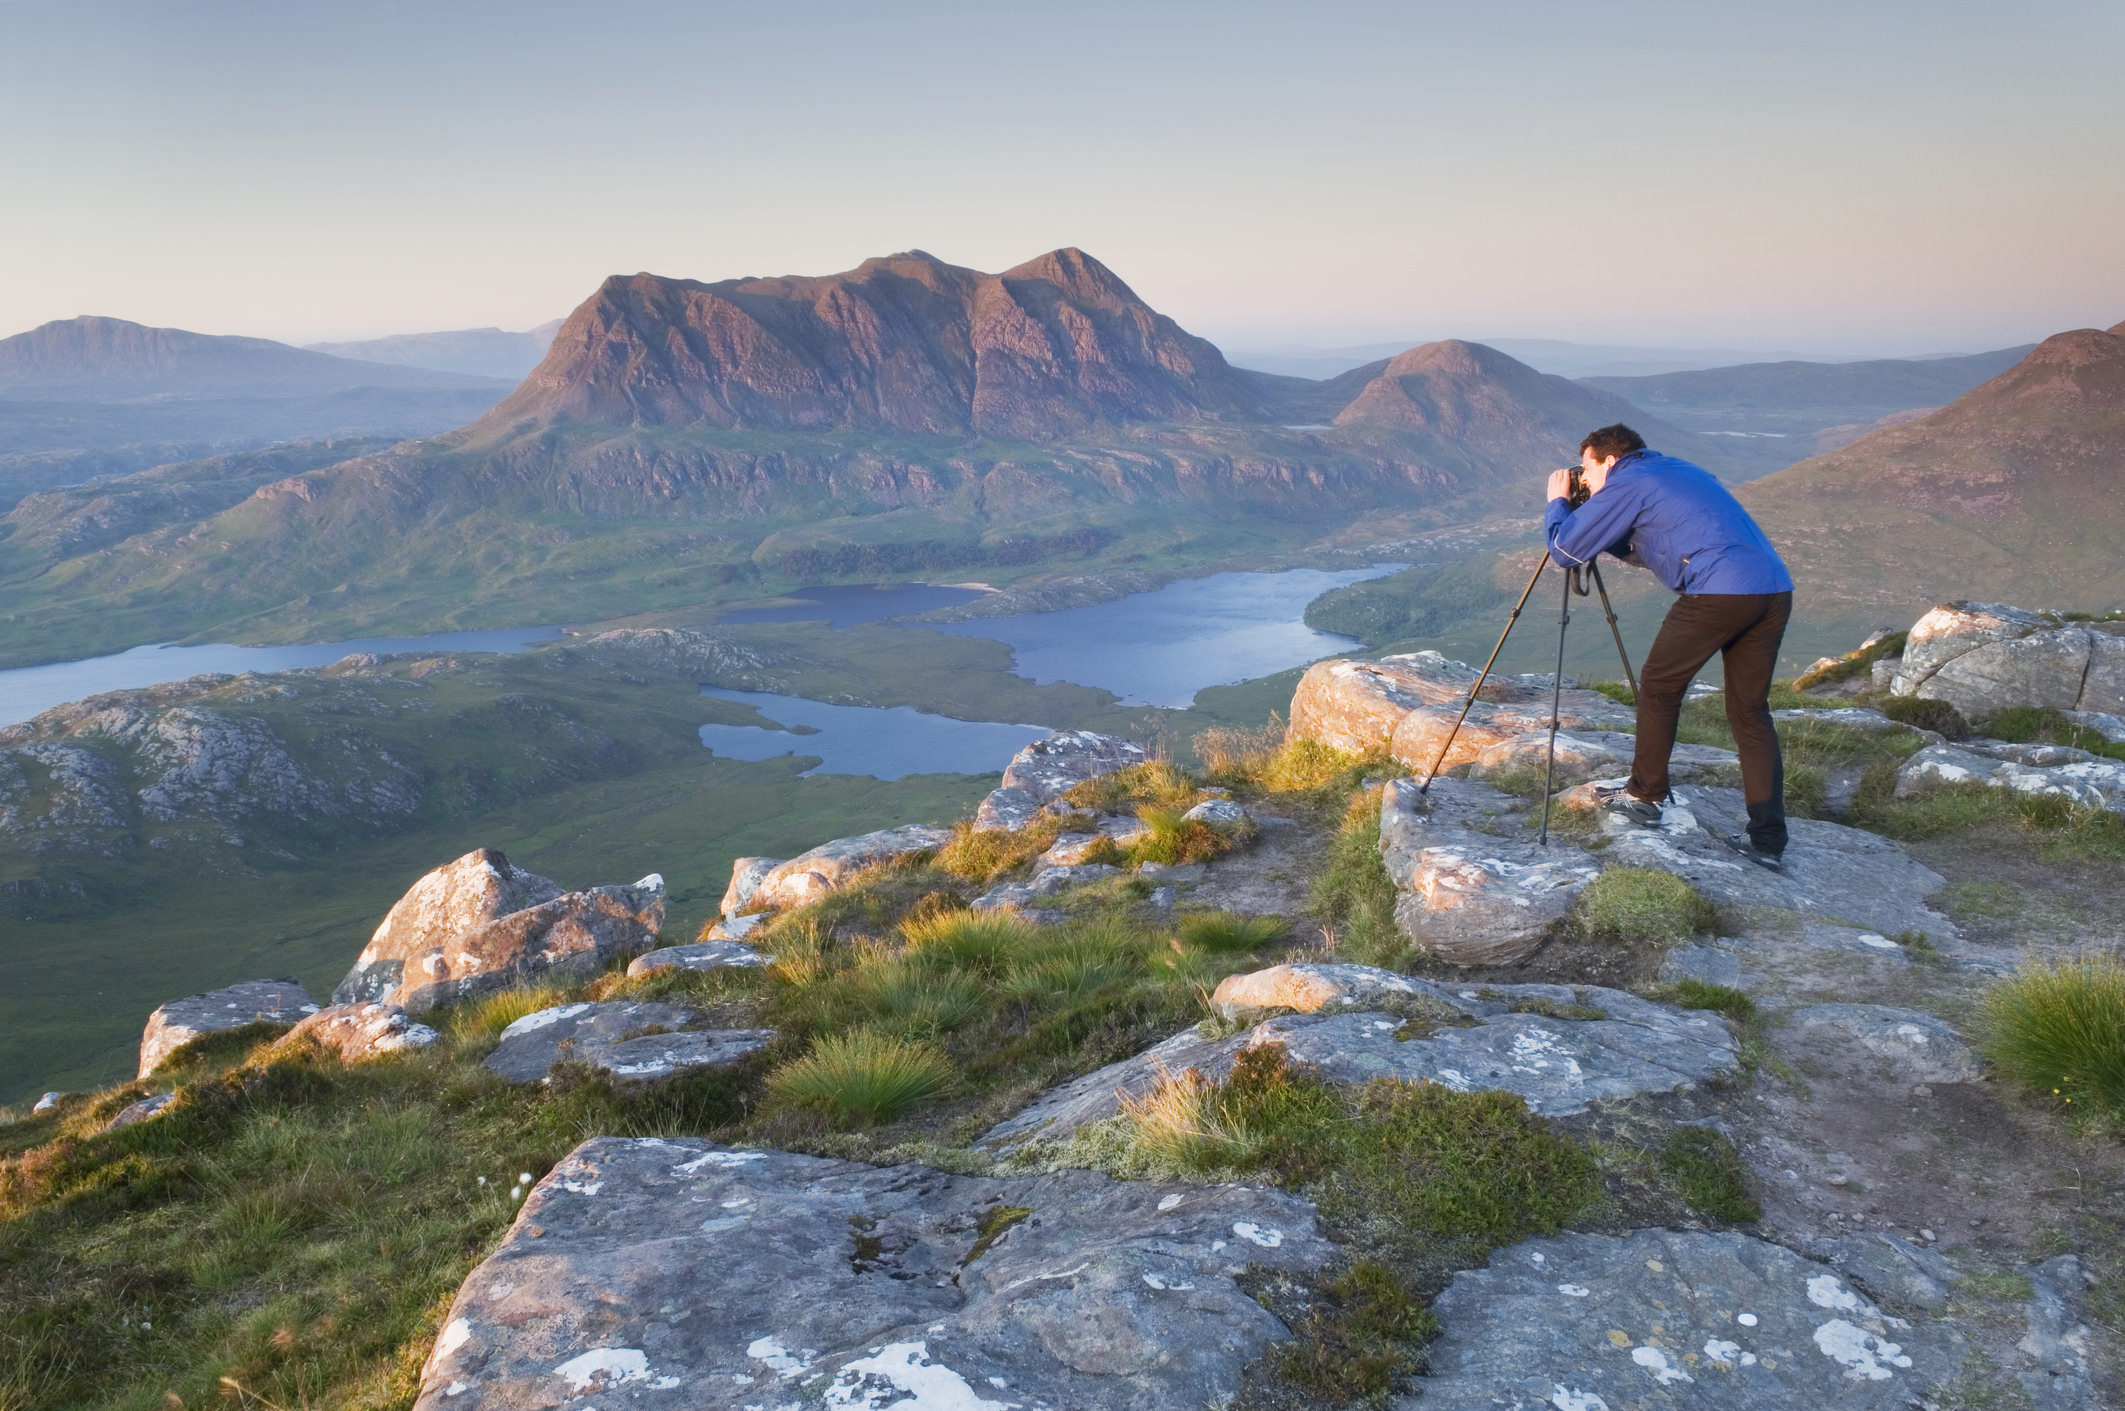
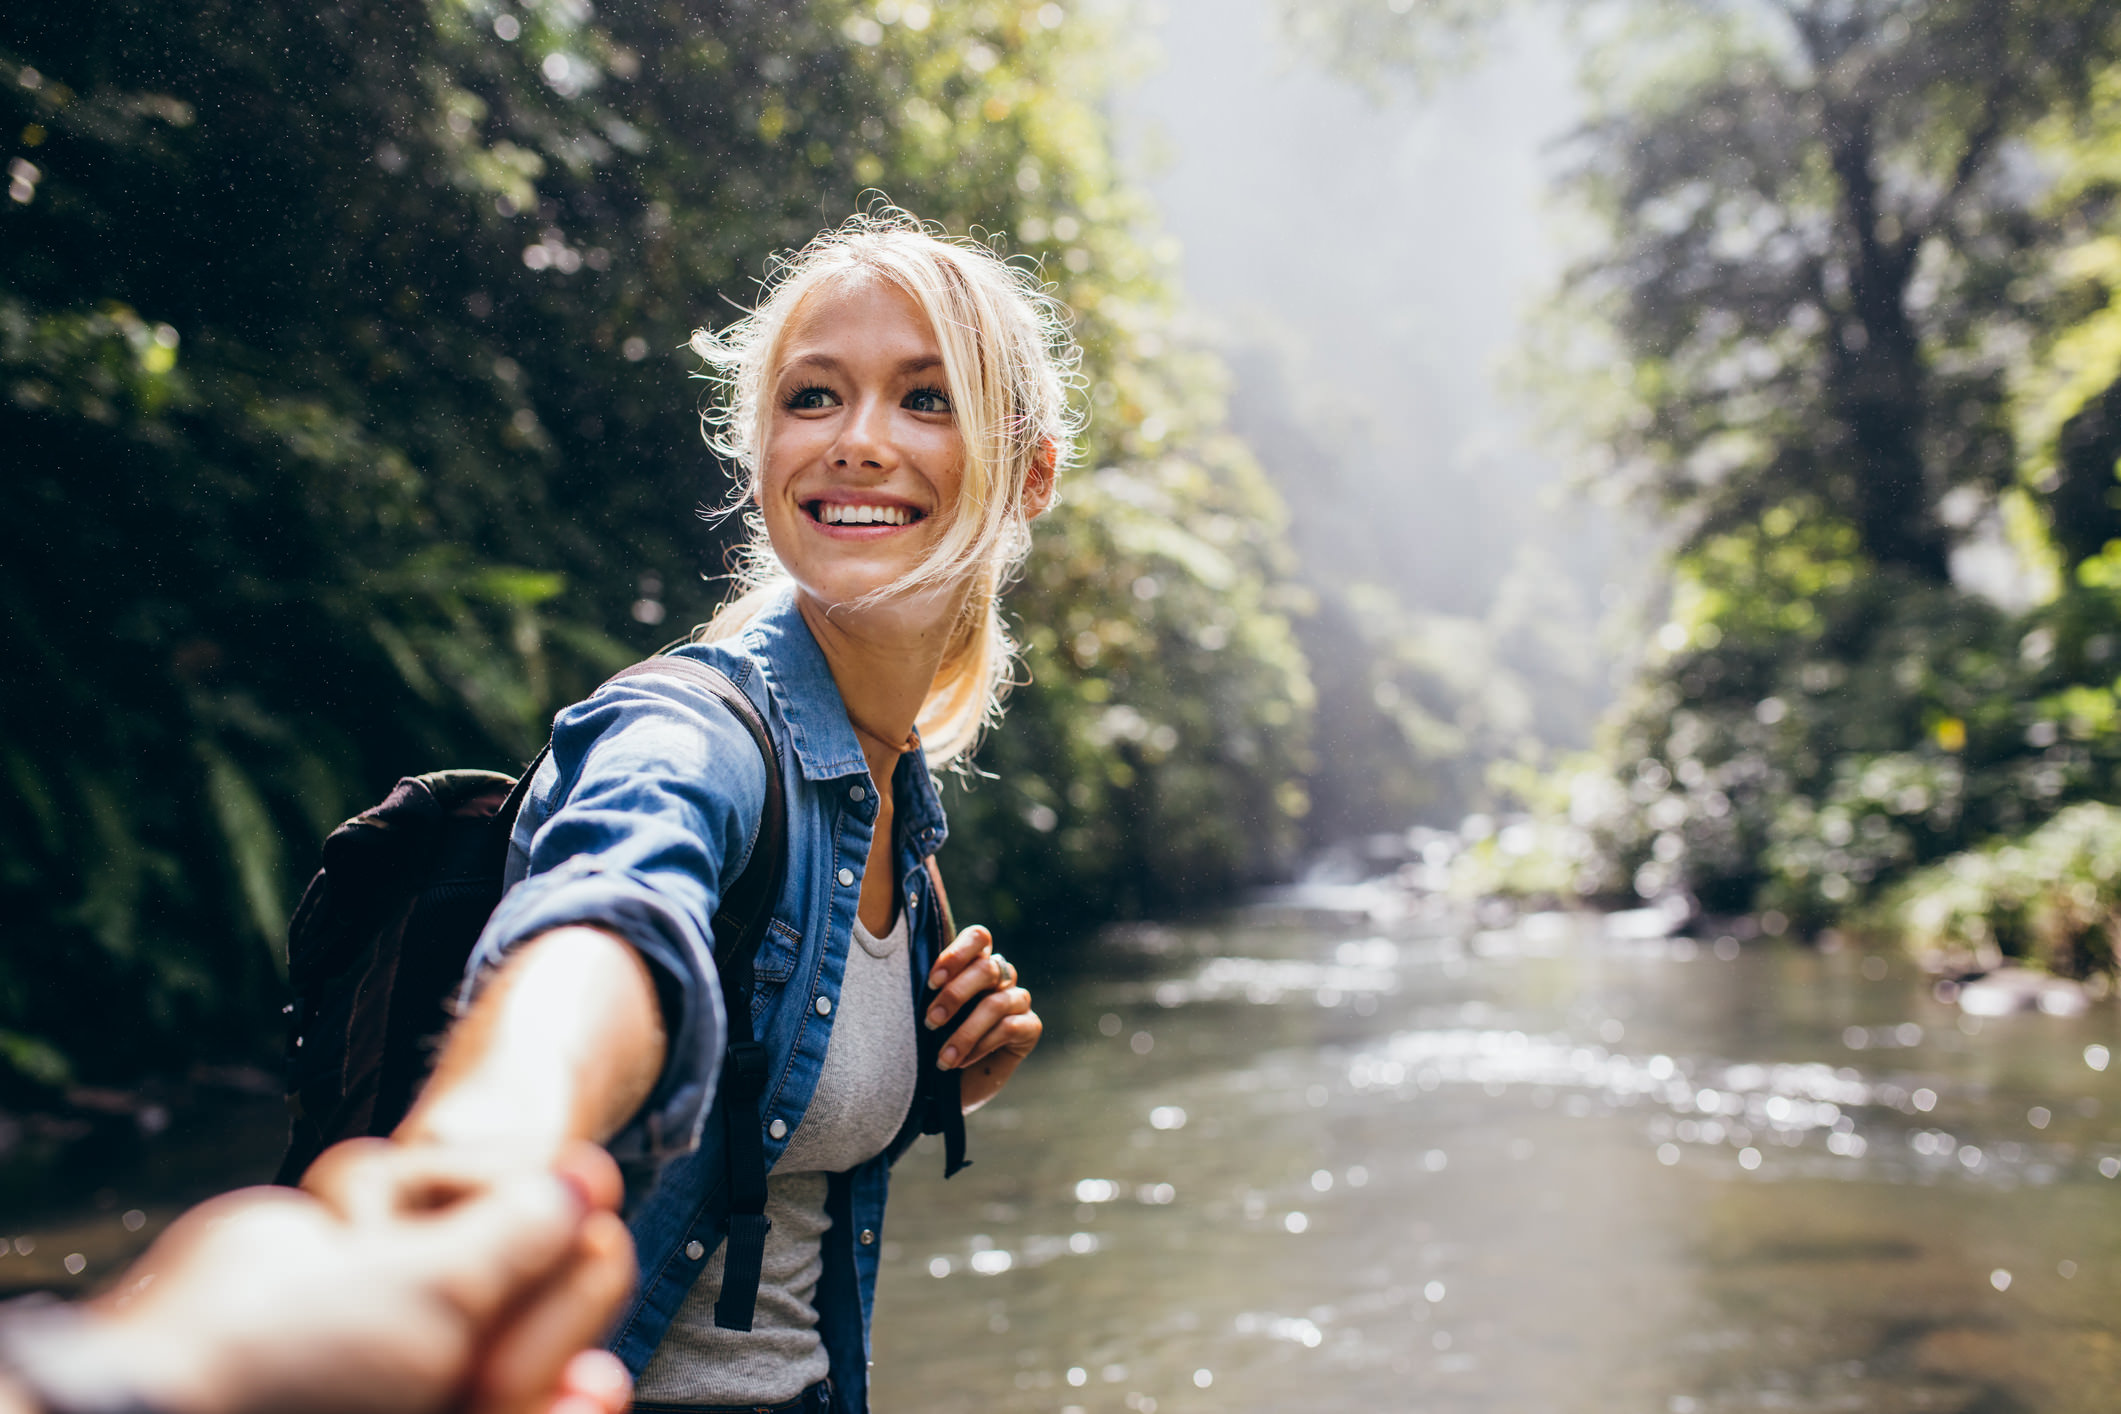
In the image above, the fallen tree on the left side of the shot points directly at the man. That kind of subtle leading line is highly effective, and viewers often won't even realize that their gaze has been influenced by something so nondescript.
Don't Get Stuck Using Vertical and Horizontal Lines

When thinking about your leading lines, it's natural to go right to using vertical and horizontal lines.
However, this can be a little predictable, and in the case of horizontal lines, in particular, it can be a little boring too.
For something unexpected and dramatic, diagonal lines should be used.
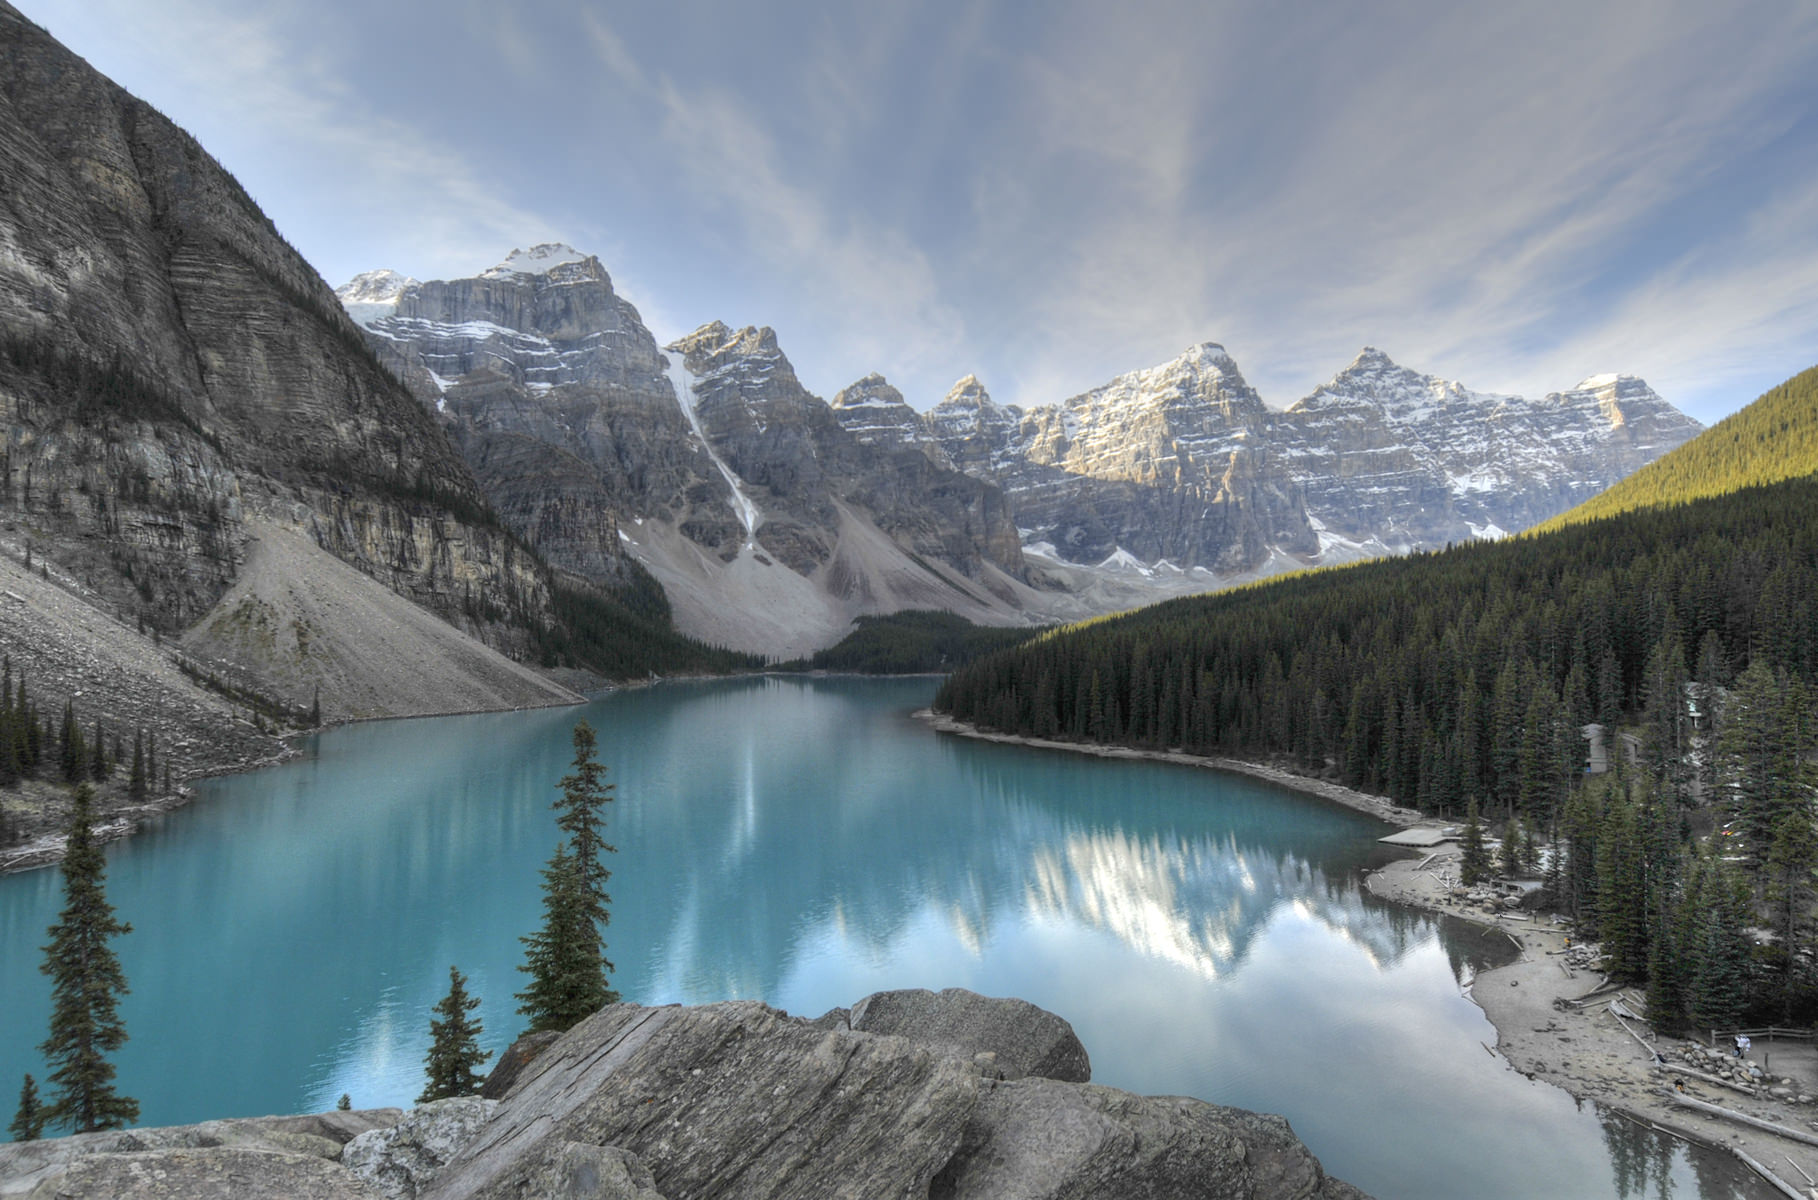
In the image above, there's two sets of diagonal lines - the river and the beams of sunlight.
Note how both sets of lines add drama to the shot that wouldn't be possible if they were simply horizontal or vertical lines.
Instead, the horizontal nature of these lines helps widen and deepen the shot, as well as accentuate the mountain peaks through which they meander.
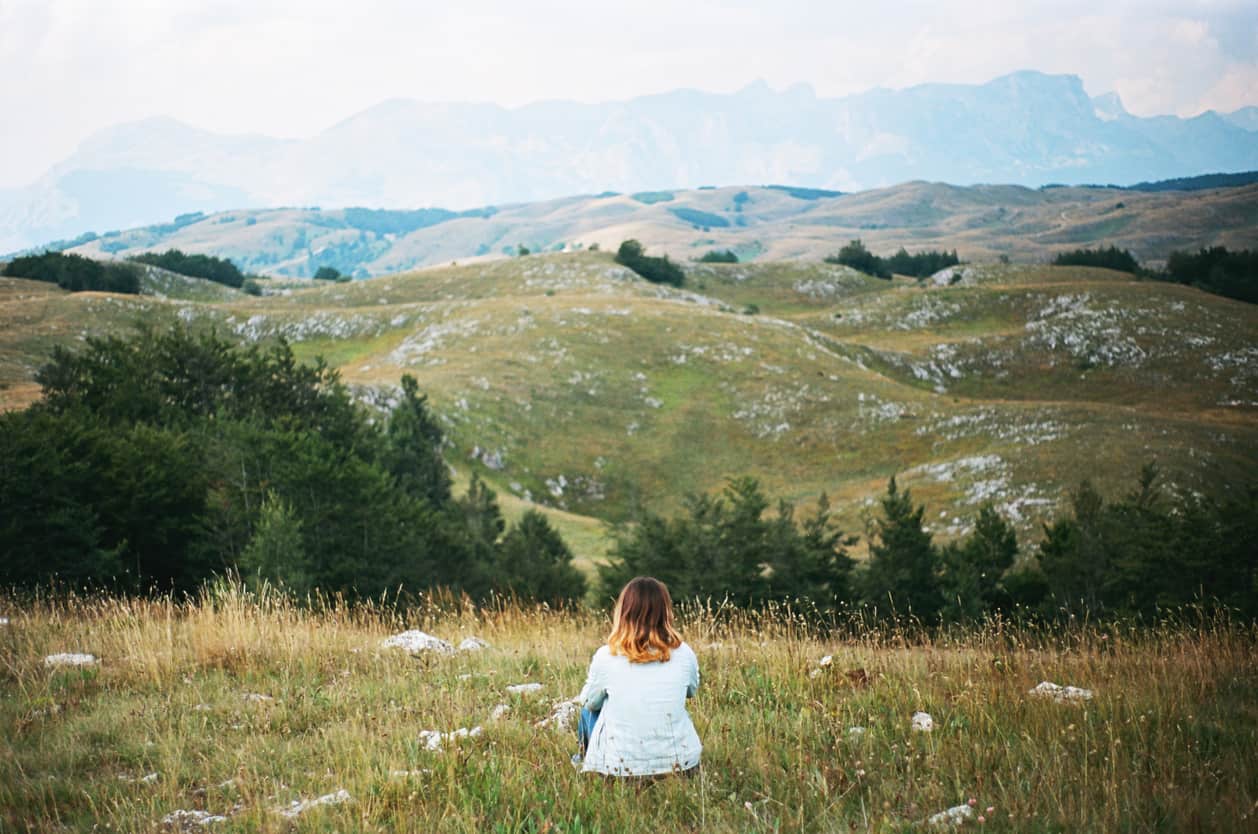
Keep It Simple

Very rarely in life is "more is better" a good idea. The same applies to photography.
Not only does simplifying the scene mean that there are fewer moving parts for you to get right, but it also gives the viewer a break too.
Rather than being distracted by a bunch of different elements, a simplified composition allows the viewer to engage more easily with the primary subject.
The question is, how do you simplify the scene?
As was done in the image above, select a strong subject - something that stands out in the scene because of its size, shape color, texture, and so forth.
Then frame the subject in a way that ensures viewers can't miss it. If need be, crop out other elements of the scene.
In this case, the woman is obviously the subject, but the colors and textures of the surrounding landscape contribute to a stronger composition but without distracting attention from the woman.
Learn More:
- A Step-By-Step Guide to Mastering Minimalist Photography
- 4 Landscape Photography Composition Tips That Will Change Your Photos for the Better
Fill the Frame

An easy way to create a more impactful composition (while keeping it simple as well) is to fill the frame with your subject.
Filling the frame gives a photo more impact because it eliminates all the clutter around it that might distract the viewer's eye.
What's more, filling the frame brings the subject to life, making it look and feel bigger in the shot, like the zebra in the image above.
There are several ways to fill the frame, including zooming in with your lens, getting closer to the subject by changing your shooting position, and cropping the image in post-processing.
In any case, filling the frame is a more unique way to compose a shot, and as a result, it will be immediately more interesting to view.
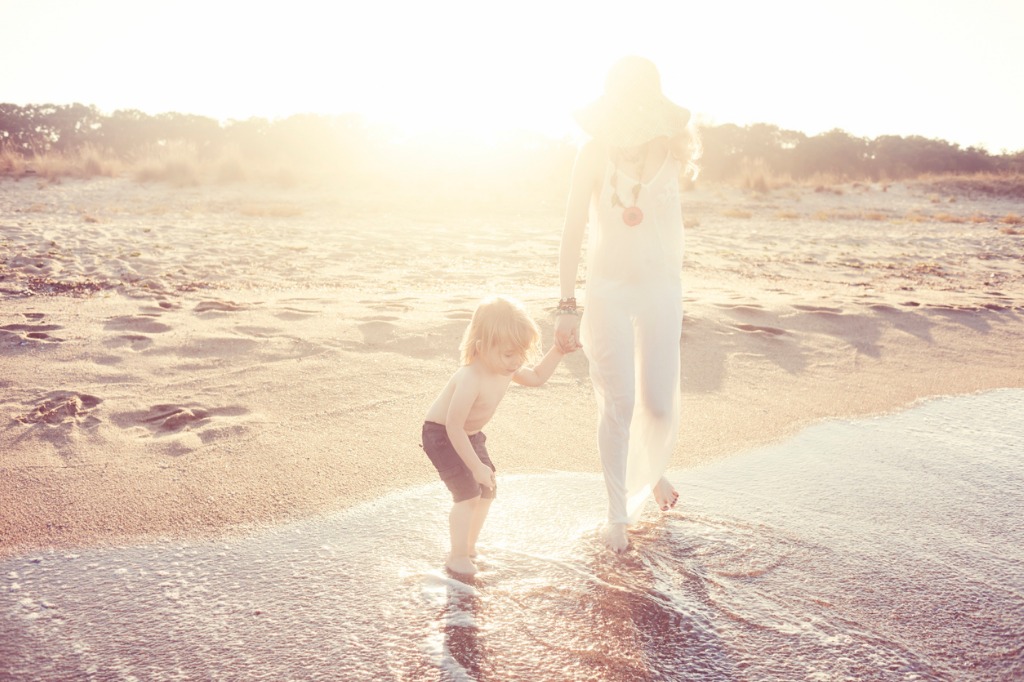
Think About the Background

When you fill the frame as was discussed in the previous section, you rely less on what's going on in the background and concentrate more on the subject.
But sometimes, what's going on in the background can be highly visually interesting and help tie the entire image together.
Now, as we learned earlier, that doesn't mean you should overcomplicate the shot. Instead, simply think about how the background might add a bit of interest without distracting from the subject.
The image above is an ideal example of this.
Clearly, the boy is the primary subject, but by giving a hint of the background, we have a more interesting shot.
The forested landscape - even though it's blurry - gives context to where this photo was taken and what the boy was doing at the time.
In other words, the background helped to tell a more complete story about the boy, and that makes for a more powerful shot.
Offset the Subject

No list of photography composition rules is complete without mentioning the Rule of Thirds.
As you likely already know, the Rule of Thirds states that you should avoid putting your subject in the middle of the frame.
The reasoning is that having a subject in the middle creates photos that just aren't all that interesting with a static look and feel to them.
Instead, by dividing the image into nine equal quadrants and placing the subject to the left or right of center (or above or below center), you'll get a more impactful image, not unlike the one above.
But it's not just shifting the subject away from the center that makes this rule work. You still need to think about how it impacts the composition.
In this example, the texture created by the waves on the left side of the shot balance out the presence of the man on the right side of the shot. What's more, his positioning on the right helps give the sense that he can continue to walk toward our left, creating a more dynamic shot (more on that below).
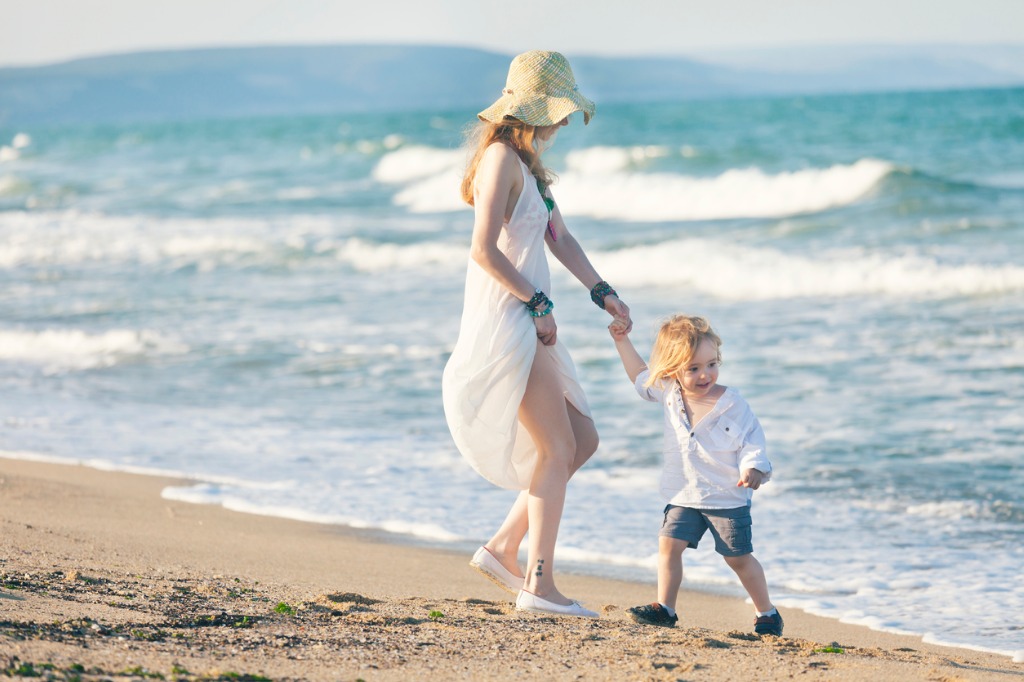
Give the Subject Space to Move

Even though photographs are static and two-dimensional, there are compositional tricks that help you convey a sense of motion.
One of the most impactful is to give your subject room to move into, such that the image has an implied sense of motion.
This trick is often used when photographing things like a running animal or a moving car - the subject is placed on one side of the frame with empty space in front of them.
This concept is illustrated in the image above as well.
Note how the man is clearly casting his net to our right. By shifting his position to the left, that movement has more impact and we're better able to imagine him throwing the net and reeling it back in.
Just imagine this shot had the man been in the middle or even on the right side of the frame. It wouldn't be nearly as dynamic or visually impactful, would it?
Learn More:
Watch Your Colors

A difficulty that some beginning photographers struggle with is oversaturating the colors of their shots.
This is often done in post-processing and gives the image colors that punch you in the face and, quite simple, look fake.
However, this isn't to say that you can't use very bright colors effectively.
In fact, color is one of the tools you can use to draw a viewer's attention to the shot, and within the shot, to the subject.
In the image above, note how the pops of color of beach towels and umbrellas draw your eyes to the crowd.
This works well because the colors, though intense, are small enough that it doesn't become overwhelming to view.
If you're closer to the subject, fill the frame to limit the range of colors in the shot, again, to prevent it from becoming overwhelming.
Also look for ways to use complementary colors - orange and blue or red and green - as they go well together to create a more dynamic shot.
Get Comfortable Breaking All the Rules

Though it's important to learn these and other compositional rules, it's perhaps even more important to learn when to break them.
Photography is often about feel, and sometimes the best feeling you can convey in your images is to set the rules aside and go with your gut.
That means that sometimes you'll break the Rule of Thirds. Sometimes you'll use a ton of very bright colors. Still other times you won't include any leading lines in your landscapes.
And that's okay!
The key to your success is to learn and practice the rules outlined above, that way you can create more compelling photos.
The next step after that is to learn to recognize when the rules just aren't working, that way you can break them in a purposeful manner and still get a gorgeous shot.
Have a look at these and other photography composition rules in action in the video below from COOPH:
We Recommend
12 Mistakes Beginner Photographers Make and How to Fix Them FAST
It's been a good, long while since I was a beginner photographer. But believe me, I remember the struggles well.
There's so much to learn as a beginner, from technical things like camera settings to artistic things like composition.
And somehow you have to learn those things while trying to bring them all together to get a quality shot.
If you're like I was when I was just starting, though, there's plenty of images in which things don't go right.
The key is to not just learn about the mistakes you're making, but also learn how to fix them as well.
In the video above, Sorelle Amore offers up her take on 12 of the most common beginner photography mistakes. She also outlines common sense solutions that will help you minimize mistakes in the future.
Below, I've outlined some of Sorelle's best advice.
Editor's Tip: Get better photos with a better lens. Find out why prime lenses are an ideal companion for any photographer.
Shoot Dark to Avoid Blown Out Highlights
One of the most common mistakes beginner photographers make is to blow out the highlights, or overexpose them.
When the highlights in a photo are blown out, they appear as bright white with no discernable detail or features, as shown above.
Compounding the problem is that this isn't something that you can fix in post-processing as that detail is impossible to recover.
Instead, the solution is to underexpose your images when you take them, or shoot a little dark, that way you can protect those highlights.
It's far easier to recover detail in shadowed or dark areas in post-processing, so you don't lose anything by underexposing your photos a little bit.
Perhaps the easiest way to underexpose your photos is to use your camera's exposure compensation feature.
When shooting in aperture priority mode, shutter priority mode, or program mode, you can tell the camera to underexpose the shot by varying degrees.
You can learn how to use exposure compensation here, but basically it's a fine-tune adjustment that gives you the power to halve the amount of light entering the camera with each adjustment.
Learn More:
Avoid Overediting

When I look back at some of the first photos I edited, it's hard not to cringe.
I edited the crap out of them, and maxed out things like saturation and clarity, which resulted in photos that didn't look remotely natural anymore.
There's nothing wrong with editing your photos - in fact, as Sorelle points out, not editing your photos is kind of a crime.
You just have to practice and learn how to make simple adjustments to enhance your photo without going totally overboard.
Quick Tip: Minimize how much editing you need to do to your images by striving to get things right in-camera. Using lens filters like a circular polarizer, can help minimize glare, reduce haze, boost contrast in the sky, and make colors pop. A graduated neutral density filter will help balance out bright skies and dark landscapes so that you have a well-exposed image throughout. Using just these two filters can save you tons of time in post-processing!
Try Not to Panic
As Sorelle points out in the video, sometimes it's hard for a beginner photographer not to panic when they feel like the shot is on the line.
I can identify with that, as there were plenty of moments in my early career when I panicked and just started rapid-firing shots in the hopes that one of them would be usable.
But that approach won't get you anywhere except more panicked because you won't have any good photos.
Instead, take your time and examine the scene and subject matter before you press the shutter.
Look at how the light interacts with the subject. Inspect the background. Consider ways that you can make the photo unique by changing your shooting position or perspective.
The point is that even taking 10 seconds to give your camera settings, composition, and so forth a thought or two will help you take better photos.
Just calm down, slow things down, and really think about what you're doing!
Be sure to watch Sorelle's full video to get even more beginner photography tips and to see sample images that illustrate each point.
Learn More:
- Beginner Photography Tip: Advanced Controls That Will Take Your Photos to the Next Level
- Best Camera Settings for Landscape Photography
We Recommend
14 Beginner Photography Tips
Photography Tips For Beginners
If you ask me, photography is just about the best hobby anyone can pick up.
Not only does it get you up and moving, but it compels you to be creative, master technical aspects like exposure, and interact with others who love photography (or who want their picture taken).
And just about everyone loves a good photo, right? So photography is a great way to bring people together for the common purpose of taking great photos (and appreciating them too!).
Of course, when you're just starting out in photography, it can be a little confusing as to where to even begin.
That's where this guide comes in.
If you're a brand new photographer, consider these tips as the ideal place to start your photography journey. Get started by watching my video above, and then reference the tips that follow for additional inspiration!
It Will Take Time
I cannot emphasize this enough - mastering photography will not happen overnight.
Sure, that'd be great, but that's just not how things work.
It's hard to look at photos from the masters and not be able to replicate what they do.
But with time and practice, you'll develop the understanding of photography and the requisite skills needed to create better photos.
So, the first thing you need to do is grab your camera, head out, and start taking pictures.
By putting yourself out there and into a position to take photos, you'll learn about everything from camera settings to composition to lighting and everything in between.
Back up your practice in the field with research and learning beforehand, and you'll be surprised at just how much your photography improves.
Utilize Free Tools

One of the great things about photography is that it's so accessible.
That's been the case for decades, but today that's especially true given that you can start learning photography with nothing more than your smartphone and a few photography tutorials like this one.
Though there are plenty of photography courses out there that you can pay to take, don't think that spending money on learning opportunities is the only way to go.
Start with free lessons like this one. Peruse YouTube and see what sorts of tutorials you can find. Join a photography website like PhotographyTalk so you can get inspired by other people's photos, get feedback on your own photos, and talk shop with other photography enthusiasts.
By focusing on the free tools at your disposal, that frees up money to spend on other photography-related things, like getting a better lens or investing in a set of good filters.
Read the Owner's Manual

One free resource that's vastly underutilized is the owner's manual for your camera. This is particularly true if you have a DSLR or mirrorless system.
I realize that owner's manuals are not enjoyable reads, but that notwithstanding, they have a ton of critical information about the features and functions of your camera that allow you to take better photos.
Think about it like this - if you've never taken a photo in your life, how can you expect to learn how if you don't know how your camera works?
Taking up photography without learning how to use your camera is like taking your driver's test without ever having learned how to drive - it's just that much more complicated!
Make it easier on yourself and spend a little time reading the owner's manual. Trust me, it will pay off!
Never Be Without a Camera
Sometimes, beginner photographers mistakenly think that they have to have the perfect subject to get a good photo.
Nothing could be further from the truth.
Often, good photos come about because the photographer was simply prepared to take the shot.
Part of being prepared is to simply have a camera with you at all times.
That doesn't mean you have to lug around all your photography gear wherever you go, either...
Simply having your smartphone with you gives you a camera that's ready and capable of taking a good shot. All you need to do is get into the habit of photographing subjects on your way to work, at lunch, on the weekends, as you walk the dog, and so forth.
After all, you never know when an ideal photo opp will present itself!
Enjoy the Process

When I was learning photography, I was constantly frustrated because I couldn't seem to make my camera and lens do what I wanted them to do.
There were plenty of lose it moments when I just gave up, and you'll probably have plenty of those moments too...
But what I can offer in terms of advice now that I've gone through those experiences is that getting mad and frustrated doesn't do you any favors.
Instead, enjoy the process of learning.
Focus less on what you can't do, and more on what you're able to do.
You'll be surprised at how much you learn and how quickly you learn it. And if you can focus on those positives, you will find that you enjoy photography much more.
Get Inspired
Photography, like any art form, certainly relies on your knowledge and skills.
But getting inspiration is a huge component of your success as well.
This doesn't mean spending hours each day poring over the photos other people post on Instagram.
Instead, getting inspired means really focusing on what it is about certain photos that you like.
Is it the way the portrait subject has been posed?
Is it the lighting in a landscape photo?
Is it the colors or the textures in an abstract photo that catch your eye?
By looking at what other people do, you can start to form your own ideas about your personal style and photography aesthetic. And once you do that, you'll start to see your own take on photography begin to emerge in the way your photos look and feel.
Set Some Goals
Though photography is art, and there's something to be said for a relaxed approach to creativity, when you're just starting out, having a few goals will give you the direction you need to become a better photographer.
These don't have to be enormous, life-changing goals, either.
For example, you might endeavor to shoot at least 10 photos a day. Maybe your goal is to try one new type of photography each month for a year. Perhaps you can challenge yourself to become more familiar with your camera's settings.
Even simple goals like these can give you the structure you need to maintain focus on what needs to happen for you to get better! Get more insights on setting photography goals in the video about by the Art of Photography.
Make Photography Friends
One of the best ways to derive more joy out of the process of learning photography is to share your hobby with others.
Be it a friend, a family member, or another photography enthusiast from your town, having someone to go out shooting with gives you many more opportunities to explore photography and learn.
It also keeps you honest!
Having a photography buddy to encourage you to shoot more often and to pick you up when you're frustrated with your results is as valuable an asset as any of the others on this list.
What's more, your photography friends can be a sounding board for you - you can work out problems together and share your images with one another to get honest and helpful feedback.
So, join a local photography club, become a member of a photography website, take a photography class...the point is that if you find ways to interact with other photographers, you'll see a marked improvement in your photos.
You Don't Need Fancy Gear

Contrary to what some beginning photographers believe, you don't need an expensive camera and lens to learn photography.
Heck, you don't even need an expensive camera and lens to take really good photos!
As I mentioned earlier, you can learn the essentials of photography with nothing more than your smartphone.
In fact, learning photography on your phone might be advantageous because you don't have to worry about all the features that a DSLR or mirrorless camera has.
Instead, you can work on things like developing your photographer's eye, composition, framing, and lighting, all of which are crucial to your development as a photographer.
If you're dead-set on spending money on anything, make it on a good lens. A good piece of glass will do more for your photos than any other photography gear!
Shoot With a Tripod
When I started in photography, just about every photo I took was handheld.
There's nothing wrong with shooting handheld, but if you do it, you'll notice (as I did) that your images aren't as sharp as they could be.
Even the slightest movements can reduce the sharpness of your photos.
And even if everything else about the photo is spot-on, blurriness will make any awesome photo a dud.
You can get around that by investing in a good tripod.
Tripods give your camera the stable base they need to maximize sharpness. This is true no matter the subject - portraits, landscapes, abstracts - you name it.
So, after you pick up a better lens, make a tripod your next must-have accessory. You'll have better photos as a result!
You Don't Need to Go Somewhere to Take a Great Photo
Another misconception about photography that some beginners can't seem to let go of is the notion that you have to go someplace to get a great shot.
Again, nothing could be further from the truth!
Sure, heading to the beach or Joshua Tree or the Cascades will give you ample opportunities for breathtaking landscapes, but not everyone has time to spend all weekend in pursuit of the "perfect" shot.
Instead, take the time to photograph things close to home - your dog, your kids playing in the backyard, or the sun setting behind the trees at the park.
By putting yourself in everyday situations, you put yourself in a position to practice the skills needed to take a great photo...
Work on compositional techniques to make a more impactful photo. Pay attention to light and shadows, and work on using those qualities to give more interest to the shots you take.
The point is that all of that learning can take place in or near your home, and that means you get more time actually practicing your craft because you won't spend all day driving somewhere to get the perfect shot.
Get Feedback

Putting your photos out there for feedback can be really scary, but it's a necessary process if you want to improve your photos.
And by getting feedback, I mean something more than posting photos to Instagram for your family and friends to fawn over.
Take the next step and show off your work in a photography forum for some constructive criticism.
Open yourself up to seeing your photos from the perspective of others - and to getting advice from people more experienced than yourself.
The first few times you post images and you don't get tons of glowing comments can be a little disheartening. However, if you take the criticism you get and work to address it, you'll be a better photographer for it!
Experiment a Lot
The beauty of digital photography is that you don't have to worry about spending tons of money on film after "wasted" exposures.
Instead, you can fire away all you want!
The great thing about experimenting a lot is that it will not just help you develop your creative eye, but it also encourages you to expand your boundaries and get you out of your comfort zone.
For example, when I first started, I was all about landscapes and had no interest in pursuing any other type of photography.
Then, one day, I decided to take a few portraits of my family, and voila, a new love was born.
Don't get stuck in a rut like I did. Take lots of pictures. Take lots of different types of pictures too. It will only serve to help you improve as a photographer.
Learn Some Post-Processing Tricks
The process of creating a photo doesn't end when you press the shutter button.
Though you should strive to get as much right about the photo when you take it, post-processing is there to help you elevate your photos even further.
Learning how to perform simple tasks like cropping or getting a horizon straight can themselves have a significant impact on how your photos look.
But taking it a step beyond that and learning how to adjust color, contrast, light, and so forth, can take your photos to another level entirely.
Learning how to post-process images is a process that takes time. But just like practice will help you take a better photo, practice will also help you make eye-catching edits to your photos in post-processing.
Get some insights on post-processing landscape photos in the video above by Joshua Cripps.
Wrapping It Up
When it's all said and done, these 14 tips will help you get on the pathway to success with your photography.
It's really all about committing yourself to getting better and putting in the time to practice.
If you can do those two things, and sprinkle in the other tips listed above, you might just be surprised at how quickly the quality of your photos and your satisfaction with your images increases.
Happy shooting!
We Recommend
20 Photography Tricks You Should Know Before Taking a Photo
Not pleased with the quality of your photos?
That's actually a good thing...
If you're unhappy with your images, that usually means that you've got the drive to figure out what it is you don't like, what you might be doing wrong, and to learn photography techniques that will help you rectify the situation.
And learning photography tips and tricks is easier today than ever before, so that's a definite bonus!
In the video above, Bright Side offers up 20 simple, yet effective photography tricks that will help you improve the quality of your photos.
Some of the tips are so easy you'll wonder why you never thought to do them.
Others are a little more complex, but at the end of the day, you can implement any of these photography tips into your workflow with ease.
Here's a few of my favorite tips from the video...
Editor's Tip: Your best photos deserve to be seen, not just stay on your memory card. See what your photos look like as fine art.
Basic Photography Tricks: Pay Attention and Declutter

I know it sounds like a no-brainer to pay attention when you're taking a photo, but believe me when I say that a lot of photographers don't give their images enough attention before they take the shot.
This usually manifests with something weird or distracting in the background, like a tree branch that looks like it's impaled a person's head or a trash can or some other unsightly object lingering behind the subject (like the man in the white shirt in the background of the photo above).
But by taking five seconds to check the background, look at the corners of the shot, and fine-tune the composition, you'll have much more success.

It's also smart to declutter the background while you're at it...
By decluttering, I mean that the more stuff that's going on in the background, the more your primary subject has to compete for the viewer's attention, and that's a bad thing.
Instead, whether you're taking a portrait, creating a landscape photo, or something in between, strive to keep the background as clean and simple as possible.
Doing so will help your primary subject stand out, and the stronger the subject, the more appealing the photo will be for viewers.
Learn More:
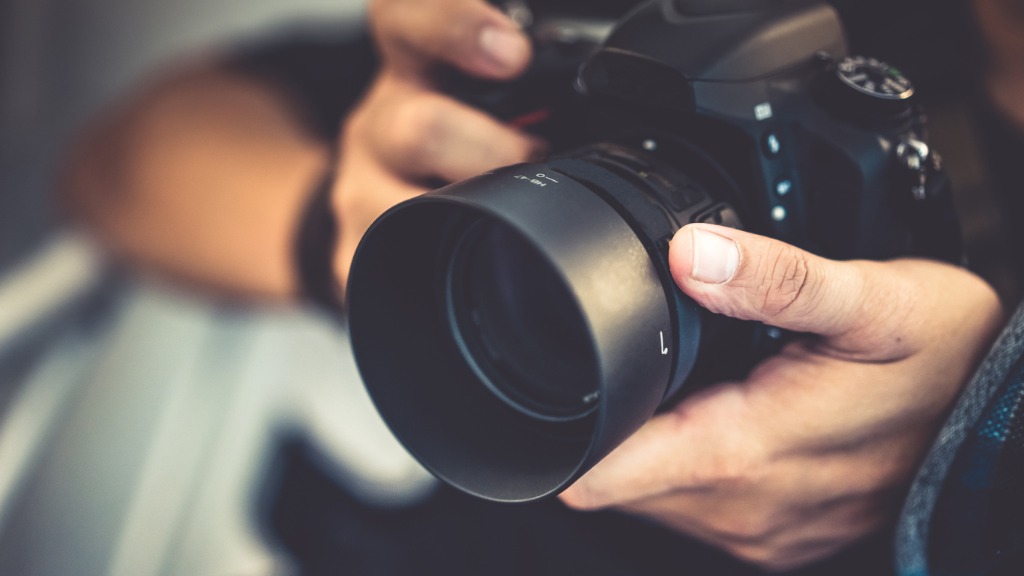
Stabilize Your Camera
This is another photography trick that sounds like a no-brainer, but for whatever reason gets forgotten by some beginners.
If you don't stabilize your camera in some way, you run the risk of having blurry photos. That's especially true if you're shooting at night.
Stabilizing your camera doesn't necessarily mean to have a tripod (though that's a great idea!), either.
Even if you hold your camera correctly, you'll give it more stability.
That is, don't hold your camera out at arm's length like everyone does when they take a photo with their smartphone. Don't take photos one-handed, either!
Instead, tuck your elbows into your chest and lock your wrists in place to act as support for the camera.
Additionally, if you use a DSLR or mirrorless camera, place your left hand under the body of the camera as shown above (not on the side of the lens as some people do).
Doing so will give your camera further stability as you hold the camera's grip in your other hand.
And unless you're taking a very low-angle or high-angle shot, opt for using the viewfinder on your camera rather than using the LCD on the back of the camera body.
This gives you yet another touch point that will help keep your camera as stable as possible.
Editor's Tip: Not sure what lens you should buy? Learn why a 50mm lens is a must-have for any photographer.
Use Filters
One of the best ways that you can improve your photography is by using lens filters to enhance your images.
Sure, you can edit photos in Photoshop, Lightroom, and other post-processing programs, but as powerful as those tools are, they still can't match the quality of results that you get with polarizing filters, neutral density filters, and graduated neutral density filters.
That's especially true if you invest in top-quality filters that are precision-made for the best results, like those from Formatt-Hitech.

Just consider all the ways that filters can help you take better photos:
- Use a polarizing filter to increase contrast in the sky, reduce glare off non-metallic surfaces, and reduce atmospheric haze.
- Use a graduated neutral density filter (like the one shown above) to even out the exposure level of a scene by darkening the bright sky.
- Use a neutral density filter to minimize the amount of light entering the lens, allowing you to slow down the shutter for gorgeously blurred movement of clouds and water.
In other words, by taking the time to use filters in the field, you can save tons of time trying to recreate the same effects in post-processing.
And when you use Formatt-Hitech filters, you know that you get something that's crafted with the utmost precision so that you get top-notch results.
Learn More:
Be Patient

If you ask me, this is one of the most difficult things to do as a photographer.
In my case, I'm naturally impatient, so sometimes I rush through my shots. That's definitely not a good thing.
Not only does being impatient make mistakes more likely to occur, but it also gives me less time to focus on things like the lighting, composition, framing, and so forth.
Instead, it's best to approach photography with the mindset of getting perhaps just one or two great shots each time you go out to shoot.
With that frame of mind, you'll likely spend more time concentrating on what you're doing for each shot rather than firing away at everything that you see.
Again, this is a simple photography trick, but it can have a hugely positive impact on your photos.
Don't forget to check out the complete video above for even more great photography tips and tricks!
Learn More:
- 12 Mistakes Beginner Photographers Make and How to Fix Them FAST
- Beginner Photography Tips: Advanced Controls That Will Take Your Photos to the Next Level
We Recommend
3 Beginner Photography Mistakes That are Ruining Your Photos
Not satisfied with how your photos are turning out?
Well, you're not alone!
My guess is that the vast majority of photographers find something wrong with the vast majority of their photos.
The task, of course, is identifying what the problem is and fixing it.
Here's a few common beginner photography mistakes you need to watch out for, with recommendations for avoiding these problems.
The Composition is Off
If you look at your images and see nothing but a hodgepodge of unrelated elements filling the frame, then you have a composition problem.
Composing a photo is much more than bringing your camera to your eye and pressing the shutter button.
Instead, to compose a photo is to make sense of the scene, to identify a strong subject and highlight it, and give viewers something compelling to view that commands their attention. You simply cannot do that if you don't learn a few basics of composition first.
Among the composition rules of which you need to be aware is the rule of thirds.

Put simply, the rule of thirds helps you compose the shot such that the primary subject and any supporting elements are arranged along imaginary gridlines or at one of the intersecting points of those gridlines.
In the image above, you can see this principle at work - the woman is shifted to the right side of the frame to align with the righthand vertical gridline. Her eyes are near the upper-right intersection point, which makes them a more prominent feature in the shot.
What's more, since the woman is shifted to the right side of the frame, it gives her room to look into toward our left.
The result is a well-balanced and interesting shot.
Learn More:
The Focus is Off

Though today's autofocus systems are as advanced as ever, they still aren't foolproof...
That means that there will be times in which your camera selects a focus point that is not on your subject, rendering what you want to be sharply in focus as a blurry blob.
Fixing this problem is a simple matter of taking more control over the focusing duties and selecting the specific autofocus point you want your camera to use to acquire focus.
Now, this procedure is different from one model of camera to the next, but ultimately, you want to use the camera's spot focus mode to identify which autofocus point you want to use. Learn how to do that on specific Canon cameras in the video above by CanonUSA.
Editor's Tip: A related problem with many photos is that they simply aren't sharp. To ensure you get the sharpest results, use a tripod when shooting and use your camera's timer function or a remote to trigger the shutter without having to touch the camera.
How You Display Your Photos is Off

I get that we live in a digital world and that the lion's share of the photos we take today will never see the light of day except on a phone screen or computer monitor.
But if you ask me, viewing images digitally is just a little impersonal and cold. It's just not the same as being able to see the photo in real life, hanging on the wall as a beautiful print.
Now, to get a beautiful print, you obviously need a beautiful photo to begin with (see the two tips above to help you do that...).
But how the print looks also depends on the printing company you use.

By that, I mean that not all printing companies are made equal, so you need to be sure that when you do get prints made, that you work with a printer that has a reputation for creating something beautiful.
One company that fits the bill is CanvasHQ.
As their name indicates, CanvasHQ is all about printing your photos on gorgeous canvas so that you have a print that has tons of character and that lasts for generations.
Their professional-quality canvases are just what you need to take your photos to the next level and create something that's truly eye-catching.

Part of what sets CanvasHQ apart from their competitors is the array of customization options they offer.
From different sizes of prints to various framing choices to a multitude of canvas finishes that bring out the beauty of your photos, there's no shortage of choices to create the print of your dreams.
In the past, I've tried several canvas companies but never have I seen as high quality and customer service as provided by CanvasHQ. Keep up the good work guys and gals. - Danny H., Lubbock, TX
Additionally, CanvasHQ uses color-calibrated printers to ensure that the photo they print out has spot-on colors. They even send you complimentary proofs before they print your photos, that way you're sure they have the exact look you want.
On top of all that, CanvasHQ has incredible customer service and is always willing to answer questions. I should know - I've ordered a ton of prints from these guys!
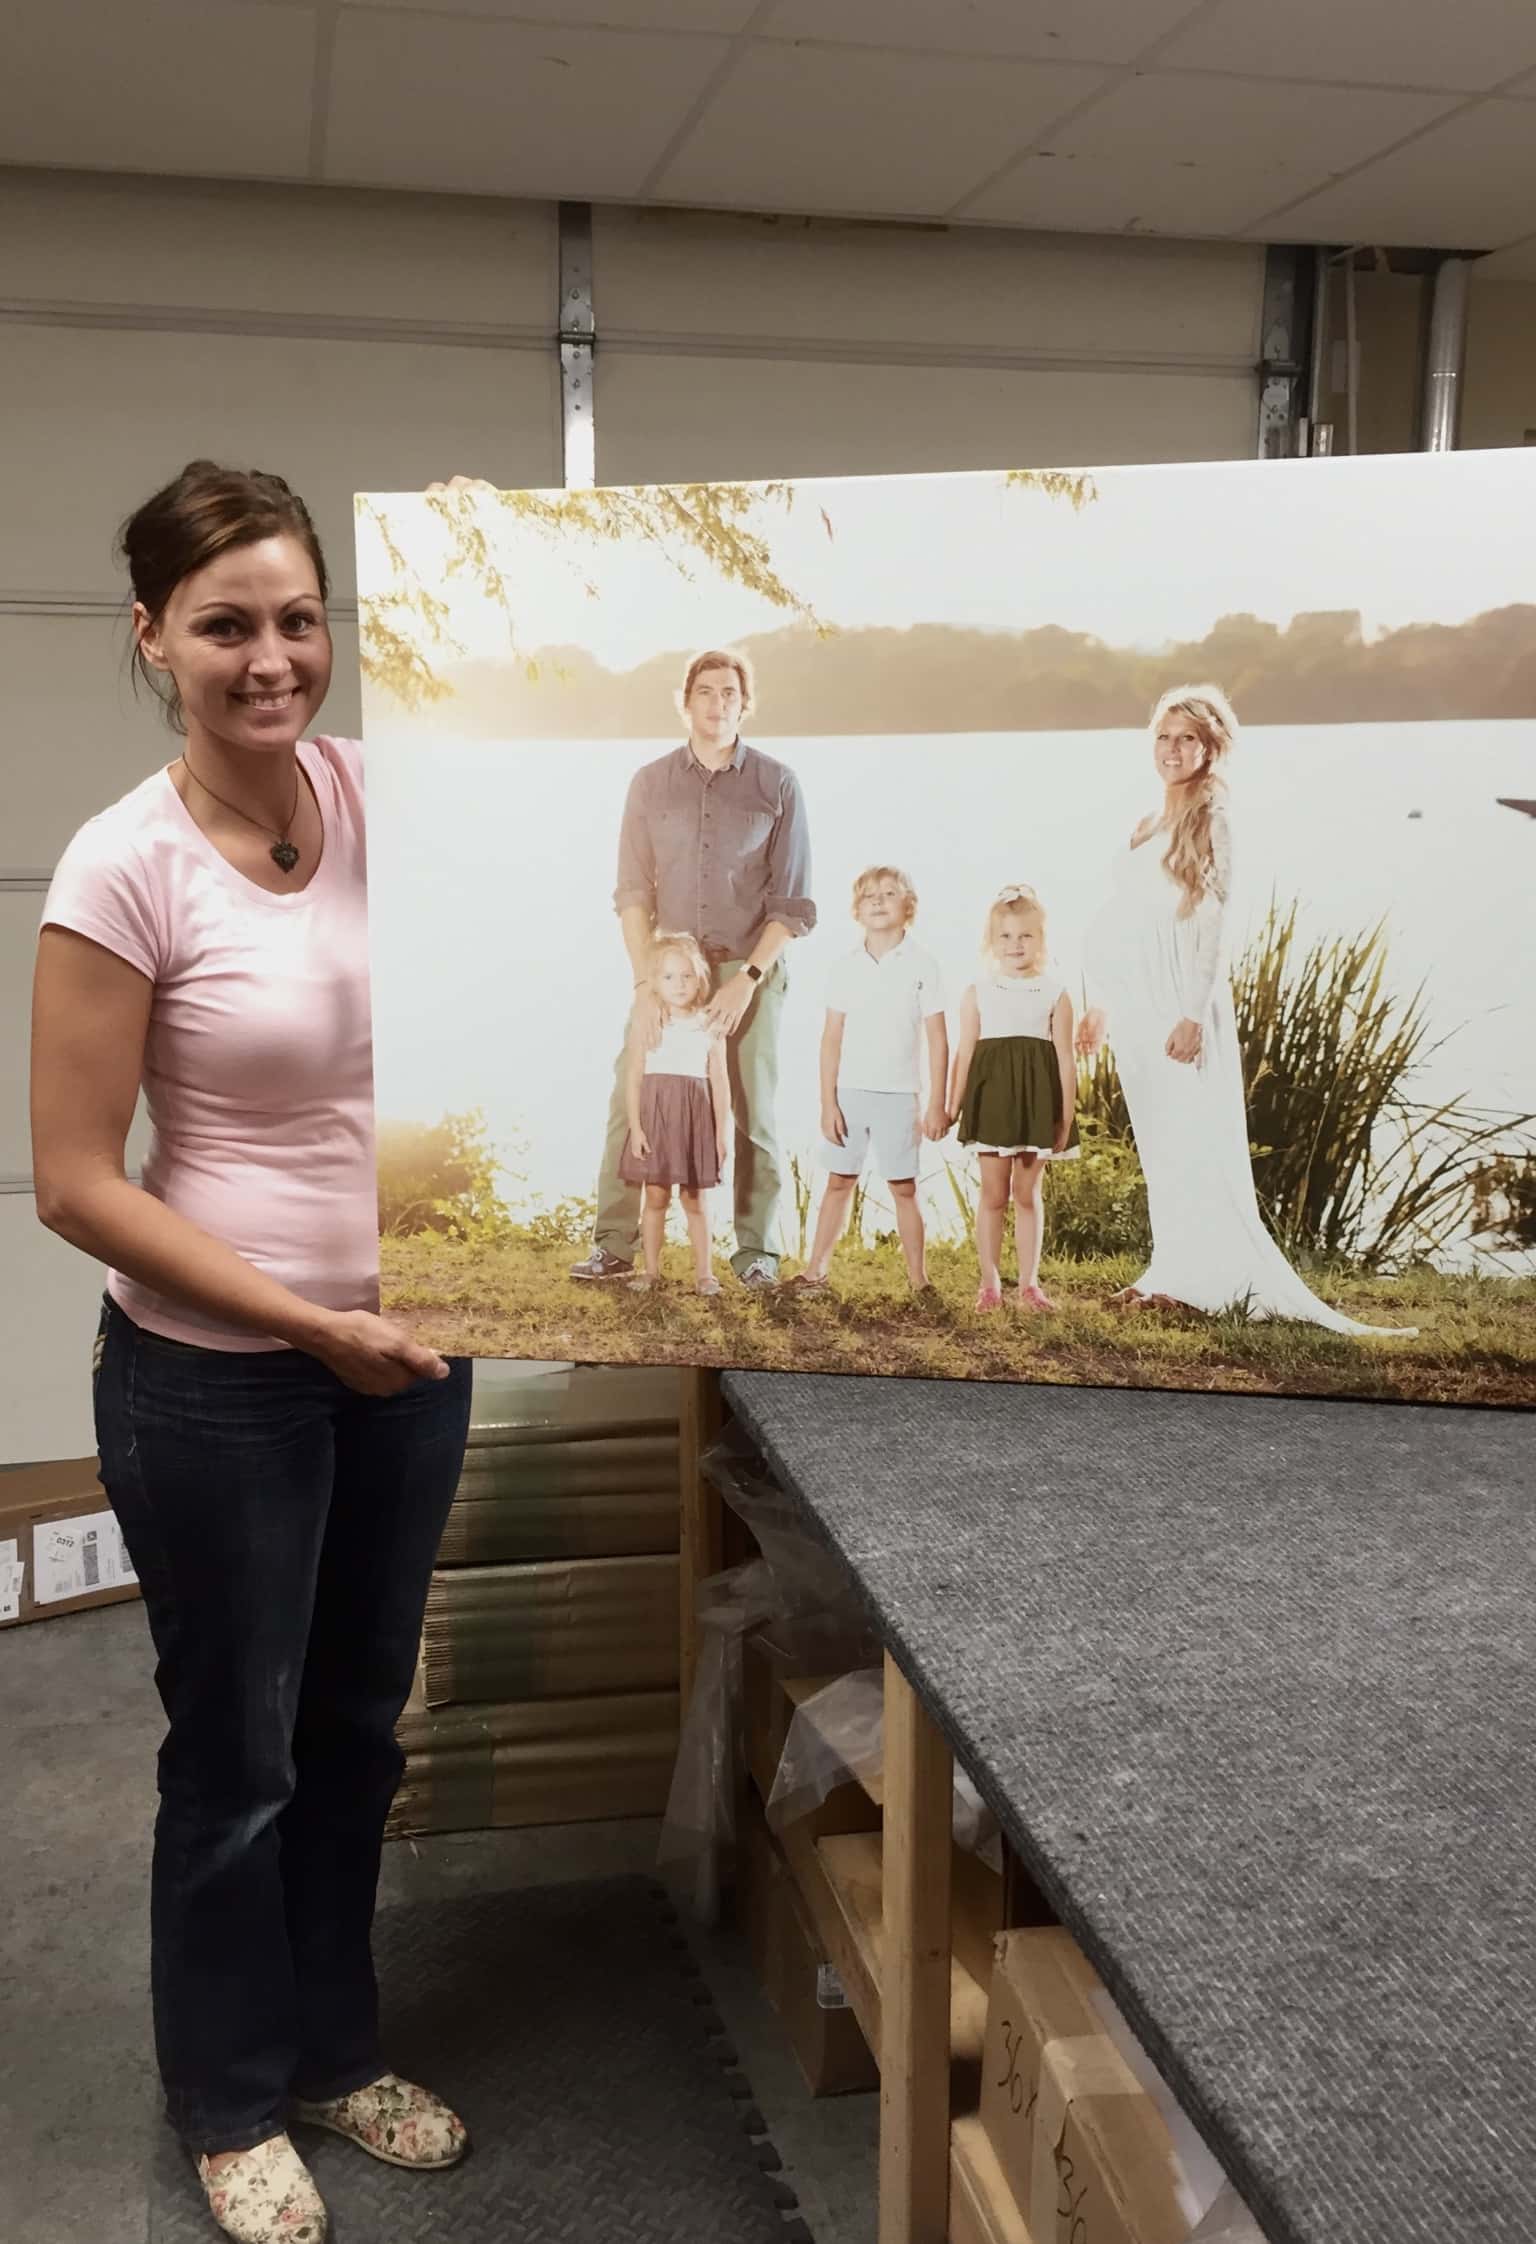
At the end of the day, what you do in-camera to take a photo will certainly impact how successful it is as a print.
But the choices you make in that printing process, including who you select as your printer, is also of importance.
If you want your photos to stand out, to have tons of visual appeal, and fulfill your creative vision, check out CanvasHQ today.
Learn More:
We Recommend
3 Easy Portrait Ideas for Girls
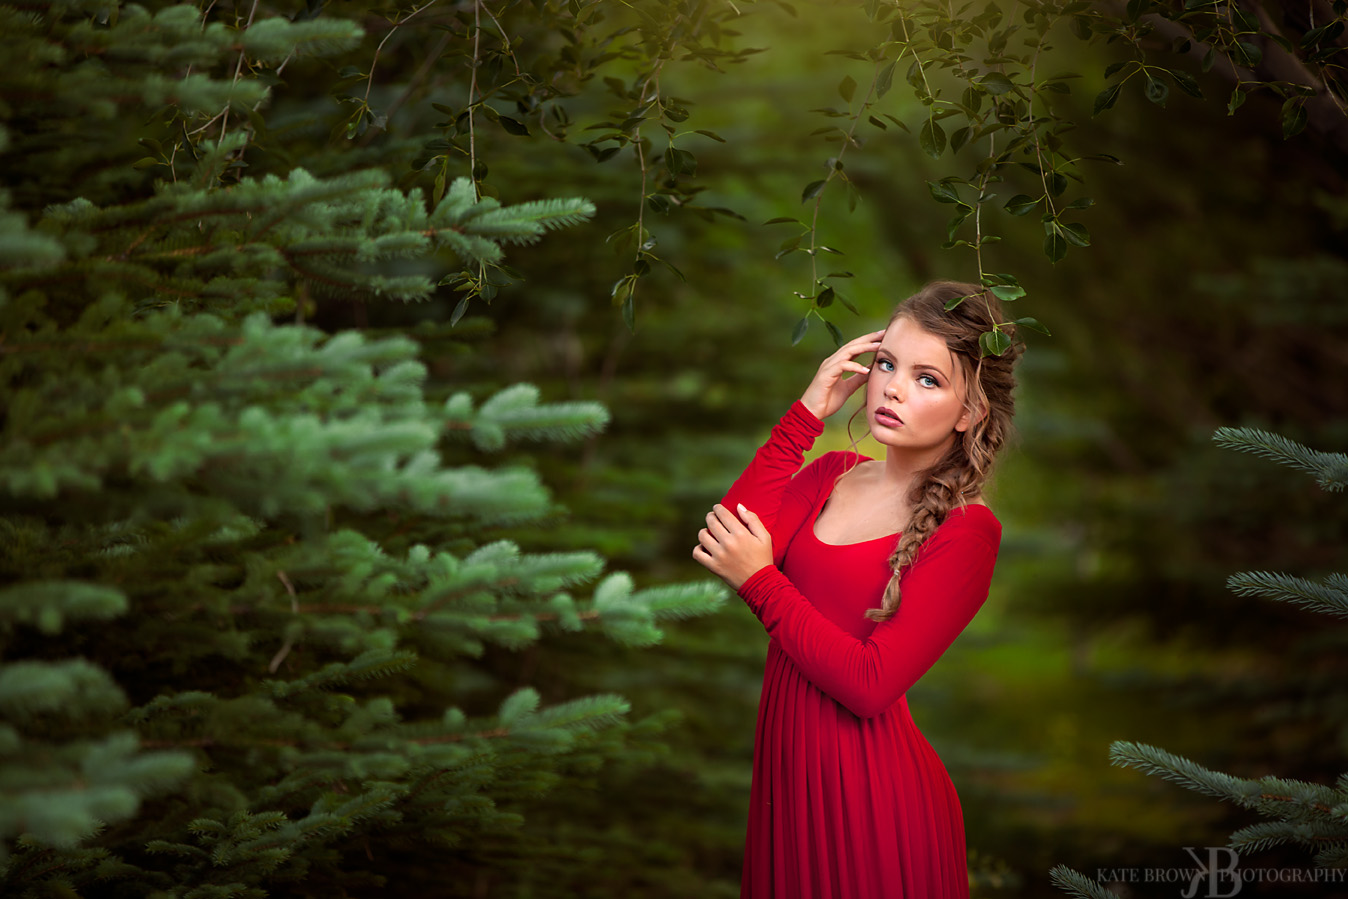 Kate Brown Photography
Getting great portraits doesn't have to be complicated.
In fact, sometimes the best ideas for creating gorgeous portraits are the simplest ones to implement.
That's true whether you're photographing families, newborns, large groups, or individuals.
In this article, I'd like to share three easy tips for getting beautiful portraits. Though the sample images feature girls and young ladies, these ideas can work for just about any portrait subject.
Editor's Tip: The sample images in this article were shared with us by Sew Trendy Fashion and Accessories. Sew Trendy is one of the top photography accessories companies in the world, providing everything from maternity wear to newborn props to mommy and me sets. They also have a wardrobe line for girls and young ladies. To learn more, visit their website.
Add Dad (or Mom!)
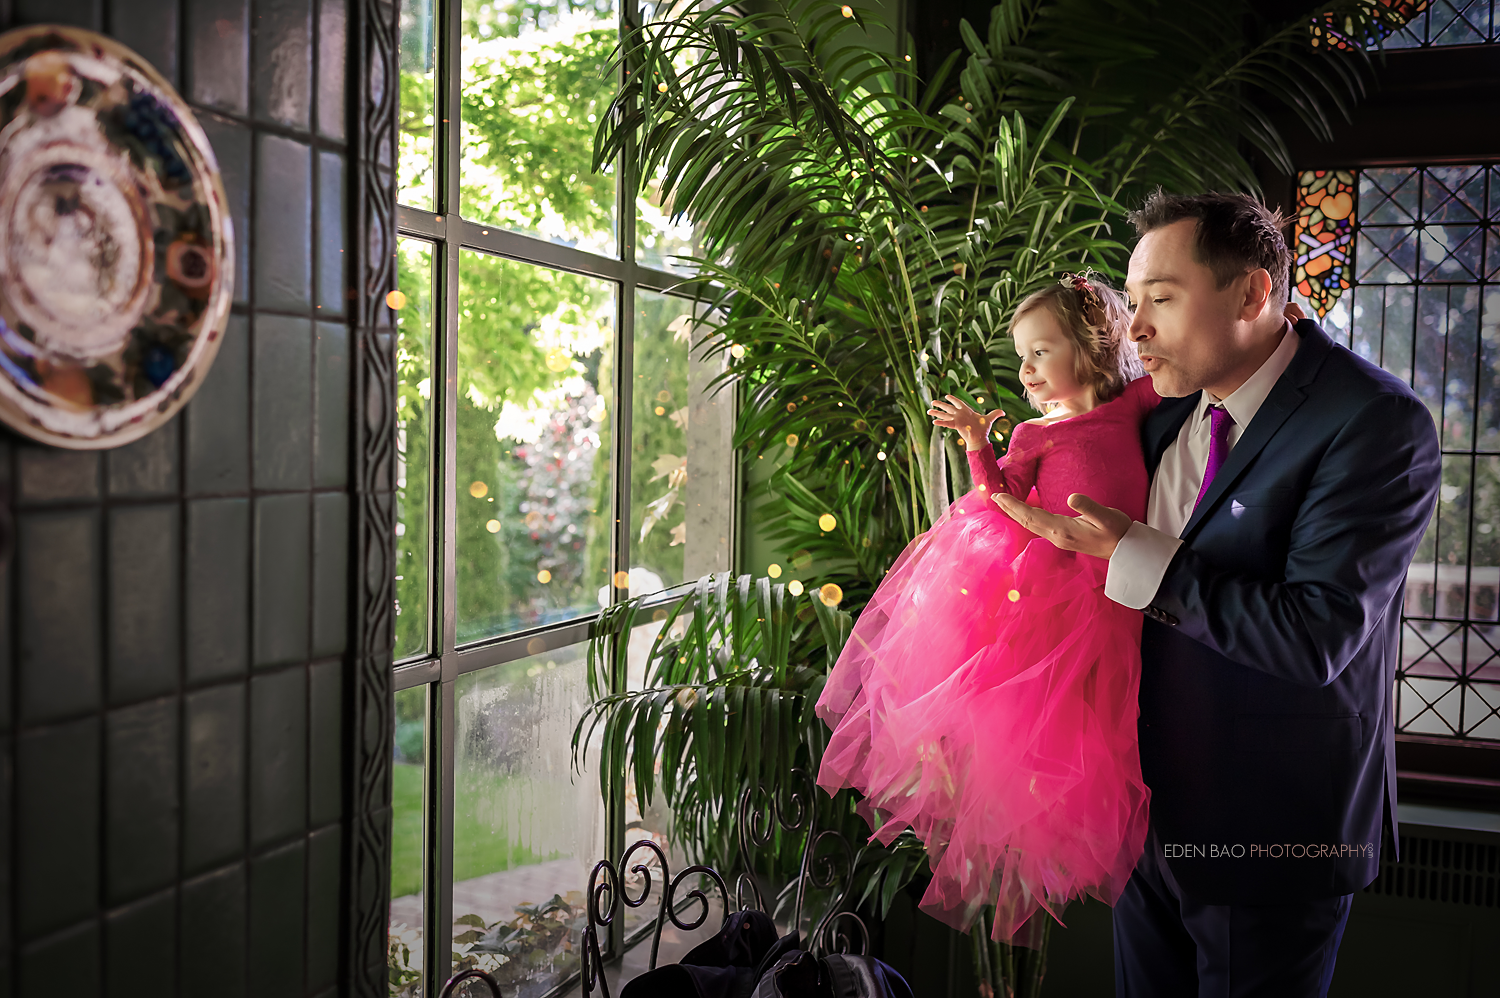
Eden Bao Photography
When you're photographing very young girls, it can sometimes be a challenge to get them to focus on the task and hand.
However, if you add dad to the shot, you have a ready-made method for helping the young lady to relax in front of the camera and be herself.
In the example above, the setting isn't anything particularly special, but that doesn't matter because the focal point is the pretty little princess with her dad.
The interaction between the two creates a sweet moment, which is aided by the "magic" added to the shot with bokeh effects that look like fairy dust.
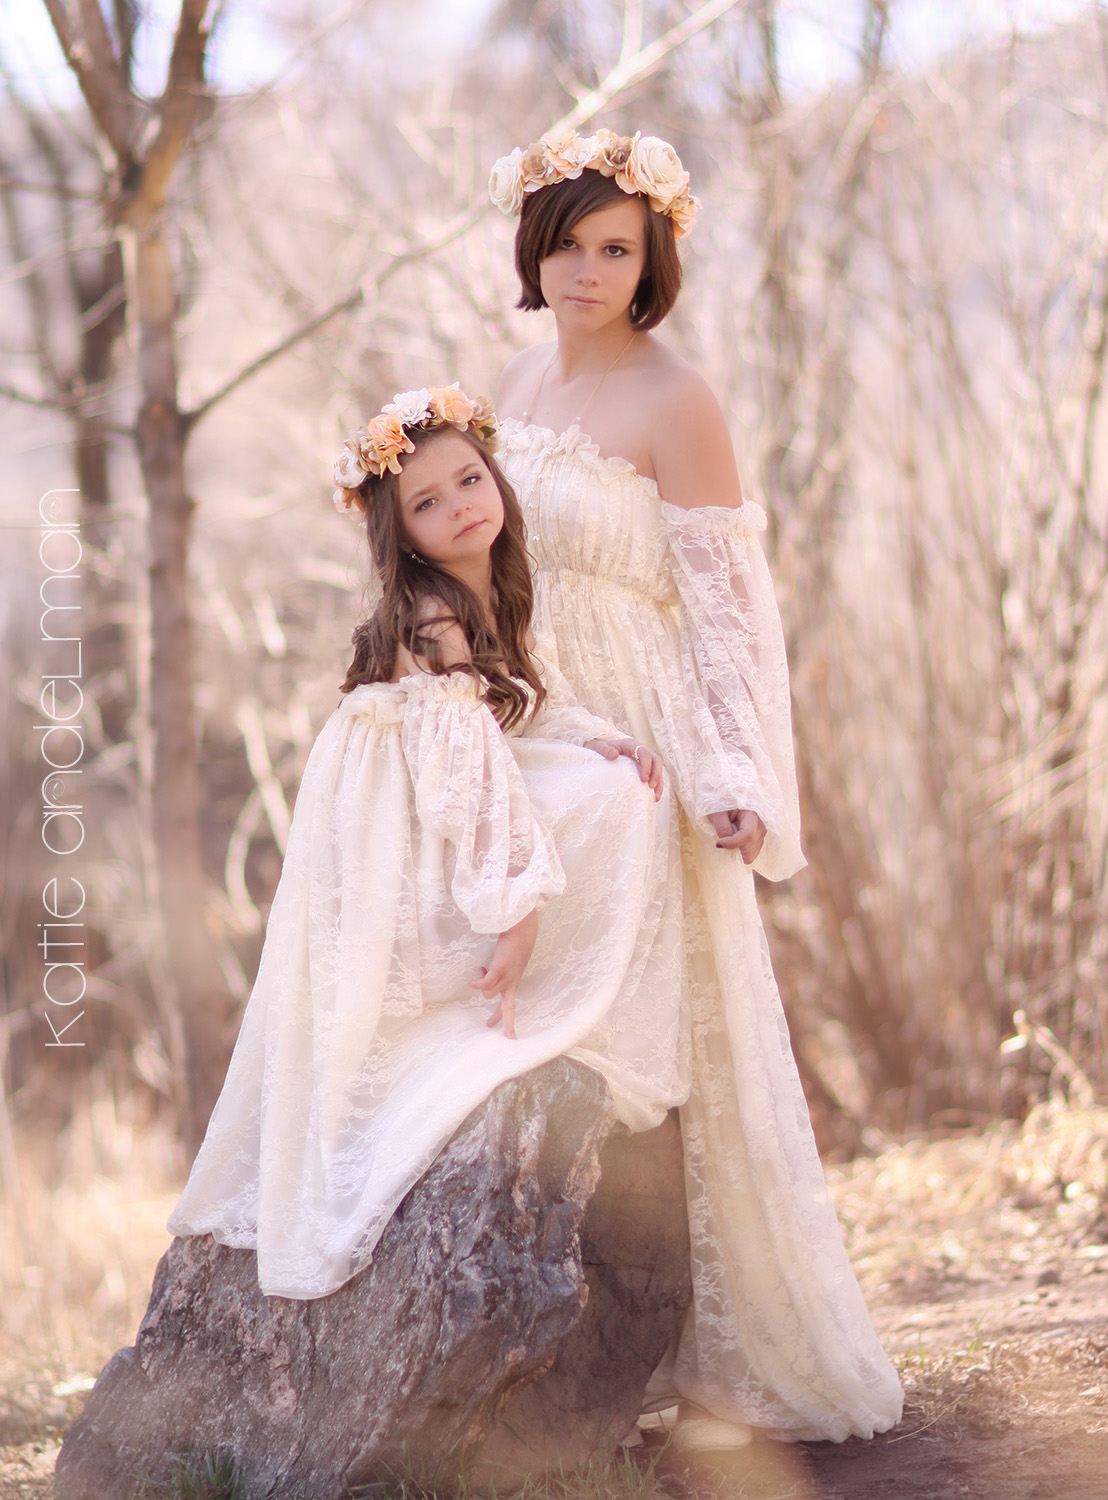
Katie Andelman
Of course, you can add mom to the shot as well.
The advantage of highlighting mom and daughter is that you can create continuity between them by dressing them in matching mommy and me sets.
In this case, the light, flowing gowns that mom and daughter are wearing help amplify the brightness of the image.
The matching floral crowns add color and texture to the shot as well.
If you photograph young children and find that a solo portrait is proving difficult, simply try adding a parent or sibling to the mix.
Learn More:
Add Interest to the Shot With the Wardrobe and Accessories
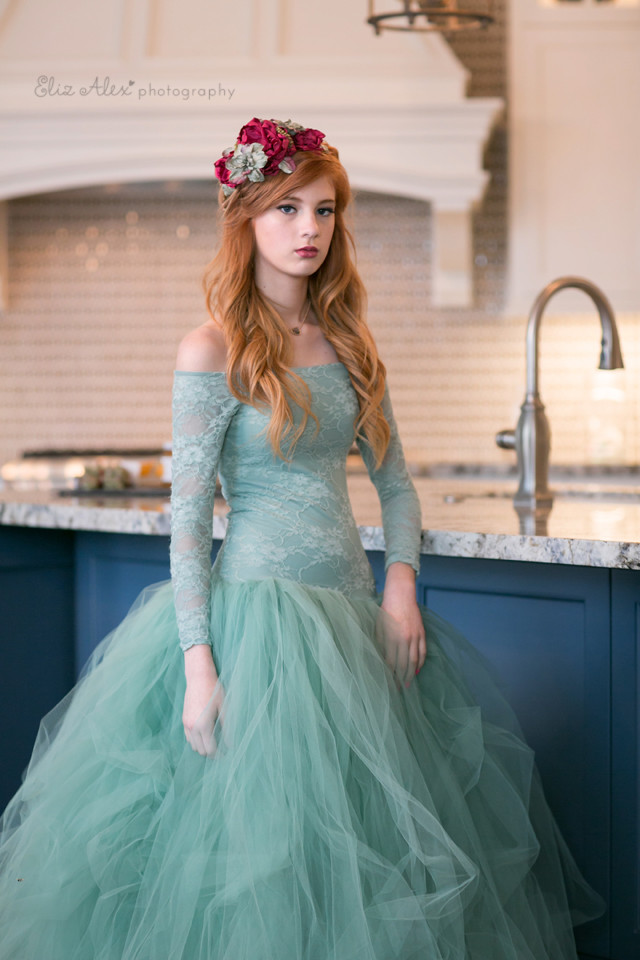 Eliz Alex Photography
In landscape photography, there's a misconception that what makes the shot beautiful is some fantastic, iconic scene.
However, you can make a beautiful landscape shot out of more mundane settings - you just have to know how to dress it up.
Similarly, you don't need to go to some exotic location to get a beautiful portrait.
In the image above, the setting is a normal, everyday kitchen, yet the portrait of the young lady works in large part to the gorgeous gown she's wearing.
The texture of the top of the gown juxtaposed with the flowy volume of the bottom of the gown make for an eye-catching moment.
What's more, her floral crown draws attention to her with gorgeous colors and textures, both of which help highlight her beautiful red hair.
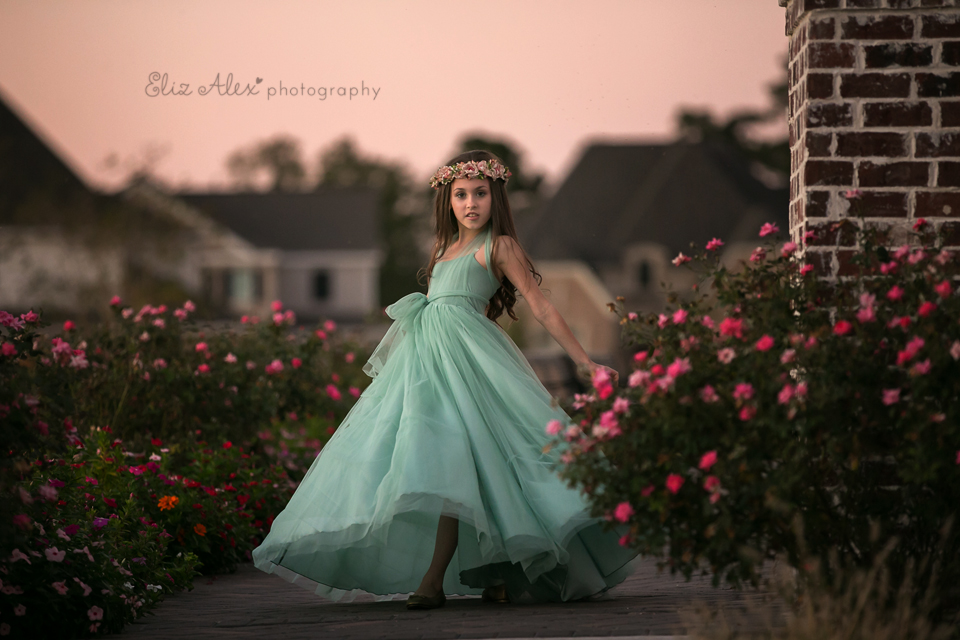 Eliz Alex Photography
In this shot, the setting is simply the backyard, yet again, we see how the wardrobe and accessory choices help elevate the photo to another level.
The light, bright green color of the dress immediately draws your attention amidst the darker tones in the shot. The volume and movement of the dress also help add drama.
Again, the use of a floral crown helps anchor the young lady as the centerpiece of the shot, drawing attention to her face. It's also a great tool in this situation for creating a connection between the model and the flowers that surround her.
Wardrobe and accessory choices can't necessarily make a bad shot a good one - the fundamentals still need to be there.
But by incorporating wardrobe and accessory choices that have color, texture, patterns, and movement, you can make even the most mundane scenes into gorgeous portraits.
Learn More:
- Shop for Girls' Portrait Fashion and Accessories
- These Three Tricks Will Help You Create Beautiful Portraits
- How to Pose Couples for Maternity Photography
Give Them Something to Do
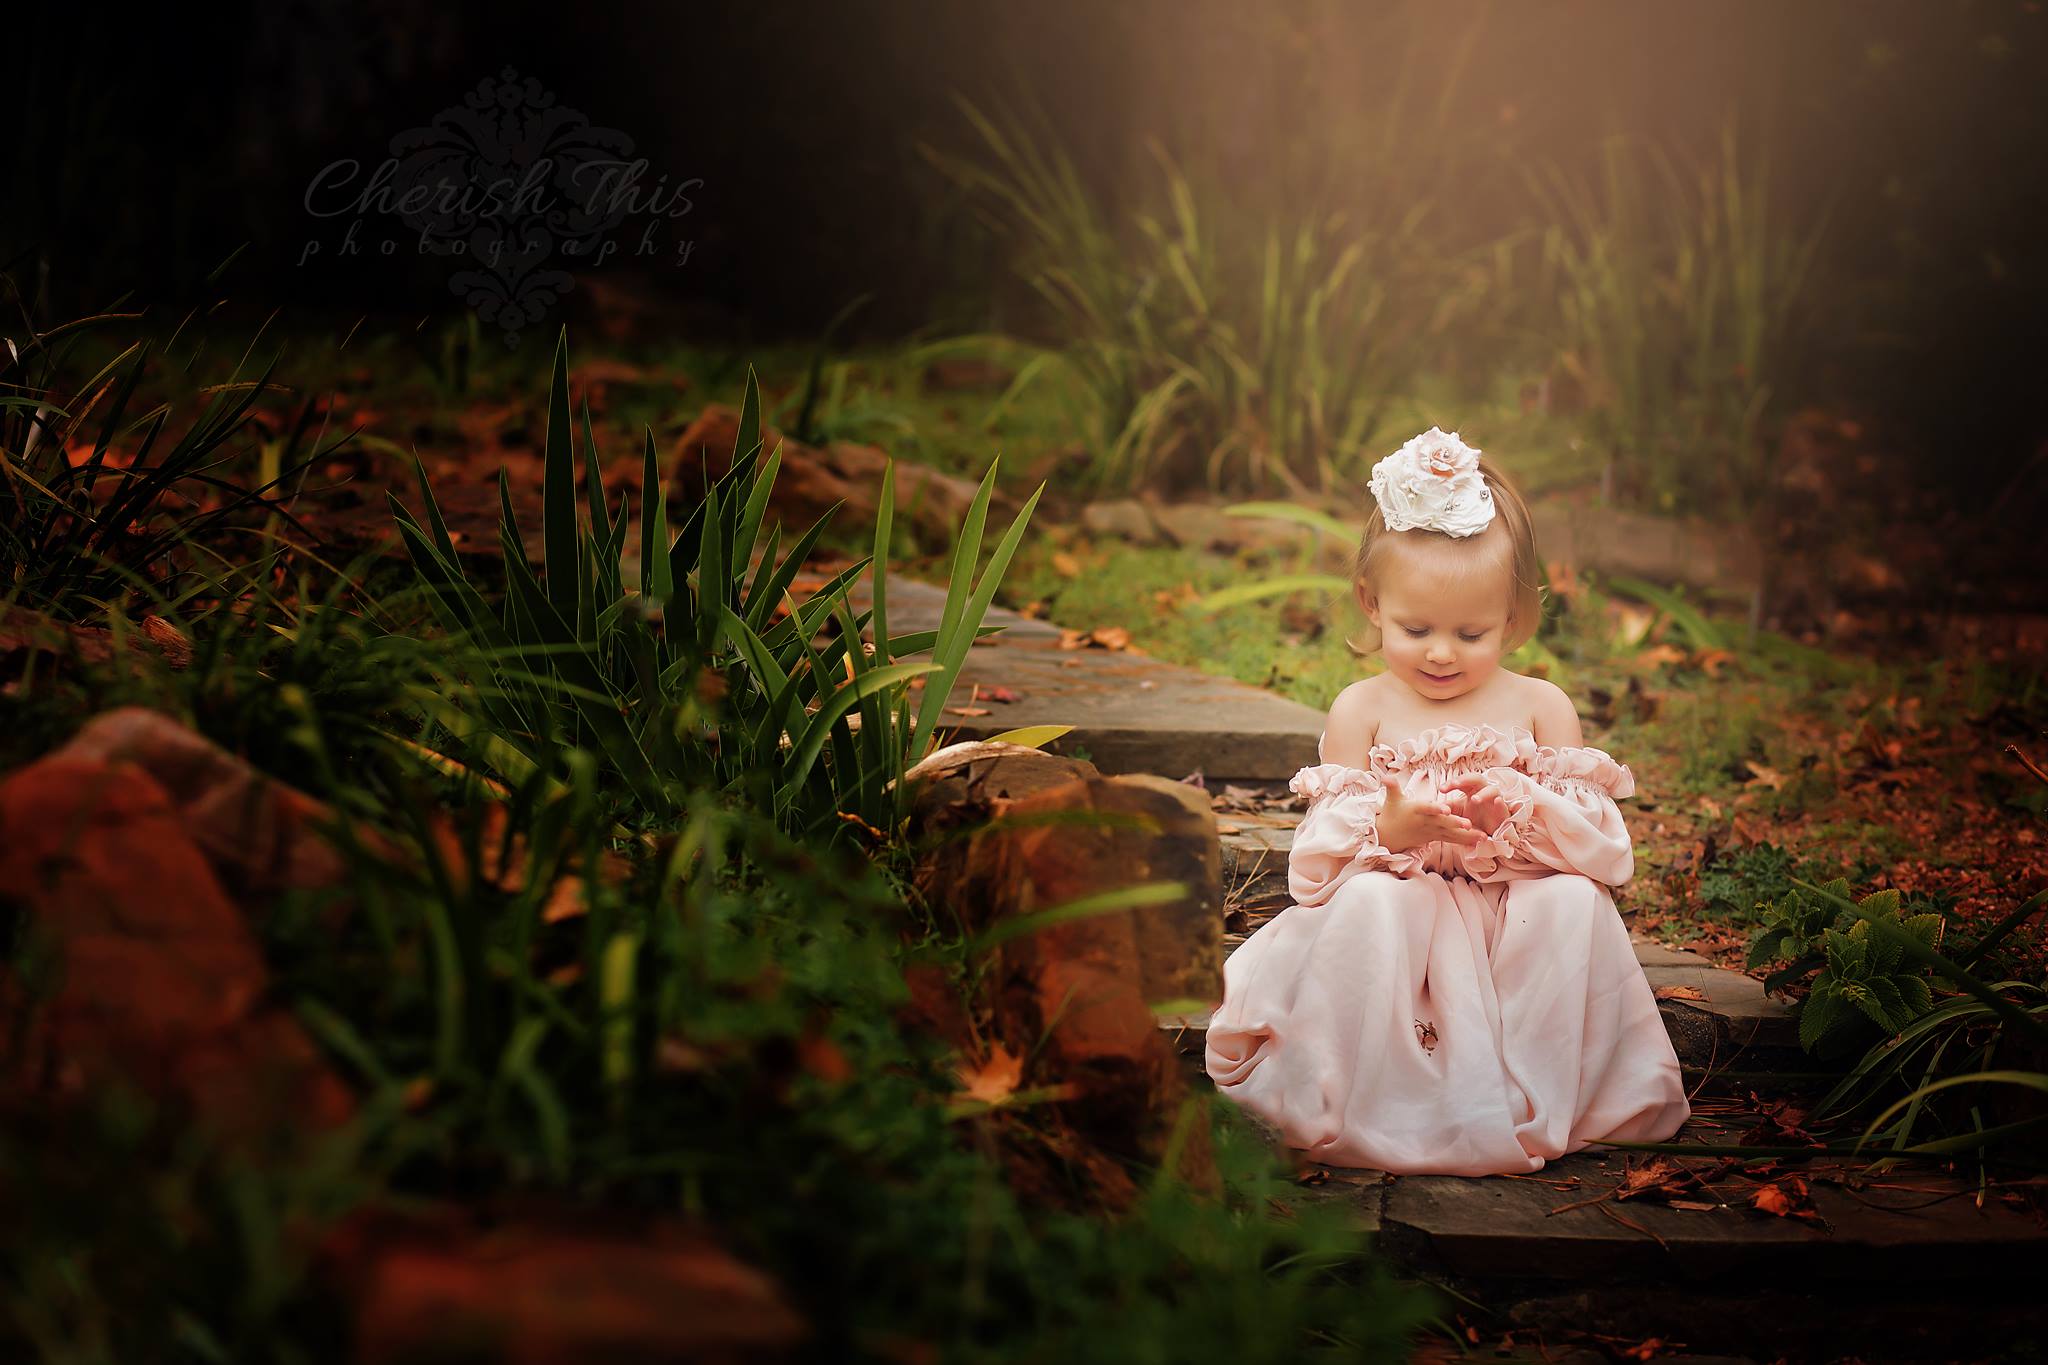 Cherish This Photography
Perhaps the easiest trick for getting precious photos of young girls is to give them something to do.
By distracting their attention, you can capture genuine, authentic moments like the one in the image above.
Rather than being a heavily posed shot (not that there's anything wrong with those...), you create something a little more whimsical.
And in this case, the setting certainly helps in the whimsy department, with tons of colors and textures that add interest to the photo.
So, to summarize, by giving your subject something do to, accessorizing them with beautiful clothing, and including mom or dad in the shot, you have plenty of ways to create more interesting portraits of girls.
Again, these techniques can be used with just about anyone else, too, so give them a try to see how your portraits might improve.
Learn More:
About Sew Trendy
This is a company that photographers absolutely need to be in touch with. Their gowns, crowns, and other high-quality accessories are just what you need for maternity photos, photos of newborns, mommy and me sessions, and portraits. These accessories not only make your clients look and feel great, but they also add a depth of detail and interest to your photos that elevate the images to an entirely other level. What started out with just a few people manufacturing these eye-catching items is a growing business that provides accessories to photographers worldwide. Help your clients look and feel their best by partnering with Sew Trendy Accessories.
4 Beginner Photography Tips That Will Have a Dramatic Impact on Your Photos
I don't know about you, but when I started in photography, one of the hardest things for me was simply understanding how to compose more dynamic and interesting photos.
It seems like a simple enough task, but in practice, taking that next step to improve the composition of your photos can be pretty hard.
There's a lot of reasons for this - not knowing what to do, being afraid of messing it up, or simply getting too comfortable doing things the way you've been doing them.
With that in mind, I've put together a list of four compositional tips, all of which are simple and straightforward, but that will have a huge impact on the way your photos look.
Pay Attention to Framing

The manner in which you frame the shot has a significant impact on how the shot looks.
What I notice with many beginner photos is that the framing is more or less the same, with the subject at or near the center of the shot, regardless of what the subject might be.
Don't get me wrong - sometimes this works.
Take the image above as a good example of this. The placement of the Taj Mahal in the middle of the frame accentuates the symmetrical nature of the shot.
So, if you find that there's symmetry to the scene, placing the subject in the middle of the frame can result in a more powerful photo.
However, there's something to be said about following the rule of thirds and placing the subject off-center.
In the image above, note how the woman is placed to the left of center. What this does is create an active path for her to "move" to our right.
In other words, her placement in the frame makes the image feel more dynamic because of that indication of movement from her current position on the left to a future position in the middle or right side of the frame.
Learn more about subject placement using the rule of thirds and the golden ratio in the video above by Seeker.
The moral of the story here is that rather than framing every shot with the subject in the middle of the frame, stop to consider if that framing is the best.
Better yet, take several photos with the subject in several different placements, and then choose the most compelling photo of the bunch to share.
Eliminate Space

Another mistake I often see in beginner photos (and in my own shots from back in the day) is that the subject is sometimes too small for the frame.
So, while you need to think about where the subject is placed in the frame, you also need to think about the distance between you and the subject, too.
Looking at the image above, you can see that the subject is a bluebird. But notice how small the bird is in relation to the size of the frame. All that extra space doesn't do much for the shot.

On the other hand, notice how much larger the birds are in this shot. By occupying more space in the frame, we get a much more interesting view of the birds, with far more detail.
For example, notice how you can see the texture of the birds' feathers as well as the glint of sunshine in their eyes.
Now, this isn't to say that you have to fill the frame with you subject each and every time. Rather, like the first tip, simply evaluate the scene and determine if a wider shot or a closer shot would be best.
To get a closer shot you can physically move yourself nearer the subject, use a longer focal length lens, or crop the image in post-processing.
Change Your Perspective

I think one of the most common mistakes beginner photographers make is to take most - if not all - of their photos from their own eye level.
If you look through your collection of photos and see a pattern of everything taken from the same perspective, you'll likely find that your photos quickly become a little boring.
To avoid that, simply change the height of the camera when you shoot.
Take a look at the image above. The photographer got down low to the ground for a low-angle shot, which creates a unique perspective on this landscape.
The low-angle of view also accentuates the interesting patterns and textures of the dry, cracked earth, giving this shot another unique element of interest.
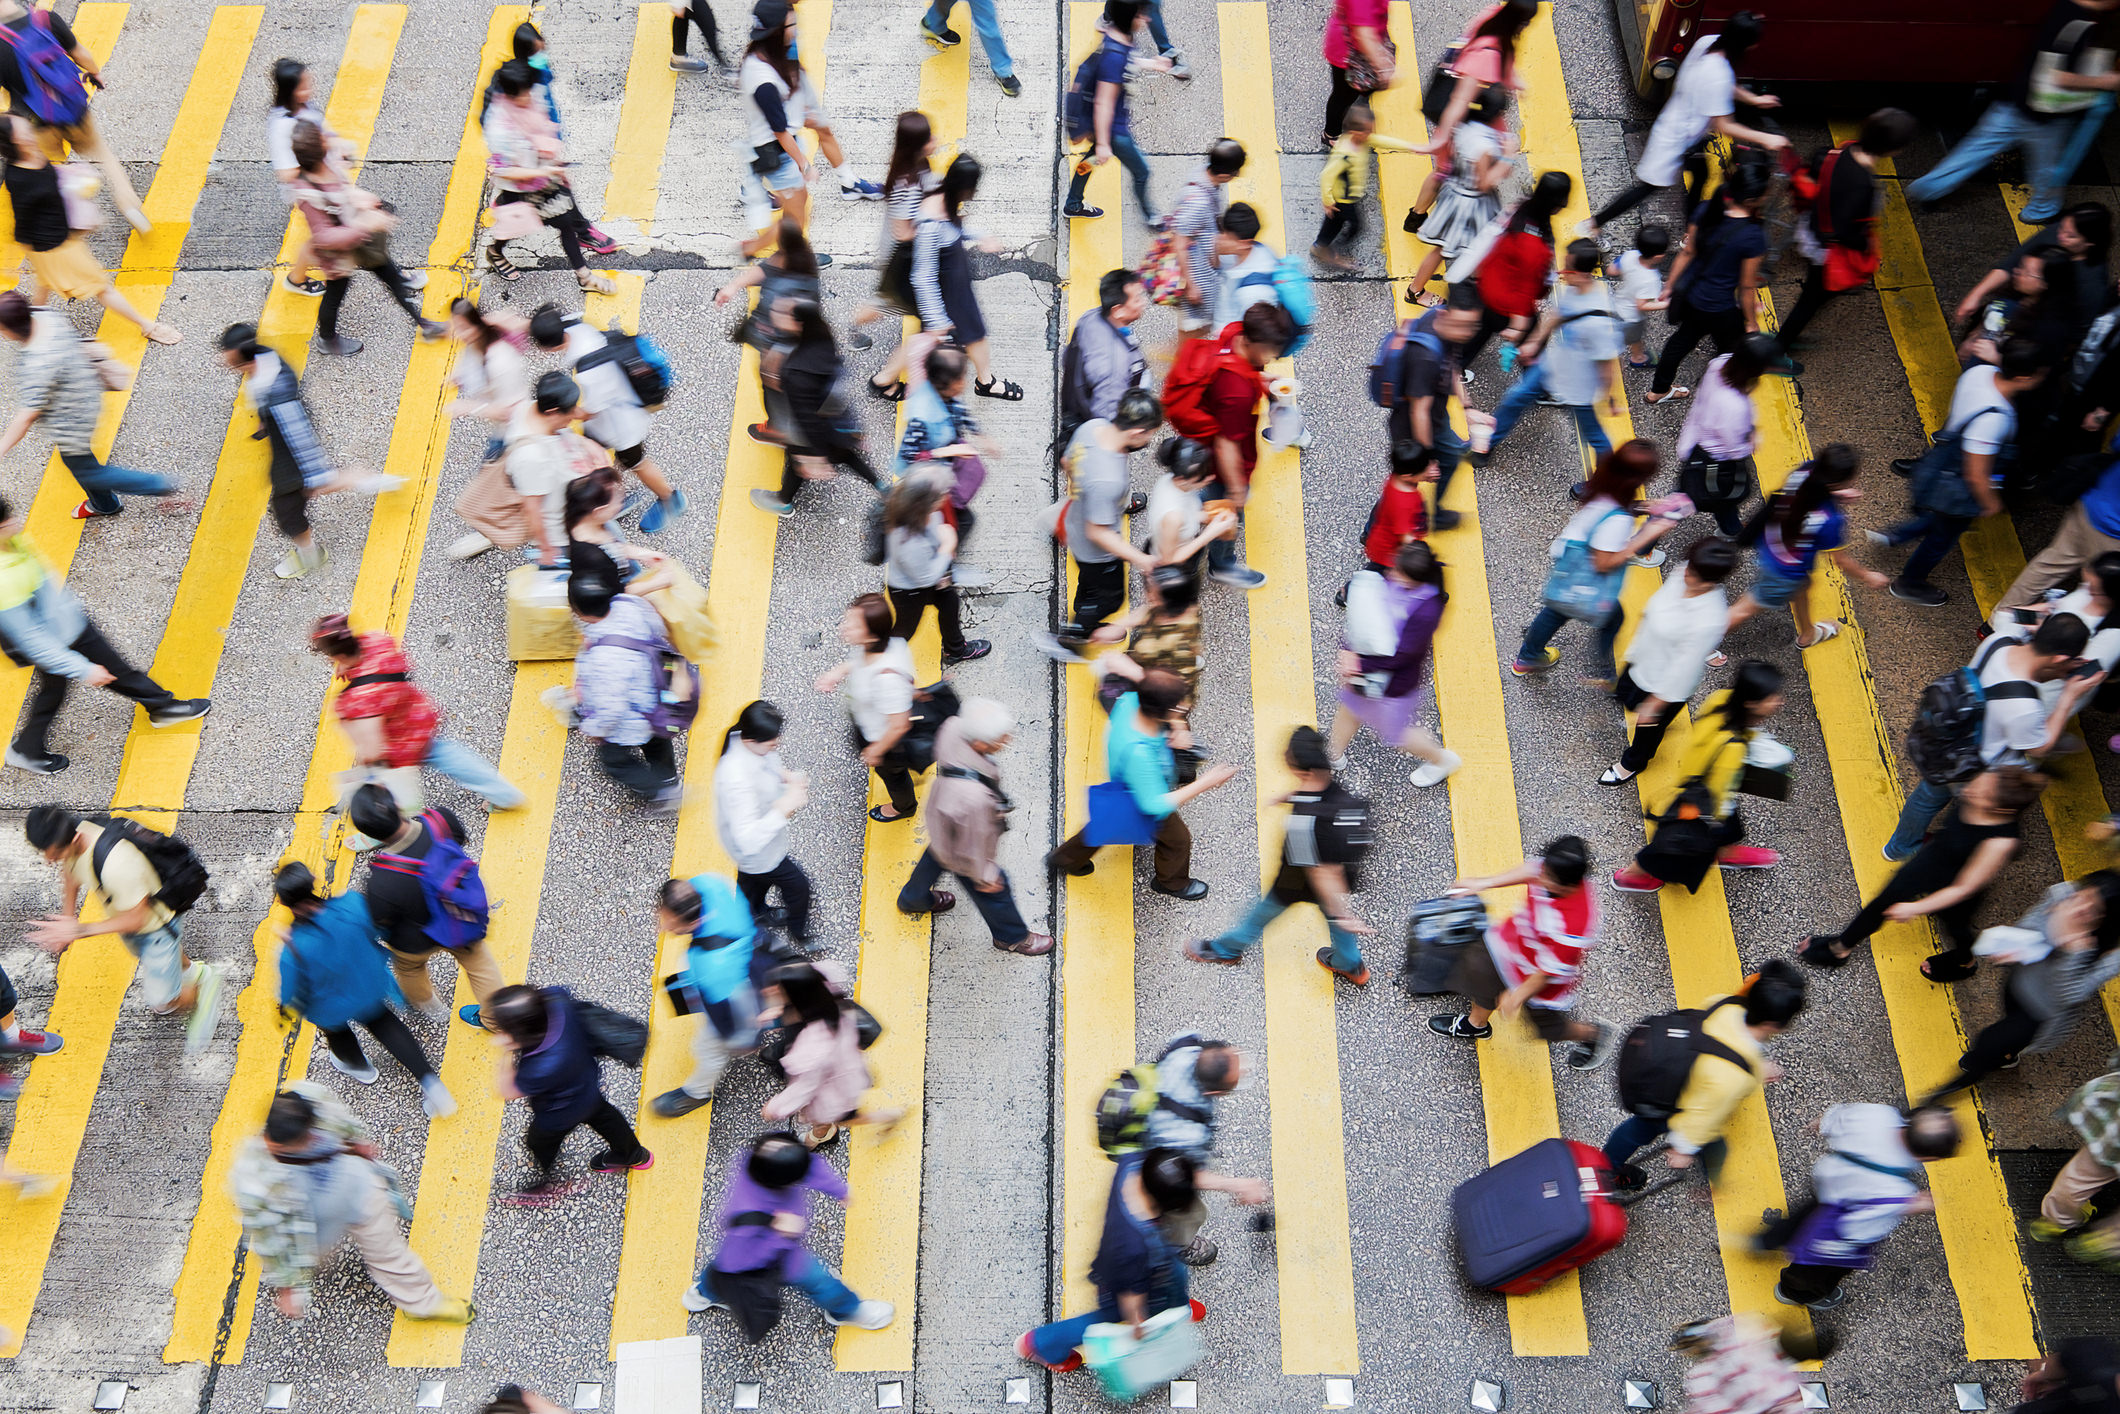
Taking a higher shooting position and shooting down toward your subject is also an effective trick for creating a more interesting shot.
In the example above, note how the downward angle of view helps to fill the frame with the people using the crosswalk.
Not only does this create a more intimate shot, but it also allows the photographer to focus on the motion of the people walking, as well as the linear pattern created by the lines of the crosswalk.
In both images above, just imagine if they have been taken from a typical eye level - they wouldn't be nearly as interesting, would they?
Less is More
Sometimes it's hard to look at a scene and decide what should be incorporated into the frame and what shouldn't.
I find that this is particularly true of landscape photography, because it's human nature to want to capture with your camera the wide-ranging beauty of the scene you see with your own eyes.
The problem with taking photos with a lot that's going on is that it's much more difficult to indicate depth and dimension in a two-dimensional photo than it is for our eyes to see that depth and dimension in person.
As a result, less is usually more when it comes to photography.
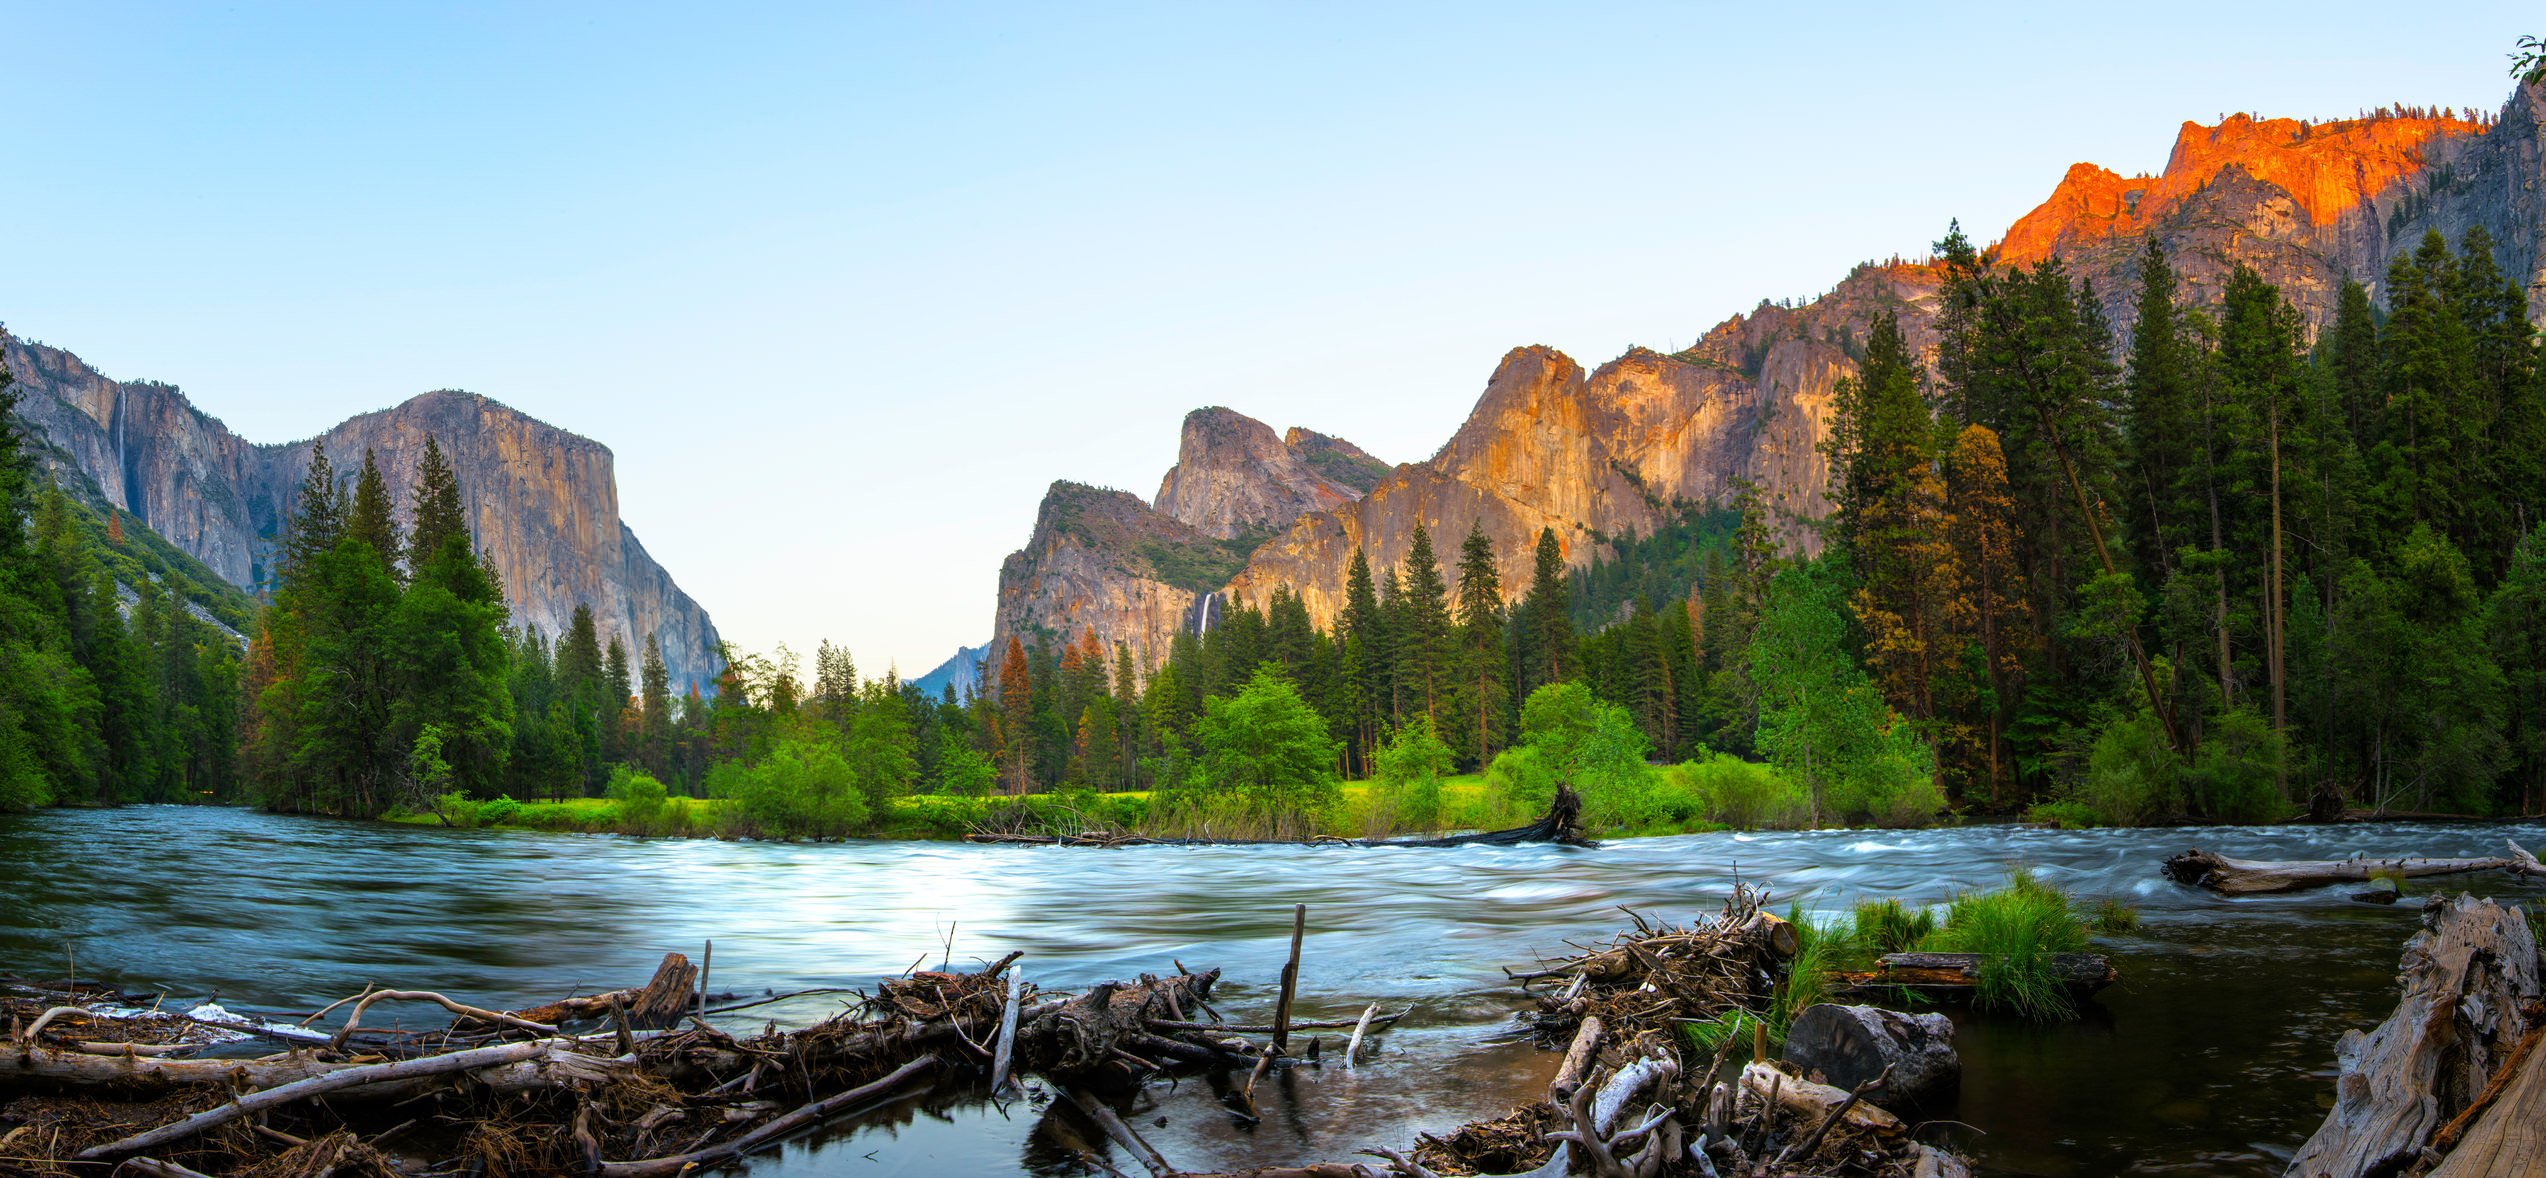
Looking at the image above, notice how much is going on. We have the high sky, the mountains, the waterfall, the forest, the river, and the downed trees in the foreground.
Now, I don't think this is a bad image at all, but there's just a lot going on.
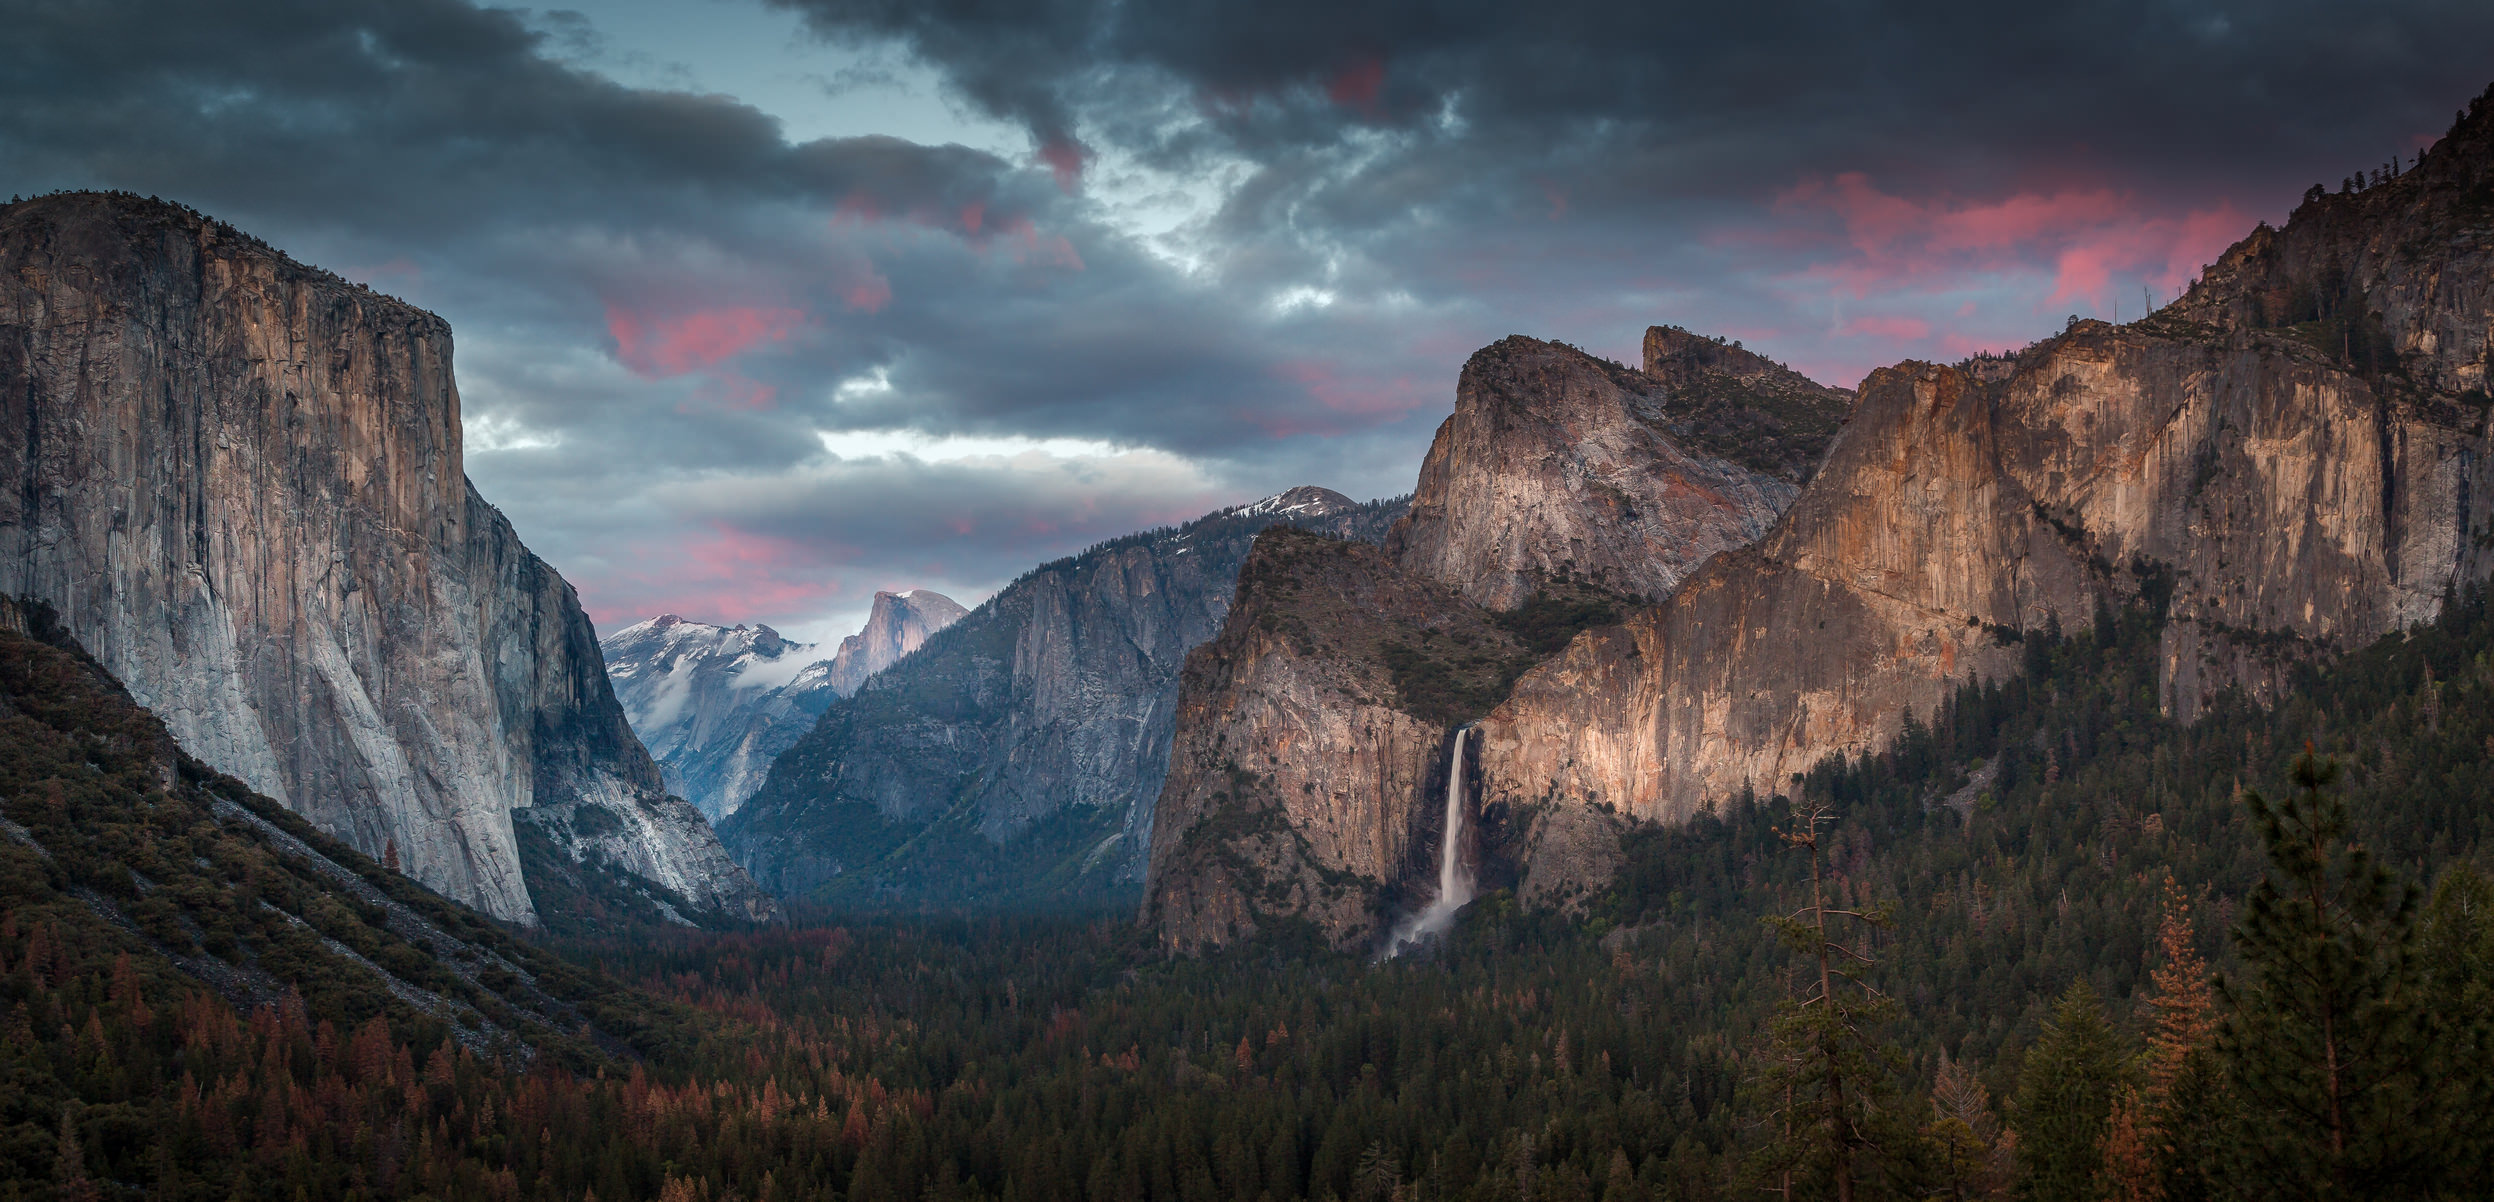
Contrast that first image with the image above. Notice how there's less going on in this photo, particularly in the foreground.
By taking a higher perspective for the shot, the image feels less cluttered. Without the river and the downed trees in the foreground, and with a consistent foreground of dark green in this shot, the eye more quickly moves toward the waterfall, the mountains, and the sky above.
In other words, your eye has an easier time inspecting this second shot because there's not as much for it to inspect.
Get more simple, effective landscape photography tips in the video below by Serge Ramelli:
With that, you've got a few quick and easy composition tips that will help you elevate your photos!
Spend some time working on using each one, and in time, you'll find that you're more able to quickly understand how the scene before you will benefit from using one (or more of these techniques).
The result of that hard work? Photos that have more to say, and say it with a bigger visual punch.
We Recommend
4 Composition Mistakes You Need to Stop Making

When you look at the images created by the world's best photographers, it's hard not to think, "Wow, that's a perfect shot."
The thing is, there was a lot of time and effort put in for that photographer to get that image to look that good.
And, in the end, if you ask that photographer about their image, I doubt they'd say it was perfect anyway.
The point is that we all make mistakes as photographers. The trick is minimizing those mistakes.
Here's a few common mistakes beginner photographers make and what you need to do to fix them.
Mistake #1: Cut Off Body Parts

Look at a beginner photographer's photos, like the one above, and often you'll see a person's body parts awkwardly cut off (like the man's leg).
The same thing happens with other subjects too - the corner of a building is missing or the top of a tree appears to be chopped off.
It's not a good look...
Usually, this mistake is a result of just not having trained one's eye to check the edges of the frame. Other times, it's a matter of simply rushing the process of composing the shot.
Instead of having people and things look chopped off in your photos, take an extra few seconds to check your edges.
If you find that grandpa's hand is cut off or the mountain peak extends beyond the top of the frame, recompose the shot to include those features.

If you're in a situation in which you have to cut something out, be deliberate about it.
For example, if you're taking a portrait and you don't want to include the person's feet, crop the image at mid-thigh, as seen above.
If you want just their upper body in the shot, crop above the waist.
When framing the shot, avoid having the cutoff points where joints are. That helps avoid awkward-looking framing as though a body part or feature is missing.
Mistake #2: Not Checking the Background

Years ago I took a photo of my family when we were on vacation in Alberta, and on first glance, it looked like a winner.
Upon closer review, however, there was a tree directly behind my dad, so it appeared that the tree was growing out of his head.
That happened because I was focused solely on the subjects - my family - and didn't take a moment to see what else was happening in the shot.
This is an easy mistake to make because, in the moment, you're trying to make your portrait subject look as good as possible.
Naturally, if they have a tree coming out of their head (or out of their neck, as in the image above), they won't look great...
The easiest way to overcome this mistake is to slow down for a moment, frame the shot, and then inspect the background, much like you need to inspect the edges of the frame.
If you find that there's something strange going on behind your subject, all you need to do is take one or two steps to the left or right, or perhaps move your camera higher or lower to change the perspective.
It's about as easy a fix as you'll find!
Learn more about finding pleasing backgrounds for your portraits in the video above from Matt Granger.
Mistake #3: Always Shooting in Horizontal Format
I'm most comfortable shooting with my camera in the horizontal position, and I'd be willing to bet you are too.
But just because it's comfortable doesn't mean that we should always shoot with the camera parallel to the ground.
Portraits, in particular, often benefit from a vertical orientation. This is especially true of half, three-quarter, and full body portraits.

But you can use vertical format for any other type of photo - a tall building, a landscape, a macro scene - you name it.
Get in the habit of taking at least one vertical shot and at least one horizontal shot each time.
Doing so will get you thinking about shooting vertically, and you might just find that the vertical shot is a more pleasing look!
Mistake #4: Putting the Subject in the Middle of the Frame

I will be the first to say that there are times when having the subject in the middle of the frame actually works really well.
However, if you're looking through your photos and notice a pattern in which the subject - be it your wife or kids, a mountain or an animal - is always smack in the middle of the frame, we've got a problem.
One thing you don't want to do is get into a rut by always having your subjects in the same spot in the frame.
As a result, think about where you can place the subject to give the shot a little more interest.
Using the Rule of Thirds helps in this endeavor because it forces you to shift the subject to the left or right of center (or above or below center). See how it works in the video above by Mike Browne.
Something else to be wary of is taking photos from the same eye level every time.
By kneeling down, standing on your tippy-toes, or moving to the left or right, you can give viewers a little more of a unique look at your subject. That's because we're familiar with things from our own eye level, so by changing that up, you create an unexpected shot.
Bonus Mistake: Forgetting to Check the Camera Settings

Ok, so this isn't a compositional mistake, but it's still extremely common...
I can't tell you how many times I've fiddled with my camera settings, only to pick up my camera a few hours or a few days later and start shooting away to find that my images are wildly underexposed, overexposed, or suffering from some other issue.
This isn't an issue if you shoot in full auto mode (which, you'll need to get out of at some point...).
But if you're made the leap to aperture priority mode, shutter priority mode, program, or manual, you'll want to get into the habit of taking a peek at your settings before you start shooting.
It will save you frustration later on when you're wondering why your first few photos don't look right.
It might also help prevent a missed shot due to the wrong settings!
We Recommend
4 Fast Landscape Photography Tips
The greatest thing about landscape photography - of many great things - is that no matter how many times a particular landscape has been photographed, there's always something different to see and document.
Whether you visit the same spot at different times of day or different times of year, use a wide-angle lens and then a telephoto lens, or simply change the perspective from which you shoot, there are all sorts of ways for you to offer viewers something new and different, even if the landscape you photograph is a well-known one.
The next time you're out taking photos of breathtaking landscapes, bear the following tips in mind to get better results.
Mind the Light

Everyone knows that golden hour is where it's at for landscape photography...
The soft, warm light brings any landscape to life with gorgeous colors that add visual interest and long shadows that add dimension.
But golden hour doesn't provide the only conditions under which you can get a compelling shot.
Try photographing a landscape under overcast conditions. The cloud cover acts like a giant softbox, giving you perfectly even lighting falling on the landscape.
When taking landscape photos on an overcast day, be sure the landscape has elements that give the scene depth and dimension in spite of a lack of highlights and shadows.
That means looking for colors, textures, patterns, and forms that still work under the flat light of a cloudy day.
Another option is to shoot during blue hour.
Blue hour precedes golden hour in the morning and follows golden hour in the evening.
As the name suggests, the light at this time of day is blue, sometimes even purple, for a completely different look than what you get during golden hour.
Blue hour is a perfect time to work on silhouettes - like a mountain peak silhouetted in front of the fading light of the day on the horizon.
Learn more about blue hour and the ideal camera settings to use in the video above by Adorama TV.
Find Reflections
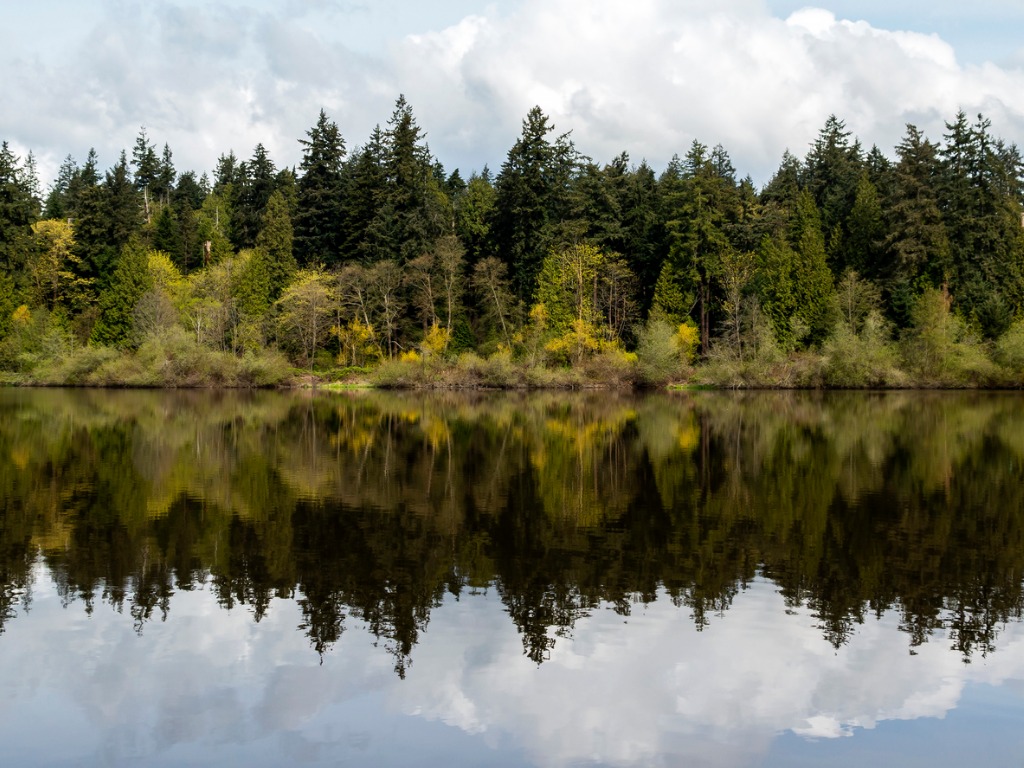
The great thing about a reflection is that it's one of the easiest ways to add visual interest to a shot. Just find a lake or a pond, take a low shooting perspective, and you double your subject!
When incorporating a reflection from something like a body of water, there's a few things to bear in mind:
- Take shots from a variety of perspectives to find the best angle of view to capture the reflection on the water's surface.
- Throw the rule of thirds out the window and frame up a symmetrical shot with the subject smack in the middle of the frame.
- Try placing the horizon line in the middle of the frame. This helps amplify the symmetry in the shot.
- Use a polarizing filter to cut down on any glare from the water's surface.
But reflections aren't just limited to water...
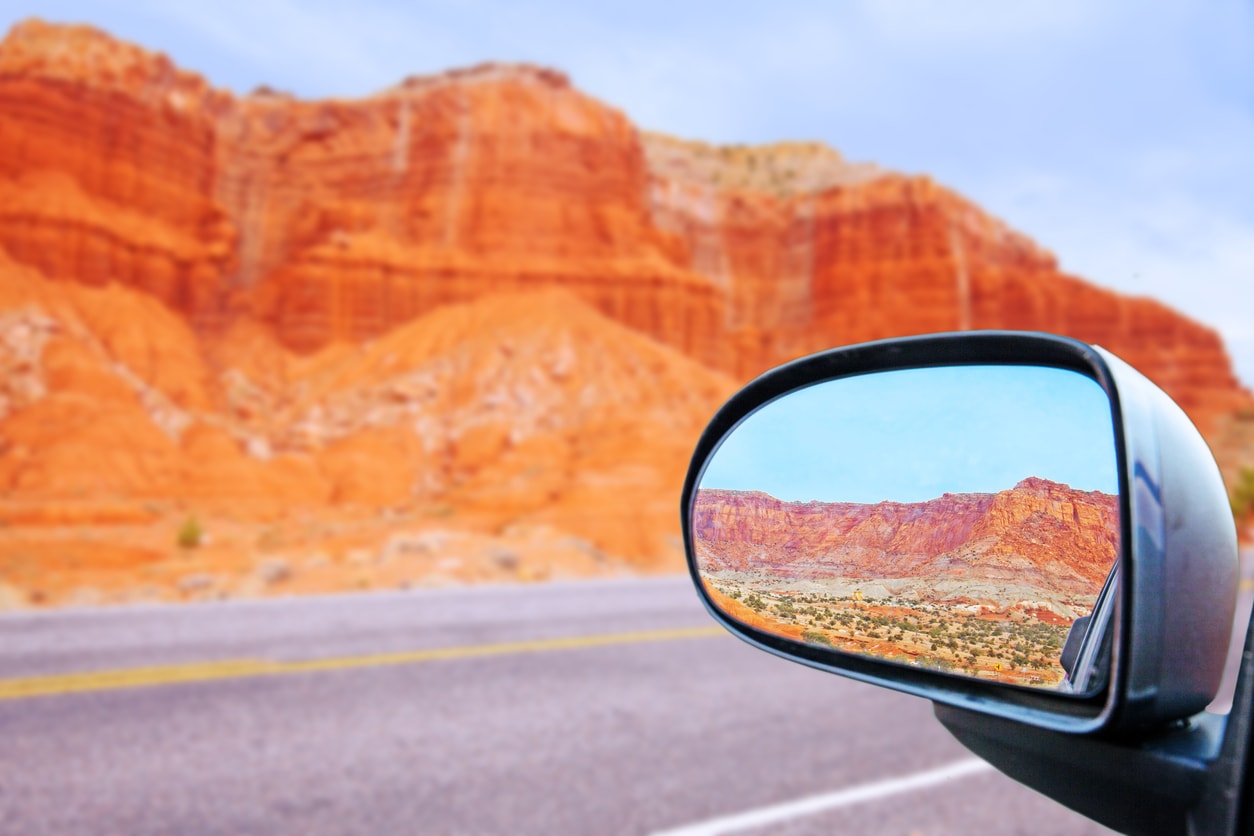
Create a unique landscape photo by using a mirror - like the ones on the side of your car - to photograph a landscape behind you.
Adding in that kind of human element gives landscape photos a bit of whimsy and fun.
Try New Gear and Different Camera Settings
Rather than taking the same photos with the same gear all the time, get into a more creative space by capturing landscapes with something different.
If you typically shoot with your crop sensor DSLR, try a few photos with your phone.
If you usually use a wide-angle lens, see how shooting landscapes with a telephoto lens changes how you work.
Similarly, if you like to shoot with your camera on a tripod, see how going without one opens up new avenues for getting photos.
You can even use the same gear but change the settings for a bit of a challenge.
Try a long exposure of a landscape to see how you can blur the movement of clouds, waves, a river, or the like. See how to do that in the video above by Adam Lewis.
You can also challenge yourself to work with different apertures - small apertures for a large depth of field and large apertures to highlight a small part of the landscape set on a blurry background.
The point is that trying new things will jumpstart your creativity and challenge you in ways that might just open up whole new worlds of photographing landscapes.
The result of that will be unique images and a better understanding of how to use your gear, too!
Tip the Scale
One of the most common problems encountered when photographing landscapes is that they often appear a little flat.
Part of the reason for this is because many landscapes are photographed using a wide-angle lens, so distant objects appear small while the foreground and midground appear expansive.
To help mitigate this issue, it's advantageous to add something to the shot that provides a sense of scale.
Familiar things like a car or a road help viewers understand the breadth and depth of the scene because there's something in the shot to give them some context.
Likewise, adding a person to a landscape provides scale, even if the figure is quite small in the frame.
The other thing that adding these human elements to a landscape will do is help you tell a more compelling story.
Sure, a shot of a gorgeous mountain is fine, but if you add a person to the scene, viewers are more able to put themselves in that person's shoes.
In other words, the image becomes something more than just a pretty photo of a mountain; it becomes something with which the viewer connects, thinks about, and uses to plan their own landscape photography adventure.
Final Thoughts
There's plenty of other landscape photography tips and tricks you can use to improve your photos, but these quick and easy ideas will certainly help you get on your way.
Remember - when photographing landscapes, it's as much about how you approach the shot as it is the landscape you're shooting that results in a great photo.
If you rush things, even the most iconic landscapes won't make for very good images.
But if you take your time, mind your settings, look for great light, and find ways to create more unique photos, you'll have a much better set of pictures to show for it.
For even more great ideas for improving your landscape photography, check out the video above from PhotographyTV.
We Recommend
4 Landscape Photography Composition Tips That Will Change Your Photos For the Better
If you're like me, you love everything about landscape photography...
The scenery, the fresh air, the vastly different landscapes from one location to the next, the fantastic evening light - you get the point.
Of course, not every photo that we take of landscapes is a winner.
But with these landscape photography composition tips, you can learn how to use landscape composition rules to give your images a helping hand.
Add a Splash of Color
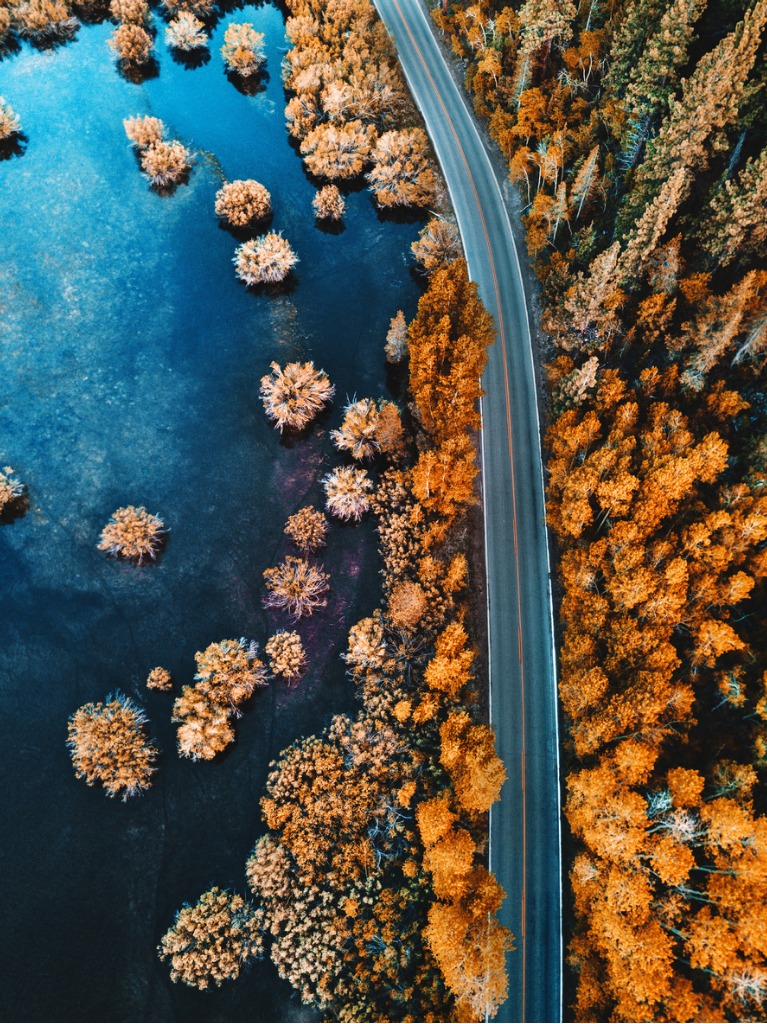
The human eye loves color. More specifically, our eyes like contrasting colors.
You can use that characteristic to your advantage by adding a splash of color to your photos to help draw people's attention.
In the image above, the contrast between the dark blue color of the water and the dark gray color of the roadway with the bright pops of yellow in the trees makes for one eye-catching image.
These colors might not be perfectly complementary, but they nevertheless work together beautifully.
Learn More:
Find the Beauty in Minimal Landscapes
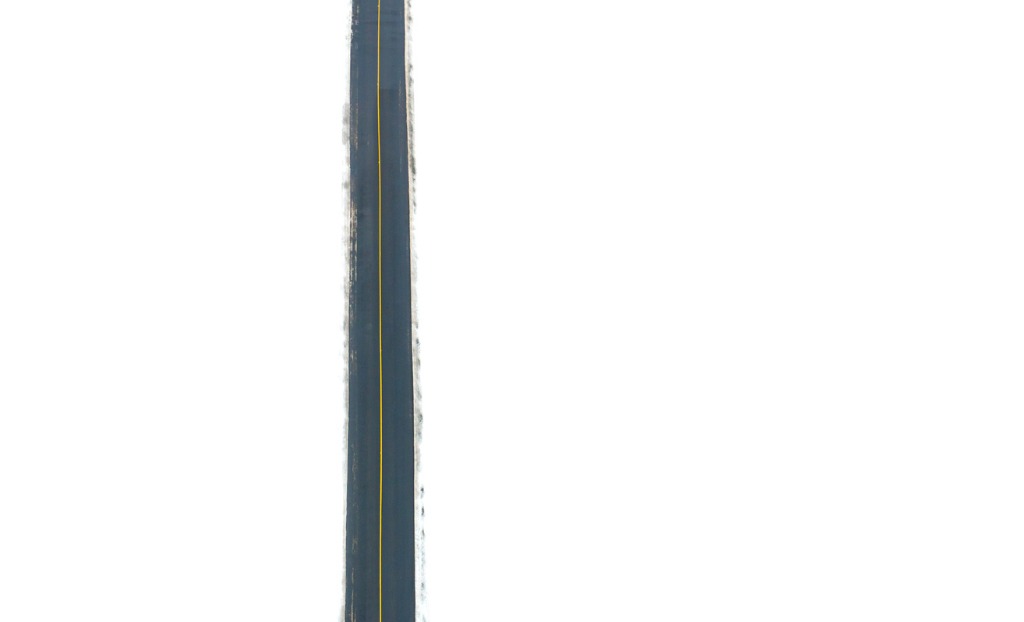
Sometimes, landscapes can be so packed with details that they can be a little overwhelming and even chaotic.
A fast fix for that is to compose minimal landscape photos that focus the attention of the viewer on one or two details.
In the image above, you can see this compositional trick at work.
There's really nothing in this shot beyond the line created by the highway, yet the result is a gorgeous example of minimal landscape photography.
All this photo needed was a little structure and contrast, and that's it! If you find that your landscapes feel a little complicated, give minimalism a try.
Learn More:
- 3 Ways You Can Immediately Improve Your Landscape Photography
- 4 Steps All Beginner Photographers Need to Take
Compose Left to Right
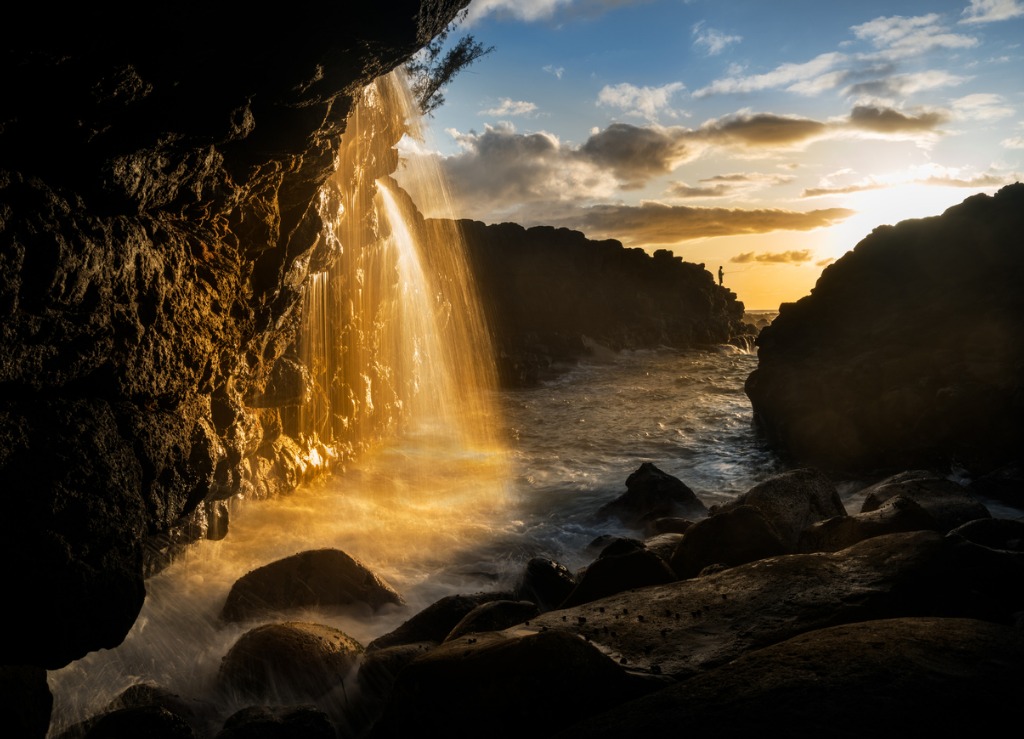
In many languages, reading occurs left to right.
So, if you speak one such language and most of the people that view your work speak one such language, it only makes sense to use this photography composition idea to compose left to right.
Doing so feels natural, and allows viewers to inspect the image from front to back.
In the example above, our eyes are drawn first to the waterfall in the foreground on the left, and then they follow the silhouetted forms of the landscape to the right where we finally inspect the setting sun in the background.
This type of composition can be difficult to master, but if you focus on having a strong subject on the left side of the shot and then elements like leading lines that bring the eye to the right, you'll have a winning shot.
Learn More:
- 3 Common Landscape Photography Mistakes and What You Can Do to Fix Them
- Crucial Tips for Improved Sunrise and Sunset Photos
Try Centering the Subject
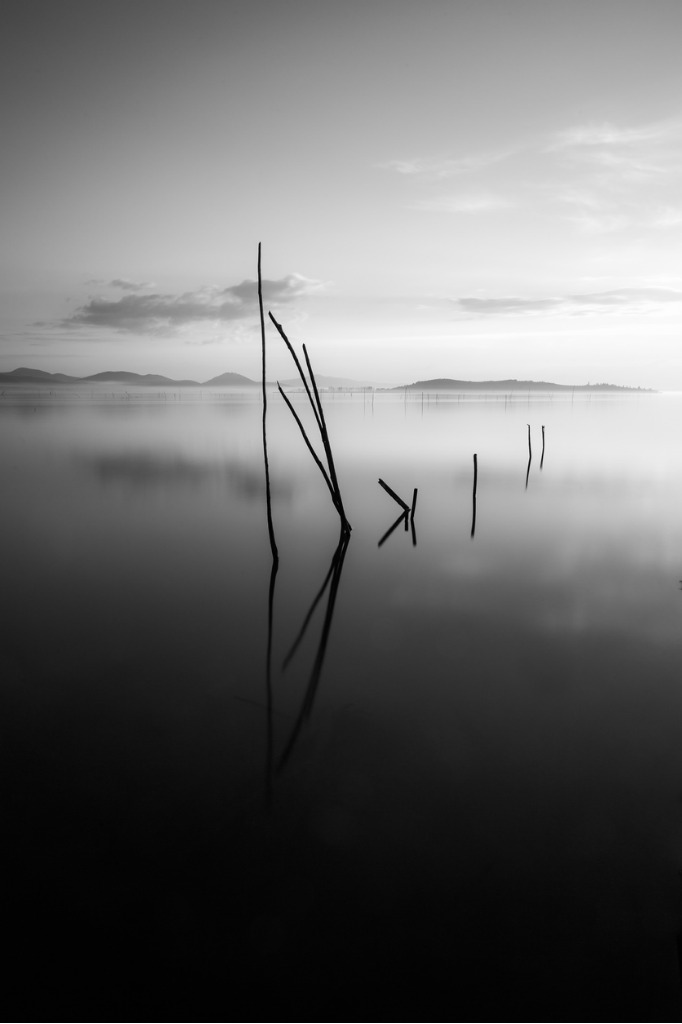
The best-known of the landscape composition rules is to use the rule of thirds to offset the subject to the left or right of center.
And in most cases, that rule works like a charm...
But sometimes breaking that rule and placing the subject smack in the middle of the shot is the way to go.
In the example above, the sticks protruding from the water are positioned in the middle of the shot, giving this image beautiful symmetry from left to right and top to bottom. This also gives this image excellent visual balance that's quite striking with the minimalist composition.
But you don't have to create minimalist landscape photos for this photography composition idea to work.
As you can see here, again, the trees are placed in the middle of the frame to allow the viewer to see both the trees and their reflections.
If you're photographing landscapes that include water, give your landscape photo composition a boost by placing the subject in the middle of the frame.
Learn More:
- The Number One Reason Why Your Landscape Images are Off
- A Beginner's Guide to Long Exposure Photography
Bonus Tip: Increase the Appeal of Your Landscape Photos With a Polarizing Filter

In addition to using the landscape photography composition tips outlined above, you can also improve your photos by using a polarizing filter.
Think of a polarizer, like the Formatt-Hitech Firecrest Circular Polarizer shown above, as the Swiss Army Knife of photography filters.
For starters, a polarizer increases the contrast in the sky, making the blues bluer and the whites whiter for dramatic impact.
Secondly, a polarizer helps minimize glare off non-metallic surfaces like water or glass. That means you can get crystal-clear shots of the water without worrying about the sun's glare blocking the view.

Polarizing filters also reduce atmospheric haze that's often present when shooting during the daytime.
Instead of far-off features like mountains looking pale and low-contrast, with a polarizer, they'll appear to be better defined with more detail.
Of course, you can't get the best results if you use cheap filters, which is why Formatt-Hitech is such a great choice.
Their filters have multicoating technology that makes them extremely durable, but also ensures that you get crisp results with little concern about ghosting, flare, and other aberrations.
And since they're manufactured using Schott Superwite glass, you know that your images will be super sharp and detailed, too.
Combined with the right composition tricks, using a polarizer will help you step up your landscape photography game!
Learn More:
- Landscape Photography Tip: One Thing That Will Improve Your Images in 3 Important Ways
- Required Gear for a Landscape Photographer
We Recommend
4 Photography Composition Problems and Solutions
When it comes to composing an excellent photo, there's certainly a lot to think of...
With so much to worry about regarding lighting, framing, the foreground and background, and so forth, it's easy to get a little overwhelmed and overlook a few things in the process.
There's no worse feeling than thinking you have a series of solid shots, only to find that the shots that looked pretty good on your camera's LCD look awful on your computer screen at home.
With that in mind, I've put together four composition problems that seem to plague a lot of photographers, as well as solutions to each issue.
Let's have a look!
Problem #1: Too Much Detail in the Background
Perhaps the most common composition problem of all is a background that's cluttered with detail. For example, in the image above, note how the trees, wall, and bright sky pull your eye away from the subject.
This mistake applies to portraiture more than anything, though it can be an issue for just about any genre, particularly bird photography.
The reason why cluttered backgrounds are so common is that it's just natural for us to snap an image when we see something worthy of a photo. What's more, sometimes time is of the essence and you don't feel as though you have the couple of seconds that are needed to explore what the background looks like.
The problem is that with all that detail in the background, people that view the image will be distracted from the main subject.
That is, instead of spending their time evaluating the detail of the subject's face, for example, they'll instead be looking at the crazy shapes, colors, or patterns of light behind the subject.
The Solution: Take your time.
I know that there are occasions when you literally have to point and shoot in order to capture the subject.
However, more often than not, a cluttered background is a result of simply not taking a moment to evaluate the scene.
Once you've identified the subject of your photo, give the surroundings a bit of love. Look for anything that might cause the viewer's eye to wander, and work to eliminate it from the shot so that the subject stands out.
That might mean using a larger aperture to get a shallower depth of field for some nice background blur (as seen in the image above). That might mean changing the direction from which you shoot. You might even need to move the subject (if that's possible) to a different location.
Problem #2: Too Much Detail in the Photo

A closely related issue is simply having too much detail in the photo - not just the background.
This is a particular problem in landscape photography because the desire is to capture the breadth and depth of the scene as you see it with your own eyes.
The problem is that when you look at a scene in real life, you have tons of other visual data in your field of vision that makes it a more complete whole.
But when you photograph that same scene, you're taking just a snippet of that information - even if you shoot with a wide angle lens - and giving viewers a restricted view.
That can translate into shots that are overwhelmed with detail, like the image above.
Between the river, the rock formations, the tangle of trees and other fauna, and a lack of a strong subject, this photo is a bit of a mess.
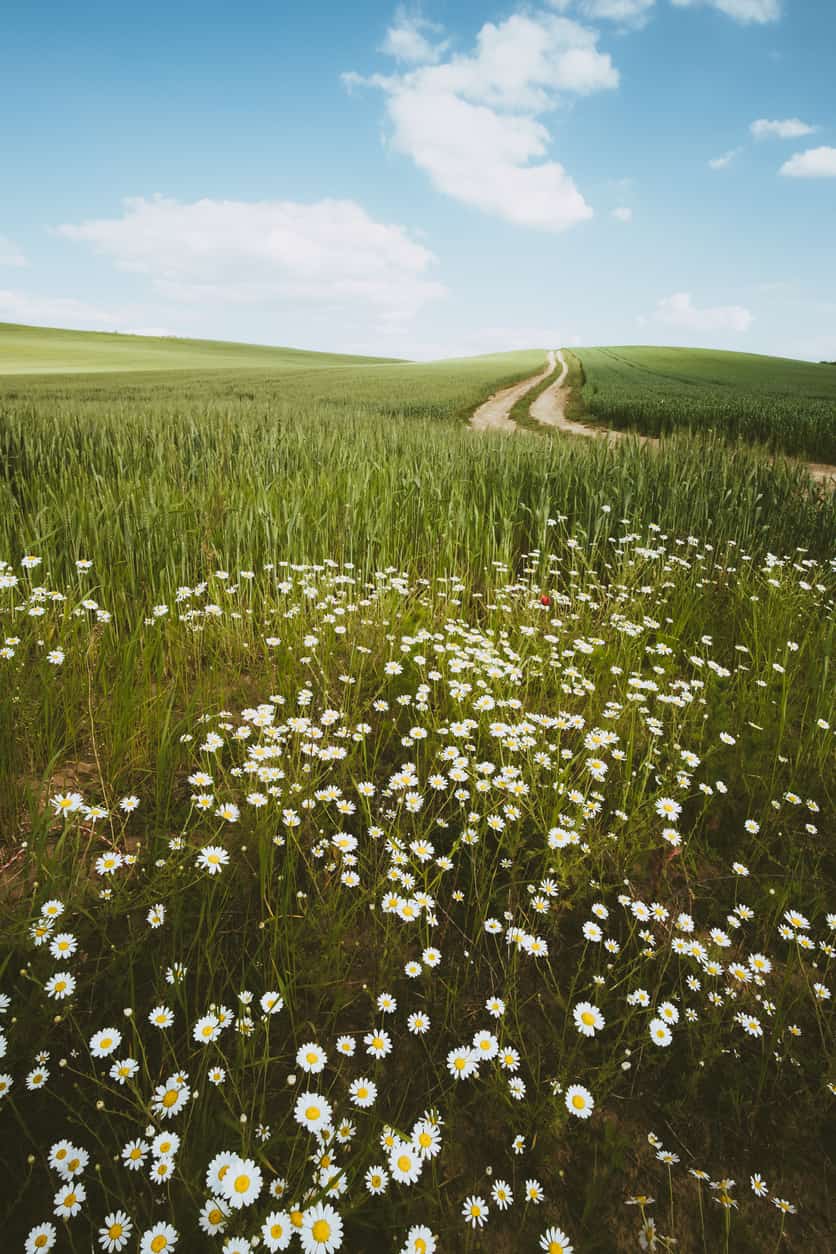
The Solution: Practice photographing vignettes.
Rather than trying to capture absolutely everything you see in a single image, try photographing smaller vignettes.
For example, focus in on a field of wildflowers, as was done. Fill the frame with a mountain peak. Look up and down to locate interesting elements that you can zero in on with your camera to create a simple, elegant shot.
Another trick is to convert your image to black and white. By stripping the photo color, you can immediately simplify the shot.
Problem #3: No Depth
Another common compositional problem photographers have to deal with is trying to emulate the three-dimensional scene from real life in a two-dimensional photograph.
Often, the scene you see with your eyes just doesn't look the same in your photos. It can look flat and lifeless, and that's due to a lack of elements that give the image depth.
This can be an issue for all kinds of photos - from portraits to landscapes to street scenes and everything in between.
Note how in the image above there's nothing to indicate depth. With no foreground or background elements to indicate dimension, the tree (and the photo as a whole) seems flat.
The Solution: Add depth!
If you're taking a portrait, blur the background with a shallow depth of field to help separate the subject from the background.
If you're taking a landscape photo, include foreground interest to indicate dimension. You can also use leading lines to direct the viewer's eye from the foreground to the background.
Another trick is to take the shot from a unique perspective - from high up or very low. You might include layers too, which help define the space in the shot, giving it a greater sense of dimension.
The shot above has several of these elements - foreground interest in the form of the rocks, a low-slung shooting position to incorporate the foreground, and layers that include the foreground, the waterfall, and the mountains in the background.
Problem #4: Subjects in the Middle
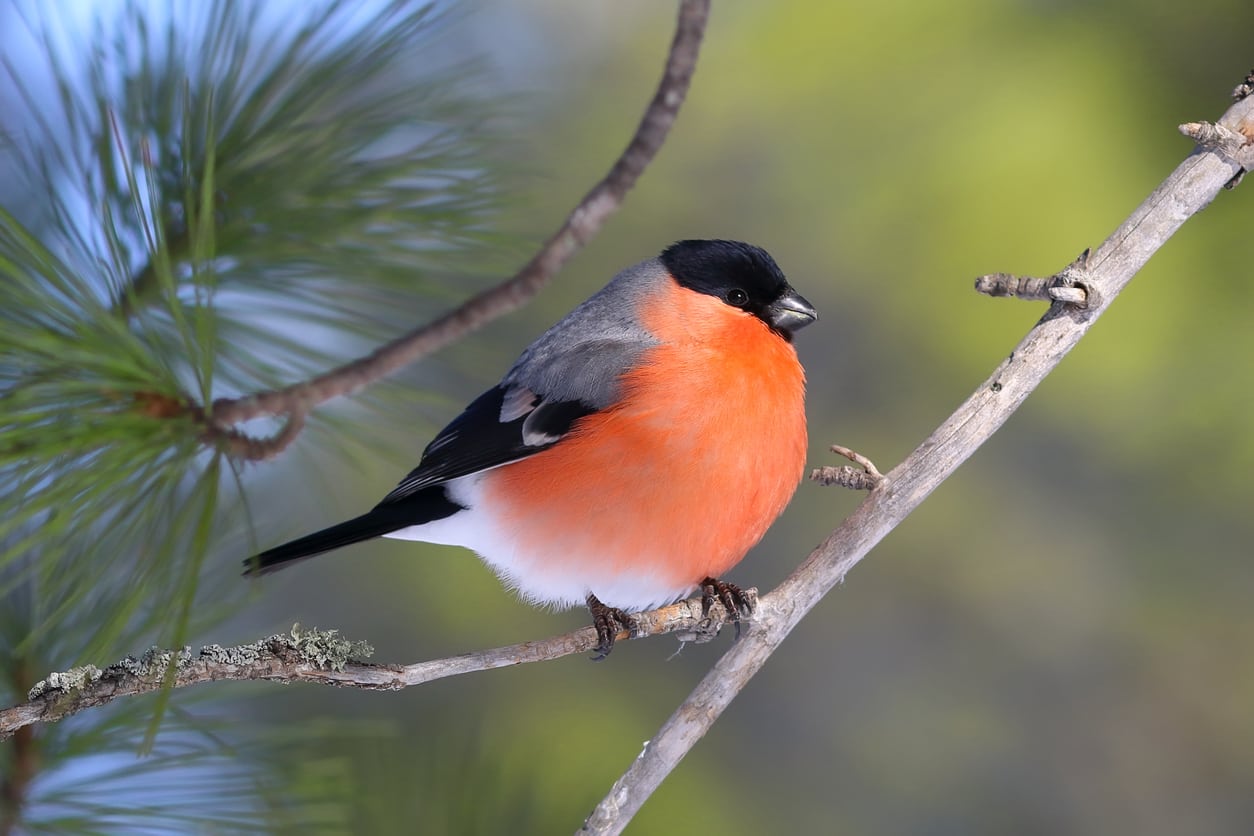
Let me start by saying that having the subject in the middle of the shot actually works sometimes.
For example, when there's water in the foreground and you're capturing a reflection, having the subject in the middle is perfectly fine.
But most often, placing the subject in the middle does your image no favors because it results in a shot that looks very static.
In other words, the viewer's eye goes straight to the subject and then stops, with nowhere else to go in the frame.
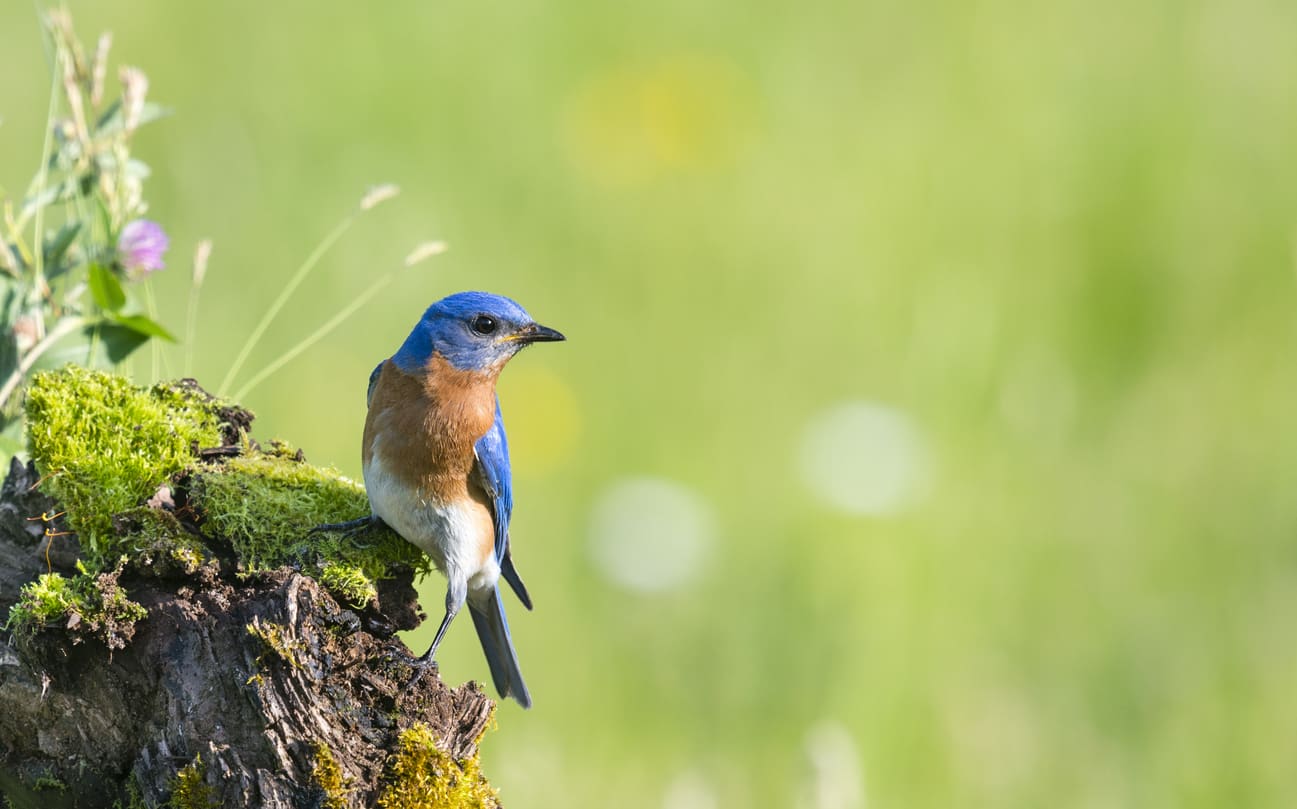
The Solution: Use the rule of thirds.
By using the rule of thirds (or the Golden Ratio), you can create a more dynamic scene.
Simply shift the subject to the left or right of center or above or below center, and you will see a noticeable difference in how the image is received.
Why you ask?
Even though the rule of thirds shifts the subject to one side or the other, it creates a more balanced photo.
That means that the visual weight of the subject to one side is balanced out by the negative space on the other side, as seen in the image above.
The interest that this strategy provides will give your images a more natural feeling that pulls the viewer in than if you simply place the subject smack in the middle of the shot.
Wrapping It Up
With that, you have four compositional problems, solved.
Now there's no excuse to have a cluttered background or a cluttered photo, images with no depth, or photos with the subject in the middle of the frame.
Give each of these solutions a try, check out more photography composition tips, and I'm sure you'll see just how much you can improve your photos!
Get even more insights into common photography problems and how to solve them in the video above by B&H Photo Video.
We Recommend
4 Pro Photographer Tips
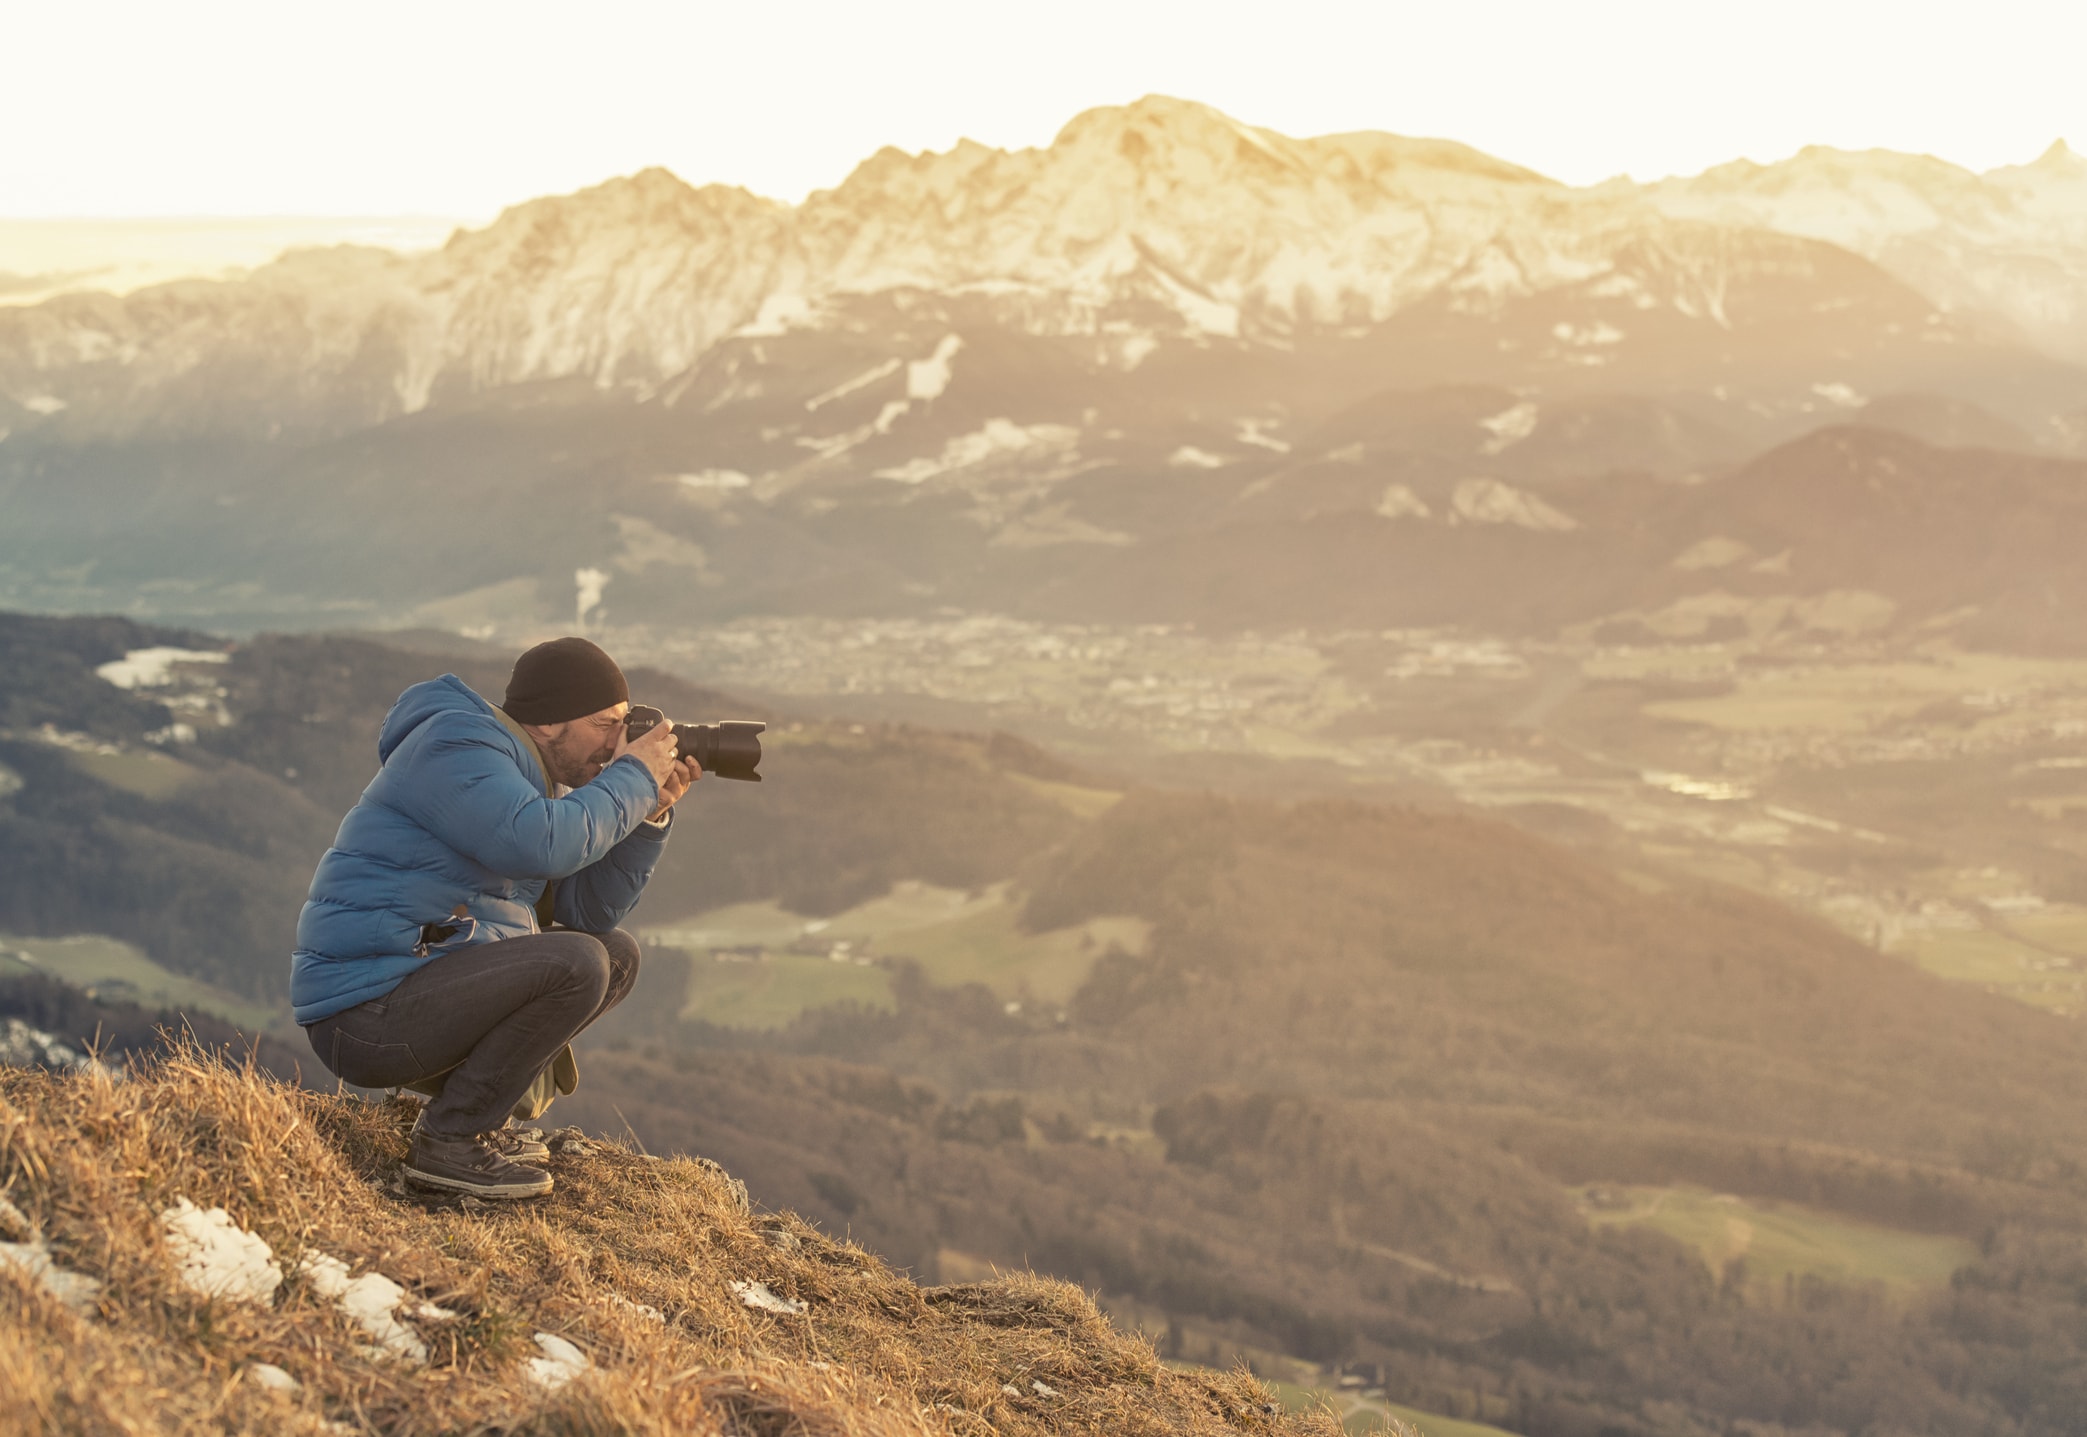
If you want to shoot like a pro, you'll need to dedicate yourself to learning the ins and outs of photography.
On the one hand, that means working unencumbered - hands-free - so you can get the shots you want.
That means working on things like composition and framing, too.
That also means looking for lighting that adds drama and impact to your shots.
Let's have a look at each of these pro tips in more detail.
Keep Your Hands Free
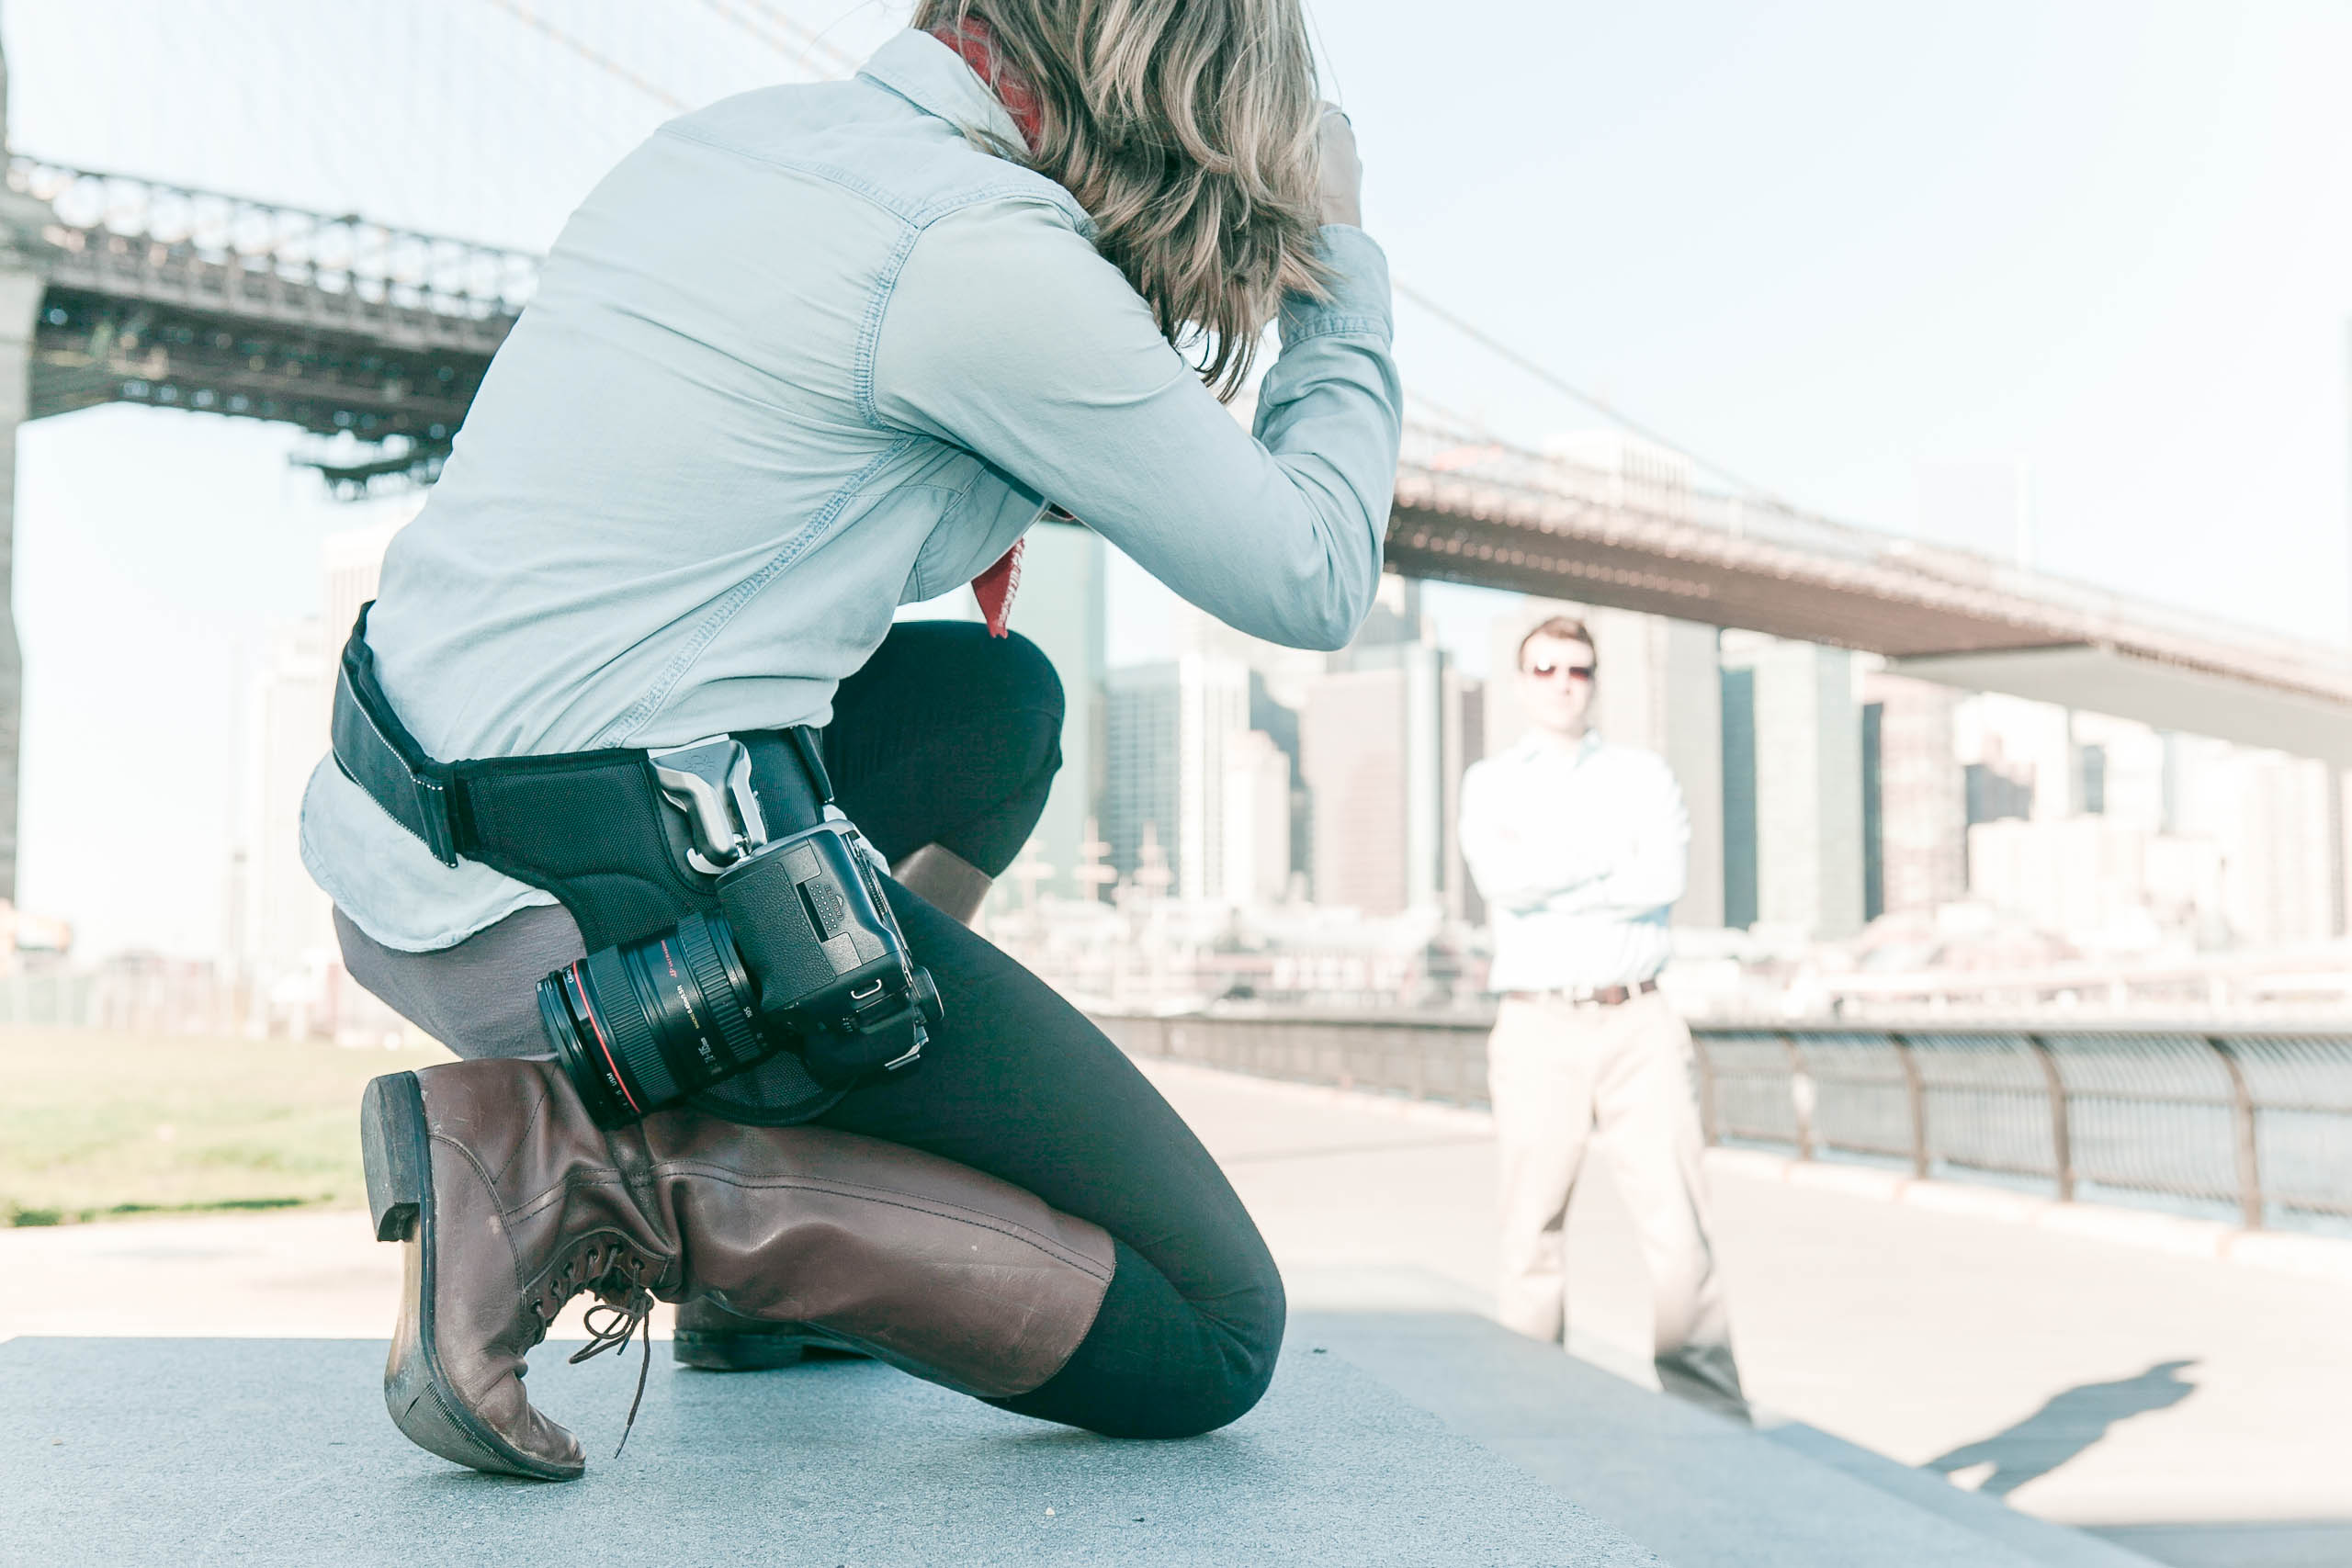
One pro tip that some photographers might never think about is the value of working hands-free.
Think about it - if you can carry your cameras in a way that they are out of the way, out of your hands, yet at your fingertips, your hands (and upper body, for that matter) are free to move around.
That means you can get into your camera bag more quickly and easily to snag a lens, a filter, or a new battery for your camera.
That also means that as you walk around looking for the shot, your hands and arms are unencumbered from cameras that are hanging from uncomfortable shoulder straps.
That freedom of movement is invaluable as you seek to take better photos!
If you really want to improve your workflow, get your cameras on your hips where they are out of the way and safe.
I personally love my Spider Holster SpiderPro (shown above) for just those reasons.
I was sick of having to walk around with one hand holding my camera body so it didn't bounce against my chest as I walked.
That's not to mention that I love to shoot at the beach, so having both of my hands free in case I slipped on wet rocks was a high priority.
So, I picked up a SpiderPro, and it was one of the best decisions I've made.
It puts my camera on my hips, so my upper body is free. It's more comfortable, too, because the weight of my gear is distributed at my waist, as opposed to on a flimsy strap on one shoulder.
What's more, if I'm out adventuring over rough terrain, my camera is safe right at my side, with no worry that if I trip and fall that I'll crush my camera as I do it. Besides, with the SpiderPro, my hands are free to catch myself should I stumble.
Better yet, though my camera is out of the way, it's not in an inconvenient spot. In fact, with my camera at my hip, I can easily retrieve it, bring it to my eye, and frame up a shot. It's the best of both worlds!
Don't take my word for it, though - check out the SpiderPro in the hands-on review video above from B&H Photo Video.
And if you have a compact or a point-and-shoot camera, there's hands-free joy awaiting you, too.
Spider Holster makes the Black Widow Holster (shown above) specifically for shooters like you that want to enjoy working hands-free.
It's an ideal gadget for photographers that are on the move, and especially those that travel. See a hands-on review of this rig in the video below by B&H Photo Video:
That's because the Black Widow was designed to work with your body movements and conform to your body, so it's ideal for safely carrying your camera, even in thick crowds.
And the added beauty of both the Black Widow and the SpiderPro is that they lock your camera into place. That means you can carry it safely and securely without worry of it falling off or getting stolen.
Talk about improving your workflow!
Learn More:
- Get the Specs and Pricing on the Spider Holster SpiderPro
- Get the Specs and Pricing on the Spider Holster Black Widow
Create Unique Compositions
Part of what sets professional photos apart from those taken by amateurs is a strong attention to the manner in which the shot is composed.
By that I mean that the pros often find ways to create a unique composition.
For example, rather than standing at eye level and snapping a photo of a landscape, try kneeling down, sitting down, heck - even laying down - to get a different point of view of the scene. You can also try getting above it all, perhaps with a drone, for a real eye-popping look!
Something as simple as altering the viewer's eye level can not only make your photo stand out more, but it can also create a more engaging viewing experience for people that look at your photo.

Likewise, if you're taking a portrait, try to avoid the "traditional" portrait in which the model is posed and looking right down the barrel of the lens.
Instead, try a unique composition in which you take a faceless portrait or focus on a single body part, like someone's clasped hands.
You can even utilize a different perspective to create a more interesting portrait, such as getting above the model and shooting down toward them or taking a very low shooting position and shooting up at them.

The point is that if you want your images to be more compelling - whether they are landscapes, portraits, or something in between - you need to find ways to give viewers a more unique experience when looking at your photos.
Concentrating on interesting ways to compose the shot will help you achieve that goal.
Learn More:
- Unique Ideas for Creating Faceless Portraits
- 7 Essential Questions to Ask Before You Press the Shutter Button
Try Using a Frame Within a Frame
A great technique to use to add structure to a shot is to use a frame within a frame.
And by structure, I don't necessarily mean shape...
Instead, I mean that a frame within a frame serves to help you build a better viewing experience.
For example, a frame can restrict a viewer's view of the scene, helping you to block out elements that aren't needed or are distracting.
Frames also serve the purpose to direct the viewer's attention toward the subject.
In the image above, the ice cave acts as a frame that helps drive our eye toward the man in the background.
So, even though the subject is quite small relative to the rest of the shot, he's still the first thing we see.
In other words, the frame within a frame technique helped the photographer increase the visual strength of the subject, and a strong subject is certainly something a good photo needs to have.
A frame within a frame can have the same impact on the photos you take too.
Learn More:
- Photography Composition Tip: Using a Frame Within a Frame
- Make Your Photos Better With These Photography Composition Tricks
Add Drama With Great Lighting
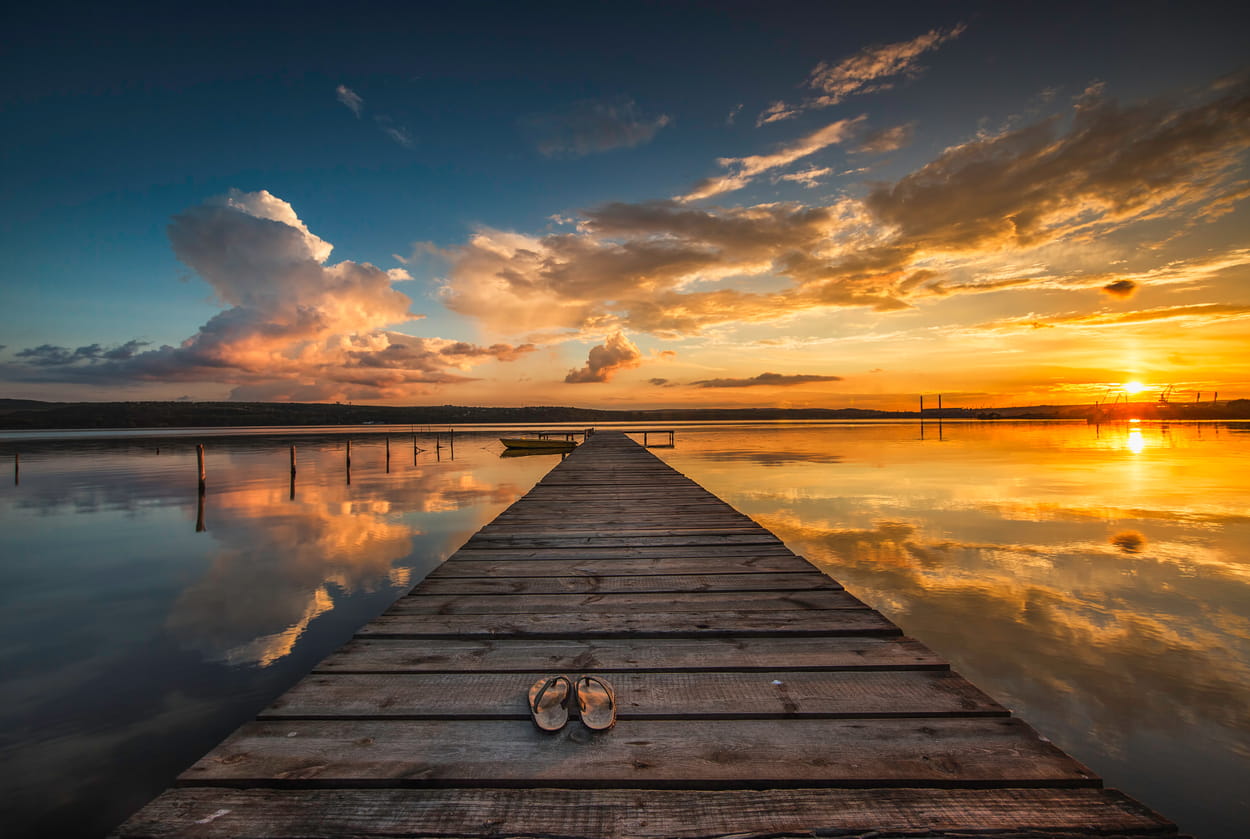
A final pro tip for getting better photos is to find light that adds drama to your shots.
Now, there are all kinds of different light, from harsh and contrasty to soft and warm.
Light has color, direction, and intensity, all of which you need to consider when creating your photos.
For the most drama, soft, golden light at dawn and dusk is ideal.
It adds warmth to your shots, and with the sun low on the horizon, it also produces long shadows that are great for adding depth.
Speaking of shadows, positioning yourself such that the light enters the shot from the side will help you take advantage of those long shadows.
This is called sidelighting, and photos that make use of it have a wonderful dimensionality that helps the image look much more like a three-dimensional scene rather than a two-dimensional capture of it.
If you can hunt for great light, work on framing and composition, and outfit yourself with gear that makes better shots more likely, you'll be well on your way to creating photos that look more like the pros!
Learn More:
- 5 Creative Ways to Use Golden Hour Lighting
- Top 10 Lighting Facts Beginner Photographers Need to Know
We Recommend
4 Simple Things You Can Do Right Now to Take Better Photos

Tell me if this sounds familiar...
You spend countless hours learning about photography and practicing taking photos.
And though you occasionally get results that make you think, "Wow, I did that!" more often than not, you're left thinking, "Geez, that's not as good as I hoped."
We've all been there, even some of the greatest photographers to ever live.
But that doesn't mean that you should be complacent and just accept that some of your images won't be up to snuff.
There's plenty that we can all do to give our images a bit of a boost, but rather than trying to list them all and completely overwhelming you, I've picked out four things that you can do right now, today, that will have a positive impact on the photos you create.
Focus on Lighting

Obviously, the photos you take need to have good lighting to be successful. That's the easy part.
The hard part is ensuring that you get the lighting as close to ideal in-camera as you can get.
Your camera's light meter is designed to "read" the light in a scene and strive to make it neutral gray. Though this process works well in many instances, sometimes your light meter can get it wrong.
For example, if you're photographing a wintery landscape like the one above that has a lot of white, the light meter will think that the scene is extremely bright and try to darken the image. The result is snow that looks gray instead of white.
Conversely, if you're photographing a very dark scene, the camera's meter will read it as being too dark and try to lighten it, again, making everything look gray.
To get around this problem, you can use your camera's exposure compensation feature.
Essentially, exposure compensation allows you to manually override what the camera's meter thinks should happen. So, if the image is too dark, you can dial in positive exposure compensation to brighten the image. If it's too bright, you can dial in negative exposure compensation to darken it.
If you aren't sure how to use exposure compensation, check out the video above by Mike Browne.
Make It Sharp
You can compose a gorgeous photo and have the exposure settings just right, but if the photo isn't sharp, you'll have an unsuccessful photo on your hands.
Many have tried - and failed - to correct a photo that isn't sharp by trying to sharpen it in post-processing. However, this is going about the issue in the wrong way.
Instead, sharpness is something that needs to be achieved in-camera when you take the photo.
The question is, how do you do that?

The simple answer is this: set yourself up for success.
By that I mean a couple of things:
- When possible, use a tripod to stabilize your camera.
- If you don't have a camera remote, get one like the Alpine Labs Spark pictured above.
- Use your camera settings to your advantage to get sharp photos.
The first two are pretty self-explanatory - a tripod and a camera remote help to prevent camera shake that results from holding that camera while you shoot or manually pressing the shutter button.
By removing those factors, you immediately have a greater ability to get a sharper photo.
Essential Camera Settings for Sharpness - Aperture

But just as important is to understand how your camera settings might impact sharpness.
For example, the aperture you use can impact the sharpness of the shot.
Though it's common to use a very large aperture like f/2 for portraits and a very small aperture like f/22 for landscapes (as seen below), using an aperture at one extreme or the other misses the sweet spot of the lens - the aperture range that results in the best sharpness.

Though the sweet spot differs from one lens to the next, it's usually somewhere in the mid-range of apertures, around f/8 or f/11. Learn how to find your camera's sweet spot if you don't already know how.
Additionally, the aperture helps determine the depth of field, which, if small enough, could render parts of your subject blurry. Again, if you aren't sure how depth of field works, learn what it is and how to use it to your advantage.
Essential Camera Settings for Sharpness - Shutter Speed

Shutter speed influences the sharpness of your images because if you choose a shutter speed that's too slow to photograph a moving subject, that subject will be blurry, as seen above.
Naturally, to rectify this, you need to use a faster shutter speed.
What's more, if you're shooting without a tripod and you're holding your camera, you have to be aware of the minimum shutter speed you can use with your lens.
For example, if you're using a 24mm lens on a full frame camera, the slowest shutter speed you can use is about 1/24 seconds - the inverse of the shutter speed.
If you're using a crop sensor camera, though, you have to calculate the crop factor to determine the slowest shutter speed you can use.
In that case, if you're shooting with a Nikon APS-C format camera with a 1.5x crop factor, the same 24mm lens would require a shutter speed no slower than about 1/36 seconds.
The moral of the story here is that the aperture and shutter speed aren't just for determining the level of exposure in your shot - they also have an impact on the sharpness of your photos.
For more tips on how to get sharper images when handholding your camera, watch the video above by Matt Granger.
Take It Easy on Post-Processing

One thing I notice more than anything in many photos taken be beginners is that they tend to be overprocessed.
Processing your images should be a process of fine-tuning, not a process of completely changing the image.
There are some caveats, like converting a color image to black and white, but by and large, processing should first focus on making small adjustments to exposure, contrast, and color temperature above all else.
The key word here is "small."
If you can get things right (or as close to right) in-camera, you won't have to worry as much about making significant changes in post-processing.
Here's a prime example:
Let's say you have a photo that just doesn't have the detail you want in the highlighted or shadowed areas.
So, you use post-processing to bring down those highlights and bring up the shadows to try and recover some of that detail.
The problem is that by doing so, you end up with an image that looks processed, especially if the shadows and highlights look a little too perfect. Get some insight into why overprocessing is a bad thing in the video above by Jared Polin.
You can get around this by shooting at the right time of day to get the look you want.
If you want very even tones with minimal shadows and highlights, go out and shoot when it's overcast or during Golden Hour. If you want tons of contrast, shoot during mid-day.
Be Careful How Much You Crop

A final mistake to watch out for is getting out of hand with resizing and cropping the image.
Every time you resize the image, you impact the pixels contained therein. As a result, you never want to resize an image multiple times because the more you do it, the more the quality of the image will degrade.
What's more, you want to avoid cropping in order to create an image with a close-up look.
This results in an image that, again, has degraded image quality that doesn't align with our goal to have better-looking photos.
Instead, if you want a tight frame on a subject for a close-up look, do the work in the field by moving physically closer to the subject or using a longer focal length lens to fill the frame with the subject.
Wrapping It Up

Though this isn't an exhaustive list of everything you can do to create better photos, it is certainly a step in the right direction when it comes to the technical things you can do to improve your images.
When it comes down to it, what really matters is striving to get as much right in-camera as you possibly can.
As we've seen here, getting the lighting and sharpness nailed down in camera, and taking it easy with post-processing and cropping will go a long way in helping your photos have the type of impact you want.
Take a look at the image above, and you can see these tips in action. It's sharp, the exposure is great, it looks natural, and the cropping is spot on.
That's the power of using these simple tricks!
We Recommend
5 Beginner Photography Mistakes (and How to Solve Them)

Being a beginning photographer can be tough sledding sometimes.
After all, there's a lot that can go wrong and a lot of things that can frustrate you to no end.
Of course, that's true of photography no matter your skill level!
But still, wouldn't it be nice to be aware of a few of the most common mistakes beginners make?
Even better, wouldn't it be nice to actually understand how to correct those mistakes?
In the video above, Joe Allam does just that.
From compositional mistakes to errors in camera settings, and the solutions to such problems, follow along as Joe sheds some light on what you should (and shouldn't) be doing with your camera.
For a detailed look at each mistake and their solutions, check out the guideline below!
Mistake #1: Crooked Horizons
 YouTube Screenshot/Joe Allam
It's a "small" mistake, but one that can be so negatively impactful on an image that no matter how great the rest of the shot might be, it'll still go into the "unsuccessful" pile.
That is, you can have a perfect exposure, an excellent subject, great lighting, and nail the composition, but if the horizon is off, that's the only thing that anyone will notice about the photo.

Crooked horizons happen for a ton of reasons, too.
You might be holding the camera incorrectly or simply rushing through the shot. Perhaps you got bumped by a passerby just as you pressed the shutter button or maybe you were standing on a slight slope and didn't account for that when you framed up the shot.
 YouTube Screenshot/Joe Allam
Whatever the cause, there are plenty of solutions...
You can adjust the alignment of the shot in post-processing using a program like Photoshop or Lightroom to bring the horizon to level.
An in-camera solution is to use a bubble level, which you can buy to mount on your camera's hot-shoe mount. Many tripods have built-in levels as well.
You can even use the rule of thirds grid on your camera (if so equipped) and just use one of the two horizontal grid lines to get more level horizons.
In other words, there is no excuse for taking a photo with a wonky horizon because it's so easy to avoid!
Learn More:
Mistake #2: Not Understanding White Balance
 YouTube Screenshot/Joe Allam
The great thing about white balance is that it allows you to determine the color temperature of your images.
That is, as the color temperature of the light source in your image changes, you can manipulate the white balance setting in your camera such that the light is the correct color in the shots you take.
For example, if you're shooting outdoors on a cloudy day, you can use the cloudy white balance setting to slightly warm up the colors in the image, which will be on the cool side due to the cloud cover.
Unfortunately, many beginner photographers don't have a very good understanding of how to set white balance, instead favoring the use of Auto White Balance and letting the camera make all the decisions.
And though Auto White Balance works great in many situations, it isn't foolproof, thus the need to learn how to adjust it yourself.
There are a few ways to do this...
First, you can purchase a gray card, which helps your camera determine what neutral gray is, and from there you can set a custom white balance for each shot you take.
That's what some professional photographers do, but it can be a laborious process.

Instead, if you become familiar with the different white balance settings and the situations in which you might use each, you can simply press the white balance button on your camera (usually labeled WB, as shown in the image above), select the right setting, and you'll be in a better position to get a color correct image.
If you shoot in RAW, you can also adjust the white balance in post-processing, though it's a good rule of thumb to get it right in-camera.
Learn More:
- White Balance Explained for Beginner Photographers
- Become a Better Photographer Today in 9 Easy Steps
Mistake #3: Blurry Images

Of all the mistakes on this list, this one might be the most important.
Where you can correct the first two mistakes in post-processing, if your image is blurry, there's nothing you can do to fix it after the fact.
That means it's critical to get your photos tack-sharp when you take them, which is sometimes easier said than done.
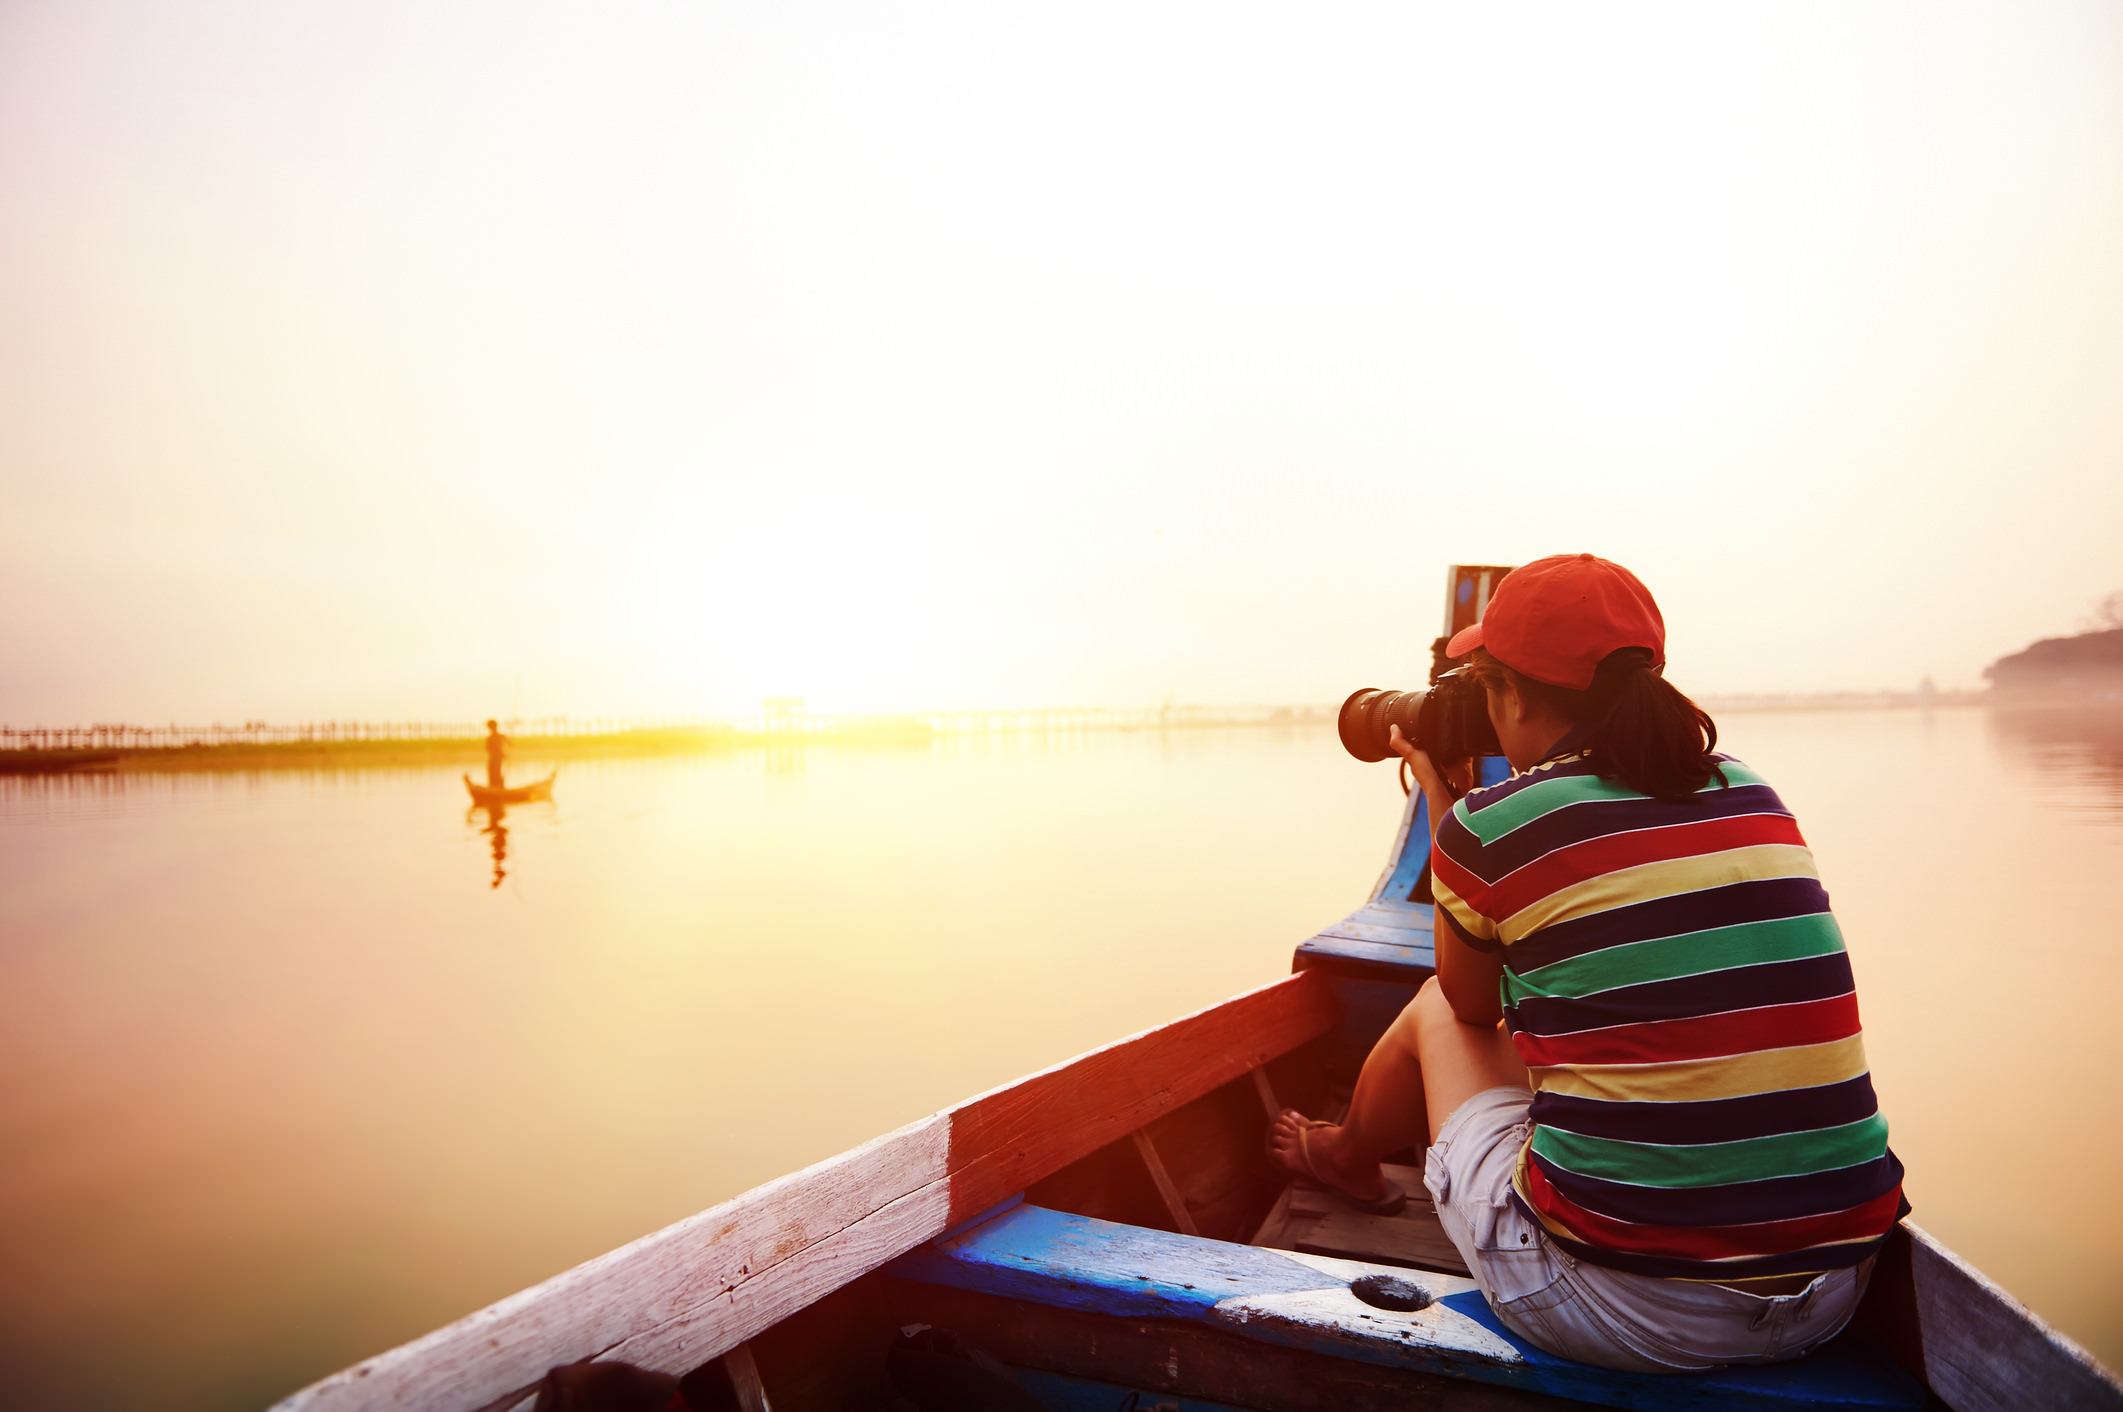
To give yourself a better chance of getting sharp images, you need to hold your camera in a way that gives it maximum stabilization. That means holding it with both hands, bringing your elbows to your chest, and standing with your feet shoulder-width apart to maintain good balance (or sitting down, as seen in the image above).
Of course, you can use a tripod to give your camera the stability it needs as well.
Sometimes, blurriness is due to a shutter speed that's too slow to freeze the movement of the subject. In such situations, manipulating the exposure settings to allow for a faster shutter speed is the way to go (check the Learn More links below for detailed information on that).
You'll also want to mind the depth of field, which refers to the area of the image that's in sharp focus. If you have a very shallow depth of field, try using a smaller aperture to increase that depth, and you'll find you get more of the scene in sharp focus.
Learn More:
- How to Fix Blurry Photos
- Shutter Speed Mistakes (and How to Fix Them)
- A Beginner's Guide to Aperture and Depth of Field
Mistake #4: Lack of Spatial Awareness in Composition

It's easy to get caught up in the moment and just start taking photos of an interesting subject without putting a lot of thought into how you might take an even better photo of that subject.
In other words, sometimes there can be a lack of awareness of the scene around you, and as a result, you can neglect to realize that just a small adjustment in your perspective or shooting position could enhance the shot greatly.
Additionally, when taking portraits, beginners might cut the tops of people's heads off or compose the shot such that it looks like the person has no hands or feet.

To solve these issues is an easy task - just take your time!
By slowing things down and really giving the shot a good, hard look before you press the shutter button will help you minimize mistakes that make your photos look strange.

Look for instances in which you've accidentally cut something off (like the top of a person's head). Find ways to accommodate a more interesting perspective by shooting from a kneeling position instead of your normal eye level.
Be willing to move around, adjust your zoom, and work a little harder to compose the shot, and your mistakes will be minimized.
Learn More:
- 4 Photography Composition Problems and Solutions
- Make Your Photos Better With These Photography Composition Tricks
Mistake #5: Not Setting the Correct Exposure
I know that when I was a beginner photographer that when someone started to talk to me about exposure settings, my eyes glossed over.
It's a tough subject to master, but one that's critical to you realizing your full potential as a photographer.
Simply putting the camera in full auto mode and letting it do all the work isn't going to get you very far!
But that doesn't mean you need to shoot in manual mode all day, every day, either.
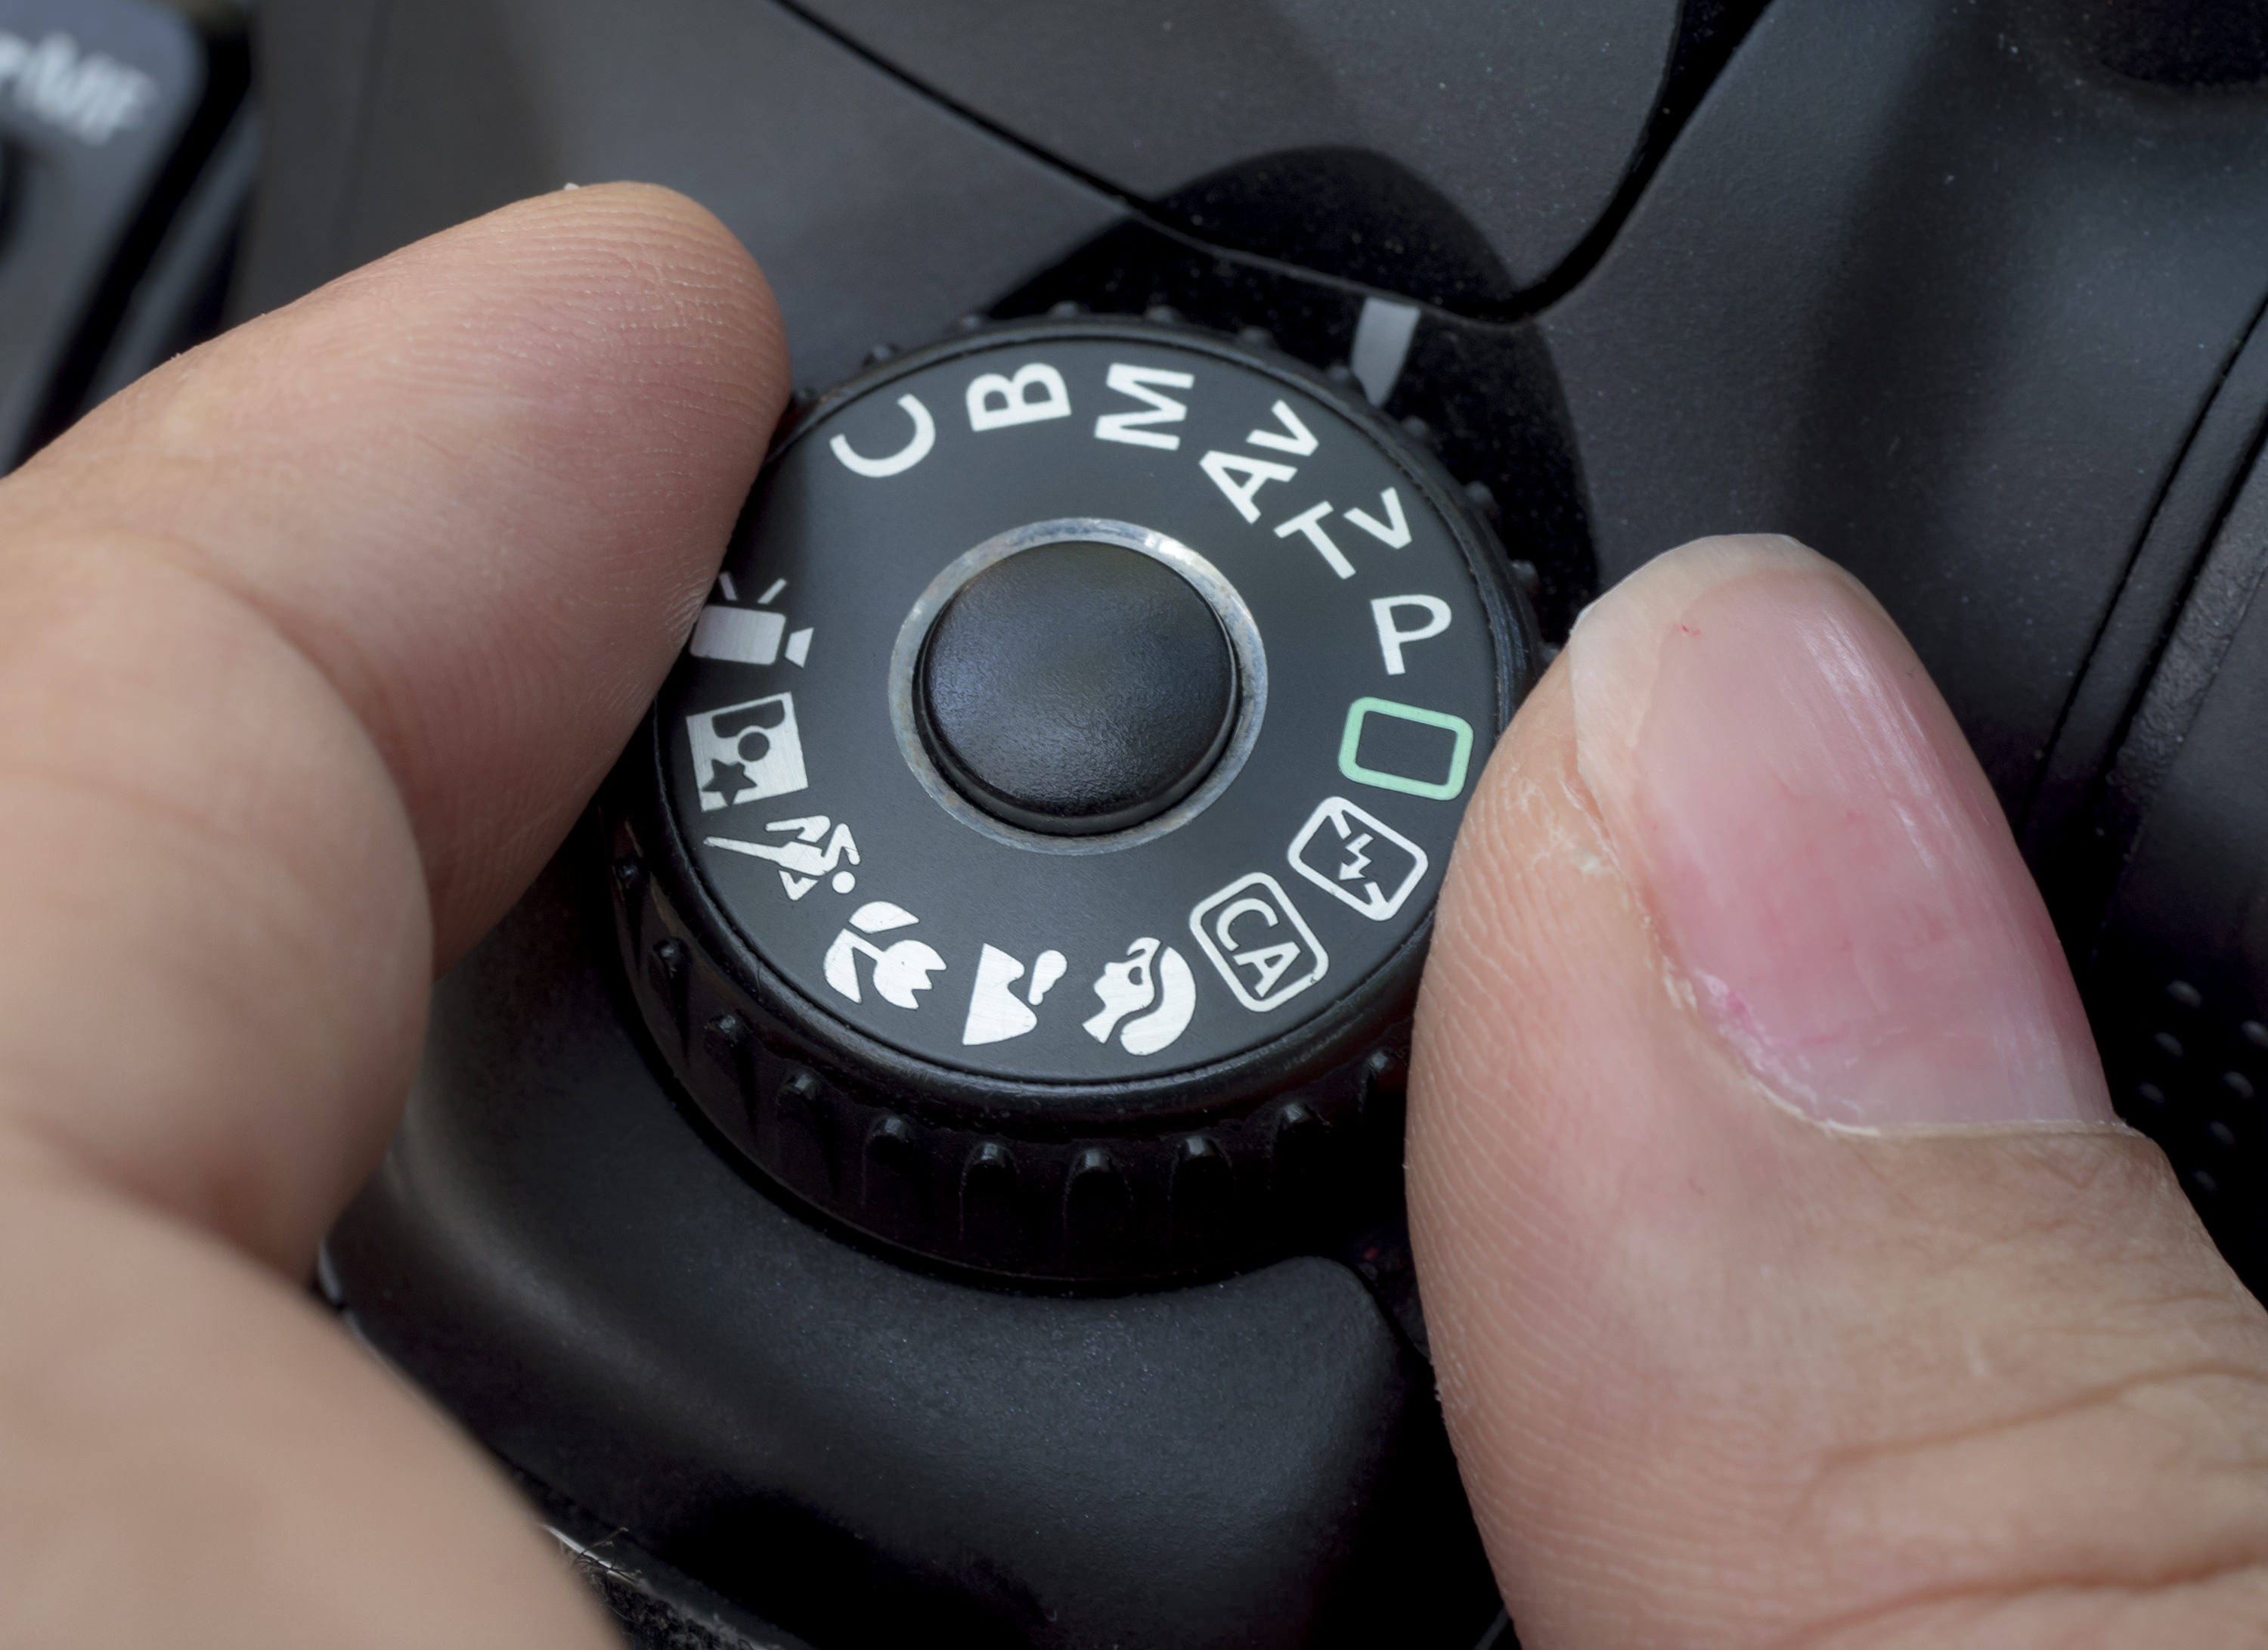
In fact, the best solution for getting a solid exposure is to use one of your camera's semi-automatic modes like aperture priority, shutter priority, or program.
These settings allow you to take control of some exposure controls while the camera retains control over others.
That means that you have more input for the final exposure, but you also don't have to worry about making every single adjustment yourself.
I won't get into all the intricacies of each of these modes here, but for more details, check the Learn More links below.
And with that, you have a head's up on some common beginner photography mistakes and the solutions to overcome them!
Learn More:
We Recommend
5 Essential Photography Tips For Beginner Photographers
 Image Credit: Victoria Labadie - Fotonomada via iStock
So, you're ready to become a photographer, eh? Congratulations!
Of course, making the decision to learn photography is one thing while actually putting forth the time and effort to do so is another.
It's easy to just pick up your camera and start shooting, but if you want to make real progress, you'll need to invest a little bit of time learning about the fundamentals of photography.
In this quick guide, I offer up a few must-have photography tips for beginners that cover everything from composition to photography gear to how to get a well-exposed photo.
Let's get to it!
Photography Composition Tip: Learn to Alter Your Perspective
 Image Credit: f11photo via iStock
One of the best ways that you can create more interesting and unique photos is by simply changing the eye level from which you shoot.
If you kneel down rather than stand, or if you climb a hill to gain some elevation on your subject, your images will immediately have a completely different look than what you'd get if you did what most people do and photograph the subject from a normal eye level.
You can see this concept at work by comparing the images above and below. The one above is from a traditional eye level. And while there's nothing wrong with this shot, it isn't exactly eye-catching, either.
 Image Credit: pawel.gaul via iStock
In this shot, however, changing the perspective by shooting from an elevated position resulted in a more interesting image.
Furthermore, if you alter the angle from which you shoot - like shooting at a steep upward angle at the subject or a steep downward angle, the resulting image will be more eye-catching as well.
Another tip is to get close to the subject and fill the frame. Doing so allows you to highlight the details of the subject and gives the viewer a much more intimate view.
Learn More:
Beginner Photography Tip: Invest in Gear Essentials
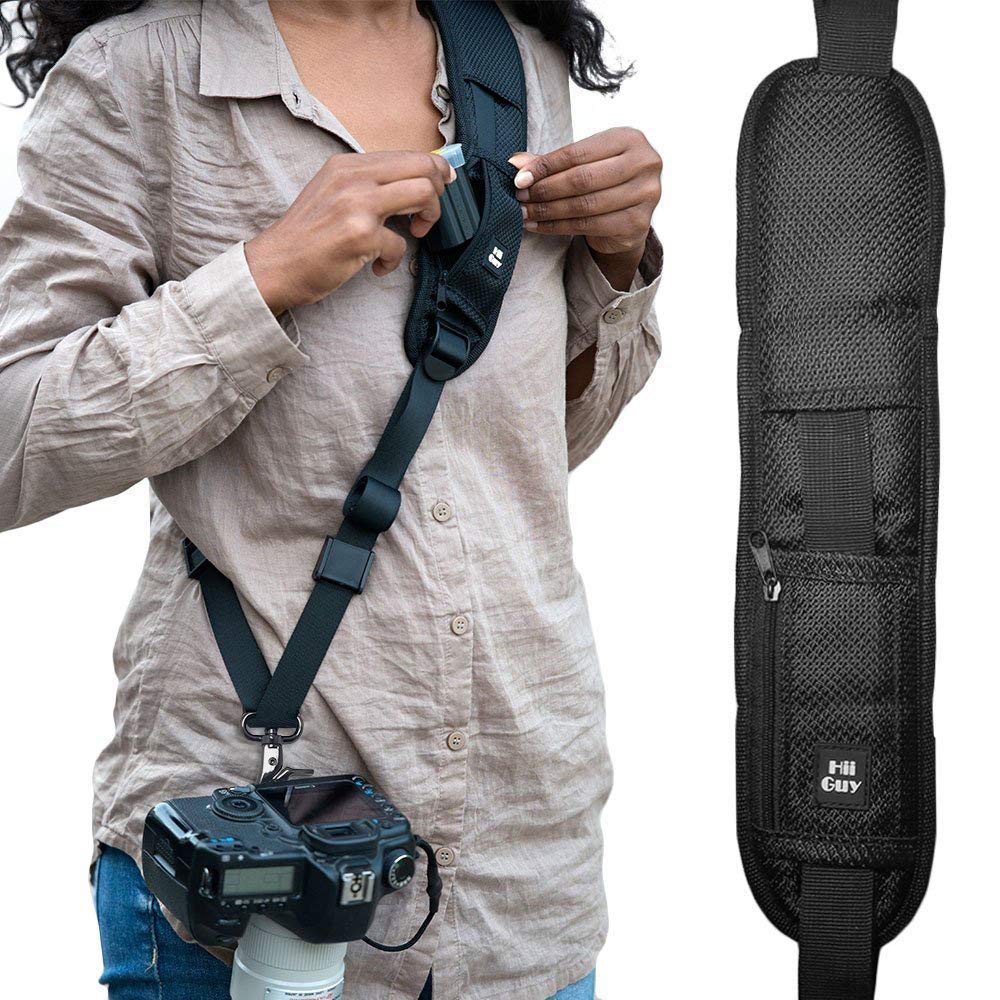
One of the first things you need to do gear-wise is to replace the camera strap that came with your camera.
The problem with those straps is that they're flimsy and uncomfortable, and really do nothing for you except give you neck and shoulder pain.
Instead, upgrade your camera strap with something like the one shown above.
This particular strap from HiiGuy has a big, padded shoulder, which helps spread the weight of your camera and lens out over a larger area. That means less shoulder and neck fatigue for you! It also has an anti-slip silicone coating on it so your camera actually stays put on your shoulder.

What's more, a good camera strap like this offers functionality beyond comfort.
For example, it's universally compatible, so it will work perfectly with any DSLR with a standard 1/4" screw.
Additionally, the HiiGuy strap has a built-in zippered pocket, so you have a ready-made spot for things like extra camera batteries or memory cards right at your fingertips.
Add to that the fact that this strap is highly adjustable to fit just about any body type, is made of high-quality and durable materials, and comes with a three-year warranty, and you have the makings of an excellent investment.
Heck, you even get a free eBook of photography tips, a microfiber cleaning cloth, an SD card storage case, and more!
Perhaps best of all, this strap is extremely affordable, so you won't break the bank upgrading your gear. What's not to like about that?!
Learn more about the HiiGuy camera strap.
Commit Yourself to Learning
 Image Credit: artiemedvedev via iStock
One of the easiest things you can do to improve your photography skills is simply do more of what you're doing right now.
Find tutorials like this to read. Check out photography channels on YouTube. Bookmark your favorite photography blogs and save articles for later reading.
Whatever you do, strive to take time each and every day to learn more - even if it's just five minutes here or ten minutes there!
Learn More:
Learn How to Hold Your Camera
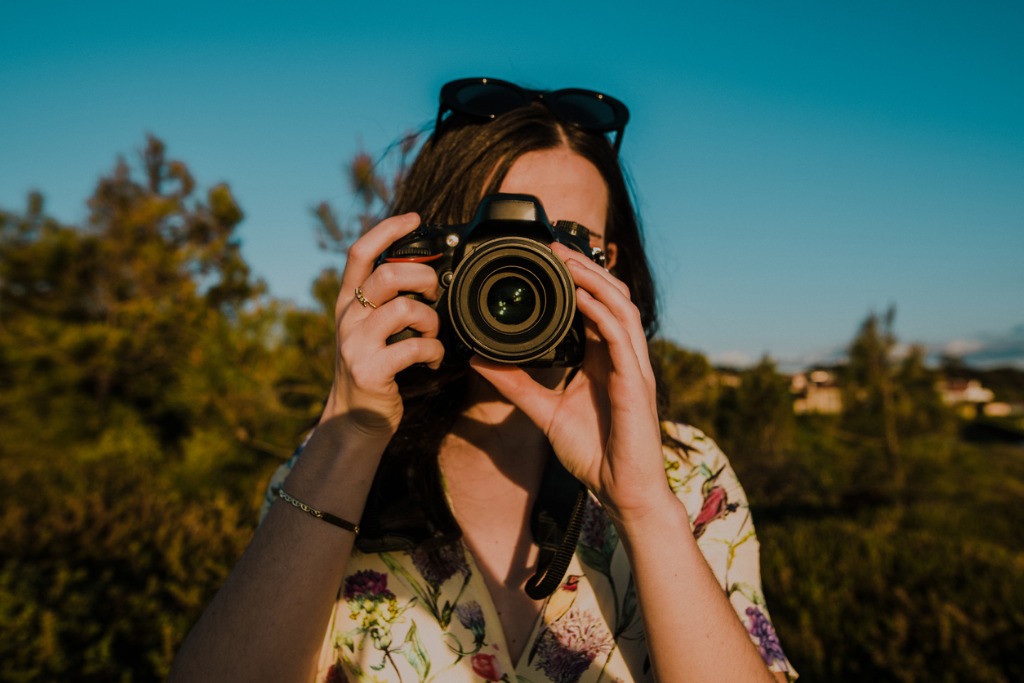 Image Credit: MarioGuti via iStock
It might seem like a trivial thing, but how you hold your camera can actually impact how your images turn out.
If you hold the camera incorrectly - as demonstrated in the image above - you don't give it the most stable base for taking photos.
The problem with that is that the less stable your camera is, the less likely you are to get sharp photos.
Holding the camera correctly involves beefing up the stability by placing your left hand firmly under the camera body.
Combined with having a good grip on the camera with your right hand, this approach to holding a camera is much more stable.
You can even tuck your elbows into your chest, lean against a firm object like a wall, or support your elbows on a table or other horizontal surface for more stability.
Get detailed instructions on how to hold a camera in the video above by Jared Polin.
Learn More:
Master Full Auto Mode - and Then Ditch It
 Image Credit: Bhanupong Asatamongkolchai via iStock
When you're just starting out in photography, learning how to take better photos involves learning how your compose your images.
And that is most simply done if you shoot in full auto mode. That's because in full auto, the camera handles all the technical stuff, so you can focus on learning how to compose a great shot.
But what full auto mode won't do for you is help you learn how your camera works...
To do that, and to learn about essential camera settings and controlling the exposure of your images, you need to learn how to manipulate exposure settings.
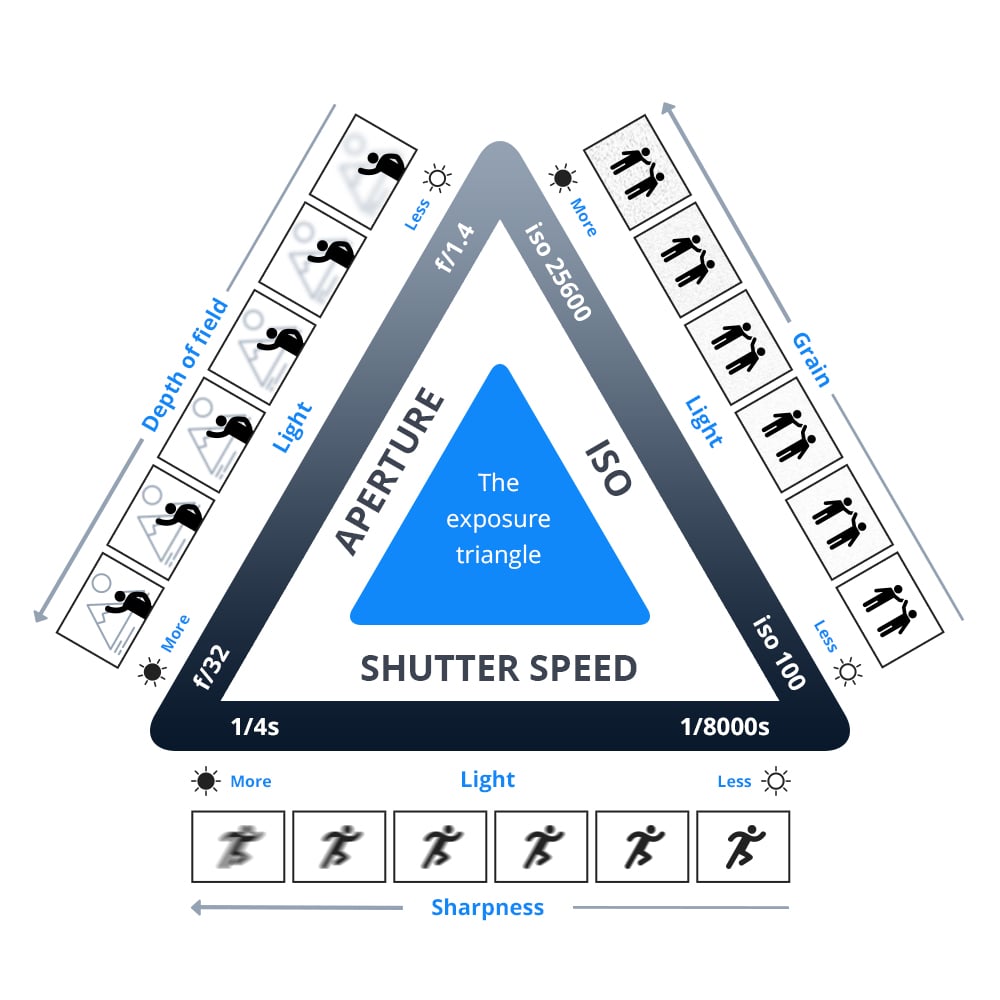
There are three exposure settings - aperture, shutter speed, and ISO. Each is summarized in the graphic above.
In a nutshell, aperture controls the amount of light that enters your camera, shutter speed controls the duration of light, and ISO controls the sensitivity of your camera's sensor to light.
A change in any of these settings will make your images brighter or darker, depending on the change that's made.
A complete discussion of exposure settings is an article in and of itself (which you can read here).
It's a more advanced topic than just the basics, but trust me when I say that the sooner you learn how to control the exposure, the better off you'll be!
Learn More:
- A Beginner's Guide to Aperture Priority Mode and Exposure Compensation
- Everything You Need to Know About Shutter Priority Mode
- Why You Need to Shoot in Program Mode
We Recommend
5 Mistakes Beginner Photographers Make
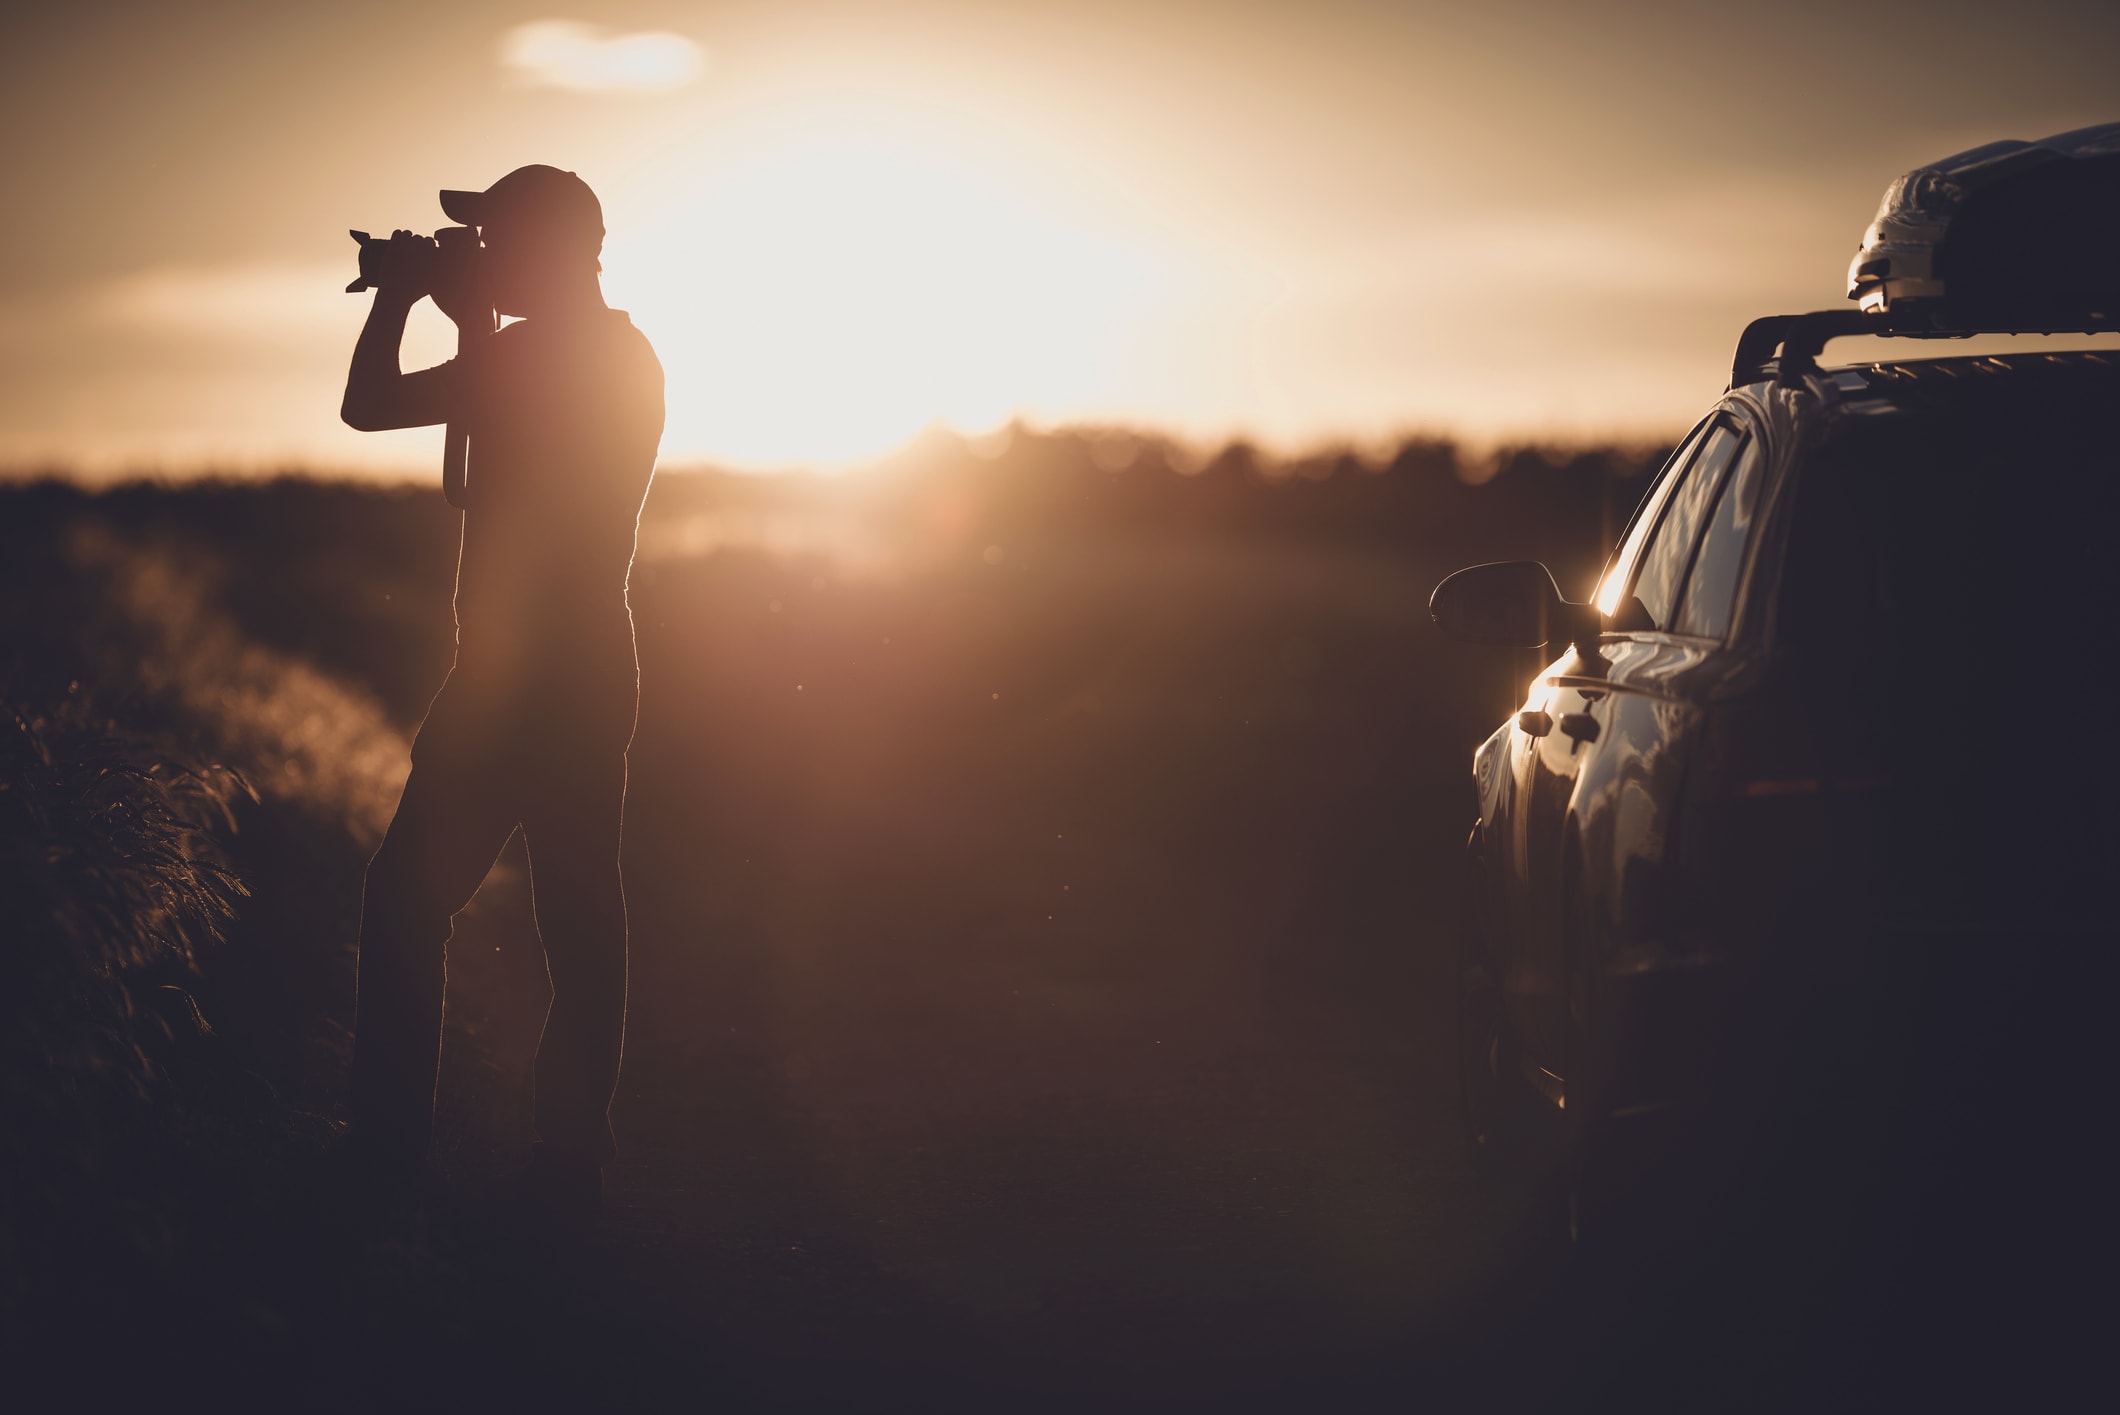
I know what you're thinking...
Beginner photographers can make way more than five mistakes when they take photos.
And while that might be true, the five mistakes I outline below are among the most common - and the easiest to fix.
Using the Built-In Flash
Whether it's the pop-up flash on your DSLR or the flash on your phone's camera, using these harsh light sources is a bad plan.
The light emitted from a built-in flash is extremely bright. That blows out the highlights of your photos and creates harsh, dark shadows in the shot as well.
All that contrast and dynamic range makes for an ugly photo...

Instead, try to find ways to use natural light.
You can do that by shooting outdoors during Golden Hour when the sun's light is soft and warm.
If you're shooting indoors, utilize natural light coming through windows to help light your subject. To soften it, diffuse the light with a sheer curtain or a plain white sheet.
You can also use a reflector to bounce light onto your subject both indoors and out, resulting in more even lighting.
Learn More:
Shooting in JPG Mode
For whatever reason, I see a lot of beginner photographers shooting their photos in JPG mode.
Back in the day, photographers sometimes used JPG mode to save space on memory cards. Since JPGs are compressed files, you could fit more of them onto a card than a RAW file.

However, memory cards have such enormous capacity these days that there's really no reason to continue shooting in JPGs.
All that compression of the image file means that you have less data to work with in post-processing, so instead of handicapping yourself with JPGs, shoot in RAW so you can work some magic in Photoshop, Lightroom, and so forth.
Standing Still

Another common beginner photography mistake is to simply stand in one spot and press the shutter button.
Not only will this result in boring photos, but it hinders your ability to get creative with different perspectives and shooting angles.
Instead of standing up straight and taking your photos from your eye level, kneel down, sit down, squat down or even lay down on the ground to find more interesting angles from which to shoot.
Additionally, actually move around the subject to see if there's a better perspective to take the photo.
Just moving a few feet in one direction or the other can help you capitalize on better light, an improved shape, or it could help you eliminate a distracting element in the background.
Learn More:
Using the Wrong Lens

If you're using a 24mm wide-angle lens for portraits or a 400mm lens for landscapes, you're only making things more difficult for yourself.
This isn't to say that you can't ever use a wide-angle lens for portraits or a telephoto lens for landscapes, but there are better choices.
Some beginners are die-hard zoom lens fans, and while zooms do offer a degree of focal length flexibility that prime lenses cannot, they're also not as sharp as prime lenses, they're bigger and bulkier than primes, and they're often more expensive, too.

If you're just starting out and all you have is your kit lens, which is usually an 18-55mm zoom, the first lens you should buy is a 50mm.
These lenses are easy to use, versatile, and inexpensive. Add to that their incredible sharpness and great performance in low-light, and you have the makings of a great all-around lens.
Relying on Free Editing Programs

I get that plunking down a bunch of cash for a program like Photoshop isn't everyone's cup of tea.
However, there's a reason that such programs are for sale and not free - they are packed with incredible tools that allow you to perfect your images.
Now, they aren't the only two options for post-processing, but Photoshop and Lightroom are certainly the cream of the crop.
If you insist on using a free photo editor, there's nothing better than GIMP, which looks and functions a lot like Photoshop, but without the price tag.
Editor's Creative Tip: Take your photos to a whole new level by having them printed as fine art. Find out how by clicking here.
Learn More:
Final Thoughts
If you're not pleased with the results you're getting with your photography, the chances are good that you're just making a couple of simple mistakes, like those I've outlined above.
The key is to be patient, take time to practice and learn, and be diligent about identifying what's going wrong and taking steps to fix it.
For more details about common beginner photography mistakes, check out the video above by Joe Allam.
We Recommend
5 Photography Tips for BORED Photographers
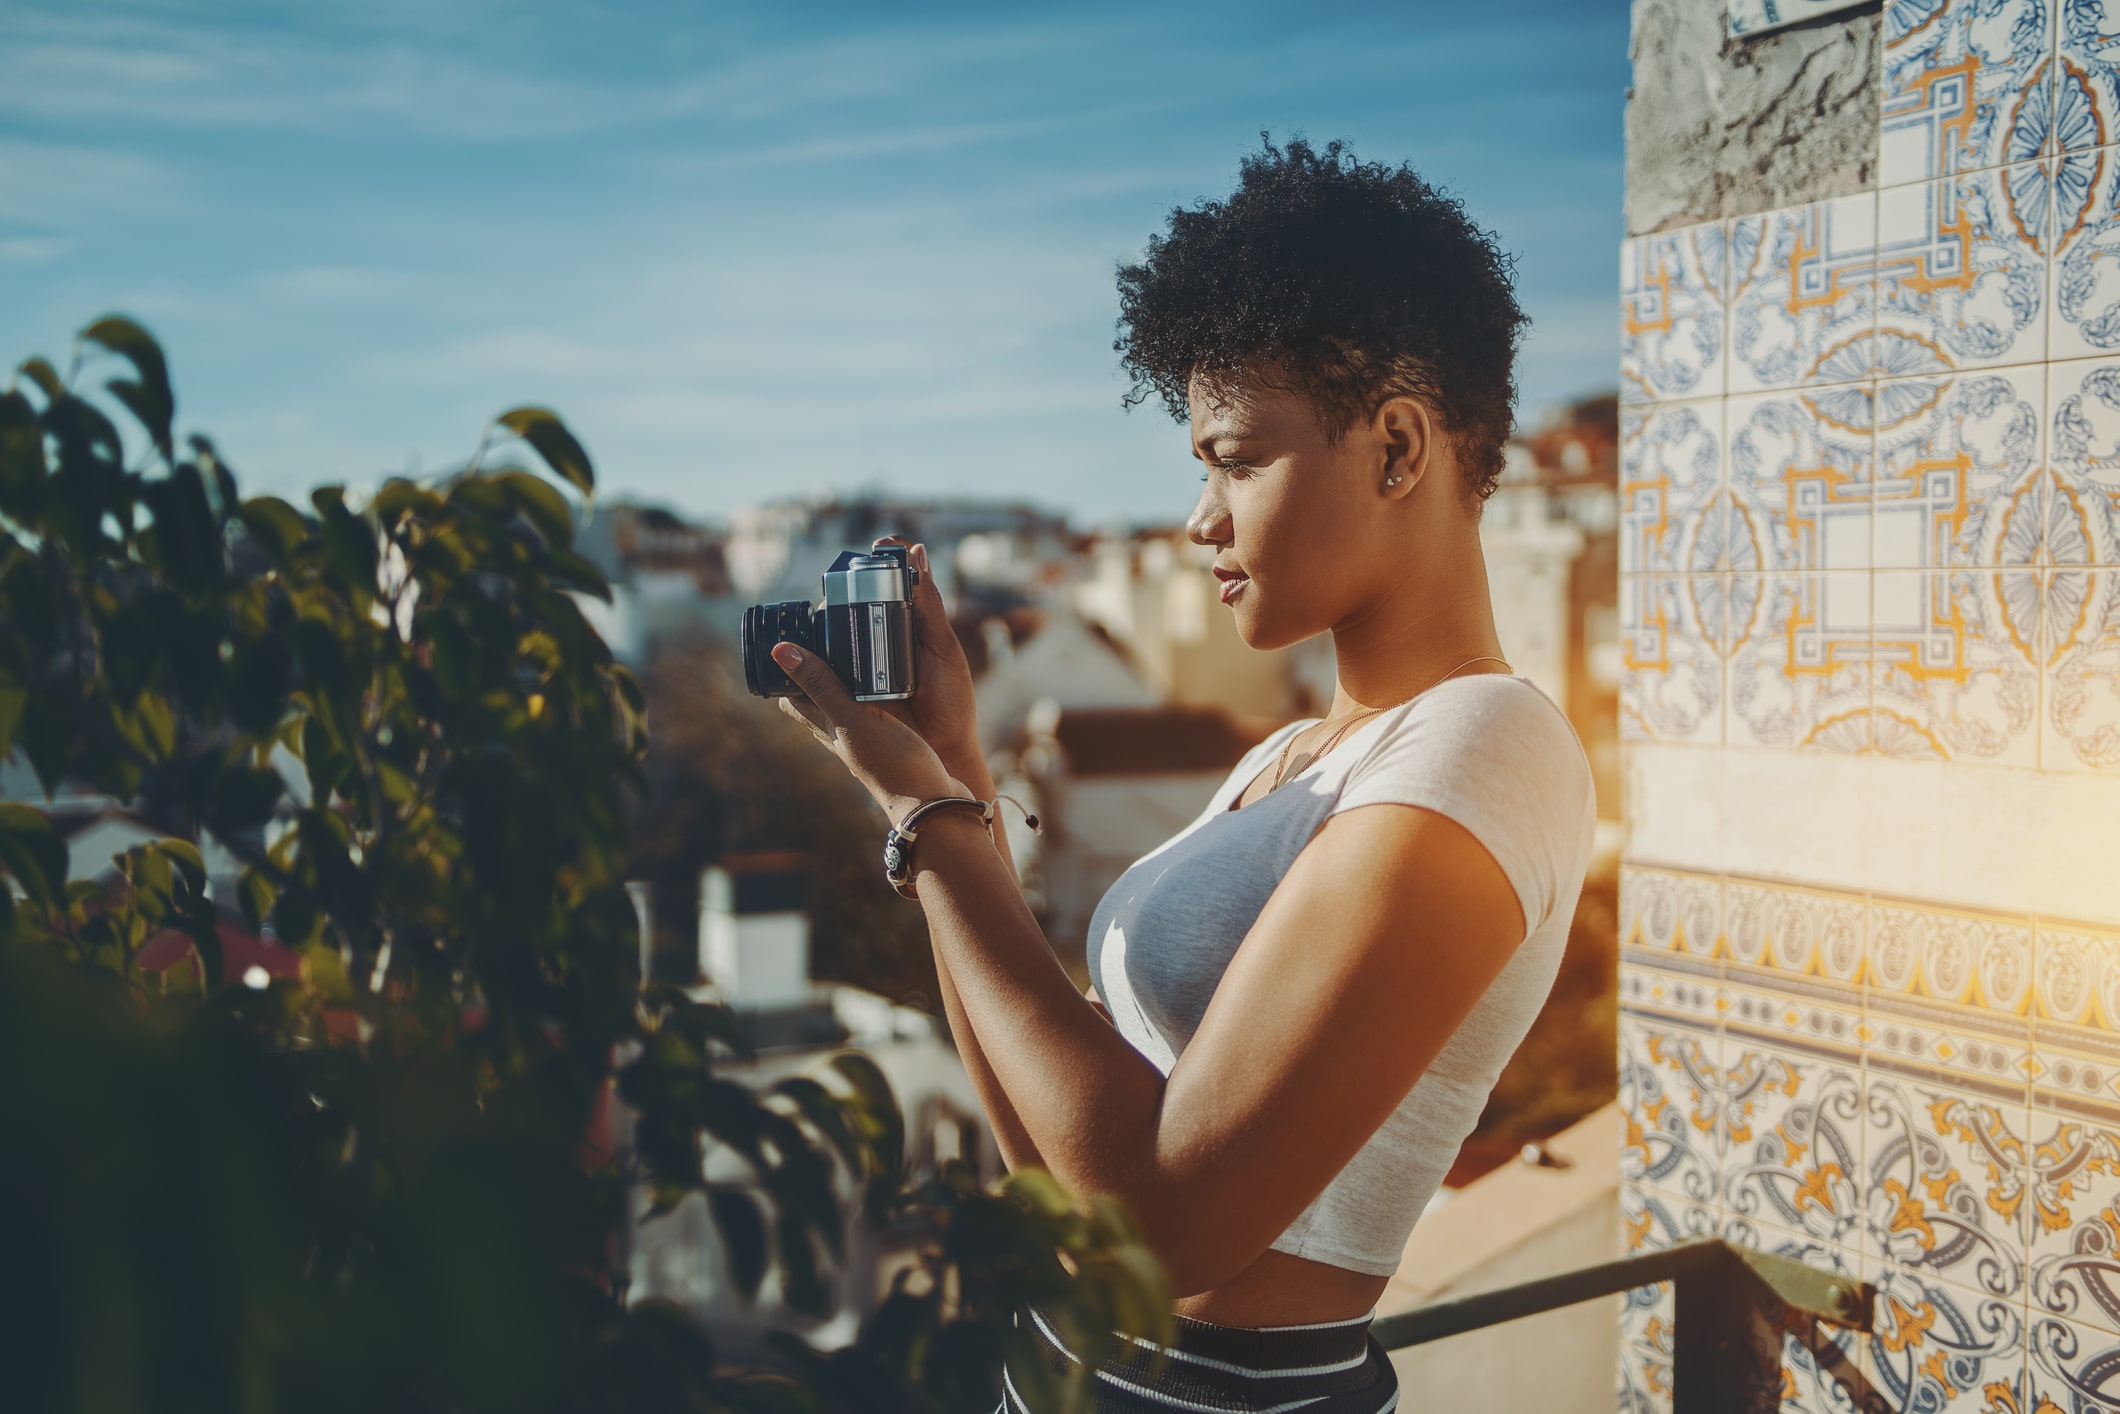 Image Credit: recep-bg via iStock
If you're like me, there's times when the same old thing you always do with photography gets a little boring.
The question is, how do you extract yourself from that boredom?
The answer is really just to challenge yourself - and even restrict yourself - to find new ways of seeing and photographing the world around you.
This might sound like a crazy way to do things, but if you watch the video above by Pierre T. Lambert, you'll see that in practice, getting out of your comfort zone can have all kinds of positive impacts on your work.
For starters, Pierre suggests that you put yourself in a limited space in order to kick your boredom.
Doing so forces you to see things from a new perspective and find ways to "escape" that limitation of space through more interesting compositions.
Whether it's restricting your view down a narrow street or hunkering down next to a tall building, find ways to limit what you see.

Another way that Pierre suggests that you can escape from your photography boredom is to use only one type of lighting.
That is, head out with your camera and challenge yourself to only use frontlighting or backlighting or sidelighting.
Again, putting this kind of restriction on yourself makes you think harder and try harder to create an eye-catching shot. And in that sort of a challenge, you can find new inspiration that might just extract you from your creative rut.
Pierre offers three more excellent tips for overcoming boredom, so be sure to check out the complete video above, and for even more photography tips, have a look at his YouTube channel as well.
Learn More:
- 6 Creative Photography Tricks You Can Try at Home
- 10 Easy Ways to Help You Develop Your Creative Eye
We Recommend
5 Tips to Instantly Up Your Photo Game
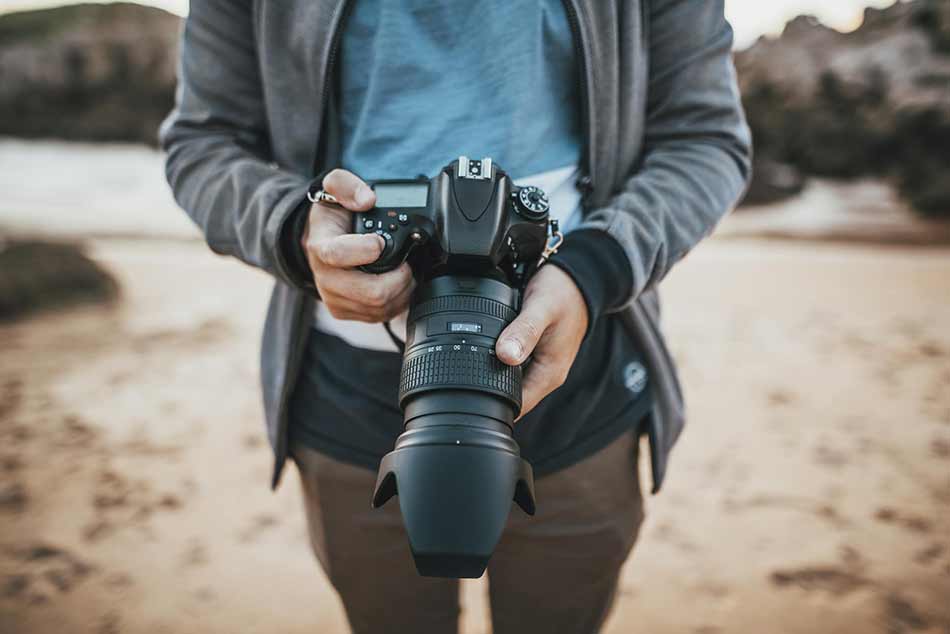
Taking photos - good ones anyway - can be a tough gig.
That's why there's so many tutorials, tips, and tricks out there that seek to help beginners find their way and start taking better photos sooner rather than later.
This is one such tutorial!
In the video above, Peter McKinnon offers up five pro tips for creating photos that have much more visual appeal.
Check it out, and as you listen to Peter's tips, you can follow along in the play-by-play of each tip below.
Work the Angles
 YouTube Screenshot/Peter McKinnon
If you work the angles rather than just pulling out your camera, you'll find that you're able to create images that have far more to say.
When you fire off shots willy-nilly from whatever the easiest angle might be, you'll likely get boring photos.

That's especially true if you just shoot from your eye level every single time.
Instead, take about 10 seconds to really think about how you can make the subject look better.
 YouTube Screenshot/Peter McKinnon
That might mean taking a high perspective and looking down on it or taking a low perspective and looking up at it.
That might also mean taking photos from waist level so you're at the same perspective of the subject.
Even moving left or right can make all the difference!
Shoot Through Something
 YouTube Screenshot/Peter McKinnon
Another quick and easy tip for taking better photos is to shoot through something.
Doing so adds depth and dimension to the shot while also giving it an unusual and unique look with foreground elements that are beautifully out of focus.
You can also use the foreground object as a frame within a frame, which can help direct the viewer's eye more efficiently toward the primary subject.
 YouTube Screenshot/Peter McKinnon
And it's not like you have to shoot through something especially fantastic, either.
Use a house plant, the handle of your favorite mug, or even your fingers (as was done in the screenshot above) to create an interesting and dynamic look.
Learn More:
Think Opposite
 YouTube Screenshot/Peter McKinnon
When you head out to take photos, the chances are that if you go to a popular spot that you're going to be fighting other photographers for the best position to get a photo of the subject.
The problem with doing that is twofold: first, you have to jockey for position to get the shot, and second, once you're in position, you're composing a photo that looks like every other photo ever taken of that subject!
Instead of doing what everyone else does, think opposite...
 YouTube Screenshot/Peter McKinnon
Like working the angles, try moving around to find new and interesting vantage points for taking photos.
You can even take a photo backwards, upside down or from the opposite side of the subject as everyone else is shooting.
Lighting
 YouTube Screenshot/Peter McKinnon
Of all things, your images need to have good lighting.
And lighting your images doesn't have to be some sort of scary process with a ton of lighting gear.
In fact, all you need is the sun!
 YouTube Screenshot/Peter McKinnon
Now, shooting under direct sunlight is usually a no-no because it creates high-contrast images with harsh shadows.
But you can mitigate that by taking photos under the shade of a tree or in the shadow of a building.
Speaking of buildings, just go inside and use the natural light coming in through a window as your light source.

Granted, these strategies are primarily used for portraiture...
But if you prefer to shoot landscapes, cityscapes or travel photos, wait until Golden Hour to take your images.
The soft, golden light will look great and so will your photos!
Learn More:
Framing
 YouTube Screenshot/Peter McKinnon
A final tip for upping your photography game is to focus on framing - how you present the subject within the image.
This has to do with the subject's positioning in the shot, but it also has to do with the supporting details in the image that make it a more interesting photo to view.
 YouTube Screenshot/Peter McKinnon
For example, if you're taking a photo of a deck of cards, the deck of cards on its own would be boring.
But as you can see in the screenshot above, by adding a few elements to the corners of the photo, suddenly it's a much more interesting thing to view.
In other words, by framing the shot to include objects that support the primary subject, you're better equipped to tell a more interesting story about that subject in the image.
With that, you have a few simple tips for taking better photos!
We Recommend
6 Tips for Landscape Composition
When you get down to it, composition is really an abstract concept.
Sure, it's arranging things inside the little box created by your camera, but how you go about doing that isn't necessarily rules-based.
For example, you might find that using the rule of thirds for one landscape photo works great, but that breaking the rule of thirds for another gets you the best photo.
In the video above, Andy Mumford offers up an excellent tutorial on landscape composition.
His tips shed light into his workflow and how he's able to create landscape photos with life, vitality, and interest.
Follow along in the video, and for a play-by-play of each tip, read on below.
First Things First: Understand How Your Camera Sees Things

When we stand before a landscape, our eyes automatically adjust and edit the scene.
That is, they help make sense and order out of the chaos by helping us focus our attention on the most important features and eliminating those that don't require our attention.
However, our cameras cannot do that. They capture every single detail which, left uncomposed, has the potential to overwhelm viewers as they look at the photo.
So, composing better landscape photos requires you to simply understand that your camera needs help to create order and balance in the shot. Here's how to do that.
Use Leading Lines
 YouTube Screenshot/Andy Mumford
It's not good enough to simply point your camera at something pretty...
In the image above, you can see that pointing the camera at an interesting rock formation doesn't result in a very good photo. There's no depth or interest in the image.
 YouTube Screenshot/Andy Mumford
However, in looking at this shot, you can see how adding something as simple as leading lines helps create a much better photograph.
Instead of there being massive areas of the photo that provide nothing of interest, now we have something that moves our eyes from one area of the photo to next, creating a more dynamic viewing experience.
The lines in the image above help pull our eyes deeper into the shot, from the foreground to the midground to the background, so that we experience the image as a whole.
Editor's Tip: Leading lines don't have to be straight or parallel. Experiment with the angle of view and perspective you use when composing the photo to see what kind of lines you can create in the shot.
Beware of Object Placement
 YouTube Screenshot/Andy Mumford
Not every landscape scene you photograph is going to have obvious leading lines.
However, you can help create leading lines or other means of visual interest by working on where you place objects in the frame.
In the photo above, Andy used the placement of the barnacle-covered drum in the foreground as an alternative to leading lines.

Notice how the object is placed low in the frame, that way it grabs our attention in the foreground.
But also notice how it's placed directly in line with the interesting rock formation in the background. That was done to help connect those two objects, which helps move our eyes deeper into the shot (just like a leading line!).
Learn More:
- How to Get a Perfect Foreground in Landscape Photography
- 7 Tips and Tricks for Photographing Landscapes With a Wide-Angle Lens
Try Isolating Objects
 YouTube Screenshot/Andy Mumford
Sometimes, isolating the subject in the shot actually does the photo more good than trying to incorporate foreground elements as described in the previous tip.
In the shot above, Andy purposefully worked to eliminate details from the scene so that the mangrove tree retains our attention.
So, he moved closer to the tree to eliminate areas of the reef that protruded above the water.
He also used a long exposure to blur the water to create a smooth surface.
Combined with the perfectly flat horizon and soft light, these little tricks aided in isolating the tree for a very strong composition.
Editor's Tip: Another way to isolate landscape elements is to shoot with a telephoto lens. Get tips for telephoto landscape photography by clicking here.
Find a Focal Point
 YouTube Screenshot/Andy Mumford
One of the best tips for composing better landscape photos is to ensure that your image has a strong focal point that grabs the attention of viewers.
In the image above, though it's very pretty, it lacks a strong focal point. Instead of there being an object that our eyes go to immediately, we're left looking at all the detail in the foreground without having a way to easily explore the rest of the shot.
 YouTube Screenshot/Andy Mumford
In this image, though, you can see how adding a strong focal point totally changes the image.
In this case, our eyes follow the leading lines created by the rocks in the foreground right to Andy, who has positioned himself perfectly in the photo to serve as the focal point of the image.
Furthermore, because he's looking in the direction of the sun, our eyes continue past him, along his focal plane, toward the right side of the shot from which the sun's rays emanate.
Just imagine this photo without the man in it - it wouldn't be nearly as successful, would it?
Learn More:
- 5 Stellar Examples of Landscape Photography That Include People
- 8 Insanely Easy Things You Can Do Today to Improve Your Landscape Photography
Scan the Edges of the Frame
 YouTube Screenshot/Andy Mumford
Something as simple as a tree branch or a shadow encroaching on the edge of the shot can reduce the overall quality of the image.
That's why it's so important to scan the edges of the frame before you finalize the shot.
Granted, you can maneuver around some things in post-processing by cropping the offending element out of the photo.

However, it's good practice to get into the habit of scanning the scene before you take the shot, that way you have the best possible image (like the one above) with which to work in post-processing.
Editor's Tip: When scanning the frame, also ensure that there's plenty of room between the elements in the shot and the edge of the frame. If you frame the shot too tightly, it could feel a little cramped.
Don't Be Afraid to Subtract Elements
 YouTube Screenshot/Andy Mumford
When composing a compelling landscape photo, it's important that you ask yourself if there's anything in the shot that needn't be there or that detracts from the look and feel of the image.
If there is, you need to subtract it from the shot.
In the photo above, the tallest tree on the left doesn't really serve much of a purpose. In fact, it pulls our eyes over to it instead of allowing them to travel deeper into the shot towards the gorgeous mountain.
 YouTube Screenshot/Andy Mumford
In this example, however, you can see that by moving to the right and eliminating that tree from the frame that a more powerful image results.
Granted, there's a much better sky in this photo, too, but by taking the tree out of the equation, our eyes are freer to be pulled toward the mountain as they should.
And there you have it - six can't-miss landscape photography tips that will help you compose a better shot!
We Recommend
7 Easy-to-Remember Steps for Taking Better Photos With Any Camera
Regardless of whether you take photos with your smartphone, a medium format camera or something in between, there are some essential photography tips that can help you improve the quality of your images.
In that regard, becoming a better photographer has much less to do with the camera you use and much more to do with things like the camera settings you use, lighting, framing, composition, and the like.
Though the tips outlined below aren't an end-all, be-all summary of everything you can do to improve your photography, it'll certainly give you a strong foundation for moving forward and creating better photos.
Without further ado, let's get to it!
Get Candid

If you enjoy taking portraits, one of the most important tips you can remember is to get candid.
And by candid, I don't necessarily mean a shot of people rolling on the floor laughing.
Instead, a candid shot is something that shows the moment - the emotions and feelings of that instant in time, as seen in the image above.
That means you can capture a moment of happiness or joy just as easily as you can capture a moment of heartache or loss.

By focusing on the moment, you're able to capture something that's far more authentic, something that resonates more with viewers than if it's something that's heavily posed.
Think about it - which is better to look at, a portrait of your kids lined up sporting forced smiles or a candid shot of your them laughing, playing, and blowing bubbles like in the image above?
The whole point of taking a photo is so that you can remember a moment. You're much more likely to capture the feelings and emotions of those moments by focusing on taking pictures that are authentic.
So, rather than forcing your friends and family to line up for a posed portrait, just take a few steps back as they interact with one another and strive to capture those genuine moments that everyone wants to remember for a lifetime.
Learn More:
The Background is Important, Too
A key mistake that beginner photographers make is that they get so dialed in on the subject of the photo that they forget that there's a background to worry about as well.
This is actually a two-pronged mistake.
First, if you don't pay attention to the background, you run the risk of having something distracting back there that diminishes the visual appeal of the image.
To use portraiture as an example, that might be a tree branch that appears to be sticking out of the model's head.
That's why it's common for photographers to blur the background in a portrait - to minimize the distractibility of it, as seen in the image above.
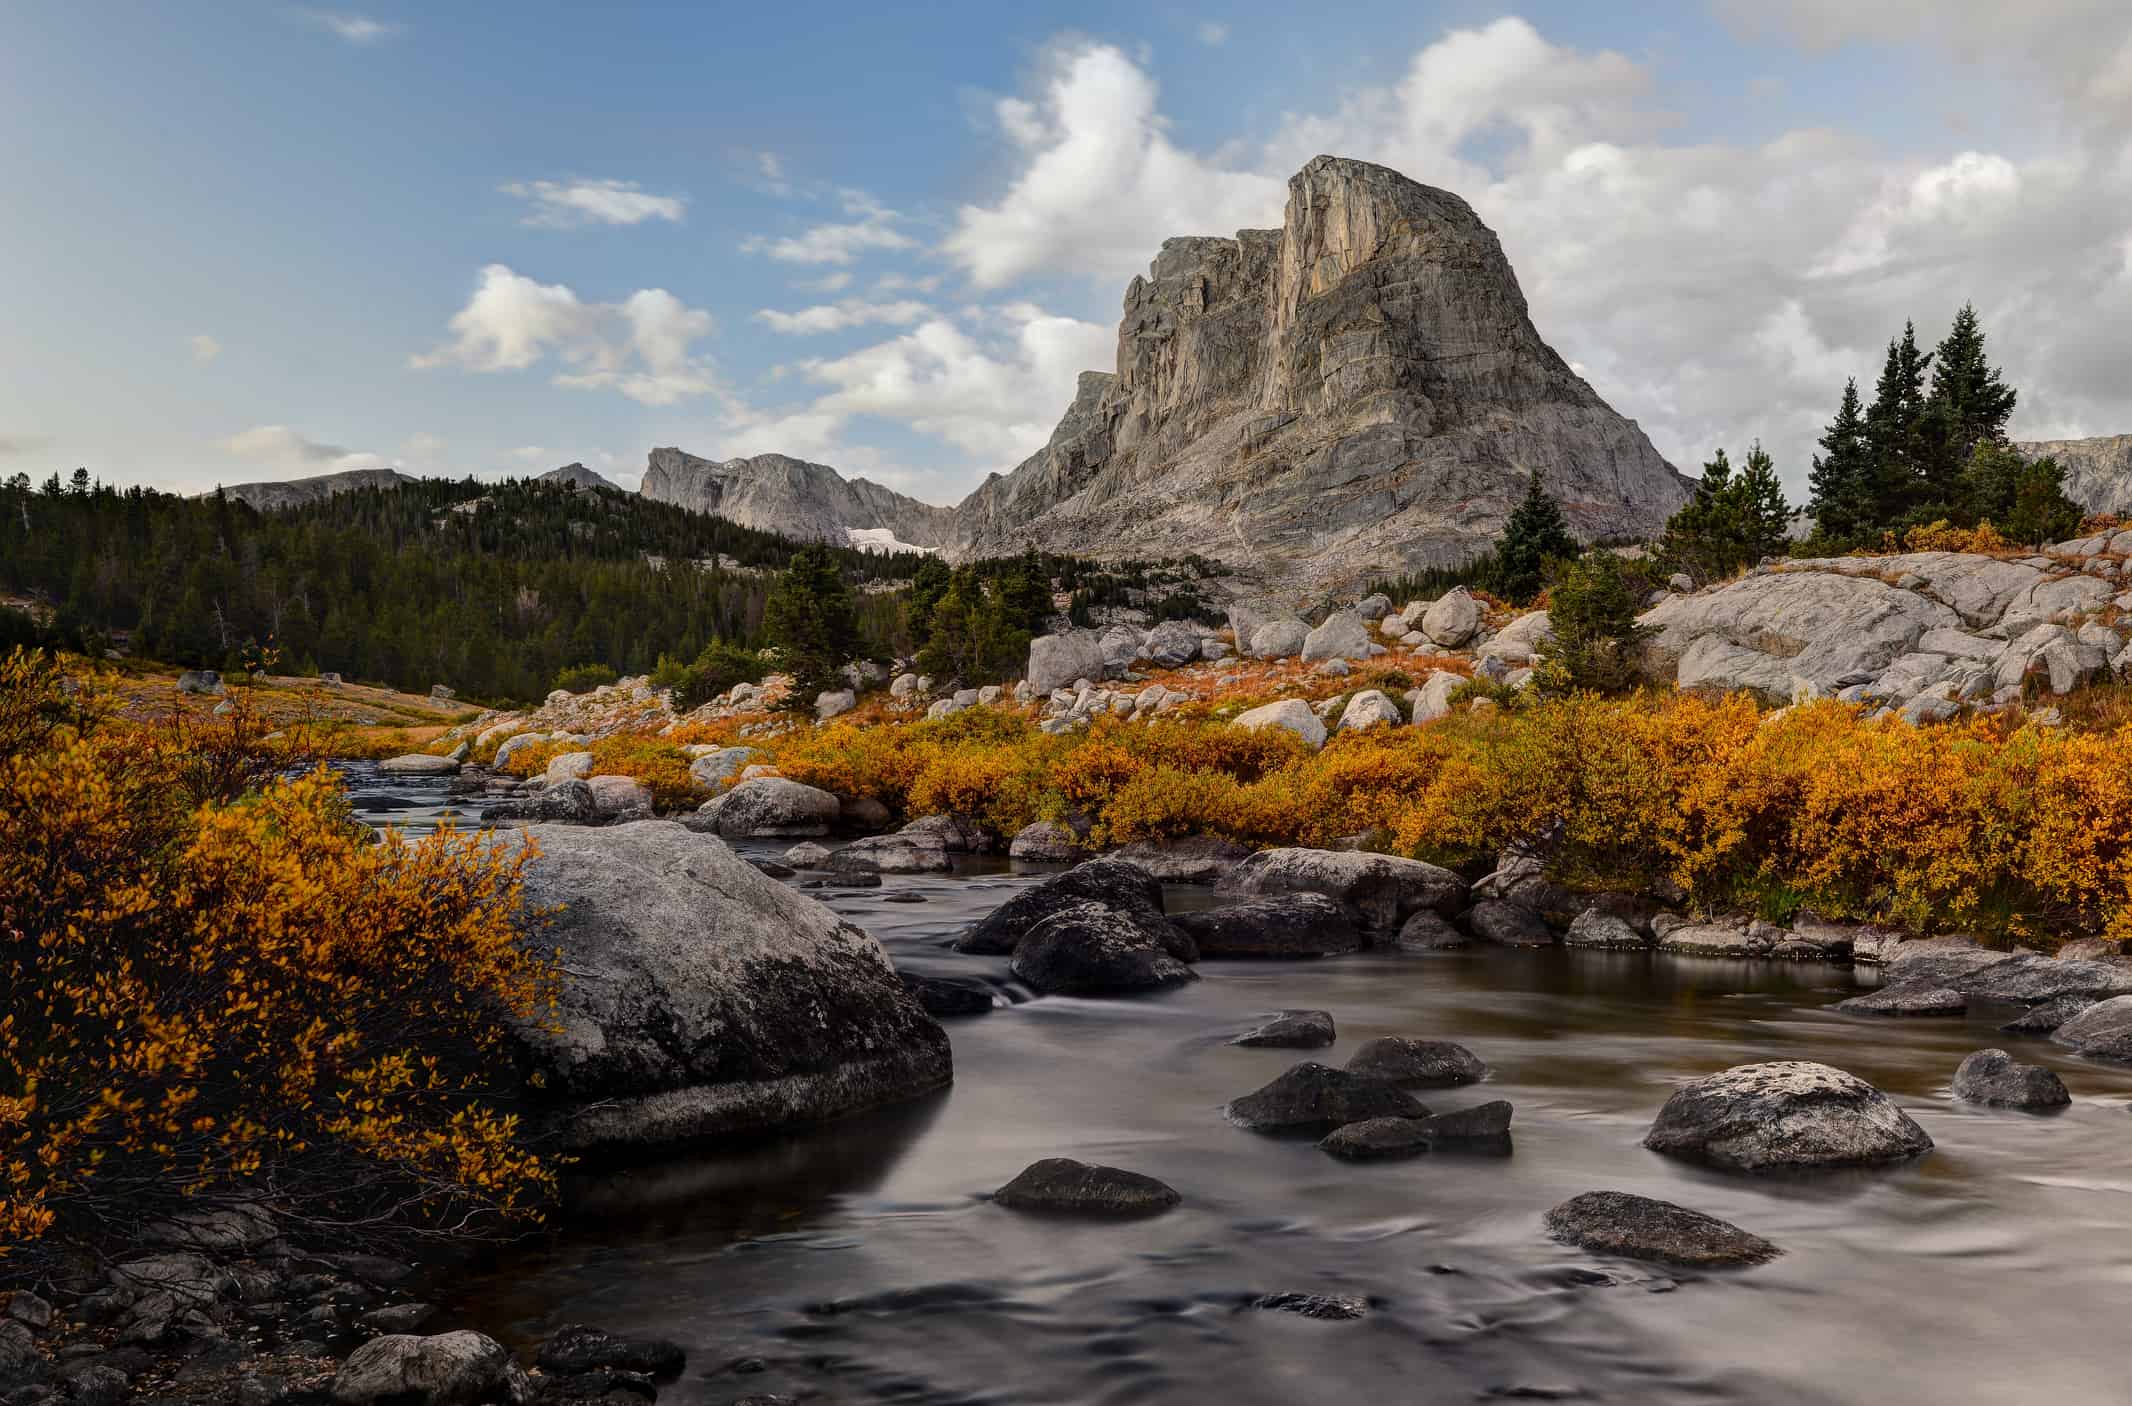
Secondly, backgrounds can be boring, too.
By that, I mean that regardless of whether you're taking a portrait or a landscape, the background needs to have some sort of connection to the subject and enhance the shot.
For example, in landscape photography, it's common to have a large depth of field such that everything from the foreground to the background is in focus, as seen in the image above.
That means that if you have a boring background, it'll be on full display and ruin the shot.
But if the background has some substance to it - the shape and texture of the mountain peak in the image above, for example - your image will be all the more successful.
Learn More:
Think About the Subject
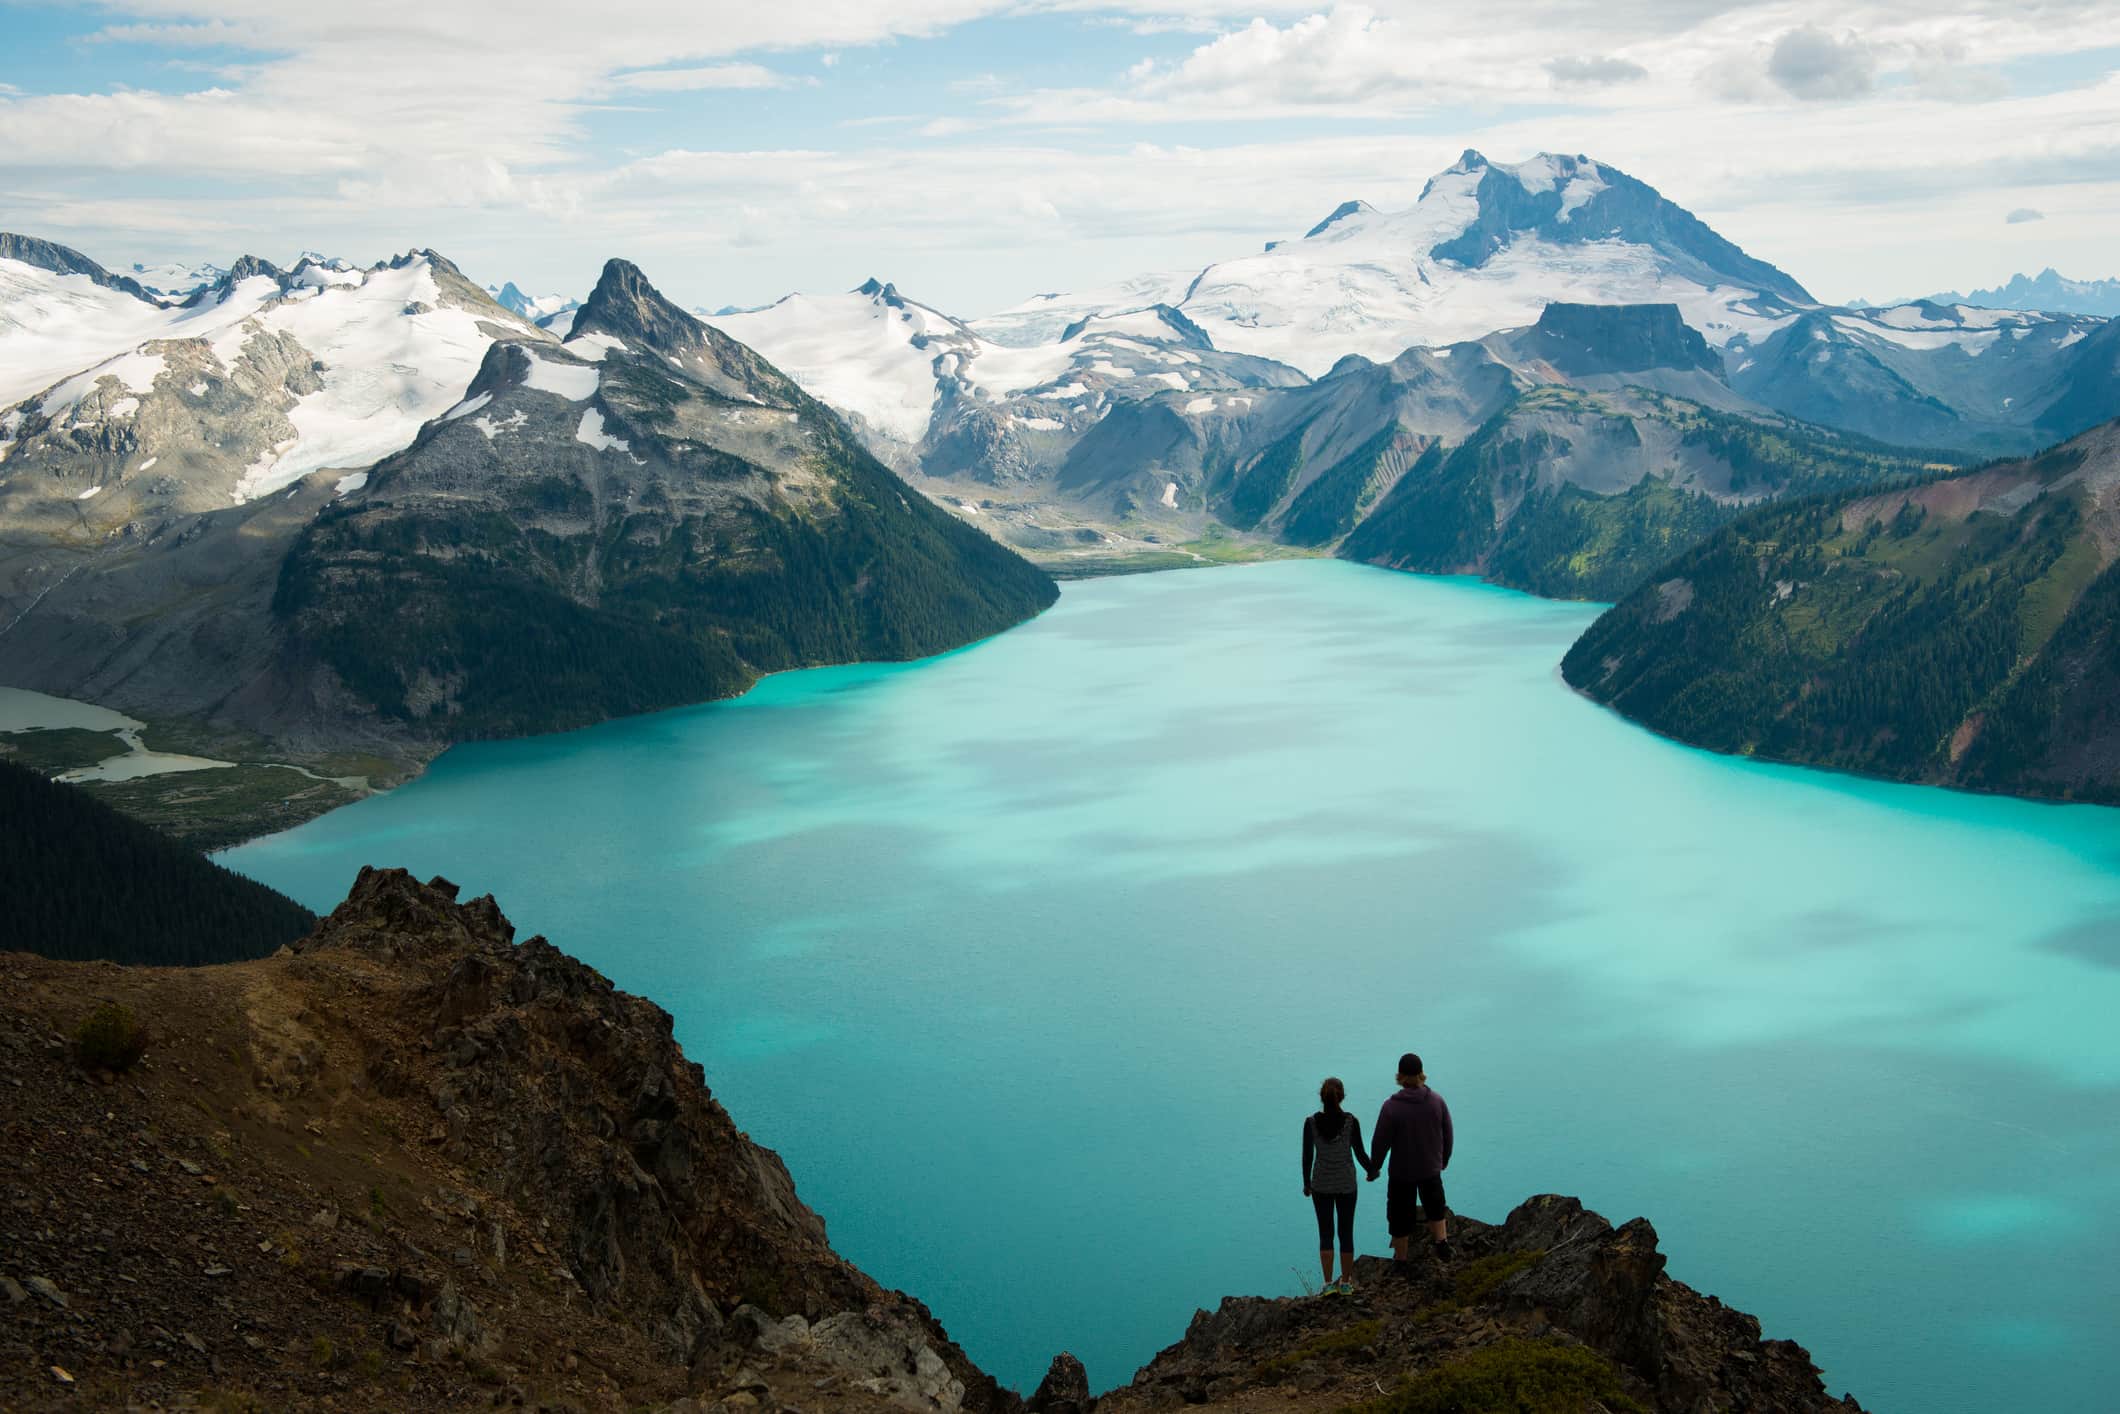
You can develop an understanding of lighting, know how to use your camera's settings to improve the exposure, and study all the rules of composition that you want, but ultimately, if the subject of the photo is boring, your photo will be boring, too.
That's assuming that you even have a strong subject in the shot to begin with...
As obvious as it seems, many photographers struggle early on with incorporating a subject into their shots that is both strong and interesting.
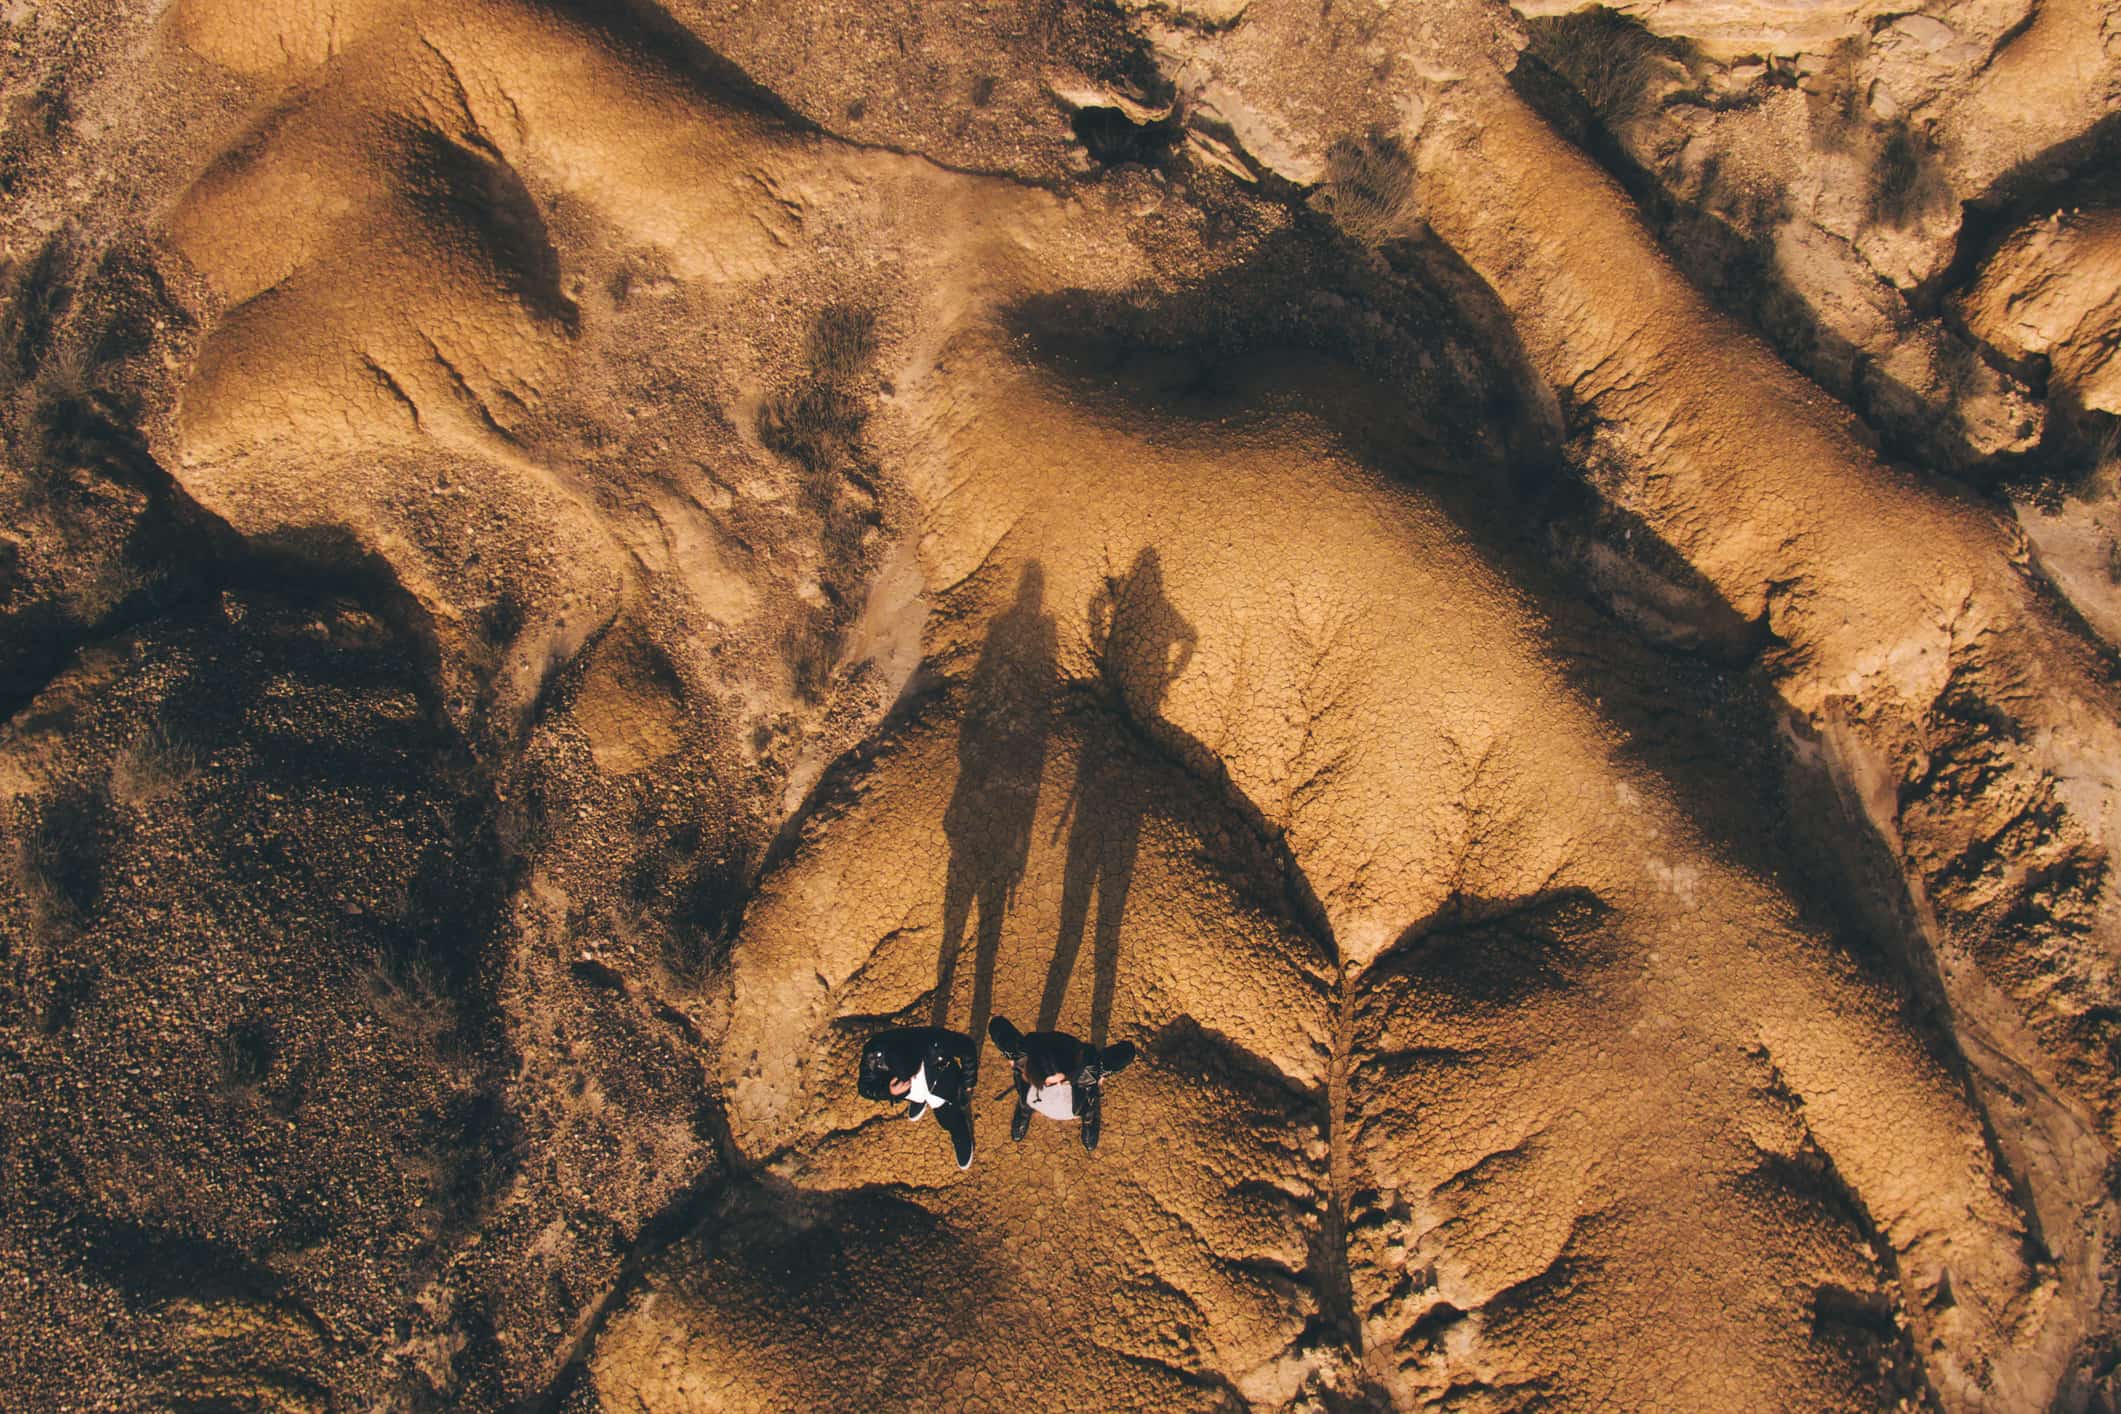
But by striving to have a strong, interesting subject, your image will be more likely to catch the viewer's eye and tell a more engaging story at the same time.
This is especially true in landscape photography, where beginners tend to try to incorporate the entirety of the scene into the shot.
More often than not, this results in an image that offers a wide view of the landscape but has nothing that draws people into the image.
Instead, find ways to incorporate a strong subject, like the couple in the image above, which adds another dimension of interest to the photograph and helps you create an interesting narrative to tell with your photo at the same time.
Learn More:
- How to Improve Your Landscape Photography in Three Simple Steps
- Make Your Photos Better With These Photography Composition Tips
Work Constantly to Improve the Shot
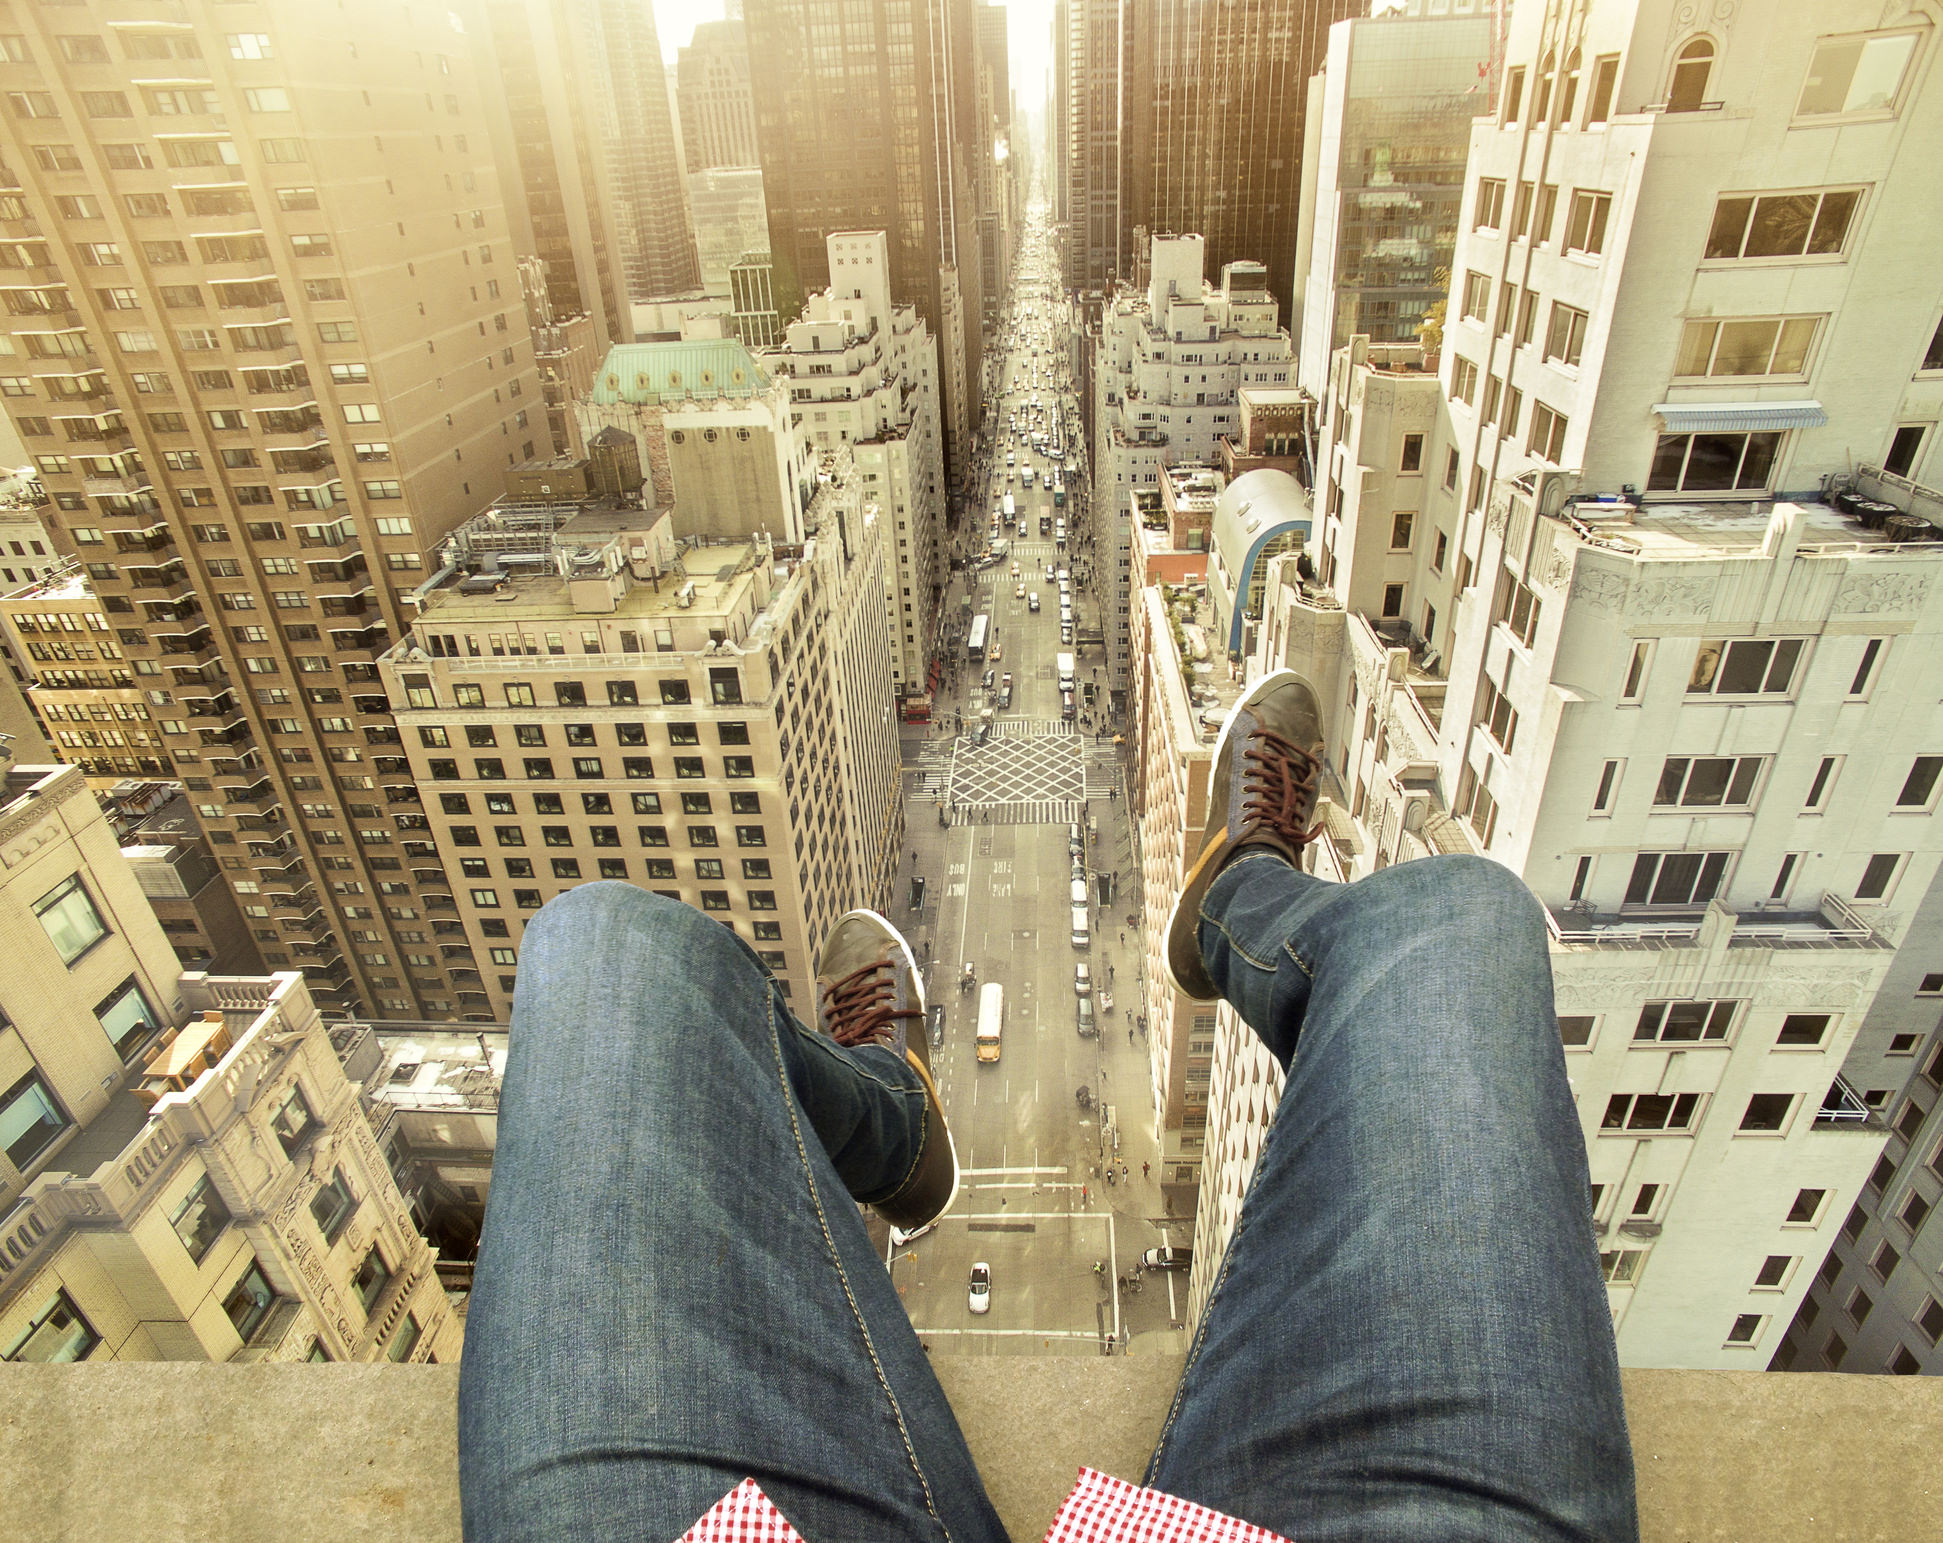
It never ceases to amaze me how many times I see photographers simply standing there, taking a thousand pictures from their own eye level from the same spot for every shot.
It drives me crazy, and it should drive you crazy as well.
Capturing a photo from your own eye level is boring. If you're an adult, pretty much all adults see the scene from the same eye level anyway.
What will help you improve your photos is if you work constantly to find new ways to capture the same scene.
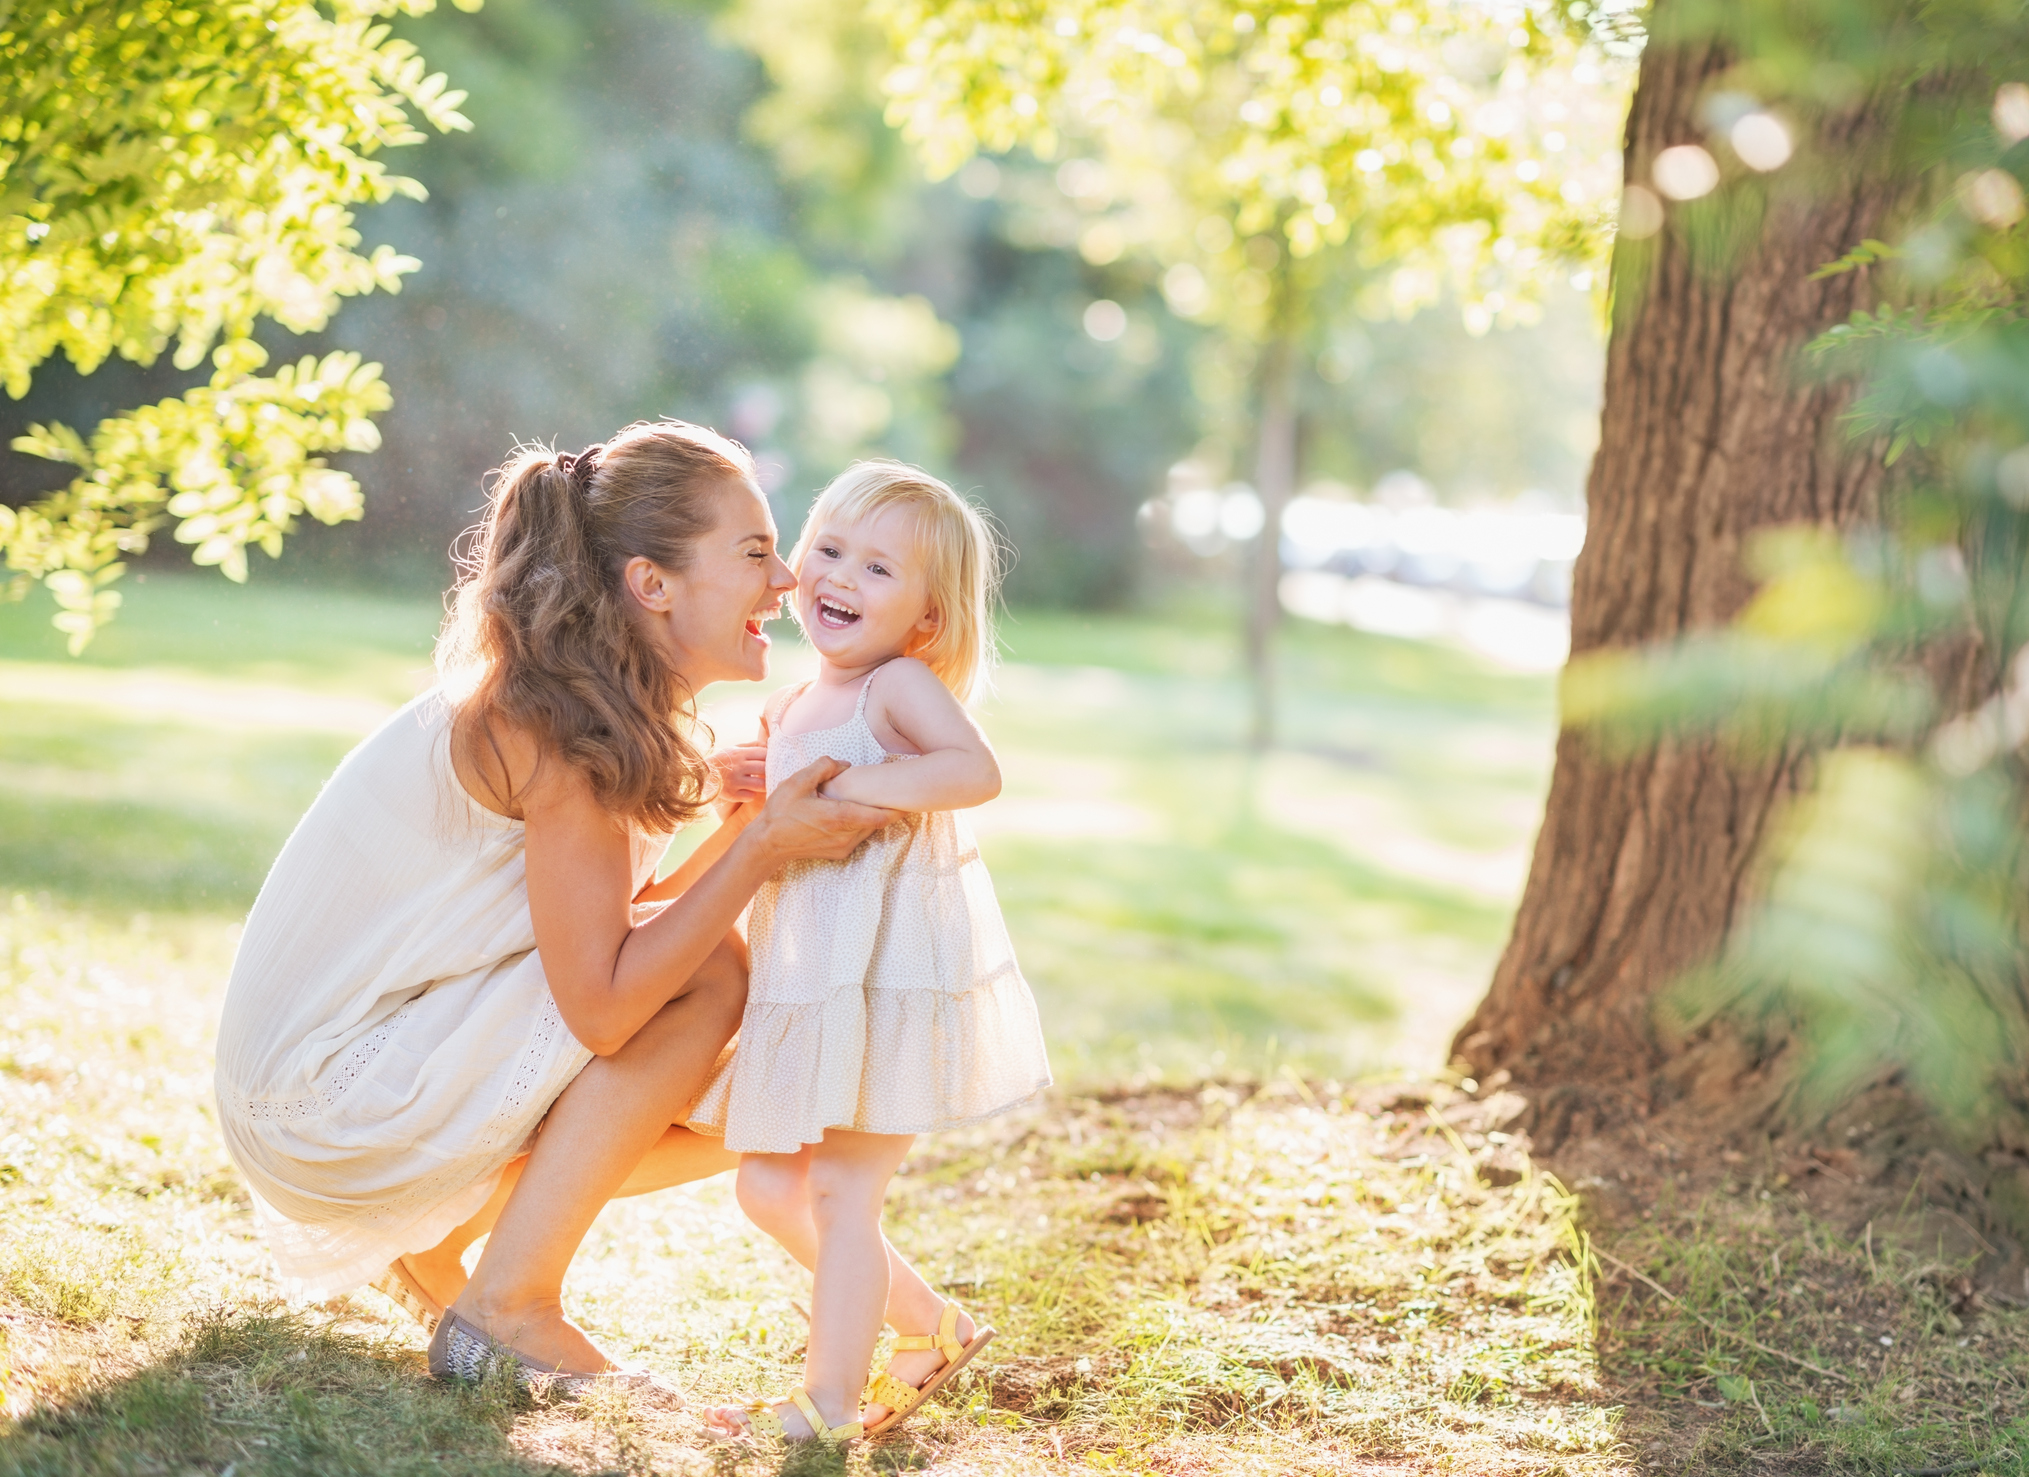
That means that if you're photographing your kids, get down on their level - even if it means laying on the floor to get the shot.
The resulting image, like the one above, not only offers a more interesting perspective into your kid's world, but it's also more unique and authentic.
But kids aren't the only subjects that benefit from you finding a unique shooting position...
Do the same with adult portraits, macro photography, street scenes, landscapes, and so forth.
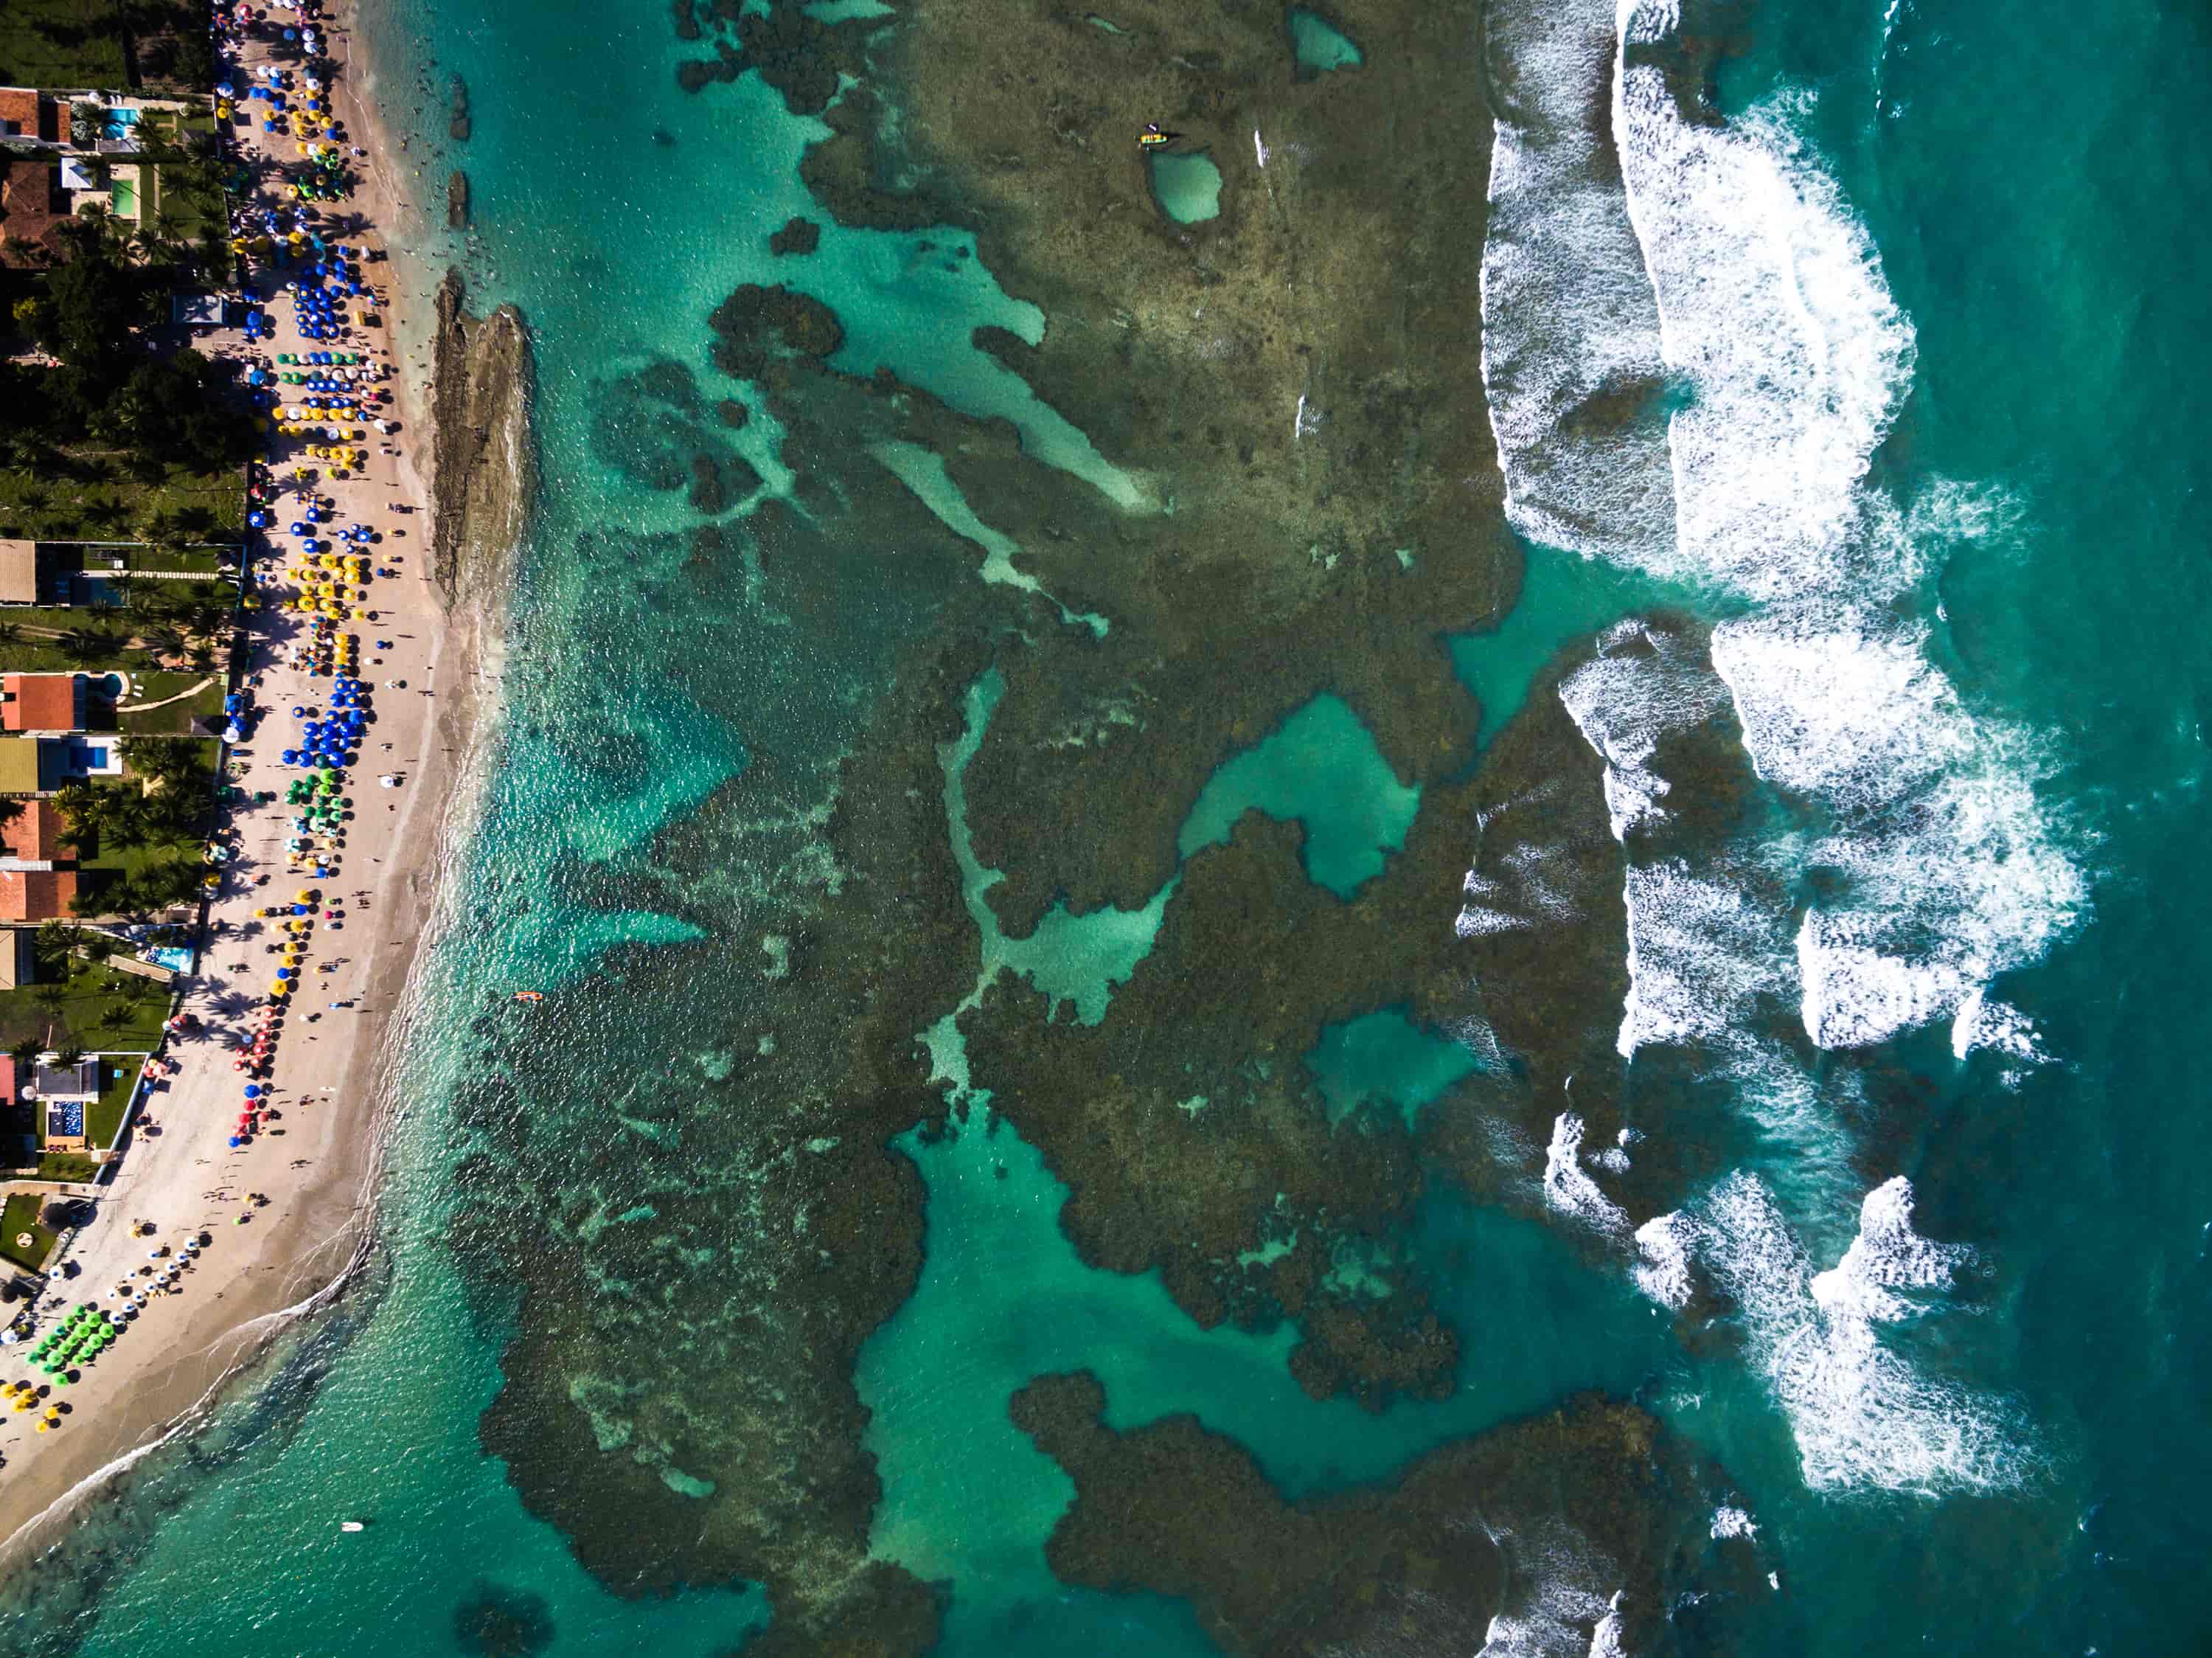
Here's a great exercise that's easy but will help you understand the value of working to improve the shot...
The next time you're out shooting, no matter what the subject matter is, challenge yourself to photograph the subject from at least five completely different viewpoints.
You might take a photo from above it and then another from a worm's eye view. You might photograph it from up close and then from far away.
The point is to take your time, investigate different possibilities for composing the shot, and finding unique angles that help you create a more compelling image.
Get more beginner photography tips for improving your photos in the video above by Peter McKinnon.
Learn More:
- 6 Easy Yet Effective Tips for Better Composition
- 7 Essential Questions to Ask Before Pressing the Shutter Button
- Photography Composition Tip: How to Use Perspective
Learn What "Good Light" Means
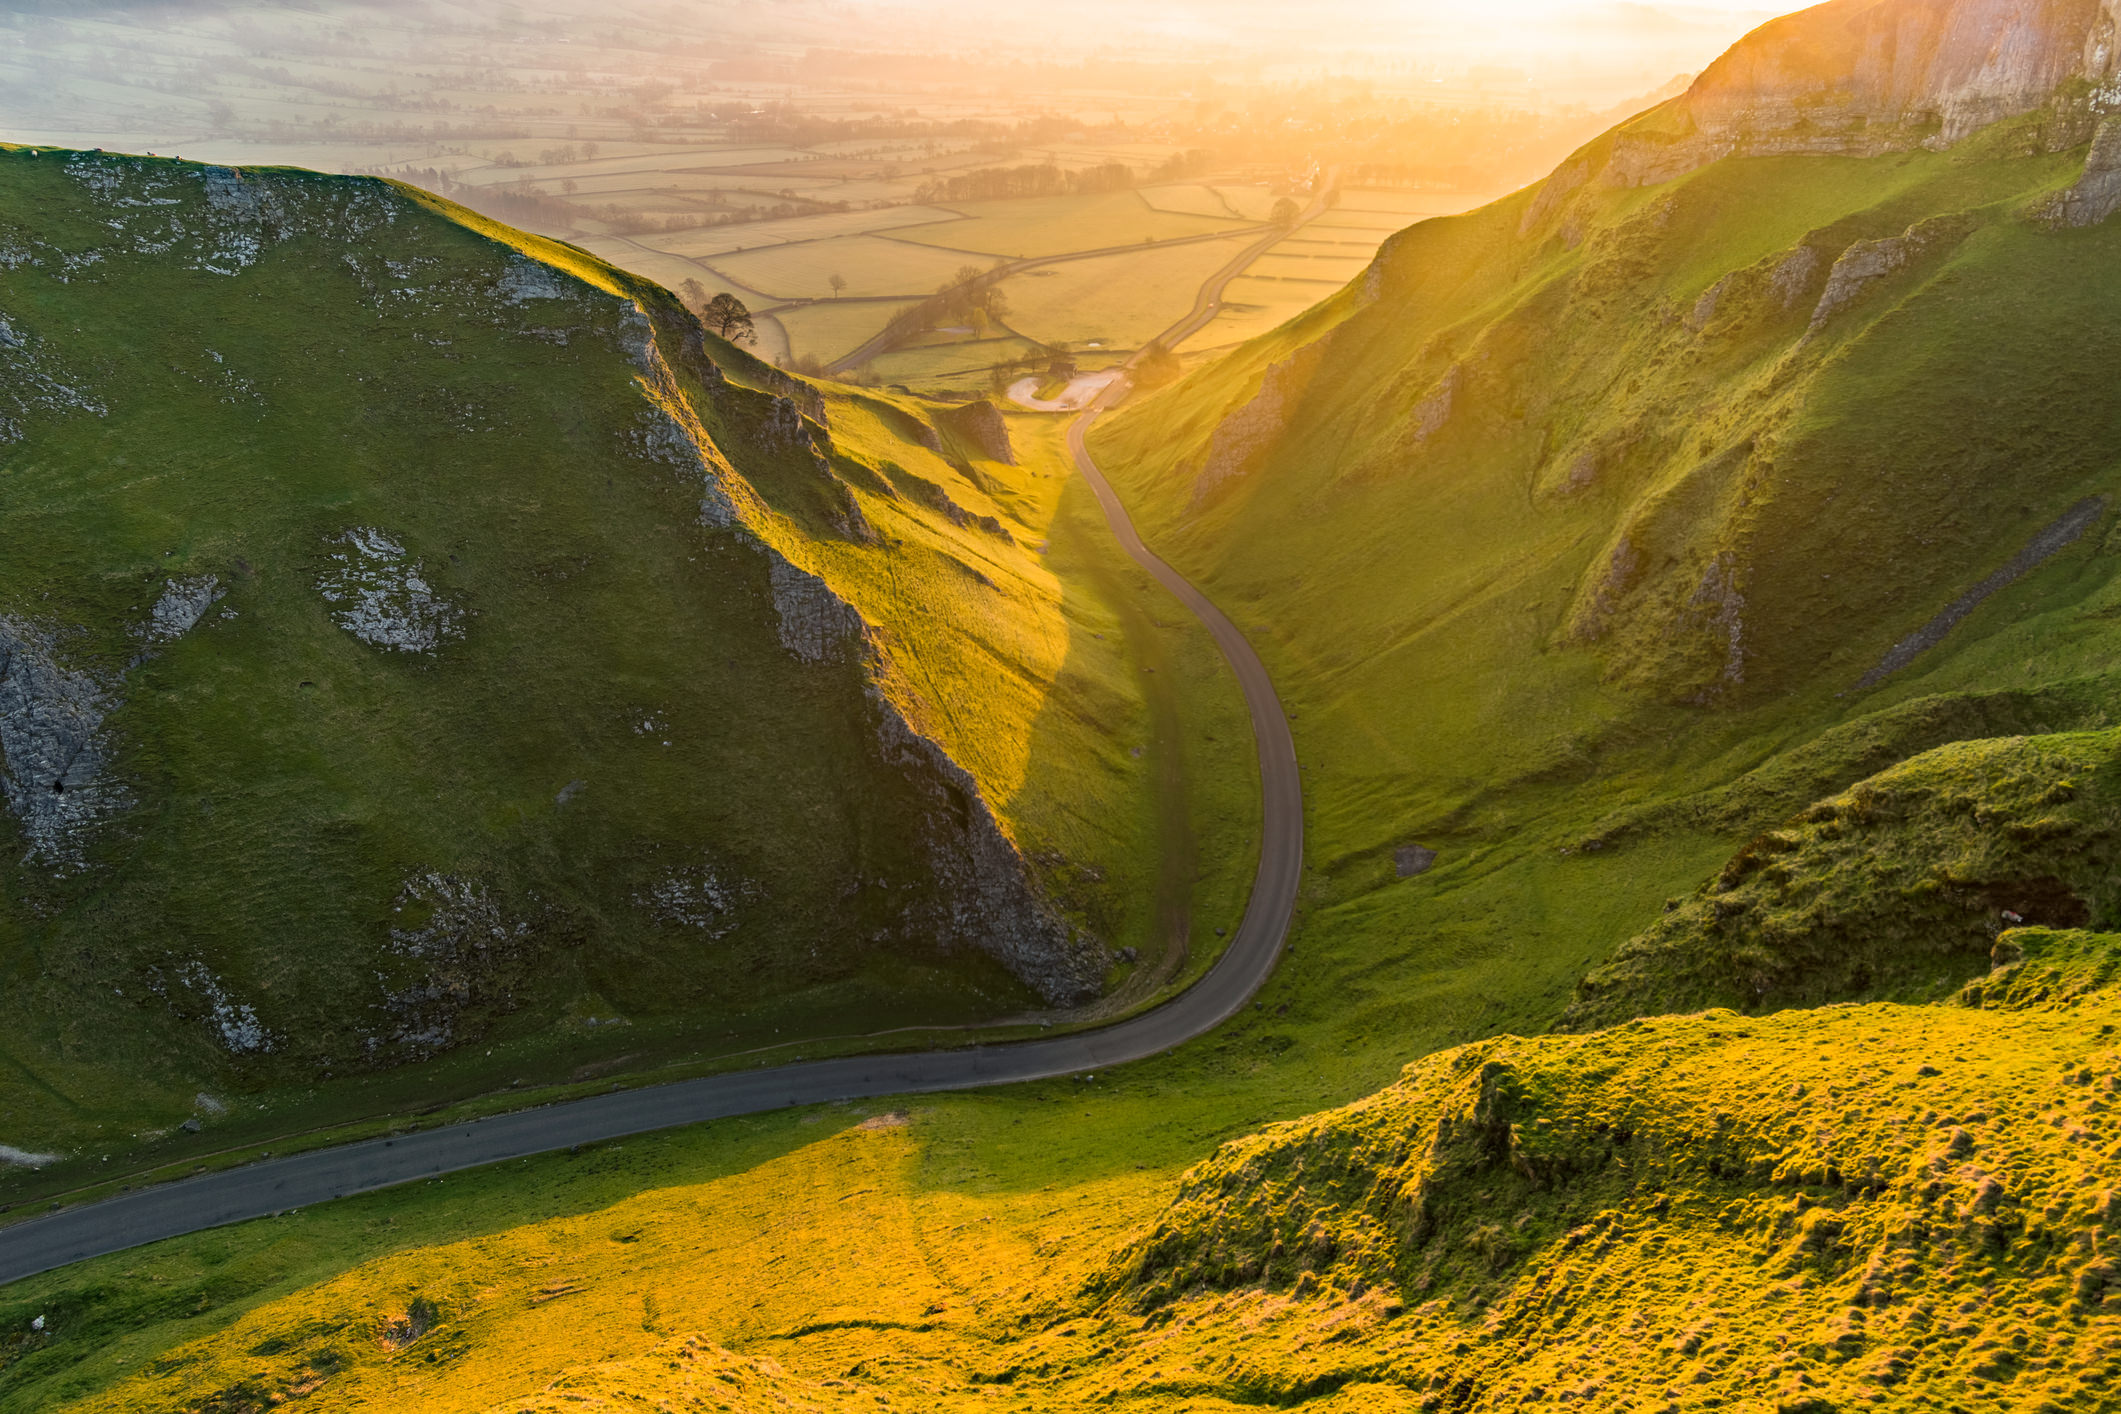
If you've ever taken a picture in the early afternoon under intense sunlight on a cloudless day, you understand that some light just isn't pleasing to the eye.
At that time of day, the sun is intense, tends to wash out the scene, and causes harsh shadows that can be distracting in the shot.
Conversely, if you've ever taken a photo in the hour or so before sunset, you know that light at that time of day is incredibly rich, warm, and beautiful.
As you can see in the image above, that kind of light can really elevate a shot and make it that much more visually appealing.
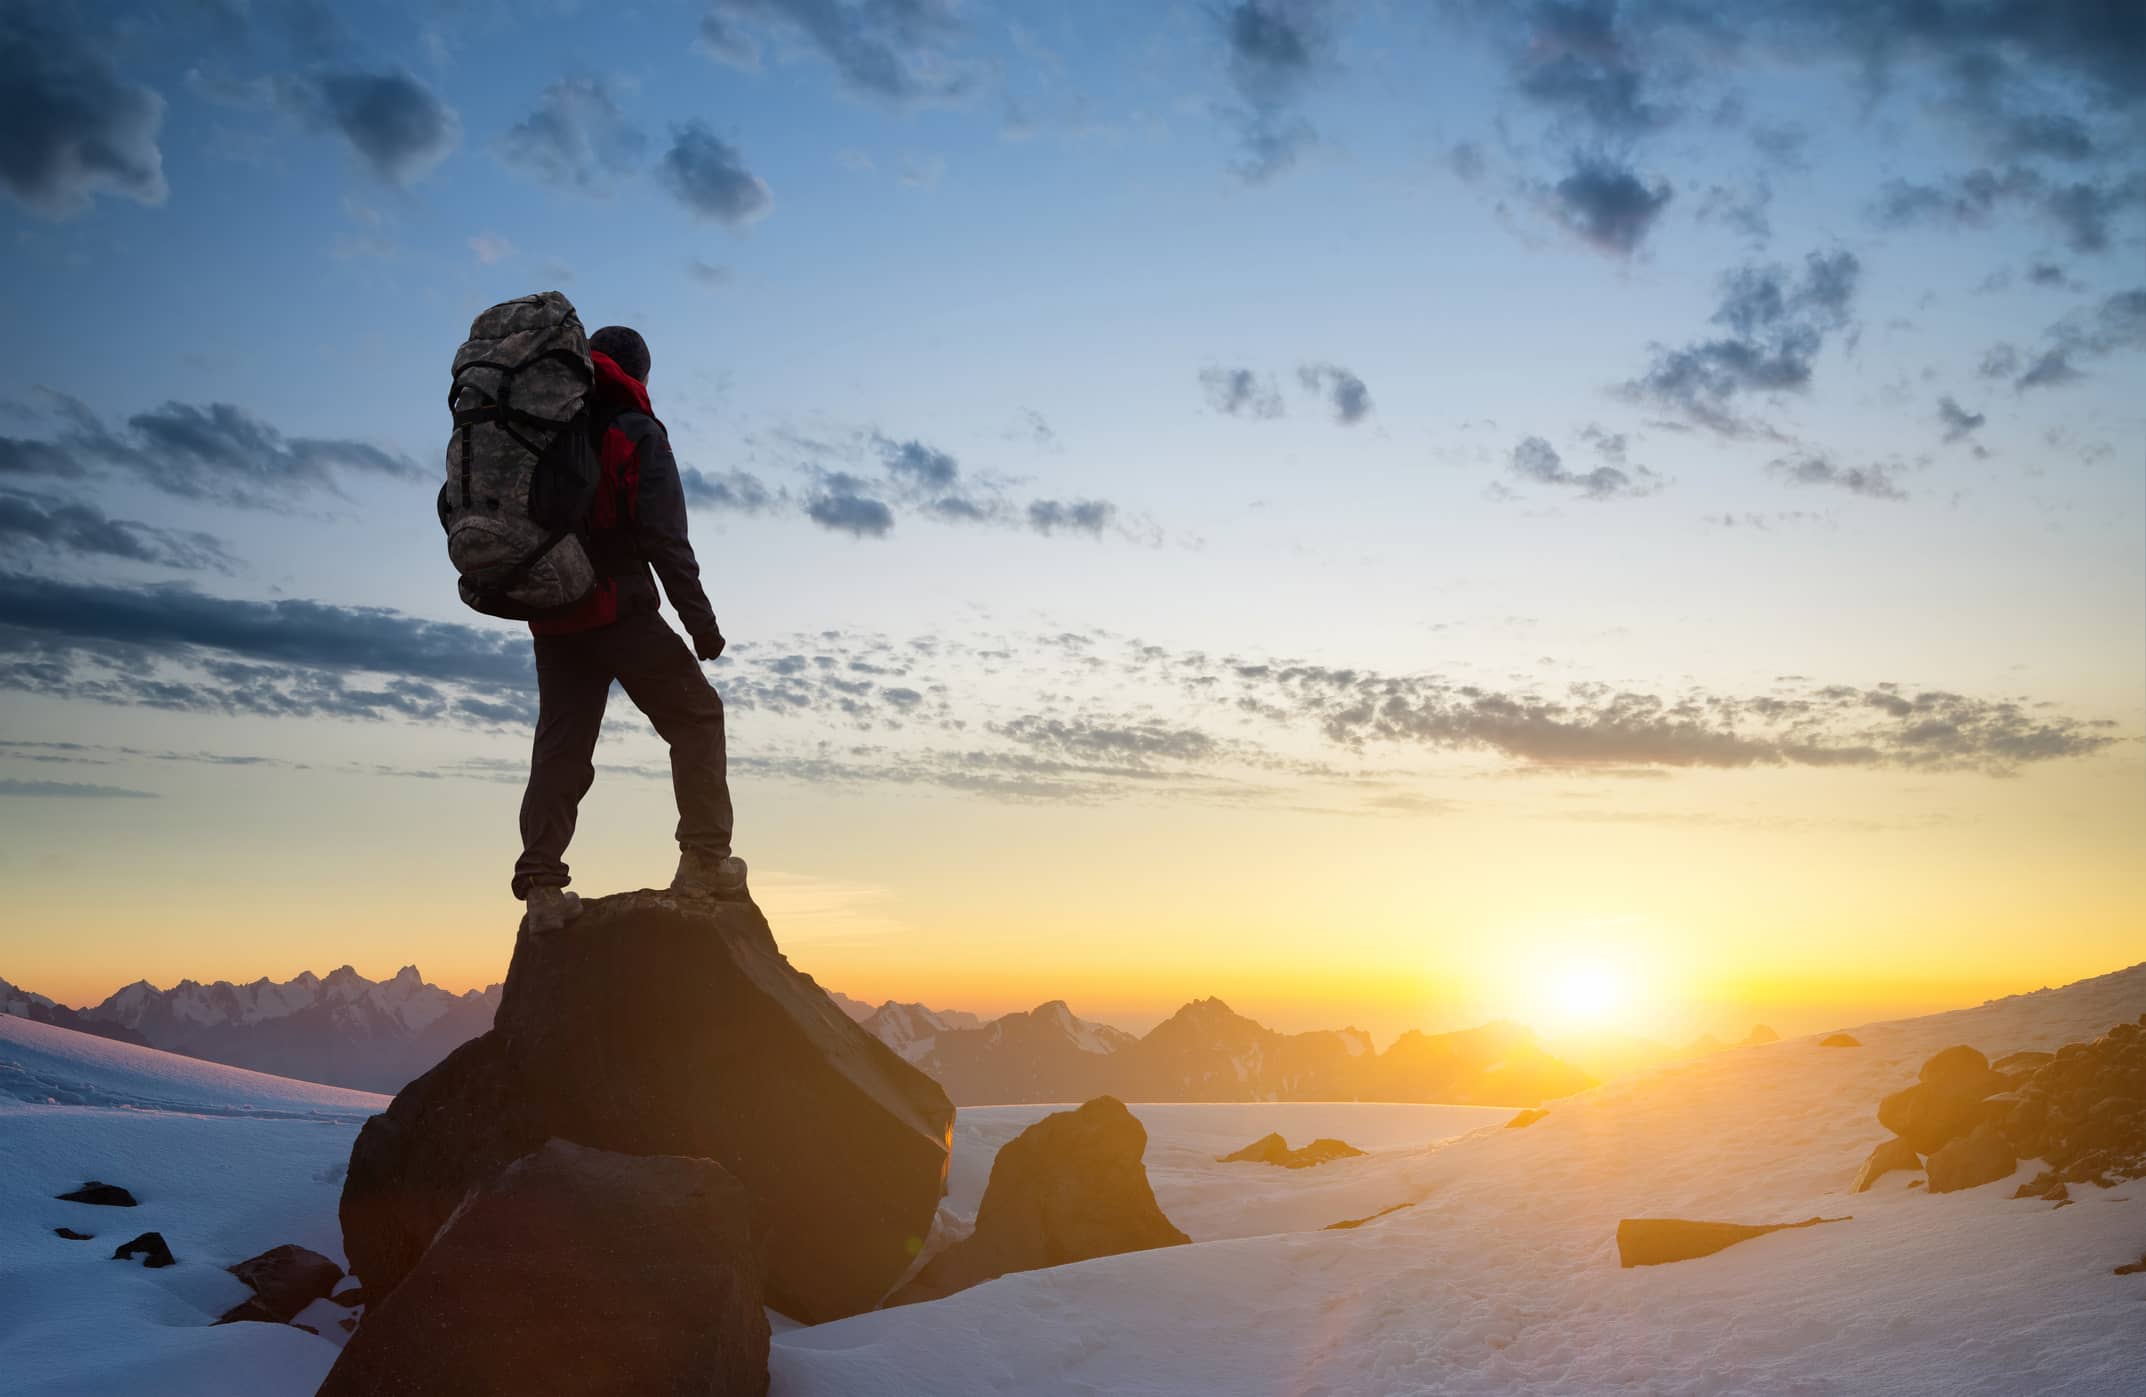
That means that you need to chase good lighting.
This applies to whether you're shooting outdoors or in...
As already noted, when you're outdoors, pursue the light at the end of the day during Golden Hour.
You can also manage "ugly" light in the daytime by seeking the cover of shade to help diffuse the harshness of the light.
When you're shooting indoors, head towards a window to take advantage of natural lighting coming through the window.

The point is that the quality of the light in the photo will go a long way in determining the quality of the photo itself.
If you truly want to become a better photographer, spend some time just looking at light - its intensity, coloring, and the shadows it creates.
By becoming adept at recognizing good and bad light, you'll be much better equipped to create breathtaking photos.
Learn More:
- 5 Creative Ways to Use Golden Hour Lighting
- The Three Main Rules of Photography
- The Secrets for Better Natural Light Portraits
Look for Details
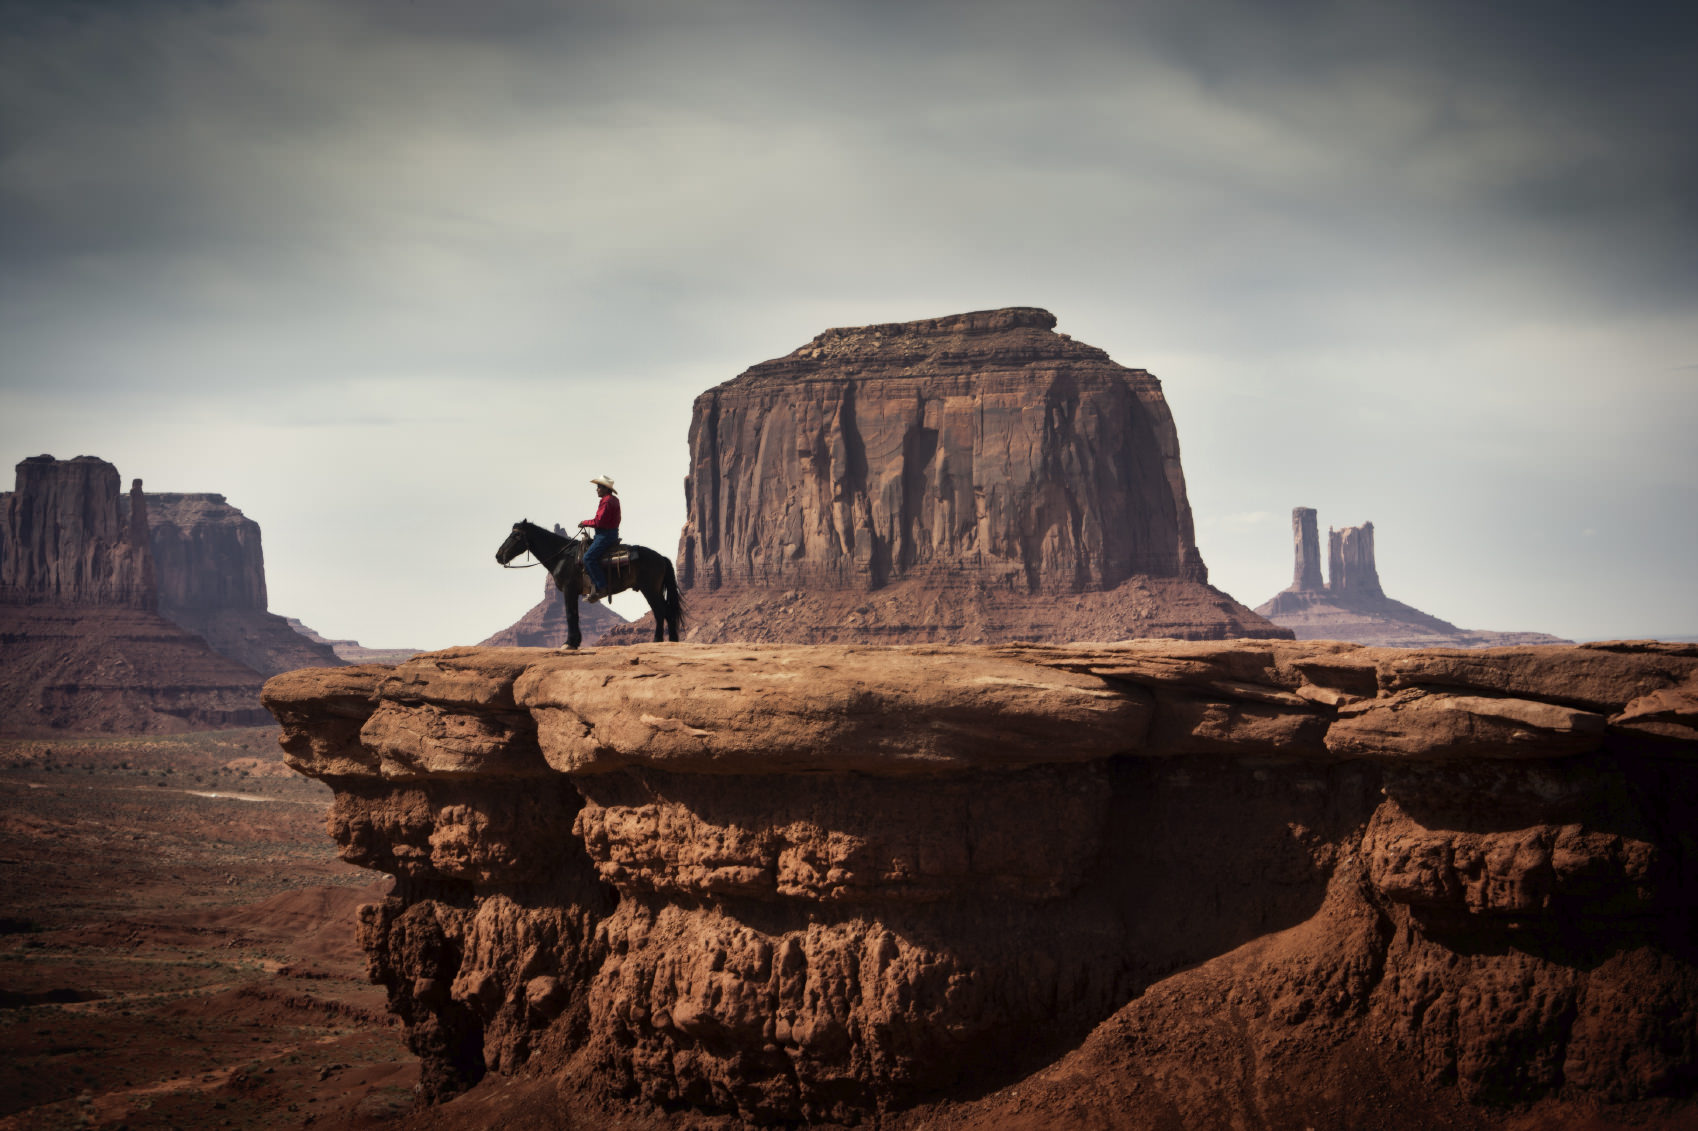
Another way you can elevate the quality of your images is by looking for, and focusing on, small details that might otherwise go unnoticed as people go about their daily lives.
The advantage of doing so is that you open up a whole new world for your photography.
This could mean that you take a close-up shot of the texture of a plant's leaves or even opt to work on macro photography for a while.
This might also mean looking for interesting shadows to focus on in the images you take.

Something else that focusing on the details does is help you develop your creative eye.
Rather than seeing the large scene as one big whole, you can begin to break down even the most complex of subjects and find new ways of portraying them in your images.
What's more, working on the small details will allow you to get creative with things like depth of field to bring people's attention to the details you want to highlight.
In other words, looking for small details gives you many other opportunities to learn photography skills that can elevate the quality of your work.
Learn about other steps you can take to improve your photography skills in the video above by Jessica Kobeissi.
Learn More:
- Four Ways You Can Tell Better Stories With Your Photos
- A Step-by-Step Beginner's Guide to Macro Photography
Pretend You're Shooting on Film
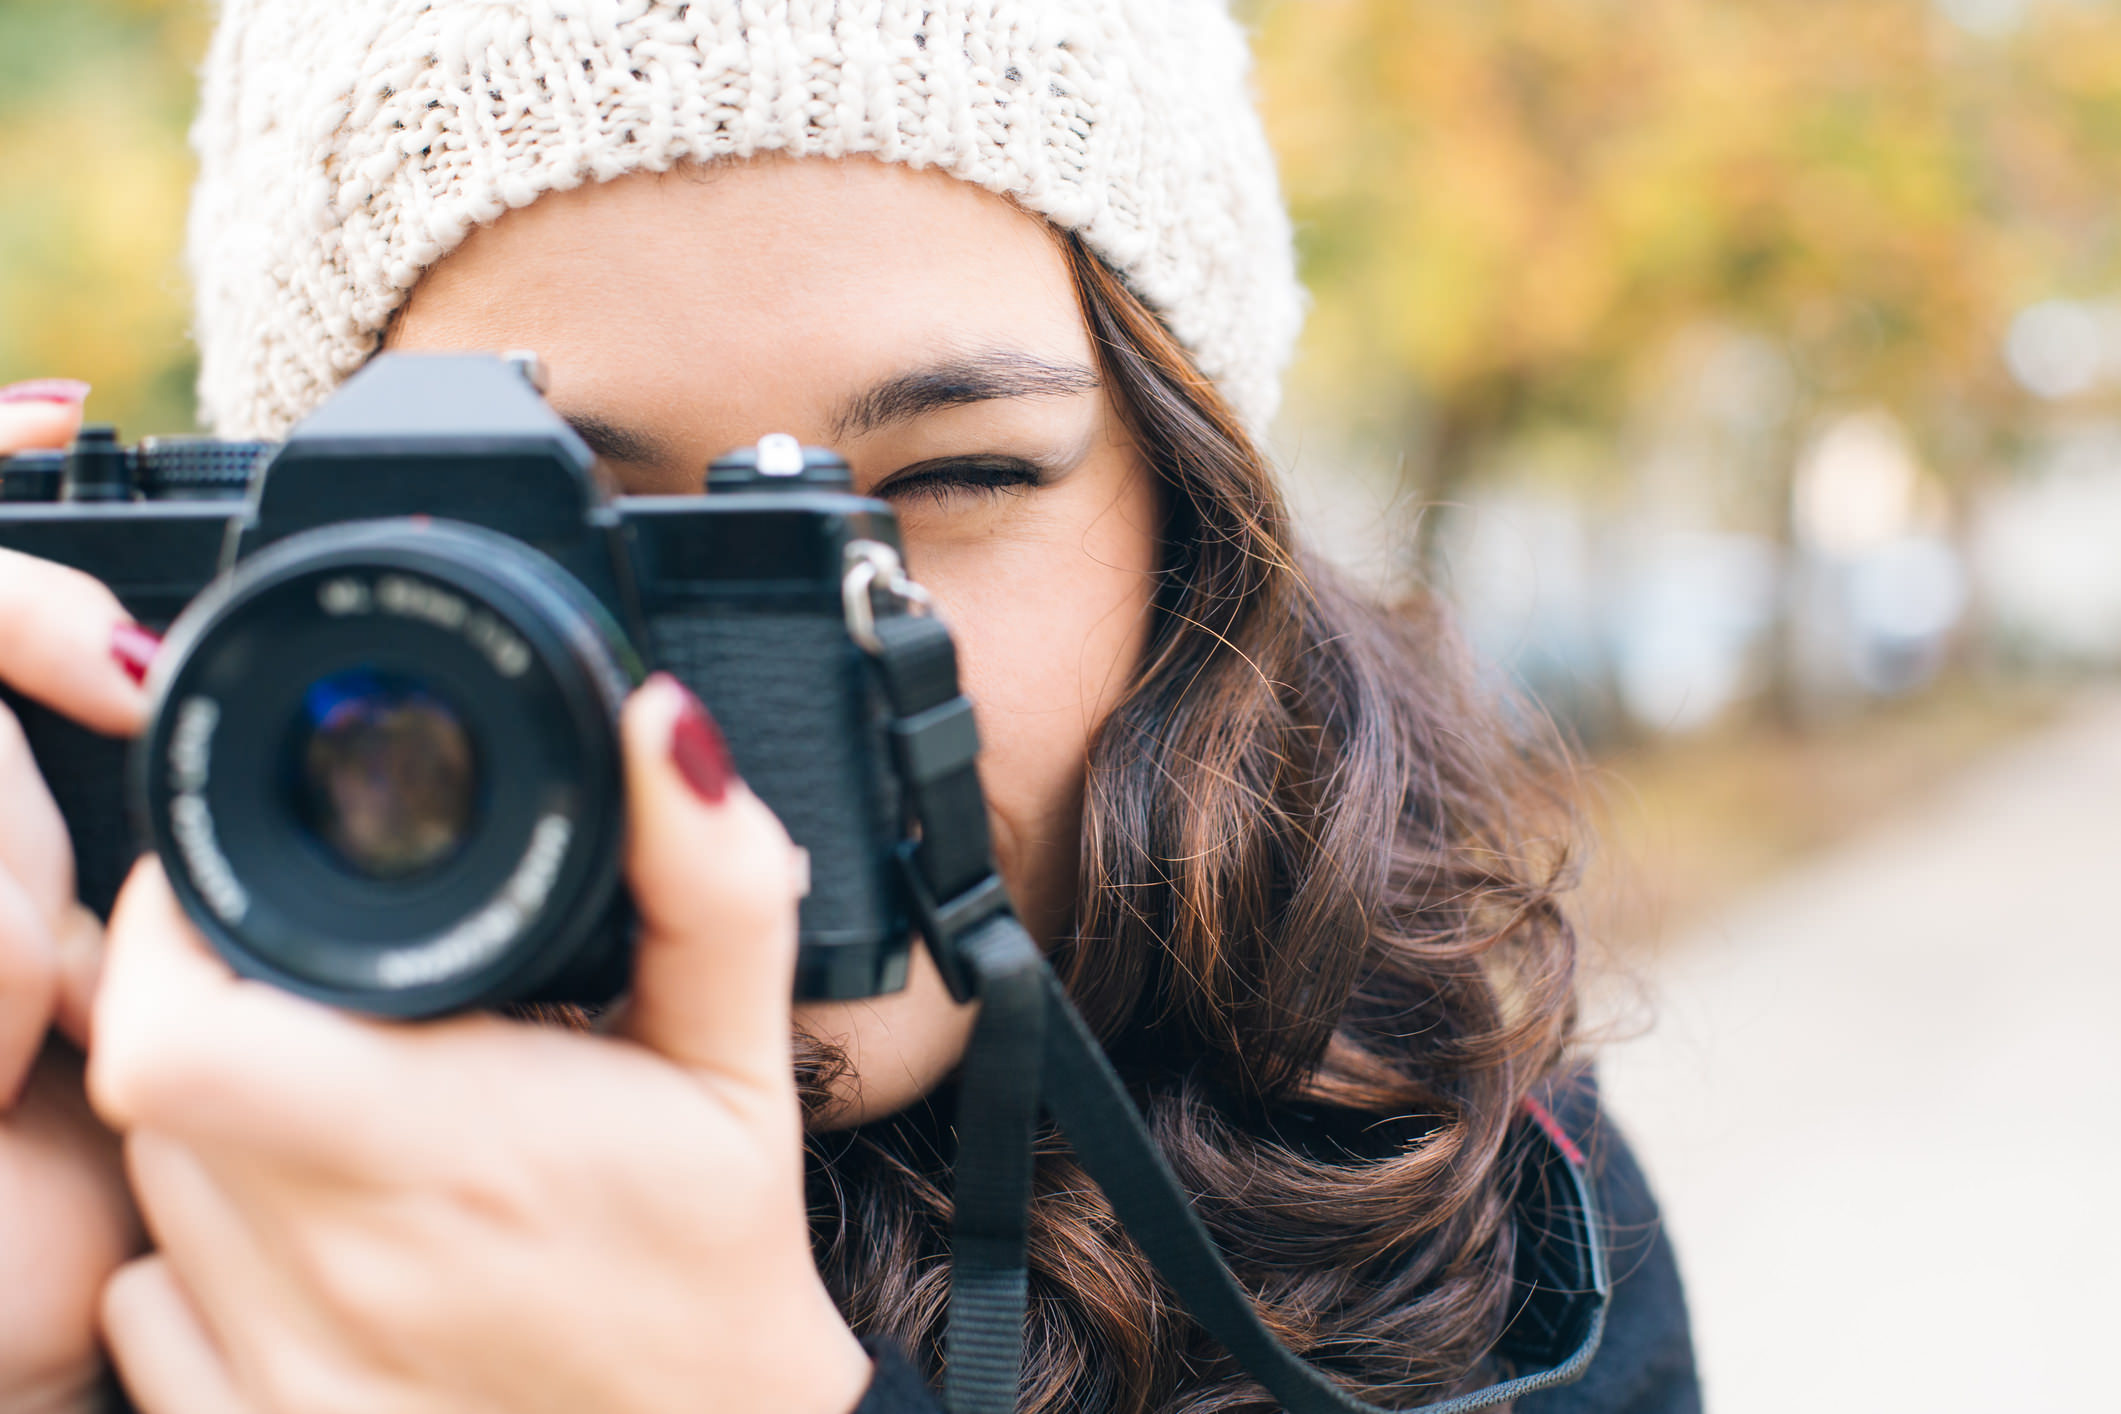
One of the great things about digital photography is that it has made photography more accessible to more people.
But the drawback of digital photography is that we have this notion that we can simply point and shoot (or spray and pray, as many people call it) without having to worry about using up all the room on our memory cards.
But as someone that remembers the good ol' days of shooting on film, there's something to be said about having that sort of a limitation.
Instead of having a virtually endless supply of shots to take, with film, we had 24 shots or so per roll with which to work.
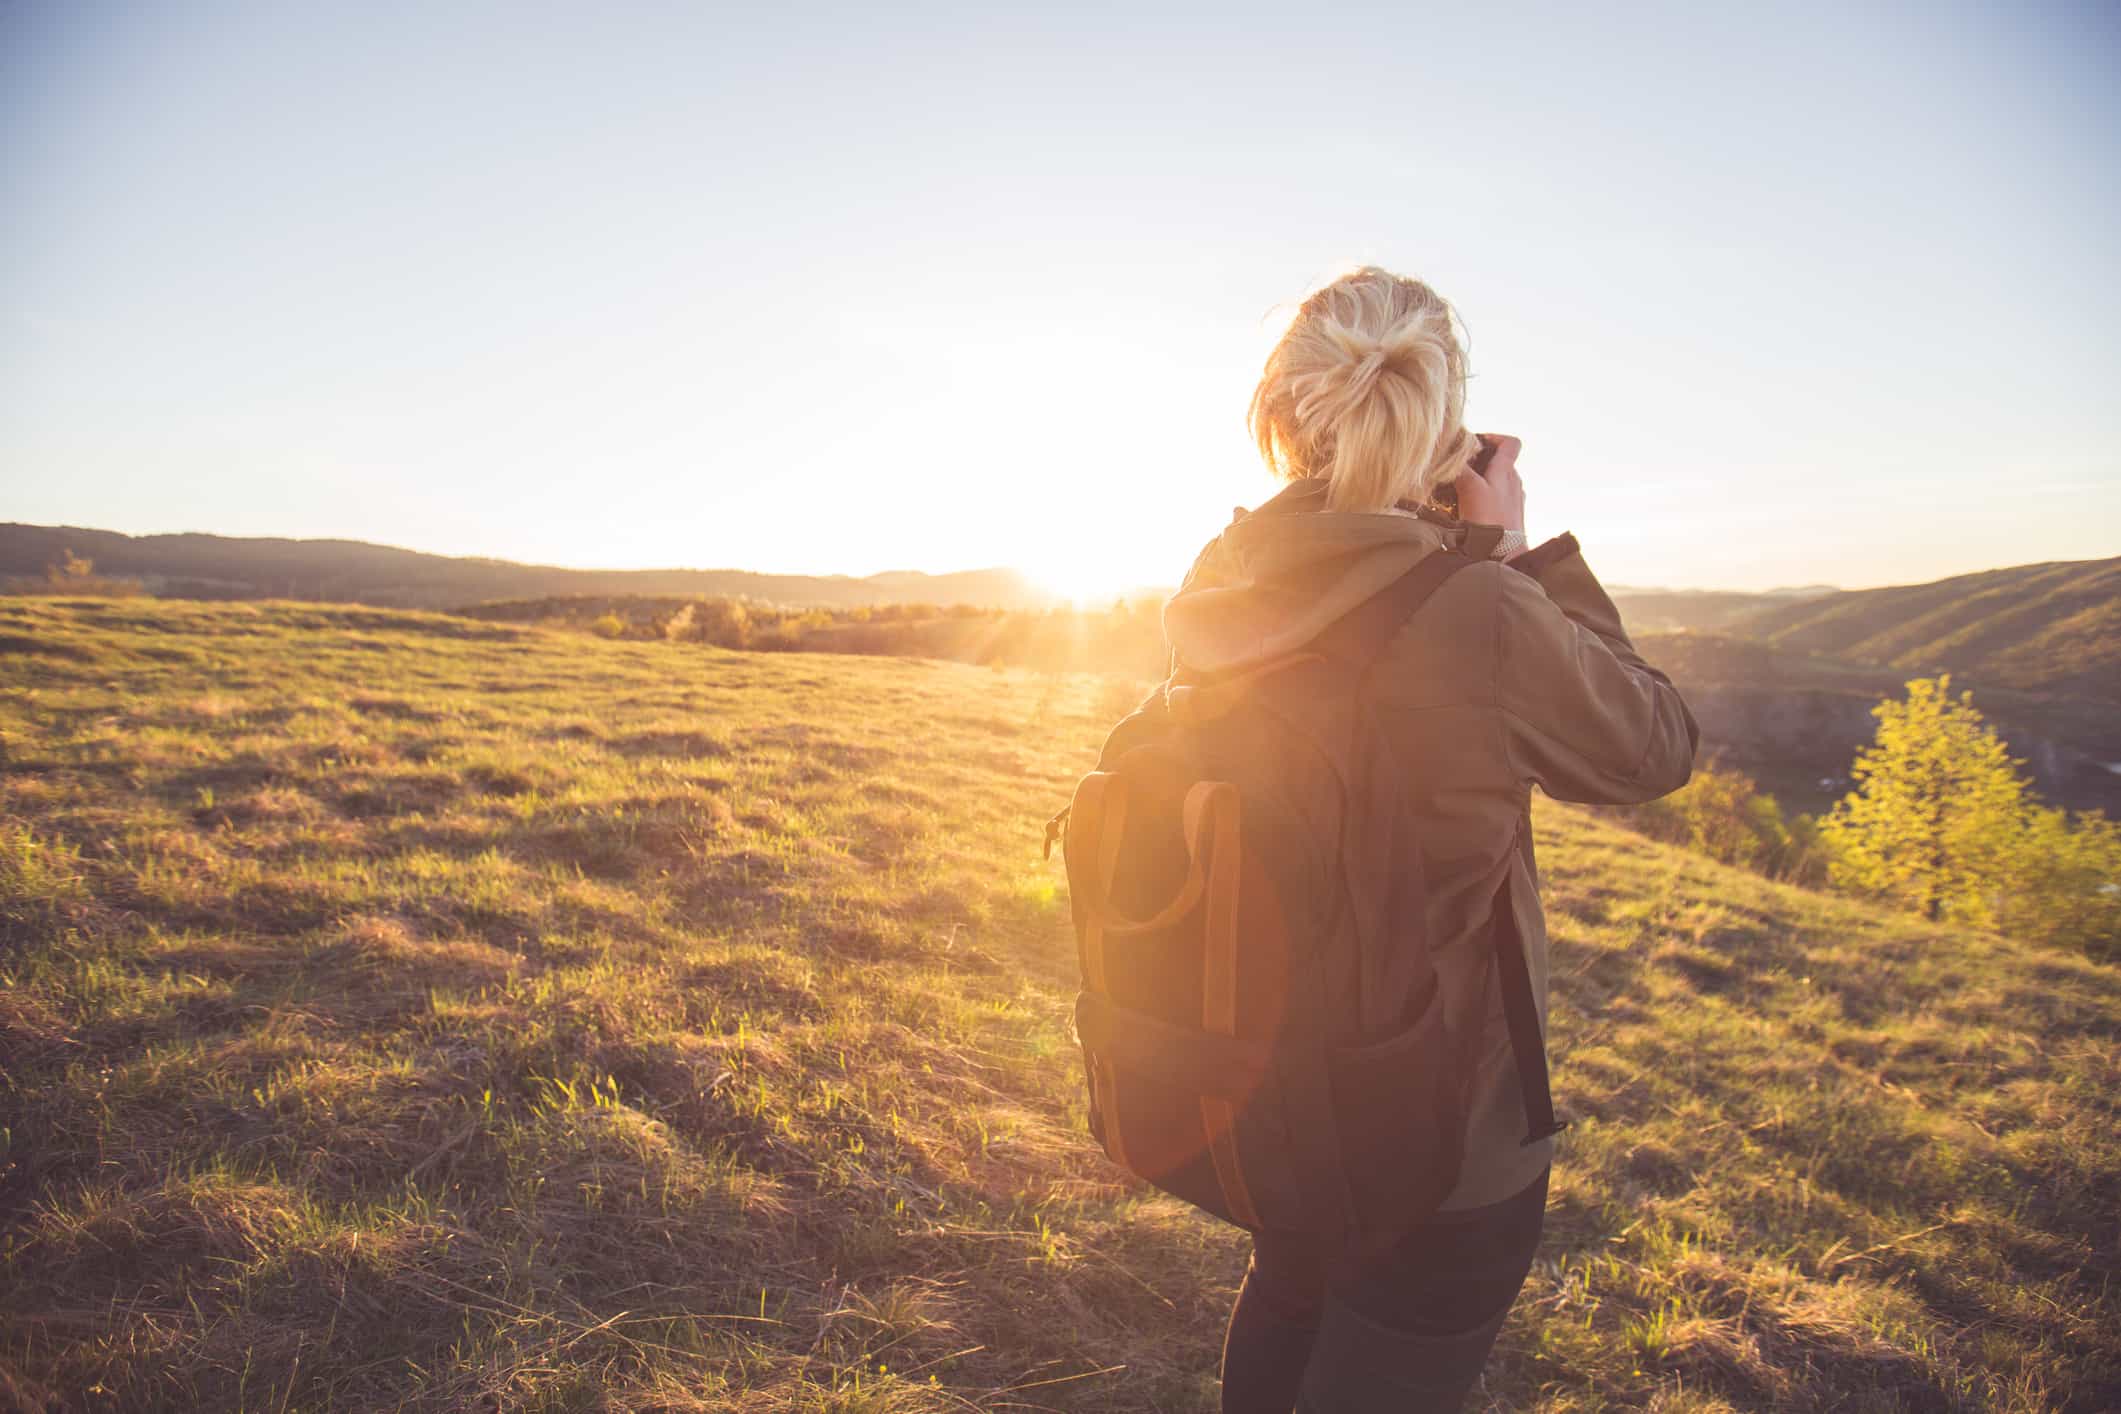
If you want to improve the quality of your photos, try pretending that you're shooting with film and limit the number of frames you can shoot.
That'll do a couple of things...
First, it will teach you to be selective in terms of what you photograph. Being selective means that you'll think twice about firing the shutter in favor of thinking about things like lighting, framing, and composition before you fire away.
Secondly, by slowing down and thinking more about each shot, you'll minimize your mistakes.
Even taking just five extra seconds per image to check the corners, make sure the exposure settings are spot on, that the image is focused properly, and so forth, will help improve your images more than just about any other tip on this list!
Learn More:
- The Top 19 Mistakes to Avoid as a Photographer
- Embarrassing Mistakes New Photographers Commonly Make (and How to Fix Them)
We Recommend
7 Essential Questions to Ask Before You Press the Shutter Button
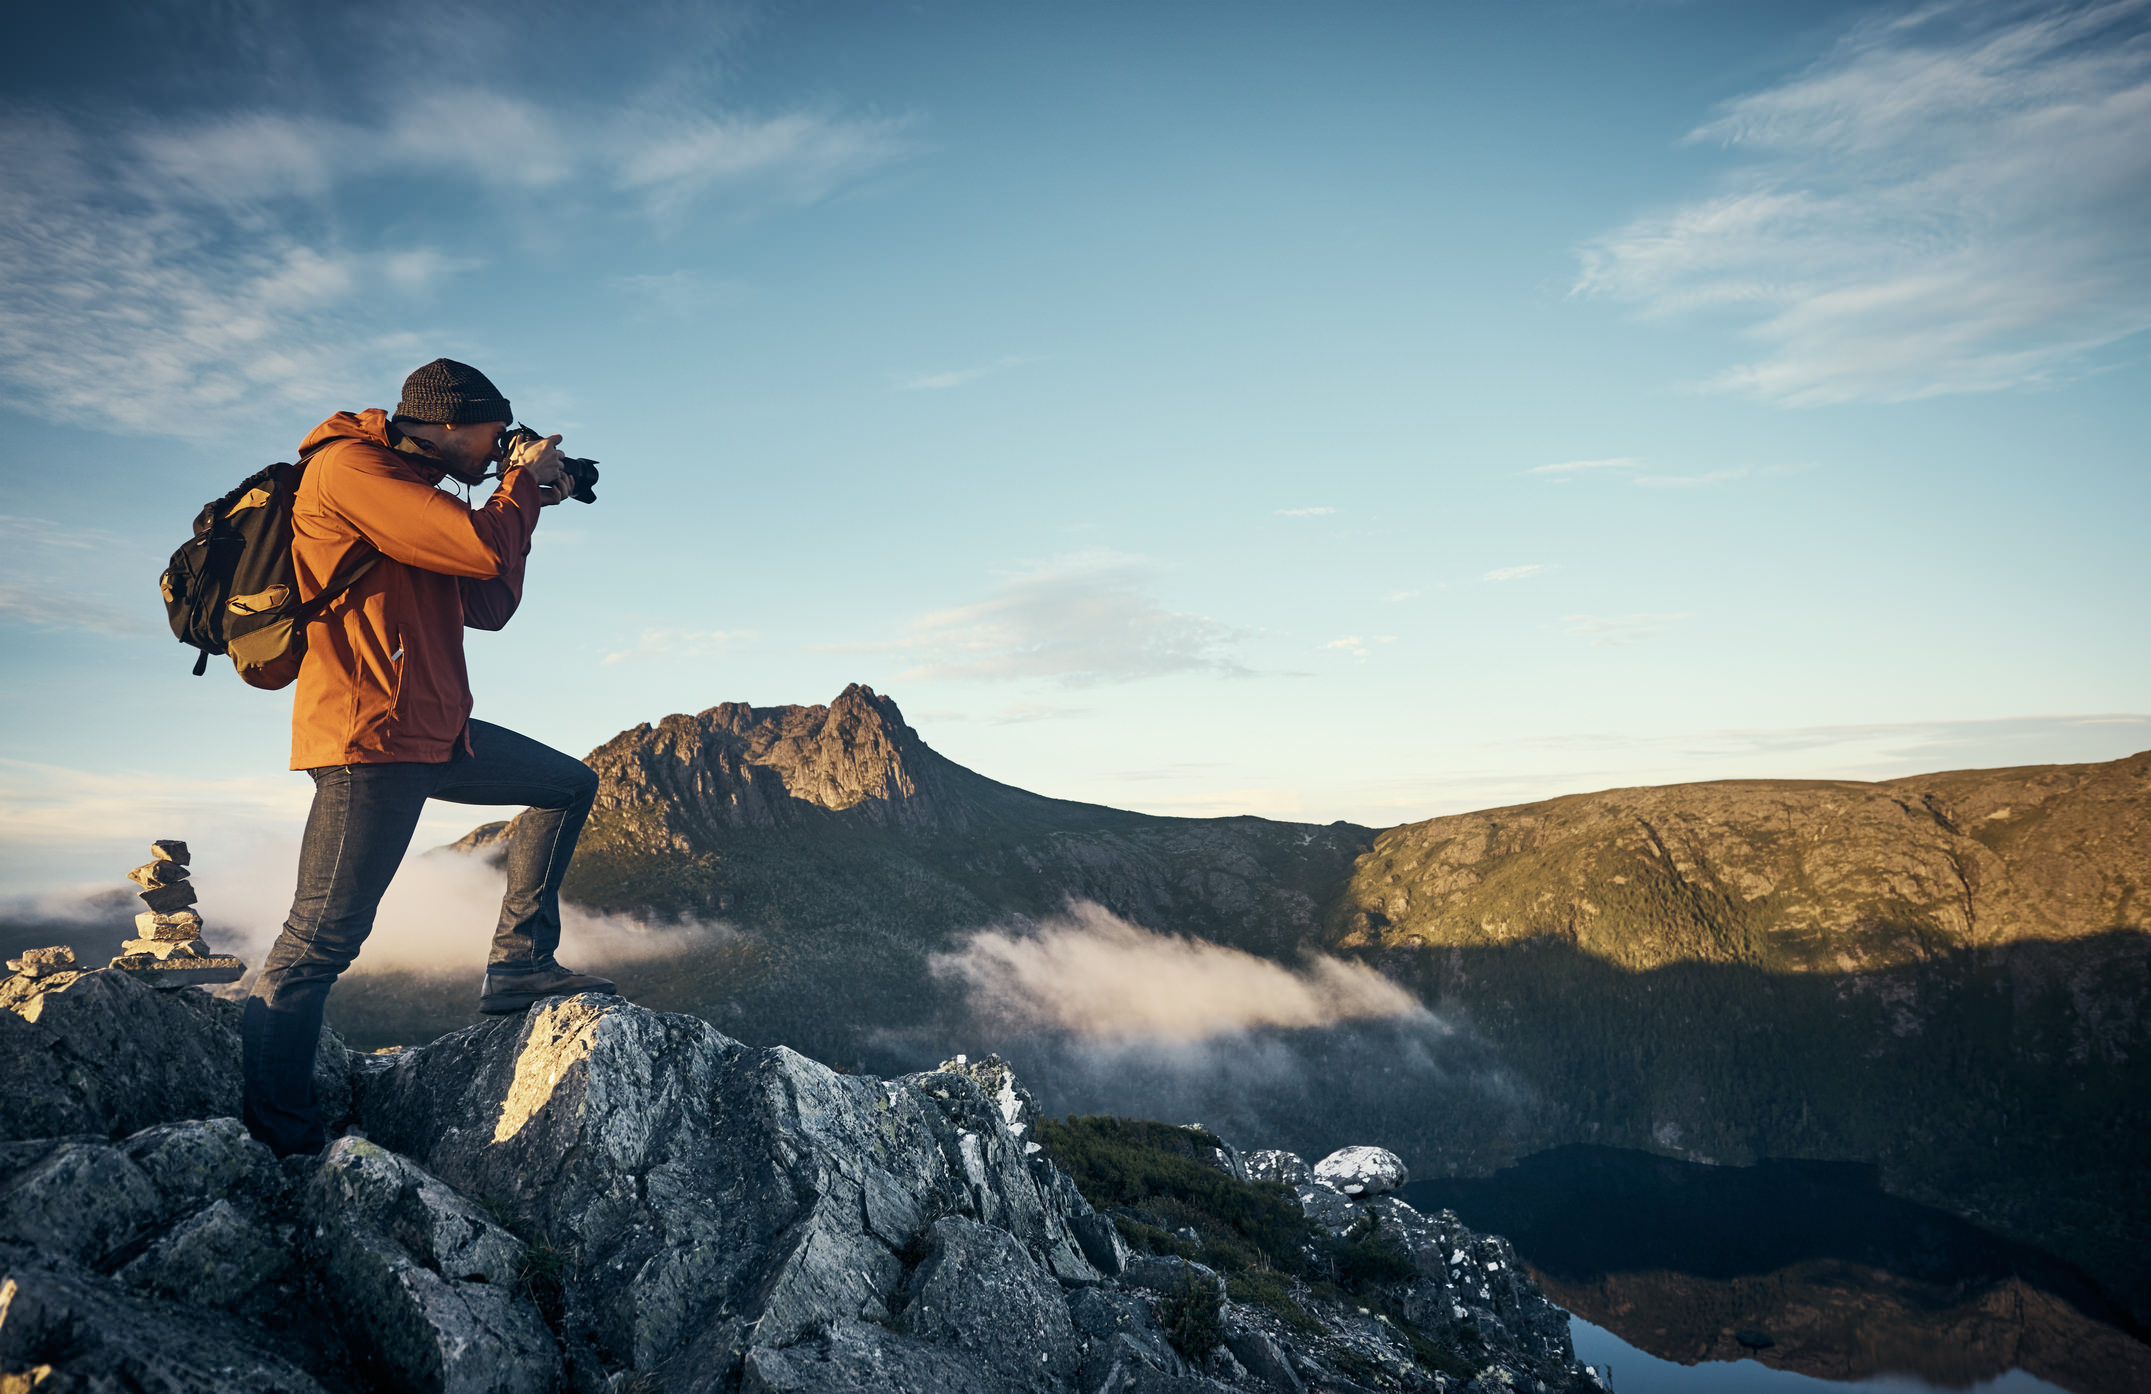
I fondly remember the days when I was a beginner photographer.
It was a lot of fun (and sometimes frustrating) trying to figure out what to photograph, when, how, and so forth.
But all those trials and tribulations ended up helping me in the long run because I made a TON of mistakes. My photos are better for it today.
In thinking about some of the most important things I learned, I came to the conclusion that there are seven essential questions I should have asked myself before I pressed the shutter button.
Hopefully you can use my mistakes for your gain!
What is the Focal Point?
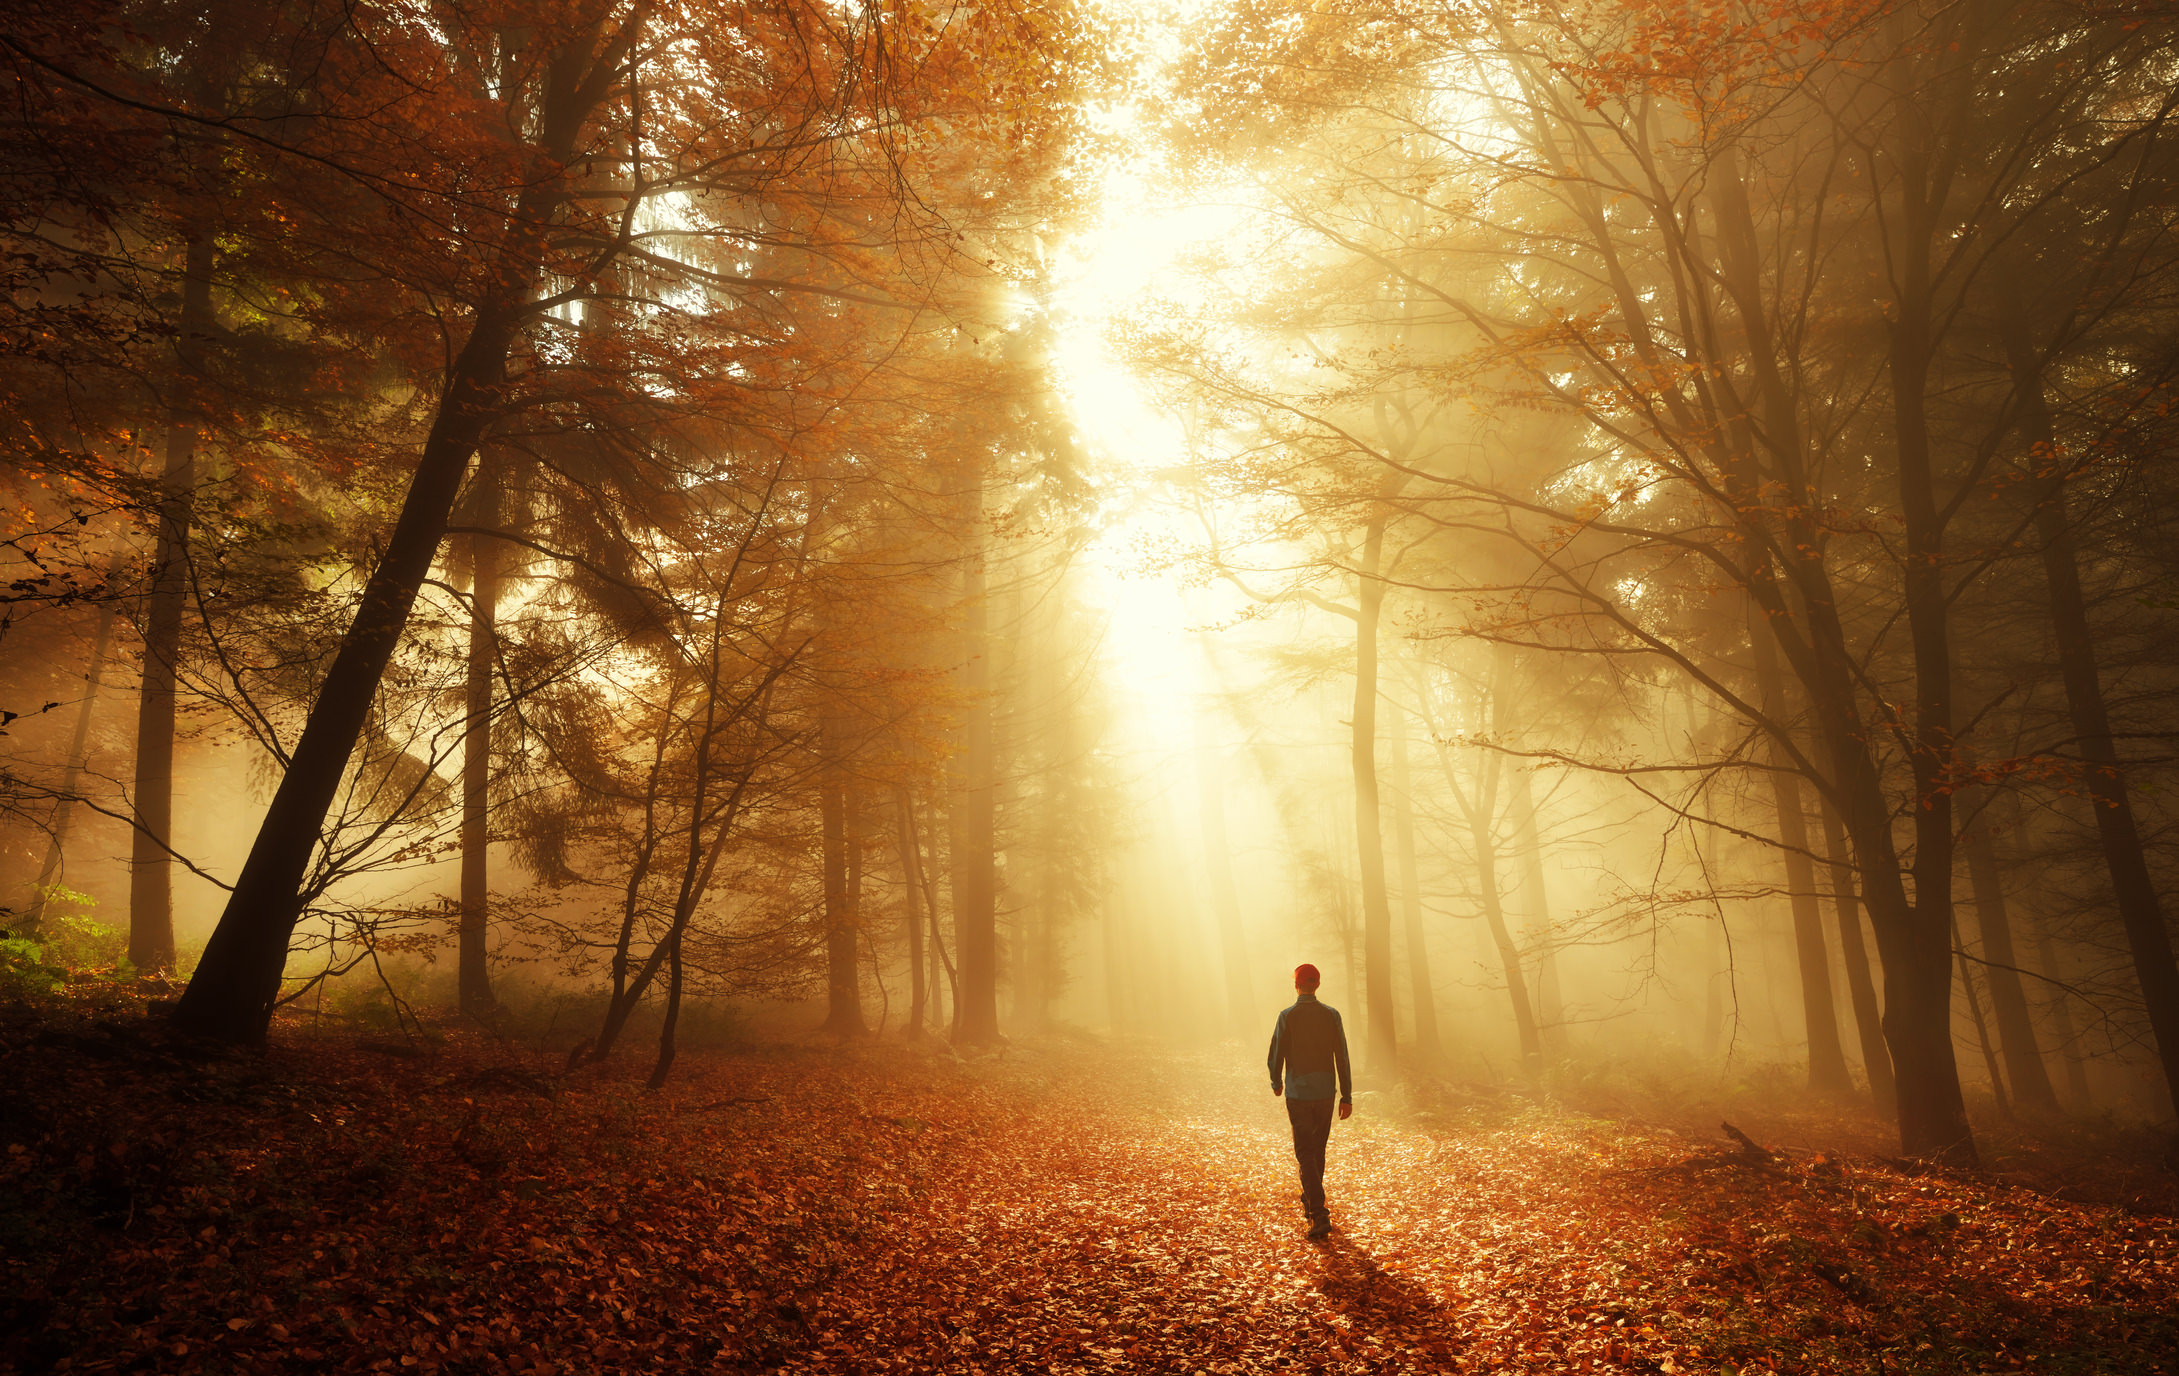
A crucial part of composition is ensuring that your photos a strong focal point.
Why? To draw the viewer's eye...
You can have a shot with perfect lighting and excellent framing, but without a strong subject to grab the viewer's attention, the photo could fall flat.
There's lots of ways to have a strong focal point - use leading lines to direct the eye toward it, use color or contrast to set it apart from the rest of the frame, or use the rule of thirds to place it in a position of importance in the shot.
Sometimes, the focal point is just strong on its own, like the human figure in the image above...
No matter if you take portraits or landscapes or something in between, be sure there's a strong subject in the frame - it will have an immediate impact on the photos you take.
Learn more about creating a strong focal point in the video above by Weekly Imogen.
What's Happening in the Background?

One of the ways to ensure your focal point is a strong one is to also ensure that the background doesn't distract from the subject.
For example, in a portrait, you typically want a background that's non-descript and free of a lot of colors, textures, and light values.
Even if you blur the background by using a shallow depth of field, the elements listed above can still have a detrimental impact on the shot, so don't just rely on blurriness, either.
Scan the shot, and if you see things that are distracting, work to find a different vantage point (or a different background altogether) to resolve the issue.
In the image above, notice how the line created by the wall meeting the ceiling appears to cut through the woman's head. That's due in part to the low perspective of the shot.
All that would be needed is to raise the camera a little bit to avoid that line for a much-improved image.
Learn more about improving the background.
Is There a Better Perspective?
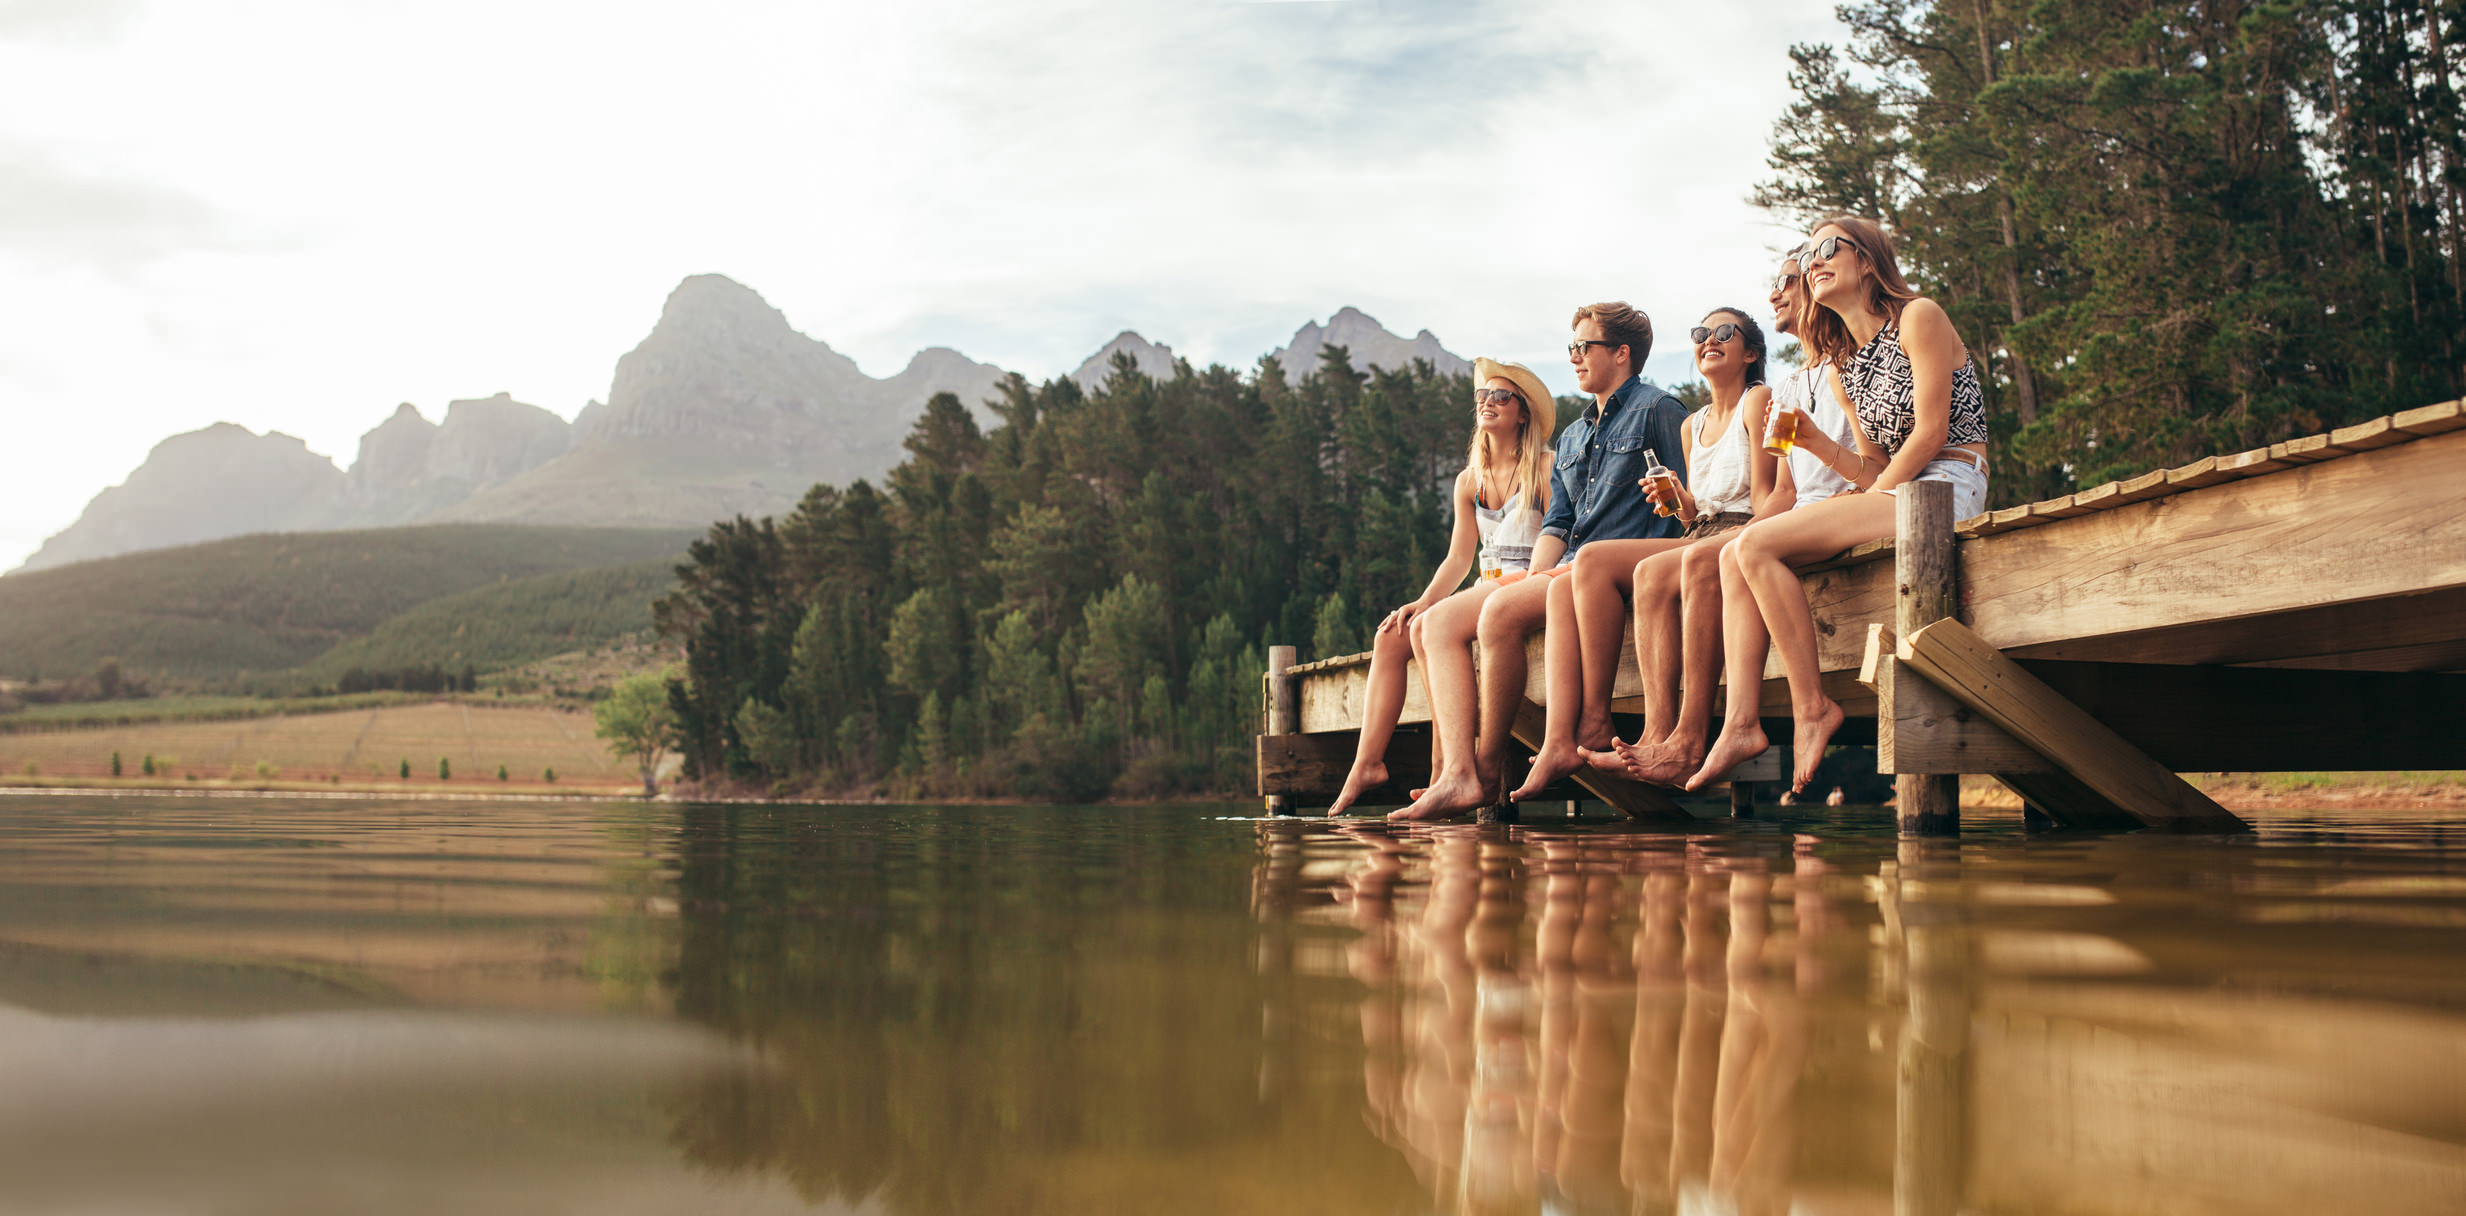
In looking at examples of beginner photography, there's often a common theme - many images are taken from eye level.
Sure, sometimes that's the best perspective for the shot. But often, moving around will help you create something more unique.
By taking a low perspective, for example, you can emphasize foreground interest, like the waters of the lake in the image above. By taking a high perspective, you can maximize the view of a landscape or make a portrait subject look quite small.
Even kneeling down or standing on a step stool can be enough of a change in perspective to give your photos a more unique look.
The point is that before you press the shutter, take 30 seconds to try different perspectives. You'll find that your images are the better for it!
Learn more about using perspective to your advantage in the video above by Spyros Heniadis.
How's the Light?

Light has different color values and different feels.
At midday, light is bluish in tone and very harsh, creating defined highlights and shadows like you see above.
At sunset, light is warm and soft, creating pleasing areas of light and shadow, as you can see in the image below.

Indoor lighting can be very yellow, or it might be very dim, requiring you to use a flash (which can produce extremely harsh light as well).
When considering the light, you need to also consider what you can do to improve the light.
For example, if you're taking a portrait outdoors in the middle of the day, move under the shade of a tree to minimize harsh shadows on your subject.
If you're indoors taking photos of your family, adjust the white balance and use the incandescent setting to counteract the yellowish light produced by interior lighting.
If there's not a lot of light, use a tripod to stabilize your camera and use a slower shutter speed to get a better-exposed image.
Learn more about taking control of light.
Am I Shooting in the Best Format?

When I started out in photography, I shot just about every portrait in portrait orientation and just about every landscape in landscape orientation.
That was a mistake.
Something as simple as changing the orientation of your camera can create images with vastly different impact.
In the case of landscape photography, a vertically oriented shot allows you to include foreground interest to draw the eye in, as was done in the image above.
In portraiture, a horizontal orientation is better for shots of couples, families, or large groups.
I'm now in the habit of taking both horizontal and vertical shots of just about every subject I photograph. That way I have the bases covered!
Learn more about improving your composition.
How Will Viewers Interact With the Shot?
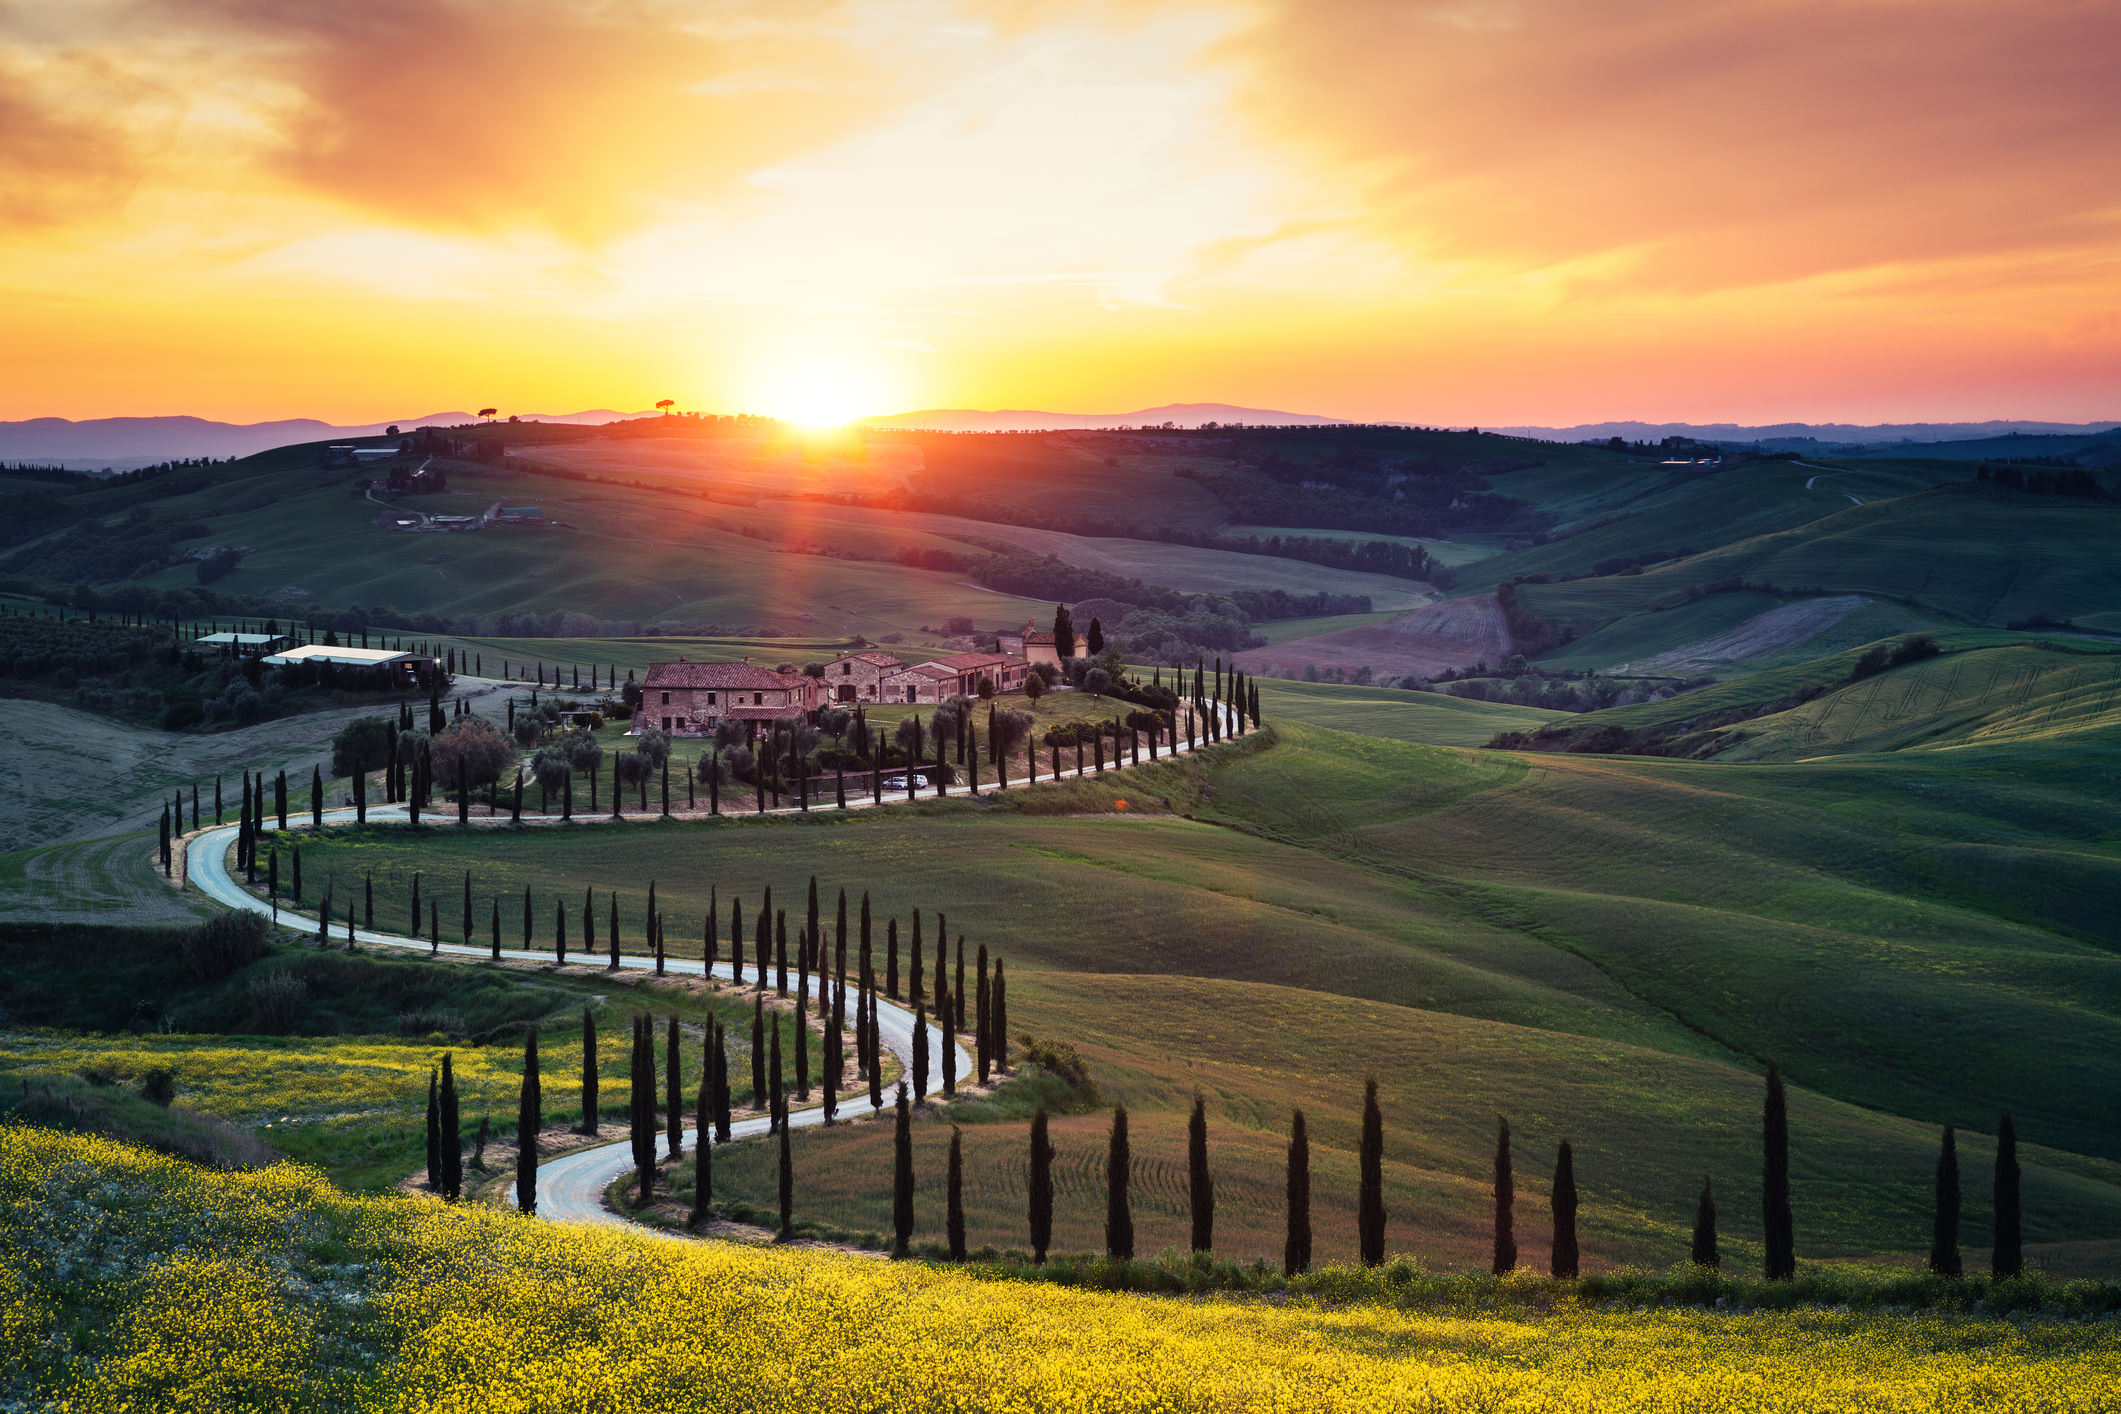
Any good photograph is like a little book, with a beginning, a middle, and an end.
You want to take viewers on a journey through the shot so they can interact with it in a more meaningful way.
That means you need to consider how viewer's eye will travel around the image.
This, of course, includes having the strong focal point discussed earlier, but it also includes supporting elements that help get the viewer engaged.
You might have supporting subjects in the background.
You might add an element of color or texture to add depth to the image as well.
You might even use a frame within a frame to give the shot dimension and help drive the viewer's eye deeper into the photo.
Learn more about creating photos with impact in the video above from B&H Photo Video.
What Story are You Telling?
Closely related to the idea of having an interactive photo is the notion that your photos should also tell a story.
In other words, ask yourself, "What's the point of this shot?"
Do you want viewers to feel an emotion, and if so, what? Is the image something that will stand on its own or is it part of a series of photos? Will it be in color or black and white? Are you creating the photo purely for documentation purposes or will you be giving it to someone as a gift?
In considering the purpose of taking the photo, you can make better decisions about all the questions listed above.
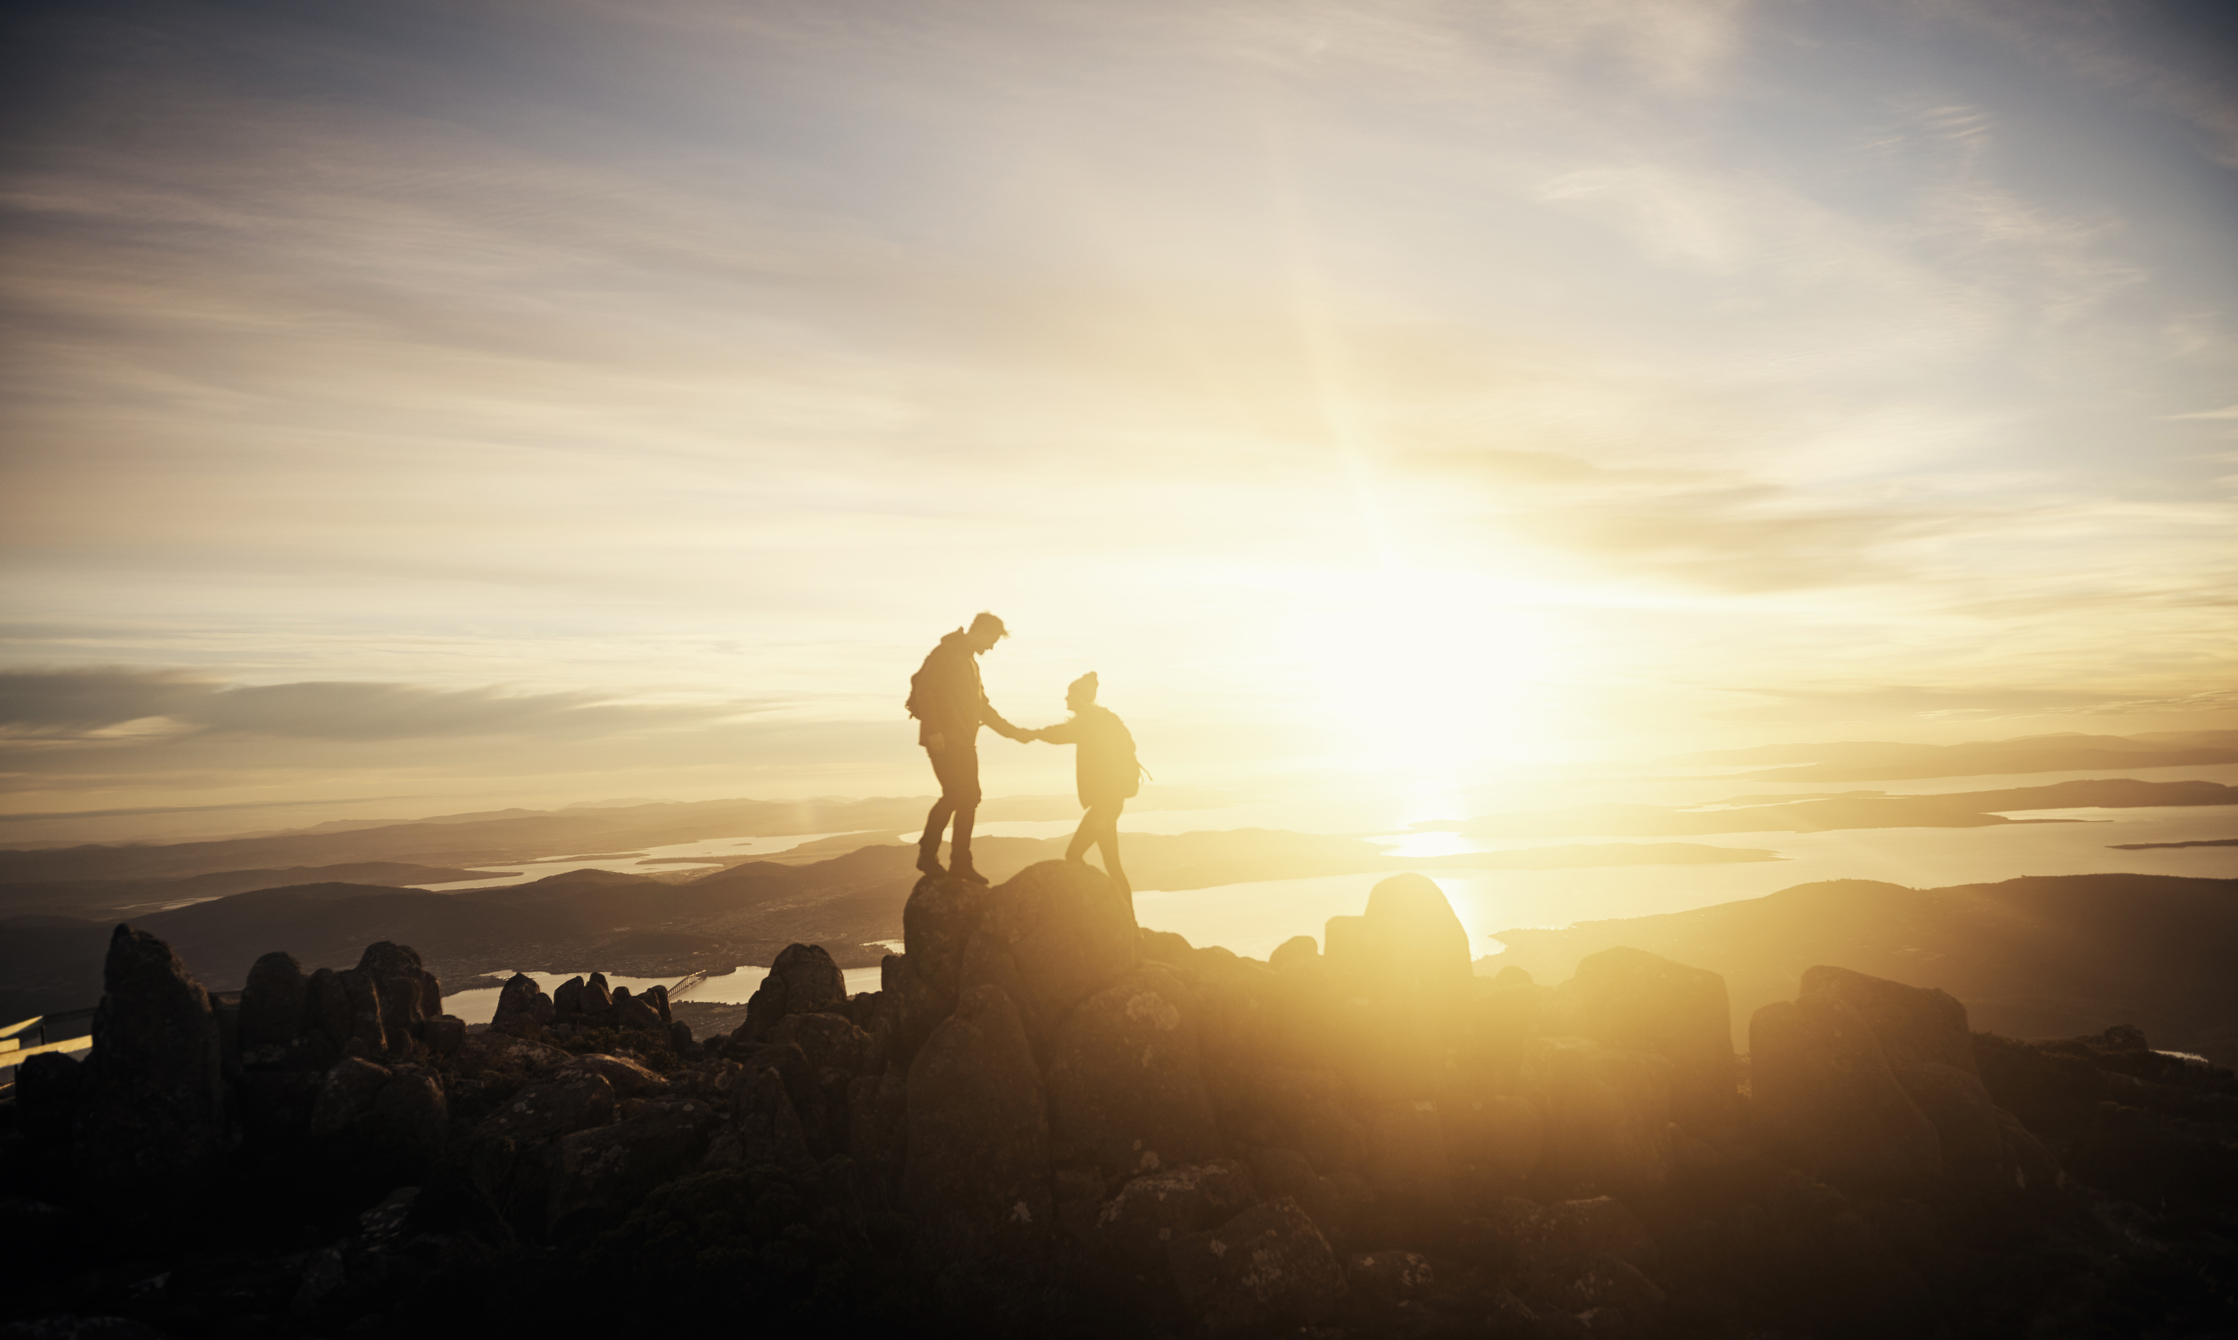
If you're going for something dramatic, use golden hour lighting and an unusual perspective from which to shoot.
If you want to evoke loneliness, go for a minimalist composition with a single subject surrounded by negative space.
If you want to make a more intimate shot, try a close-up portrait and converting it to black and white.
In essence, strive to find ways to do more than simply point and shoot. Make your photos more compelling, more interesting, and more meaningful.
If you can do that, I think you'll find that you have more impressive photos on your hands!
Learn more about storytelling with your photos.
We Recommend
7 Mistakes You're Making With Your Photos (and How to Stop)
Mistakes are just part of being a photographer, particularly for beginners.
It's a fact of life, but it doesn't mean that you can't work to minimize mistakes and take better photos.
And when it comes down to it, there are just a handful of photography mistakes that derail most people's photos.
Here's a look at 7 mistakes beginner photographers make and what you can do to avoid them.
Your Photos Lack Sharpness

Granted, sometimes you want blur in your photos, like the background of a portrait or the motion of a moving object.
However, before you can intentionally blur photos, you need to learn how to get tack-sharp ones.
The most likely culprit of your blurry images is camera shake.
Camera shake occurs for a couple of reasons - the natural movement of your hands and body as you hold the camera and a shutter speed that's too slow.
In either case, using a tripod will fix the issue and give your camera the ultra stable base it needs to get sharp photos.
Another option is to adhere to the following rule of thumb: the shutter speed you use should be at least the inverse of the effective focal length.
That is, if you're shooting with a 50mm lens and a full frame camera, dial in a shutter speed of at least 1/50 seconds (or a smidge faster to be on the safe side).
If you're shooting with a 50mm lens on a crop sensor camera, you'd need to up the shutter speed to about 1/80 seconds. You can see what I mean in the video above by Moose Winans.
Another option is to increase the ISO, which increases the sensitivity of the camera's sensor to light. Doing so in low-light situations is especially helpful because the more sensitive the camera is to light, the faster the shutter speed you can use.
Learn More:
There's Composition Problems

This is sort of a catch-all category of minor composition problems that I often see in beginner photos.
One such problem is having elements either protrude into the shot or they get cut off.
A perfect example is when you're taking a portrait, and there's a tree branch poking into the side of the frame (like the one on the right side of the photo above). Or, alternatively, you cut off the top of a person's head or cut off their feet in their portrait.
The fix for these issues is easy - check the frame!
It takes just a couple of seconds to scan the image in your viewfinder and make adjustments to the framing or your shooting position to rectify the problem.

Another minor mistake that has major implications on the quality of your photos is having a crooked horizon in your landscape shots.
There's really no excuse for this these days because there's just too many tools at our disposal to get nice, level horizons.

Many cameras have a virtual horizon feature, and if they don't, you can turn on the Rule of Thirds overlay and use one of the horizontal gridlines as a guide.
What's more, many tripods have built-in bubble levels, and you can get a bubble level to put on the hot-shoe mount of your camera.

When you're out shooting, try not to rely on horizontal or vertical orientation.
Instead, mix it up and take multiple shots in each orientation of the subject.
Though landscapes are typically taken in horizontal format, a vertical shot might actually be better for the subject, as shown above.
Likewise, though portraits are usually taken in vertical format, a horizontal shot might be your ticket to a better photo.
Learn More:
The Subject Isn't Strong Enough

It might seem like a no-brainer that your photos need to have a subject, but it's surprisingly easy to take a photo without anywhere for the viewer's eyes to land.
Sure, you can shoot a scene that has gorgeous colors and excellent contrast and beautiful light, but if there's not strong content along with those qualities I just listed, the image will fall flat.
And don't think that a strong subject means that it has to occupy a ton of space in the frame (though, that helps...more on that in a bit).
Instead, strong subjects can draw our attention because of their placement in the frame (by using the rule of thirds) or by their visual weight (by making them stand out with color or light).
Strong subjects can even be emotions or ideas, too.
The point is that when you look at your photos, ask yourself, "What draws my attention?" If you can't answer that question, you need to work on including a stronger subject.
Editor's Tip: When shooting landscapes, try adding a person to the shot. Even if the person is quite small in the frame, the viewer's eyes will be immediately drawn to the familiar human shape.
You're Too Far Away From the Subject
This is especially the case when beginners take portraits of strangers on the street.
It makes sense, too, because it can be a little intimidating photographing complete strangers.
But it's important not to work from far away and get your camera and lens nice and close.
The closer you are, the more detail you can reveal about the subject (no matter who or what it is) in your images.
Challenge yourself to fill the frame with the subject, as discussed in the video above by Visual Art Photography Tutorials. The more you strive to eliminate space around the subject, the more practice you'll get keeping nice and close.
Editor's Tip: Also challenge yourself to get in close by using a wide-angle lens. That will force you to get in close because wide-angle lenses make distant subjects look smaller than they are.
Your Photos Lack Consistency
If you photograph a landscape, and lay out a dozen of your photos side by side, and there's no continuity between them, no cohesion, you've got a problem.
Now, this isn't to say that your photos need to look the same (see the next point), but when you photograph a subject, you want there to be some way for viewers to connect the dots between the different images.
This can be done in a number of ways, from the lighting to the manner in which the subject is framed to the way the images are processed.
In other words, try not to think of your photos as single moments, but as one part of a larger whole. If you can do that, you'll find your photos will have more consistency.
Editor's Tip: The best way to develop a cohesive look in your images is to shoot more. You will only develop your creative eye and your personal photography aesthetic with practice!

Your Photos All Look the Same

Of course, there is such as thing as too much cohesion...
Though you want a group of images of the same subject to have some connection to one another, you don't want them all to look exactly the same.
The most common problem that leads to same-looking photos is never changing the point of view from which you shoot.
If I had to hazard a guess, I'd say 75 percent of photos are taken from the photographer's eye level.
But if you get into the habit of altering your perspective and taking photos from higher up, lower down, to the left and right of where everyone else is shooting, you'll find that you're able to show viewers a different take on even the most famous subject matter. The image above demonstrates that point!
Learn More:
You Process the Hell Out of the Image
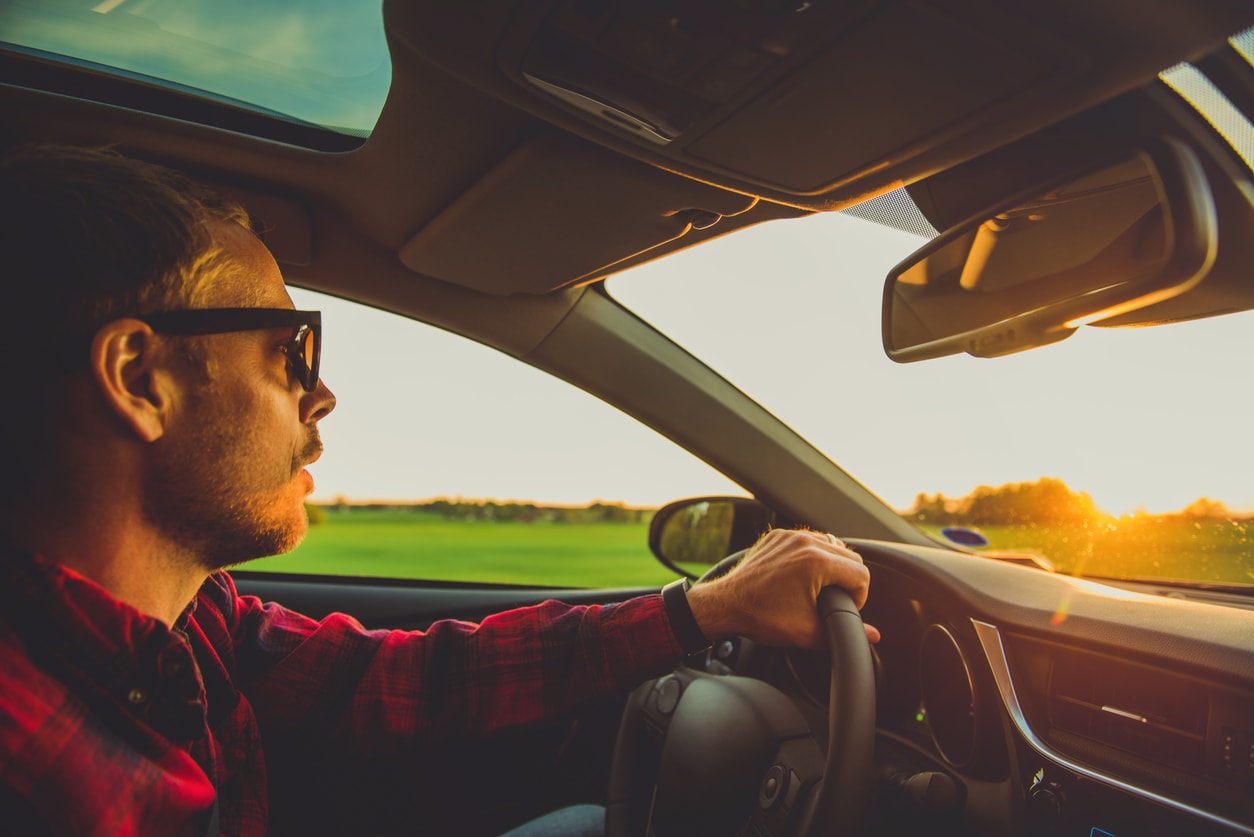
When I first started in photography, for every hour I spent taking photos, I spent at least twice that in post-processing hammering as much punch out of the shot as I could.
And while programs like Photoshop and Lightroom are there for a reason, in my experience, they aren't intended to be a way to process the bad parts out of your photo. All that gets you is a photo that looks overprocessed, and that's not a good thing.
Instead, think of post-processing as putting the final touches on your photos.
Instead of hammering your photos to death like I used to, try to massage their good qualities by enhancing things like color, contrast, saturation, levels, and so forth.
The keyword here is massagingthose details. If you strive to get as many details as right as possible when you take the shot in the first place, you'll have less that needs to be done in post-processing, and less opportunity to overdo post-processing as well.
For some tips on how to make your photos look better in post-processing, check out the video above by Peter McKinnon.
Learn More:
- How You Can Enhance Your Photos With Dynamic Color in Photoshop
- How to Pump Life Into Your Landscape Photos in Under 15 Minutes
We Recommend
7 Smartphone Photography Tips for Shooting Like a Pro

It's hard to believe that about 10 years ago I was rocking a flip phone that had those buttons you had to press three times to get to a certain letter when texting.
Heck, I remember when I was adamantly opposed to texting because it took way too long.
My, how things have changed...
Now, I use my smartphone every single day to take photos. In fact, it's my go-to camera for quick snaps.
And though smartphones aren't to the level of traditional digital cameras (yet...), they make pretty darn good cameras.
Our friends over at the Cooperative of Photography (COOPH) recognize the power of mobile photography, and recently released a video on just that subject.
They offer up seven tips for shooting like a pro with your phone in the video above.
For a commentary on each tip, check out the article below!
Pros Shoot Manual
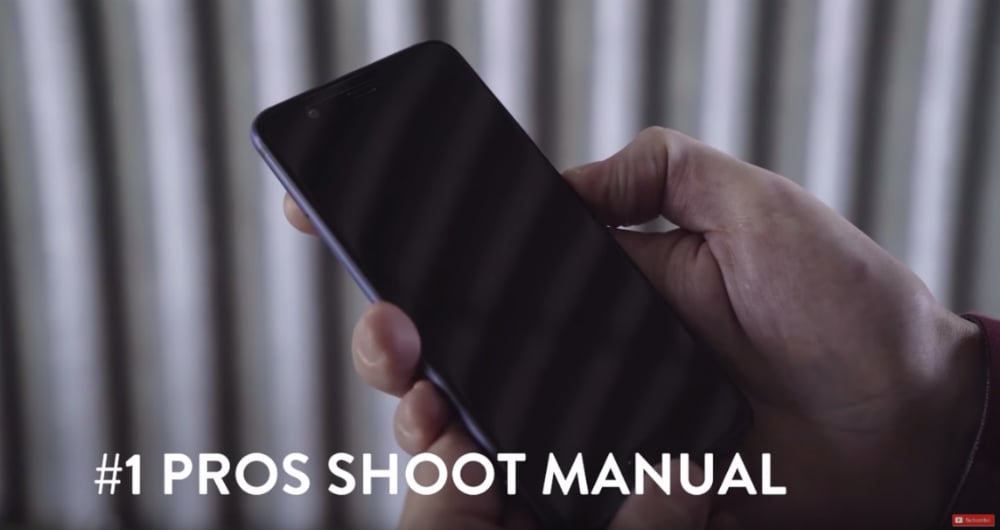
YouTube Screenshot/COOPH
That flip phone I had all those years ago certainly didn't have manual controls, but many of today's phones do.
And even if your phone's camera doesn't have native manual controls to adjust things like aperture, shutter speed, and ISO, you can download any number of apps that offer those controls.
Heck, there's even apps like VSCO Cam that allow you to shoot in RAW!

YouTube Screenshot/COOPH
If you want to step up your smartphone photography game, the first thing you need to do is get out of auto and take control of what the camera is doing.
Not only will that allow you to tailor the camera's settings to the specific shooting situation, but it will also help you be more creative with what you photograph and how you photograph it.
Learn More:
- Simple Tips and Tricks for Better Smartphone Photography
- The Exposure Triangle Explained in Plain English
Take Long Exposures
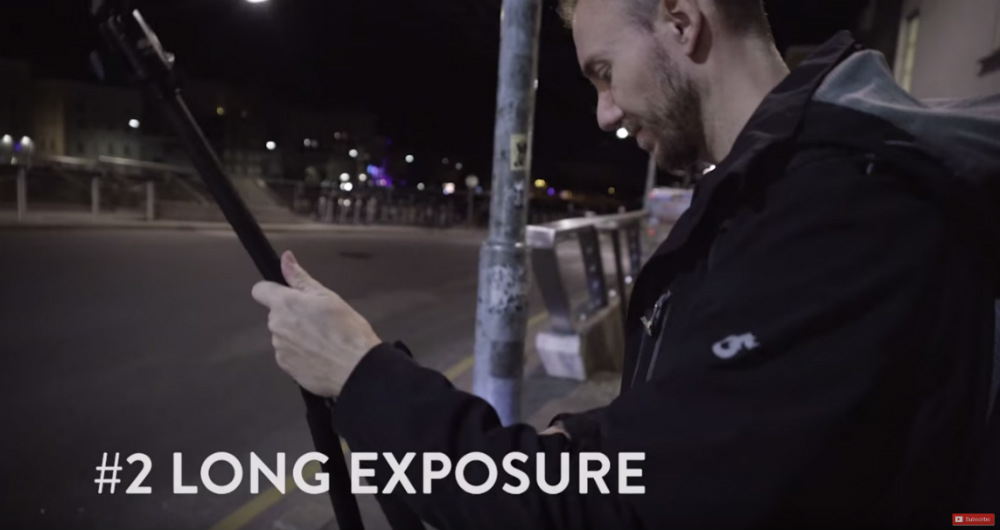
YouTube Screenshot/COOPH
Traditional still photos are just too easy, right?
If you want to create something with your smartphone that'll really wow people, tackle long exposure photography.
Using your smartphone camera's manual controls, slow down the shutter so you can get awesome blurry movement of passing objects, like the cars seen in the screenshot below.
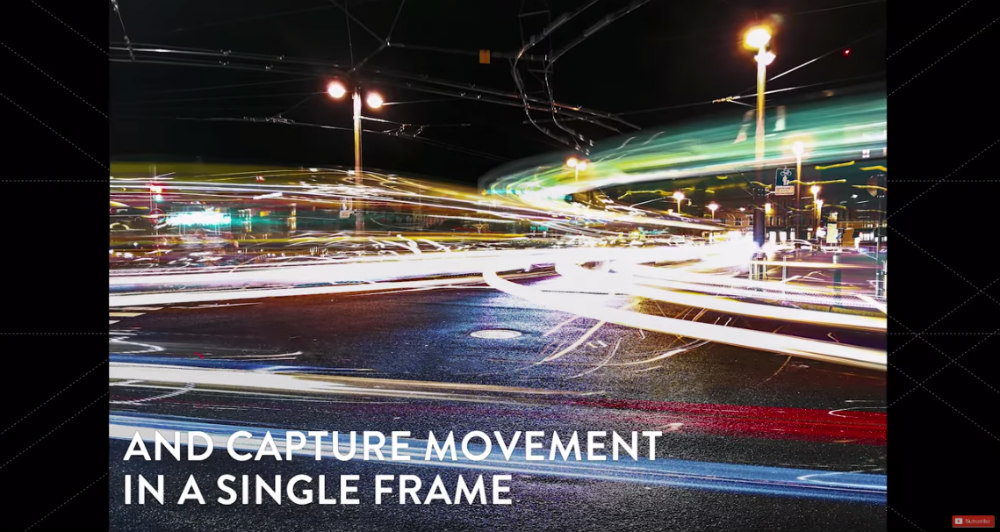
YouTube Screenshot/COOPH
Of course, you'll need to play around with the specific shutter speed you use as the length of the shutter will depend on the speed of the object.
You'll also need to stabilize your camera with a tripod. Otherwise, your long exposures will just be a big, blurry mess.
Take Action Shots
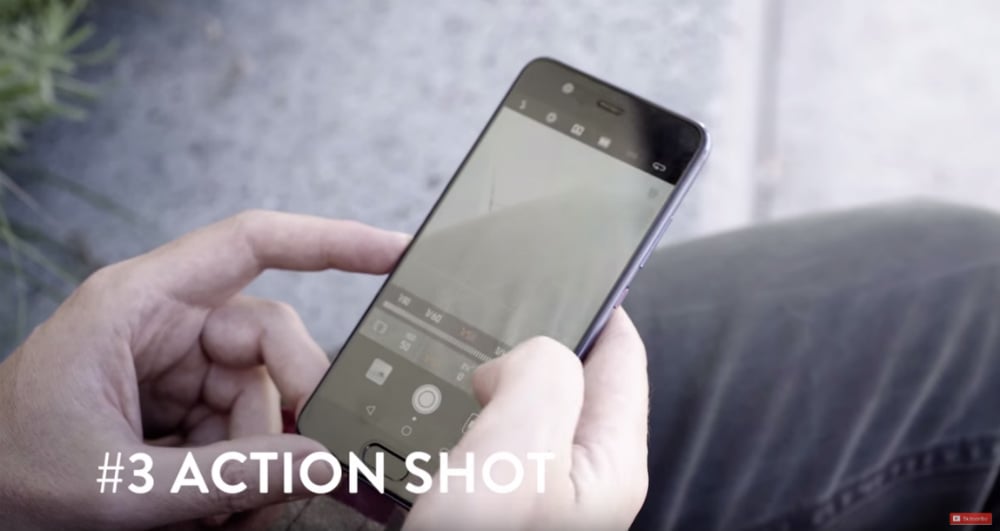
YouTube Screenshot/COOPH
Of course, the inverse of taking a long exposure with beautifully blurred features is to take an action shot in which the movement of the subject is frozen in time.
To do so, you'll need to revisit the camera's manual controls and select a fast shutter speed. Again, the speed you need to use will depend on the speed of the subject when you snap the photo.
Just experiment a little with the shots until you get the desired result.
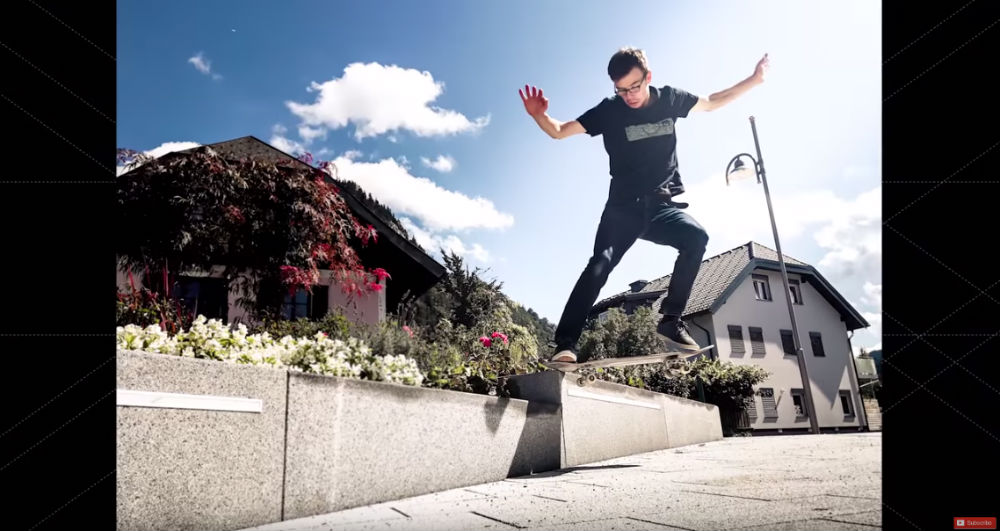
YouTube Screenshot/COOPH
Bear in mind, however, that the faster the shutter speed, the less light that reaches the camera's sensor.
That means you need to reserve your fast action shots for times when there is plenty of light. Shooting on a sunny afternoon should do the trick.
If you want to shoot earlier or later in the day and find that your phone's camera just can't muster a fast enough shutter speed, try increasing the ISO to make the sensor more sensitive to light.
Learn More:
Try a Sequence of Shots

YouTube Screenshot/COOPH
Just like a regular camera, most smartphone cameras have a burst mode that allows you to take a sequence of shots in rapid-fire action.
The trick to getting a successful sequence is to mount your phone on a tripod, so it has a stable base for the sequence of pictures.
Then, frame up the shot, remembering to compose it in a way that the movement that occurs during the sequence has enough room in the frame.
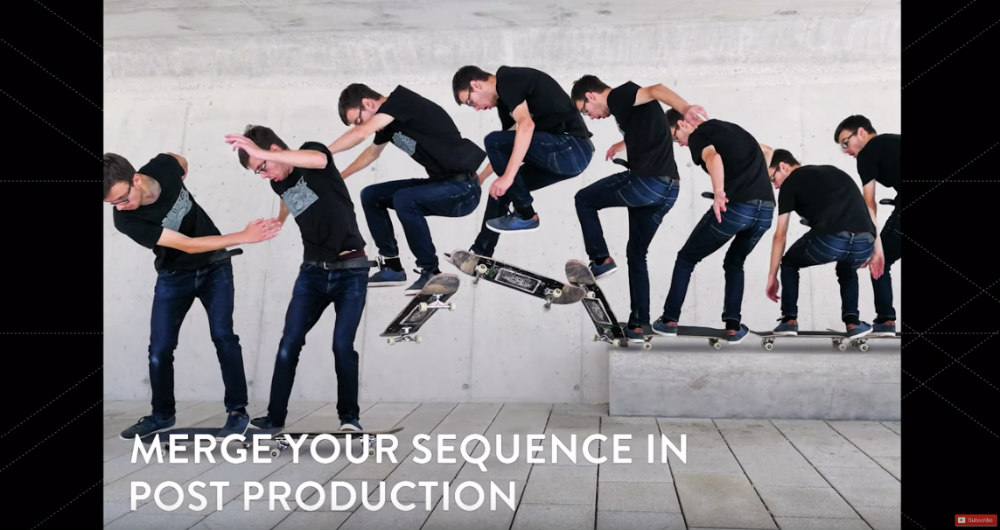
YouTube Screenshot/COOPH
Once you have your sequence of shots, you can merge them together into a single image, as seen in the screenshot above.
The result is far more eye-catching than a normal old still photo, isn't it?
Depth of Field
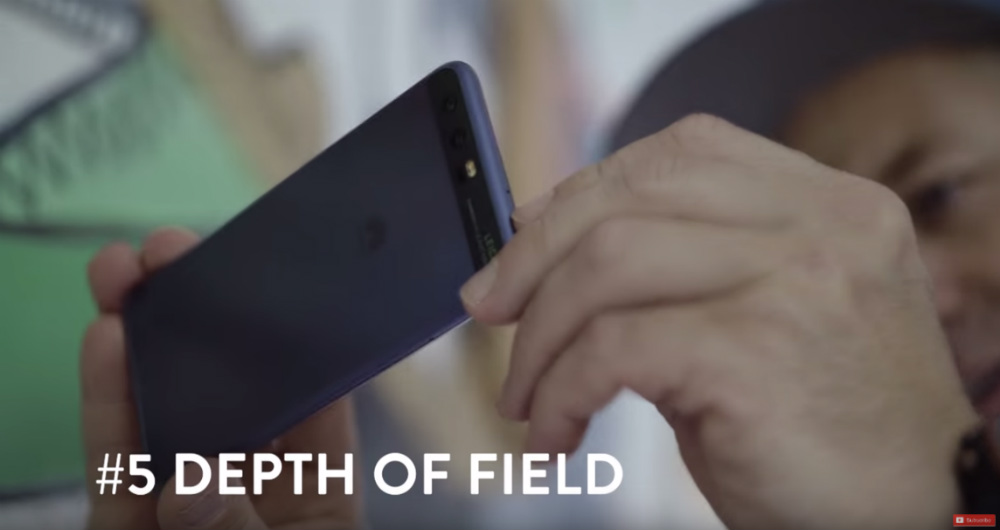
YouTube Screenshot/COOPH
Depth of field refers to the area of a photo that's in sharp focus.
There are several ways to manipulate how big or small the depth of field is, with the aperture being one of them.
The larger the aperture (the smaller the f-stop) you use, the shallower the depth of field will be. That enables you to get nice blurry backgrounds like you see in the screenshot below.
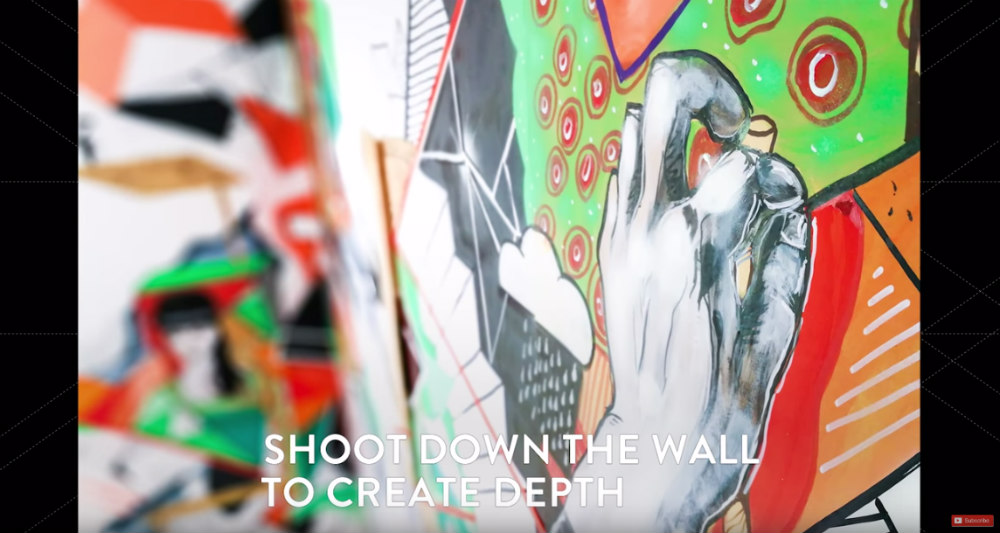
YouTube Screenshot/COOPH
Another trick to help minimize the depth of field is to get close to the subject.
In the case of the image above, the photographer got up close to the wall on the right, which keeps it in sharp focus.
That also means that the background will be out-of-focus, resulting in an image that's hard to believe it was taken with a phone!
Just be sure you tap the screen to focus on the subject while you're at it, so you're sure the subject is sharply in focus.
Learn More:
Give Macro a Try
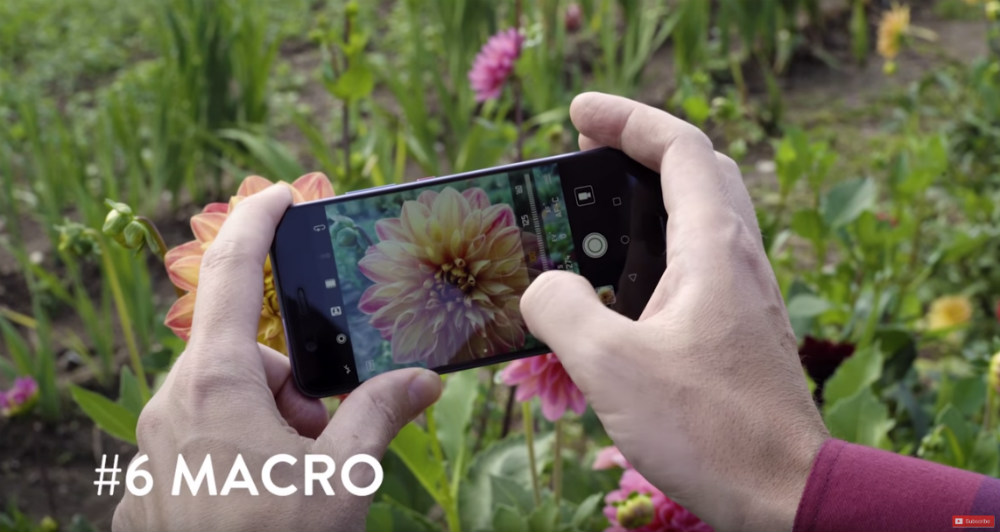
YouTube Screenshot/COOPH
With all the special lenses and accessories you need to take macro photos with a traditional camera, it might be hard to believe that you can take great macro shots with nothing but your phone.
But it's really just a matter of a few practical details...
Get up close to the subject, for starters. Then tap the screen to set the focus on the subject.

YouTube Screenshot/COOPH
When you frame macro shots, don't be afraid to get creative.
You might try filling the frame with the subject. You might even fill the frame so much that you have to crop some of the subject out.
Just beware that when you crop the shot that you crop with purpose - don't crop a little, crop a lot. Otherwise, it might look like the way you framed the shot was by mistake.
Make a Time Lapse Video
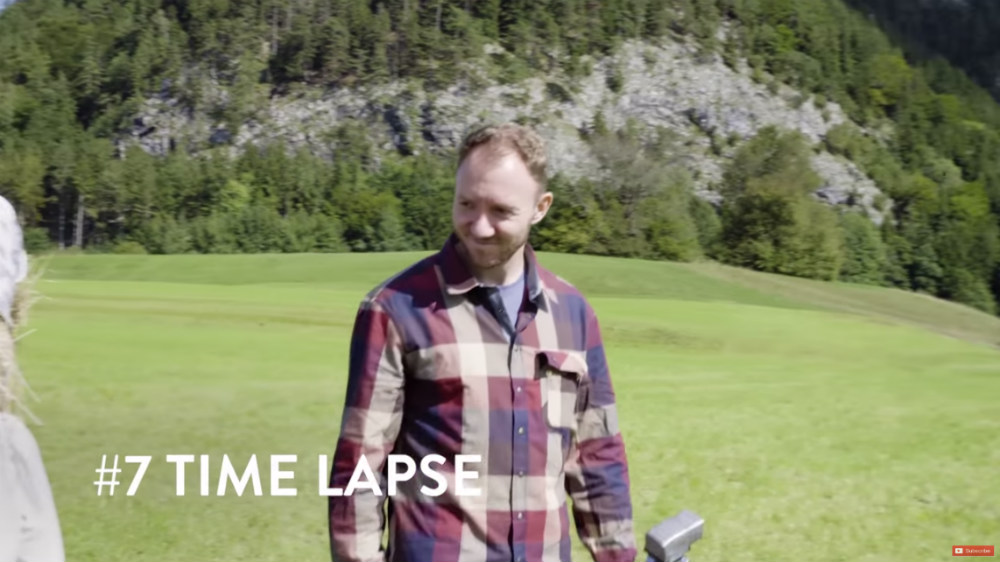
YouTube Screenshot/COOPH
Today's phones also have a handy time lapse function that allows you to get super creative and create awesome videos.
Again, you'll need to mount your phone to a tripod so it's stable for each frame of the time lapse.
Then frame the shot such that you have something that's both static and something that's moving. That way you get a nice contrast between the two.
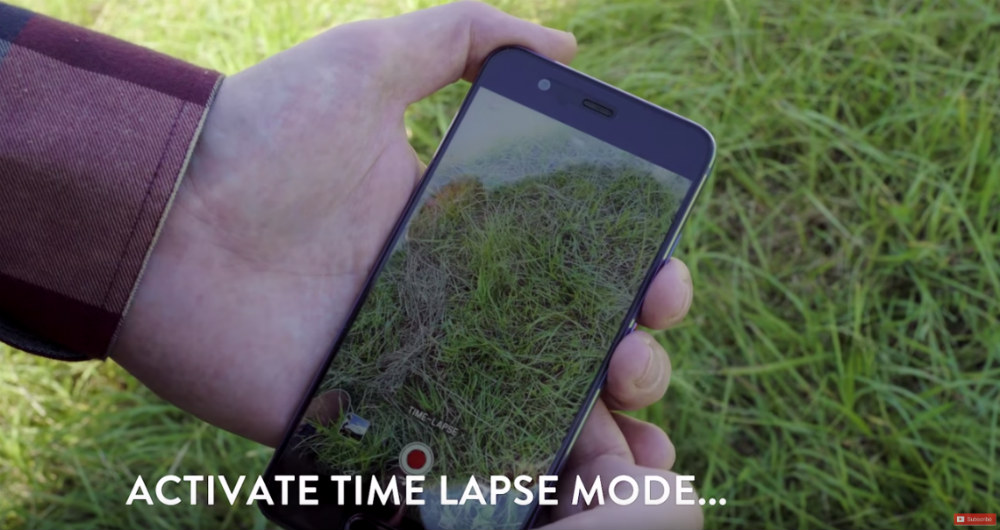
YouTube Screenshot/COOPH
Then all you do is set the time lapse mode to fire away, and your phone will do the rest!
A fun trick to do is to blend the frames together in post-production, which accentuates the fact that the static object is still and that the moving objects in the shot are on the move.
It's a pretty sweet look that you can see in the video at the start of this article.
And there you have it - seven easy smartphone photography tips that allow you to create images that are sure to impress!
Learn More:
We Recommend
8 Ways to Tell If You're a Lazy Photographer
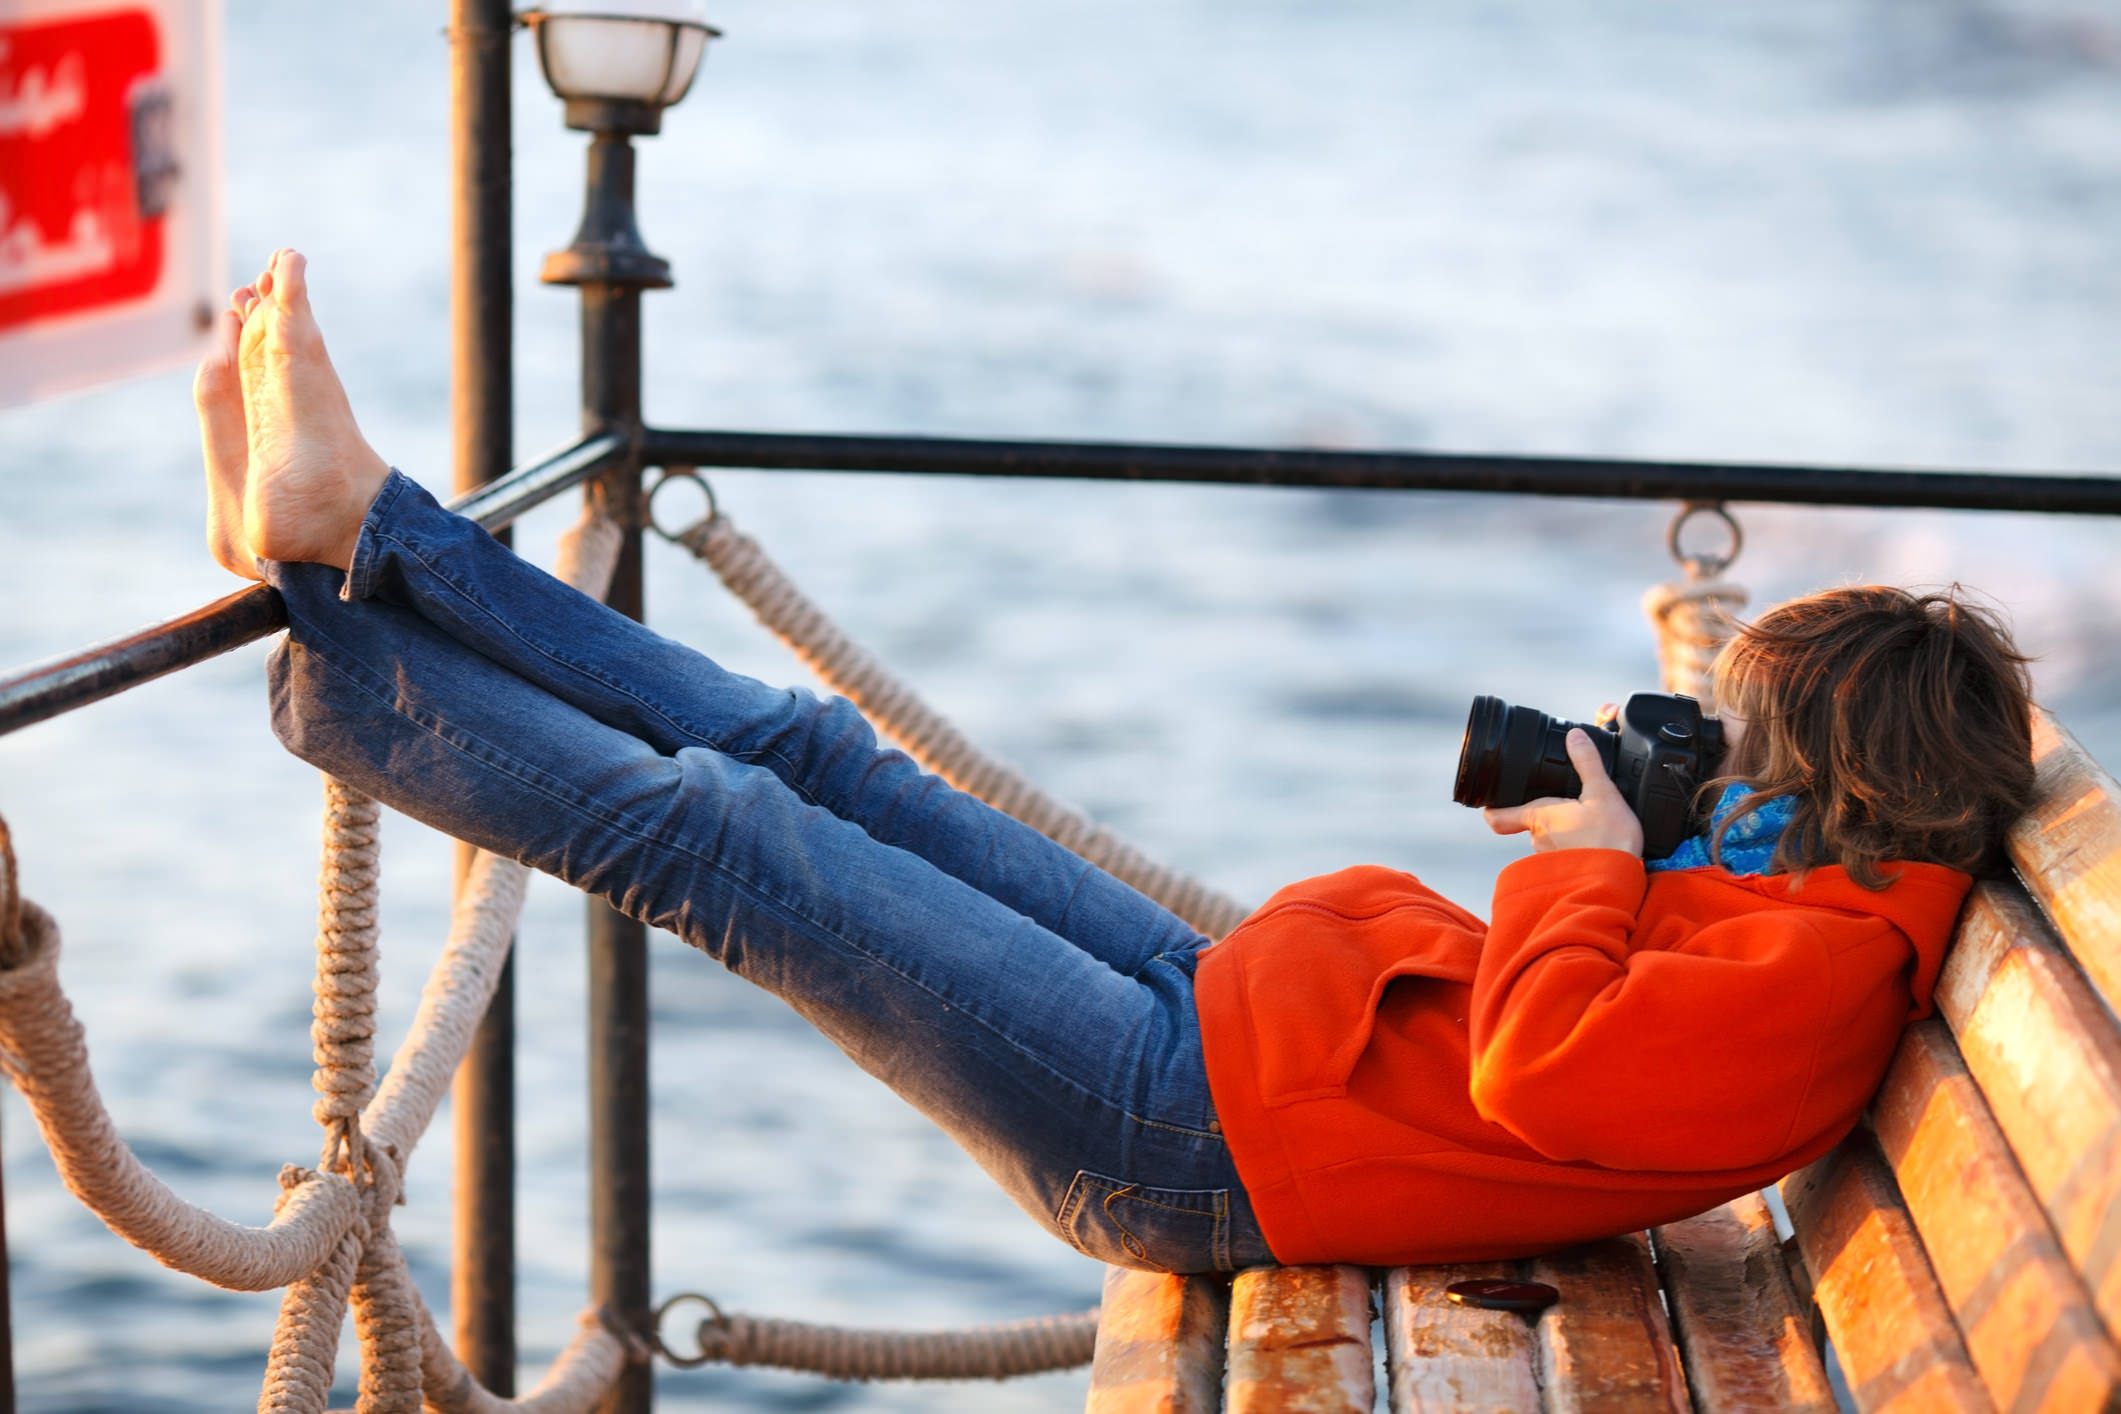
I'd be lying if I said that every time I picked up a camera that I gave it my all.
Sometimes, there's just not enough time.
Other times, I just don't have the energy.
There are periods when I don't feel all that creative, either.
All photographers go through the ebbs and flows of photography.
But what separates lazy photographers from the rest of us is that these ebbs and flows are much more even.
By that, I mean that lazy photographers spend much more of their time looking for the easy way out.
Just take a guess at how good the photos are that result from a lazy approach...
If you're not satisfied with the quality of your photos, you might need to consider if you're simply just a lazy photographer.
Here's eight sure signs that you need to step up your game...
Your Camera Manual Has Never Been Opened

I fully admit that I'm more of a "let's see how this thing works" instead of "let's read that owner's manual" kind of guy.
But I will also admit that that's a lazy way to approach things.
Though it isn't the most titillating reading, your camera's owner's manual has a wealth of information that will benefit you as a photographer, not the least of which is simply what the buttons, dials, and modes actually do.
This information will form the foundation for everything else you learn in photography.
After all, it doesn't do you much good to learn about how to control exposure settings if you haven't even bothered to learn how to change those settings on your camera.
Set aside some time to go through your camera's owner's manual page by page. Have your camera right there with you as you go along. Trust me, it will help you much more than you think!
You Hardly Ever Shoot
As the saying goes, practice makes perfect...
If you're dissatisfied with the images you create, do a bit of self-reflection and think about how often you shoot.
It's easy to look out the window and think "the weather is bad" or "the lighting is too harsh" and end up just couch surfing the rest of the day.
But, of course, that's not going to do you any favors in terms of improving your photos.
That doesn't mean that you have to shoot every single day for several hours.
In fact, if you just take a few minutes a day to focus on photography, you'll be well on your way to breaking out of your lazy photographer ways.
Put simply, stop making excuses for not grabbing your camera and taking photos as often as you can!
You Spend a Lot of Time Fixing Things in Photoshop
If you find that you spend four or five hours processing the photos that only took 30 minutes to create, you might be doing something wrong.
Now, there are different schools of thought on post-processing.
On the one hand, some photographers think you should do everything you can to get everything about the image correct in the field.
On the other hand, other photographers utilize post-processing to manipulate colors, add contrast, work with layers, and so forth.
Either school of thought is fine.
But if you're spending the bulk of your time fixing errors in post-processing instead of working on ways to enhance your photos, you might be a lazy photographer.
That's not to say that a crooked horizon here or a bit of adjustment to levels and curves isn't necessary sometimes, but if you're out in the field thinking "I'll fix that later," we've got a problem.
Your Compositions are Boring
If you pick a dozen photos out of your collection and see that they all have the same composition from the same perspective, you might have some laziness on your hands.
The easiest thing to do when taking a photo is to stand there, bring your camera to your eye, and take the photo.
But that's the lazy way out!
Instead, move around and look for better vantage points. Get up high. Get down low. Move from side to side.
These simple movements will help you put a unique spin on the subject regardless of whether it's a person, a building, or a mountain.
Check out some unique composition tips for landscape photography in the video below from Advancing Your Photography:
You Don't Work For It
When I was a little kid, I played baseball.
And when I say I played baseball, I mean I sucked at baseball.
It wasn't that I wasn't athletically gifted or that I didn't enjoy playing, it's just that I never practiced.
I just didn't work for it.
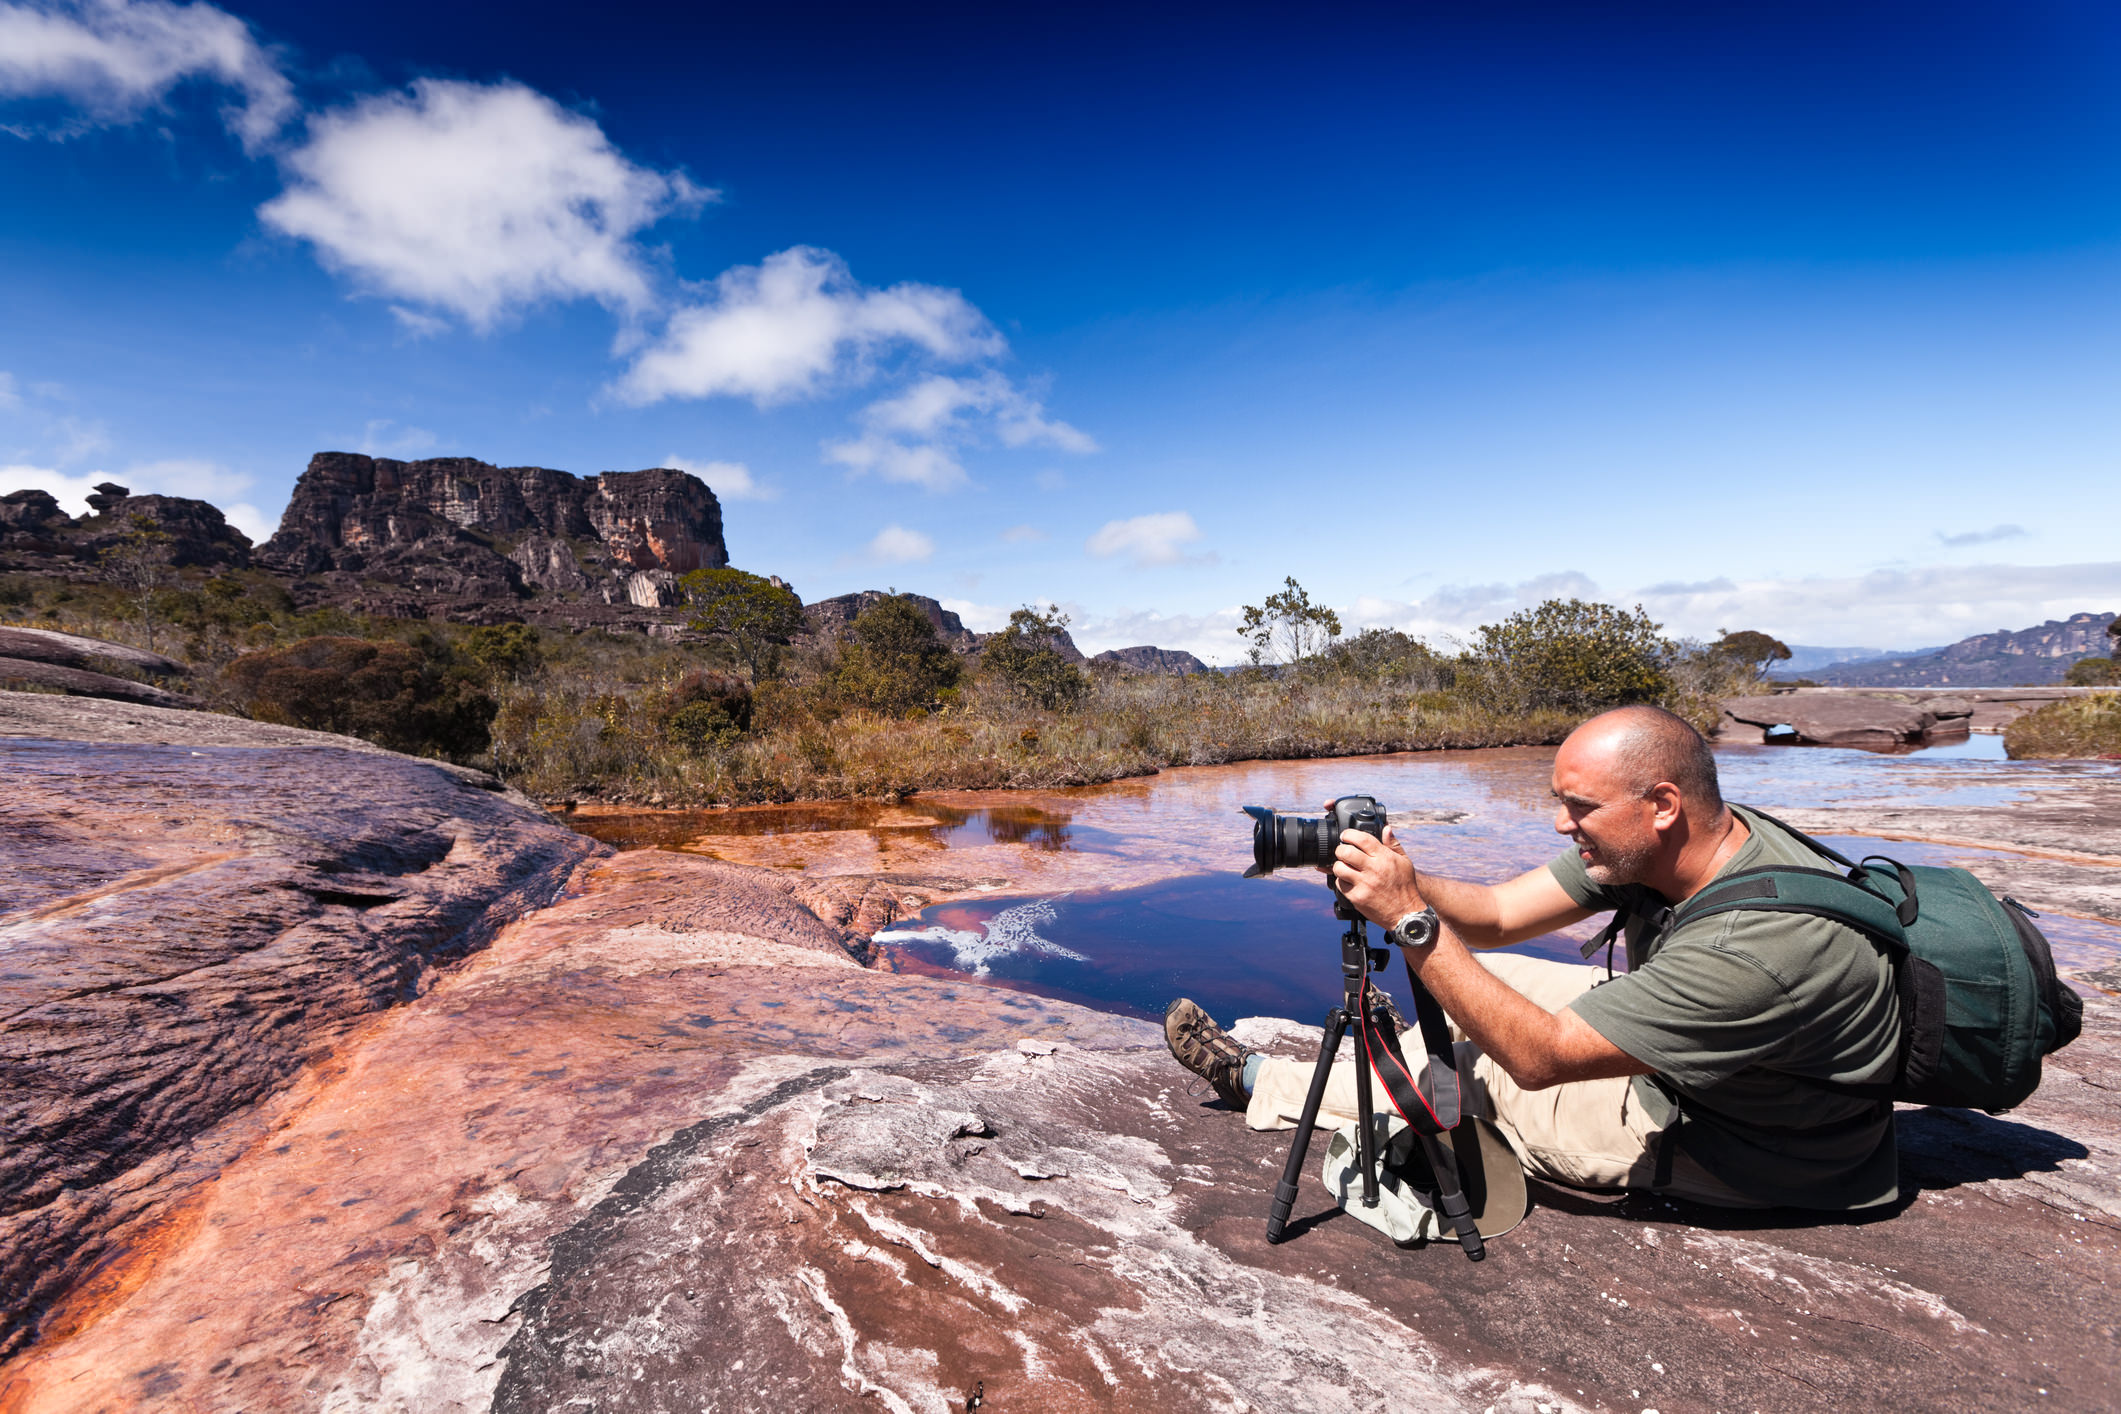
If you don't work to become a better photographer, you can't expect to break the shackles of laziness and start producing better images.
So, the next time you go shoot, don't just hop out of the car and snap a few images.
Get out of the parking lot and walk around. Venture away from all the other photographers and find your own spot to see what beauty you can create. Get up early (gasp!) or stay out late to take advantage of the best light of the day - Golden Hour.
Set aside an afternoon to scout a location, devise a plan for the types of photos you want to create, and then go do it.
As I said above, practice makes perfect. And while that's a cliche, it's at least a true one!
You Blame Your Gear For Bad Photos

If you spend a lot of time thinking "if I only had a better camera," then the chances are good that you're a lazy photographer.
I've seen an untold number of incredible photos taken with old SLR film cameras, smartphones, and even Polaroid cameras.
In other words, the camera simply isn't the problem.
Give a professional an old, beat up camera, and they can take an incredible photo.
Give a lazy photographer the most expensive camera in the world, and they can take a truly terrible photo.
What makes the difference is you, not your gear or how much money you spend.
Sure, having awesome new stuff is nice, and can even improve the quality of the photos you take from a sharpness or resolution standpoint.
But better photos result from your hard word (as noted above), not the camera you look through.
You Don't Take Time to Get Inspired

I've harped a lot on working to get better as being the best antidote for lazy photography and boring photos.
But there's something to be said for finding inspiration to get your creative juices flowing, too.
There have been plenty of days when I struggled to get my act together and go take some photos.
But when those moods strike, a few minutes spent looking at what my friends have shared on Instagram or Flickr or PhotographyTalk's galleries helps me change my attitude from "I'll do it later" to "Let's go now!"
Looking at how other people have created gorgeous photos isn't just a great way to get your energy up and ready for shooting...
It's also a great way to learn about what makes a good photo.
So, when you're inspecting photos, think hard about what you like. Notice things like lighting and contrast, how the shot was framed, and the way the subject is portrayed.
You'll find that, pretty quickly, you'll begin to develop a better understanding of what you like and what your style is as a photographer. And once you do that, you can set about taking photos that align with those preferences.
You're Still Shooting in Full Auto
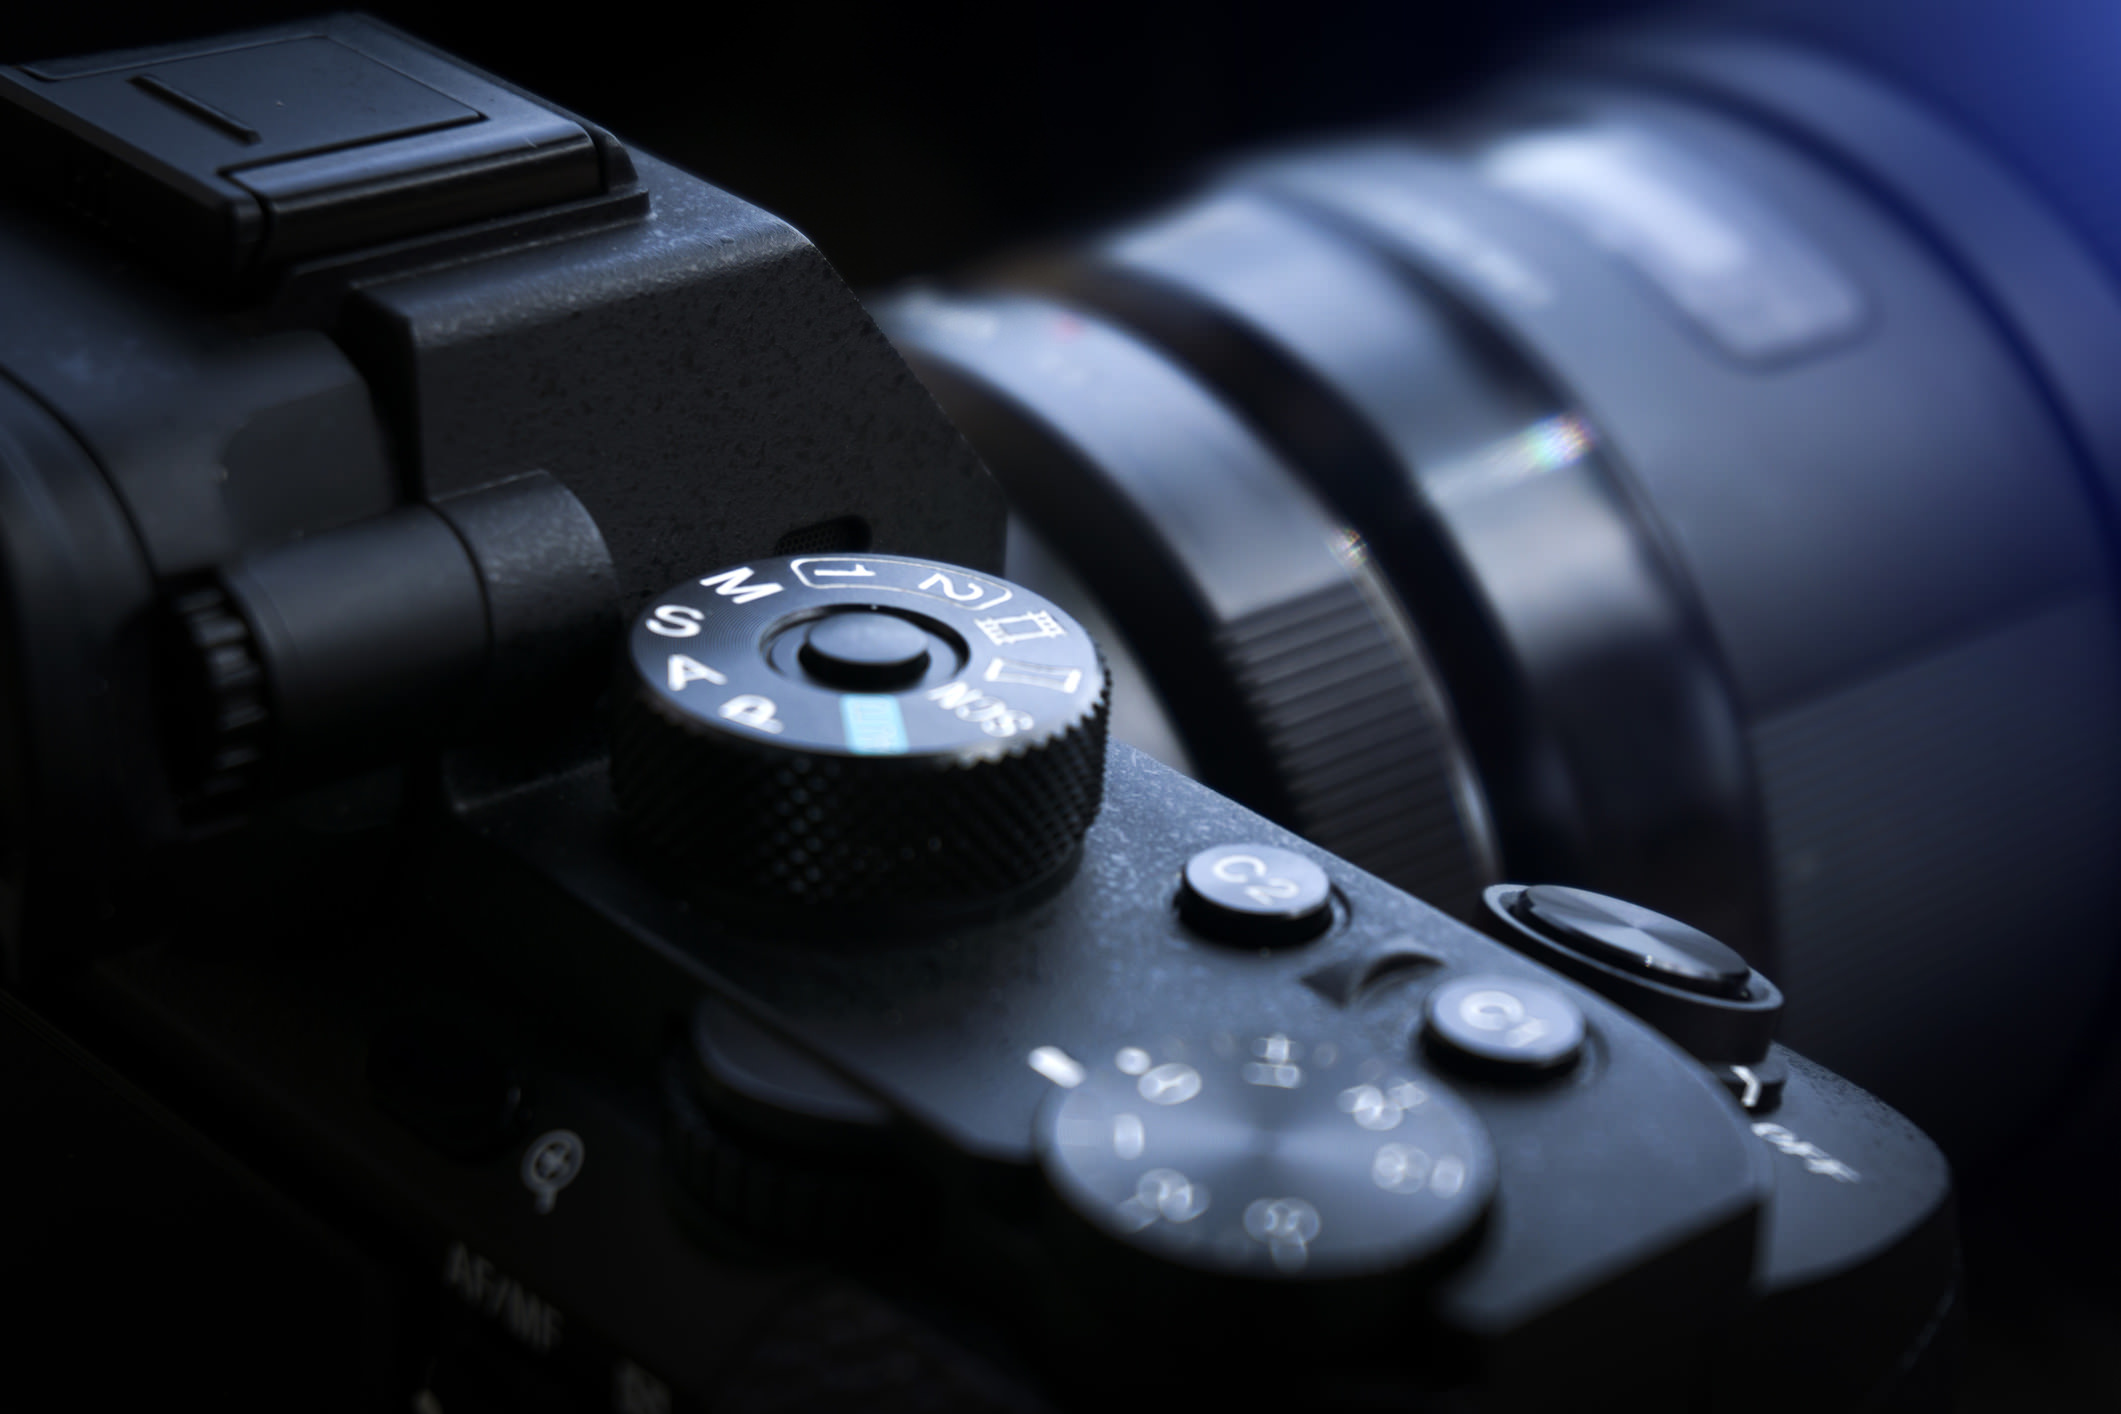
Shooting in full auto has its benefits, even for photographers that have been at this for awhile.
But even if you've only had a camera for a few months, if you haven't at least attempted to learn how to use advanced shooting modes - aperture priority, shutter priority, or program mode - then I hate to say it, but you might be a lazy photographer.
Shooting in full auto is quick and efficient, I'll give you that.
But in terms of learning how to wrest the most out of your camera, full auto can be a crutch.
Better photos result from you making decisions about exposure settings - not the camera.
If you want to be a better photographer that produces better photos, don't be lazy. Get out of full auto and learn how to really use that camera!
We Recommend
A Beginner’s Guide to Photographing Stars With (or Without) Trails
How to take pictures of stars?
When you're just starting out in photography, it's easy toget yourself stuck in a rut doing things that become comfortable and familiar.
This can apply to many different things, from composition to the perspective from which you take your photos to the kinds of photos you take.
That also applies to the time of day you shoot, which, for most of us, is during the daytime.
Particularly for beginners, daytime photography is the easiest, simply because there's less worry about fiddling with exposure settings to get a well-lit photo.
But that doesn't mean that you can't or shouldn't expand your horizons into nighttime photography of the sky.
Though there is a common opinion that astrophotography is hard to do, that couldn't be further from the truth.
Let's explore two basic types of photos of the night sky: images with star trails and images without.
Shooting Star Trails
Star trails like those in the image above form for two reasons.
First, the earth is in constant motion, so the night sky is in constant motion as well.
To revisit basic science concepts, the earth rotates on its axis once a day, making the stars, moon, and other celestial bodies appear as though they are moving across the sky as the night wears on.
Second, because there is so little light for a camera to collect in the dead of night, a long exposure is required. However, using a long exposure helps accentuate the motion of the earth, resulting in the star trails you see above.
When shooting star trails, you're simply ignoring the movement of the earth.
And the best part is that you can take photos with star trails with your regular DSLR or mirrorless camera, a remote shutter release, and a tripod. That's it!
Night Sky Pictures - Breaking Down the Shot
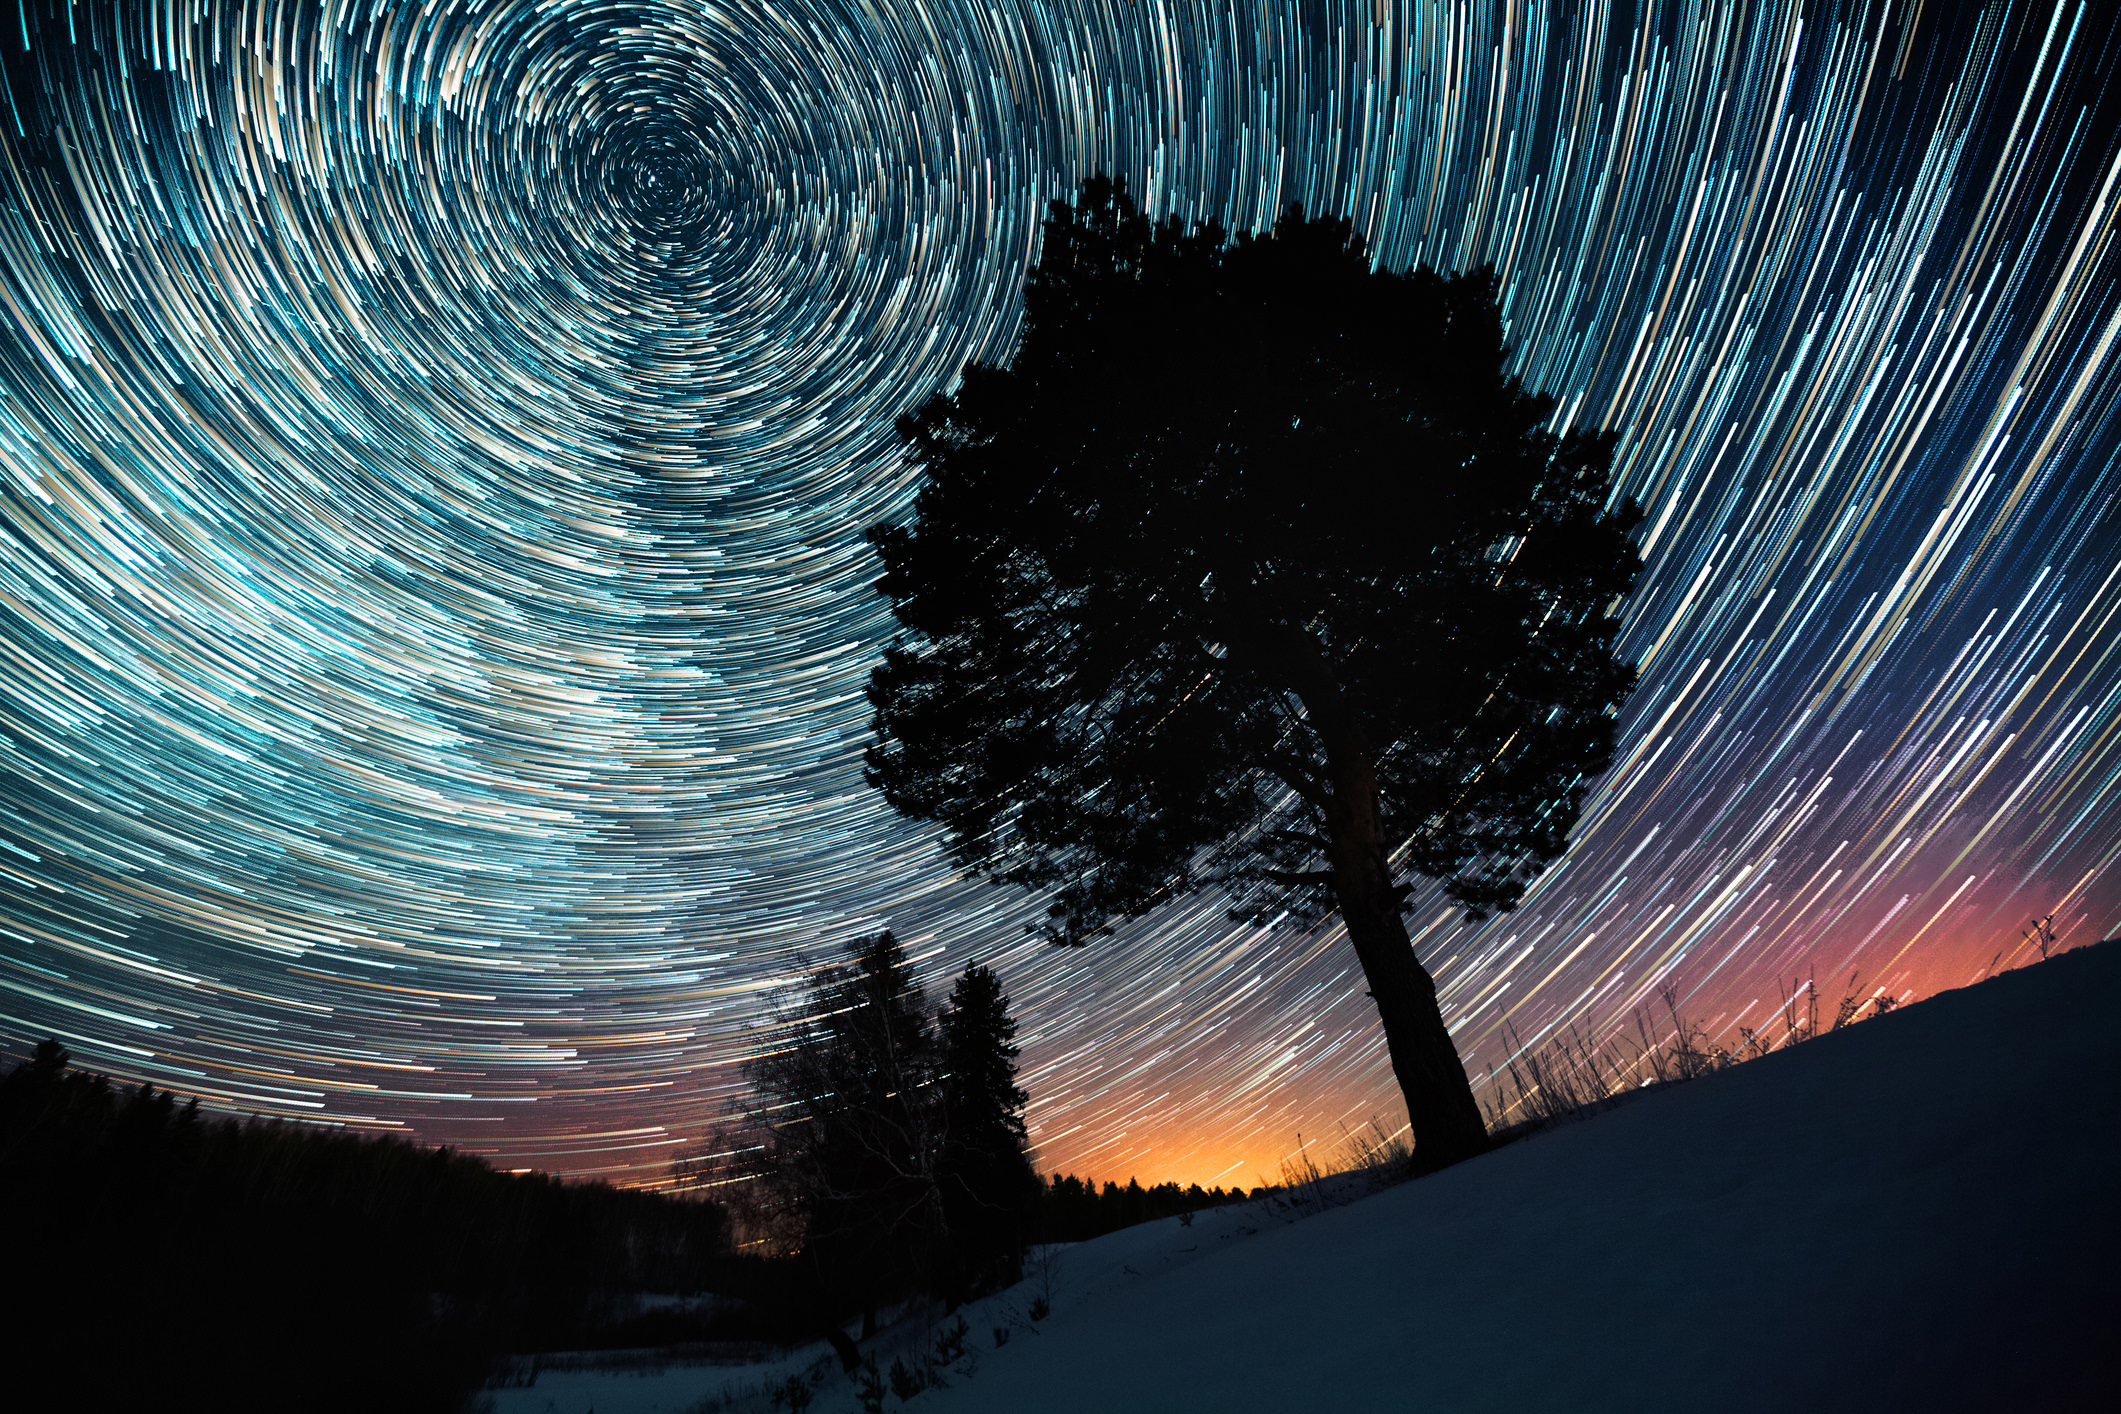
Since you're ignoring the movement of the earth, all you have to do is mount your camera to a fixed tripod, hook up your remote shutter release, and compose the shot. Because your camera will be in a fixed position, the rotation of the earth will work its magic and star trails will be the result.
Granted, it's not quite that simple, so check our guide for astrophotography camera settings and our other guide for composing shots of the night sky for some in-depth tips.
Anyway, to collect enough light for a good image, you have to venture into the world of long exposure photography.
Though that might sound scary, it really isn't. It's just a matter of using Bulb Mode on your camera.
Usually, cameras only have a maximum shutter speed of around 30 seconds. Since you need an exposure that could be an hour long or more, you have to be able to select a much longer exposure time. Bulb mode allows you to do that.
Star Photography - Setting Up the Shot
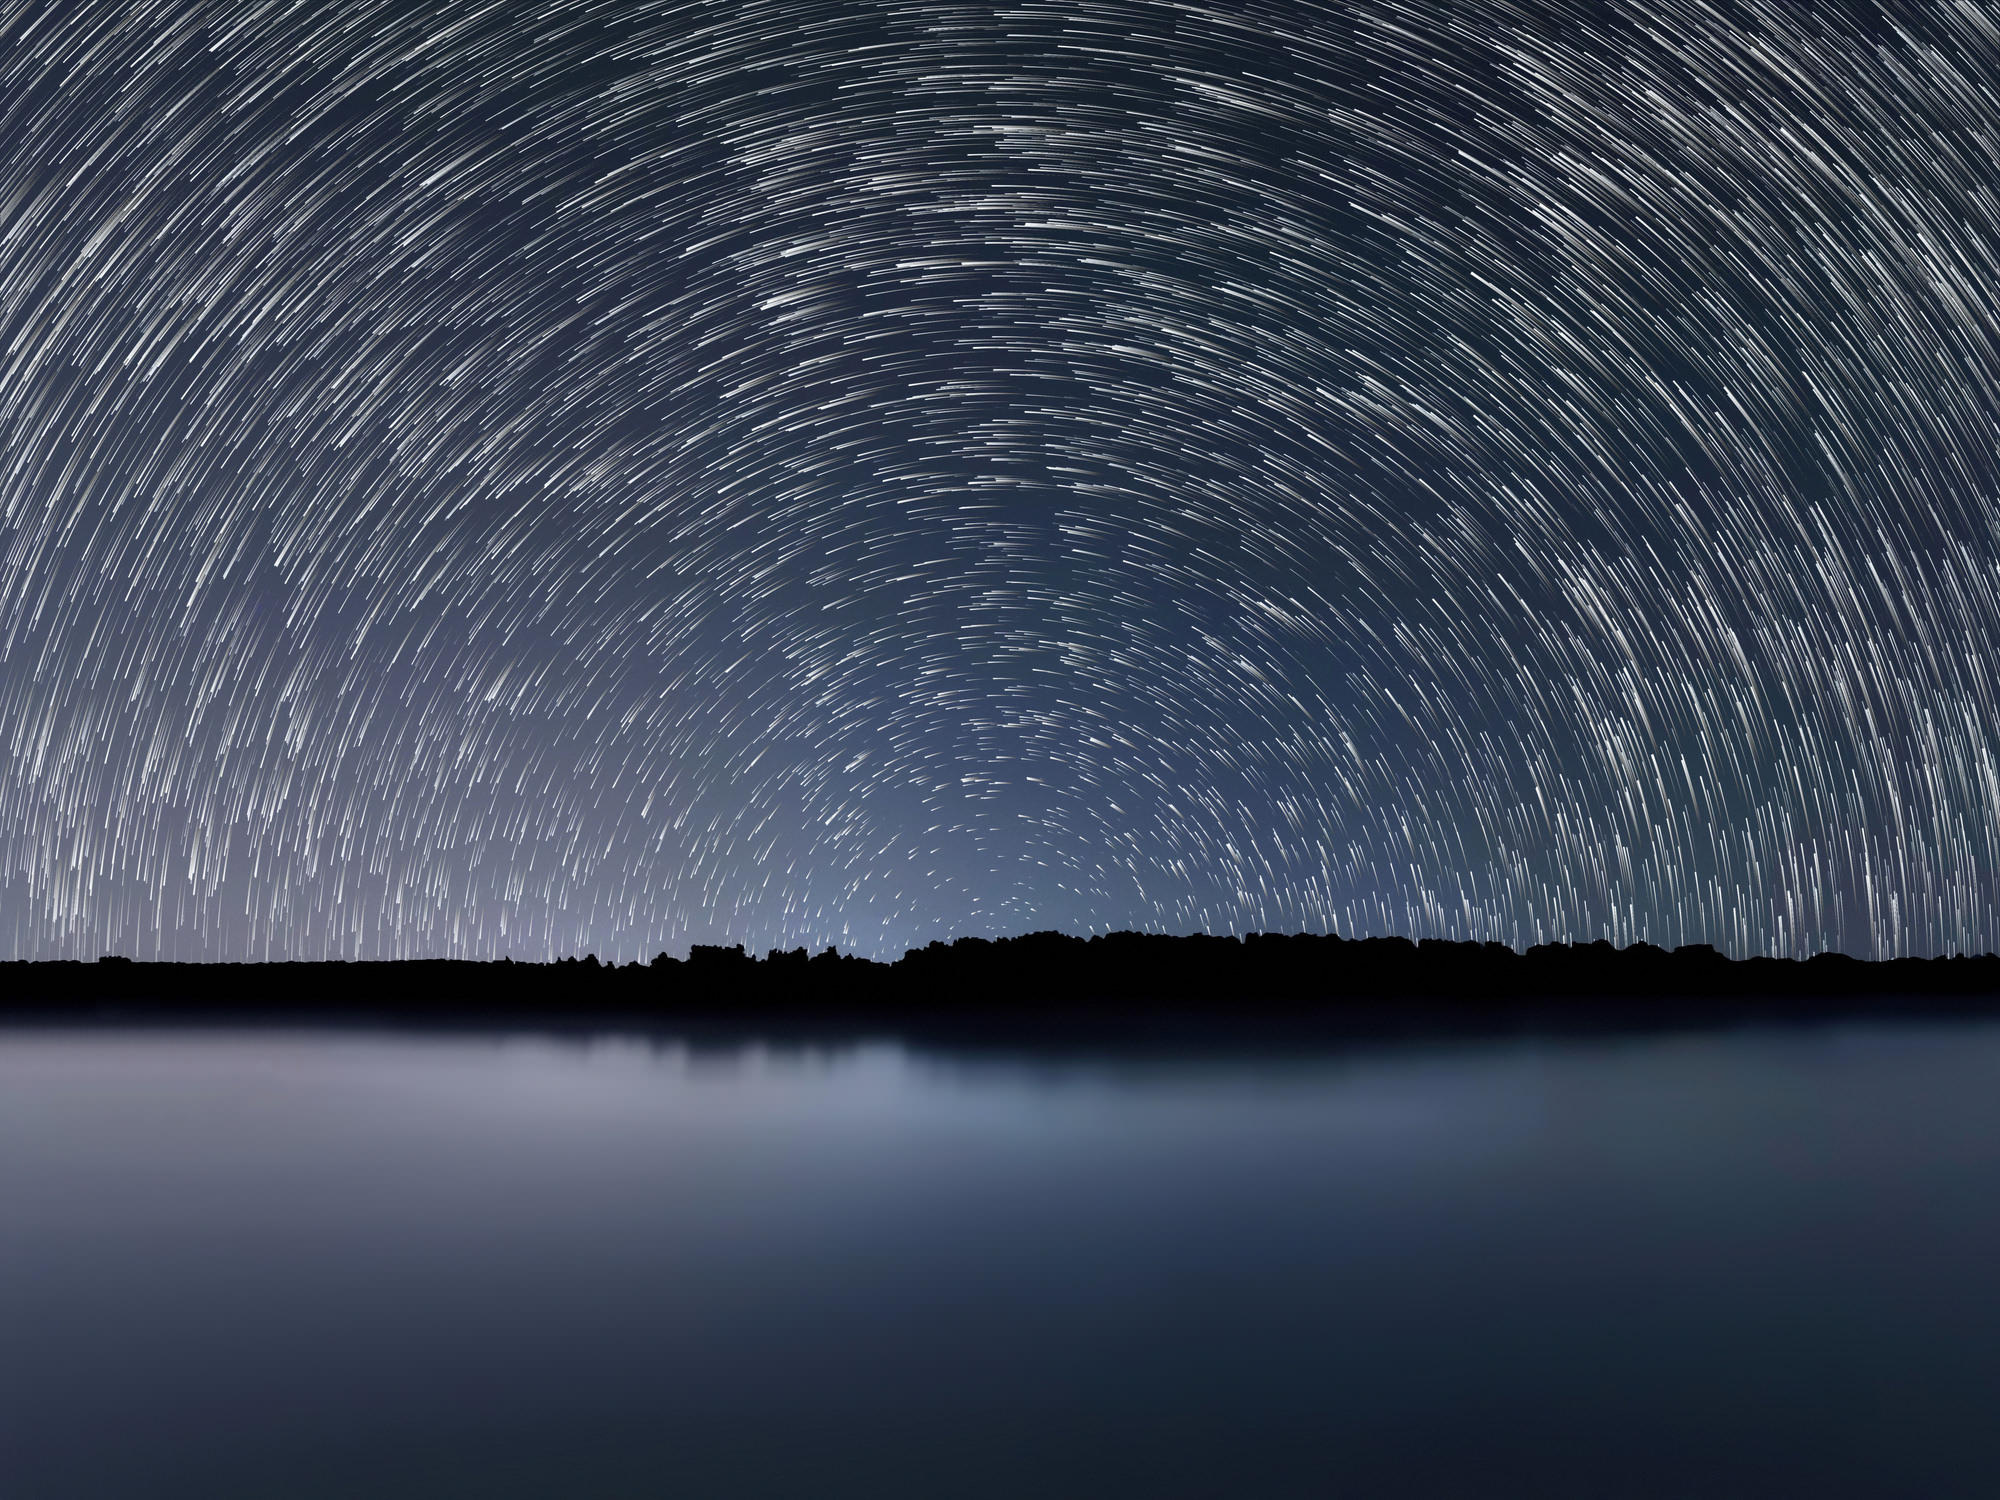
Follow these quick and easy steps to maximize your ability to get high-quality star trail images:
- Choose a location for the photo shoot that's away from light pollution. It doesn't have to be pitch black, but the less light pollution, the easier it will be. Ensure your location has elements that add to the composition. Buildings, mountain peaks, or trees are just a few examples.
- Mount your camera to a solid tripod. Improve its stability by hanging a bag of sand or rocks from the center column hook, or, if there is no center column hook, position rocks around the tripod's feet to further stabilize it.
- Remove your camera strap from your camera. If there is a breeze, the movement of the strap could cause blurriness in your image.
- Select exposure settings to maximize the quality of the shot. A good place to start is an aperture around f/8 and an ISO of 400.
- Set your lens to manual focus and focus it at infinity.
- Using your camera remote, trigger the shutter, leaving it open for four minutes.
Granted, the length of time the shutter is open is going to depend on a variety of factors, not the least of which is how much light is present.
If you're in the country away from lights, you can extend the shutter speed without worry of overexposed areas. Conversely, if you can't escape the city lights, a shorter shutter speed might be needed.
Remember as well that as the length of the shutter speed is extended, the length of the star trails will be extended too. If you want shorter star trails, use a shorter shutter speed.
Get more in-depth instruction on shooting star trails in the tutorial video below by Tony and Chelsea Northrup:
Shooting Pinpoint Stars
Another option for nighttime photos of the sky is to get clear, sharp, and crisp stars, like those seen above.
This is a little more complicated because unlike images in which there are star trails, you can't just ignore the movement of the earth.
Instead, you have to compensate for the earth's rotation such that no star trails form.
Breaking Down the Shot

Just like with star trail images, you may well need to use Bulb Mode to get an exposure that's long enough to result in a well-exposed image.
However, since the earth rotates at a rate of about one-half a degree per minute, you have to be mindful of just how long you leave the shutter open.
For example, if you leave the shutter open for one minute, the earth will have rotated just a half a degree.
That will result in star trails, but they will be so tiny that they will be invisible to the eye.
As another example, if you leave the shutter open for 30 seconds, the earth will rotate about one-fourth of a degree. Again, the star trails that result from such a short exposure will not be visible in the image unless you zoom in and inspect the stars.
Setting Up the Shot

Follow these steps to get images with pinpoint stars:
- Again, choose a location that's as dark as possible and which has elements to add interest to the composition.
- Also be sure your tripod is sturdy and stable and that your camera strap has been removed to minimize blur due to the wind.
- Dial in an aperture of f/5.6 or f/8, and select an ISO of 400 or 800.
- Using your camera remote, fire the shutter for about 30 seconds.
Additionally, images with no star trails benefit from using an ultra-wide-angle lens. The wider the lens, the longer you can leave the shutter open without getting visible star trails.
So, a 14mm lens will allow you more time to keep the shutter open than a 22mm lens, and a 22mm lens offers more time without star trails than a 35mm lens, and so on.
Get even more tips for shooting pinpoint stars (with foreground interest too!) in the video below from AdoramaTV:
Putting It All Together
Using the steps outlined above will give you a solid basis for creating your first photos of the night sky.
It's important to remember, however, that regardless of whether you shoot photos with or without star trails, astrophotography takes plenty of practice and patience to master.
The name of the game here is to take the basic steps outlined above, and then practice taking photos of the night sky.
You might well find that your first image (or first several images) aren't perfect. If that's the case, don't get discouraged!
If your images are too dark, adjust the exposure settings to brighten them up.
If your images are blurry, work to stabilize your camera and tripod to prevent camera shake.
With time, you'll gain a better understanding of things like camera settings, exposure, and composition, and your photos of the night sky will improve as a result.
But, you have to start somewhere, so why not start with star trails and pinpoint stars?!
We Recommend
A Guide to the Perfect Portrait

What's so great about portraiture is that you have a never-ending supply of subjects available to you, each with his or her own unique look.
Beyond that, there are a ton of different types of portraits, from headshots to action shots to indoor and outdoor portraits and everything in between.
Factor in posing, wardrobe, lighting, and composition, and you have a genre of photography that offers a lifetime of opportunities to learn more about photography.
If you're just getting into portraiture - or even if you've been at it for a while - this guide walks you through some of the basic things to know to get a perfect portrait.
Natural Lighting

An ideal way to get more involved in portraiture is to focus on natural light portraits.
Images like the one above no doubt have gorgeous scenery, but it isn't as simple as finding a nice location and snapping a few photos.
To begin with, not all natural light is made equal. For example, at noon on a sunny day, the light has a harsh quality to it with strong shadows and intense, blue-colored light. However, shoot a portrait on a cloudy day, and even at noon, the clouds filter the sunlight, diffusing it for a much softer, more pleasing look.
The same principle applies to Golden Hour - the hour or so before sunrise and after sunset.
That early and late in the day, the sun's rays have to travel through more of the atmosphere. That makes the light exceptionally soft.
What's more, Golden Hour lighting is much warmer than mid-day lighting. That golden hue is often quite pleasing for portraits.
Here's a couple of do's and don'ts when it comes to using natural lighting...
Learn More:
Try a Reflector
A 5-in-1 reflector pack is one of the most versatile and inexpensive camera accessories you can buy.
These reflectors help you bounce light onto the subject to fill in shadows, but do so in a variety of ways:
- Silver brightens the light, making it more intense.
- Gold warms up the light, mimicking Golden Hour lighting.
- White adds a softness to the light while minimizing shadows.
- Translucent can be used as a diffuser to minimize shadows.
- Black is an anti-reflector to be used when you need to enhance shadows.
Of course, there's a good way and a not so good way to use reflectors. Get the scoop on how to use them effectively in the video above from Joe Edelman.
Avoid Shooting in Direct Sun

As noted earlier, direct sunlight is harsh and produces very pronounced shadows, like those you see on the man's face in the image above.
This doesn't mean that you can't take a good portrait outdoors during the day though...
Likely the easiest trick is to find some shade.
By positioning your subject under the shade of a tree, you eliminate those harsh shadows and can get a much more pleasing portrait, like the one below.
What's more, by seeking shade you reduce the likelihood that your subject will be squinting in the photo.

If there aren't any trees nearby, there are other approaches you can take:
- Wait for a passing cloud to obscure the sun to take the photo.
- Create your own shade by using a reflector to block the sun from the subject's face.
- Head indoors and place your subject near a window to capitalize on natural light.
Let's explore that last point - window light - a little more in the next section.
Learn More:
Use Windows to Diffuse Light

You can use natural lighting even indoors by placing your subject near a window.
There are several ways you can go about doing this to get different looks.
On the one hand, you can use light coming directly through the window (like in the image above) to create a high-contrast look with nice shadows that add dynamic range to the shot but are much less harsh than they would be outdoors.
On the other hand, you can position the subject in front of the window and shoot toward the light, making a nice silhouette.

Lastly, you can diffuse the light entering the window by drawing the curtains or even hanging a white sheet over the window.
Doing so has a similar effect as clouds, scattering the light more evenly through the room to minimize shadows and soften the light.
Note how in the image above, there are no bright highlights or deep shadows - just nice, even lighting that gently falls on the model's face.
Get a few tips on using natural window lighting for portraits (and see some gorgeous example photos) in the video below by Jana Williams:
Learn More:
- Innovative Portrait Photography Tips You Need to Use Today
- 4 Portrait Photography Tips Every Beginner Should Know
Artificial Lighting - Fill Flash
Although natural lighting is great for portraits, to an extent, you're at the mercy of the time of day to get the kind of light quality you want.
However, if you mix natural and artificial lighting, you'll have more leeway regarding how the lighting looks in your portraits.
For example, without artificial lighting, the model in the image above would likely be underexposed due to the brightness of the sky in the background.
To get a quality exposure, you can meter for the sky and fill in the foreground with a flash to get a similar effect as seen above.
The key is to ensure you have a good balance between natural and artificial lighting - you don't want the flash to be so in-your-face that it's obvious one was used. On the other hand, you don't want the natural lighting to overpower the flash, resulting in odd shadows.
Blending natural and artificial lighting certainly requires a little more legwork than just relying on natural light.
What's more, as you learn in the video above by Tony and Chelsea Northrup, there's some essential pieces of lighting equipment you'll need as well.
Don't worry though - often all you need is a flash and a diffuser, and you'll be set!
Learn More:
- See the Surprising Results When 4 Photographers Shoot the Same Model
- 9 Can't-Miss Portrait Photography Tips That Will Help You Create Better Portraits Today
Headshots

When you think of headshots, you might think of cheesy glamour shots at the mall or portraits of corporate executives.
But headshots are much more than that.
A headshot allows you to highlight the greatest differences from one person to the next.
Apart from identical twins, everyone has different eyes, foreheads, noses, mouths, and chins, making us each unique and distinguishable from everyone else.
In a lot of ways, getting a great headshot is fairly straightforward. By that I mean there's not as much consideration for the background because the shot is framed so tightly, nor do you have to think as much about the composition of the shot, again, because you're simply placing the person's face in the middle of the frame.
Manage Depth of Field

As with any portrait, it's necessary that you manage the depth of field in a headshot such that your subject is in sharp focus and the background is nicely blurred.
There are a number of factors that influence depth of field:
- Aperture - the larger the aperture, the shallower the depth of field. For headshots, an aperture of f/2 or larger is advisable.
- Distance to the subject - the closer you are to the subject, the shallower the depth of field.
- Distance from the subject to the background - the further the background is from the subject, the shallower the depth of field.
- Sensor size - the larger the sensor, the shallower the depth of field.
In most cases, the depth of field in portraits will be manipulated with the aperture and the distance to the subject. To get an idea of what a shallow depth of field portrait looks like (and how to create one), check the video below by Gavin Hoey:
Learn More:
Help Pose the Head
Even though headshots are quite simple, you still need to give your subject direction regarding how to hold their head.
By and large, headshots are taken from slightly to the left or right of center, like the image below.
But as you can see, it's not just the subject's face in the shot - you can also see her neck, shoulders, and arms.

As a result, have your subject straighten their back, with shoulders rolled back, neck extended, and the chin slightly upward.
This elongates the body, helping the subject to appear taller (and thinner) than they actually are.
What's more, this helps avoid poor posture (i.e., a rounded back) and also helps minimize the appearance of a double chin.
In addition to positioning your camera slightly off-center, it's also important to be aware of the height from which you shoot.
Go for an eye-level shot such that the subject's eyes are highlighted in the frame. This will help to create a stronger connection between viewers and the subject of the portrait.
Consider the Lighting

As was discussed earlier, natural lighting is great for many types of portraits, including headshots. Just remember to find some shade or place your subject near a window to get softer natural lighting.
If you're shooting indoors with a flash, place the subject in front of a nondescript background, like a wall with a plain paint color.
Then, position one light (preferably with a softbox) above the model's face. Then add a reflector below the subject's face to bounce light up towards them to reduce shadowing.
Get more insights on classic portrait lighting setups in this guide.
Learn More:
Putting It All Together

Portraiture is a rewarding endeavor, whether you're simply taking photos of your kids or you want to do it for a living.
Using the tips outlined in this article, you'll be in a better position to create portraits that make your subject look good and make you proud of the work you've done.
This isn't an end-all, be-all tutorial by any means, but it will certainly get you headed in the right direction.
Now all that's left for you to do is grab a subject, get your gear, and start taking better portraits!
We Recommend
A Step-By-Step Guide for Improving Your Car Photography

Car Photography
I'm assuming if you're reading this that you love cars and photography.
It's a good combination, if you ask me.
After all, cars are great subjects for photos because they have so many features that are ideal for photography, like colors, shapes, lines, and textures.
Car photography, like any other type of photography, benefits from a solid approach that utilizes the right gear, the right compositional tools, the best lighting, and so forth.
With that in mind, here's a step-by-step guideline for improving the quality of your car photography.
Use a Prime Lens
 Photo Credit: Alex Schult
Prime lenses are perfect for car photography.
Not only do prime lenses capture sharper photos than their zoom counterparts, but with large apertures, they're ideal for shooting cars in daytime or at night (or in dim lighting inside, as shown above).

Beyond that, prime lenses are smaller, lighterweight, and easier to handle than zooms, so you can more easily maneuver around the vehicle and get up close for detail-oriented shots.
An ultra wide-angle prime, like a 12mm, is ideal for interior shots. For shots of the car's exterior, try a 24mm, a 35mm, or even a 50mm prime.
Learn More:
- 7 Reasons Why a 50mm Lens is All You Need for Great Photography
- What You Need to Know Before Buying a Camera Lens
Use the Shutter Speed for Creative Effect
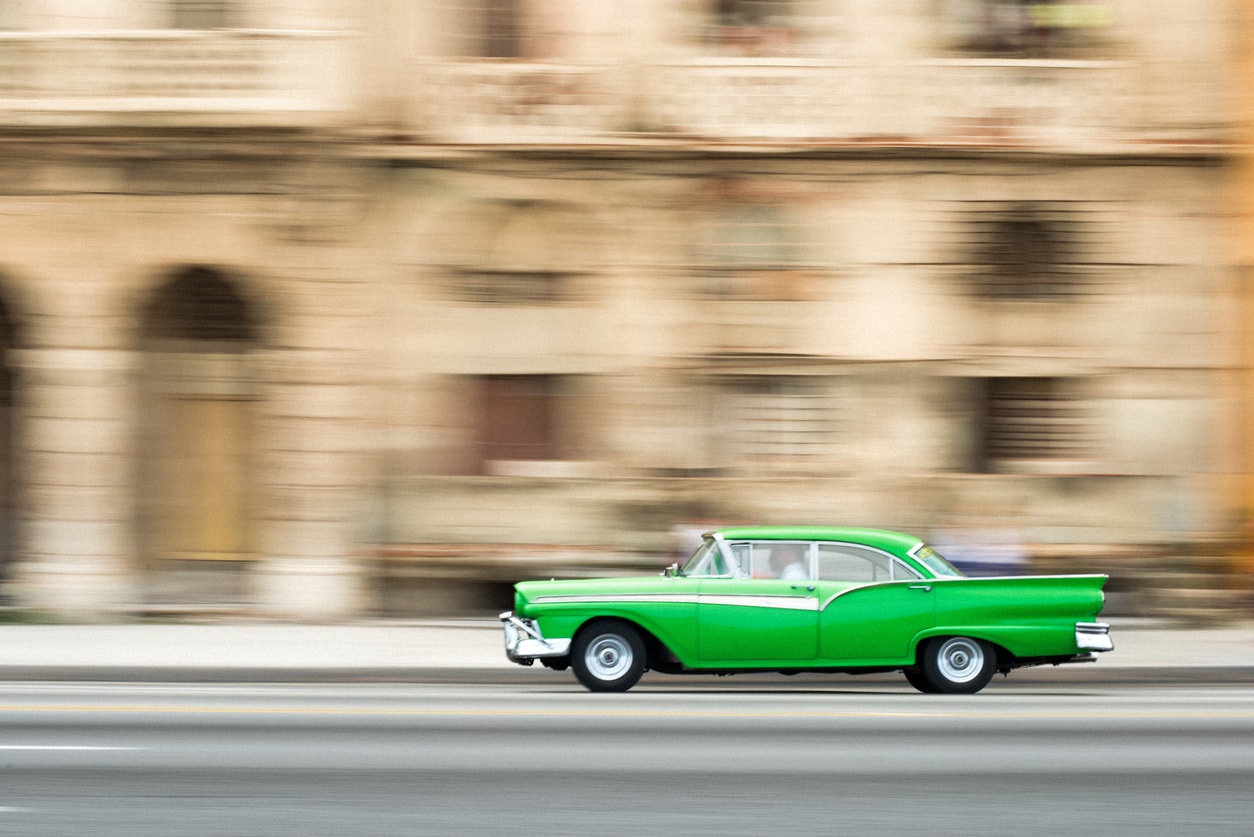
It's actually a lot easier than you might think to get an interesting panning shot like the one above.
Panning really just involves the right timing, both in terms of when you press the shutter and how long the shutter remains open.
The easier of the two to figure out is the shutter speed - 1/125 seconds is a good place to start.
The more difficult bit is actually learning how to pan in a smooth motion as a vehicle drives by. Get a few insights into photographing vehicles in motion in the video below by CanonUSA:
This step will take some trial and error, but the primary goal is to move in a single, smooth motion along with the car, maintaining it in the viewfinder as you move.
Not only that, but you need to frame the shot such that the car has room to move into, so if the car is moving to the left, the vehicle needs to be on the right side of the shot.
The key here is to frame the shot well in advance, following the car for a second or two to match its speed.
Then once you press and release the shutter button, continue to pan the camera to ensure the smoothest results.
Editor's Tip: You can get smooth panning shots when handholding the camera, but using a tripod with a pan head can help you get even better results.
Find the Best Lighting
As is the case for any type of photography, natural lighting is ideal for taking photos of cars.
In particular, Golden Hour offers the best lighting because it's soft, even, and warm light.
This type of light not only minimizes harsh shadows, but it also offers ample opportunities to highlight the reflection of the soft light on the paint of the car.
 Photo Credit: Alex Schult
Editor's Tip: If at all possible, avoid shooting during the middle of the day, as the light at that time is very direct and harsh. If daytime shooting is a must, wait for an overcast day, as the clouds will help diffuse the light and reduce harsh shadows, as shown above.
Be Careful of the Reflections
One of the great things about photographing cars is that you can capture reflections on the metalwork or in the windows.
That's fine if it's something like another car or an object that should be there.
But if you or your camera gear is reflected in the car, you've got a problem.

To avoid getting unwanted reflections in the shot, try setting up your camera on a tripod far enough away from the camera such that it doesn't cause a reflection, and use a remote or the camera's timer function to snap the photo.
Editor's Tip: Background elements often reflect on the car's surface, which can cause a distraction just as much as a reflection of you or your gear. To minimize distractions, find a shoot location that's empty with a flat horizon.
Show the Car in Motion
Photos of cars sitting still are fine, but photos of cars in motion gives your shots much more visual appeal and excitement.
Car races, like rallying, offer a great opportunity for these kinds of photos.
If you use a fast shutter speed, say, 1/500 seconds, you can freeze the movement of the car for a truly dynamic look.
It's easiest if you use a tripod for these kinds of shots and fire the shutter using a remote.
Frame the shot such that you can capture the car coming around a corner, remembering to leave room for the car to move into, as seen in the image above.
Learn More:
We Recommend
Basic Composition Tips for Newborn Photography
 Photo by Belly Beautiful Portraits
Just like any other type of portraiture, there are certain types of compositions that work well for newborn photography and others that don't.
Naturally, part of that is because your subject is a very delicate little being with whom you must take the utmost care. That means that there are some types of compositions that simply will not work (i.e. the baby sitting up on its own).
But just because there are some limitations with your subject doesn't mean every photo you take of a newborn has to be of him or her on their back.
In fact, if you did that, your newborn photos would get a bit boring!
Let's take a look at a few different composition ideas that will help you create photos of newborns that maximize their cuteness and make you look like a pro.
Move to the Sides of the Frame
 Photo by Belly Beautiful Portraits
One of the simplest ways to spice up your newborn photography compositions is to simply place your little subject near one of the edges of the frame.
As you can see in the image above, putting the baby at the top of the frame gives us a unique view.
In a sense, the baby seems like they're floating in midair, which is inherently more interesting than, say, a top-down view of them sleeping on a pillow.
Additionally, this type of placement in the frame allows you to incorporate props in a meaningful manner, like this beautiful basket.
Not only does the basket serve as a frame within the frame to bring our attention to the sleeping baby, but its long trains of feathers add texture to the photo as well as length. What's more, those feathers act as leading lines, directing our attention upward to the baby.
Move to the Middle of the Frame
 Photo by Sweet Embrace Photography
Conversely, you can go the opposite route and place your little subject in the middle of the frame, as seen in the image above.
Placing a portrait subject in the middle of the frame breaks the most fundamental of compositional rules - the rule of thirds. Yet, as you can see here, doing so still results in a pleasing image to view.
The key when placing your newborn subject in the middle of the frame is to ensure you have plenty of visual interest that helps draw the viewer's eye in.
In this case, having two babies certainly helps, but the basket in which they are sleeping also goes a long way in adding something to the shot that grabs our attention.
The dark wood provides a nice contrast against the soft, light tones that are predominant in the shot. What's more, like the basket in the first image, this basket also serves as a sort of frame within a frame, with the handle helping to contain our attention on the babies.
Make Use of Negative Space
 Photo by Happy Acres Photography
Though negative space might not typically be associated with newborn photography, it can certainly be a powerful compositional tool that gives your photos added visual punch.
In the image above, we see how the abundance of negative space in the upper two-thirds of the photo helps give the image a light and airy feel.
What's more, all that empty area helps us move our attention to the subject because there's nothing there to compete for our eye.
But as you can see in the example above, negative space doesn't have to be completely devoid of detail.
The lace canopy adds just a touch of detail that breaks up the brightness and detail-free background with a little bit of texture and shape.
Notice as well how the shape of the canopy acts like a frame within a frame as we've seen in previous examples.
When using negative space in newborn photography, adding subtle details like this will help elevate the photo to another level and make it feel as though the negative space was a purposeful compositional choice rather than a mistake.
Go on the Diagonal
 Photo by Loni Smith Photography
Another really simple way to add more visual punch to your newborn photography is to shoot on the diagonal.
Parents see their baby on the horizontal all the time. They also get plenty of views of their child from a perspective of looking down at them.
By composing the shot on a diagonal, you give them a more unique view of their baby that has a dynamic feeling to it - much more dynamic than a traditional horizontal shot.
In the image above, all that was needed was a bumper under the blanket to help elevate the baby's head and create the diagonal sight line from the upper left corner of the shot to the lower right corner of the shot.
This type of positioning and perspective also gives you the opportunity to add props, like the rhinestone crown and angel wings seen above.
Since the background is devoid of detail and is a soft, consistent color, adding props with a little sparkle to them helps ramp up the visual interest.
I think you'll agree that combined with the diagonal pose, this is one compelling photo to view!
Go Wide
 Photo by Belly Beautiful Portraits
One option when tackling newborn photography is to get in for close up shots.
But you don't want all your images to be close-ups, so a good complement to them is wider shots that give you a full view of the newborn's body.
As you can see in the image above, the wide shot allows us to see this little guy from head to toe, but the photo isn't framed so wide that we feel like we're too far away to see any details.
What's more, this wide point of view gives you the opportunity to incorporate elements of interest that add depth and dimension to the shot.
In this case, the bedding adds just a touch of texture for that depth I mentioned, and the soft, blue background helps make it feel as though the baby is floating, not unlike we noted with the first image.
Wrapping It Up
 Photo by Belly Beautiful Portraits
Newborn photography certainly has its difficulties, not the least of which is the delicate state of the subject.
However, as you can see in the images above, newborn photography is also ripe with opportunities to create images that are unique. It's a simple matter of understanding the compositional choices you can make to create that interest.
Though this list isn't an exhaustive one, these tips are simple, basic ways to start creating photos that have a greater ability to grab ahold of - and keep - the viewer's attention.
About Sew Trendy
This is a company that photographers absolutely need to be in touch with. Their gowns, crowns, and other high-quality accessories are just what you need for maternity photos, photos of newborns, and mommy and me sessions. These accessories not only make your clients look and feel great, but they also add a depth of detail and interest to your photos that elevate the images to an entirely other level. What started out with just a few people manufacturing these eye-catching items is a growing business that provides accessories to photographers worldwide. Help your clients look and feel their best by partnering with Sew Trendy Accessories.
We Recommend
Become a Better Photographer Today in 9 Easy Steps

It might be cliche to say, but the phrase "practice makes perfect" has a lot of merit.
That goes for a lot of things in life, and photography is one of them.
I often hear complaints from new photographers that their photos aren't as good as those they see from the pros.
Those complaints are usually accompanied by a wish that they knew how to improve their photos - and fast.
Becoming a better photographer, above all else, takes time and dedication to the process of learning.
But that doesn't mean it has to be a complicated process...
With that in mind, here are nine easy things you can do today, right now, to become a better photographer.
Add Depth to Your Photos

The challenge (well, one of them...) of photography is to represent a three-dimensional subject in a two-dimensional medium that somehow still feels three-dimensional.
It might sound like an impossible task, but really all you need to do is utilize tricks that add depth and dimension to the shot.
Leading lines are a great way to add depth because our eyes are naturally drawn to lines.
Put a line in your photo, and viewers will use that to travel deeper into the shot, inspecting various parts of the image as they go.
Looking at the image above, notice how the line directs our attention to the background of the image. Taking us to the back of the shot helps give it the feeling that there's a dimensionality to it.

Another way to add depth to your photos is to layer the image.
Layering simply involves having foreground, midground, and background elements that draw the viewer's attention.
Again, the practice of layering points of interest in the shot helps move the viewer's eye around the image, taking in one point of interest before moving on to the next, the result of which is a feeling of greater depth.
In the image above, note how the layers and layers of mountain peaks help define the space and give it a sense that the mountains in the foreground are nearer than the mountains in the background.
Learn More:
- Here's the Key to Better Landscape Photos with One Simple Trick
- 6 Easy Yet Effective Tips for Better Composition
Get a Prime Lens

Unlike a zoom lens, a prime lens has a fixed focal length.
Though there are many virtues that make a zoom lens a great addition to your camera bag, a prime lens will help you even more in your quest to become a better photographer.
Why?
It's simple: you have to think more.
Without the luxury of zooming in and out, you have to physically work to get the shot you want.
That means moving nearer or further from the subject, checking the composition of the shot, and making more adjustments as needed until the framing is spot on.
In other words, you're forced to work harder to get the photo you want, and that's a good thing.
Additionally, prime lenses tend to have very large maximum apertures.
That makes taking photos in low-light situations much easier because the large aperture allows the lens to collect a ton of light.
So, rather than struggling with images that are too dark when you shoot with something like your kit lens, you can keep on shooting even in poor lighting conditions with a prime lens.
It also helps that some really good prime lenses can be found for a bargain price!
Watch the video above by DigitalRev TV to get some insights about what prime lens should be your first purchase.
Learn More:
Learn to Use the Histogram
One problem that many beginning photographers have is that they tend to rely on the camera's LCD to determine if an image is well-exposed.
That's not a good idea because the LCD is usually calibrated to be quite bright, that way you can see it even when shooting under bright lighting.
That means, though, that an image that's too dark might actually look fine on the LCD.
Instead, the histogram should be used to determine exposure because it offers a graphical representation of the brightness of every pixel in the image.

The histogram shows pixels from pure black on the left side of the graph to pure white on the right side. In between are gray values.
Typically, you want the histogram to look like a traditional bell curve (shown above), with the highest peaks in the middle and shorter peaks trailing off to both sides.
This indicates a well-exposed image with the presences of blacks, grays, and whites.
If the graph is skewed to the left, the image has an abundance of black tones and will be dark; if it's skewed to the right, there's a lot of white tones and the image will be too bright.
That means that you have a way to check the exposure without relying on the quality or brightness of the LCD. The result of that is not only a better understanding of exposure but also how to ensure that the exposure of each image you take is improved.
Learn More:
Use the White Balance Presets

Your camera comes equipped with numerous white balance settings that are intended to counteract color irregularities such that the final image has a more natural look, like the one shown above.
For example, if you've ever taken a photo indoors under artificial lighting, you've probably noticed that regular incandescent lights give off a strongly yellow light.
Well, all you have to do in that situation is switch to the incandescent white balance setting, and the camera will counteract that yellowish light by cooling it down with blue tones.

There are a variety of white balance settings - daylight, sunny, cloudy, shade, and so forth, each designed to give you control over how the white tones in the image appear.
Of course, using these settings in the situations they've been intended for will render those white tones white.
However, you can also use these presets in the wrong situation to intentionally add a color cast.
For example, when shooting a sunset, you can actually accentuate the orange and yellow warm tones by using the cloudy or shade white balance setting, as seen in the image above.
Whatever you do, if you want to improve your photos, get away from using auto white balance and start taking control over the colors of your images by using white balance presets.
Learn More:
- White Balance Explained for Beginner Photographers
- Crucial Tips for Improved Sunrise and Sunset Photos
Take Photos Every Single Day

Perhaps the easiest thing you can do to improve your photography skills is to actually take photos.
That means dedicating yourself to taking photos each and every day.
You don't have to go out for hours on end or travel to a pretty location to practice photography, either. Just head to your backyard and see what you can do!
In fact, if you just spend 10 minutes a day taking 10 photos, you'll find that in due time, you'll see a marked improvement in your images.

You can go about your photo-taking in a couple of different ways, too.
On the one hand, you can choose to work on one skill at a time. So, you might work on framing for a few days and then work on using sidelighting for a few days and then move on to other concepts as you master each one.
Another idea is to work on genres. So, perhaps this week it's landscapes, next week it's portraits, and the week after that is street photography.
No matter how you do it, taking photos every day and committing yourself to practicing skill-building will have a positive impact on the photos you take.
Learn More:
- Easy Beginner Photography Tips That Will Immediately Improve Your Photos
- 5 Ways to Improve Your Photography Today
And Then Post Your Photos Each Day...

Though taking photos every day is great practice, it's hard to get feedback on the work you're doing if the photos never see the light of day.
Posting your images online can be a little scary, especially when you're just starting out.
After all, you aren't guaranteed that you'll get nothing but glowing feedback on the quality of your photos.
However, by and large, you'll find that people that comment on your work do so in a way that's constructive, especially if you ask for feedback to help you improve.

What's more, getting into the habit of posting a photo each day allows you to build a collection of images that you can then go back and review.
And if you're like me, you'll find that reviewing those images in chronological order reveals just how much your skills have improved with time.
Beyond that, posting images to places like Instagram, Flickr, or our galleries forces you to critically examine your own work.
That is, rather than just posting random photos, give it some thought and select the very best ones to share.
You'll find that doing so enables you to create a collection that might even reveal some interesting tendencies, like a genre you particularly like or a photographic style that really speaks to you.
Learn More:
Learn From Others

Improving your photography isn't just about what you do with your camera each day.
Instead, you can become a better photographer by looking at what other photographers do.
This isn't license to steal other people's ideas or try to copy their work...
But rather, I want to encourage you to take a look at the photos other people take so that you can begin to get a feel for what you think makes a good photo.

In particular, checking out other people's photos helps you develop your creative eye, form an understanding of the genres of photography that speak to you, and identify stylistic choices that you like.
In doing so, you're able to develop your own personal photography style, which will inform how you take and process your photos in the future.
Even something as simple as taking a few minutes each day to check out some photos by famous photographers can help you zero in on what you like and don't like in photography - and on what you want to learn to master, too.
Learn More:
Learn How to Meter

Your camera is equipped with various metering modes that are designed to help it read the light in the scene in varying conditions.
The default setting is typically called matrix or evaluative metering and refers to a metering mode that takes information from various points throughout the scene to get an average light reading.
Though this works fine in many cases, there are instances in which it falls flat and actually hinders the appearance of the image.
In particular, the matrix or evaluative metering mode is easily fooled by very dark or very bright scenes (like the one shown in the image above), so you need to learn how to use other metering modes in those situations.
Most cameras are equipped with metering modes like center-weighted average, partial metering, and spot metering. Check the Learn More section below for links to articles that delve into detail about each one.
For our purposes here, I'd like to focus on spot metering because it gives you the most pinpoint control over where the camera gets its light reading from.
Spot metering mode allows you to get a light reading from a single spot in the image that might only be 2.5-5% of the total frame.
That means if you're taking a portrait and there's very strong backlighting, you can choose to meter off a point that's on your subject's face, and the camera will use that area and that area only to read the light in the scene.
In other words, because it ignores the bright light in the background, the camera will expose the image for the person's face, resulting in a shot that actually allows you to see the person's face rather than it being rendered in silhouette.
Naturally, you have to be careful which metering point you use to meter in spot metering mode. Thankfully, changing the active point is a pretty simple process in most cameras.
Get more details on spot metering on Canon cameras in the video above from CanonUSA.
Learn More:
- A Beginner's Step-by-Step Guide to Metering Modes
- 10 Beginner Photography Tips and Camera Settings You Need to Know
Learn to Shoot in Manual Mode

Last, but certainly not least, learning to shoot in manual mode will have a significant impact on your ability to create stellar shots.
That's because in manual mode, you have control over every camera setting.
Though it's daunting at first, the more you practice shooting in manual, the better you become at a whole lot of things - exposure, white balance, metering, and so on.
Don't get me wrong - using aperture priority, shutter priority, and program modes is a great way to get more familiar with your camera and learn how to take more control over it.
But, ultimately, each of those modes still depends in part on the camera to make crucial decisions about the images you take.
Shooting in manual mode forces you to think about how the image will look and take measures to ensure the shot appears how you want.
And that, in the end, means you will be forced to take the time to learn how to manipulate depth of field, the noise levels, the appearance of movement in the shot, the lightness or darkness of the image, and so forth.
Once you're in control of all those things, all that's left is to practice using those controls to create the most compelling shots you can.
Get a few more tips on shooting in manual mode in the video above by Jana Williams.
Learn More:
We Recommend
Beginner Tips to Improve Your Photography
So, you've gotten yourself a camera and you're ready to start using it.
The question is, where do you even begin?
Sometimes, the hardest part of taking on a new hobby is simply getting started.
Well, getting started is just what this article is for!
In the video above, Kai W. offers up some quick beginner photography tips that will help you improve the quality of your photos.
He's been at this for quite some time, so trust the advice he offers...
For more details about a few of his tips, just keep reading below!
Get Confidence
As Kai points out in the video, the biggest problem for a lot of new photographers isn't a lack of skill.
I'd also add that it's usually not a lack of good enough photography gear, either.
Instead, it's more of a crisis of confidence.
So how do you get more confident as a photographer?
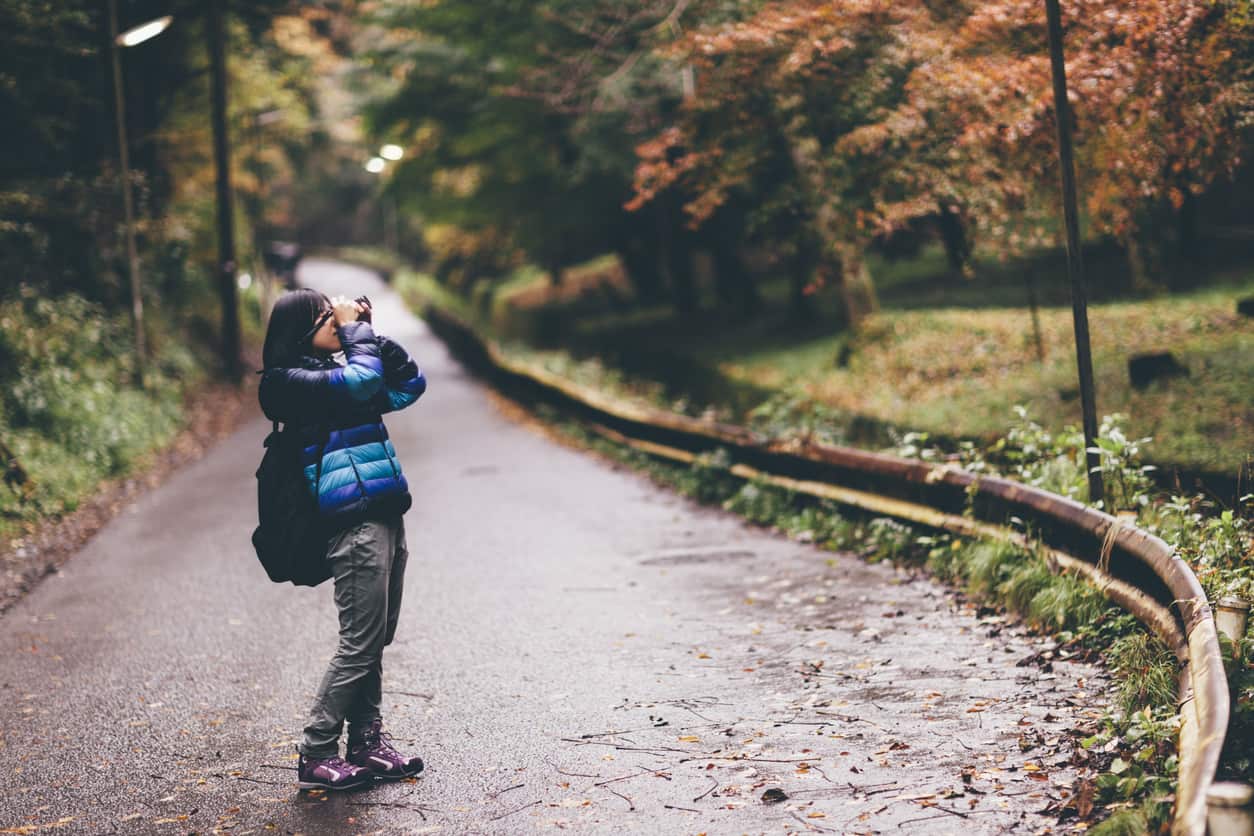
You simply take more photos, more often.
Taking the time to take photos each and every day is perhaps the best thing you can do to build your confidence and build your photography skills at the same time.
But that doesn't mean taking the same photos over and over and over again.

Instead, challenge yourself to try new things, as that will also challenge you to apply what you know about photography in many different situations.
Granted, you can't put yourself in every single photography situation you might ever encounter, but the more you practice different types of photography with different subjects and so on, the better you'll become.
Learn More:
Prepare Beforehand
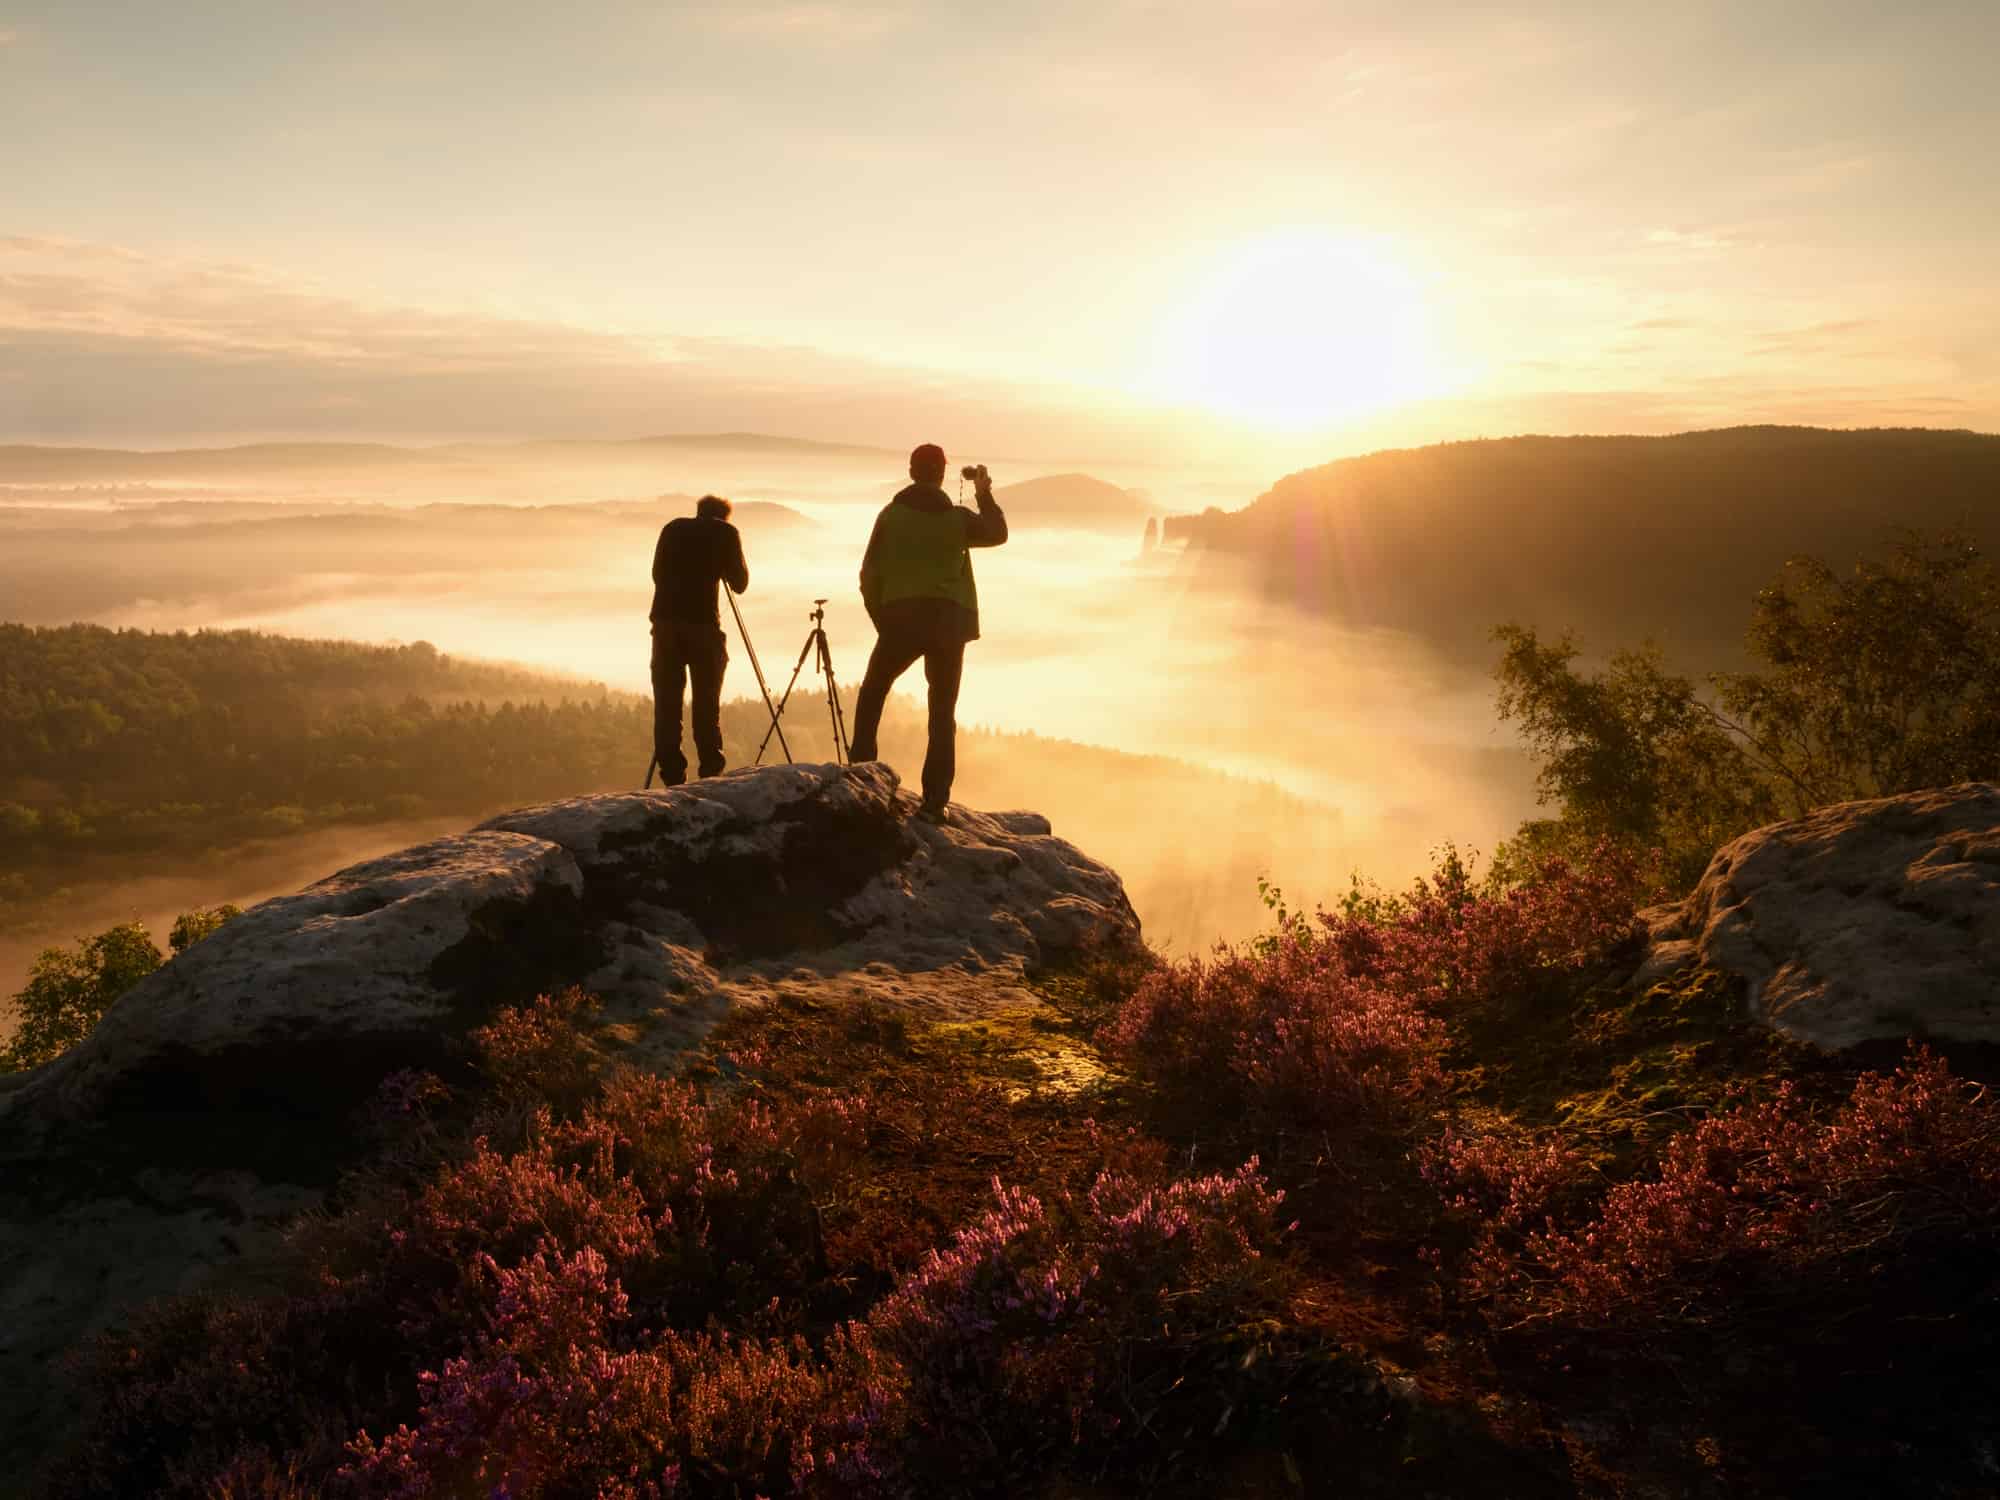
Here's a big secret...
Even though those YouTube tutorials you watch about photography might seem like the photographer just jumped out of the car and started shooting incredible scenery, that's not how it works.
Very seldom - and I mean very - do photographers just happen on a subject or a moment to photograph.
Instead, there's tons of preparation beforehand to increase the likelihood of getting a great shot.
There are a million and a half tools that photographers can use to prepare for a photo shoot, too...
Something as simple as Google Maps can give you a bird's eye view of the area you want to photograph, and in many cases a ground-level view as well.
If you want to shoot at a certain time of day (or night) you can download apps like the Photographer's Ephemeris to tell you exactly where the sun, moon, and other celestial bodies will be at a certain time and place.
Heck, there's apps like Camera+ that give your phone's native camera added functionalities like a visual grid system for composing better photos and touch and exposure features to make it easier to get a well-exposed, sharp image.
Beyond that, there are tons of places to simply view fantastic photos to inspire your own work. Our galleries are full of incredible images, and Flickr and Instagram certainly have tons of photos worthy of a good, long look.
Learn More:
- As a Photographer, These are the 13 Free Apps I Wouldn't Leave the House Without
- A Quick Photography Checklist to Help You Minimize Mistakes
Work With the Right Light

Part of being prepared to take great photos is going out to take photos under the right lighting conditions.
Shooting at mid-day under direct sunlight, for example, is not the ideal situation.
That's because the light at that time of day is very intense and will wash out the subject and cause harsh shadows.

Golden Hour, on the other hand, it an ideal time for outdoor photos because the light is soft, has a warm, golden tone, and since the sky is low in the sky, it produces long shadows that give the scene tons of depth and dimension.
This beautiful light occurs near sunrise and sunset, so if you're determined to get the best outdoor photos, you'll need to get up early or stay out late!
Learn More:
Gear Matters

Yes, gear matters...
Now, this doesn't mean that you need to go spend $3,500 on a professional DSLR, but you do need something decent if you're going to learn how to improve.
Decent these days might just mean your mobile phone or an entry-level DSLR.
It might mean having an entry-level mirrorless camera with one or two lenses that you can swap out.
The point is that you don't need expensive gear - or a lot of gear, for that matter - to take great photos.
In fact, if you have a camera, a lens or two, and a tripod, you can get pretty far!
Learn More:
- What Camera Should I Buy? Your Take-You-By-The-Hand Guide
- The Best Tripods of the Year
- 9 Items Any Photographer Would Want in Their Camera Bag
Get Even More Beginner Photography Tips
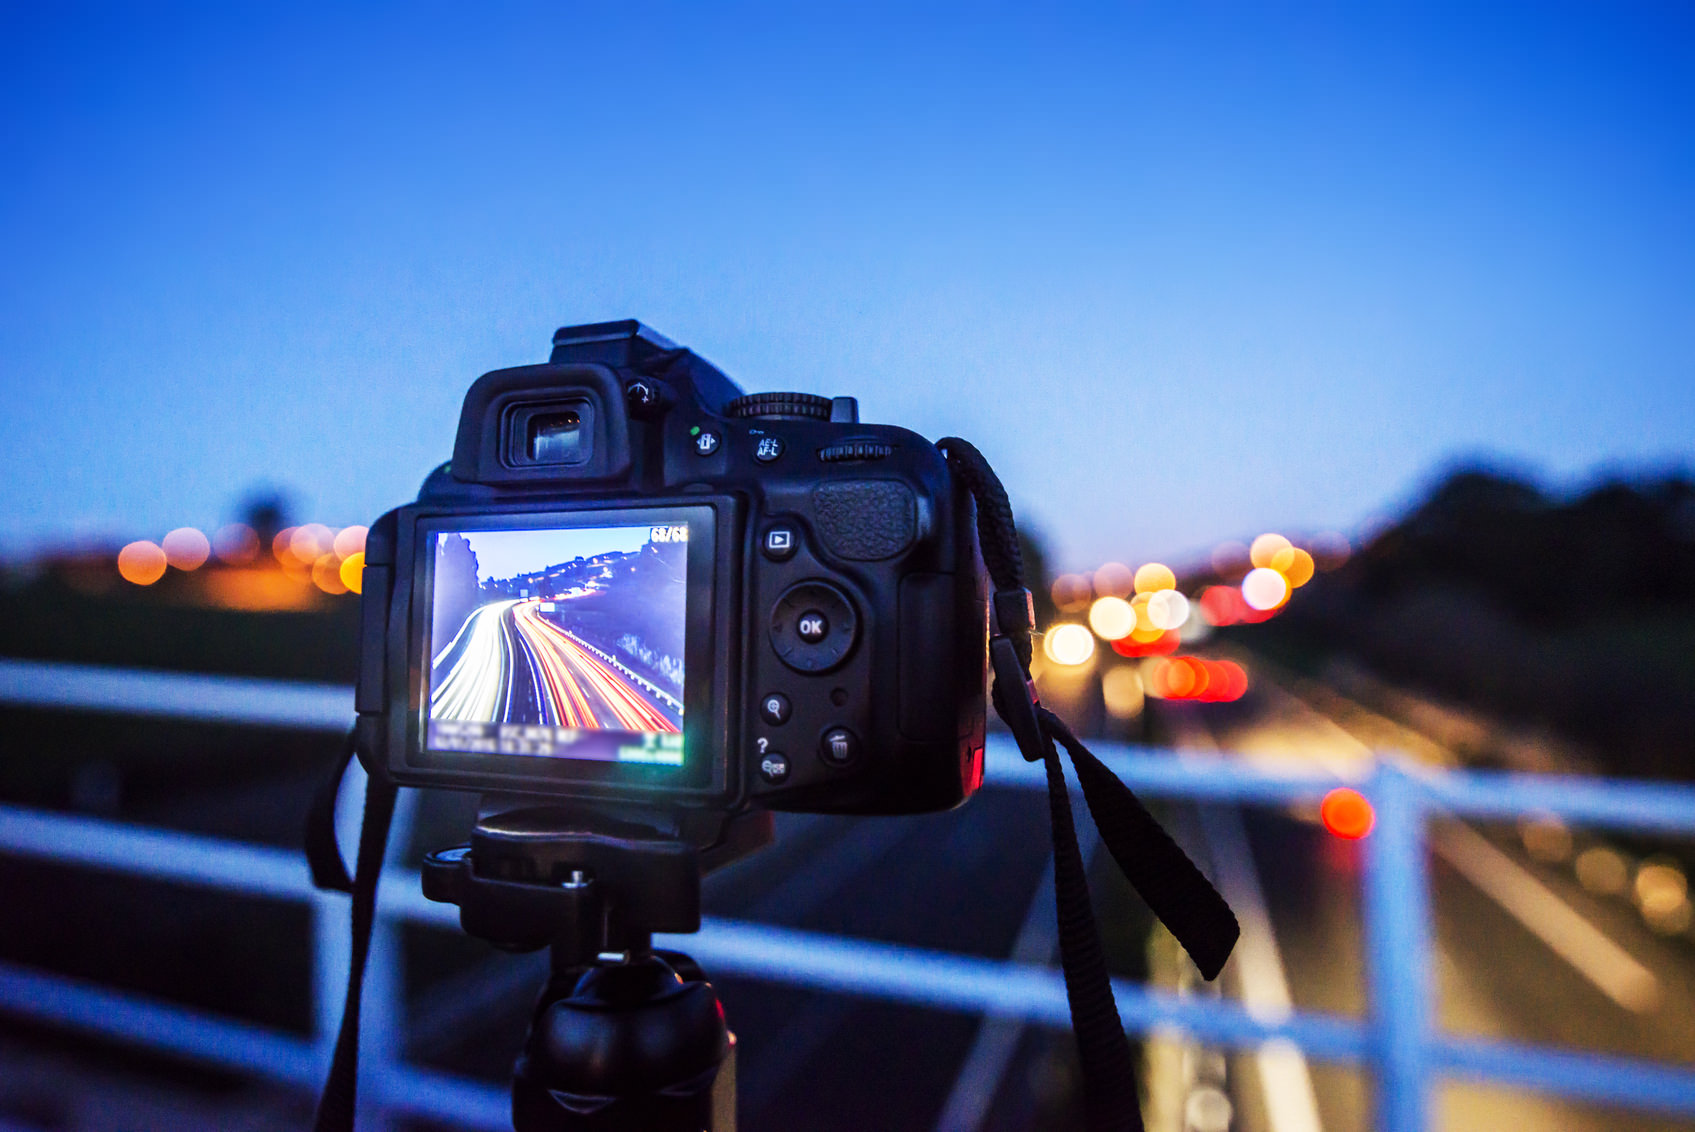
For a few more beginner photography tips, be sure you watch Kai's video all the way through. The guy knows his stuff!
Also be sure to check out our beginner photography section for loads of guides, tutorials, tips, and tricks that will help you up your photography game.
Remember...getting better is more about practicing than anything else.
So whatever lessons and guides you read and whatever videos you watch, be sure you have time afterward to go out and put your knowledge into practice!
We Recommend
Beginner's Guide to Composition
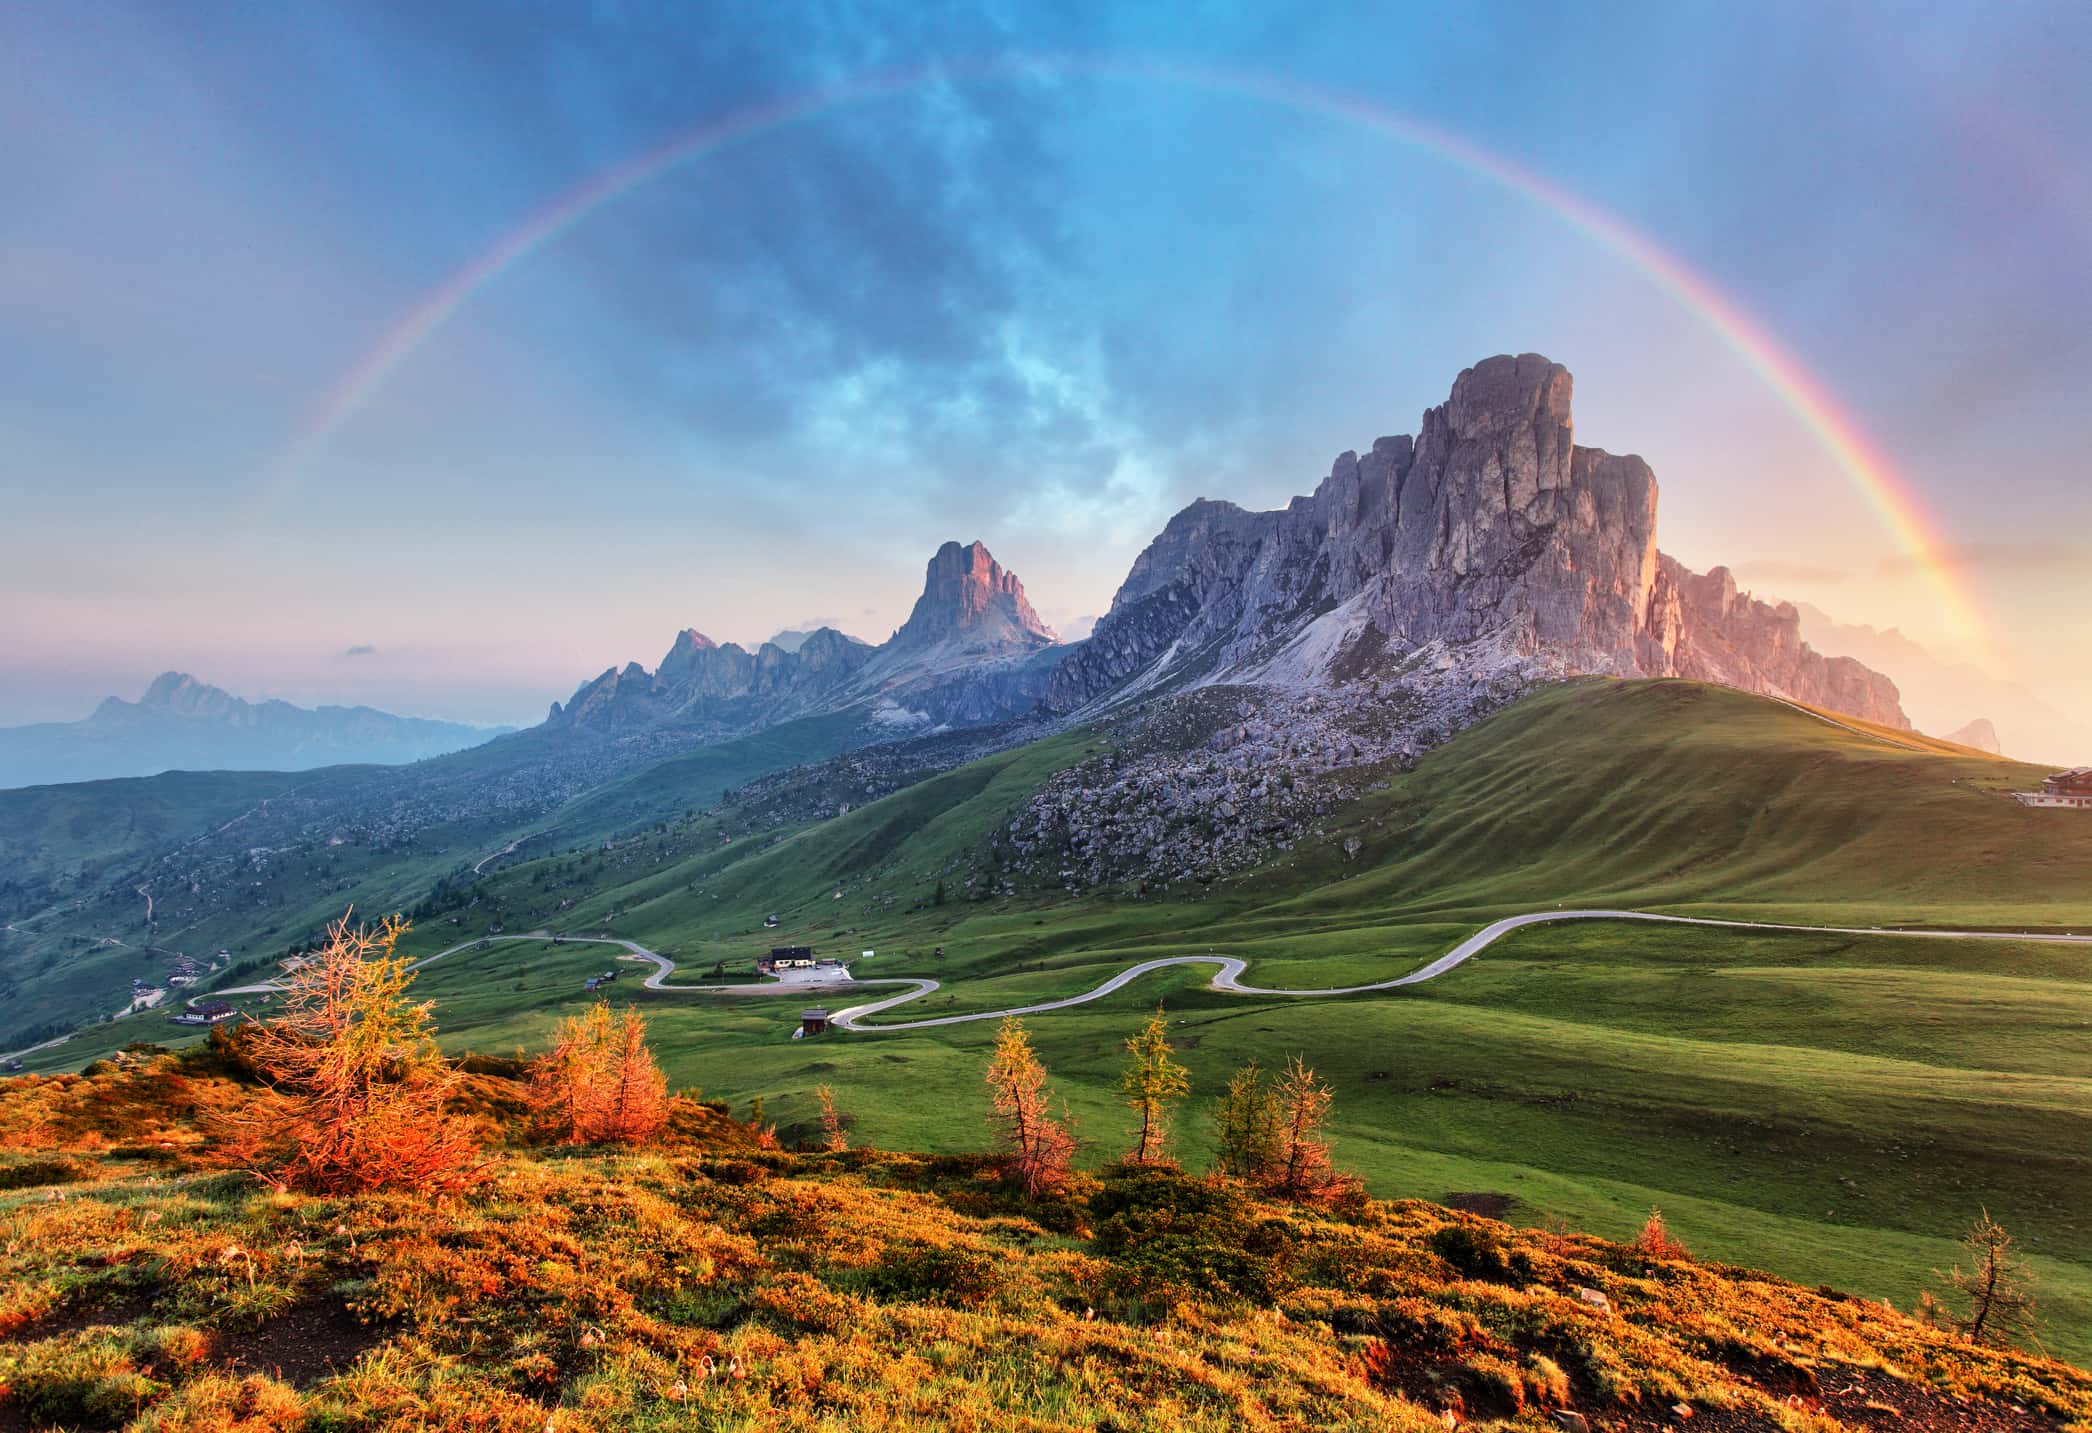
Artists have been trying to perfect the art of composition for as long as history lets us go back in time. We can see it in paintings, in tapestries, and even in ancient architecture. But nowhere else is the experimentation of composition as visible as it is in photography. After all, it can either make or break a picture.
Years later, we are still discovering and discarding different techniques that make pictures more aesthetically pleasing to the eye. But some methods have survived longer than others. And for a good reason - once the perfect formula of a stunning composition is found, throwing it away is downright silly!
So let’s have a look at a few composition techniques that have been recognized throughout different art forms as the best.
The Rule of Thirds
The Rule of Thirds is the most famous technique when it comes to photography. It is very simple and can have a huge impact on the way your photographs look.
Because of this, it is a go-to technique when first learning about photography. Heck, even camera manufacturers started to build it into their cameras for ease of use!

The concept of the Rule of Thirds is pretty easy - you divide your scene into three equal parts horizontally and vertically. Then, you use the dividing lines as guidelines when composing your picture.
These lines are supposed to be the main focal points, so naturally this is where you want to place your subject. For example, in landscape photography you can use the horizontal lines to decide where to place your horizon, as was done in the image above.
The reason the Rule of Thirds works so well is that even without ever knowing about this technique, we tend to naturally follow this grid and place the subject on these lines when capturing a picture. So I guess you could call this technique instinctive too!
Get more details on the Rule of Thirds in the video above by Professional Photography Tips.
Learn More:
Leading Lines
Using lines in your picture is an interesting way to narrate the story that your photograph is telling.
Our eyes tend to naturally follow a line when they see one, so using the Leading Line technique is a perfect way to help the viewer see what you want them to see in your picture.
The Leading Line technique also helps to create a sense of depth in your photograph, and gives it a three-dimensional effect. It's a perfect and easy tool to use when taking landscape pictures!
Left to right

There is a theory that our eyes naturally look at photographs from left to right, because that is the way we read. So why not keep this natural instinct in mind when composing your photograph?
Place whatever you want your audience to see first on the left side of your picture, and let them discover the rest of the story on the right. It’s not crazy if it works, right?
You can clearly see an example of this technique in the picture above. The little boy in the photo is setting the scene on the left side while directing our attention to the right because that's the direction he's facing. It grabs the viewer’s attention straight away and then tells a story of the relationship between him and his father.
Learn More:
Space to Move
It is very important to avoid making your pictures feel claustrophobic. A good rule of thumb is to have space for your subject to move into.
So, when photographing people walking, make sure that the empty space is in front of them and not behind them. This way you show their destination and create balance in your photographs.
Have a look at the image above. See how all three techniques come together in one image - the rider is positioned right on the vertical line from the Rule of Thirds, the horse’s face and torso are positioned on the horizontal lines, and they are riding from left to right with ample space ahead of them. Even the light is shining from left to right!
The Golden Ratio (Fibonacci Spiral) and the Phi Grid
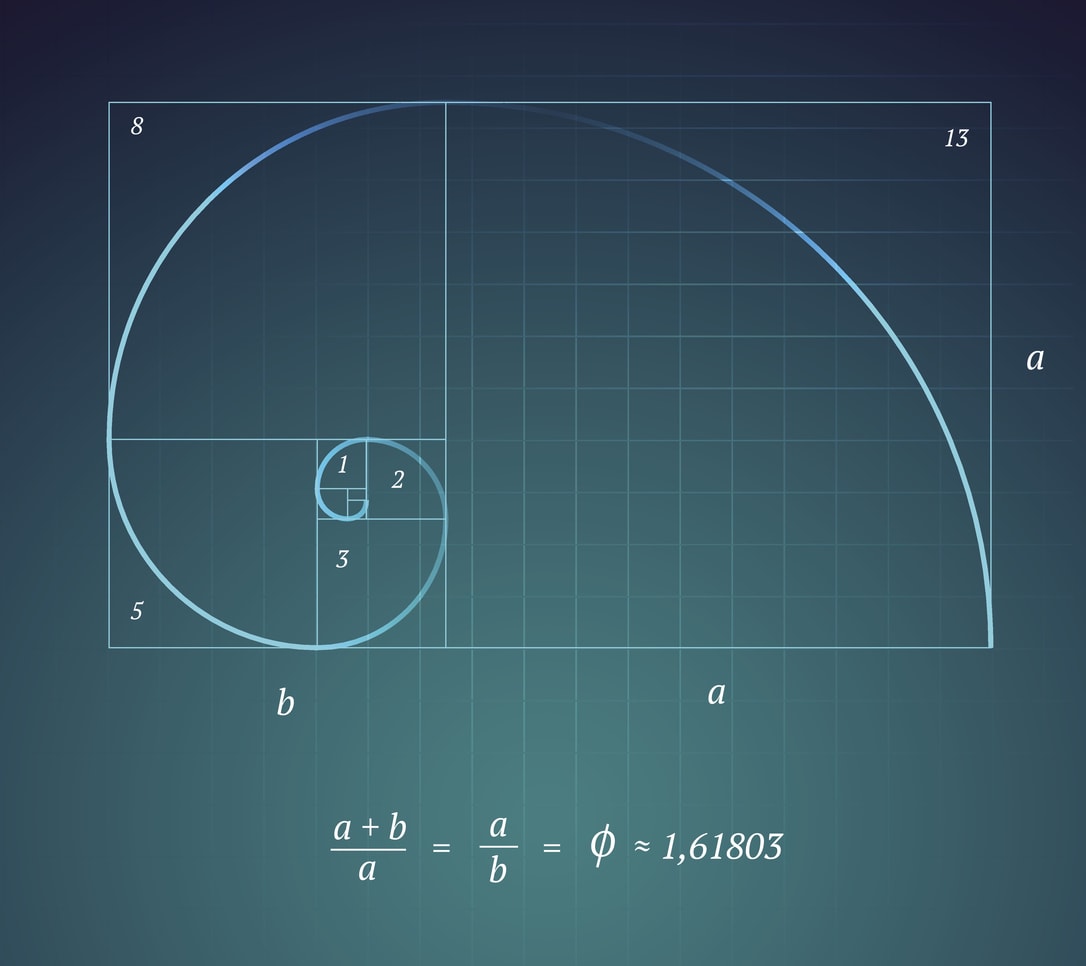
The Golden Ratio has been around since 1200 A.D, ever since Leonardo Fibonacci first noticed that nature has its own way of dividing things up. The so-called Golden Ratio is used in nature for maximum efficiency and can often be observed in flowers, seashells, and even the formation of galaxies!
Hidden behind this complex math is the famous Fibonacci Spiral - a technique that discovered the perfect ratio of 1 to 1.618.
Using this technique, you can capture a picture that could be divided into smaller triangles using a spiral. And for some bizarre reason, this will instantly improve the image’s aesthetics for the viewer.
As soon as this formula was discovered, artists were quick to adapt this to their work - you can even witness the Fibonacci Spiral in Leonardo Da Vinci’s work!
It's many years later, and this technique is still one of the most successful tools in creating and capturing a perfect image - there must be a reason it survived this long.

Using the ratio from the Fibonacci Spiral, you can draw a grid that looks very similar to the Rule of Thirds. But instead of dividing it into three equal parts we divide the frame into 1:0.618:1.
The Phi Grid has the dividing lines much closer to the center of the image than the Rule of Thirds, a more natural and less apparent way to divide the scene you are trying to capture.
And you don’t even need to calculate and try to apply the Phi Grid to your pictures as you shoot. Instead, you can simply keep it in mind and then crop your photographs to fit the Phi Grid in post production.
You can see how the Golden Ratio and the Rule of Thirds stack up in the video above by Seeker.
Learn More:
Play Around to Find Your Way
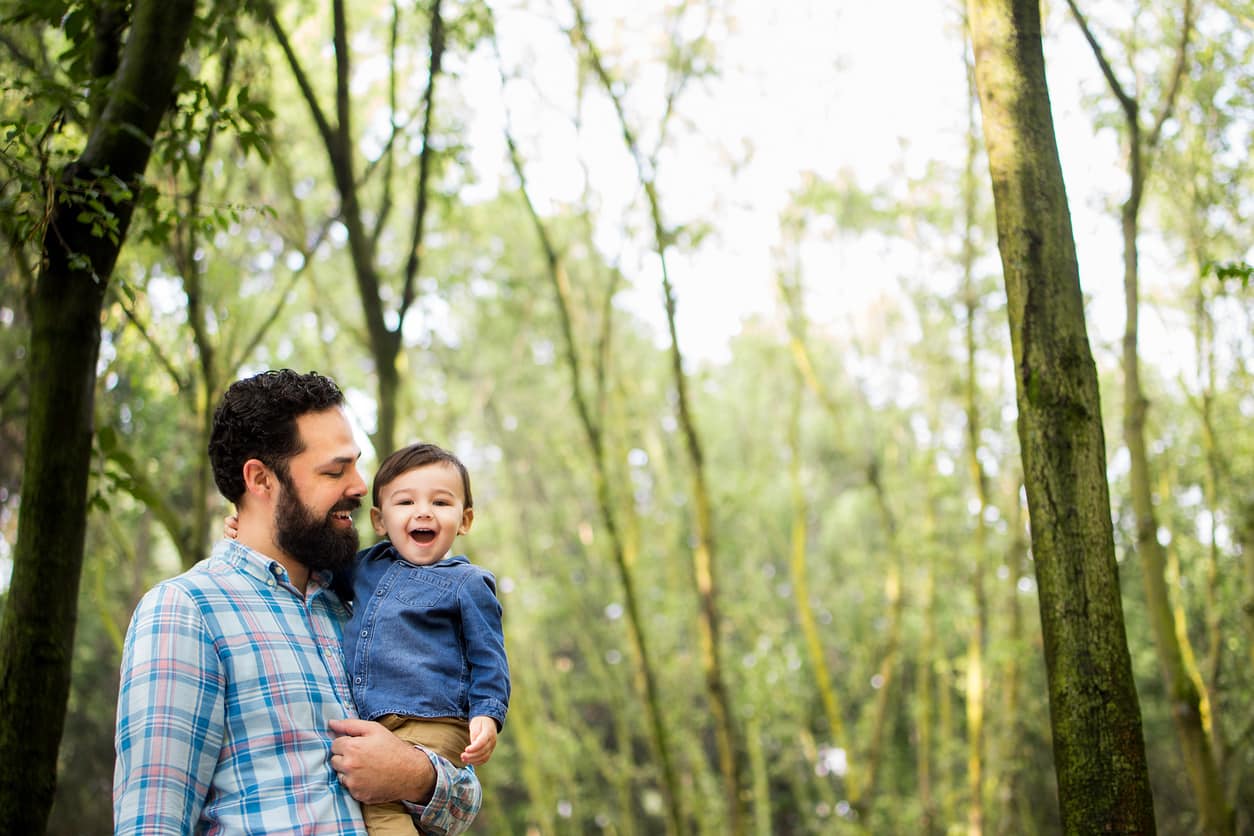
Now that you know the main techniques to improve your composition, it is time to get out there and experiment!
I can't tell you which one will work the best, as it’s all due to the personal preference and artistic choices.
But when you do find the one that works for you, let me know! I love to have discussions about what helps photographers take their art even further.
We Recommend
Christmas Photography Tips
 Image Credit: martin-dm via iStock
You've got the tree nicely decorated, the gifts wrapped, and your family in their matching ugly Christmas sweaters...
Now all that's left to do is take a few memorable photos.
Ugly sweaters aside, if you want your Christmas photos to go off without a hitch, follow these Christmas photography tips.
From family portraits to photos of Christmas lights, this quick set of Christmas photography tips will get you headed in the right direction.
Let's get started!
Recommended Gear for Christmas Photos
 Image Credit: yulkapopkova via iStock
You can take great Christmas photos with any camera - smartphones included.
Having said that, as capable as smartphones are as cameras, having a DSLR or mirrorless system with interchangeable lenses will likely help you be more successful in getting photos of the festivities.
This doesn't mean you need a $3,500.00 camera body, though...
An entry-level DSLR with manual exposure controls and RAW shooting capabilities will give you all the control you need.
 Image Credit: SolStock via iStock
Pair your camera with a solid zoom lens, perhaps something like a 24-70mm.
What's great about a zoom lens like this is that you have a wide range of focal lengths, so you can take group photos at 24mm, fill the frame at 70mm, and have plenty of room to work in between.
Since many Christmas photos are taken indoors in low-light situations, a tripod and remote shutter release are also a good idea to have, that way you can slow the shutter (more on that below) as needed to brighten the exposure without risking camera shake.
Quick Tip: Whatever you do, don't use the pop-up flash on your camera. The light from a pop-up flash is extremely harsh, will wash out many skin tones, and cause harsh shadows. Instead, try using a hot-shoe speedlite like this one that has an articulating head, that way you can bounce the light off a wall or ceiling to soften it.
Recommended Camera Settings for Christmas Photos
 Image Credit: monkeybusinessimages via iStock
I think it goes without saying that there is no magic set of camera settings that will get every single person the best Christmas Day photos.
Having said that, there are some starting points that will help you find your way.
Camera Settings for Indoor Portraits
 Image Credit: ViDi Studio via iStock
Fortunately, there is usually a little more ambient light indoors during the holidays thanks to all the Christmas lights. However, you'll likely find that your camera still needs help to get a properly-exposed indoor portraits, which usually means boosting the ISO. Try the following settings as a starting point for indoor portraits:
- Exposure Mode: Aperture Priority (A or Av on your camera's dial)
- Drive Mode: Continuous
- Focus Mode: Single autofocus
- Metering Mode: Spot
- Aperture: f/5.6
- ISO: 400
- Shutter Speed: Will be set by the camera
By shooting in aperture priority mode, you control the camera's aperture and ISO while the camera controls the shutter speed. This is advantageous because it allows you to have more control over the exposure but without having to worry about all three settings.
If you start out at these settings and find that your images are too dark, try opening the aperture (say, from f/5.6 to f/4).
You'll find that as you open the aperture, that the depth of field is reduced, which can produce beautiful background blur.
Camera Settings for Outdoor Portraits
 Image Credit: AleksandarNakic via iStock
Getting the camera settings just right for outdoor portraits at Christmastime can be a challenge, to be sure.
In some instances, you might be taking photos at dusk. In others, it might be at midday. Some of you might have snow on the ground for your photos while others might be at the beach.
Again, there's no single set of camera settings that will work in every situation, so use the following as a starting point and work from there:
- Shooting Mode: Aperture Priority
- Drive Mode: Continuous
- Focus Mode: Single autofocus
- Metering Mode: Spot
- Aperture: f/2.8 (or the lowest available aperture setting)
- ISO: 200
Notice how in this instance, using the widest aperture possible is recommended. Again, this is to get that nice background blur that will help set your subjects apart from the background in an outdoor photo shoot.
For a few more tips and tricks for great Christmas portraits, be sure to check out the video above by Moose Winans.
Learn More:
Camera Settings for Christmas Light Photography
 Image Credit: JamesBrey via iStock
Your loved ones aren't the only subjects you'll want to photograph at Christmas - what about all those beautiful Christmas lights?!
Give these settings a shot as a good starting point for capturing all that beauty:
- Shooting Mode: Manual
- Drive Mode: Single Shot
- Focus Mode: Single autofocus
- Metering Mode: Matrix
- Aperture: f/2.8 (or the lowest available aperture setting)
- ISO: 400
- Shutter Speed: 1/50th sec
Contrary to our first two examples of portraits, when shooting Christmas lights, it's recommended to shoot in manual mode. Not sure how to do that? Check out this detailed guide.
The key setting here is the shutter speed. If at 1/50th sec the image is too dark, slow it down to 1/25th sec. On the other hand, if the image is too light, speed it up to 1/100th sec.
Getting the ideal shot of Christmas lights will require a little bit of work, but if you start with these settings, you'll be in a good position to get pleasing photos!
Quick Tip: Be careful of setting your shutter speed too low. If there are lights that blink, a slow shutter speed runs the risk of blurring the lights.
Composition Tips for Christmas Photos
 Image Credit: Steve Debenport via iStock
One of the most common mistakes that people make when photographing Christmas is taking a shooting position that's too far away (or zooming out too far).
Instead, challenge yourself to fill the frame with the subject for a more detailed and intimate shot, like the one shown above.
Another top tip is to really focus on having a central, strong subject in each image.
This can be difficult to do given all the lights and decorations associated with Christmas.
But no matter if you're photographing people, Christmas lights, or something in between, your shot needs to have something that stands out and grabs people's attention.
 Image Credit: morrowlight via iStock
When taking outdoor photos, try incorporating tried-and-true landscape photography tips like leading lines to add depth to the shot.
Additionally, bring in foreground elements - plants or decorations, for example - to add dimension to your photos.
When composing your photos - whether indoors or out - pay particular attention to how you frame the shot.
Ensure that all people in the image are fully there - no chopped off heads or knees!
 Image Credit: monkeybusinessimages via iStock
Lastly, since Christmas is all about love and family and friends, strive to capture moments that highlight the relationships between people.
Sure, it's fun to get shots of kids' faces as they open their gifts, but 10 years down the road, the more important shot to you will be the one of your child hugging your spouse or your siblings sharing a laugh.
Focus on those fleeting, yet meaningful moments, and you'll have Christmas photos that you cherish for years to come!
We Recommend
Common Mistakes to Avoid as a Beginner Photographer
When you just start out in photography, it can be an overwhelming experience.
After all, there's TONS to learn about photography, from the gear you need to how to use that gear to understanding things like composition and exposure.
With so much to learn, it's easy to make simple mistakes that negatively impact the quality of the photos you create.
But you've taken the first step to correcting those mistakes by checking out this article!
Now let's examine a few critical errors you might be making and how you can fix them.
Mistake #1: Not Adjusting Your Exposure Settings
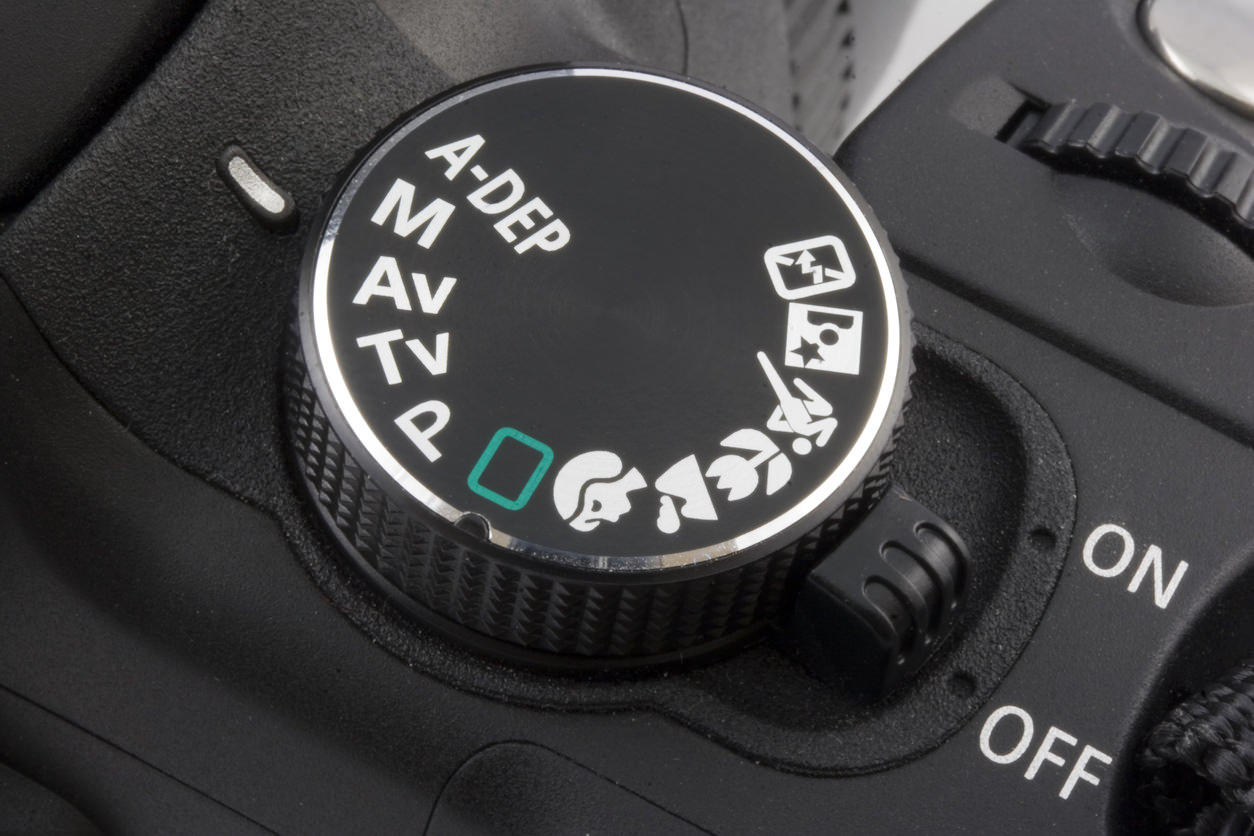
One of the most common errors that new photographers make is not accounting for the difference in lighting from one shot to the next.
Part of this is surely a reliance on shooting in full auto mode, which does an okay job in many situations but doesn't allow you to have the most control over what your camera does.
If learning how to control exposure sounds scary, it really isn't!
In fact, there are semi-automatic camera modes that can help you ease into it.

Aperture priority mode allows you to decide the aperture and the camera will come up with a shutter speed to get a well-exposed image.
That means that rather than relying solely on the camera to set the exposure settings, you have some say in it without taking full control as is the case when you shoot in manual mode.
Aperture priority mode is a good choice for situations in which you want to control depth of field, like in a portrait.

Shutter priority mode is great for situations in which you want to control how motion appears in your photos.
For example, if you're taking a photo of a dog running and you want to freeze its movement, you can select a fast shutter speed and the camera with select an aperture that results in a good exposure.
Conversely, if you want to blur the movement of water, you can select a slow shutter speed and the camera will again select an appropriate aperture for a good exposure.
In other words, you change one setting, the camera adjusts another to compensate, and all else being equal, you get better exposed images from one shot to the next!
The next step to utilizing these camera modes to get better photos is to learn how to use them.
To help you do that, have a look at the video above by KelbyOne.
In it, you'll learn more about these semi-automatic modes and how to use them to your advantage.
Mistake #2: Shooting Too Quickly

I'm one of those people that prefers to do everything quickly, so this tip is a hard one for me to pull off, even after years and years behind the lens.
But by shooting too fast, you aren't doing yourself any favors.
That's because if you move too quickly, you don't have as much time to concentrate on the composition and framing of the shot.
As a result, you can end up with portraits that are out of focus, landscape shots that have a crooked horizon, or images in which the subject is obscured, like the boy in the image above.
Additionally, without a moment to pause to double-check your camera settings, you'll often find that you take images that are totally worthless from an exposure standpoint.

I'm not talking about spending five minutes on each shot, either.
In fact, just a few seconds can help you take much better photos.
To avoid this mistake, force yourself to take 5-10 extra seconds before each shot to check the following:
- Scan the scene for anything distracting - weird shadows, an ugly background, or a portrait subject that's posed in an odd way - and take measures to correct the issue. Note how the image above is a much better photo of the family because the posing was changed so that each person's face is visible.
- Look at the lighting in the scene and make adjustments to the exposure settings as needed.
- Adjust other camera settings as needed too, including the focus point, the white balance setting, and the metering mode.
- Perfect the composition and framing, paying attention to things like the rule of thirds to compose a more interesting photo.
Mistake #3: Not Shooting in RAW

Perhaps the biggest mistake you can make as a beginner photographer is to shoot all your images in JPG format.
Though JPG is great for quickly sharing images, they aren't great for editing images.
That's because JPGs are compressed, so your camera decides what information from the sensor to keep and what information to discard.
As a result, JPGs don't give you as much to work with in post-processing. Additionally, to edit a JPG means you have to change the original file (unless you save a copy), making them what's called destructive edits.
In other words, if you edit a JPG without first making a copy of the original, you'll never get that original image back.
RAW files, on the other hand, retain all the data from the camera's sensor, giving you much more information and detail to work with in post-processing.
That gives you the ability to recover lost details from highlighted or shadowed areas, make adjustments for things like lens distortion, and adjust white balance, just to name a few.
And because the edits you make to RAW files are saved in a separate file, they are non-destructive. In other words, you can edit the same RAW file over and over again and not have to worry about losing the original data.
The drawback to RAW files is that they have to be processed before they can be shared. They are also very large files that will quickly eat up space on your memory card.
Nevertheless, RAW is much better than JPG, and shooting in RAW is something you'll need to do at some point anyway. Why not start now?
Get more details on the JPG vs. RAW debate in the video above by Tony and Chelsea Northrup.
Wrapping It Up
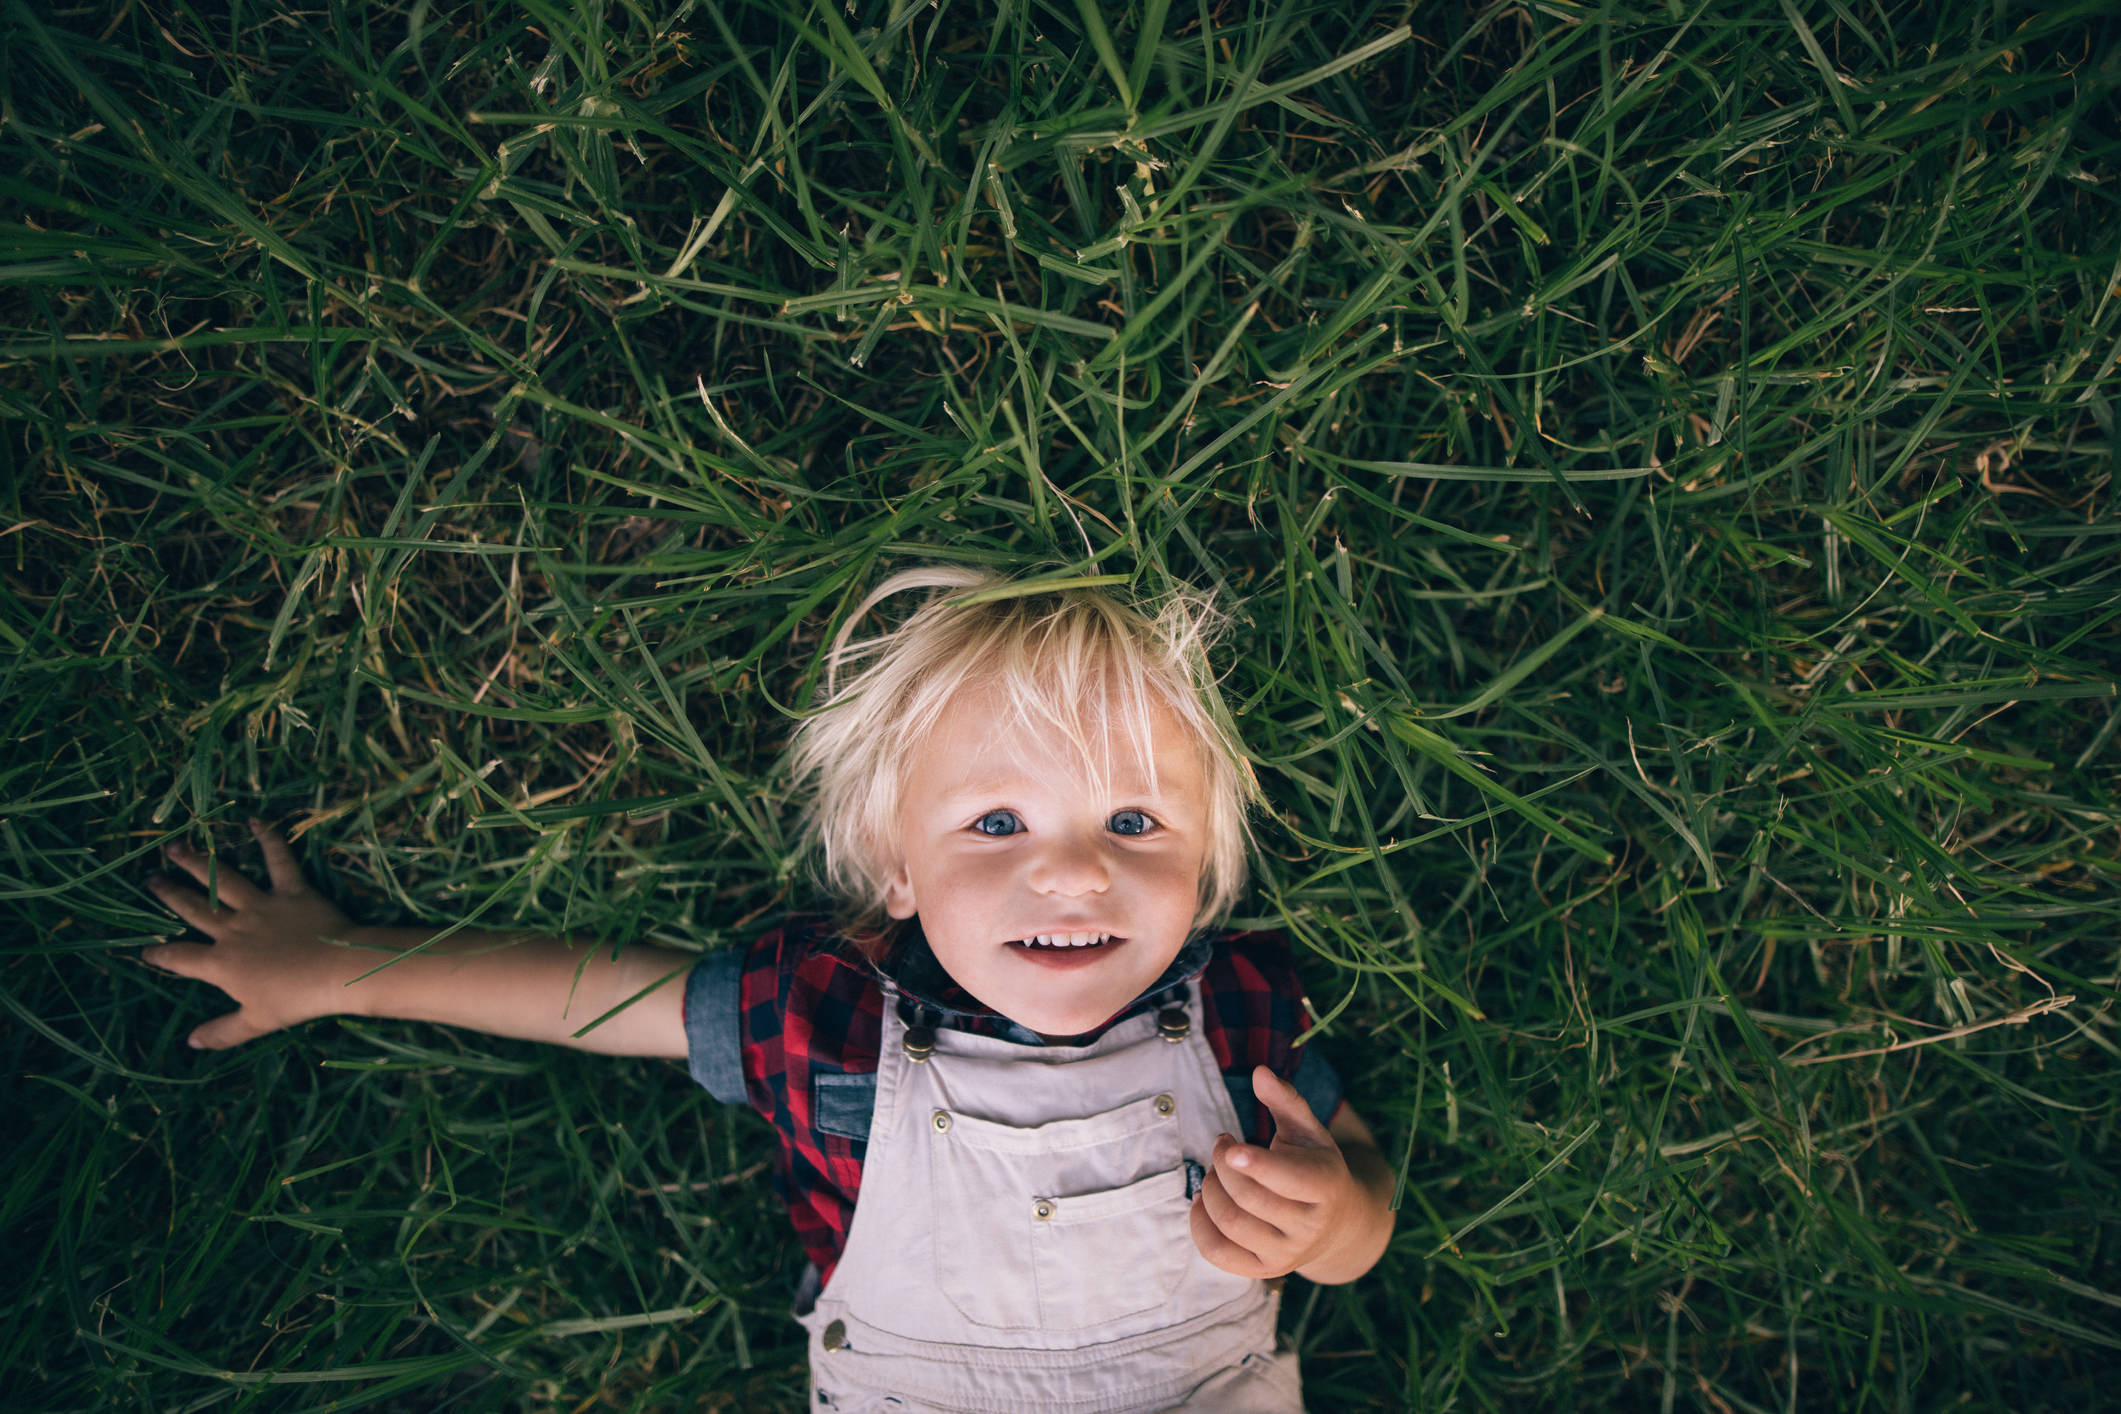
Are there other mistakes you can make as a beginner? Absolutely.
Are there plenty of other tips and tricks you can use to improve your photography? Definitely!
But these three tips will certainly get you on the right path to avoiding common beginner photography mistakes.
Test out each one, incorporate them into your workflow, and I'm sure you'll find better photos as a result!
We Recommend
Common Photography Mistakes to Avoid as a Beginner

I don't want to age myself here, but it's been a good, long while since I was a beginner photographer.
And though plenty of time has passed, I still remember the days of struggling with camera settings, screwing up my post-processing (in the darkroom, no less...), and wondering if all the chips were ever going to fall in place or if I was destined to keep making stupid photography mistakes over and over again.
Well, I'm here to tell you that as bleak as it seems sometimes, if you stick with it and learn from common photography mistakes, you'll eventually get to a place where you start producing some pretty great photos.
With that in mind, here's a quick list of things to avoid as a photographer, and mistakes from which you can learn a thing or two.
A Common Mistake for Beginners: Forgetting to Check the Exposure Settings

One of the biggest steps to take as a beginner photographer is to move out of full auto mode and into manual mode (or, at the very least aperture priority, shutter priority, or program mode).
By taking more control over the camera's settings, you make your job a little harder, but that added control means that you can get better photos, like the one above.
Of course, if you've been a full auto shooter thus far, you're used to not having to change your exposure settings to accommodate differing lighting conditions.
But once you're shooting in manual mode, you'll need to remind yourself to make adjustments as the lighting changes. Otherwise, you'll end up with tons of photos that are overexposed or underexposed.
Editor's Tip: Get better-exposed images by using your camera's histogram to inform you about the highlights, shadows, and midtones in your photos.
Learn More:

Easy Does It: Slow Down to Avoid Mistakes

I'm not always the most patient person, and sometimes that's my downfall as a photographer.
But believe it or not, simply slowing things down and taking a few extra seconds to check your composition or check the camera settings or give your model a little instruction about how to pose can mean the difference between getting a photo that's a keeper and getting one that needs to be deleted.

Beginner photographers sometimes take the "spray and pray" approach, thinking that having a huge quantity of images will improve their chances of getting one or two good photos.
But the reality is that if you take your time, you'll find that you have more high-quality images (like the one above) in fewer shots than if you treat your camera like a machine gun!
Slow down, take a breath, and concentrate on each frame you take.
Learn More:
- 7 Mistakes You're Making With Your Photos (and How to Stop)
- 12 Simple But Impactful Tips for New Photographers

Create Better Portraits by Learning How to Pose

One thing that separates experienced photographers from novices is that the pros understand how to pose people for portraits.
Right now, you might simply tell people where to stand and smile for the camera. But that's likely not getting you many pro-looking results.
Instead, don't make the mistake of thinking that it's up to the subject to look good. Instead, you need to develop your portrait posing skills to help each person you photograph look their best.

Posing is much more than just a person's posture or their stance, too.
Instead, posing is about their smile, where they're looking (i.e., at you or out of frame, as shown above), what they're doing with their hands, how their shoulders look, and so forth.
With so many different elements to consider, it's no wonder that beginner photographers aren't sure how to pose people for portraits!
Learning how to pose people isn't as difficult as you might think, though.
In the video above by Marc Klaus, you can learn a few simple but effective posing tricks that you can use with subjects that have no modeling experience whatsoever.
Review the tips he provides, put them into practice, and see how far a little knowledge can take you!
Learn More:
Final Thoughts
Becoming a better photographer is really about dedicating yourself to the process.
That means taking steps (like reading tutorials!) to learn new skills and acquire new knowledge that will help you minimize mistakes and start taking better photos.
In the video above by Bethany Kay, learn a few more tips and tricks for minimizing photography mistakes and creating eye-catching images.
We Recommend
Composition Basics: Introduction to Visual Composition
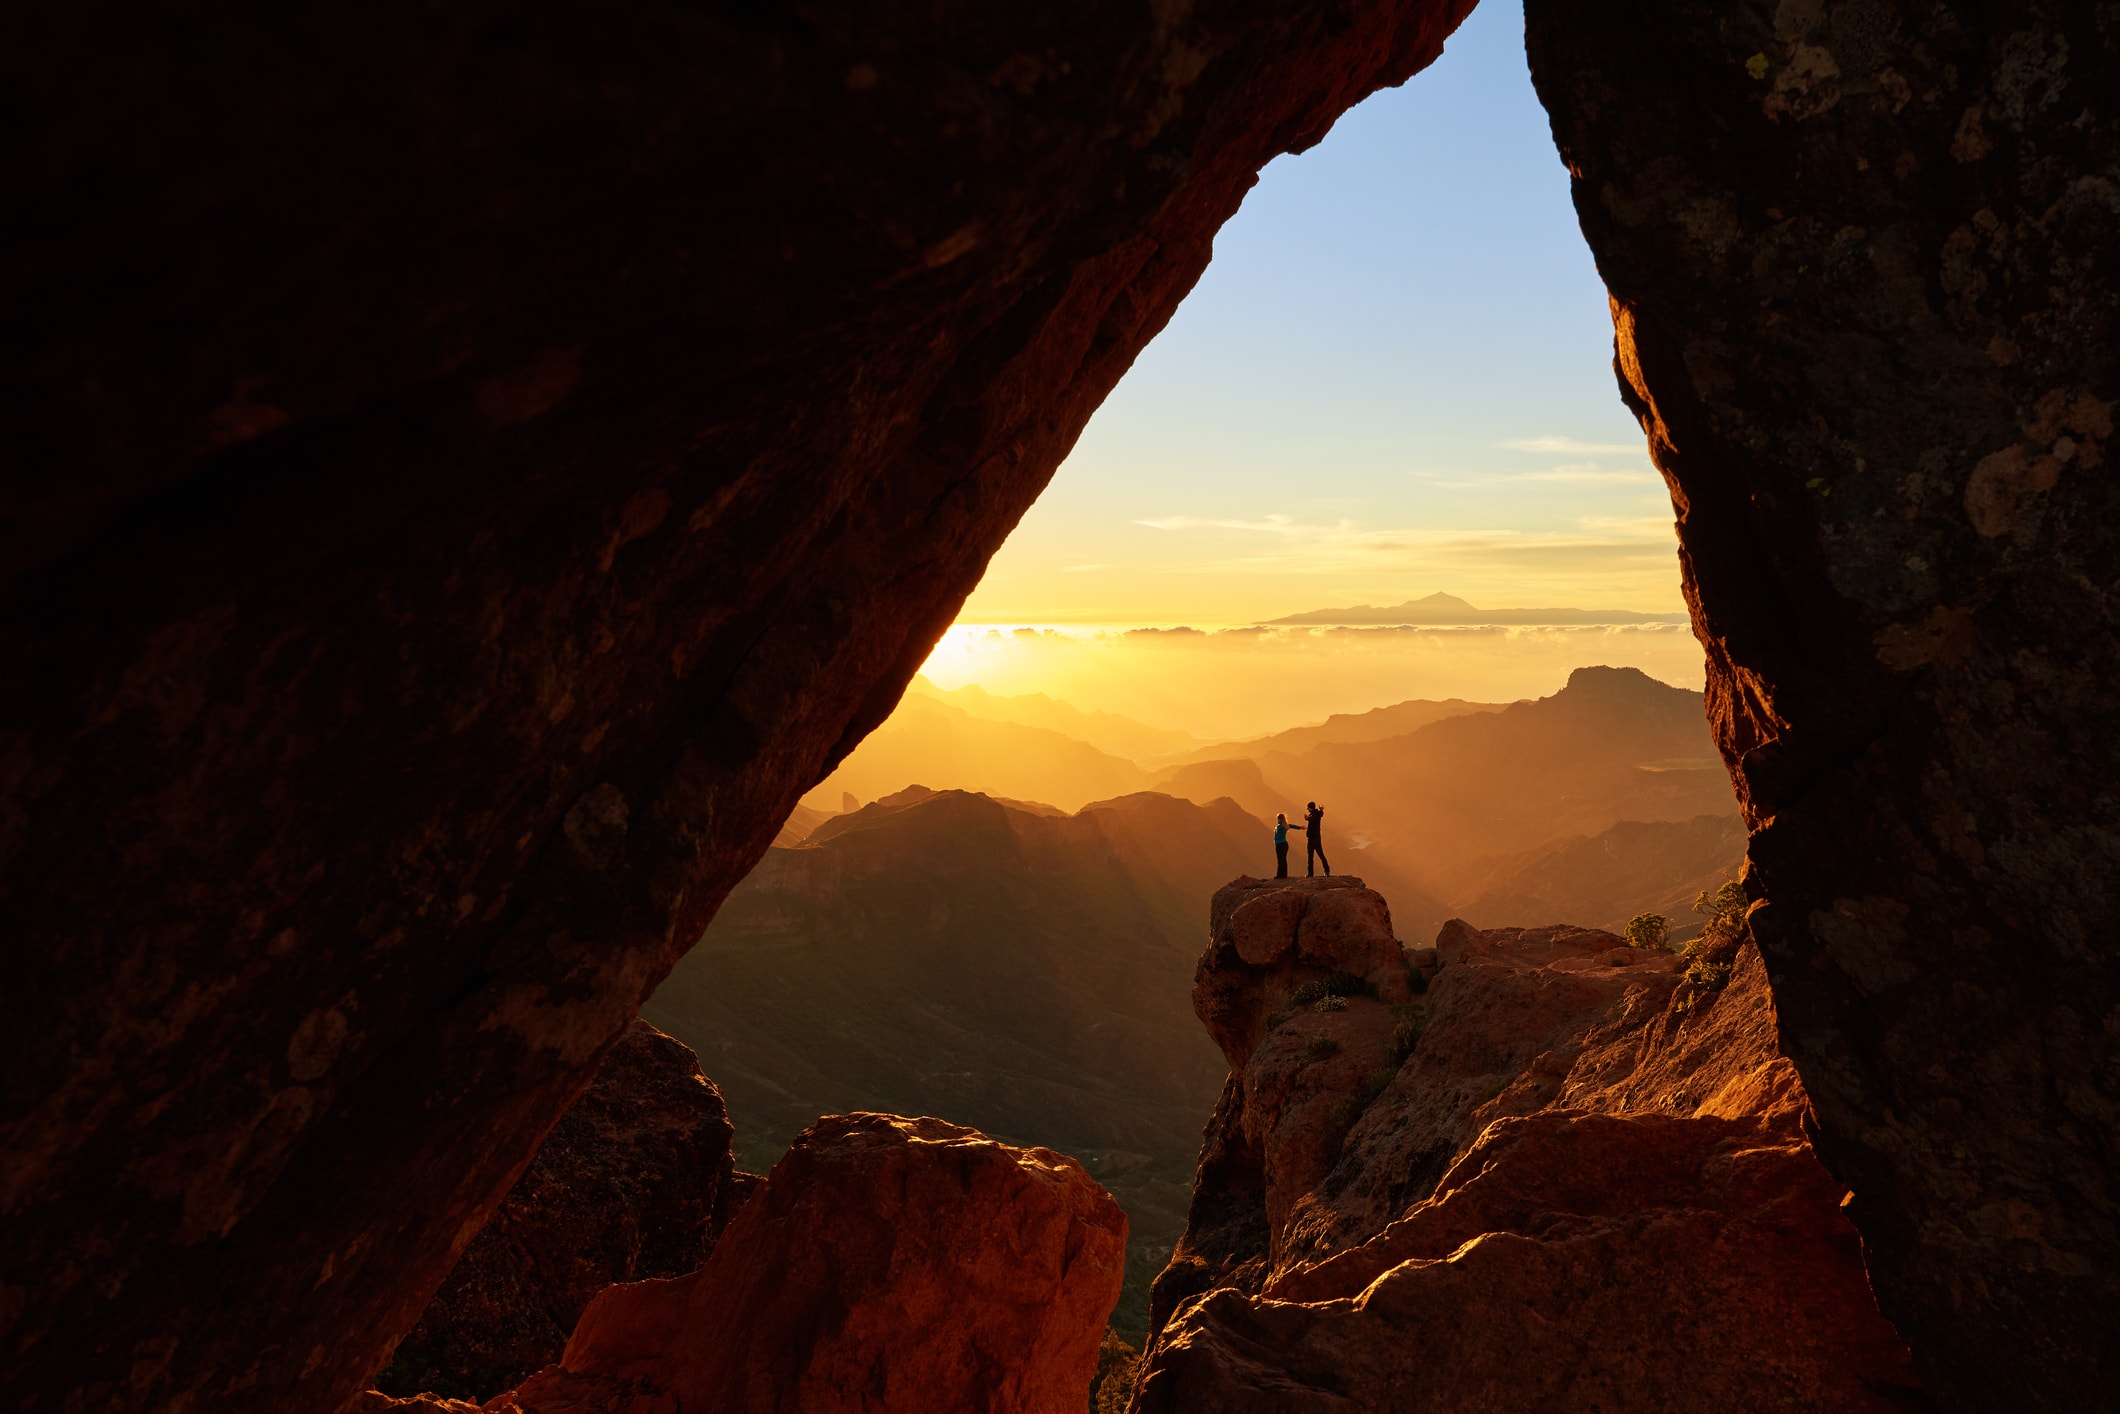
Before beginning this series of lessons, it's very important to define the topic that we're discussing.
Composition is one of the most basic principles in the world of visual arts. Ironically, it's also one of the most misunderstood and, in fact, is often thought to encompass much more than it actually does.
Defining Composition

If you're confused at this point, that's not surprising. There are dozens of articles out there putting a creative twist on the subject of composing photographs and that's fine. Photography is a creative process.
For the purpose of the upcoming basic lessons, however, we need to be a bit more concise in our definition. We'll discuss broader concepts later in the series, but these introductory lessons will focus on the elements of visual composition as it has been defined for centuries:
Visual composition is the arrangement of elements within a piece or the act of purposefully arranging those elements.
That's it. Note that there's nothing within that definition about special effects, lighting or any of the other tools of the trade or creative aspects of the design process.
Visual composition begins and ends with the placement of visual elements in an image.
Composition vs. Design

"Composition" is often confused with other artistic principles. The most common of these is design.
Design actually has a much wider scope and, in fact, includes composition as one of its elements.
Before we move on, let me clarify this point, using light as an example.
The quality, direction, and quantity of light in a photo has great impact on the photo. It creates lines, enhances forms, emphasizes textures, and of course, is an element of exposure.
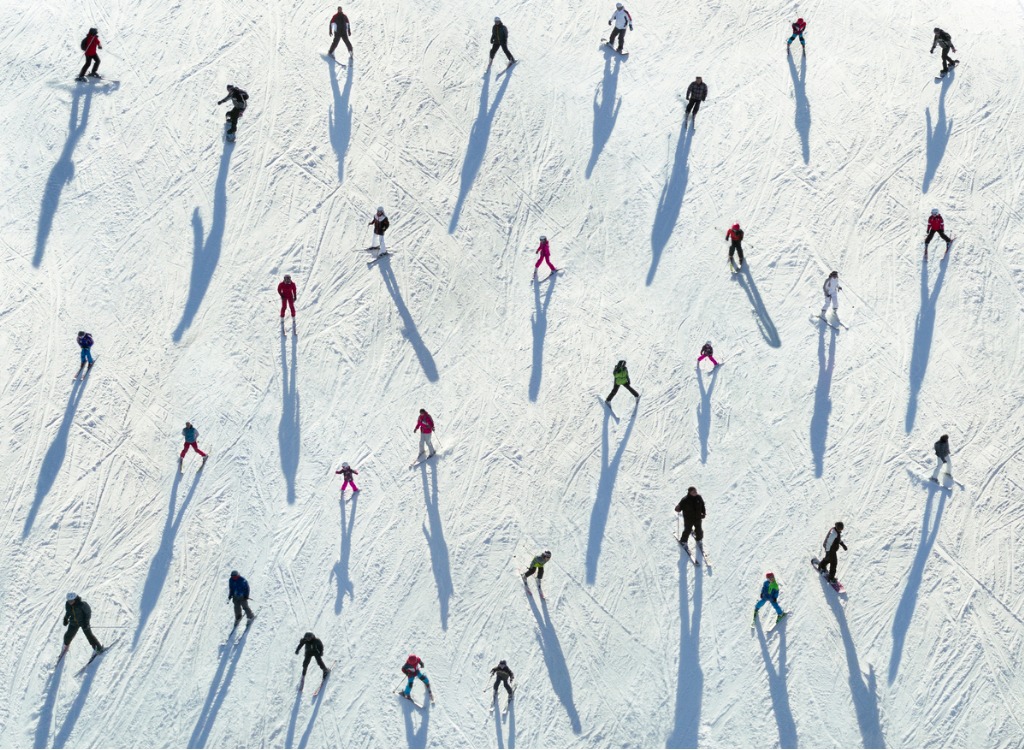
For a photographer, light is a tool that can create visual elements like shadows, enhance or emphasize elements or create divisions within an image, but the light itself is actually part of the design of the image, rather than part of the composition.
It's also important to understand that composition can't be completely understood without discussing some of the elements of design.
For instance, shape, form, texture, color, space, and depth are all elements of design that can be observed and impacted by the elements within a composition. Those elements may also be used to help direct attention to or divert it from specific elements within a composition.
Keeping it Simple
Don't be concerned if the explanations above seem confusing at this stage. The most important point is that composition is actually a very simple subject with a limited number of principles.
That concept will become more clear as you move forward with the lessons in this series, and understanding its simplicity will help you learn to use it effectively.
The Rules

This set of lessons, like any practical photography course, will introduce you to a set of "rules of composition." That term applies to several techniques that have been proven to strengthen the composition of your images. Each one is a tool that can be used separately or in conjunction with other rules to create powerful visual compositions that make your images more interesting and dynamic. Your creative vision is the "user's manual" that should dictate how you use those rules.
Breaking the Rules
The rules, of course, can be considered guidelines, and there will - and should - be times to break them individually or simply throw the whole rule book out the window. That's part of the creative process and you'll develop your own sense of when and when not to use each rule.
Nevertheless, it's important to know them in order to use them when they apply.
One good example of a time to forget the rules of composition is when your photos are being taken strictly for documentation purposes.
For instance, if you're shooting flowers or birds for identification purposes, such as for a guidebook, the details in your photographs will be much more important than an artistic design.
Another would be when you simply believe that placing the horizon directly in the center of a landscape photo works best for your vision of the final image. You're the creator. Use the rules (or not) on your own terms.
Final Thoughts
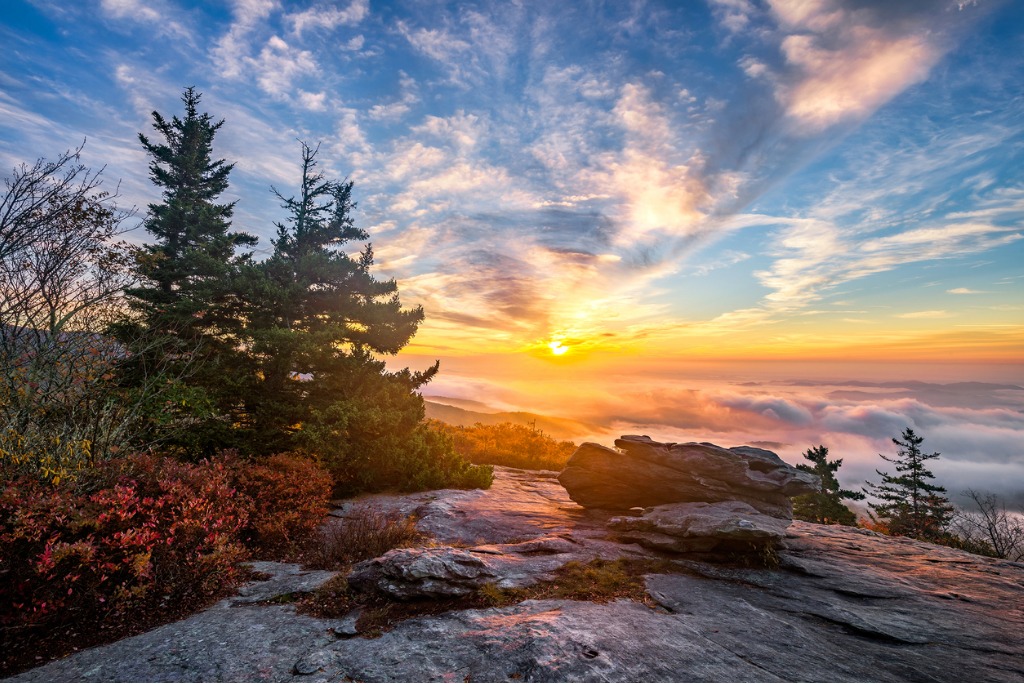
The lessons in this series on Composition Basics will introduce you to the rules of composition, based on the definition of composition as the placement of elements within an image.
These rules, while proven to be effective in strengthening the visual composition of an artistic piece, are simply tools that a photographer should use or set aside as required for the desired outcome of a photo. Knowing them is important; using them is subject to your own creative vision.
Please enjoy the Composition Basics series!
Further Study
- Composition Basics: Visual Weight and Direction
- Composition Basics: Converging Lines and Leading Lines
- Composition Basics: Implied Line
- Composition Basics: Diagonal Lines
- Composition Basics: The Rule of Thirds
- Composition Basics: Vertical and Horizontal Lines
- Composition Basics: Informal Balance
- Composition Basics: Formal Balance
- Composition Basics: Curves
Composition Mistakes Every Photographer Should Avoid
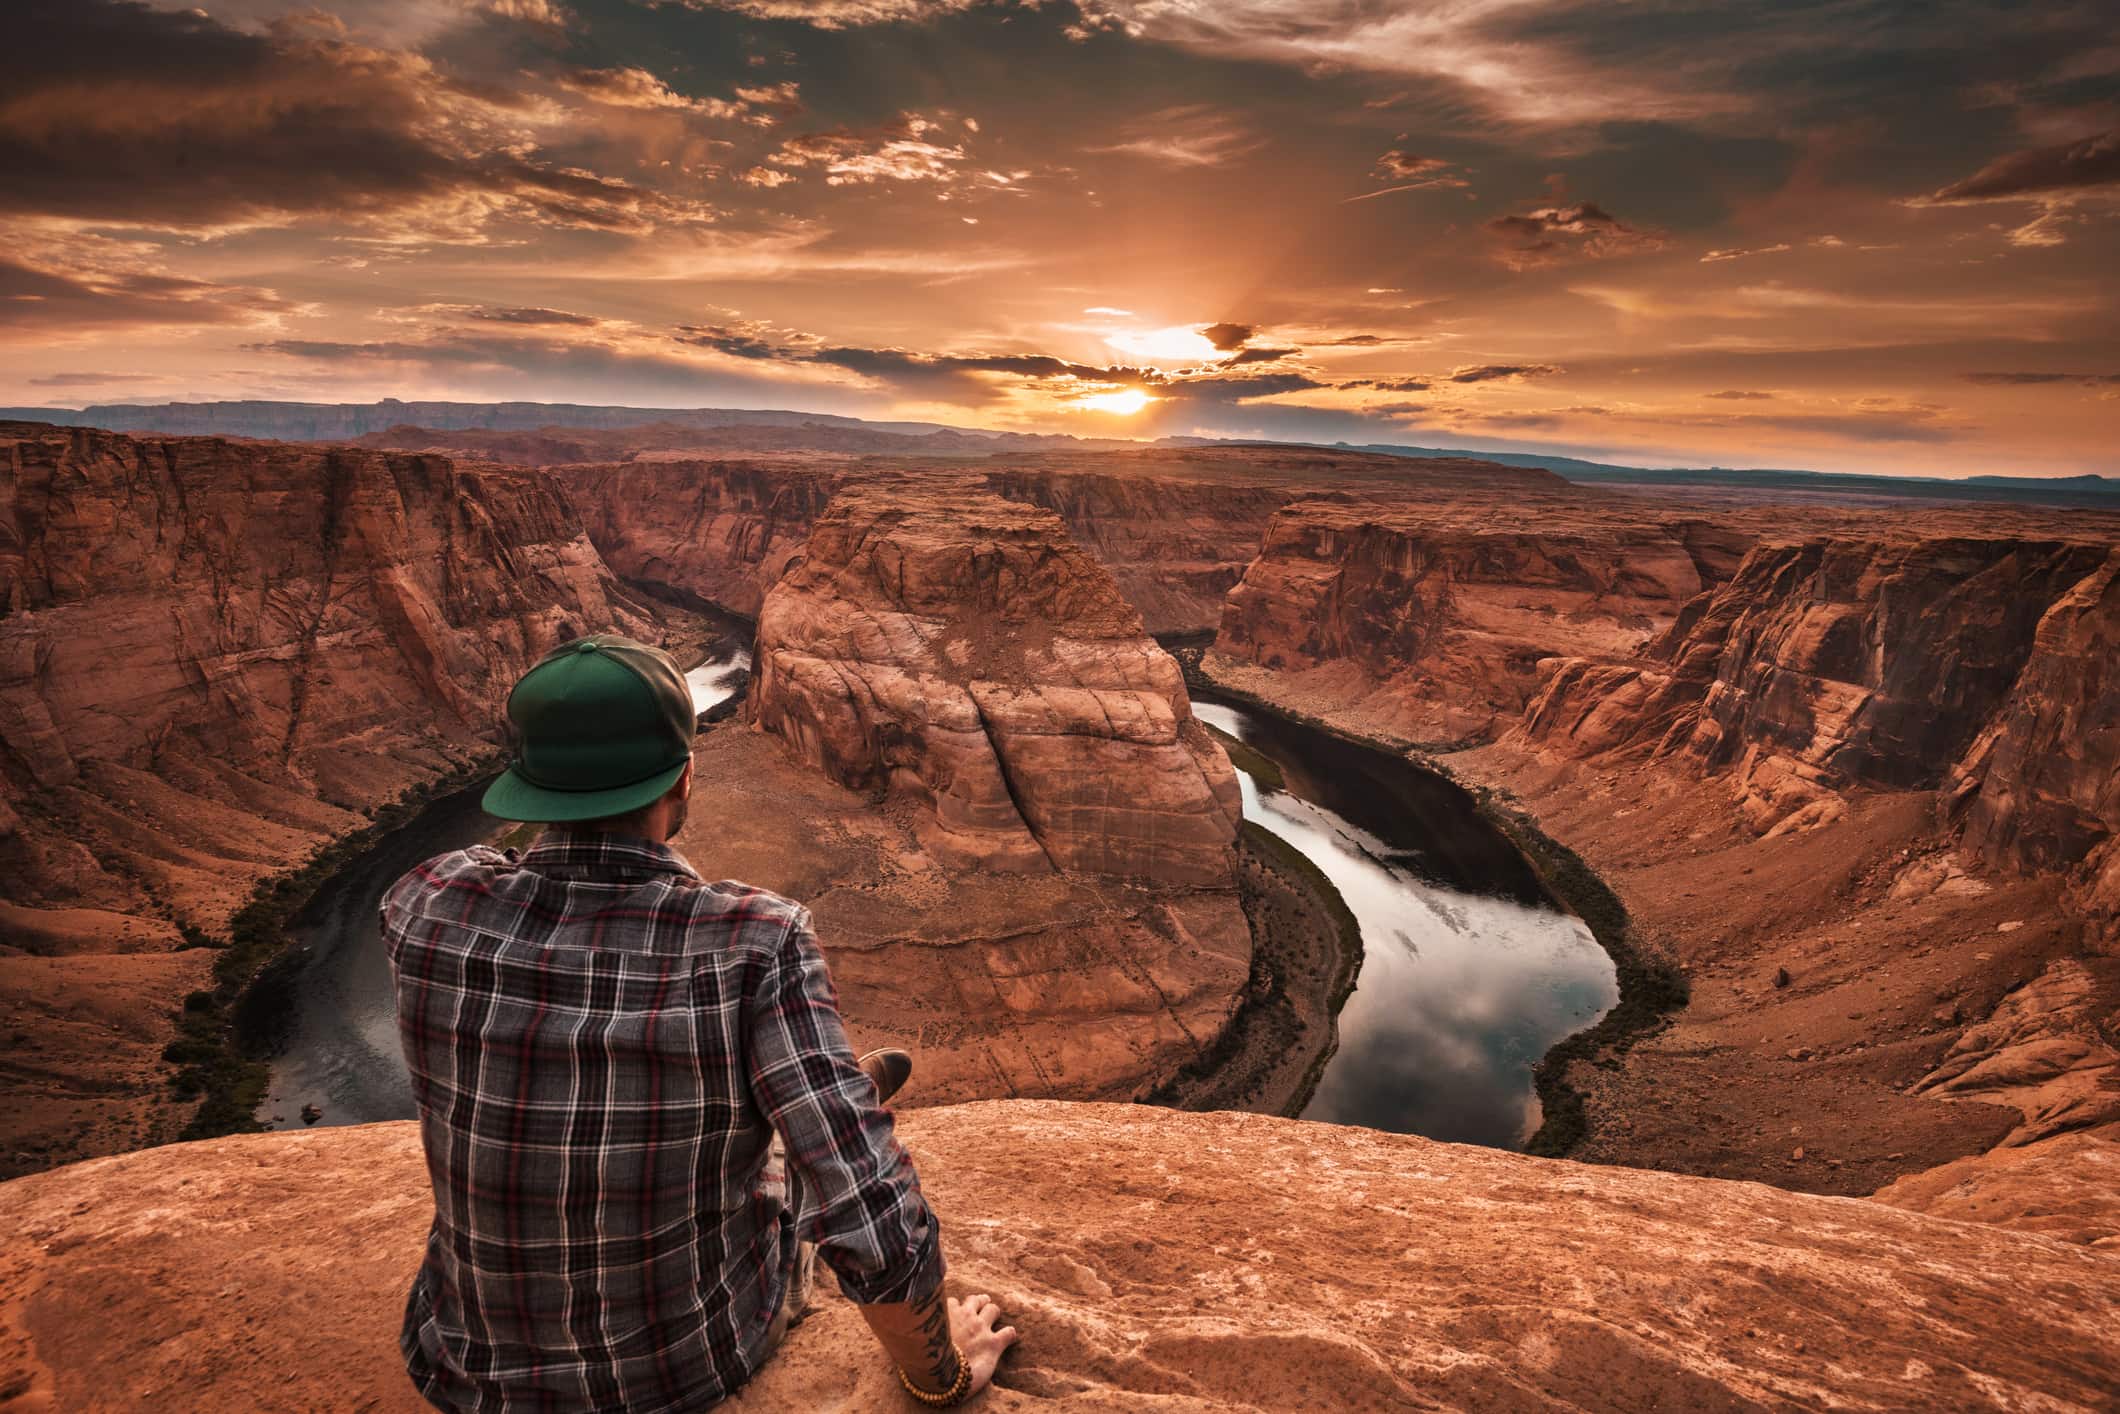
It's inevitable that you will make mistakes with your photos.
We all do it; even professionals that have been behind the lens for decades make critical mistakes.
Naturally, our task is to try to minimize those problems...
In the video above, Evan Ranft offers up his take on a few photography composition mistakes each of us should avoid.
He illustrates each point by showing one of his photos with the mistake, and then another after he'd corrected the mistake.
If you're a visual learner, the video is awesomely informative. If you prefer to have written instructions, I've got them for you below.
Mistake #1: Double Subjecting
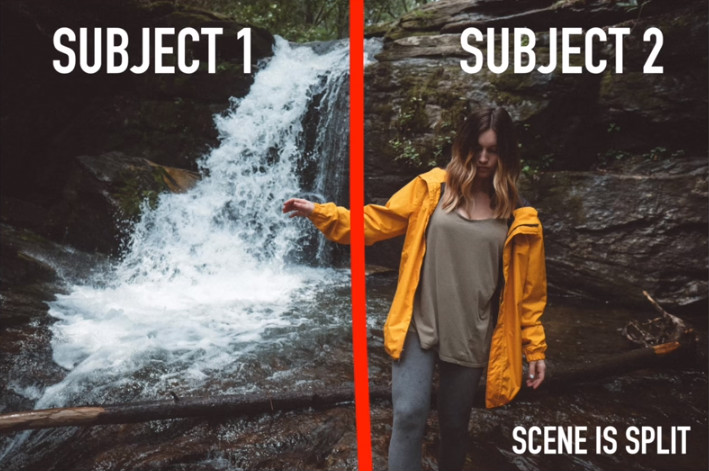 YouTube Screenshot/Evan Ranft
Basically, a double subject happens when you've got a person in the shot, but there's also another strong element in the photo.
That's a mistake because that second subject, like the waterfall behind the woman in the screenshot above, competes for your attention.
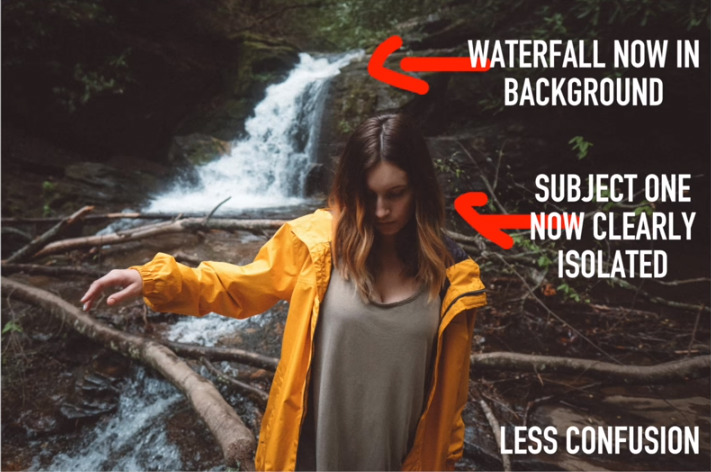 YouTube Screenshot/Evan Ranft
All you need to do to correct for this mistake is to put some distance between the subjects.
As you can see in the screenshot above, the primary subject - the woman - is isolated in the foreground of the shot, making her the focus of the image.
The second subject - the waterfall - is now clearly secondary because it's a greater distance behind the woman.
Editor's Tip: Create even more separation between two subjects by opening the aperture and reducing the depth of field to add some blurriness to the secondary subject while keeping the primary subject nice and sharp. Learn how to do that here.

Mistake #2: The Look Out
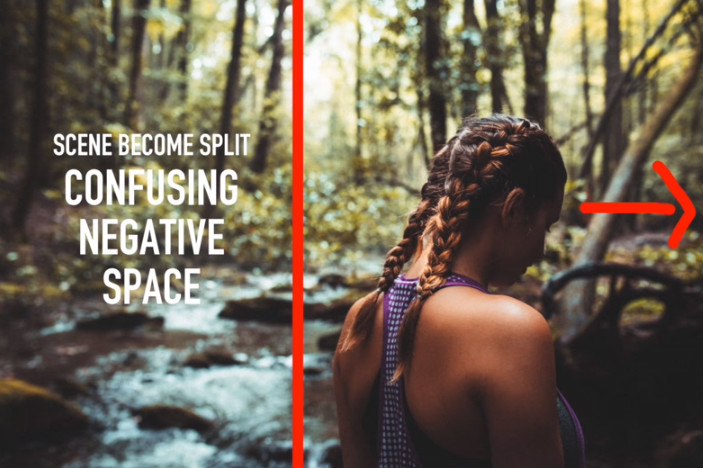 YouTube Screenshot/Evan Ranft
Closely related to double subjecting is another common mistake - having the subject look out of the frame..
In the screenshot above, you can see how the image was framed incorrectly because the model is crammed into the right side of the shot with nowhere to look.
As a consequence, the image is split right down the middle, with negative space behind the model that doesn't really serve any purpose.
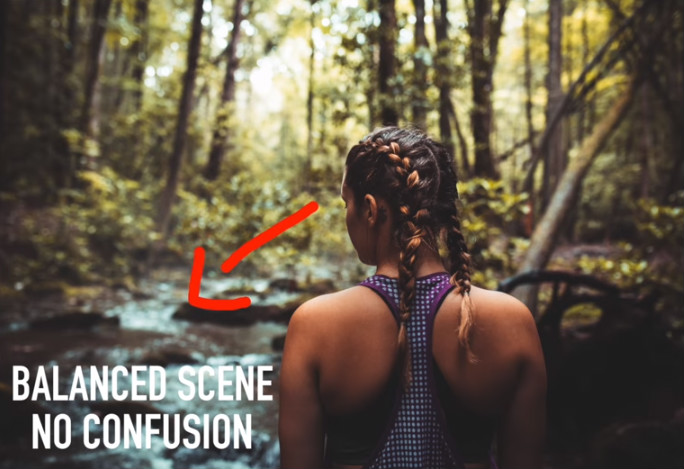 YouTube Screenshot/Evan Ranft
The solution to this problem is quite simple - turn the model around!
Now, as you can see, the model not only has room in the frame in which to look, but she also has something to look at - the river.
The negative space to the model's left is no longer confusing, and serves as the focus of her gaze.
That, in turn, means that our eyes move from looking at her and then following her eyes to the river, which makes this photo a cohesive whole.
Learn More:
- 10 Rules to Follow When Composing a Photo
- Make Your Photos Better With These Photography Composition Tricks
Mistake #3: Tangent Lines
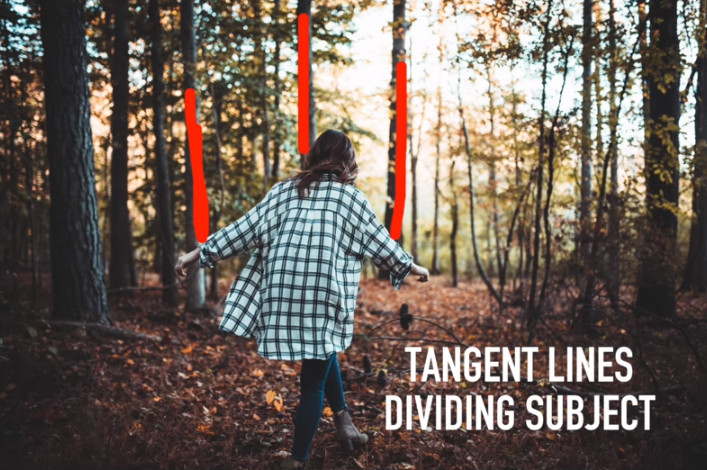 YouTube Screenshot/Evan Ranft
Perhaps the most subtle mistake of all is having tangent lines in the background of the shot that cause visual confusion.
As you can see in the image above, it's really a pretty nice image to look at.
But when you look closer, you begin to see all the lines created by the tree trunks that appear to go right through the model.
 YouTube Screenshot/Evan Ranft
But by finding a setting in which there are no lines behind the subject, you get a much more powerful composition.
As you can see above, this shot has the same vibe as the first, but with the addition of the leading lines created by the bridge, our eyes have no trouble finding the subject.
Editor's Tip: Another element in the photo above that makes it a stronger composition is the way that the vertical lines created by the trees help frame the shot and restrict our view on the subject. Learn how to use frames within frames by clicking here.

Mistake #4: Being Lazy
 YouTube Screenshot/Evan Ranft
This one might be more a state of mind than a mistake, but just the same, every photographer is lazy with their compositions at one point or another.
A great example of this is when you take a photo of something below your eye level, like the dog in the photo above, but you do so standing up straight.
As you can see, this creates an awkward angle of view looking steeply down onto the subject. The result is a pretty lame photo.
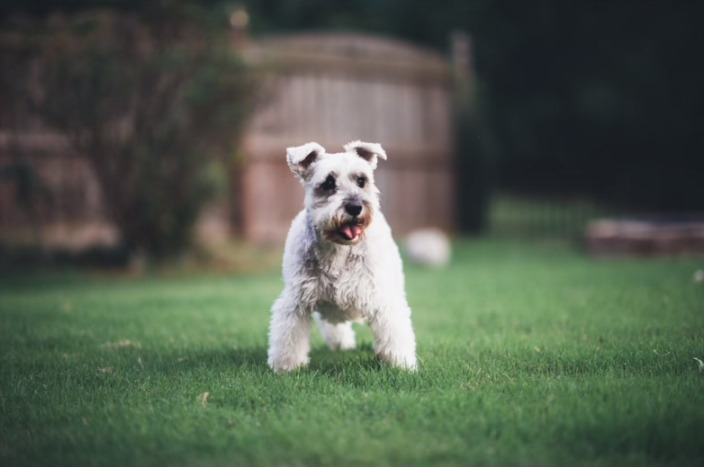 YouTube Screenshot/Evan Ranft
But if you quit being lazy and get down on the subject's level, you can create a much more compelling photo, like the one above.
Now we get to see the world from the dog's point of view, not to mention the fact that the blurry background of the yard scene is a much more pleasing background than the grass provided in the first shot.
And the best part? Correcting this mistake literally took a handful of seconds to squat down for a better shooting angle.
Actually, each of these four mistakes can be easily corrected with a little practice. That said, grab your camera, head out, and start working on minimizing your photography composition mistakes!
Learn More:
- Stop Taking the Same Boring Photos - How to Shoot and Think Differently
- How to See Like a Photographer
We Recommend
Composition Tips for GoPro Photography
 Image Credit: subman via iStock
Though GoPros are best known for being the go-to action camera for adventure enthusiasts, there are many more uses for GoPros, especially in the realm of photography.
They can be used to take portraits, photograph landscapes, capture views of a city, and more.
That being the case, before you take your GoPro out and start taking photos, it's best to learn how to master composition.
Below, I've outlines some photography composition tips you can't miss when learning how to use a GoPro.
Consider the Framing
 Image Credit: Kirzaa via iStock
Nothing ruins a photo like messing up the framing.
That is, you might have an otherwise fine photo, but if you don't pay attention to things like whether the horizon is level or if there's tree branches protruding into the shot, you run the risk of diminishing the quality of the image.
When shooting photos with a GoPro, use the screen on the back of the camera to check your composition and framing.

Sure, a GoPro screen isn't as big as what you'll find on a DSLR, but it's still incredibly useful for framing up better shots. That's especially true of the GoPro Hero 6 Black, which has a two-inch touchscreen to make operating the camera much easier.
Pay attention to little details, too - like the horizon and branches I mentioned above - to ensure that everything is spot on.
Also play around with perspective and shoot from above and below eye level to add a little bit more interest to your photos.
Editor's Tip: Looking for a little more adventure with your GoPro? Consider upgrading to a GoPro Hero 6 Black Outdoor Adventure Bundle.
Seek Out the Best Light
 Image Credit: Sergeeva via iStock
Like any camera, a GoPro benefits from having great light to produce better photos.
The best light of the day occurs near sunrise and sunset, a time period photographers like to call Golden Hour.
What's great about Golden Hour is that the sunlight is much softer than it is during mid-day.
What's more, the light has a distinct yellow hue, whereas mid-day light is much cooler with a blue hue to it.
Whether you're photographing landscapes, taking someone's portrait, or something in between, Golden Hour will make your GoPro photos stand out and look much more dramatic.
Learn More:
Plan Your Shots
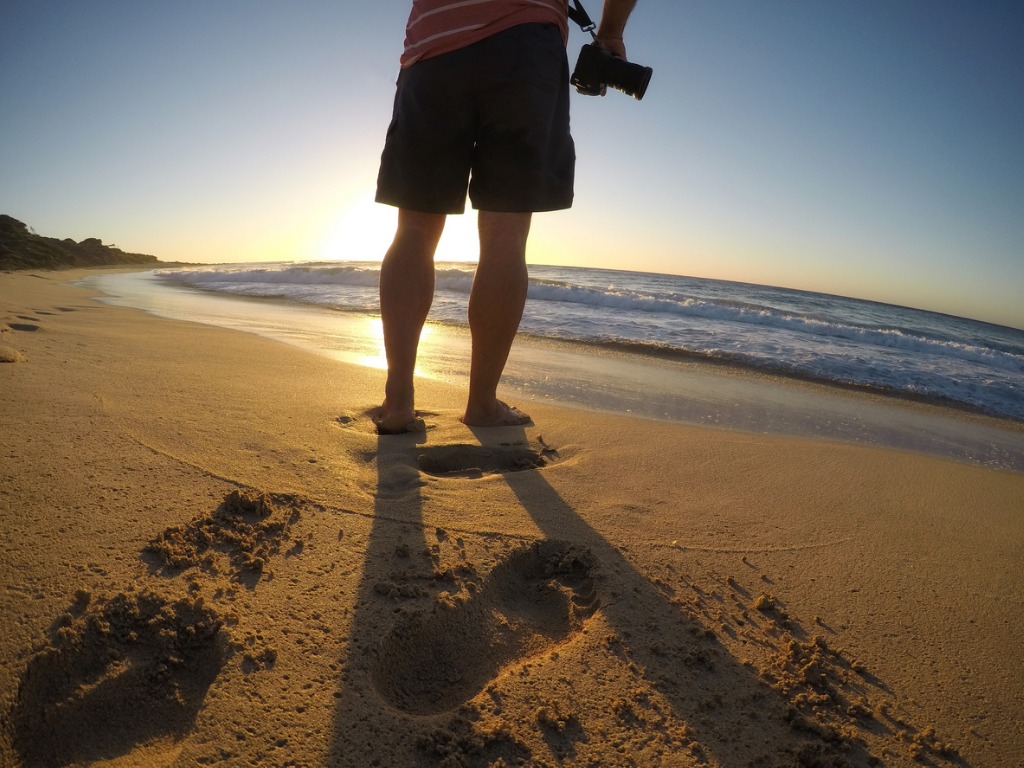 Image Credit: yellowsarah via iStock
This tip seems like a no brainer, yet so many photographers just "spray and pray," firing off as many photos as they can rather than actually planning out their images.
By spending a couple of minutes - heck, sometimes just a couple of seconds - planning your photos, you all but guarantee that you get a better result.
As noted earlier, you can focus on the composition, ensure the framing is spot on, find the right angle from which to shoot, and so forth.
When you don't take time to plan your photos, you often end up with images like the one above.
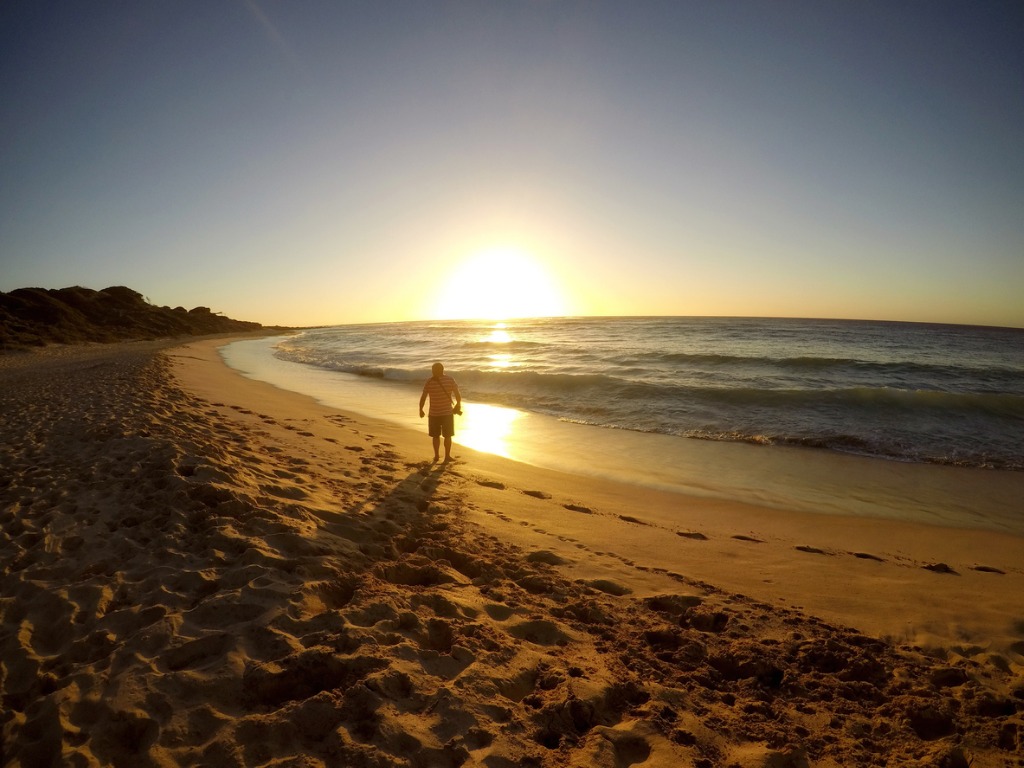 Image Credit: yellowsarah via iStock
But when you think about what you're doing and put a little effort into planning, you can get a much better result, as shown above.
And when you utilize all the features that something like the GoPro Hero 6 Black has to offer, planning your shots becomes easier.
For instance, you can use its voice-control function to turn the GoPro on or off, start or stop a time lapse video, shoot a burst of photos or a single photo, and start or stop recording.
That's a handy feature when you're trying to take a selfie or want to be in a group shot!
Editor's Tip: Does your desire for adventure photography take you to the sun and surf? Get epic photos and videos of your water adventures with the GoPro Hero 6 Black Surfer and Water Adventure Bundle.
Strive for Originality
 Image Credit: georgeclerk via iStock
There's a lot of incredible GoPro footage and amazing GoPro photos out there to inspire your creativity.
And while you can certainly take inspiration from what's already been done, it's important to find your own voice and create images and videos that are truly your own.
The great thing about a GoPro is that it makes the pursuit of those unique expressions of yourself vastly easier.
I mean, it's not like it's a big, heavy camera that'll weigh you down or anything...
And since it's waterproof, you don't even have to stay on land to get breathtaking photos!
The point is, GoPros were built for adventure, so grab your gear, head out, and have an epic adventure that's all your own.
Learn More:
We Recommend
Don't Ruin Landscape Images For Other Photographers
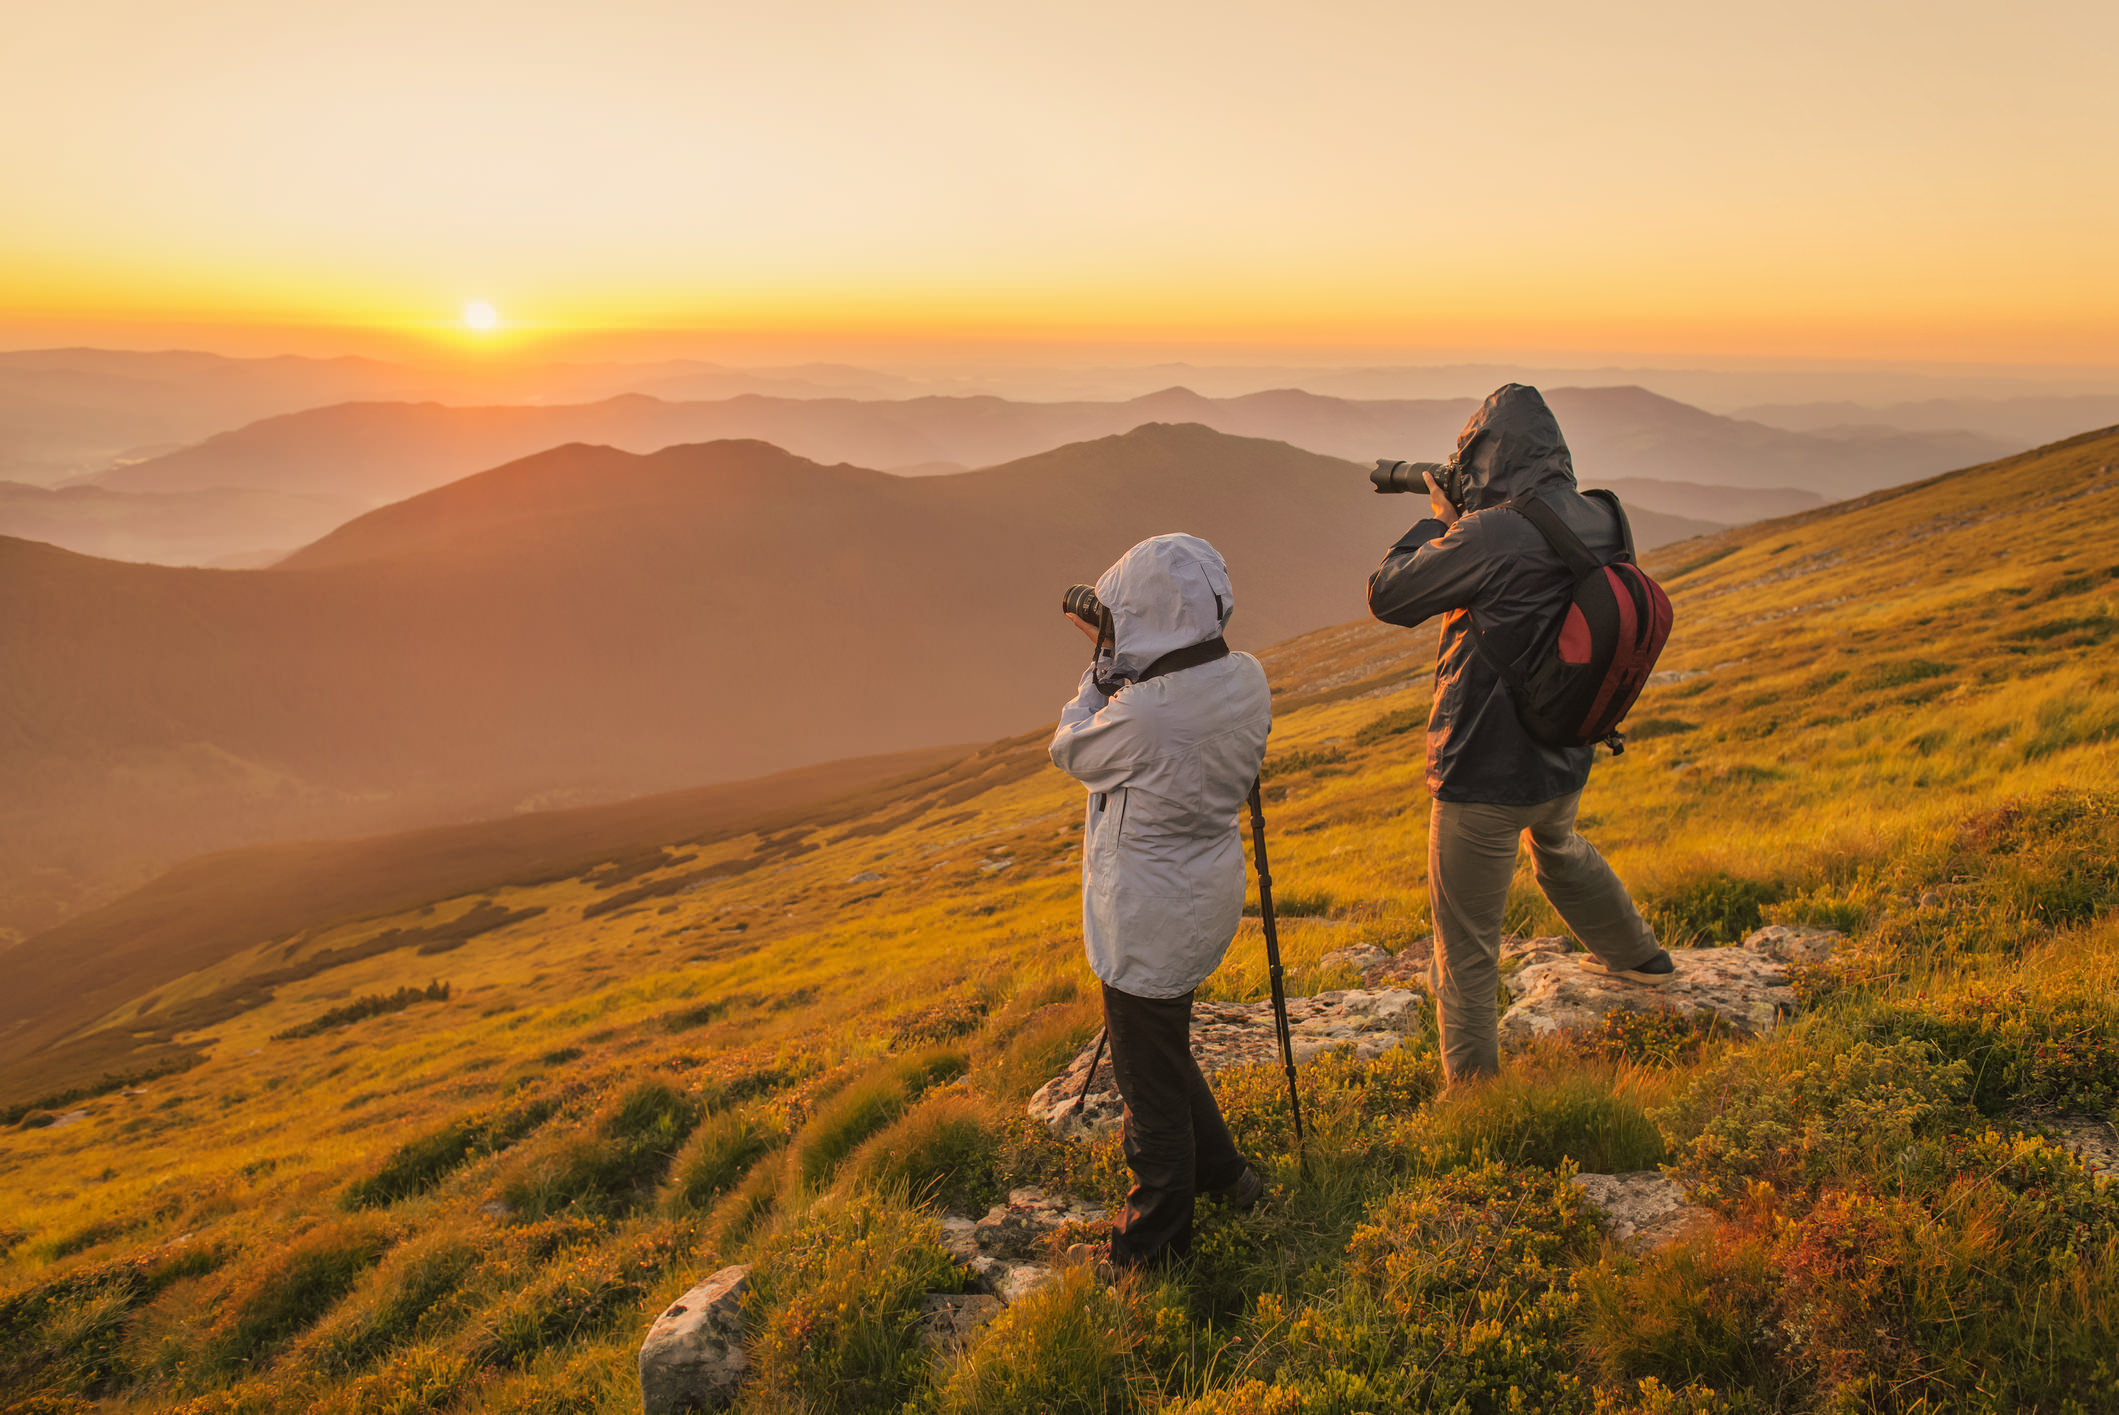
There's a lot of us landscape photographers out there.
I like to think of us as a bit of a brethren; people with a common purpose just trying to do their best to capture the beauty of nature.
I know when I'm out shooting a landscape, I find that other photographers are kind, courteous, and friendly the vast majority of the time.
I hope other photographers think the same of me.
But that doesn't mean that there aren't times when we might ruin things for another photographer...
I'd say that when something like that occurs, it's more often than not a total accident.
However, it's still good to think about some of the ways that we can accidentally cause another photographer's shot to be dead on arrival...
Watch Your Footprints
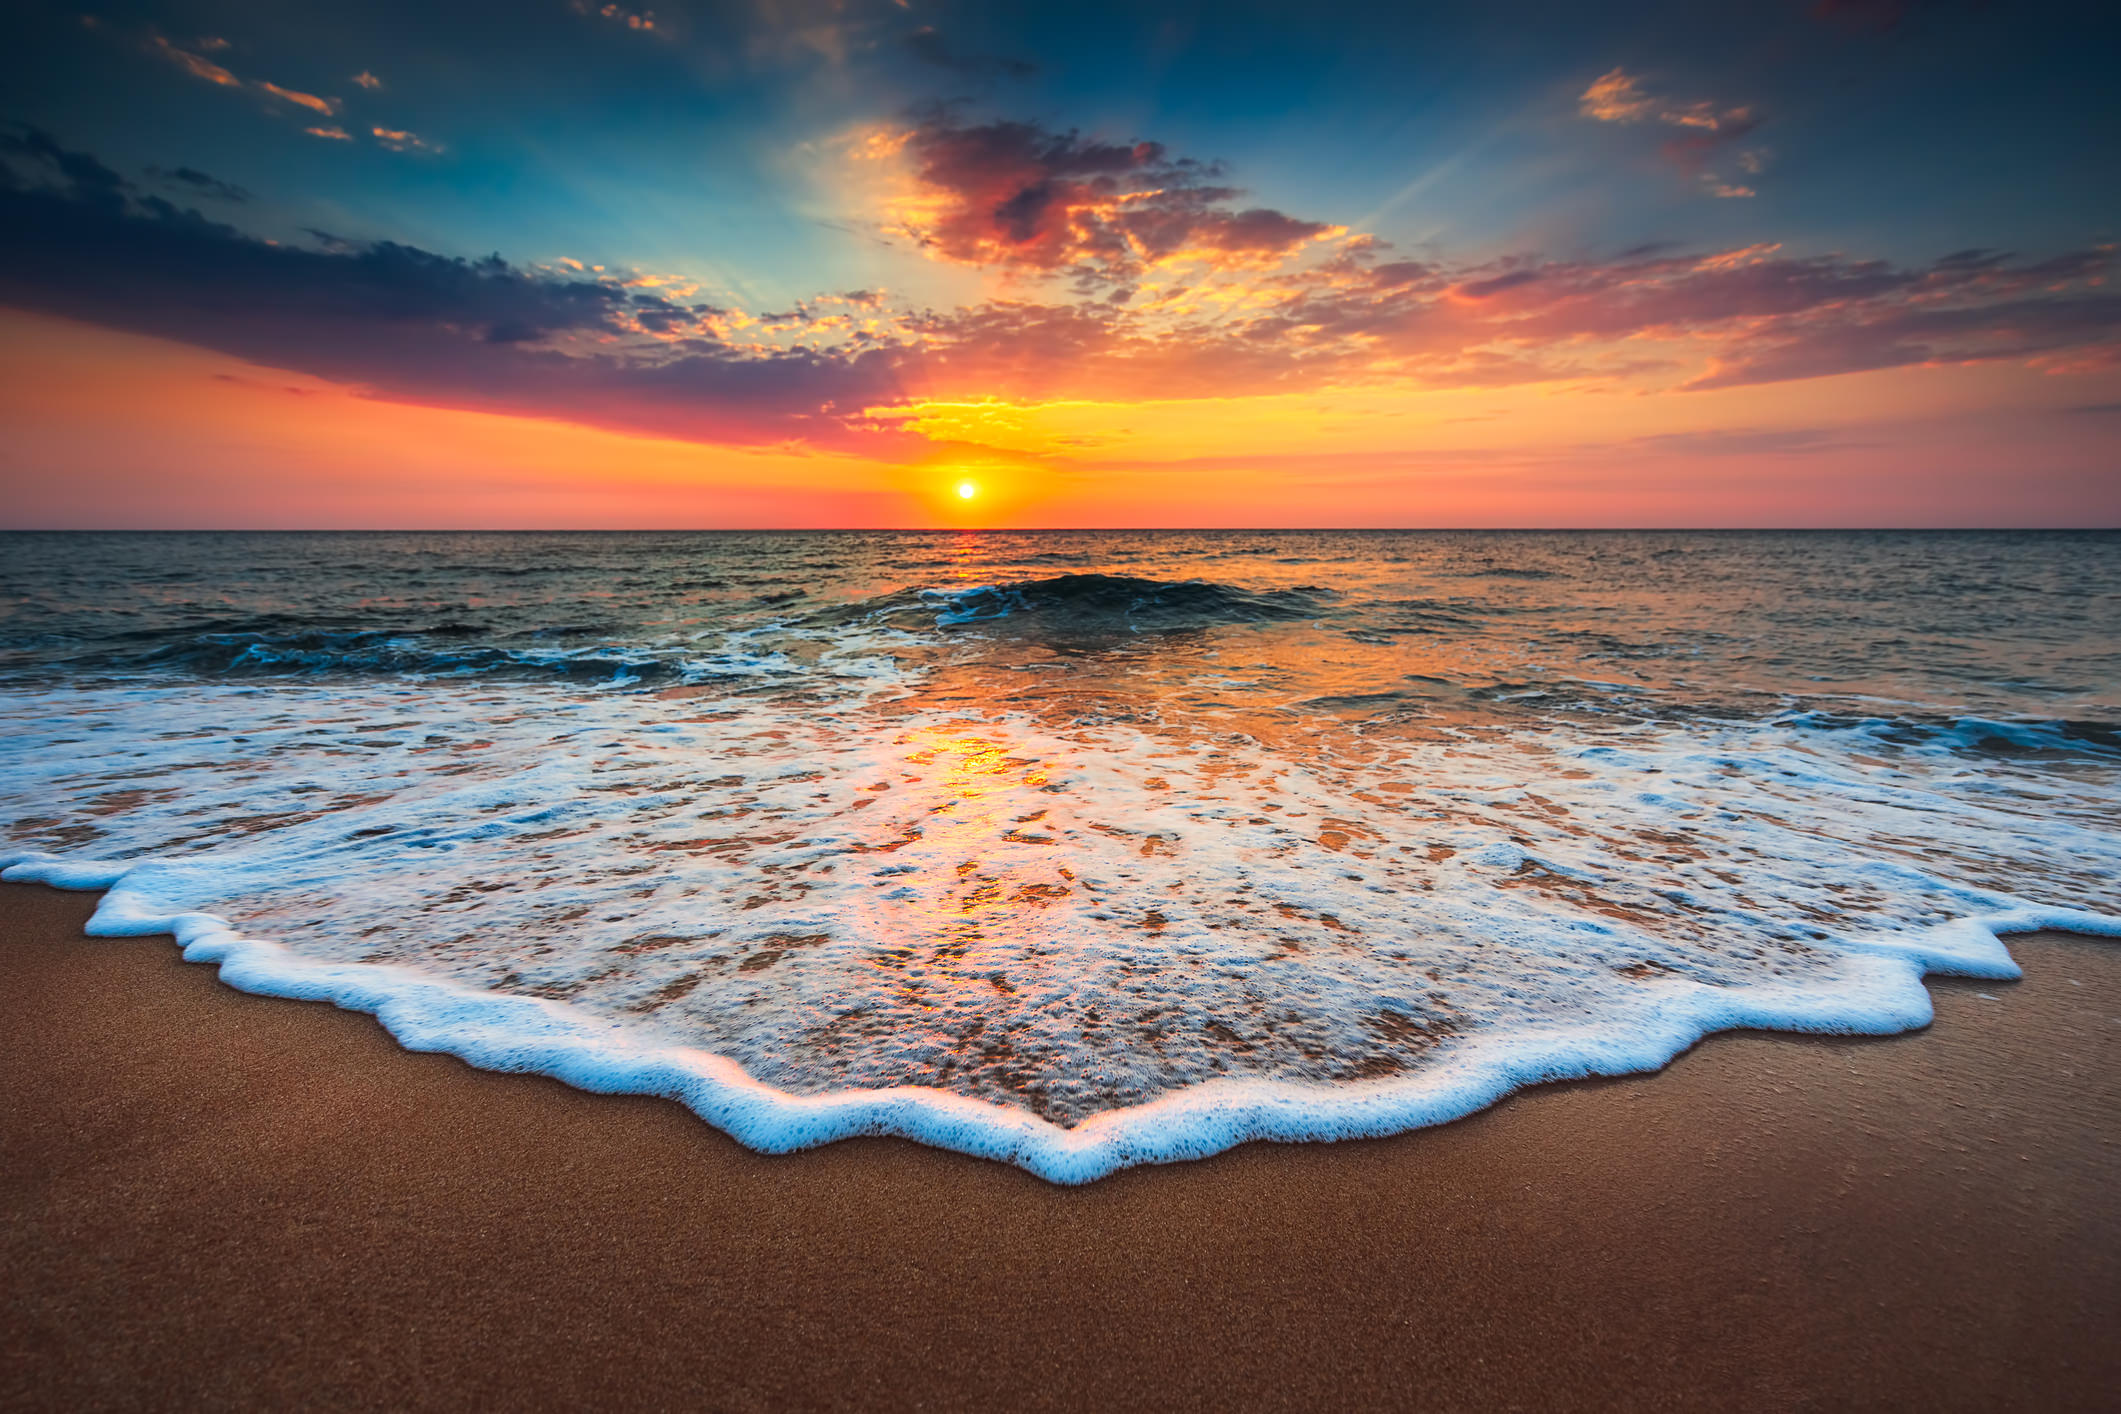
I take a lot of photos at the beach and often wander around until I find a spot that's got pristine sand that's undisturbed by footprints.
Obviously, when taking a photo like the one above, I'm extremely careful not to walk anywhere that will be framed in my shot.
But keeping the sand in that pristine condition is nice for the next photographer that might wander by and think, just as I did, that this particular spot would make a good photo.
That means a little more work for me...
I take care to walk only in areas that others have already walked. When setting up my tripod, I ensure its feet don't dig into the undisturbed sand, either.
If it's a dune situation, I always walk on the shadowed side, that way my footprints won't be visible should someone come along and wish to photograph the dune.
The point is that whether you're photographing the beach, a sand dune in the desert, or a snowy mountain scene, watch where you step so that you get the shot you want.
But also watch your step such that the next guy or gal with a camera can get the shot they want later on too.
In the video above, Thomas Heaton discusses this very same concept. Give it a look - and appreciate the incredible beauty he manages to photograph!
Leave No Trace

While we're on the subject of not leaving anything behind, it's not just your footprints that might ruin a shot for the next photographer.
I find it hard to believe that anyone would purposefully leave trash lying on the ground, and yet I encounter trash all the time.
I know an errant wind gust might pull your granola bar wrapper out of your bag on occasion...
But if we all take a little more care with our garbage (I put mine in a Ziploc bag and put it inside my zipped camera bag), then we won't have to spend as much time picking up before we photograph a landscape.
Be Aware of Where You Set Up
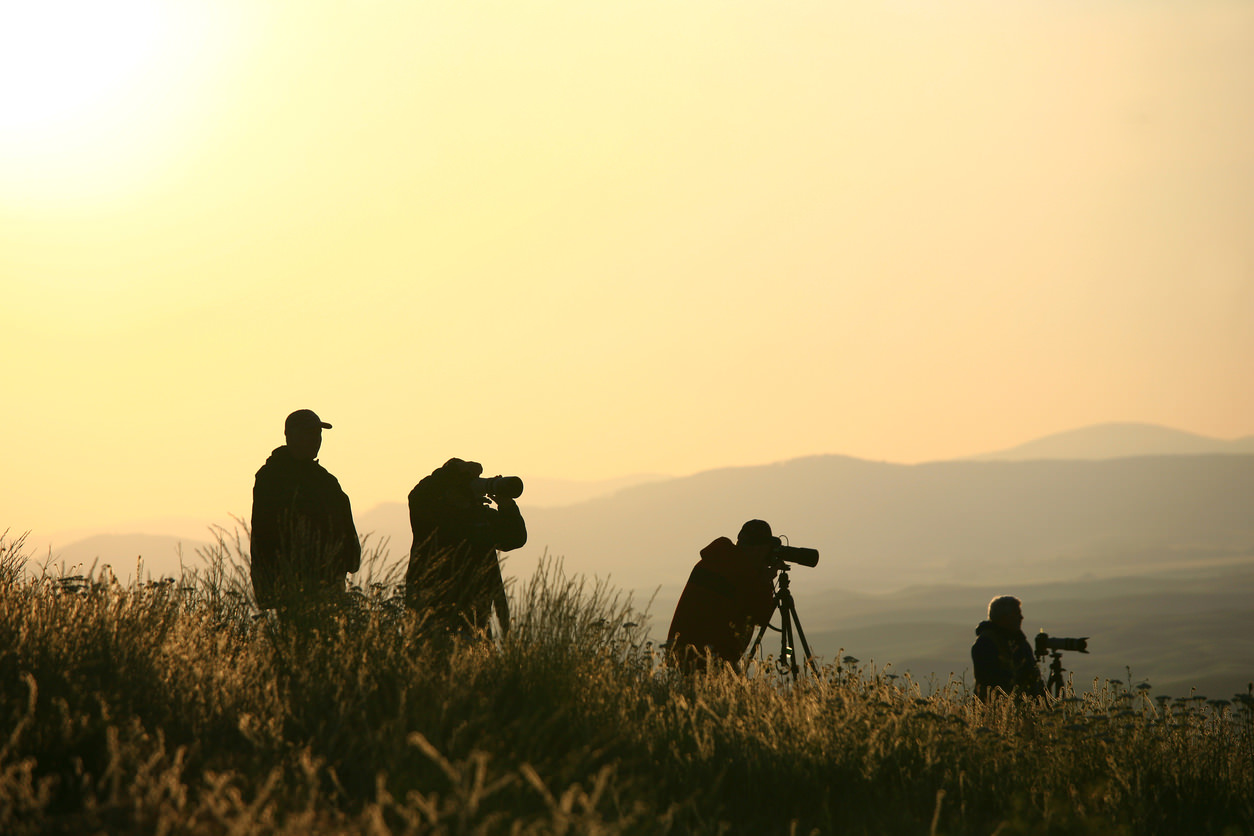
Not every landscape photo you take will be in the wilderness with no one else around (though, that would be neat, right?!).
That means that when you set up your gear, you need to be considerate of how you might impact the ability of other photographers to get their shots too.
Spend some time in Yosemite or Yellowstone or another iconic location, and you'll immediately know what I mean.
There always seems to be that one photographer that's set up in the middle of a path or overlook, forcing other visitors to walk around their tripod and making it hard on other photographers to get a shot at the same time.
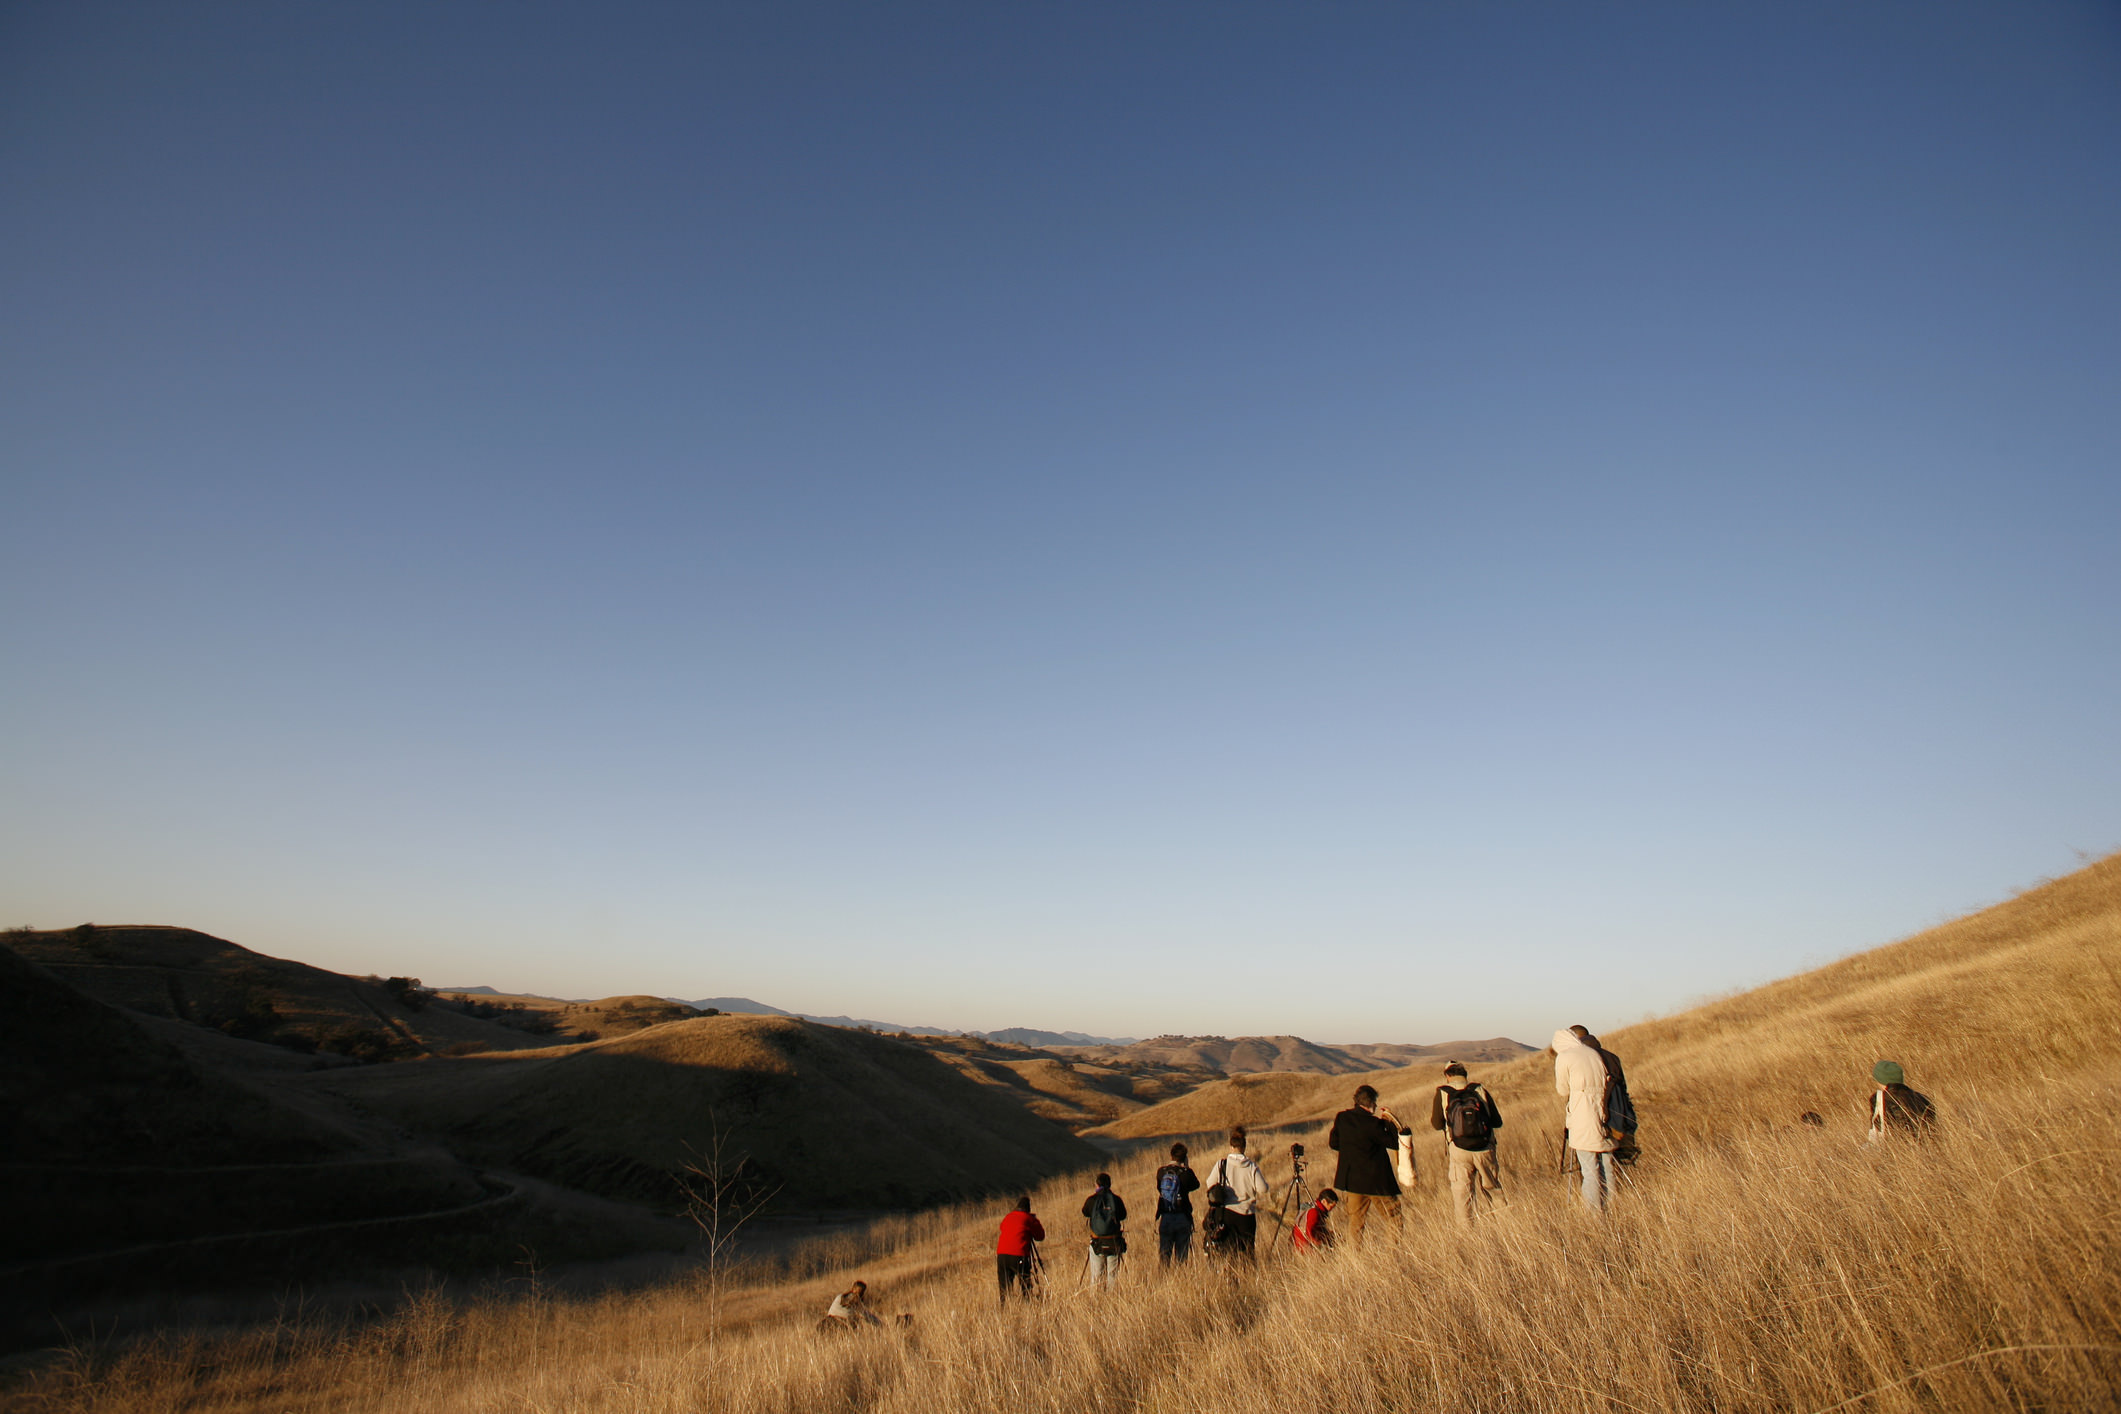
Now, I'm not saying that you can never set yourself up for a shot in a spot that's inconvenient to others - that's just part of photography.
But don't be in the way and then stay there for an obscenely long time either!
Try to give yourself and your fellow photographers some space, that way everyone can at least have an opportunity to get the shot they want without you and your tripod in the way.
Just Because You're There First Doesn't Make You Keeper of the Realm
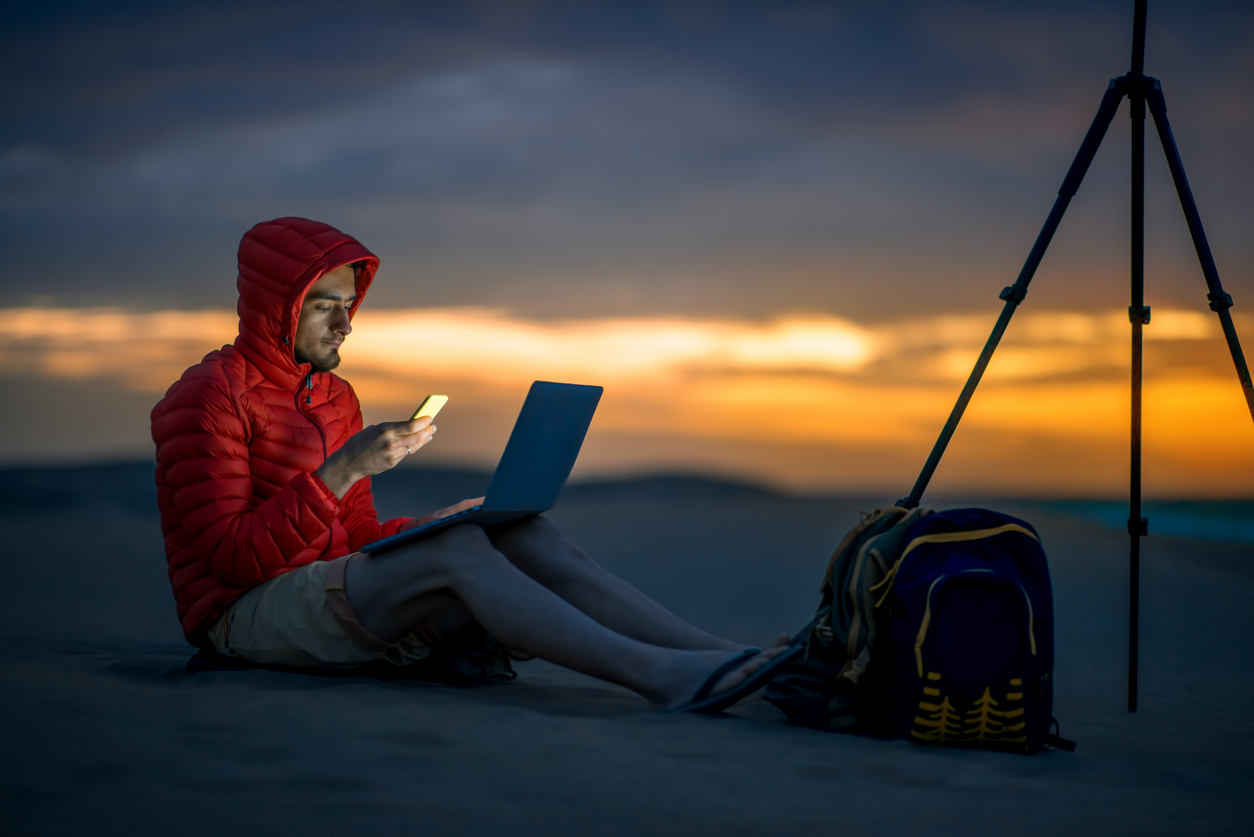
Occasionally I'll encounter folks that get to a spot way before anyone else.
You can usually spot them easily because they're the ones that are yawning the longest and loudest, and they have their gear in the way such that no one else can get a shot from that perspective.
Though it's good practice to get out and get to your shoot location early, it's also good practice not to act like since you're the first one there that you now own that spot.
I'm seldom the first person anywhere, but on the rare occasions that I am, I set up, get my shots, and am always inviting to other photographers to have a couple of minutes in my spot if they want.
Don't ruin the experience for everyone else because you're an earlier riser than your fellow photographers.
Do your thing, be accommodating, and share. It's basic rules of life!
Look Behind You
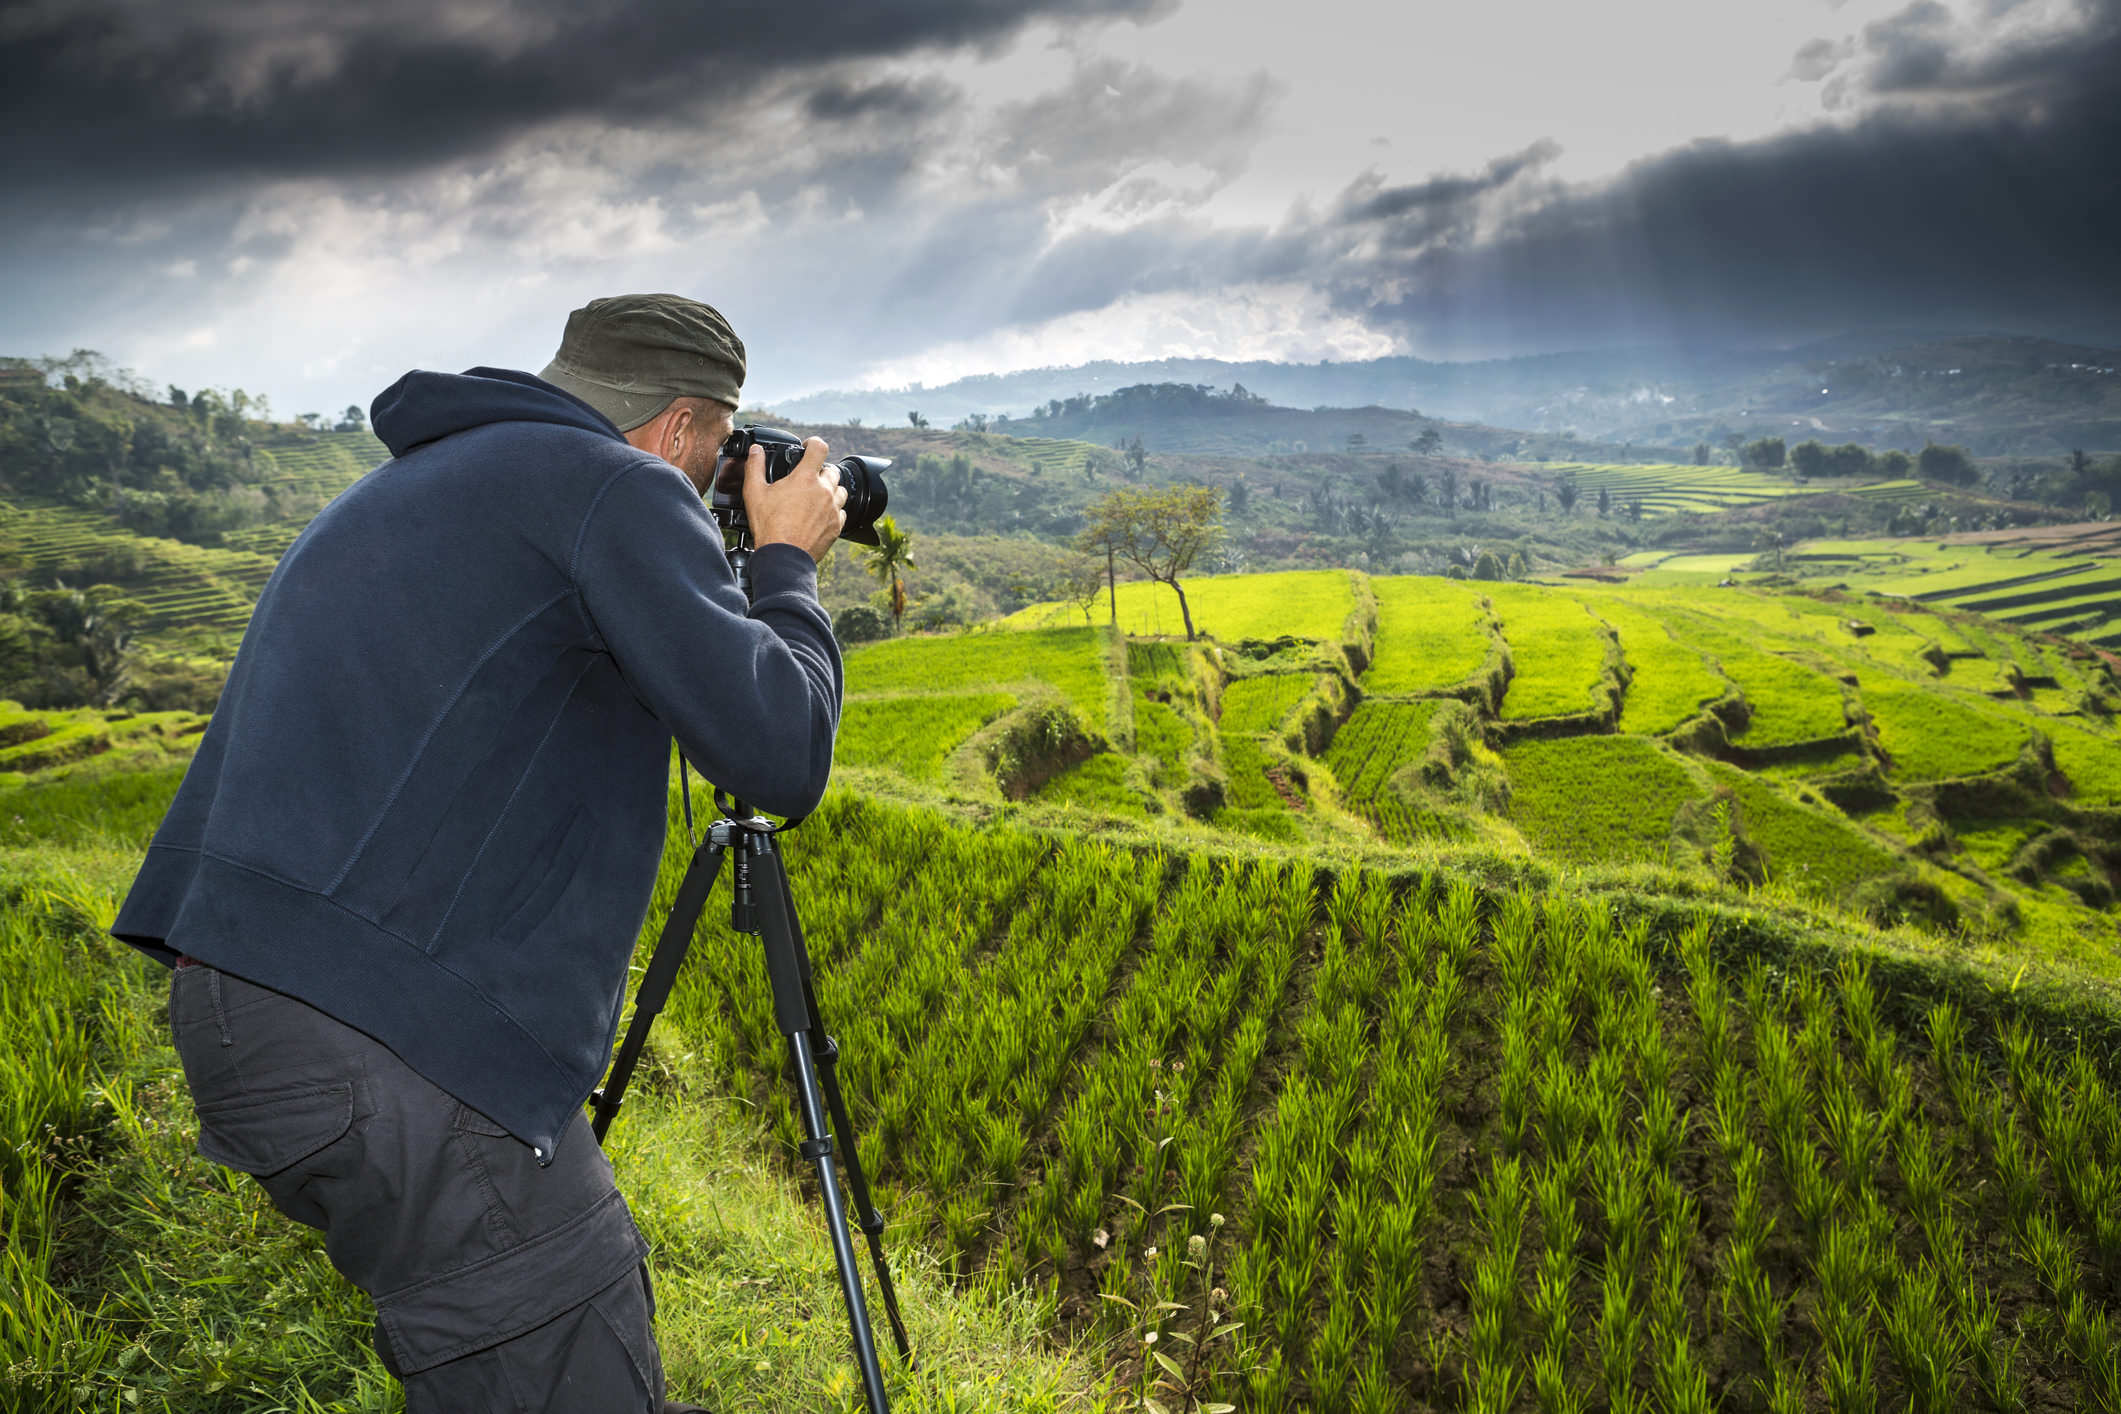
For me, the most common way that photographers ruin images for other photographers is by simply not looking behind them.
I'm certainly guilty of this...
Walking along a path alongside a river, I found a perfect little spot to photograph the water, fall foliage in the midground, and a mountain in the background.
I plopped down, started unpacking my gear, and then was startled to hear someone about 30 feet behind me clearing their throat.
I had come in on a path that didn't allow me to see them at first, and like an idiot, I didn't look behind me when I found my ideal spot.
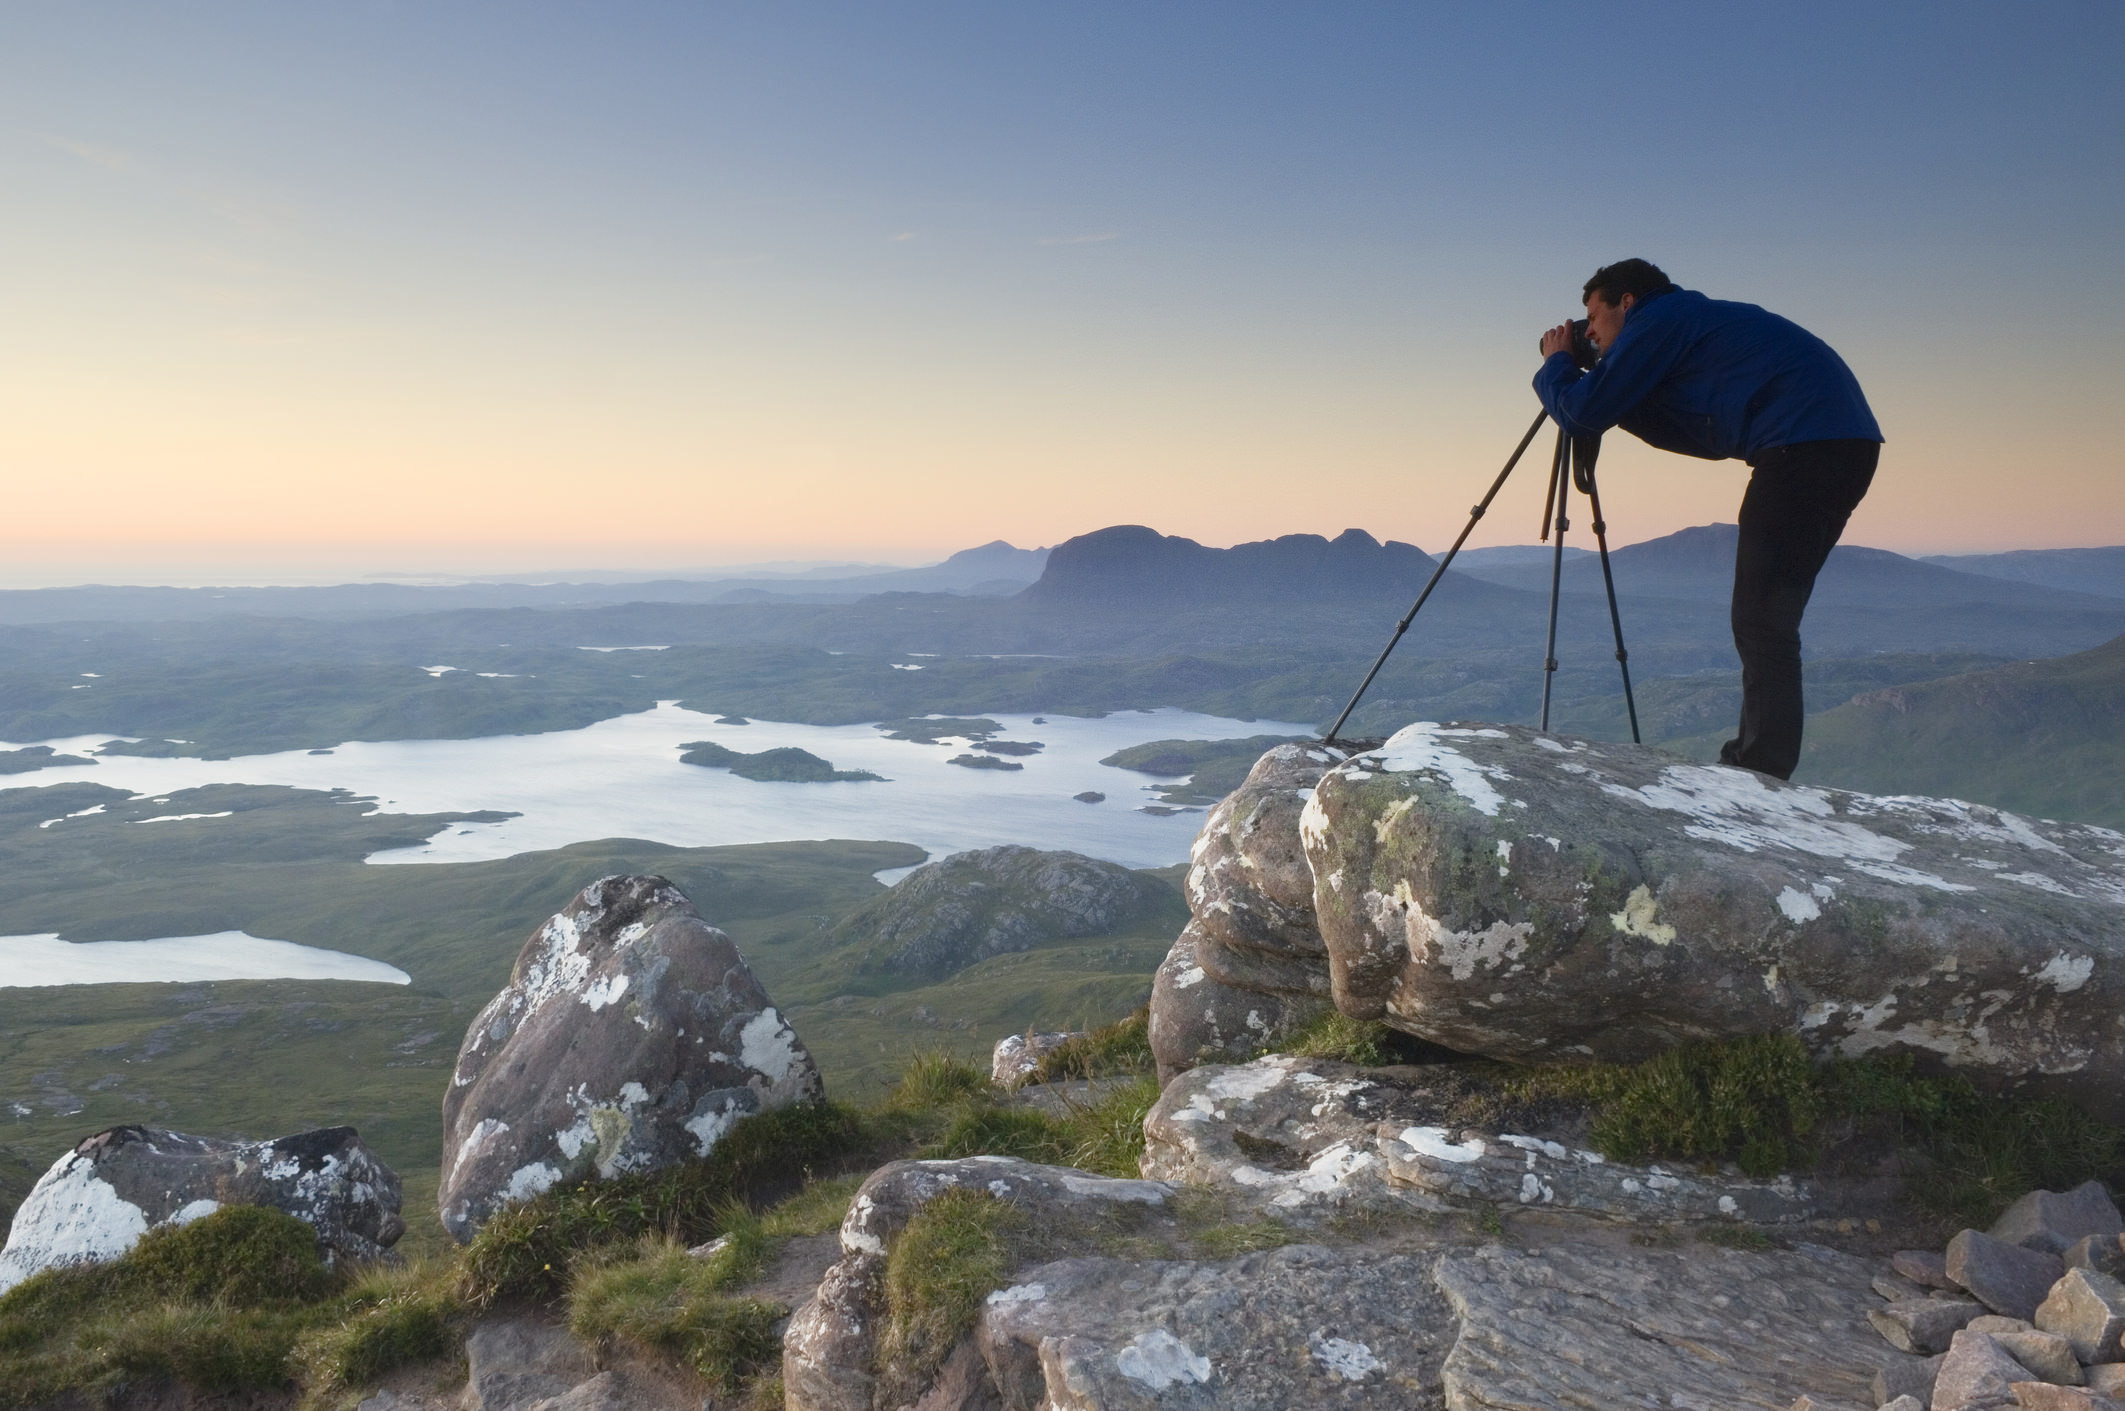
Needless to say, I ruined that guy's long exposure (sorry again!) because I was totally inconsiderate.
Just watch where you're going, and if you walk into someone's frame, immediately backtrack, apologize profusely, and find a different spot.
When it comes down to it, landscape photographers are by and large a good group. But it's necessary that we all be reminded of how to be considerate of others when we have tunnel vision and want desperately to get "the shot."
None of this is rocket science - just be nice, watch where you're going, and don't ruin things for other people. If we can all abide by those rules, we'll all get better photos as a result.
We Recommend
Drone Photography Composition Tips
Drone photography is an absolutely exhilarating experience. Drones allow for truly stellar shots, providing you with the opportunity to shoot angles and perspectives previously only accomplished with helicopters.
From a composition standpoint, the process of capturing stunning visuals with a drone is more complex. Due to the nature of a drone, there are a multitude of ways to shoot a particular subject. Approaching from above, sweeping left to right, coming up from below -- all of these result in a different final image.
However, there are some basic composition tips that will help you create great drone photos.
Editor's Tip: Want to get equipped for drone photography? Our friends at Adorama have a complete line of drones to fit just about every budget. We highlight DJI drones in this article, but to explore other drones in more detail, visit Adorama. Also be sure to check the learn more links in this article for more details on improving your drone photography.
Add People to the Shot

Our eyes are trained to see images of other people. That's true even if they are quite small in the frame. By adding people to your drone photos, you give viewers something with which to immediately connect. Including people also helps the viewer understand the scale of the shot.
In looking at the image above, you get a sense of just how high up the drone is based on how small everyone is in the frame.
This photo also illustrates the value of repetition - the pattern of the umbrellas makes this shot much more visually appealing.

Bonus Tip: Take multiple photos of the same subject from different points of view. Doing so is made easy by utilizing shooting modes, like Dronie, Circle, Helix and Rocket modes that are available on the DJI Mavic Mini.
Look for Color

Color adds drama and dimension to every picture, especially those shot with a drone.
With such a wide view of the landscape below, drone photography is rife with opportunities to show off vibrant colors and gorgeous contrast to delight the eye.
The photo above of the fall colors is a prime example of this. The red, orange, and yellow tones of the foliage give the landscape life and vitality that make this an eye-catching shot.

Sometimes a captivating shot engages the viewer with only a few colors.
In this image, the dark green water and the black sand give this shot some dark moodiness while the bright white of the waves draws you in.
In this case, although only three colors are captured, the resulting image is completely engrossing.
Leading Lines Give the Shot Structure

Using leading lines in landscape photography is a tried-and-true method for giving your images more dimension.
The same goes for drone-based photography...
Pus, leading lines help the viewer's eye move through the shot in a more purposeful manner.
The road in the shot above is an ideal example of this: it brings your eye from the foreground, to the midground, and finally to the background.
Even the long shadows cast by the features of the landscape help move your eye from the front to the back of the shot.

Bonus Tip: Some drones, like the Mavic 2 Zoom, enable you to get much closer to interesting details in the landscape below. It is equipped with a 4x lossless zoom to capture beautiful detail from longer distances without sacrificing image quality. Features like this can be wildly helpful as you seek to compose more interesting photos (and videos too!).
Textures Help Create a Three-Dimensional Look

Part of the struggle with any type of photography is trying to capture the depth and dimension of three-dimensional subjects in a two-dimensional medium.
To avoid flat-looking drone photos, look for opportunities to incorporate texture into the shot.In the image above, the chunky, rectangular blocks on either side of the road create a texture that's both interesting to look at and provides much-needed depth to the shot.
That depth is created in part by the angular lines of each block and by the contrast between the pale color of the blocks and the shadows.
Note how this image combines the two tips outlined above - leading lines and color.
Try these drone photography composition tips by themselves or all together and see how they can improve the quality of your images.
We Recommend
Easy Beginner Photography Tips That Will Immediately Improve Your Photos

I remember when I first started getting serious about photography and feeling an incredible sense of being overwhelmed.
Learning how to create great photos is tough from multiple perspectives.
There's all the technical jargon you have to learn, like how to use your camera's controls, as well as all the creative aspects of photography, like the essential rules of composition.
On top of that, there's the simple matter of finding the time to go shoot, which too many of us simply don't have.
But despite those obstacles, that doesn't mean that there aren't a few quick and easy tricks you can use right now, today, to help improve your photography.
In fact, with the tips, tricks, and techniques outlined in my video above and in the article below, you have a ready-made and proven set of instructions for improving the quality of your photos.
Now that I've built it up and have you excited, let's explore each technique in detail.
Never Be Without a Camera

As I noted above, so many of us just don't have tons of time to go out and shoot.
Without that practice, it's tough to become a more skilled photographer.
But, a simple resolution to this issue is to have a camera with you at all times.
Now, this doesn't mean you have to carry your DSLR or mirrorless camera with you everywhere you go - your smartphone camera will do the trick just fine.
The point isn't to create image files that you can turn into wall-sized prints.
Instead, the goal here is simply to shoot as often as you canand take time each day to learn something new.
That means taking portraits of your kids before work, scoping out some cityscapes or street scenes on your lunch hour, or pulling over on your evening commute to snap a photo of the sunset. Get more details about this beginner photography tip (and others) in my video below:
By engaging yourself in the process of looking for scenes to photograph, you'll more thoroughly develop your creative eye.
And as you do that, you'll begin to notice things you didn't used to, like how lighting changes over the course of the day from harsh and bright at noon to soft and warm at sunset.You'll also find you become more comfortable with
You'll also find you become more comfortable with varied subject matter, including how to appropriately frame the subject, no matter if you're creating a portrait, a landscape, an abstract, or something in between.
Make a Shot List

A shot list is a handy tool for professional photographers that need to ensure they get all the images they need for a particular gig.
But a shot list is a beginner's friend as well because it allows you to begin to develop a better sense of who you are as a photographer.
All it takes is the notes feature on your phone, or if you want to rock it old school, a pen and a notepad.
When the mood strikes and you see something you'd like to photograph, just jot down a note, noting the subject and location, and any other important factors. For example, if you spend the day exploring the desert on a cool, cloudy day, and find a vantage point you think might make a great sunset shot, note the location, the direction from which the evening light would fall across the scene, and any reminders you might need (i.e. to bring a tripod).
What's more, the bigger your shot list becomes, the more subjects you have right at your fingertips to create a photo or a series of photos.
That means that if you planned to do some landscape photography on the weekend but the weather is terrible, you can refer to your list and work on capturing photos like portraits or still lifes that aren't weather-dependent.
Challenge Yourself to Document Everyday Life

I know all too well the lure of wanting to go somewhere to take photos.
As a Californian, there's no shortage of beaches, mountains, forest, and deserts around me to use as subject matter for incredible landscapes.
And while epic subjects should be on your shot list, don't discount the value of challenging yourself to make a beautiful photo out of a mundane subject.
In fact, it's a much more difficult task to create something compelling out of an everyday scene than it is to stand in front of the Yosemite Valley and take photos of soaring mountains.
But that's why it's so important to tackle the challenge of shooting what's around you.
Not only will it help you to find beauty in the mundane, but that practice will also help you master the technical and artistic aspects of photography - all without leaving your neighborhood!
Get Out of Full Auto

The fully automatic setting on your camera is an excellent learning tool that helps you jump into more involved photography practices.
However, if you stay in full auto for too long, it can become a crutch that prevents you from using more advanced modes like aperture priority, shutter priority, or program mode.
The beauty of these shooting modes is that they are all semi-automatic, meaning you gain more control over the camera than you have when shooting in full auto, but not so much that you're shooting in full manual. Get an in-depth review of what the primary camera modes do on your camera in the video below by Newtography:
If you just need a refresher, here's a quick rundown of what these semi-automatic modes do:
- Aperture Priority Mode allows you to determine the aperture and ISO. The camera selects a shutter speed that's appropriate to get a well-exposed image. This is advantageous for situations in which you need to have control over the depth of field. Learn more about aperture and aperture priority mode in this guide.
- Shutter Priority Mode allows you to select the shutter speed and ISO. The camera then chooses an aperture to match such that the photos you take are well-exposed. This mode is best for either freezing or blurring the movement of the subject. Learn more about shutter speed and shutter priority mode in this tutorial.
- Program Mode is often thought of as ISO Priority Mode because you get to control the ISO while the camera determines an appropriate aperture and shutter speed to match. However, unlike aperture priority and shutter priority modes, in Program mode, you can override the selections the camera makes to those settings. Program mode is ideal for situations in which you're shooting in very harsh lighting conditions.
The point here is that much like you need time in the field to practice taking photos, you also need time to expand your understanding of (and control over) your camera. Shooting in one of the modes listed above is a great way to do that.
Shoot With What You've Got

When you're just starting out in photography, it can be all too tempting to purchase a fancy camera and a few lenses, a new tripod, a new laptop, and so forth.
And while those things won't necessarily hurt your ability to take a good photo, they won't necessarily help either.
Notice how most of the preceding tips focused on tangible actions you can do to get better. There's a reason for that.
When you're a beginner, your focus needs to be on skill and knowledge acquisition. That means learning about exposure, lighting, framing, composition, and so forth.
Sure, a new camera is nice to have, but is it an absolute necessity? No.
You can learn how to take great photos with your existing camera whether it's your smartphone, a point-and-shoot, or a hand-me-down DSLR from a friend or family member.
If you're going to spend money on anything, spend your money wisely on tools that help you learn. Get a book or an eBook to learn about composition. Take a photography class at the local college. Join a community like PhotographyTalk. In short, focus on activities that promote learning, not on acquiring new gear.
As you develop the requisite skills to take good photos and you outgrow your current gear, then you can set about finding upgraded equipment that will allow you to continue to learn and grow as a photographer.
Savor the Process

I fully admit that I'm not the most patient person in the world.
And if you fall into the impatient category, take it from me when I say that being impatient will do you no favors as you learn to be a better photographer.
Instead, try to take a slow and steady approach to learning new skills and acquiring new knowledge. Really savor the process of learning and commit yourself to consistent growth over a long period of time.
Will it take you decades to become a better photographer? No.
But you won't reach your goals as an artist overnight, either.
You'll make mistakes along the way, but strive to use those mistakes as a learning tool and not as a source of frustration.
So, if you tackle learning one or two techniques a week, enjoy learning about those techniques and putting your learning into practice.
Don't just fly through everything for the sake of finishing a tutorial faster.
Take your time, shoot a lot, keep a camera with you at all times, and challenge yourself to master your camera and the concepts and rules that govern photography.
Do those things, and you'll be surprised at how quickly you'll see an improvement in the quality of your photos!
We Recommend
Essential Mobile Photography Tips
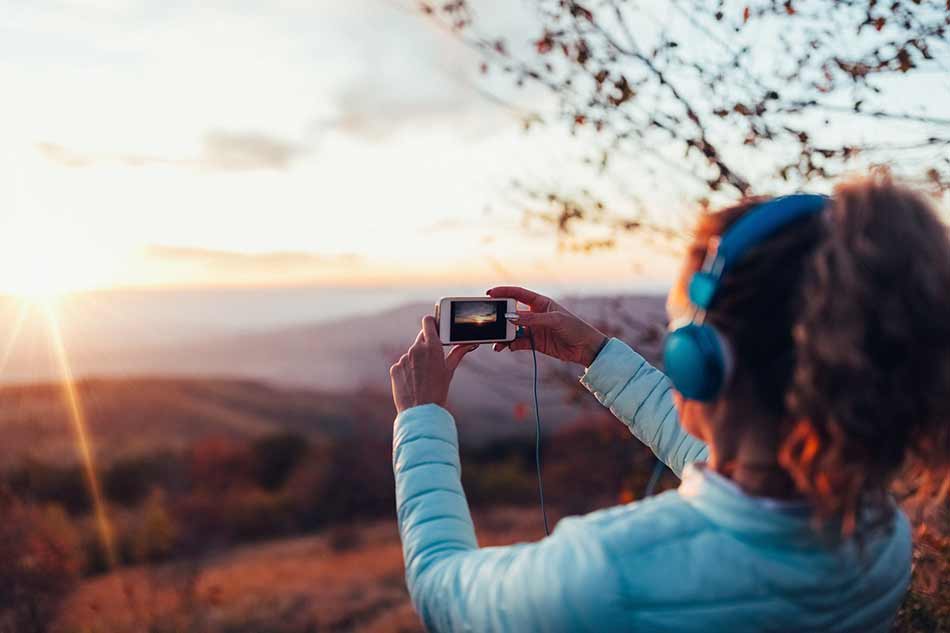
I'll just come right out and say it: of all my cameras, my iPhone is the one that gets the most usage.
It's my go-to daily camera because it's always there with me, it's easy to use, and in a lot of situations, it takes pretty good photos.
That doesn't mean that I never take my Nikon D810 out for a spin or leave my Sony a6300 at home all the time.
I'm just saying that with the massive improvements in mobile phone cameras over the years, it just makes sense to use my phone more often than not.
Since most of us are in that same boat of using our phones as our primary cameras, I thought it would behoove me to share a few tips and tricks for getting better results with mobile photography.
Invest in Some Apps
Just like your "real" camera needs some accessories to extend its capabilities, so too does your smartphone.
Getting apps for controlling the camera and giving you increased processing capabilities is task number one.
When it comes to controlling the camera, iOS users might look into ProCam 4 (shown above), which gives you full manual controls to manipulate shutter speed and ISO. You can also control white balance, bracket exposures, and shoot in RAW, assuming you have a new enough iOS device.
ProCam 4 isn't available for Android phones, but a similar app is Proshot, which also gives you exposure controls, RAW shooting, focus assist, and a host of other handy features.

Once you take your photos, you need apps to process them, and few are better than VSCO Cam.
Available for Android and iOS devices, VSCO has an incredible array of post-processing features, from some of the best filters available today to pinpoint controls over things like exposure, sharpness, tint, shadows and highlights, temperature, and saturation.
VSCO's controls are well-organized and easy to use - adjust the intensity of a filter by using a slider. The same goes for making adjustments to the items listed above.
In other words, it's dead simple to add some pizzazz to your photos with VSCO Cam. It's even got its own little community so you can share your photos with other VSCO lovers.
Invest in Some Hardware Too
Just like you need to give your DSLR or mirrorless camera a stable base to get a better photo, your smartphone benefits from a stable base too.
That's where Grip & Shoot comes in...
The beauty of this little gadget is that it allows you to actually hold the phone steady because you have a grip to hang onto.
That means no more hanging onto your phone with both arms extended away from your body.
But it's not just about having a solid grip. Grip & Shoot also makes triggering your shutter easier.
Think about it - you're usually holding the phone with both hands to steady it, and have to manipulate your fingers to tap the shutter button on the screen, right?
With Grip & Shoot, you can fire the shutter with the integrated trigger on the handle.
There's other buttons on Grip & Shoot too, and they're programmable. If you have a little coding knowledge, you can make them control whatever you like!
Even better, the Grip & Shoot has a detachable grip. That means you can put your phone on a tripod, take the grip with you, and be in a group shot or take a selfie from up to 100 feet away with Bluetooth connectivity. It's also Android and iOS compatible.
Talk about a great way to take a better smartphone photo!
Learn more about Grip & Shoot.
Use Common Rules of Composition
Just because you're using your phone doesn't mean that the traditional rules of photography composition don't still apply.
That means using the Rule of Thirds to create a more balanced and interesting shot.
When taking a portrait, that also means watching the background to make sure it isn't distracting. Minimize crazy colors, look for branches that appear to stick out of your subject's head, and be wary of areas of light and shadow that might interfere with the viewer's ability to connect with the subject.
When taking photos of landscapes, include foreground interest to draw viewers into the shot. Also strive to have a strong subject that acts as an anchor point of interest that grabs the viewer's attention.
No matter the subject, it's also necessary to think purposefully about the perspective from which you shoot.
Get low to emphasize foreground interest and the size of the subject. Get up high to show the scale of the scene and make your subject look smaller.
The key is to not simply point and shoot. Instead, take a few seconds to examine the subject matter and think about ways you can capture it in an image that's unique and interesting.
Pay Attention to Light
Lighting is crucial for a number of reasons.
On the one hand, smartphone cameras just don't have the same ability to manage light and shadow as well as traditional cameras. You don't have the luxury of changing the aperture or lens to get a different take on the scene, so you have to work with what the light gives you.
On the other hand, no matter what camera you use, it's important to consider the type of lighting you have available.
When it comes to natural light, it's much warmer and softer near sunrise and sunset. The result is images that are usually more pleasing to view with less contrast and fewer harsh shadows.
Light in the early morning and late evening is also highly directional. That is, it comes into the scene at a low angle, producing beautiful, long shadows that create tons of visual interest.
If you want the most impact, look for this kind of lighting when shooting with your mobile phone.
Add Your Own Interest

Sometimes you have all the right gear, a great composition, and wonderful lighting, but the scene still lacks interest at the level you want.
That's when it's time to add your own interest.
This could be as simple as being patient and waiting for something to happen - a bird landing in the scene in front of you, for example.
If you're taking a portrait, you might take things into your own hands and add a prop to add a pop of color or texture to the shot.
Another impactful trick is to incorporate a person into the shot. If you're photographing a landscape, have a friend stand or sit in the frame (or do it yourself). Doing so immediately adds interest to an otherwise boring landscape.
If you're taking a portrait, adding another person to the shot adds an interesting dynamic, as seen in the image above. Make your subjects laugh or interact with one another, and you'll see what I mean!
Work At It
It's easy to get lazy when shooting with your phone because it's so easy to use.
But if you want the best smartphone photos, move around, look for different perspectives, and challenge yourself to frame more interesting shots.
Also keep shooting.
This is especially important when taking portraits because it's often in between the "real" takes that your subject is most relaxed. That enables you to get a more genuine portrait.
The point is that you should constantly be thinking, moving, and working to get a better photo. Don't fall into the trap of just standing there, phone at arm's length, taking photos (or shooting out the window of the car, either).
Get familiar with these tips, get the necessary gear, and you'll be set to see a massive improvement in your smartphone photos!
We Recommend
Get Out of Your Creative Rut With These 3 Simple Tips
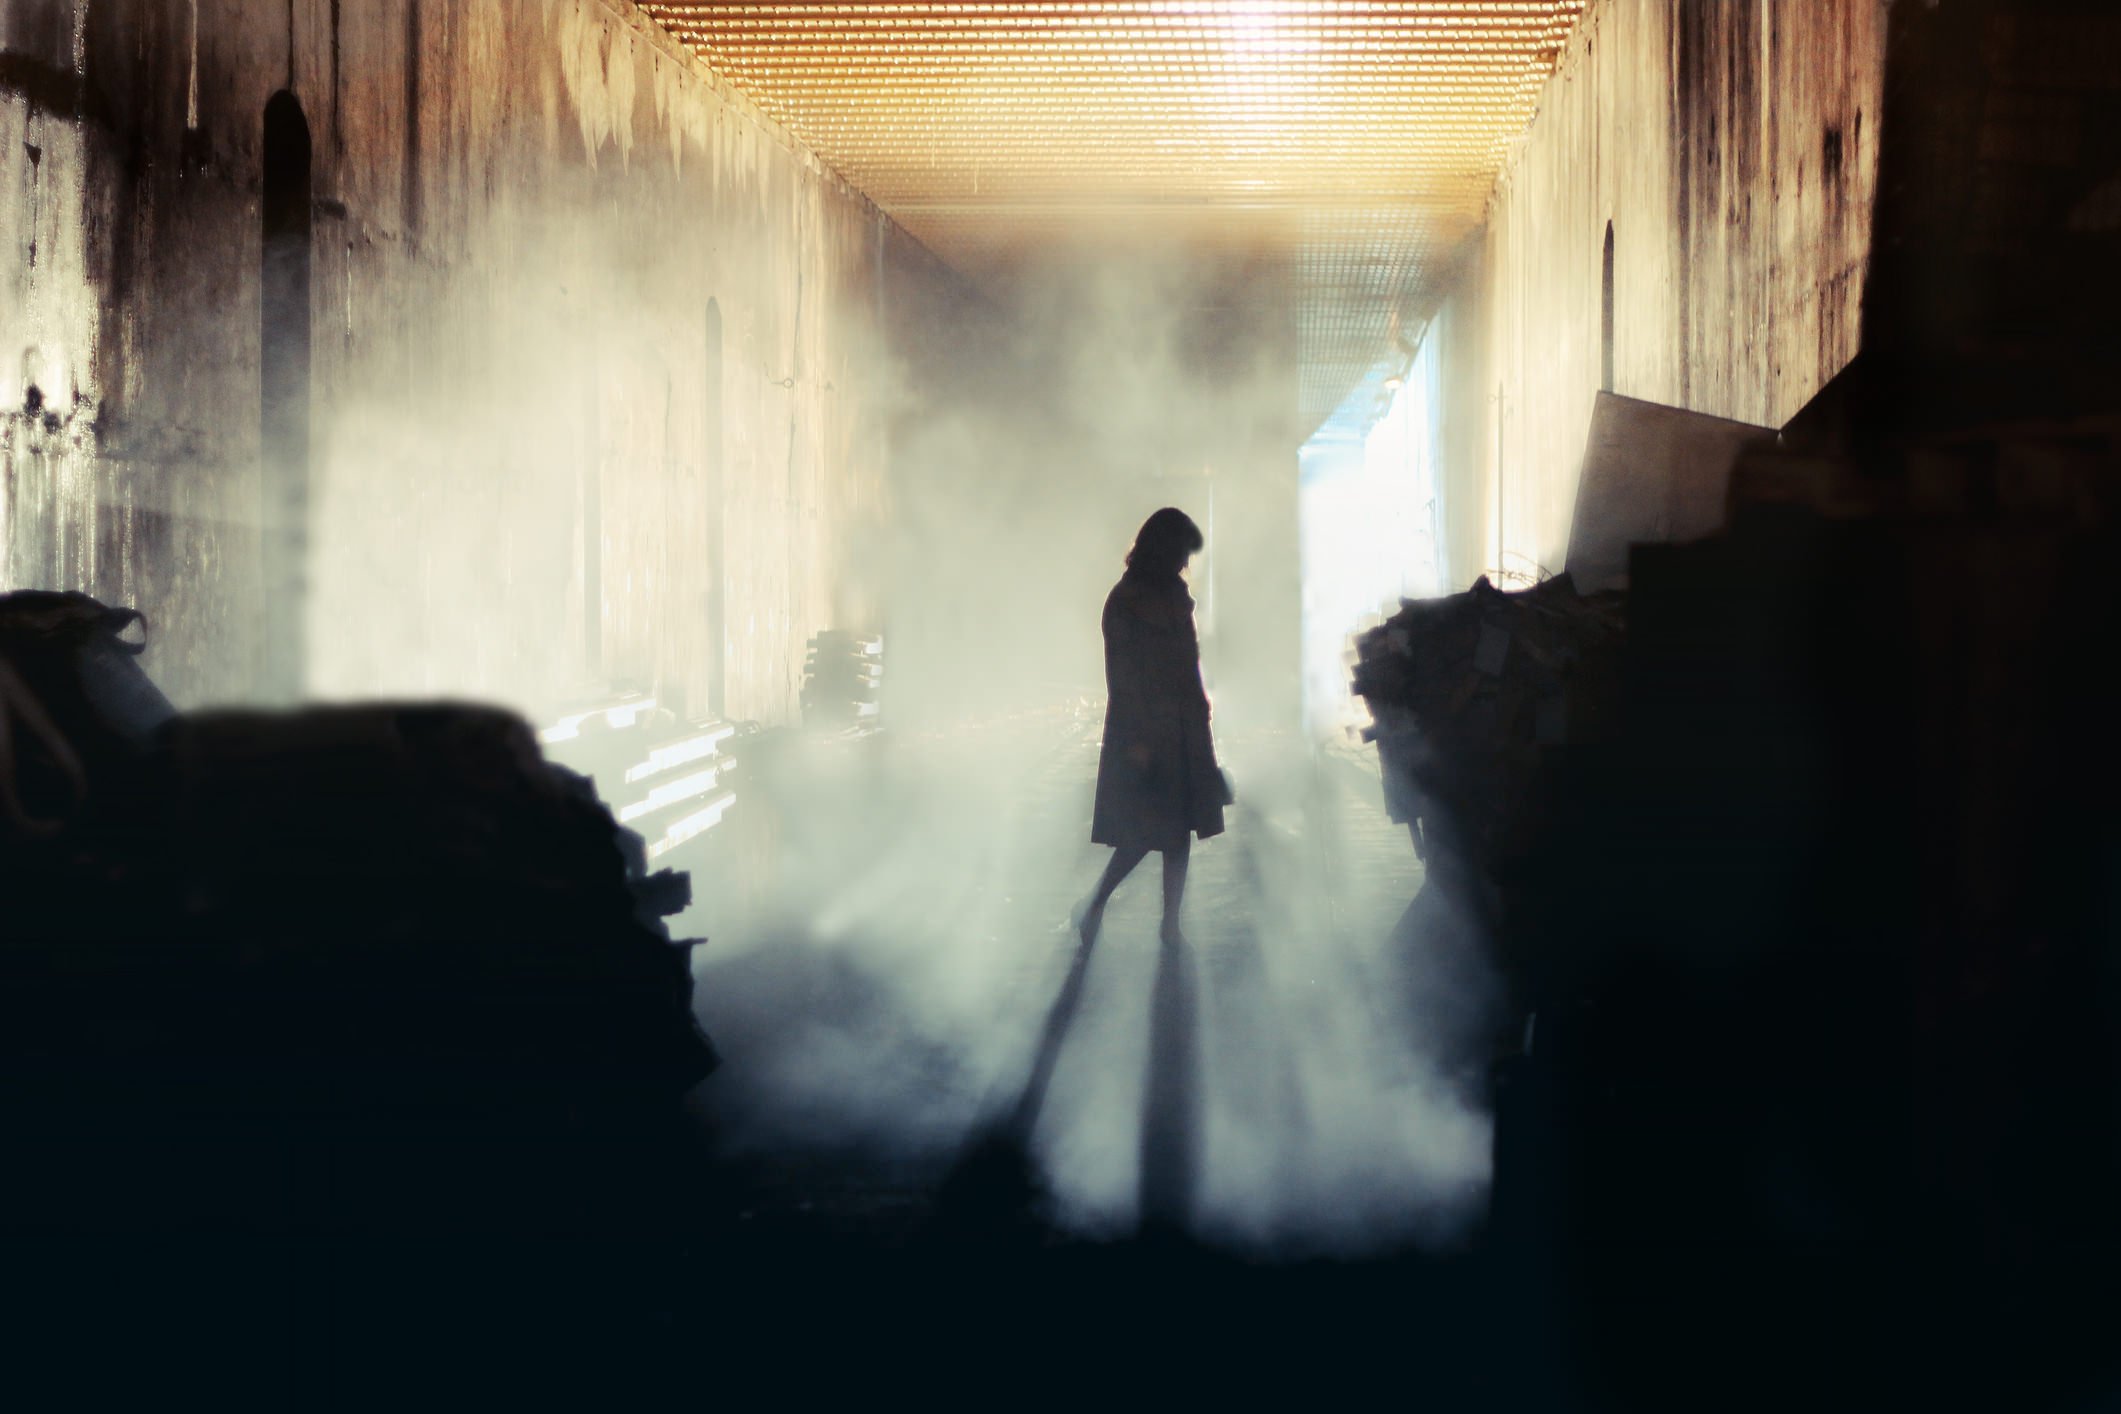
When you're just starting out as a photographer, it can be really easy to get stuck in a rut.
After all, you have to figure out how to use your camera, determine what all those camera settings do, and educate yourself about exposure.
All of that happens after you find the time to learn the basic rules of composition and actually find time to go out and practice taking photos.
It's a lot, to be sure, but the name of the game is that last point - finding the time to practice what you learn so you can expand your photography skills.
Only when you learn new things and increase your photography repertoire will you be able to get consistent results that are in line with your creative vision.
With that in mind, let's take a look at three things you can do today that will help you expand your skills and will get you better photos each and every time.
Try Different Styles of Photography

It's great to find your favorite type of photography and work towards mastering it.
But there is something to be said for expanding your boundaries and giving other types of photography a try.
If you're most interested in portraits, by all means, spend a lot of time perfecting your ability to create a gorgeous portrait.
But going beyond a portrait of a family member or a friend and taking up something like street photography can help you in many ways.
For example, street photography requires you to think on your feet - from a compositional and a technical standpoint.
Think about it like this...
Let's say you encounter a scene on the street that you want to document, but time is of the essence.
That means you have to be able to dial in the necessary settings, raise the camera to your eye, lock focus, and compose the shot in a matter of seconds.
You can imagine how that sort of experience would help you in creating better portraits of your loved ones.
By learning to think on your feet and work quickly, you can employ those same principles even when time isn't of the essence.
The point is that by stretching your boundaries and learning how to work in different situations with different subjects to create images of many different types and sorts, you'll be able to hone those basic photography skills - composition, lighting, camera settings, and so on - in a way that makes you a more successful photographer in just about any situation.
Shoot From Different Perspectives
When I started in photography, I shot landscapes almost exclusively.
At the time, I thought I had a really good eye for what constituted a pretty landscape photo.
Here's what I did - I'd walk up to a vantage point, and standing up straight, I'd raise my camera to my eye and take a series of photos.
I was really proud of myself when they turned out pretty well, at least from a lighting and compositional standpoint.
But years later, in looking back at all those photos I was taking, I noticed something...
They were almost all taken from the same perspective - my eye level.

To say the least, after looking through a few hundred photos - all of which were taken from the same point of view - was really boring.
I decided at that point to challenge myself to take photos from different perspectives.
That helped me in two ways:
- I learned how to compose shots from different angles, like looking for interesting foreground elements when taking a very low shooting position. Alternatively, by looking up, as was done in the image of the forest above, you get a totally unique view of a forest scene.
- It spiced up the variety in my photos, so now when I look at a series of images, they aren't all from the same perspective.
I know it seems too simple to be true, but trust me when I say that simply kneeling down, standing on your tiptoes, or even lying down on the ground will do wonders for your photos no matter if they are landscapes, portraits, or something in between. See this tip in action in the video above from the Ultimate PhotoGuide.
Use Different Lenses

When I started in photography, I used nothing but my kit lens, an 18-55mm zoom.
There's nothing wrong with doing that, but similar to never changing your perspective, never using a different lens can easily get you into a rut because you'll see the same scenes from the same focal lengths every time.
Now, this doesn't mean you need to run out and buy a telephoto lens (though, a 50mm lens would be a great idea).
Instead, you can rent lenses from a website like Borrow Lenses or Lens Rentals to get a feel for how the focal length of the lens alters the way your photos look.
For example, if you enjoy landscapes, try shooting landscapes with a short telephoto lens like an 85mm prime or a 70-200mm zoom.
Since a kit lens works in the wide-angle and standard regions, switching to a short telephoto or a telephoto lens forces you to view the scene in a completely different way. Have a look at the three primary ways that changing focal length can change your images in the video above by Mike Browne.
Shooting landscapes with a telephoto lens means you have to pay attention to the smaller details of the scene, like the leaves in the image at the start of this subsection, rather than the landscape at large.
That means you can work on finding interesting vignettes that you'd otherwise miss when shooting with a wide lens.
Again, this is all about getting out of your comfort zone and challenging yourself to use different gear in different ways to get different results.
Wrapping Things Up
There is a common misconception by beginner photographers that to get better that there has to be a huge expenditure of money for better equipment or that you have to take a photography class to get the inside scoop on how to improve.
That's just not the case.
As we've seen with the tips outlined above, it's all about practicing a few concepts that help you stretch your boundaries and bring added interest and life to the photos that you create.
Honestly, if you practice these three tips every day for a couple of weeks, you will notice a marked improvement in your photos.
It just comes down to committing yourself to taking the time to work on these things!
We Recommend
How NOT to Look Like a Beginner Photographer
When it comes down to it, the difference between beginner photographers and experienced photographers isn't all that much.
It's just a little time, experience, and an understanding of essential photography principles.
Okay, so maybe there's a little more of a difference than I thought...
However, beginner photographers can make up a lot of ground by focusing on a few critical areas, composition being one of them.
In the video above, Sheldon Evans tackles this very subject - photography mistakes that beginner photographers make, and solutions to help avoid them.
It's a quick video that's well worth the watch, as Sheldon lays it all out as to what you can do to NOT look like a beginner photographer.
I've outlined his tips below for quick reference.
Editor's Tip: After you learn how to take better photos, get better prints made. Learn how to turn your photos into fine art.
Photography Mistake #1: Not Doing Background Checks
 YouTube Screenshot/Sheldon Evans
When you take portraits, the person you're photographing is obviously the most important element in the shot.
But that doesn't mean that there aren't other factors at play that might reduce the quality of your photo, like weird things going on in the background.
In the screenshot above, notice how the model looks like her body is being split with the lines of the wall behind her.
In particular, the corner of the wall creates a line that comes out the top of the model's head, which is very distracting.
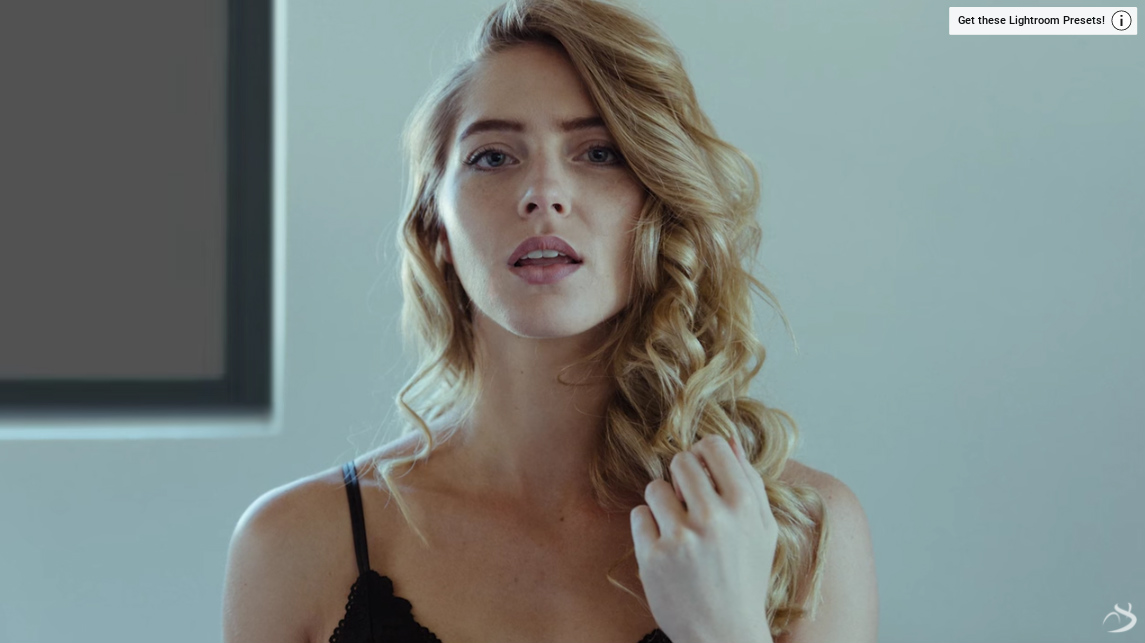 YouTube Screenshot/Sheldon Evans
You can stop making this common photography mistake very easily, too.
Simply moving to a different shooting position to frame the lines out of the shot is a good place to start. You can also shoot with a wider aperture in order to create more background blur, thus negating the presence of the lines.
Another idea is to use the lines as a compositional tool.
In the screenshot above, Sheldon uses the rectangular shape of the window to bring more interest to that area of the background.
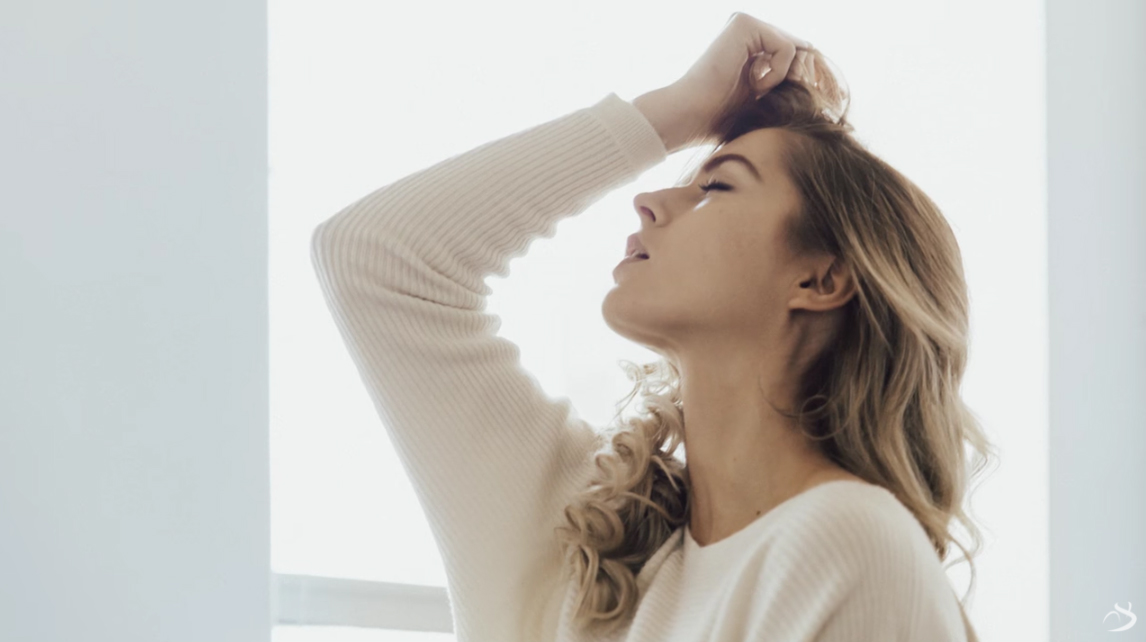 YouTube Screenshot/Sheldon Evans
Another option is to use lines to create a frame within a frame, as shown above.
A frame within a frame is a very powerful compositional tool because it helps draw more attention to the subject.
What's more, the positioning of the frame - in this case the light-filled window directly behind the model - doesn't intersect with her head or body, thus making it an eye-catching element instead of a distracting one.
Learn More:
- Best Camera Settings for Portrait Photography
- 4 Portrait Photography Tips Every Beginner Should Know
Photography Mistake #2: Not Giving the Model Breathing Room
 YouTube Screenshot/Sheldon Evans
When you have an entire frame full of room to position the model, the last thing you want to do is cram them to the same side in which they're looking.
As you can see above, the model is uncomfortably close to the left side of the shot, which makes it feel a little on the claustrophobic side.
The reason for that is because we have no idea what's beyond the edge of the frame. So, even though the model might have 20 feet of space in which to look, to us, she's boxed in way too close.
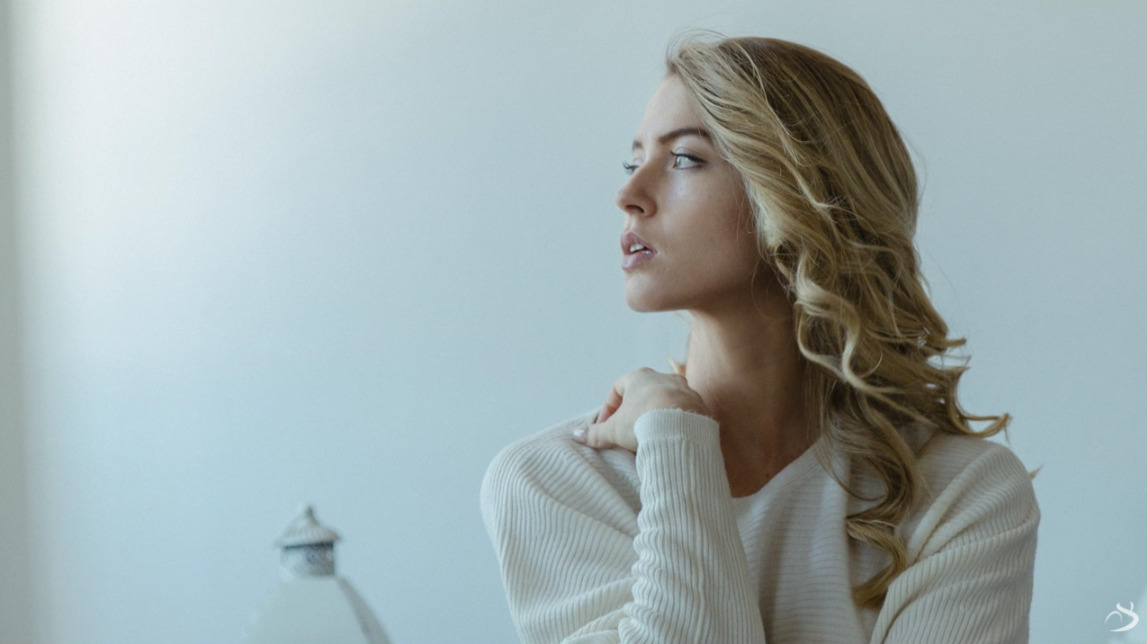 YouTube Screenshot/Sheldon Evans
To fix this issue, simply have the model look the other direction, toward the center of the shot.
You can also recompose the shot to give the model more breathing room, as was done in the image above.
Editor's Tip: Take better portraits with a better portrait lens. Learn how to find high-quality bargain lenses.
Photography Mistake #3: Amputations
 YouTube Screenshot/Sheldon Evans
A telltale sign that a portrait was taken by a beginner photographer is if there are body parts cut off the model.
As far as bad photography mistakes go, this is at the top of the list for portraits!
In the screenshot above, notice how the model's right hand looks like it's been amputated.
Framing portraits like this - with joints like wrists, elbows, and knees right at the edge of the frame, looks haphazard.
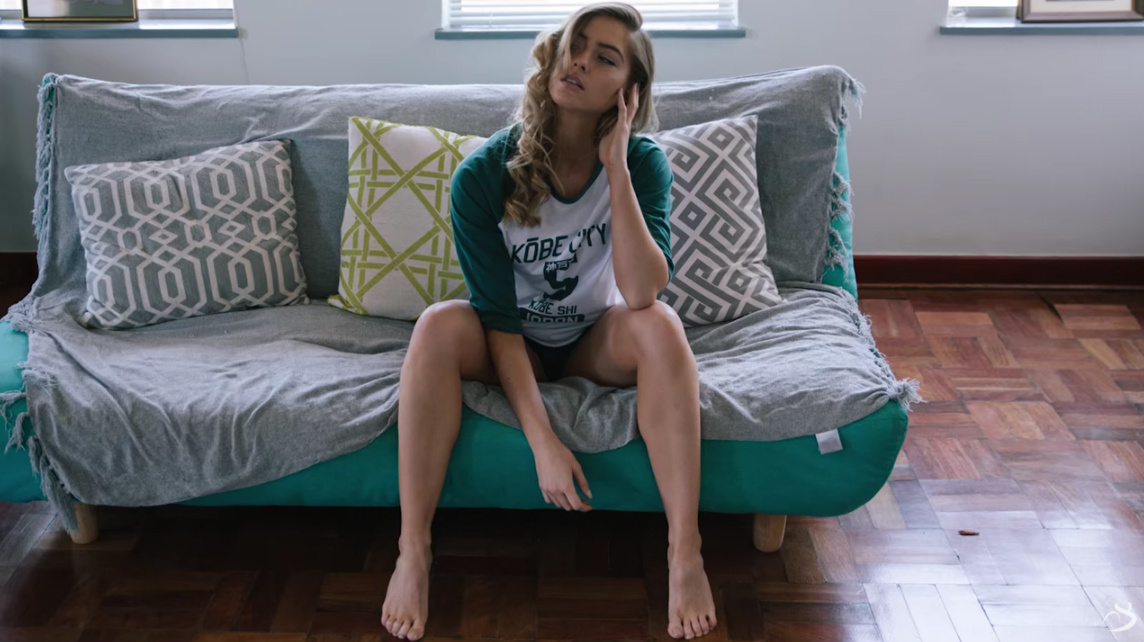 YouTube Screenshot/Sheldon Evans
But, again, the fix is really simple.
You can try shooting wide, and including the person's entire body in the photo, as shown above.
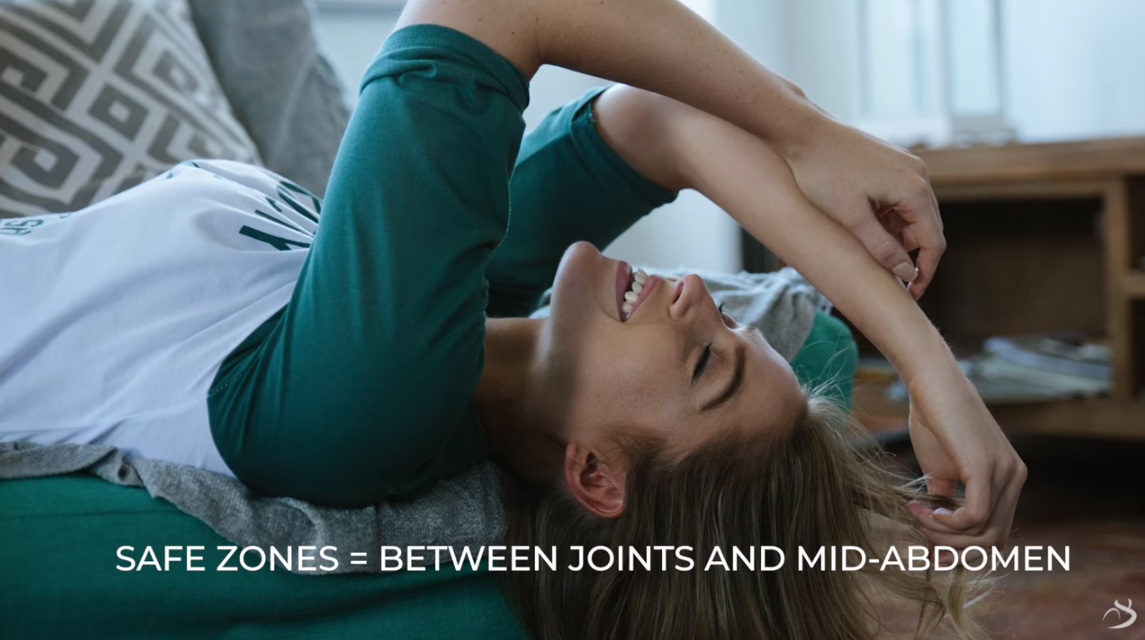 YouTube Screenshot/Sheldon Evans
You can also try cropping at what Sheldon calls "safe zones," or areas between joints, like the mid-abdomen.
Additionally, if you're taking a headshot, include the person's shoulders in the frame, otherwise they'll look like a floating head.
Likewise, don't crop too far down on a person's head, otherwise they'll look like the top of their head has been cut off.
It's a lot to remember when you take portraits, especially when you add in camera settings, what lens to use, lighting, and so forth.
But using this quick and simple guideline, you can minimize bad photography mistakes and start creating more pleasing compositions!
Learn More:
- 9 Can't-Miss Portrait Photography Tips That Will Help You Create Better Portraits Today
- Innovative Portrait Photography Tips You Need to Use Today
We Recommend
How to Avoid Blurry Photos
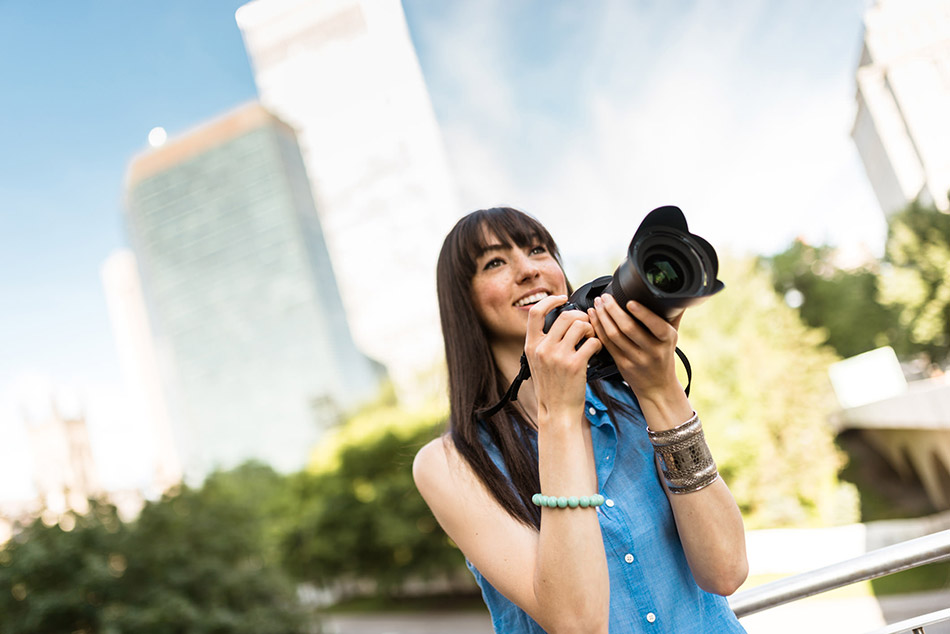
Blurry photos got you down?
You're not alone...
In fact, I'd say that for beginner photographers (and a lot of the rest of us, too), blurry photos is one of the most common problems.
Who knew that getting the subject nice and sharp could be so difficult?!
Actually, the sharpness you're after - that we are all after - isn't difficult to get, at least not once you learn a few ways to avoid blurry photos.
Here are a few ways that you can avoid that dreaded blur in favor of images that are clear and sharp each and every time.
Use Single-Point Autofocus
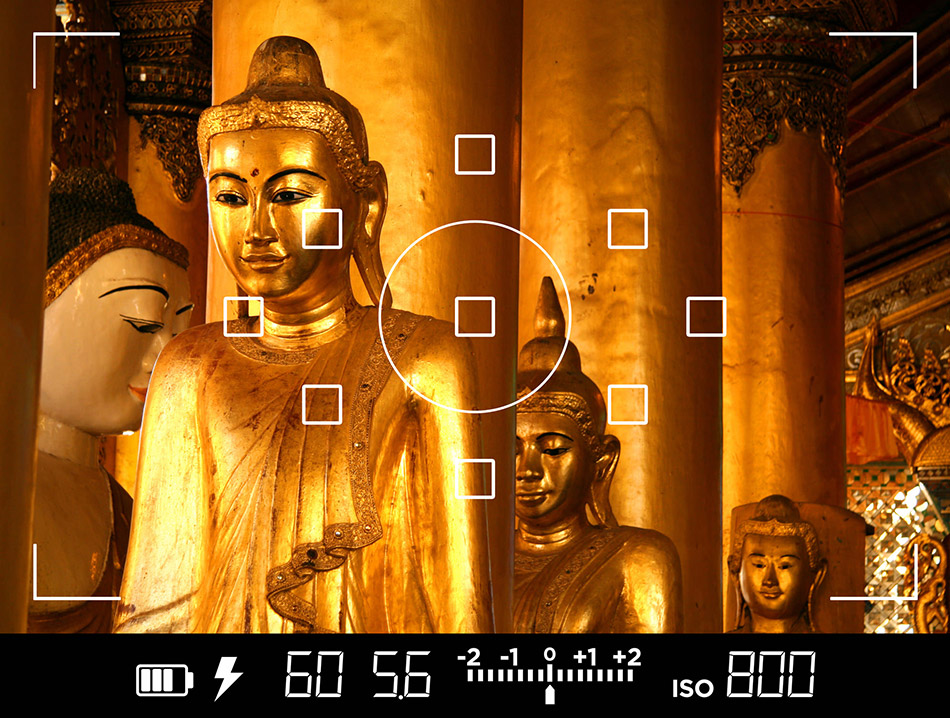
Generally speaking, most cameras will attempt to keep the entire scene in focus (or as closely in focus as possible).
While this strategy is advantageous for taking images of landscapes, for photos with smaller subjects, like portraits, you might find that this approach to focusing often results in a subject that isn't optimally sharp.
To avoid that, switch to single-point autofocus so you have more control over what aspects of the image are sharp.
All you do is switch to single-point autofocus (the procedure for doing so is different from one camera to the next, so check your owner's manual). This usually means that the camera will acquire focus on its centermost autofocus point.
Then, place the active autofocus point over your subject and depress the shutter button halfway. This locks the focus in place.
In the image above, that would mean placing the center square over the nearest statue and locking focus.
All you need to do from there is recompose the shot to your liking and depress the shutter button fully to take the shot. You'll notice that your subject is sharp, as the statue appears sharp in the image above.
Remove the Filter
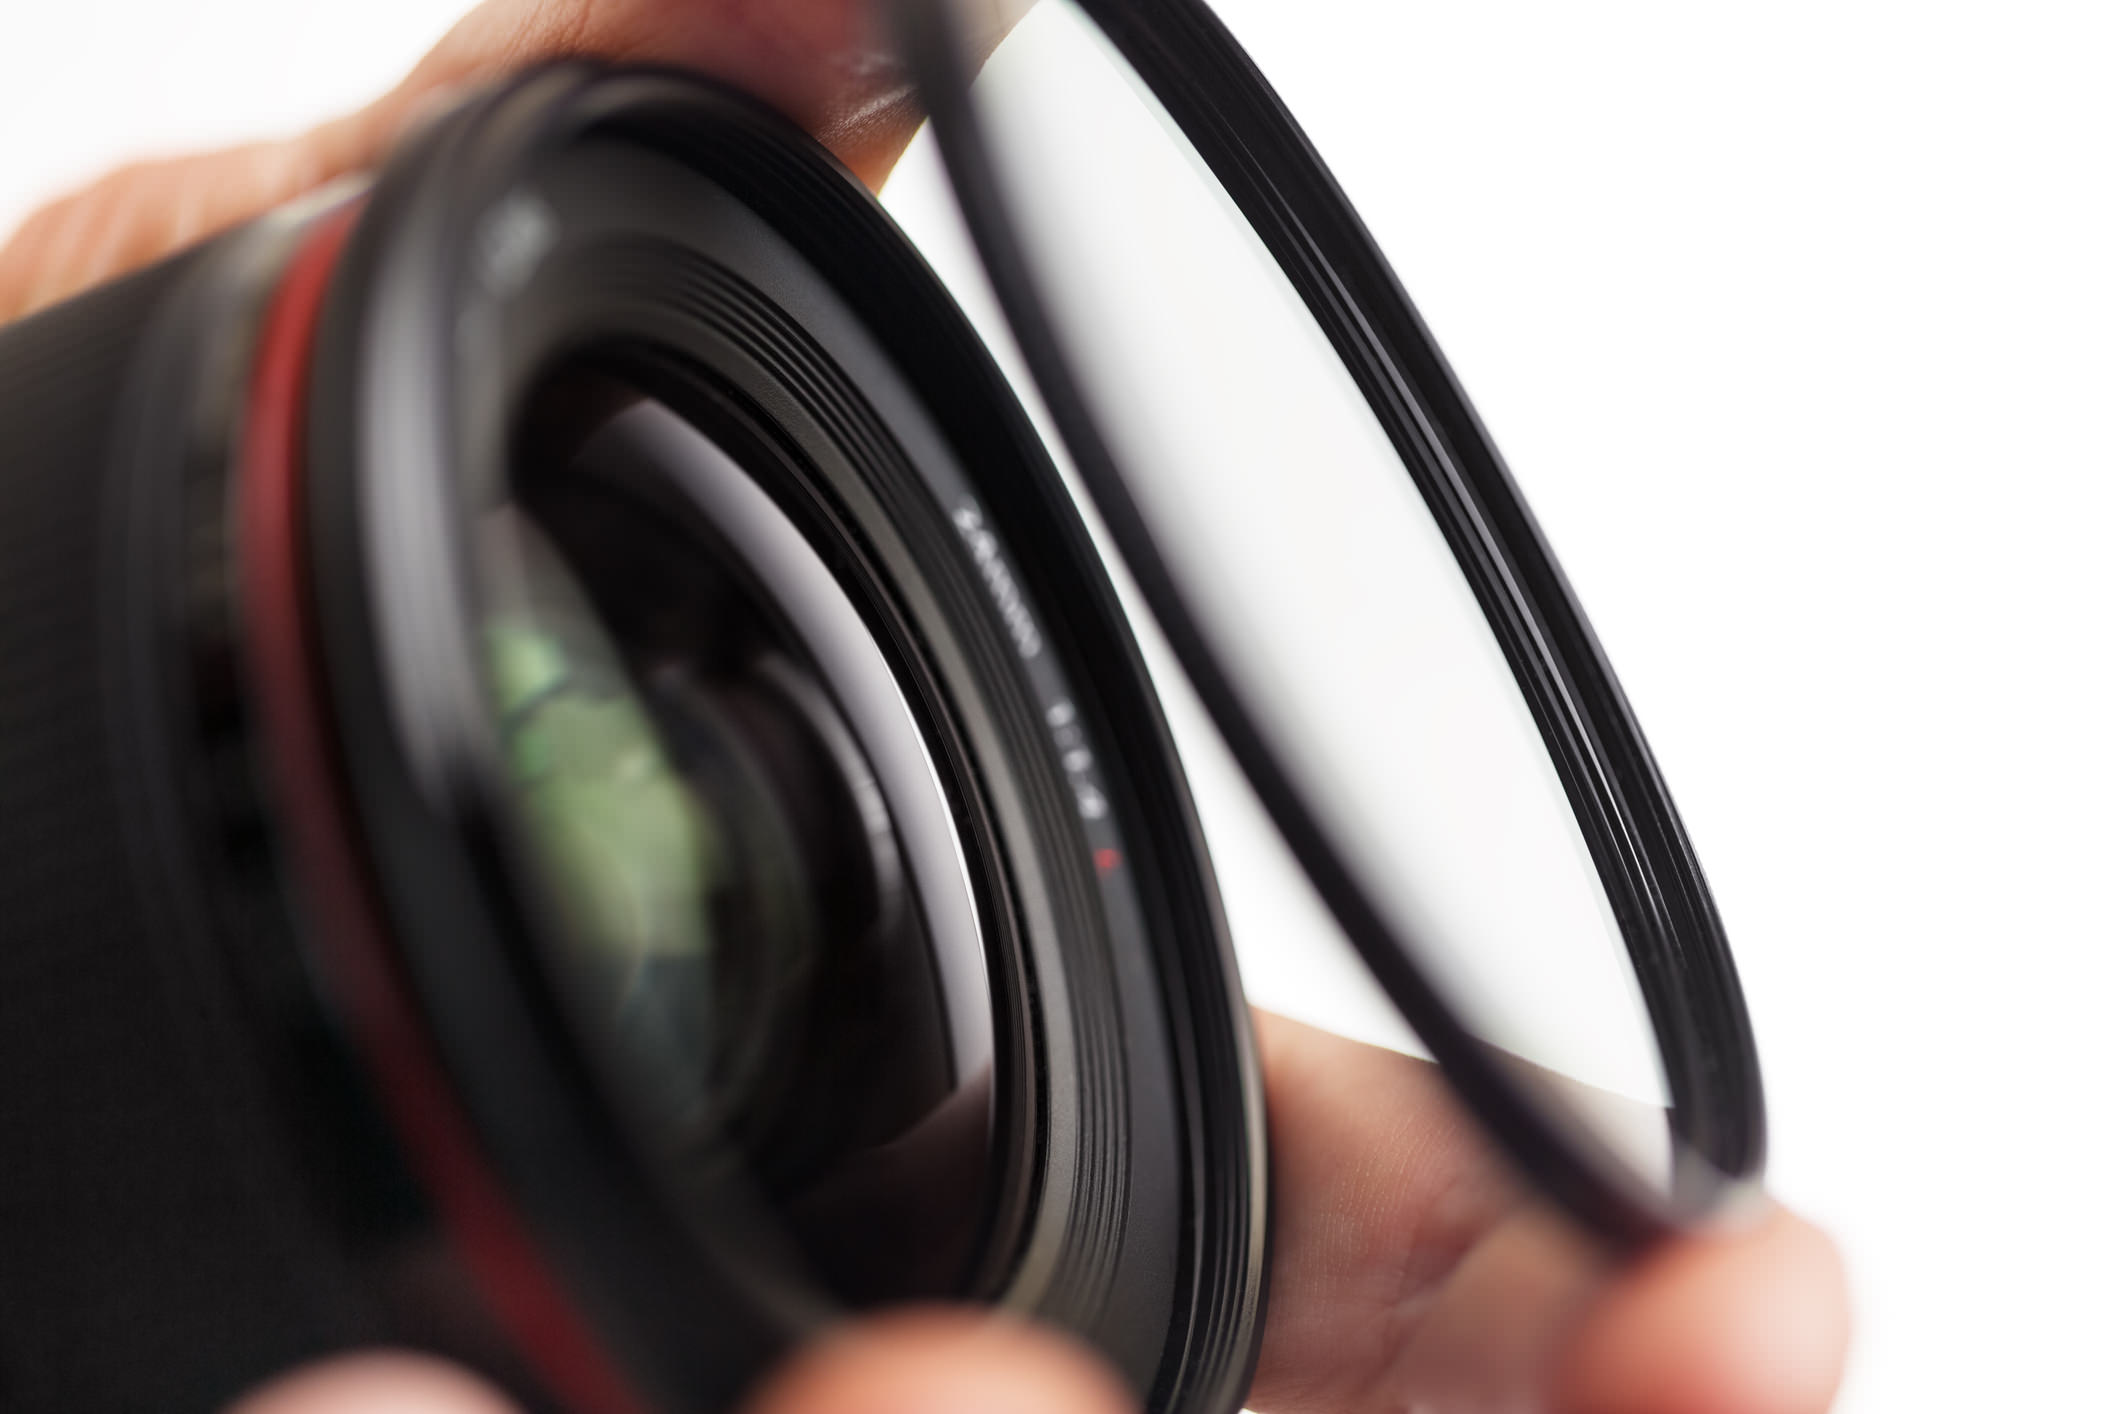
There are plenty of benefits of having a good set of filters in your kit, especially if you like to shoot landscapes.
But the problem with filters is the same problem with lenses - they aren't all made of equal quality.
So, like just about every photography website tells you, spend your money on a good lens because the quality will be better. The same goes for filters.
That's because if you buy a cheap filter, it will negatively impact the quality of the images you create, no matter how great of a lens you use.
Think about it - light has to first pass through the filter before even reaching your lens, so if your filter is cheap and poor quality, your lens has no hope of rectifying that situation.
If you notice that your images just aren't as sharp as you think they should be, take off the filter and try again. You never know - it might make all the difference!
Minimize Camera Shake
Likely the most common culprit of blurry photos is camera shake.
If you aren't familiar with the concept, the term camera shake refers to the inadvertent motion caused by holding the camera that results in blurry photos.
Camera shake can result from a number of factors and be controlled by a number of factors as well:
Hold the Camera the Right Way
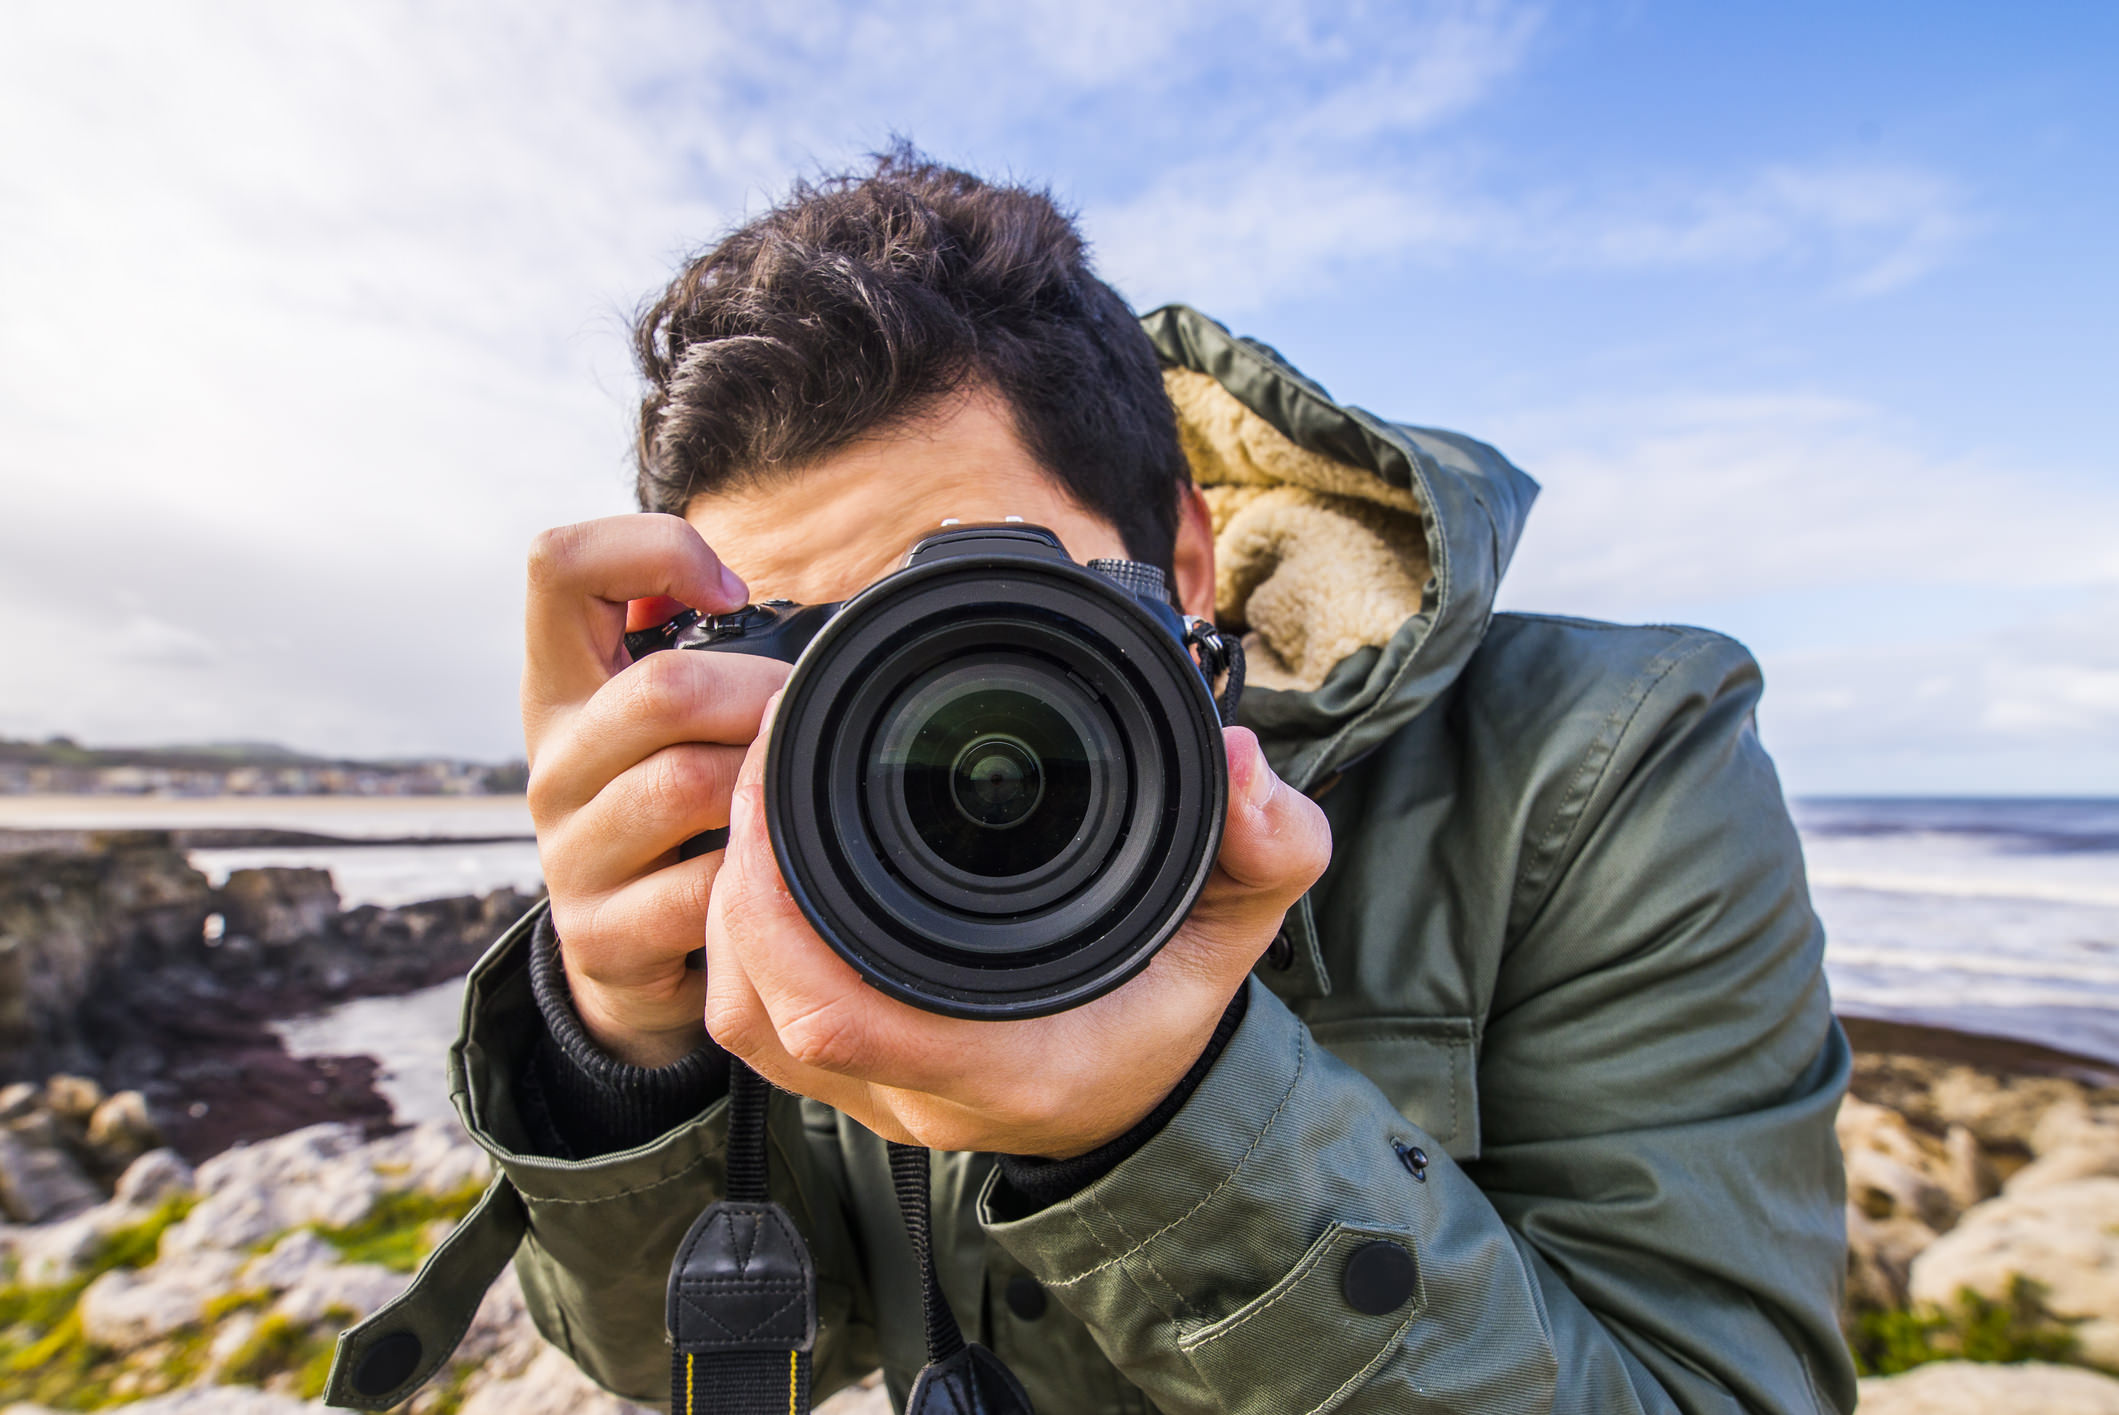
First, camera shake can be a problem if you aren't holding the camera in a manner that allows you to keep it as secure as possible.
In today's age of using smartphones as cameras, we all get into the habit of holding the phone with outstretched arms so we can see the screen and compose the shot.
However, if you're using a DSLR or mirrorless camera, this is not the way to hold the camera to ensure sharp images.
There are plenty of ways to hold a camera and get sharper results, but a basic rule of thumb is to tuck your elbows into your chest, hold the camera firmly with your right hand on the camera grip, and support the camera from underneath with your left hand, as seen in the image above.
Create a stable base by standing with your feet shoulder-width apart, press your elbows into your chest, and gently press the shutter button.
Take It Easy on the Shutter Button

Second, sometimes in our zealousness to get the shot, we can get into the habit of pressing the shutter button with too much gusto.
That action of harshly pressing the shutter can move the camera enough to induce camera shake.
Instead, press the shutter button with some finesse by gently squeezing it.
It's the same concept as when you fire a gun - you want it to be a single, smooth motion that allows you to keep your camera nice and still and doesn't pull you off your subject with a violent pressing motion.
So, rather than pressing the shutter button with the tip of your finger at a sharp downward angle as seen above, rest your finger on the shutter button such that your fingerprint is on the button itself. Then, when you're ready to take the photo, gently press down with the entirety of your finger. Doing so will help minimize movement and result in a sharper image.
Use a Tripod
Third, and perhaps most obvious, is that if you want to minimize blur, simply don't hold the camera!
Mounting your camera on a tripod will give it the stable base it needs to produce the sharpest results, even if your shutter speed is on the slow side (more on that in a bit).
Granted, lugging around a tripod isn't exactly a fun experience and not every opportunity you have to take a photo will even allow for a tripod or the time to get one setup.
However, if you're taking portraits of your family or something that doesn't require you to work at a frenetic pace, using a tripod will do wonders for the sharpness of the photos you create.
Watch Your Shutter Speed
Lastly, camera shake can be minimized greatly if you key into the best shutter speed for the lens that you're using.
When shooting handheld, there's an easy way to determine what shutter speed is the minimum you can use for any lens and still get a sharp photo: use a shutter speed that's faster than the focal length of the lens.
For example, if you take a photo like the one above with a 50mm lens, don't shoot with a shutter speed that's below 1/50th of a second.
If shooting with a 200mm lens, keep it above 1/200th of a second.
You get the picture...
As long as you keep the shutter speed greater than the focal length of your lens, you should see vastly improved sharpness in your photos.

Additionally, you want to select a shutter speed that is fast enough that it allows you to freeze movement.
Unless your portrait subject is absolutely still like a statue, there will be movement as you take the shot.
But if the shutter speed you select is too slow, you will find that even small movements will appear as blur in your images.
In the image above, notice how the baby's eye on our left isn't as sharp as the one on the right. This could be to a misplaced focal point, but it could also be due to slight movements the baby made as the photographer took the photo with a shutter speed that just wasn't fast enough.
The way to get around this is to increase the shutter speed.
So, if at 1/60th of a second you see blur, bump up the shutter speed to 1/125th of a second. If that still doesn't work, bump your shutter speed up again.
Each time, use your camera's LCD to zoom in on your subject's eyes to look for sharpness, repeating this process until they are tack-sharp.
There are plenty of other tips to get sharp photos too. But to see some of these tips in action, check out the video below by Sydney Portraits:
We Recommend
How to Compose a Killer Shot of the Night Sky
I don't think it's any secret that astrophotography can be a challenge.
I mean, on the one hand, it's a little more technical than traditional photography. But challenging yourself once in awhile is a good thing!
On the other hand, astrophotography can be challenging simply because it's hard not to be so enamored with what you see in the night sky that you forget to double-check things like camera settings, focus, and composition to ensure you get the best possible shot.
In this guideline, I'd like to offer up a few basic composition tips that will help you create better images of the night sky.
Editor's Note: Whether you're new to astrophotography or a seasoned veteran, if you need gear, MrStarGuy is the place to go. From telescopes to binoculars, astrophotography mounts to tripods, MrStarGuy has everything you need to capture the beauty of the night sky in stunning detail. Their competitive prices and commitment to customer service mean you get the gear you need without breaking the bank and with the peace of mind that you'll be supported after the purchase. Check out their complete line of products at MrStarGuy.com.
Use Leading Lines
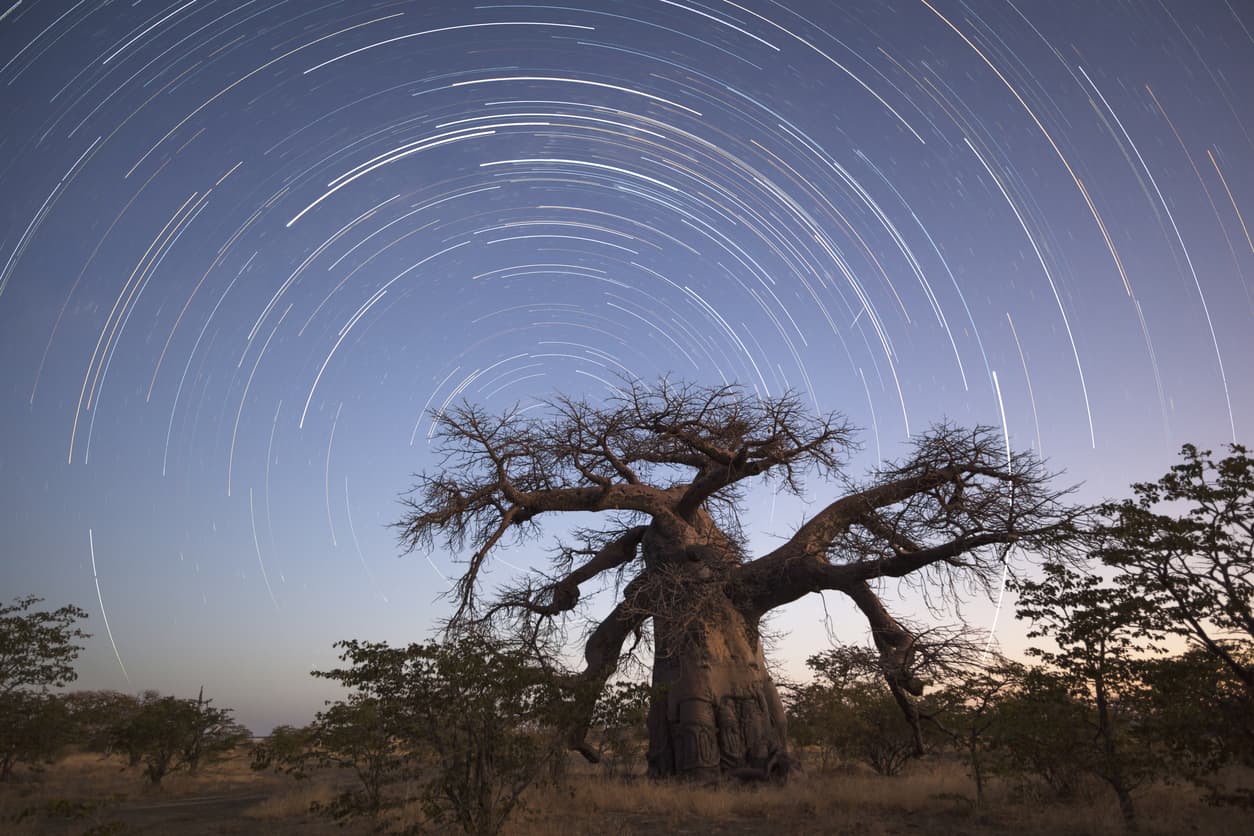
Our eyes naturally follow lines, so it follows that if you include lines in your photos of the night sky, that the viewer's eyes will follow them.
It's a great way to direct the viewer's attention where you want their eyes to go. It also helps you create images that have a greater feeling of depth.
For example, the tree in the image above is an ideal leading line because it immediately grabs your attention and points your eyes toward the sky where they can gaze upon the star trails.
But the use of leading lines needn't be so obvious, either.
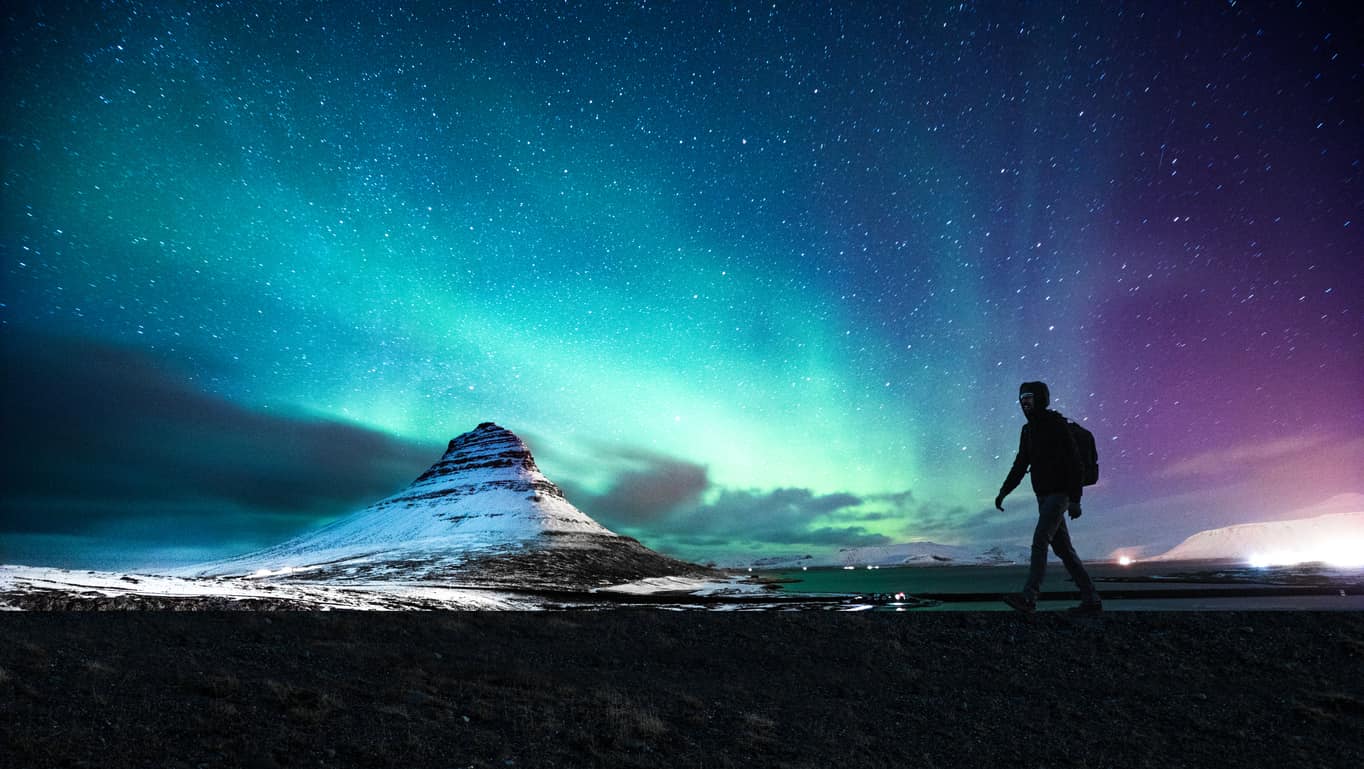
In this image, there's two leading lines that are much more subtle than in the previous photo.
One is the mountain, with its peak pointing toward the colors of the Northern Lights.
The other leading line is the man walking through the frame. Again, the verticality of his silhouette helps drive the eye upward toward the light show in the sky.
Learn More:
- Landscape Photography Composition Rules You Need to Start Using Today
- Quick Tips for Photographing the Full Moon or Supermoon

Remember the Rule of Thirds
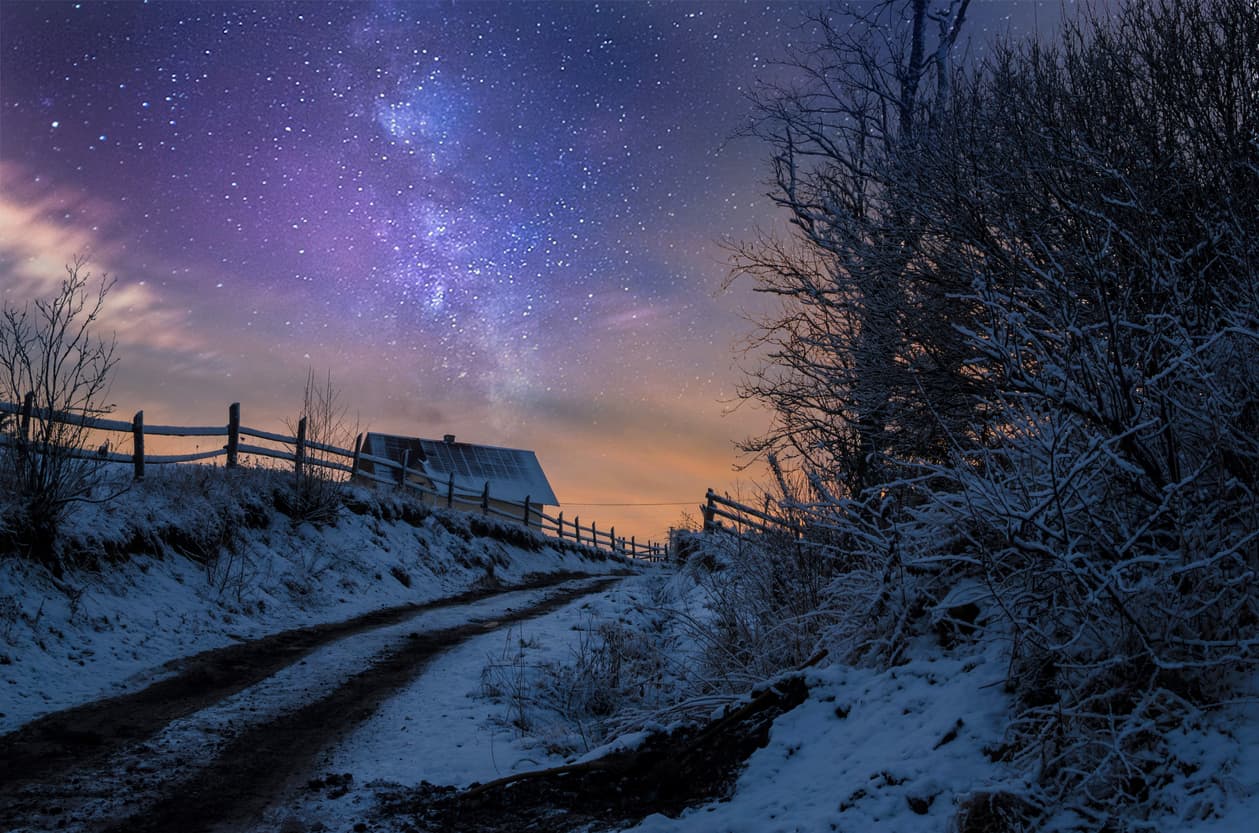
The rule of thirds is probably the most well-known photography rule.
Yet, it's surprising to see so many photos of the night sky with the featured element smack dab in the middle of the frame, precisely where the rule of thirds says not to put the subject.
Now, there's something to be said about bending or breaking photography rules now and again, but more often than not, the rule of thirds will help you create a more dynamic and balanced shot.
In the image above, notice how the Milky Way is shifted to the left of center to more closely align with the rule of thirds. That helps balance out the visual weight of the trees on the right side of the shot.
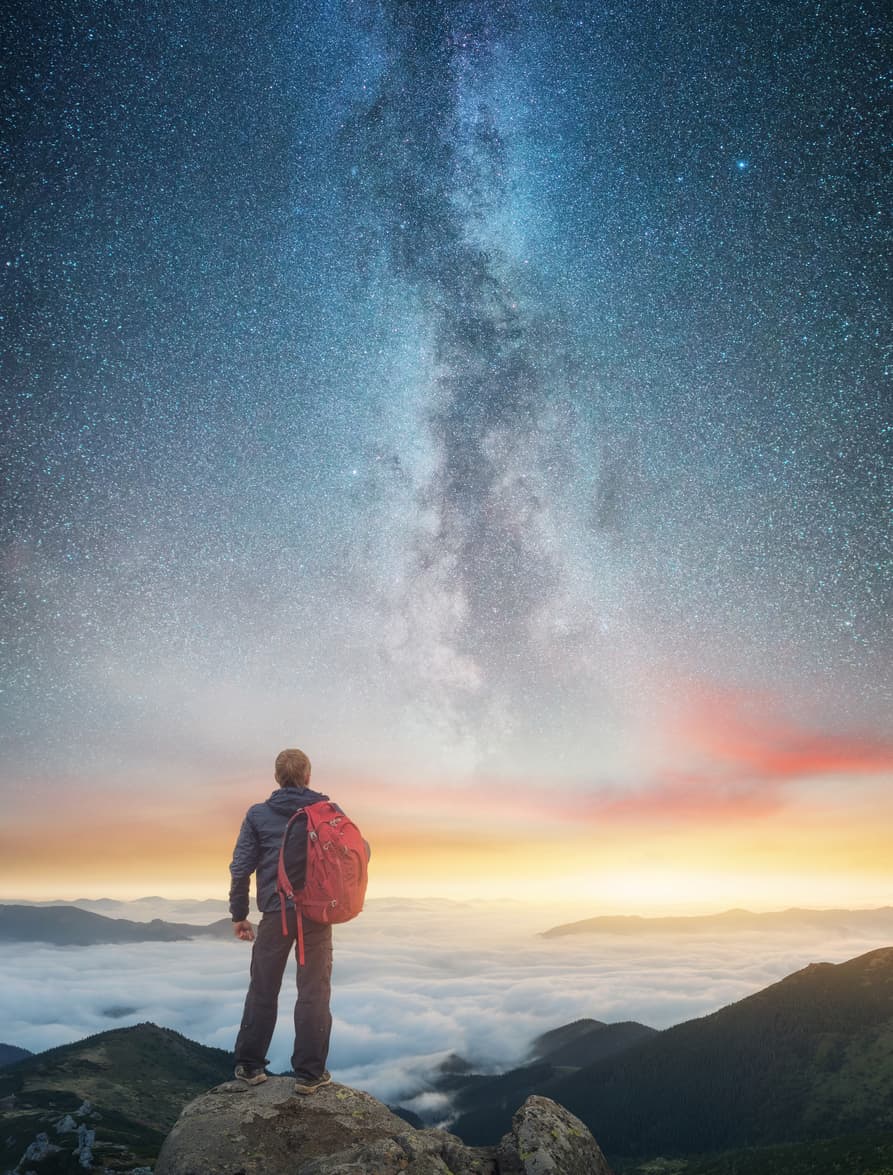
In this image, the Milky Way is positioned in the middle of the frame.
However, because the man commands so much attention in the shot, it was more important to shift him off-center.
The result is an image that feels incredibly balanced and has a lot of depth - you almost feel like you're standing there behind the man gazing at the Milky Way in the distance.
Editor's Tip: One instance in which you might not adhere to the rule of thirds is when you fill the frame with a subject. This is sometimes the case when conducting deep sky astrophotography with a telescope, like a Newtonian Reflector Telescope. In the video above, you can see some examples of deep sky astrophotography that place the subject more in the middle of the frame. Because these objects have such incredible colors and textures, filling the frame with them still results in an eye-catching photo. Click here for more details about telescopes for astrophotography.
Learn More:
Include Foreground Interest
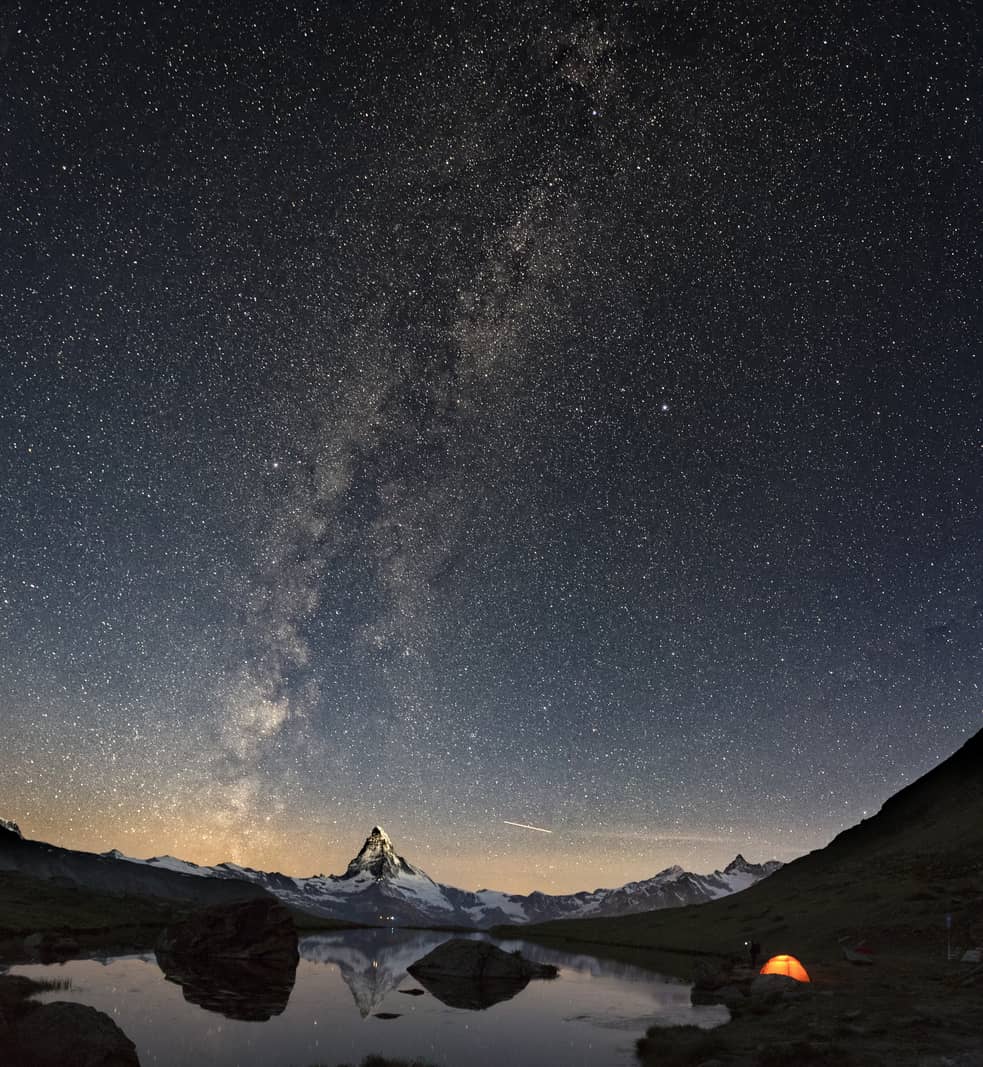
When taking photos of things like the moon or the Milky Way, it's important to include foreground interest in the shot.
Why?
Two reasons...
First, including foreground elements helps give the image some context. In the image above, for example, having the illuminated tent in the foreground sets the stage for the vastness of space above it.
Second, elements like grass, the buildings, and the distant mountains in this shot add more interest to the photo.
This isn't to say that the stars in the sky are a boring subject; it's just that their beauty is enhanced by having other elements in the shot.
In that regard, each of these compositional tips is meant to ensure that you compose the most compelling image.
Great photos aren't great simply because they're of a beautiful subject.
Instead, you need to pay attention to the composition and framing of the shot so that you create a photo that represents that beauty to its fullest.
Editor's Tip: For more tips on improving your astrophotography and getting the right gear for your photos of the night sky, be sure to check out our astrophotography section.
Learn More:
We Recommend
How to Create an Amazing Landscape Photo
I don't know about you, but sometimes when I'm out with my camera and I'm presented with a gorgeous landscape, I get a little stuck.
It's almost like there's too much beauty for my brain to handle, and that means that I struggle to decide how to compose the photo.
Of course, not all landscapes are overwhelmingly beautiful, so having a lot that attracts my eye is a good problem to have!
But if you want to create amazing landscape photos, one of the best things you can do is to simplify your approach.
Here's what I mean...
Look For a Strong Subject for Amazing Landscape Photos

One of the first things you need to do to take beautiful landscape photos is to find a subject that immediately draws the attention of the viewer.
That subject can be anything, really - a landform, an imposing tree, a color, or even areas of light and shadow.
Once you identify the subject, then you need to go about composing the shot in a way that highlights the subject.
In the example above, the mountain is obviously the subject being highlighted, and it's highlighted in a very distinct way - it's positioned right in the middle of the frame, which, even though that breaks the rule of thirds, it makes the mountain more imposing, and thus more important to the eye.
Something else to note is the tight framing on this mountain peak - we hardly have a view of its surroundings, which simplifies the composition.
In other words, don't be afraid to bend or break photography rules if it means making the subject stronger in the shot and gets you a simplified photo.
Work Your Angles
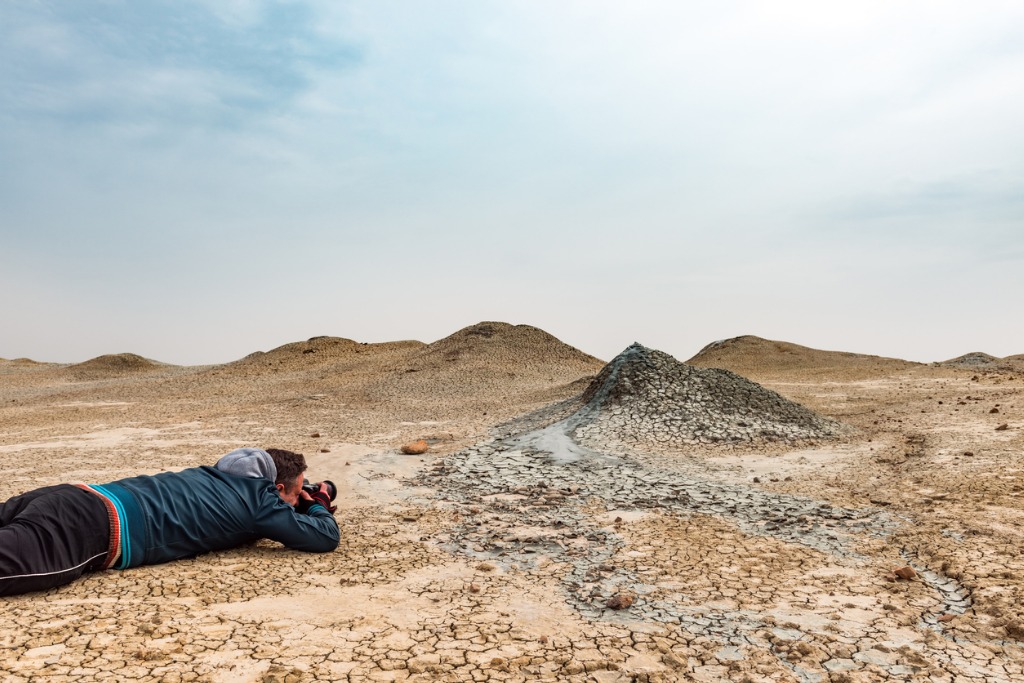
No one ever said that landscape photography is easy...
So, if you're struggling to figure out the best way to compose awesome landscape photos, try working the angles a little bit.
As you can see above, the photographer has plopped himself down on the ground to get a unique view of the little hill in front of him.
By doing that, he accomplishes two things:
- The hill looks larger in the shot, which as noted earlier helps the viewer identify it as the primary subject.
- The view from ground-level gives the viewer a unique perspective on the landscape, which, again, catches the viewer's eye.
Being willing to get down low or up high or up close will help you find ways to simplify the composition and compose a more compelling image.
Look for Opportunities to Highlight Light
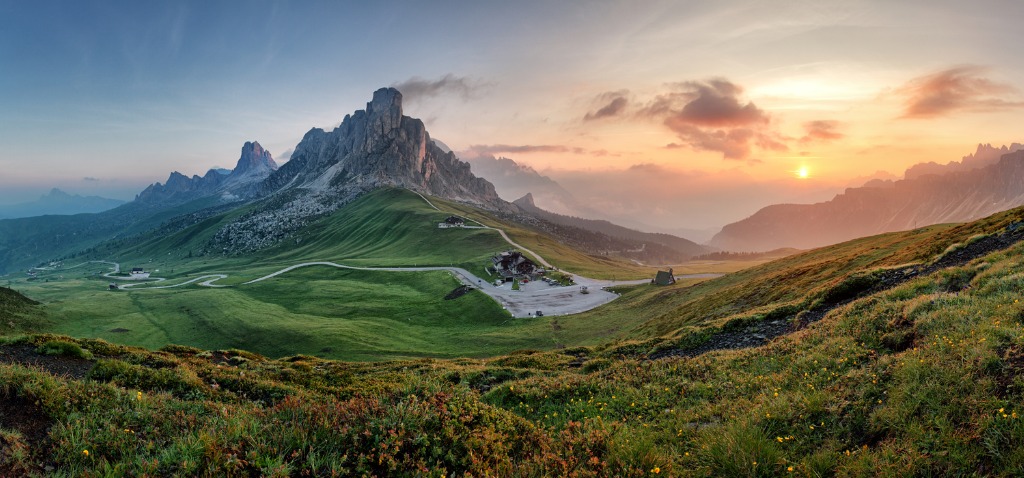
Photography is all about hunting good light. If you can find good light and capture it effectively, the likelihood that you end up with a decent shot is much higher.
When it comes to landscapes, different kinds of light create different kinds of moods.
Editor's Tip: Enhance the lighting in your landscape photos by using a high-quality polarizing filter. POLARIZER help reduce glare, minimize atmospheric haze, and boost contrast in the sky, making the atmosphere a deeper blue and the clouds a brighter white. The result? A more impactful, dramatic landscape photo! I use a NiSi polarizing filter, and highly recommend it due to its excellent construction, ease of use and care, and the rock-solid reputation NiSi has built as one of the finest filter manufacturers today.
Midday lighting is harsh and direct, and tends to wash out the landscape.
Golden hour lighting, on the other hand, is warm and soft, and tends to enhance the features of the landscape by casting long shadows.
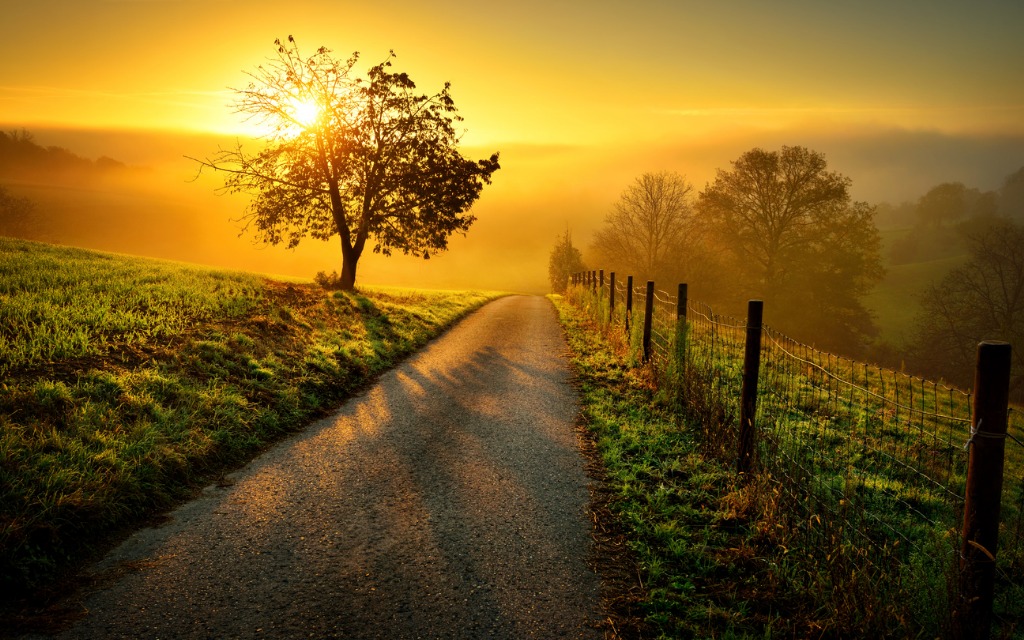
When seeking to simplify your approach, concentrate on how the light is interacting with the landscape and make that your primary subject.
In the photo above, you can see how the setting sun is interacting with the tree - the placement of the sun behind the tree makes the tree a stronger subject.
As a consequence, the long shadows cast by the sunlight extend toward the photoshoot camera, and act as leading lines to strengthen the subject even further.
Use a Tripod
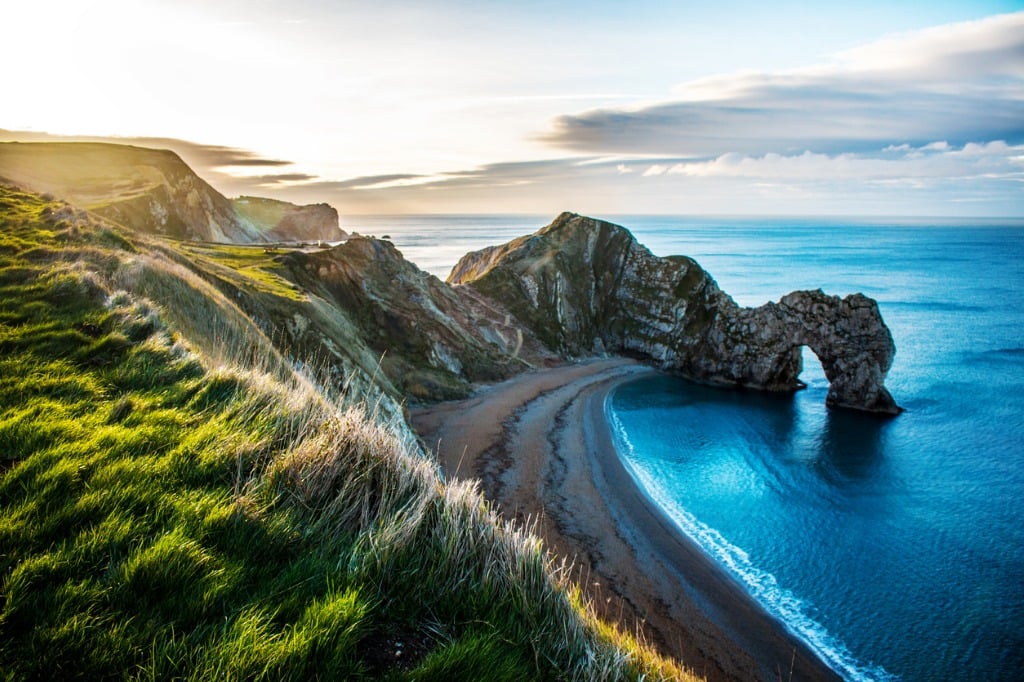
I've taken my fair share of landscape photos, and many of them have been handheld.
But trust me when I say that when I shoot with a tripod, I get far better results.
That's due to several factors...
First, using a tripod helps slow me down and actually survey the landscape before me. Even just 15-20 seconds of looking around while I set up my tripod helps clue me into the features or elements in the landscape that might make for a stronger photo.

Second, a tripod offers my camera far more stability than I can offer.
That means getting photos that are tack-sharp because the tripod keeps the camera perfectly still, even during long exposures.
And that's the third point - I can be more creative with my landscape photography when I use a tripod.

Whether that's slowing down the shutter to blur the movement of clouds or water, using the tripod to get a low-angle shot, or even taking on some videography and getting smooth, panning shots with my tripod, I come home with much more varied results than if I shoot handheld.
Of course, not all tripods are made alike.
If you want a solid tripod that makes the task of learning how to photograph landscapes, it's hard to beat a Vanguard tripod.
I've used the Vanguard ALTA PRO 2+ 263AB100 shown below on a number of occasions, and it's as rock-solid a tripod as you'll find.
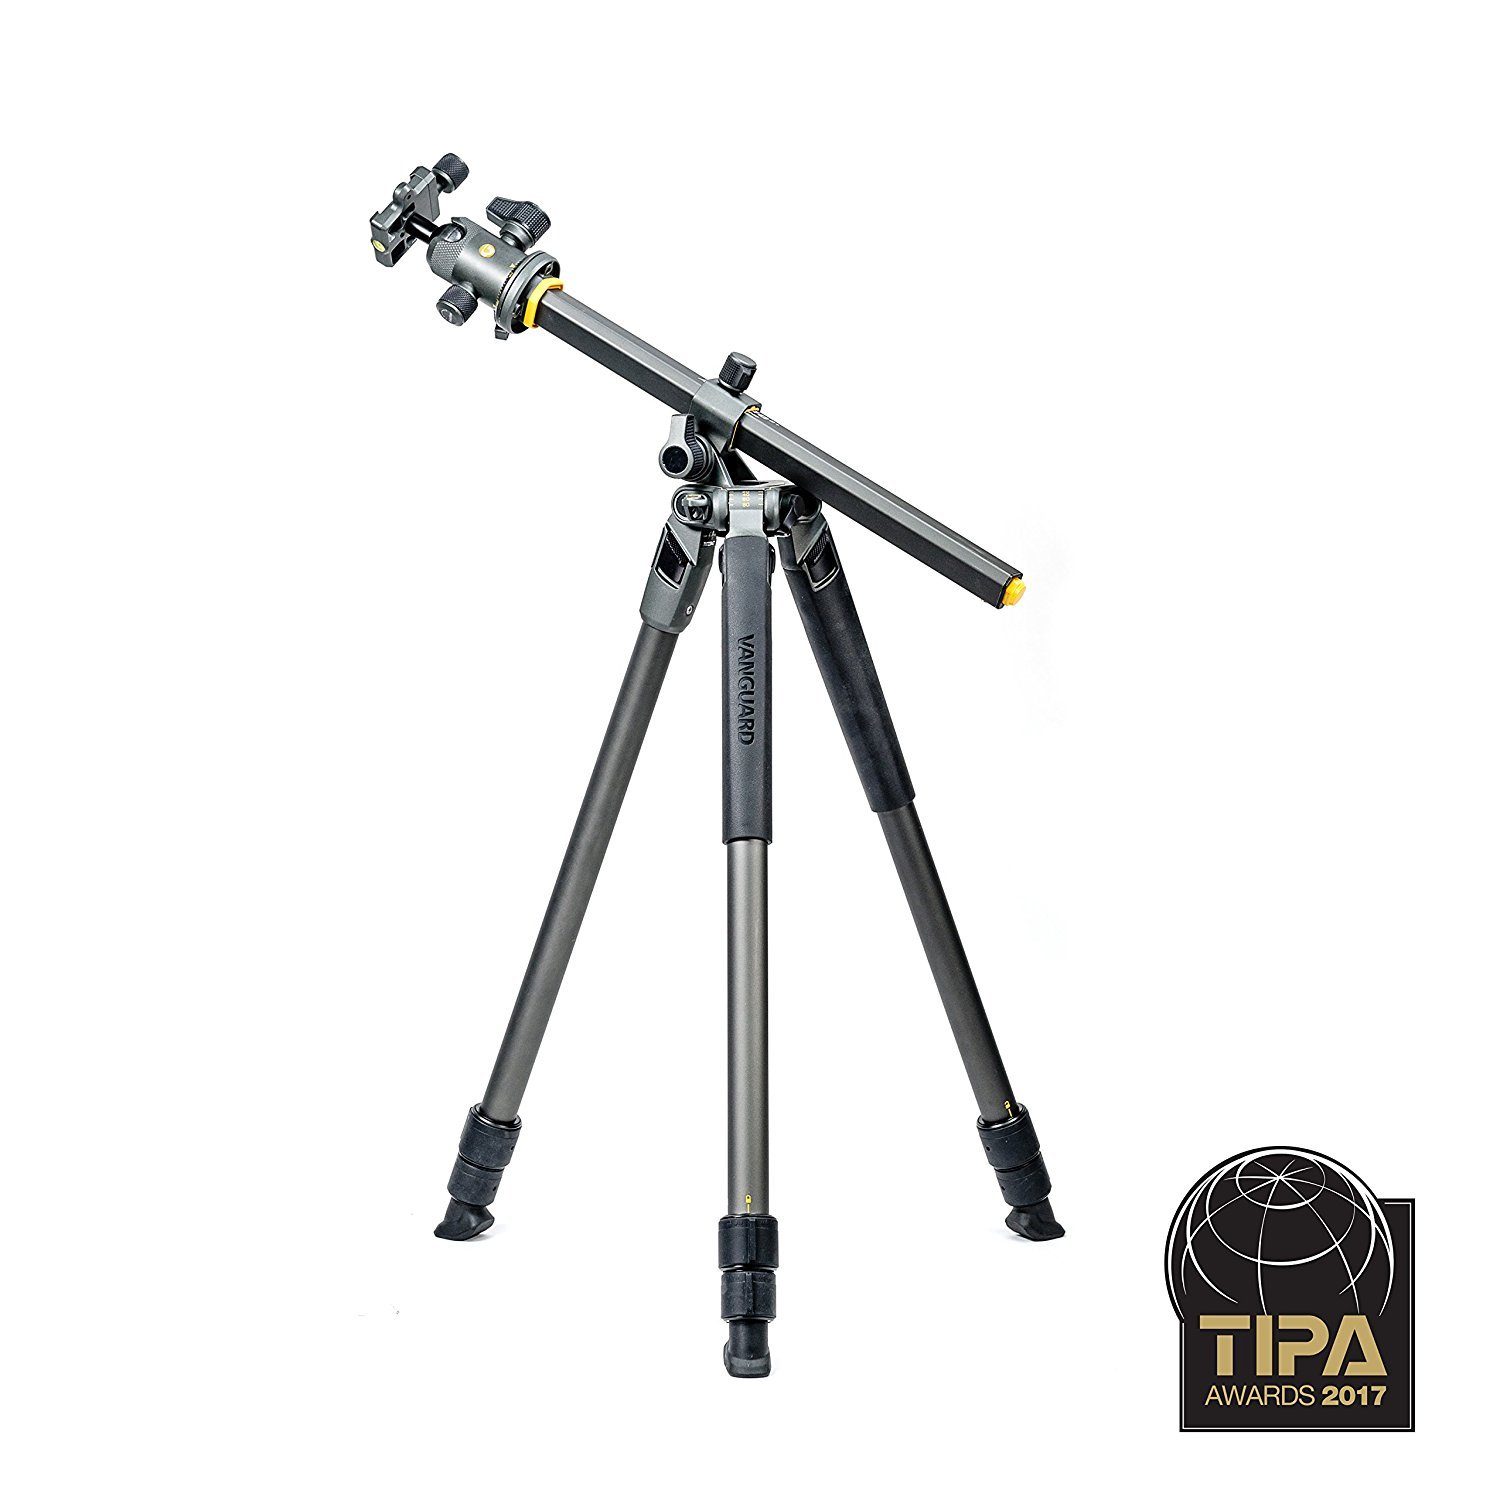
Not only is it incredibly easy (and quick) to set up, but it also has a multi-angle center column that gives me unlimited possibilities for varying the shooting angle.
I also appreciate that this tripod has legs with varying position angles from 20-degrees to 80-degrees, which, again, helps me vary the ways in which I frame up my photos.
This tripod has handy accessories that simplify the process of landscape photography as well.
That includes an integrated bubble level to get perfectly straight horizons, a canopy suspension loop for adding weight to increase stability on windy days, and angled rubber feet to get a firm grip, even on uneven terrain.
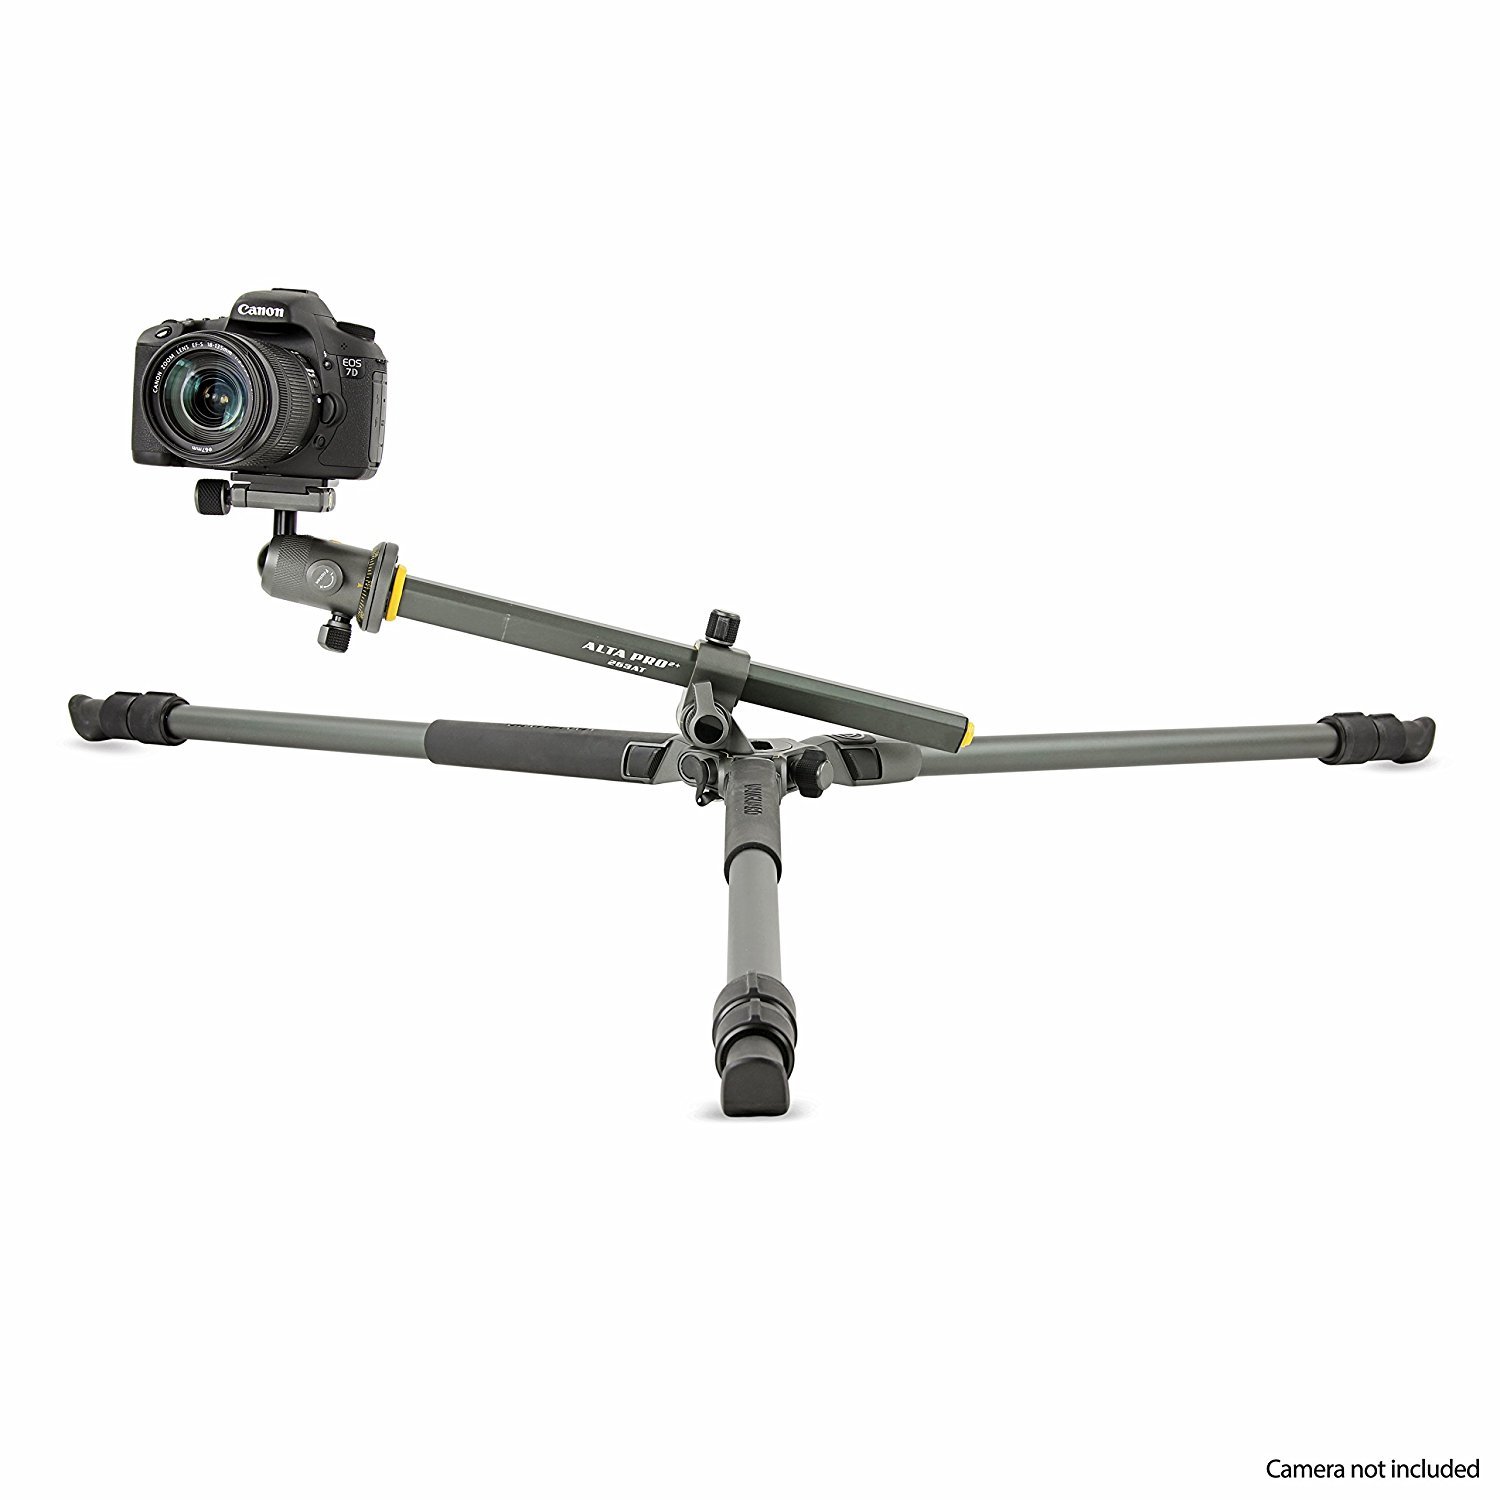
Like I said earlier, no one ever said taking amazing landscape photos was easy, but if you concentrate on the task of simplifying your approach and doing so with the right gear, you'll be in a better position to take high-impact photos.
For even more great landscape photography tips, be sure to watch the video above by Joshua Cripps from Professional Photography Tips.
The video will give you more ideas for how to simplify your approach to capture amazing landscape photos.
We Recommend
How to Develop Your Photography Style
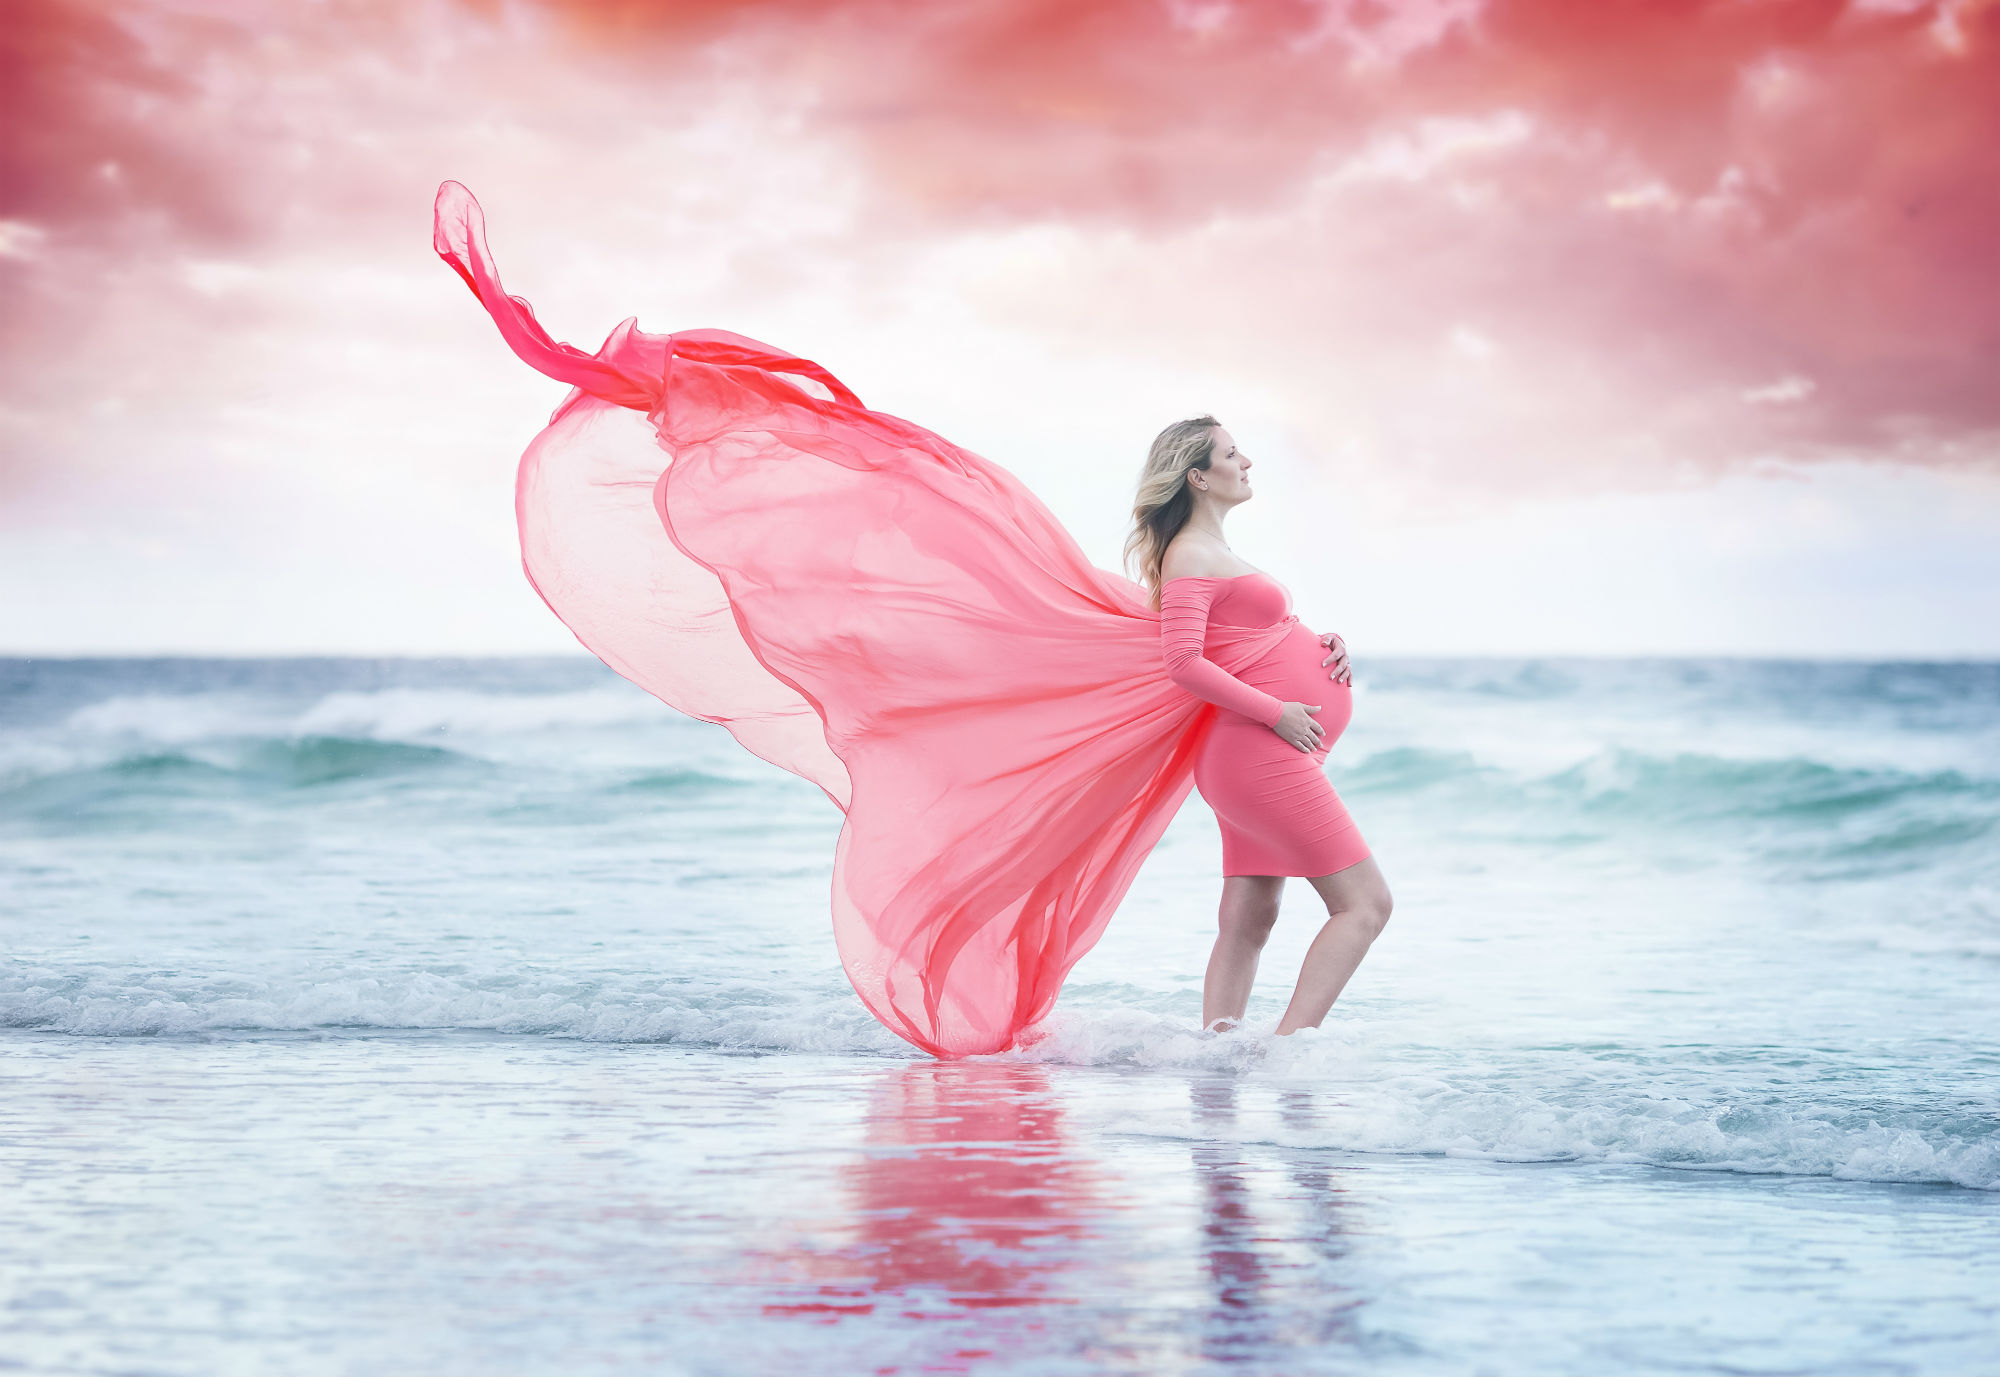
The technical aspects of photography require enough of your attention to master.
But you can't forget that there are artistic considerations to make as well.
That includes developing your personal photography style.
By developing your own aesthetic, you develop your identity as a photographer, too.
Whether that's through the way you compose or light a shot, the way you process images, or some combination thereof, having a clear idea of what your photography style is will only help you create more impactful photos.
If you aren't sure where to start with developing your photography style, here's a few pointers using portraits as an example.
Editor's Tip: See how you can bring style and sophistication to your maternity photos, portraits, and newborn photography.
Take a Lot of Photos
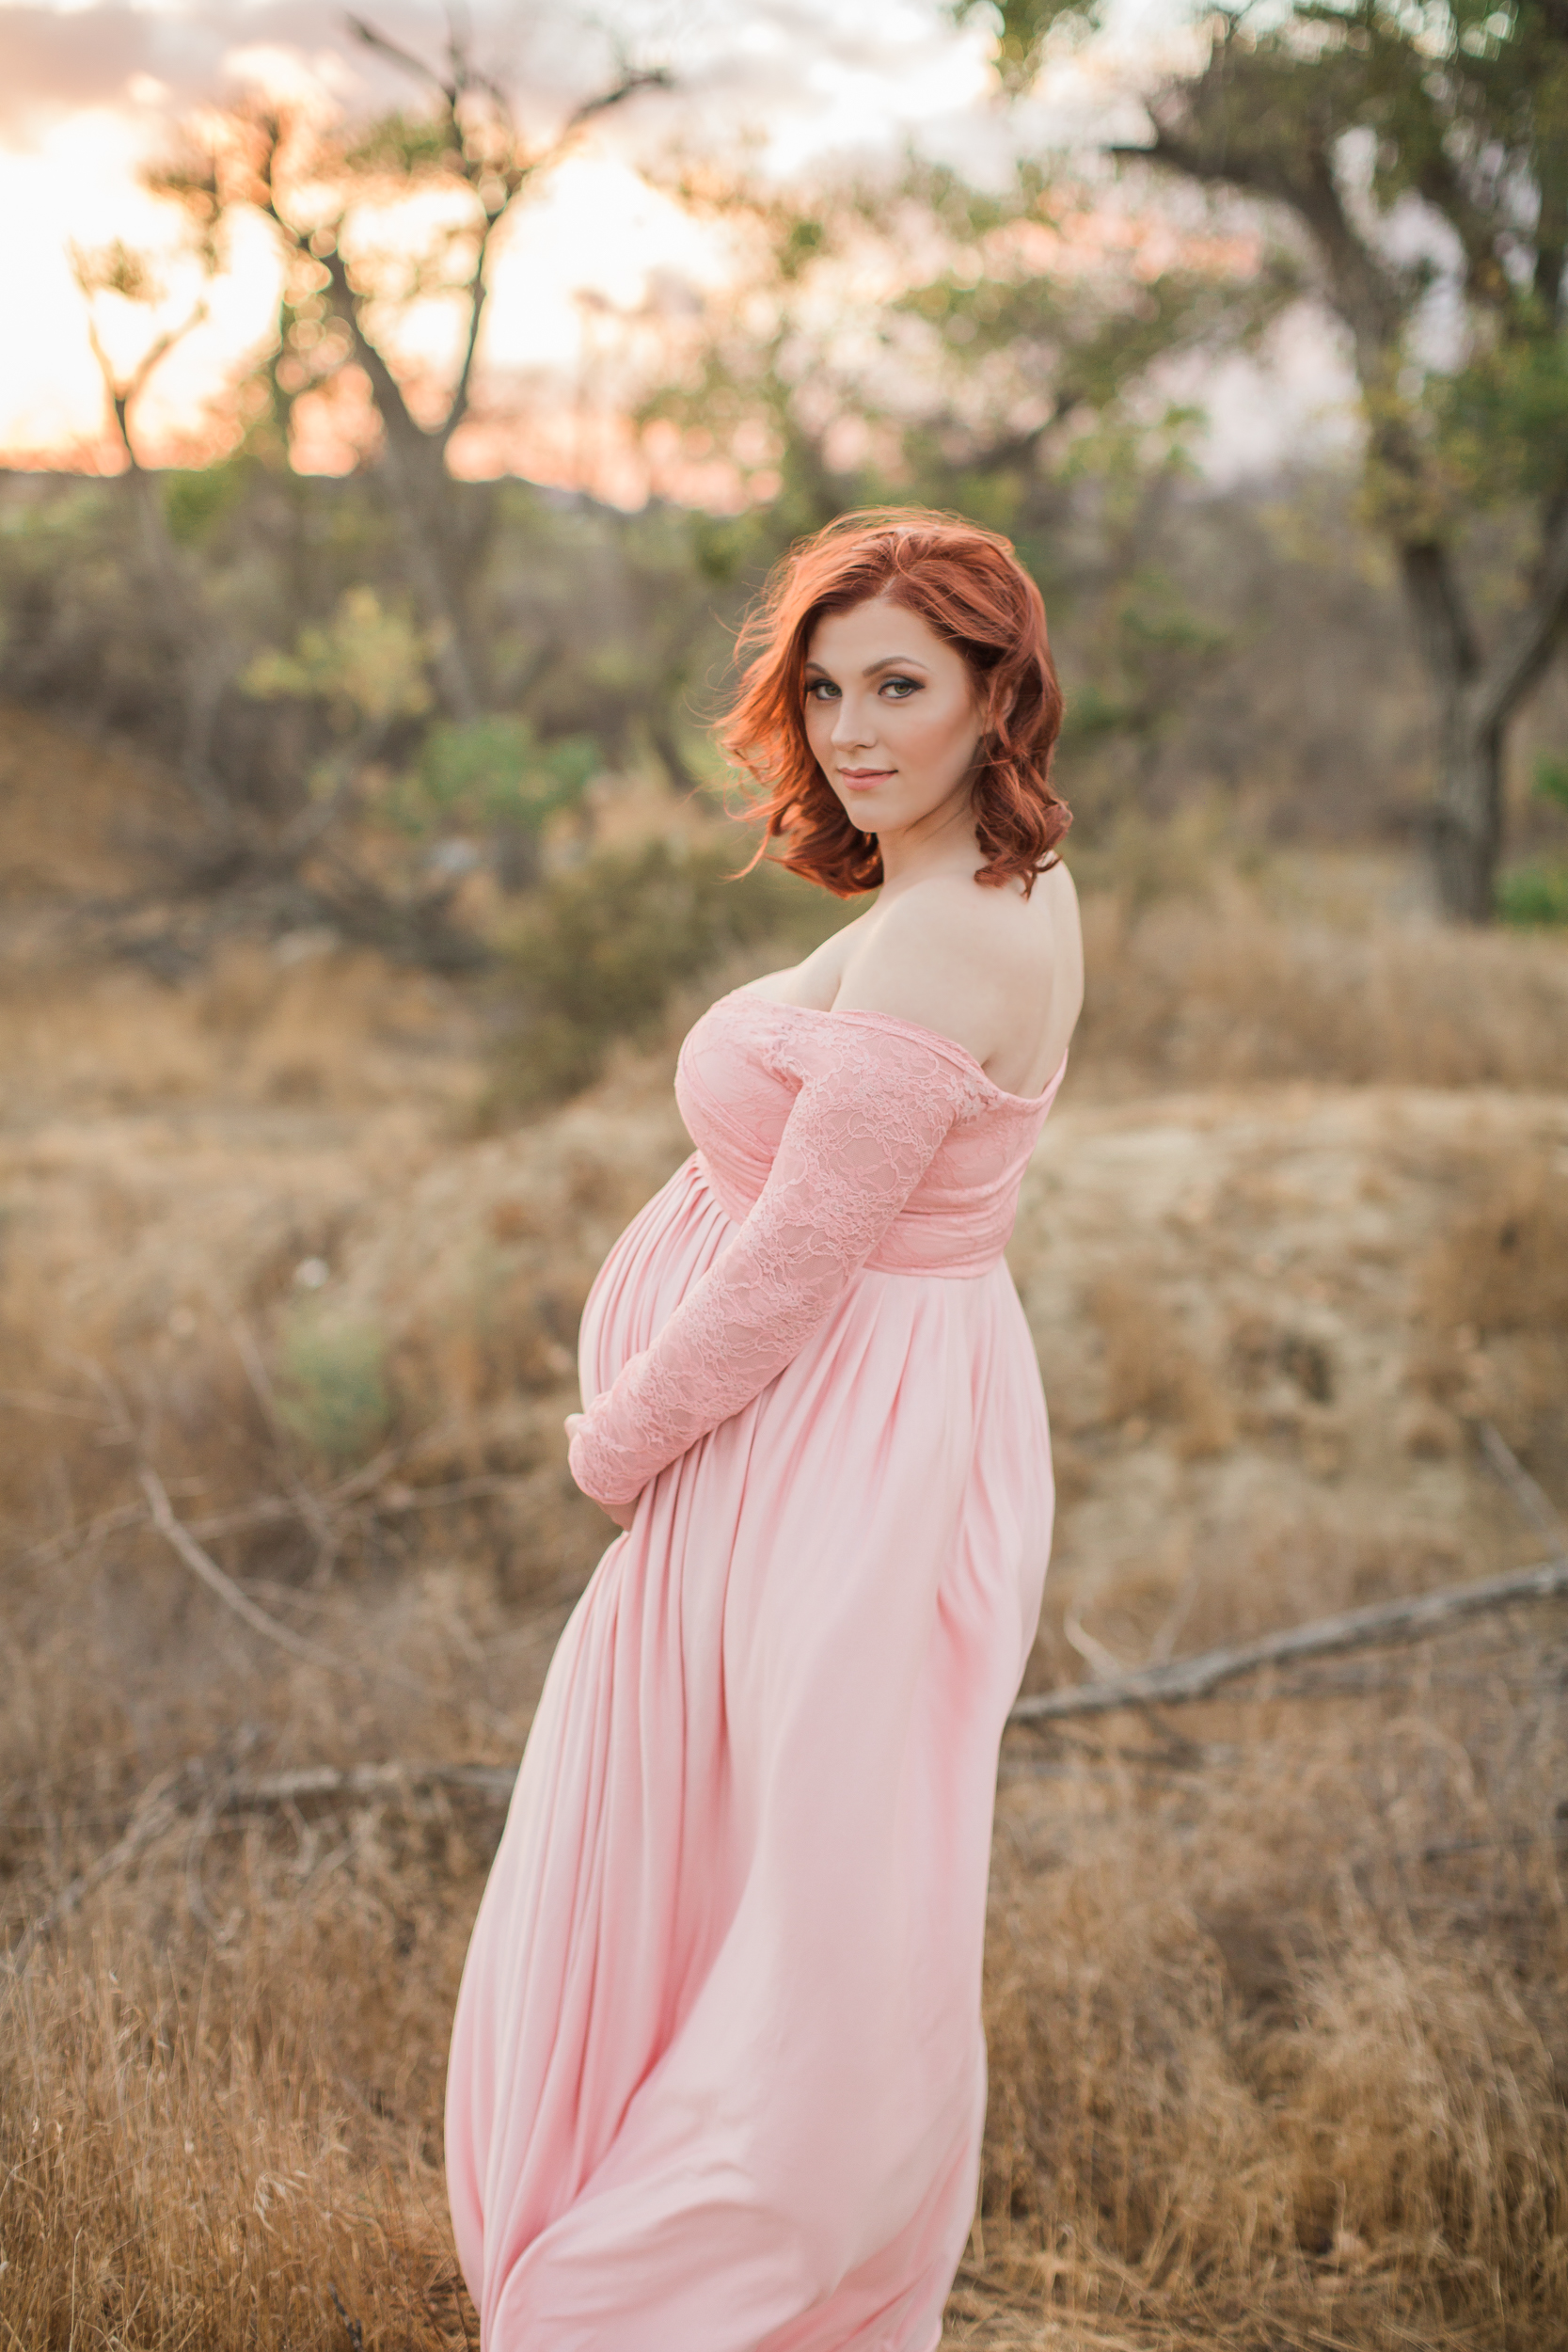
Perhaps the most straightforward way that you can begin to develop your photography style is by taking a lot of photos.
You might already have an idea of the vibe you want in your photos, but you won't be able to perfect it until you've taken shot after shot after shot.
The more photos you take, the more fodder you have for identifying the things you like and the things you don't.
From there, you can incorporate what works, continue to work on what doesn't, and clarify who you are as a photographer and what you have to say in your photos.

But don't just start snapping away for the sake of meeting some number count of photos each day.
Instead, be purposeful with each photo you take, and ask yourself how it fits (or doesn't fit) into your creative vision. Notice how the two images above have a consistent look and feel. That didn't happen overnight!
To help you along, take some time to look at what other photographers are doing.
By creating collections of photos that you like, you can more easily see where your tastes are and plan your photo shoots to show those tastes more effectively.
Learn More:
- How to Become a Better Photographer Without Taking Pictures
- These Three Tricks Will Help You Create a Beautiful Portrait
Experiment With Colors, Textures, and Forms
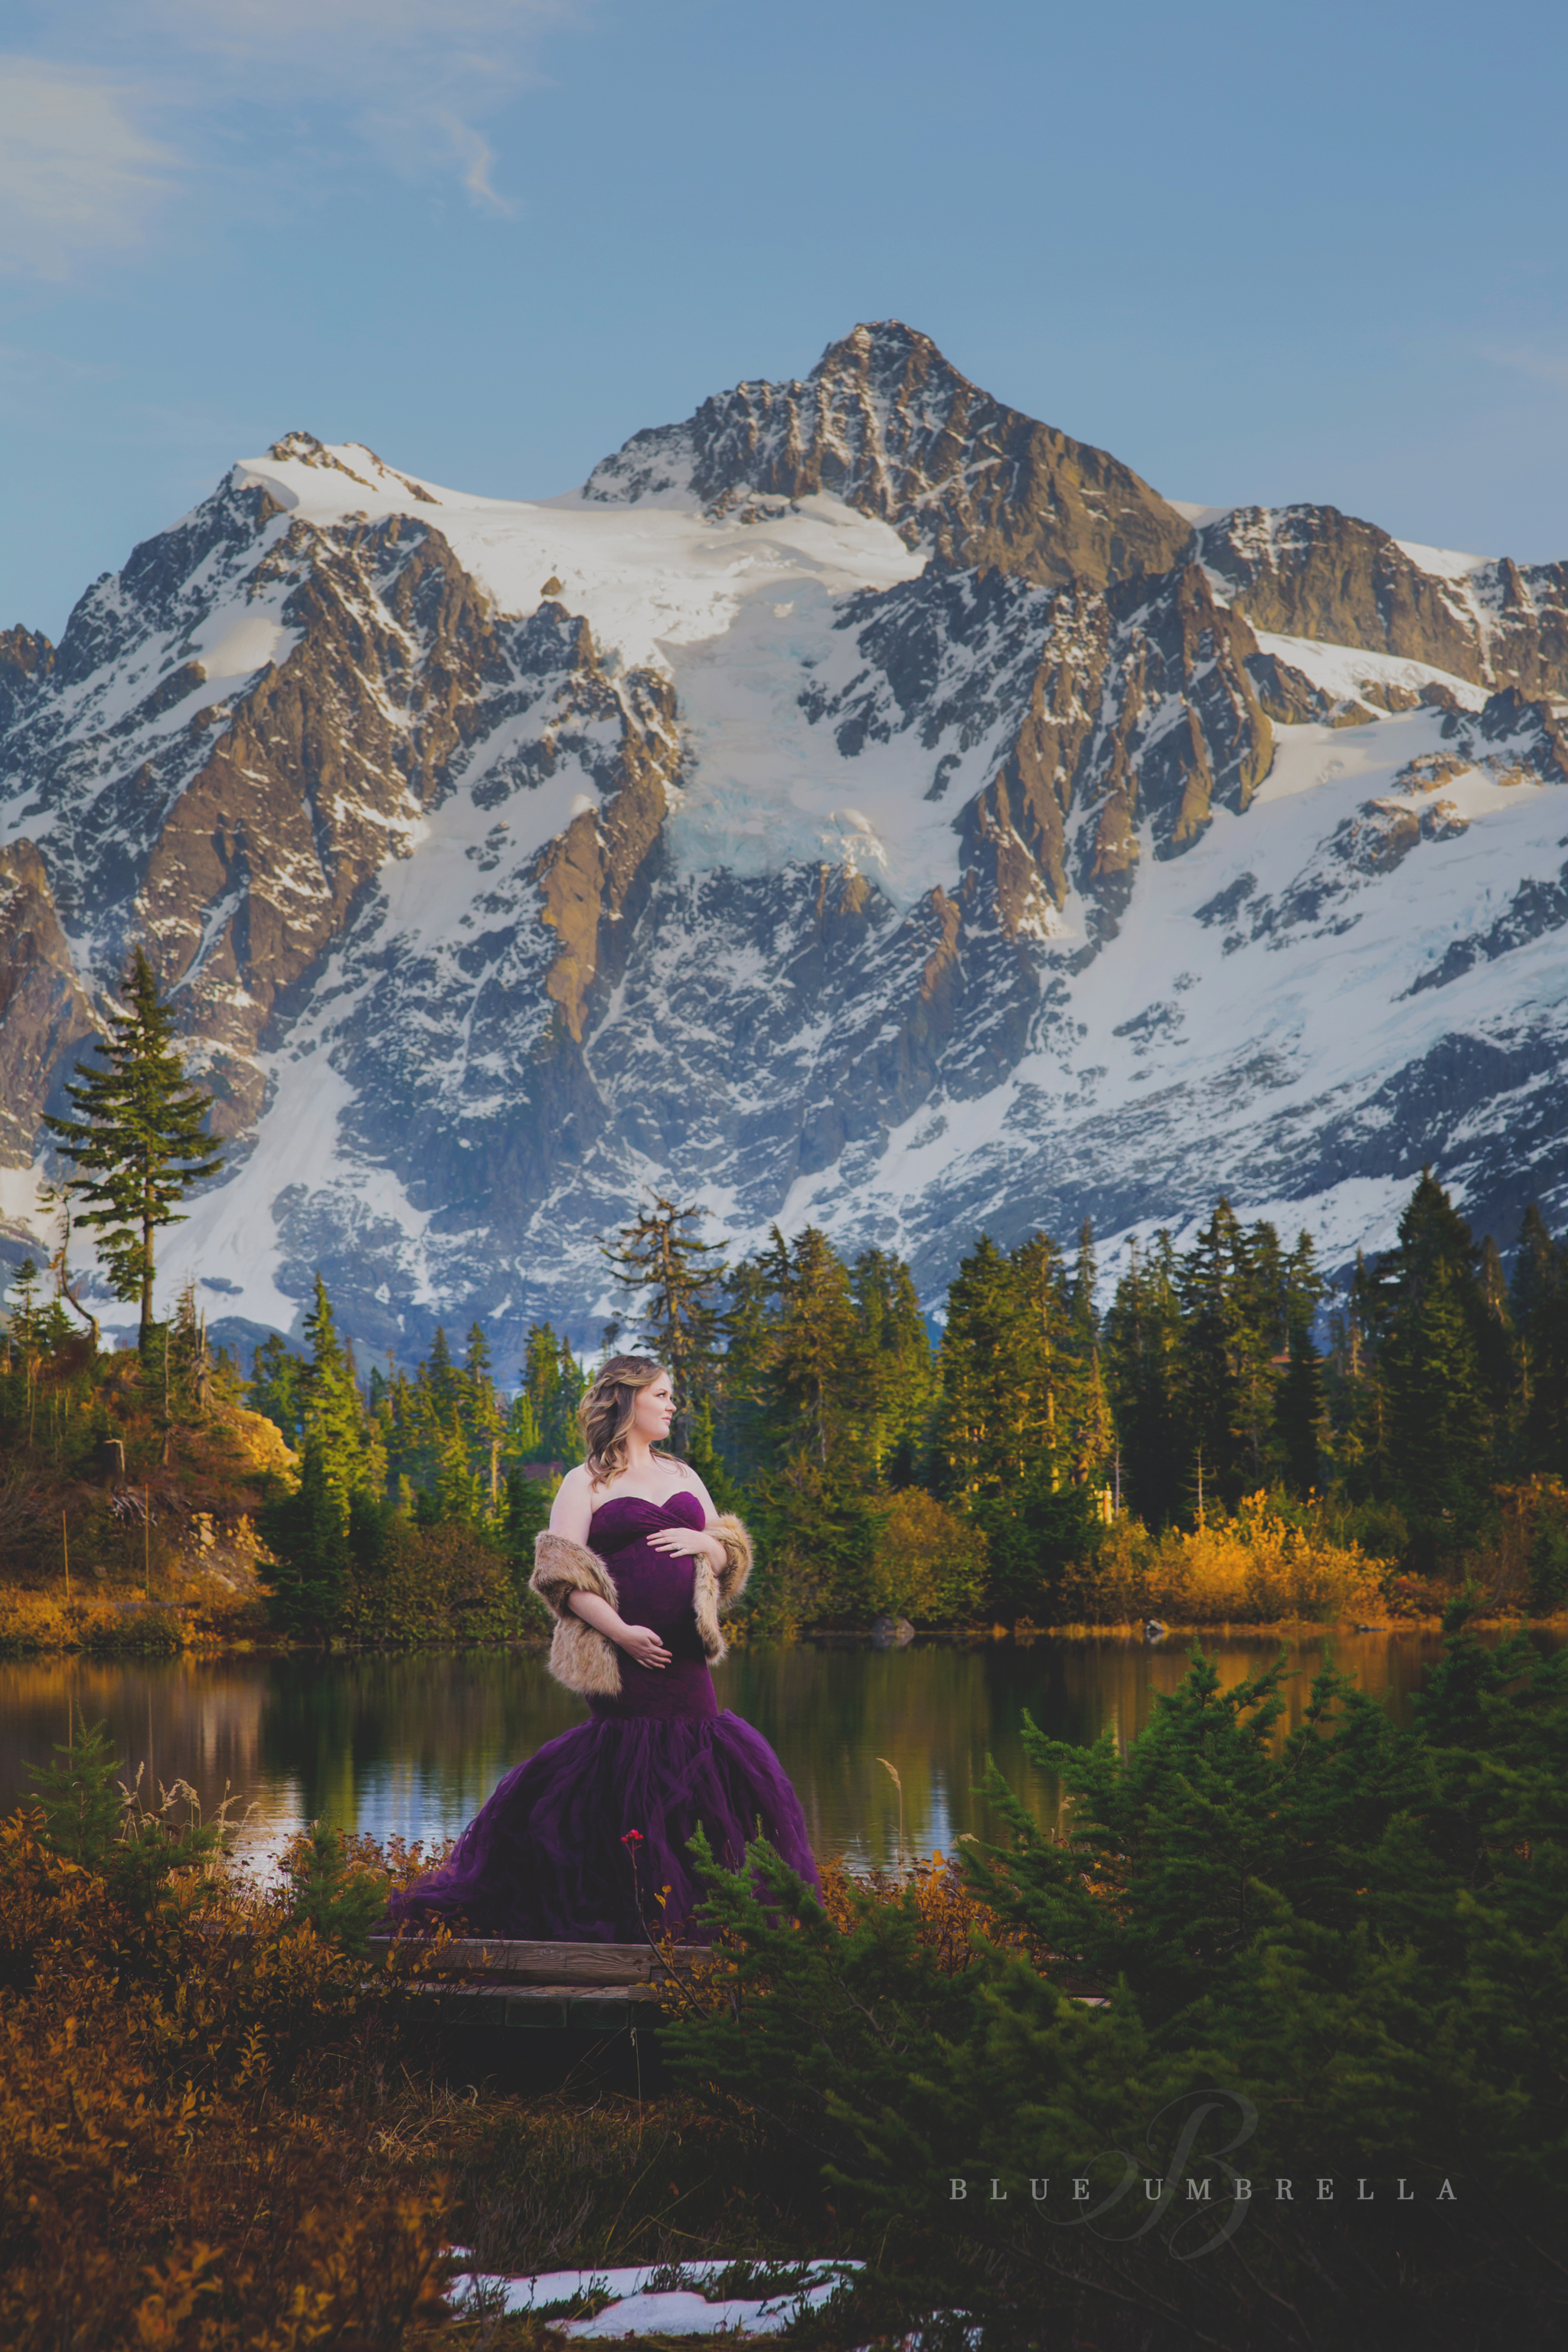 Blue Umbrella
When you think about what you like about other photos, what do you think of?
Chances are it isn't how a model is posed in a portrait or how a landscape is framed.
Instead, you likely think of things like colors, light, shapes, shadows, and textures.
Well, you can add many of these elements to your photos by incorporating things like wardrobe selections and props.
In the image above, for example, though the portrait is taken in a beautiful place, what catches the eye first is the outfit the model is wearing.
The deeply saturated color of the model's gorgeous gown and it's off-the-shoulder fit with a beautifully flowy lower half give this photo a touch of formality and sophistication.
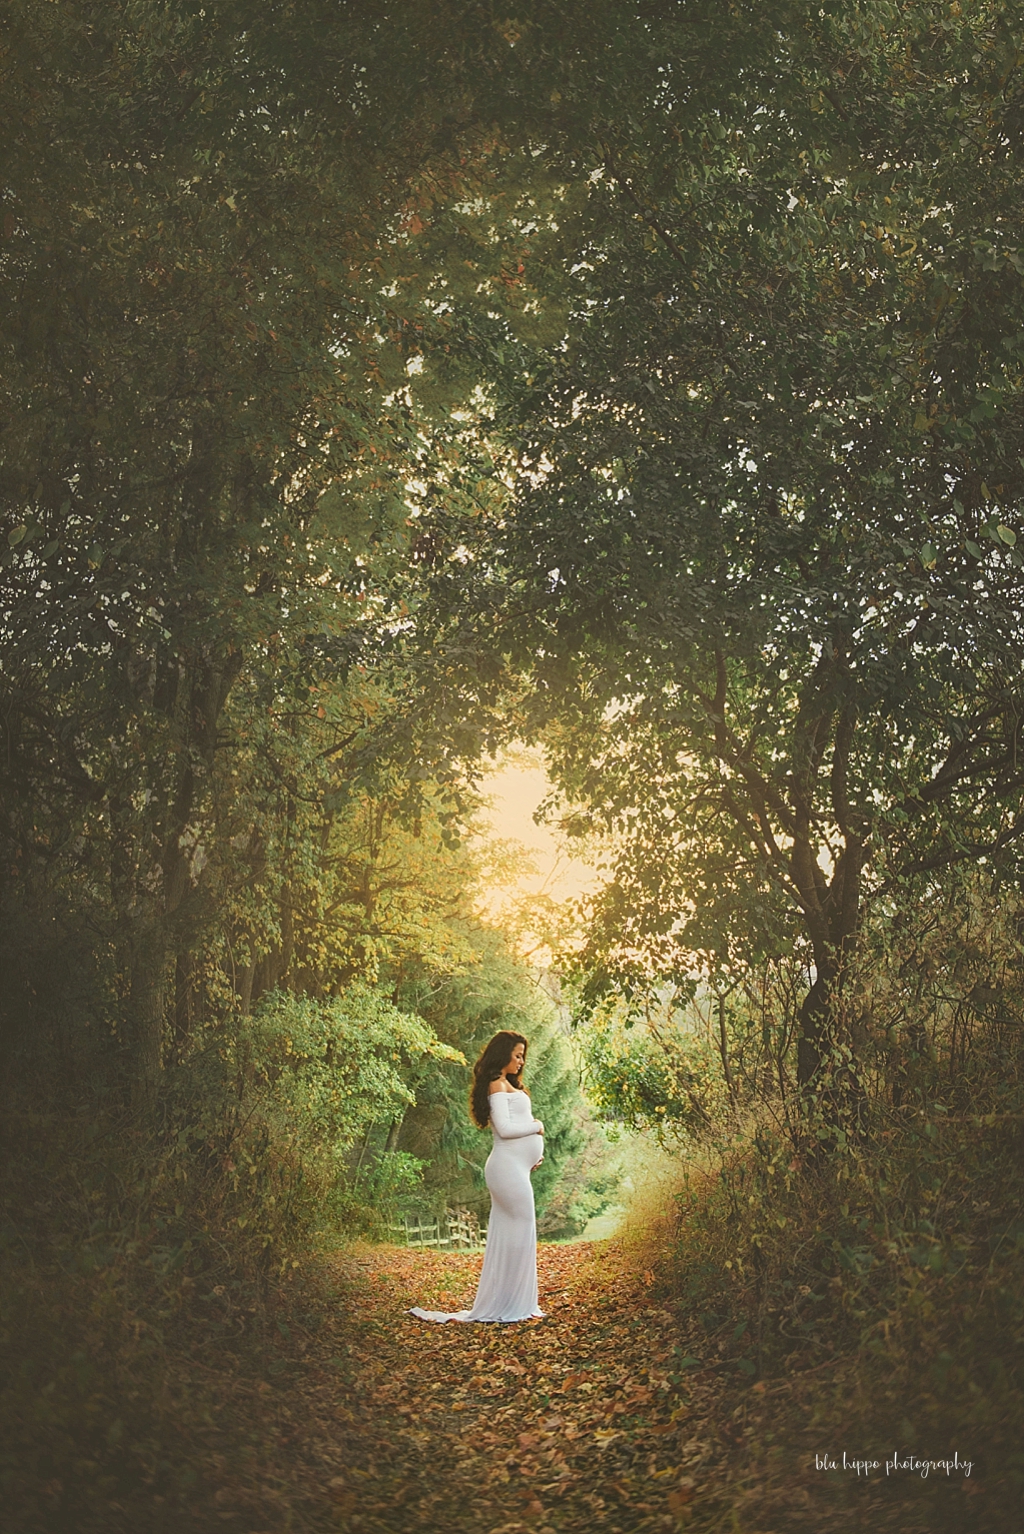 Blu Hippo Photography
In this example, the bright white of the dress helps the model stand out in the photo, but it also gives her an almost angelic appearance.
Combined with the fairy tale surroundings, the form-fitting dress gives this shot a feeling of whimsy and magic.
So, you can see how the choice of wardrobe and how it works with the setting in which a portrait is taken can help create a strong aesthetic.
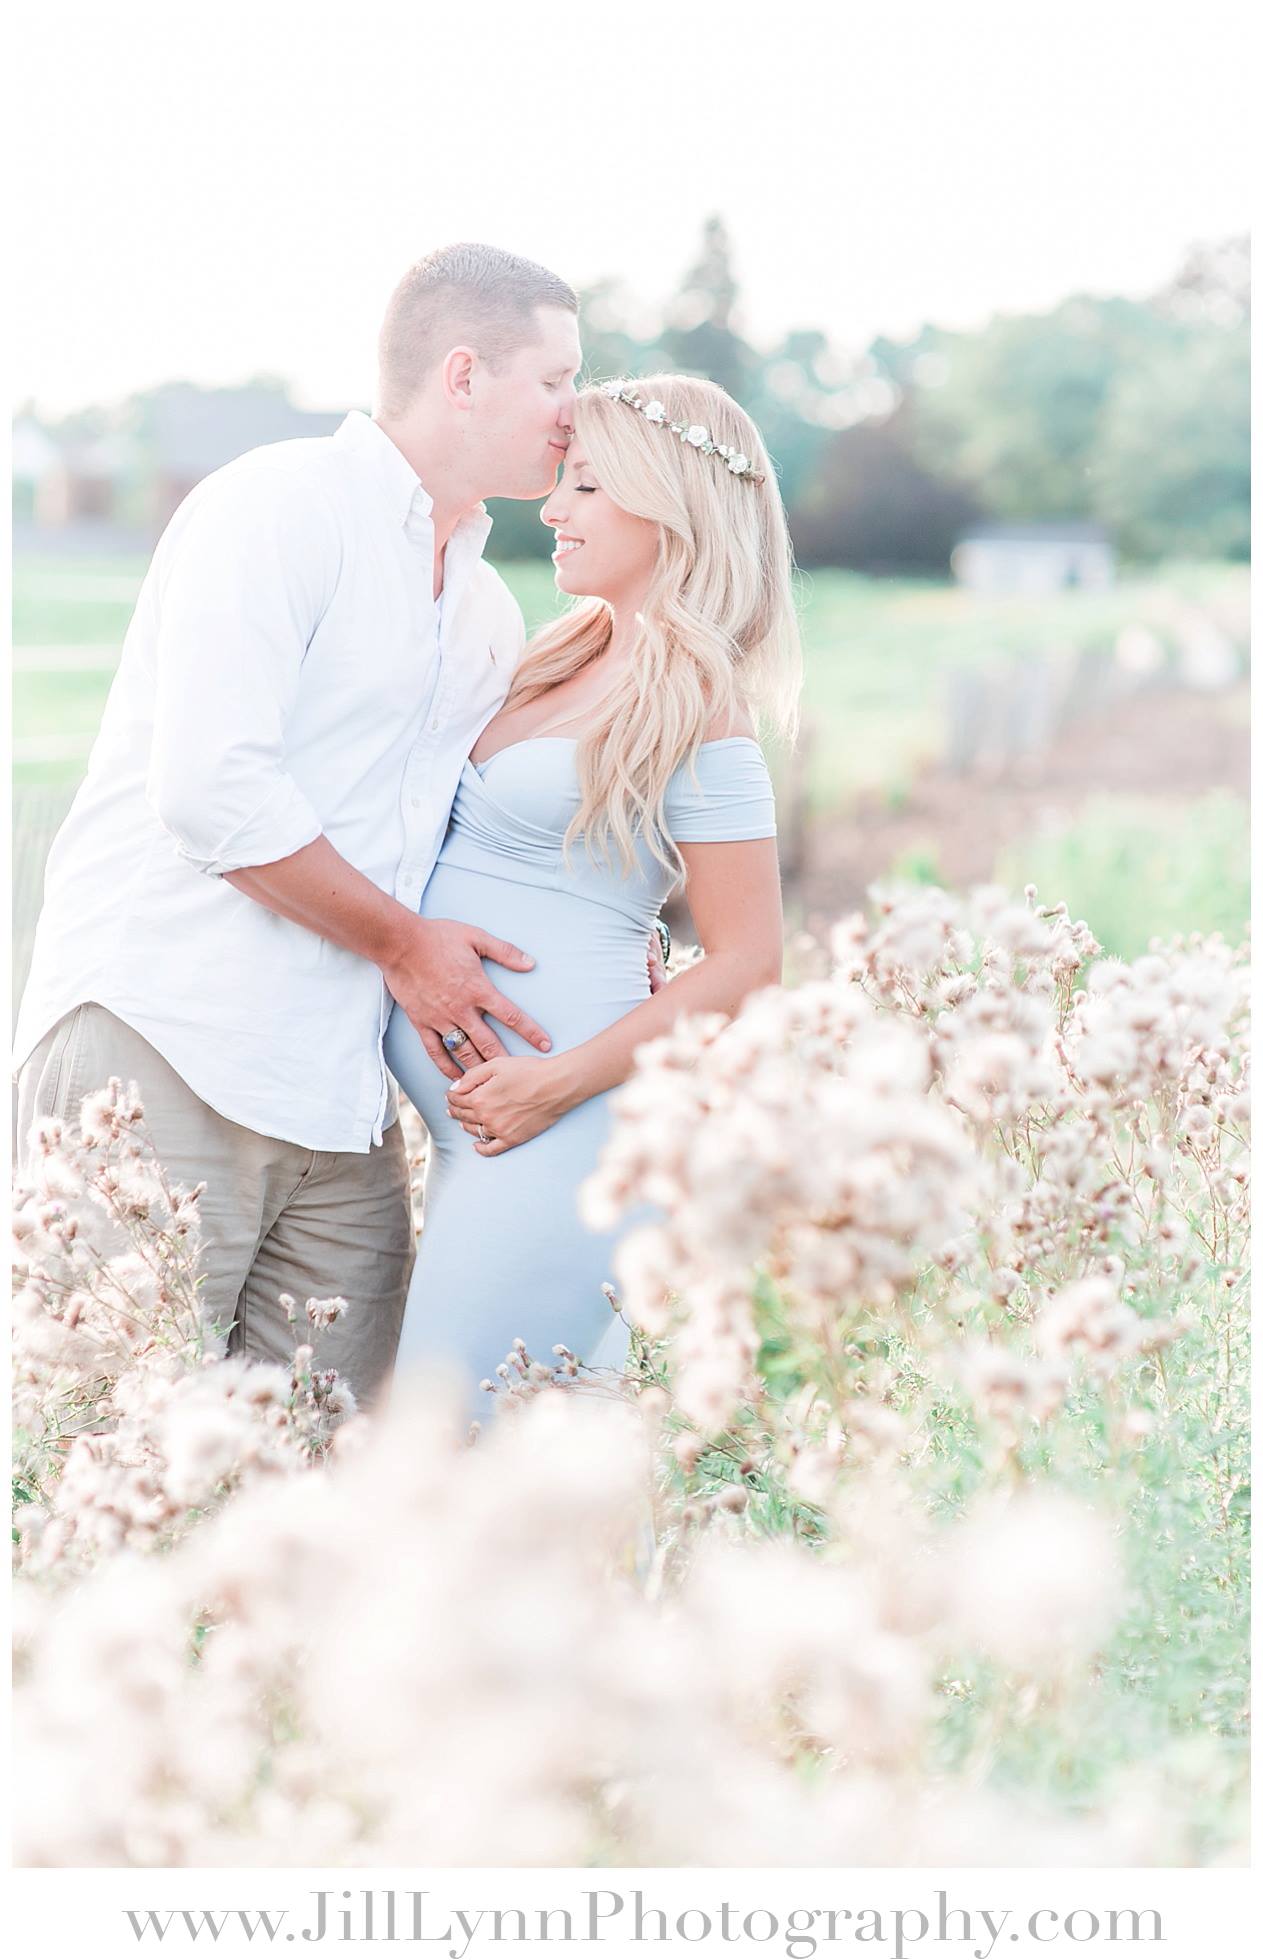
But wardrobe choices aren't the only thing you can use to help more clearly define your photography style.
Props - when used appropriately - can bring a fun element to a portrait while supporting the overall aesthetic in the image.
In the example above, the photographer has a light, bright style.
That style is enhanced not only with the light, brightly colored clothing of the models, but also in the dainty floral crown that the expecting mom is wearing.
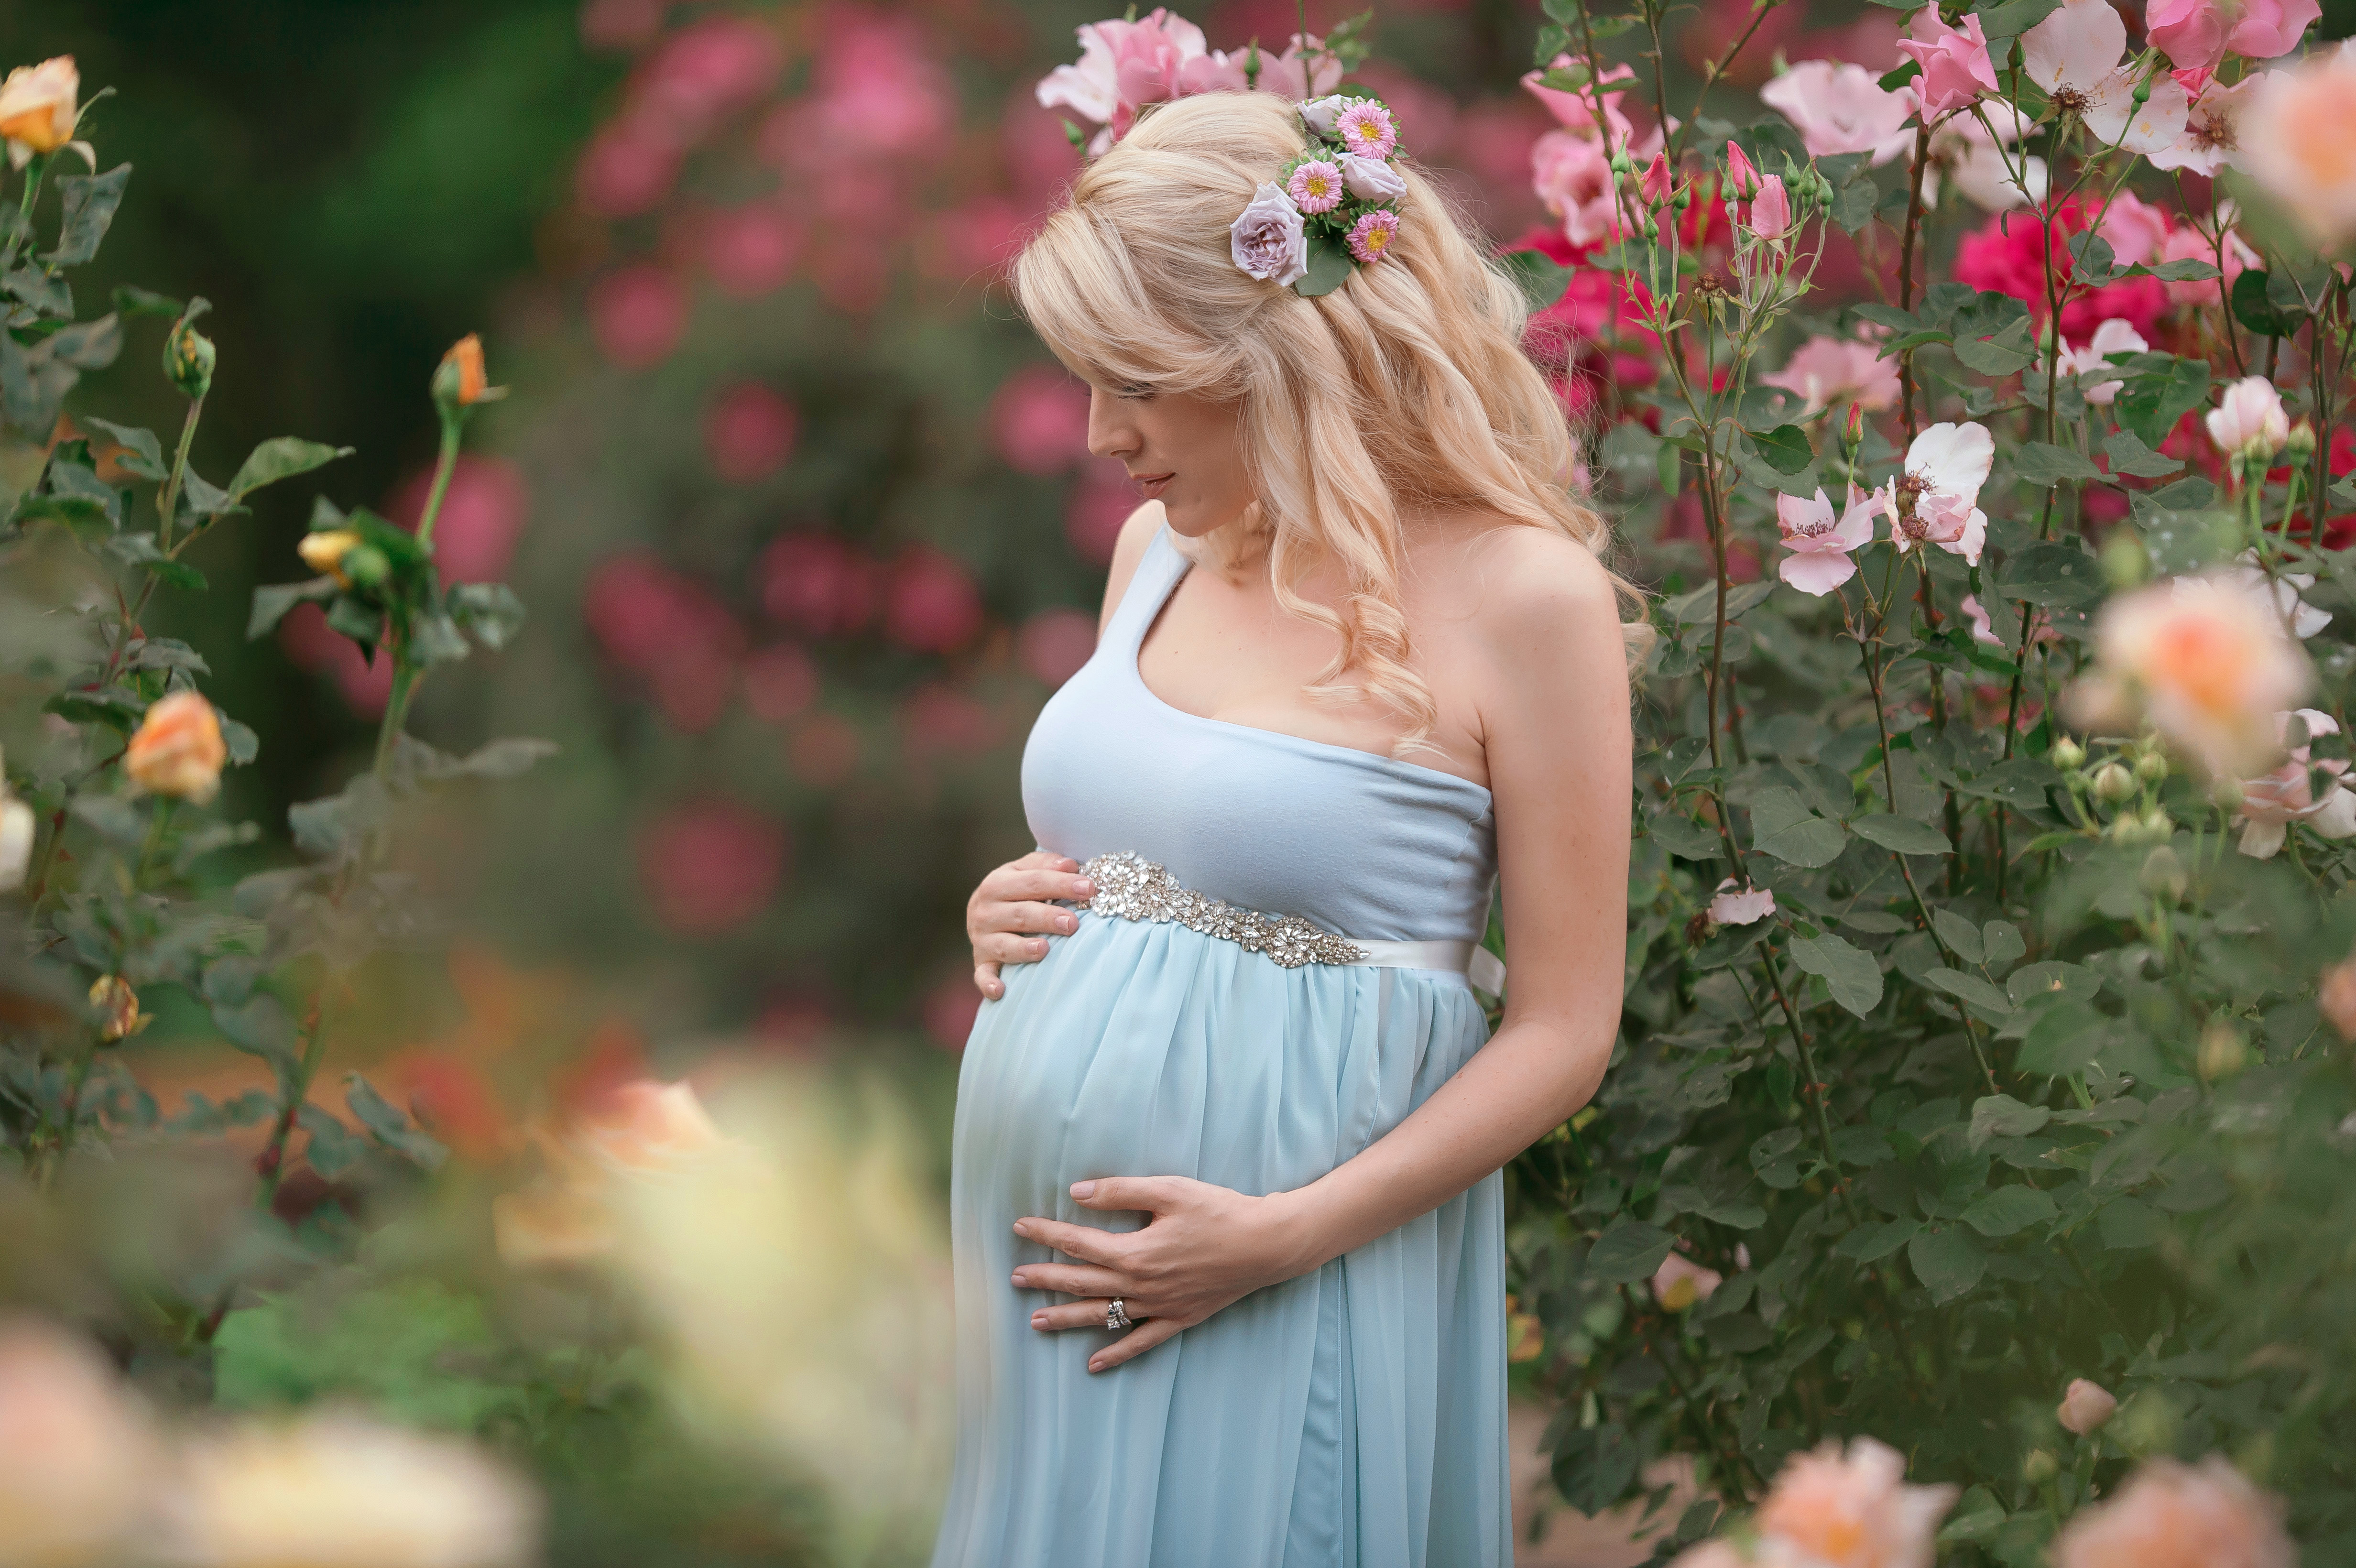
In this shot, we again see how a portrait prop has been used to tie the shot together.
The floral crown adds some color and texture to the model's hair and its small flowers work beautifully with the flower-filled location where the photo was taken.
Adding these visual elements is an important part of not just developing a style for your photos, but for creating cohesion between different elements in the shot, too.
Editor's Tip: Make your models comfortable and beautiful at the same time. Find out how.
Critique Your Work (and Seek Out Critiques, Too)
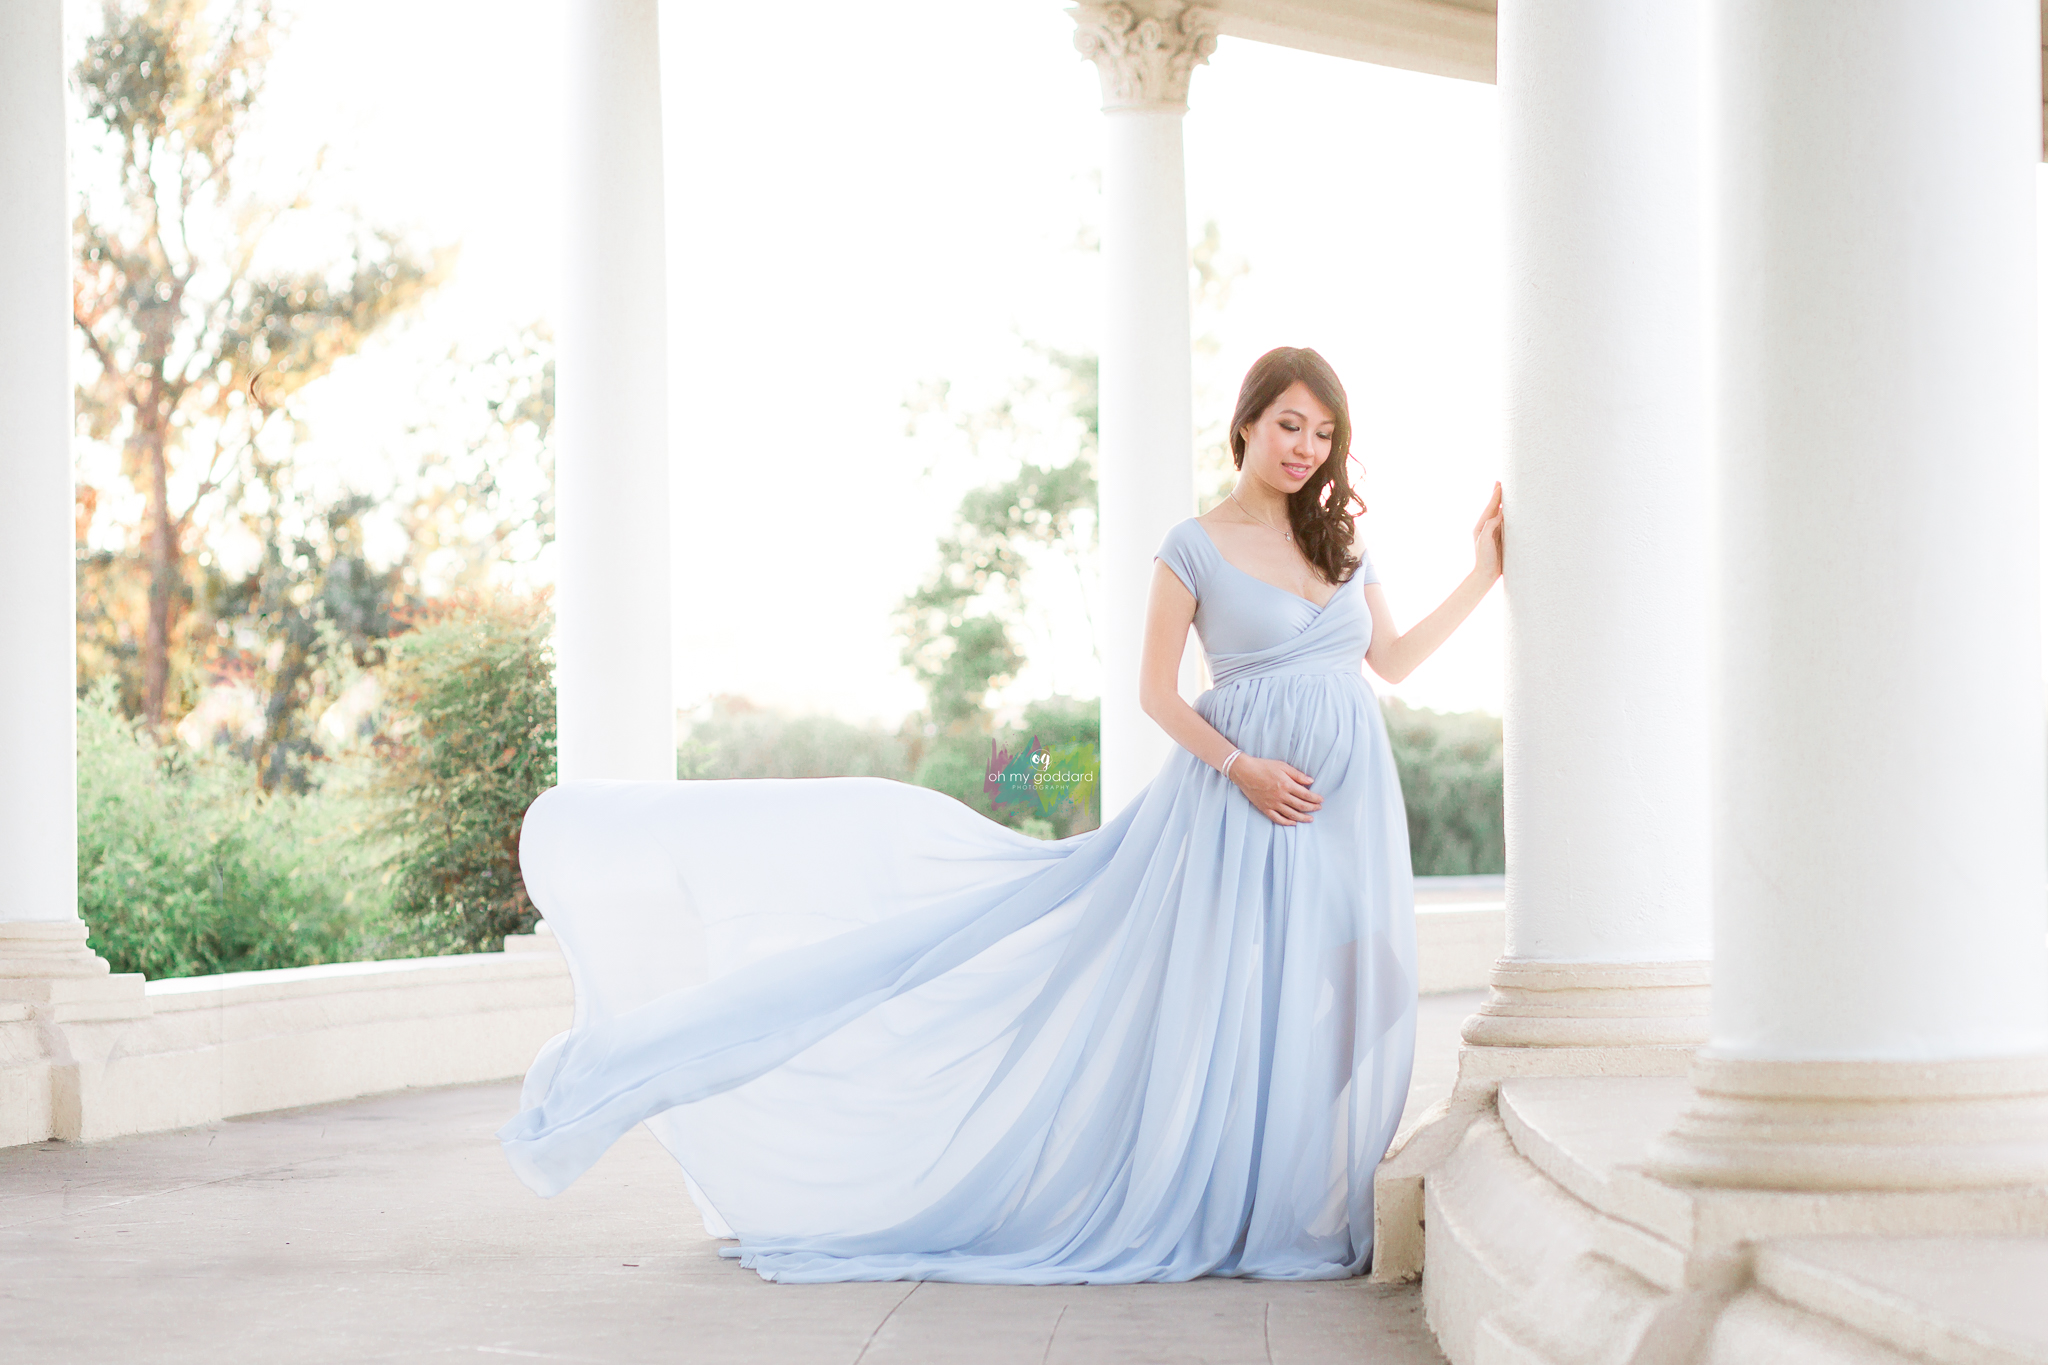 Oh My Goddard Photography
The saying goes that you're your own worst critic.
But there's value in taking a good, hard look at the photos you take because it can help you identify what you like and what you don't.
Just like it's important to find inspiration by looking at other people's photos, it's necessary to view your own work with a critical eye.
Ask yourself what's working and what isn't, think about ways to make your photos more impactful, and identify things you see repeated in your work.
By taking a critical look at your photos, you're only doing yourself a favor.
Sometimes, it's the final step needed to identify what your photography style might be, because it might have been showing up in your photos in one form or another all along!
Learn More:
About Sew Trendy
This is a company that photographers absolutely need to be in touch with. Their gowns, crowns, and other high-quality accessories are just what you need for maternity photos, photos of newborns, and mommy and me sessions. These accessories not only make your clients look and feel great, but they also add a depth of detail and interest to your photos that elevate the images to an entirely other level. What started out with just a few people manufacturing these eye-catching items is a growing business that provides accessories to photographers worldwide. Help your clients look and feel their best by partnering with Sew Trendy Accessories.
We Recommend
How to Focus Your Camera
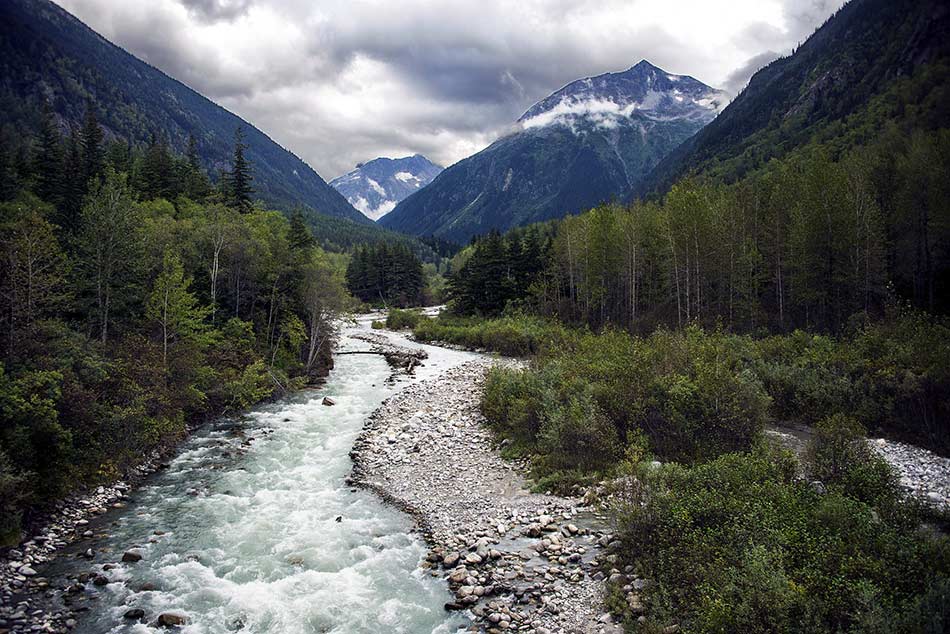
How to Focus Camera?
When you're just starting out in photography, there are plenty of obstacles you have to overcome in order to create the most impactful image.
One of those challenges is to ensure that your photos are tack-sharp - something that sounds really simple and easy, but that in practice can be a little more difficult to do.
On the one hand, there are a lot of ways to get a photo that's in focus. That can get a little confusing for beginners because you might not know which method is best, or even how to utilize each method to achieve the results you want.
On the other hand, having a selection of solutions to out-of-focus photos means you have something you can use to overcome that problem in any shooting situation.
Let's have a look at some of the most common - and effective - ways to focus your camera.
Single Shot Autofocus
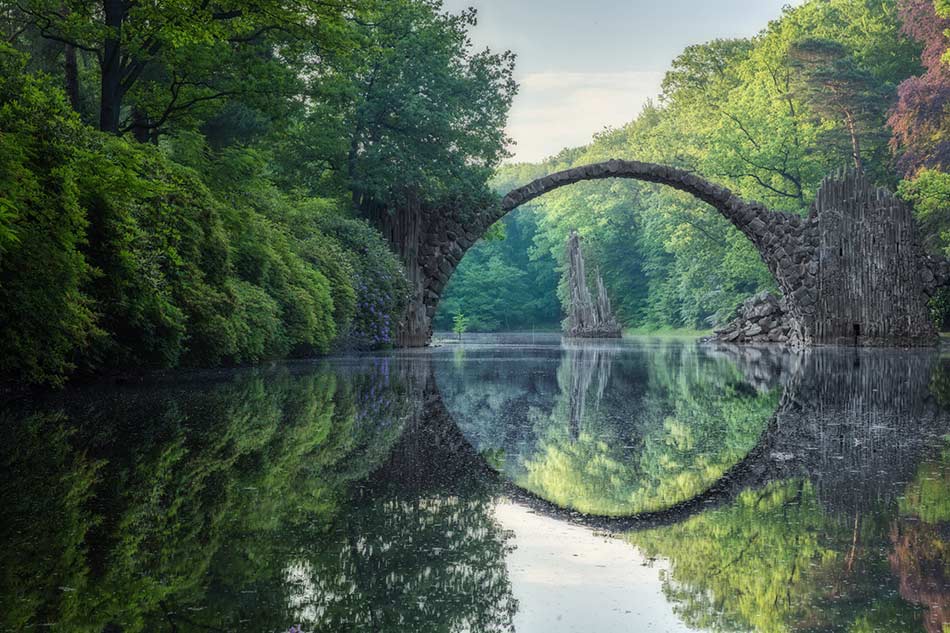
One of the easiest ways to focus your camera is to use single shot autofocus, which, in most cases, is the default setting, and is one of the most effective ways to avoid a blurry photo.
In single shot mode, you simply aim the camera at the subject and press the shutter button halfway.
This locks the focus on the subject, allowing you to recompose the image if need be without losing focus. This is a technique called focus and recompose.
For example, in the image above, you'd want the bridge in sharp focus, so you would position the center autofocus point on the bridge, and depress the shutter button halfway.
Then you'd recompose the shot as you see above and press the shutter button all the way down to take the photo.
The result will be a subject that's in focus, even though you've recomposed the photo.
This is a good option for landscapes and other subjects that aren't moving.
Continuous Autofocus
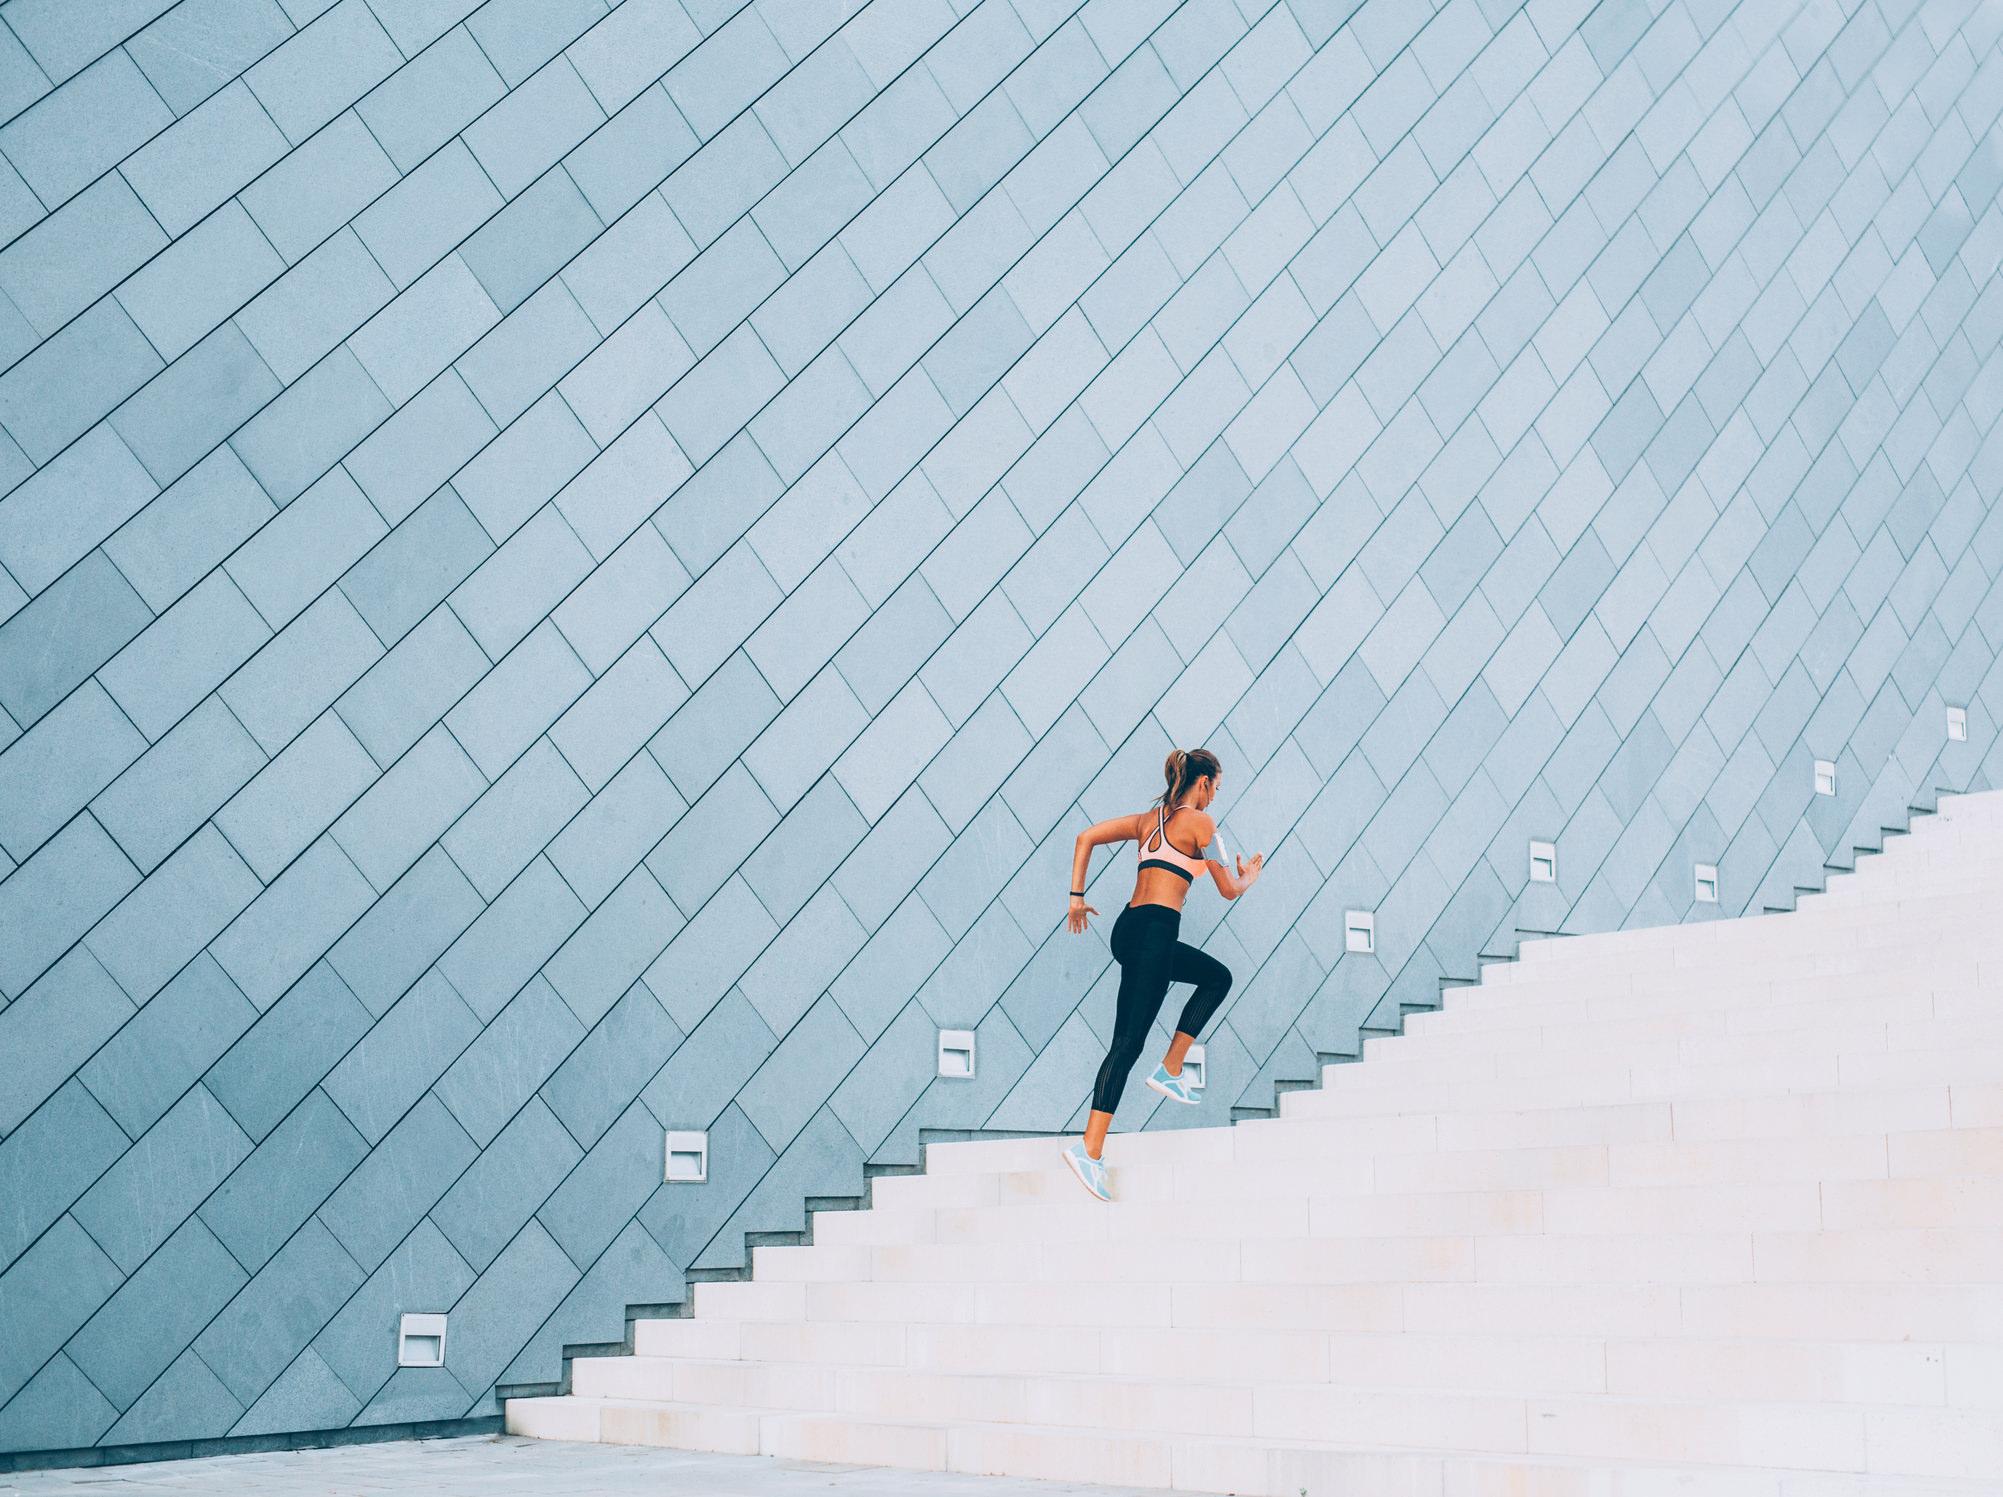
Obviously, every subject isn't perfectly still, so you need a focusing tool that allows you to track moving subjects while keeping them in focus.
Continuous autofocus gives you that ability. All you have to do is acquire the subject in your viewfinder, depress the shutter button halfway, and track the subject as it moves while keeping the shutter button half-pressed.
Doing so means the lens continuously adjusts its focus (thus, the name).
Most entry-level cameras require that you use the center autofocus point for continuous autofocus, but if you have a higher-end camera, you might be able to determine which autofocus point is used to track a moving subject.
Naturally, this type of focusing is best for things like wildlife, bird, or sports photography in which you need the camera to adjust its focus quickly.
See these autofocus methods in action in the video below by Tony and Chelsea Northrup:
Face Detection Autofocus
Not all cameras have face detection autofocus, but if yours does, it's a valuable tool for getting the focus just right for portraiture.
Basically, face detection autofocus uses algorithms to recognize shapes that resemble faces.
Once the camera recognizes a face, it prioritizes its focus on that shape.
In Live View, you can see face detection autofocus at work because it will surround a person's face with a box.
All you have to do is press the shutter button halfway to tell the camera to bring the face into focus and then press the shutter button fully to take the shot.
Select the Focus Point
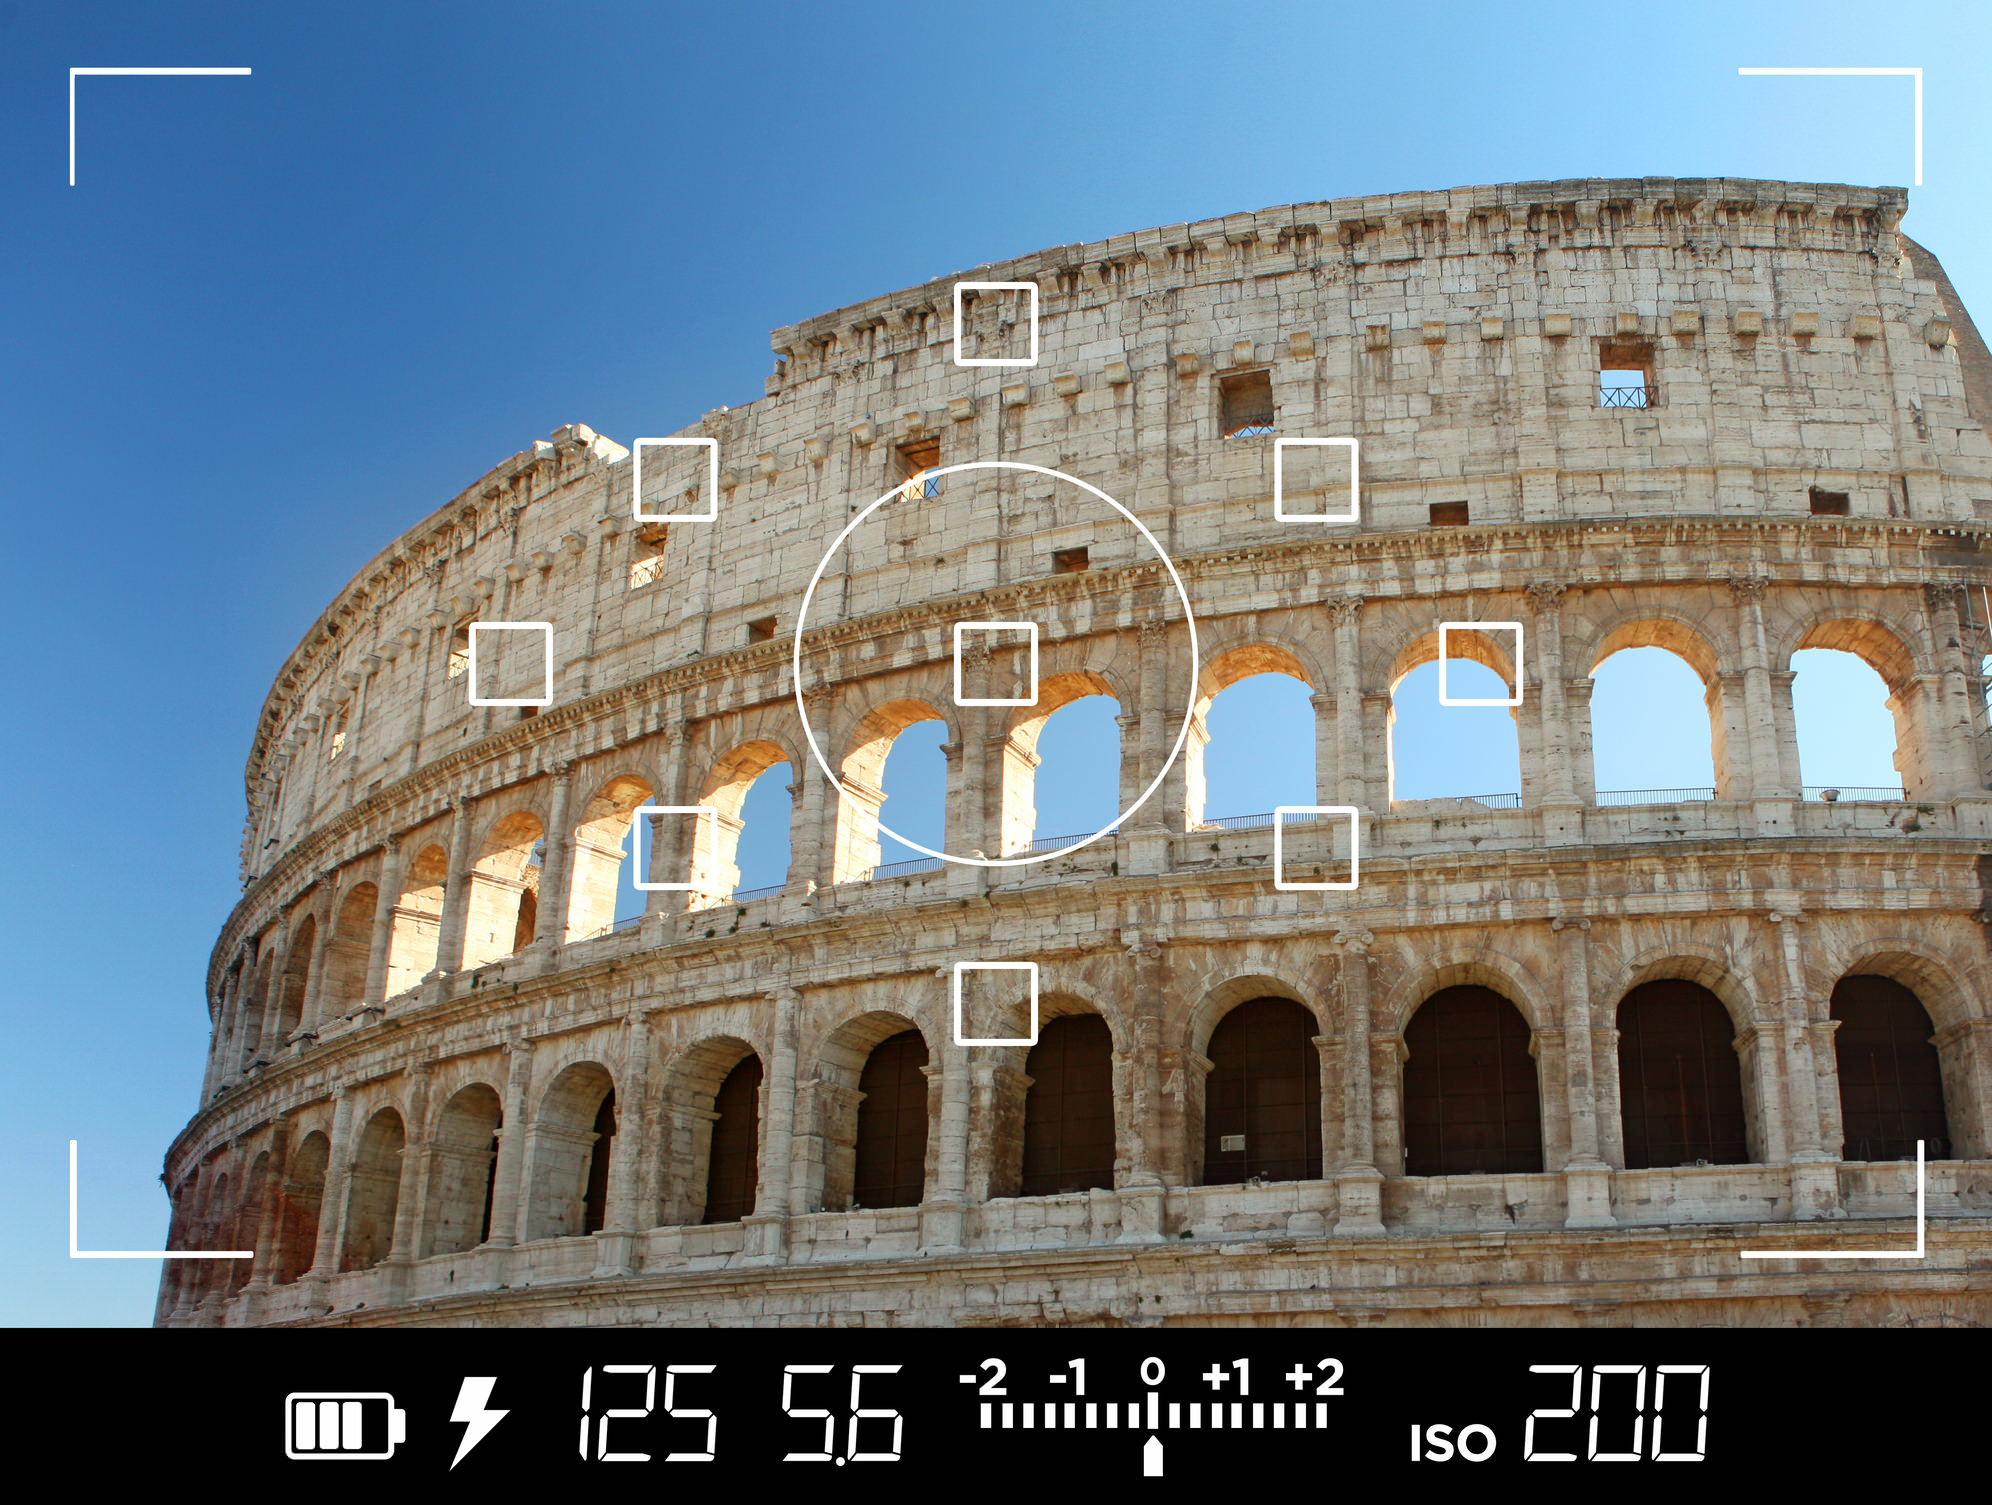
No matter which autofocus mode you use, the key is to have the active autofocus point over your subject. If you don't, you won't have a subject that's sharp.
Generally, there are two methods of selecting which autofocus point is the active one:
- Allow the camera to decide
- Select the active point yourself
Now, most cameras will do a pretty good job of selecting the appropriate autofocus point in most situations. But they aren't perfect...
That's why understanding how to manually select the active autofocus point is so important.
In situations in which time isn't of the essence - portraiture and landscapes among them - try selecting the autofocus point yourself. Check your camera's owner's manual if you aren't sure how to do that.
But, here's a disclaimer: your lens will focus the best when using the center autofocus point. If you use another point to acquire focus, the image might not be as sharp.
Back-Button Focusing
As noted earlier, pressing the shutter button halfway allows your lens to acquire focus.
Another way to acquire focus is to use what's called back-button focusing, which is explained in the video above by Jeff Cable.
Depending on our camera, you might have an autofocus button on the back of the body that allows you to fully press it to get your focus.
This is advantageous for a number of reasons, including that it prevents you from accidentally pressing the shutter button beyond halfway and taking photos before you (or the camera) are ready.
Using back-button focusing is also beneficial because you get to see the scene nice and sharp in the viewfinder, that way you don't take the photo until the subject is in focus.
When photographing moving subjects or multiple subjects, back-button focus also allows you to maintain focus on your primary subject. In other words, by releasing the autofocus button, you prevent the camera from adjusting the focus to a new subject, but you can still take photos that are focused on your primary subject.
Manual Focus

The go-to setting on all modern cameras and lenses is automatic focus.
However, there's always a second option that gives you more control over how the focus is obtained - that's manual focus.
Though manual focusing sounds complicated, it's really not.
The process might be a bit different from one camera or lens to the next, but the following steps are pretty standard for manually focusing:
- Look for an "AF-MF" switch on your lens and move it to the MF setting.
- Rotate the focus ring on your lens until you see the subject is sharp.
- Using Live View, zoom in on your subject to inspect it for sharpness. Adjust as necessary using the focus ring.
That's it!
Manual focus might take a bit longer thanautomatic focus, but it performs better in a variety of situations, namely macrophotography, when you shoot through something (i.e. using a plant in the foreground to frame a subject in the background), crowded areas like street scenes, and low-light situations.
In other words, in situations in which automatic focus struggles, don't be afraid to switch to manual focus.
Hyperfocal Distance
A more involved and technical method of acquiring focus is to calculate the hyperfocal distance.
Basically, using hyperfocal distance requires you to use the depth of field calculations for the lens you're using to find the nearest point in the scene where you still get acceptable sharpness.
Finding this point allows you to focus at that spot, which gets you the best depth of field and maximizes the area of sharpness in the photo.
There are a number of ways to determine hyperfocal distance, but the easiest among them are:
- Focus one-third up from the bottom of the frame. Because depth of field extends about twice as far behind the focal point as it does in front, focusing at the one-third point will help you maximize depth of field.
- Use a smartphone app like HyperFocal Pro for Android (shown above) or Digital DOF for iOS devices, that way you don't have to do any math!
If you're a landscape photographer, using hyperfocal distance will help you get the sharpest results.
Focus Stacking

A final method for getting perfect focus in your photos is to use focus stacking, which is achieved in post-processing.
Essentially, you take several different photos, each with a different focus point (i.e. foreground, midground, and background) and combine them together into a single image in post-processing. The resulting composite photo will be sharp from foreground to background.
This type of focusing is particularly useful for macro photography and still life subjects in which you might have a very shallow depth of field due to how close your lens is to the subject. It can also be used for landscape photography with great success.
The caveat with focus stacking is that there can't be any movement in the shot.
That's because you're taking several exposures at different times, so if something in the frame is moving (i.e. a tree moving in the wind) it will cause ghosting in the shot. In other words, whatever is moving will be blurry.
The other difficulty with using focus stacking is that you have to adjust the focus for each shot without disturbing the position of the camera. Again, if each image isn't framed and composed exactly alike, they won't combine together perfectly in post-processing.
See how to focus stack in Photoshop in the video below by PHLEARN:
With that, you have a number of techniques at your disposal to ensure you've got the focus in your shots nailed down. As with anything in photography, it will take time to master these methods.
However, once you have them down pat, you'll enjoy photos that are focused well with subjects that are tack-sharp.
We Recommend
How to Make Your Photos Look More Professional
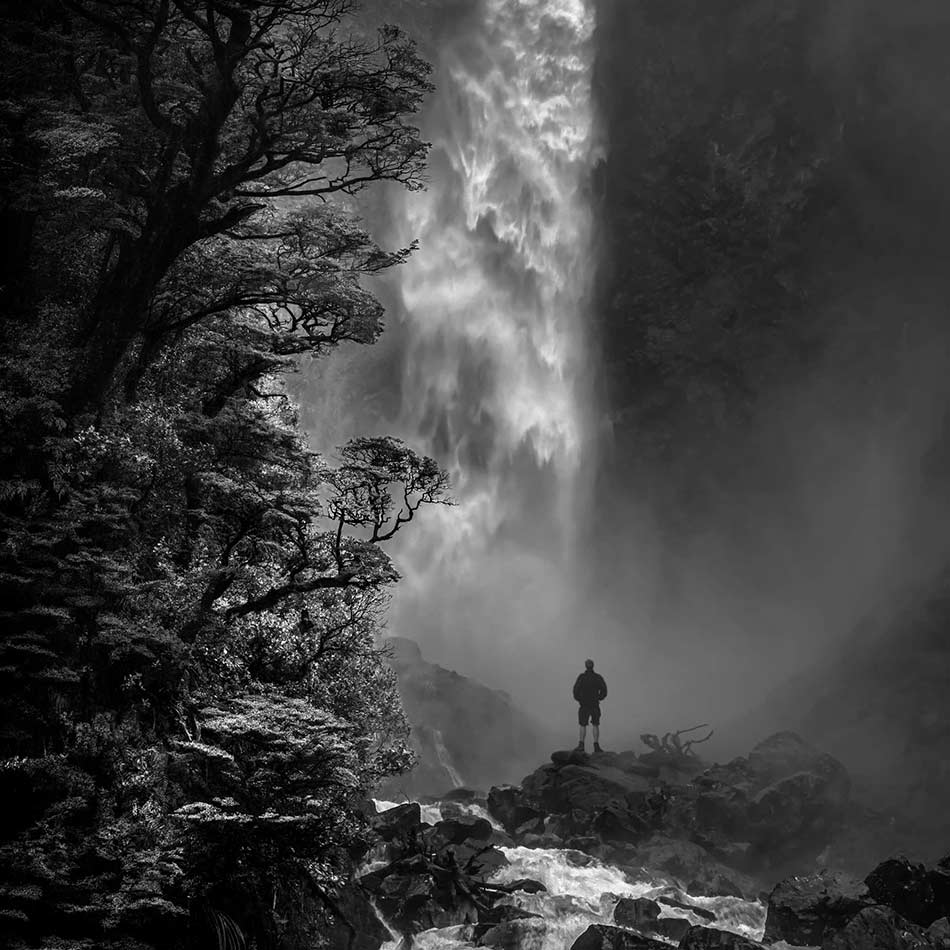
If you look at your photos and think, "These don't look like the ones I see from the pros," then you've got a little work to do.
But don't think that creating photos that look less like an amateur and more like a professional took them is something that you can't do.
Though practice certainly helps, there's some actionable steps you can take to make more professional-looking photos.
Here's how...
Zoom In and Fill the Frame
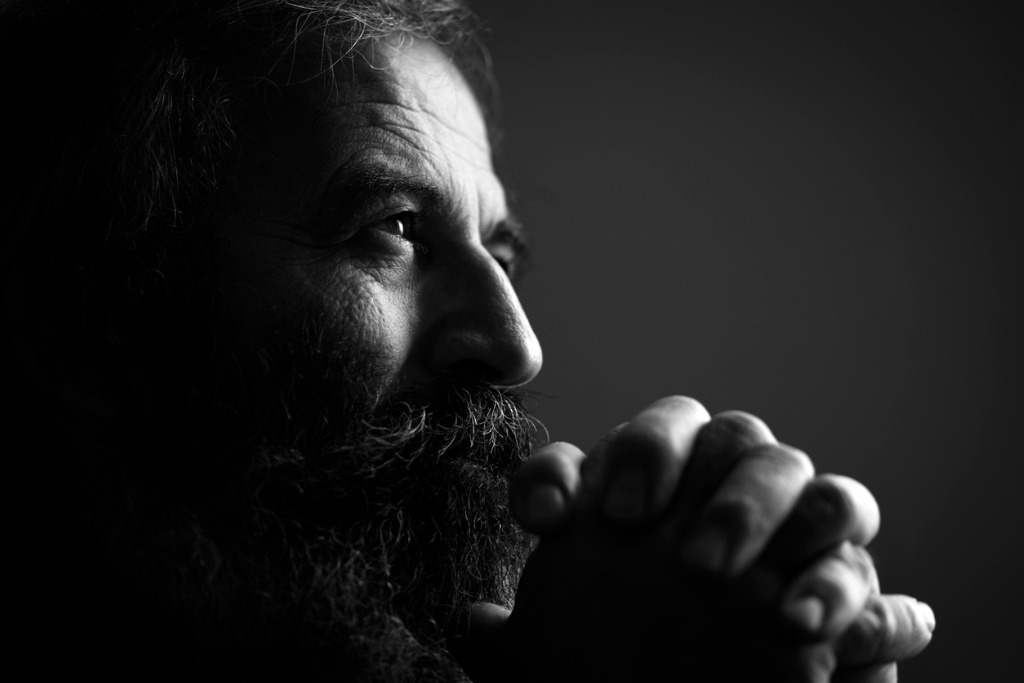
Filling the frame with the subject does a number of things for your photos.
First, it helps minimize distractions in the background that might cause the viewer to lose sight of or interest in the primary subject.
Second, filling the frame is an effective compositional trick for making a more intimate portrait. This works for all kinds of photos, but especially for portraits as it gives the viewer a more detailed view of the model's face, as seen above.

Lastly, filling the frame ensures that the photo has a single, strong subject.
If you look at a professional's photos, there is no mistaking what the primary subject is. But look at some amateur photos, and you might be searching around the shot to identify which of many subjects is supposed to be the center of attention.
Don't be afraid to get in close to your subject - it can create a much more compelling and creative photo!
Learn More:
- Three Things You Can Do Right Now To Improve Your Photography
- How You Can Create More Fine Art Photos
Learn How to Post-Process
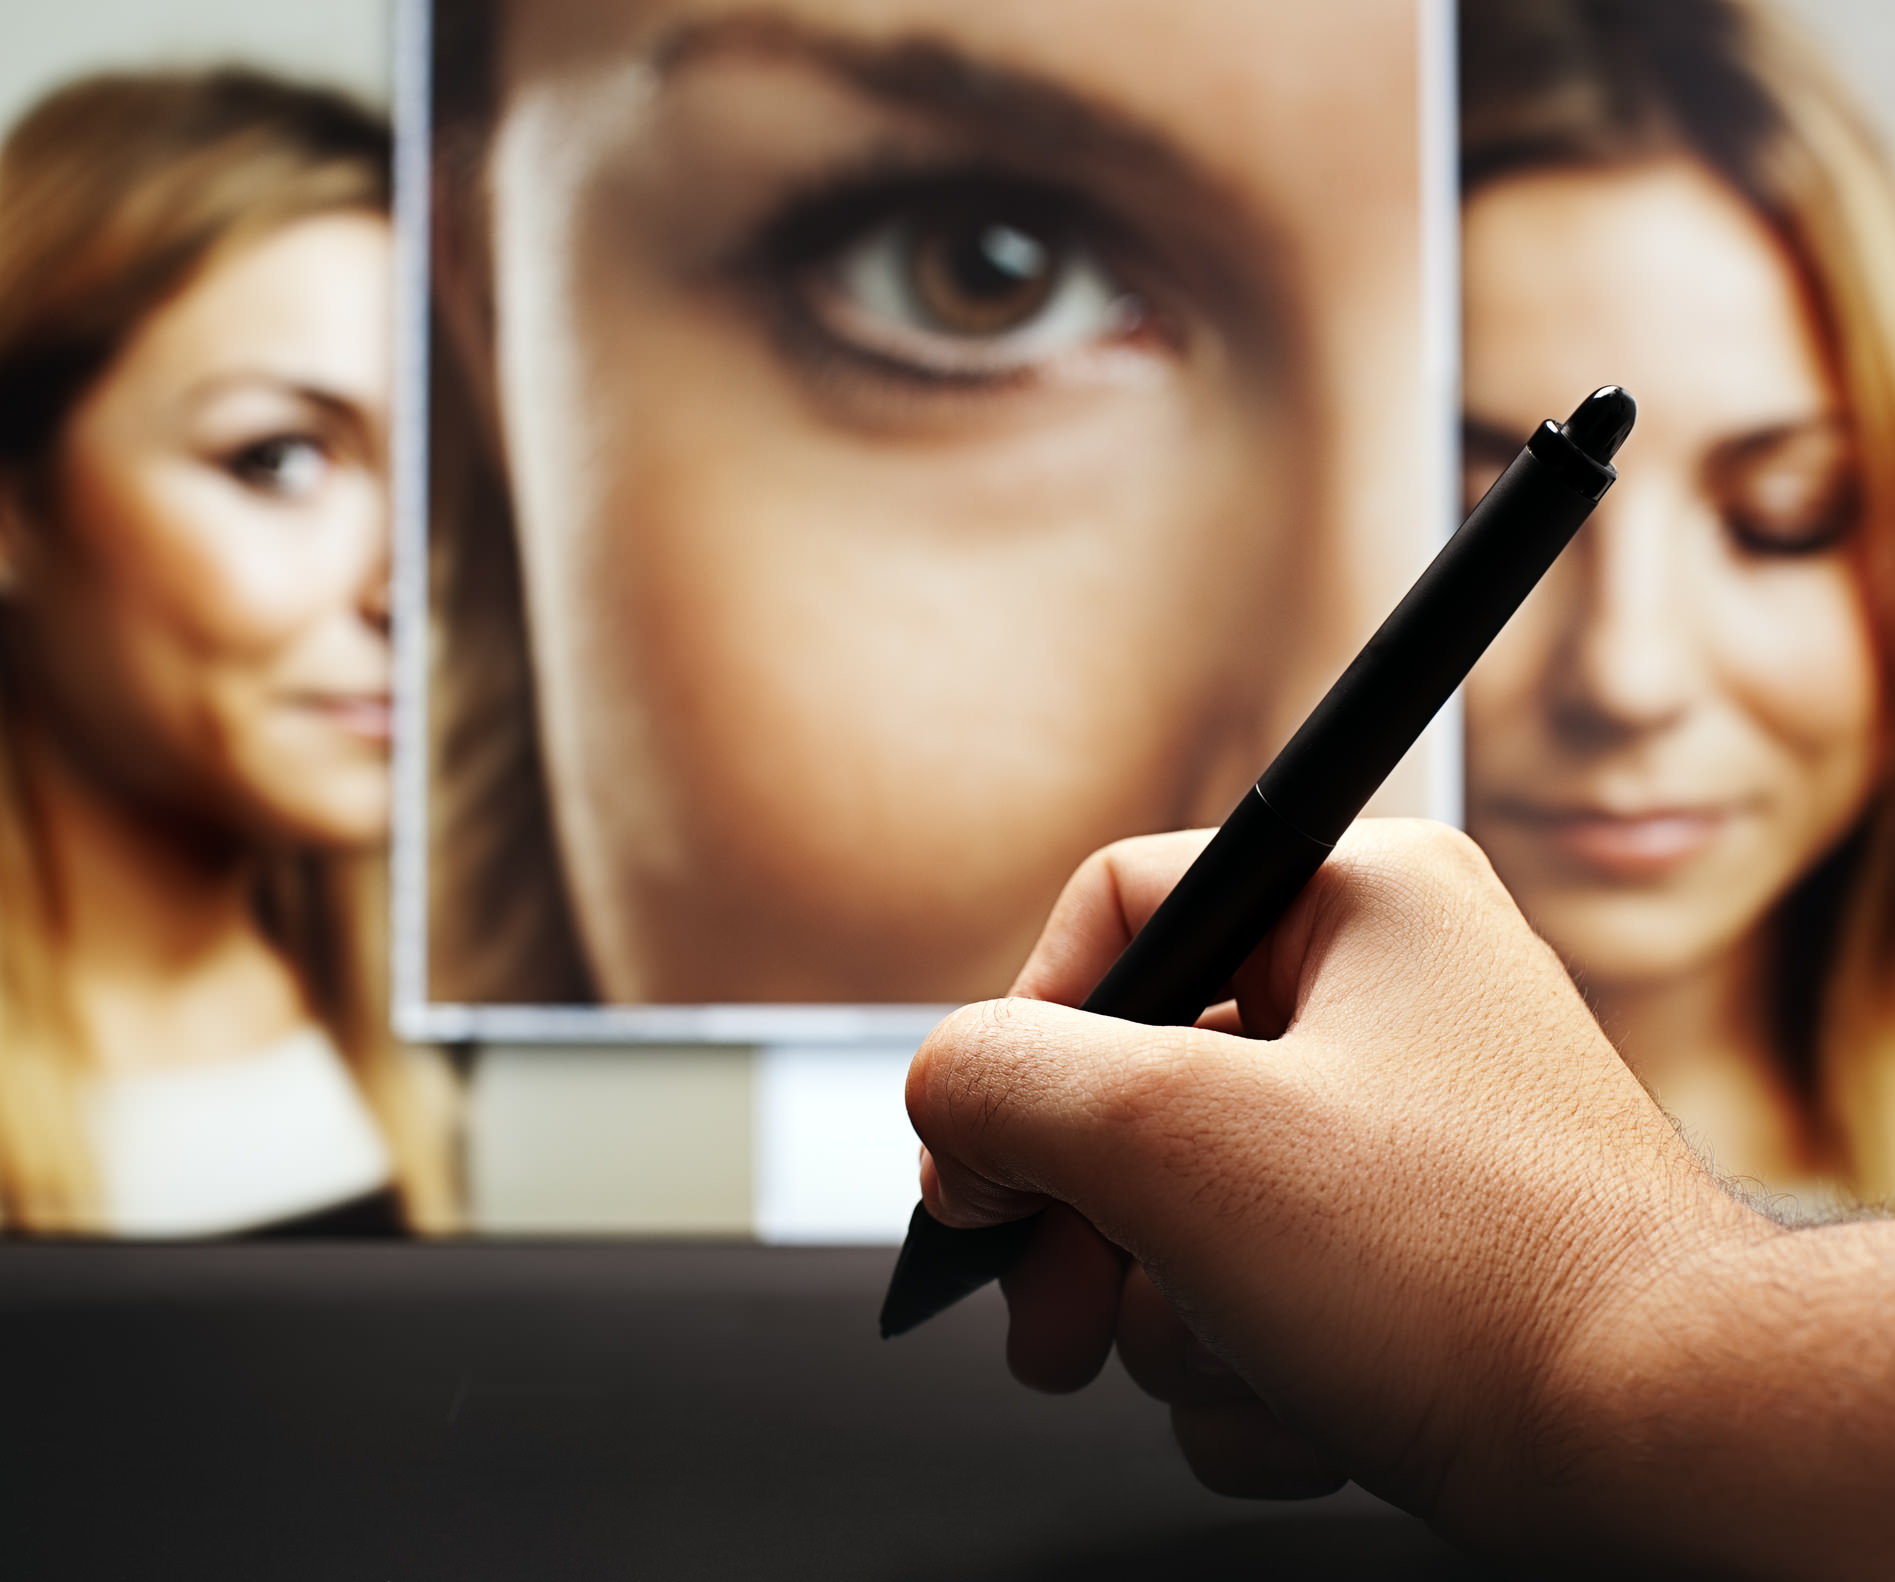
Improving the quality of your photos doesn't just pertain to composition tricks like the one above.
Instead, you also need to step up your game in the post-processing department.
I know programs like Photoshop and Lightroom can be scary at first, simply because there's so many different tools and options at your disposal.
But there are tons of post-processing tutorials you can read and probably tens of thousands of videos on YouTube that you can watch to learn a little something as well, like the one below from Photoshop Cafe:
The key with improving your post-processing skills is to drill down to specific skills you want to learn.
Instead of trying to learn everything at once, start with the basics, like using layers, and then work your way into more advanced topics like making selections.
The point is that if you can break the learning process down into numerous smaller chunks, you'll be able to more quickly master the skills you need to process images like the pros.
Learn More:
- How You Can Enhance Your Photos With Dynamic Color in Photoshop
- Five Things in Photoshop CC 2018 That You Must Know
Get Your Photos Professionally Printed

A final trick you can use to get more professional-looking portraits is to have your photos professionally printed.
And I don't mean ordering 5x7 prints on fancy photo paper, either.
To really set your image apart and give it some drama, consider another substrate, like acrylic, as the vehicle for presenting your photos.
Artbeat Studios has perfected the art of printing on acrylic to give your photos an ultra-dramatic look.
The image is first printed on high-resolution archival Epson metallic photo paper. The print is then mounted onto a clear acrylic sheet for a gorgeously detailed print with beautiful contrast and vibrance.
These HD Acrylic Prints have diamond-polished edges to give the print a stunning finish that catches the light and adds a little bling to the print.
That sounds better than a regular old print on photo paper, right?
Better still, Artbeat Studios offers tons of options to customize the print, including different hardware mounts and hanging options.
You can order an acrylic print as small as an 8x10 and as large as 48x96, with custom sizing options also available.
There's even different styles of HD Acrylic Prints to choose from, including HD Acrylic Slims that are just 1/8-inches thick and HD Acrylic 360 prints which ensconces your image in acrylic in front and in back.
In other words, HD Acrylic Prints not only give you tons of customization options, but they also complete the process of creating more professional photos.
What better way to cap off a gorgeous shot than with a museum-quality print?!
Learn More:
- Start Customizing Your HD Acrylic Print Today
- Top Tips for Getting Professional Prints of Your Photos
We Recommend
How to Photograph Fireworks in 11 Easy Steps

For those of us in the good ol' USA, 4th of July celebrations are about to get underway.
That means fireworks!
As beautiful as fireworks can be, I think we can all agree that we've all taken some clunker photos of them.
That's partially due to timing the shot. It's partially due to simply using the wrong camera settings or equipment, too.
In this quick guide, I offer up some solutions to common fireworks photography mistakes and teach you how to photograph fireworks so you can enjoy Independence Day and take some great fireworks photos at the same time.
Table of Contents
- Step 1: You'll Need an Interchangeable Lens Camera
- Step 2: Use a Zoom Lens
- Step 3: Use a Tripod and Remote
- Step 4: Shoot in Manual Mode
- Step 5: Keep the Aperture in the Middle
- Step 6: Minimize the ISO
- Step 7: Shutter Speed is the Key
- Step 8: Think About the Context of the Scene
- Step 9: Framing is Everything for High-Quality Photos of Fireworks
- Step 10: Keep Those Horizons Straight
- Step 11: Try Horizontal and Vertical Shots
How to Photograph Fireworks: Gear List
Step 1: You'll Need an Interchangeable Lens Camera
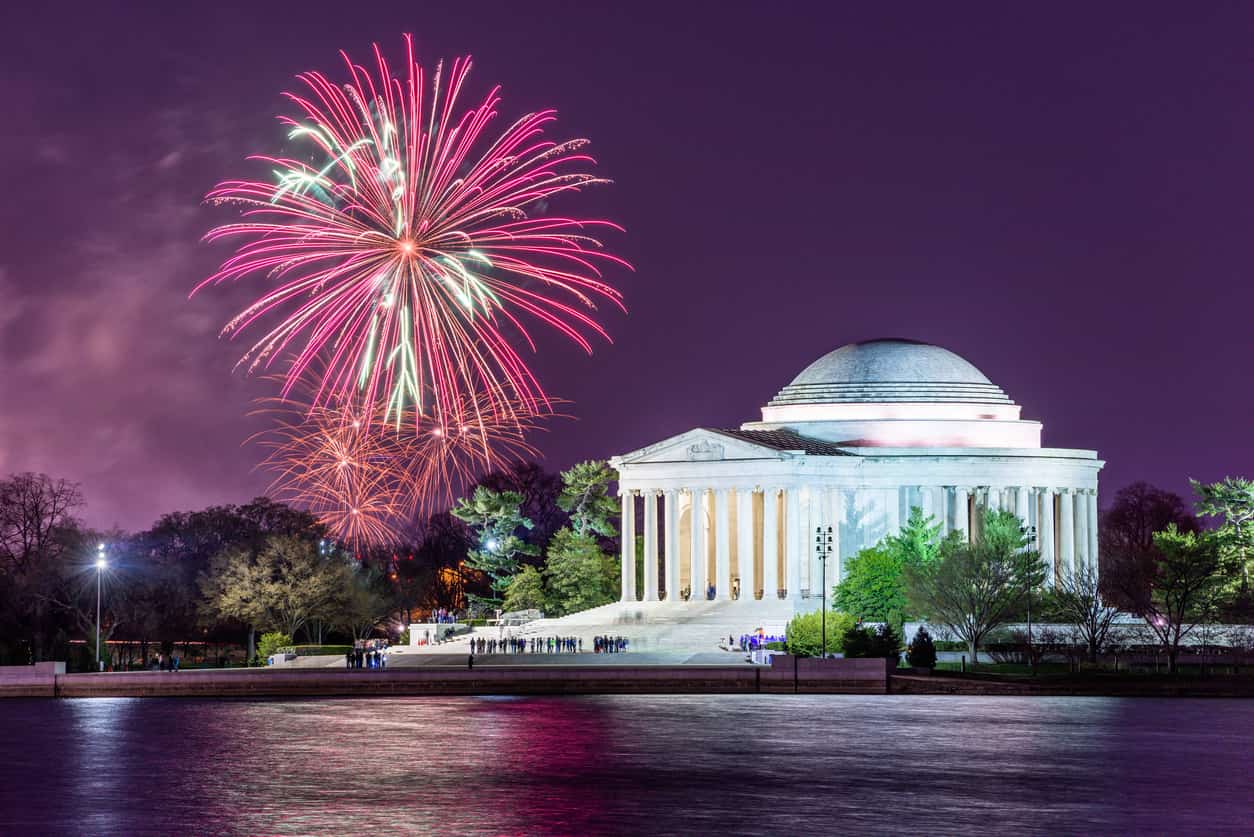
Though you can photograph fireworks with a phone, if you want the best results, a DSLR or mirrorless camera with interchangeable lenses will be the best choice.
Why?
These cameras have manual controls that allow you to change things like aperture, shutter speed, and ISO, which you'll definitely need to do (more on that later).
What's more, since they have interchangeable lenses, these cameras give you different options regarding focal length and how you frame the shot.
You don't need a big, bad full frame mirrorless camera like the Nikon Z7, either. A beginner-level crop sensor DSLR like a Canon T7i will work just fine.
Get more details on the differences between full frame and crop sensor cameras in the video above by Becki and Chris.
Learn More:
- What You Need to Know About Full Frame vs. Crop Sensor Cameras
- Beginner Photography Tip: Choosing the Best DSLR for You
Step 2: Use a Zoom Lens
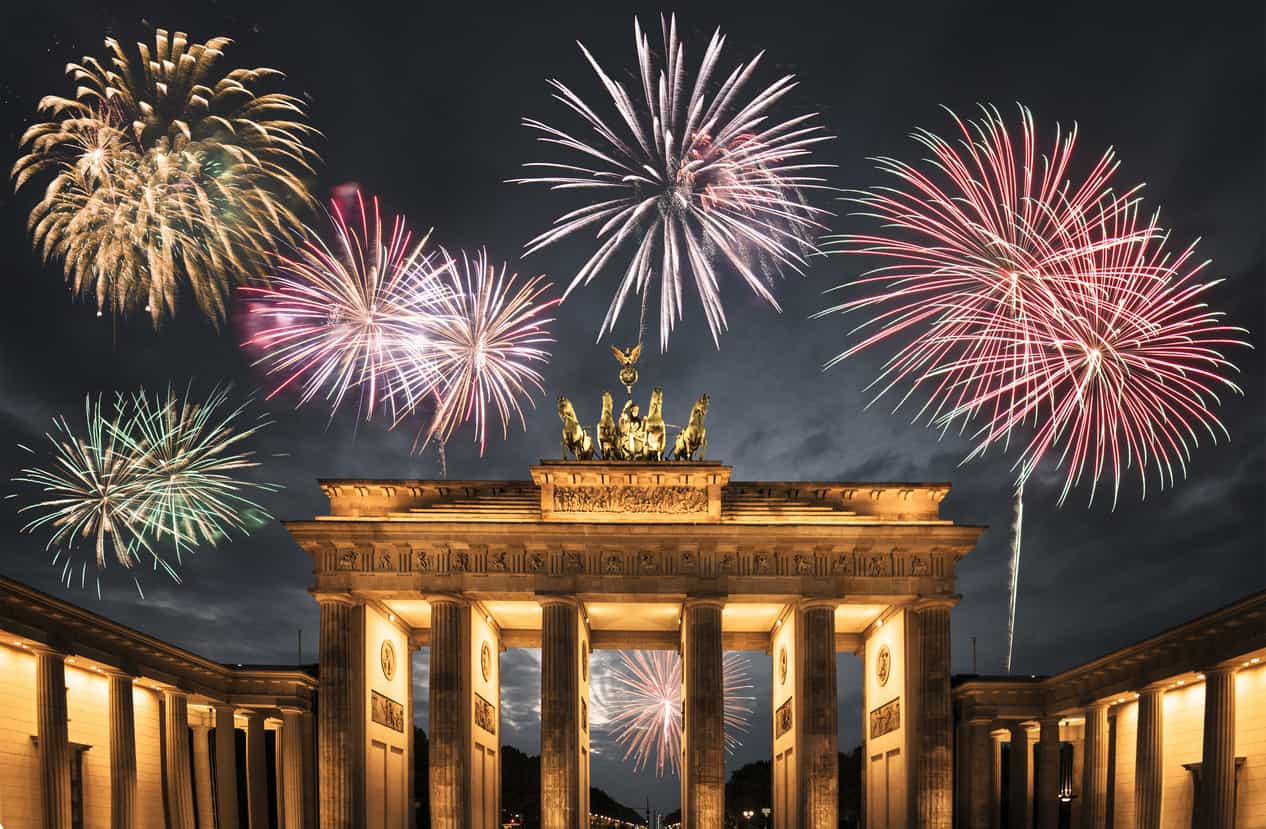
I'm usually more of a prime lens kind of guy, but in this case, a zoom lens just makes more sense.
If you have something like a 70-200mm lens, shoot most of your shots on the wide end, that way there's less pressure to frame a tight shot and get the timing of the shot just right.
Then, try a few zoomed in shots for some tight frames on the fireworks as they explode.
The latter type of image is more difficult to pull off, but at least with a zoom you can quickly change focal lengths to attempt a wider variety of photos.
Learn More:
Step 3: Use a Tripod and Remote
One of the biggest enemies to quality fireworks photos is blurriness.
Two of the best solutions to blurriness are to use a tripod and a remote.
By giving your camera a solid, stable base with a good tripod (this one is great), you ensure that it doesn't move as the shutter is open.
And since you're shooting at night, that shutter will be open awhile (more on that in a bit).
Likewise, you don't want to inadvertently cause the camera to vibrate by touching it to trigger the shutter.
That's where a remote comes in...
Whether you use a simple infrared remote, a wired shutter release, or something fancier with more capabilities, the point is that you need to be able to trigger the shutter (and do so quickly) without disturbing your camera. That's one of the keys of how to take pictures of fireworks.
Learn More:
How to Photograph Fireworks: Camera Settings

Earlier, I mentioned the need for an interchangeable lens camera with manual controls to learn how to photograph fireworks.
With the ability to change the exposure settings - among other things - you greatly increase your chances of getting high-quality shots of fireworks.
Though there's no hard and fast rule regarding settings, use the following as a general guideline and then work to perfect the settings for your situation from there.
Step 4: Shoot in Manual Mode

Manual mode - two words that strike fear into many photographers.
But there's no need to be fearful of manual mode. All it means is that you have to work a little harder to get the best shots.
It also means that you're in total control of your camera, which, with a little practice, means that better shots will become easier to get with time.
Shooting in manual is important because you need to be able to adjust exposure settings on the fly (more on that in a moment).
You'll also want to manually focus your lens as the autofocus system will have trouble identifying a subject in dark shooting conditions.
When you manually focus a lens, you need to do so ahead of time when there's enough light to do so.
Essentially, you'll focus on a spot far away and lock that focus for later, that way your fireworks photos are nice and sharp.
If you want to learn how to photograph fireworks, you'll need to learn more about how to manually focus your lens. Do that by watching the video above by AdoramaTV and Mark Wallace.
Learn More:
- Get Sharper Photos by Using the Right Focus Mode
- Beginner Photography Tip: Understanding Autofocus Points
Step 5: Keep the Aperture in the Middle
The key with aperture is to keep it in the midrange, say, f/5.6-f/11.
That will give you enough depth of field to keep things sharp, and you'll also avoid the largest and smallest apertures which tend to have more aberration and vignetting than mid-range apertures.
Don't worry about using a smallish aperture, either - the light from the fireworks will be more than enough to get a well-exposed image, even if you're shooting at f/16 at night.
Step 6: Minimize the ISO
When learning how to photograph fireworks, you need to work on getting the cleanest shots. To do that, you need to minimize the ISO.
On many cameras, that means shooting at ISO 100 or 200, though some cameras go down to ISO 50.
By minimizing ISO, you also minimize digital noise, thus the "cleaner" photos I referenced above. Notice how a low ISO rendered the shot above clean and crisp.
Step 7: Shutter Speed is the Key
The trickiest setting of them all for fireworks photography is the shutter speed.
On the one hand, you want to be able to capture the full explosion of the fireworks, which means a long exposure.
On the other hand, because they're so bright, fireworks can easily cause your images to be overexposed.
A good place to start is by putting your camera in Bulb Mode and using your camera remote to hold the shutter open for 2-3 seconds, or just long enough to capture the initial explosion of fireworks and the aftermath as they fade in the sky.
If you find that the image is too bright, you can use negative exposure compensation to darken it, or you can try a smaller aperture to reduce the amount of light entering the lens.
Learn More:
How to Photograph Fireworks: Composing the Shot

The final element of getting good photos of fireworks is to frame and compose the shot in a way that enhances the look and feel of the fireworks.
Naturally, a lot of this has to do with getting the timing just right, too.
I can't really help you with timing as that's a skill you'll need to hone by practicing.
But there are a few composition tips I can give you to make a better shot of fireworks more likely.
Step 8: Think About the Context of the Scene
As beautiful as fireworks can be, photos of them on their own can be a bit boring.
As a result, it's usually a better option to give some context to the scene.
By that, I mean you should strive to incorporate some foreground and background elements into the shot.
Looking at the image above, the inclusion of the Golden Gate Bridge in the foreground and the city lights in the background adds a lot of interest to the shot.
To get shots like this, you need to plan where you'll set up your camera, ensure you have an unobstructed view, and make note of where the fireworks will be exploding in the sky.
Once you do that, you can work on framing the shot. Just like thinking about the context of the scene, being purposeful in your framing is a key component of learning how to photograph fireworks.
In the video above, I discuss a few tips and tricks for learning how to photograph fireworks like a pro.
Learn More:
Step 9: Framing is Everything for High-Quality Photos of Fireworks

You can get the general framing done in the previous step, assuming that you know where the fireworks will be going off in the sky.
But once the action starts, you'll need to quickly adjust your framing to compensate for any misjudgments on your part.
For example, if you find that you're using a focal length that's too long and is cutting off part of the fireworks as they explode, you'll need to adjust the focal length to frame a wider shot.
Likewise, if you set up your camera and aim it at a spot in the sky, and then the fireworks are further to the left or right, you'll need to make quick adjustments to get the full view of the show in your viewfinder. These are simple actions, but crucial steps in learning how to photograph fireworks.
Step 10: Keep Those Horizons Straight

Even if you have a perfectly framed shot of fireworks with interesting foreground and background elements, the shot can still be ruined by one little thing...
Crooked horizons.
Keep your horizons straight by using a bubble level on your tripod, a hot-shoe mounted level or aligning the rule of thirds grid with the horizon.
Whatever method you use, having straight horizons will help amplify the impact of your shots and prevent you from having to straighten things up in post-processing, too.
Step 11: Try Horizontal and Vertical Shots

I think the inclination for most photographers is to use vertical format shots for fireworks, simply because of the height they reach in the sky.
And in most cases, this works great.
But don't discount horizontal shots, either, as they can be advantageous when there's a vast display of fireworks all at the same time.
Learn More:
Bonus Tip

The basic tips above on how to photograph fireworks should put you in a good position to get some quality fireworks photos on the 4th of July.
You'll need to work on the settings, framing, and composition a little bit, but the adjustments shouldn't be anything too major.
As one last bonus tip, I'll offer this advice...
Try to get most of your shots out of the way at the beginning of the fireworks show.
There will be less smoke from exploded fireworks, and you'll get clearer shots with less haze as a result.
We Recommend
How to Pose Friends for Portraits
When you see portraits like the one above, it's hard not to be impressed.
Well, that's because it was taken by a professional with tons of skills and knowledge. The professional model helps, too.
But what if you're an amateur photographer with non-model friends as your subjects. How do you make awesome portraits then using variosu poses for photography?
Well, it still takes a good amount of skill, knowledge, and effort.
But you certainly don't need a supermodel posing for the camera to get an awesome shot.
In the video above, Mango Street offers up a few simple tips for posing your friends for portraits.
Below, I outline each tip for easy reference.
Let's get started!
Use Straight Lines and S-Curves
 YouTube Screenshot/Mango Street
A simple strategy for evoking a certain feeling in your portraits is to utilize different kinds of lines.
Straight lines tend to be harsher, with a more masculine feel. Learn more about stunning photo poses on our website PhotographyTalk.com.
S-Curves, meanwhile, tend to be softer and more feminine.
 YouTube Screenshot/Mango Street
Using the same model but with different types of lines, you can see how they impact the look and feel of the image.
On the left, the straight lines create a look that's a little more angular, if not jagged. Note how the presentation of the elbows and the arms bent upward create a nice frame for the subject's face. Combined with the straight-on view of the subject, it makes for a very strong portrait.

On the right, you can see how incorporating curved lines helps to soften the portrait.
In this case, the bends of her arms and the twisting of her torso make the subject appear to be much more free and unencumbered.
Direct Instead of Pose
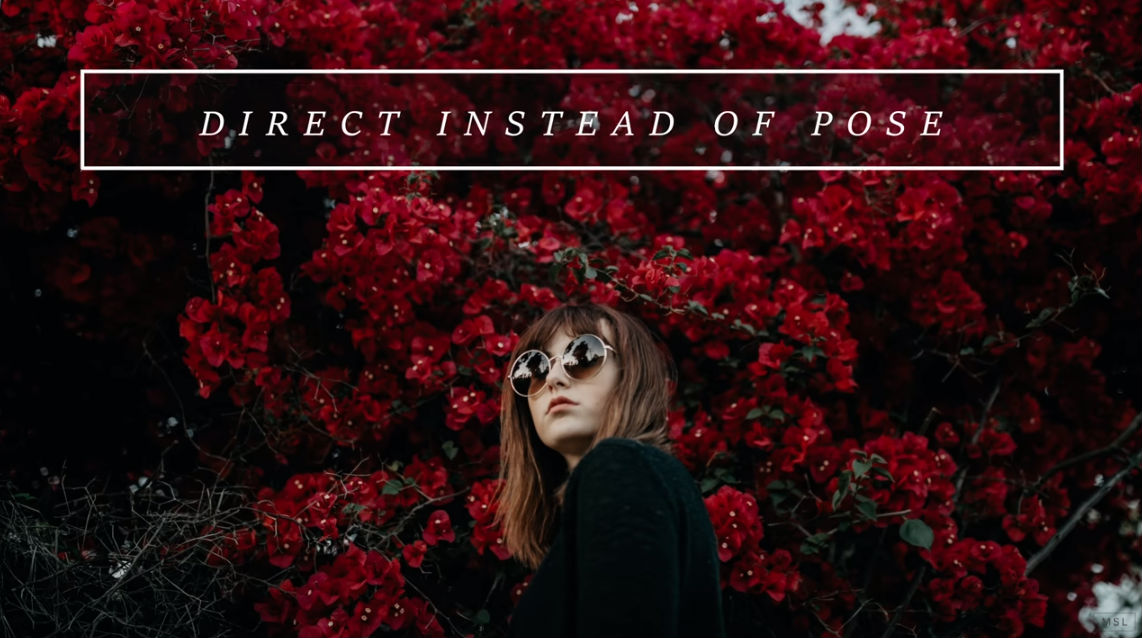 YouTube Screenshot/Mango Street
The reason why amateur portraits often look so stiff and posed is because the photographer spends the entire time physically posing their subject.
A better way to do things is to take a hands-off approach, and simply offer suggestions to the subject for how they should be structured for the shot. You can also check another post about poses for guys.
This might involve telling the subject to stand or sit or how to place their arms or hands. But beyond that, try to refrain from giving strict instructions.
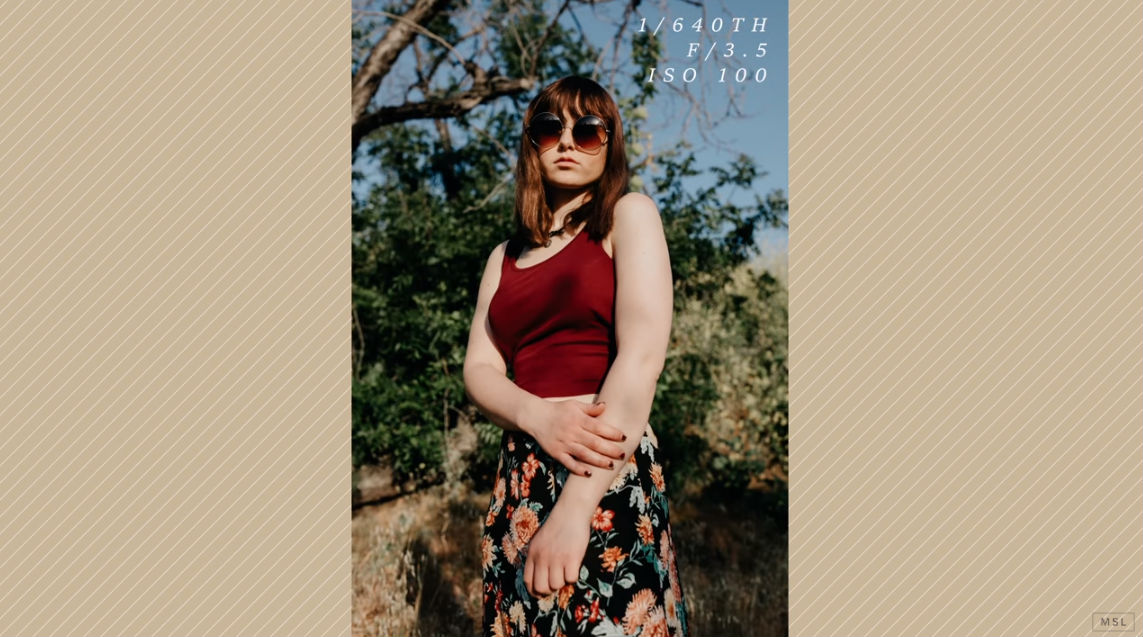 YouTube Screenshot/Mango Street
In fact, you might get the best look if you give your subject a character to play or an emotion to portray...
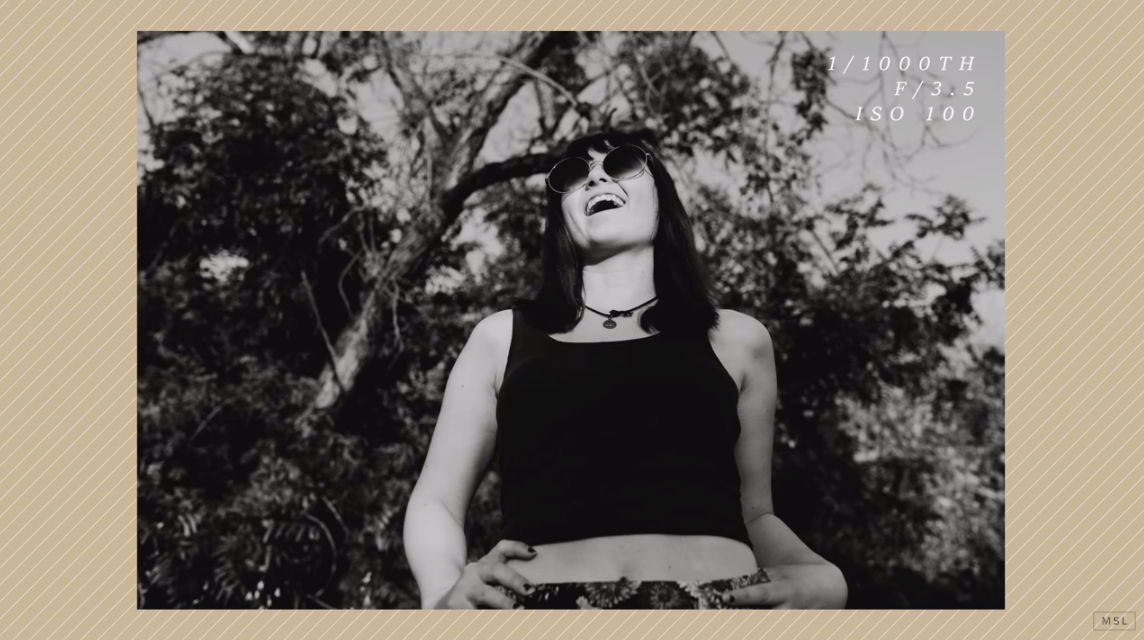 YouTube Screenshot/Mango Street
You can also crack a joke, tell a story or ask the subject about a memory to help them get into character.
As you can see in the images above, taking this approach results in more genuine, candid images that have a vibrancy and an emotion to them.
Capture Motion
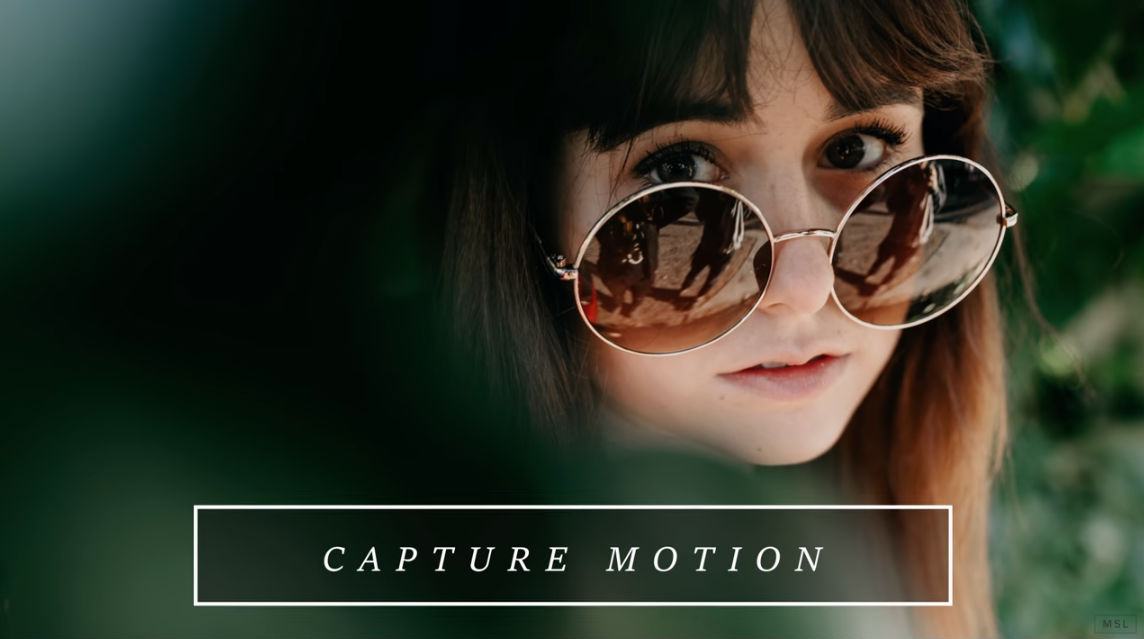 YouTube Screenshot/Mango Street
Another excellent way to capture more authentic images is to put your subject in motion.
Not only does their movement force them to think less about being in front of the camera, but it also helps loosen up their body and take on a more natural form.
Add to that the fact that things like their hair, limbs, and clothing are in movement, and you have a recipe for a more engaging picture.
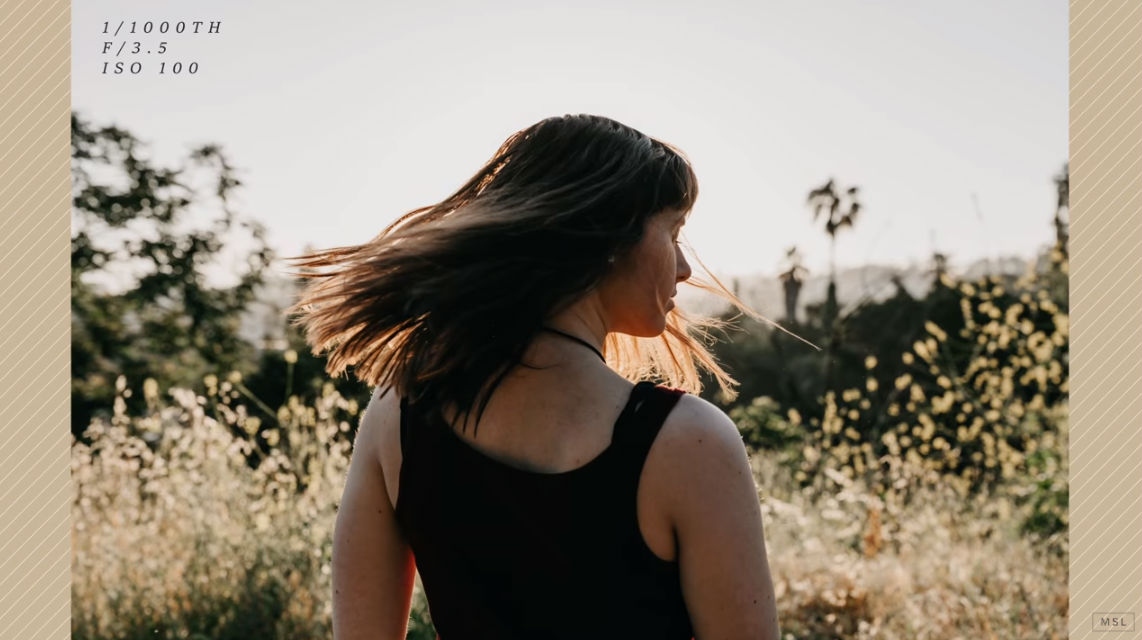 YouTube Screenshot/Mango Street
And this doesn't have to be massive movements that cause motion blur in the shot, either.
As you can see above, simply having the model flip her hair adds a dynamic to the image that would be impossible to get in a traditional posed portrait.

You can have the subject walk, jump, swing their arms or any number of other actions to create something similar.
Just use a fast shutter speed and click away so you can get a series of images as the subject is moving around.
Final Thoughts
Whether you're just starting out with your first camera or you're a seasoned pro just looking for a little inspiration for your portraits, these tips will help you create something that's much more eye-catching and unique.
They're simple portrait photography tips, but certainly effective.
No one ever said that photography is easy, but that doesn't mean you have to implement complex strategies to improve your photos, either!
Give these tricks a try and see how they improve the quality of your portraits.
We Recommend
How to See Like a Photographer
There are few "inventions" as complex and capable as the human eye.
Our eyes give us extraordinary power to see the world around us, and in the case of photography, (hopefully) enjoy what we see.
Our vision has fewer limits than our camera's and lenses...
That differences in capabilities means that you have to learn how to see like a photographer - to see the world through the barrel of your lens.
The question is, how do you learn how to see like a photographer?
Here's a few considerations that will help you...
Think About Depth of Field
 A shallow depth of field, as seen above, can be used to blur background elements to make foreground elements stand out.
Healthy eyes naturally adjust their focus to maintain just about everything in your field of vision in crisp sharpness.
Your camera and lens can try to do that on their own, and in some cases, they might be successful.
But understanding how to manipulate depth of field - the area of the photo that's in focus - will help you utilize your camera and lens to create more interesting photos.
 A large depth of field, as seen above, allows you to maintain a greater area of the scene in sharp focus. That's advantageous for things like landscapes.
I've written a detailed guide on depth of field that you can check out here, but for a quick review, depth of field is the product of several factors:
- Aperture - The larger the size of the aperture, the shallower the depth of field.
- Distance to the subject - The closer you are to the subject, the shallower the depth of field.
- Distance from the subject to the background - The greater the distance between the subject and background, the shallower the depth of field.
- Focal Length - All else being equal, the longer the focal length, the shallower the depth of field.
- Sensor Size - All else being equal, the larger the sensor, the shallower the depth of field.
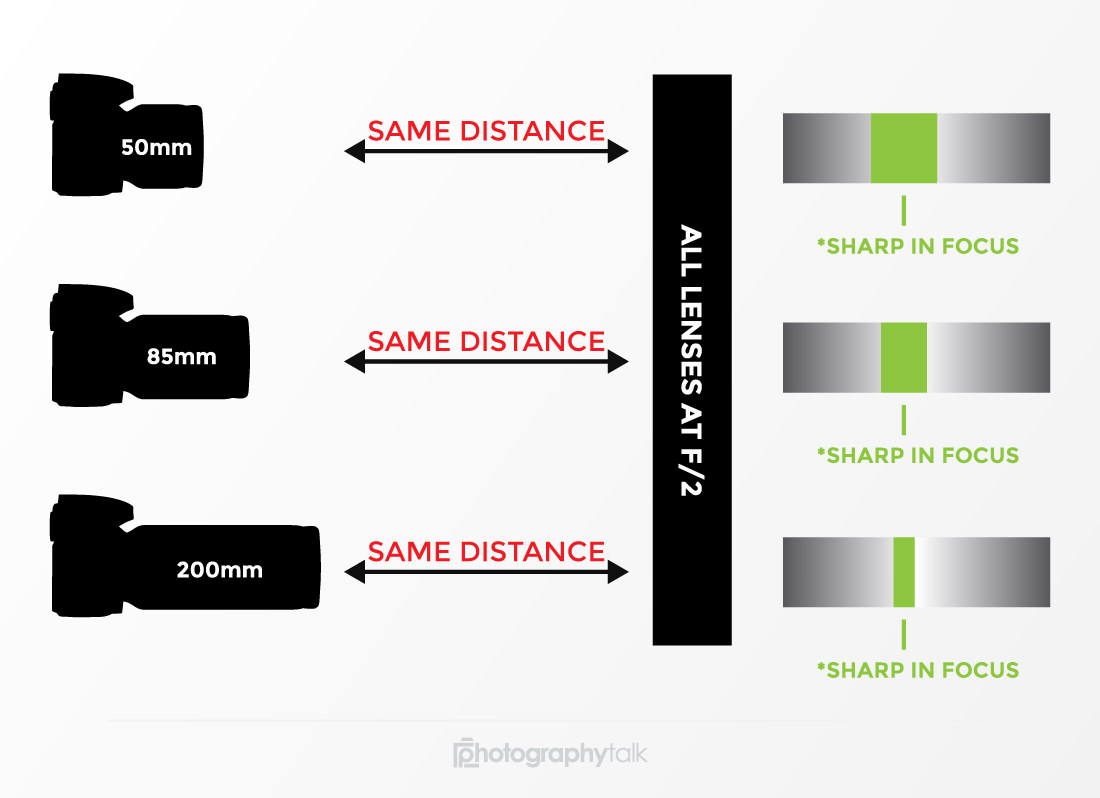 Assuming that the distance to the subject and the aperture remain the same, as the focal length of your lens increases, the depth of field decreases.
The reason it's important to understand depth of field is because it can be used as a very powerful creative tool.
That means that where your eyes will see everything in focus, your camera might not - and you might not want your camera too, either.
By manipulating the factors above and learning how to see as a photographer, you can use features of the scene you're photographing and a different depth of field to create a more compelling shot.
Consider Tones
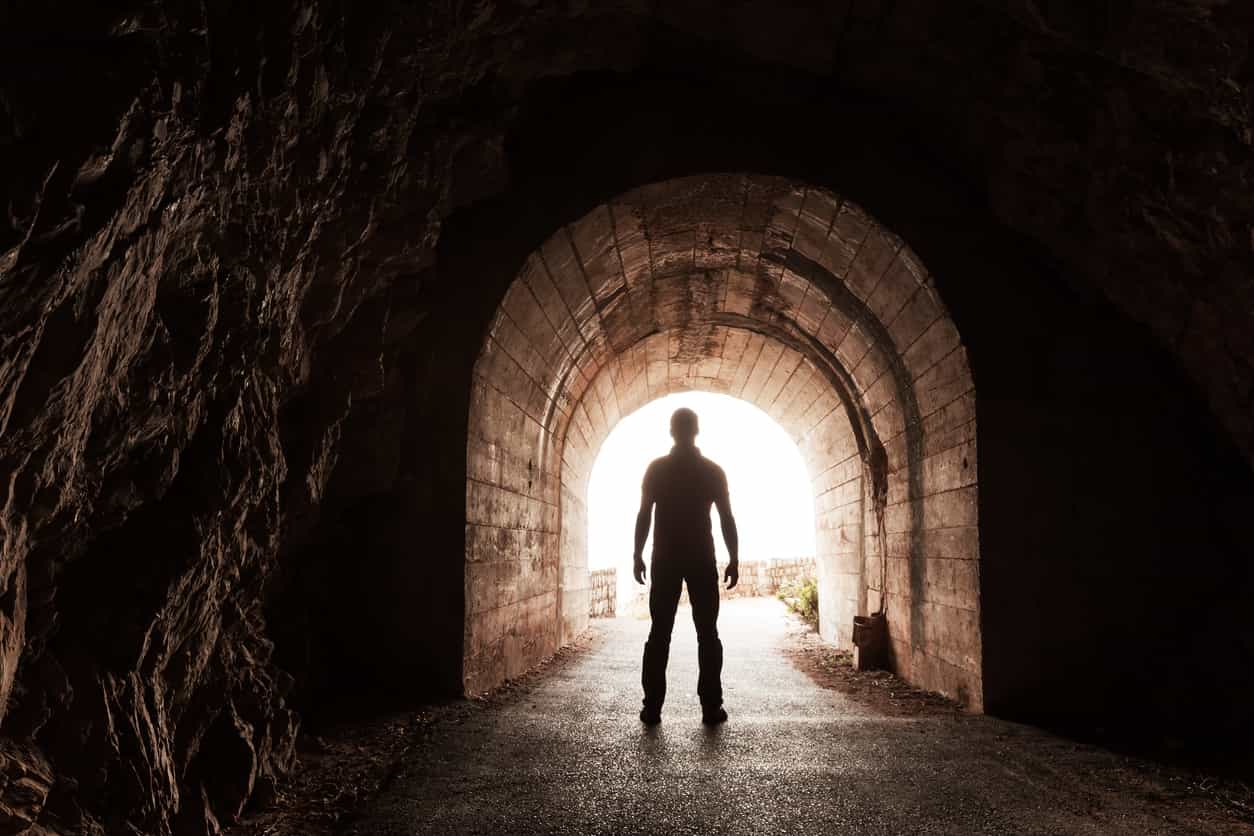 Though your eyes can accommodate a wide tonal range, your camera cannot.
Today's cameras are more capable and powerful than ever before. Yet despite that, they still aren't as capable as our eyes in seeing a range of tones and light values.
That means that when you look at a scene, you're able to pick out a wider range of light than your camera lens. You're also more able to see details in deeply shadowed or brightly highlighted areas as well.
When you photograph a scene, you have to bear in mind these limitations of your camera and lens when composing the shot.
 Creating images like this means helping your camera accommodate a wide tonal range.
For example, if you're photographing a scene like the one above in which there are bright highlights and dark shadows, your camera won't be able to record that wide range.
That means that you'll either have to expose for the highlights and have a very dark image otherwise, expose for the shadows and have a very bright image otherwise, or find a way to minimize the dynamic range of the scene such that your camera can get a well-exposed image throughout.
There are several ways of doing this:
- Use a graduated neutral density filter (for landscape shots).
- Take multiple exposures, each exposed for a different level of light (i.e. highlights, midtones, and shadows) and combine them together in post-processing. Learn how to do that in the video below by Serge Ramelli.
- Use your camera's HDR feature, if so equipped.
So again, we see the difference between what your eyes are capable of doing and how much more capable they are than your camera.
If you don't learn how to "read the scene" when it comes to lighting, you'll have a difficult time creating images that are well-exposed when the lighting is too much for your camera and lens to handle.
Your Eyes Aren't Constrained - Your Lens Is
 What you see with your eyes is much wider than what you see when looking through your lens.
Perhaps the most noticeable difference between your eyes and your camera's lens is that your eyes aren't bound by a strict frame.
That is, when you look at a scene, you can see far beyond the borders of a shot of the very same scene.
That means that when you venture to take photos, you have to learn how to restrict your field of vision to match the field of view of your camera.
 Your camera's field of view isn't as large as your field of vision. Learning how to see scenes from a more restricted point of view will help you find more compelling subjects to photograph.
Doing so allows you to see the forest through the trees, so to speak, and pick out interesting or compelling subject matter from the larger scene at hand.
This is difficult to do, especially for new photographers, but it's a skill that will serve you well.
By learning to see within a much smaller frame, you are more capable of identifying what should and shouldn't be included in the shot.
This isn't to say that you have to go minimalist with every photo you take; rather, being able to exclude unnecessary elements will simply make your compositions that much stronger.
Wrapping It Up
 Developing your photographer's eye enables you to take more creative, impactful photos.
Learning to see like a photographer is a process that takes some time, but if you know what to look for, you can develop your photographer's eye more quickly.
But don't just rely on understanding what to look for - practice it as well.
That means testing out depth of field, looking for tones, and seeing smaller scenes by restricting your field of view.
Mastering just one of these techniques will help you create better photos. Just imagine what learning how to do all three will do!
We Recommend
How to Take a Long Exposure
Long exposures are one of my favorite types of photos because they look so incredible (assuming you get everything right, of course) and because they look hard to do.
Now, I'm not saying that there isn't a decent level of work involved to get shots like the one above, but it's certainly not as complicated as you might think.
In fact, you can learn how to take a long exposure in just a few minutes' time.
Don't believe me? Read on and find out!
Gear List
First and foremost, you'll need some specific gear to get your long exposure photos:
Camera
Duh - you need a camera.
But you don't have to have a big, fancy camera!
An interchangeable lens camera with a self-timer and bulb mode is ideal. And the nice thing is that many inexpensive, beginner-level DSLR and mirrorless cameras have those features.
That means you don't have to spend an arm and a leg on a camera if you don't already have one.
Take the Nikon D3300 shown above with an 18-55mm kit lens as a great example. Brand new, this thing is under $450 at the time of writing. That's not a bad deal!
Tripod

Since long exposure photographs deal with shutter speeds that are seconds, if not minutes long, you'll need to give your camera a solid, stable base such that the images you capture are as sharp as possible.
Again, you don't have to break the bank on a tripod in order to get something that will serve you well and has plenty of features for long exposures and other types of photos (and video, too!).
The Vanguard VEO 235AP is a great example of an inexpensive tripod (about $115 at the time of writing).
Vanguard tripods have an excellent reputation for build quality, so you know you're getting something you can depend on when you take long exposures.
It can hold nearly 8 pounds, so well within the realm of a crop sensor camera and a lens.
It has five leg sections to give you great variability in height, but it folds down to less than 15 inches for easy transport.
Rubber feet, metal spikes, and easy locking legs make it easy to set up too. It even comes with a PH-25 2-Way Pan/Tilt Head!
Remote

Even pressing the shutter button to start your long exposure can cause enough vibration to reduce the sharpness of your images.
That's why you need to minimize how much you touch your camera and work with a remote.
But you can't just use any remote - you need an intervalometer that allows you to control how long the shutter is open.
That means that instead of standing there with your finger on the shutter button for minutes on end (which would be impossible to do and get a sharp photo), you use the intervalometer to hold the shutter open.
Basic, wired intervalometers can be found for around $50 online, like this one that works with the Nikon D3300 I mentioned earlier.

For a few more bucks, you can get a much fancier remote that might just prove to be the most valuable piece of gear you have for taking long exposures.
Pulse by Alpine Labs is like a camera remote on steroids - this thing is packed with features that make your job much, much easier.
It's controlled via a smartphone app, so there's no wires to contend with. That means you have much greater range (up to 100 feet) to control your camera.
Just mount it to your camera's hot-shoe mount as seen above, plug it in, dial in the needed settings on your phone, and let Pulse do all the work!
Better still, you can use Pulse for all sorts of other goodies - still photos, real-time video, and time-lapse videos too.
Process

The process of taking a long exposure is pretty straightforward:
- Plan - Pick a shoot location that affords you a good view of your intended subject. Determine how to get there, how long it will take to get there, where to park, when the sun sets, and so forth. The more you plan, the more successful you will be.
- Set up your gear - Get your tripod on solid ground, remove your camera strap (so it doesn't flap in the wind), mount your camera, and plug in your remote.
- Determine the camera settings - The settings you use will depend on a host of factors, including the specific subject you're shooting, the intensity of the long exposure effect you want, and the available light. To start out, try an aperture of f/8 and an ISO of 100 or 200. The shutter speed you select will determine the level of long exposure effect - a short shutter speed will have little impact; a long shutter speed will extend the effect as seen in the star trails above. This will require a lot of trial and error to get a well-exposed image and get the long exposure effect you want.
- Compose the shot - No matter if you're photographing a busy street at night or a sky full of stars, be sure to frame the shot such that it includes interesting foreground, midground, and background elements. For example, don't just take a photo of the sky - add in trees, a mountain peak, a tent in the foreground, and so forth. Having supporting elements like those makes for a more interesting shot.
You Need Patience, Too
Creating long exposures isn't something you can necessarily do on a whim.
Depending on the conditions and the look you're going for, you might have exposures that are 20, 30, 40 minutes or longer.
And then once the exposure is complete, your camera will have to process all the data it's collected, which can take just as long to do as the exposure itself.
In other words, you might spend an hour (or well beyond that) just to get one shot.
When you consider all the planning that has to go into taking long exposures, the time needed to setup your gear, and so forth, you can see why patience is a crucial part of this undertaking!
Get some more insights into long exposure photography and get inspiration for tackling this kind of project in the video above by Peter McKinnon.
We Recommend
How to Take Better Landscape Photos the Easy Way

Ok, ok, I know what you're thinking...
There's nothing easy about photography. Either that or, photographers shouldn't take the easy way out.
I agree with those assessments wholeheartedly.
However, there is something to be said for working smarter, not harder.
When it comes down to it, we're all just trying to do what we can to create photos that have more impact that wow viewers and make them say, "DANG, that's a great shot!"
When it comes to landscapes, there's a virtually endless supply of tips, tricks, and techniques you can employ to get a more dramatic or eye-catching photo.
But there's one trick that, in my opinion anyway, has more impact than most.
That's having a strong focal point.
What Exactly is a Focal Point?
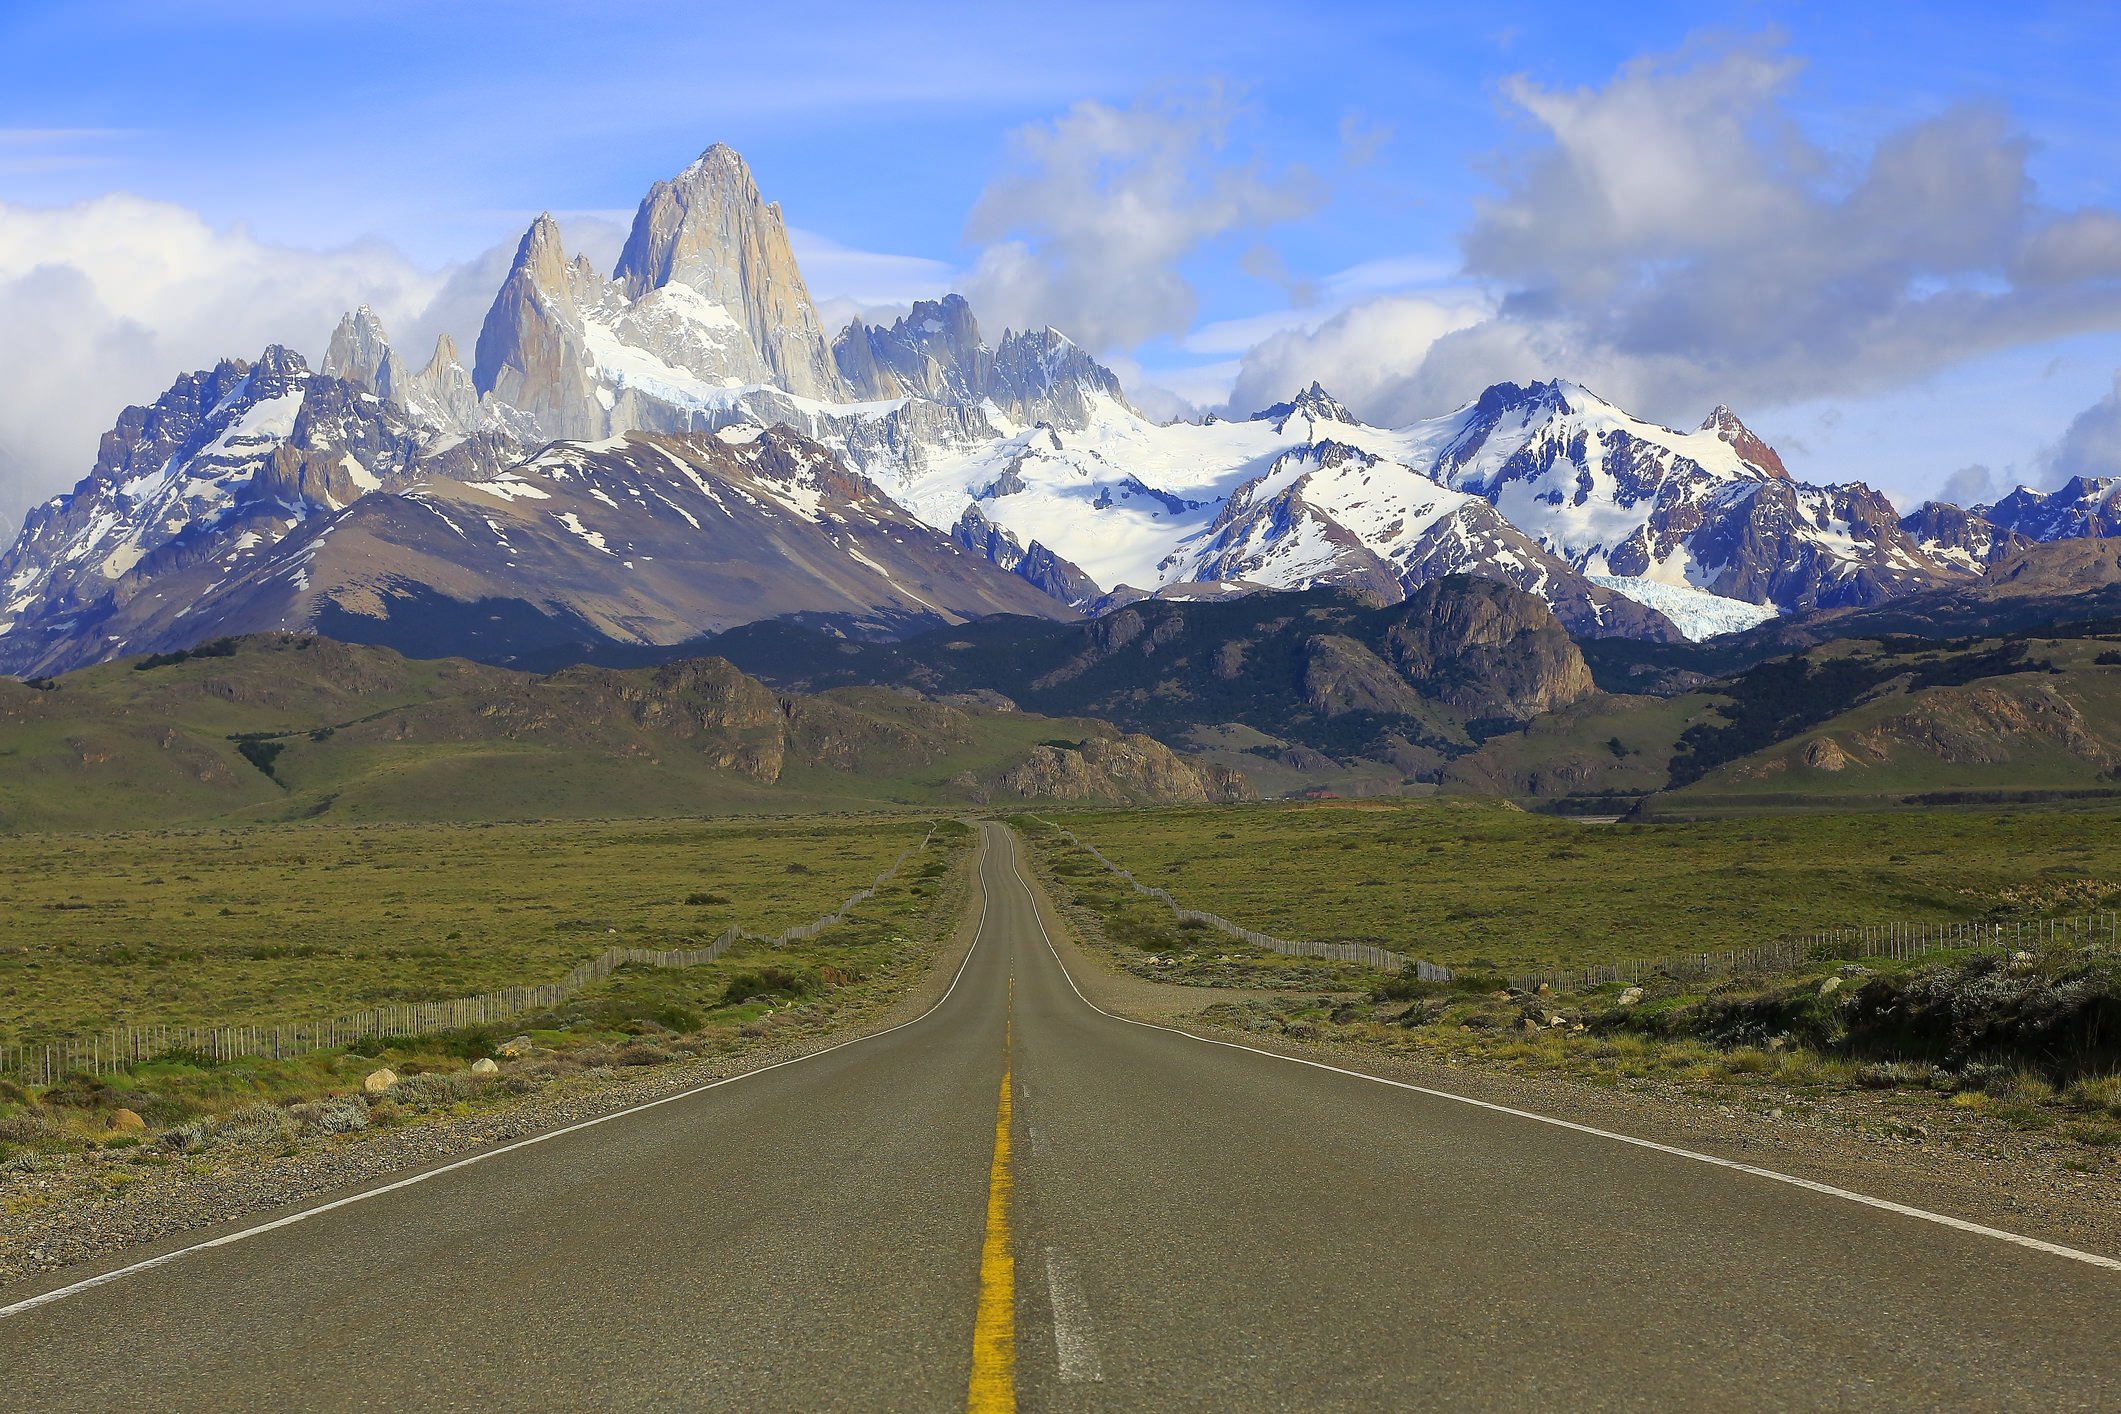
Quite simply, the focal point of a landscape image is that thing that immediately draws the attention of the viewer, like the mountain peaks in the image above.
Think of it like the exclamation point at the end of a sentence...
Naturally, the focal point in a landscape can be just about anything - a waterfall, a mountain peak, waves crashing on a beach, and so forth.
It might be a man-made object like a fence or roadway, or a person, for that matter.
But the caveat here is that the focal point has to be strong. It should command attention from the first instant that someone views the photo.
The question is, how does one include a strong focal point in a landscape?
Determining a Strong Focal Point
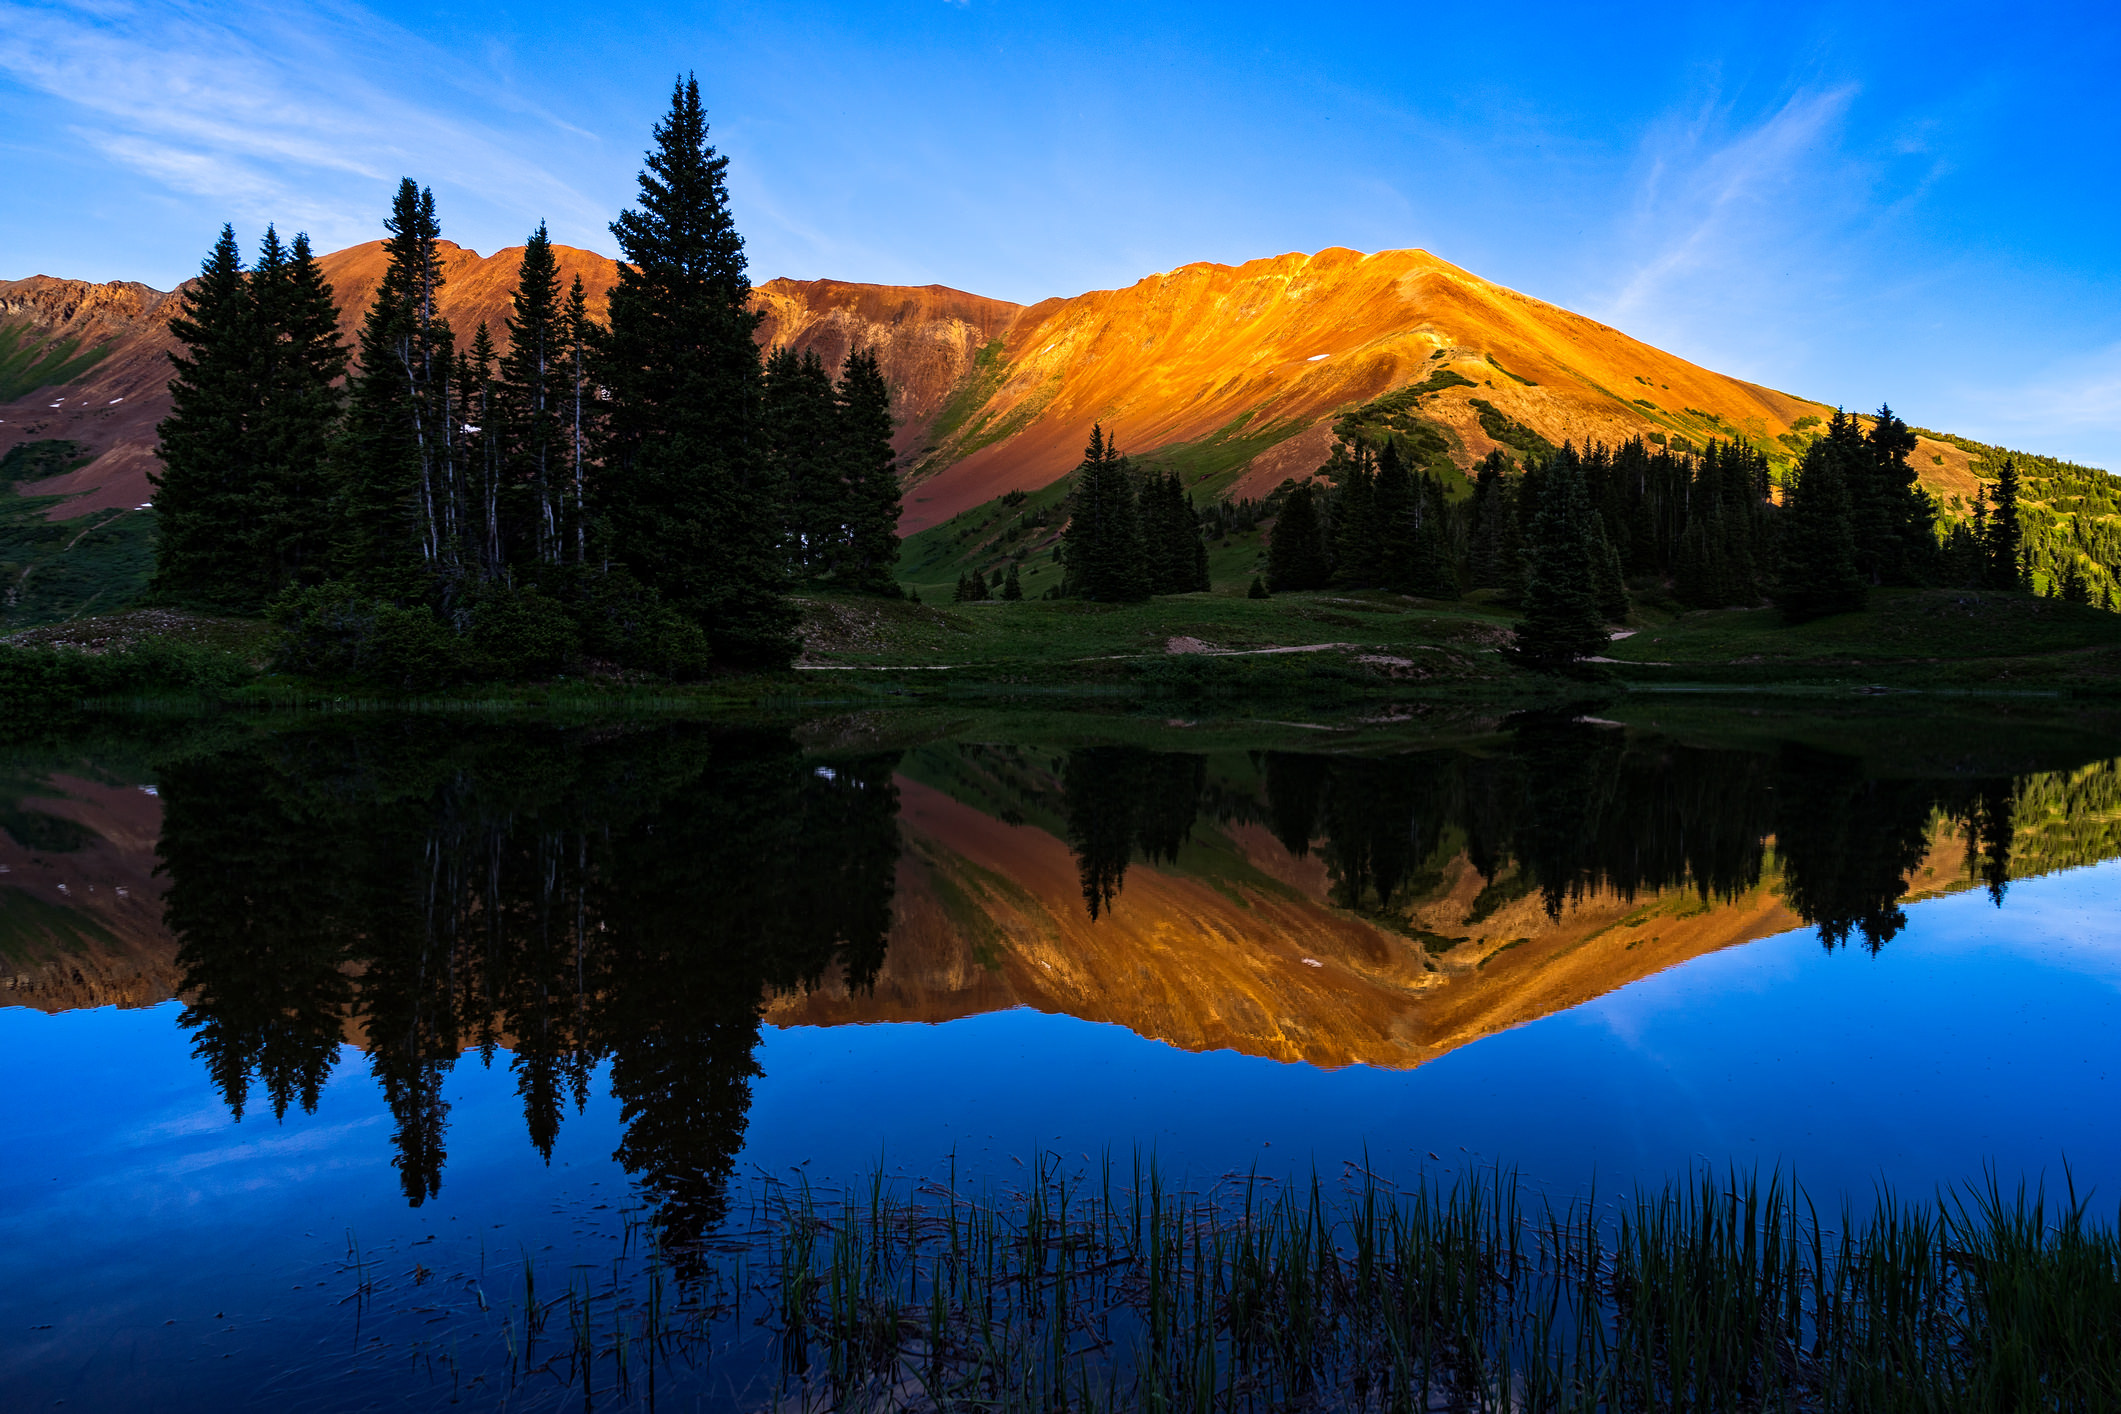
Like much in photography, creating a strong focal point is a little easier said than done, but that doesn't mean it's a time-intensive task, either.
As noted above, there are certain landscape features that naturally draw the eye.
A waterfall is a great example.
However, try to think of strong focal points in other terms, and not just whether they are pretty. This includes:
- Contrast. Areas of the scene that are very bright or very dark will draw the viewer's attention. In the image above, the light on the mountains draws your eye to that focal point.
- Shapes. As noted earlier, including the human form (or an animal) will immediately catch the viewer's eye.
- Size. Typically, the larger something is in the frame, the more attention the viewer will pay to it.
- Color. Our brains are wired to attend to color, especially those that stand out from the rest of the scene.
If you think about how to create a strong focal point in your landscapes, you should strive to have that focal point represent at least one of the characteristics above.
For example, in the image above, the human form is an immediate focal point. And this isn't the case simply because of the familiar human shape.
Note how the man is also very dark, which creates contrast against the bright sky in the background. He's also quite large in the frame, which accentuates his importance even further.
Accentuating a Strong Focal Point
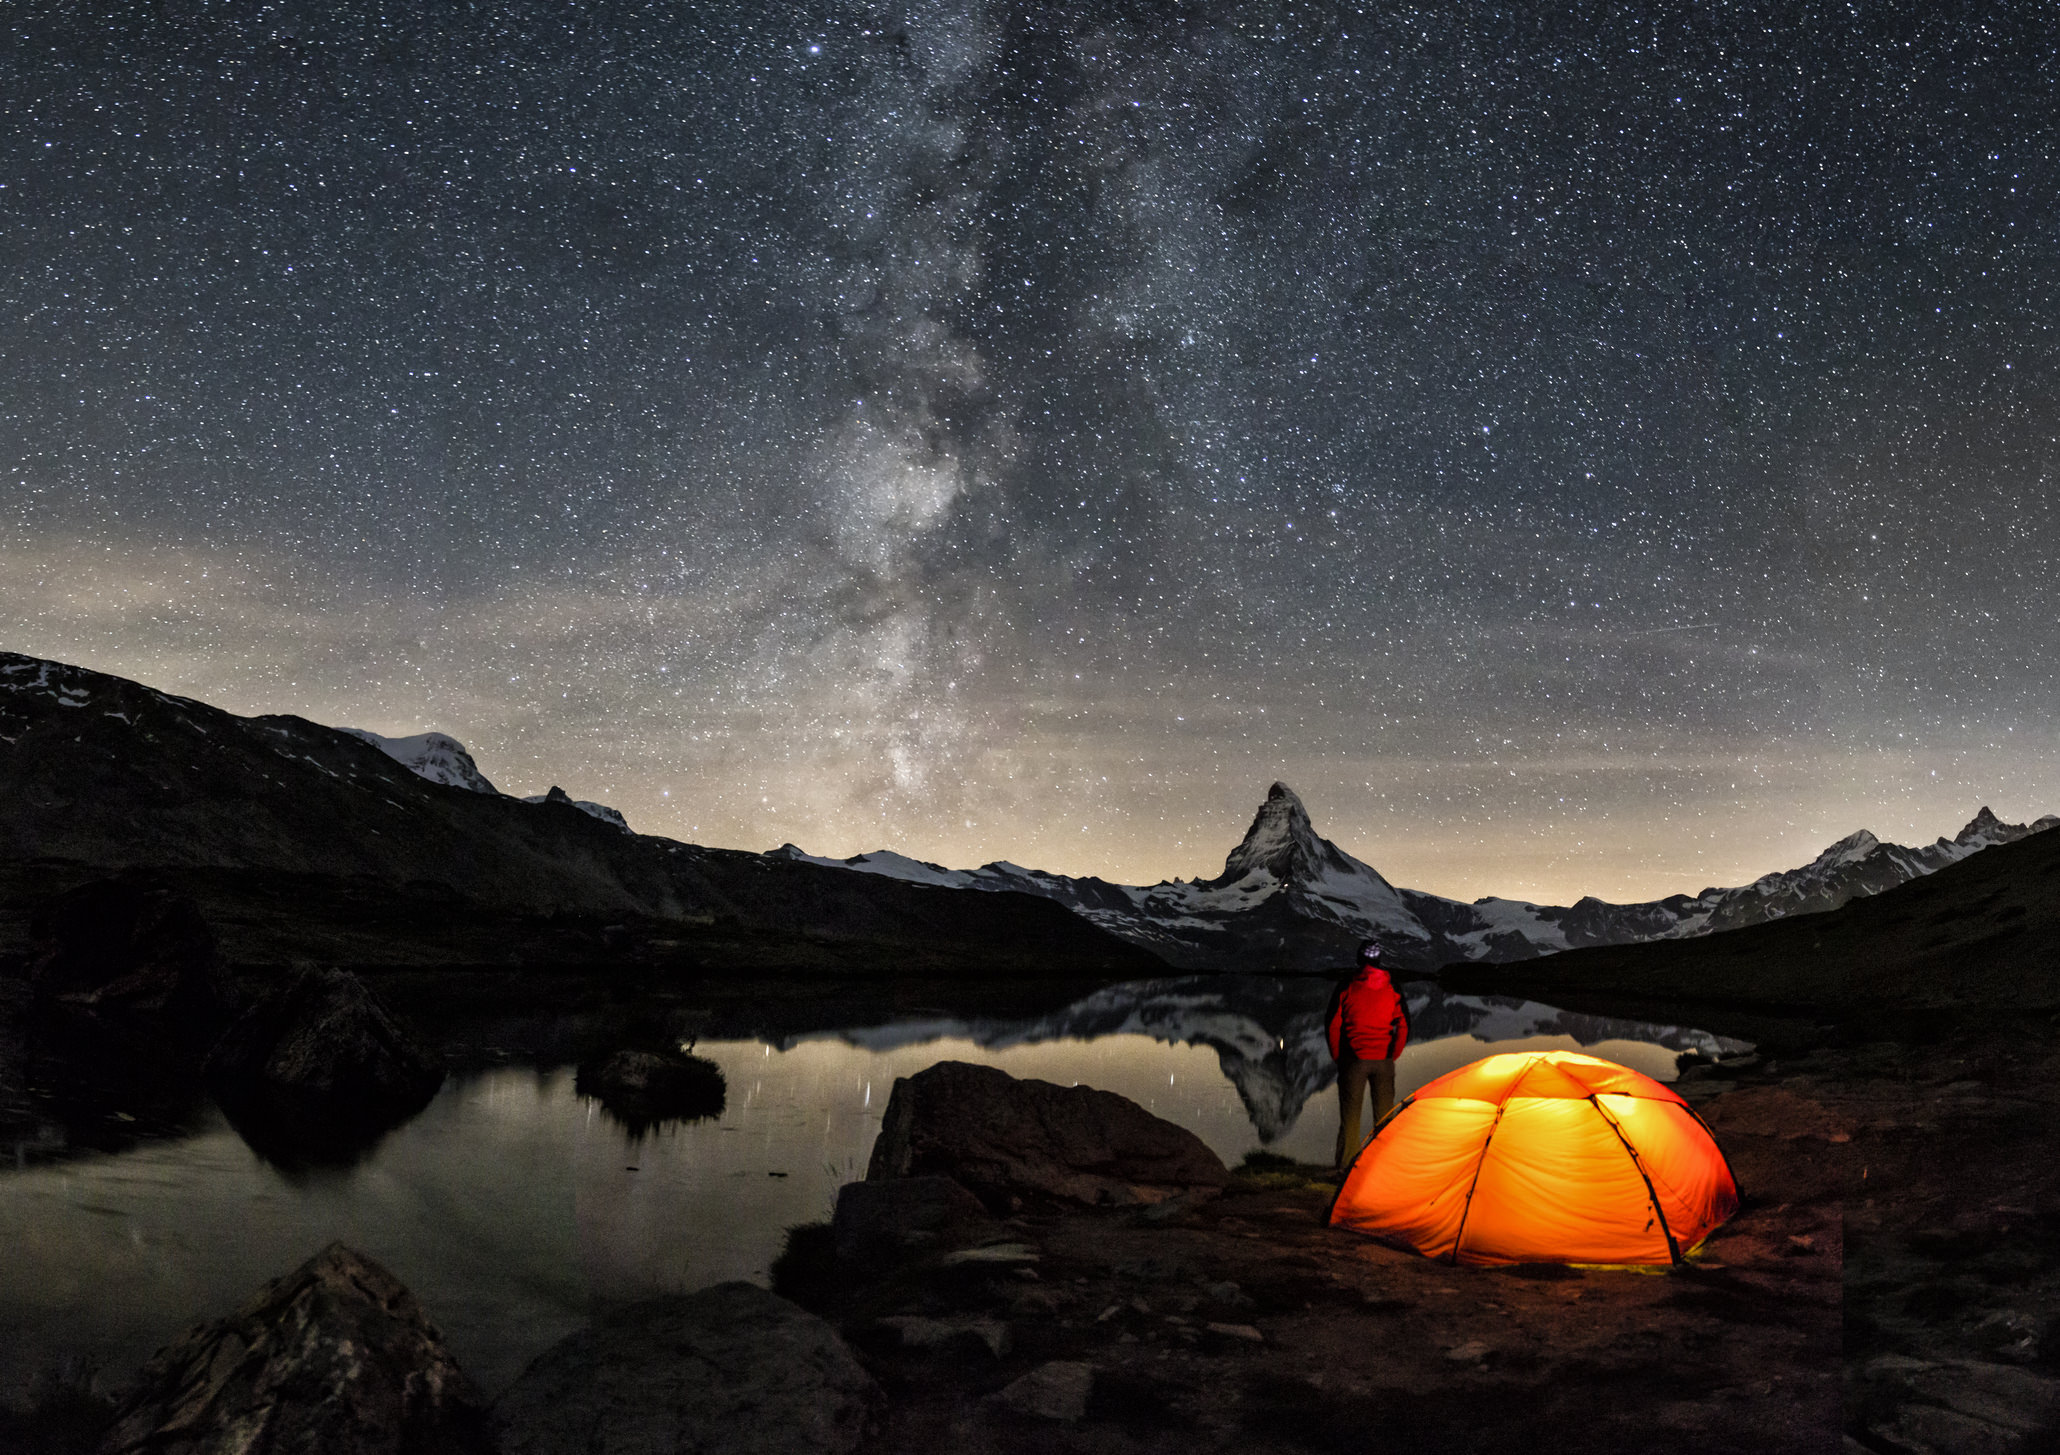
Of course, it's not enough just to slap a strong focal point into an image. If you do that, it might look out of place in the shot.
Instead, you need to compose the photo around the strong focal point such that it is supported by the other elements in the scene.
For example, when you frame the shot, identify ways that you can compose the image such that the focal point is accentuated or isolated in the frame.
An ideal way to do this is to use the rule of thirds to place your focal point in a position of prominence in the shot.
In the photo above, note how the Matterhorn and the human figure would roughly align with the rightmost vertical grid line of the rule of thirds.
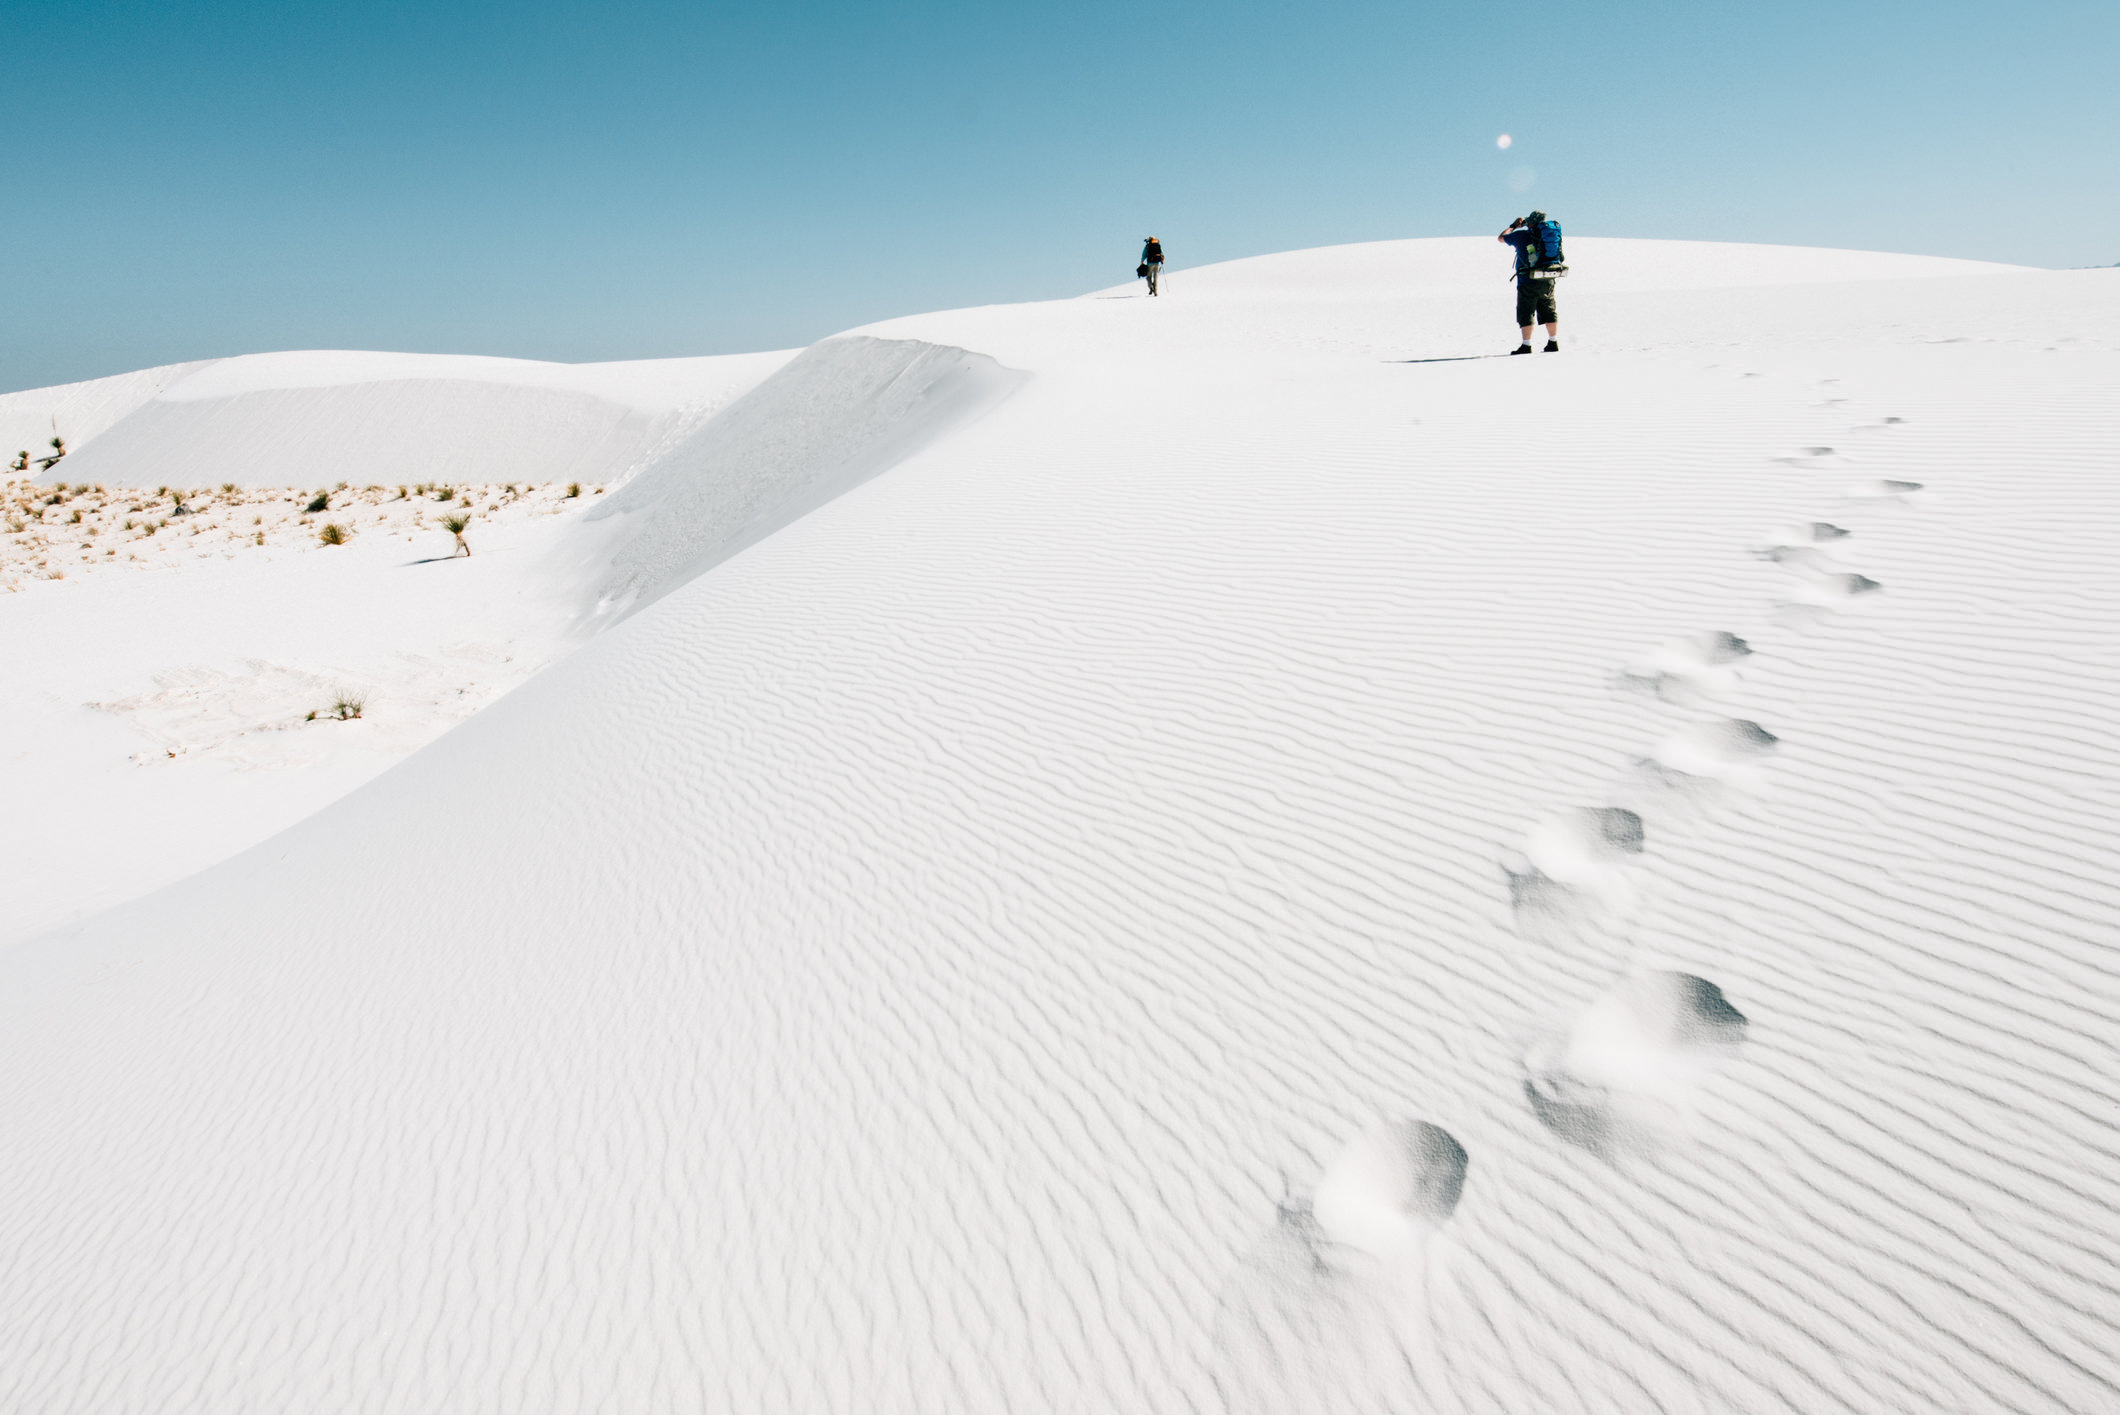
Another way to do so is to look for ways to simplify the scene.
Now, this doesn't mean you have to go for a minimalist look. Rather, pay attention to your framing such that you can eliminate unnecessary elements in the shot. This helps the viewer direct their attention to the focal point rather than being distracted by other components of the landscape.
In the image above, the photographer moved closer to the subjects to frame the shot with less environmental clutter. As a result, we focus on the footprints in the sand and the people that have made them.
You can also accentuate the focal point by using things like lines to direct the eye.
Leading lines are one of the most powerful landscape photography tricks because our eyes naturally like to follow lines.
Learn how to use leading lines effectively in landscape photography in the video above by Mike Browne.
Use Post-Processing to Help Your Cause

If you can incorporate a strong focal point and then accentuate it by the manner in which you structure the shot, all that's left is to enhance these things in post-processing.
Now, post-processing your landscape photos can go wrong very quickly, so this tip isn't to say that you should go overboard.
But what you can do is use things like the curves adjustment to add contrast and shift colors, which, as I noted earlier, are two of the primary ways to draw someone's attention to a focal point.
You can also use the levels adjustment to change the tonal range of an image, including fine-tuning the brightness and contrast in the scene.
Better still, you can create curves or level adjustments for specific areas of your shots to accentuate the color, contrast, brightness, and so forth without impacting the rest of the photo.
This is especially important when thinking about creating a strong focal point because you want the focal point to be the highest contrast element in the scene. The surrounding elements should be darker with less contrast, as this will help you create a visual hierarchy in the image that accentuates the focal point.
Learn more about using curves and levels adjustments in the video above by Joshua Cripps.
Putting It All Together
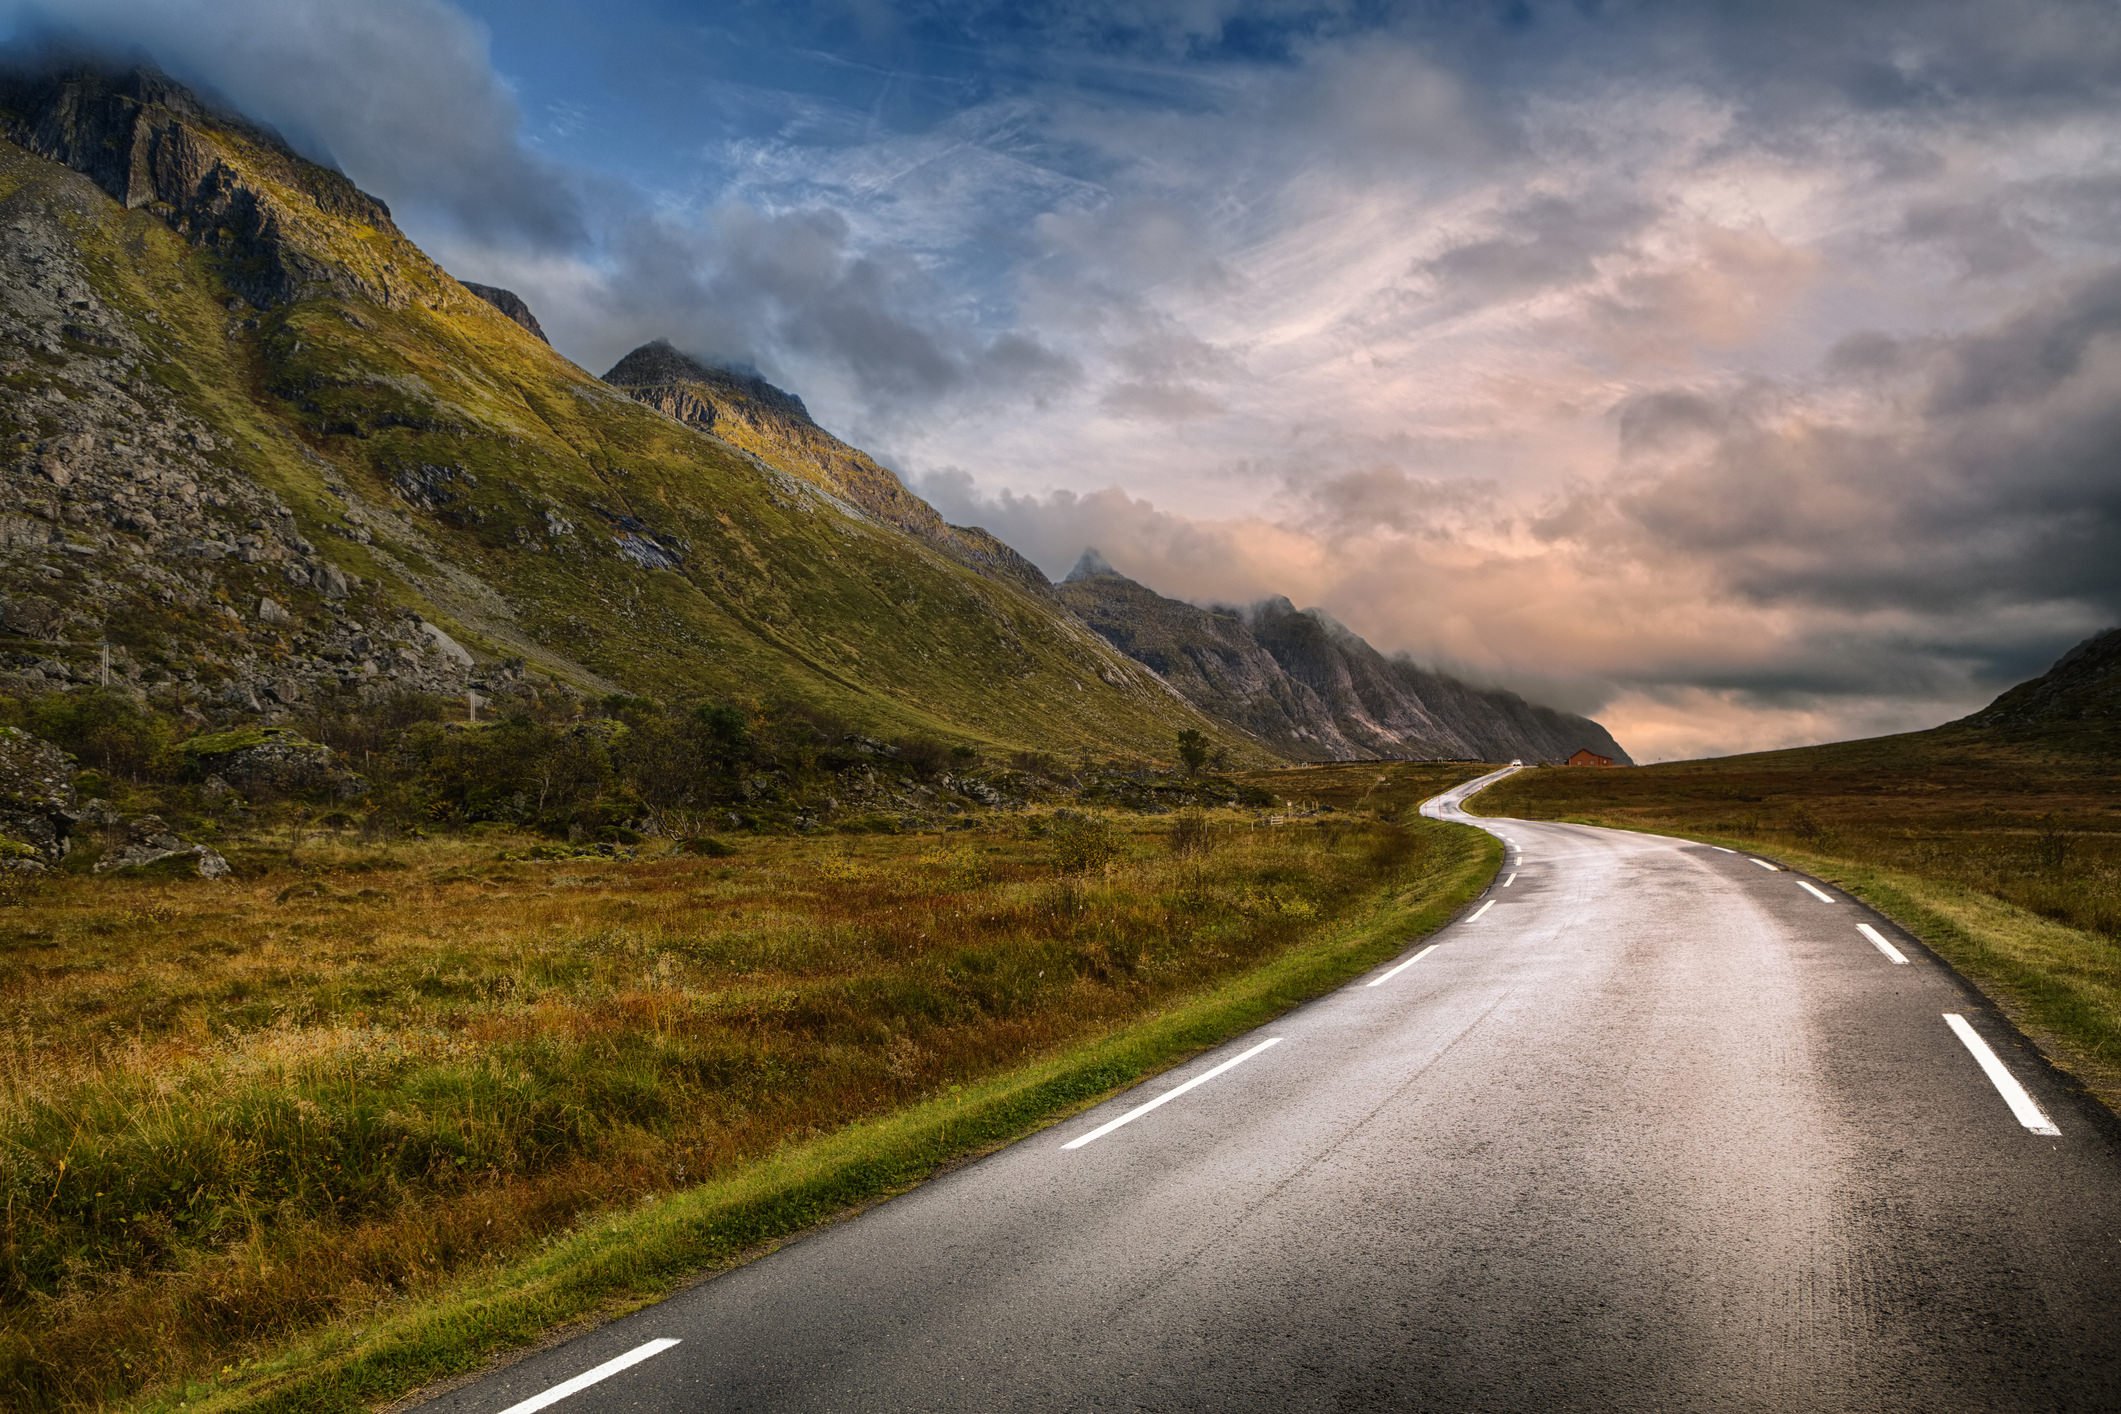
With that, you have three quick and easy tips for creating a focal point and accentuating it in-camera and in post-processing.
As noted in the introduction, there are plenty of things you can do to improve the look and feel of your image, but having a strong focal point has to be at or near the top of the list in terms of impact.
Looking at the images in this article, you can see just how impactful a strong focal point can be.
Now it's time to put your learning to the test and start creating more compelling landscape photos by including a strong focal point!
We Recommend
How to Take Better Photos Without a Flash
When you think of photography, one thing should come to mind above all else - light.
After all, photography comes from the Greek word photos, which means light, and graphe, which means drawing.
That means that photography is drawing with light...
Unfortunately, we aren't always presented with opportunities to take photos in ideal lighting conditions. In fact, how often is the lighting even remotely close to ideal?!
The key, then, is to learn how to take photos in the absence of good lighting. The question is, how does one do that?
Why NOT to Use a Flash

To understand why other methods are better for low-light shooting, you first need to understand why a flash isn't always ideal.
Naturally, using a flash is one of the easiest ways to add light to a dim scene.
The problem is that light from a flash isn't that great, especially if you use your on-camera flash.
The light is harsh, bright, and creates heavy shadows and bright, highlighted areas. In other words, it's not a good look.
You can use more sophisticated artificial lighting like a flashgun or two mounted on tripods and angled perfectly to give you good coverage.
The problem with that approach is that it takes time to set up.
That brings us to another issue - using a flash can be highly distracting.
On the one hand, it can ruin the moment because nothing says "Hey I'm taking your photo" like a flash going off. If you want candid shots, it'll be hard to do with a flash.
On the other hand, using a flash can minimize the perceived depth in your photos.
For example, if you use the on-camera flash, the illumination hits the subject directly from the front, as seen above.
Without any indication of depth, the image can look and feel flat.
So, what can you do in lieu of a flash?
Boost the ISO
Historically, photographers have avoided using high ISOs because the higher the ISO, the greater the appearance of digital noise.
Granted, noise can be used as an artistic element, but by and large it tends to be something photographers don't want.
Today's cameras have higher ISO ranges than ever before. What's more, they have better ISO performance than ever before.
So, where five years ago you might not want to push the ISO beyond 800, today, you can comfortably shoot at ISO 3200 on many cameras and still get clean, sharp results.
Even if you do find that there's too much noise, you can reduce its effects in post-processing to get a cleaner image. See how to do that in the video below by Tony and Chelsea Northrup:
Another advantage of using a higher ISO is that you can more easily reduce camera shake.
Since the higher the ISO, the more sensitive the sensor is to light, you can use higher ISO values to help avoid camera shake.
This is the case because as the ISO increases, you can also increase the shutter speed, and the faster the shutter speed, the less likely camera shake is to occur.
It's a win-win!
Shoot in Aperture Priority
Shooting in aperture priority mode (A or AV on your camera dial) gives you control over what aperture is used.
In response, the camera selects a shutter speed to match such that the resulting image is well-exposed.
This is advantageous for low-light shooting because you can select the largest aperture your lens allows, thereby maximizing the amount of light entering the lens.
Much like using a higher ISO brightens the image, so too does using a large aperture. If digital noise is a concern, a large aperture just might do the trick to get you the light you need.
Of course, in aperture priority mode, you can also set the ISO value.
If you find that your image is too dark even when you use your lens's maximum aperture, simply try again with a higher ISO. The combination of ISO and aperture could be the solution to your low-light shooting problems.
Use a Tripod
Not all low-light shooting situations will allow for a tripod, but if you have room and it's appropriate for the situation, use one.
By mounting your camera to a tripod, you negate the effects of camera shake that result from slow shutter speeds.
Naturally, the slower the shutter speed, the longer the sensor is exposed to light, so it's just one more avenue you can use to get better shots in dimly lit situations.
Of the three exposure settings - aperture, ISO, and shutter speed - shutter speed is often the one that you don't want to maximize.
Why?
Since shutter speed controls the indication of movement, the longer the shutter speed, the more likely your subject is to be blurred.
This can be used as an artistic application in your images, like the one seen above.
But if you don't want to blur movement, you'll need to open the aperture and boost the ISO to keep the shutter speed fast enough to freeze the movement of your subject.
Nevertheless, even if your shutter speed isn't that long, a tripod doesn't hurt!
Get a Fast Lens
When someone says "a fast lens," they're referring to the lens's maximum aperture.
For example, an f/1.8 lens is a fast lens because f/1.8 is a very large aperture. Conversely, a lens with a maximum aperture of f/3.5 doesn't open as wide, so it's not as fast of a lens.
The "fast" part has to do with the shutter speed you can use with a lens.
With more light coming in, an f/1.8 lens allows you to use a faster shutter speed in the same lighting conditions as an f/3.5 lens...
So, when shooting in low-light situations, getting a fast lens like f/1.2, f/1.4, f/1.8, or f/2 will behoove you.
The issue with some of these lenses is that they can be pricey - especially in the f/1.2 and f/1.4 range.
If you're on a budget, there are plenty of fast lenses that won't break the bank.
Shoot in RAW
A lot can be done in post-processing to lighten images that are a touch too dark.
This is especially true if you shoot in RAW.
Since RAW files retain all the information gathered by your camera's sensor, you have a ton of data to work with in post-processing.
When processing a RAW file, you can work on everything from lens distortion to curves and levels to color and white balance.
You can also work on areas of light and shadow in your images.
If you've never processed a RAW file, you'd be surprised at just how much you can do to improve the shot, even if it seems impossibly dark when first viewing it on your computer screen.
Learn more about RAW files in the video above.
Wrapping It Up

At the end of the day, any of these techniques is likely preferable for shooting in low-light situations than using a flash.
You can try one, try all, or use a combination thereof to get improved photos.
The key is to experiment, see what works for you in your specific situation, and then practice using the technique so you can work quickly when the time comes to shoot in low-light settings.
We Recommend
How to Take Better Photos: Specific Steps to Take Right Now
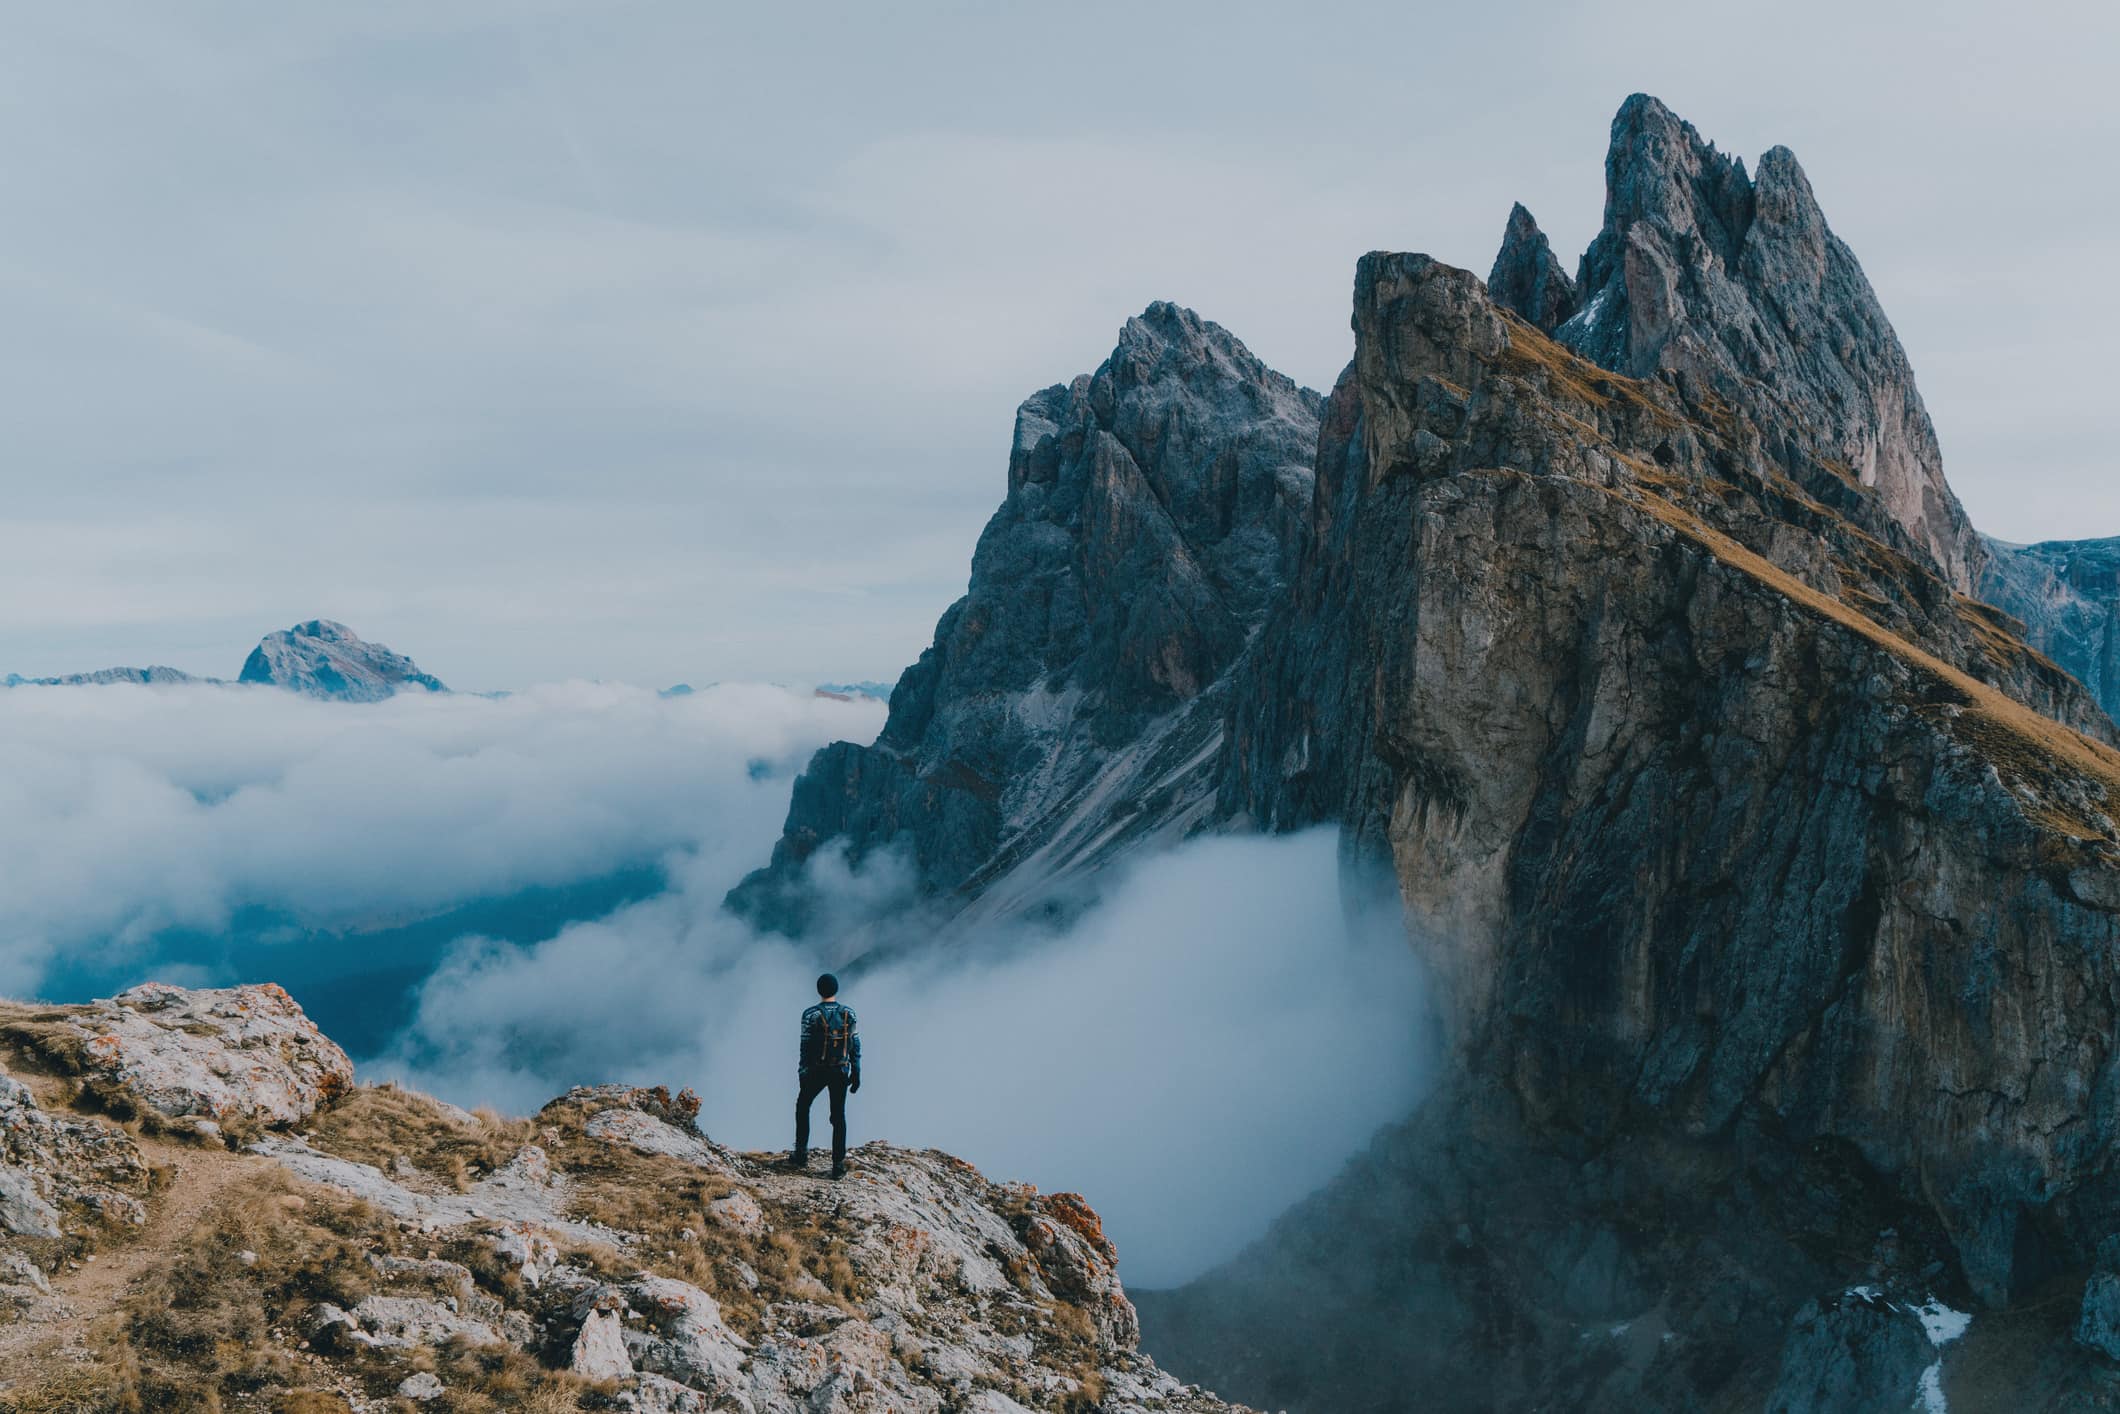 Image Credit: Oleh_Slobodeniuk via iStock
When you're learning photography and how to take better photos, you have the benefit of having a wealth of beginner photography tips at your disposal.
You can use things like the rule of thirds and leading lines to create better compositions.
You can upgrade your lens to something that's got better optics or offers improved low-light performance.
You can also get into the habit of shooting at the right times of day to capitalize on the best lighting.
Each of these tips are surefire ways to improve your photos. Below are a few more that will get you headed in the right direction!
Use Light Like a Leading Line
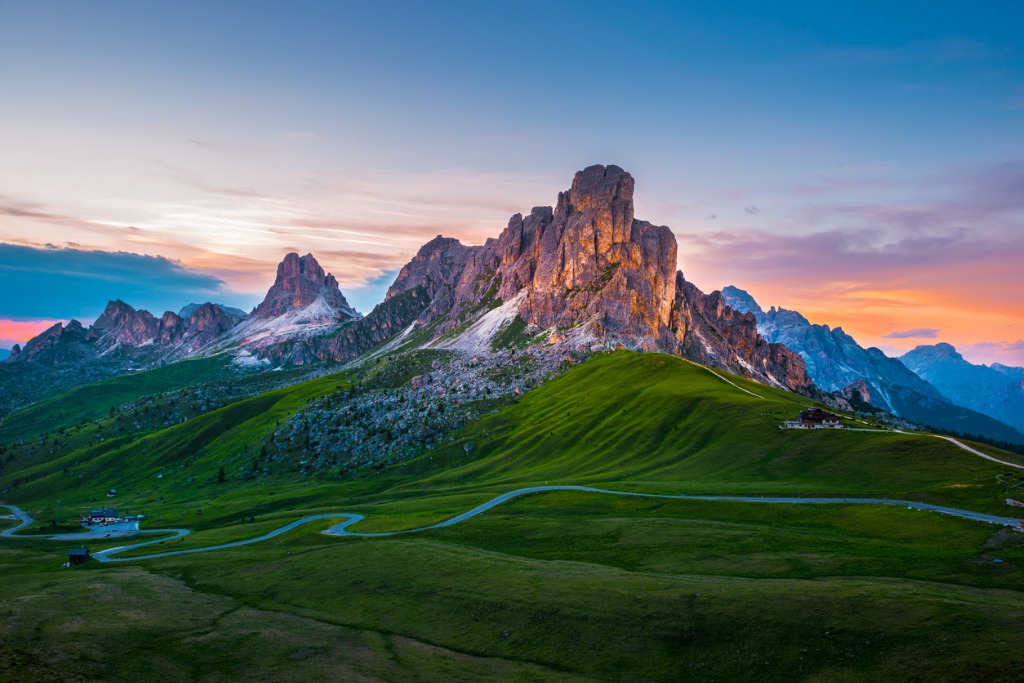 Image Credit: katerinasergeevna via iStock
The benefit of using a leading line in a photo is that it helps connect the foreground to the background.
But leading lines also help lead the eyes of the viewer to the primary subject. You can do the same with light, too.
In the image above, your eye is immediately drawn to the mountain peak in part because of its imposing size in the frame, but also in part to the fact that it's softly illuminated by the setting sun.
Timing your photo shoots just right to take advantage of lighting like this is an excellent way to capture scenes that have more visual appeal.
Not only that, but light is a great way to draw attention to something - our eyes naturally gravitate towards bright things.
So, by using light as a "leading line," you have an easy and effective way of improving your photos.
Learn More:
Use Lens Filters for Better Results
 Image Credit: Ron_Thomas via iStock
Speaking of lighting...
When you photograph landscapes, you're often presented with problems like glare off of bodies of water or atmospheric haze that reduces the clarity of the images you take.
These lighting issues are easy to resolve, though, with a lens filter.
A circular polarizing filter is a must-have for any photographer because it helps reduce glare. Not only that, but good circular polarizers like those from Formatt-Hitech (shown below) offer features that go above and beyond the call of duty.
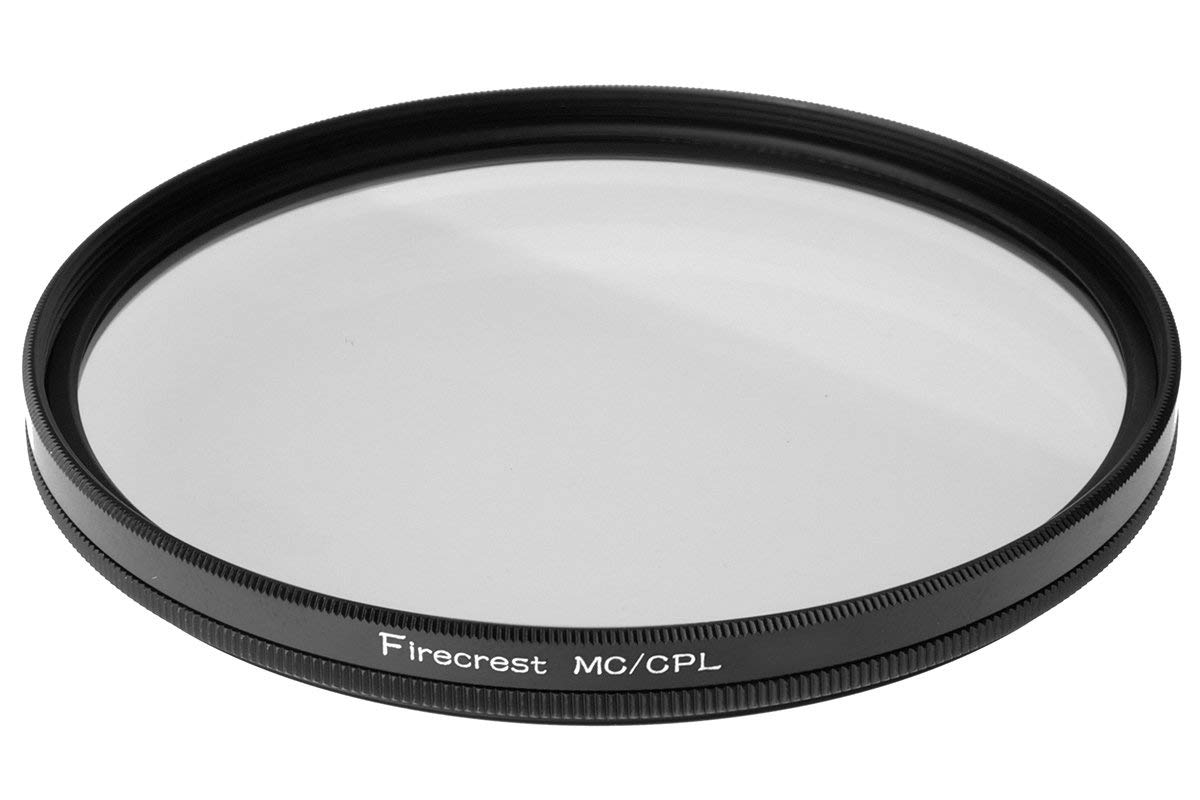
When shopping for a circular polarizer, you want one that is made of high-grade optical glass, like Schott Superwite glass.
Doing so means that the filter will give you the sharpest, clearest results while also doing its job of reducing glare, deepening the blue of the sky, and minimizing atmospheric haze.
What's more, some circular polarizers have multicoating technology that allows them to be resistant to water and scratches, making them durable for the long-term, too.
 Image Credit: LeonU via iStock
Circular polarizers are incredibly easy to use, too.
Just purchase the right size for your lens and screw it onto the end of the lens. After that, you're ready to shoot!
The best results from a polarizing filter are had when the sun is at a 45-degree angle (or close to it), so keep that in mind when you're out shooting, and you'll love the better results you get!
Learn More:
- 3 Common Landscape Photography Mistakes and What You Can Do to Fix Them
- Get a Well-Exposed Landscape Photo Every Time With This One Simple Trick
Shoot a Lot - But Not Everything
 Image Credit: sipaphoto via iStock
As the old saying goes, practice makes perfect, and shooting a lot of photos is a good way to perfect your approach.
However, you need to balance that with some measure of selectivity as well.
By that, I mean that you need to actually think about what you're photographing and why.
Doing so helps you create a shot, rather than simply taking a shot.
That might sound cheesy, but taking a little time to be sure that your camera settings are right, that your composition is spot on, that your subject is in focus, and so forth can make more difference in the quality of your photos than anything else!
Learn More:
- How to Add Drama to Your Landscape Photos
- Get Started in Long Exposure Photography With These Quick Tips
We Recommend
How to Take Better Portraits in Just 4 Steps
If you look at the portraits you take and think, "Gee, these could be better" but aren't sure what to do to make them better, this tutorial is for you!
We all make mistakes when creating portraits, but there are some mistakes that are more common than others that are actually pretty easy to resolve.
And rather than offer up every possible scenario for what might go wrong and cause your portraits to go awry, let's just focus on these common issues and see what we can do to help you take your portraits to the next level.
Without further ado, let's get to it!
Make It Interesting

Everyone has seen the "typical" portrait of the subject posed and looking right down the barrel of the lens.
Don't get me wrong - those types of portraits are necessary and can be quite fetching.
But if you want to elevate your portrait skills to another level, it's a good idea to challenge yourself to think outside the box.

There's tons of things you can do to create a more unique portrait, too.
Work from an interesting angle to give viewers an unexpected point of view, as seen above.
You can also place your portrait subject in an environment that has interesting features.
This might be a graffiti-filled alleyway as seen above, a lush garden, or a landscape that's got great lighting.
Heck, even taking a documentary style portrait of your subject in their own home can be a beautiful version of a portrait.
You can even incorporate props into the shot.
Props are an interesting proposition because, on the one hand, they give your subject something to do with their hands, which helps them relax in front of the camera.
On the other hand, if the props aren't right for the situation, they can stick out like a sore thumb and look pretty terrible. Just be careful in what props you choose, and if they don't feel right for the shot, get rid of them!
Learn More:
- Portrait Photography Tips You Need to Start Using Today
- Unique Ideas for Creating Faceless Portraits
Watch Your Corners
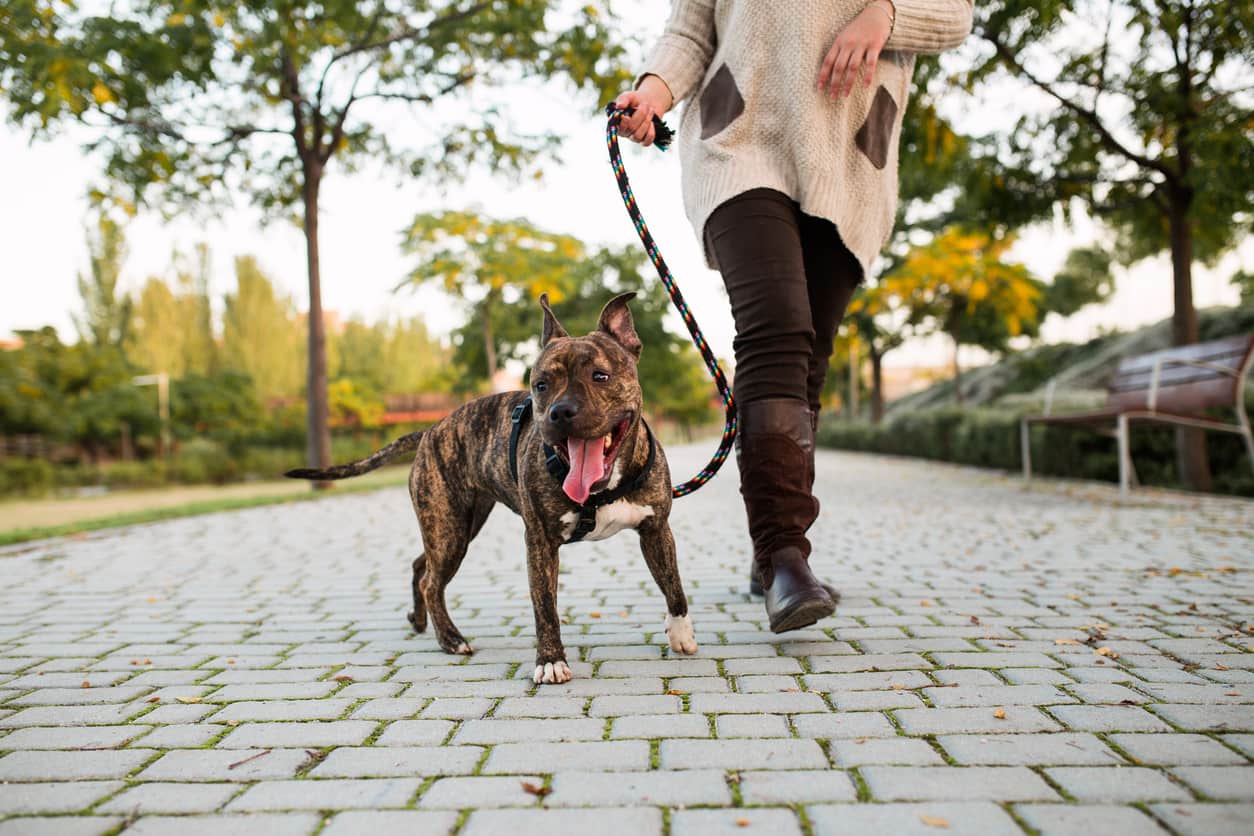
Obviously, when you create a portrait, your attention is on your subject.
Not only that, your camera's focus is on your subject, you're talking to your subject, and (hopefully) you're directing your subject regarding what to do as well.
That means that it can be easy for portrait photographers to miss distracting elements along the edges of the frame, like the tree trunks and park bench in the image above.
Whether you're shooting a portrait in a city, a park, or out in the middle of nowhere, there's always something that can creep into the edge of the shot and cause a distraction.
Trash, a tree branch, and an odd shadow from an off-camera object are all things you need to look for when composing your portrait.
If the situation doesn't allow you to crop the distraction out of the shot, you should at the very least work on the depth of field such that it's blurry and blends in with the rest of the background, as seen in the image above.
Learn More:
- How to Blur the Background in Portraits in Four Simple Steps
- Got a Bad Background? Save Your Portraits With These 3 Easy Tips
Watch Your Lines, Too
One of the most fundamental rules of landscape photography is to ensure that the horizon is absolutely level.
If it isn't, it throws the entire image off-kilter, and no matter how beautiful the subject, no matter how awesome the lighting, the image won't be as successful.
The same is true of portraits...
Whether you're taking a portrait outside or in, if there's lines in the shot, be sure they are absolutely straight in the frame.
This goes for horizons, vertical elements like trees or buildings, doorways, windows, and so forth.
And remember - you can't always fix crooked lines in post-processing, either, so it's even more necessary to focus on your framing so you get those lines stick-straight in-camera.
Learn More:
Use the Light You've Got
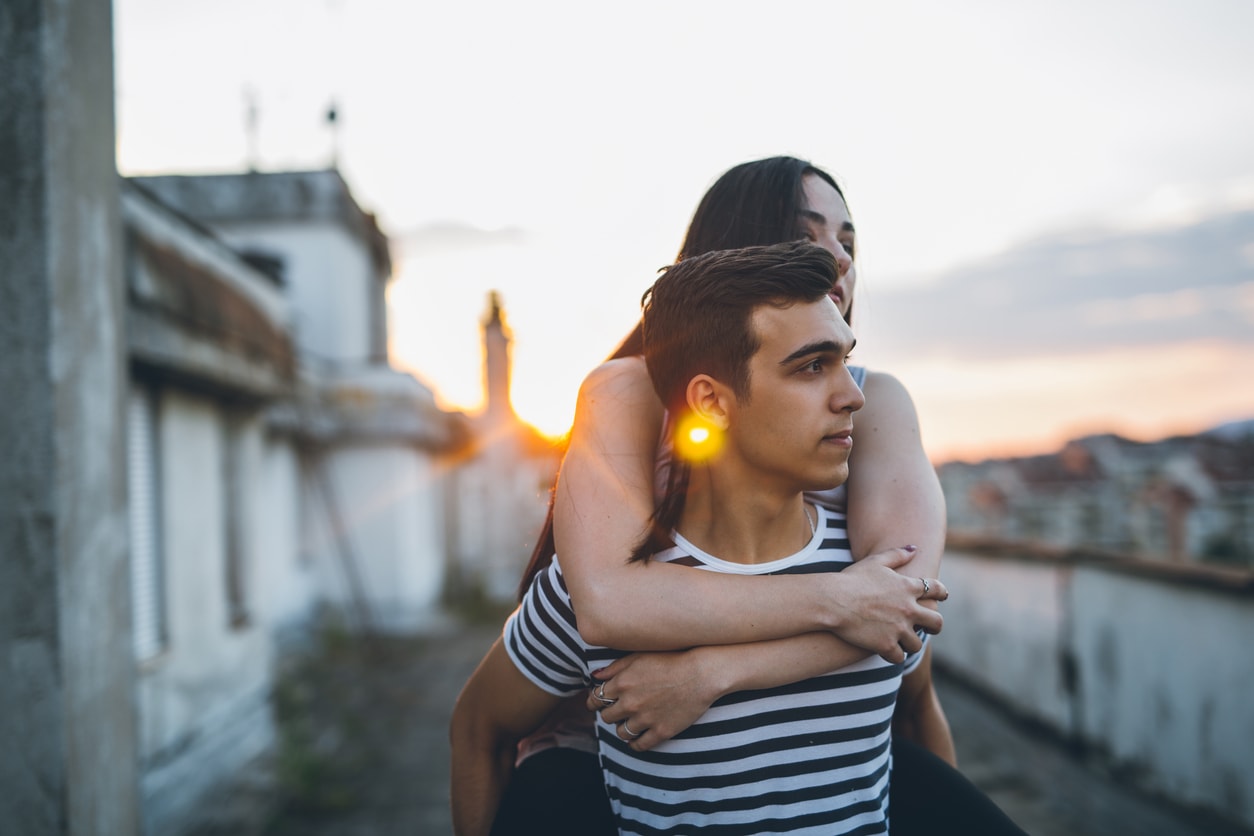
I think some photographers believe that to get a great portrait that you have to invest in a lot of expensive lighting equipment.
That's just not the case...
That doesn't mean you have to be a natural light portrait photographer, either (though natural light is awesome!).

Obviously, light is perhaps the single most important element in any photograph, so seeking out great lighting is paramount to the success of your portraits.
It's just a matter of utilizing the lighting that you have in a way that maximizes its impact on the shot.
For example, if you have a single light source like natural light coming through a window, have your subject look towards that light.
Not only will that help the light fall evenly on their face, but it will also create a nice contrast between them and the background.

If you're out shooting portraits during the daytime, the key is to find a way to diffuse the light so it's less harsh.
This might involve finding shade under a tree or using a diffuser to block the sun from hitting your subject.
If you're out at night, find a light source light a street lamp that gives off enough illumination to highlight your subject. Just remember to have them face the light!
Learn More:
- Easy Portrait Lighting Tips for Beginner Photographers
- 6 Classic Portrait Photography Lighting Setups
Putting It All Together
As I noted in the introduction, there's a lot that can go wrong in portrait photography, and it's just about impossible to account for each and every mistake.
However, if you practice the tips outlined above, you'll be in a better position to get portraits that are eye-catching for a good reason!
For more great portrait photography tips, check out the links in the Learn More sections throughout this article. Also give the video above from Photos in Color a look.
We Recommend
How to Take Better Self-Portraits

In a day and age in which selfies with our mobile phones are usually the method of choice for taking self-portraits, it might be hard to believe that there are ways to get good photos of ourselves.
And those methods do not involve holding your phone out at arm's length and snapping away, either.
Don't get me wrong - I'm not anti-selfie, I'm just more for great self-portraits.
The good folks at Mango Street recently put out a video extolling the virtues of a good self-portrait and even gave a few tips for making self-portraits more compelling.
Check out the video below, and get a step-by-step summary of their tips too!
Step 1: Stabilize, Frame, and Trigger
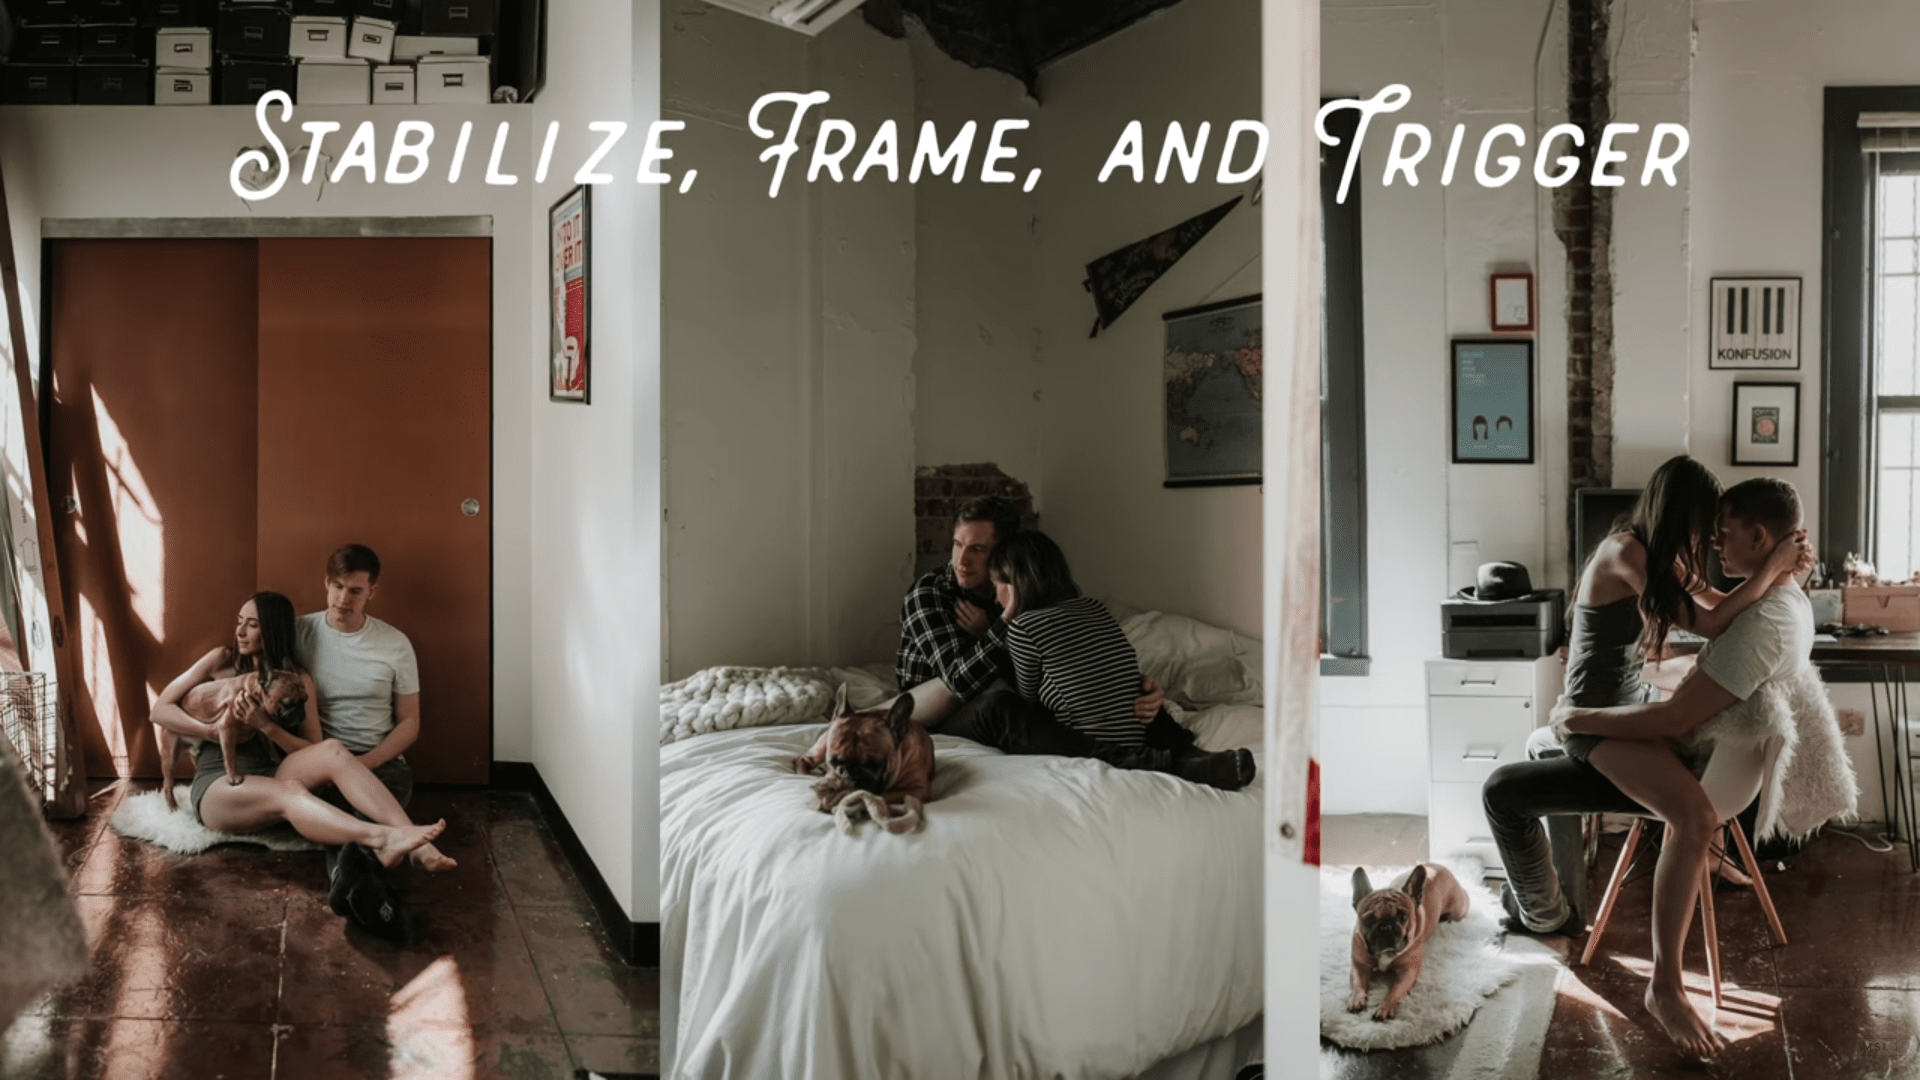 Mango Street/YouTube Screenshot
First, you need to give your camera a solid base so you can capture tack-sharp self-portraits.
Naturally, a tripod would be your best bet here, but even if you don't have a tripod, you can get creative and stabilize your camera in a variety of other ways.
For example, you can set it on a tabletop and get some height by stacking books underneath it. It's not a pretty setup, but hey, it works!
Next comes the framing...
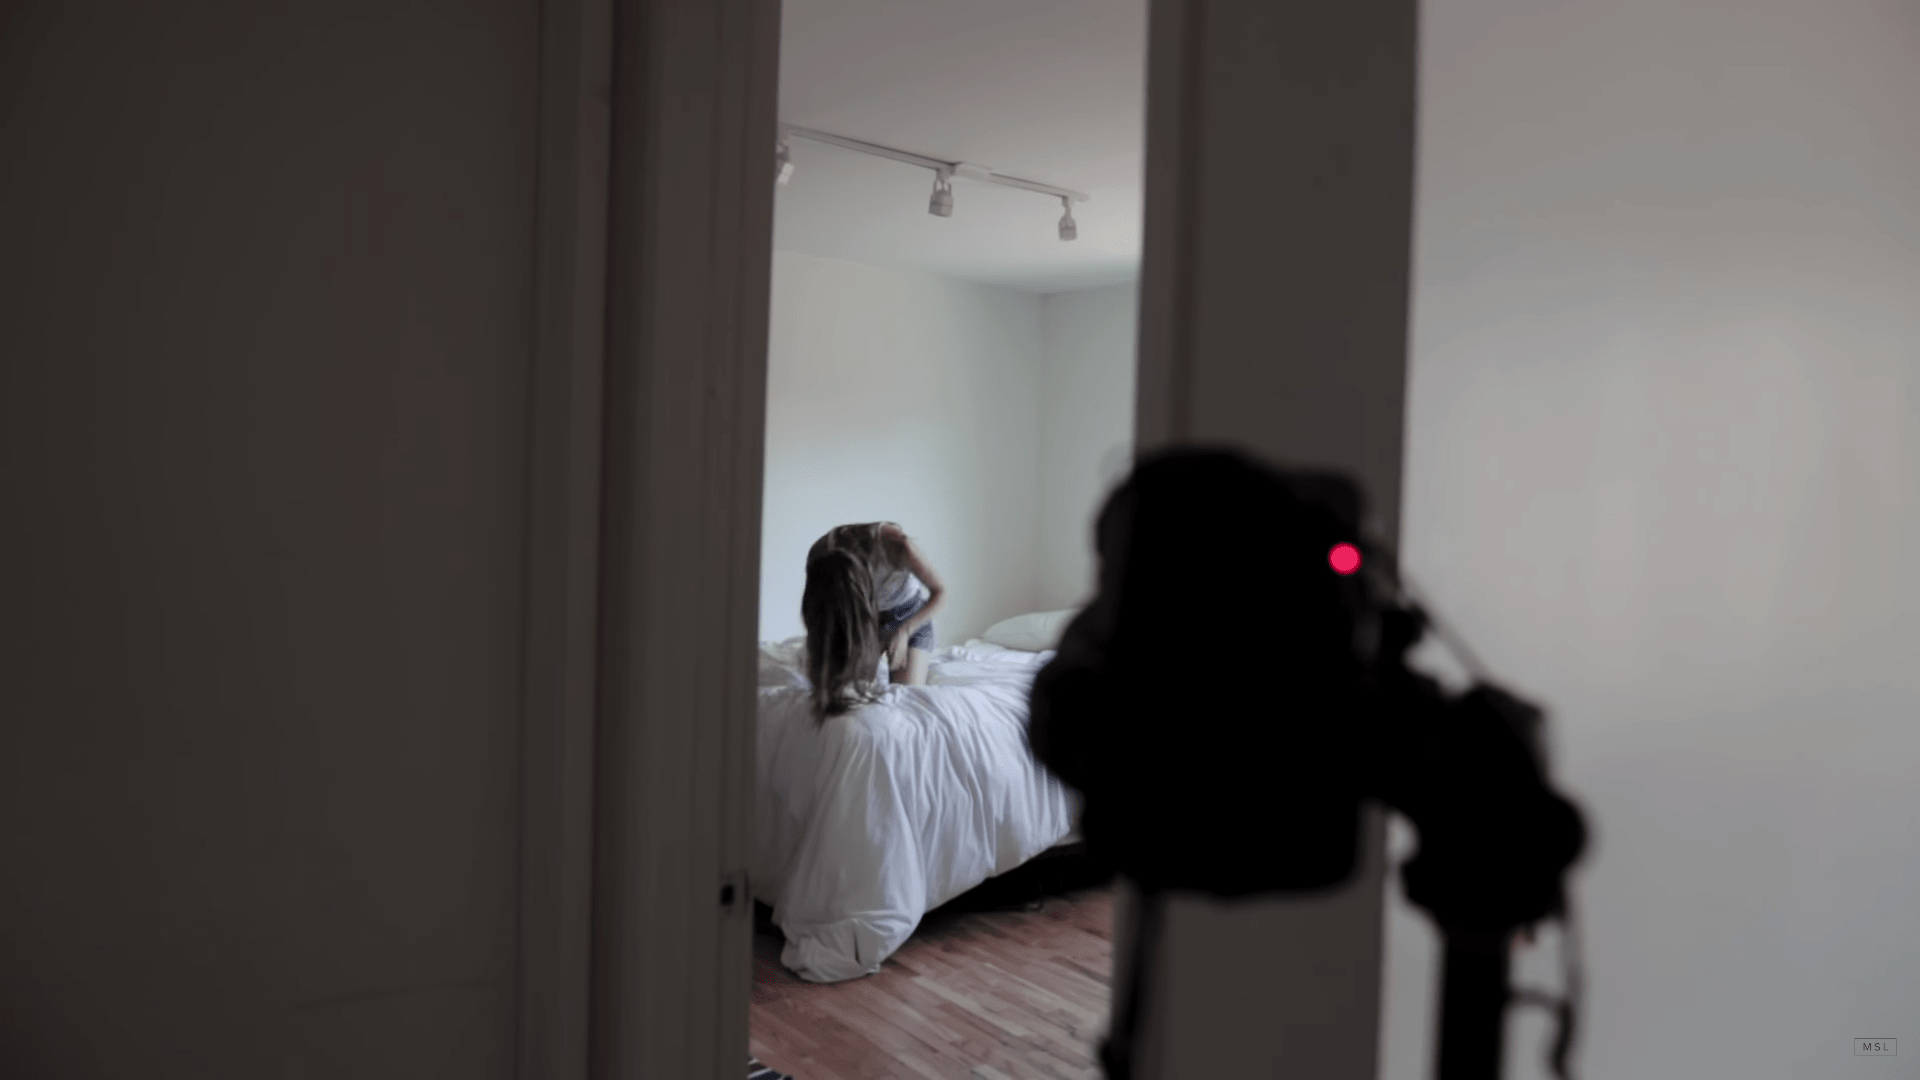 Mango Street /YouTube Screenshot
It can be tough to frame the shot when you aren't actually in it, so there will be some trial and error here.
It's easier to go wide and crop later, so if you have a zoom lens, work on the wide side. If you have a prime, back up your tripod (or handy stack of books) so you have too much space rather than not enough.
Lastly, trigger the shutter using your camera's self-timer or a remote.
Most cameras have short and long timer options - 2, 5, 10 seconds and so on - so opt for the longer time frame so you have time to get into the shot before the shutter fires.
A lot of new camera systems have accompanying smartphone apps, so you might be able to trigger the shutter with your phone, too.
Step 2: Nail Your Focus
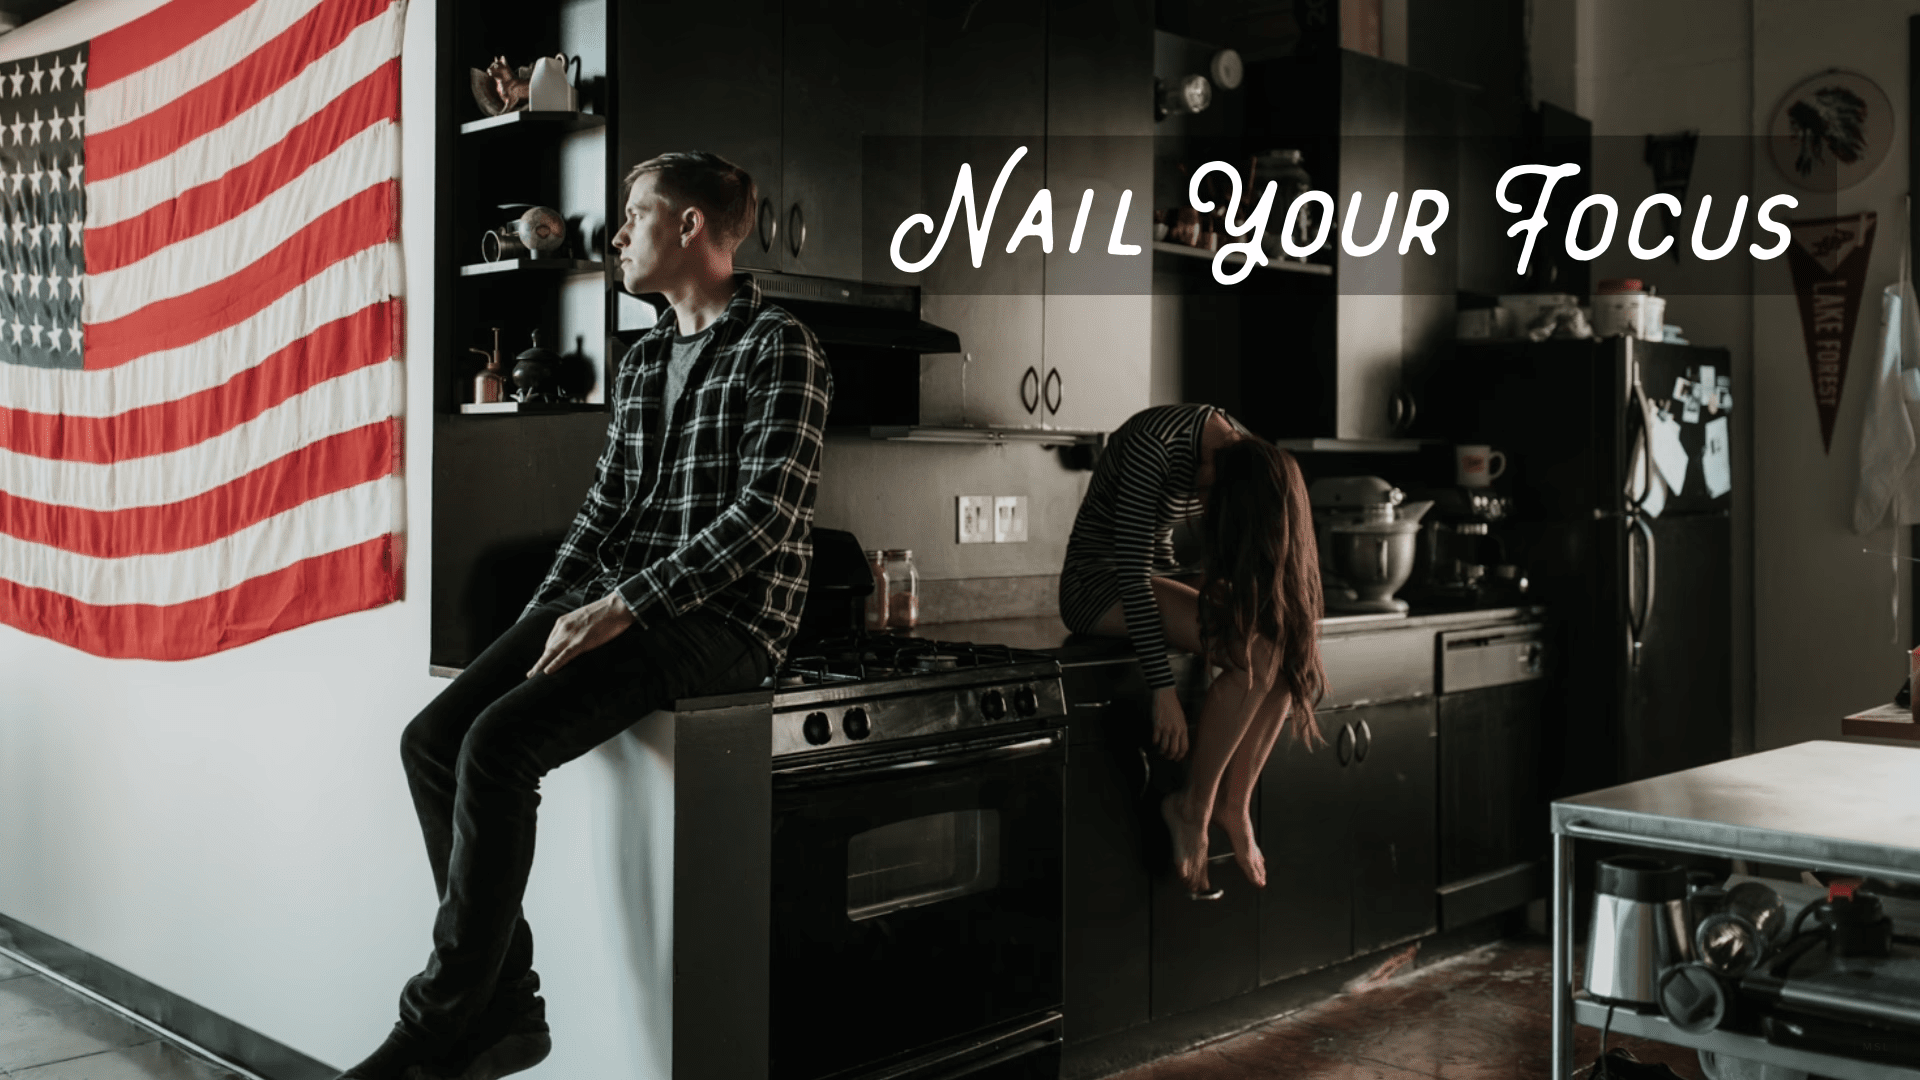 Mango Street/YouTube Screenshot
Once you've stabilized your camera, framed the shot, and figured out a way to trigger the shutter, you need to work on getting the focus right.
Much like framing the shot, nailing the focus when you're on your own can be a bit of a struggle, but there are things you can do to make the process easier.
For starters, work with a slightly larger aperture than you might usually use.
Instead of f/2.8, go for f/5 or f/5.6 to give yourself a little more depth of field.
Just that difference of a couple of stops will give you much more room to work with to be sure you're in the area of focus in the shot.
 Mango Street/YouTube Screenshot
You can also use props to find a good focal point.
Put your favorite teddy bear, a plant, your dog - anything, really - in the spot you'll be and simply focus your camera on your stand-in.
That should be enough to ensure you get self-portraits that are actually focused on you!
Step 3: Act Out Natural Movements
 Mango Street/YouTube Screenshot
If you aren't on the candid portrait bandwagon yet, you should be!
The great thing about candid portraits is that they appear to be so much more genuine and authentic than posed shots.
That's not to say that a posed self-portrait can't be beautiful...
It's just that acting out natural movements can help elevate your self-portraits to another level.
 Mango Street/YouTube Screenshot
The question is, how do you do that?
It's easy, really - just set the interval timer on your camera to fire off a shot every couple of seconds, set it up to take 20-40 frames, and get into a candid groove.
With that many frames, you can bet that there will be at least a handful of images that capture you in a genuine moment in which you might have forgotten that your camera is even there.
Step 4: Get Creative
 Mango Street/YouTube Screenshot
The difference between a mobile phone selfie and a truly drop-dead gorgeous self-portrait is often the level of creativity that's involved.
When you have to hold your phone in front of you at arm's length, you don't have a ton of options for composing the shot.
But by using a camera that's stabilized and triggering the shutter remotely, you have plenty of options for getting more creative with what you do in your self-portraits.
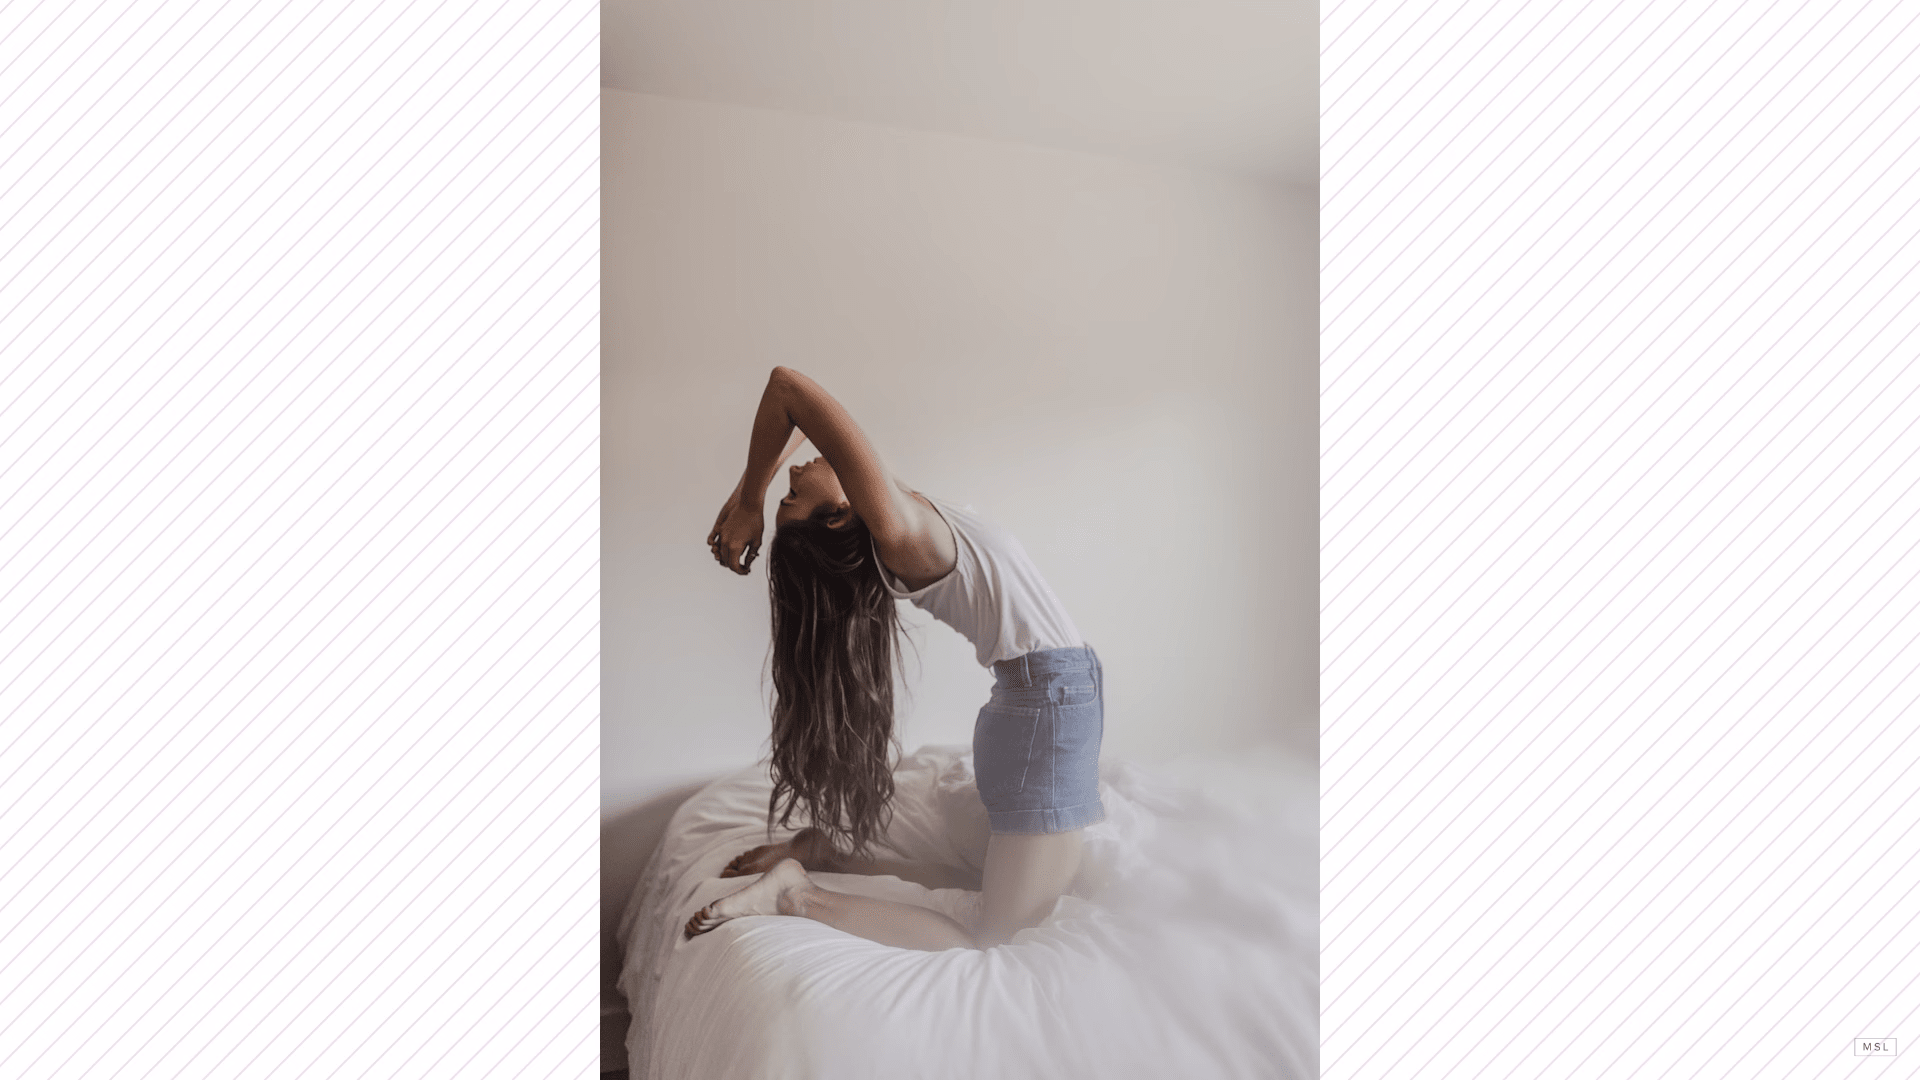 Mango Street/YouTube Screenshot
Try a long exposure self-portrait. Give shooting through something (like plastic wrap over your lens) a try.
Work with different lighting - natural light, direct flash, indirect flash, and ambient light.
Heck, ditch the candid shots and try a variety of poses too.
The point is that seeking out ways to capture your unique personality and style will help you create self-portraits that not only make you proud but make other people say WOW.
Final Thoughts
Taking a great self-portrait doesn't have to be a long, complicated process.
In fact, as you've seen in the steps above, better self-portraits can be had in just a few simple steps.
All you need is the right gear, sharp focus, a willingness to try candid shots, and a few tricks for ramping up your creativity.
You can try one of the tips above or try them all - either way, you will find that you have the tools and ideas you need to take better self-portraits.
We Recommend
How to Take Pro Photos With a Point-and Shoot Camera
Point And Shoot Camera
Point-and-shoot cameras get a bad wrap from some photographers because of their limited features.
But as the old saying goes, the best camera is the one you have with you, so if a point-and-shoot is what you have, you best learn how to make the most of it!
Sure, the capabilities and resolution from a point-and-shoot can't match the likes of a Nikon D850, but that doesn't mean that you can't get professional-quality photos with a little all-in-one rig.
With that said, consider these pointers for getting the most out of your point-and-shoot camera.
Actually Learn How to Use It
My mother loves to take photos, but she has no idea how to work her camera.
That means that she misses half of what she wants to photograph because she's constantly fighting to figure out what the hell she needs to do to actually take said photographs.
As I mentioned earlier, point-and-shoot cameras can't compete with pro-style DSLR or mirrorless cameras. But a camera is a camera, and if you actually understand how to use it, you can get a solid photo.
That means reading the owner's manual and spending some time sitting down with your camera and learning what each button, dial, and menu function actually does.
Help Your Camera Out
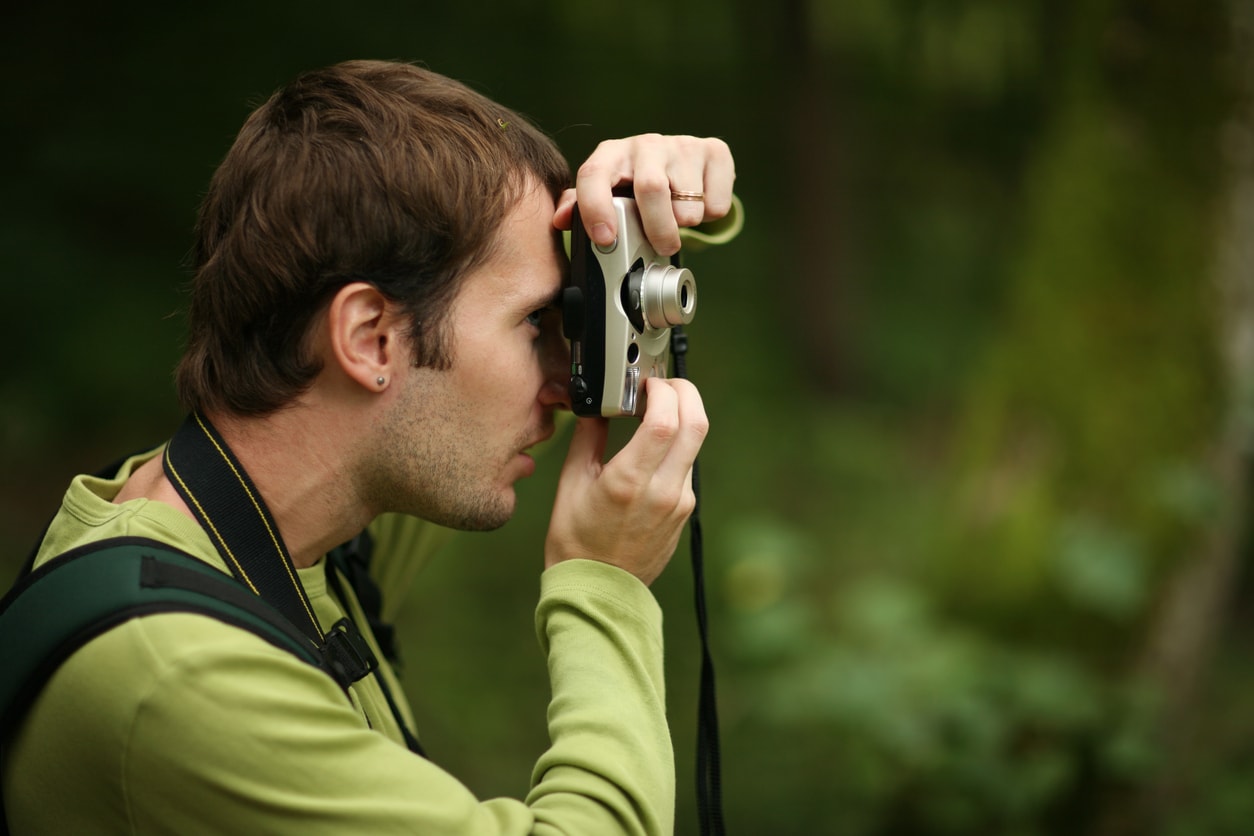
No camera can do it all for you, so you need to understand what sort of limitations you're working with with your point-and-shoot.
For example, on-camera flashes tend to emit very bright, harsh light that washes out the subject. That's true for high-end DSLRs and point-and-shoot cameras as well.
That being the case, do what you can to avoid using your camera's flash at all costs.
Use natural lighting, turn on every light in the house if you're shooting indoors, use a reflector to bounce light onto the subject, and so forth.
Some point-and-shoot cameras even have semi-automatic shooting modes like aperture priority or shutter priority. Others even have full manual controls.
If that's the case, use these settings to your advantage so you get photos that are better exposed.
In other words, don't simply rely on the camera to do the work for you in automatic mode. By learning how you can assume control over some aspects of what the camera does, you'll be able to create far better photos in more varied shooting conditions.
Learn More:
- Understanding Aperture Priority and Shutter Priority Modes
- How to Take Better Photos Without a Flash
Make Your Camera Accessible
This might not seem like a big deal, but trust me when I say that the easier it is for you to actually get your hands on your camera, the more photos you will take, and the more photos you take, the faster you will improve as a photographer.
The whole point of a point-and-shoot camera is to have a small form factor so it's easy to carry around.
But even a small camera can get in the way if it's dangling from your wrist all day long...
That's where something like the Black Widow Holster from Spider Holster comes in.
This holster is specifically designed to accommodate point-and-shoot cameras. The good news is that it also works with lightweight DSLRs, too. That means that as you upgrade your camera system, the Black Widow Holster can grow with you.
Just slide the holster onto your belt, screw the plate's steel pin into the tripod mount on the bottom of your camera, and slide the pin into the holster mount for easy hands-free carrying of your camera.
Not only is this a safe, secure way to carry your camera that protects against drops and theft, but with your camera on your hip in a Black Widow Holster, it'll move right along with your body so you don't feel like you have a stiff, heavy camera stuck to your side.
Get a look at the Black Widow holster in the video above from B&H Photo Video.
Learn More:
- Get the Specs and Pricing on the Black Widow Holster
- Explore Other Black Widow Products From Spider Holster
- 3 Simple Ways to Be a More Productive Photographer
Find a Unique Perspective

Using a small, lightweight camera means that you're a little more mobile than you would be with a big full frame DSLR.
Given that added mobility, you have no excuse for continuing to take the same old photos from the same old perspectives.
Instead, give your photos a little more life by taking them from a point of view that's from above or below a normal eye level.
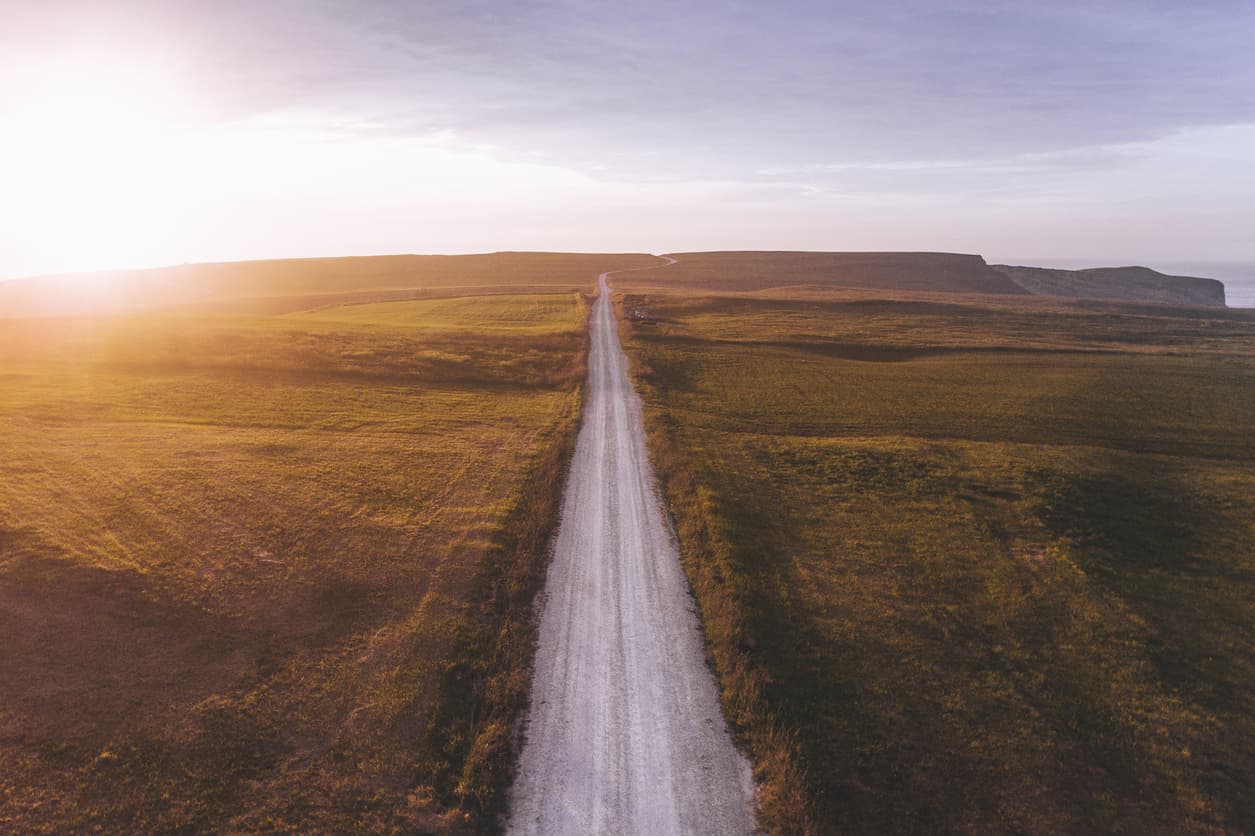
Kneel down or lie down on the ground to snap a worm's eye view of the subject. Then get up higher than what you'd normally view a subject from and snap a bird's eye view shot as well.
By adjusting the perspective from which you shoot, you can manipulate how the subject looks, making it seem larger in the frame from a lower perspective and making it seem smaller in the frame from a higher perspective.
With that, you have four simple, yet effective tips for getting the most out of your point-and-shoot camera!
We Recommend
How to Take Your Photography to the Next Level of Epic
EPIC. Now there's a word I think we can all agree would be nice when used to describe the photos we take!
Of course, getting to the point in photography in which your photos are good enough for that description take some time, effort, and dedication to the craft.
It also takes a little bit of trickery, ingenuity, and thinking outside the box...
Our friends at the Cooperative of Photography (COOPH) put out a video awhile back with the help of Benjamin Von Wong that offers up some fun photography tricks that are definitely epic, and it's certainly worth a watch.
Here's a quick breakdown of COOPH's epic tips...
Use a Reflector to Create a Breeze
 COOPH/Benjamin Von Wong - YouTube Screenshot
Adding drama to your portraits really is as simple as adding a bit of a breeze...
Doing so gives the shot a greater level of interest, and all it requires is a normal, everyday reflector.
Have a friend wave it up and down to make your subject's hair run wild, snap away as they do so, and voila, more dramatic portraits!
Use Flour to Enhance Motion
 COOPH/Benjamin Von Wong - YouTube Screenshot
Flour isn't just great for baking...
Because it's so light and moves so easily through the air, you can use it to enhance motion in your photos.
Just grab a handful, throw it into the air, and have your subject jump, twirl, run, and so on, and you'll find that the flour adds that epic look you want.
Use a Highlighter and a UV Light to Add Whimsy
 COOPH/Benjamin Von Wong - YouTube Screenshot
Everyone has a highlighter laying around the house somewhere, so you might as well put it to good use for your photos.
Highlighters are visible under UV light, so use the highlighter to draw shapes or patterns on a surface (even skin!), pick up a UV light for about $20, and you've got an inexpensive setup to make some truly epic portraits.
And the best part?
Once you have the basics of UV light down, you can get better gear, UV paint, and really go to town.
Add a Fiery Explosion Using Coffee Creamer
 COOPH/Benjamin Von Wong - YouTube Screenshot
I know it sounds crazy, but as COOPH demonstrates in their video, this actually works!
Get a funnel, pour coffee creamer in it, add pressure to force the creamer upward toward a match, and you've got an epic explosion for your shots.
Just be careful with that open flame!
Make It Rain
 COOPH/Benjamin Von Wong - YouTube Screenshot
Adding raindrops to your photos isn't nearly as difficult as it might seem.
Using nothing more than PVC pipe, sprinklers, and a garden hose, you can get a rainy, stormy look like in the images above.
Talk about epic!
Find Epic Backdrops
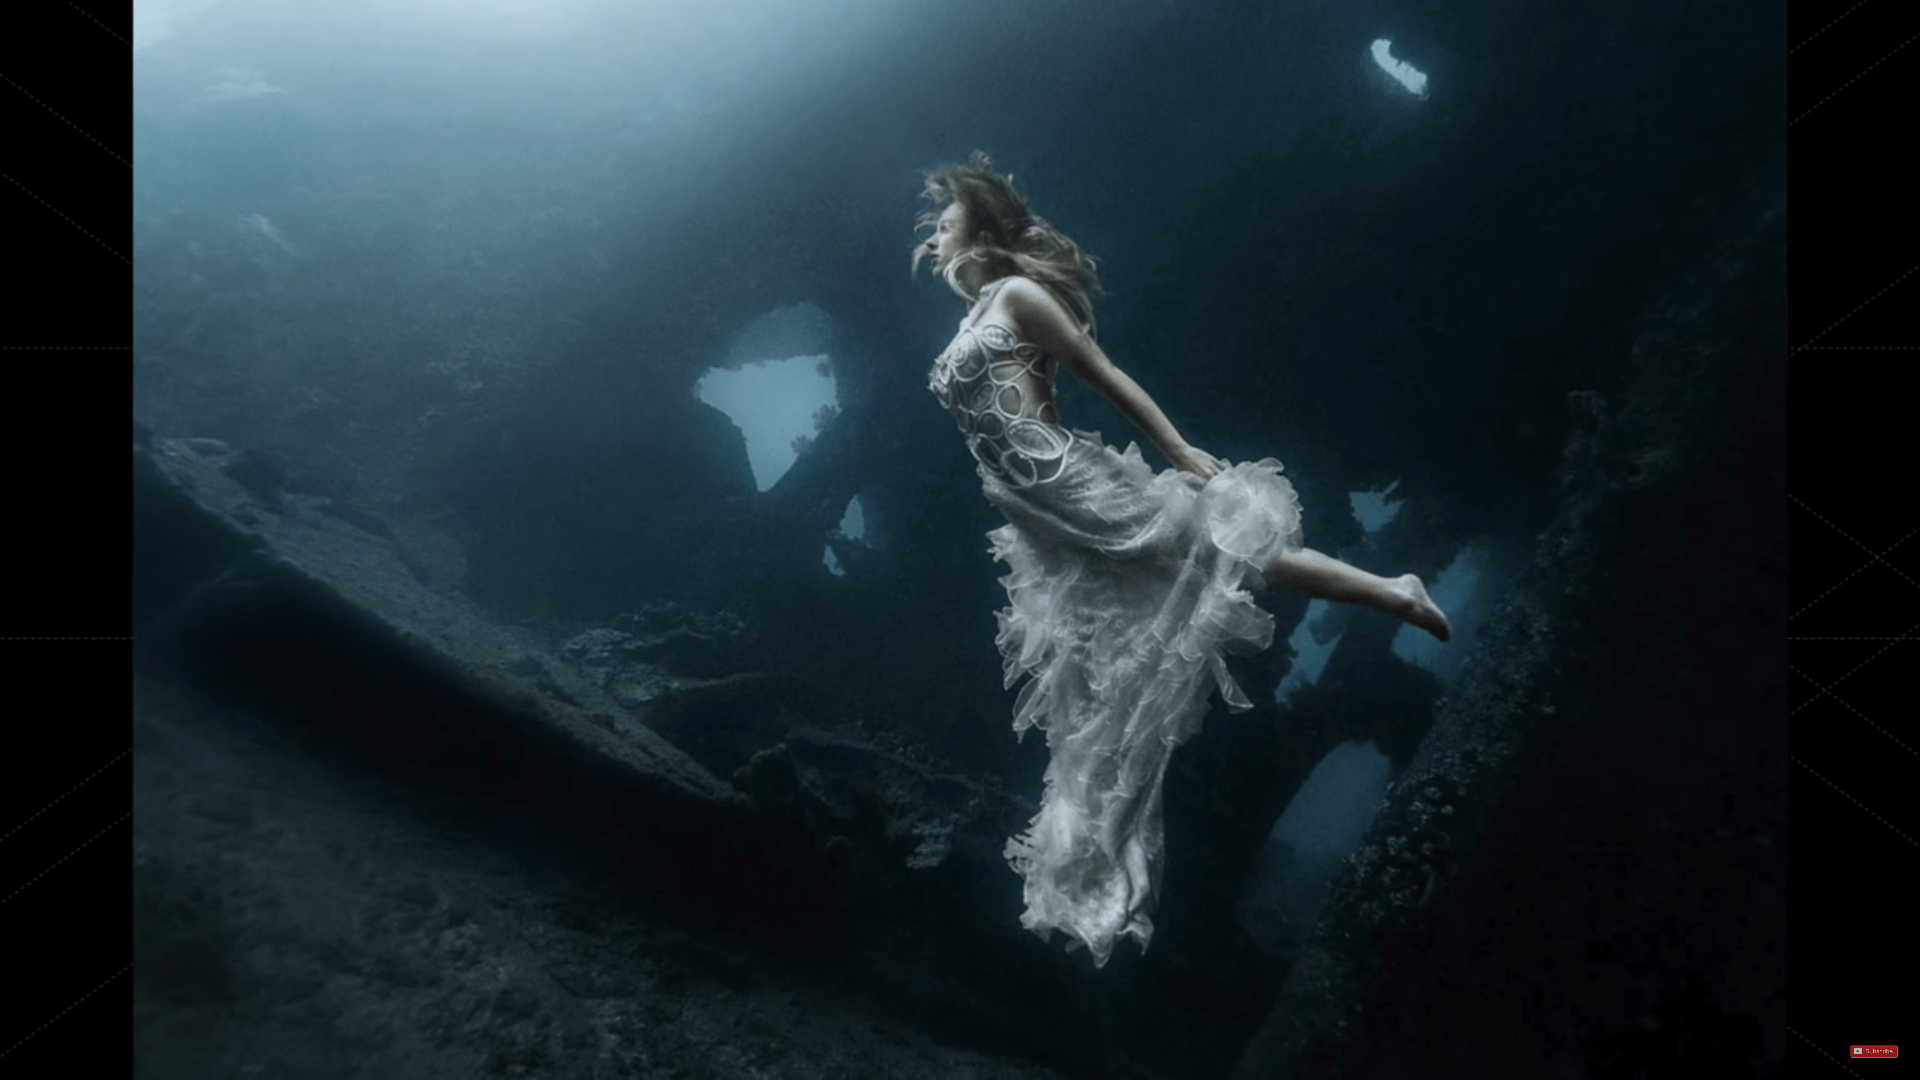 COOPH/Benjamin Von Wong - YouTube Screenshot
Sometimes, taking your photos to the next level of epic requires less ingenuity and more dedication to finding the perfect shoot location.
That might be going underwater to use a shipwreck as your backdrop...
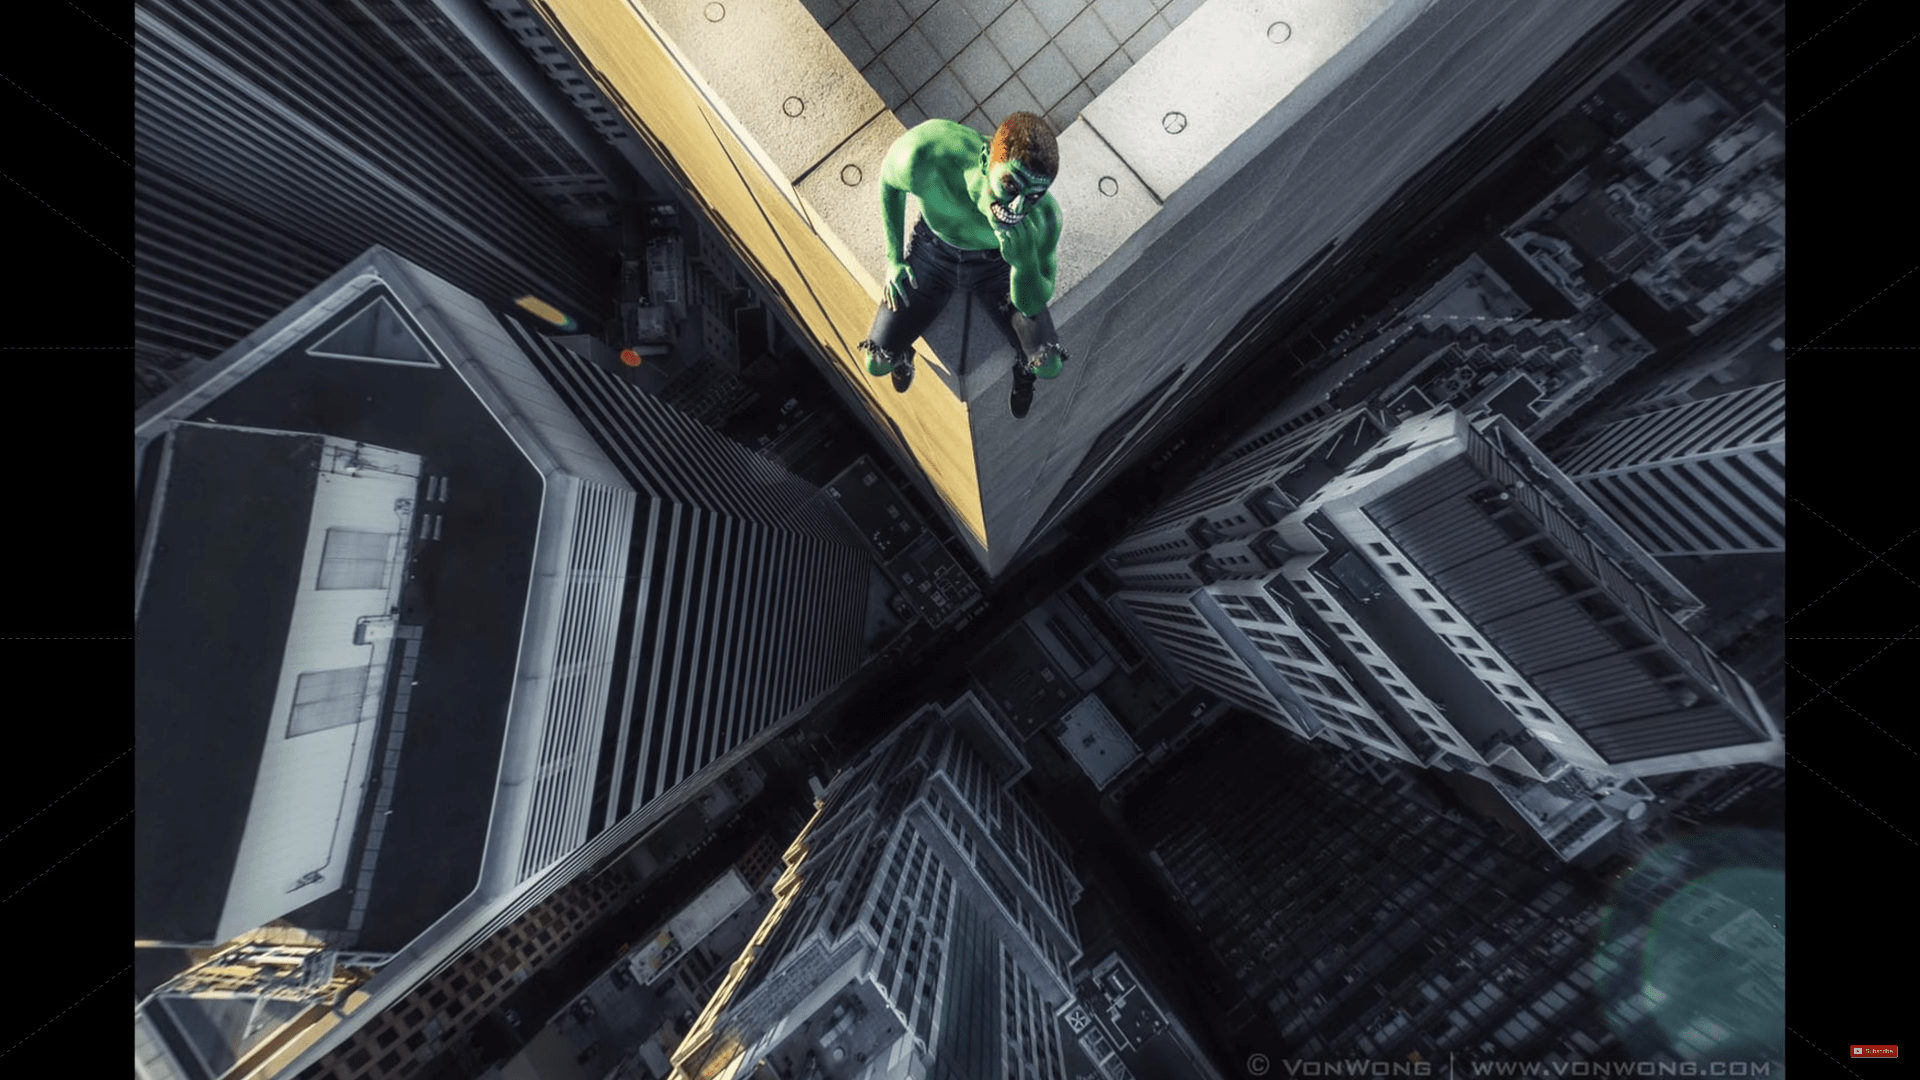 COOPH/Benjamin Von Wong - YouTube Screenshot
Or it might be heading to the top of a building to get an anxiety-inducing perspective on a superhero watching over the city.
Chase a Few Storms
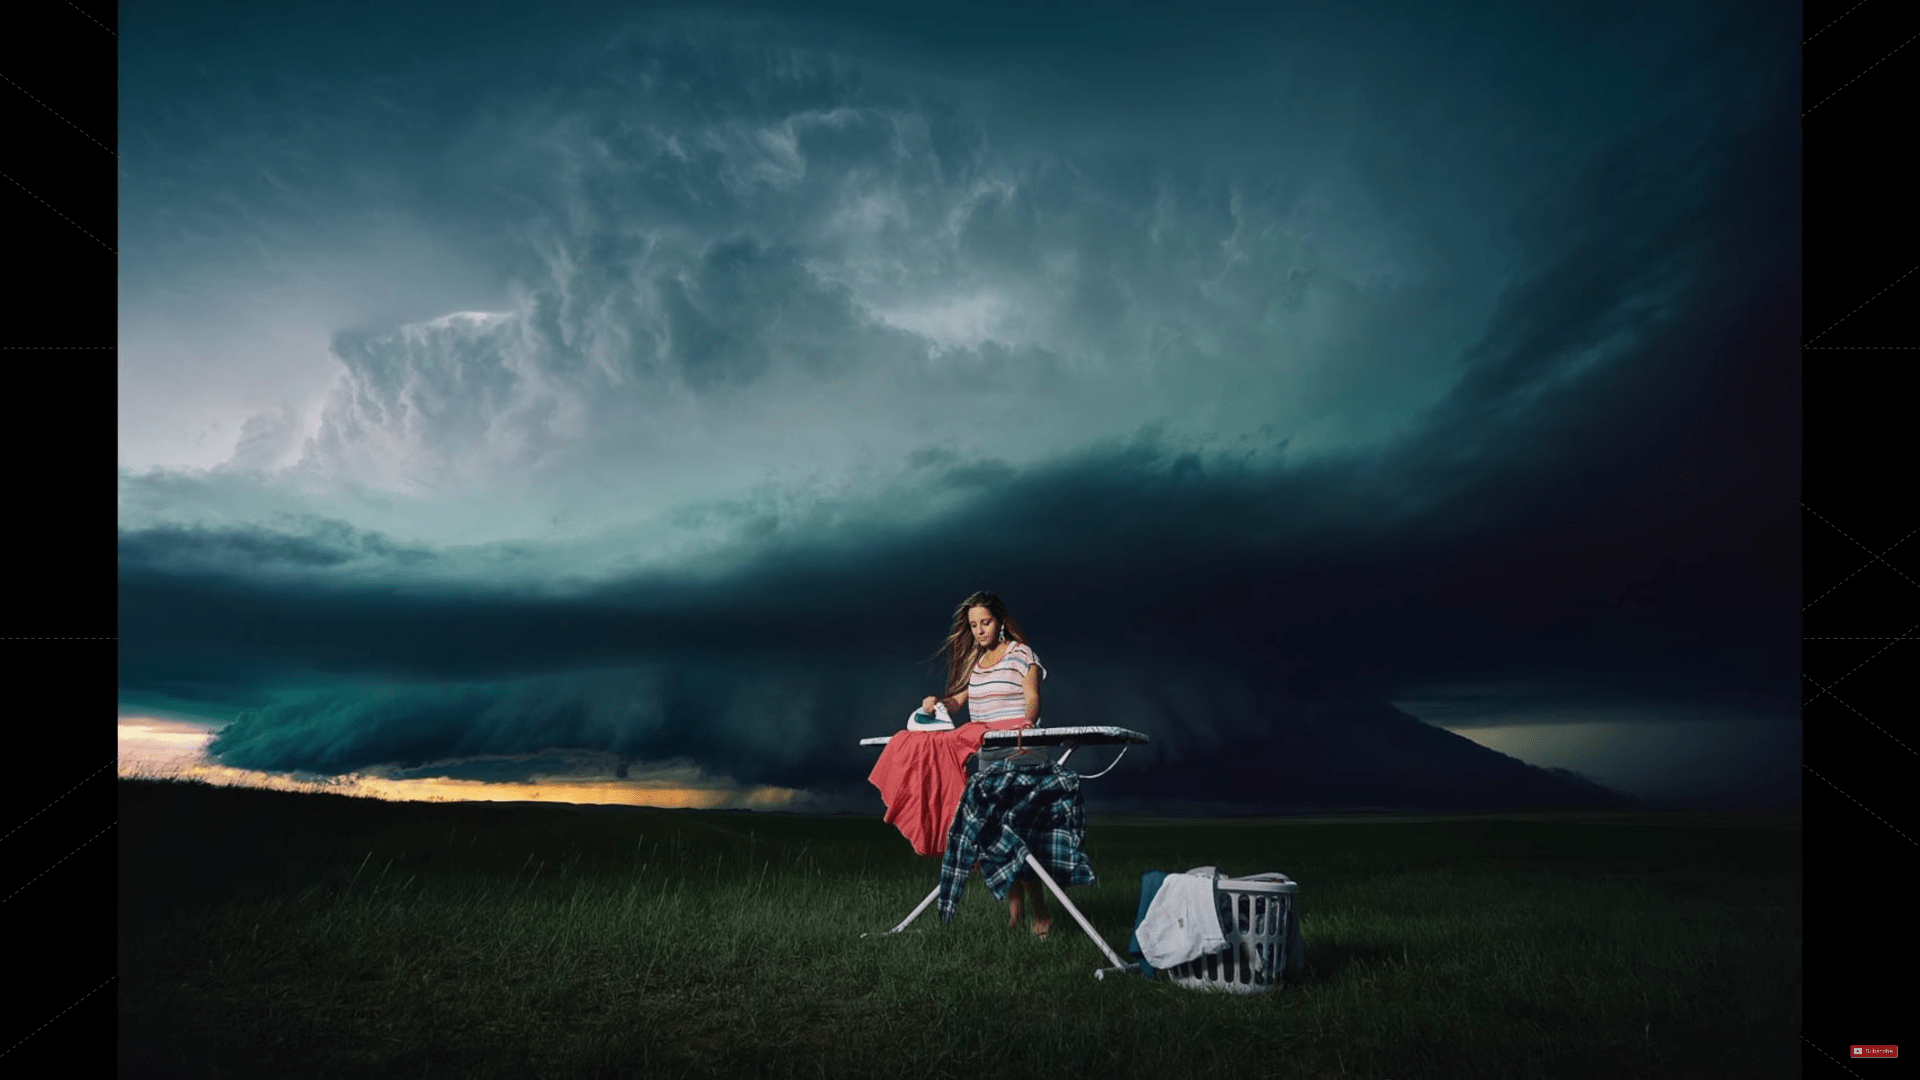 COOPH/Benjamin Von Wong - YouTube Screenshot
There's not much that's more epic than a crazy storm, so why not use it as the backdrop for your photos?
Even if your subject isn't doing anything all that epic, the shape, color, and scale of a storm will be more than enough to take your photos to the next level.
Just be smart and safe when using this method!
Guidelines for Success
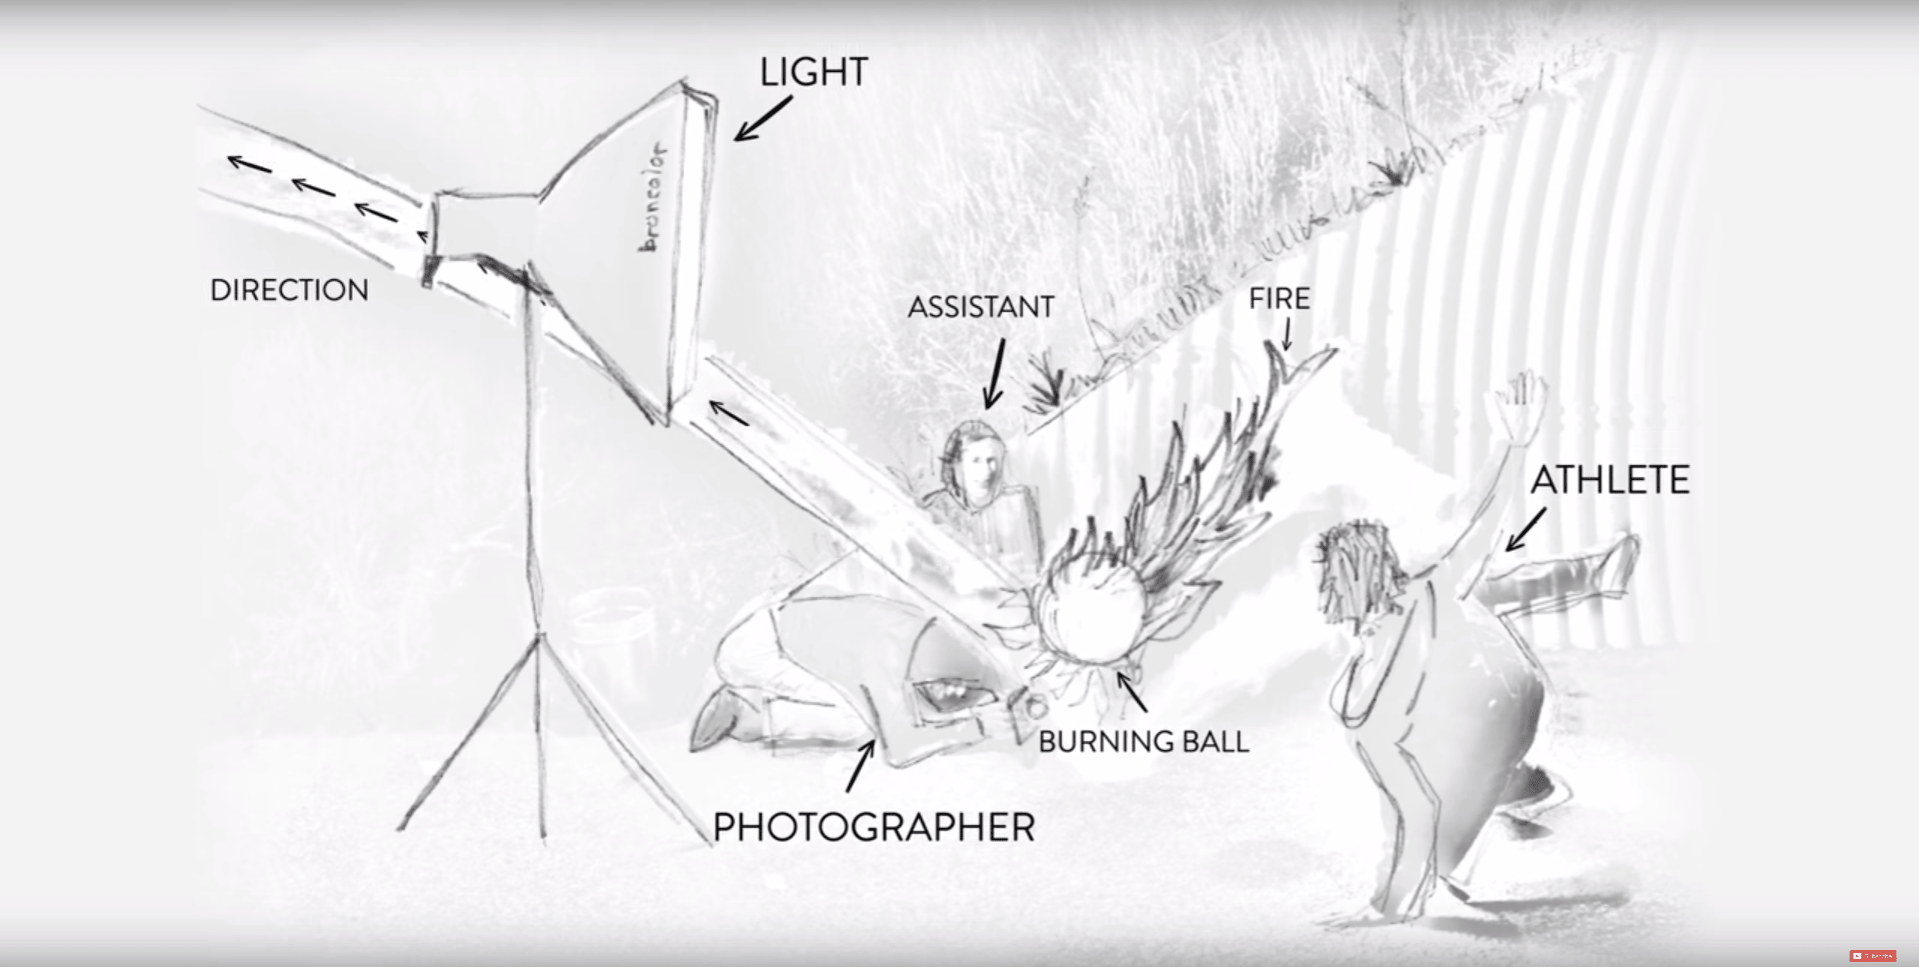 COOPH/Benjamin Von Wong - YouTube Screenshot
Sure, going underwater for a photo shoot or chasing storms to get a crazy backdrop are pretty involved procedures for getting epic shots.
But these more complex ideas have several things in common with the more basic ideas on this list...
Whichever approach you take, you'll need to sit down and draw out your ideas. This will help you begin to visualize what you want the image to look like (and what you need to do to make it happen).
Next, gather up all the gear and supplies you identified in step one, being sure to give yourself enough time and money to get everything you need.
 COOPH/Benjamin Von Wong - YouTube Screenshot
From there, you'll need help. That includes people to photograph, assistants to hold reflectors, set up lights, and so forth, and maybe even a second shooter to get a different take on the subject you're photographing.
Lastly, commit yourself to being patient.
You won't nail the shot on the first try each and every time. Instead, you'll find that there's a lot of trial and error involved in creating an epic photo.
The key is to go into this exercise understanding that it requires a lot of time and effort. That will help you stick with it for the long haul and avoid getting frustrated when things don't quite work the way you want.
Be sure to subscribe to COOPH's YouTube Channel for more incredible photography tips and tricks!
We Recommend
How to Take Your Photos to the Next Level
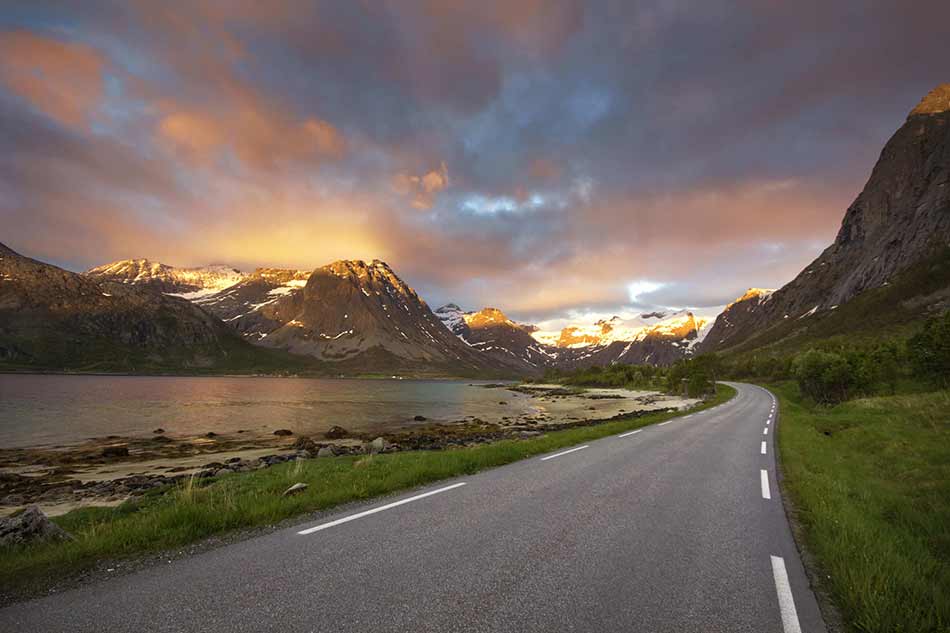
All of us want to take better photos. That's a given, even for people that to the rest of us are at the pinnacle of creating incredible images.
But when you're a beginner, getting to that place where you say, "Wow, I just created a great shot!" can be a bit on the daunting side.
There's many paths you can take to get to a better photo - and that's part of the confusion, just knowing where to start.
With that in mind, I thought long and hard about all the things I know now that I didn't know when I started and narrowed it down to three crucial ways you can improve your photography.
#1: It's Not All About the Gear
If I had to say what the most common problem is for newbie photographers, I'd say that it's too much of a focus on the gear.
By that, I mean that instead of actually learning how to use the camera they have already, they put all their energy into lusting over what camera they should have.
The problem with that is that the camera they feel they shouldhave isn't going to make them a better photographer...
Practicing and learning photography concepts with the camera they alreadyhave will make a big difference, though.
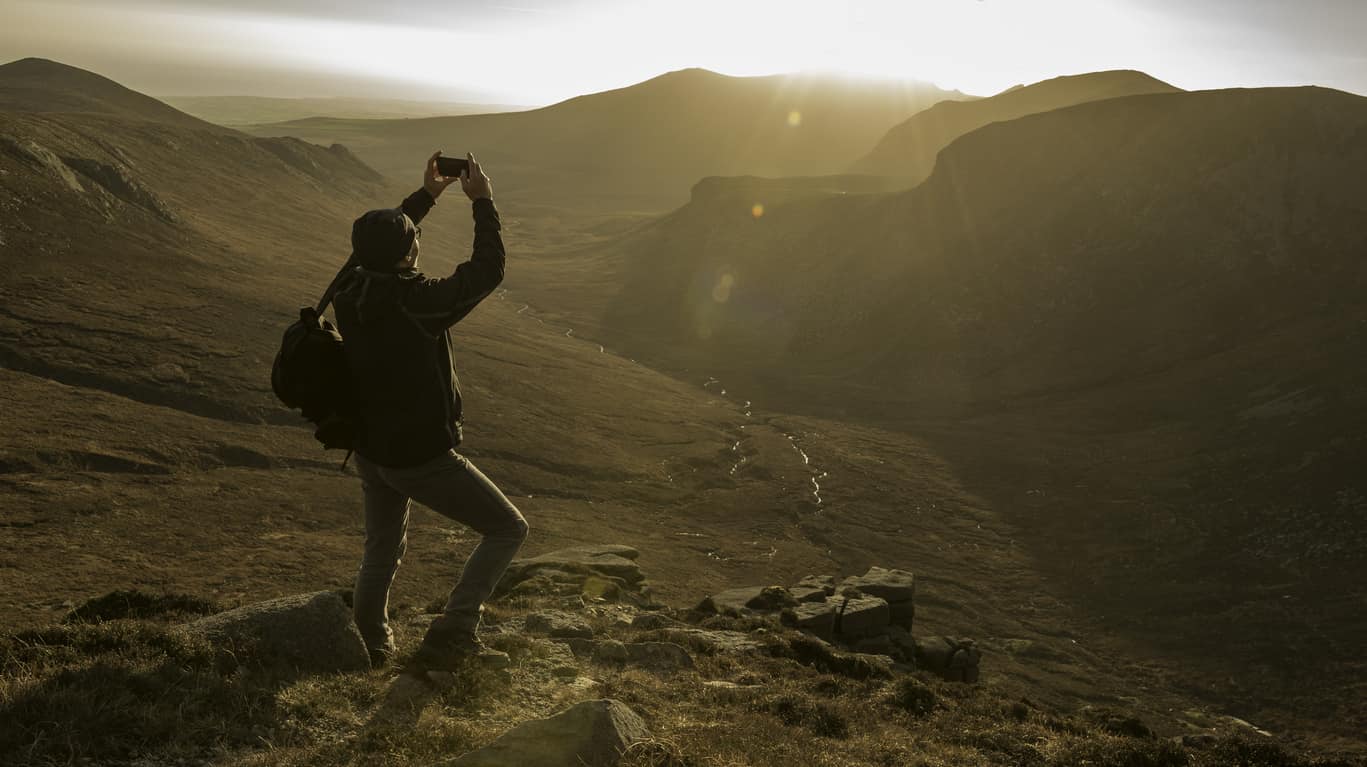
Even if all you have is a smartphone, you can learn a ton about photography, especially compositional principles.
For example, you don't need to spend thousands of dollars on a Canon 5DS to practice things like framing, using leading lines, the rule of thirds, and other basic photography composition rules.
In fact, I'd argue that it's easier to learn about composition with a smartphone because it's a much less overwhelming camera than a high-end DSLR.
Besides, you already have a phone, so if you're just beginning, why drop a bunch more money on another camera before you know what you're doing?
Just use the camera you've got, work on developing your creative eye and understanding basic photography rules, and when your camera becomes a liability, and you can no longer take the sort of photos you want to take with it, then upgrade to something new.
Learn a few smartphone photography tips in the video above by CamCrunch.
Learn More:
#2: Zero In on Specific Skills
As I noted above, it's necessary to learn how to use the gear you've got and focus on developing basic photography skills before you think about getting new gear.
But to take that point a step further, I'd highly recommend focusing on one type of photography in the beginning, that way you can develop a keen eye for the type of detail, style choices, and the technical aspects of photography as they apply to one genre.
I know it's exciting to start photography and you want to try everything from portraits to street photography to macro to landscapes.
But the problem with that is that each type of photography requires a bit of a different approach and mindset.
So, by trying to be a jack of all trades, you're likely to end up becoming a master of none.
Instead, start your photography journey by working on one type of photo. I chose landscapes, but you can choose whatever you want.
And once you begin, learn everything you can about that type of photography.
Another benefit of working on a specific set of skills is that you become intimately familiar with the gear you've got. And once that happens, learning other types of photography will become vastly easier!
For example, when I started shooting landscapes, I learned the basics of aperture, shutter speed, and ISO. That, in turn, led to a discovery of concepts like white balance, understanding metering modes, and exposure compensation. From there, I learned to shoot in aperture priority mode, shutter priority mode, and eventually even manual mode.
But you'll never guess what happened when I took a few portraits of my family - they were much-improved pictures.
Why? Because the concepts of exposure, metering, white balance, and so forth are the same for one type of photography as any other. In other words, the skills I'd learned for landscapes were applicable to portraits, so my portraiture improved as a result.
So, focus on one genre at first, and when you try expanding your horizons, you'll be better equipped to conquer other types of photography.
Learn a few composition tips in the video above by PhotoRec TV.
Learn More:
- Aperture, Shutter Speed, and ISO: The Exposure Triangle Explained
- A Beginner's Guide to Aperture Priority Mode and Exposure Compensation
#3: Learn How to Process Your Images

When I first started out in photography, I had no idea how much work was involved in processing images.
Even just organizing them into folders on my computer seemed to be an enormous task, let alone actually getting the images into a program to manipulate things like brightness, sharpness, saturation, and so forth.
Programs like Photoshop and Lightroom are incredibly powerful, but for beginners, they can also be incredibly intimidating.
But it doesn't have to be that way...
Just like you have to start somewhere with learning how to use your camera, you have to start somewhere with processing your images.

I started out with very simple tasks - cropping, straightening if necessary, and adjusting brightness, contrast, saturation, and vibrancy.
Once I felt comfortable doing those things, I worked on mastering more advanced skills like making selections, dodging and burning, exposure blending, and so forth.
The moral of the story here is that you have to approach learning how to process your images like eating an elephant - just one bite at a time.
Yes, it will take some time, dedication, and patience to become a post-processing guru, but in the end, your images will be much better if you actually know what you're doing in Photoshop or Lightroom.
I suppose that's also the lesson for this entire article - it will take time.
But if you commit yourself to learning and practicing, with time, you'll find that you have the ability to take much better photos.
Learn a few ideas for shooting and editing like a pro in the video above by Mango Street Labs.
Learn More:
- Photoshop Tricks You Don't Want to Miss
- Make the Most of Editing in Lightroom With These Must-Have Tips
We Recommend
How You Can Add Drama to Your Landscapes
Do your landscapes lack drama and impact? Are you not sure how to rectify the situation?
Well, you're in the right place...
Photographing landscapes and creating drama-filled, moody images can be a difficult task.
But there's one thing you can use to get that drama pretty easily - weather.
From fog to storm clouds, snow to rain, there's plenty of ways that weather can help you ratchet up the interest in your shots.
Fog Helps Create an Ethereal World
Some photographers run at the sight of fog because it presents some challenges.
Namely, fog messes with your light meter, making it think that the scene is brighter than it is. That usually means photos that are dark with a white balance that's off, too.
Fog also minimizes contrast, so if you don't have the right elements in the scene with the fog, it'll just look like a gray mess.
However, fog is unparalleled in its ability to create a mysterious landscape, as seen above.
Pair the fog with high-contrast elements like trees, whose bark and leaves look great set amongst the misty goodness of the fog, or sun-kissed mountains, whose rocky texture will add further interest to the image.
Learn More:
- These Breathtaking Drone Photos Turn Landscapes Into Abstract Masterpieces
- How to Get a Perfect Foreground in Landscape Photography
Menacing Storms Give Your Photos a Sense of Urgency
When we see a storm on the horizon, our natural instinct is to get inside and take cover.
That's why images of storms are so intriguing to look at because they create such a sense of urgency, as though we're concerned for the photographer that's in the way of the storm.
Beyond that, storms are just naturally dramatic, making them an ideal element to add to your landscape photos to make them more interesting.

When you think about storms, lightning probably comes to mind or huge waves crashing on the beach as a storm rolls in.
These elements present obvious dangers, so if you're set on incorporating storms into your landscapes, exercise necessary caution!
Use Snow to Create a Winter Wonderland

Like fog, snow and ice presents some challenges exposure and white balance-related difficulties for photographers.
However, that doesn't mean that those difficulties can't be overcome.
In fact, snow, ice, and other wintery elements can be among the most dramatic. They turn the landscape into a pristine, frozen scene that can be beautiful when the sun is shining, when snow is falling, and at many points in between.
When looking for winter landscapes to photograph, you need elements that add texture and contrast, much like you do when photographing fog.
If there's snow on the ground, watch where you step - shots with pristine snow without any footprints can be even more dramatic and inviting.
Learn More:
- Landscape Photography Tips You Don't Want to Miss
- 8 Insanely Easy Things You Can Do Today to Immediately Improve Your Landscape Photography
Rain Can Be Used as the Primary Subject

The great thing about rain is all the other things that come with it.
Not only does freshly fallen rain give the landscape life and vitality, but the long, thin downpours of rain extending downward from clouds can elongate the image, making it seem taller.
Editor's Creative Tip: Creating drama in your photos doesn't end when you press the shutter button - how you print your images has an impact, too. Find out the best way to print your landscape photos here.
Beyond that, where there's rain, there's always a chance of a rainbow!
When composing a landscape with rain, try shifting the horizon line toward the bottom of the frame, that way you give the rain clouds the most real estate in the image.
Additionally, incorporating elements that have color, texture or create patterns (like the field of corn above) will only add more depth and drama to your photos.
Final Thoughts
"Bad" weather gets a bad reputation because it presents additional challenges to landscape photographers.
Sure, it might be more difficult to get a good exposure and more uncomfortable to shoot in the rain, snow, and other elements.
But as you can see in the sample images throughout this article, there is ample opportunity for creating jaw-dropping, dramatic landscape photos when the weather isn't perfectly ideal.
For even more tips on how you can use weather as a tool for ramping up the quality of your landscape photos, check out the video above by Thomas Heaton.
We Recommend
Incredibly Easy Maternity Photography Tips to Take Your Photos to the Next Level
 Photo by Ann Thompson Photography
If you're like me, you spend a fair bit of time looking at photos online, seeking inspiration for your own work.
This is a beneficial practice regardless of the type of photography you're most interested in doing.
When it comes to maternity photography, finding inspiration is pretty easy to do because there are a lot of great examples of how to make an expecting mother look beautiful.
Of course, the problem with finding so many examples of gorgeous maternity photography is that it's pretty easy to then look at the photos you take and think, "Gee, my photos aren't nearly that good."
Fortunately, there are a few simple and easy steps you can take that will make your maternity photos shine just like those that you admire on the internet.
If you want to take your maternity photography to the next level, consider these tips.
Make It Natural
Photo by Sugar Free Photography
Keeping your maternity photography natural can mean a couple of different things.
First, outdoor maternity portraits can be more visually impactful because you can incorporate so many natural elements that give the photo improved depth and drama.
In the image above, you immediately notice the soft, golden sunlight, which gives the image incredible warmth. The way it filters through mom's gorgeous lace maternity gown adds a touch of whimsy too.
What's more, the inclusion of the surrounding environmental elements - the trees, shrubs, and cacti - add a level of depth and detail that would be difficult to achieve indoors.
 Photo by Dallas Cody Photography
But keeping it natural also refers to the manner in which the mom-to-be is posed.
The last thing you want to do is make your subject twist and turn herself into unnatural poses that will probably look odd anyway.
Instead, go for poses that are comfortable for her.
In the image above, a simple standing pose with her hands on her belly gives this soon-to-be-mom a relaxed, natural appearance.
Besides, often, the simpler the composition and posing, the more viewers will engage with the primary subject.
So, trick number one is to rein yourself in, do more with less, and keep the composition and posing relaxed.
Keep Couples Close
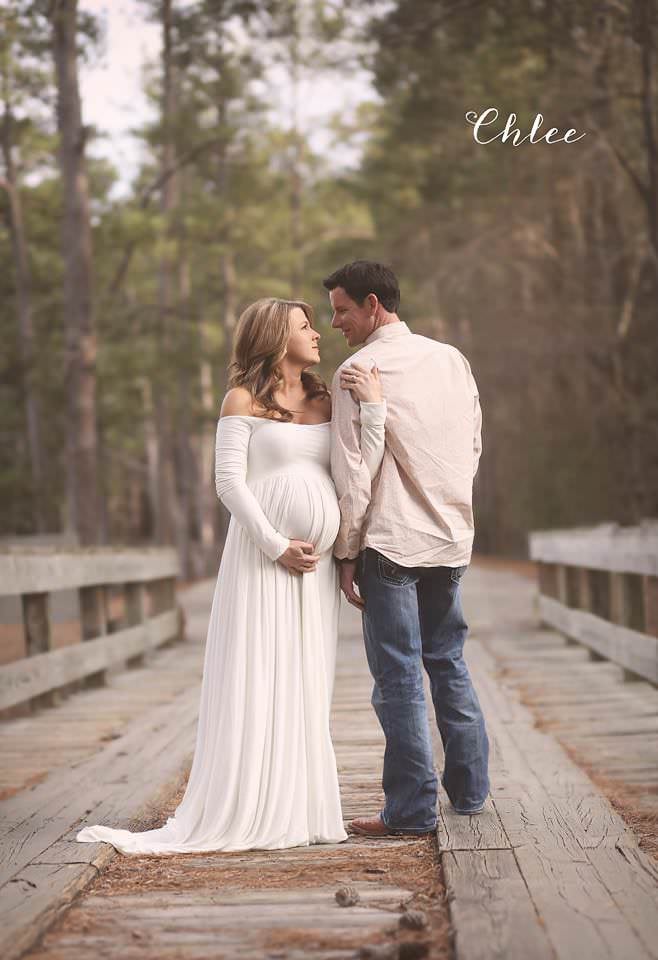
Photo by Chlee
If you've looked at a fair amount of maternity photography, you've no doubt seen images in which mom and her partner are separated in the frame.
Though this can make for a more unique photo, typically, you'll want to keep couples close.
That doesn't mean you have to force the couple into a formal or awkward pose, either.
In the example above, even though mom is wearing a formal-looking maternity gown, having dad turn his back toward the camera offers a unique twist on a couples shot that's a little less formal.
And by having their arms interlinked, you create a visual connection between mom and dad that makes for an intimate maternity shot.
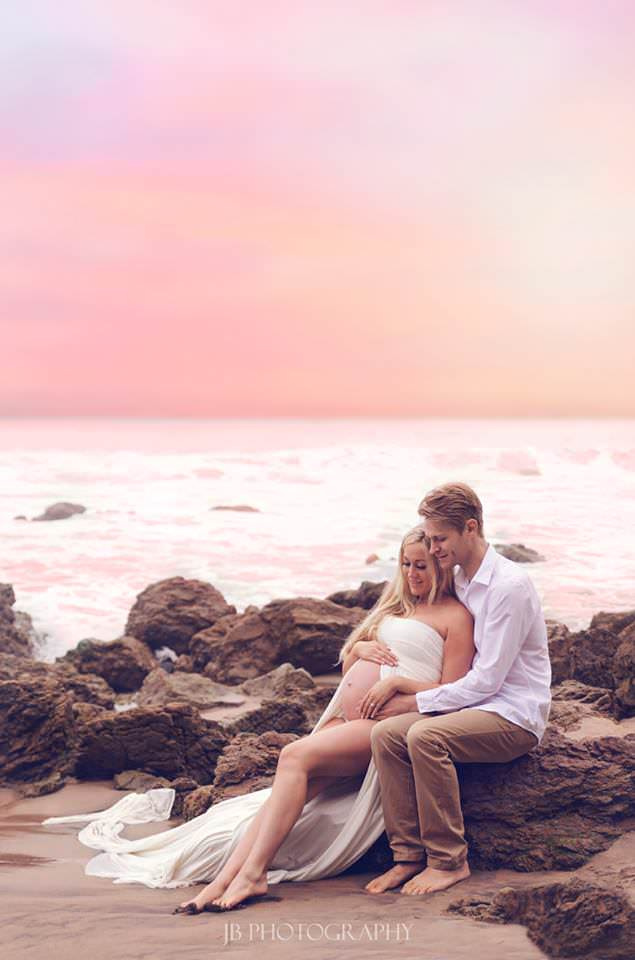
Photo by JB Photography
In a more classic approach, you might minimize the space between mom and her partner even more.
As seen in the image above, having the couple sit together forms a much lengthier visual connection between them.
Also, unlike the previous example in which the models were looking at one another, in this example, mom and dad are both looking down at mom's belly.
Again, this is a visual trick that helps us feel the connection between the couple and their coming child.
If it's an intimate portrait that you're after, have the couple touching. But remember, it doesn't have to be a lot of contact to get that strong visual connection.
Help With the Wardrobe
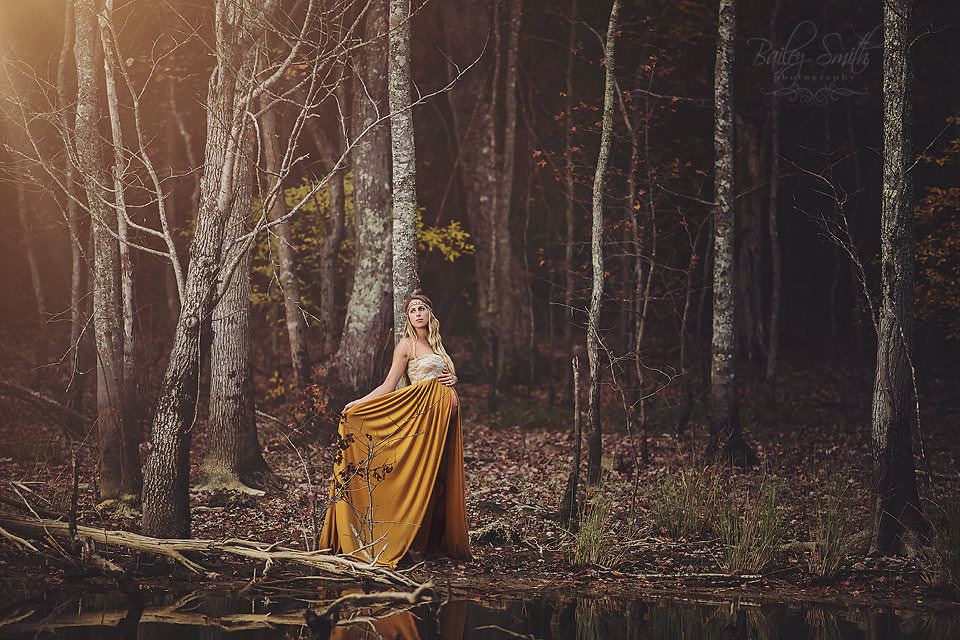
Photo by Bailey Smith Photography
As with a lot of portraits, having mom outfitted in a flattering wardrobe helps give her the confidence to feel pretty while also adding a visual element to the shot that adds interest and helps draw the viewer's eye toward the mom-to-be.
In the example above, you can see the impact of the gown's deep, saturated color.
Not only does it contrast beautifully with the more muted colors of the surroundings, but the mustard color is eye-catching and immediately draws one's attention to the model.
The manner in which the gown is constructed - with an opening in the front to allow a view of her belly - also allows the model to use the gown as a prop.
By extending her right arm, she shows the volume of the gown while giving the image a greater sense of elegance at the same time.
Photo by Michael Kormos Photography
In this example, we again see how the wardrobe can make or break the shot.
In the previous example, the maternity gown sported a deep, saturated color that was eye-catching, but the gown itself had an understated elegance.
In this example, the gown takes on a much more central role in the photo because of the plain background in the shot.
Since there's nothing for the gown to compete with for our attention, you can get away with making wardrobe choices that have much more detail.
In this case, the flowing layers of the gown add a lot of dimension to the shot while the color - though perhaps muted - still contrasts gorgeously with the surroundings.
When helping mom choose a gown for her portraits, consider not just how it fits and how it looks on her, but also the color, shape, and texture of the gown and how those features work with the surroundings.
It's Not ALL About the Belly
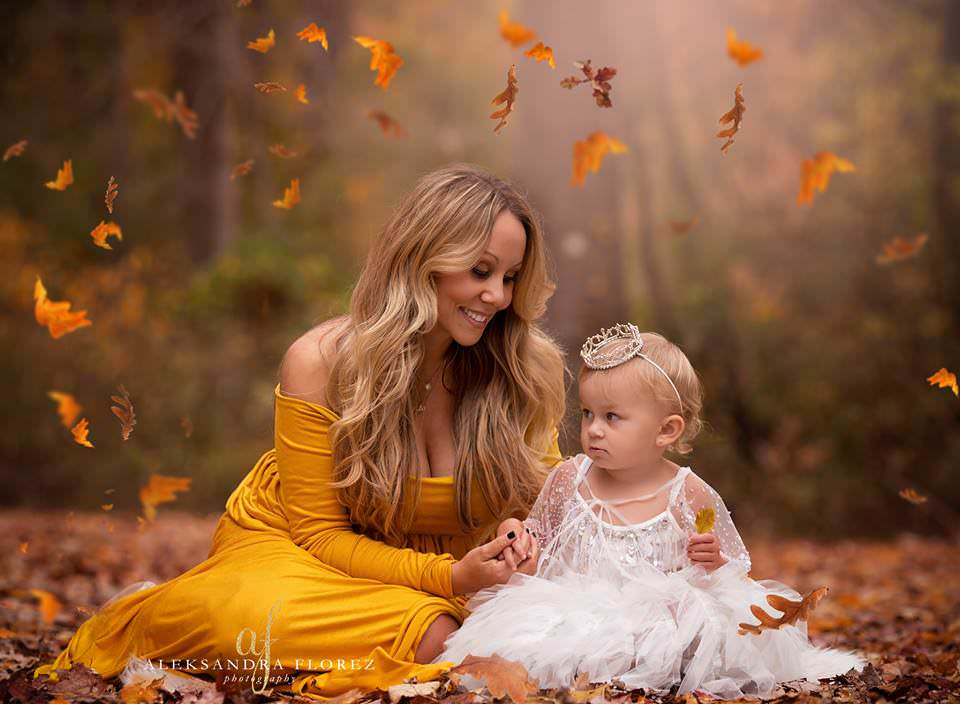
Photo by Aleksandra Florez Photography
When taking maternity photos, you naturally want to have a fair share of images in which mom's belly is on full display.
But to give some variety to the collection of photos, there's a need to focus on other elements as well.
In the example above, you can't even see mom's belly - and that's okay.
Instead, you get to see the connection between her and her child, which is certainly a worthy subject for maternity photography.
Notice as well how the use of the wardrobe draws your attention to mom and daughter, much as it does in the other photos above.
In this case, the contrasting colors of their dresses gives the image a great deal of visual interest without distracting from mom's or daughter's face.
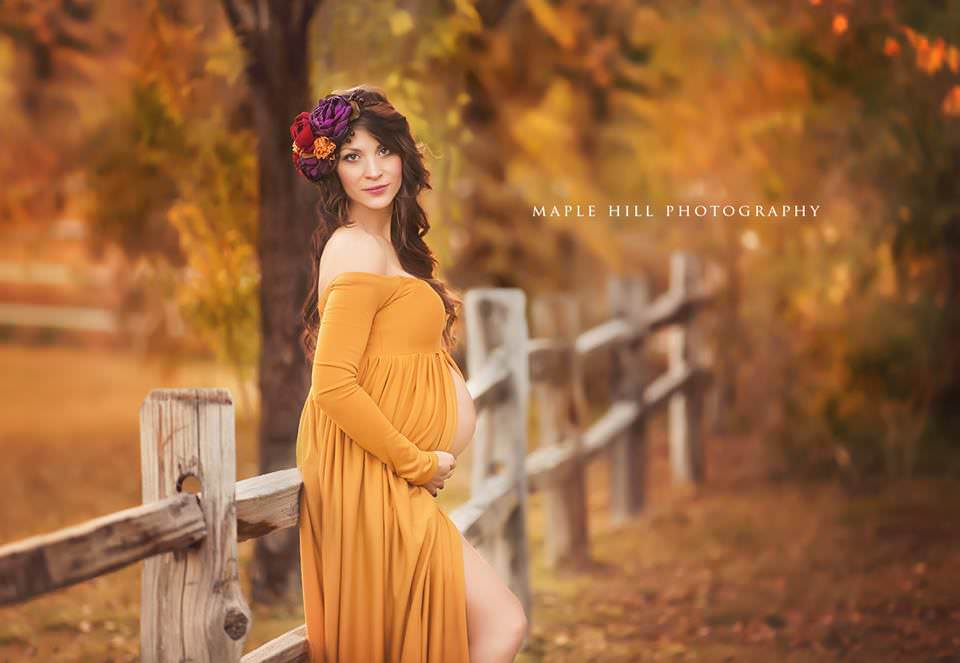
Photo by Maple Hill Photography
Another way to approach maternity photography is to put mom in the context of a larger scene.
Above, the model's belly is visible, but the shot isn't just about the belly bump.
Instead, we have a beautiful, natural scene in which mom has been placed, creating a relaxed photo that's perhaps more about mom and less about pregnancy.
Again, not every single photo you take needs to be of mom staring at her belly.
By sprinkling in other types of poses and compositions, you can give your subject a wider range of photos that make the collection of images as a whole more interesting and cohesive.
About Sew Trendy
This is a company that photographers absolutely need to be in touch with. Their gowns, crowns, and other high-quality accessories are just what you need for maternity photos, photos of newborns, and mommy and me sessions. These accessories not only make your clients look and feel great, but they also add a depth of detail and interest to your photos that elevate the images to an entirely other level. What started out with just a few people manufacturing these eye-catching items is a growing business that provides accessories to photographers worldwide. Help your clients look and feel their best by partnering with Sew Trendy Accessories.
We Recommend
Landscape Photography Composition Rules You Need to Start Using Today

When you look at a landscape photo, you likely know within just a split second if it's a good photo or not.
You might not even be able to fully articulate why it looks good.
In many cases, lighting, sharpness and subject matter help make a good photo.
However, the manner in which the photo is composed is also a crucial element of its success.
There are plenty of compositional rules of photography, too. That means that there are all kinds of ways that you can enhance the look of your landscapes, and take them from being just so-so to being truly eye-catching works of art.
Let's explore a few fundamental landscape photography composition rules that you need to start using today.
Fill the Frame With the Subject
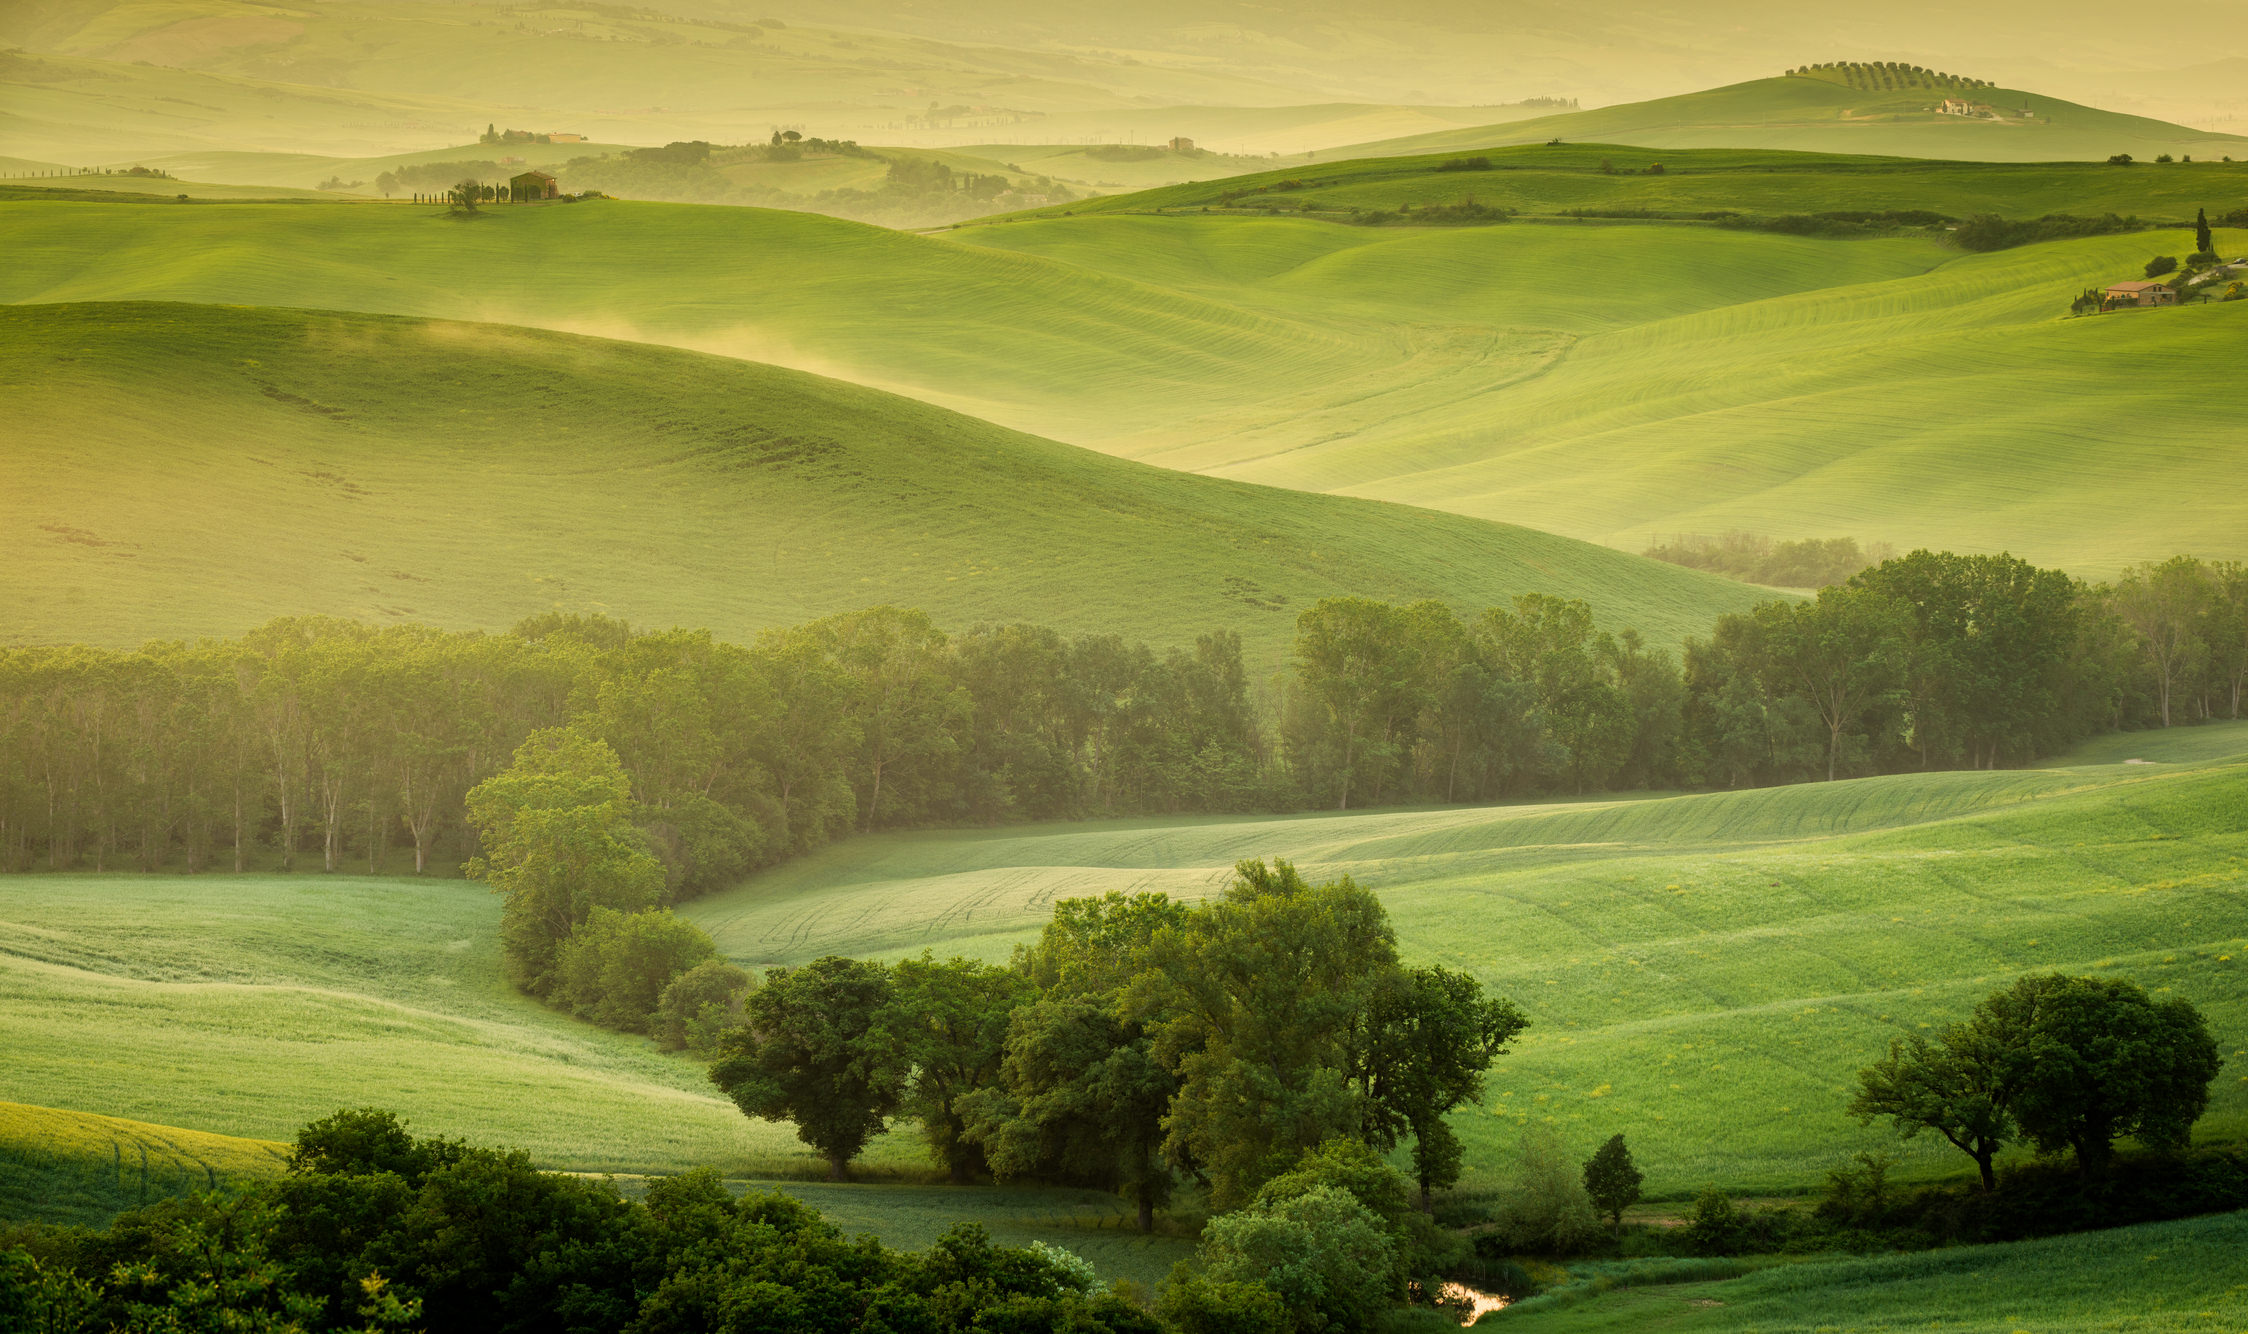
Filling the frame is easy when taking a portrait. All you have to do is frame a close-up, and you're good to go.
Filling the frame when photographing landscapes is a bit more difficult.
After all, when you stand in front of a beautiful, sweeping vista, you want to recreate that for the viewers of your photos.
Unfortunately, when shooting a large landscape, having too much empty real estate in the frame can make your subject look and feel small. And the smaller your subject, the less impactful it will be, not to mention the less it will feel like it does in real life.
The solution is to fill the frame.
How to Fill the Frame
- Look for vignettes in the larger landscape that might work well as the primary subject of your shot. Elements with interesting shapes, textures, or colors are prime targets.
- If you have a zoom lens, use it. Zooming in helps you crop out unneeded details to focus more on the subject. If you don't have a zoom lens, you'll need to get physically closer to the subject.
- Adhere to the Rule of Thirds. By placing the most interesting elements of the shot to the left or right of center or above or below the horizontal midline, you'll have a more balanced shot. In the image above, note how the vertical line of trees is to the left side of the frame, while the horizontal line of trees is just below the midline. What's more, the crest of the most prominent hill is shifted to the left for a more interesting composition.
Keep It Simple, Stupid

When I was growing up, my grandpa's favorite phrase was "Keep it simple, stupid."
No matter what we were doing, if things started to go sideways, he'd admonish me to keep it simple.
It's sage advice for a lot of things in life, but it also works well in photography.
Keeping it simple is hard to do, especially in the realm of landscape photography.
When we see a gorgeous scene, it's tempting to incorporate every last detail into the shot.
The problem is that our eyes can be immediately drawn to a strong subject, even in a cluttered environment.
Our cameras, however, can't do that. Instead, we have to help them out by simplifying what their sensors record.
How to Keep It Simple
- Look for shapes, lines, or colors to add interest to the shot without overwhelming the scene. In the image above, note how the shape of the sand dunes adds visual interest, but without distracting the eye from the palm tree.
- Areas of light and shadow are excellent tools for keeping a landscape interesting, yet simple. The photo above highlights this concept well: the sunlight areas on the top of the dunes adds brightness that contrasts well with the dark form of the palm tree and the darkness in the background.
- Simplify things further by converting your image to black and white. By removing color from the scenario, you'll immediately have a more simplistic composition.
Editor's Tip: Research and planning are both critical to taking the best landscape photos. Learn more about planning and executing your landscape photo shoots from Mountain Moments.
Use Leading Lines

Leading lines are one of the easiest landscape composition rules to implement, and one of the most effective as well.
Virtually anything can act as a leading line - a fence or a road, footprints in the sand or snow, a line of trees, or a pathway through a forest.
Different types of lines can be used as well - converging lines like railroad tracks that seem to come together in the distance, straight lines that cut across the scene, or even curved lines can be used effectively.
And what all those lines do is help tell the viewer's eye where they should look next.
In some photos, leading lines connect the foreground to the background, giving the photo a better sense of depth.
In other cases, leading lines connect the left and right sides of the shot, helping to give the image a greater sense of balance.
Either way, lines are an important tool for giving viewers a "guided tour" of your image. See how to use leading lines with great results in the video below by Joshua Cripps:
How to Use Leading Lines
- Frame the shot such that the leading line helps move the viewer's eye towards something. In the image above, note how the path leads directly to the setting sun.
- When using a straight line or a converging line, try to position yourself with a low angle of view, that way the lines are more prominent in the foreground, as was done in the image above.
- When using a curved line, seek a shooting position from above, such that the line has an opportunity to weave through the entirety of the shot.
Shoot in Horizontal and Vertical Formats
If I had to guess, I'd say that at least 75% of landscape photos taken by beginning photographers are in horizontal format.
Yet, pigeonholing oneself into only shooting wide is a mistake.
Sure, many landscapes are best viewed with a horizontal shot, but often there are unique and interesting views to be had by rotating the camera and shooting vertically.
This is especially the case when the subject matter is tall - a mountain peak, trees, or a waterfall.
Vertical format landscape shots are also ideal for situations in which there are interesting elements in the foreground or you have a sky that's worthy of showing off in the frame. Sometimes, you might even find that there are foreground elements and a gorgeous sky that need to occupy some real estate in your shots, as seen in the image above.
How to Shoot in Horizontal and Vertical Format
- Challenge yourself to shoot a vertical shot for every horizontal shot you take.
- Really inspect the landscape to find subjects that benefit from a vertical orientation. In the image above, note how the vertical format allows us to see the rocks in the foreground, which add depth and dimension, as well as the gorgeous colors of the sky, which give the photo added visual punch.
- With today's cameras having such good resolution, don't be afraid to crop your photos in post-processing to change the image to a different format. For example, you might crop a horizontal shot to be vertical or vice versa.
With that, you have a few can't-miss landscape photography rules to follow for improved compositions.
Don't worry about memorizing each rule or using each one on every photo you create.
Instead, spend some time getting familiar with each rule so you can more comfortably implement them as needed in your landscape shots.
I'm confident you'll find that with a little practice, you'll start seeing a noticeable, positive improvement in the look and feel of the photos you take.
We Recommend
Learn How to Shoot Water Reflections in 5 Easy Steps

There's just something about a water reflection photo that I really enjoy.
I can't decide if it's the calmness of it or the symmetry. Maybe it's both!
But snagging landscape pictures like the one above is a little more involved than pointing and shooting at a calm body of water (though those are important steps).
If you want to up the quality of your water reflection shots, follow these five steps.
Step #1: Consider the Subject
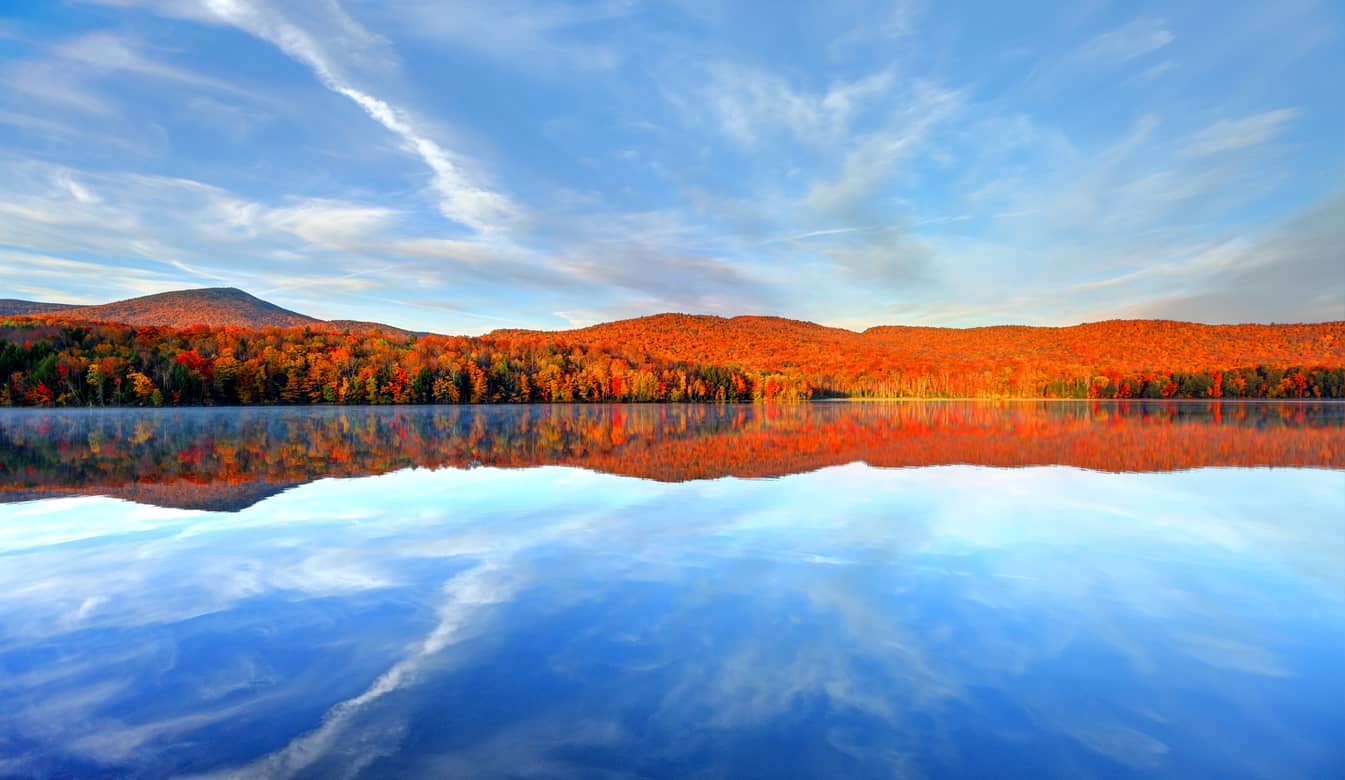
Not everything that's reflected in water makes for a great subject.
A mountain peak - yes. A nuclear power plant - not so much.
Remember, whatever the subject is, it will be doubled in the shot due to the reflection. That means you need to ensure the subject is strong, has good lines or shapes, or has eye-catching colors.
That's why mountains, trees with fall foliage, and city skylines are popular subjects for water reflection shots - each has interesting shapes or colors that make them a strong subject.
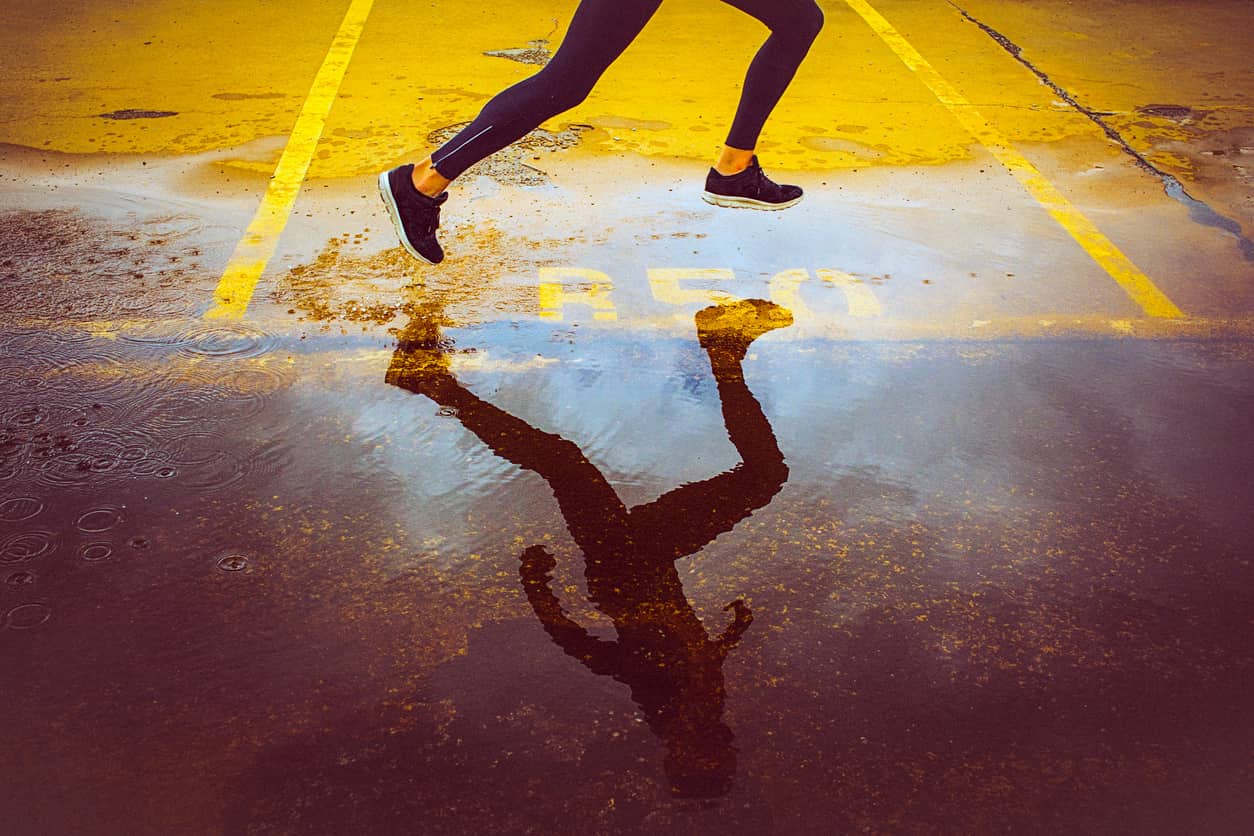
Of course, there are plenty of other possible subjects, too...
Try a portrait or catching an airplane's reflection as it flies above.
Sunrises and sunsets have plenty of colors to make a great reflection shot. too.
You might even highlight a pier or a boat (or both) on the still waters of a lake.
Step #2: Consider the Time of Day & the Weather
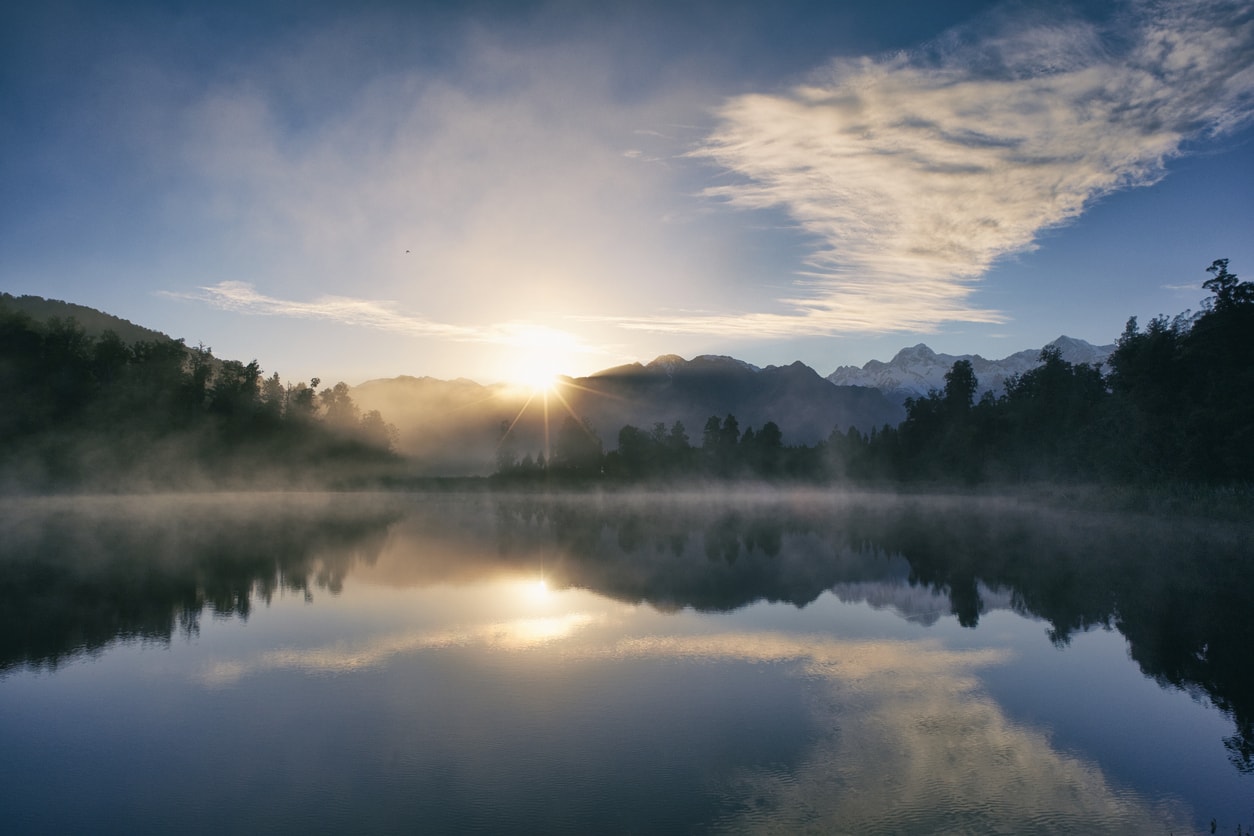
Water reflection shots have the most impact if the water has a still, glassy surface.
But that stillness doesn't come at just any time of day.
The chances are better for still waters in the early morning, such as at sunrise.
The afternoon, however, is typically the time when the wind kicks up most frequently, so afternoon shots will be more difficult to come by.
What's more, reflection shots benefit from the softer, more colorful light that's present in the early morning and late evening. There's less glare, too, since the sun is so low in the sky.
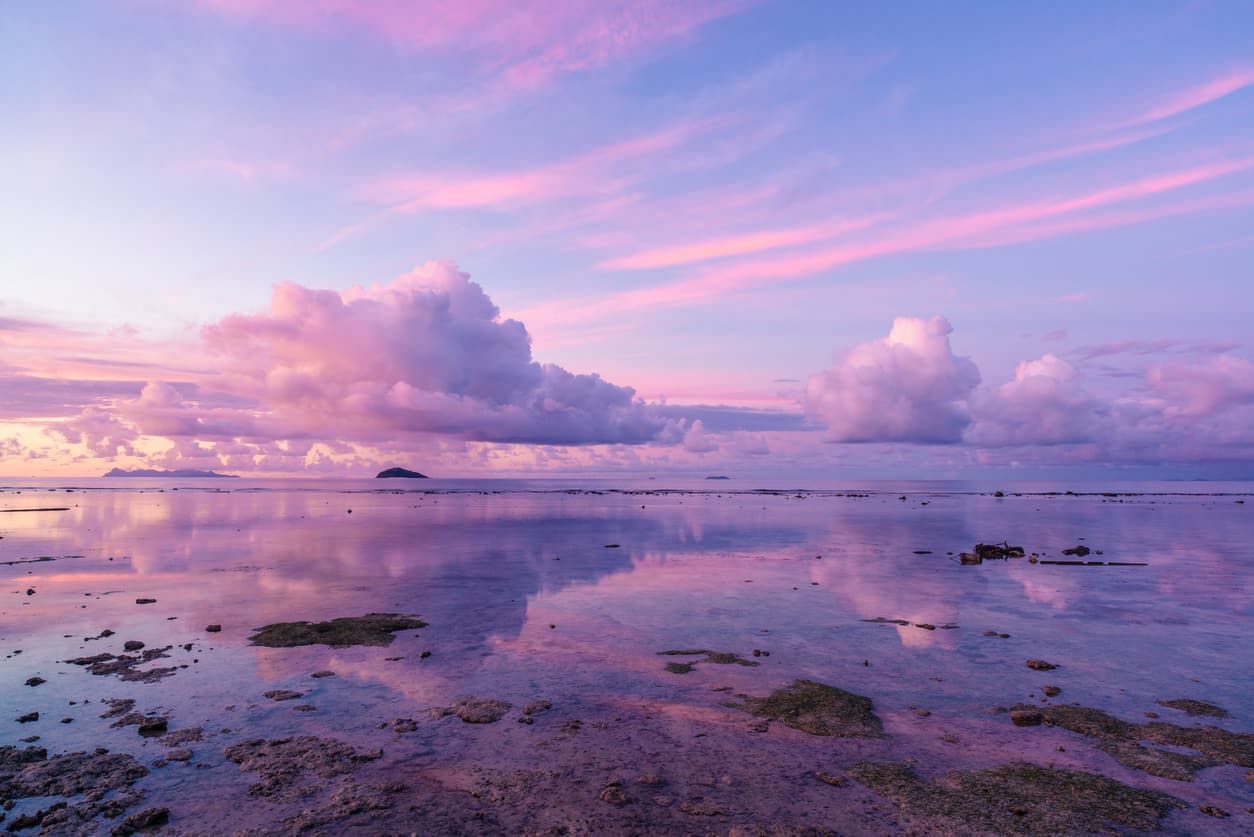
And if you want added drama, look for opportunities to highlight interesting cloud formations, as seen above.
Don't think that overcast skies aren't good for reflection shots, either.
With a blanket of gray above the water source, you can really highlight your subject!
Step #3: Use Aperture Priority Mode
Reflection shots are tricky because your subject is much further away from the lens than its reflection, yet you want both to be in focus.
One way to do that is to ensure the depth of field is large enough to capture both elements.
The aperture you use is one of the factors that influence depth of field. The larger the aperture value, the greater the depth of field.
So, put your camera in aperture priority mode (A or AV on your camera's dial), and select an aperture like f/11 or f/16. Even if there's objects in the shot just a few feet from you, that aperture should give you enough depth of field to get the entire scene in sharp focus. Learn more about the best camera to take pictures on our website PhotographyTalk.com.
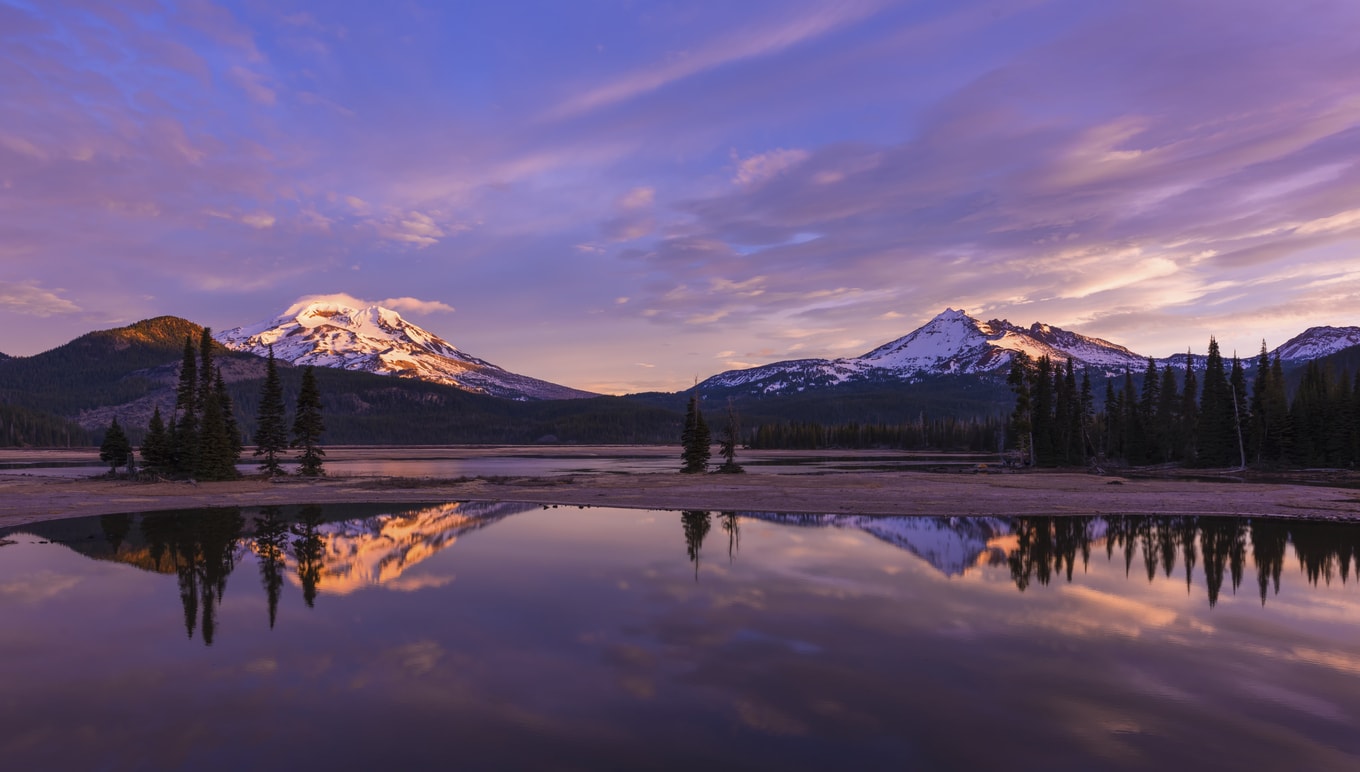
If you have a few choices of lenses, opt for something in the wide-angle range.
A wide-angle lens allows you to get more of the scene in the shot and offers a pleasing perspective, particularly of landscapes as seen above.
Step #4: Minimize the ISO
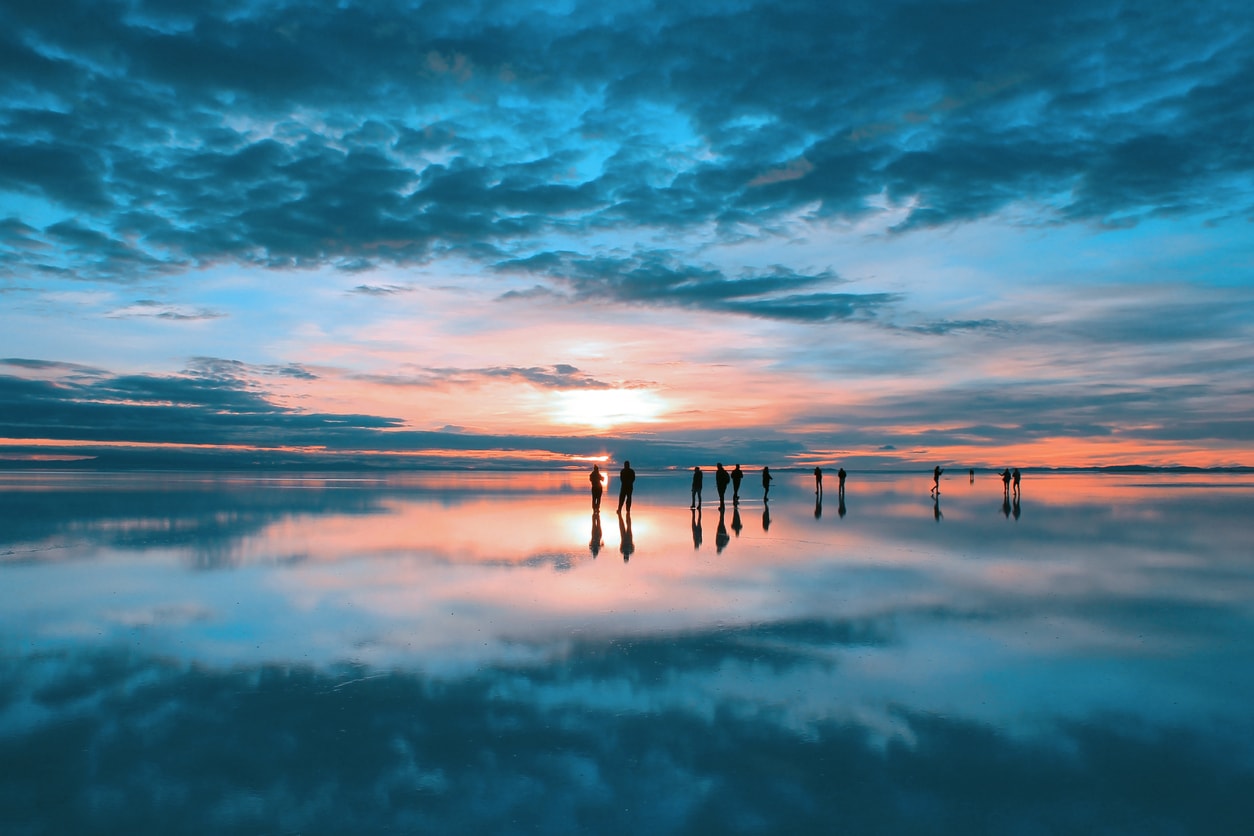
If you're shooting a reflection photo during the daytime, minimizing the ISO won't be a problem.
But at sunrise and sunset, you might need to bump it up a bit to prevent the image from being too dark.
In those cases, still strive to keep the ISO as low as possible.
This is advisable because as the ISO increases, the image becomes grainier due to noise.
Fortunately, when shooting in aperture priority mode, you can set the ISO as well.
Today's cameras can easily shoot at ISO 800, 1600 or even 3200 before noise becomes a noticeable issue, so just be aware of that when changing the ISO setting.
As a bonus tip, if you're shooting handheld and you find that the shutter speed the camera selects is just too slow and introduces camera shake, use a higher ISO.
Since the ISO increases the sensitivity of the sensor to light, a higher ISO means a faster shutter speed is possible.
If it comes down to choosing a photo that's blurry because of a slow shutter speed or one that has a little digital noise due to a high ISO, choosing the latter is always the better option.
Step 5: Help Your Camera
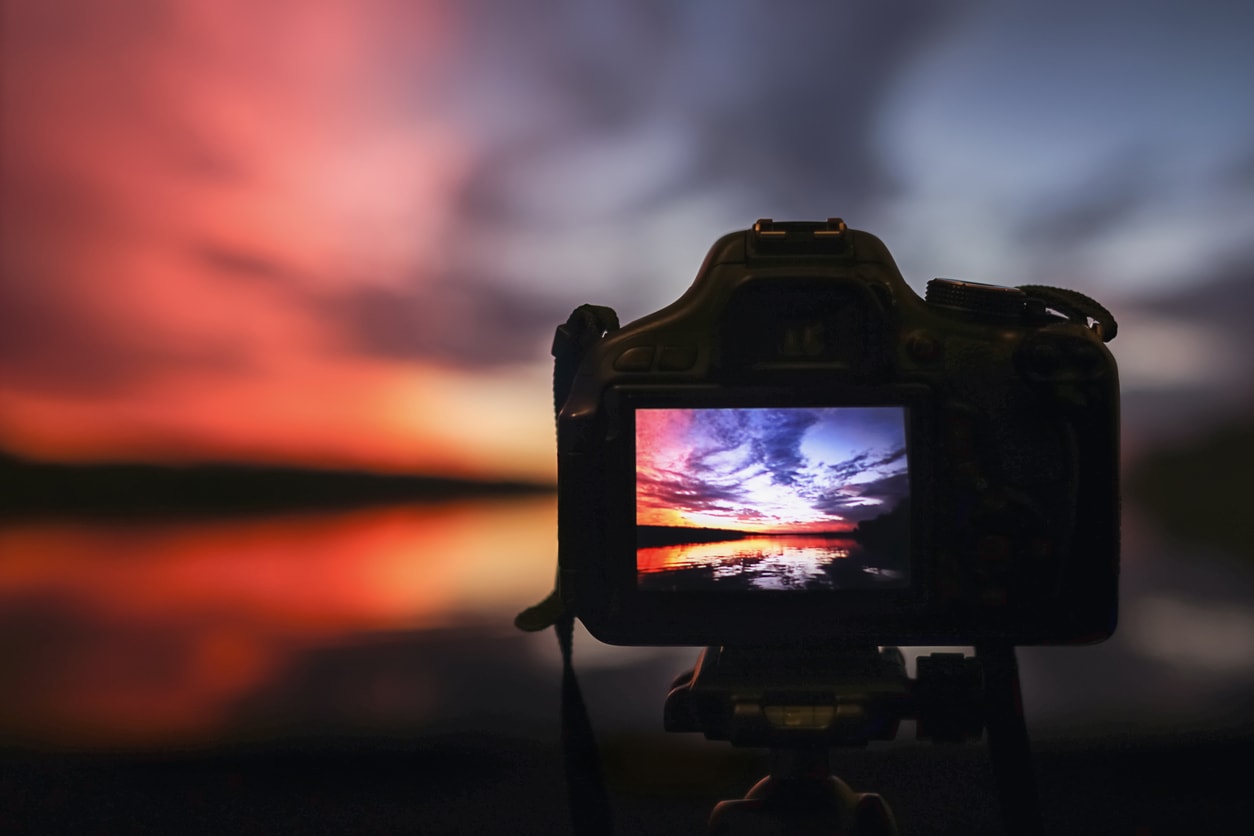
Your camera can do a lot on its own, but it can always stand to get a little help from you in order to get the best water reflection photo.
For starters, use a tripod when shooting, that way your camera has a nice, stable base to get a tack-sharp photo.
Don't opt for a cheap tripod, either. Quality matters here, so do your due diligence and get a solid tripod that will last you for years and years.

Something else you can do to help your camera is to use filters to improve the exposure.
A polarizer will help reduce glare off the water and will also increase the contrast of the blue sky and white clouds, making them pop more in the shot.
You might also try using a neutral density filter, which reduces the overall amount of light entering the lens.
This is advantageous if you want to shoot long exposures during the day because with a reduced amount of light entering the lens, you can use a longer shutter speed to get those nice blurry effects of a long exposure.
You might also try manually selecting the focal point...
Though today's cameras have incredible autofocus systems, they aren't always accurate.
If you find that your camera is struggling to acquire the desired focus point, simply access the autofocus menu (usually by pressing a button on the back of the camera labeled AF) and manually selecting which point you want the camera to use to acquire focus.
This will often help you get a sharper photo, and sharp photos is what we want!
Putting It All Together
As I mentioned in the introduction, getting a great photo of a water reflection is more involved than pointing and shooting at a body of water.
As is outlined above, you need to consider everything from the subject matter to the time of day, the camera settings to the accessories you use.
By bearing these things in mind, I think you'll find that you're better equipped to get stunning water reflection shots like those shown throughout this article.
Get a few more tips and inspiration for water reflection photos in the video above from Landscape Photography iQ with Tom Mackie.
We Recommend
Learn to Take Stunning Photos With These Simple Photography Tips
Learning how to take good pictures doesn't have to be complicated.
In fact, there are plenty of simple, straightforward photography tips that you can use to create much better photos, regardless of the subject.
In this quick guide, I offer up a few handy photography techniques that I use all the time to take improved images.
Let's get to it!
Worry Less About Technical Stuff

When you look at a photo and think "WOW, that's a great shot!" the chances are good that you feel that way not because of its technical prowess, but because it triggers a feeling or emotion.
That is, while it's important to learn the fundamentals of exposure, lighting, composition, and so forth, it's just as important to learn how to create photos that connect with people.
In fact, if you put a technically perfect, yet unemotive or cold photo next to one that's got a composition error or that's not exposed just right, yet connects with the viewer on an emotional level, guess which one will be deemed the better shot?
You guessed it...the photo that's not quite technically perfect.
In the image above, for example, the background is cluttered and busy, which is something that you typically want to avoid. But because it captures a sweet moment of a little boy lost in his own world, it's a great shot.

In the image above, the focus is off - the dog's snout is in focus while his eyes are not. Again, that breaks a fundamental rule of portraiture, but the image still works because there's so much emotion in the image.
With that in mind, spend time learning the fundamentals of taking a good photo, but also focus on the artistic side of photography - how to create something with visual impact and feeling that will reach out and grab viewers. One of the most powerful photography tips out there is to express yourself in your images!
Learn More:
- How to Tell a Story With Your Photos
- Make Your Photos Better With These Photography Composition Tricks
Don't Forget the Background

Whether you're taking a photo of a person, an animal, a landscape or something in between, it's important not to focus solely on the primary subject, but also to consider the background.
That's because the background can either help or hinder the photo by bringing attention to the subject or taking attention away from it.
In the image above, the background is too bright, and the tree behind the model looks like it's extending out from the top of her head.
In other words, while the model looks lovely, the background is simply too distracting and takes our attention away from the subject.
In this example, notice how the brightness of the shot is much more consistent from front to back. That is, the background is no longer popping off the screen as it was in the previous shot.
What's more, by placing the model on the pathway, the lines it creates as it moves into the background of the shot helps frame the subject, keeping our eyes on her rather than wandering around the shot.
So, as you can see, in learning how to take better pictures, consider how the background impacts the shot.
Editor's Tip: See how the right clothing and props can elevate your portraits.
Consider Light AND Shadows

The mistake that some new photographers make when creating a photo is that they only look at light.
That is, they see a sunset with its beautiful colors and soft light and think that's all that's needed for a great landscape photo.
As far as photography tips go, you also have to consider how shadows come into the mix.
In the image above, for example, the sunset is gorgeous, but the silhouette of the mountain isn't.
Because the mountain takes up so much room in the shot, and because you can't see any details in that area, the shadows make this image feel heavy and incomplete.

This image, on the other hand, has a much better balance between light and shadows.
Notice how there are areas of bright light, midtones, and dark shadows, all working together to create a nicely balanced image.
Though there's nothing wrong with silhouettes, it's often a better bet to try to balance out light and shadows.
Learn More:
Think BEFORE You Press the Shutter Button
Years ago when I was just starting to dabble in photography, I got into the habit of taking a lot of photos in a short period of time.
I guess I felt like I needed to hurry so I didn't miss out on something.
The problem with that approach is that I was concentrating so hard on getting as many shots as I could that I neglected much more important things, like framing, composition, camera settings, and so forth.
In short, I ended up with tons of photos, most of which were total trash.
That being the case, learn from my mistake and focus on quality instead of quantity.
Slow down. Take a breath. Double-check your exposure settings. Experiment with the composition. Take the time needed to craft something that speaks to people.
It can be hard to slow yourself down, especially if you're taking photos of something that's time-sensitive, like wildlife or a sleeping baby or a landscape that's illuminated with gorgeous light.
But trust me when I say that taking 10 extra seconds to pay attention to the fundamentals of the photo is how to take good pictures - not slamming down on the shutter button as often as possible!
Editor's Tip: Complete your photos by turning them into fine art. Find out how.
We Recommend
Make Your Photos Better With These Photography Composition Tricks
When it comes to creating a compelling photo, there's a lot that needs to happen.
Naturally, you need good lighting no matter the subject, and speaking of subjects, you need something that's strong in the frame that draws the viewer's attention.
You need the right gear for the job, too.
For example, you won't be getting very good photos of wildlife with your smartphone, as a DSLR or mirrorless camera and a telephoto lens are more apt to help you get those kinds of photos.
But in addition to all those considerations is the manner in which you compose the shot.
In fact, you can have perfect lighting, a strong subject, and use the right gear, but without an interesting composition, the photo might still be a clunker.
With that in mind, I've put together a list of 4 interesting composition ideas that will make your photos more successful.
Frame Within a Frame

Even if you have a strong subject in the shot, it can still benefit from some sort of frame within the frame to further help the viewer lock onto the subject.
In the image above, there's actually a couple of different frames within the frame.
First, the walls of the ice cave direct our attention to the skier at the entrance of the cave.
And, second, the dark interior of the cave frames the bright opening of the cave in the background.
The result is a really strong composition that has tons of visual impact.
Learn More:
Shift the Subject Down
As noted above, one of the struggles of photography is to create a sense of depth.
Another challenge is to convey a sense of volume of space as we experience it when we're out shooting.
Though indicating volume is easier with certain types of lenses (i.e. wide-angle), compositionally speaking, one thing you can do to capture volume is to shift the subject to the bottom one-third of the frame.
In the photo above, you can see how the placement of the bicyclist near the bottom of the frame opens up a vast swath of the photo to be dedicated to the sky.
Since the subject is so small in the frame, it helps give us a sense of the space that she's in. In other words, the shot has a much better representation of the volume of space than if it had been framed tightly on the woman riding the bike.
Learn More:
Layering
One of the challenges of photography is trying to capture a three-dimensional space in a two-dimensional medium, but making that two-dimensional medium feel like it has dimension.
One trick to use to get that dimension is layering.
In the image above, note how there are elements at different distances from the camera that give the image depth.
You have the texture of the foreground grasses that provide fine details; the fence cutting diagonally across the frame; the rolling hills, each of which has an apex at different distances from the camera; and finally, the sky above it all.
The result is a shot that has tremendous depth and feels less like a flat image and more like a detail-rich 3-D representation of the scene.
Learn More:
- 4 Photography Composition Problems and Solutions
- Simple Yet Effective Composition Tips That Have Tons of Impact
Capture Action
Having a strong subject, as noted above, is a crucial aspect of composing a great shot.
One way to ensure you have a strong subject is to capture it in motion.
You can go one of two ways here - use a slow shutter speed to blur the motion of your subject, or as seen above, use a fast shutter speed to freeze the subject's movement.
In this case, the fact that the man is in mid-air as he jumps the fence makes this shot more dynamic.
What's more, look at how the man is shifted to the left of center in the frame. This helps us envision him completing his jump toward our right.
In other words, when you frame the shot of a moving subject, give it room to move into by leaving negative space in front of it.
Learn More:
Bonus: Look for Shadows
Shadows are an interesting compositional element because they add depth, dimension, and visual interest to a shot.
In looking at the image above, you can see why this is the case.
The top-down perspective flattens the scene, but with the long shadows created by the setting sun, we still get that sense of dimensionality discussed earlier.
What's more, these shadows help strengthen the subjects by giving them more visual weight - if the there were no shadows, the strength of the subjects would be greatly diminished.
Note as well all the lines in the shot. Since they're set on a diagonal, they create a more visually engaging background that makes the photo more interesting to view.
Learn More:
For even more photography composition tips, check out the video below by Tony and Chelsea Northrup:
We Recommend
Manual Focus Explained
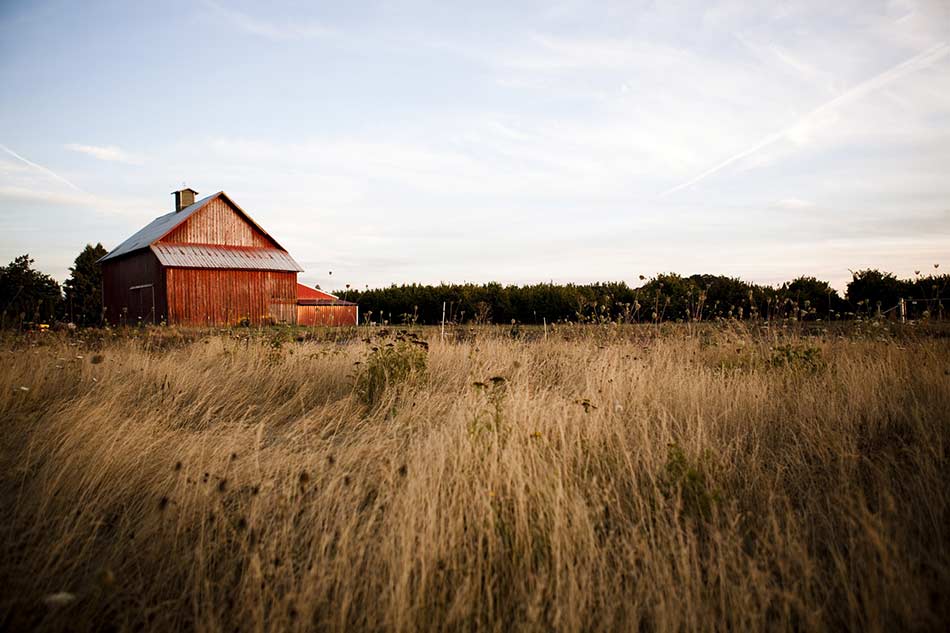
Looking at modern cameras, it's hard not to be impressed by the array of highly intelligent features they now come with.
Of course, this is coming from a guy that learned on an old 35mm Canon SLR...
But still, even for younger photographers that have known nothing but the digital age of photography, there's a lot to appreciate about what cameras can do on their own.
This includes incredibly sophisticated autofocus systems that can get you sharply focused images no matter if your subject is perfectly still or on the move.
However, even these advanced autofocus systems aren't perfect in every situation, and because of that, it's important for you to learn other ways to focus your camera, including manual focus.
Problems With Autofocusing
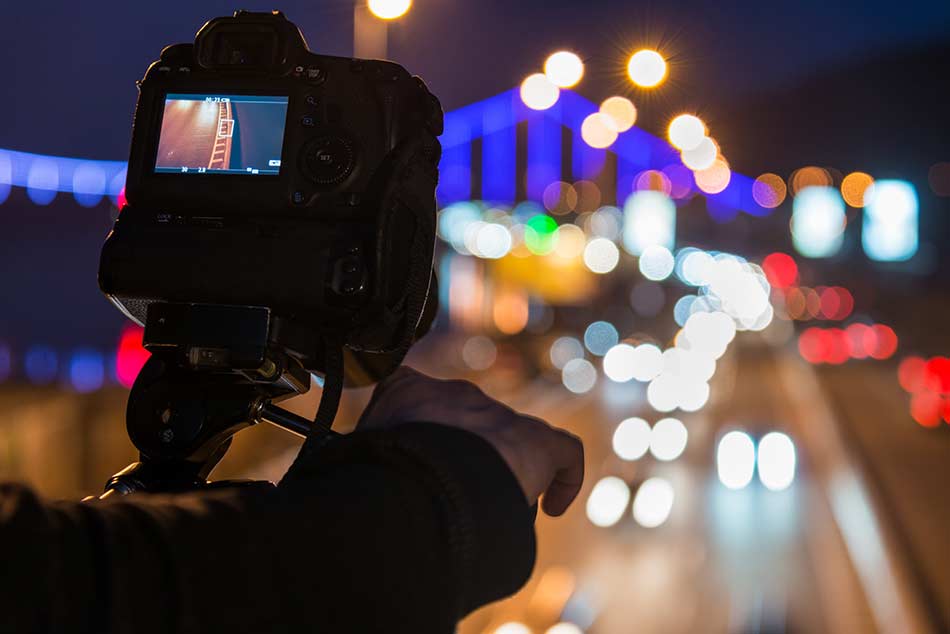
When discussing why you need to learn how to manually focus, it's necessary to understand why.
There are a variety of issues that can arise when you try to use autofocus in certain situations.
First, autofocus relies on contrast to help it define the subject matter. Without contrast (i.e. in a foggy landscape) the autofocus system will have difficulty determining where the subject is. If it can't identify the subject, it can't focus on it. The same goes for shooting in low-light situations, like the one seen above.
By using manual focusing, you're in control of what's in focus, and contrast and availability of light won't impact your ability to get the subject sharp.
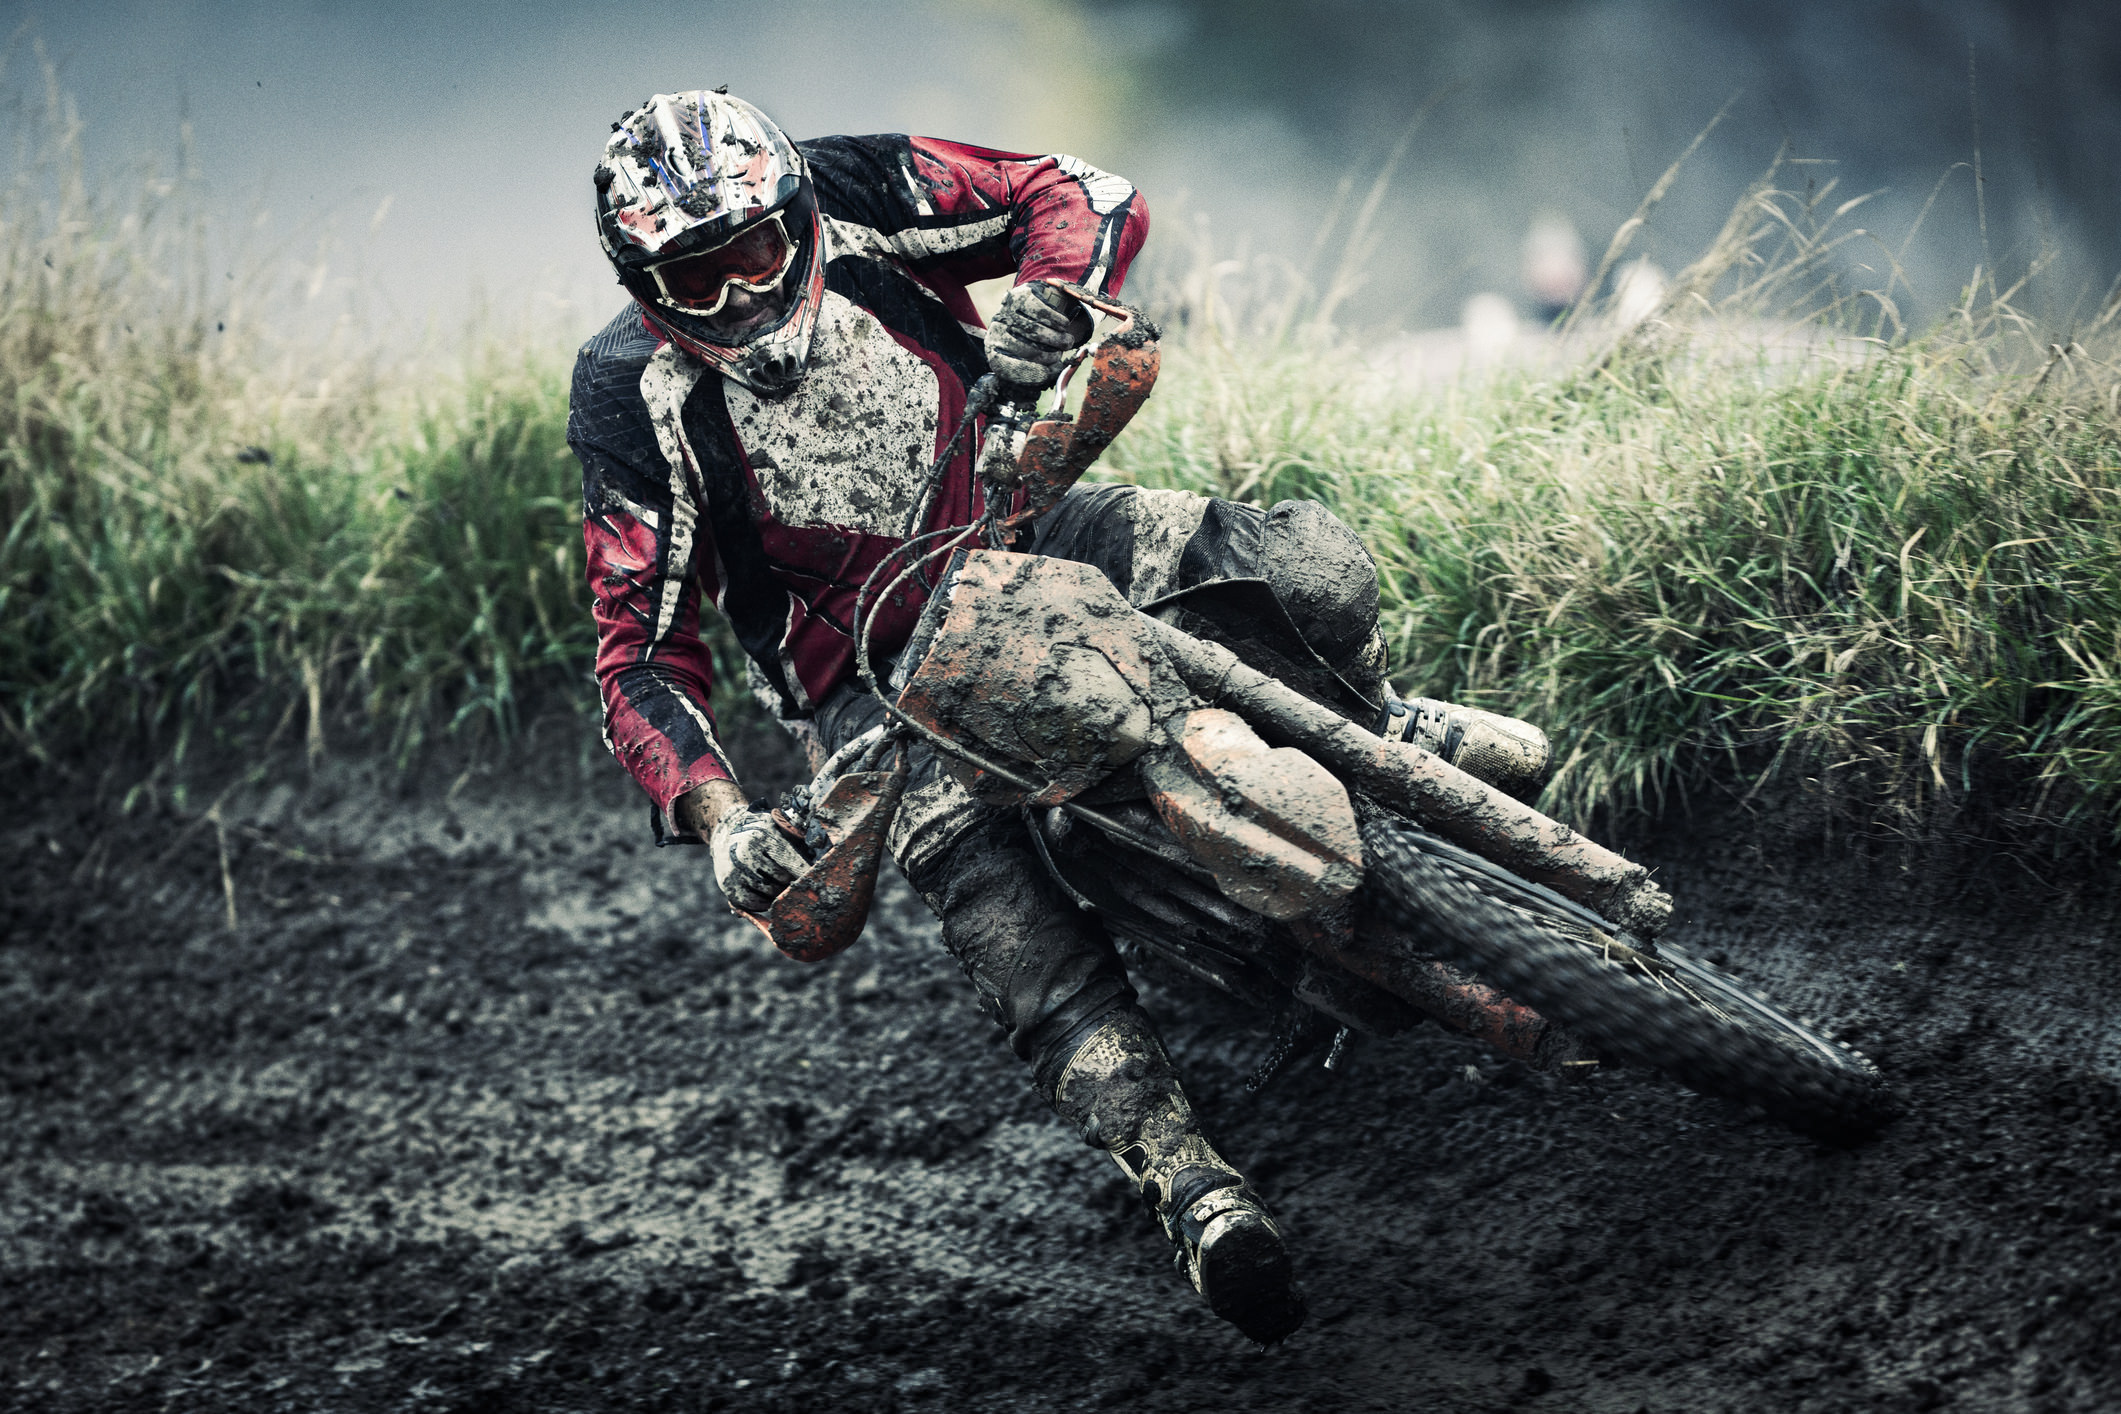
Second, when photographing moving subjects, the autofocus system might struggle to maintain focus, particularly if the subject is moving very quickly. Another issue is that the autofocus system might take too long to acquire the focus, meaning you miss the shot altogether.
In both situations, you can use manual focus and a technique called pre-focusing, in which you train your lens on a certain spot, dial in the focus for that spot, and wait for the subject to move into that area to take the picture.
Think of photographing a motorcycle race and focusing on a particular area of the racetrack and waiting for the motorcycle to come through that specific spot to take the photo. That way you don't have to track the subject and worry about missing the focus - instead, you get a sharply focused image like the one above.

Lastly, sometimes the camera's autofocus system simply focuses on the wrong subject. This is especially problematic when you shoot through something - a foreground element like a window or a tree branch or the grass in the image above - because the camera might try to focus on the foreground object instead of the primary subject behind it.
A similar issue occurs when photographing wildlife, particularly birds.
Even if your camera has acquired focus on the desired subject, say, a bird perched on a tree, if another bird were to enter the frame in the foreground, the autofocus system might reacquire focus on the new bird because it's closer to the camera.
In other words, the autofocus system in your camera is "trained" to focus on the closest object in the scene. Naturally, that's not always what you want in focus, so learning how to manually focus becomes beneficial in that situation.
How to Manually Focus

Even though it might sound scary to use manual focus, it's really much simpler than most beginner photographers think.
First, you need to switch your lens from autofocus to manual focus. You do that my moving the switch on the side of your lens from AF to MF (or A to M, depending on the lens).
Next, bring the camera to your eye and frame the shot. Half-press the shutter button to acquire focus.
Then rotate the lens's focusing ring to bring the subject into sharp focus.

But beware! The focus ring is not the same as the zoom ring.
The zoom ring is located closer to the camera body while the focus ring is toward the end of the lens. In looking at the image above, you can see the photographer's thumb and fingers are on the focus ring.
Once the subject is in focus, press the shutter button all the way to take the shot.
Easy, right?
Check out the process of using manual focus in the video below by CNET:
As noted in the video above, there are a couple of tricks that will help you make the most of manual focus.
First, when manually focusing, you can use your camera's Live View feature to zoom in on the subject to check the focus. If the focus is off, you simply adjust the focus ring until the subject is tack-sharp.
Second, you can lock focus that's been acquired in autofocus mode by focusing on the desired subject, and then switching into manual focus mode.
This prevents the camera from switching focus to an object that enters the scene, like the problem we discussed above when photographing birds.
Let's explore Live View in more detail.
Using Live View Manual Focus
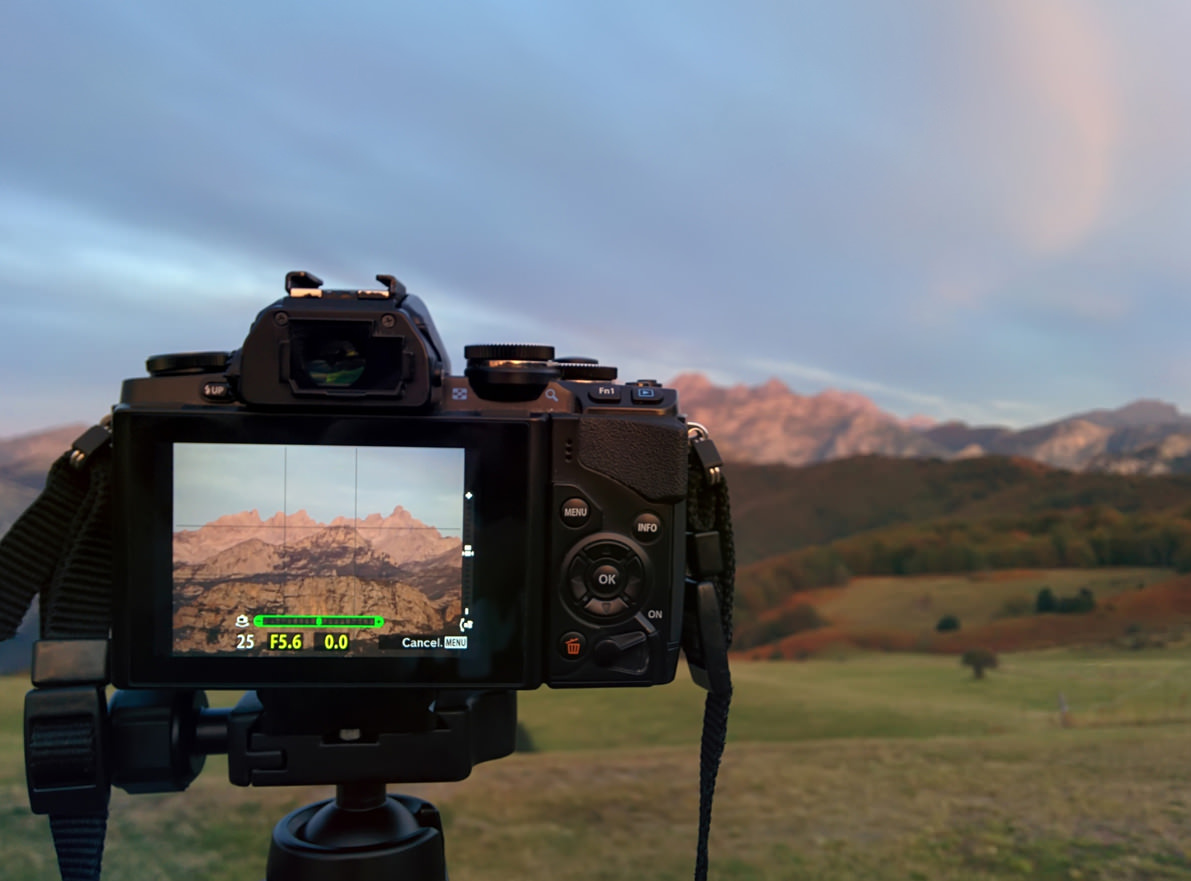
As mentioned above, Live View is advantageous for manual focusing because it allows you to zoom in on your subject to check focus.
Granted, you can check focus by using your camera's optical viewfinder, but the problem is that the viewfinder doesn't display the scene at the same aperture as it's being photographed.
That means that your view of the scene will be slightly off. You can adjust that view by using the Depth of Field Preview Button, but the problem is that what you see in the viewfinder darkens and it's difficult to see focus anyway.
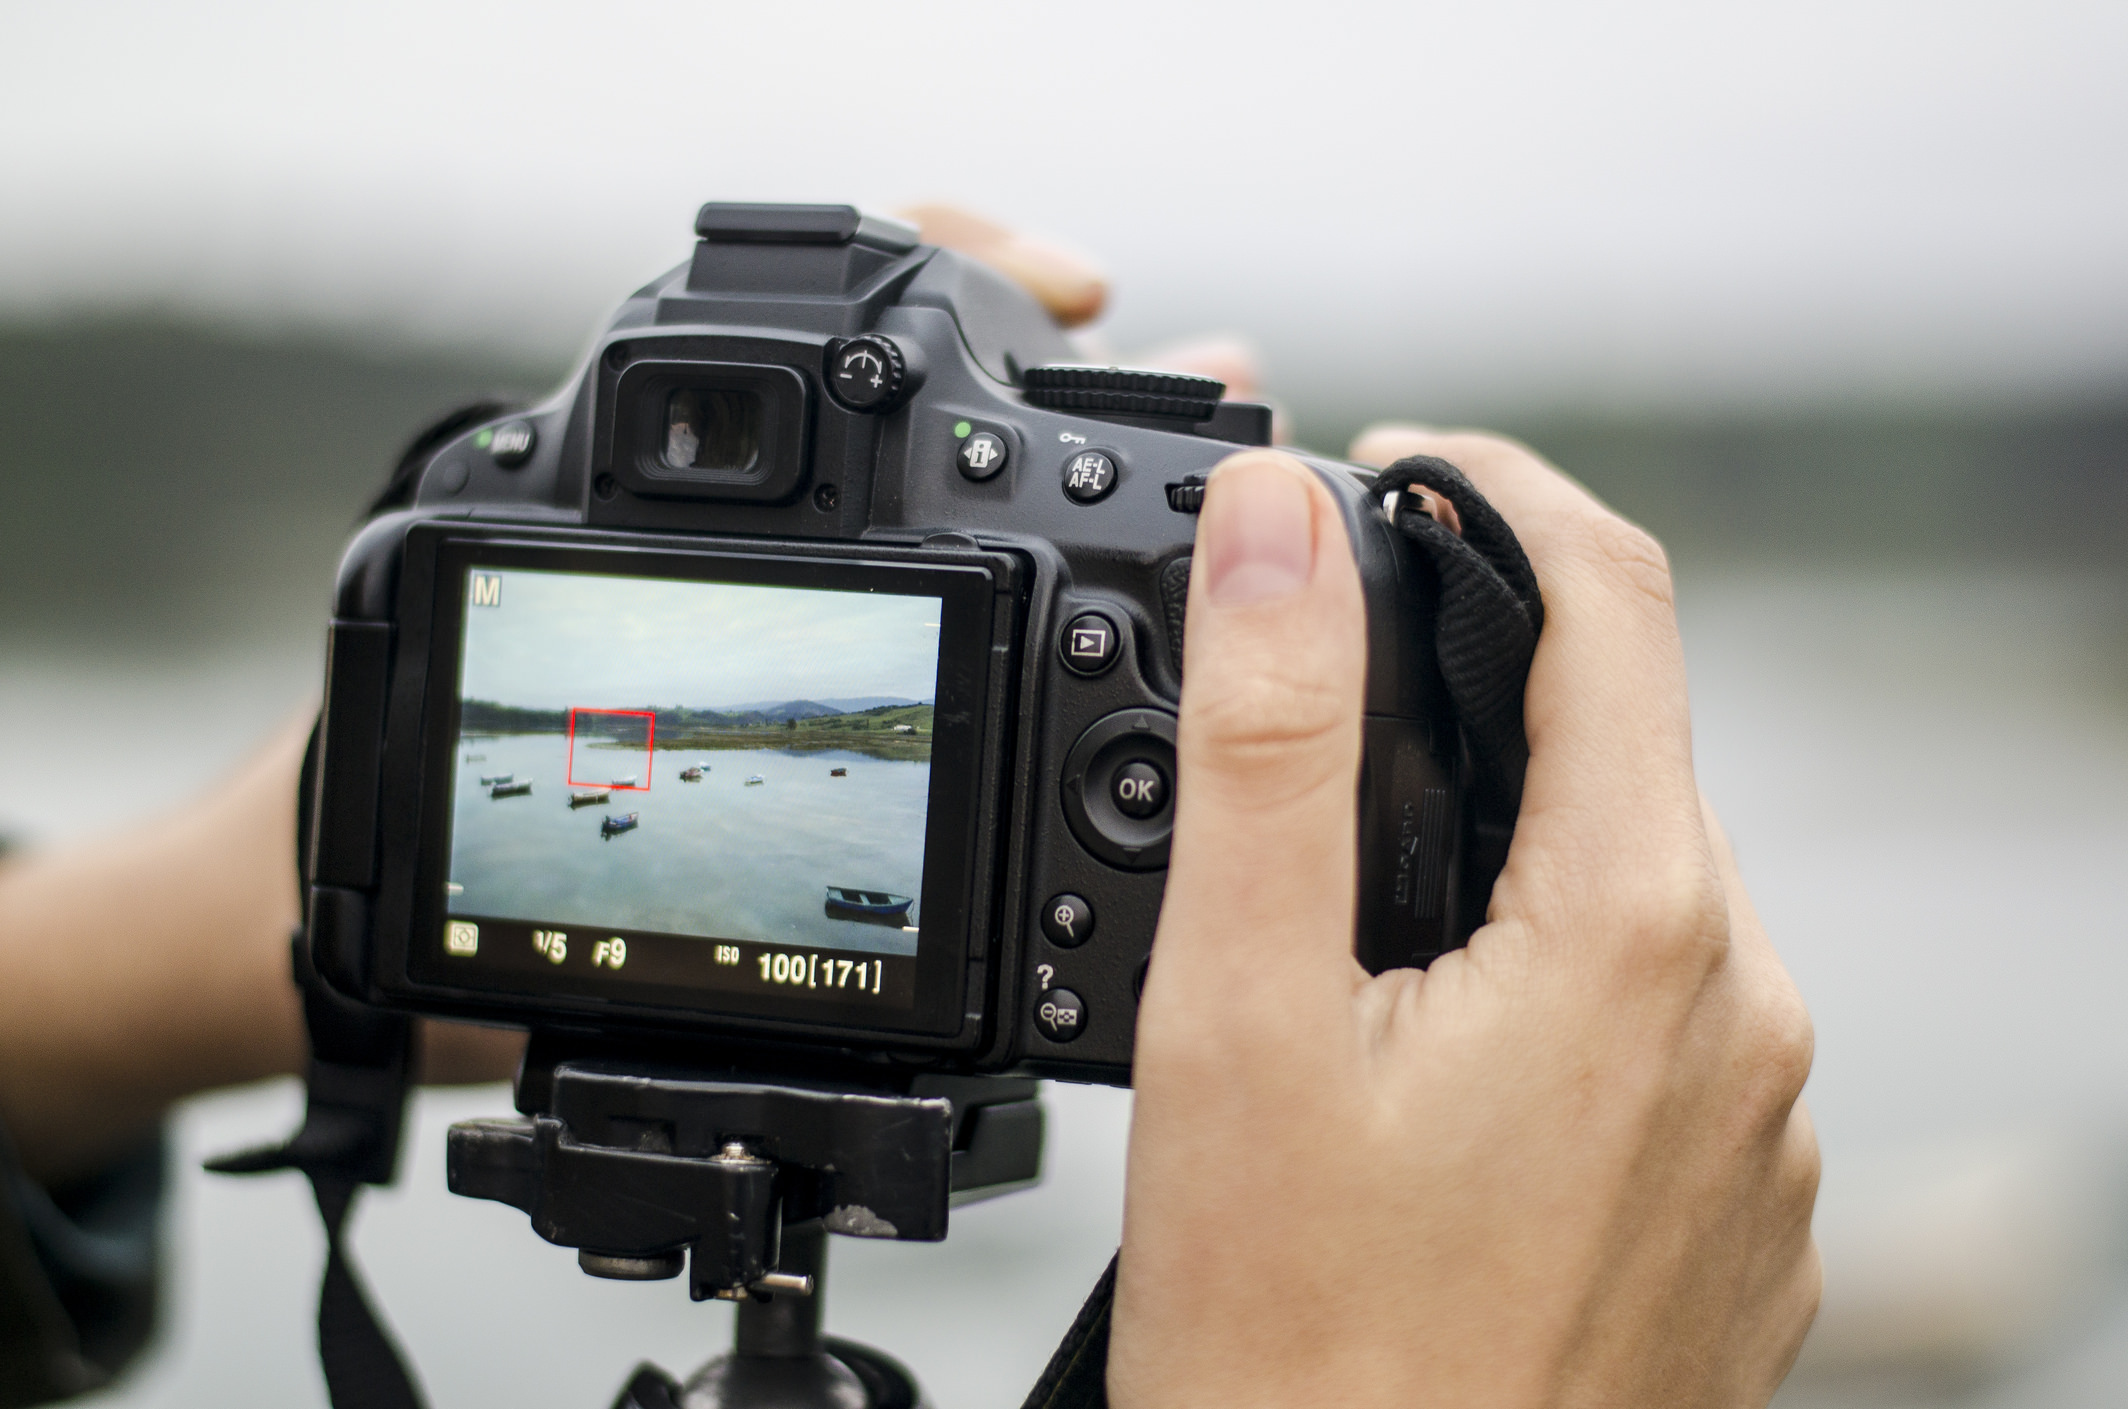
Using Live View is a simple process:
- Enable Live View using your camera's menu. Check your camera's owner's manual if you aren't sure how to do this.
- Frame up the shot, composing it how you wish.
- Switch your lens from AF to MF.
- Use the arrow keys on the back of your camera body to move the zoom box to the location where you want to check focus.
- Once the zoom box is in place, use the + button to zoom in.
- Once zoomed in, rotate the focus ring to obtain sharp focus on the point you desire.
- Once focus is set, exit Live View and press the shutter button to take the photo.
Though it might seem like a pretty involved process with many steps, once you get the hang of Live View focusing, it will become a process that you can do quickly and easily.
To make it even easier, mount your camera to a tripod when using Live View focusing.
Applications for Manual Focusing

Earlier, I outlined a few instances in which manual focusing is advantageous. But there are even more scenarios in which manual focus will get you the best results.
When shooting macro scenes like the one above, you can use manual focus to get pinpoint sharpness that autofocus systems will struggle to obtain.
Autofocus systems don't do well in close-up situations, and as noted earlier, when a subject moves, the autofocus system will try to reacquire focus, sometimes on the wrong subject and sometimes too late to get the shot.
Manual focusing is also helpful for landscape photography.
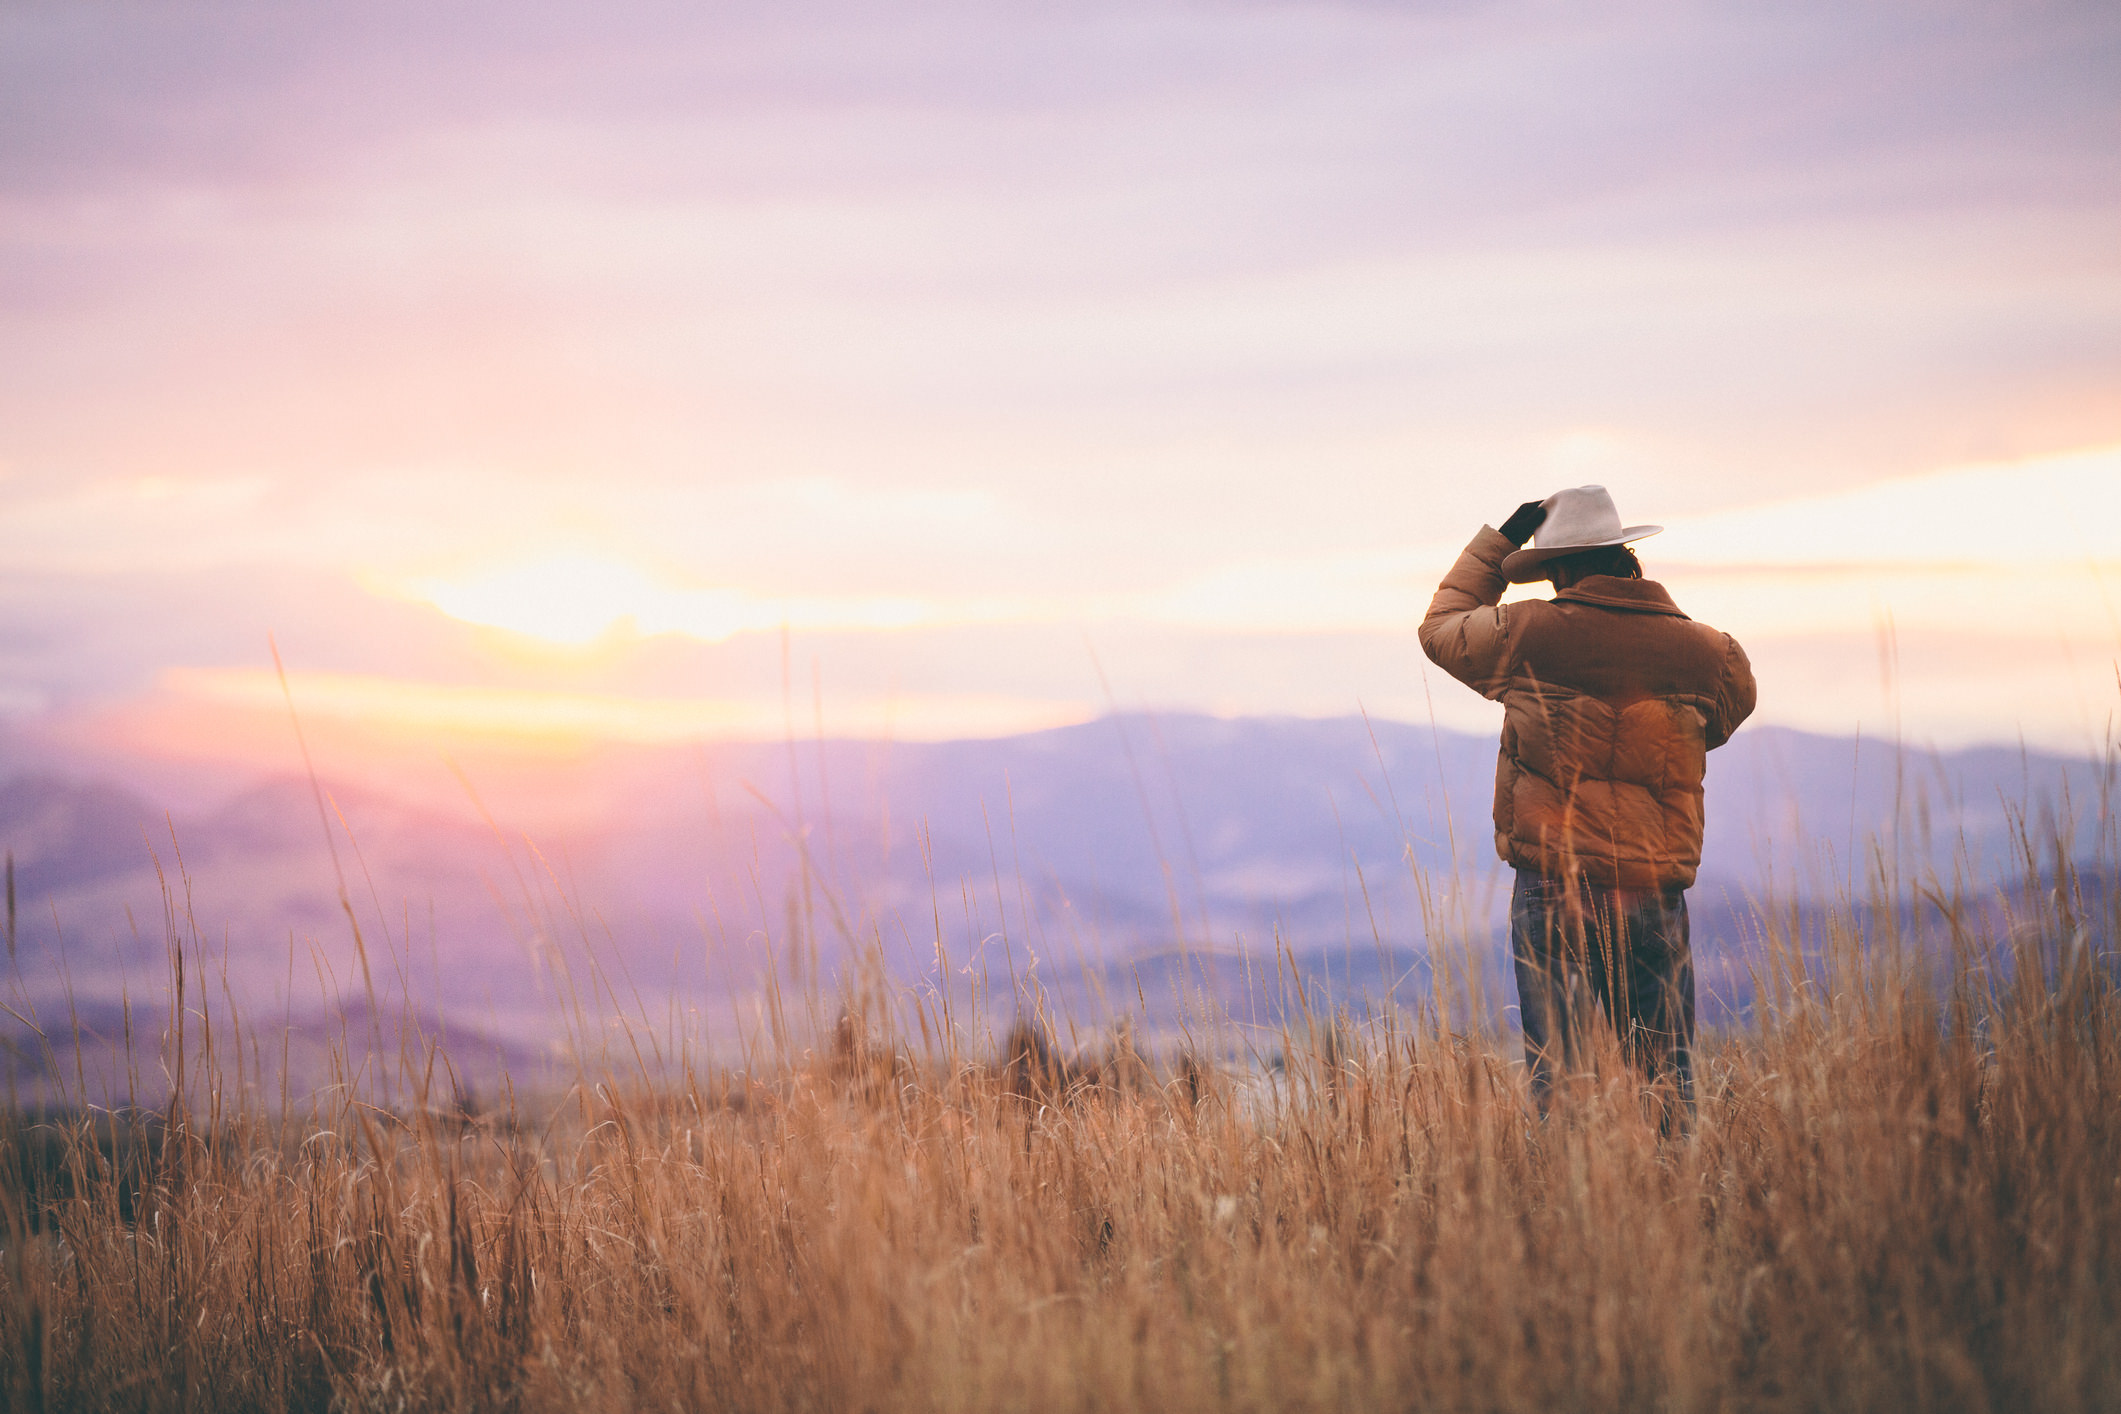
Landscapes often benefit from having sharp focus from foreground to background.
Though autofocus systems do a decent job of this, manually focusing can get you sharper results.
The key is to use depth of field to your advantage.
Depth of field refers to the area of a photo that's in sharp focus. It extends about one-third in front of the focal point and about two-thirds behind the focal point.
All you have to do is simply focus one-third of the way up from the bottom of the frame, and you'll be able to maximize the depth of field in the image, resulting in a landscape that's in sharp focus from front to back.
Another application that benefits from manual focusing is panoramic photography.
When creating a panorama, autofocus might switch the focal point from one frame to the next. When those frames are stitched together, the different focus points can result in a photo that looks strange.
By taking control of focusing yourself, you can ensure that the focal point is the same for each image in the series, with a tack-sharp panorama the result.
No matter what you're photographing, manual focus can prove advantageous. It's a more advanced technique that requires a lot of practice to master. However, once you master it, you'll find that your photos are the better for it!
We Recommend
Mastering Mobile Photography and Getting the Most Out of Your Photos
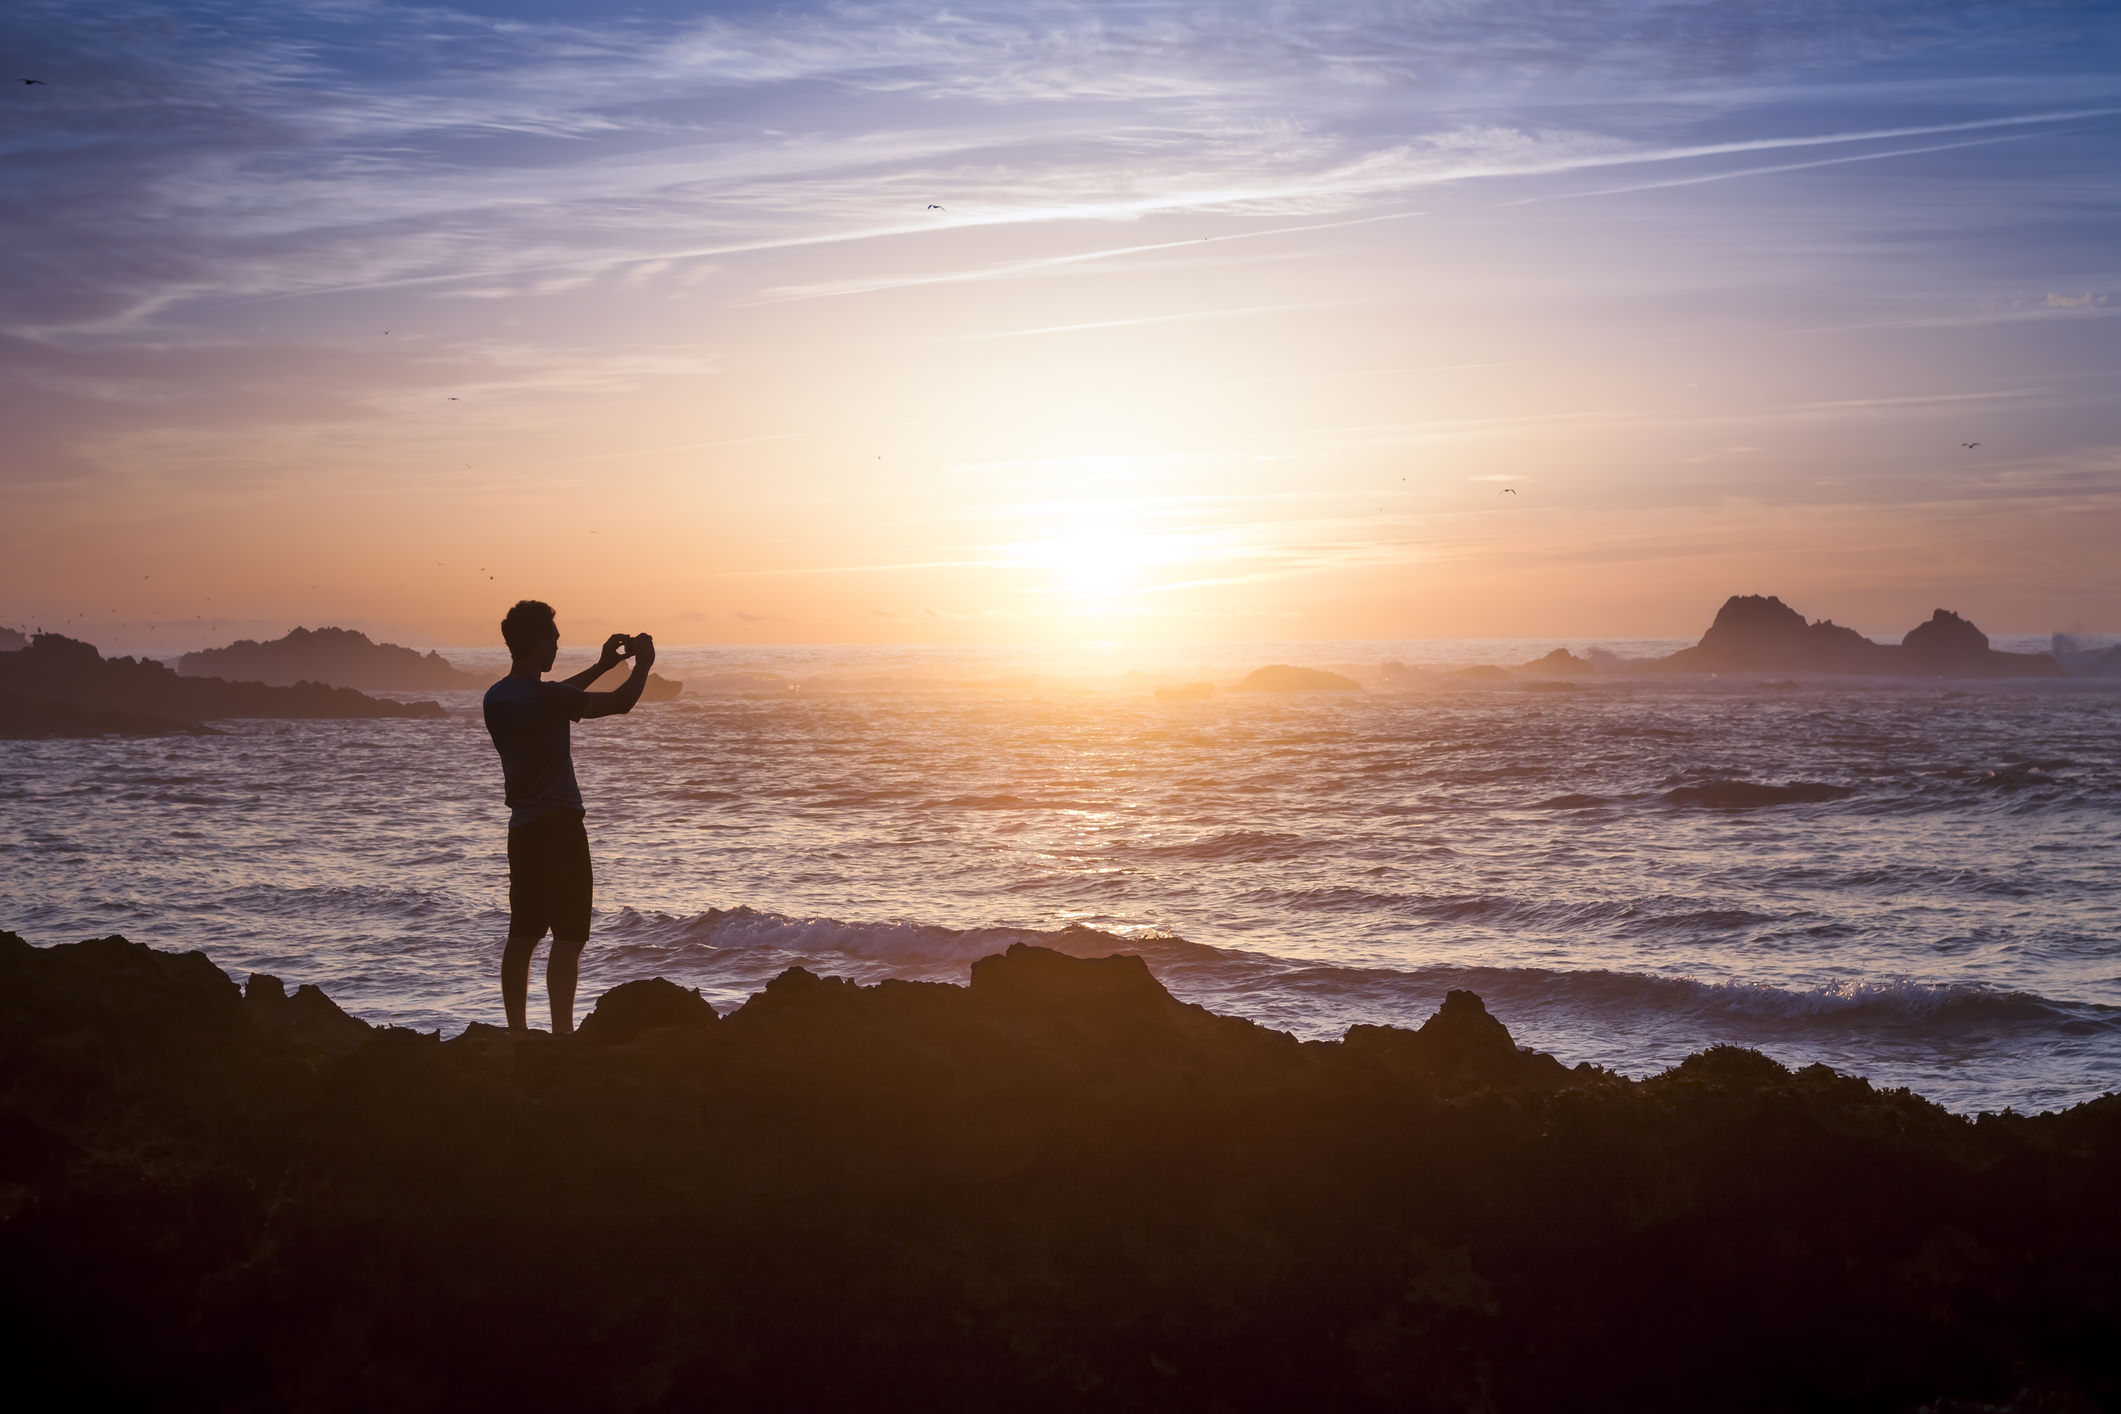
There's a lot of focus these days on the quality of full-fledged cameras like mirrorless and DSLRs.
And though today's cameras are more feature-packed and powerful than ever, so too is the camera you have in your pocket.
If you ask me, we're living in the golden age of photography due to the simple fact that just about all of us have a very worthy camera attached to our smartphones.
Though some photographers balk at the idea of using their phone to take photos for anything other than posting on social media, the fact remains that the photos my iPhone produces today are far superior in terms of quality than the ones I created back in the day with my first film camera.
Perhaps that's comparing apples to oranges, but the fact remains that mobile photography is not just a passing fad, and, if anything, it's just getting better and better with every new phone and photography app that's released.
With that being said, just because our phone cameras are easy to use doesn't mean that taking a high-quality photo with your phone is a matter of just pointing and shooting.
Instead, mastering mobile photography and getting the most out of your smartphone photos requires the same kind of practice and skill development that's required when using a "real" camera.
With that in mind, let's explore a few tips and tricks that you can use to take your mobile photography to the next level.
Watch the Lighting
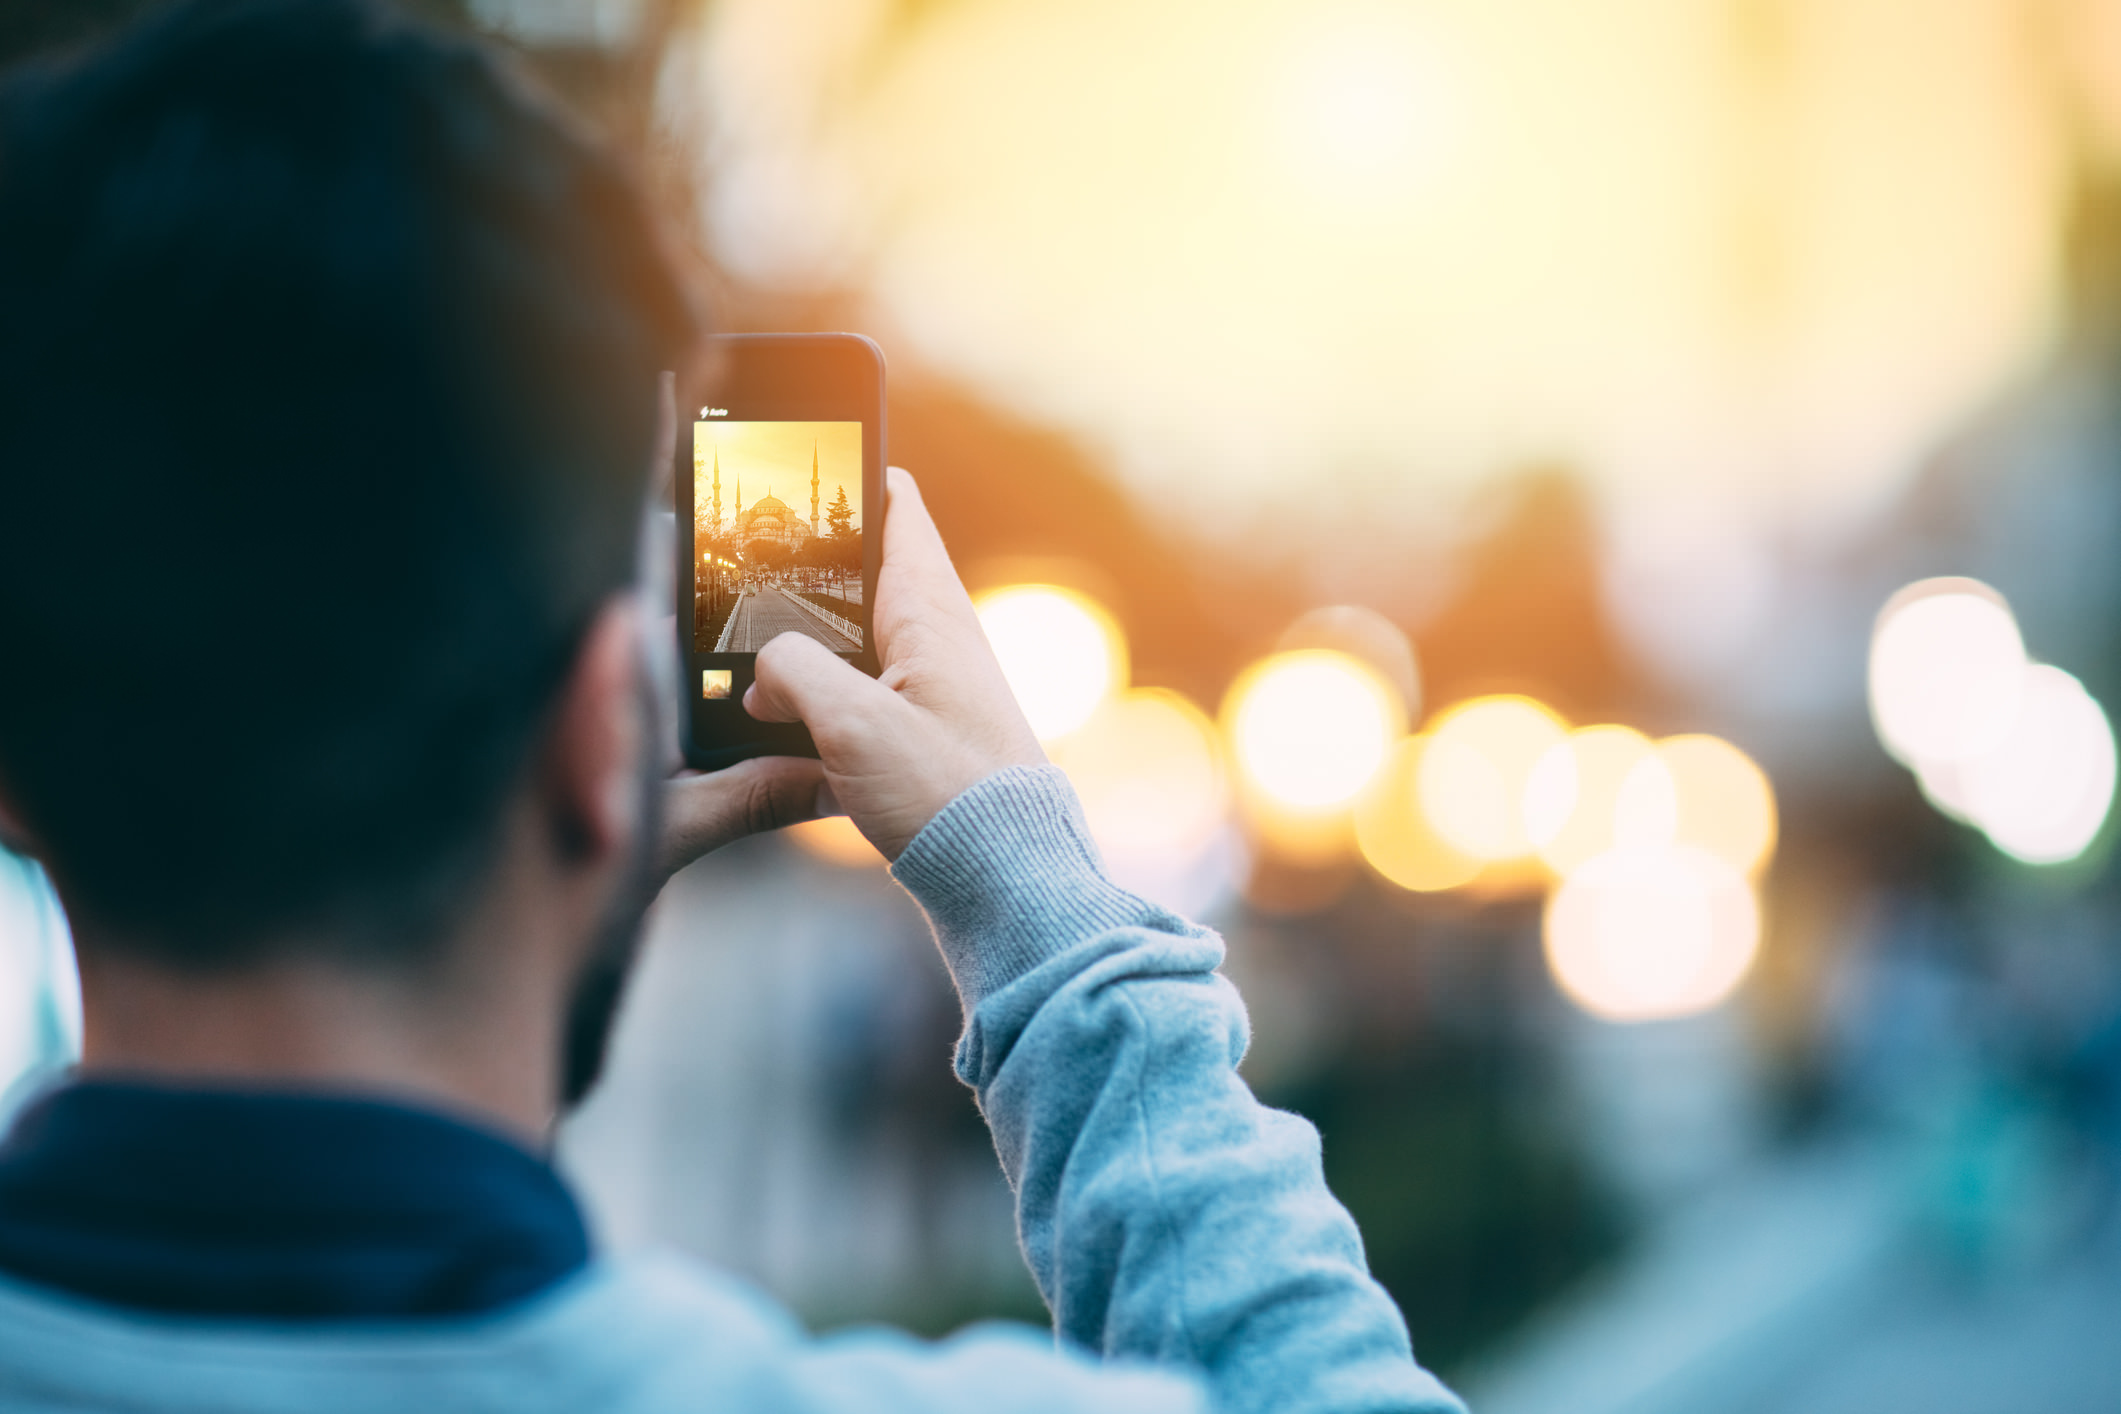
Photography is all about light, and if you can learn to identify what the light is doing and what you need to do to best utilize the light that's available, your smartphone photos will be the better for it.
I'm assuming that most of you already know that the best light of the day occurs during Golden Hour - about an hour after sunrise and an hour before sunset.
Golden Hour is ideal because the light at that time of the day is very soft and very warm.
Those are good lighting qualities for any photography subject, but particularly for portraits.
The problem, of course, is that you can't always drop what you're doing and wait for the sun to set to take a photo. That defeats the purpose of having a camera readily available to you at a moment's notice right there in your pocket.
Instead, if you can learn about light, you can take measures to maximize its impact.
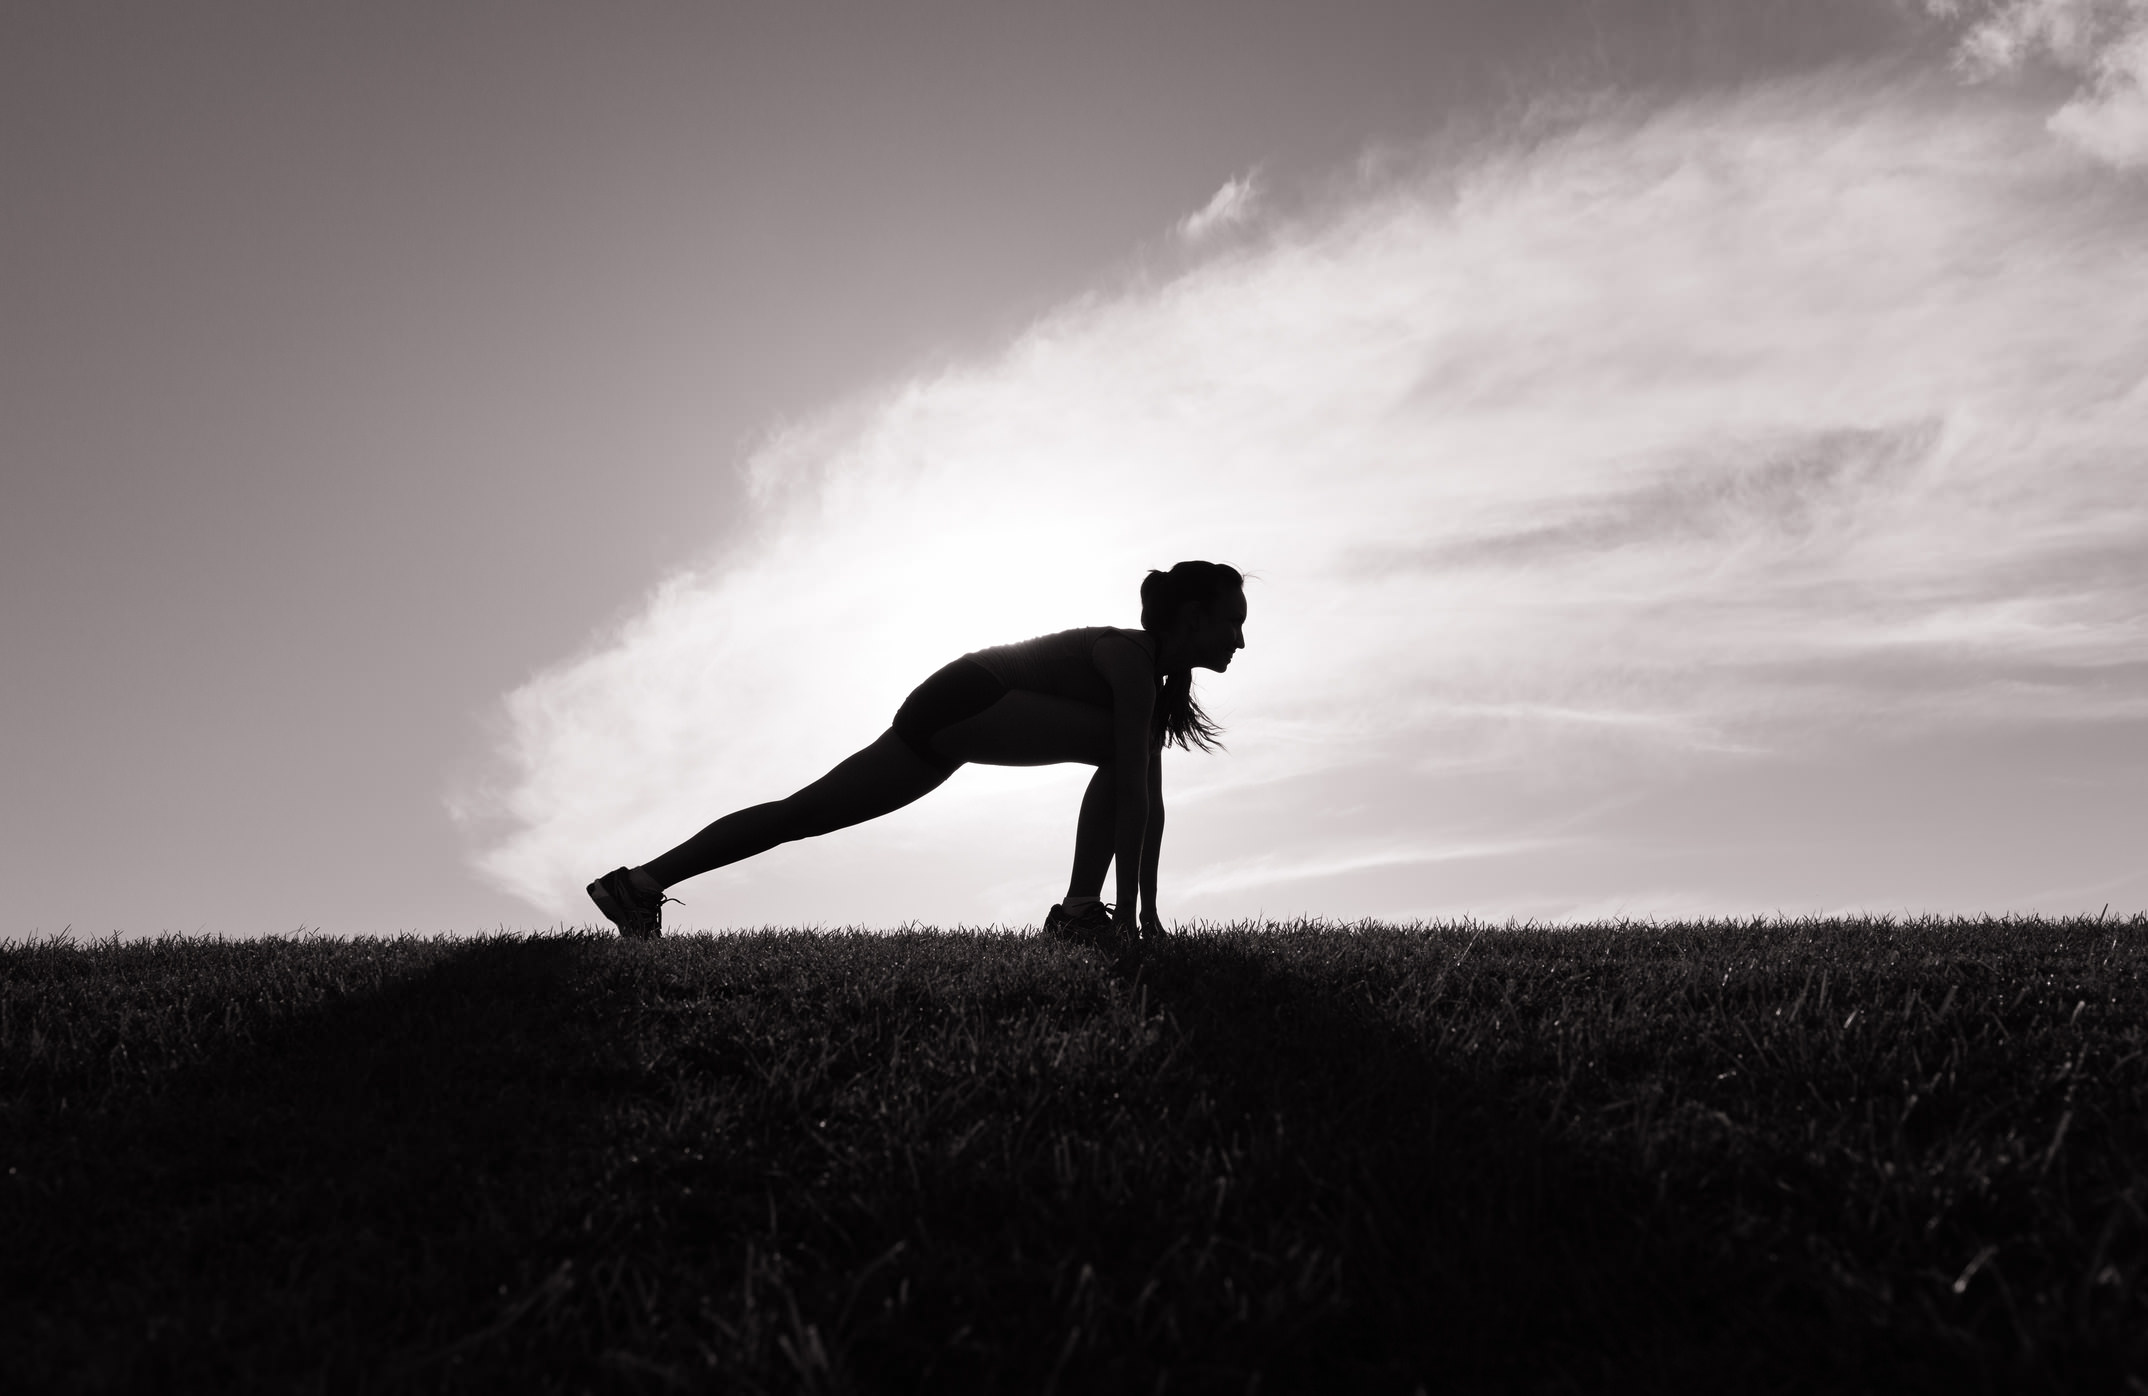
For example, if you're taking photos during the middle of the day under harsh lighting conditions, one option is to convert your photos to black and white.
This can be advantageous because midday lighting often creates very bright highlights and harsh shadows.
While those sorts of features tend to not look that great in a color photo, in a black and white photo, that large contrast, or dynamic range, can be highly beneficial.
Black and white photos benefit from bright whites, dark blacks, and midtone grays because of the lack of color. That means that all that contrast helps add visual impact to a black and white photo.
So, the next time you're shooting during the day, look for ways in which the light creates highlights and shadows and play those up in the photos you take for an eye-catching result.
Get Geared Up
Just like with a more traditional camera, it's possible to take good photos with just your smartphone.
But, like a solid tripod or a camera remote helps you take better photos with a DSLR, add-on accessories for your phone help you elevate the photos you take as well.
Having the right tools is crucial no matter what kind of camera you use, and fortunately, there are innovative and useful products out there to help you maximize the utility of your phone as a camera.
One such product is Grip & Shoot.
Grip & Shoot is a multi-functional smartphone tool that makes better photos possible. How?
That's easy...
Not only does is serve as a solid grip for holding your smartphone nice and steady for clear, sharp photos, but it also gives you wireless control over your phone.
That means you don't have to press the screen to fire the shutter but can instead do so from the integrated trigger on the Grip & Shoot.
This is advantageous for a number of reasons, not the least of which there will be fewer fingerprints and smudges on your phone screen so you can actually see what you're photographing!
That also means that you can use Grip & Shoot's other programmable buttons to zoom in, zoom out, start and stop video...you name it...all with simple, smooth, and comfortable actions as you hold the device in your hand. See Grip & Shoot in action in the video below:
This little gadget even has an open API, so developers are free to program Grip & Shoot's buttons to tackle just about any task.
But Grip & Shoot isn't just a fancy handle for your phone. It's also a remote control for your phone.
Just remove the stand from Grip & Shoot, and you can mount your phone to any tripod. Then, using the grip portion of Grip & Shoot, you can fire your camera's shutter from over 100 feet away using Bluetooth 4.0.
Better still, Grip & Shoot works with iOS and Android phones, with easy controlling via the Grip & Shoot App. Plus, it's a tiny gadget that you can easily fit in your pocket, so you won't be weighed down by heavy gear. That's not a bad deal!
Change Your Perspective

One of the many advantages of shooting with your smartphone is that you can shoot unencumbered.
There's no heavy camera body or big lens to worry about. No huge tripod to constantly set up and take down. It's just you, your phone, some small and lightweight accessories, and you're ready to rock!
Since you can work lean and mean, there's no excuse not to give viewers a unique take on traditional subjects.
A great way to do that is to change the perspective from which you shoot your photos.

With your smartphone, you can get ultra-low, and lay down on the ground to create a shot that's truly a worm's eye view.
With such a large, beautiful screen to act as your viewfinder, you can also stretch your arms above your head and take a shot from a perspective that's higher than the normal eye level.
The point is that everyone has seen the Eiffel Tower from the usual perspective. We all know what Yosemite Falls looks like from the popular viewpoint. It's familiar to see a portrait of a kid with the kid looking up at the camera.
With such a small, easy-to-maneuver camera, you should throw convention out the window and seek to shake things up a bit. Get down low. Get up high. Take photos looking straight up into the air or straight down. Kneel, sit, or lay on the ground. Just change the view you give people, and your photos will have much more impact that leaves a lasting impression.
Putting It All Together
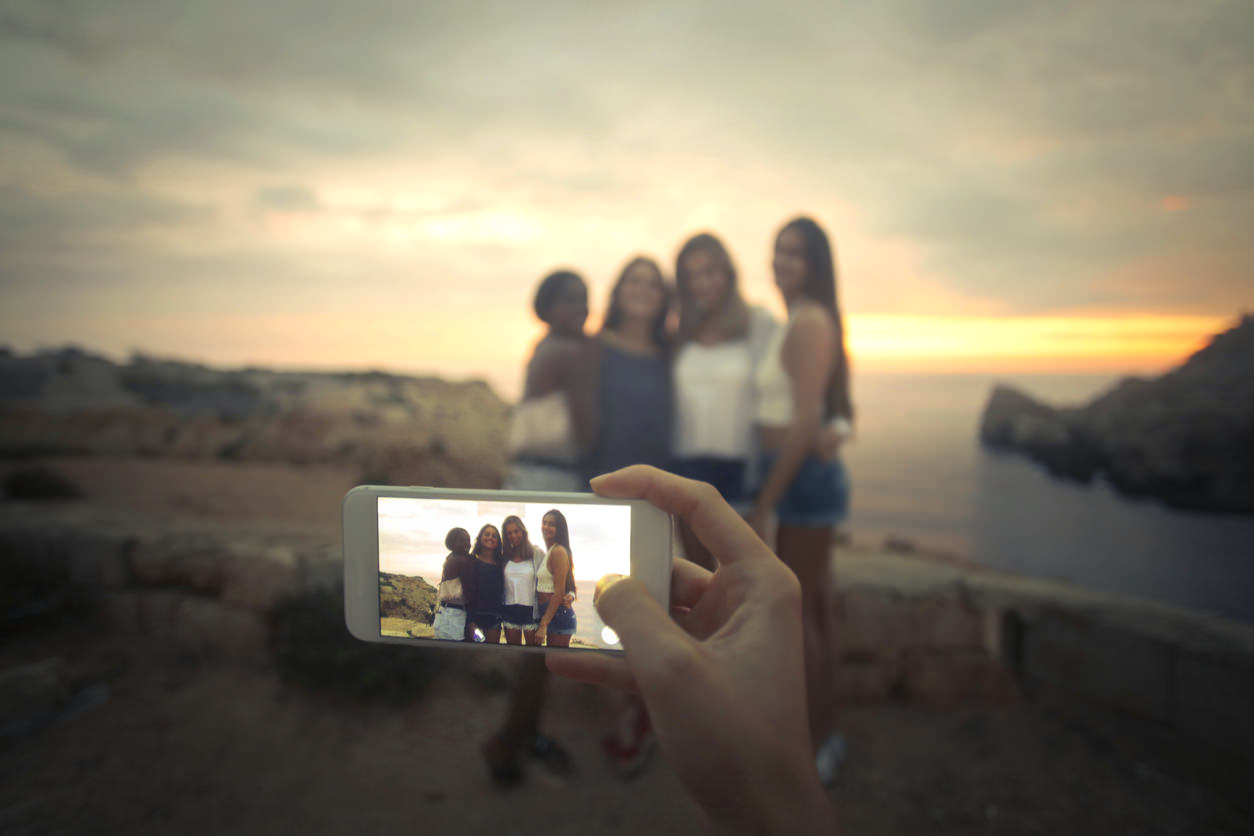
Obviously, this isn't an exhaustive list of what you can do to take control of your smartphone to create the most compelling photos.
But these tips will certainly get you started off on the right foot with a solid foundation of compositional and technical support.
On the composition front, paying attention to lighting and giving your viewers a unique perspective will help you create images that are eye-catching and leave viewers wanting more.
By outfitting yourself with gear like the Grip & Shoot, you can more easily take advantage of great lighting and unique perspectives as well.
Add to that the seemingly unending supply of camera apps and post-processing apps for your phone, and you've got the makings for a powerful toolkit to take your mobile photography to the next level!
We Recommend
Photography Composition Tip: How to Use Perspective

There's obviously a lot that goes into creating an eye-catching photo...
You have to consider the subject itself and whether it's strong enough to command attention in the frame.
You also have to think about the lighting and how it does or doesn't improve the quality of the shot.
Naturally, the composition is a key component as well, and among the compositional considerations you have to make, perspective is one of them.
Let's review exactly what perspective is and how you can use it to create a more compelling shot.
Perspective Defined
Perspective can be defined on two planes.
First, perspective refers to the relationship between objects in an image in space. That is, objects in the foreground of an image will seem larger than objects of equal size that appear in the background.
In the image above, notice how the bridge in the foreground appears quite large compared to the buildings in the background, even though we know the buildings are much larger than the bridge in reality.
Second, perspective refers to the positioning of the camera in relation to the elements of an image. That is, if a camera is placed near the ground, the image has a low perspective. If it's placed high above the ground, the image has a high perspective.

Naturally, when a photographer takes a low perspective, viewers won't be able to see as much of the scene as they would if the photographer takes a high perspective.
Additionally, a low perspective typically highlights size - objects in the shot will seem larger - while a high perspective tends to highlight scale - individual elements in the shot will seem smaller, but viewers have a better view of the larger scene.
As noted above, the further an element is from the camera, the smaller it will appear. But perspective can also impact how lines appear.
In the image above, note how the straight lines of the road appear the come together in the distance.
This is called convergence, and it will occur regardless of the eye level of the shot.
In short, perspective determines a number of visual qualities of an image. Manipulating perspective can make objects seem larger or smaller, you can highlight size or scale, and you can create a sense of intimacy or drama depending on the perspective you use.
Learn More:
Manipulating Perspective With Angles
Perspective can completely change the way that objects look in a photo - even if they are quite familiar.
As mentioned earlier, taking a photo from a low perspective exaggerates size while taking a photo from a high perspective - as was done in the image above - highlights scale.
But beyond that, changing the angles from which you shoot changes the spatial relationship between the objects in the scene.
By doing so, you can create a unique and compelling image, even if the subject has been photographed a million times before.
Think about it - most of the photos we take are from our eye level at a 90-degree angle to the ground.
But by getting down very low or getting up above a subject, we can take photos at much different angles that offer a completely different view.
Take the photo of the trees above as an ideal example.
Rather than seeing the forest in a "normal" way - looking straight ahead on a plane level with the ground - the extreme upward angle gives us a totally different viewing experience.
Note how the tree trunks now act as leading lines, directing our eyes up toward the forest canopy. This has the effect of lengthening out the trees and making the trees seem taller.
Learn More:
Manipulating Perspective With Your Lens

The perspective of a shot - that is, the perceived relationship between objects in the scene - changes depending on the type of lens you use.
For example, the image above was taken with a wide-angle lens, and as you can see, it exaggerates the appearance of distance both in terms of the distance between objects in the shot and the distance between the camera and the nearest element in the scene.
In other words, a wide-angle lens offers a very wide view of a scene in which nearer objects appear larger than normal and distant objects appear smaller than normal.

Conversely, when using a telephoto lens, the perceived distance shrinks. In the image above, the mountain peak seems much closer than it did in the previous shot. In this regard, a telephoto lens essentially has the opposite effect of a wide-angle lens.
In this case, the foreground elements have much less importance in the shot, and the background elements seem far larger than normal.
When using these lenses, you have to consider how they impact the way the image looks.
By going wide-angle, you can create an image that has a lot of depth and highlights the scale of the scene, but the objects therein appear relatively small.
By going telephoto, there's very little depth of sense of scale in the image, but the objects in the scene appear quite large.
Get a hands-on look at how lens choice and angle of view change the way an image looks in the video above from Ultimate PhotoGuide.
Learn More:
- 7 Tips and Tricks for Photographing Landscapes With a Wide-Angle Lens
- 6 Tips for Landscape Photography With a Telephoto Lens
Wrapping It Up
As simple a concept as perspective is, it sure has a lot of impact on how your images look, doesn't it?
As I outlined above, by just altering the perspective by swapping lenses or swapping shooting positions and angles, your images can have a completely different feel.
Give yourself some practice by picking out a subject to photograph, and then working on shooting photos from a low point of view and a high point of view. Also try getting up close and taking a few steps back too. And if you have multiple lenses, see how each one changes the perspective of the shots you take.
Just this one simple compositional element can help you create dozens of different images of a single subject.
Not bad, right?!
We Recommend
Portrait Photography Techniques for Gorgeous Photos
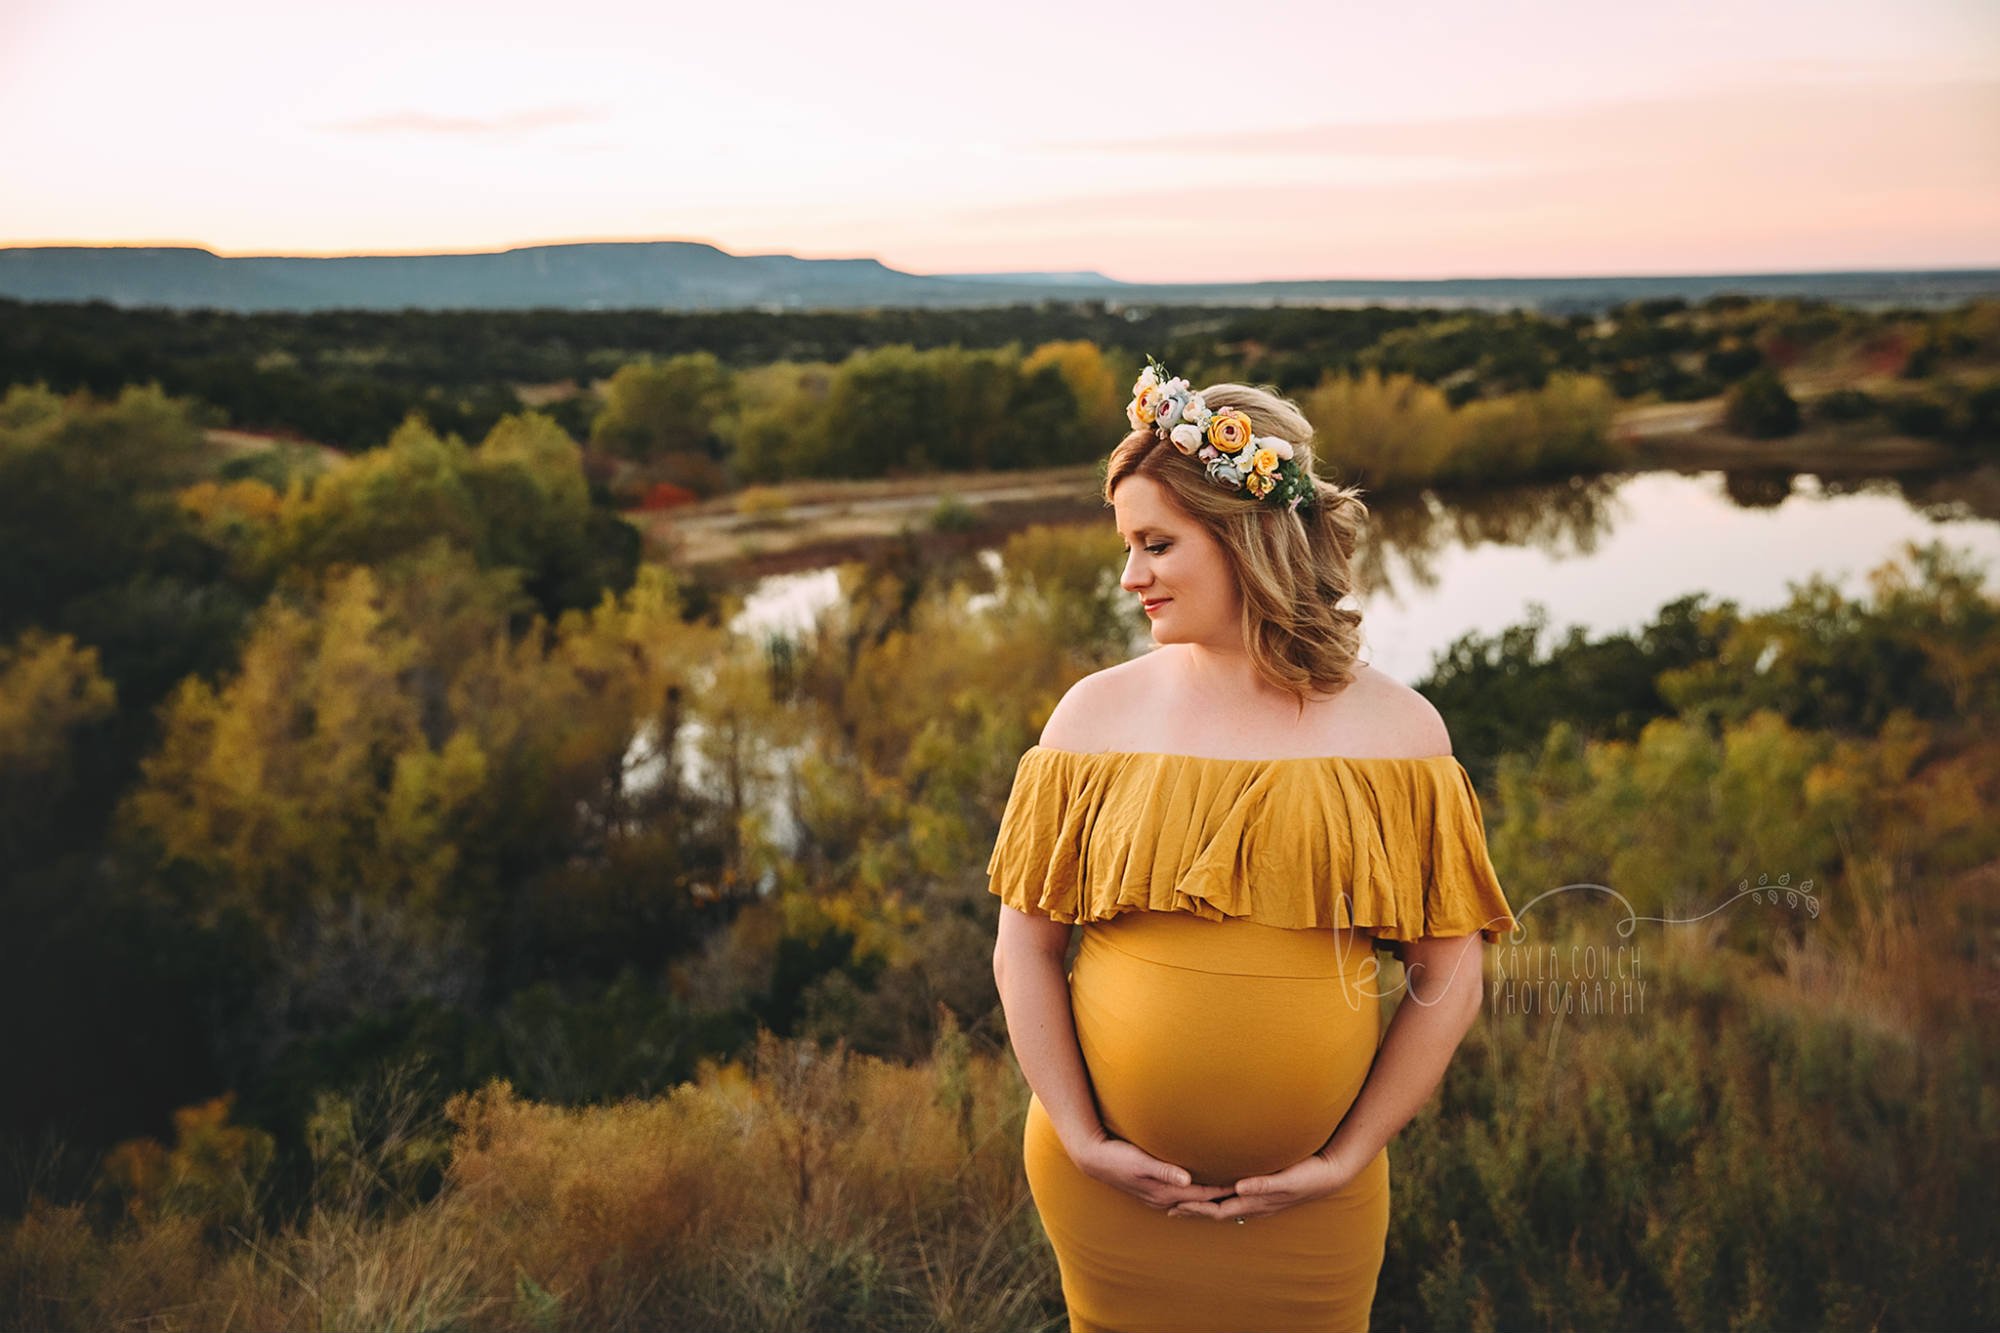 Kayla Couch Photography
What separates the quality of photos taken by the pros and the quality of photos taken by amateurs is actually a lot less than you might think.
In fact, you could probably boil it down to a few critical areas of photography - composition, lighting, and gear.
Sure, those are very broad categories, but there are a few tips within each one that can help you improve your portrait photography techniques to get awesome portraits.
Here's three dead simple, yet highly effective portrait photography tricks to try.
Shoot Through Something
 Lori Dorman & Co Photography
One of the challenges of photography is to create images that feel as though they have depth.
To do that, you can shoot through things to provide that much-needed dimension.
In the image above, for example, the photographer took the shot through various plants and branches.
As you can see, not only does that give the image the feeling of dimensionality, but it also allowed for the introduction of some interesting colors, shapes and textures in the foreground.
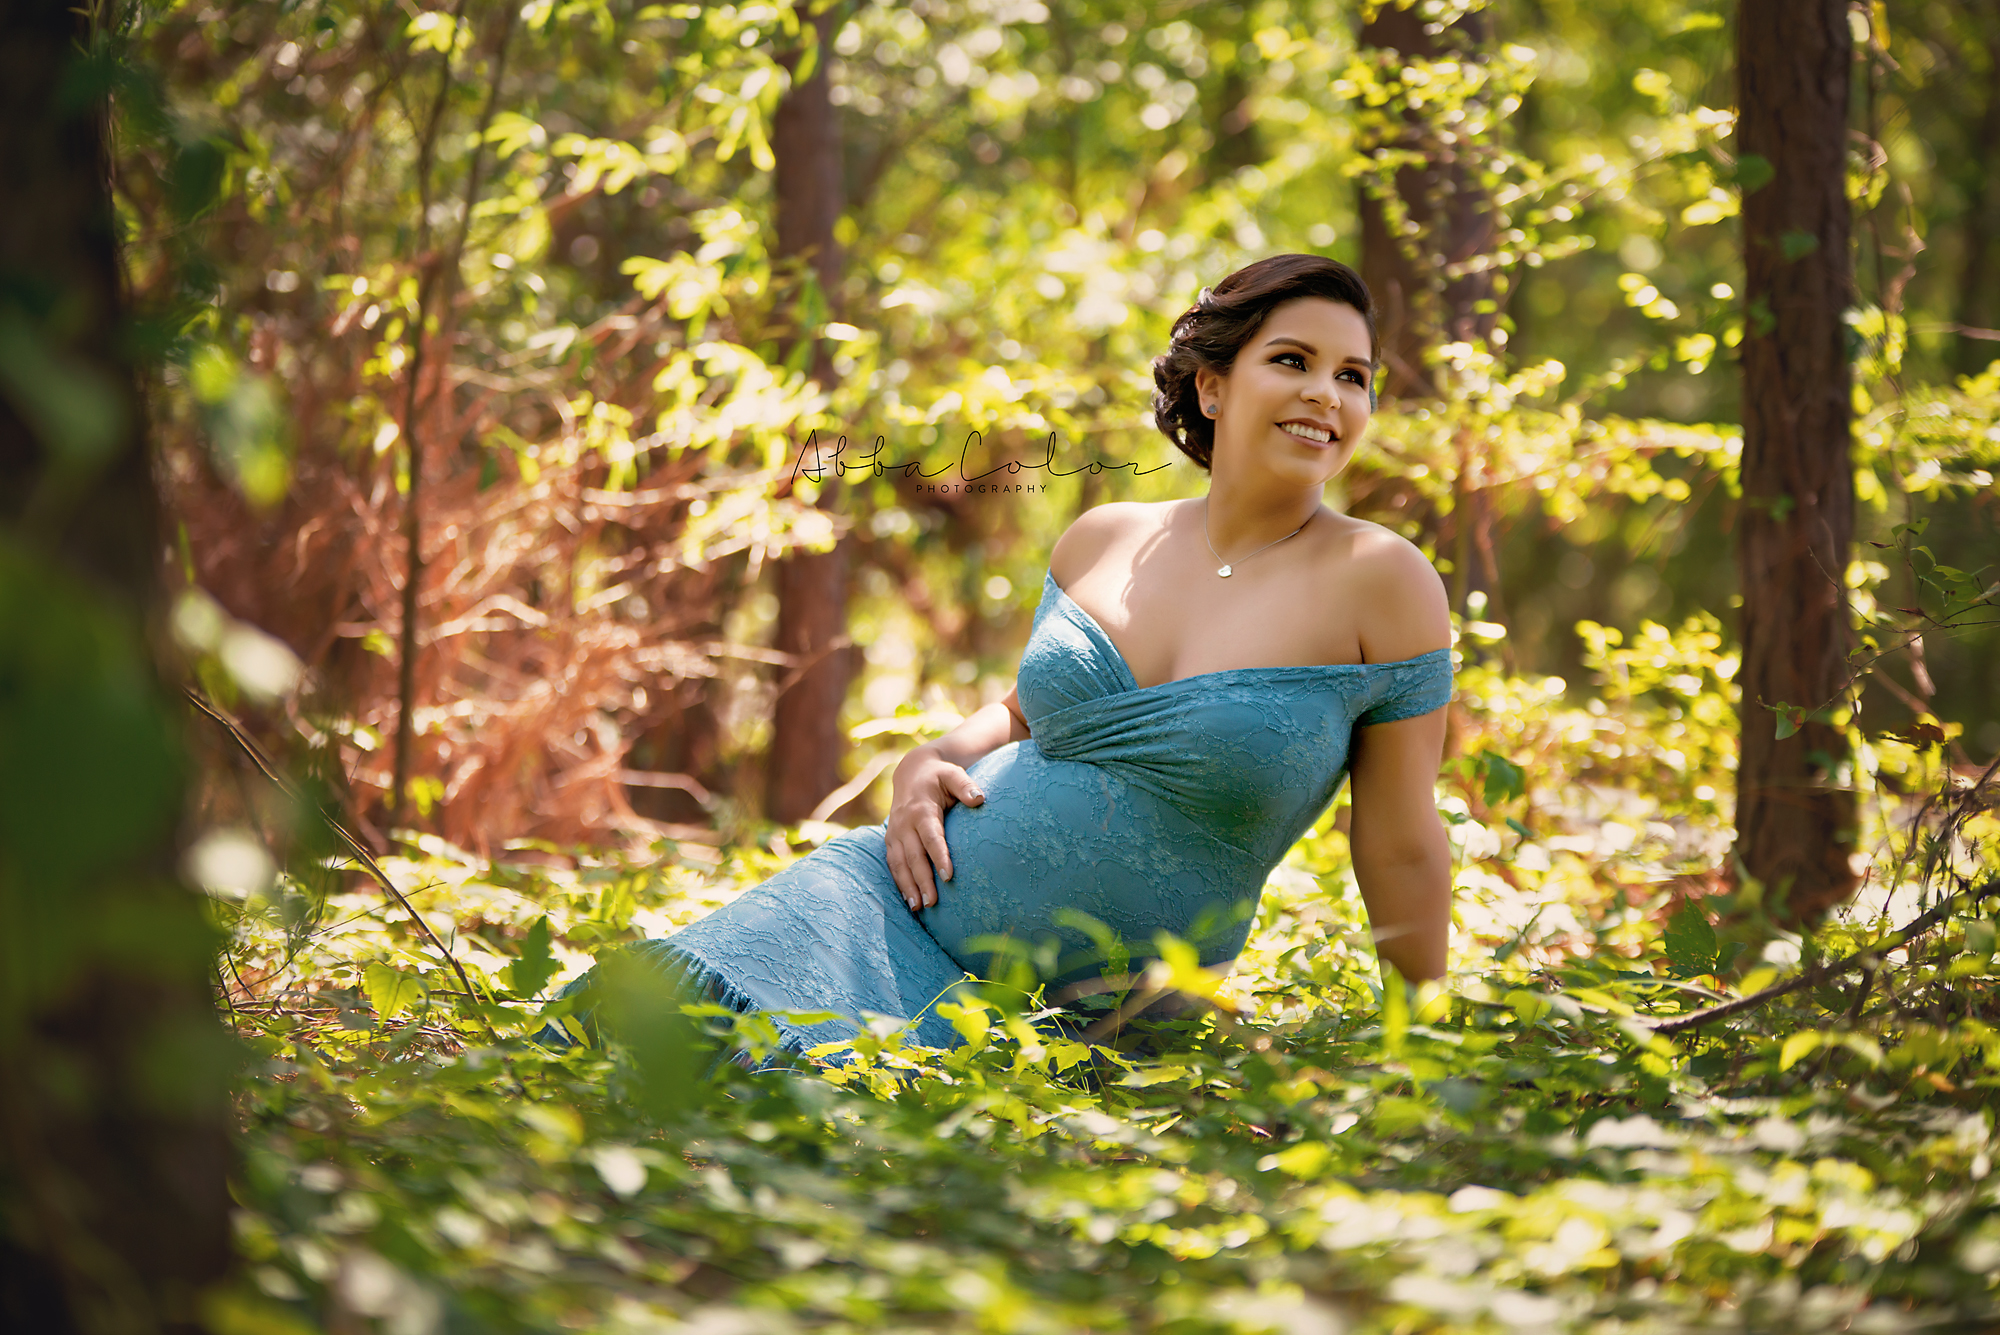 Abba Color Photography
Shooting through something doesn't have to be as obvious, though.
In this example, the photographer took a low shooting position to incorporate some of the leafy elements in the foreground.
In this case, these leaves provide depth because of their blurriness - it's an indication of a shallow depth of field.
Either way, having foreground elements like these is a surefire way to create a more interesting portrait.
Learn More:
Use a Long Lens
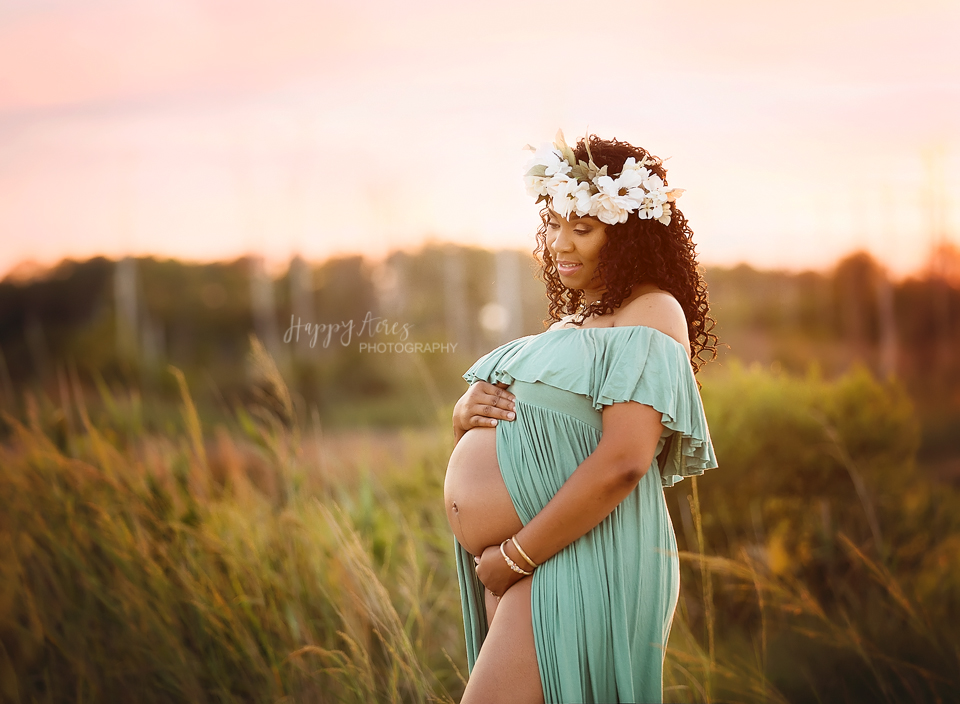 Happy Acres Photography
Many amateur photographers shoot portraits with a kit lens, like a 18-55mm or a prime lens like a 50mm.
And while there's nothing wrong with shooting portraits with these lenses - especially a 50mm on a crop sensor camera - there is something to be said for the way a portrait looks when taken with an even longer lens, like an 85mm or even a 200mm.
Standard lenses like a 50mm offer a familiar view of the subject, so there's nothing surprising about how the image looks.
But as you can see in the example above, using a longer lens offers gorgeous compression, incredible bokeh, and provides a flattering look that has less distortion of facial features, like the forehead and nose.
Additionally, the longer your lens, the further away from the subject you have to be, and oftentimes that extra distance helps the subject relax for their portrait. This is one of the portrait photography basics you need to know to take better photos!
Editor's Tip: Earn extra money by joining our #1 referral program.
Portrait Photography Technique: Look for Backlighting
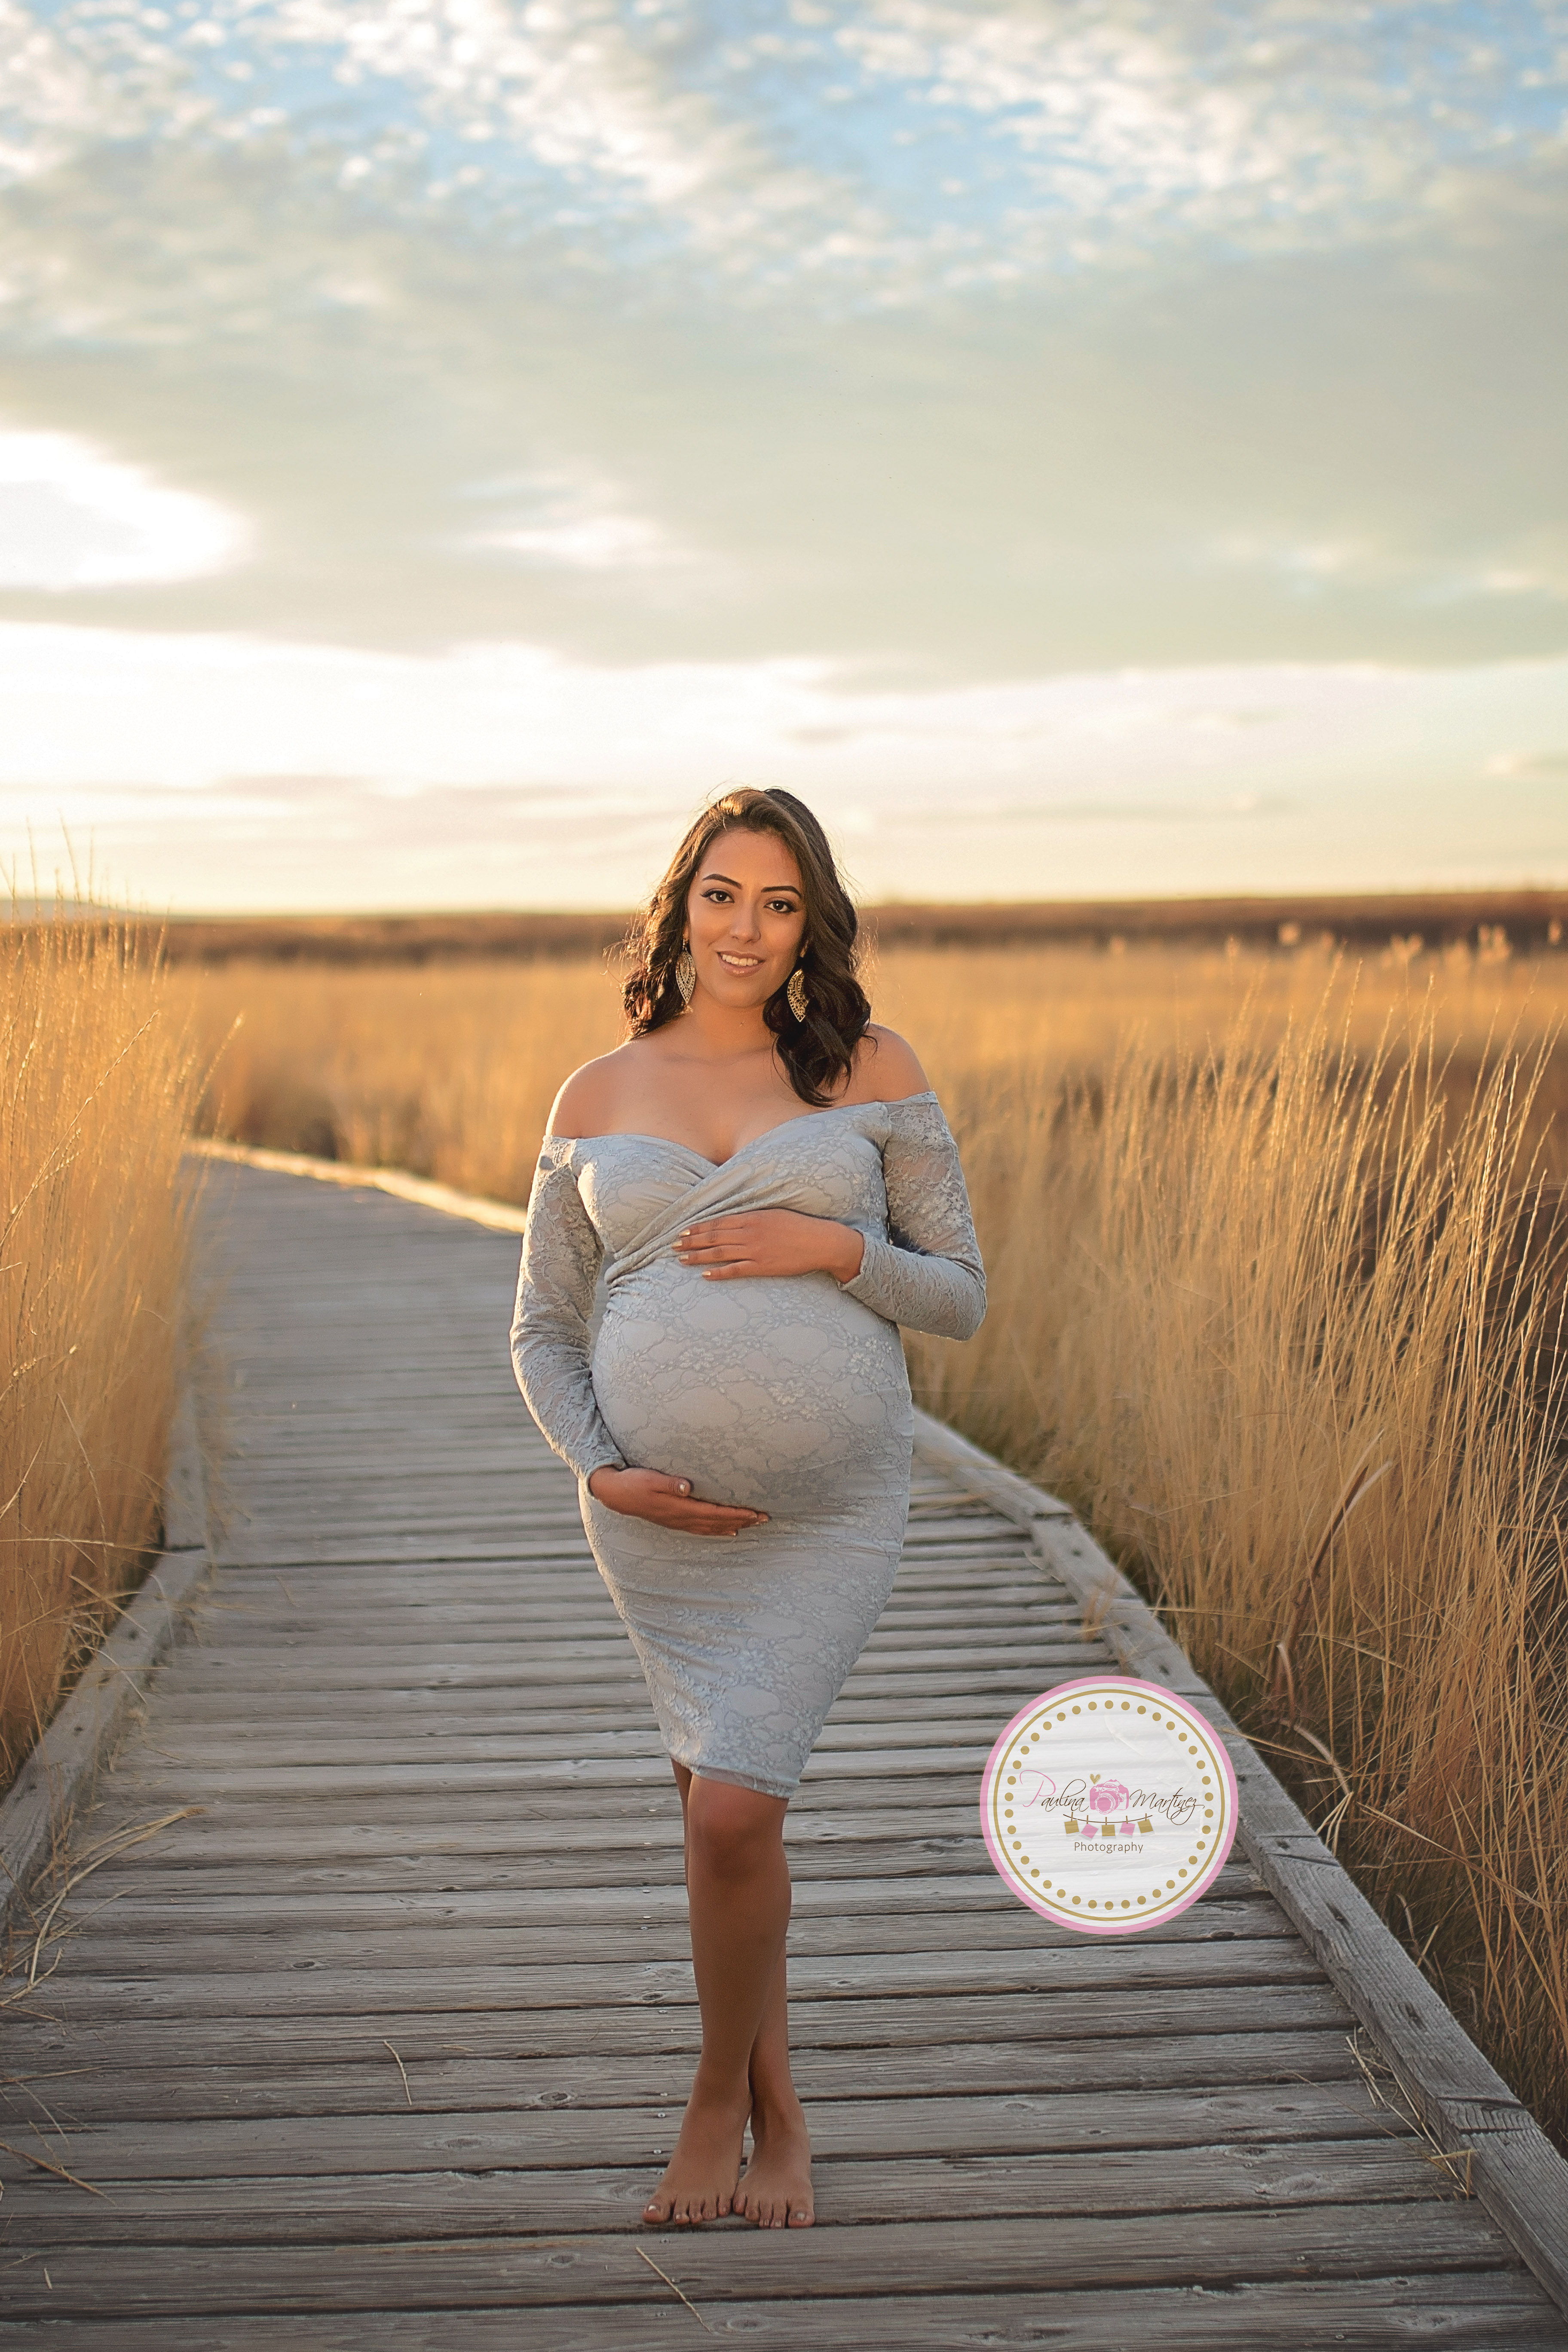 Paulina Martinez Photography
A final portrait photography trick you can use to create more compelling photos is to use backlighting as your light source.
Whether it's the sun (as in the image above) or an artificial light source, backlighting offers a unique look to your portraits.
On the one hand, backlighting often lightens up the background to create a light, airy feel in the shot, like the one shown above.
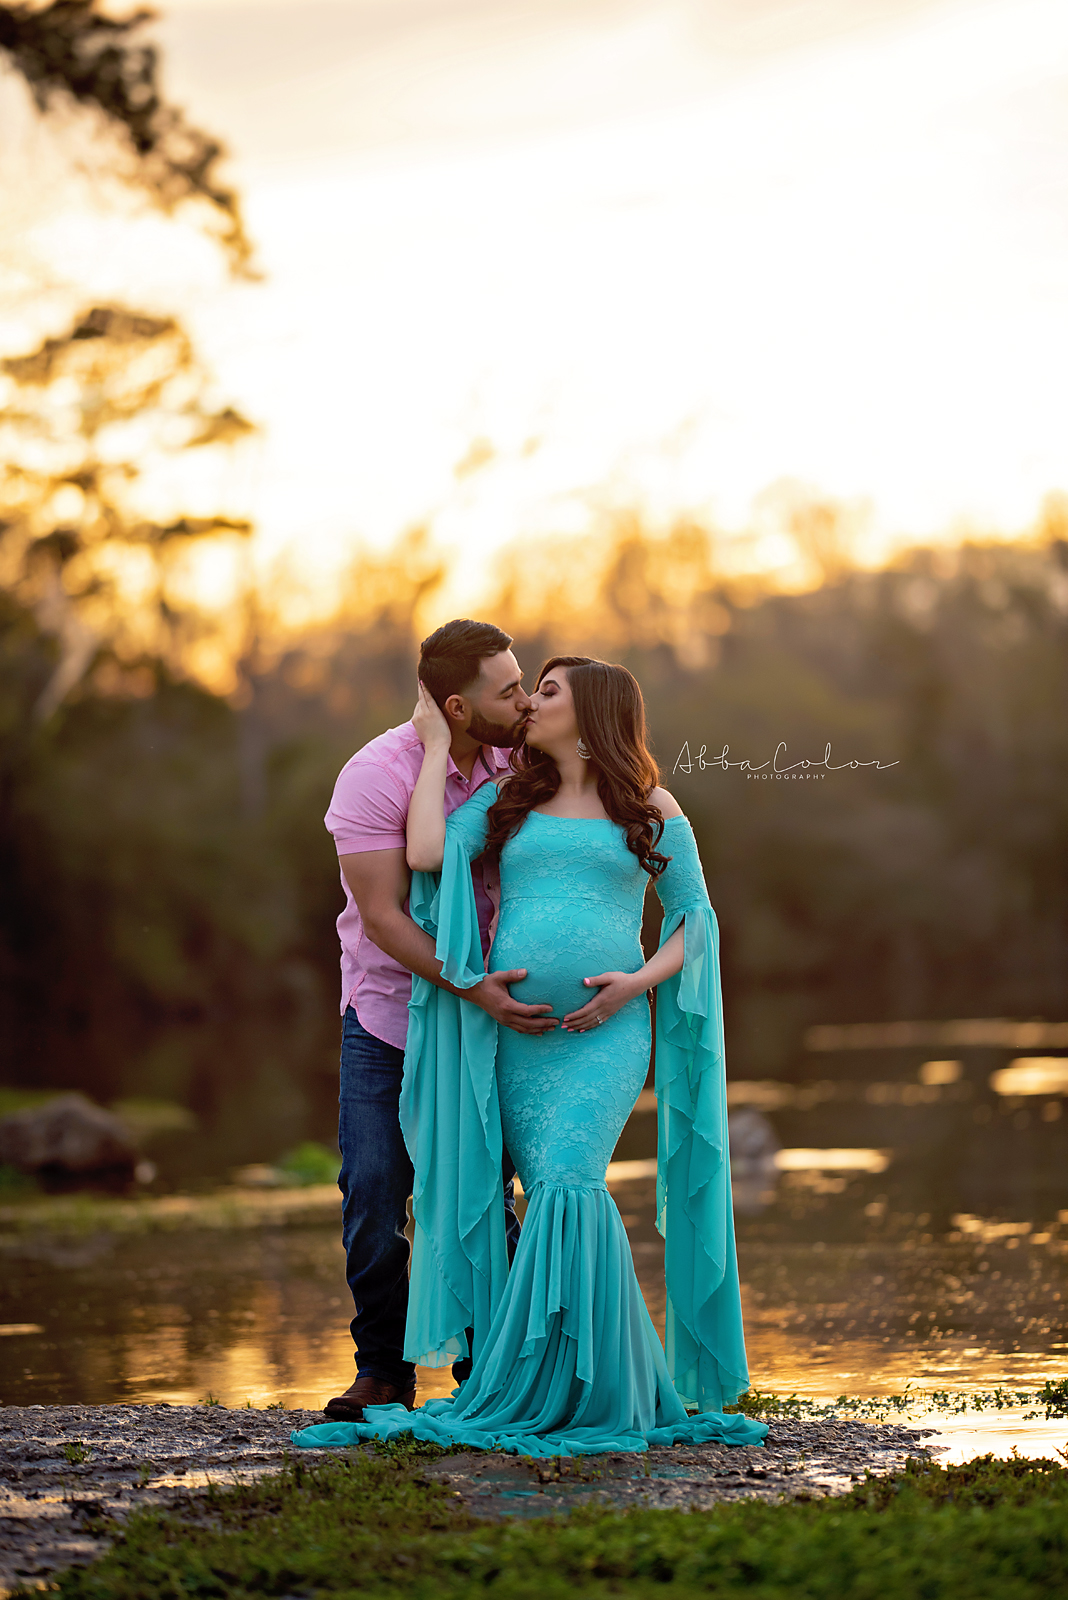 Abba Color Photography
On the other hand, backlighting can also act like rim lighting, which illuminates your subject's hair and figure to give the shot more dimensionality.
Great portraits are all about great light, so the more you strive to find the best lighting, the better your images will look!
Combined with using the right gear and trying unique compositional tricks like shooting through something, you have a recipe for taking portraits that look more professional.
Learn More:
About Sew Trendy
This is a company that photographers absolutely need to be in touch with. Their gowns, crowns, and other high-quality accessories are just what you need for maternity photos, photos of newborns, and mommy and me sessions. These accessories not only make your clients look and feel great, but they also add a depth of detail and interest to your photos that elevate the images to an entirely other level. What started out with just a few people manufacturing these eye-catching items is a growing business that provides accessories to photographers worldwide. Help your clients look and feel their best by partnering with Sew Trendy Accessories.
We Recommend
Pro Tips For Instantly Improving Your Photography
If you survey professional photographers and ask them what separates the pros from the amateurs, you'll get a lot of different, yet equally important answers.
But if you combine all their answers into a few categories, the chances are that they will fall pretty neatly into just a few areas.
That includes an understanding of camera settings, composition, lighting, and business principles.
There are other things that make pros different than amateurs, but for our purposes, I'd like to focus on two of the four items listed above: composition and lighting.
I want to focus on these because they are probably the easiest topics for a beginner to master.
Why?
It really just comes down to developing your creative eye, and all that takes is a bit of practice.
With that in mind, let's have a look at a few composition and lighting tips that can have an immediate, positive impact on the photos you take.
Horizons Should Be Level

Having a horizon that's perfectly level is of the utmost importance whether you shoot landscapes, portraits, or something in between.
That's because a horizon that's rising or falling can completely ruin an otherwise great image.
In fact, you can get the framing just right, have excellent Golden Hour lighting to work with, and the most gorgeous subject, but if the horizon isn't level, guess what viewers will notice more than anything else?
That's right...the crooked horizon.
Tell me the crooked horizon isn't the first thing you noticed about the image above...
There's really no excuse for having a crooked horizon, either.
Many tripods have a built-in level, and many cameras even have a level you can use in Live View (or at least the rule of thirds grid) that gives you a straight line against which you can level the horizon.
It's an easy fix in post-processing, too, so avoid that rookie mistake and get those horizons straight before sharing your photos.
See how easy it is to fix a crooked horizon in the video below by Steve Perry:
Be Careful How You Crop
When you crop a portrait, avoid cropping through a person's joints at all costs.
That means everything from elbows and wrists to knees and ankles shouldn't be anywhere near the edge of the frame.
When you crop through someone's joints, it gives the illusion that their arms, hands, legs or feet don't extend beyond the edge of the frame.
Look at the image below, and you'll see what I mean:

You don't want your portrait subjects to look like they've lost a hand or a foot, do you?
Again, this is a rookie mistake that you'd never see a professional photographer commit.
If you want to take your images to the next level, be wary of where and how you crop your portraits.
That means avoid cropping through joints and choose instead to crop at mid-arm, across the stomach, or at mid-thigh, just as a few examples. You can even just include the person's whole body in the shot!
Don't Just Rely on the Rule of Thirds

Don't get me wrong - the Rule of Thirds is a fantastic way to learn basic photography composition.
But if you use the rule of thirds for every single photo you take, guess what?
They'll all look the same, and eventually, that's going to get boring.
So, spice things up and break the rule by avoiding the center of the frame (as was done above) or by placing your subject smack in the middle of the frame.
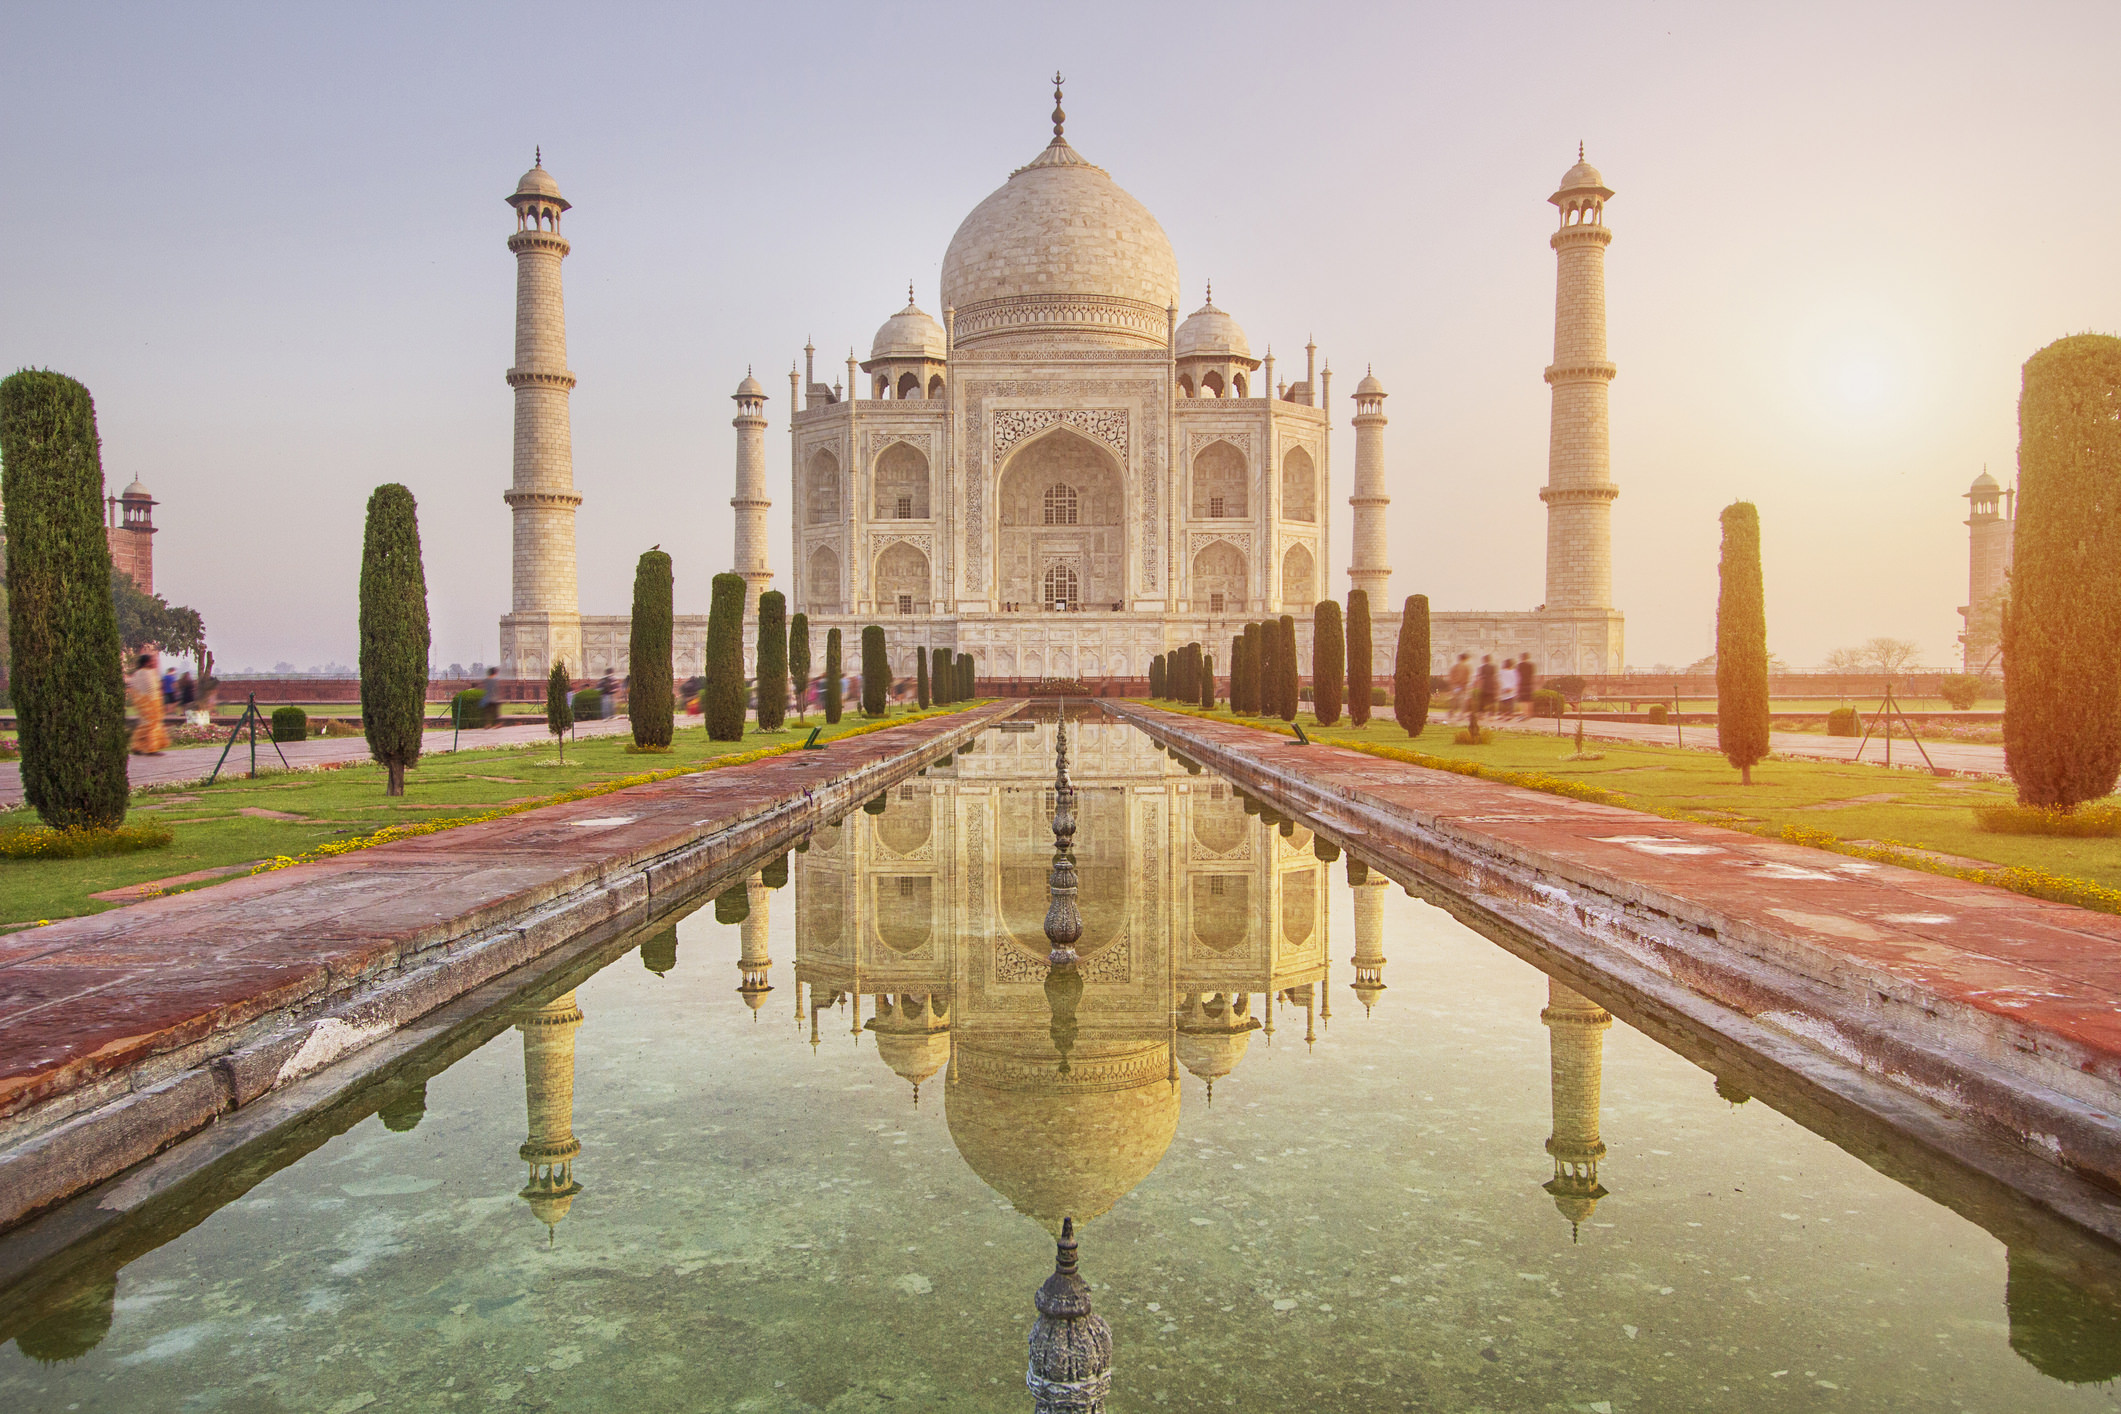
With a placement in the middle, you can create a different look that's symmetrical from left to right or top to bottom that's a nice change of pace.
You might also consider dividing your image into four equal quadrants and putting your primary subject in one of them.
Again, this gives you another unique way to compose your shot that makes the photo more interesting (and will probably impress your friends, too!).
Tungsten Lighting = Bad, Natural Light = Good

Tungsten lighting is the kind that's emitted from typical household light bulbs, and it's not flattering for your photos.
Even if you know how to adjust the white balance to remove the color cast that results from tungsten lighting, there is a better, easier option...
That's to use natural light if at all possible.
For example, if you're taking photos indoors, simply move your subject to a nearby window or door.
That will give you more than enough light to get a well-exposed image, and that light will be much more flattering than what you get from a light bulb, as you can see in the image above.
What's more, you can adjust the harshness or softness of natural light by moving your subject nearer to or further away from a window, or you can merely pull the shades or hang a plain white sheet to diffuse the light.
Compose to Communicate

A lot of beginner photographers start taking photos without really thinking about what they want to communicate with the images they create.
Instead, it's sort of a spray and pray approach, with a whole lot of shutter pressing in the hopes that one or two of the hundreds of photos taken will be good.
Ask any pro, however, and they'll tell you that photography is about telling a story.
That's true whether you're photographing a person or a dog, a building or a mountain.
You want to evoke a feeling. You want viewers to experience an emotion.
One way to do that is to think about how you compose your shots.
By that I mean that rather than running from one shot to the next, give your compositions some thought.
Look at the scene and see how the light interacts with your subject and think about how you might change your position to make that light a more prominent feature in the image.
Consider different points of view too - how getting down really low to take a shot might make your subject look powerful and imposing, or how getting up really high and taking a photo looking down on your subject might help the viewer feel like they're flying.
The point is that composition is much more than just considering where you put the subject in the frame. It's about telling a story about that subject with the image you create.
Your Focus, Processing, and Sources of Inspiration Matter Too
In addition to the compositional and lighting tips outlined above, you should also consider how you focus your shots, how you process your shots, and where you draw inspiration from as critical factors in making your photos more like pro shots and less like amateur ones.
To get more details on these and other tips that will instantly elevate your photos, check out the video below, "10 Tips to Instantly Take Your Photos from Basic to Boss," by Mango Street Lab:
We Recommend
Simple Photography Composition Tips That Will Improve Your Photos
When you learn about photography, one of the first tasks is to discover how to compose a photo.
The problem, of course, is learning how to implement photography composition tips in a way that enhance your images.
Though every case is different and every subject might require a different compositional approach, there are a few fundamental things that will help you.
In the video above, Nigel Danson outlines seven photography composition tips that you need to know to improve your photography.
I've outlined a few of Nigel's critical points below.
Editor's Tip: Step up your iPhone photography game by upgrading your phone's lenses.
How to Compose a Photo: Look for the Composition
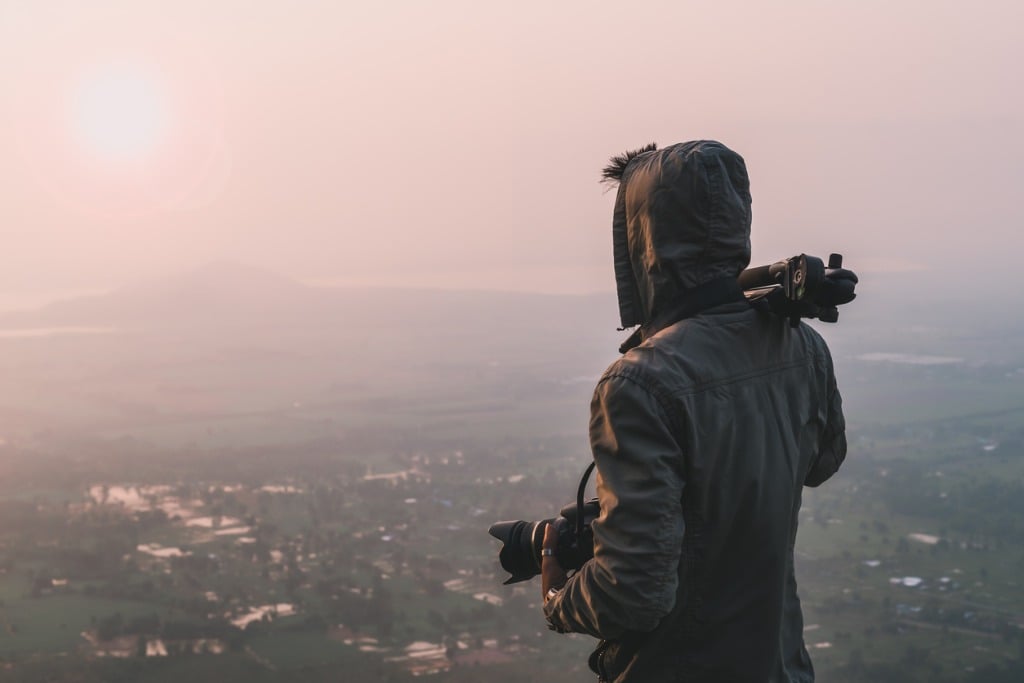
Nigel's first point of emphasis is actually on the process you go through before you bring the camera to your eye and compose the photo.
That step - looking for the composition - involves taking some time to inspect the scene and look at it from multiple points of view.
That is, rather than coming upon a landscape and settling for the first view you see, walk around a bit to see if there are even better ways to photograph what's before you.
Oftentimes, simply moving a few steps to the left or right can dramatically change the composition for the better.

One way to make the most of the time you spend looking for the composition is to use your smartphone camera as a visualization tool.
By using your phone, you can easily point it at a scene or subject, and see how taking a lower or higher shooting position, or one to the left or right will impact the image.
 YouTube Screenshot/Nigel Danson
Additionally, you need to look for a point of interest to anchor the photo.
This is important because many beginner photographers see something like the beautiful sunset in the screenshot above, and simply photograph the sky.
But by adding a point of interest as a visual anchor - in this case, the sheep in the center of the frame and the stone walls that criss-cross the image - you create a photo with much more life, depth, and interest.
Learn More:
- Easy Landscape Photography Composition Tips With Tons of Impact
- Camera Settings for Landscape Photography
Photography Composition Tip: Find Patterns
 YouTube Screenshot/Nigel Danson
Including patterns in your compositions is a good idea because our eyes are naturally drawn to patterns.
Not only are they visually stimulating, but they also give you an opportunity to help direct the viewer's eyes toward the primary subject.
In the image above, you can see how the repeating pattern of the grasses in the foreground create a bit of symmetry that's so pleasing to the eye.
But because the grasses have a similar shape as the mountains in the background, this also serves to connect the foreground to the background, helping to push the viewer's eye upward to inspect other areas of the shot.
Learn More: Compose a great shot, then see what your photos would look like as a large fine art print.
Look for Lines and Shapes
 YouTube Screenshot/Nigel Danson
Similar to patterns, lines and shapes help you compose a much more interesting image because they can help facilitate eye movement.
Consider this - if you took a portrait and simply placed the person in the middle of the frame in front of a plain, white background, viewers would look at the subject and have nowhere else to go in the shot.
But by including lines and shapes, you can help direct the viewer's eye to different areas of the image and hold their attention for much longer.
In the screenshot above, notice how the lines created by the rocks in the foreground help push your eyes toward the city and harbor in the midground and then beyond that to the Golden Gate bridge in the distance.
 YouTube Screenshot/Nigel Danson
Leading lines and shapes don't have to be as obvious, though.
In this example, the small footpath helps direct our eyes through the foreground to the tower of the Golden Gate Bridge.
But there are also numerous triangular shapes in this shot that help direct our attention to deeper and deeper areas of the photo.
As you can see above, the three triangles at different points in the image all point upward, and help keep moving our eyes around the photograph.
Learn More:
Final Thoughts
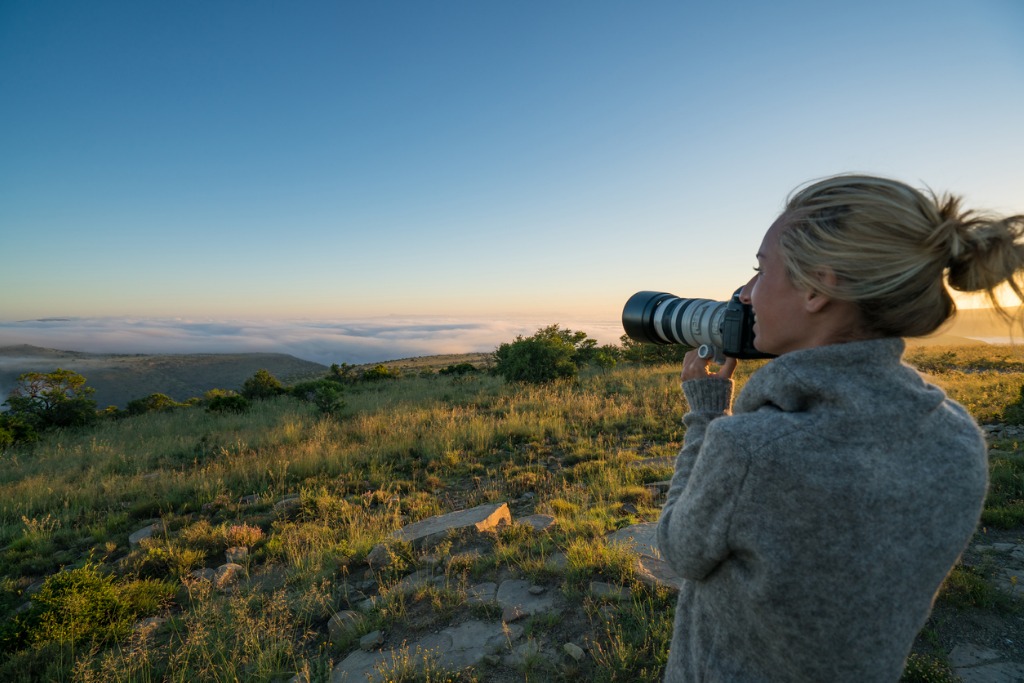
There are plenty of other photography composition tips that you can use to enhance your photos, but those outlined above and discussed in the video will get you started in the right direction.
Remember that composing a great photo isn't just about technique, either.
Instead, you need to take your time, slow things down, and really think about how to place the elements in the frame to get the best results.
Be sure to check out the complete video for even more awesome tips on how to compose a photo.
We Recommend
Simple Tricks for More Creative Photos
I don't know about you, but there are times when I look at my photos and think, "UGH."
It's not that they're necessarily bad photos - they just aren't all that creative sometimes.
So the question is, how does one make more creative photos?
That's a loaded question, especially if you're a beginner photographer just learning your way.
Nevertheless, I sat down and thought of a few simple tricks you and I can use to create better photos, no matter how much experience you have in photography.
Let's get started!
Shoot Every Single Day
Yeah, we all have busy lives and it's hard to find time to go out and shoot on a daily basis.
However, if you really want to take more creative and innovative photos, taking photos each day is one of the best ways to further your talents.
Think about it...
The best athletes practice every day. The best pianists practice every day. The best comedians practice every day.
You see where I'm going here...
The key is to make it a casual experience, not something that's stressful or time-consuming.

For example, I take a photo of my son every day before school. I take it with my phone to make it easier.
What I focus on is my technique - the way I compose the shot and the manner in which I use lighting. I ask him to pose, stand still, and be active.
The point here is that I challenge myself to learn how to take photos at different times of day, under different conditions, and with different types of subjects so I can develop my creative eye and perfect my photography technique.
And guess what? It works, and it only requires about 5-10 minutes a day.
What's not to like about that?
Learn More:
Collaborate
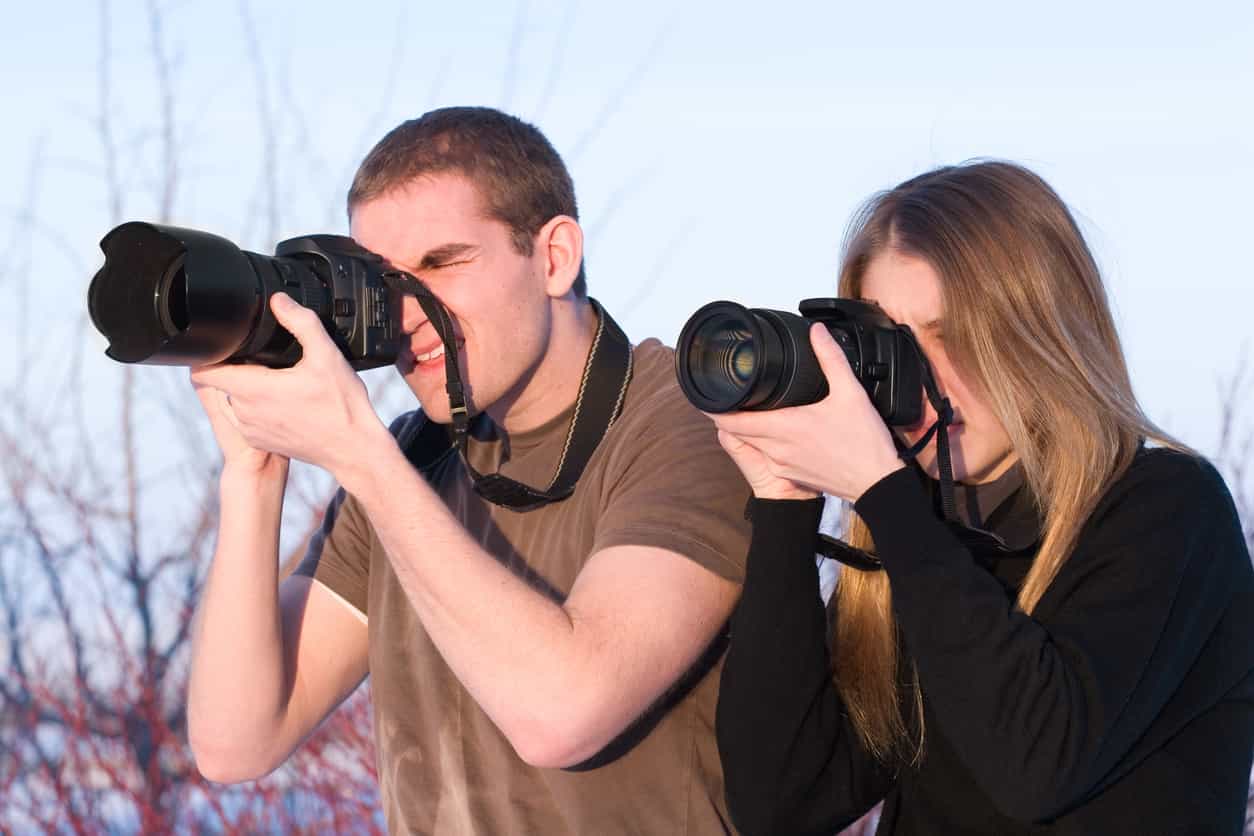
When you're not feeling all that creative, what better resource to turn to than another photographer?
With digital photography, there are endless opportunities to collaborate with others near and far.
Think about it - you can take a photo and have someone else edit it in their style.
Conversely, you can handle editing someone else's photo.
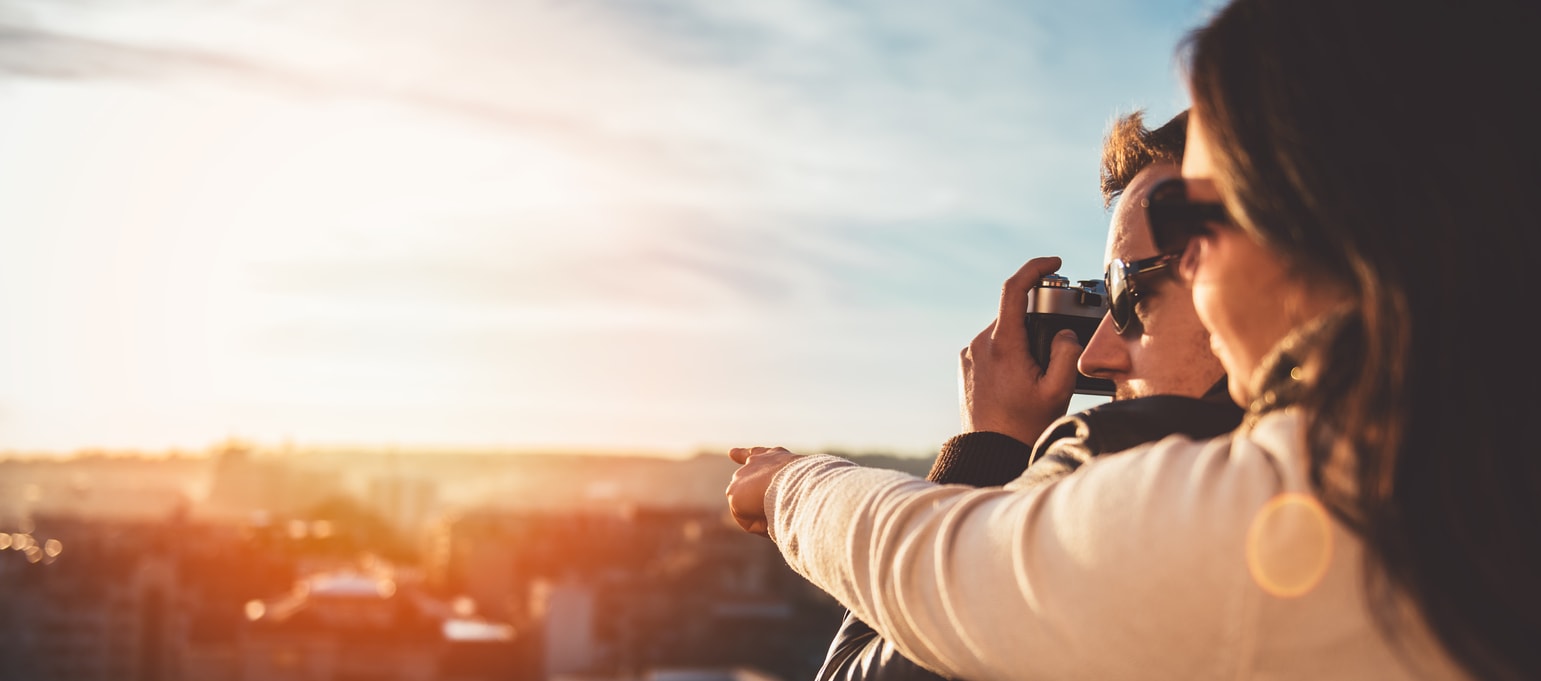
The point is that sometimes all it takes to ignite a spark of creativity is to work with someone that's in a good creative space.
That's not to mention the fact that simply looking at other people's work can get you headed in a more creative direction.
So, hit up a friend in town or an acquaintance on Instagram and see what you can do when you put your heads together.
And while you're at it, have a look at some inspiring photos to get your creative juices flowing again.
Learn More:
- Check Out Our Collection of Inspirational Photos of the Day
- A Step-By-Step Guide to Regaining Your Inspiration
Try Something New

Nothing gets you out of a creative rut like trying something new...
If you usually photograph landscapes and simply find yourself not knowing how to approach it in a unique way, take a break and give portraits a try.
Similarly, if you've shot nothing but wildlife photos recently, head to the city and try street photography for an afternoon.
I find that when I switch up my routine that I not only look at things differently - notice new ways to frame shots or utilize light - but I also find a reinvigorated interest in photography as well.
For example, I'm a big fan of seascapes, so most of my landscapes are taken at the beach.
But whenever I find that my photos are a bit on the boring side, I take a 180-degree turn and spend some time in urban environments, photographing parks, plants, and even decaying buildings, graffiti, and people on the street.
When I come back to landscapes, I find that my creativity has been rejuvenated and that I have increased passion for photography once again.
Learn More:
- 10 Easy Ways to Help You Develop Your Creative Eye
- 12 Simple But Impactful Tips for New Photographers
Try Different Gear
If you want to challenge yourself creatively, perhaps one of the easiest things to do is try different gear.
Now, I realize that not everyone has access to a cupboard full of different cameras and lenses...
But if you typically shoot with a crop sensor DSLR with a 18-55mm kit lens, buy an inexpensive prime lens like a 50mm and see how that change pushes your creative boundaries.
See the differences between shooting with a kit lens and a prime lens in the video above by Beboom.
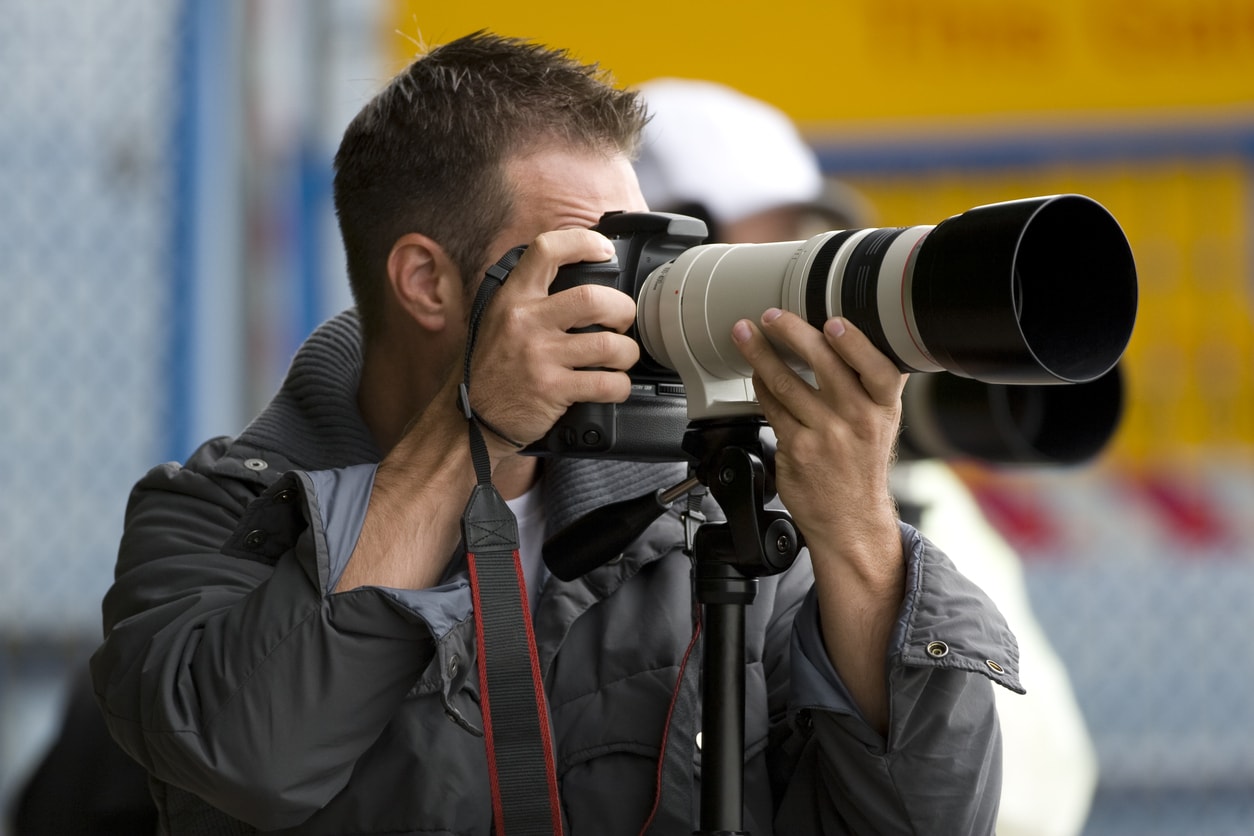
Another thought is to rent different gear. Try out a full frame camera. Get a telephoto lens for a few days.
The point is that the manner in which you approach taking photos with your typical gear setup is comfortable, and that comfort can easily turn into apathy.
Simply shooting with a different focal length lens will force you to look at scenes in a completely different way, and that's a good thing if you're trying to find your creativity again!
Learn More:
Final Thoughts
As frustrating as it can be when you lose your creative way, the good news is that there's no lack of things you can do to try to regain your unique take on this art form.
Sometimes you just need a break from the norm to try something new.
Other times a quick switch of lenses or using a different kind of camera will do the trick.
Yet other times you need to reach out to other photographers to find inspiration or just get into the habit of shooting photos each and every day.
No matter which method you use, be sure to focus on the end-game - a greater understanding of techniques and principles that will help you find your unique photography voice.
For more details about developing your creative eye, check out the video above by AdoramaTV.
We Recommend
Stop Making These Common Photography Mistakes
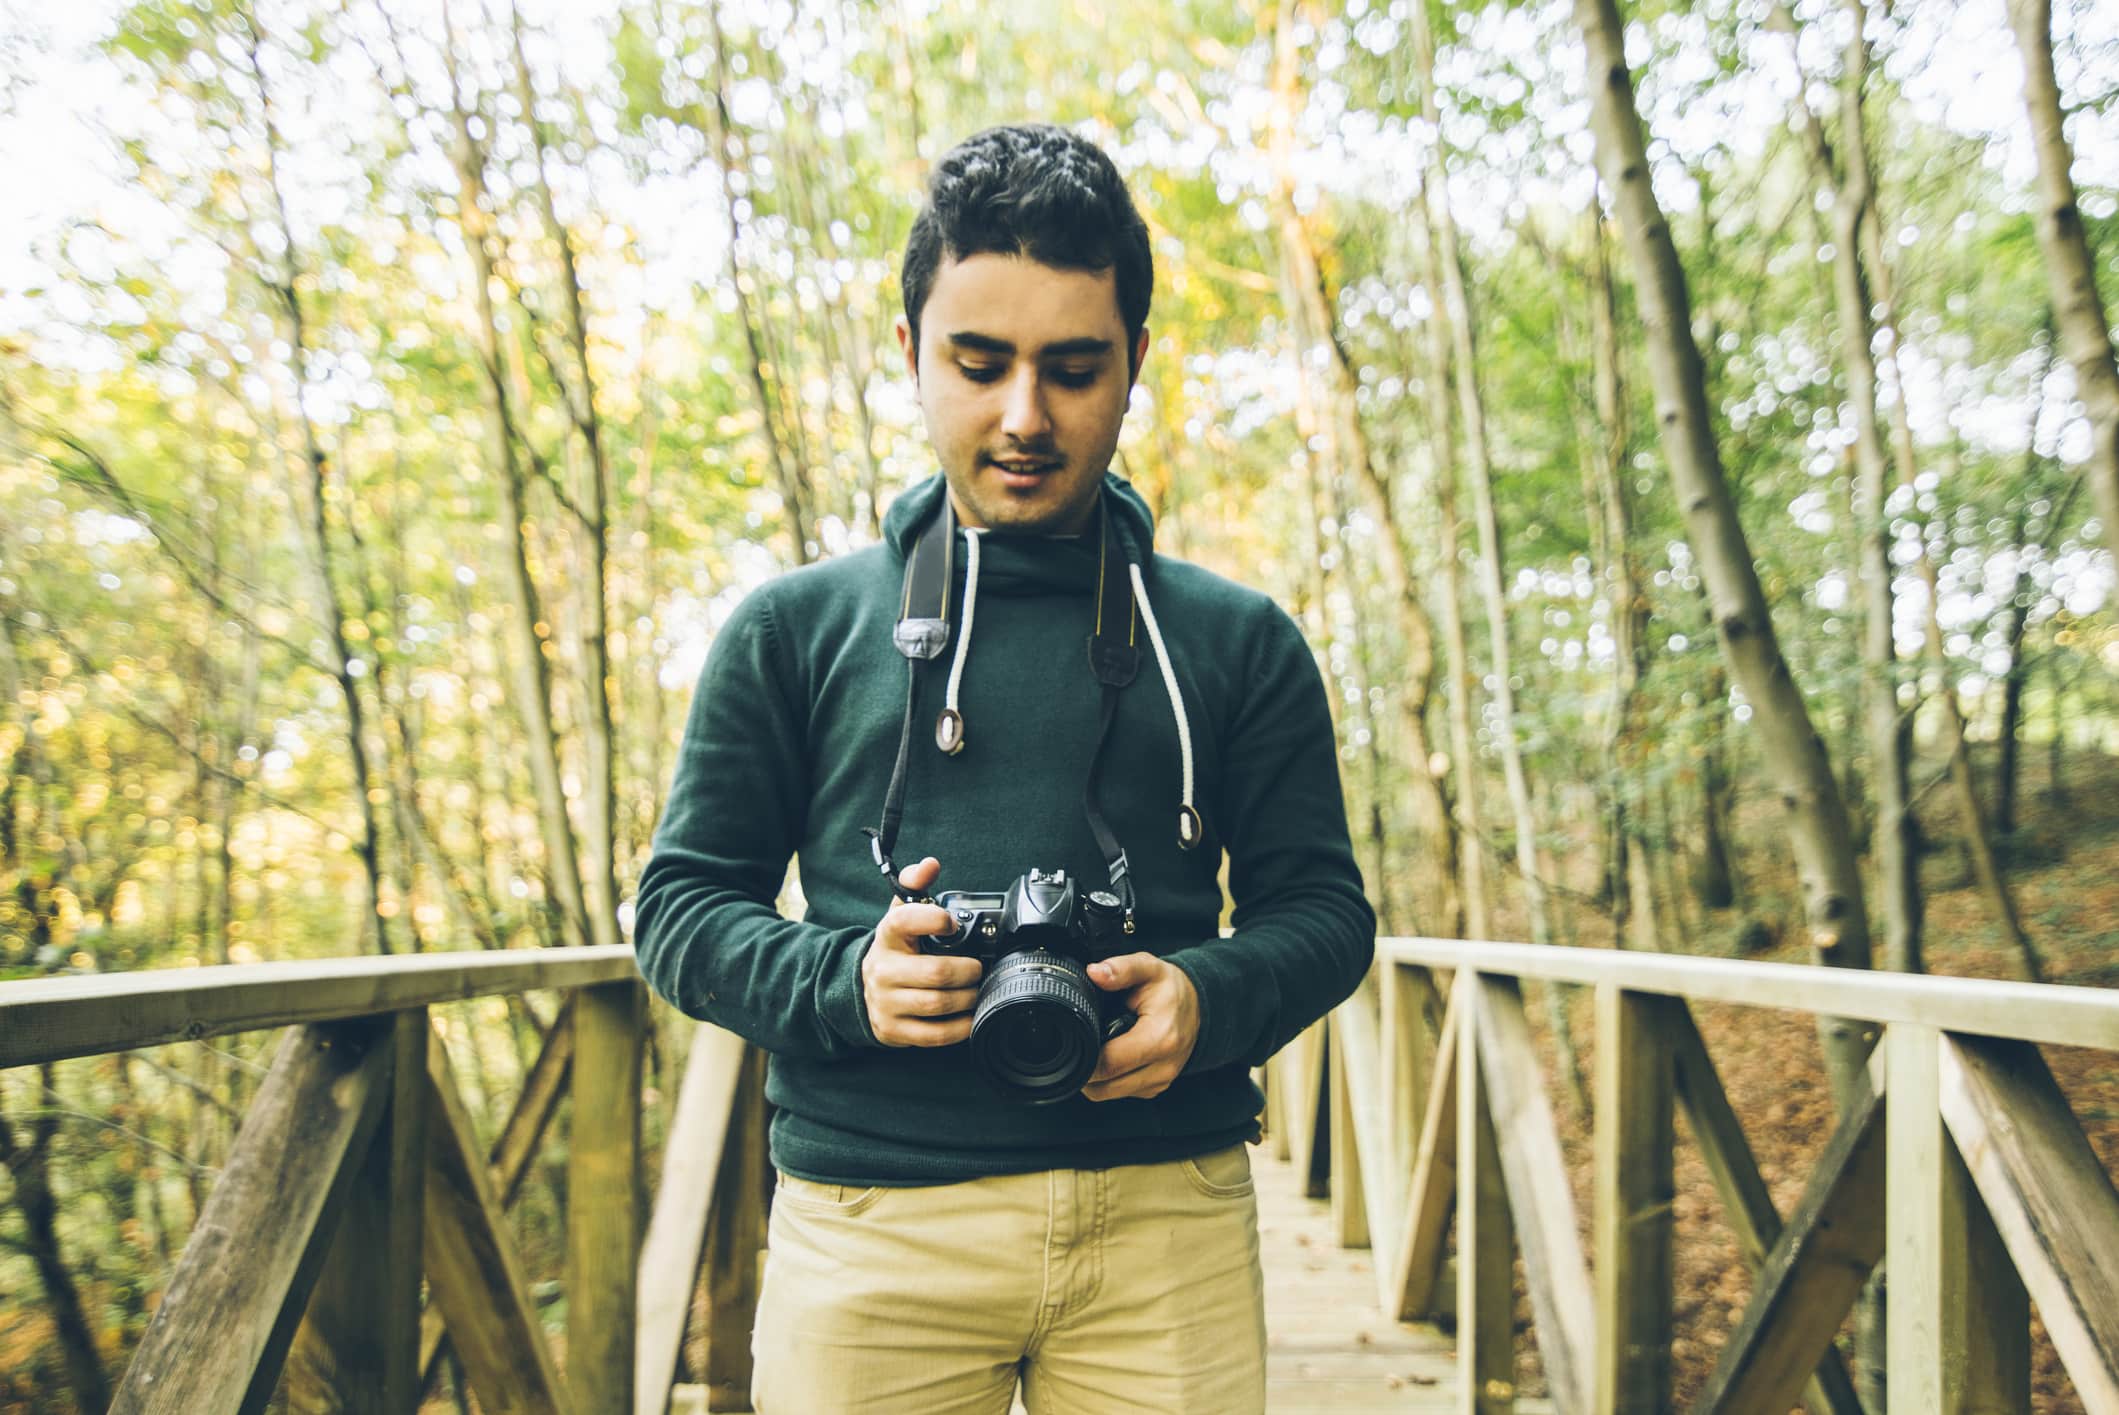
If you look at your photos and wonder why you even bother to pick up a camera in the first place, the fix might be simpler than you think.
In fact, if you ask me, in most situations, what's wrong with a photo is just a silly mistake that has a significant, negative impact on the shot.
The key is to understand what the most common photography mistakes are and what you need to do to fix them or avoid them altogether.
With that in mind, let's get started!
Overexposed Highlights
When you look at a scene with your eyes, they automatically adjust to the lighting. Your camera doesn't.
What's more, our eyes can see a much broader range of light from highlights to shadows than our cameras can accommodate.
That means that a lot of beginner photographers take photos with overexposed or "blown out" highlights that have no detail - they just appear as areas of bright white.
The solution to this issue is easy - when you take a meter reading to determine the exposure, expose for the highlights. This ensures that nothing will be overexposed in the shot.
Not sure how to do that? Just check out the tutorial video above from Serge Ramelli.
Editor's Tip: Once you've perfected your image, finish it off as a gorgeous print.
You Use Cut-Rate Post-Processing Software

How you process your images can, in many cases, be just about as important as how you take the image in the field.
That means that having the most robust and effective tools at your disposal to work on your image in post-processing will only help you create images that have tons of impact.
Now, you can't save a bad image with fancy post-processing programs like Lightroom. However, programs like Lightroom will make the process of editing your good photos easier and more streamlined.
If you aren't interested in buying something that is on the spendy side, GIMP is by far the best free photo editor out there.
Whatever program you use to edit your photos, it's essential that you actually learn how to use it. Don't try to muddle your way through. Instead, read a few articles, watch a few YouTube tutorials, and become a post-processing master!
Learn More:
- A Free, Comprehensive Guide to Retouching Your Photos in Photoshop
- How to Bring Your Boring Photos to Life
You Use the Wrong ISO
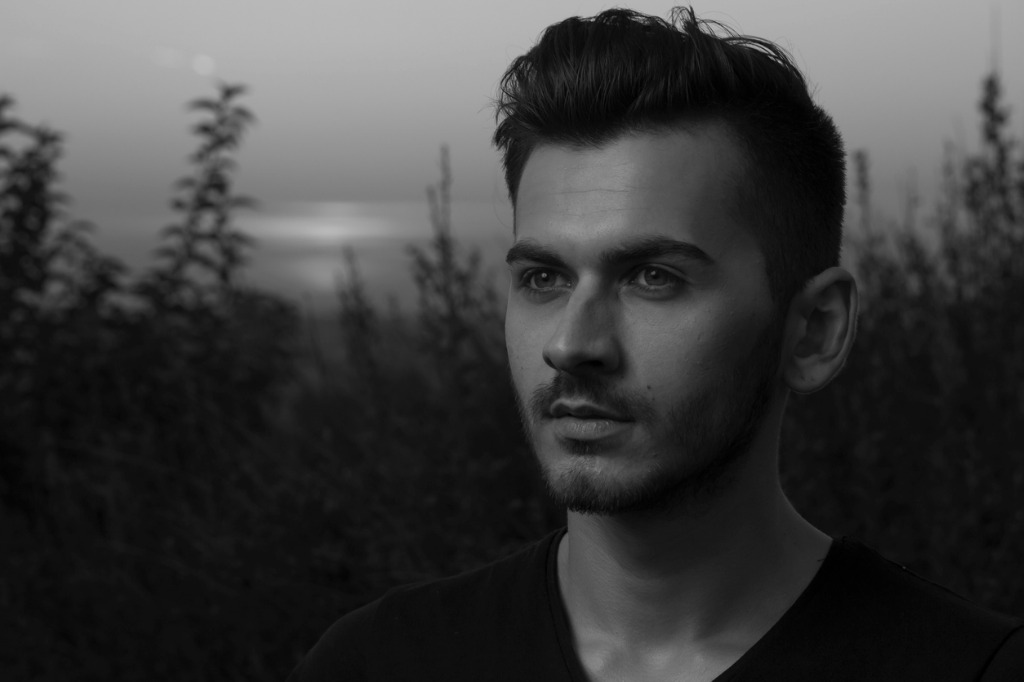
Remember earlier when I said a lot of beginner photographers overexpose the highlights?
Well, another problem is that a lot of beginners underexpose their shots as well. You just can't win, right?!
One of the primary reasons why photos are underexposed is because of an ISO that's too low.
Back in the day, using a high ISO resulted in a photo that had a lot of digital noise, which looks like grain from the film photography days.
As a result, it was often recommended to use the lowest ISO possible to avoid that digital noise.
But today's cameras are much more adept at handling higher ISOs.
That doesn't mean that you can shoot at ISO 102400 and expect as clean of a shot as you get at ISO 100, but you can certainly shoot with confidence at ISO values at 800, 1600, 3200, and beyond.
And since ISO determines how sensitive the camera's sensor is to light, the higher the ISO, the brighter your photos will be.
So, if you have an underexposure problem, simply try increasing the ISO!
Get a quick overview of ISO and how to use it in the video below from B&H Photo Video.
Editor's Tip: Taking boring portraits is a common beginner photography mistake. Find out how to spice up your portraiture.
The Focus is Off

Cameras today have excellent autofocus systems (especially Sony cameras) that make getting a sharp photo easier than ever before.
But even sophisticated autofocus systems don't get it right every single time.
Unfortunately, if the focus is off, the shot will be ruined. Even if everything else is absolutely perfect, a blurry subject is impossible to get past.
The first step in getting tack-sharp photos is understanding how to focus the shot in the first place.
There's actually a variety of methods to get the shot in focus, which you can learn about in the video above by PhotoRec TV
Quick Tip: It's not enough to learn how to focus the shot. You also need to know how to check the focus, too. It's easy: after you take the shot, use the zoom feature on your camera's LCD to get nice and close to the subject. If it's sharp, you're good to go! If not, you know adjustments are needed.
Learn More:
- Beginner Photography Tip: Understanding Autofocus Points
- How to Stabilize Your Camera for Sharper Images
Final Thoughts
There are plenty of other beginner photography mistakes that might be bringing your photos down, but if you work to overcome those listed above, you'll be in a much better position to get the quality of photos that you want.
As noted above, taking better photos is all about understanding what went wrong and how to fix the problem.
For more instruction on overcoming beginner photography mistakes, check out this collection of articles.
For even more insights into fixing beginner photography mistakes, check out the video above by Tony and Chelsea Northrup.
We Recommend
Stop Taking the Same Boring Photos - How to Shoot and Think Differently
If you're like me, you face struggles now and then trying to find new and exciting ways to photograph your subjects.
But creativity isn't something you can run out of; often it's just a matter of finding inspiration to get you over your creative hurdles.
That mantra is certainly put to the test in the video above by Peter McKinnon.
When you watch the video, you'll get a few tips and tricks from a seasoned pro as to how you can change the way you think about taking photos, and how that change in your thinking can lead to more photos and more creative photos at that.
Below, I've outlined a few of my favorite tips from Peter.
Don't Just Think About the Finished Product

This tip cuts a couple of different ways.
First, don't just think about what your subject looks like in its finished form.

That is, if you're photographing a car or a plate of food, think of the processes that were involved in getting that object to its finishing point.
If you can break the subject down into various pieces and parts (like the ingredients for a meal), you might find the inspiration you need to highlight the subject in a new and interesting way.

Secondly, when you're thinking about your photo, don't just picture the final product.
Instead, just like with the subject you're photographing, break your photo down into the different processes that are required to end up at that final product.
Think about lighting and composition, framing and your shooting position.
Again, by identifying the different tasks that are ahead of you, you can identify areas where you can take risks or try something new to get a more exciting final shot.
Learn More:
Try Different Angles and Perspectives

One surefire way to take a boring photo is to take it from the same angle, perspective, and eye level as most other photos are taken.
That is, if you stand up straight, compose the shot, and press the shutter button, there's nothing to differentiate your photo from every other photo that's ever been taken at that spot.
Instead, put a little work into it and move around to find new angles and perspectives that might reveal a new and exciting way to portray the subject.
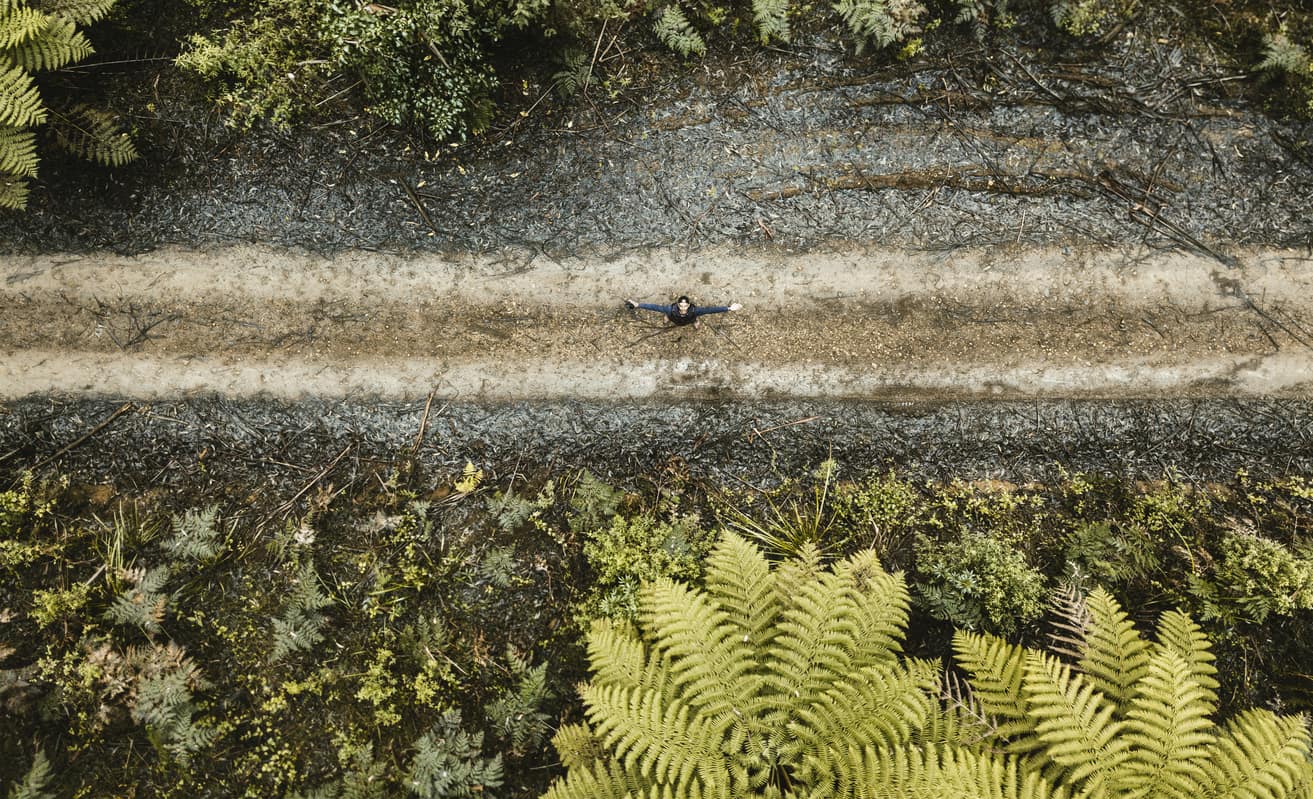
This trick works for any kind of photo, too, from landscapes to portraits, architecture to food, and everything in between.
Likely the biggest obstacle to overcome when trying new angles and perspectives is simply getting yourself to visualize what the subject might look from another point of view.
But searching for those opportunities to find new ways to highlight something is part of the adventure of photography, right?!
Incorporate Life and Action Where Possible

One of Peter's best points is that boring photos tend to focus on the subject in space.
That is, if you're photographing your kid, there's a temptation to tell them to sit still, sit up straight, and smile at the camera.

The problem with that is - you guessed it - it's boring!
Instead, whatever subject you're photographing, try to insert some life and action into the shot to make it more unique.

If you're shooting a portrait of your kids, do so as they play and run around in the yard.
Likewise, try to capture them in candid moments as they eat, play with the dog or read their favorite book.
The same principle can be applied to other types of photos as well.
For example, don't just photograph a bird sitting on a branch, instead, try to photograph it in flight.
The point is that the more life and vitality that are in your photos, the less boring they will be.
Learn More:
- Portrait Photography Tip: How to Get Quality Candid Shots
- 7 Easy-to-Remember Steps for Taking Better Photos With Any Camera
Final Thoughts
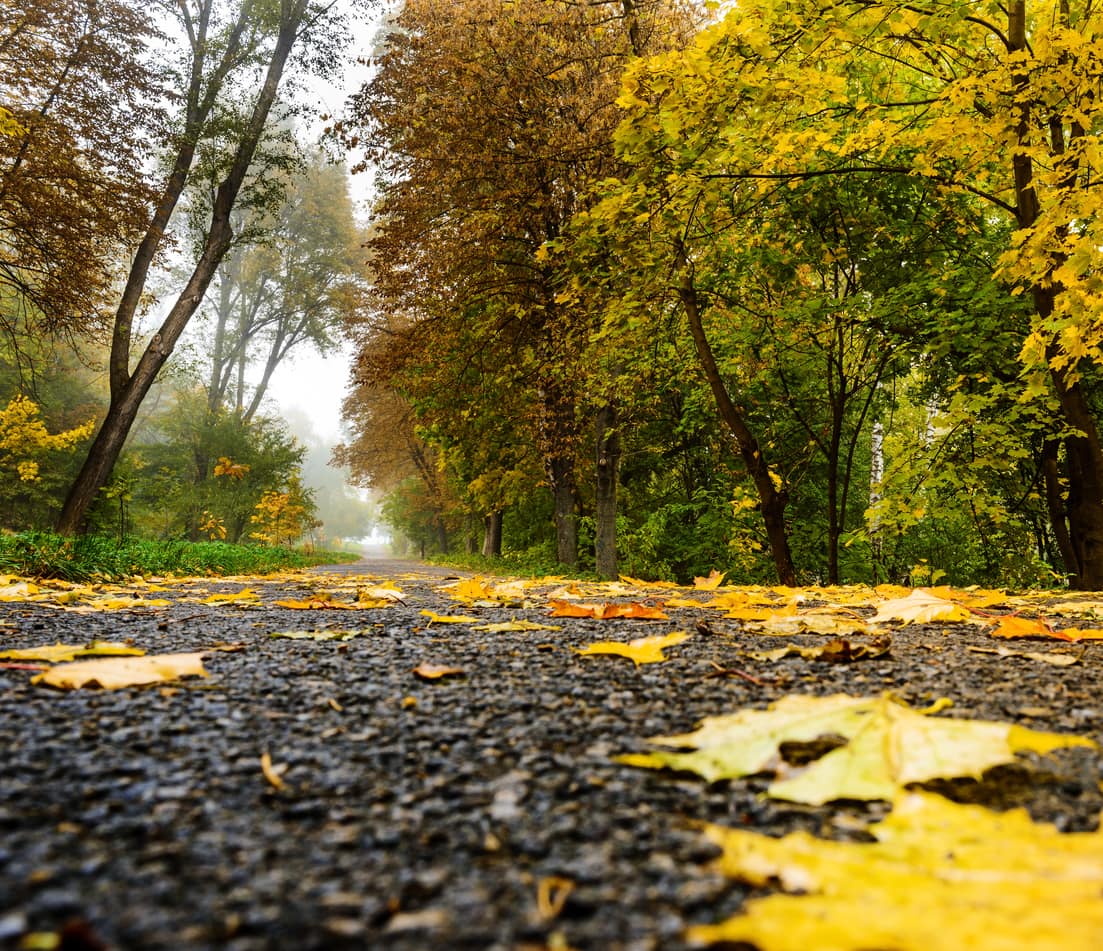
When it comes down to it, if your photos are boring, it's because you're locked in a continual pattern of repeating the same process.
But if you can find ways to break out of the norm - and maybe even break a few photography rules while you're at it - I think you'll find that your photos have a greater capacity to grab people's attention.
For more tips, don't forget to check out Peter's video at the start of this article.
We Recommend
The 7 Essential Rules of Street Photography
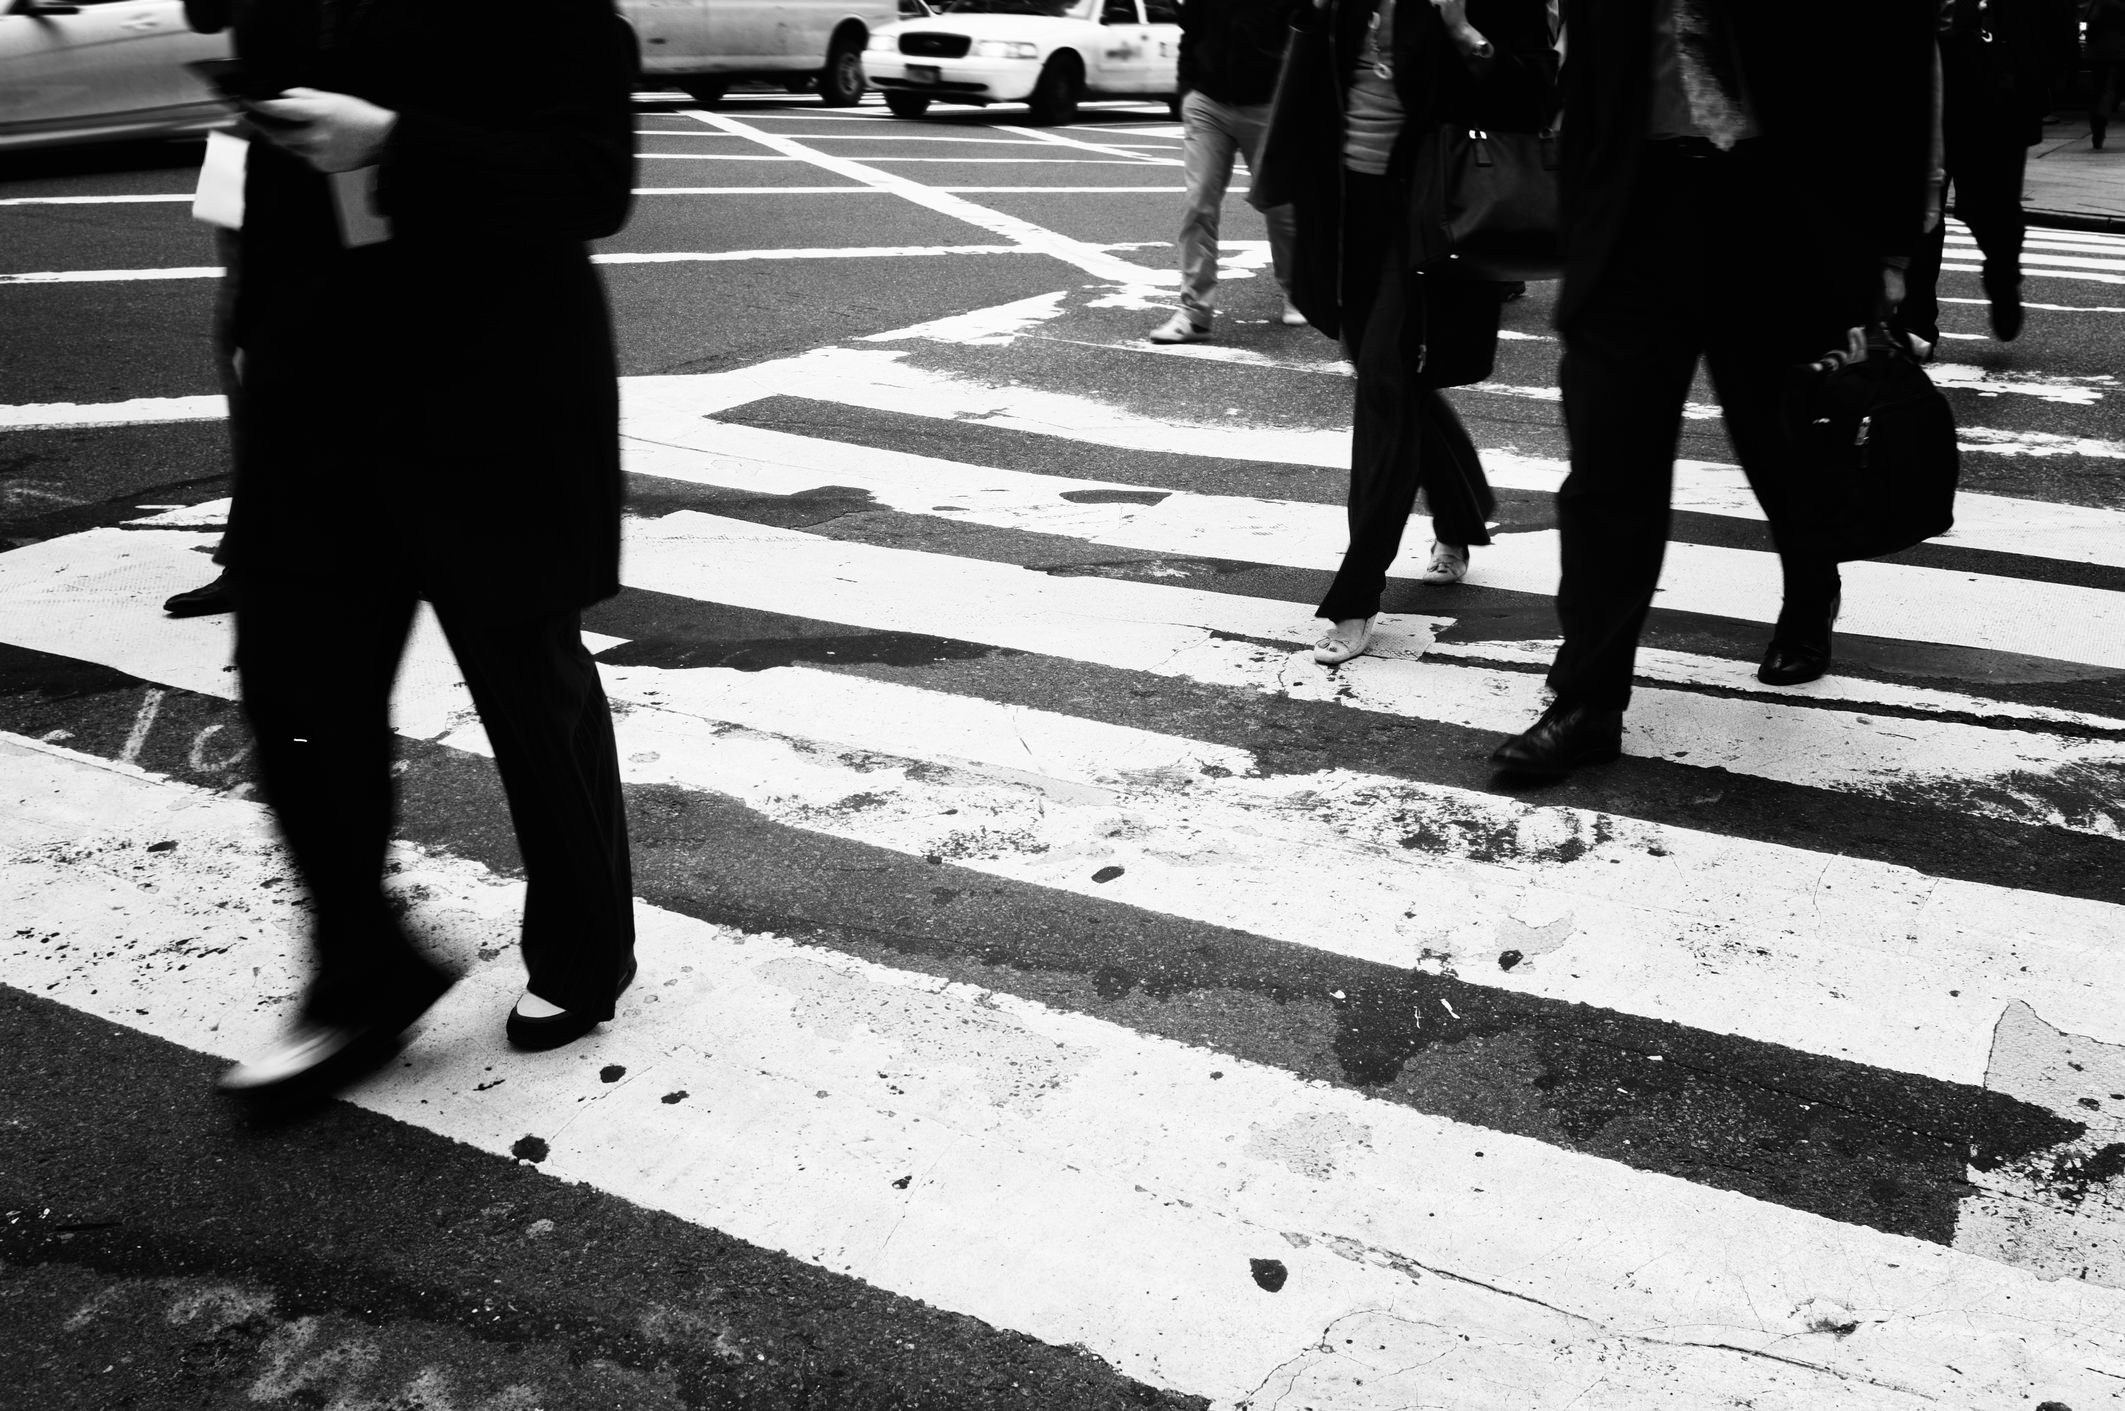
At one point, street photography looked like it wasn’t going to be around as a mainstream genre for a long time, but in the past few years, things have changed dramatically.
More than ever before, people are taking street photos with just about every kind of camera they can get their hands on.
Sure, mobile photography has played a huge role in this and so has the ever increasing trend of retro-styled, rangefinder type mirrorless cameras.
It’s no longer just a game for expensive Leica’s or heavy DSLRs. We have so many amazing cameras that are perfected for street photography, that it would be a shame not to put them to good use.
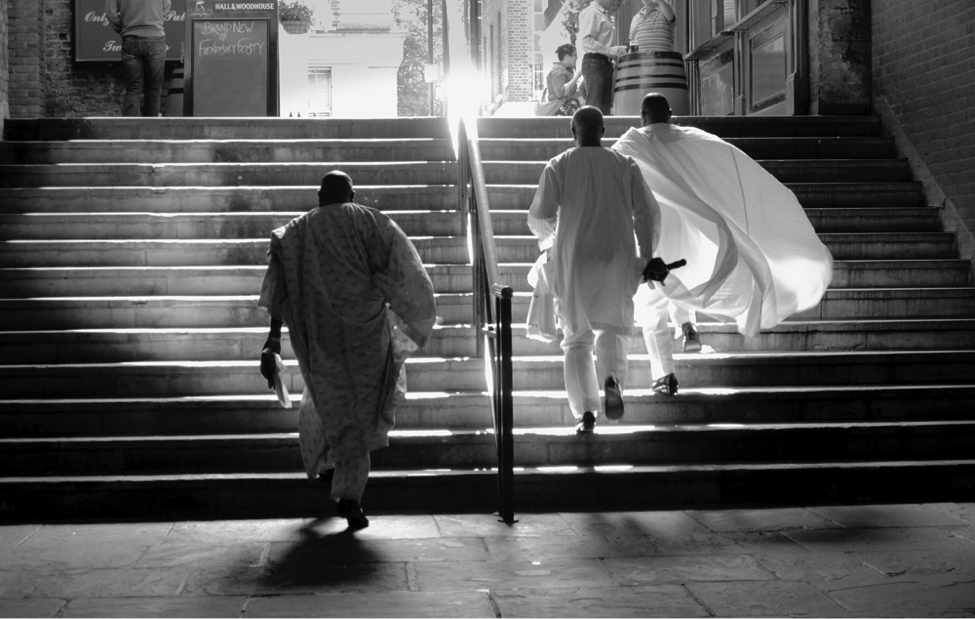
Image Credit: Linda Wisdom
But in this sea of countless street shots that are being taken and uploaded every single day, creating work that stands out is tougher than ever. Getting on a flight to New York and hitting the most famous “hot spots” is done.
If you want to create authentic work, you have to push yourself further and expand your vision to a point where you can capture the interesting aspects of life that others overlook.
You should also follow these seven rules, but at some point, you should be confident enough in your abilities to be able to break them for the sake of great results.
1. Overcome the fear
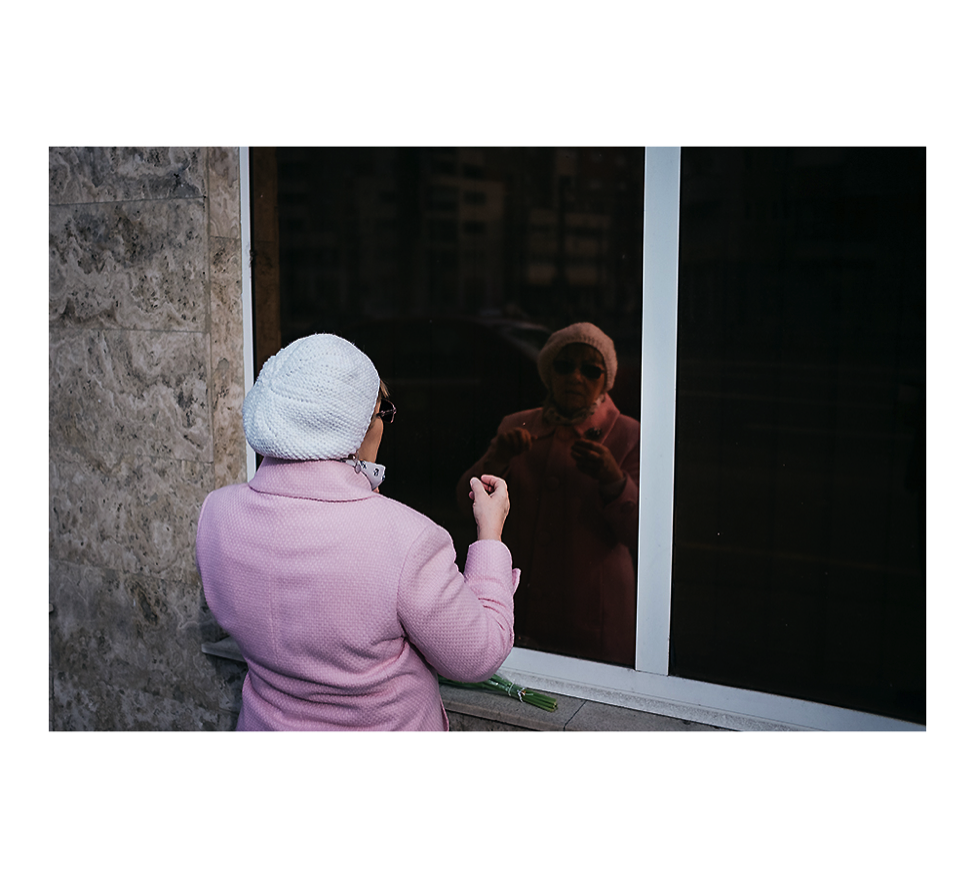 Photo Credit: Hajdu Tamas
Unlike other types of photography, fear plays a big part in street photography. It’s one of the things that also makes it so thrilling.
How will people react when I take out my camera and lift it to my eye to frame the shot? Will someone start asking questions if I take their picture? Is it worth the risk of possibly getting into a physical confrontation?
All these are questions that will come to mind at one point or another, and they are completely normal.
SCOTT WYDEN KIVOWITZ: You can always approach street photography from an introverted photographer’s mindset. Meaning, not having to get close to strangers, in their faces, or even speak to them. You can do it from a distance, but changing lenses to a telephoto, a long prime, or a wide lens. Thinking outside the expected or norm can help you achieve really interesting images.
But overcoming fear and anxiety will make the difference between taking a shot that anybody else could have taken, and capturing a unique image that will never repeat itself again.
Be polite, respectful, and open if someone asks you a question, and you’ll pretty much be safe.
People are a lot more used to being photographed and captured on camera than they were in the early days of street photography, and this can be a huge advantage if you learn to use it in your favor.
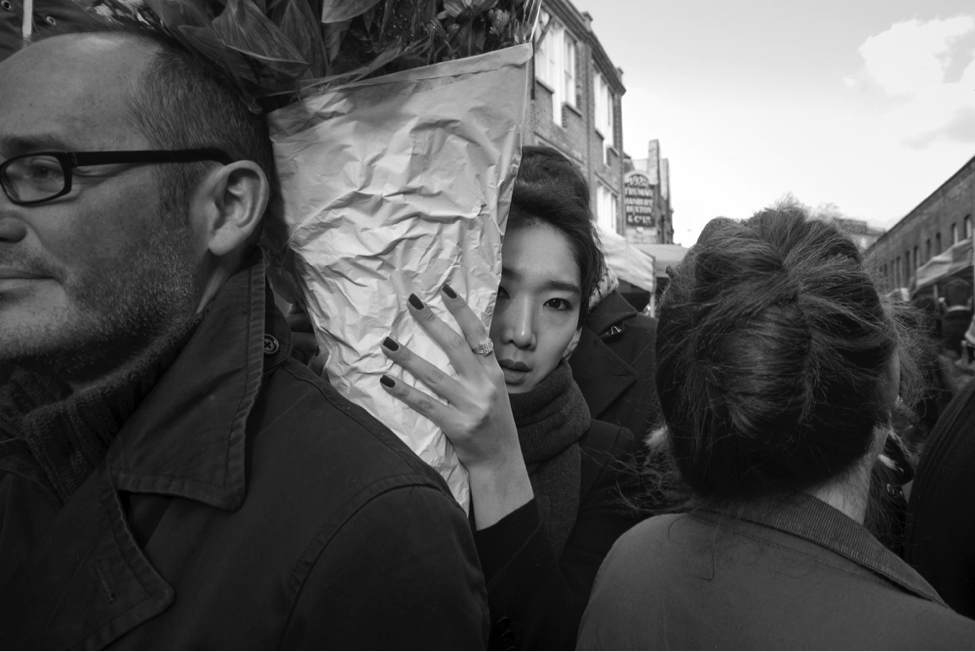 Image Credit: Linda Wisdom
LINDA WISDOM: There are these moments when you have taken a candid photo, but the subject has caught you out, maybe ask you what you are doing and why you took their photo, ask you to delete it, etc. You may panic and don’t know the right thing to say if you are unprepared for the situation. Arguing the facts of your rights as a photographer or getting aggressive is probably not going to help you. One way to get around these situations and turn the subject's negative reaction into a positive one, is to have 1-2 prepared compliments to use if appropriate, even suggest that you are just a photography student doing a project, and/or give them your card and say email you if they want a copy. More times than not, the subject will be reassured and walk away and even be flattered that you took their photo in the first place and will never email you.
2. Know your camera
 Image Credit: Scott Wyden Kivowitz
Street photography is about being fast and being prepared to release the shutter at the right time. Nine out of ten times you won’t have the luxury of a few extra seconds to adapt your exposure settings.
This is why I recommend shooting in P mode.
There is no room for being a “manual mode” snob here. While you check your settings, everything changes around you. Know your camera and trust it to do the technical part.
You should also have a clear understanding of the focal length you’re using because it will allow you to anticipate the correct distance you need to be from your subject.
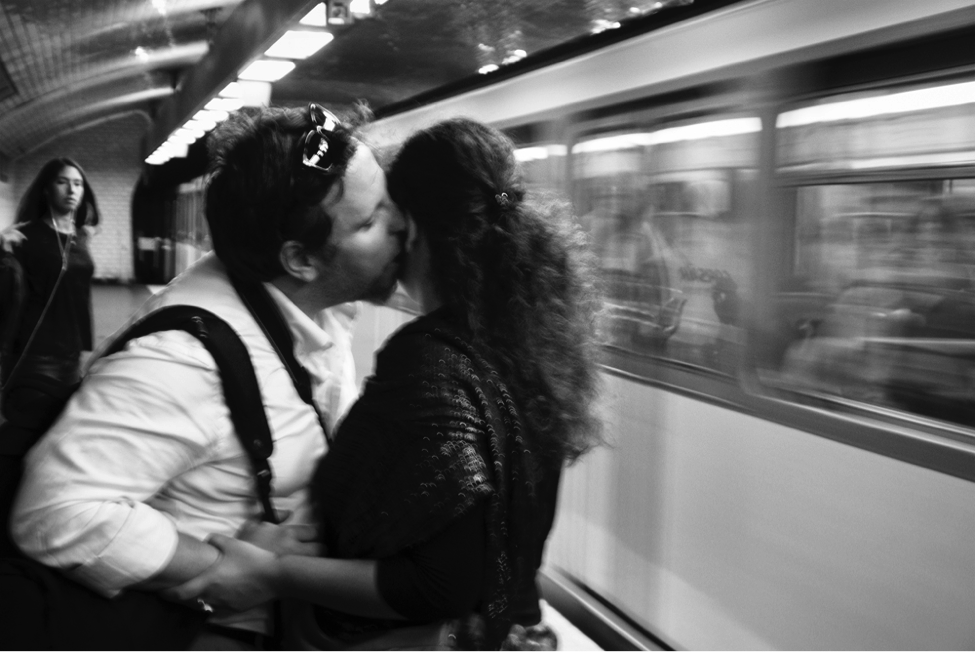 Image Credit: Linda Wisdom
SCOTT WYDEN KIVOWITZ: If you want a nice middle ground then I recommend trying either shutter priority or aperture priority. For street photography, aperture priority might be a better choice. Basically, the camera will choose the shutter speed for you based on the aperture you pick. That way you can control the depth of field of your street photos, but not worry about other settings.
The act of looking down at your LCD usually dispels any concern by the subject that you are taking their photo and simply looks like you are just chimping through photos you have already taken.
LINDA WISDOM: Another suggestion to add here is to use your flip out LCD screen instead of using your viewfinder in close range situations where you feel you will be seen holding the camera to your eye.
3. Shoot in bursts
 Image Credit: Scott Wyden Kivowitz
I must admit, I do feel a little nostalgic about the all manual days when you could only shoot one picture because of the manual film advance (kids these days will never know).
But the fact of the matter is a lot of shots were missed exactly because you could take only one shot.
Today’s DSLRs and mirrorless camera have an average burst speed of 5-6fps. Use it, but don’t mistake it for a machine gun.
Switch to continuous high only when you are in an interesting spot or when you feel the opportunity is nearby (you will develop that sense after a while). Mirrorless cameras have digital shutters which are silent, so if you want to burst away silently, select the electronic shutter.
SCOTT WYDEN KIVOWITZ: I recommend using continuous low if your camera offers it. Sometimes continuous high is too fast and causes additional blur, depending on your shutter speed.
4. Know the law
 Image Credit: Scott Wyden Kivowitz
Generally speaking, shooting in public spaces is legal. But you do need to make sure, however.
Don’t assume anything and don’t hit the streets without prior research. The last thing you want is to end up in legal trouble because of your creative endeavors.
Sounds romantic, I know, but believe me, it’s a lot more unpleasant then you would tend to think.
SCOTT WYDEN KIVOWITZ: In the United States it’s legal to photograph anyone in public. However, in other countries it can be a privacy legal issue.
5. Mind your framing
Image Credit: Hajdu Tamas
There are usually two approaches when it comes to street photography compositions. You either lift the camera to eye level and quickly frame with the viewfinder or shoot from waist level.
It goes without saying that shooting without proper framing means leaving a lot to chance. It’s a two-edged sword.
Yes, provided the composition comes out the way it should, you will get a much more interesting perspective than eye level, but expect to miss a lot of shots and having to cope with frustration.
But the randomness of it all is part of the magic. Even if you do frame using the viewfinder or LCD, everything happens so quickly that you’ll barely have the time to make minor adjustments.
It will come to you with practice, though, and the more you shoot, the easier you’ll be able to anticipate these minor adjustments.
SCOTT WYDEN KIVOWITZ: Don’t worry if your composition isn’t jumping with joy. Mistakes and errors are bound to happen. Photography is an ongoing learning experience. Learn from your mistakes, and try again.
6. Get good with one lens
 Image Credit: Scott Wyden Kivowitz
Better yet, try to develop your skills using a single focal length. This is all part of developing your personal style, and consistency is the key here.
Some photographers prefer shooting from a distance with a longer lens; others like to get up close and personal with a wide angle lens.
Go through multiple focal lengths and pick the one that gives you the most satisfying results. Needless to say, you most likely won’t have the time to change between lenses once you spot an interesting subject.
SCOTT WYDEN KIVOWITZ: My favorite go-to street photography lens is the 35mm. It allows me to get in close and also achieve fantastic wide photos. It’s also the closest focal length to the human eye.
7. Always Explore
 Image Credit: Scott Wyden Kivowitz
Street photography is a lot like fishing. Once you find a few spots with high potential, you keep going back to them.
But don’t make the mistake of limiting yourself to those streets. There is so much that can be written about the fun and the excitement of urban exploration.
Once you get to a place you’ve never been to before, all your creative senses start tingling and so much around you looks interesting. It’s a unique feeling, but that’s not the only reason why exploring is important.
Even something as diverse as the non-stop show of the streets can bring creative ruts and turn into a routine if you let it. Be adventurous, travel, or just go the parts of your city you know very little about.
SCOTT WYDEN KIVOWITZ: In addition to the mental health you get from exploring new places, it’s also physically healthy. The movement of walking, getting down low, and back up on your feet again, has more obvious health benefits.
Just keep in mind all the rules above, and use them to improve your street photography.
Granted, rules are meant to be broken, so once you've got these rules down pat, see what happens when you break the rules! You might find you get even more compelling photos.
We Recommend
The Best Ways for Getting Sharper Photos
I'm sure we've all experienced focusing problems.
You know - you have an otherwise pretty good shot, but the subject is just ever so slightly out of focus.
And the toughest part is that you often don't notice the focus problem until you're back home, checking your photos out on your computer screen!
No amount of sharpening in Photoshop is going to save an out-of-focus photo, either. That means it's imperative to get it right in-camera.
The question is, what are the best ways of getting tack-sharp photos?
We provide the answer to that very question in this post.
Single Shot Autofocus vs Continuous Autofocus

Single shot autofocus is typically the default setting on most cameras and is the most common way to focus for most shots.
It gets its name because the camera focuses and maintains that focus for one shot, which is how most of us shoot most of the time for things like portraits, landscapes, and other still subjects.
Using single shot autofocus is extremely easy, too.
Just depress the shutter button halfway, which instructs the camera to focus.
The camera will maintain focus on the subject until you either take the shot by pressing the shutter button all the way or you release the shutter button altogether.
The problem, of course, is that to lock that focus, you must keep the shutter button depressed halfway, and that can be tricky at first.
You'll likely end up with a few "oops" shots from accidentally pressing the shutter button all the way. Likewise, you'll probably find that you accidentally release it sometimes, too, meaning you have to start the process over again.
But, once you get the hang of it, you can use single shot autofocus to acquire focus on your subject (say, the eyes of a person in a portrait), lock that focus, and recompose the shot.
For example, in a portrait, your initial framing might have the model in the middle of the shot while you're locking focus on their eyes.
But once you depress the shutter button halfway, you can then recompose the photo for a more pleasing look, but still maintain focus on the original target. This is called the focus and recompose technique, and you can see it in action in the video above by Matt Granger.
Cool huh?!
So what happens if you're photographing a subject that isn't stationary?
That's when you need to switch to continuous autofocus.
As the name states, continuous autofocus continually adjusts its focus to maintain a sharp subject.
Whether it's your kids playing soccer, your dog running after a ball or a bicyclist riding by, continuous autofocus is the mode to use for a sharp photo.
Learn more about the differences between single shot and continuous autofocus in the video below by Rob Nunn.
Similar to single shot autofocus, you simply bring the camera to your eye and depress the shutter button halfway to acquire focus.
The difference is that since the subject is on the move, you need to track the subject to keep it in the frame.
What's more, with the shutter button depressed halfway, the camera will continue to adjust the focus as the subject is moving around.
For example, if you're photographing your child riding their bike, you would frame the shot as they start out, depress the shutter halfway, and so long as you keep your child within the frame of the shot, the camera will adjust the focus as they get nearer or further away.
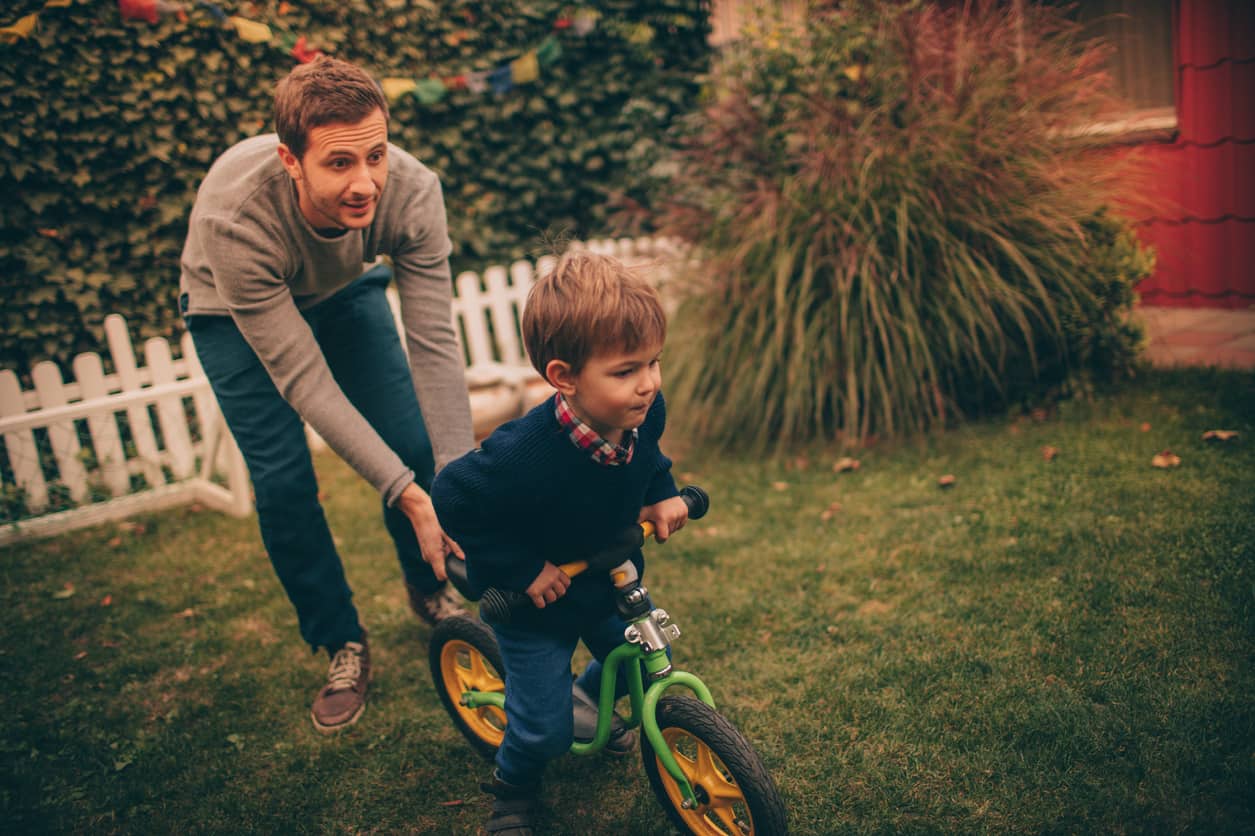
There is one caveat, though.
Sometimes it's advantageous to select which autofocus point the camera uses to determine focus. This is especially true when using continuous autofocus.
Letting the camera do it itself (a process called automatic focus point selection) works fine in most situations, plus it's quick, so when time is of the essence, automatic is the way to go.
But the camera typically tries to focus on the nearest object in the shot for focusing, so if there's foreground elements in the way, you might end up with a sharp foreground and a blurry subject.
You can get around this by manually selecting the autofocus point, which is discussed in the next section.
Learn More:
Manual Autofocus Point Selection
As noted above, manually selecting the autofocus point that's used for acquiring focus is ideal for situations in which you need even more control over focusing the shot.
This typically occurs in situations in which the subject is moving, when you're working on a macro shot, and even for landscapes, in which you might be shooting through something (i.e. foreground grasses) that you want blurred.
Though the process for selecting which autofocus point is active varies from one camera to the next, typically there's an AF button on the back of cameras that allows you to access the selection menu.
From there, simply use the arrow buttons on the back of your camera to select the point you'd like to use.
Then all you do is frame up the shot, ensure the active autofocus point is over your subject, and press the shutter button!
See how to select autofocus points on a Nikon camera in the video above from Camera Guides.
Learn More:
Back Button Focusing
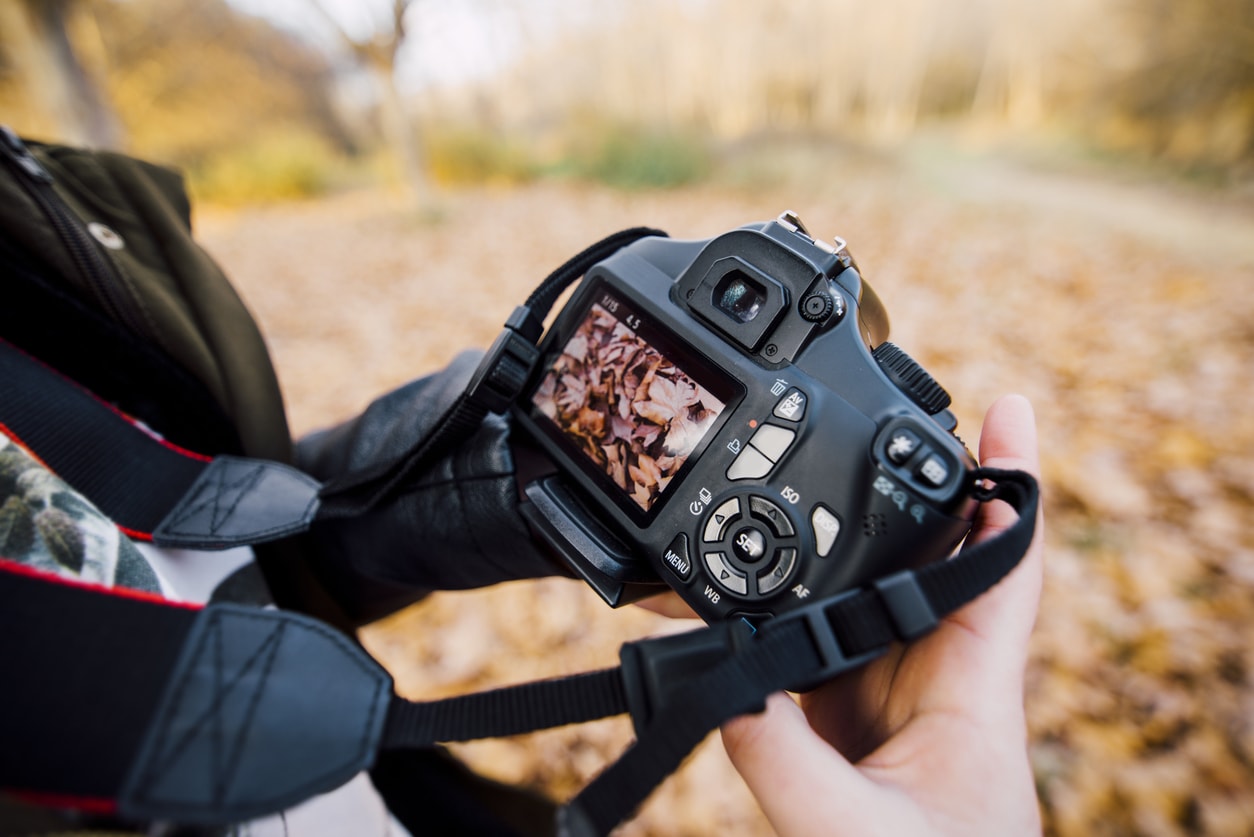
As I noted earlier, the problem with using autofocus is that it's easy to release or trigger the shutter from the half-pressed position. That means a lot of mistake shots.
You can get around that problem by using a technique called back button focusing.
Back button focusing takes the focusing job away from the shutter button and places it on a button on the back of the camera.
With separate buttons for triggering the shutter and focusing, you can actually see how the camera has focused in the viewfinder before you press the shutter button.
Just frame the shot, press the button on the back of the camera to acquire focus, release the button, and press the shutter to take the shot.
This is a great technique for all kinds of photography, from still subjects like portraits to subjects that might be on the move, like nature and wildlife photography or sports.
Another cool thing about back button focus is that when you release the back button, the camera's focus is locked.
That means if you're taking a photo of your kid playing sports and someone walks into your field of view, the camera will keep its focus on your kid, not the person that walked in front of you.
That'll come in handy, right?
See back button focusing at work in the video above by Tony and Chelsea Northrup.
Learn More:
Manual Focus
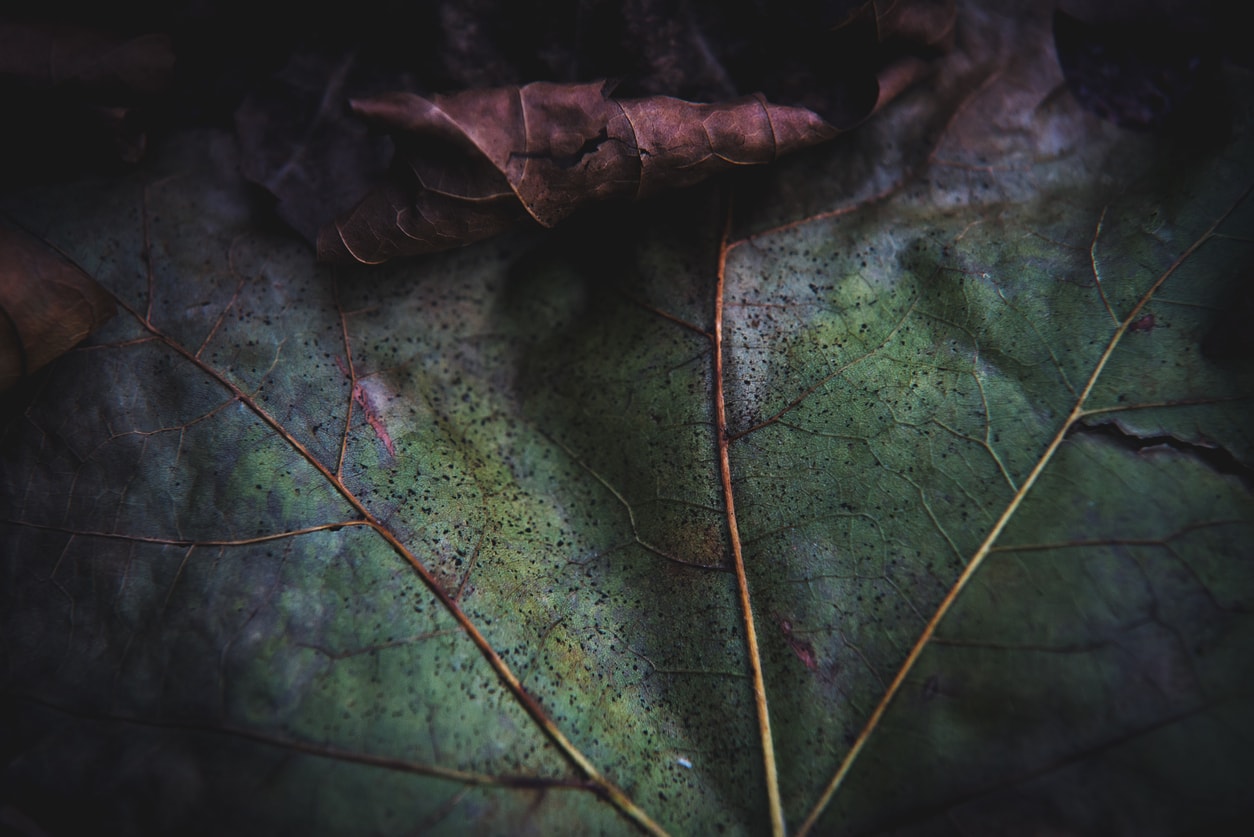
Virtually all modern cameras have autofocus systems that work pretty darn well in most situations.
However, there are times that call for you to take control of the focusing duties.
Macro photography, in which the camera and the subject are mere inches (or less) from one another is a prime example.
That's because even cameras with the most sophisticated autofocus systems can struggle to acquire focus on a subject that's so close.
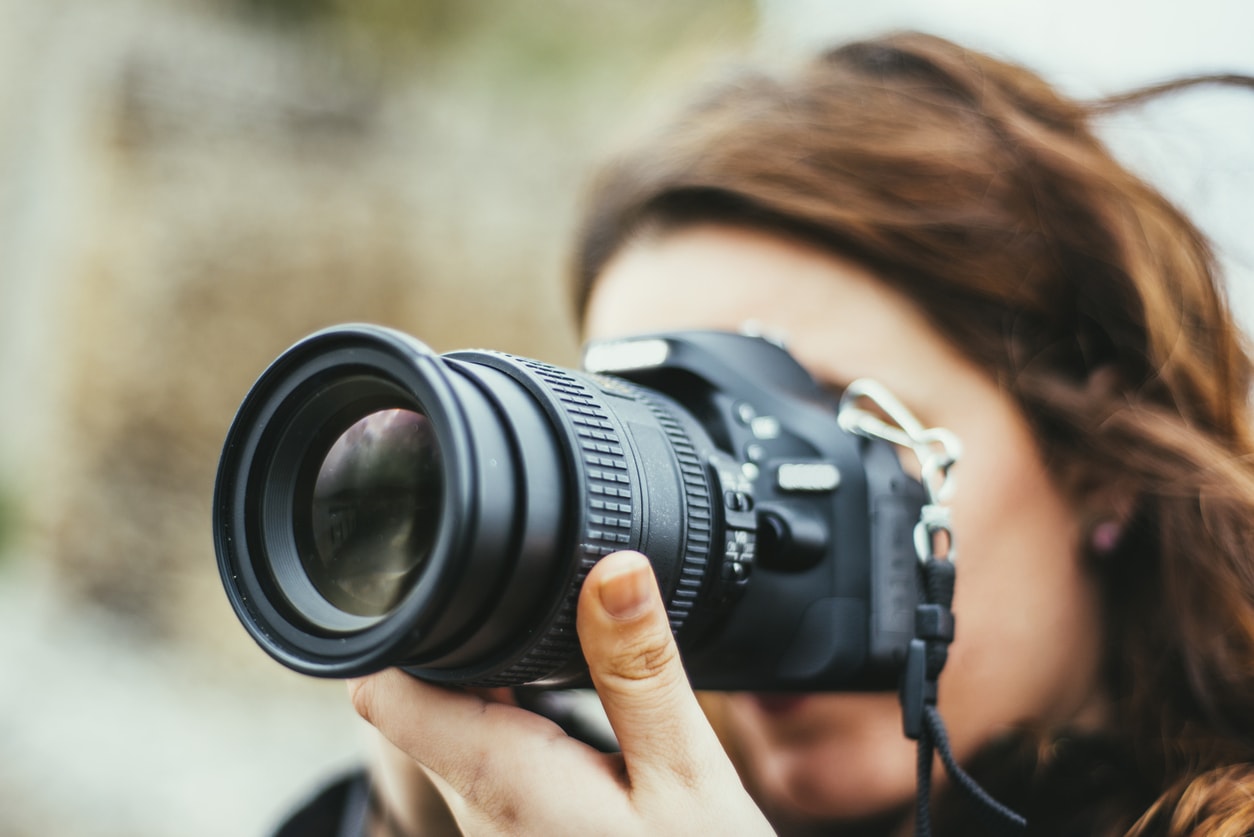
By using manual focus instead, you can avoid having the autofocus system hunt around for a focal point and just do it yourself.
A simplistic explanation of how to do that is this:
- Switch your lens to manual focus (marked MF on your lens barrel).
- Bring your camera to your eye (or use live view) to frame the shot.
- Depress the shutter button halfway to acquire focus.
- Turn the focus ring on your lens to perfect the focus.
- Take the shot.
When using manual focus, doing so in live view can be a lifesaver because you can zoom in on your subject to check the focus, and if it's off, you can adjust it right then and there.
That means no more surprise out-of-focus shots when you get home!
Learn More:
Wrapping It Up
Your camera gives you plenty of options for focusing such that you can get the sharpest images possible.
It's really just a matter of exploring each of the options above, learning how to use them, and identifying which one is most appropriate for the current shot.
But there are other ways to get a sharper photo, too.
You can use hyperfocal distance to get the maximum sharpness and depth of field at any aperture.
You can also use what's called focus stacking, in which you blend several different exposures together, each of which has a different focus point, to get a final composite image in which everything in the shot is tack-sharp. You can check out focus stacking in the video above by Gavin Hoey and Adorama TV.
On the simple side, using a tripod and a camera remote can work wonders for sharpness, too!
We Recommend
The Three Main Rules of Photography

Every professional photographer had to learn his craft somewhere.
Just like you, there was a day when even the best of photographers picked up their cameras for the first time and had no clue about how to use them. Decades later, people are pouring into gallery openings to see their work and admire their skills.
No one is born with knowledge implanted in their brains – every skill has to be learned. Same goes for techniques and rules of photography.
This may or may not be your aim, but if you are here on PhotographyTalk, we’ll assume that you want to improve your skills as a photographer.
That’s why we've worked out the most important habits and techniques that are best for you to know early in your photography career.
Armed with this knowledge you’ll be able to practice them like a true professional, and eventually even begin crafting your own style and techniques.
However, it's crucial that you understand that these rules are not strict laws. Instead, in photography, just like in most arts, it’s good to break the rules sometimes. It allows you to experiment and develop. It lets you grow as an artist and discover your own personal style, too.
But before we get ahead of ourselves, let us introduce you to the three main rules of photography.
Shoot in RAW

You will often be told by non-photography people that you should not edit your pictures. They will say things like: “real professionals don’t edit,” “you are not representing the scene in a natural setting” or some other nonsense along these lines.
Although there are many people who believe that most published photographs are unedited, we do not know any professional photographers who do not post-process their pictures. And if they do it, so should you.
So here’s the first and most important step towards professionally edited photographs – shoot your pictures in the correct format, RAW.
When first setting up your camera, you will stumble across a choice of what format you want your pictures to be taken. A lot of beginners go for large JPEG format. And although this gives you the maximum quality that a JPEG can have, this also puts you within a tight frame of limitations.
However, RAW format captures all of the details in highlights and shadows. It takes in as many colors as your sensor can handle, and tries to preserve every little bit of information. When you choose to shoot in JPEG, that information gets compressed and eventually deleted. After all, an average size of a JPEG is 5MB while RAW files can often be 25MB in size.
To make your editing process easier, and give yourself more options, stick to shooting in RAW. RAW files will always outperform the best quality JPEGs, and the final product will always be of a more professional quality.
Learn More:
Use the Rule of Thirds

Good composition takes your photography to a whole new level. With good composition, you can lead the viewer into the picture, find new and interesting angles, and emphasize the main part of your photograph. Sounds pretty complicated, but there is a secret rule to help you get there - the rule of thirds.
The idea behind the rule of thirds is that you divide the picture into three equal parts vertically and horizontally. This creates a grid with nine squares and four intersecting lines. The four places where the lines meet are where your picture’s focal points should be placed. And if you are taking a picture of a landscape, you can use the horizontal lines of the grid to create a perfect balance between your horizon and the sky - a pretty nifty trick, eh?
Of course, there are more techniques for a good composition that professional photographers use. But for someone who is just starting out, with not much knowledge or experience in photography, the rule of thirds is a great place to start. It is a simple, elegant, and very natural way to compose your pictures.
Learn More:
Shoot at Golden Hour

Magical landscapes, emotional portraits, and mysterious city shots - how do the professional photographers capture it all in such perfection? No matter how much you try to replicate the style and the emotion, use the same rules of composition, and even edit the pictures - it doesn’t ever come out quite right.
Actually, it’s not your skill that might be letting you down, but rather the time of the day. What I mean is that you probably choose the time of day with the most light - when the sun is high up in the sky, and you can shoot at 1/2000th of a second with no problem. Logically, this makes sense. However, this is the time when every professional is either out scouting locations or taking a nap.
Having the sun high in the sky makes everything flat and overlit. There are no shadows, and the color of light is pretty dull. Generally, this results in pictures that are boring and lack any character. The only exception to this is when the sky is cloudy. Then the clouds act as diffusers, softening the light and helping you light your portraits.
Instead, try to shoot when the sun is near the horizon - the best time is about an hour before and after the sunset and sunrise. Everything gets colored with a golden pallet, and the sun drops long shadows bringing everything to life. The quality of light at this time is so good that painters and photographers took to calling it the golden hour - the perfect time to capture nature at its best.
Learn More:
The Best Rule of All - Ignore all the Rules
Truth be told, in photography, there are no rules. These are mere guidelines and words of advice from the photographers that played around and experimented with new techniques.
These guidelines work well to teach you the basics of photography. But in order to grow as an artist, you must eventually break them and look for something new.
Never be afraid to have fun and experiment. After all, that is what art is all about!
We Recommend
These 3 Tips Will Help You Take Much Better Photos
It's a question that photographers of all ages and skill levels have asked at some point...
"How do I take better photos?"
That's a loaded question, of course, because there are dozens - perhaps hundreds - of possible answers to that question.
That would be a really long article to read, so instead I've created this short list of tricks that will help you improve the quality of the photos you take.
Learn How to Use ISO
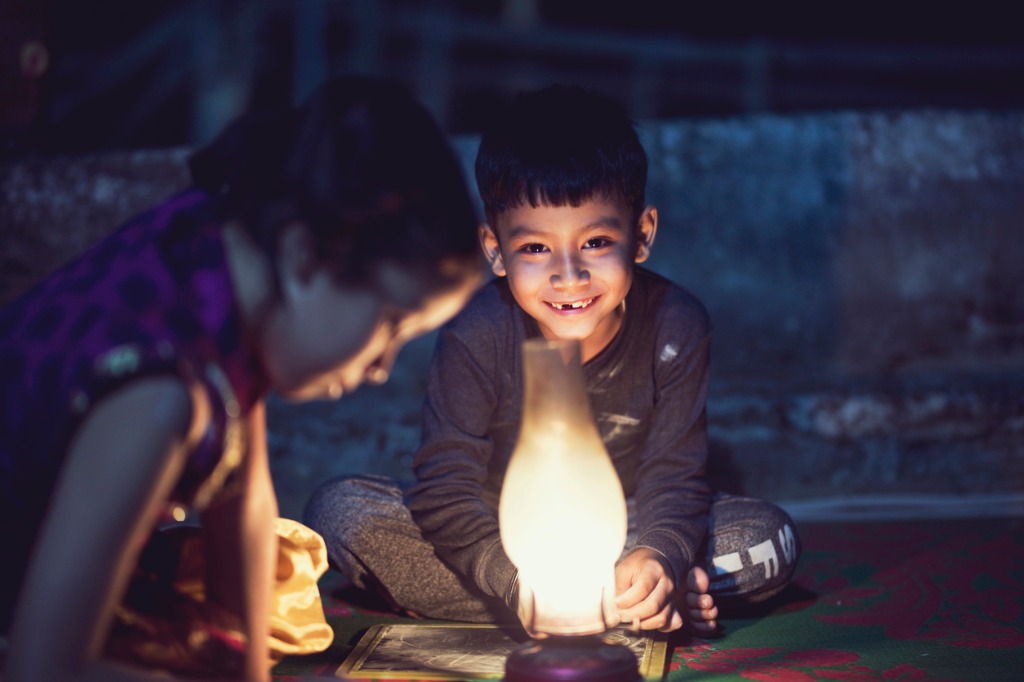
ISO unlocks so many different possibilities when taking photos.
When there's dim lighting, like shooting outside at dusk or indoors with little in the way of artificial lighting, a high ISO (i.e., 1600) might be warranted.
By raising the ISO, you increase the camera sensor's sensitivity to light, thus making it more likely that you'll get a well-exposed image.
Additionally, by using a high ISO, you can also use a faster shutter speed. This is advantageous for freezing movement.

Conversely, you can use ISO to get a well-exposed image when shooting under bright lighting conditions.
For example, if you're outdoors during the daytime, you can use ISO 100 or 200 because there's so much available light.
So, not only does ISO play an important role in how the image is exposed, but it also plays a role in how the image looks.
If you haven't yet learned how to manipulate ISO, put that on your to-do list.
It's easy, too, by using program mode.
Learn More:
Use a Tripod
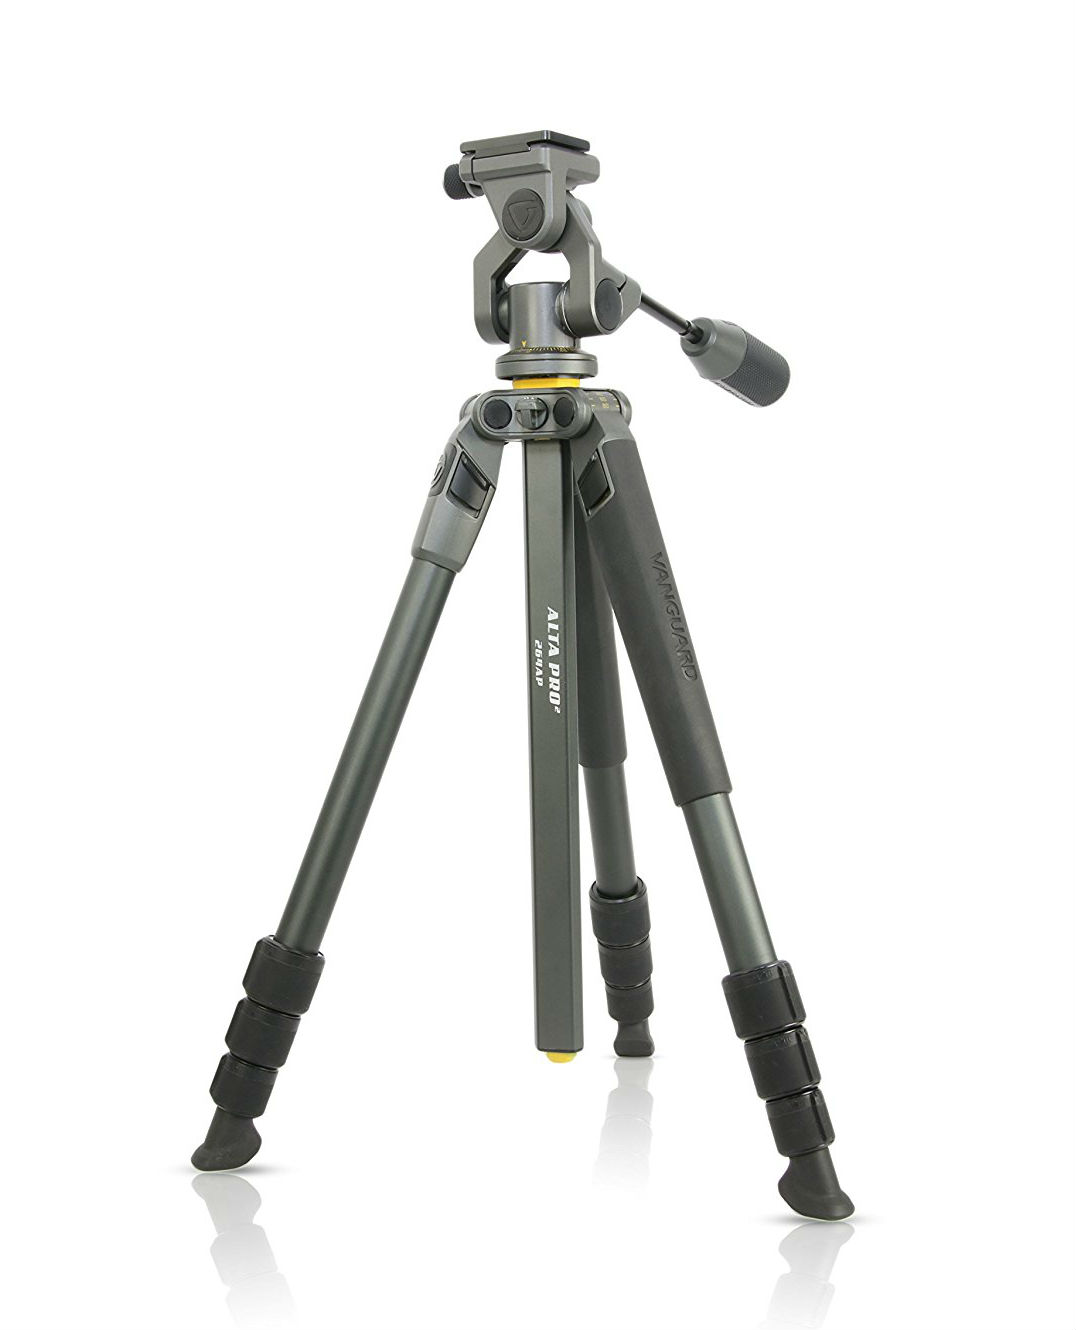
If you ask me, tripods are the most underrated photography gear.
That's because they offer you so many avenues for improving your photos...
On the one hand, a solid tripod, like the Vanguard Alta Pro 2 264AO shown above and below, gives your camera a stable base of support for getting tack-sharp images.
By taking the camera out of your hand and putting it on a tripod, you eliminate the possibility of camera shake, thus ensuring your photos are as sharp as possible.
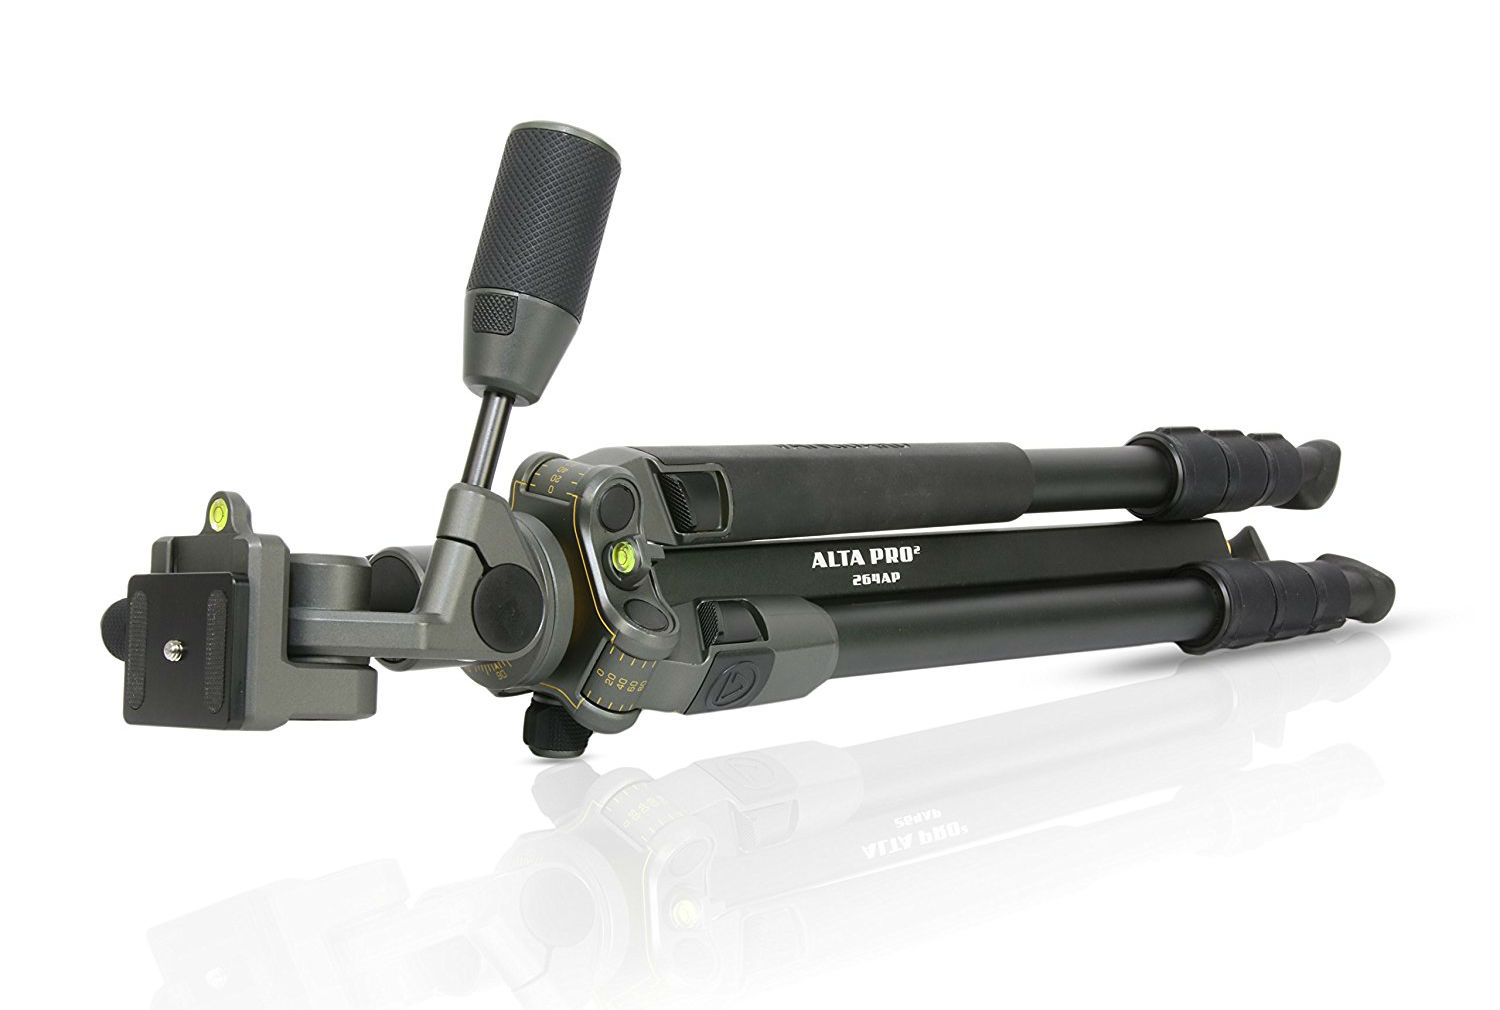
On the other hand, using a tripod can help you compose better photos.
By that, I mean that working with a tripod means you have to make adjustments to its height, the angle of view, the direction the camera is facing, and so forth.
And in making those fine adjustments, you're more apt to pay attention to how the shot is framed and notice elements that you either want to highlight or eliminate from the shot.
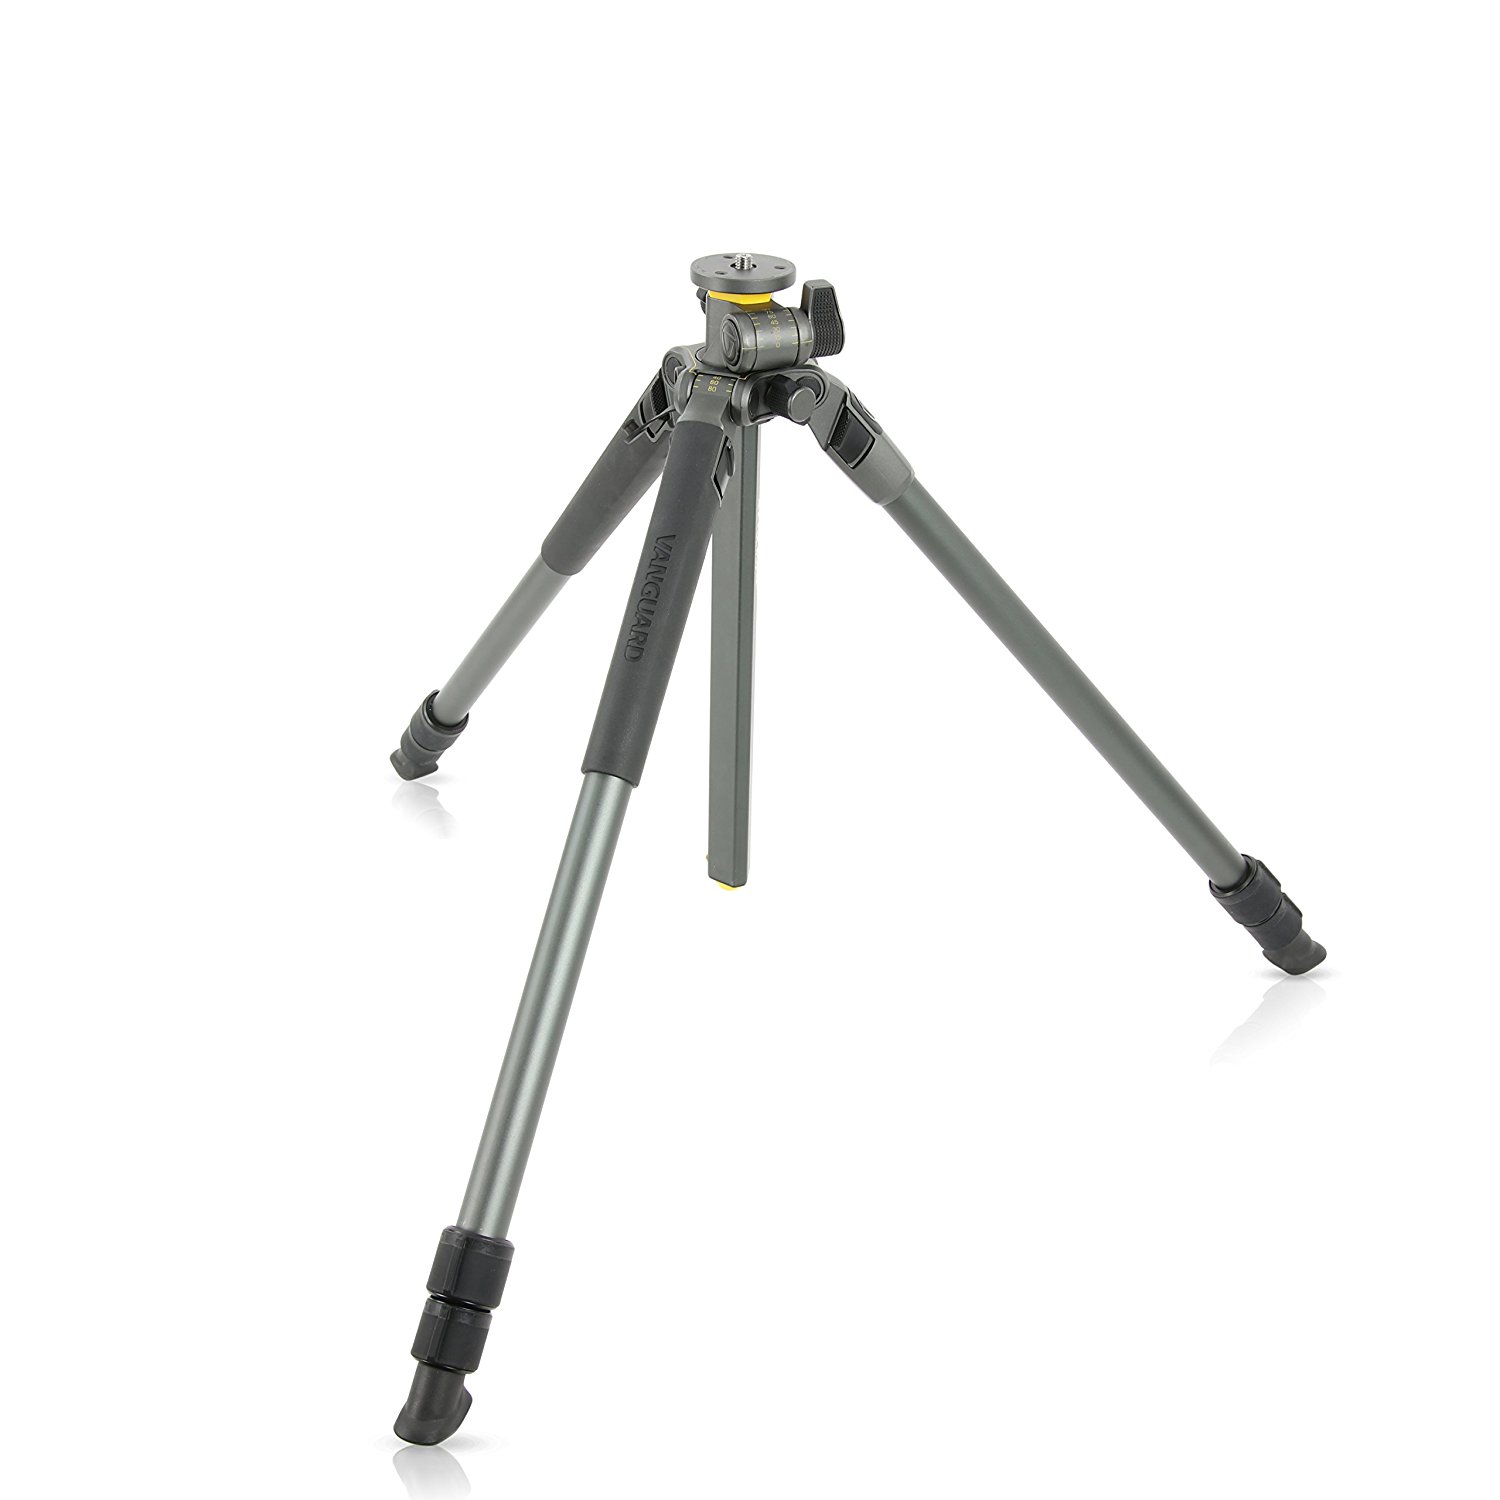
Lastly, tripods help you be more creative.
With a tripod, you can take long-exposures and create time-lapse videos, two tasks that are impossible to do if you hold the camera in your hand.
What's more, some tripods, like the Vanguard Alta Pro 2+ 263AT shown above and below, have a multi-angle center column that allows you to position the camera at ultra-low-angle views for more interesting shots.
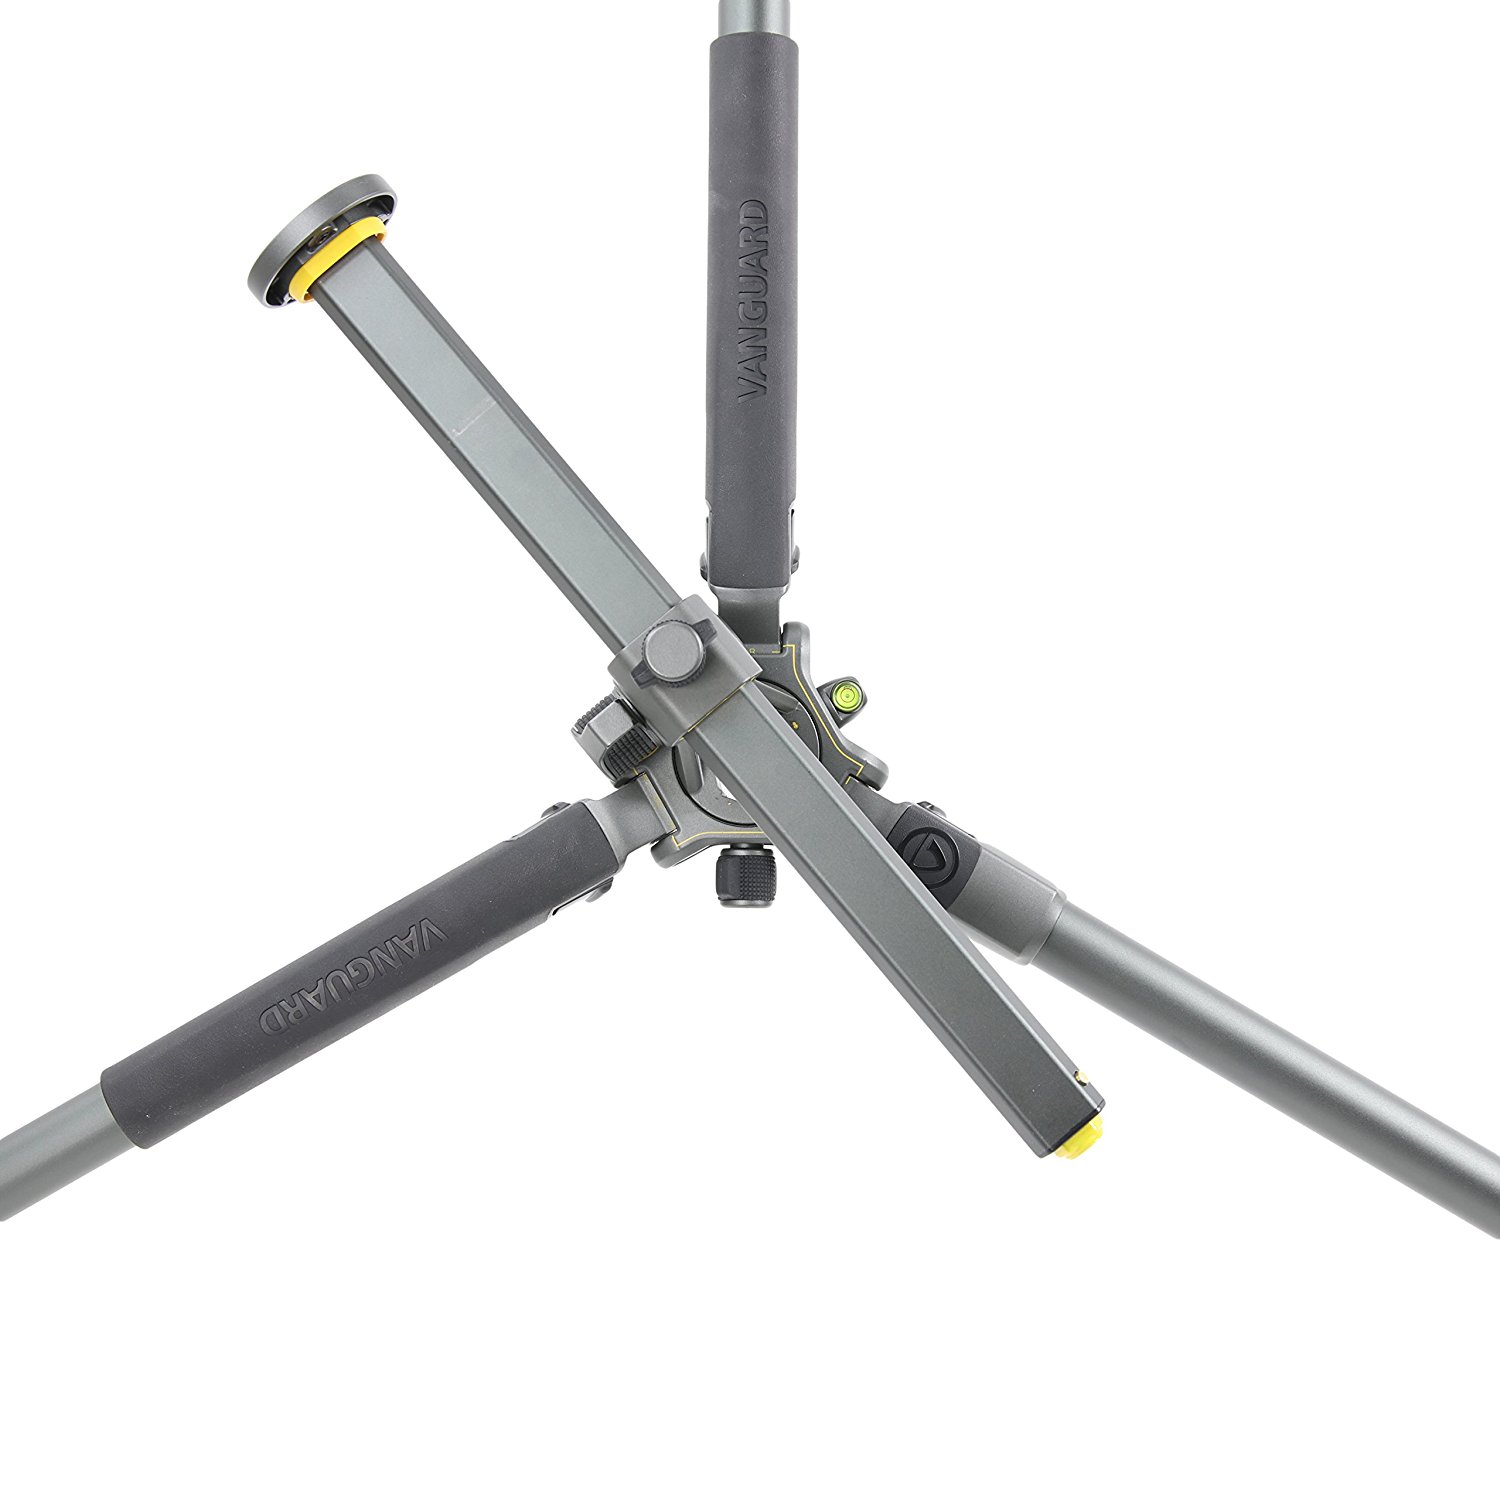
You can position the camera near the ground for a worm's eye view of a landscape or get the camera up-close to your subject for an interesting macro shot with ease.
The point is that though it may seem like you have more freedom for creativity if you shoot without a tripod, you can actually do much more in the way of creating unique and dynamic photos if you use one.
Learn More:
- Get the Specs and Pricing on the Vanguard Alta Pro 2 264AO
- Get the Specs and Pricing on the Vanguard Alta Pro 2+ 263AT
Engage With the Subject
Sure, there's times when you can't engage with the subject...
I mean, asking the bride and groom to turn towards you as they're reciting their wedding vows isn't the best practice.
But otherwise, be present, get to know the subject, and find ways to build a relationship with whatever you're photographing.
This holds true for taking portraits of people - talk to them, ask questions, make eye contact, and so forth.
It also holds true for landscapes - walk around, find unique vantage points, research the location ahead of time to get a better understanding of the area.
Don't just be a passive participant that blindly presses buttons. If you're actively engaged with the subject, you'll find that better images result.
Learn More:
Bonus: Don't Buy Tons of Gear
When you're just starting out in photography, the worst thing you can do for yourself is spend all your money buying fancy new photography gear.
You can learn to be a better photographer with your smartphone or a point-and-shoot, so you don't need to blow $3,500 on a Nikon D850 camera body!
In the beginning, you can use whatever camera you've got to develop the artistic skills needed to take better photos.
For example, learn how to frame a shot, how to use things like leading lines and the rule of thirds to create more interesting compositions, and use light and shadow to give your shots more visual interest.
Spend your money on learning new things, not on new gear, and your images will be the better for it!
We Recommend
These Foolproof Tricks Will Help You Take Better Photos

So you want to learn how to take better photos?
Lucky for you, making progress with your photography doesn't necessarily have to be a difficult exercise.
Now, don't get me wrong - becoming a better photographer does take a lot of time, patience, and practice.
But sometimes knowing where to focus your attention can get you better results, and faster.
If you want to step up your photography game, consider these easy but effective composition tips.
Know the Rules of Composition (and When to Break Them)

When it comes to composition, there's no more ubiquitous rule than the rule of thirds...
You know, the idea that if you break the image into nine equal quadrants and place your subject at the intersecting points of those quadrants that you'll end up with a better photo.
And much of the time, the rule works great, as you can see in the image above.
Notice how the subject is in a place of prominence in the shot, which helps draw our eye.
But also note how there's room in the shot above her head, and, more importantly, room in the shot to our left for the model to look into.
These tricks help ensure that the photo is balanced and that your eye immediately goes to the most important element in the shot - the model.

But knowing basic compositional rules of photography is only half the equation. You also need to know that these rules are meant to be bent or broken.
Take a look at the image above, and note how it doesn't adhere to the rule of thirds.
Yet, the shot is a good one that's quite compelling.
By placing the model in the middle of the shot, the photographer created a scene with greater symmetry. That symmetry, in turn, leads to visual tension in the shot that makes it interesting to view.
So, it's important to understand the rule of thirds and know how to implement it in your photography. But if you use the rule of thirds for every single shot, you'll find that your images become predictable, and perhaps even boring.
If you want better photos, learn how to switch things up and break the rules when needed.
Add Compositional Elements That Create Interest

There are tons and tons of compositional elements at your disposal that make for a more interesting shot.
You can add a frame within a frame to a portrait, a landscape, or any other type of photo, for that matter, which gives the image depth, dimension, and helps direct the viewer's eye to the subject.
In the image above, you can see how the trees on the left and right sides of the frame give the shot a "tunnel vision" feel.
That, in turn, directs our eye towards the woman in the distance. So, even though she's in the background of the shot, the frame within the frame technique still ensures that she's the focal point of the image.

Leading lines are an essential tool for photographers as well.
They are especially popular for landscape photography and are used as a means of helping to give viewers a pathway to explore the photo from one area to the next.
In the image above, the lines of lavender plants act as the ideal vehicle by which to direct our attention to the mountains and the setting sun in the background.

But leading lines aren't just for landscapes...
In this shot, the lines created by the body of the train and the train windows drive our eyes toward the woman.
When using leading lines in this manner, it's important that the lines work with you and not against you.
By that I mean that the lines should point toward the subject. That doesn't mean they have to be straight lines or even obvious lines. But the best results are garnered by having the lines lead to the most important part of the shot.

We all know the importance of light to photography, but you can use it for more than just creating a well-exposed image.
Our eyes tend to be drawn to bright objects, so using light in a creative manner can help you make a more visually impactful image.
In the portrait above, notice how the larger scene is quite dark, but by placing the boy in the one area of light in the room, the photographer was able to create an image that has a lot of visual appeal.

The same can be said of this image, too.
The shafts of light coming through the forest not only contrast with the dark, linear forms of the tree trunks, but they also serve to highlight the canopy of the trees.
Without this kind of lighting, this forest scene would not be nearly as dramatic, nor would it have the same feeling of warmth and depth.
If all else fails in your images, look for opportunities to incorporate interesting lighting, and you'll have a better photo on your hands.
Change Your Perspective

Something as simple as changing the point of view of the shot is another simple way to take a better photo.
When you look at most portraits, what do you see? An eye-level shot of the model, right?
And there's nothing wrong with that...
However, to create something more unique and visually stimulating, taking a very low perspective or a high perspective can generate a portrait that's got much more capability to grab the viewer's attention.
The image above, for example, makes a more powerful statement because the photographer is so low to the ground.
What that accomplishes is that it makes the motorcycle and its rider look more powerful and imposing.

You can also take a photo from a very high perspective to give viewers a more unique view of your subject.
In this case, the landscape takes on a whole new look when photographed via drone from above.
Rather than looking out at a landscape, we instead look down on it for a texture and color-filled view that's seldom seen.
Making Better Photos Doesn't Need to Be Complicated!
As you can see in the images above, creating photos with more impact is often a matter of using a simple trick or finding new ways to compose your shots to create something far more interesting.
Often, just breaking the rules, using light to your advantage, or changing your perspective is enough to get results that are much more pleasing to the eye.
Now it's just a matter of grabbing your gear and giving these simple tricks a try!
Check out these composition tips and see them at work in the video above by Mango Street Lab. Be sure to subscribe to their channel for even more great tips!
We Recommend
Things You Can Do Right Now To Immediately Improve Your Photography
If you want to take better photos (who doesn't?), this article is for you...
Becoming a better photographer doesn't have to be difficult, confusing, or time-consuming. You just need to know where to focus your attention to get better.
And get better you will if you follow these easy steps!
Learn to Use Your Camera
Today's cameras are more advanced than ever, which means you need to be more diligent than ever in learning how to actually use yours.
It's easy to sit back and let full auto mode do all the work for you, but that won't make you a better photographer.

Take control over how your images look by learning to shoot in manual mode.
Being responsible for the aperture, shutter speed, and ISO is a bit daunting at first, but once you get the hang of it, you'll never go back. Get a quick how-to on using manual mode in the video below by Moose Winans:
If you're not ready to make the leap into shooting in manual mode, take baby steps by advancing from full auto to something like aperture priority or shutter priority modes.
In aperture priority mode, you get to decide the aperture and the camera decides a corresponding shutter speed. It's ideal for taking portraits and landscapes.
In shutter priority mode, you choose the shutter speed and the camera chooses the aperture. This is ideal for action shots of the kids, the dog, wildlife, and so forth.
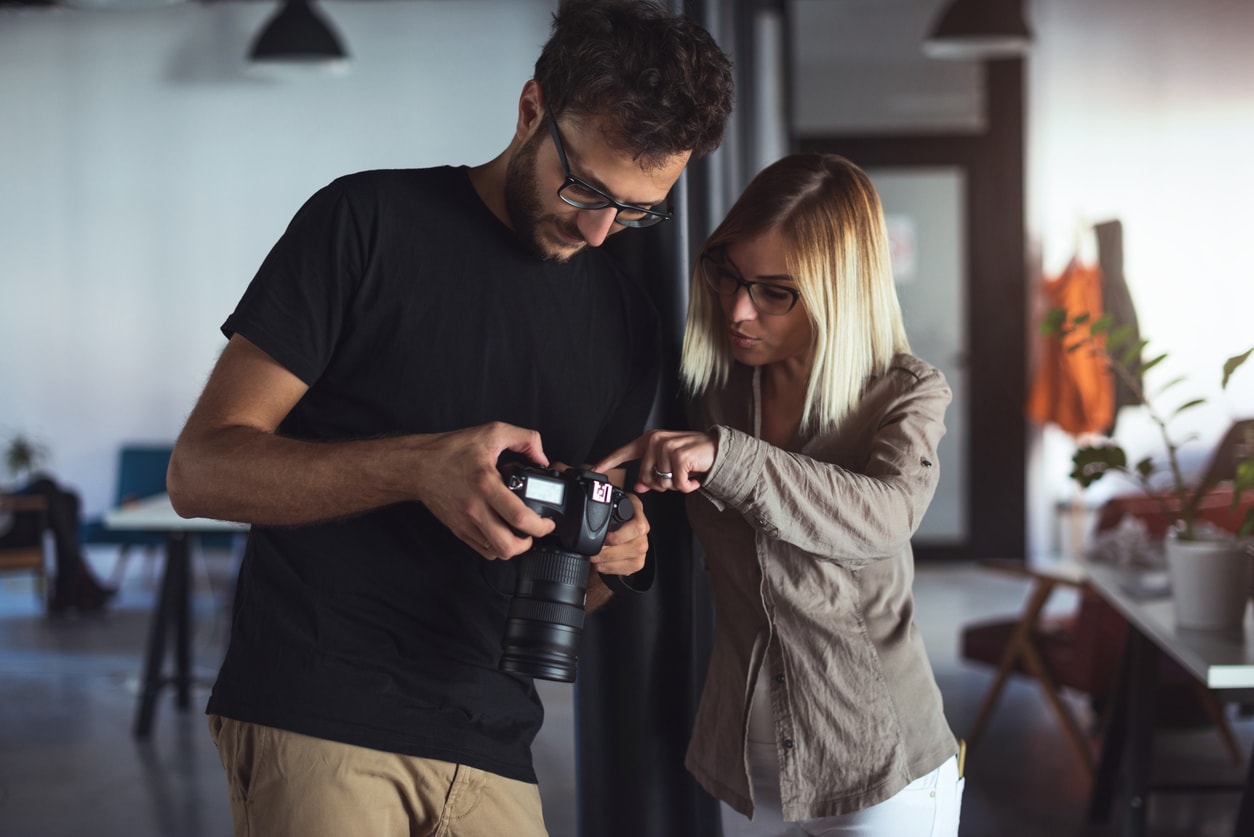
You can also shoot in program mode, which allows you to set the ISO, and the camera will adjust the aperture and shutter speed accordingly.
However, program mode gives you veto power, so you can actually change the aperture and shutter speed if so desired.
The point is that even though our cameras are highly advanced, they still can't match your ability to see the scene with your own eyes and fine-tune the camera settings as you see fit.
If better photos is what you want, get out of full auto today!
Learn More:
Focus on Telling a Story With Your Images

Here's the complicated thing about photography...
On the one hand, it requires technical expertise (see the previous section). On the other, it requires artistic ability as well.
What you need to do to take better photos is to learn how to balance the technicalities of photography with the artistic elements.
In other words, it's important to learn how to control your camera, but if you get bogged down in the technical details, you might end up ignoring the artistic elements of the shot.
Editor's Creative Tip: Really make your photos stand out and tell a beautiful story by turning them into fine art. Find out how.
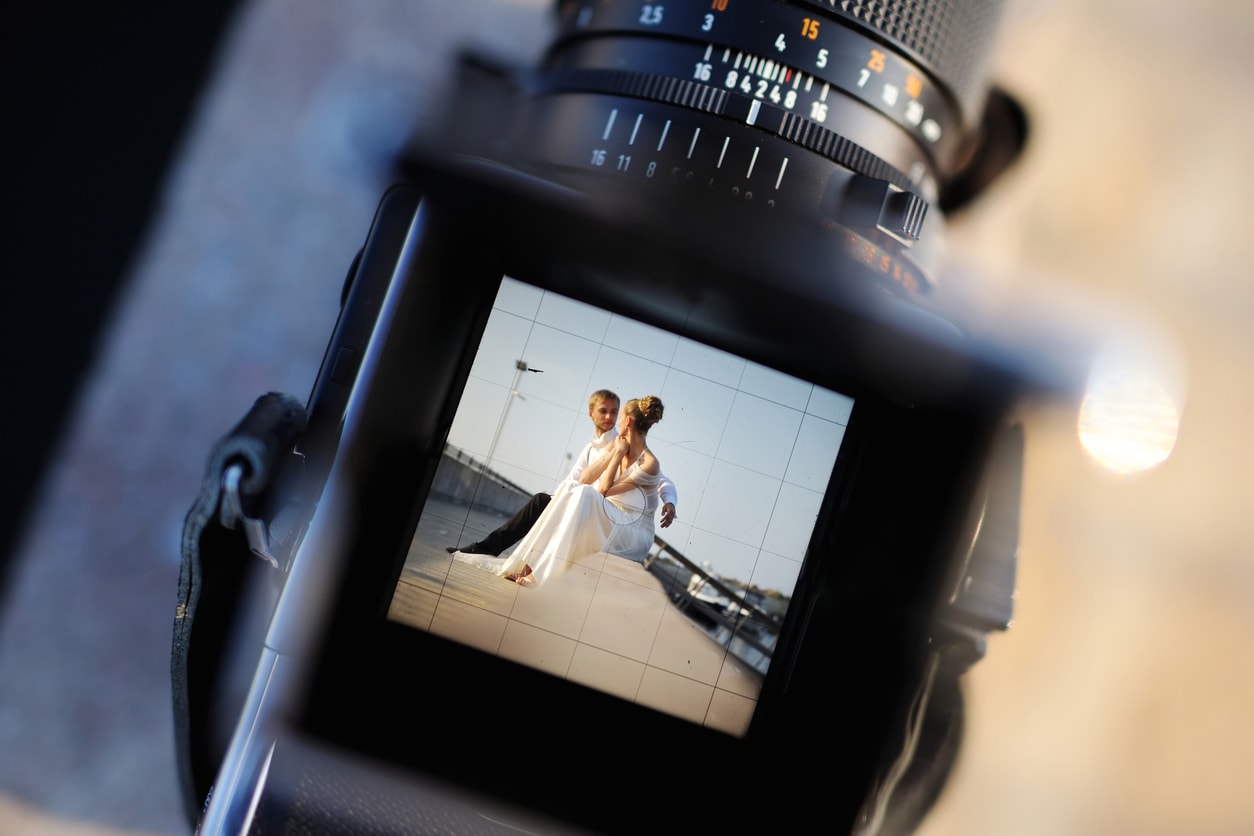
And believe me, if you ignore things like composition and framing, if you don't have a strong subject, if your image doesn't tell a story, it's going to fall flat just as badly as if it's not exposed properly.
That's why shooting in aperture priority, shutter priority or program mode can be so beneficial.
On the one hand, you can begin to master those technical elements of exposure, but at the same time, you aren't overwhelmed with having to control everything, that way you still have the ability to work on the artistic elements of your photos that draw people in and tell them a story about the scene.
At the end of the day, a photo that's not technically perfect but that tells a compelling story is preferable to a technically perfect shot that has no emotion, feeling or interest.
Learn More:
- How to Tell a Story With Your Photos
- 7 Easy-to-Remember Steps for Taking Better Photos With Any Camera
It's You, Not the Gear
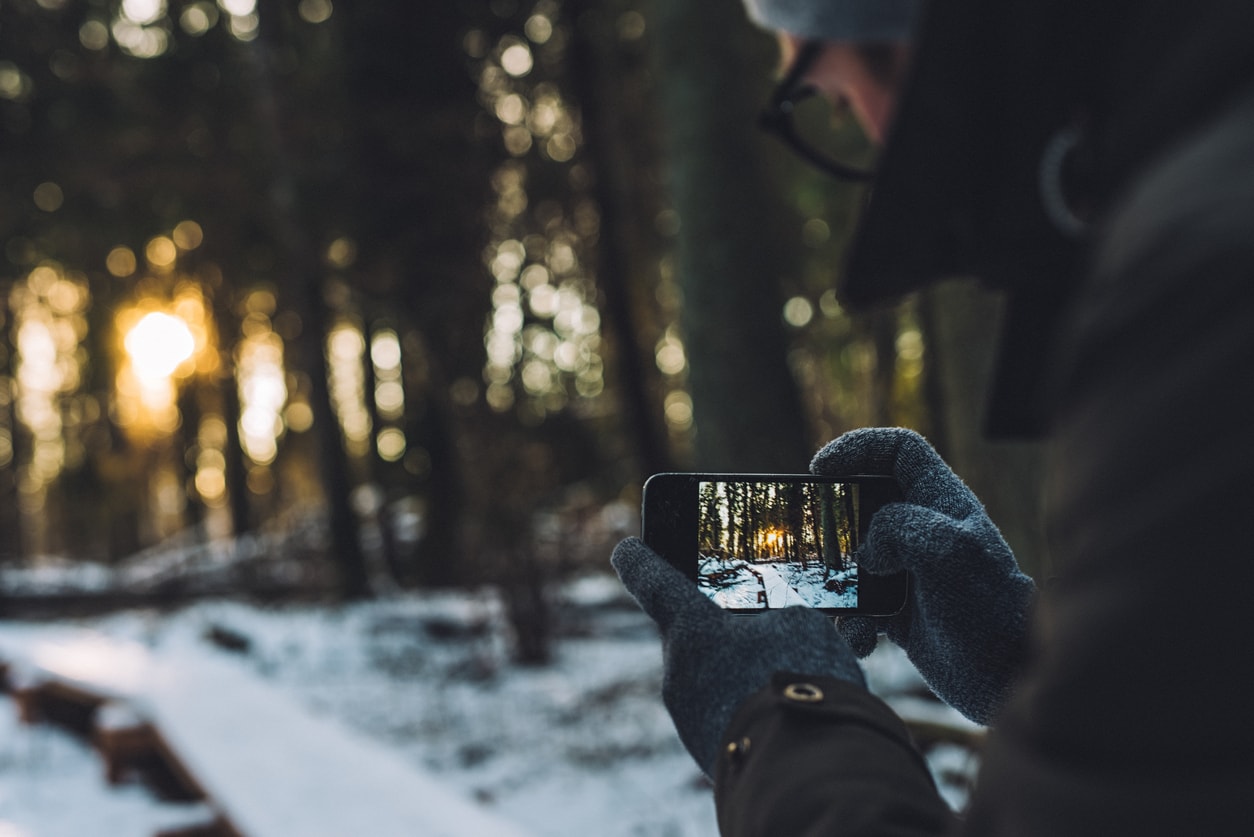
I've seen a lot of photographers over the years dump thousands and thousands of dollars into new cameras, lenses, and other gear, mistakenly doing so because they thought that new, fancy gear would make them a better photographer.
They were wrong.
New gear is nice to have, but the real difference maker in the quality of your photos is you, your knowledge about photography, and your skills in using the gear that you have to take high-quality photos.

Think of it like this - a skilled photographer can take incredible photos with nothing more than a smartphone. By the same token, an unskilled photographer can have a Nikon D850 and take really terrible photos. See how a skilled photographers can use inexpensive gear to create awesome photos in the video below by Mango Street:
So, before you go out and buy the most expensive camera you can find, work to understand how to compose a photo, how to draw people's attention to your work, and how to lead their eye from one point in the photo to the next.
Learn how to work with different types of light - and even more importantly, what you can do to work around poor lighting conditions like harsh, midday sun or what to do in dim lighting situations.
Combined with learning how to use the gear you have and focusing on telling stories with your photos, this is a recipe for becoming a much-improved photographer in the weeks and months to come.
Learn More:
- A 7-Step Process for Turning Your Photography Failures Into Successes
- 8 Insanely Easy Things You Can Do Today To Improve Your Landscape Photography
We Recommend
This One Camera Technique Will Get You Better Photos
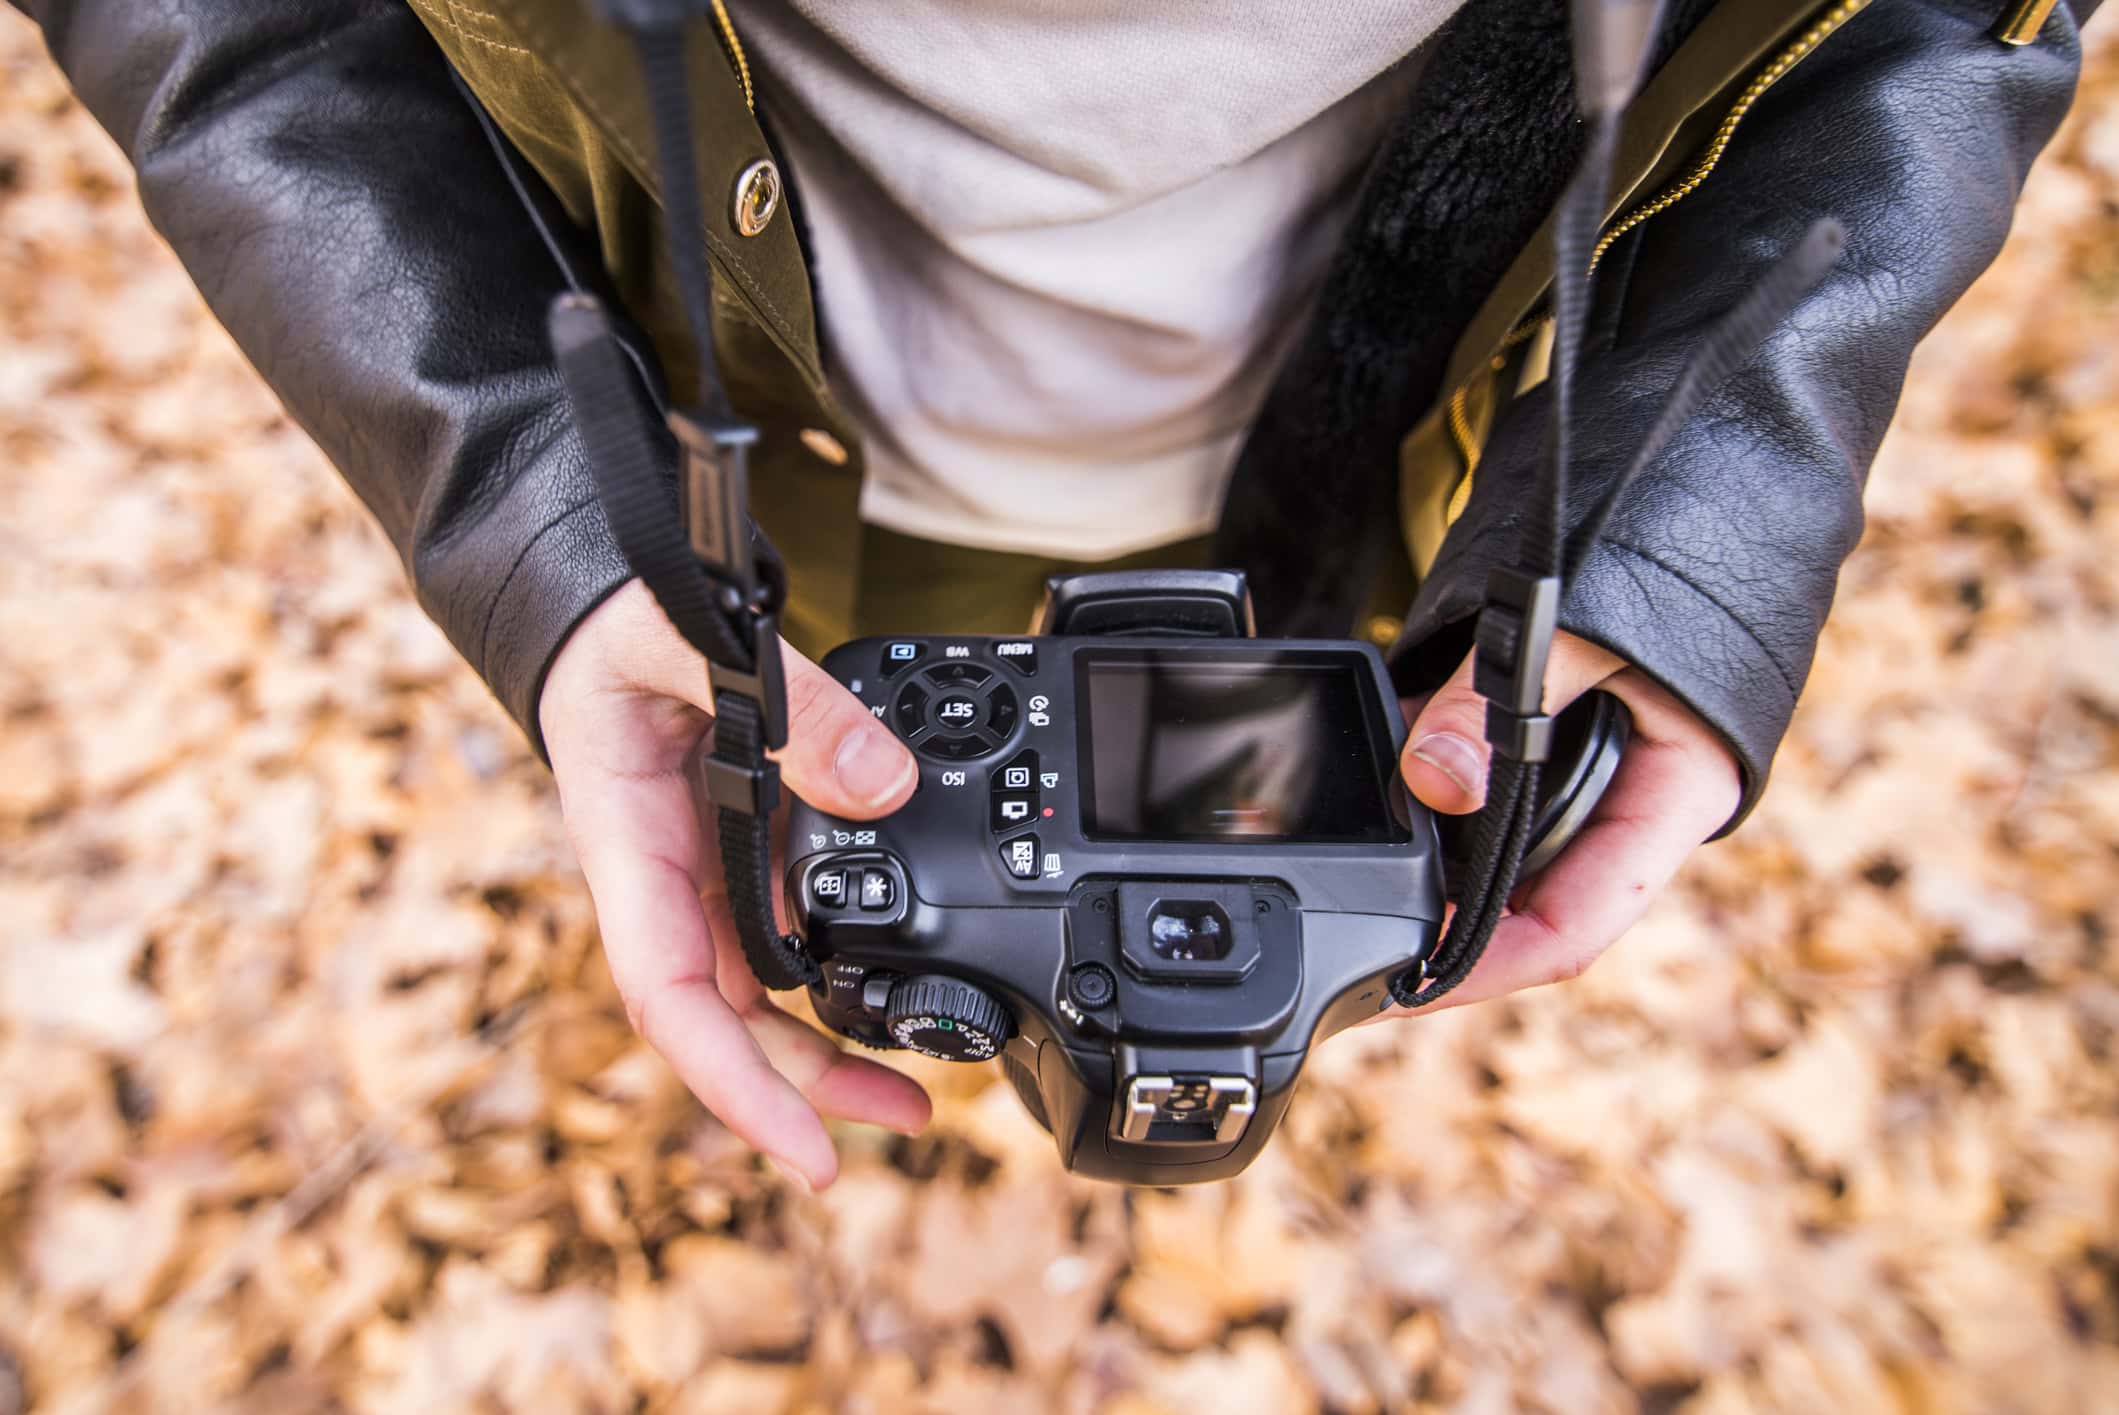
No matter how long you've been doing photography, there should always be a drive to learn more and get better.
Part of that learning process is figuring out how to compose better photos.
Another part is learning how light works and how to use it to your advantage.
And, of course, learning how to utilize your camera's many features and functions is important, too. That's the focus of this tutorial.
Focusing Your Camera - Autofocus
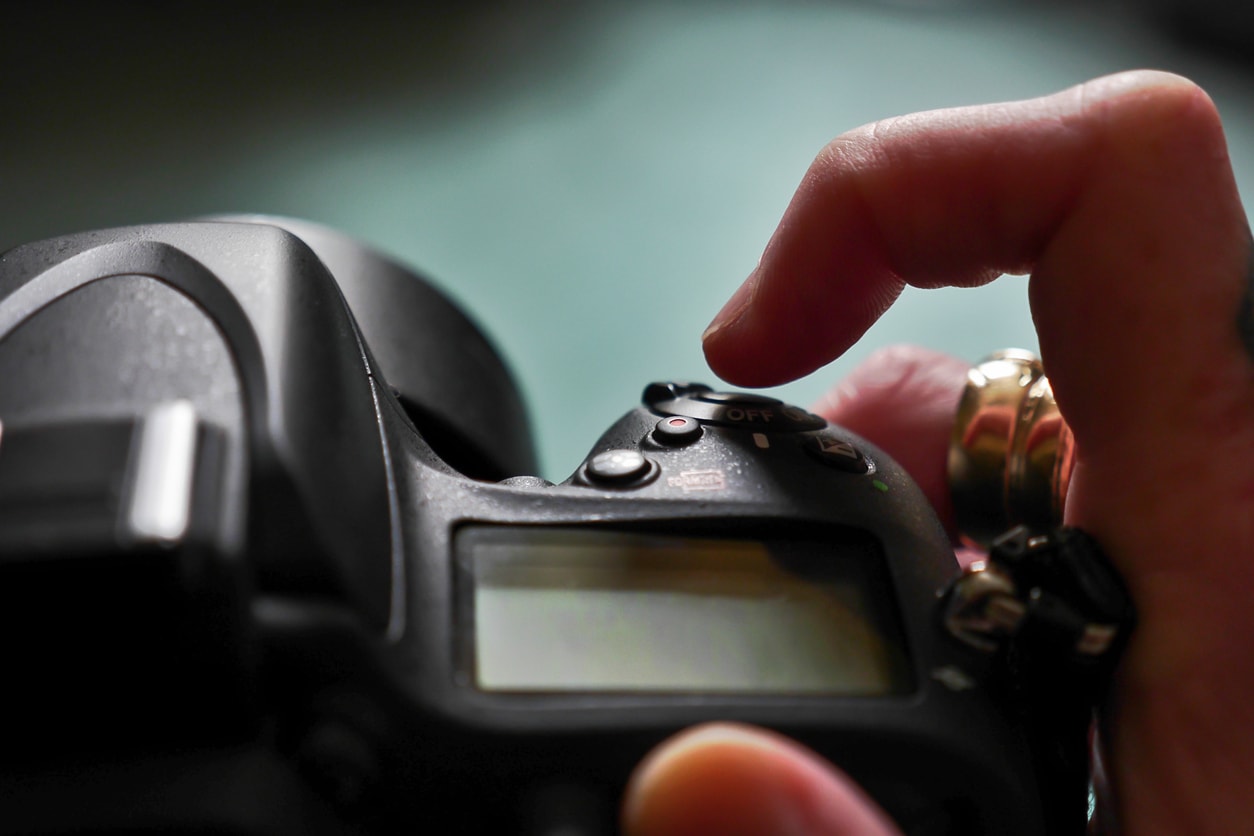
The default setting on your camera is autofocus.
That means that when you depress the shutter button halfway, the camera will automatically focus on what it thinks is the subject.
Once the camera has its focus, you press the shutter all the way down and take a photo (that's hopefully focused on the right thing).
In most situations, this works just fine. It's also convenient - you only have to worry about one button to press.
However, there's a better way to get your camera focused and take photos.
Focusing Your Camera - Back Button Focus
The problem with relying on the default autofocus technique is that if you aren't careful, you might depress the shutter button all the way when all you wanted to do was press it halfway to get focused.
That means you might end up with a bunch of "oops" photos on your memory card...
This isn't a huge deal space wise, given that today's memory cards have tons of storage space.
But it can certainly get old and annoying...
What back button focusing does is remove the focusing duties from the shutter button and place them on a button on the back of the camera, as seen above.
Initially, this might sound like a lot more work, but it actually helps you work faster.
Back button focusing is great for a variety of photography too - sports, night photography, wildlife, portraits - you name it.
That's because using separate buttons for focusing and for firing the shutter allows you to see the scene sharp and in focus in the viewfinder before you press the shutter button.
That takes care of those "oops" photos in which you accidentally fire the shutter too soon in traditional autofocus mode.
All you do is press the button on the back of the camera body to acquire focus, and once that's occurred, release the button and press the shutter button all the way.
Easy right?
The best part is that by releasing the focusing button, the camera is prevented from adjusting the focus.
That means that if you've acquired focus on a person and another person walks into the shot in the foreground, the camera will maintain focus on the original subject.
Back Button Focusing is Great for Single Shot and Continuous Focusing

There are basically two primary options for autofocusing - single shot and continuous.
As the name implies, single shot focusing acquires focus for one shot. It's the suggested method to use when you're photographing a subject that's not moving.
When using single shot, you can use what's called the focus-recompose technique. That means you can acquire focus on the subject by placing them in the center of the frame and then release the back button focus button to recompose the shot, such as placing the subject to the left or right of center.
This works because, as noted above, releasing the back button focus button locks focus.
Continuous autofocus is better suited to moving subjects.
Just frame the shot, maintaining a view of the moving target. As you do, press and hold the back button focus button and track the subject as it moves, ensuring that you keep the active focus point trained on the subject.
As you do so, the camera will continuously adjust the focus such that the moving subject is nice and sharp.
The great thing about back button focusing is that it allows you to seamlessly switch from single shot to continuous focusing - something you can't do when you rely on your camera's default autofocus setup.
Just leave your camera in continuous focus mode, and when you want to work in single shot, simply press and hold the back button focus button to prevent the camera from switching focus.
That means that you have a greater ability to get tack-sharp images of subjects that are at times stationary and on the move, like an athlete or wildlife.
Setting Up Back Button Focus
The hardest part about back button focus is that the manner in which you set it up is different from one camera manufacturer to the next.
Consult your owner's manual for instructions regarding how to set up this feature on your camera.
You can also Google your camera make and model with the term "back button focusing" to find relevant tutorials on the subject.
Once you have it set up, it'll take some practice to get used to using this technique. But once you do, you'll likely never go back to the old way of focusing!
Get more details about back button focus and see it in action in the video above by Tony and Chelsea Northrup.
We Recommend
This Photography Challenge Will Help You Break Out of Your Creative Rut

We all get stuck in a creative rut from time to time...
It might be that you simply don't have the energy to go out and shoot. Perhaps every photo you take just isn't doing it for you.
Either way, finding a way to get your mojo back is critical. That's easier said than done sometimes, though.
Fortunately, the crew from Mango Street have some simple photography challenges that will get you back to making awesome photos again.
Oddly enough, their advice is to place restrictions on yourself to force your brain to think about photography in new ways.
Check out how they challenge one another in the video above, and keep on reading for a step-by-step summary of a few of the challenges they present.
Editor's Tip: Taking your photos to the next level requires ingenuity and a great print. See what your photos look like as fine art.
Shoot With Your Back on the Ground
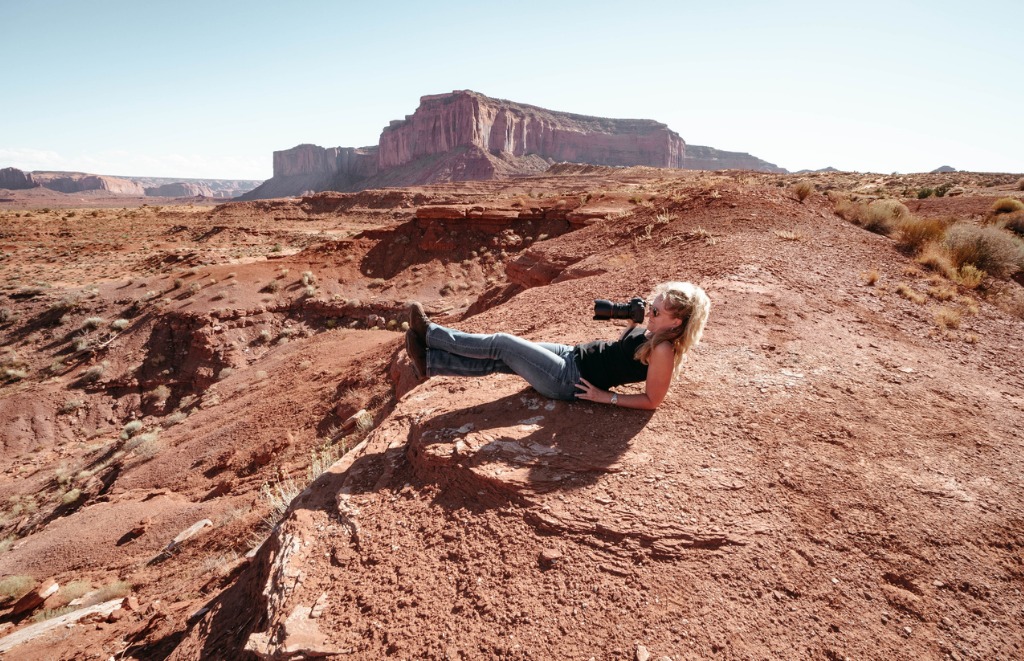
One of the most common culprits of a creative rut (and really boring looking photos) is taking every photo from your eye level.
Now, no one takes every photo from eye level, but there's certainly more than enough images out there that offer a view of a scene that is typical for an average-sized adult.
That's why forcing yourself to shoot from ground-level can kickstart your creativity.
 YouTube Screenshot/Mango Street
Not only does it put you in a novel situation that makes you look at your subject in an entirely different way, but it also forces you to get back to basics in terms of composition and framing.
How you frame a portrait from your eye level and how you frame a portrait when looking up at the subject from below, can be two very different tasks.
The same is true of any other subject, too - landscapes, architecture, street scenes, you name it.
The point is that something as simple as changing the perspective from which you shoot can be all you need to start taking more creative photos once again.
Learn More:
Shoot With Your Camera Above Your Head
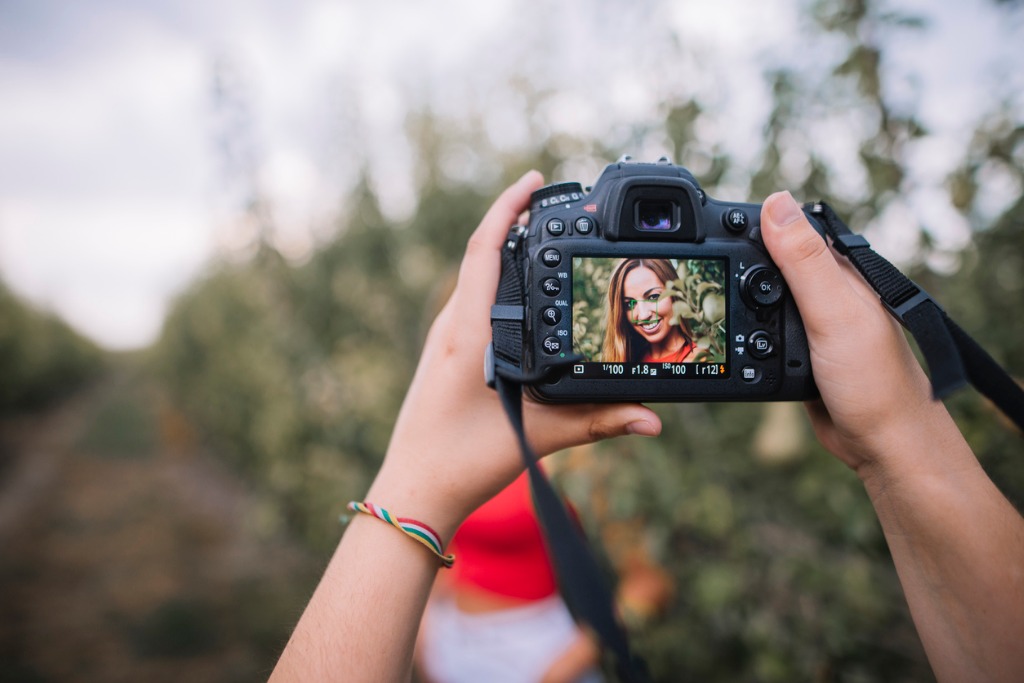
Much like the previous challenge, this one is all about getting you out of your comfort zone and forcing you to see subjects in an entirely different way.
The primary difference, though, is that it's much more difficult to get a high-quality shot with your camera above your head than it is to get a high-quality shot with your back on the ground.
At least in the latter situation you have an easier means of supporting your camera. But with your camera held above your head, you have the additional challenge of trying to keep it still to avoid camera shake.
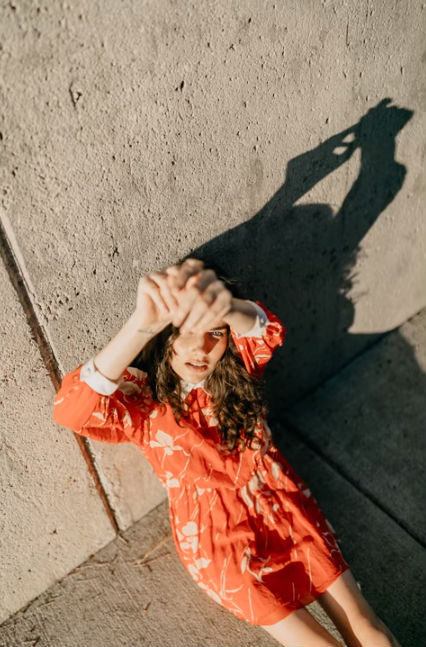 YouTube Screenshot/Mango Street
Naturally, shooting in shutter priority mode and increasing the shutter speed to a speed that's fast enough to avoid camera shake is something to consider. You can also crank up the ISO if need be.
An additional challenge is that if your camera doesn't have an articulating LCD, you'll have to compose the shot blind.
Of course, holding your camera above your head and shooting blind isn't something normally recommended to get a great photo.
However, if you're in the depths of a creative rut, breaking a bunch of rules might be just what you need to find your way again!
Editor's Tip: Want to upgrade your kit but don't have the funds to buy brand-new gear? Find great deals on quality, pre-owned cameras and lenses.
Shoot Upside Down and Between Your Legs
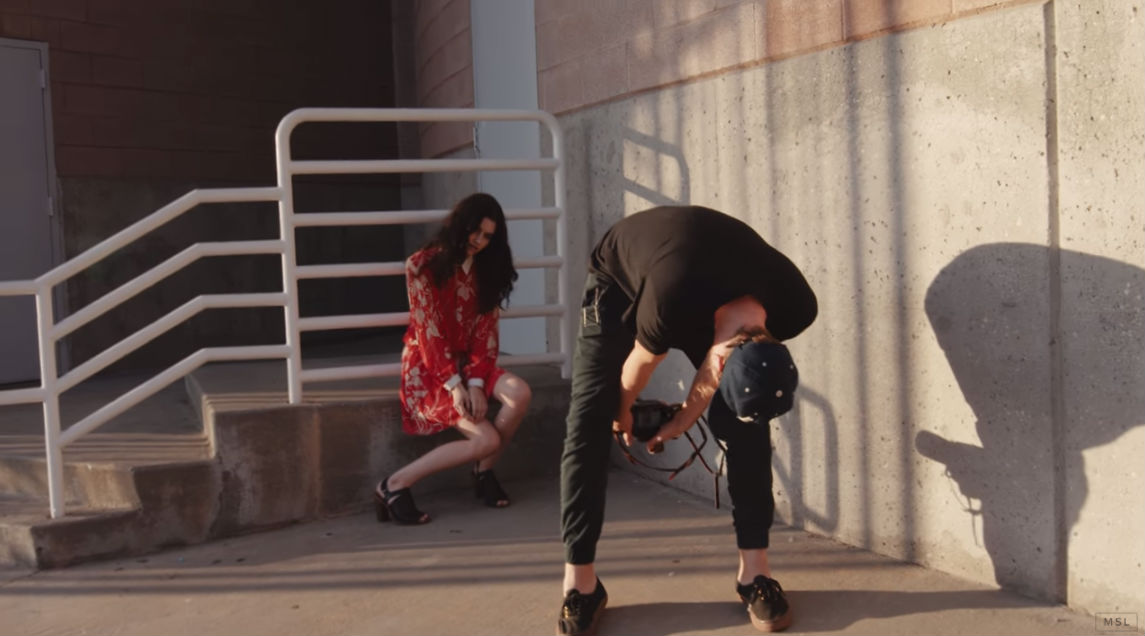 YouTube Screenshot/Mango Street
One thing that can get you into a creative rut is being self-conscious.
Whether that manifests as being wary of taking photos of strangers when you're doing street photography or being embarrassed about your gear or something in between, a quick way to get over being self-conscious is to put yourself in a situation in which you look impossibly ridiculous.
Shooting upside down and between your legs fits the bill...
 YouTube Screenshot/Mango Street
Additionally, just like the previous two tips, shooting upside down makes you look at your subject in a whole new way.
I mean, how often do you look at something you're photographing from an upside down point of view?
Who knows - taking this kind of unique shooting position might allow you to see things that you've never seen before, with more creative photos a result of that.
Learn More:
- Photography Composition Tip: How to Use Perspective
- Composition Mistakes Every Photographer Should Avoid
Shoot With a Shutter Speed of 1/30th of a Second or Slower (Without a Tripod)
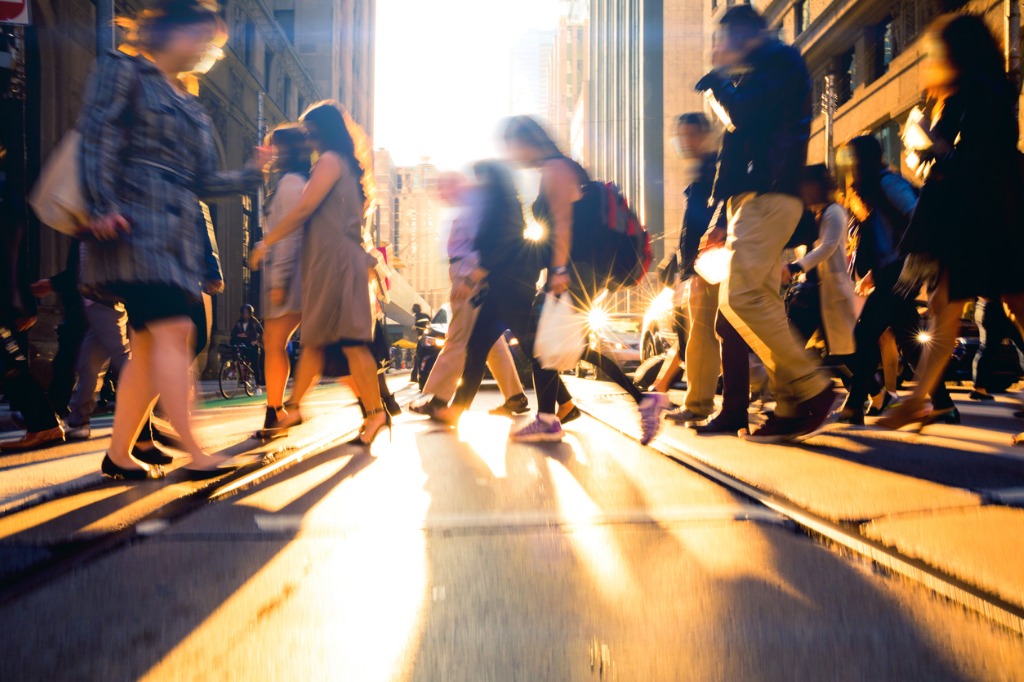
Shooting with a slow shutter speed gives you a chance to create images with interesting motion effects.
Usually, that involves using a tripod so you blur the motion of the subject without camera shake.
However, these challenges are all about breaking convention, so why not try a slow shutter speed while holding the camera?
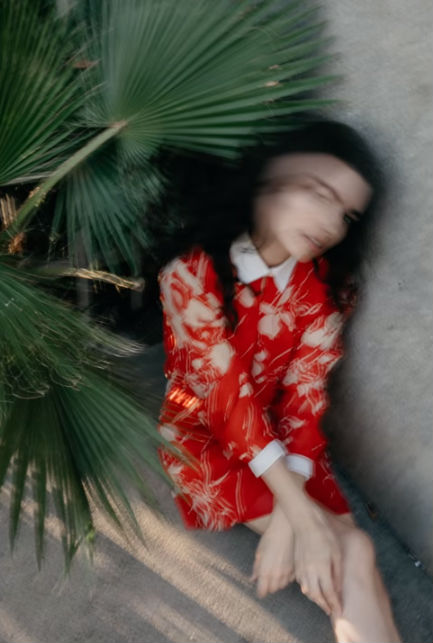 YouTube Screenshot/Mango Street
The point with this challenge isn't necessarily to see if you can get a tack-sharp photo - that will be extremely difficult.
Instead, the purpose is twofold: one, see how you can use motion blur to your advantage, and two, find ways to stabilize your camera as best you can.
Breaking out of your creative rut isn't just dependent upon the artistic aspects of photography. Instead, working on technical matters like shutter speed and how you hold the camera can give you new ideas about how to approach your photography.
Give these tricks a try (and check out the video for a few more), and you'll have all sorts of ways to get your creative mojo back in no time.
Editor's Tip: Sometimes all you need to break out of a creative rut is a few inspirational photography quotes to motivate you. Check out the best photography quotes right here.
We Recommend
Three Things You Can Do Right Now to Improve Your Photography

No matter if you just picked up a camera for the first time or you've been a professional photographer for decades, there's always room for improvement.
The more you dedicate yourself to improving your skills, the better your images will be now and in the future.
With that in mind, I've put together this quick list of things you can do right now, today, that will vastly improve the quality of your photos.
Let's get started!
Get Out of Auto Mode
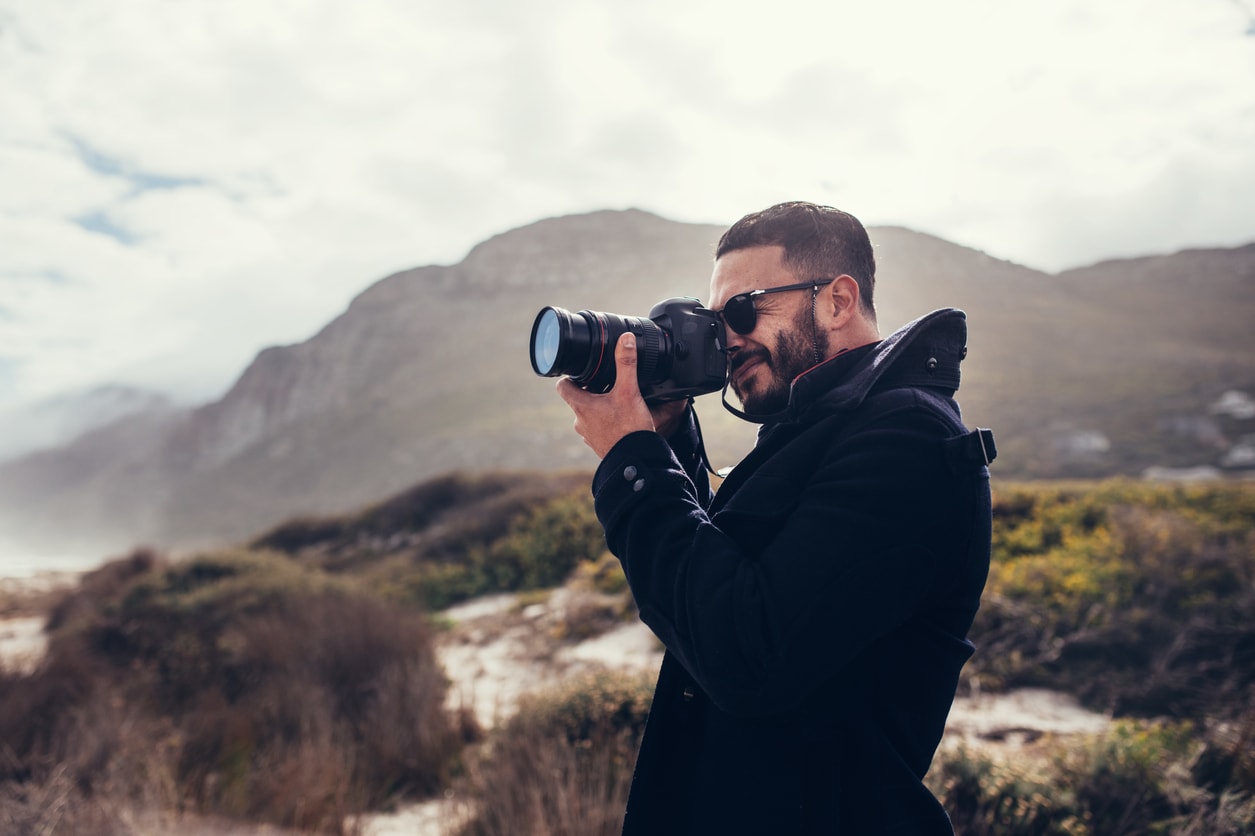
Auto mode is great when you're a newbie photographer because it lets you focus on developing your creative eye and getting some crucial practice with composing your images.
But beyond that, auto mode just doesn't do you many favors...
That doesn't mean that you have to learn how to shoot in manual mode right this second, either.
Instead, learn how to shoot in a semi-automatic mode. Most cameras have three to choose from:
- Aperture priority mode, which gives you control over aperture while the camera controls shutter speed. This is great for portraiture.
- Shutter priority mode, which gives you control over shutter speed while the camera controls aperture. This is ideal for action shots.
- Program mode, which gives you control over ISO while the camera controls shutter speed and aperture. However, you can override the camera's selections in this mode. This is perfect for learning how to adjust all three exposure controls.
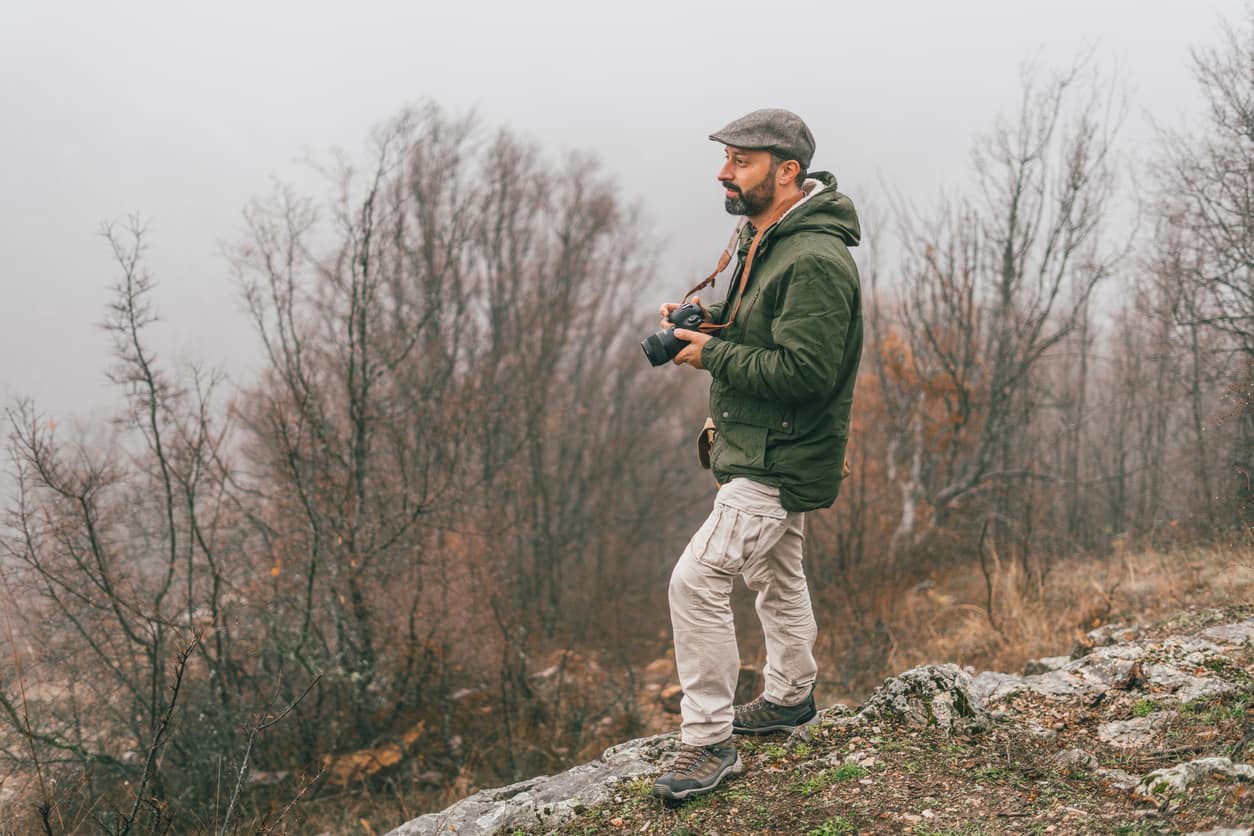
The nice thing about using one of the semi-automatic modes listed above is that you can start to assume more control over the camera, but without diving right into manual mode in which you're responsible for all the exposure settings.
So, grab your camera, switch to aperture priority, shutter priority, or program mode, and start on the path to taking more control of your images!
Editor's Tip: Want to step up your game and take your photos to the next level? Turn them into fine art! Find out how to do that right here.
Learn More:
- A Step-by-Step Process for Making Your Photography Stand Out
- How to Take Your Landscape Photos to the Next Level
Stop Using the Pop-Up Flash
The pop-up flash on your camera is, in a word, terrible.
The light it emits is strong, bright, and harsh. That means that your subject will often be blown out with bright highlights with ugly, harsh shadows as well.
Instead, you can use a variety of techniques to light your shots.
If you're shooting portraits, go outside and make use of natural light. Toward the end of the day when the sun is low in the sky is a perfect time for outdoor portraits because the light is soft and warm.
If it's during the daytime, find the shade of a tree or a building to take your portraits, as that will eliminate the possibility of strong shadows in the shot.
Another solution is to use reflectors to fill in shadows or diffusers to soften natural light to get a nice, even-lit look in your photos.
Get a complete tutorial on using natural lighting for portraits in the video above by AdoramaTV.
Learn More:
Get High-Quality Prints

The true test of whether you've captured a great photo is how it looks in printed form.
By that, I mean that the images we take can look nice on a phone or a computer screen, but those mediums can hide or mask certain inconsistencies or mistakes.
However, when they're printed on something like metal or acrylic (shown below) in large format, there's no hiding behind screen resolution or your computer monitor's color space!
In other words, getting your images printed out completes the process of improving your photography skills.

What's more, a fine art print of a photo that you took allows you to take some pride in the work you do and show it off to friends and family.
The confidence you gain from having a gorgeous photo printed in large format will only help you as you learn and grow as a photographer and gain even more confidence in your ability to get a great shot.
Of course, not all prints are made equal, so if you want to maximize the visual appeal of your photos, you need to get them printed from the right company.
For my money, that company is Artbeat Studios.

I've gotten several prints from these guys, and I can say without question that they are some of the best prints I've ever gotten.
My prints are on metal, and the vibrancy of the colors is simply astounding. It really was a "WOW" moment for me when I saw my prints for the first time.
And since Artbeat Studios offers tons of sizes - including custom sizes to meet your specific needs - you can get a print that's truly your own.
They've got a variety of choices of surfaces and finishes, different wall mounting options and styles, and you can also choose whether the print has a flush mount, which gives the print some depth and heft to it, or a recessed mount, which makes it look like it's floating on the wall.

In other words, improving the quality of your photos doesn't end with getting out of auto mode and using better lighting.
Instead, you need to improve how you present your images as well.
If you ask me, there's no better way to present your images than on a large print from Artbeat Studios!
Learn More:
We Recommend
Tips for Better Cityscape Photos

Living in L.A., the most frequent landscapes I see are of the urban variety.
And though driving along the 405 doesn't afford me the same views as someone driving through Yosemite, there is still something to appreciate about the concrete jungle.
The lines, textures, colors, and lights of the city are certainly great subjects for compelling photos. The people in the city are great subjects, too.
Photographing urban landscapes is a challenge as well. And challenging yourself as a photographer is how you get better!
With that in mind, consider these tips for improving your photos of the big city.
Don't Just Shoot at Eye Level
There's a tendency for some photographers - particularly new ones - to shoot everything from their own eye level.
And though that's a great place to start because it's a familiar view, you should strive to mix it up a bit and throw in a few different perspectives.
There's a wealth of perspectives you can utilize to create a more compelling photo, like getting low to the ground as seen above.
Taking a low point of view, in this case, helped bring in the texture of the street while also making the bridge and buildings seem larger in the frame.
Conversely, you might also try to find a high perspective for your city photos.
That gives you an opportunity to provide viewers with a completely different take on city life, like the image above.
Instead of the shot being about buildings and cars and roadways, this image highlights the hustle and bustle of the city sidewalk.
It's a much more specific view, but an intriguing one nonetheless.
Learn More:
Use Different Lenses

Another way to get creative with your cityscape photos is to try different focal length lenses.
Typically, cityscapes are photographed with a standard lens, which affords a view like the one above.
And while that's perfectly fine, you miss out on different interpretations of city life by not using different lenses to tell a different visual story.
For example, you can capture the entirety of a cityscape with a wide-angle lens.
This field of view takes a look at the city on a macro level, incorporating elements like the skyline, highways, and bridges, which help give viewers the lay of the land, so to speak.
Think of a wide-angle view as the "postcard" shot you often find that has the entire city on display in one photo.

Alternatively, you can use a telephoto lens to find interesting vignettes in the city to put on display in a micro-level shot.
In the case of the image above, note how all the different lines, angles, and textures make for a visually stimulating shot, even though the individual elements aren't necessarily that identifiable or discernible.
By that, I mean that few people would know in what part of the city this photo was taken, let alone the city it was even taken in.
But where a wide-angle view like the previous image is intended to give viewers those clues, a more intimate cityscape like this one is intended to help people see the beautiful details that can be found by zeroing in on a specific spot in the city.
Learn More:
Do Your Homework
You wouldn't head out for a weekend of landscape photography without doing a little research beforehand, nor would you head to a portrait photo shoot without having a few ideas in your head about posing, lighting, composition, and so forth.
Yet, a lot of photographers tackle cityscape photography by just hitting the streets and walking around without much of a plan, shooting photos left and right as they go.
While there's something to be said for spontaneity, the chances are that you'll get better photos if you put some time into researching before you head out.

Find out what makes a city special. Learn about its neighborhoods and monuments. Find places off the beaten path so you can highlight parts of the city that a tourist might not typically see.
But don't think that your homework needs to be sitting on your couch Googling things, either.
Whether you live in a big city or you're just visiting, take an afternoon to just explore the area around you, perhaps even without your camera.
Look up, look down, notice how the light reflects off buildings, find interesting shadows, shapes, and lines, and take a minute to talk to people.
By putting your feet to the street and exploring the urban landscape, you'll not only get familiar with the area and identify potential subjects, but you'll also have a chance to learn what the city is about.
And by doing that, you'll be able to tell a more compelling (and complete) story of the urban landscape.
Learn More:
We Recommend
Top 10 Photography Tips You Need to Master
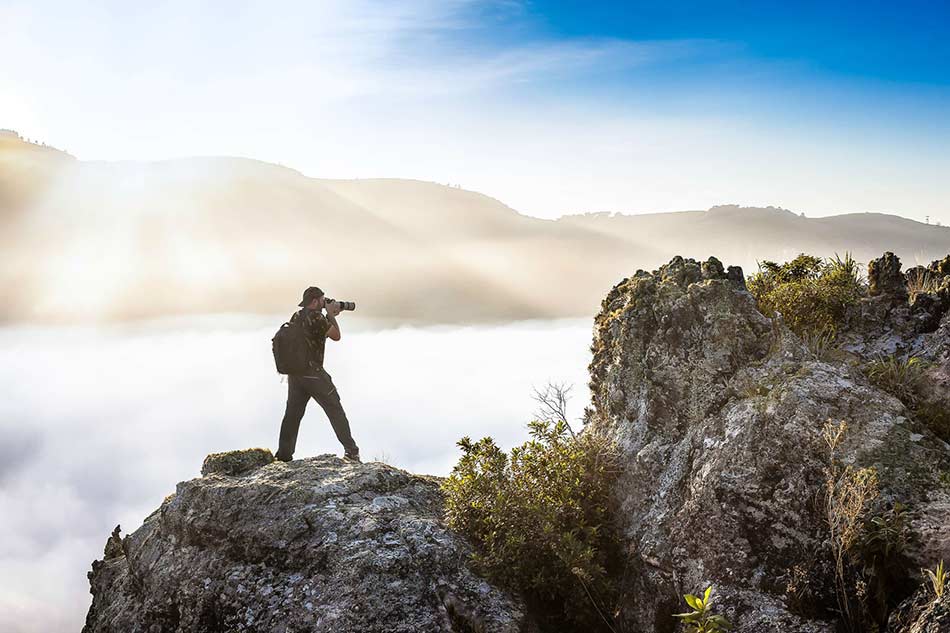
Best Photography Tips
Ready to take your photography to the next level?
This is where you should start...
The following 10 photography tips are some of the cornerstones of great photography. They're simple and straightforward, too, so you can start using each tip right now, today, and see improved results.
Without further ado, let's get to it!
Photo tip #1 - Eliminate Camera Shake

Camera shake causes blurry photos, and usually occurs when you handhold the camera.
Step one is to learn how to properly hold your camera such that you give it the most stable base possible.
That includes using both your hands - one on the camera grip and another under the camera body/lens. You should also tuck your elbows into your chest to give your arms additional support, as shown in the image above.

Another key to preventing camera shake is to make sure that the shutter speed you're using is fast enough to prevent blur.
It's easy to remember, too: just make sure that the shutter speed is equal to or greater than the focal length of the lens.
So, for example, if you're shooting with a 50mm lens, the shutter speed should be 1/50 seconds or faster. If you're shooting with a 200mm lens, the shutter speed should be 1/200 seconds or faster, so on and so forth.
Of course, using a tripod will help prevent camera shake as well.
Learn More:
Simple Backgrounds = Better Portraits
If portraiture is your thing, perhaps the quickest and easiest thing you can do to make better portraits is to simplify the background.
The whole point of a portrait is to highlight the person in the photo, not the background behind them.
If the background is too detailed, it becomes a distraction and can draw the viewer's attention away from the person in the photo.
So, find non-descript and simple backgrounds that won't compete for attention.
If you find a great spot for a portrait but are concerned about the background being too crazy, use a large aperture to minimize the depth of field and turn the background into blurry goodness, as seen in the image above.
You can also blur the background in Photoshop. Learn how to do that in the video above by Cozy Clicks Photography.
Learn More:
Don't Use the Pop-Up Flash

The light emitted from the pop-up flash on your camera is bright, intense, harsh, and unnatural. In other words, don't use it!
If you're in a situation in which there's dim lighting, opt for another avenue of getting a well-exposed image.
Perhaps the easiest thing to do is to increase the ISO.

ISO controls the sensitivity of the camera's sensor to light, so the higher the ISO number, the more sensitive the sensor will be.
If you're taking photos at ISO 400 and they're simply too dark, try ISO 800, 1600, 3200, and so on.
You'll notice an increase in digital noise as you increase the ISO, but a little noise is a small price to pay for a better exposure.
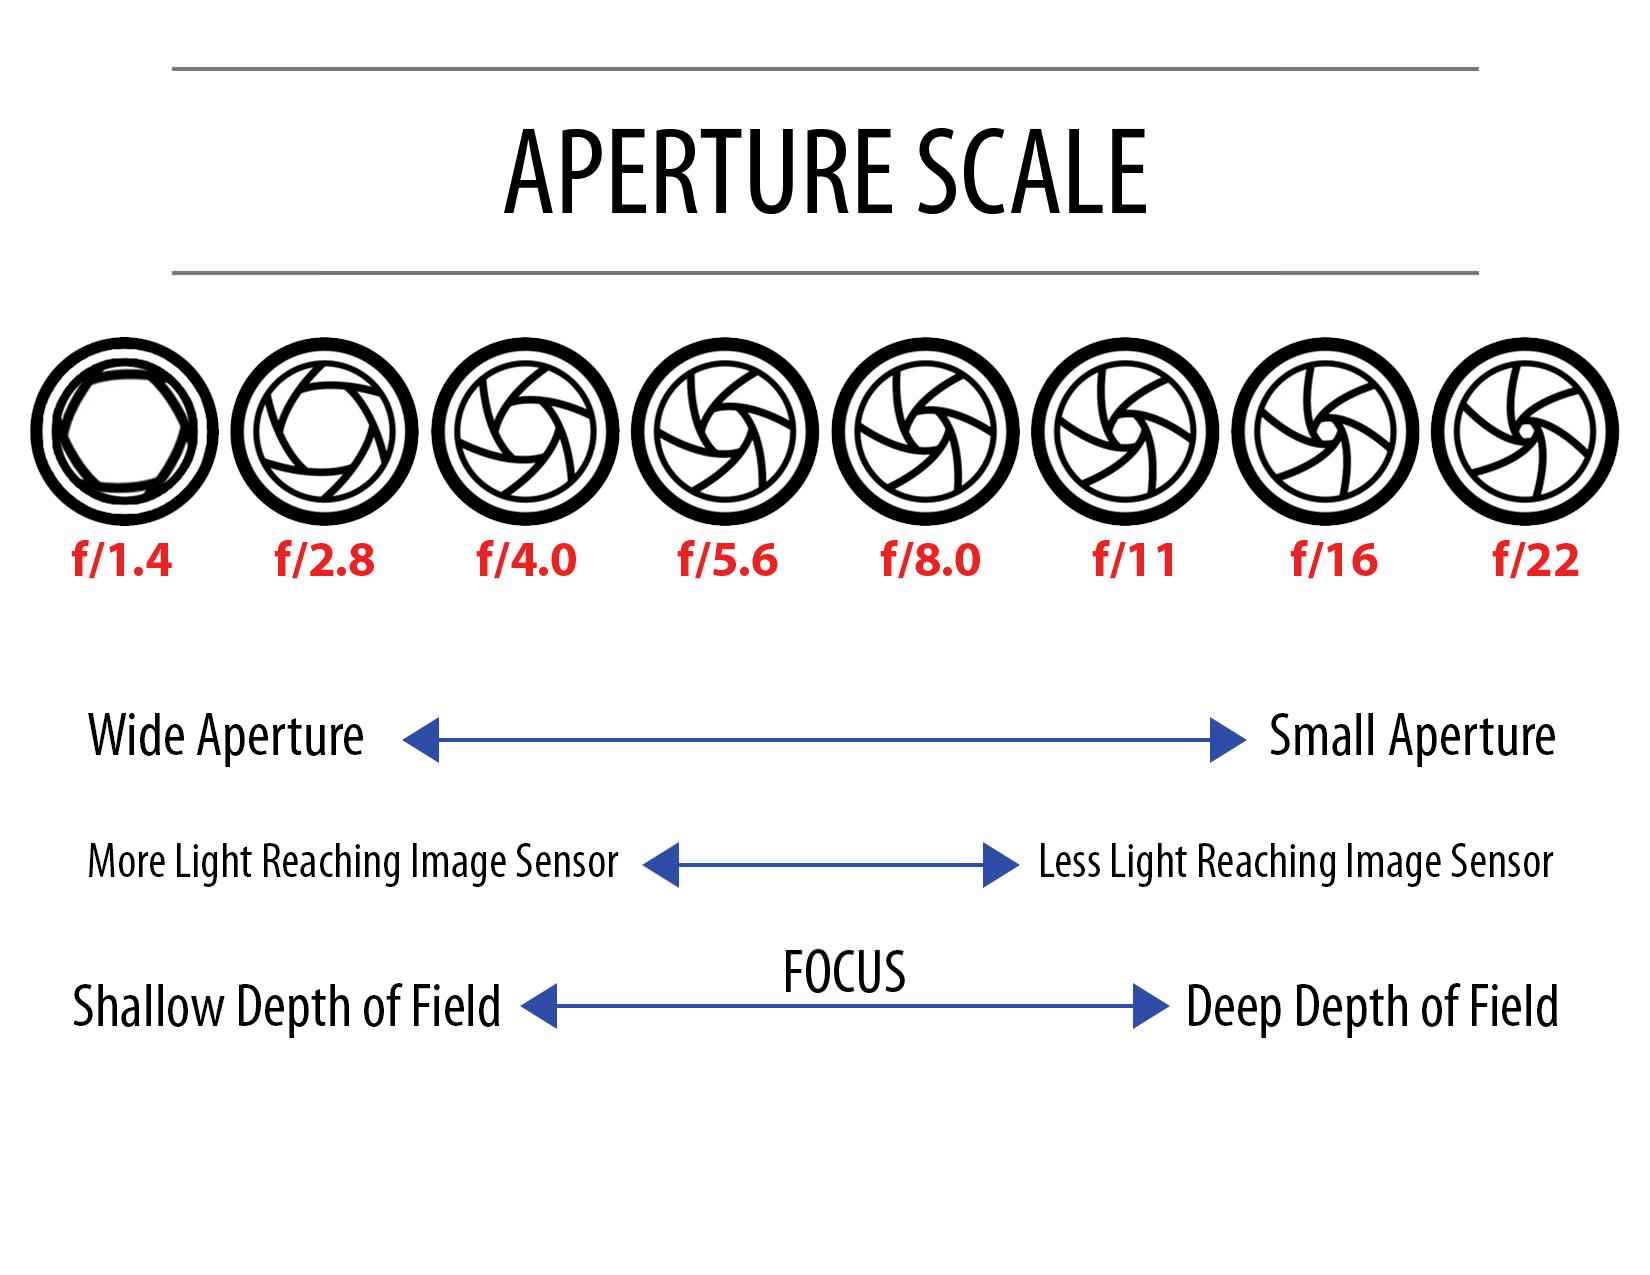
You can also open the aperture to allow more light into the camera's lens.
The aperture is the set of blades inside the lens, and its size is measured in f-stops.
The f-stop scale includes very large apertures like f/1.4 to a very small apertures like f/22, as seen in the chart above.
If you're shooting in low light, open up the aperture to brighten up the image.
Learn More:
Tailor the ISO to the Situation
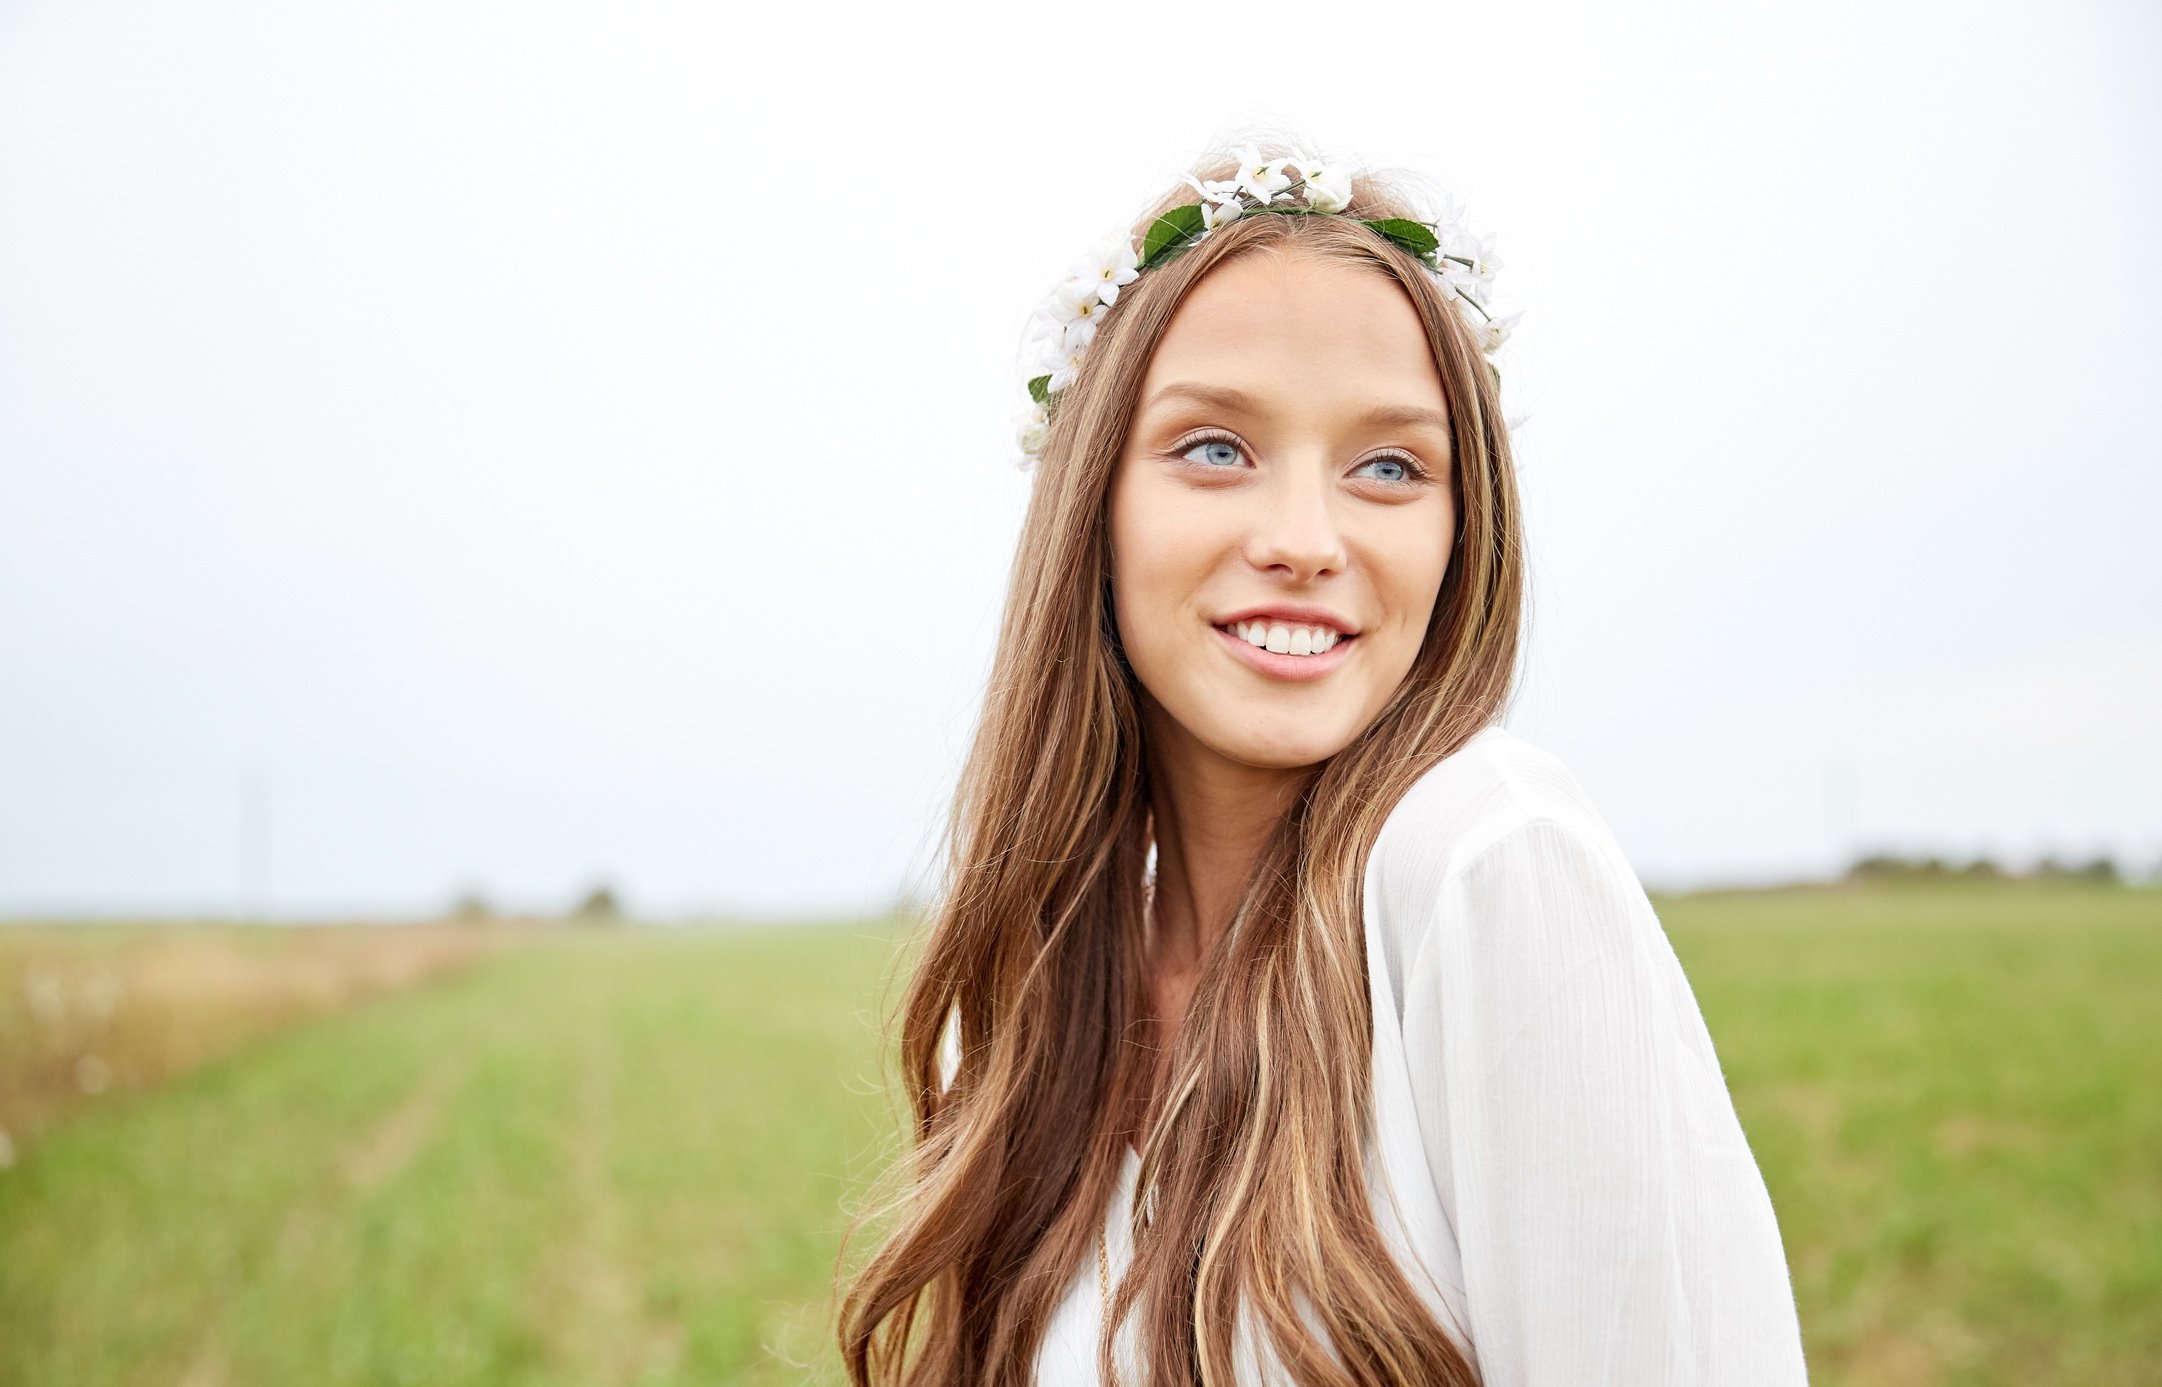
As noted above, ISO controls the sensitivity of the camera's sensor to light.
That means you need to use the appropriate ISO for the situation.
For example, if you're shooting at midday in broad daylight (as is the case in the image above), minimizing the ISO (which might be anywhere from 50-200 depending on the camera) is prudent.
That's because when there's an abundance of light, you don't need to make the sensor even more sensitive to light.
Conversely, when there's little light, bump up the ISO. Many of today's digital cameras can shoot at ISO 3200 and above without much digital noise evident in the shot.
Learn More:
Get Creative With Shutter Speed
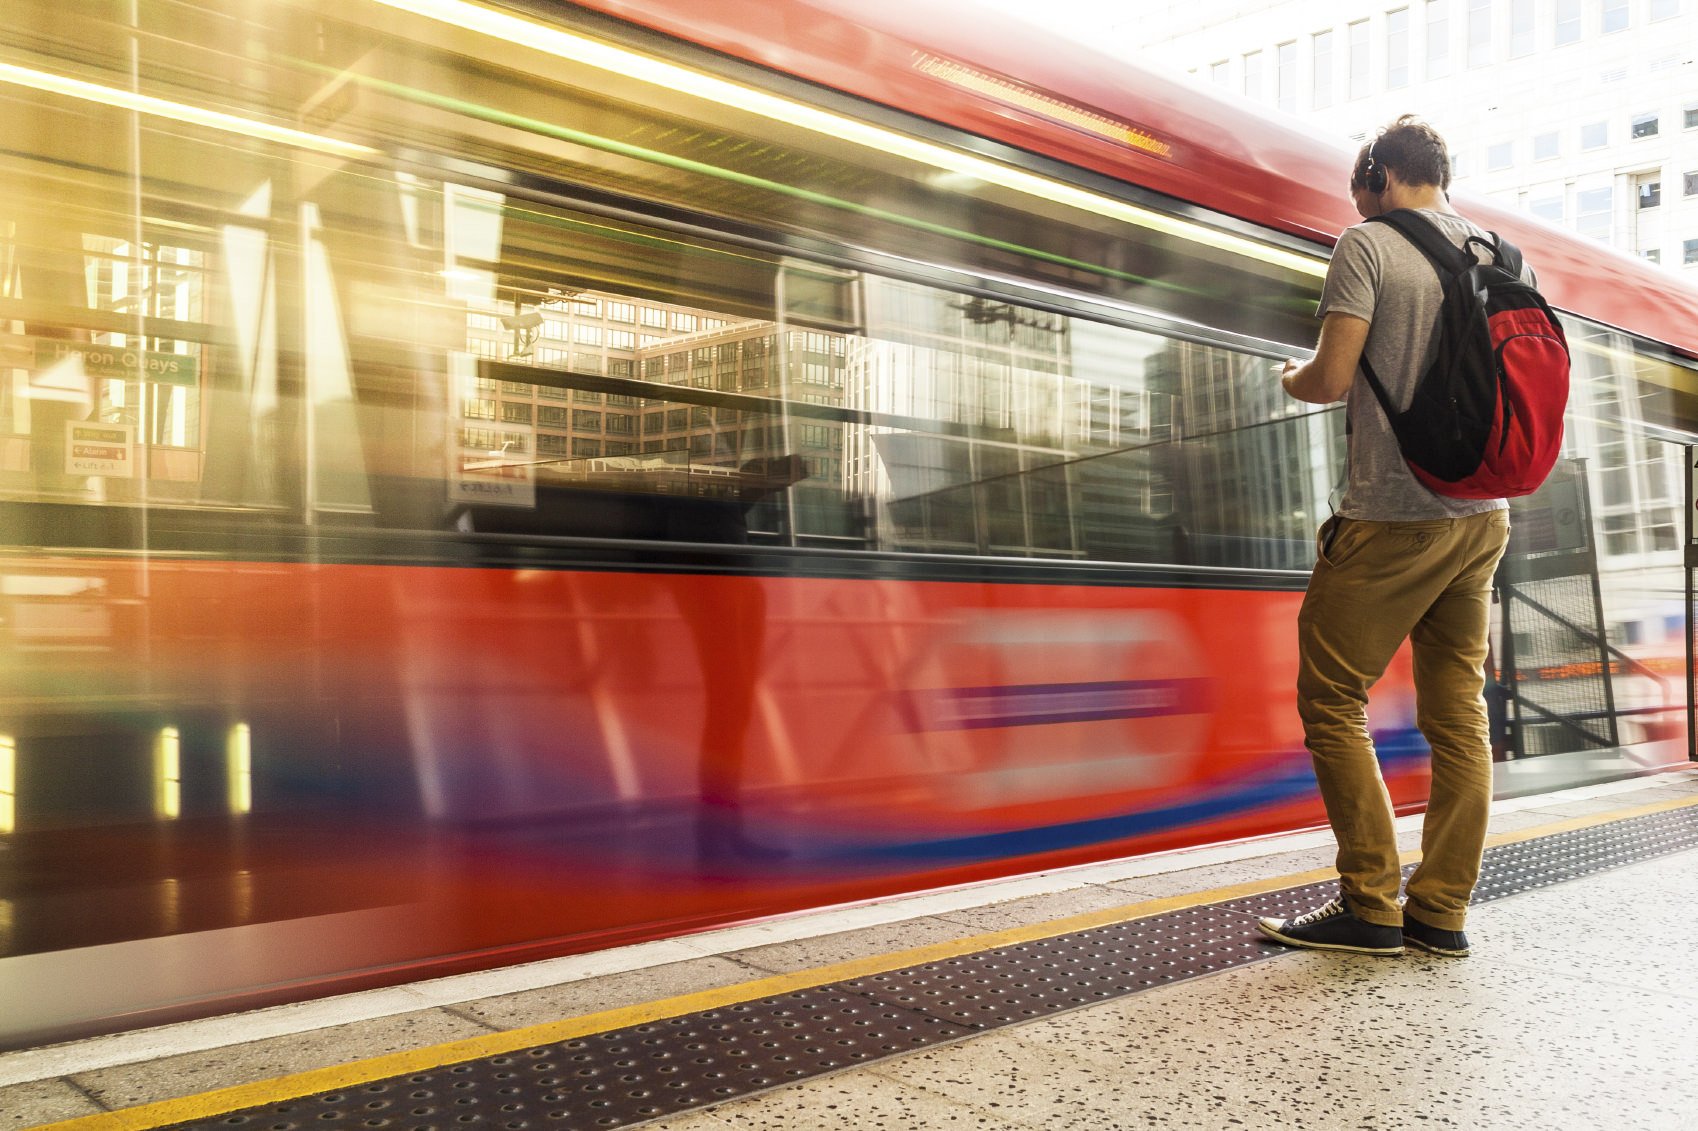
Of the three exposure settings - aperture, shutter speed, and ISO - shutter speed offers perhaps the most possibilities regarding creative photos.
That's because you can freeze movement with a fast shutter speed or blur movement with a slow shutter speed.
When slowing the shutter speed, you have all sorts of options for creating a sense of movement in the shot.

You can create images with light trails from passing vehicles, blur the movement of a person as they walk, run or dance, and even create photos of the night sky with exaggerated star trails.
All you need is a moving subject, a slow shutter speed, and your camera mounted to a tripod!
Learn More:
Try Panning
In addition to freezing or blurring movement, you can also combine the shutter speed you use with panning the camera to create another interesting visual effect.
Panning might seem a little complex, but it really isn't.
To begin, select a shutter speed that's slightly slower than you'd normally use - perhaps by one or two stops. For example, if you'd normally shoot at 1/125 seconds, lower it to 1/30 seconds.
Then, as the subject moves in front of the camera, move the camera along with it, maintaining the subject in the frame. As you do, keep your finger on the shutter button, pressing it down halfway to lock the focus.
Next, press the shutter all the way down, ensuring that you continue the panning motion, even after the shutter has fired.
See how to get awesome panning shots in the video above by Josh Katz.
Learn More:
Get Familiar With the Sunny 16 Rule

When you move from shooting in full auto mode to shooting in manual mode, it can be a little overwhelming.
After all, that means that you're in charge of determining the appropriate aperture, shutter speed, and ISO to get a good exposure.
The Sunny 16 Rule helps you figure out what settings to use, though.

If it's sunny out, dial in an aperture of f/16, a shutter speed of 1/100 seconds, and an ISO of 100.
But the rule also accounts for other situations, like when it's slightly overcast or when it's really cloudy, as seen in the chart above. Check the Learn More link below for a detailed lesson on the Sunny 16 Rule.
Learn More:
Use the Rule of Thirds
One of the most common (and easiest) photography rules you can use to improve your photos is the rule of thirds.
The rule simply states that you should divide the frame into nine equal boxes (as seen above) and use the gridlines to help you compose the shot.
The idea is that if you place the subject along one of the horizontal or vertical lines - or, even better, at one of the four intersecting points - that you will have a much stronger and balanced composition.
Learn More:
Add Depth to Your Landscapes

This is one of the best photography tips. The biggest issue with creating a compelling landscape photo is often conveying the size, scale, and depth of the scene. After all, you're trying to represent a three-dimensional space in a two-dimensional medium...
To give your landscapes more depth, you need to incorporate foreground elements into the shot, like the rocks in the image above.
By taking a lower shooting position, you can include things like rocks or flowers in the immediate foreground. You might also include a person or a manmade object - a fence or a bicycle, for example - to give the scene a greater sense of dimension.
Additionally, you can use a wide-angle lens to improve the depth of the shot.
Since they have a wider field of view, wide-angle lenses allow you to include more foreground in the scene. This is especially true if you shoot in vertical format.
In fact, a vertical format landscape photo often has the most depth for that reason. So, try tilting your camera on the vertical plane, find something to incorporate into the foreground, and you'll have a delightfully deep image to show for it.
Get additional ideas for capturing more depth in your landscape photos in the video above by NatureTTL.
Learn More:
A Polarizing Filter Will Elevate Your Landscapes
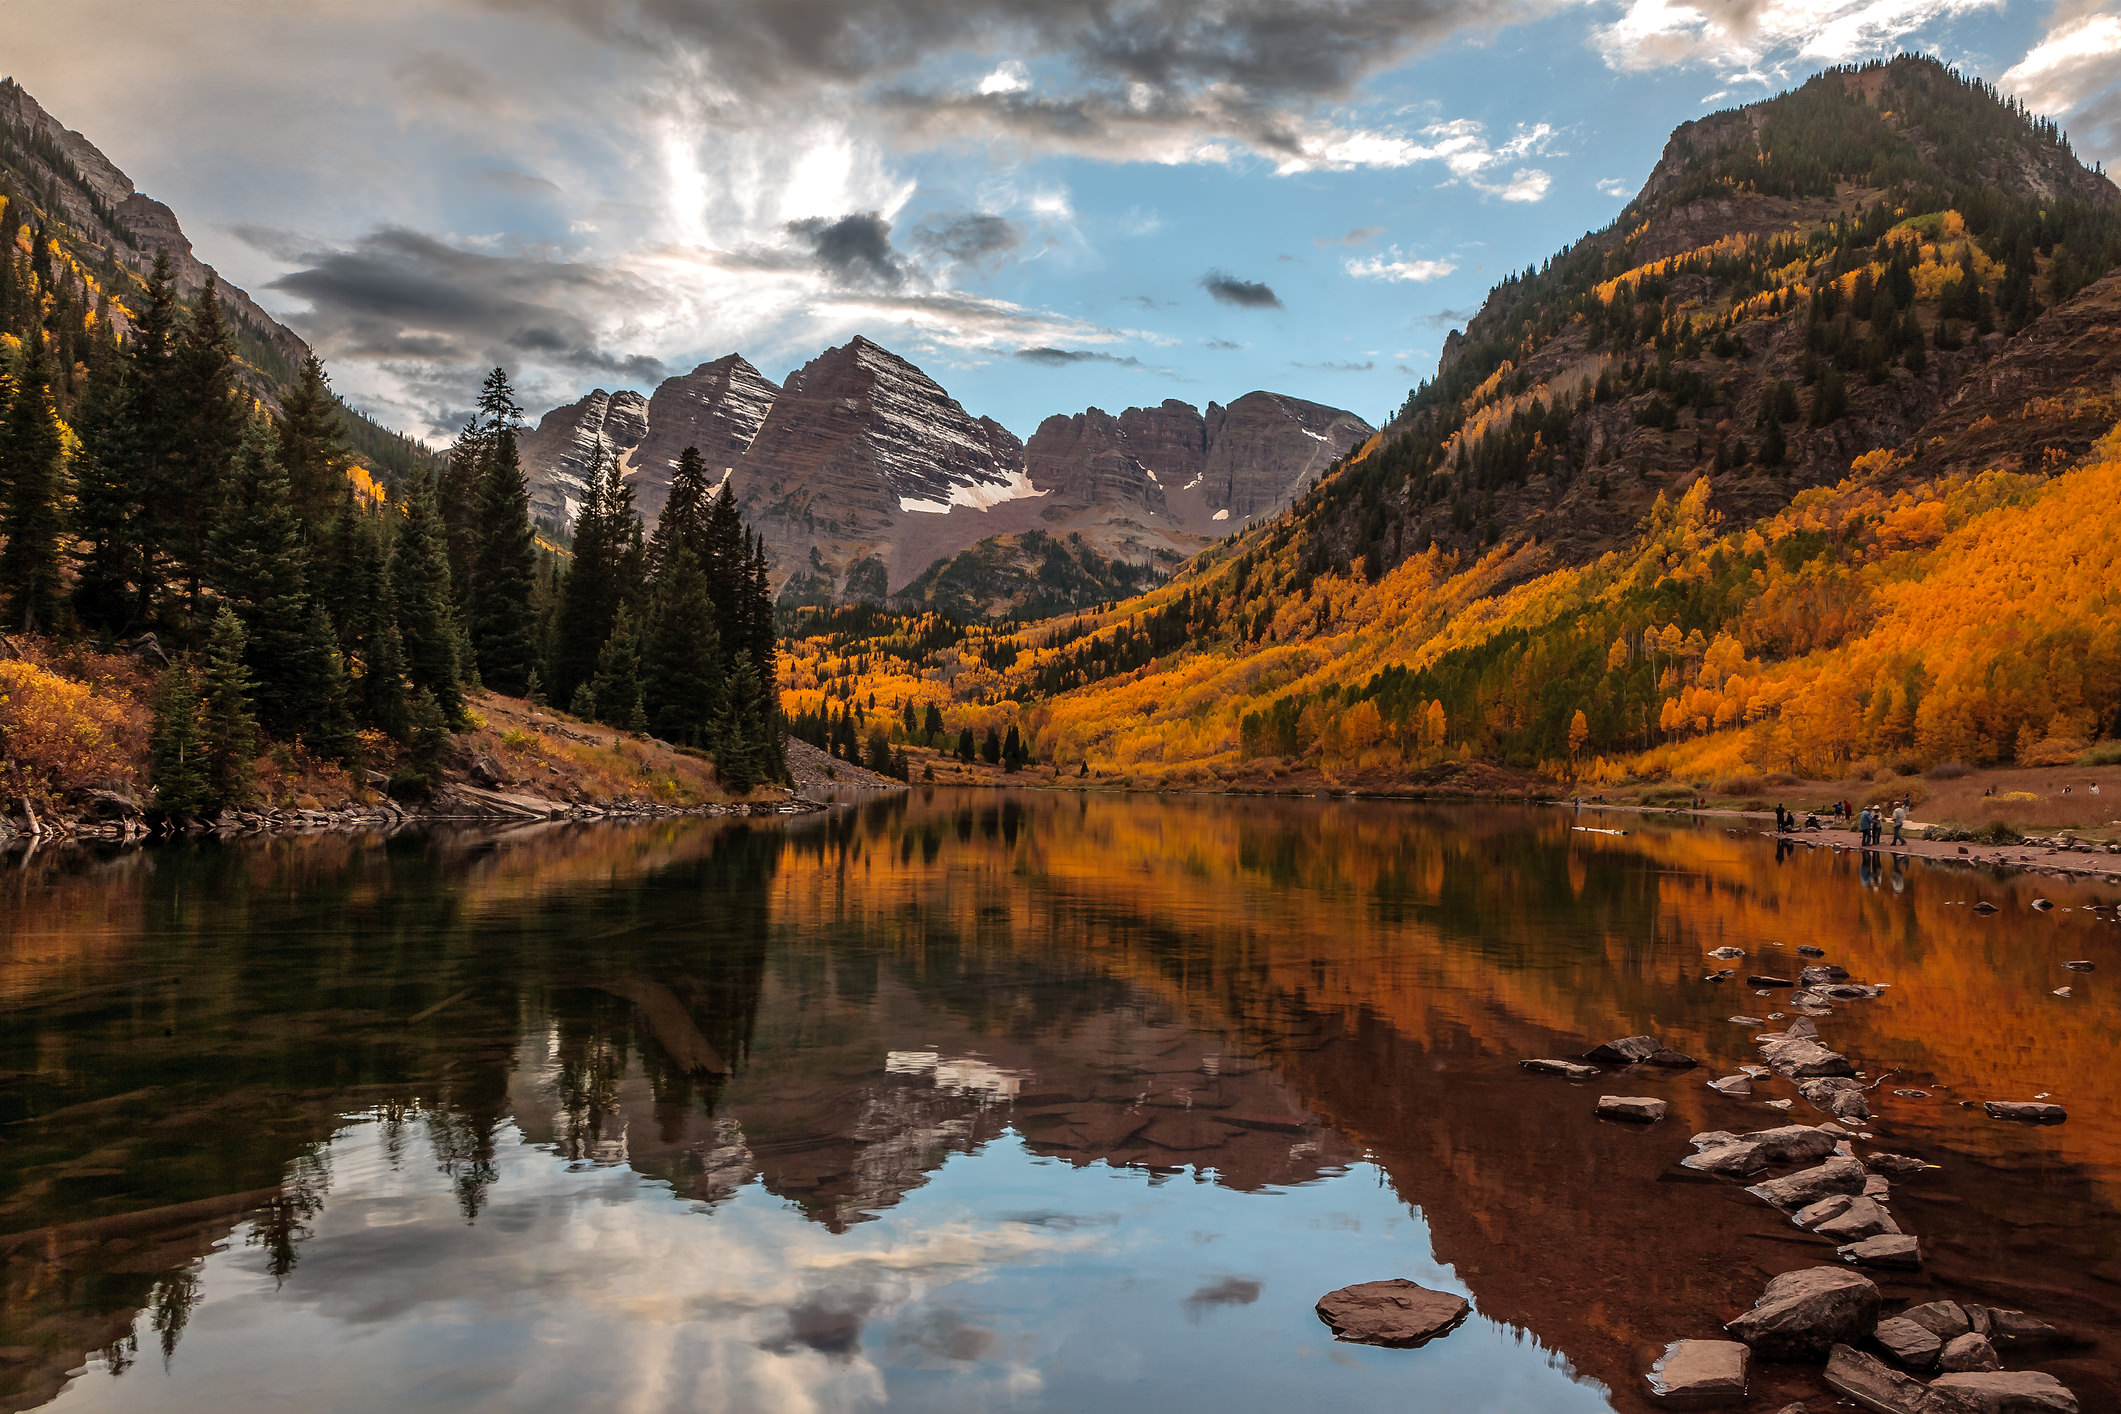
One of the very first things you should buy as a landscape photographer is a polarizing lens.
Polarizers are great because they can improve your landscape photos in so many ways.
For starters, they create more contrast in the sky by making the blues deeper and the white clouds brighter.
Second, polarizers cut down glare off non-metallic surfaces like water. That means you can actually see into the water instead of seeing a glare from the sun.
Polarizing filters also cut down atmospheric haze, giving you a cleaner shot in which you can actually see background elements.
In other words, what's not to like about a polarizer?!
Learn More:
We Recommend
Top Tips to Help You Take Better Landscape Photos
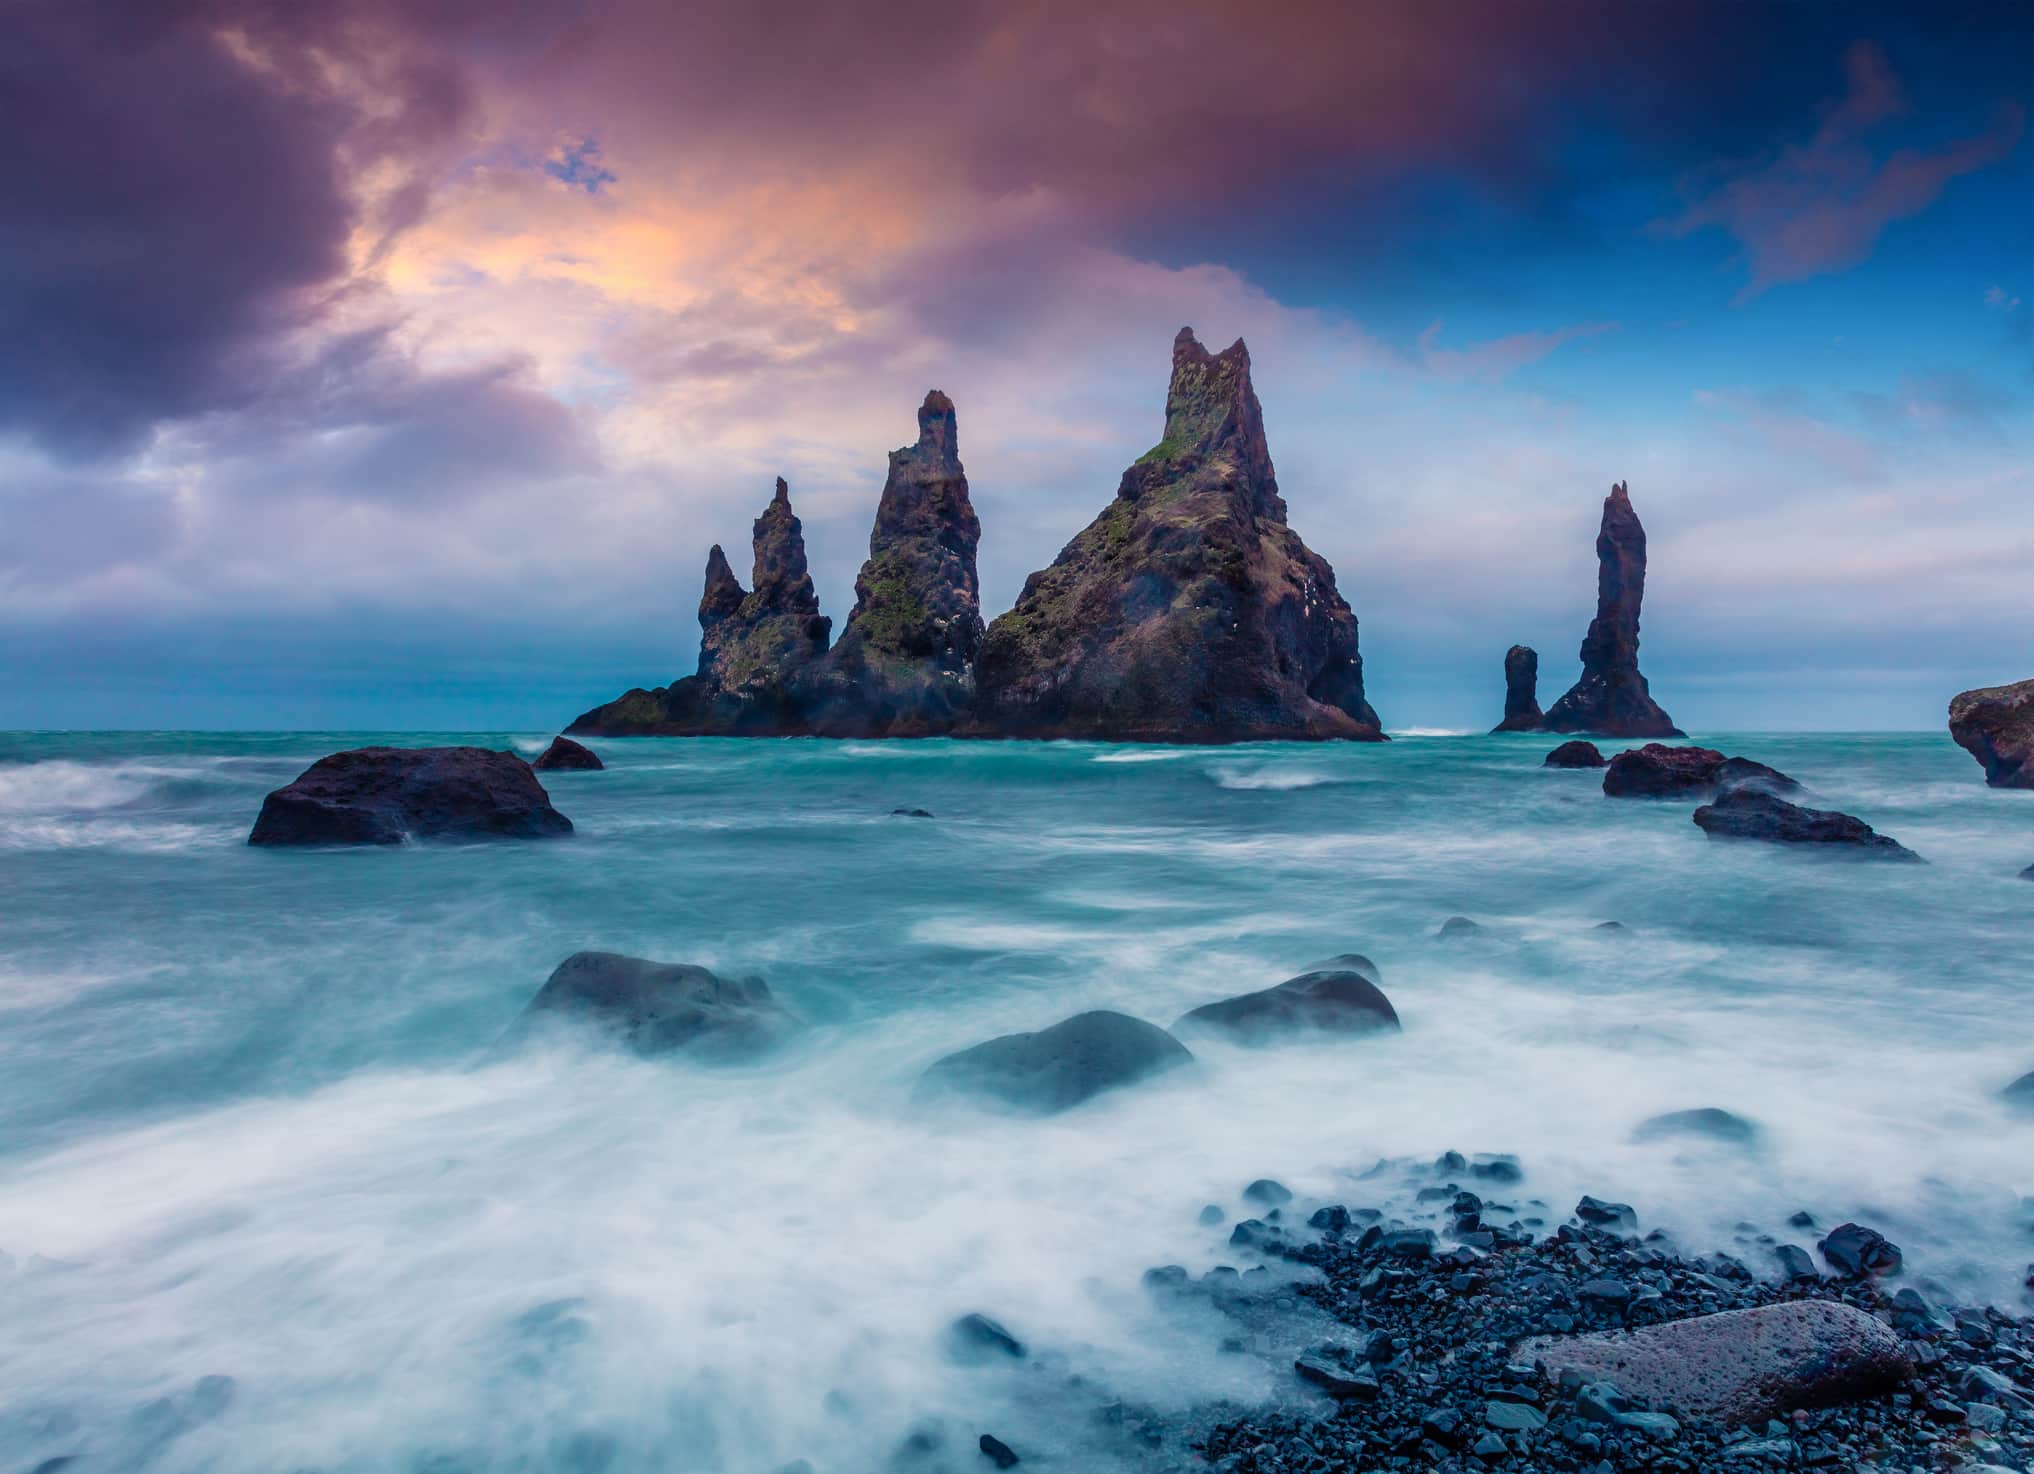
Those of us that enjoy photographing landscapes know that there's a huge amount of work that goes into creating images like the one shown above.
I mean, I wish I could tell you that it's as easy as pulling the car over, rolling the window down, and snapping a photo in full auto mode, but it's not!
But it doesn't have to be overly complicated, either.
In a sea of landscape photography recommendations, tips, tricks, and tutorials, there's a few things that always come up, over and over again, as the most important factors in creating a great landscape photo.
Here's a few of those tips.
Shoot During Golden Hour

The period after sunrise and before sunset - Golden Hour - is ideal for landscape photography.
Why?
You have the advantage of working with incredible light that's soft, warm, and casts long shadows across the landscape.
The warmth of the light gives landscape images a nice glow while the shadows are soft, giving the image excellent depth and dimension.
Another alternative is to shoot during the Blue Hour, which occurs just before sunrise and just after sunset.
Instead of warm, golden light, Blue Hour features deep, dark blue tones, as you might expect.
Either way, Golden Hour or Blue Hour will give your landscapes more drama!
Learn More:
- 5 Creative Ways to Use Golden Hour Lighting
- Add Interest to Your Landscape Photography by Shooting During Blue Hour
Connect the Foreground to the Background
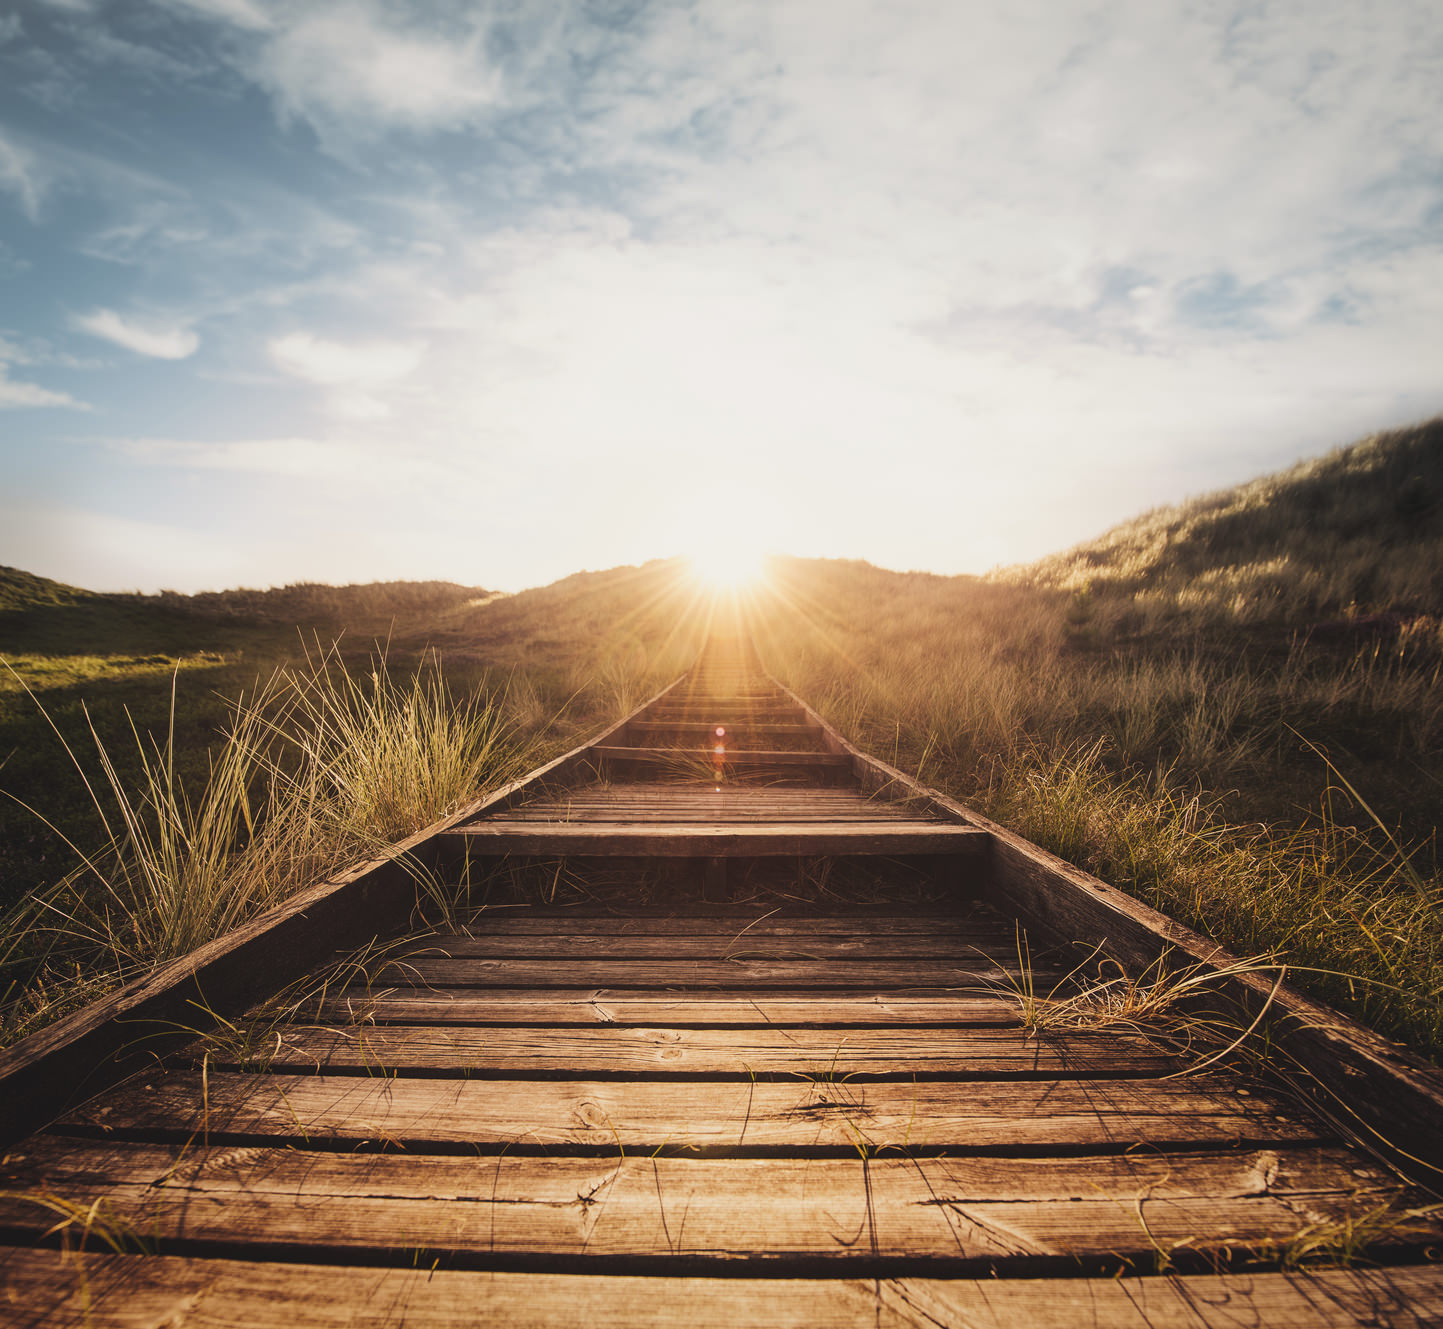
In portraiture, you often want to separate the subject from the background because it helps make the subject more prominent in the shot.
This is often done by using a shallow depth of field whereby the subject is sharply in focus but the background is nicely blurred.
But in landscape photography, you generally want to connect these elements in order to create a more complete visual story.

That means using tricks like leading lines to help provide a roadmap for where you want the viewer's eye to go.
It might also mean using layering techniques (as seen above), such that the image has more perceived depth due to the repeating nature of the elements in the shot.
Another way to help bring the foreground and background together is to shoot with a longer lens, which compresses the distance from front to back, making distant objects seem nearer than they really are.
Each of these techniques is really straightforward - it's just a matter of practicing them to gain confidence in your ability to implement them into your own photos.
Learn More:
- Here's the Key to Better Landscape Photos With One Simple Trick
- 6 Tips for Landscape Photography With a Telephoto Lens
Give Viewers Unique Angles

I'm well over six feet tall. But you know what? Taking landscape photos from my eye level is basically the same as someone that's barely five feet tall.
In other words, we all see landscapes from our traditional point of view all the time.
If you want to give viewers something unique, you're going to have to take more drastic measures than adjusting the eye level by a foot or two...

That means getting up high, perhaps on top of a hill or a mountain, and composing a shot looking down below. That will help you maximize the impact of the scale of the scene before you.
Conversely, you might get down low and shoot upwards, giving viewers a worm's eye view of the surroundings. This point of view emphasizes height as opposed to space.
These days, another option is to use a drone to get a true top-down perspective on the landscape below.
The point is that landscape photos are a dime a dozen, so if you want to capture the attention of viewers, you'll need to give them something that shows off a perspective they're likely not to have seen before.
Learn More:
Try Using a Frame
Earlier, I mentioned that using compositional tools like leading lines can help you create images with more depth.
Frames offer the same benefits.
A frame within a frame is an instant way to capture a scene in a unique way that also has greater dimension.
What's more, a frame within a frame gives you the ability to mask out part of the scene that you might not want in the shot, like other photographers roaming around.
Not only that, but a frame within a frame helps you direct the viewer's attention deeper into the shot and can help make the primary subject in the shot that much stronger from a visual perspective.
Learn More:
Use Filters

In addition to the composition tricks outlined above, you can also use filters to create more dynamic and interesting landscape photos.
There are a variety of filters you might find useful in your photography pursuits, including:
- Polarizing filters, which reduce glare, minimize atmospheric haze, and increase the contrast between the sky and the clouds, which results in a cleaner, crisper, and more contrasty image.
- Neutral density filters, which allow you to use longer shutter speeds during the daytime to blur the effects of movement, such as clouds, water (as shown above), or even vehicles.
- Graduated neutral density filters, which even out the bright sky with the often darker landscape, resulting in an image that is well-exposed throughout.
You can even get reverse neutral density filters, which are specifically designed for sunrise and sunset photos.
These filters are darkest in the middle - to correspond with the light of the rising or setting sun on the horizon - less dark on the top to account for the sky, and with zero filtering on the bottom to account for the darkened landscape.
UV filters are also popular, mostly for their use as an added layer of protection for your expensive lens glass.
But beware - not all lens filters are made equally...
If you want the best landscape photography filters, I'd go with Formatt-Hitech.

Not only are their filters made to the finest specifications with the best materials, but they simply provide you with the best performance.
Their neutral density filters feature a rare earth metal coating that gets you hyper neutral results without any color casting.
Their Firecrest polarizing filters (like the one shown above) have anti-reflective multicoating that ensures you get photos of the landscape before you, and not any glare or haze.
In other words, these filters enhance your ability to get the shots you want without breaking the bank, either.
And when you combine using top-quality filters with the composition tips outlined above, you've got a recipe for better landscape photos sooner rather than later.
Learn More:
We Recommend
Understanding the Rule of Thirds
If you're a beginning photographer, there's a good chance that you have at least some familiarity with the rule of thirds.
After all, it's probably the most commonly used photography tool and is the subject of many articles, book chapters, YouTube videos, and the like.
It may well have been the very first thing you learned about photography composition too.
But there's a lot more to the rule of thirds than what meets the eye.
It's a powerful compositional tool that can bring more balance and interest to your photos, regardless of whether you primarily take landscapes, portraits, or something in between.
Let's dive into the rule of thirds and explore what it's all about and how it can help you learn photography and create better photos.
The Rule of Thirds Explained for Landscapes
Explaining the rule of thirds is relatively simple.
When overlaid on an image like the one above, you can see how the rule of thirds breaks the photo into nine quadrants of equal size.
This results in a guideline you can use to position the subject of the image and any interesting supporting elements to create a photo with better visual impact.
To achieve that impact, you simply place elements of interest in one of two places: along one of the grid lines, or, even better, at one of the four intersections of the grid lines.
In the image above, note how the Great Wall of China aligns well with the leftmost vertical grid line, and how it also occupies the area around the bottom left intersection point of the grid.
Also note less obvious things about this image and the rule of thirds.
- The topmost horizontal grid line is near the horizon of the landscape, which helps our eye give the horizon more prominence in the frame.
- The bottommost horizontal grid line roughly aligns with the top of the two sides of the wall, which helps create a greater sense of balance in the shot.
- The tower in the midground roughly aligns with the leftmost vertical grid line as well, again, giving it more prominence and importance in the frame.
The point here is that important elements in the photo don't have to precisely line up with the grid lines or intersection points in order to create a more compelling landscape photo. As long as they are in the ballpark, their importance in the shot will be perceived by viewers.
The Rule of Thirds Explained for Portraits
Just like the rule of thirds can help you position landscape elements for maximum impact, it can also help you position portrait subjects such that the resulting image is as powerful as possible.
In the example image above, note how the photographer used the rule of thirds grid to shift the position of the model's face to the right side of the frame.
While this might at first seem like a move that would make the image feel unbalanced, you'll note that it actually makes the image feel more balanced.
With her body positioned more or less in the middle of the shot, having her lean to our right gives the photo a little more visual interest than if she had been sitting straight up with her head in the middle of the frame.
But also notice how her body position aligns her face with the upper left intersection point of the grid - right where it needs to be to capture the interest of viewers.
Again, as we saw in the landscape image before, in portraits, the alignment of your subjects with the grid lines and intersection points needn't be precise.
In the portrait above, ideally, the model's eyes would have been placed at the intersection point. However, getting it close still has the same visual effect of better balance and improved visual interest.
See the rule of thirds at work in the video below, in which Weekly Imogen breaks down why the rule of thirds is so powerful and applies the rule in real-time, so you can see the benefits of using it for your compositions:
Why the Rule of Thirds Works
If you're to truly master the application of the rule of thirds, it's important to understand not just how to implement it, but why.
As I alluded to earlier, the rule of thirds allows you to create an image with improved balance and visual interest.
This is due in part to the fact that when we look at a photograph, our eyes typically avoid the center of the shot. Instead, our eyes are naturally drawn to the four areas where the rule of thirds lines intersect (thus, that's why those intersection points are placed there).

So, given that, it stands to reason that by placing the subject of your photograph at one of those intersection points that you'll more easily capture the attention of viewers. In the image above, notice how the dog's snout is placed where an intersection point would occur, thus making the dog's face a stronger point of visual interest.
What's more, shifting the subject to the left or right or above or below the dead middle of the shot helps create a more interesting layout.
This is because it helps you avoid the 1:1 ratio that occurs with a subject in the middle of the shot.
In other words, when there is the same amount of space on either side of a subject, the image can look and feel a little static.
However, by shifting the subject away from the center of the frame, you can create a photo that looks and feels more dynamic, even if there's no indicated movement in the shot.
In fact, this concept works even when you fill the frame with the subject.
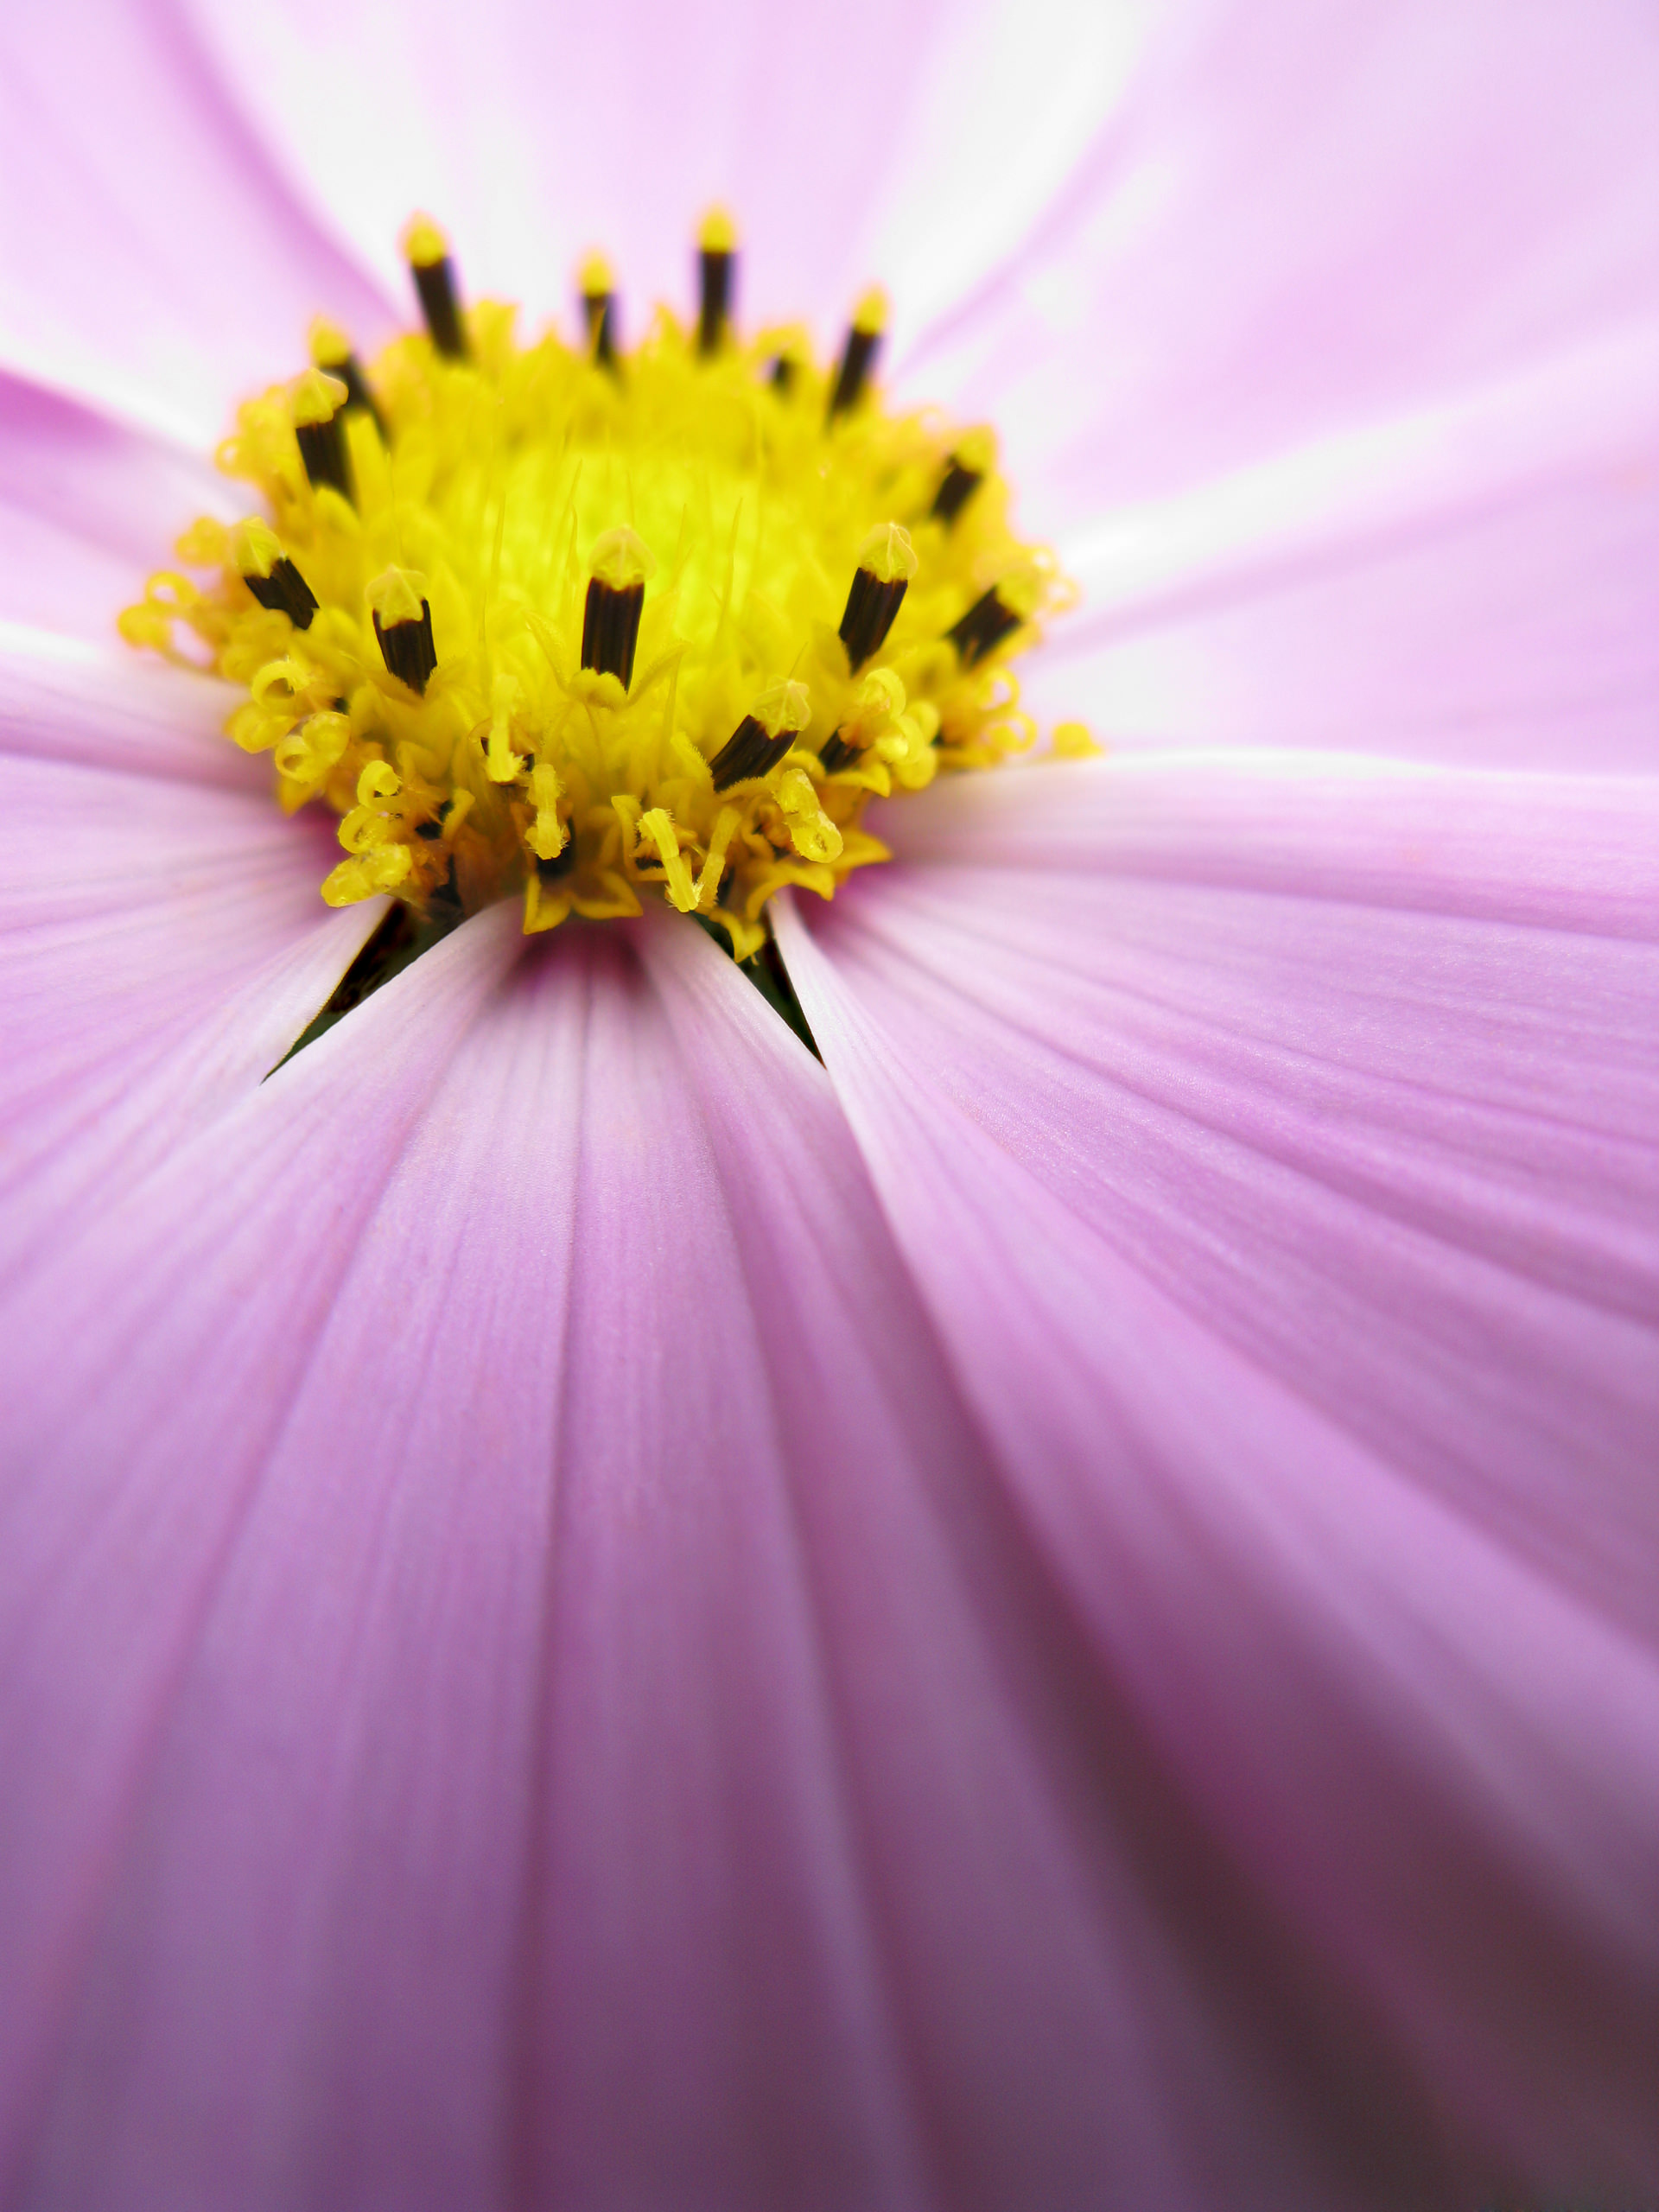
In the image above, you can see how the yellow part of the flower would roughly align with the top-left intersection point of the rule of thirds grid.
As a result, the image has improved visual interest because the subject is shifted away from the center of the shot.
What's more, notice how the line of the petal below the yellow portion of the flower would align with the leftmost grid line of the rule of thirds grid.
Again, this helps direct the eye towards the burst of yellow, creating a shot that is much more active for the viewer to engage with.
Yet Another Use for the Rule of Thirds
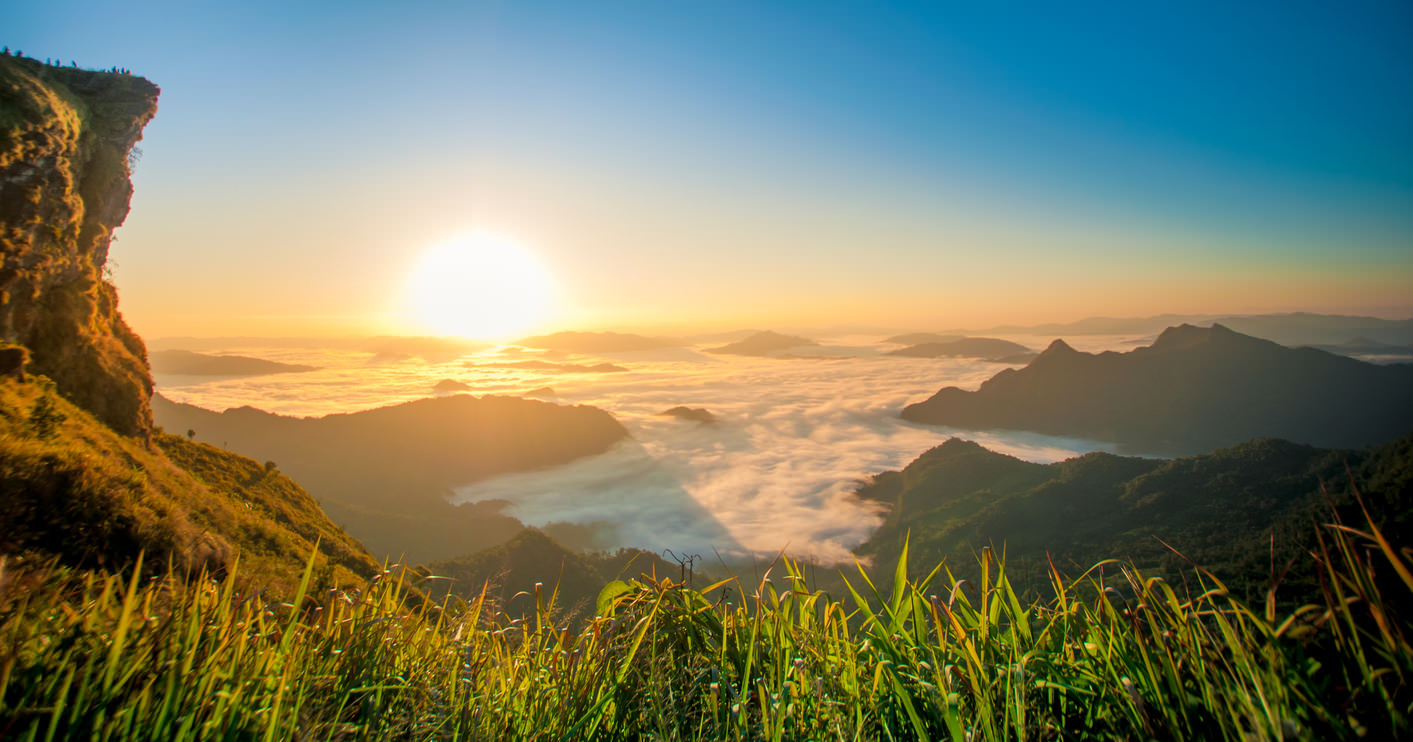
The rule of thirds grid also comes in handy for a very important task for landscape photographers - placing the horizon for maximum impact.
As was discussed earlier with the image of the Great Wall of China, aligning the horizon with one of the horizontal grid lines helps draw the viewer's attention to the horizon.
On the one hand, aligning the horizon with the bottom grid line gives the background and the sky more importance in the shot, which is a good thing to do when photographing things like the sunset seen above.
On the other hand, aligning the horizon with the top grid line allows you to place more emphasis on the foreground, which is advantageous when you have interesting elements in the foreground of the shot. As seen in the image below, this allows you to create a more compelling landscape photo.
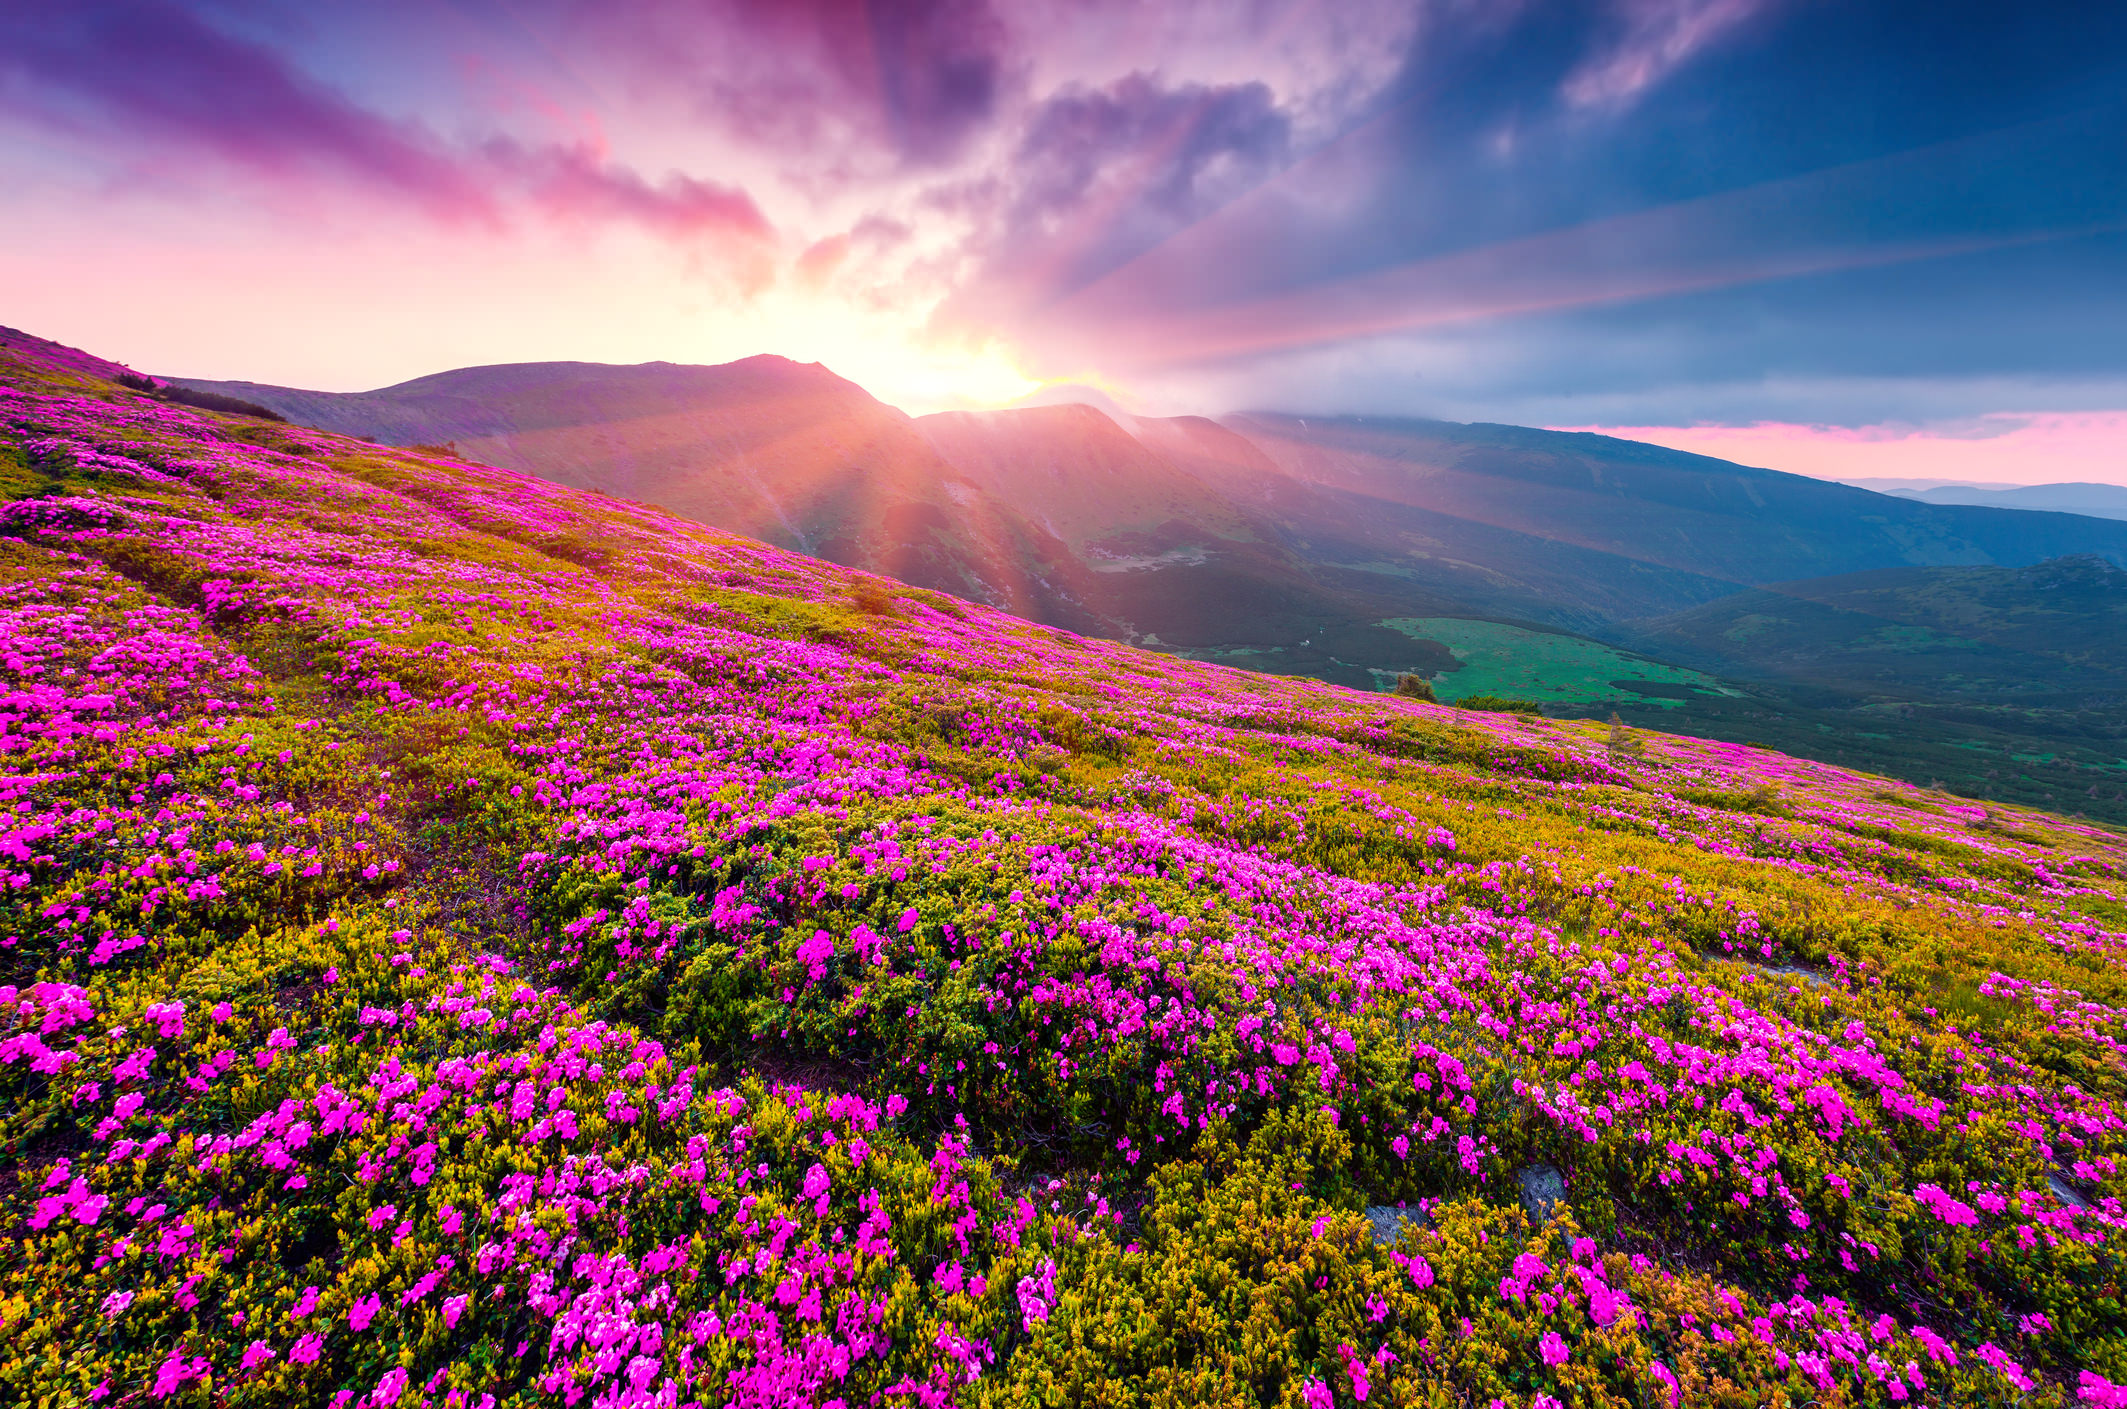
Additionally, the rule of thirds grid can help you get the horizon straight.
No matter how gorgeous the shot you take, if the horizon isn't straight, it will lose a great deal of visual appeal.
By using the rule of thirds grid (which many cameras have on Live View), you can ensure that the horizon isn't just placed effectively in the shot, but that it's also absolutely level.
When Not to Use the Rule of Thirds
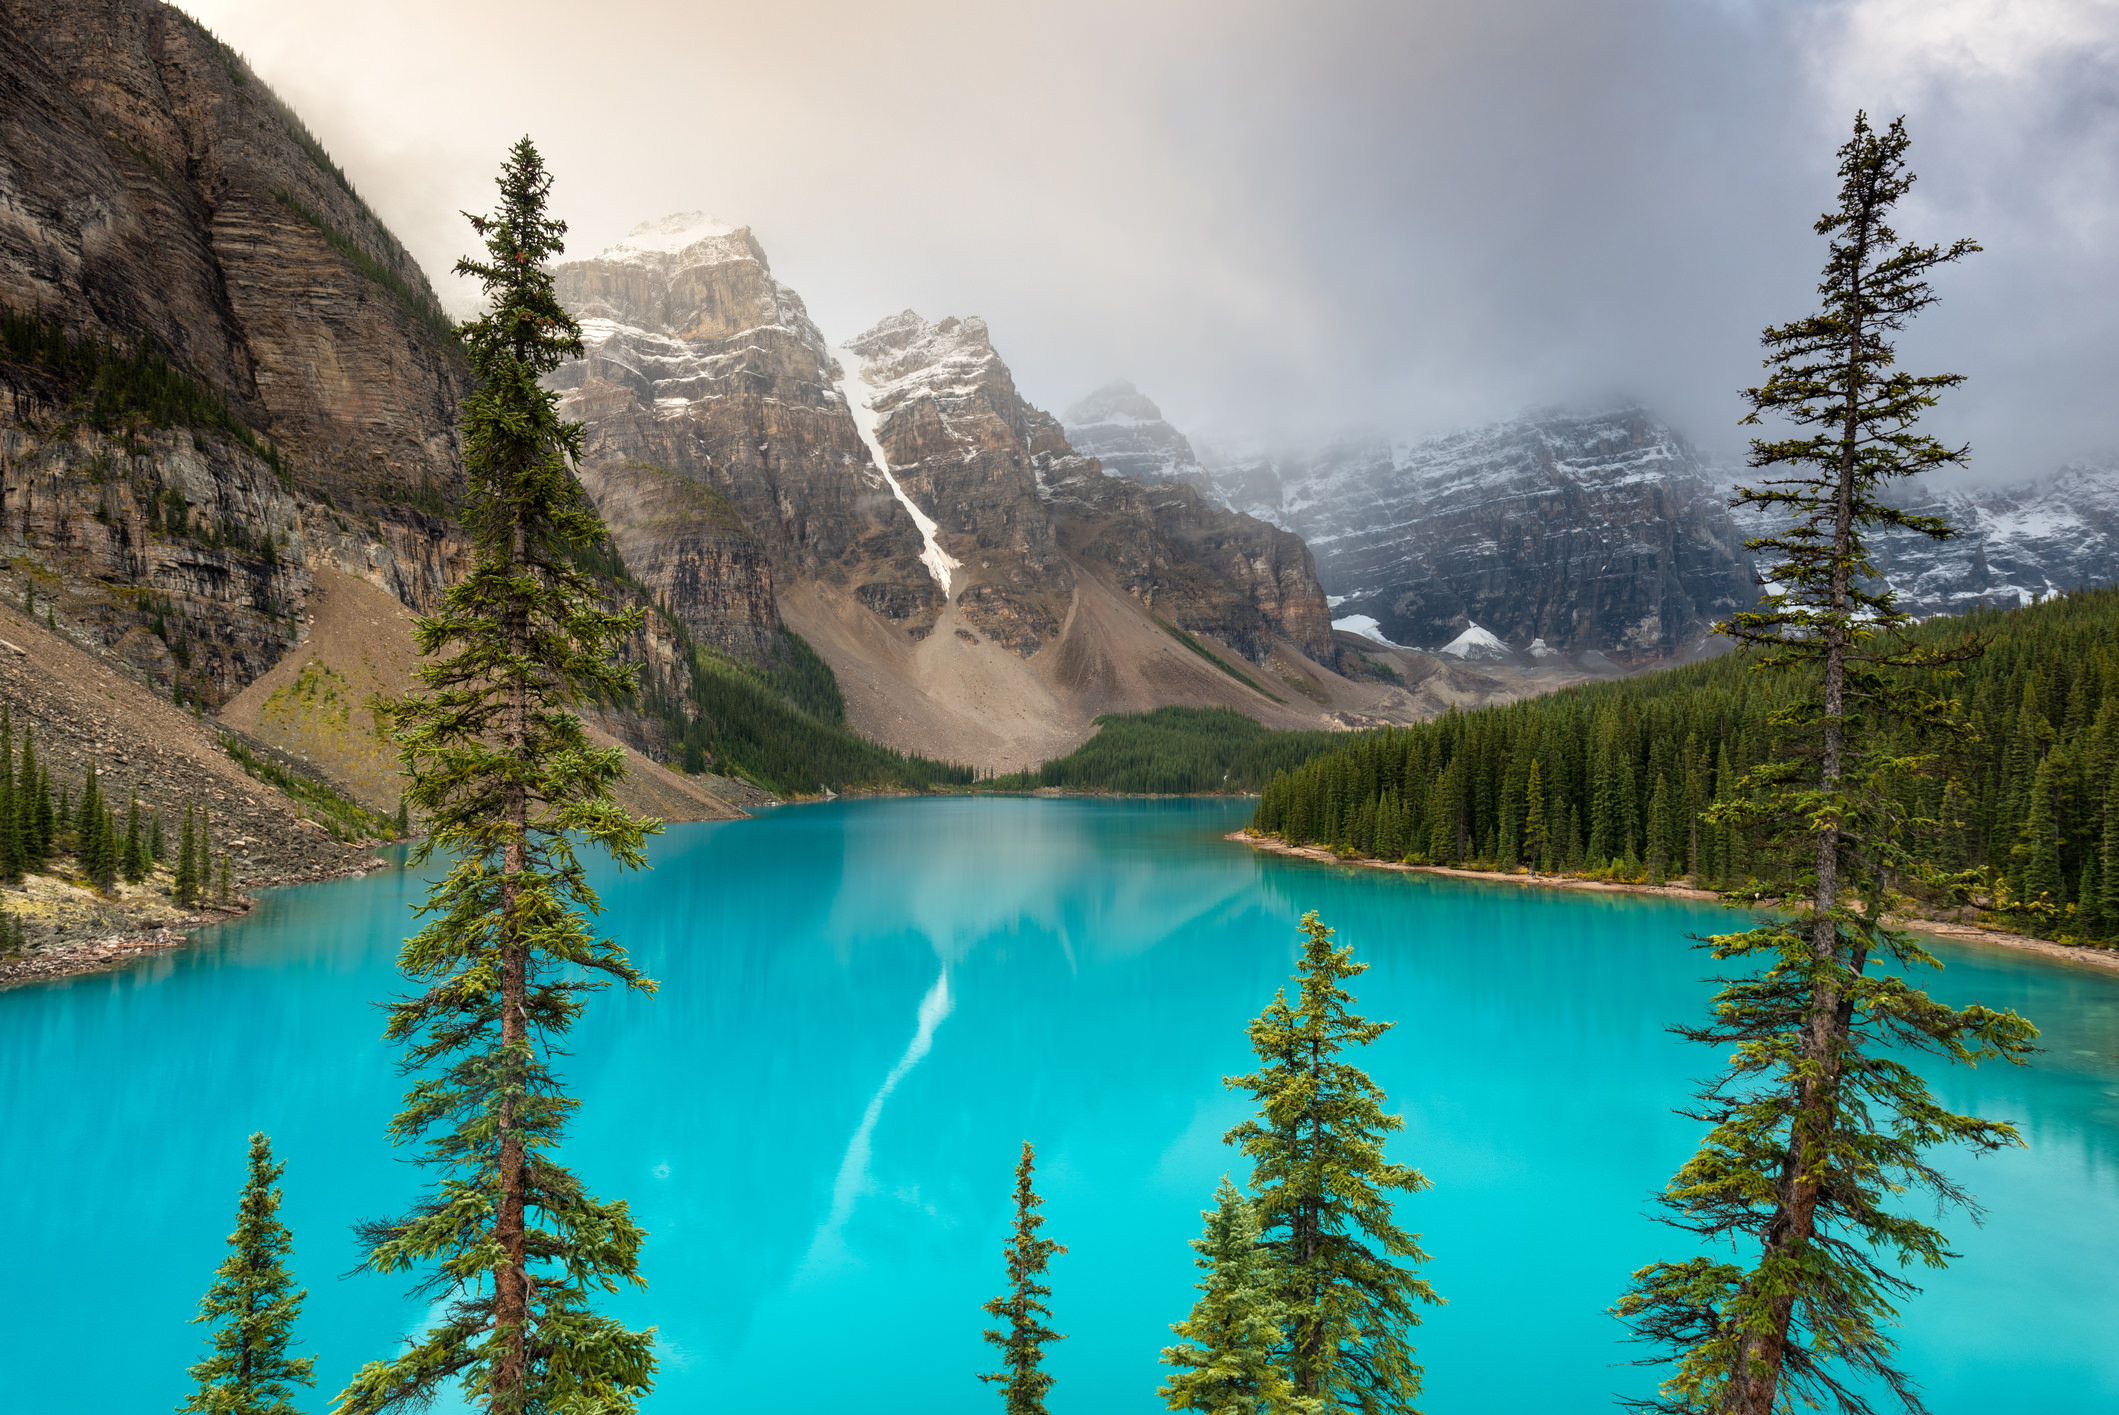
As great of a tool as the rule of thirds is, it isn't the end-all, be-all compositional trick.
In many cases - perhaps even the vast majority of cases - the rule of thirds is appropriate to use.
However, there will be times when breaking the rule of thirds results in a better composition than if you adhere to it.
For example, in the landscape above, note how the two tallest trees in the foreground create a frame within a frame that helps direct our eye toward the middle of the shot - precisely where the rule of thirds tries to prevent our eyes from going.
Yet, this is a successful image and one that's very pleasing to view.
The same concept can be applied to portraits.

In this fashion portrait, notice how the placement of the woman completely breaks the rule of thirds, yet the image is still pleasing to view.
This is due in part to the vibrant colors to catch the attention of our eyes as well as the model's dark, flowing hair, which contrasts nicely with the bright colors that are abundant in the shot.
The moral of the story is that if you have other means of drawing the viewer's attention - using framing elements like the trees in the previous image or color or texture like in the portrait above, you can get away with breaking the rule of thirds because you have other visual elements to draw the viewer's attention.
In the end, how you implement (or don't implement) the rule of thirds is up to you. Yes, it can make for a stronger image. But knowing when to set the rule aside and do something different is just as important.
We Recommend
Unique Portrait Ideas for Girls
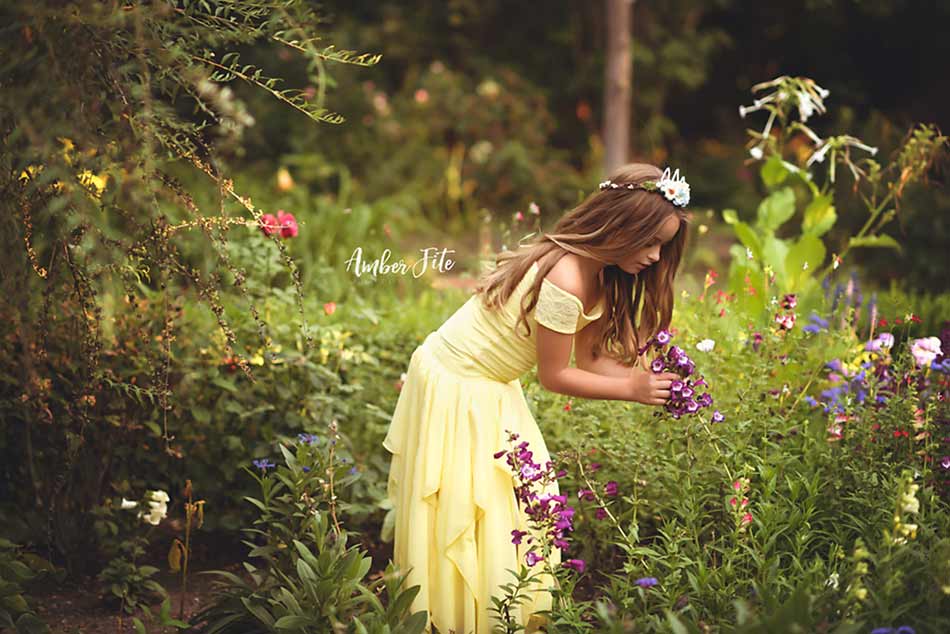 Amber Fite
When it comes to portraits, it can be hard to source unique photography ideas that help make the photos you take stand out.
That's where this article comes in...
Whether it's the use of props or colors, lines or framing, these simple, yet effective portrait photography tips will make your subjects shine in a unique way.
And though the example images I use are of girls, these photoshoot ideas can be used for any portrait.
With that, let's get started!
Use Props, But Carefully
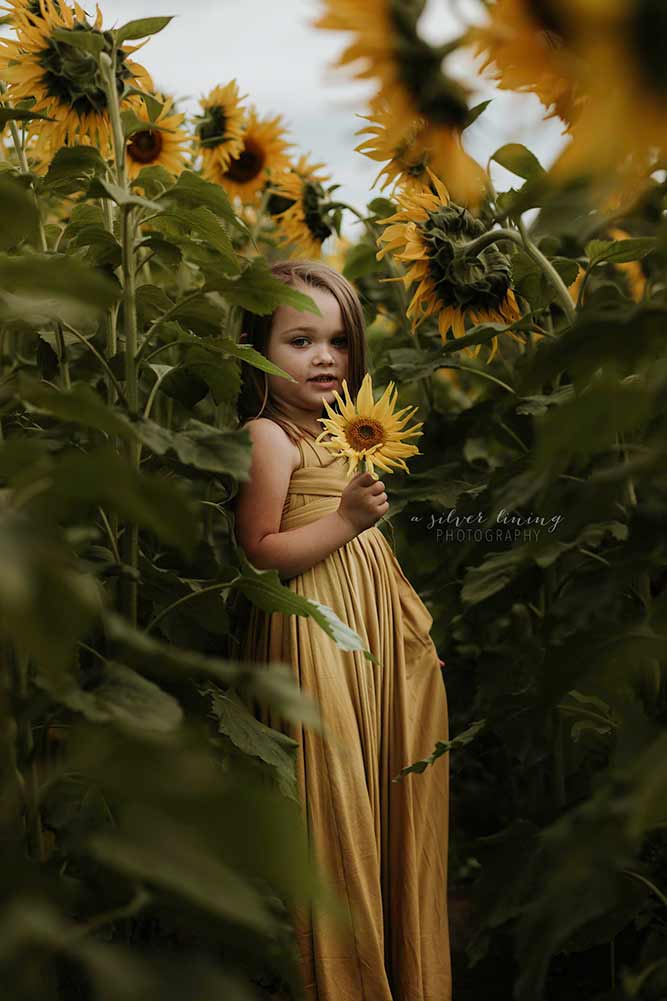
Silver Lining Photography
When some portrait photographers hear the word "props," they shutter.
That's because props can very quickly get out of control, and before you know it, you've got a portrait on your hands that's less about the person and more about the crazy prop they're holding.
If you want to create a photo with a more interesting dynamic, use props in a way that helps support your visual story.
In the image above, for example, the sunflower that the little girl is holding is the ideal prop.
Not only does it help tie her in with her surroundings, but it gives her something to do with her hands - a strategy that will help your subject relax for a more natural-looking photo.
What's more, the sunflower in her hands helps tell a story about this little girl. Instead of looking like she was placed in a field of sunflowers to get her picture taken, it seems more like the photographer happened to find this girl as she was looking for sunflowers on her own.
It's a subtle tool to use, but it can certainly be effective!
Use Color to Draw Attention to Your Subject
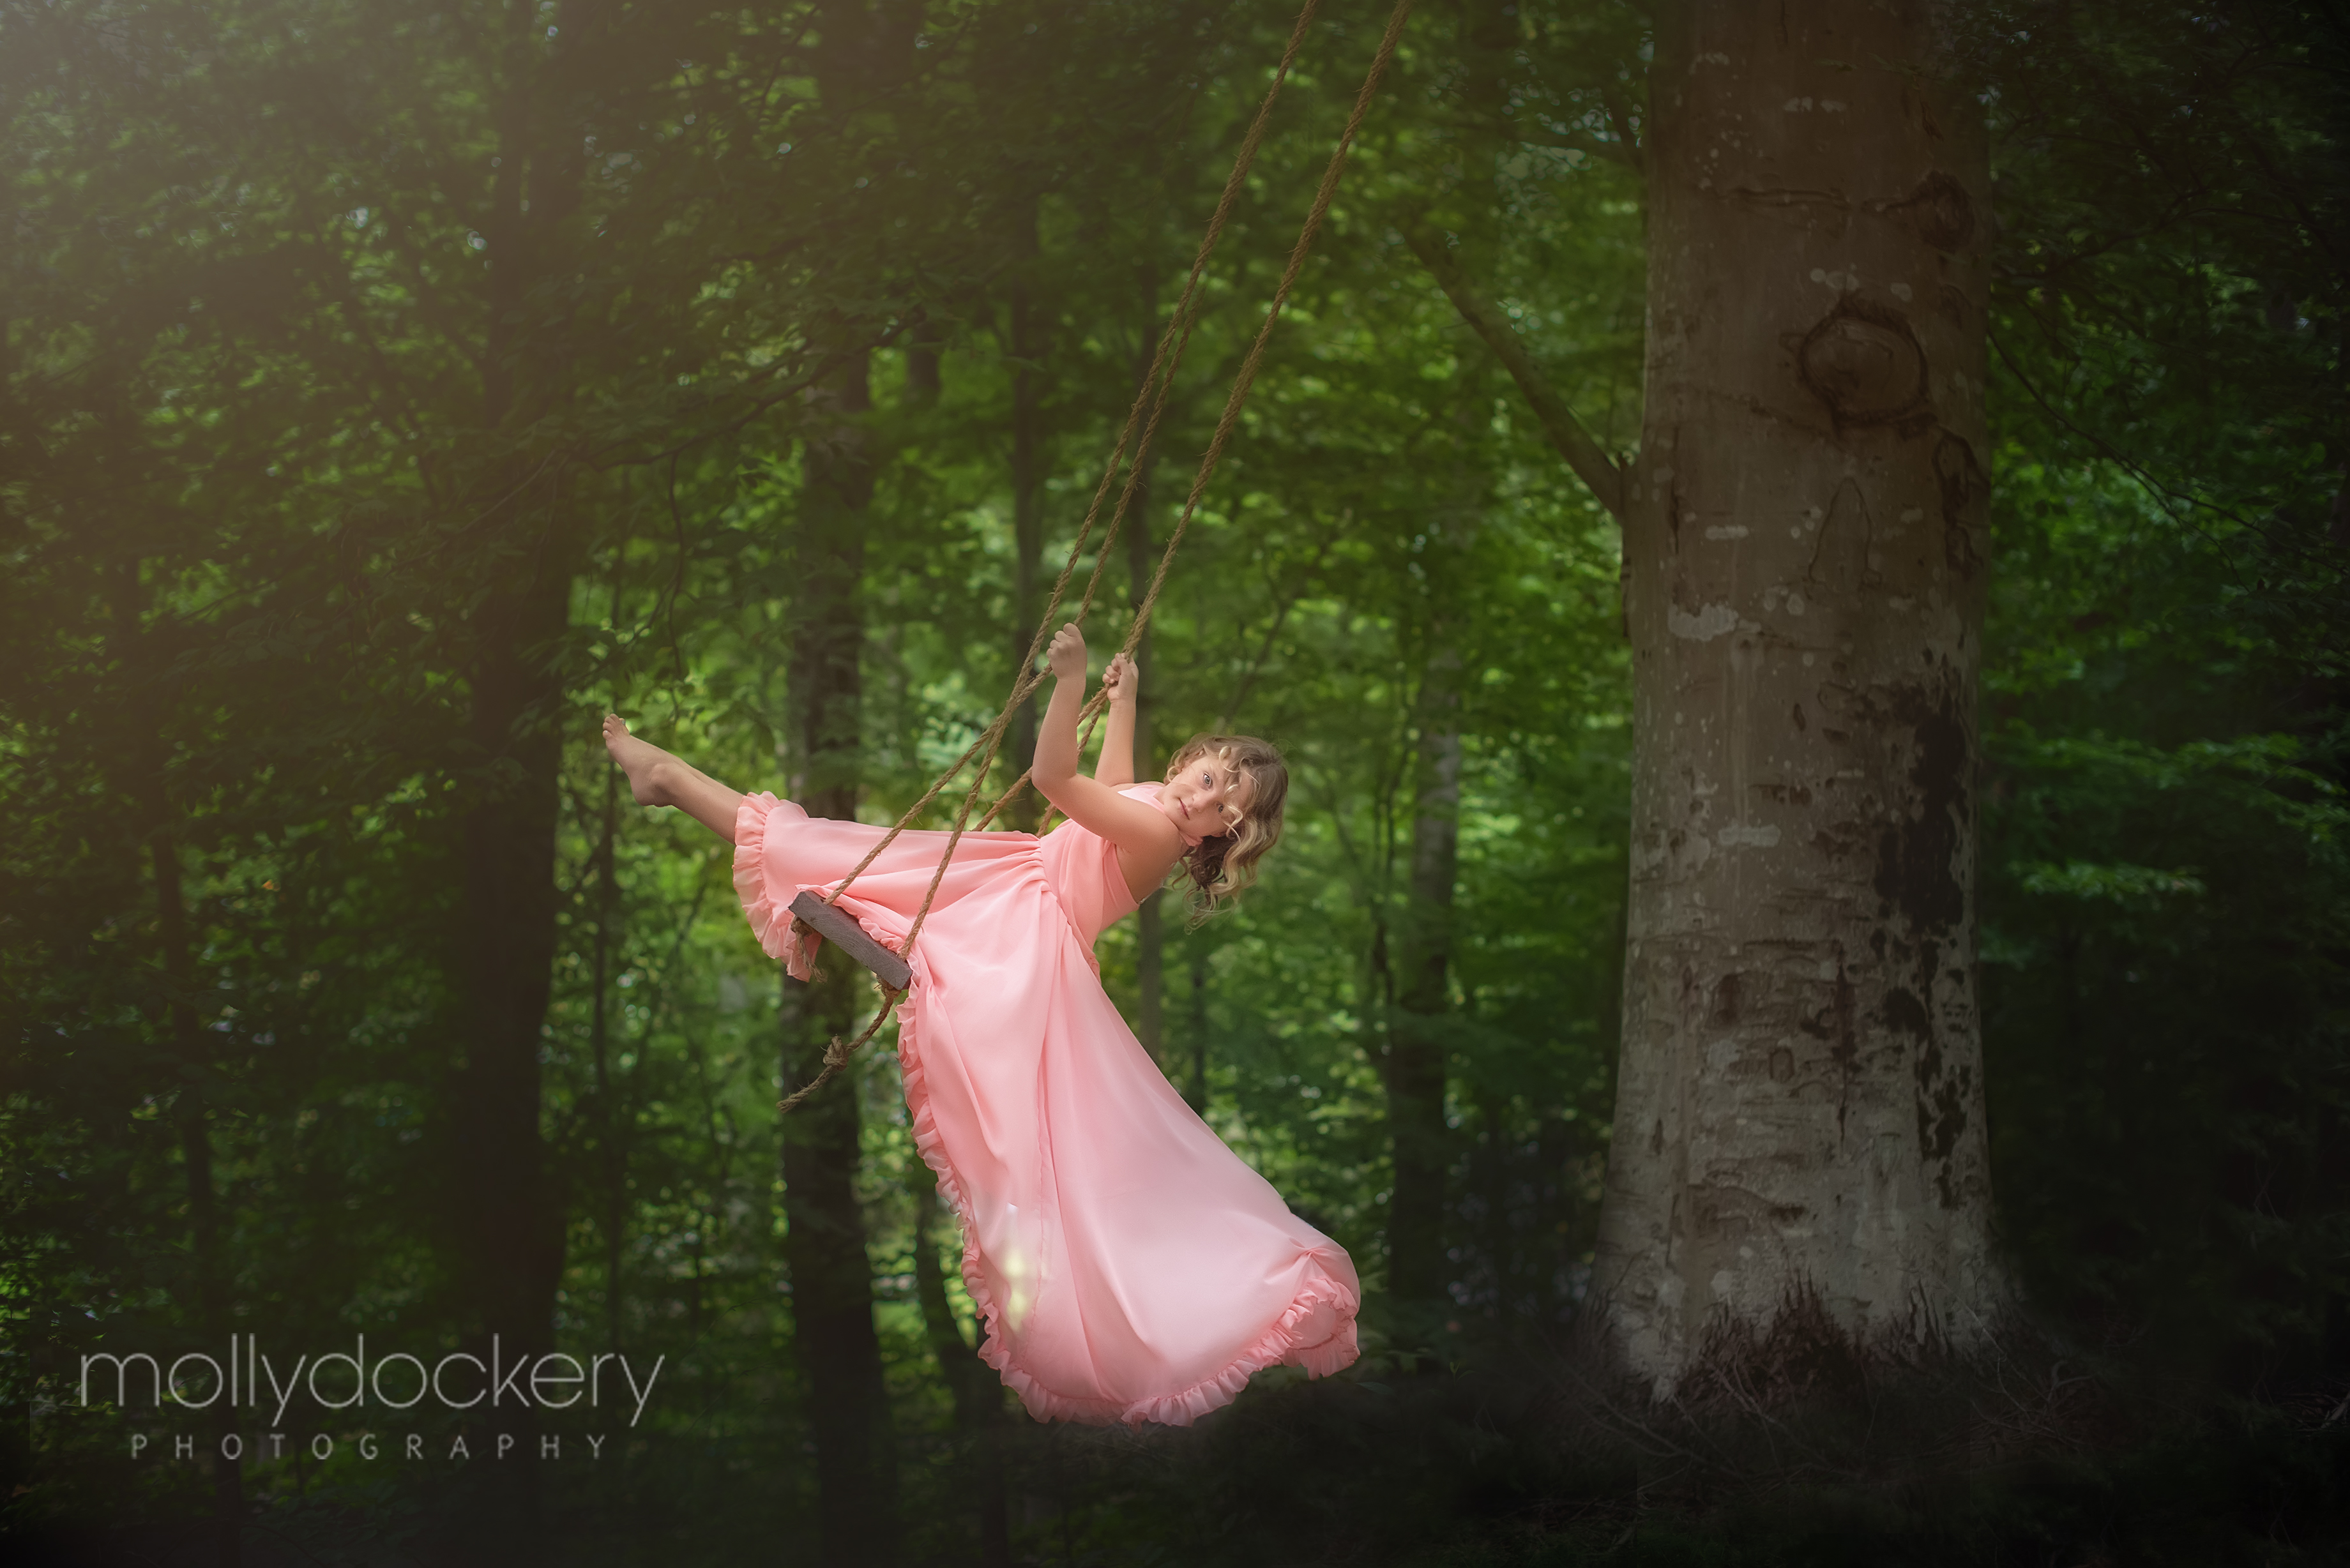 Molly Dockery Photography
If you aren't too keen on trying props to help define your subject and tell a more interesting visual story, then you might try adding a pop of color to the image.
Our eyes love color and contrast, and by placing your subject in a bright or saturated color, you'll immediately draw the attention of the viewer's eye.
In the image above, the bright pink of the girl's gown offers a beautiful contrast to the deep greens of the forest background.
Not only is that color contrast a pleasing combination, but the brightness of the pink also helps offset the darkness of the background.
Additionally, the fact that the dress is flowing and in motion helps make the little girl an even stronger subject in this portrait.
That brings me to a bonus tip: if you want to elevate the impact of your images, consider doing it with the wardrobe choice. In this case, the girl's gown from Sew Trendy adds a touch of elegance and femininity to the shot that help take the portrait to another level.
Use Leading Lines
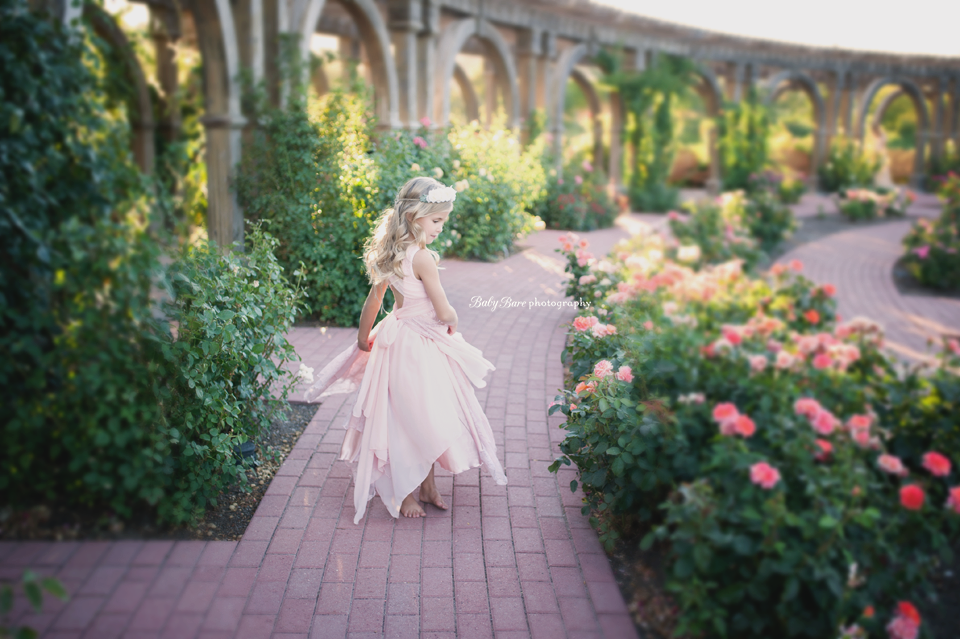
Baby Bare Photography
Leading lines are usually associated with landscape photography, but they can certainly help you create better portraits as well.
Looking at the example above, you can see the various lines at work.
The pathway on which the girl is walking helps move our eyes from the foreground, to the girl, and beyond, creating a line for our eyes to inspect the photo from front to back.
Helping in that regard is the path to the right of the girl as well as the horizontal line created by the top of the archways in the background.
Speaking of those archways, the vertical columns help give the shot additional depth and dimension, which makes for a much more immersive viewing experience.
But notice how none of those lines compete with the little girl for attention. Rather, they're supporting elements that make this portrait more successful.
Focus on Framing
 Corinna Schutz Photography
There are a couple of different ways that you can use framing to create improved portraits.
First, if you're shooting in a location that doesn't have a great background, frame up a close-up shot of your subject and turn the background into bokeh.
As you can see in the image above, the tight frame on the little girl not only de-emphasizes the rather blase background, but it also helps draw more attention to the girl's face and eyes.
What's more, the close framing allows us to see the small details in the girl's dress and floral crown, which help balance out the lack of detail in the blurry background.
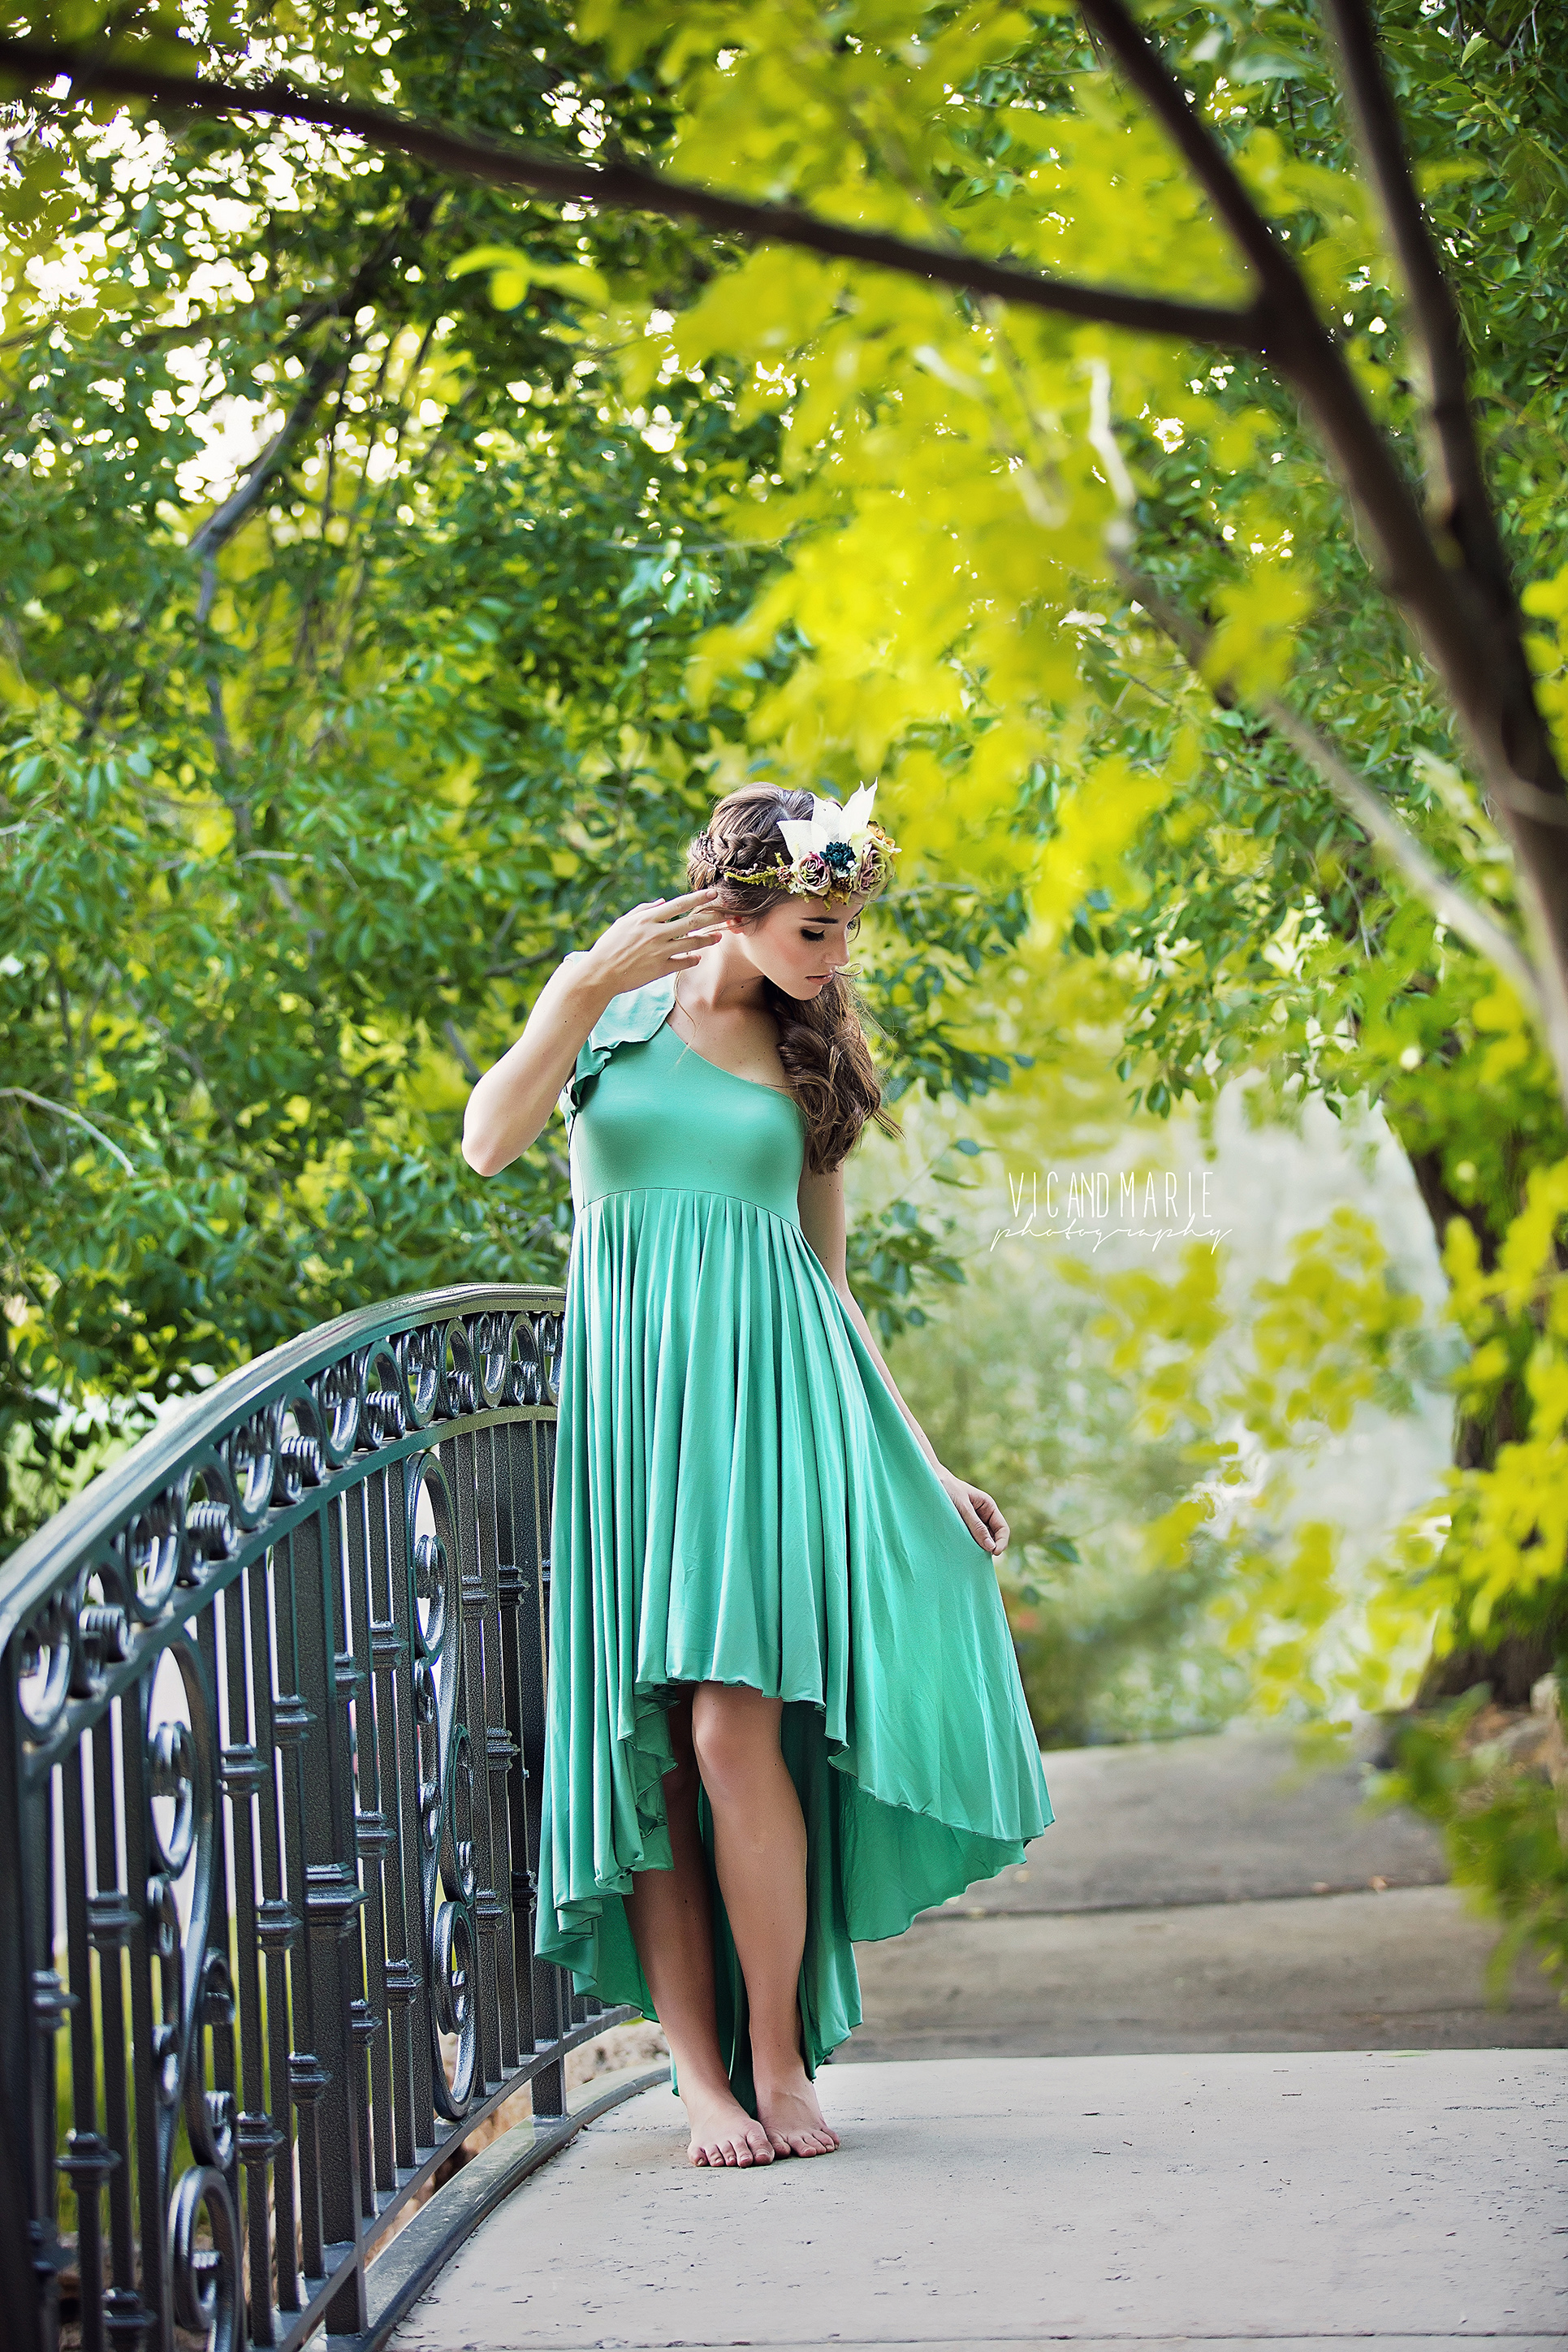 Vic & Marie Photography
Another way you can use framing is to find elements that help contain the viewer's eye in a wider portrait like the one shown above.
Here, the railing behind the girl helps prevent our eyes from wandering all over the shot.
What's more, the tree branches in the foreground help frame out the right side of the image, again, helping to direct our attention to the girl.
Again, this and the other tricks I've outlined above are simple, yet as you can see, they have tremendous impact on the quality of the photos.
About Sew Trendy
This is a company that photographers absolutely need to be in touch with. Their gowns, crowns, and other high-quality accessories are just what you need for maternity photos, photos of newborns, and mommy and me sessions. These accessories not only make your clients look and feel great, but they also add a depth of detail and interest to your photos that elevate the images to an entirely other level. What started out with just a few people manufacturing these eye-catching items is a growing business that provides accessories to photographers worldwide. Help your clients look and feel their best by partnering with Sew Trendy Accessories.
We Recommend
Want to be a Better Photographer? Do These Four Things
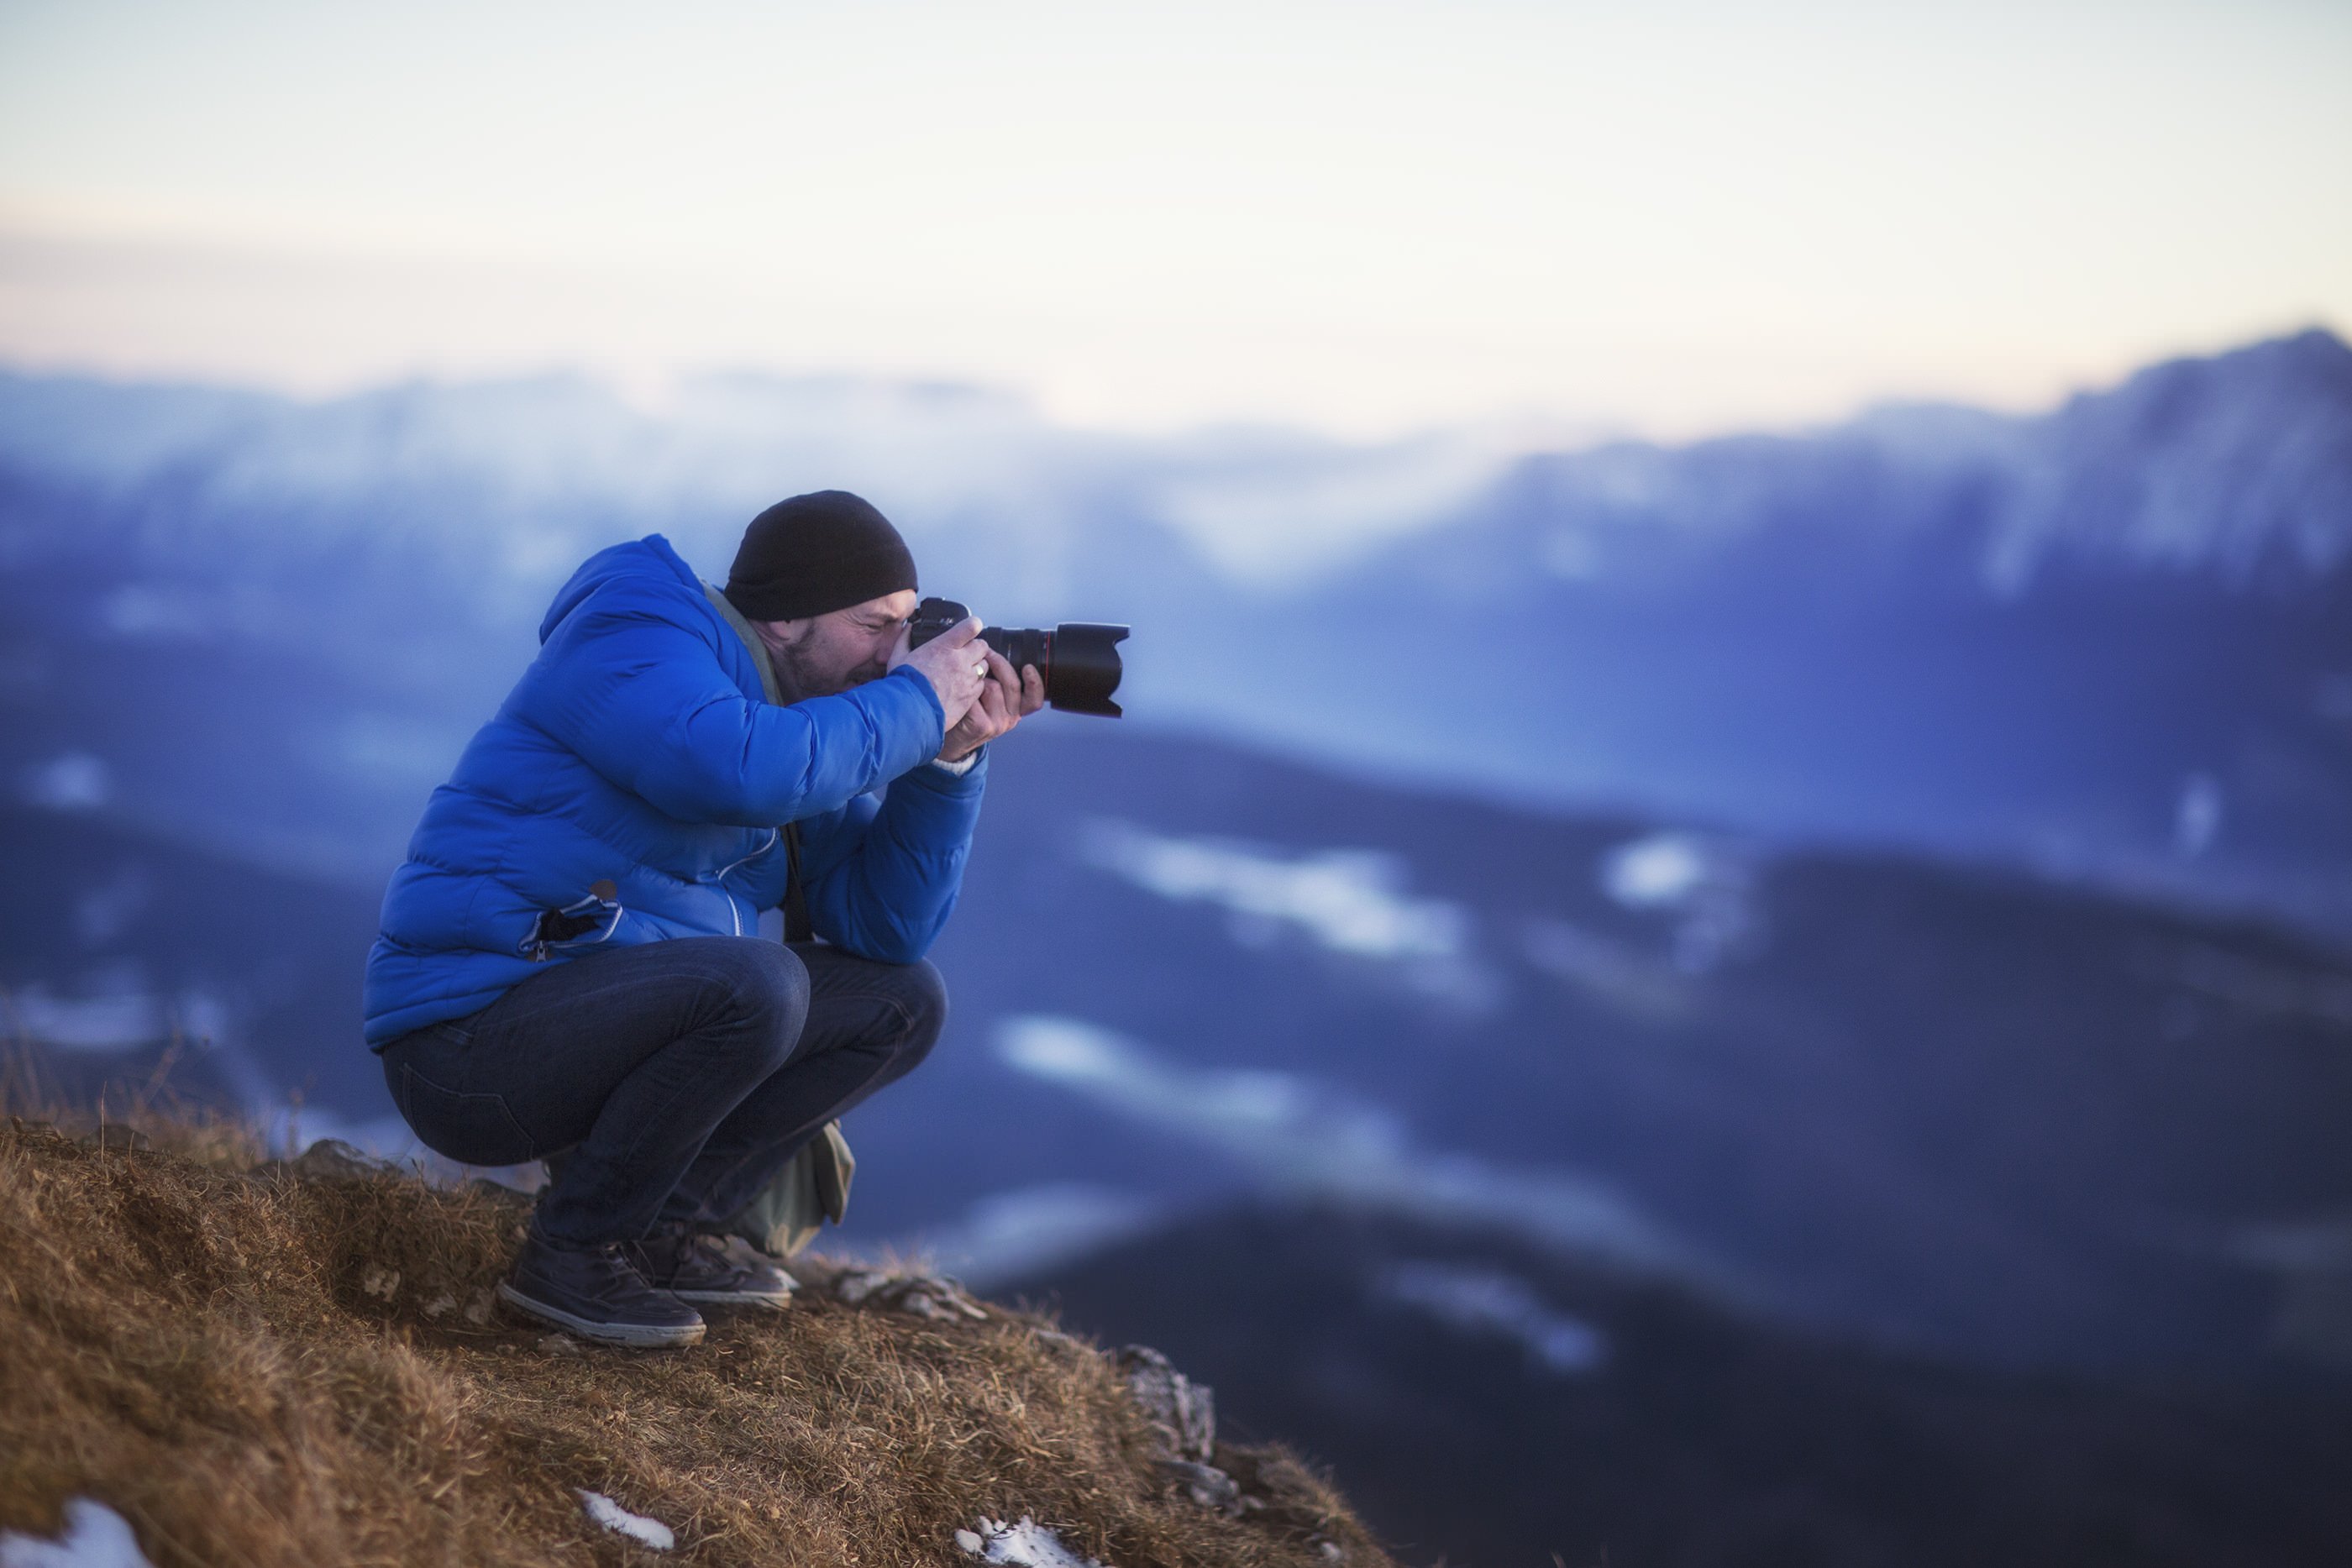
Let's face it - becoming an improved photographer is hard work!
But boy, is all that work worth it when you start to realize your dreams of taking really good photos...
There are many ways to improve the photos you take, but the best one is to simply practice and practice a lot.
Sometimes it's confusing to know what to practice, or it's at least hard to decide between all the things you can practice.
With that in mind, I've put together a list of four things to do each and every day with your camera that will help you see better results.
Shoot With a Prime Lens
There are a ton of advantages of shooting with a prime, among them greater low-light shooting capability and sharper images than what is usually achievable with a zoom lens.
But when it comes to improving the quality of your photos from a compositional standpoint, a prime lens is an excellent tool because of its fixed focal length.
That means that unlike shooting with your camera's kit zoom lens with which you can change the focal length with a simple turn of the zoom ring, a prime lens forces you to "zoom with your feet."
Think of a prime lens as a tool that makes you slow down, take a little more time with each shot, and focus more purposefully on composition and framing.
In other words, you will interact with the subject more with a prime lens because you're constantly moving nearer and further away, and moving left and right and up and down to find the best shot.
That, in turn, will help you develop a better creative eye that will help you compose much-improved photos.
Learn more about prime lenses.
Learn How to Meter
As sophisticated as today's cameras are, they will never match the sophistication of our own eyes to judge light values.
Given that, it's important to learn how to take control of metering for situations in which the lighting is difficult and gives your camera fits.
Usually, cameras default to an all-purpose mode that assesses the light throughout the entire shot and comes up with an average for getting a solid exposure.
In many cases, this works fine.
However, when the scene is very bright or very dark, this type of metering, which is usually called matrix or evaluative metering, can easily be fooled into underexposing or overexposing the shot.
You can get around this by learning how to meter yourself, specifically, how to meter in spot metering mode. Get a quick overview of spot metering in the video below by eHow:
In a nutshell, spot metering takes a light reading from a very small and specific area of the scene that's determined by you.
That means that if you're taking a portrait that's backlit, you can meter off your subject so they are well-exposed rather than relying on matrix metering, which would likely render the subject nearly or completely dark due to the bright background.
What's more, the more control you take away from the camera, the more you control the outcome of your photos, and that's a good thing!
You'll also develop a better understanding of light and dynamic range and how to get around difficulties that light presents to your camera.
Learn more about metering modes.
Learn How to Use the Histogram
Tell me if this sounds familiar...
You take a photo, and to check to see the quality of the light in the shot, you look at it on your camera's LCD.
It looks fine, so you pack up, go home, and download the images to your computer, where, to your dismay, the very photos that looked fine on your camera's LCD are now too bright or too dark.
It happens all too often, and that's because some photographers don't use the best tool at their disposal for determining the quality of the exposure - the histogram.
Though the LCD is convenient, it isn't an accurate representation of the actual brightness or darkness of the image. That's due in part to the fact that you can adjust the brightness of the LCD, which will give you a false impression of the exposure of the image.
A much better way to evaluate the exposure of your images is to use the camera's histogram, which you can learn how to do in the video above from PHLEARN.
Basically, a histogram is a graph that shows all the light values in the image, from pure black on the left to pure white on the right, with midtone grays represented in the middle.
The higher the peaks of the histogram, the more pixels there are with that particular light level. That means that if an image has a lot of very bright areas, the histogram will skew to the right; if there's a lot of dark areas, it will skew to the left.
But this isn't ideal from an exposure standpoint. Instead, you want a display that adheres to a normal curve, with a peak in the middle of the graph.
So, not only does the histogram give you much more accurate information about the light and dark values in your photos, but it also helps you understand exposure. With one look at the histogram, you can immediately see if the shot is overexposed or underexposed.
That, in turn, informs you of how to rectify the problem, like choosing a faster shutter speed to correct overexposure or choosing a larger aperture to correct underexposure.
Learn more about reading and using histograms.
Shoot Every Single Day
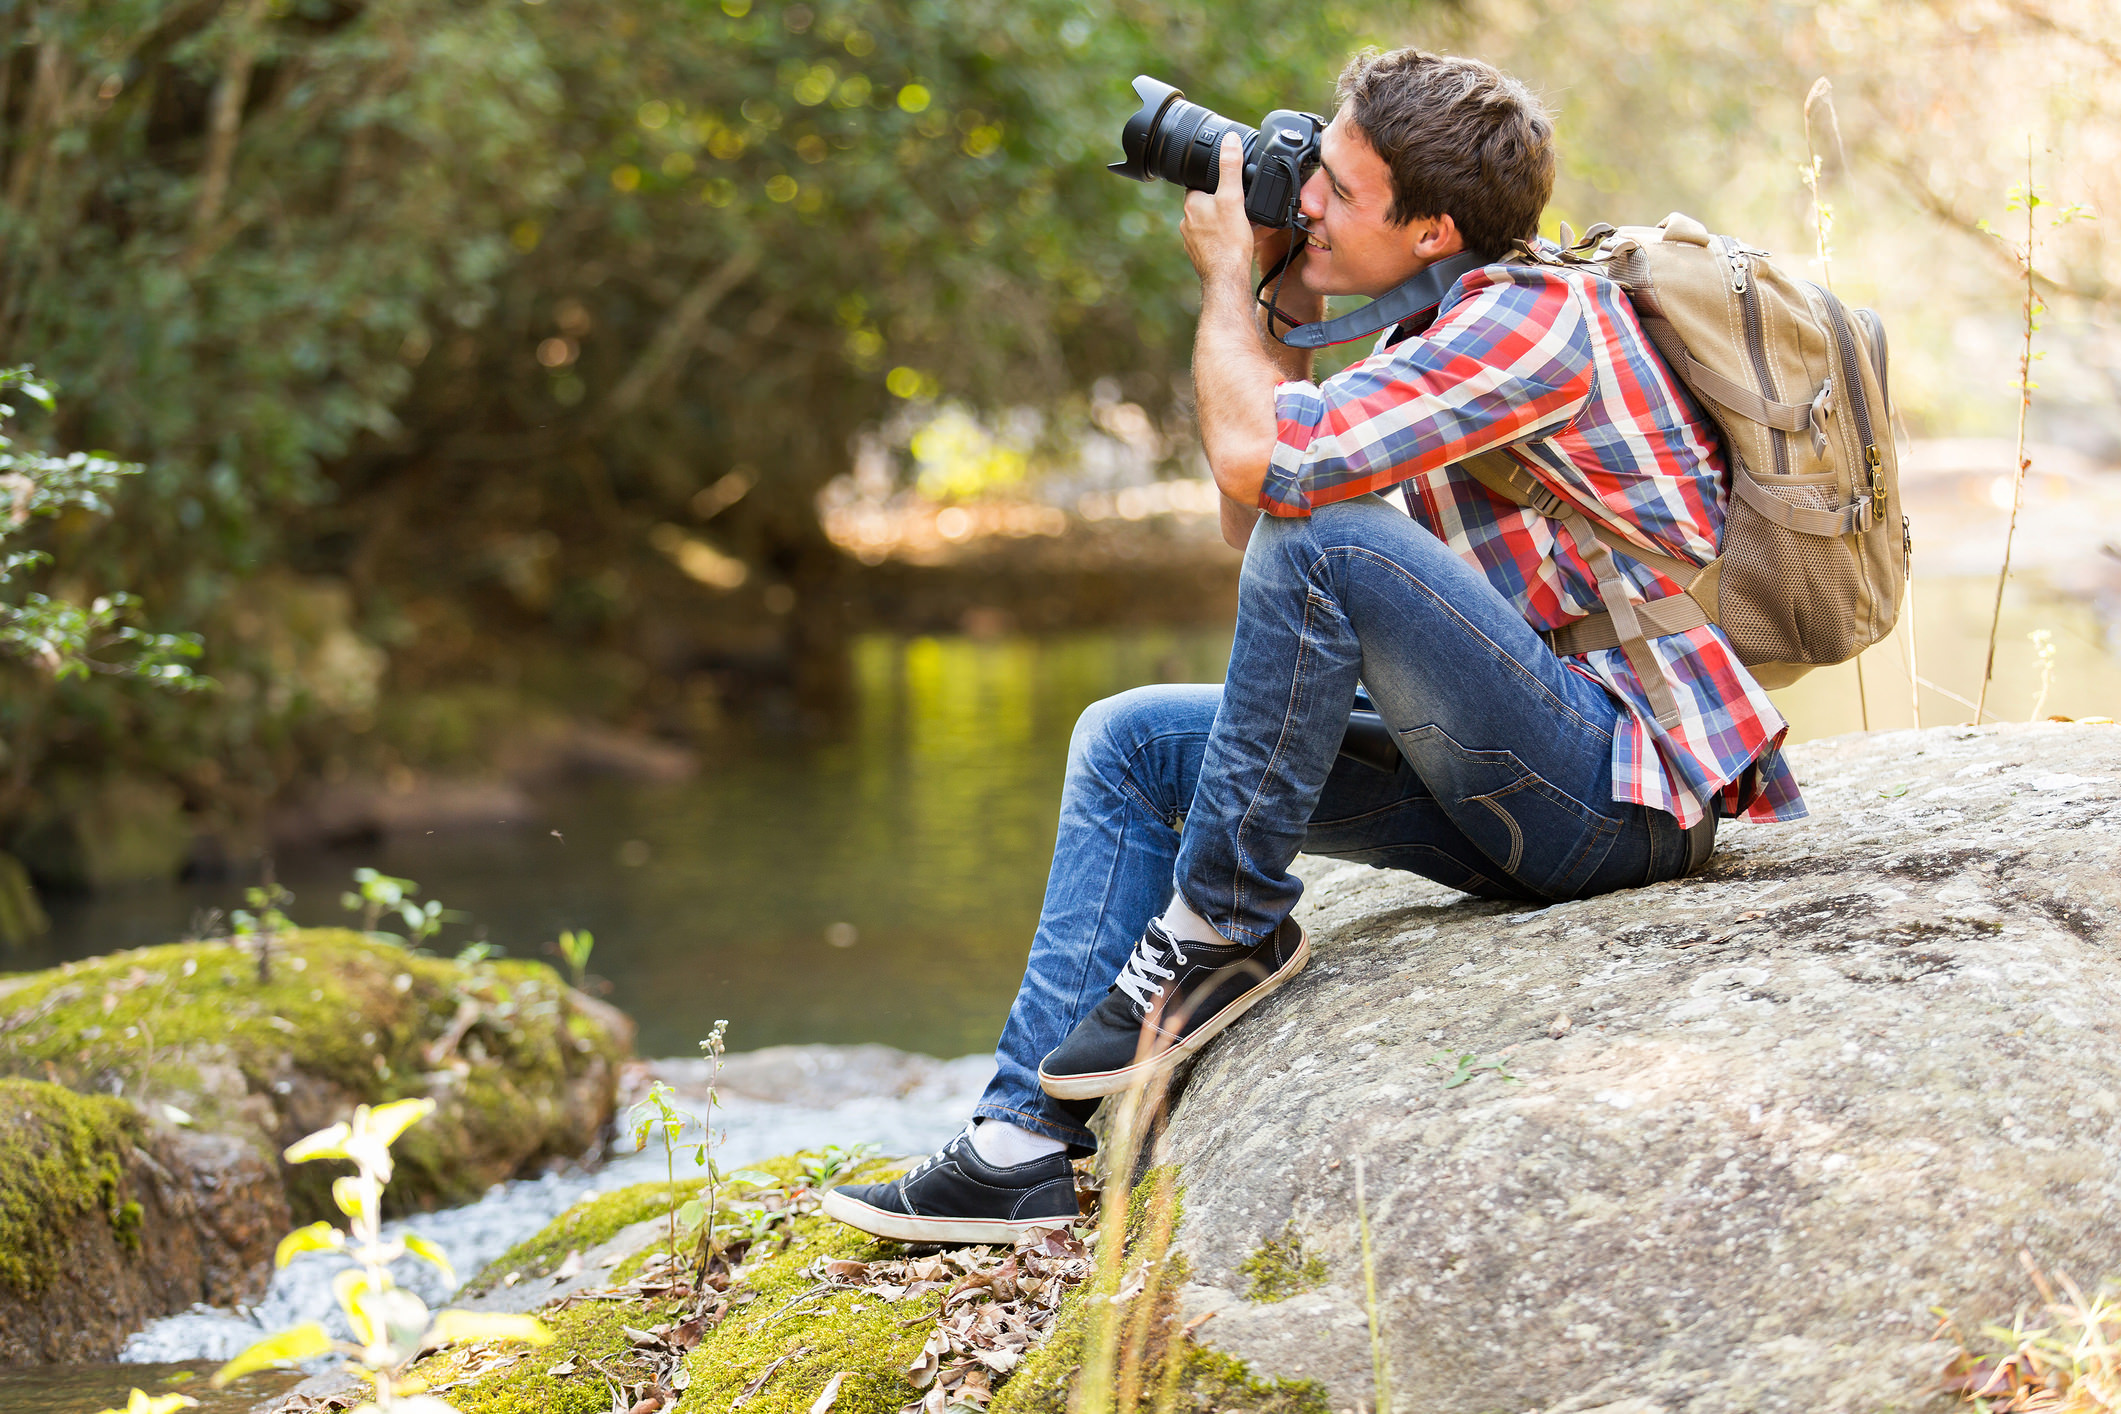
The simplest trick you can use to become a better photographer is to take photos every single day.
Now, this doesn't mean you need to do a full-on portrait shoot with models and light stands and umbrellas and so forth (although, how fun would that be?).
Instead, just challenge yourself to take 5, 10, or 20 photos - whatever you can muster - of scenes and people that you encounter over the course of the day.
This will help you in two distinct ways.
First, shooting every day helps you develop your creative eye. Try to shoot something different each day. Or, try shooting the same subject in a different way each day.
Find ways to be more unique. Search for ways to create unexpected results. Expand your horizons by trying different types of photography - macro, panoramas, black and white, and so on.

Second, shooting each day gives you a chance to consistently work with your gear, which will only help you learn how to use it for the best photos.
Being an everyday shooter means that you'll become adept at metering on your own, using the histogram, and becoming a pro with your prime lens, too.
But go beyond just shooting every day and find ways to get feedback on the images you create as well.
Whether that's tweeting your photos, posting them to Facebook or Instagram, or starting a Flickr account, putting your images on social media gives you a virtually endless audience to give you feedback on your photos.
If you want more thorough feedback, try uploading your images to places like the PhotographyTalk galleries or forums where other photographers can give you more technical feedback than a casual social media user can do.
The point is that as tired as the adage that "practice makes perfect" might be, it's still very true!
Committing yourself to doing these four tasks every day might seem like a lot of work, but in time, you'll see that all that hard work will pay dividends.
We Recommend
White Balance Explained for Beginner Photographers

White Balance Photography
If you're a beginner photographer that's looking for ways to take more control over how your images look, this article is for you.
White balance is a camera setting that, for most beginners, is determined by the camera.
In many cases, the auto white balance setting does a decent job of getting accurate colors in images, but it's not foolproof.
In fact, your camera doesn't even come close to having the same accuracy as your own two eyes when it comes to determining what colors should look like.
It's time to take more control over your photos and learn exactly what white balance is.
What is White Balance?
To answer this question, it must be addressed in two parts...
First, all light has color. Some light, like that when the sun is setting, is warm and golden. Other light, like that on a sunny day a noon, is cool and blue.
Artificial lighting also has color. Incandescent lights give off a yellow hue. Conversely, the light emitted by your camera's flash is cool with a bluish tone.
Our eyes seamlessly adapt to the varying colors of light. It's a process that we don't even realize is happening because it happens so fast.
In looking at the example above, you can immediately determine that the image has a "warm" tone to it.
Unfortunately, our cameras cannot replicate that feat. Sometimes they need us to tell them what kind of lighting is present.
That brings us to the second part of the answer to our question...
White balance is the process by which you balance the temperature of the colors in the images you take.
In other words, white balance corrects color casts that result from certain lighting situations.
In adjusting white balance, the goal is to have the color temperature such that white appears as neutral white. Note in the image above that the woman's dress is a bright white.
That's because the color is balanced. If it wasn't balanced, the dress might appear to have a color cast to it - blue or orange, for example.
How to Adjust White Balance?
There are essentially two ways of adjusting the white balance in your images - in-camera and in post-processing.
In-Camera White Balance: Using Presets

Because each camera is a little bit different from the next, to figure out how to adjust the white balance on your camera, you'll need to consult your camera's owner's manual.
Having said that, virtually all modern digital cameras have several white balance modes that you can use to correct for color irregularities:
- Auto White Balance (AWB) - AWB puts the camera in complete control of white balance. "Control" is a strong word, however, because it's really just the camera's best guess as to what the colors should look like. As lighting situations get more difficult, AWB becomes less reliable.
- Daylight/Sunny - Many cameras have a daylight or sunny preset that has a very subtle warming effect. If you find that the color of your images is ever so slightly on the blue side, try this setting.
- Cloudy - The cloudy white balance setting warms up images to compensate for the bluish tones that result from cloudy conditions. It is a stronger warming effect than the daylight/sunny setting.
- Shade - Lighting under shady conditions is even bluer than that under cloud cover. As a result, this setting adds more warmth to your photos than the cloudy preset.
- Flash - Because light from a flash tends to be on the cool or bluish side, the flash white balance setting warms up the light in your photos.
- Fluorescent - When shooting under cool fluorescent lighting, use this setting to warm up your shots.
- Tungsten - Tungsten light (incandescent light) is quite warm, so this setting counteracts that by cooling down the colors.
As noted above, accessing and changing the white balance to whichever of the above listed presets you want will depend on the type of camera you have.
Nonetheless, once you determine how to access the appropriate controls or menu functions, it's a simple matter of selecting the desired preset and letting the camera do its work. See how to use these presets in the video above by Professional Photography Tips.
In-Camera White Balance: Manual Adjustments
The presets outlined above do a good job of rendering accurate colors for the most part.
However, many cameras also give you the option of manually setting the white balance.
Though this is a more involved approach, it can also be much more accurate because you give the camera specific instructions regarding what white looks like.
That way, you avoid color casts because the camera has a reference point from which it can determine how all other colors look.
Though it might sound tricky, manually adjusting white balance involves a few simple steps:
- Using a gray card, place it in the same light under which you will be shooting your photo. For example, if you're taking a portrait, use the same lighting setup as you would use for the actual portrait when setting the white balance.
- Fill the frame with the 18 percent gray card. Check your camera's histogram to ensure that the largest area of pixels is in the middle of the graph. If you aren't sure how to do this, consult this in-depth guide on histograms.
- Use your camera's menu to find "preset manual" on a Nikon or "custom white balance" on a Canon camera. This will set the gray card as the reference point for white balance.
- Take the shot!
The more you use the manual white balance method, the more it will become second nature for you. In fact, you'll likely find that over time it's just as easy to manually set the white balance as it is to use the presets discussed earlier.
Learn more about setting custom white balance values in the video above by Gmax Studios.
White Balance in Post-Processing
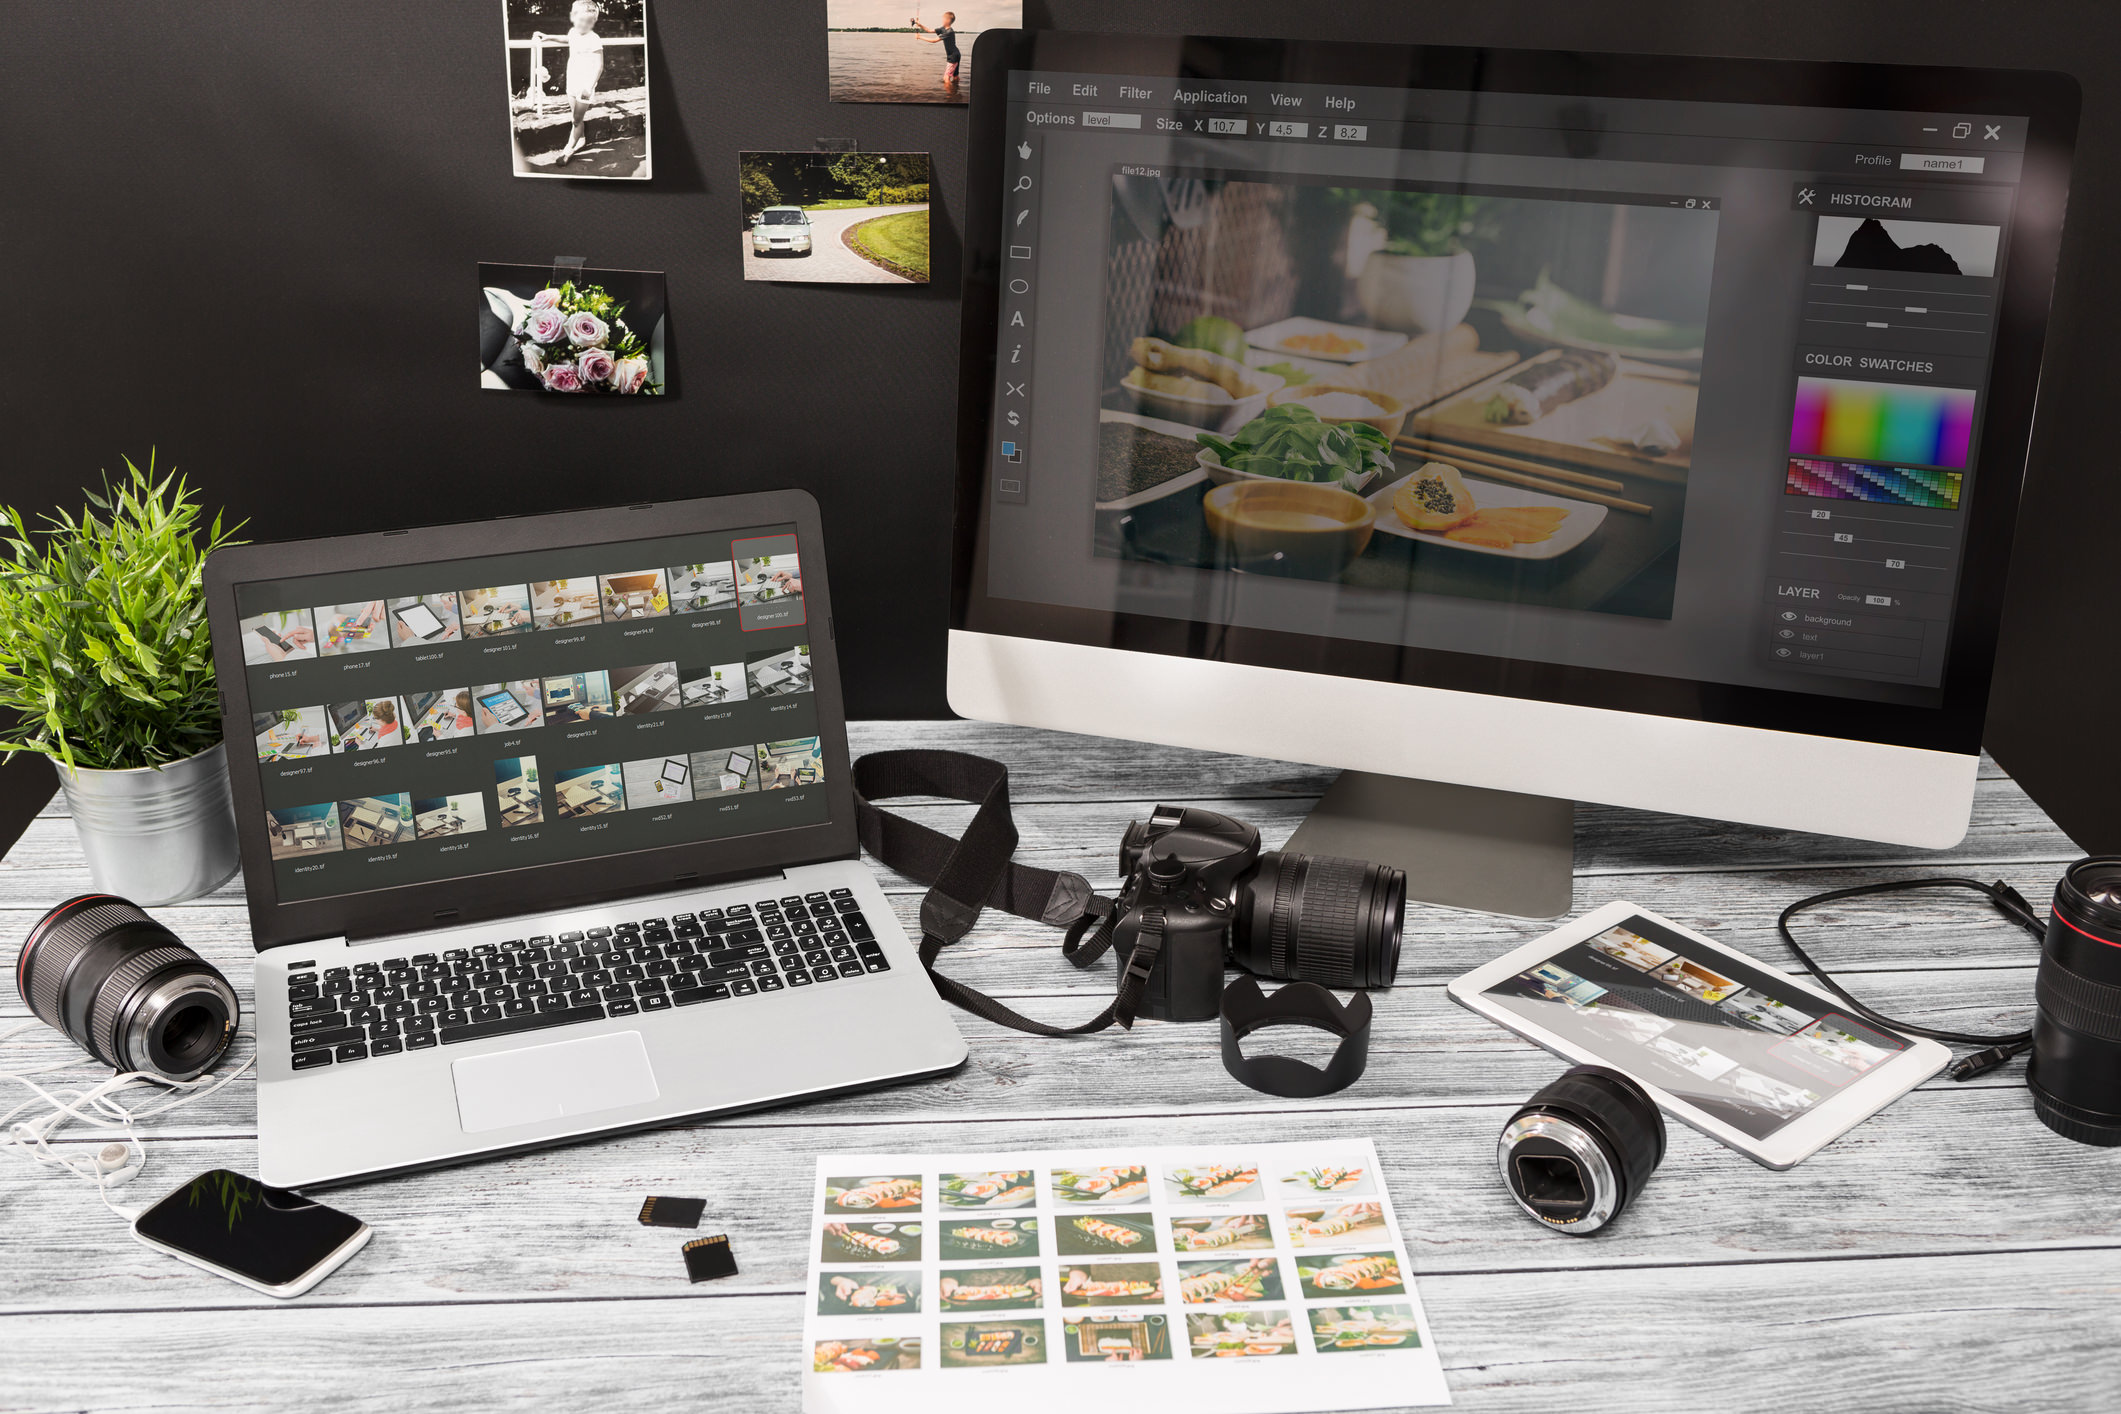
Another option for adjusting the white balance in your images is to take care of it in post-processing.
If you shoot in RAW (which you should...), the camera records all the data the sensor collects.
Then, in post-processing, you can access all that data to make finely-tuned adjustments to many aspects of the image, including white balance.
Programs like Photoshop and Lightroom give you a ton of editing power to make these adjustments as you see fit.
In fact, adjusting white balance in post-processing is often the best choice for beginner photographers because it removes the necessity of worrying about white balance from the process in the field.
By focusing on white balance after the fact, you can put your mental power towards other aspects of your images, such as composition, to get a better overall photo.
Check out the video above by Eyestocker to see how you can easily change the white balance using Photoshop CC, even if you didn't shoot the original image in RAW format.
We Recommend
Zoom With Your Feet or Zoom With Your Lens: Which is Better?
"Zoom with your feet" is a common phrase uttered by many photographers, myself included.
It's used to argue that though prime lenses (those with a fixed focal length like 50mm, 85mm, and so on) can't zoom, that you can still get a similar effect as a zoom lens by physically moving nearer or further away from a subject.
The problem is this: zooming with your feet and zooming with your lens don't produce the same results.
In other words, if you take two photos of the same subject, one that's zoomed in with a zoom lens and another that's zoomed in by zooming with your feet, there will be a noticeable difference in how the images look.
The question is, what are the differences in these results, and which method is better?
Jay P. Morgan of The Slanted Lens offers up a nice tutorial on this subject in the video above.
Have a look at the video, and for a detailed explanation of the topics he raises in the video, check the outline below!
Zooming With a Lens
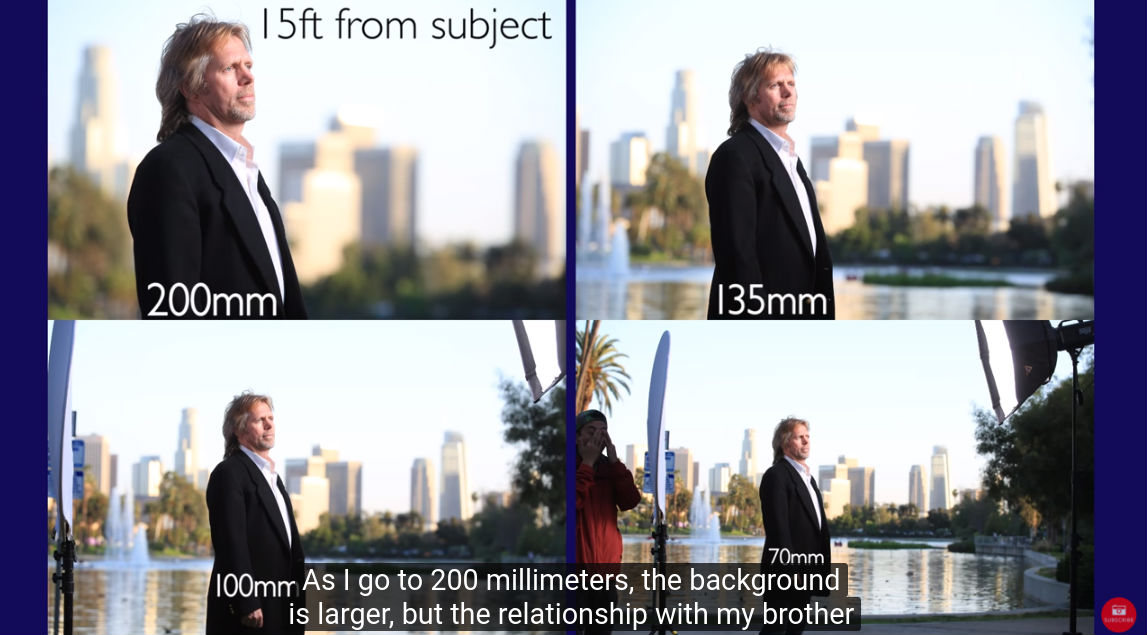
YouTube Screenshot/The Slanted Lens
One of the best advantages of shooting with a zoom lens is its versatility - in a single lens you can cover a variety of focal lengths and replace two, three, perhaps even four prime lenses with a single zoom.
In the screenshot above, you can see how Jay P. Morgan was able to take four photos at four different focal lengths, all with the same lens.

That fact alone is enough to draw people into the world of zoom lens ownership.
But something else that's useful is that when you utilize a zoom lens, no matter what focal length you're using, the relationship between the foreground and background remains the same.
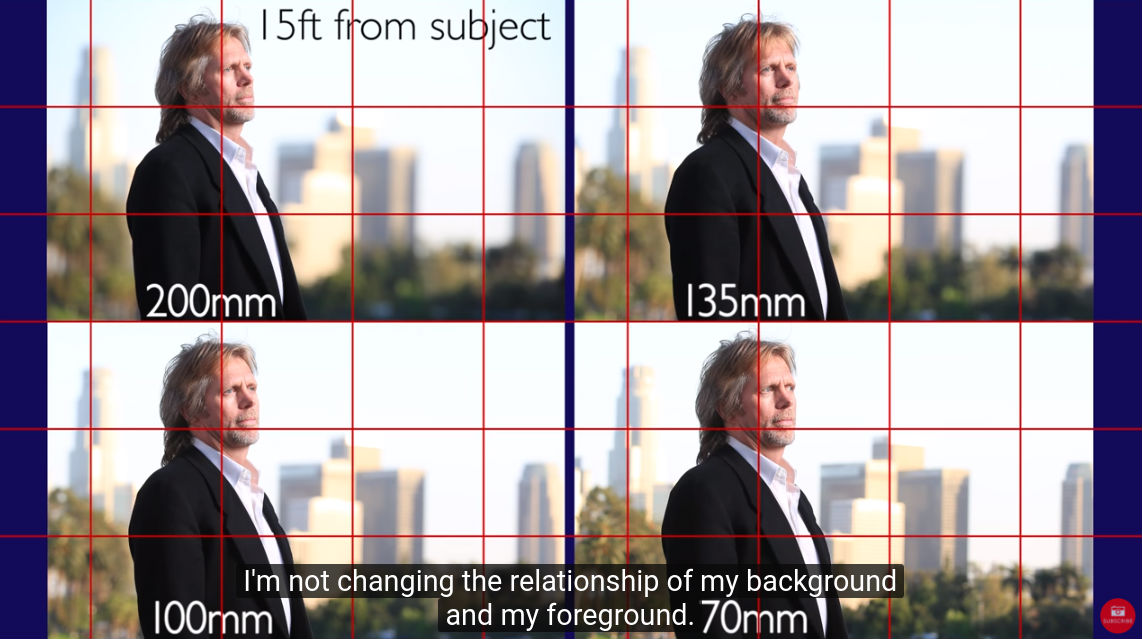
YouTube Screenshot/The Slanted Lens
Looking at the screenshot above, you can see this concept in action.
Notice how that even though the background got larger with each successive change in the focal length in the first screenshot, that the relationship between the man and the background remains the same in the second screenshot.
That's because with a zoom lens, you're just cropping the image with each change to a longer and longer focal length, and as a result, the visual relationship of the foreground and background are consistent from one shot to the next.
In other words, if you want a consistent look from frame to frame, use a zoom lens.
Learn More:
Zooming With Your Feet
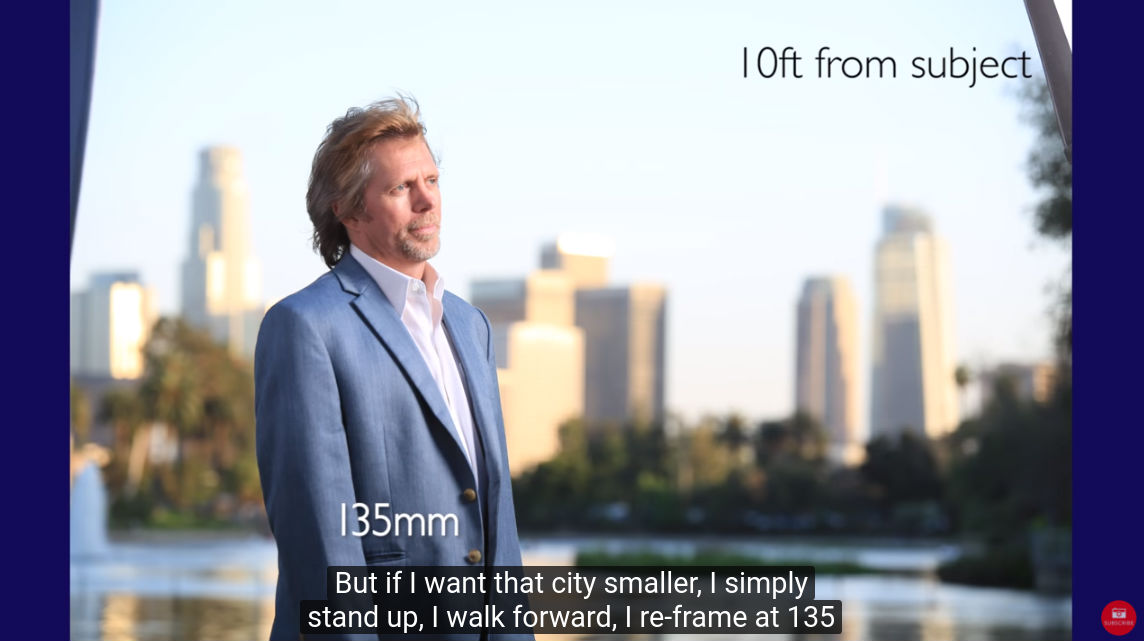
YouTube Screenshot/The Slanted Lens
The advantage of zooming with your feet is that you can change the perspective of the foreground to background.
That is, if you want the background elements to be larger or smaller, you have to move your feet to get that effect.
When using this technique, it's important to keep your subject the same size in the frame, though.
That means that when you're using a shorter focal length, you need to move closer to the subject, which makes him stay the same size, but the background appears further away, as seen in the screenshot above.
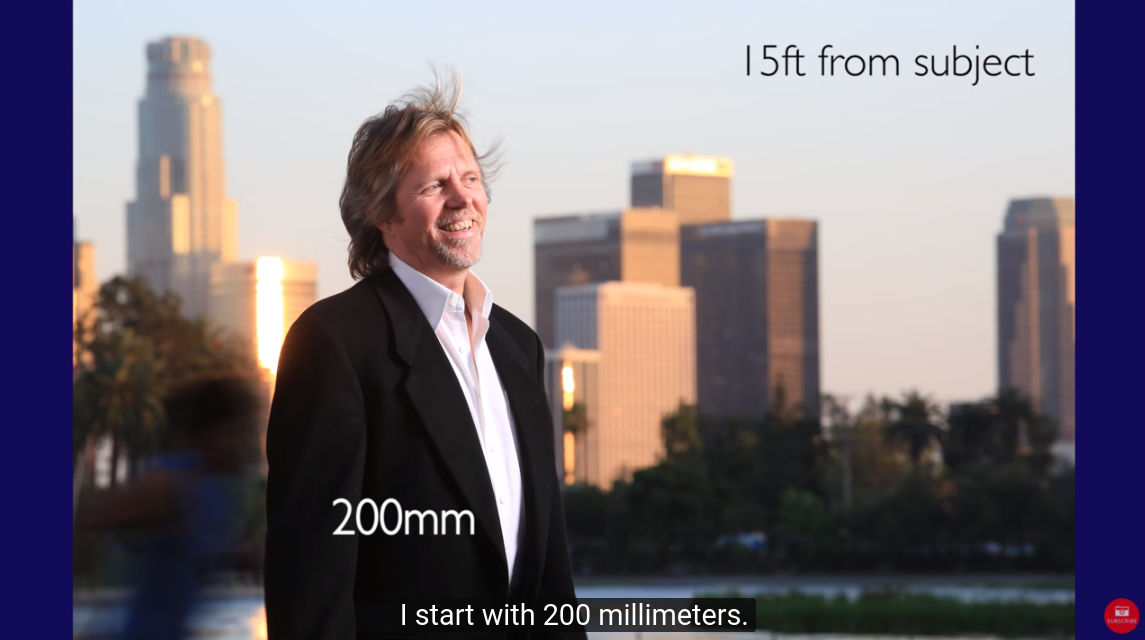
YouTube Screenshot/The Slanted Lens
Conversely, as you move further back from the subject and use a longer focal length lens, again, you can keep him the same size in the shot, but the background appears to come in.
Note the difference in the appearance of the background from the first screenshot and the one immediately above.
It's quite a difference, isn't it?
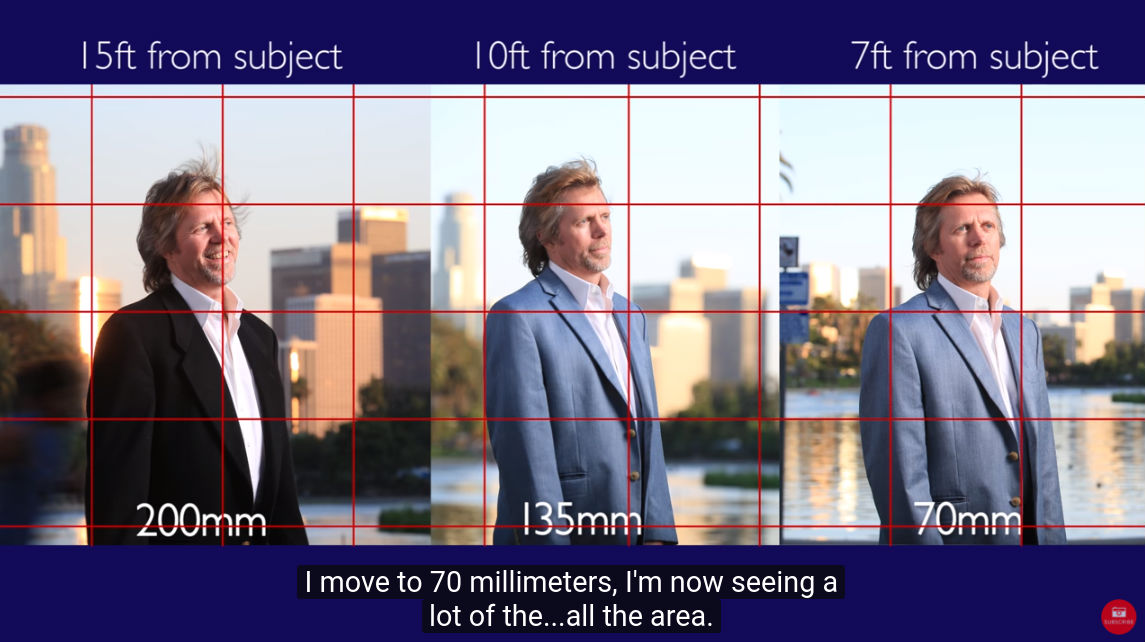
YouTube Screenshot/The Slanted Lens
In this screenshot, you can see even more of a difference between the three focal lengths that were used.
But also notice the difference in the distance from the camera to the subject - as the focal length decreases, so too does the distance to the subject.

This is an important detail to remember because if there's something in the background that you want to eliminate, you need to move further back from the subject and use a longer focal length lens to draw the background closer.
On the other hand, if you want there to be the appearance that the background is much further away, zoom with your feet, get closer to the subject, and use a wider focal length lens.
Of course, this concept also works by moving your subject, too!
Learn More:
Wrapping It Up

So, there you have it.
A quick and easy explanation of what "zooming with your feet" actually means and the difference between that and zooming with your lens.
Remember - if you want to maintain consistency from frame to frame, use a zoom lens.
However, if you want to change how your subject looks relative to the background, zoom with your feet and change your focal length.
Time to put this trick into action - good luck!