4 Reasons to Use a Mirrorless Camera for Landscape Photography
Photo by Sharosh Rajasekher on Unsplash
The DSLR to mirrorless transition has been slow, and at times, painful. There has been considerable pushback amongst many photography circles against the mirrorless revolution.
But, as with many technological advances, there are benefits to mirrorless cameras. And, since I enjoy landscape photography so much, I think everyone should use a mirrorless camera for landscape photography at least once.
They are lighter, which is the biggest bonus considering you often need to trek miles through the middle of nowhere with an incredibly heavy pack for landscape photography. But, I think you may be surprised to find all of the benefits mirrorless cameras come with.
Mirrorless Cameras Are More Portable

Photo by Edward Virvel on Unsplash
This is the most obvious benefit of using a mirrorless camera for landscape photography. They are easily dragged around everywhere with you due to their size.
They are much smaller than traditional DSLRs, but they are also usually substantially lighter, which is my favorite characteristic.
Plus, when a camera is portable it is usually also versatile. Mountain climbing and only have one moment to snap a quick pick off the side of a cliff? A mirrorless camera is your answer.

photo bySolovyova via iStock
And as time goes by, mirrorless cameras are getting more and more incredible features. One only needs to look at rigs like the Sony a7R IV and the upcoming Canon EOS R5 to see why.
But it isn’t just high-end mirrorless cameras that have tons of capabilities.
The Sony a6000 - which is six years old - is a fantastic entry-level camera to take with you on your travels in the great outdoors.
Recommended Landscape Photography Books:
- The Landscape Photography Book: The Step-by-Step Techniques You Need to Capture Breathtaking Landscape Photos Like the Pros
- National Geographic Greatest Landscapes: Stunning Photographs That Inspire and Astonish
- The Art, Science, and Craft of Great Landscape Photography
Use the Electronic Viewfinder to Your Advantage
First off, for those of you who don’t know the difference between an EVF, or electronic viewfinder, and an OVF, or optical viewfinder, then Jared Polin has you covered.
But, basically, an EVF is available on mirrorless cameras while an OVF is on most DSLRs.
A lot of photographers refused to shoot with mirrorless cameras for a long time because they liked OVFs, but that all changed with the advent of the EVF.
The Fuji Guys Channelcovers some of the benefits that came with the first EVFs.
But, the biggest advantage of an electronic viewfinder is that you can see the photograph exactly how it will be taken. You can also see a wealth of information about the scene and the photo right there in the viewfinder.
I almost always use my mirrorless camera for landscape photography for this exact reason. Whereas I can see the photo I’m going to take in Live View with my DSLR, the sun is often too bright for me to be able to use my screen, which is where my EVF comes in handy.
Learn More:
Mirrorless Cameras Have Smaller Lenses and Accessories
While this video by Sony is really just dissecting the differences between DSLRs and mirrorless cameras, it also showcases just how much smaller a mirrorless camera is.
And it doesn’t stop there. Mirrorless cameras themselves are more portable, but so are all of their accessories.
Landscape photography gear needs to be as light as possible, especially when you’re trekking miles to get the perfect shot. You’ll need room in your pack for food, water and a first aid kit, so the lighter your equipment is, the better.
photo by Momolelouch via iStock
Many mirrorless lenses are lighter with a smaller form factor than their DSLR counterparts (unless you’re carrying certain RF lenses from Canon…).
And sure, a few years ago you could complain that there weren’t as many options for mirrorless lenses and accessories, but that is no longer the case in 2020.
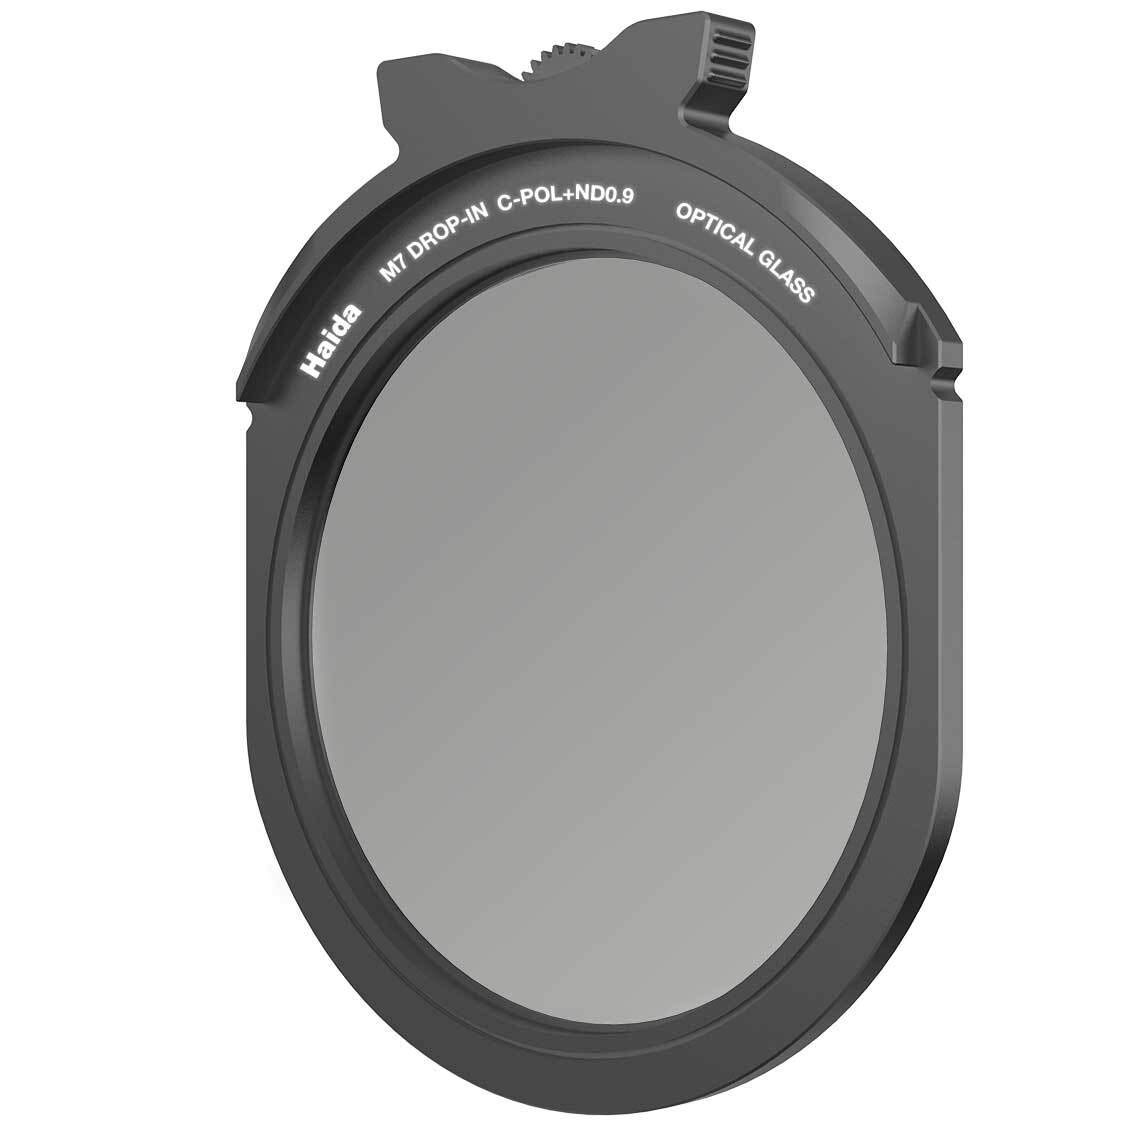
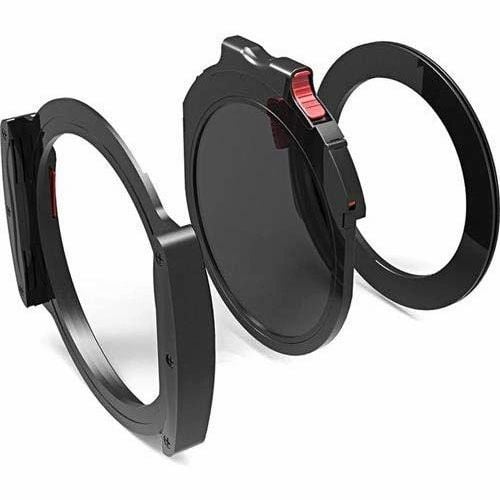
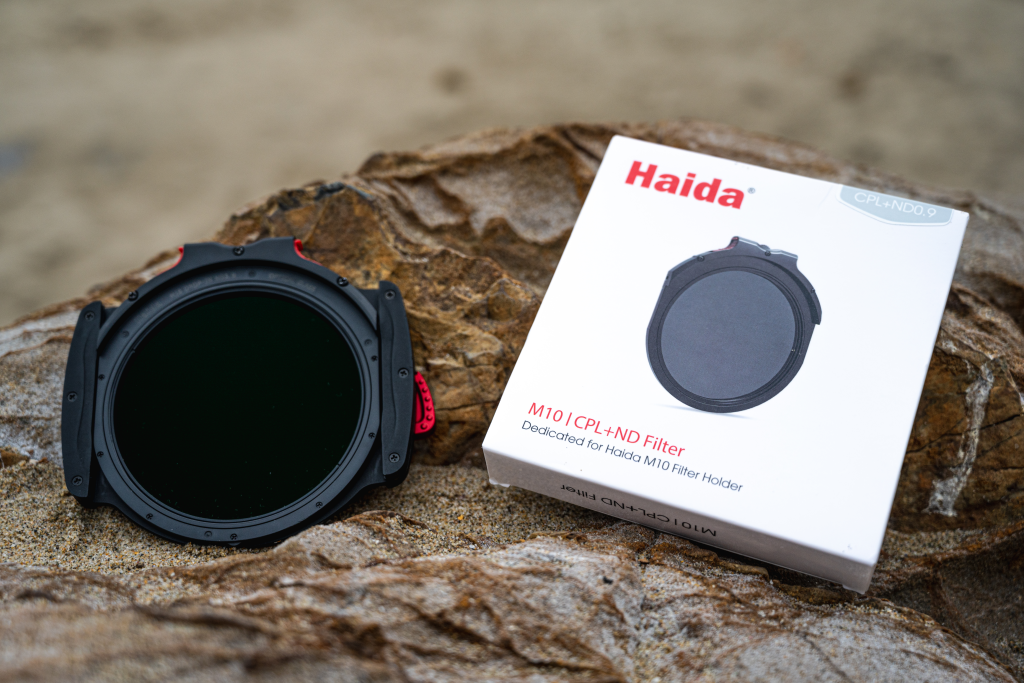
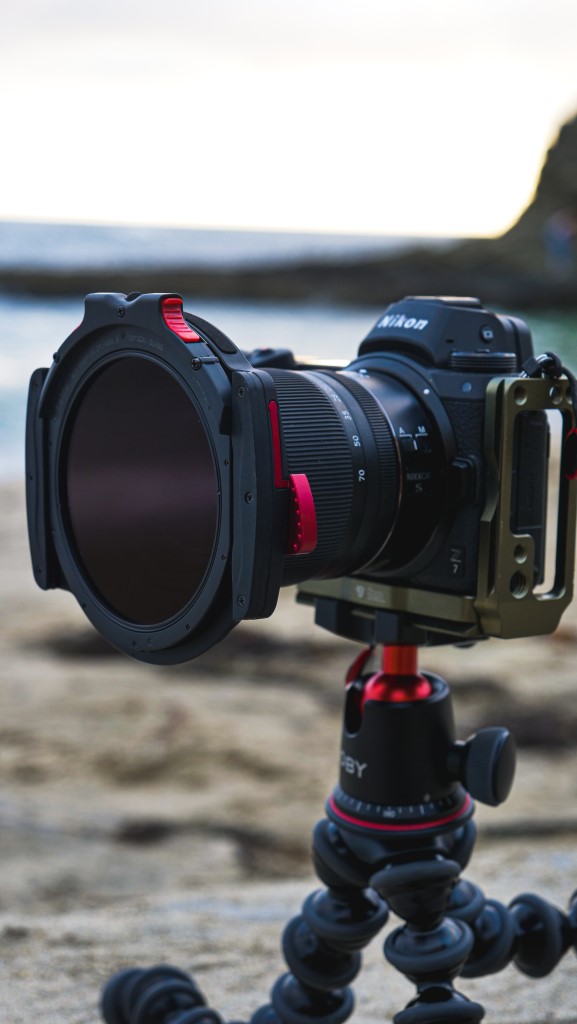
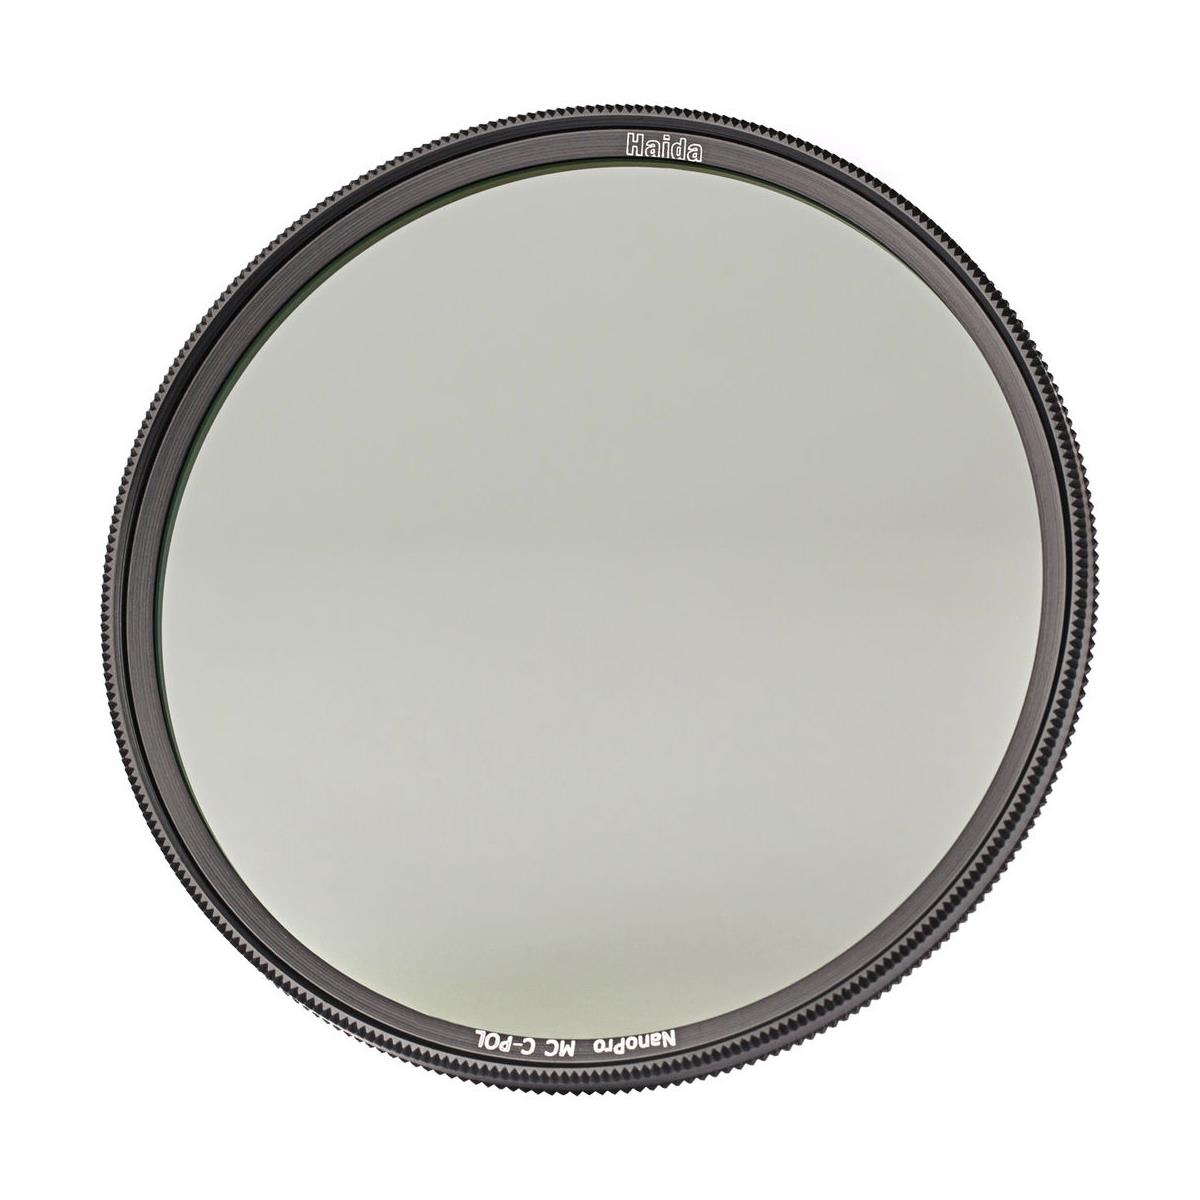
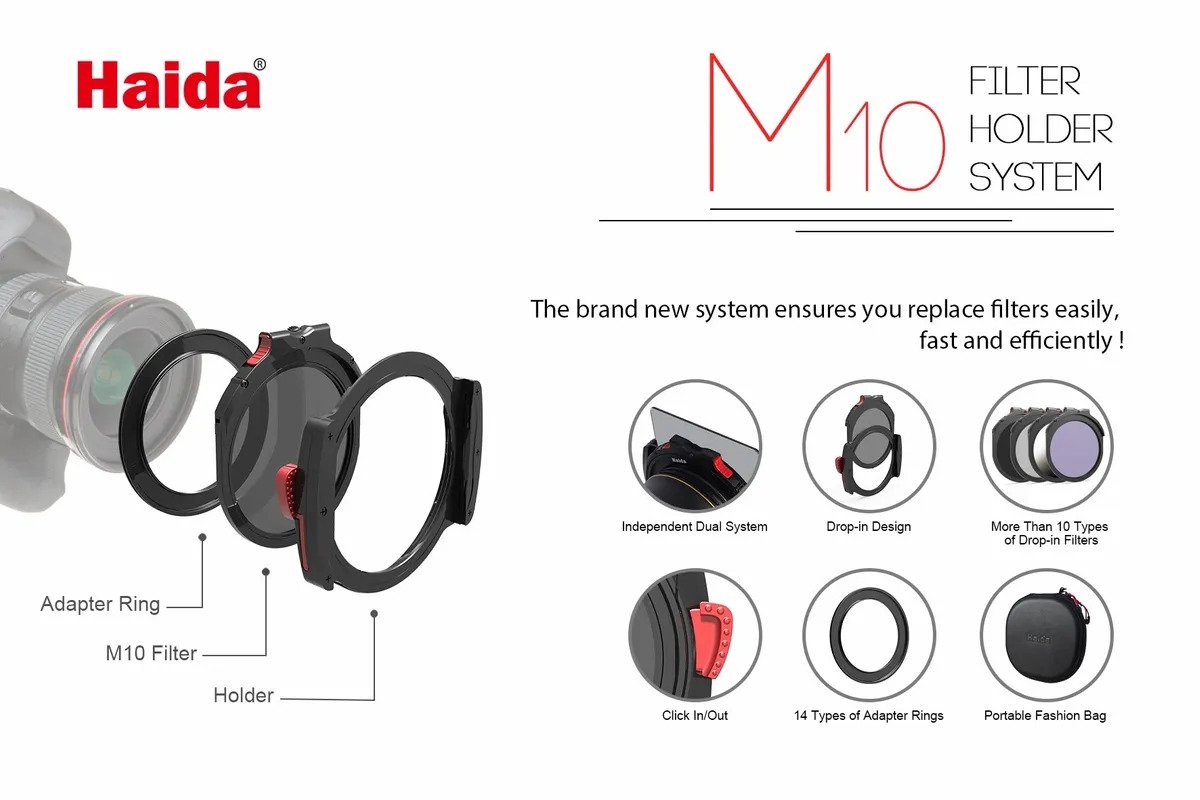
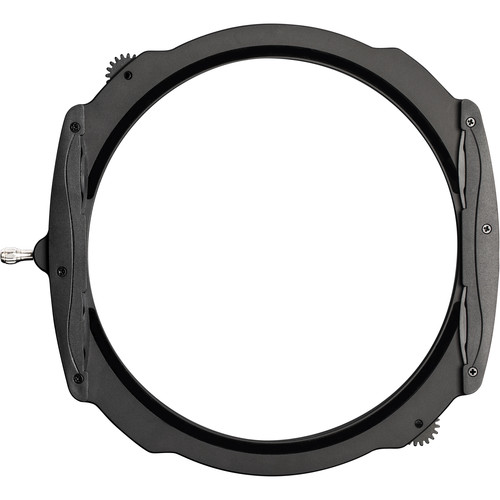
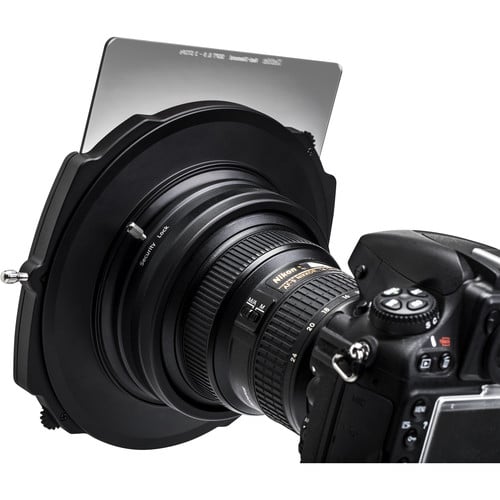
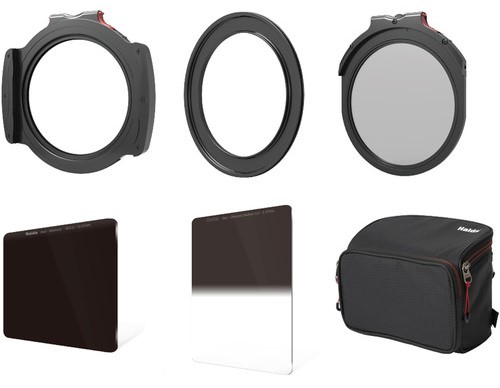
A prime example of this is Haida's M7 filter holder system.
This lightweight filter system is ideal for landscape photography because it is perfectly sized for mirrorless lenses.
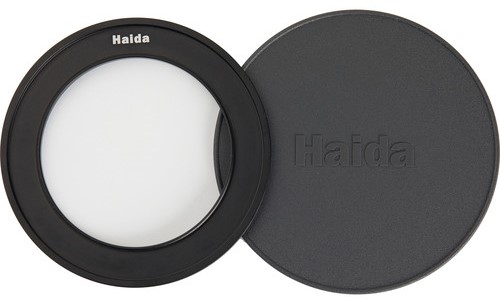
The aluminum holder can be used with 75mm rectangular filters as well as a variety of round drop-in filters, like the Haida 3-stop circular polarizer/ND filter shown above.
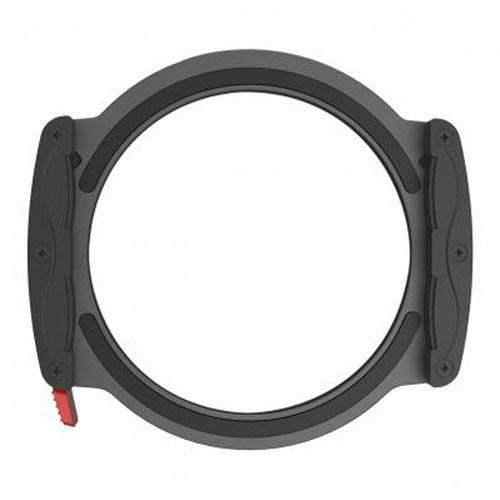
The filter holder itself is made of lightweight aviation-grade aluminum to help reduce the weight you have to carry as you seek out the best shots.
It has a new quick-release design that enables faster filter operation and installation, that way you don't miss critical shots.
The separately available round circular polarizer for the Haida M7 filter holder can be clipped into the holder, which means there is no need to screw the filter in place. Again, this allows for much faster setup times.
The M7 filter system is well made, durable, and easy to use - just what you need for landscape photography!
You Can Easily Protect Your Mirrorless Camera in Adverse Weather

Aside from portability, this is easily the best part about using a mirrorless camera for landscape photography. Since they are smaller, they are easier to keep out of a thunderstorm.
My favorite accessory for keeping my mirrorless camera away from sleet, hail, rain and dust is the mini Camera Canopy, which is a huge step up from a gross plastic bag.
Unlike using a camera rain cover that restricts your access to the camera’s controls (and viewfinder, for that matter), the Camera Canopy shields the camera and lens from above. This means you have unfettered access to the camera controls.

The Camera Canopy saves your mirrorless camera from damage for just $59.99 and is incredibly easy to use because you just need to mount it onto your hotshoe.
If you’re going to be doing landscape photography anytime in the near future, you need to have a backup plan for protecting your camera in bad weather, and the Camera Canopy is it.
Learn More:
We Recommend
5 Gadgets to Upgrade Your Mirrorless Camera
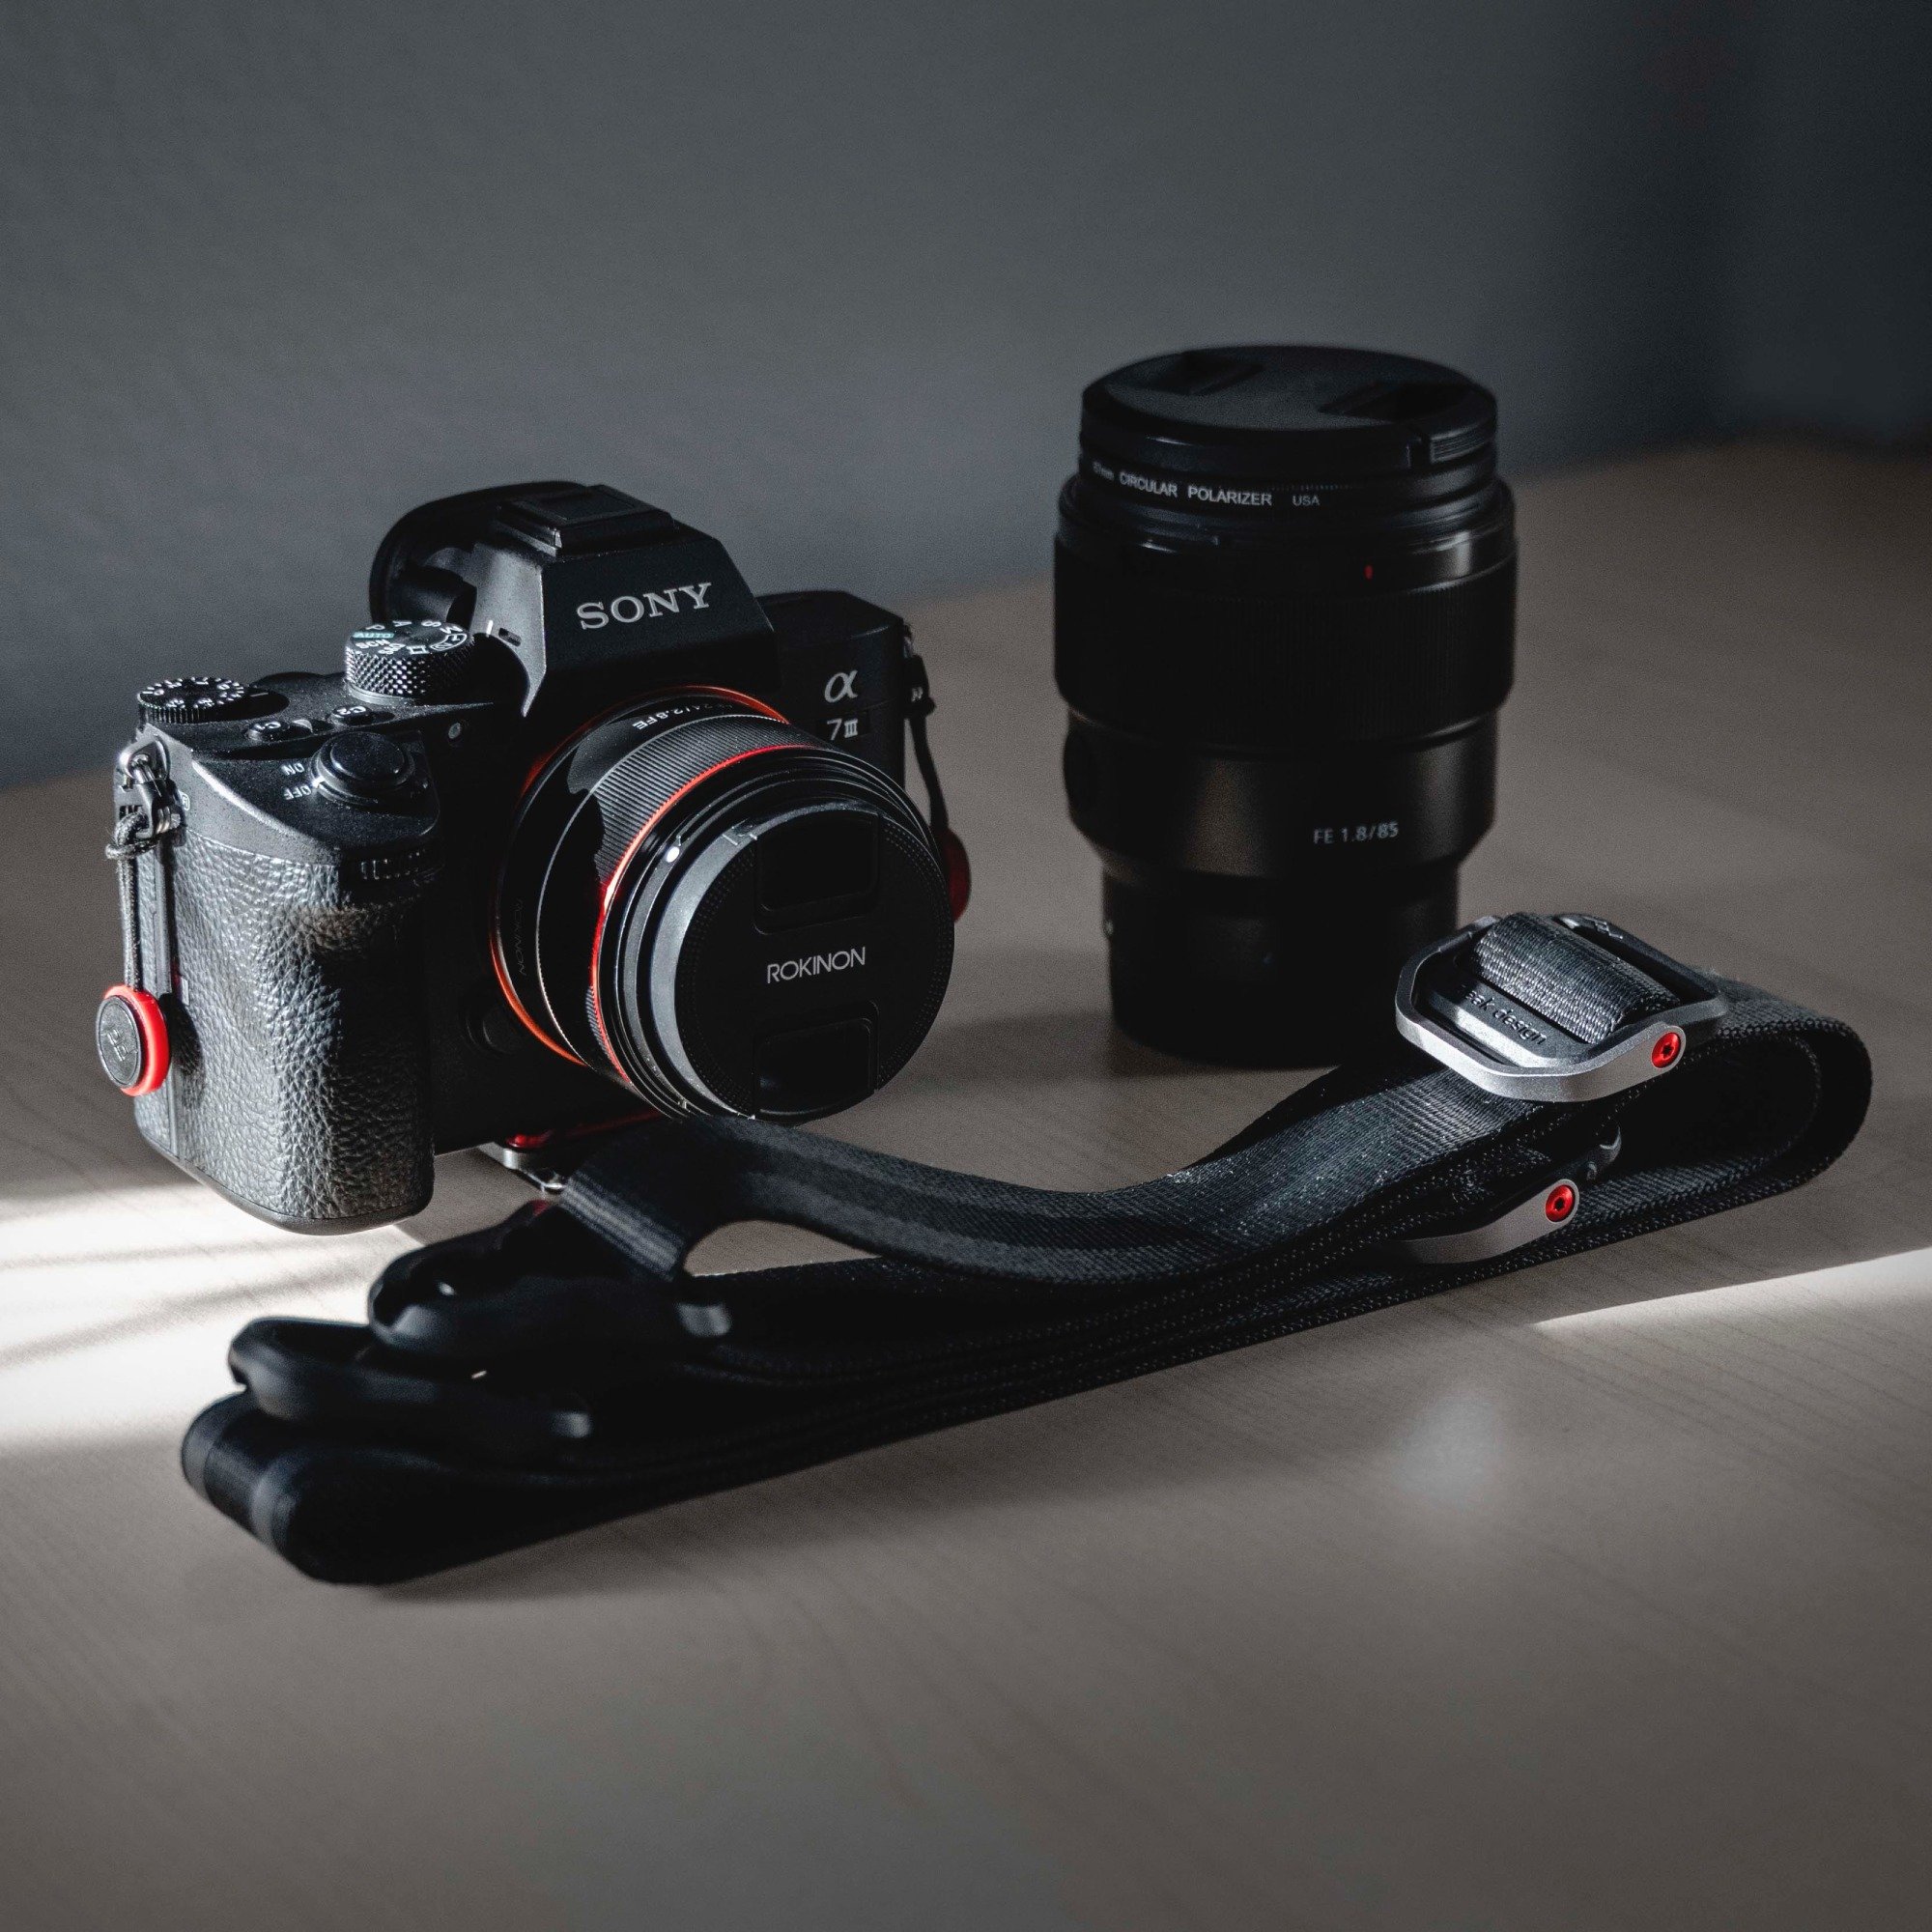
Photo by Michael Soledad on Unsplash
Your mirrorless camera is an incredible photography and videography tool. The capabilities of many of the current mirrorless cameras seem virtually boundless. In reality, though, they can’t do it all, not by themselves anyways. Adding some basic accessories can unlock more or your new camera’s potential.
There are several formats of mirrorless cameras: MFT, such as cameras from Olympus, Panasonic, and Blackmagic. APS-C, with cameras from Fujifilm, Nikon, Sony, Canon, and others. Full-Frame, including Panasonic, Leica, Nikon, Sony, Canon, and Sigma. And several medium format sizes from Fujifilm, Hasselblad, and others.
These accessories will fit and function on most of the mirrorless cameras. They will also fit, function, and enhance your DSLRs, too. Here are my top five picks for gadgets to upgrade your mirrorless camera.
Table of Contents:
- A Small But Mighty Filter Set
- A Top-Shelf Gimbal for Video Work
- A Next-Generation Camera Cover
- A Durable (and Budget-Friendly) Camera Strap
- A Pocket-Sized LED Light
- Mirrorless Camera Upgrades Equal Upgraded Use
A Small But Mighty Filter Set

The Haida M7 Filter Holder and Drop-In CPL filter is first on the list.
The Haida M7 filter system is an excellent way to have high-quality filters of several types to use on all of your different lenses regardless of the filter diameter of each lens.
A kit would include the holder itself, whatever filters you choose such as a circular polarizer (CPL) and neutral density (ND) or graduated neutral density (GND), and the lens adapters for each size needed.
Instead of buying separate screw-in filters of each type for each lens size, you can get just one each of these high-quality filters and use them on each lens.

A circular polarizer is one of the most useful items in our gear for improving our photos. Polarizers remove reflections from water, glass, plant leaves, and water vapor and dust in the sky. This results in darker skies with good contrast between sky and clouds, and it gives great color saturation and detail in landscape scenes with lots of foliage or water in the view.
There are many reasons for using Haida ND and GND filters, too. Anytime you need to reduce the exposure value of a scene or balance the light and dark areas of a scene with a huge dynamic range, a neutral density filter will come in very handy.
Learn More:
A Top-Shelf Gimbal for Video Work
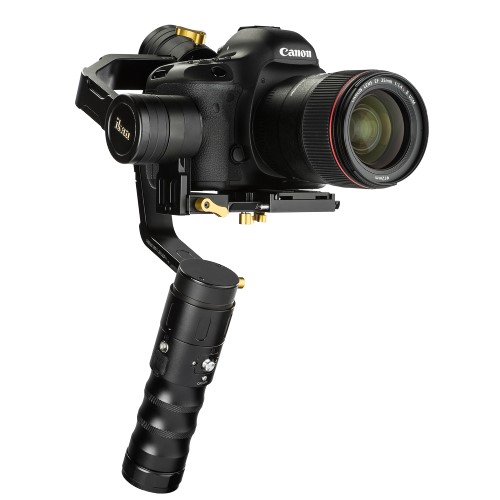
Ikan EC1 Beholder 3-Axis Gimbal is our next item. Our new mirrorless camera likely has a superb video mode, the only thing holding us back from truly outstanding video is probably our technique.
High up on our technique concerns is camera stability. When shooting video, unnecessary camera movement during scenes can lower the appeal of our finished video. There’s not much you can do to fix that after shooting either, getting in right while filming is the best procedure.
While you likely already have a good video tripod, it’s when trying to film handheld that the issue is of greatest concern. One of the best options available for filmmakers is a gimbal stabilizer.
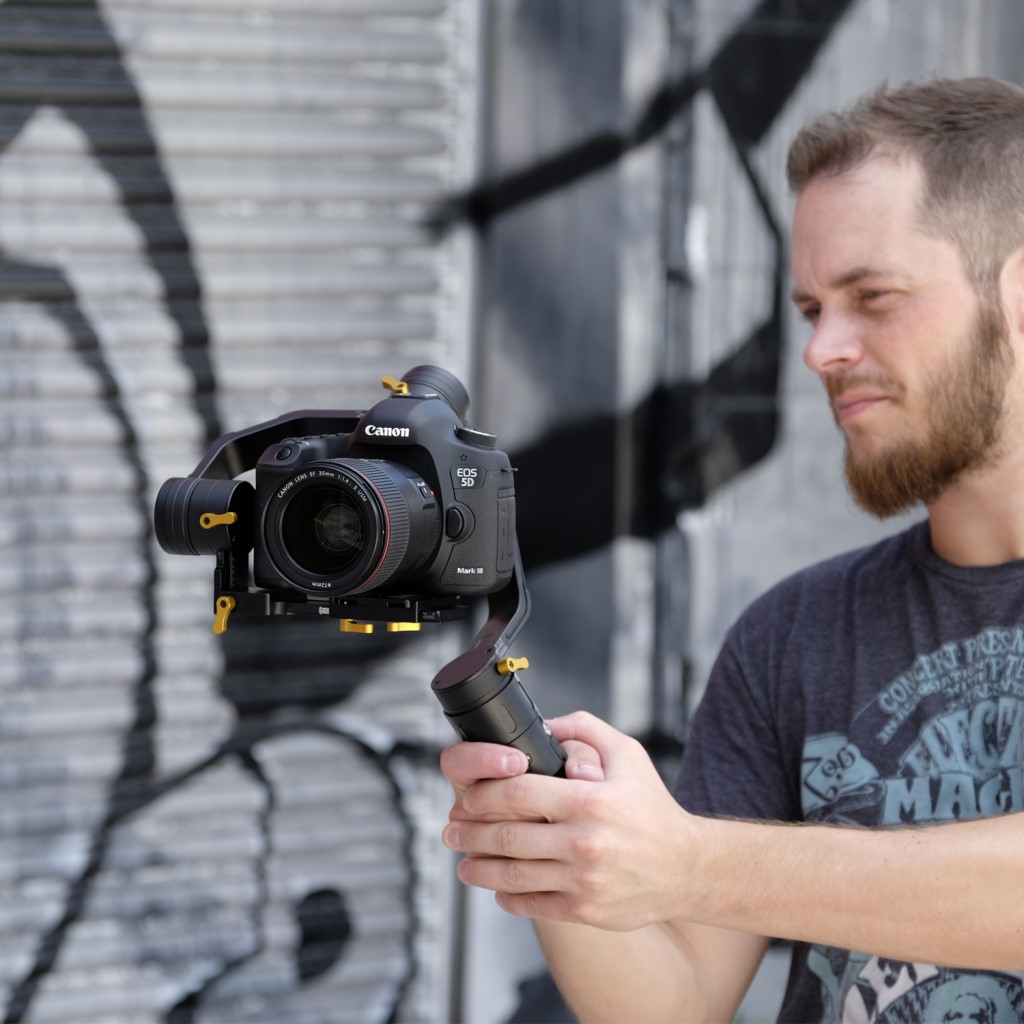
Ikan’s EC1 is a powered 3-axis gyro stabilizer that can hold a camera rig weighing up to 4.5 pounds. Much better than the friction type inexpensive stabilizers, the next step up from this gimbal is a SteadyCam type of stabilizer which costs more than my wife’s car.
The difference in using this gimbal than not is apparent right from the very start. Your videos will be so much smoother than simply holding it by hand could ever be. The cost is a bit more than you might have expected for a good-quality video tripod, but the payback is huge in terms of freedom of movement capturing usable footage.
Recommended Videography Reading:
- How to Shoot Video That Doesn't Suck: Advice to Make Any Amateur Look Like a Pro
- The DSLR Filmmaker's Handbook: Real-World Production Techniques
A Next-Generation Camera Cover
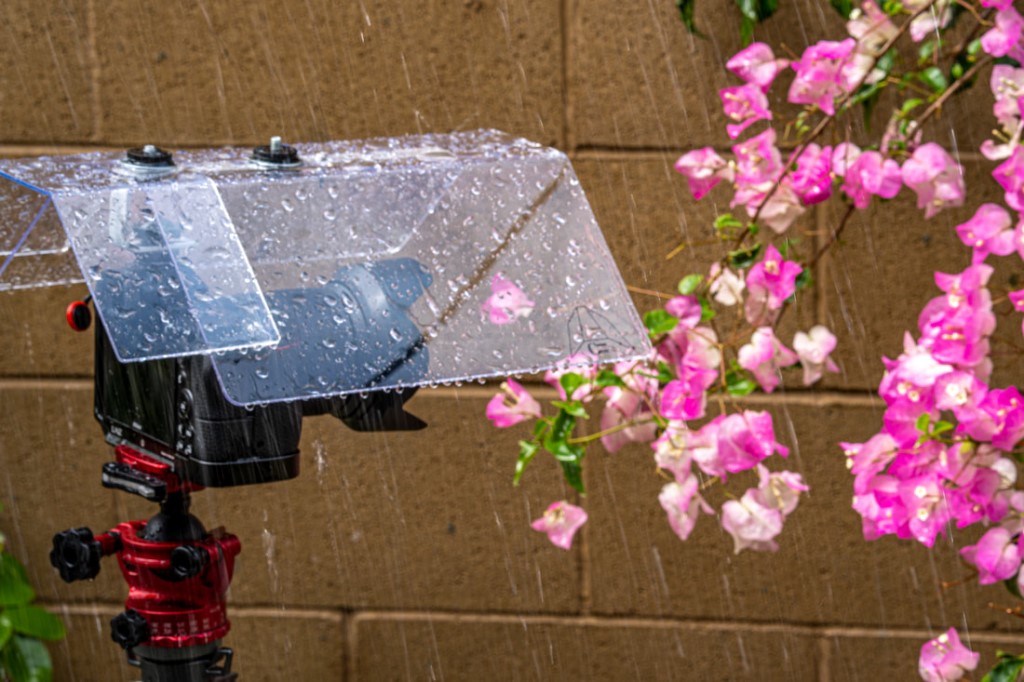
Camera Canopy for mirrorless cameras is such a fantastic idea, I wonder why I didn’t invent it myself! Traditional rain covers can be a little bit fiddly to work with. What makes this rain cover so good is that it isn’t a big plastic bag you stuff the camera in. It’s more like an umbrella for your camera.
Since your camera is not stuffed in a bag, you actually have clear access to all the regular controls, even a clear view of the viewscreen. My camera is water resistant, for the most part, but I’m still not comfortable with holding it under a running faucet, which is what rainstorms around here can be like.

But for a typical downpour type of rain, this canopy works great!
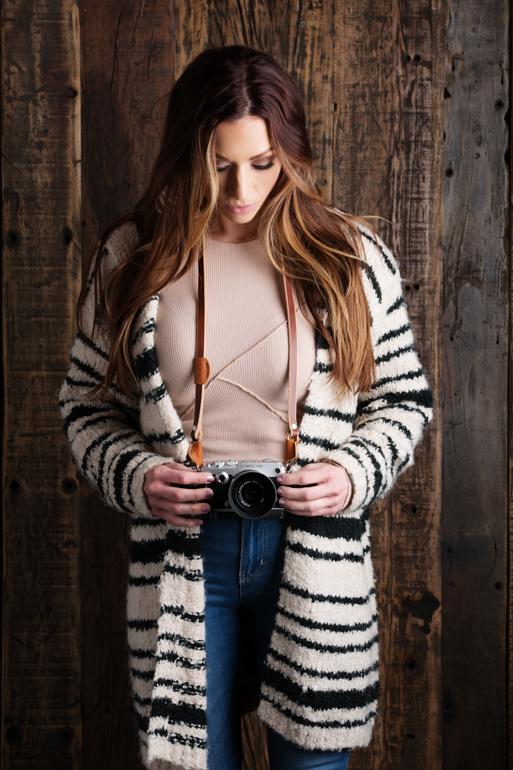
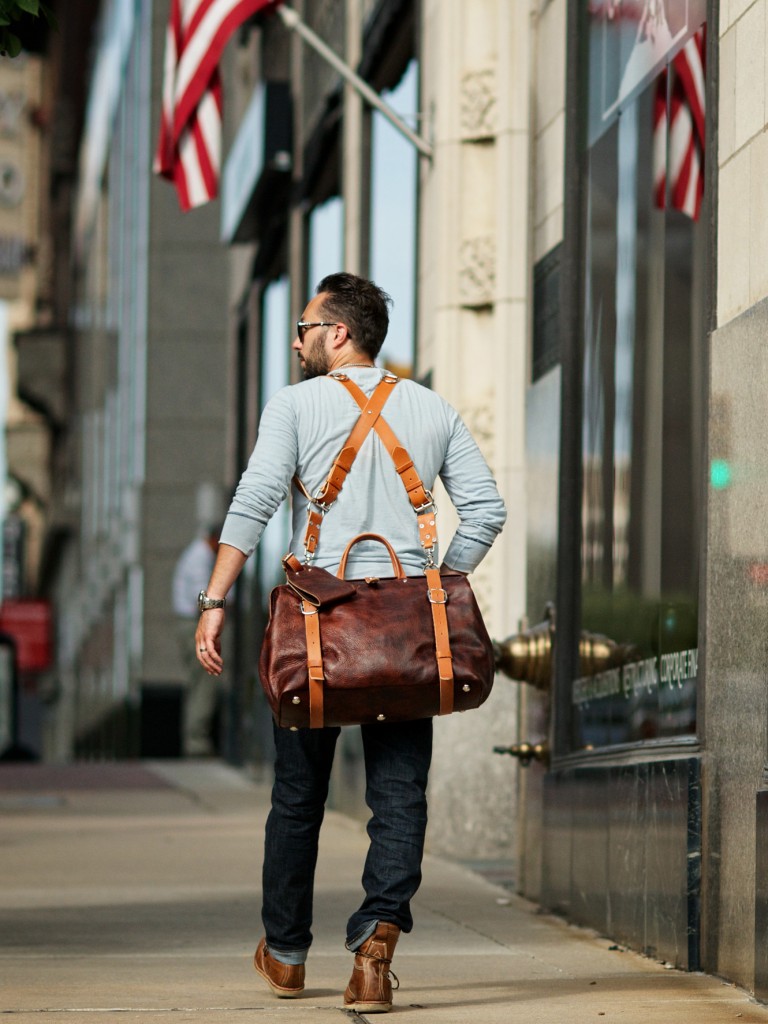
A Durable (and Budget-Friendly) Camera Strap
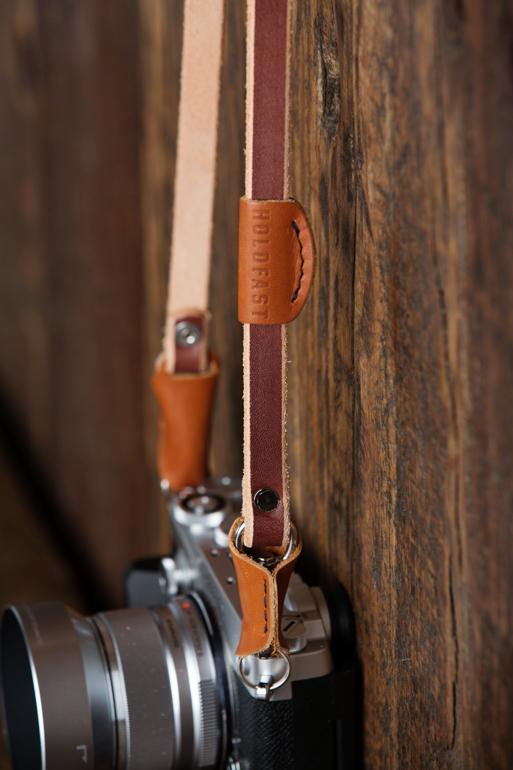
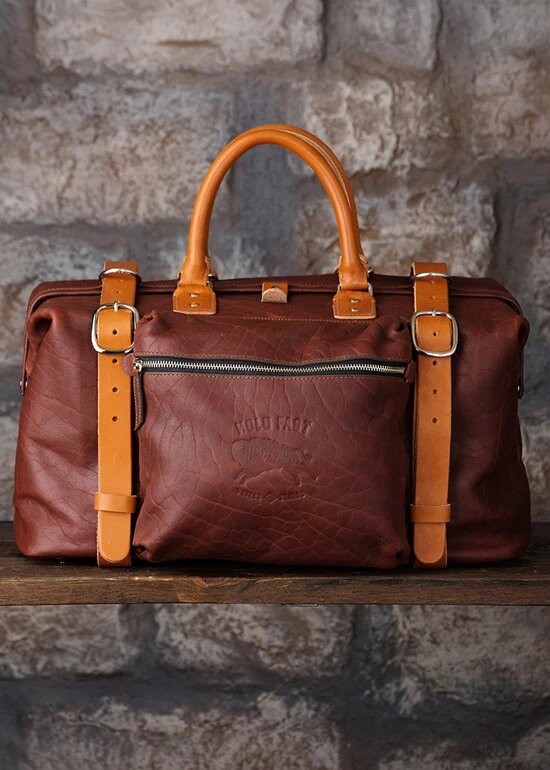
The Holdfast HF Classic Strapis one pretty strap. It comes in two widths - a wide width that distributes the weight better and a slim width that some find more fashionable.
One of the nice features of these straps is a leather shroud that fits over the stainless steel clasp. This keeps the metal away from your camera body while also adding an extra layer of security concerning the quick release.
Holdfast also makes a sling strap and a series of classic style camera bags. Most of their bags and straps are made from full-grain leather, some are made from synthetic material, depending on intended usage and style choices.
Whatever accessories you choose to buy from Holdfast, you’ll get a premium product that was hand-made in the U.S.A. And when you shoot with a small mirrorless camera, one of their hand-made HF Classic Straps is a must!
A Pocket-Sized LED Light
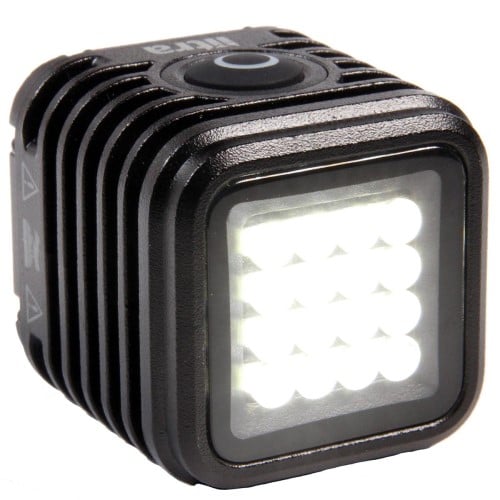
The LitraTorch 2.0is a compact, battery-powered continuous LED light that is necessary for video recording since the built-in flash on your camera is not useful for video, only for still imaging.
The charge can last up to 7 hours in low power mode, about a couple of hours on high. It recharges via a USB cable. LED lights are the choice for most videographers needing portable lighting. They operate much cooler than quartz or incandescent bulbs and have a steady color balance.
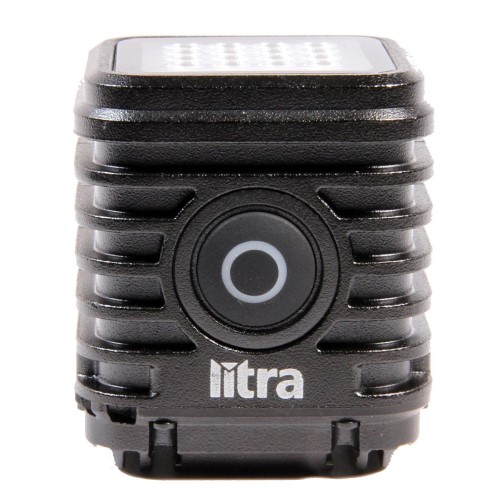
The LitraTorch is also very compact. If needed, you could mount this on the camera itself by means of the accessory/hot shoe. A small bracket is another option that videographers can use to hold the light in line with the camera. Since it runs cool, you could hold the light yourself in a pinch.
As an added bonus, you can also pair this tiny light with a GoPro style action cam on a multi mount or a grip. I guess the GoPro counts as mirrorless, doesn’t it?!
Mirrorless Camera Upgrades Equal Upgraded Use
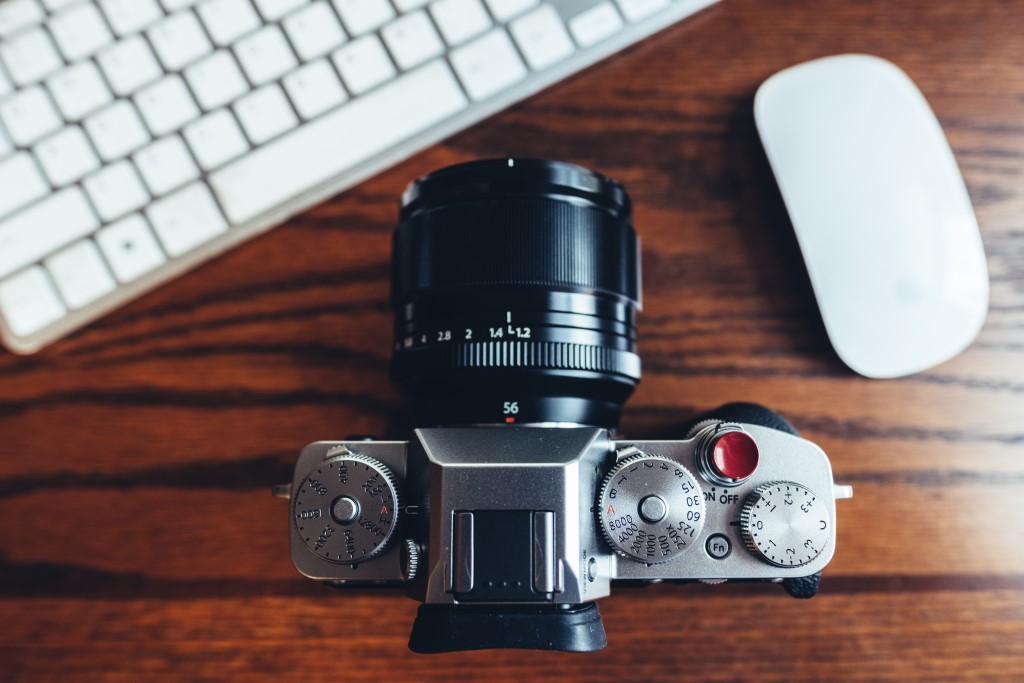
Photo by Andrew Seaman on Unsplash
The primary reason to implement any of these upgrades is to better your ability to gather excellent video and superb still images.
Many mirrorless cameras have superior video capabilities compared to the DSLRs of the same brand. It doesn’t matter how long you’ve been using your mirrorless camera, improvement is always available. Same thing applies to our still photography.
Some of these gadgets are a virtual necessity for certain styles of videography and photography. Others make using an existing capability easier to accomplish. Try them out!
Learn More:
We Recommend
6 Expert Tips for Improving Your Landscape Photography
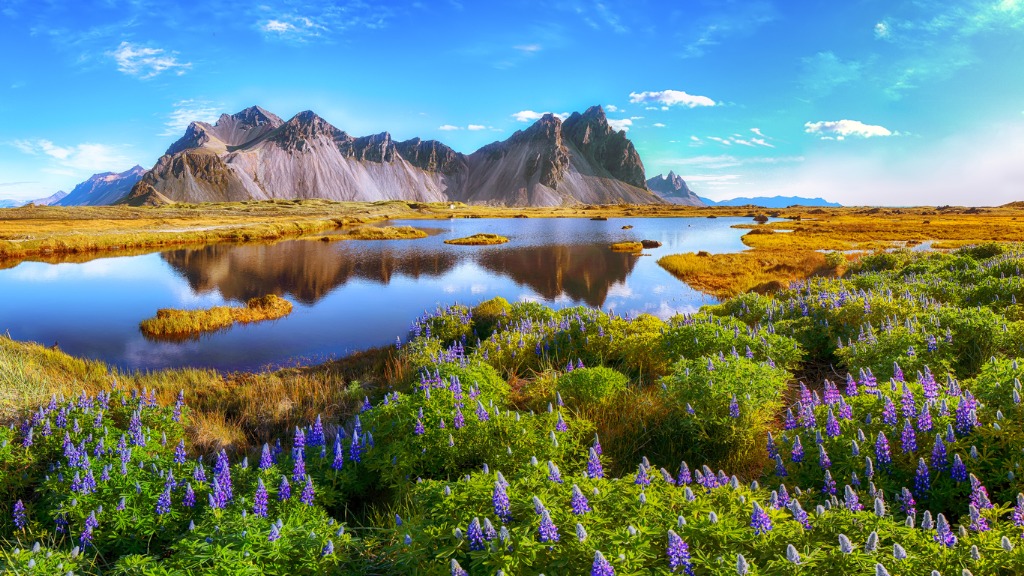
photo byPilat666 via iStock
Everyone likes a great landscape image. Landscape photography is one of the core genres of photography, in art in general actually, and as artists of the photographic medium, we like presenting to others our good landscape images.
Landscape photography tips are all over the internet, we have several on our own web community, so I want to take a slightly different approach and look at the art of the image in addition to expert landscape photography tips and some photography gear ideas.
Discussing art is a huge part of the fun of photography for me. Some of the same principles that have been used in painting since the Renaissance apply fantastically to photography. Here’s what we’ll cover:
- Composition - Fibonacci Sequence
- Exposure - Be Careful with Highlights
- Color - Use Exposure to Enhance Colors
- Focus - Deep or Shallow Depth of Field
- Filters - Polarizers and Neutral Density Are Essential
- Post-Processing - Keep It Natural
Composition - Fibonacci Sequence
photo byMny-Jhee via iStock
Whenever someone talks about composition in a discussion of expert landscape photography tips, our minds tend to automatically go to the Rule of Thirds. Which is fine, that’s a good rule of composition, very useful to know and adapt to your own ideas.
The Fibonacci Sequence is one of the most important of the other rules of composition to learn for how to improve landscape photos. Also known as the Golden Spiral, the Fibonacci Sequence is a mathematical concept that describes a real world phenomenon.
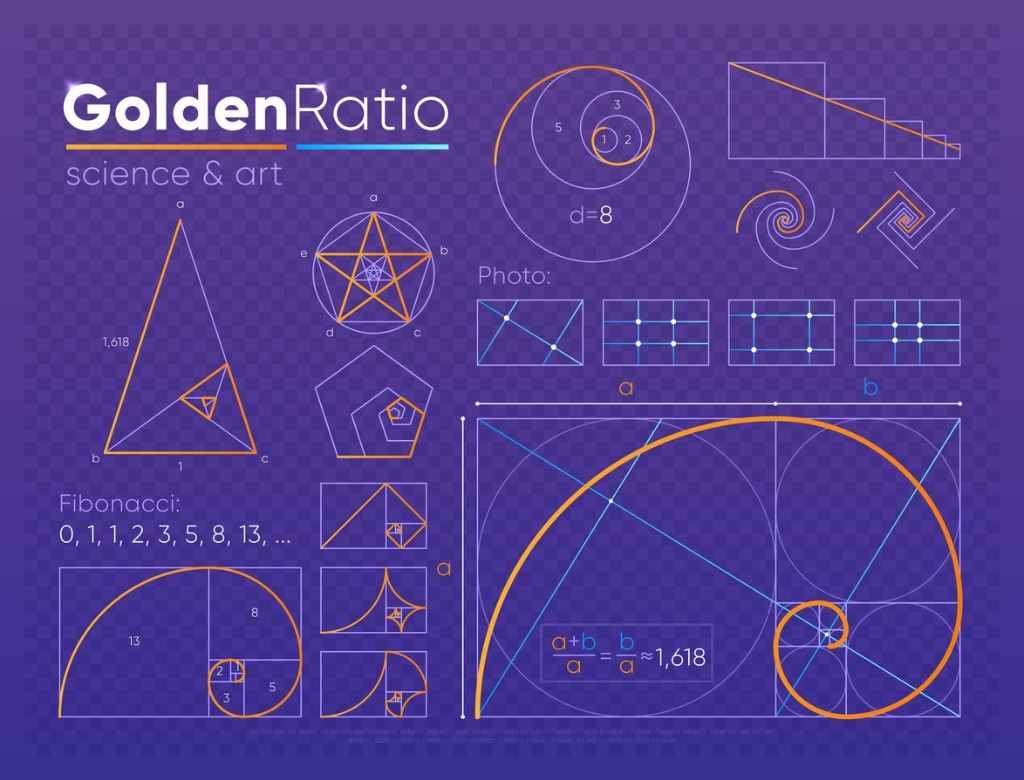
illustation byprimo-piano via iStock
There are other photography tips articles that explain it in technical terms, but to put it simply, it’s a relationship among objects that tends to spiral in or out and gives a pleasing perspective. On a small scale, we can easily see it in a sunflower, large scale man made examples can be found in classic architecture and bridges.
Large scale natural scenes with the Golden Spiral can be found in forests, mountain ranges, rolling fields, and so on. Once you know what the Fibonacci Sequence is, you will see it everywhere. All that’s needed to employ it in our landscape photography is good lens choice, proper camera position, and maybe some judicious scene cropping.
Exposure - Be Careful with Highlights
photo byMarje via iStock
Our cameras have amazing exposure meters, but total reliance on them can cause us to miss out on creating the best photograph for a particular scene. This is especially true when the scene we’re imaging has a large range of exposure values in it.
Exposure meters, even our super advanced modern matrix metering cameras, tend to see the world in what photography experts call 18 Percent Grey. Again, this is a fascinating concept on its own that has been covered by many articles, but it is important to the art of landscape photography because Middle Grey does not usually cover our creative vision.
Relying on our meter can result in good mid range exposure but the extremes of the scale, highlights and deep shadow, will likely be misrepresented. I like to skew my landscape photography exposure towards lots of shadow detail, but there is a danger to be aware of. Exposing primarily for shadow will cause the highlights to block up.
photo byae-photos via iStock
In both digital photography and film, it is much easier to pull out shadow detail in processing but it is next to impossible to save overexposed highlight detail. To avoid bunching up the highlights, I will sometimes use a graduated neutral density (GND) filter to balance out scene exposure values. Spot metering and bracketing are also good tools and techniques to use for protecting the highlights of a scene from disappearing.
Learn More:
- Common Questions About Circular Polarizers
- Mountain Photography Tips
- How To Streamline Your Landscape Photography Workflow
Color - Use Exposure To Enhance Colors
photo byAndrew_Mayovskyy via iStock
Color can be used as a creative tool in landscape photography by exposing it properly. Even in black and white imaging, color relationships can be a vital creative element.
Generally speaking, a color can be enhanced towards deepening by underexposing and towards lightening the hue by overexposing. It stays the same color, but the appearance can be changed either greatly or subtly.
Lightning a color by slight overexposure will change the mood of the image to an airy feel, perhaps whimsical or joyful. Deepening a color with slight underexposure can create a more serious, serious, or dramatic mood.
You can accomplish both effects in one exposure with creative use of filters such as polarizers (C-POL), neutral density (ND), or graduated neutral density (GND) filters or combinations of these filters.
photo byBruceBlock via iStock
For black and white imaging, exposing for deep reds and blues and using a polarizer filter can completely alter the look and feel of a scene. Sometimes, you can turn the sky into a virtually black background which can enhance the landscape into an amazing image.
Focus - Deep or Shallow Depth of Field
photo byBret-Barton via iStock
Depth of field refers to how much of the scene is in focus from foreground to background. Since depth of field is controlled by lens aperture and focus distance together, this means that creative application of the Exposure Triangle can be an excellent tool and technique for adjusting depth of field.
A smaller f-stop or aperturewill give deeper depth of focus than a wider aperture, all other things being equal. As we’ve discussed in previous articles, all other things are rarely equal in landscape photography. Lens choice and camera position in relation to the subject also control depth of field.
In order to give the scene a sense of immersive depth, we adjust aperture, lens focal length, and the focus point for maximum depth of field. To isolate an aspect of the landscape photography scene, we adjust those same factors to give a shallow or limited depth of field also known as selective focus.

photo byIknowher via iStock
Sometimes, the absolute exposure value of a scene may not allow for the right aperture to give us selective focus, so I will use a ND filter to adjust the Exposure Triangle to a point where I can use the aperture I want for the desired effect.
Filters - Polarizers and Neutral Density Are Essential
In order to combat some of the issues we encounter in landscape photography, ND GND, and C-POL filters are essential tools in our photography gear bags. As mentioned in the previous landscape photography tips, certain filters are so useful for landscape photography that they are virtually indispensable.
I’ve been using a filter holder system for much of my own landscape photography, the M10 filter holder system from Haida. A filter holder system makes landscape photography with filters easier, quicker, and less expensive than using screw in filters for these high-quality, specific need filters.
Polarizers also help with color saturation since they remove reflections from many surfaces such as water but also including the reflections from the leaves of trees and other plants. They also enhance colors by eliminating the softening effects of atmospheric light scattering.
Post-Processing - Keep It Natural

photo byvalio84sl via iStock
Most photographers serious about improving their landscape photography will shoot in their camera's RAW format and post process to get the best results from the exposure. This helps when exposing to keep highlight detail by allowing you to pull out more detail in the shadows.
HDR, or high dynamic range photography can be accomplished by taking a series of bracketed exposures and combining them into one image file, allowing you to balance out highlights, mid range, and deep shadow.
Post-processing can also let you enhance the colors in your image, adjusting their depth or even changing the hue of some colors, as shown in the video above by Simon Burn. You can combine multiple techniques to blend color enhancement, high dynamic range, and pulling out shadow detail for one image.
It often gives us excellent images if we try to keep the look and feel of the final image to match expectations of how the scene should look, in other words, keep it natural. While some extreme enhancements of color or exposure can result in great images, landscape photography really lends itself to a natural feel.
The End Result
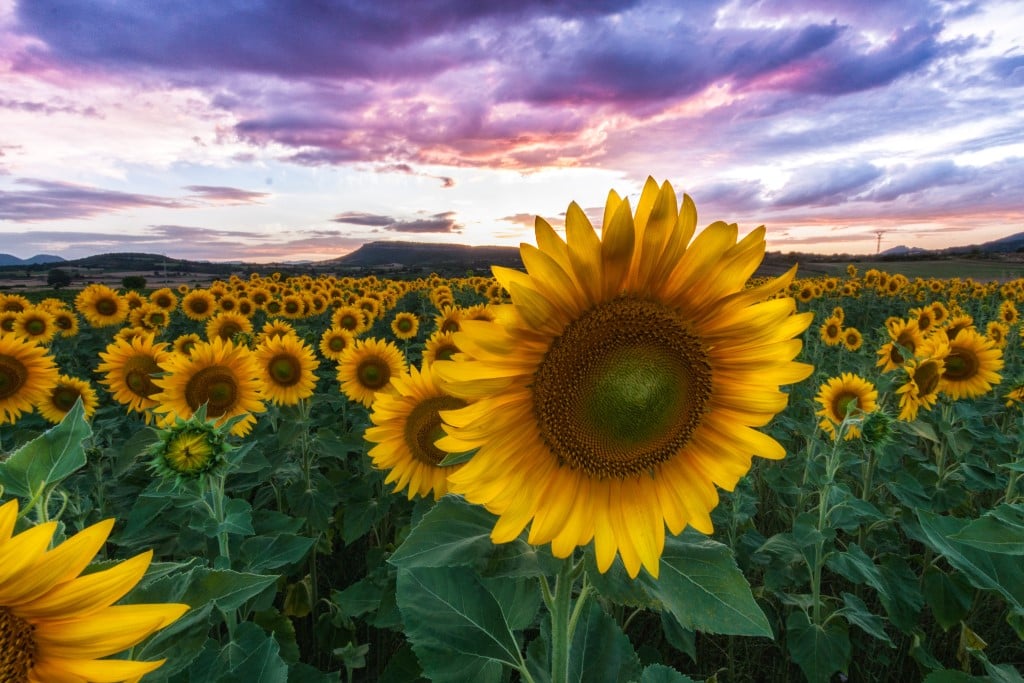
photo byAlvaro Campos via iStock
The end result of all of these expert landscape photography tips should be an improvement to your own landscape photography images.
The art of photography is a source of great joy and beauty. Using tried and true techniques, high-quality photography gear, and your own creative thoughts will give you and others joy with outstanding landscape photos.
Learn More:
- Best Aperture for Landscape Photography
- Get Better Landscape Photos with These Simple Tips
- How To Improve Landscape Photography
We Recommend
A Beginner's Guide to Cleaning Your Lens and Filters
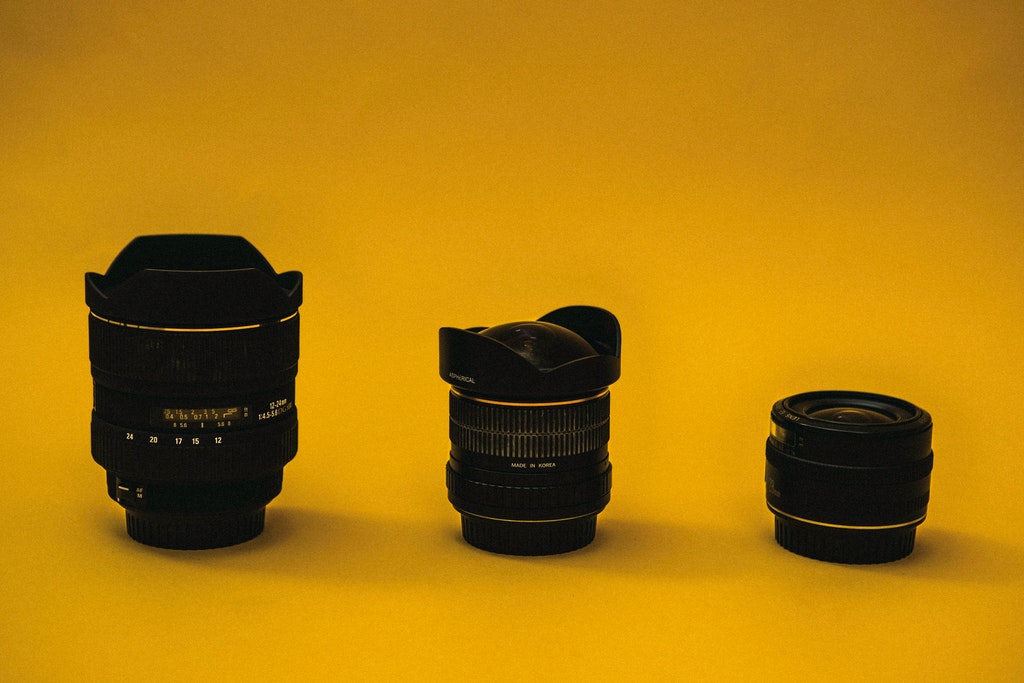
Photo by ATC Comm Photo from Pexels
Sooner or later, you will have to clean your lenses and accessory lens filters for photography. Cleaning your lens is simple to do but there are tips for how to clean a camera lens and lens filters that will help newcomers to overcome any nervousness about the process.
Anyone beginning to use more advanced cameras like a mirrorless or DSLR can see at least one thing that is clearly different from what you used before, whether that was a smartphone or a point and shoot style camera, the front lens element is usually much larger than those previous cameras.
That larger element collects dust, fingerprints, smudges, smears, spit, spray, dog hair, you name it. Since you are using an interchangeable lens now, you also need to be aware of the rear lens element. Any filters used with the lens also will need to be cleaned from time to time.
Here are some tips for how to clean a camera lens, front and back, and how to clean lens filters, on or off the camera lens.
Tip 1: Don’t Get It Dirty
Photo by Matheus Bertelli from Pexels
In other words, be careful with your optical glass. The old saying “if it ain’t broke don’t fix it” applies here. So does Red Green’s version “if it ain’t fixed don’t step on it.”
One of the biggest culprits in lenses and filters getting dirty and scratched is our own clumsiness. Once that lens cap is off, consider the front element as vulnerable. This would mean keeping the lens cap attached when you are not using the camera. That applies to a rear lens cap, too, if you changed to another lens.
Avoid touching the glass surface. For some of us, that takes some practice and awareness, but it can be learned behavior.
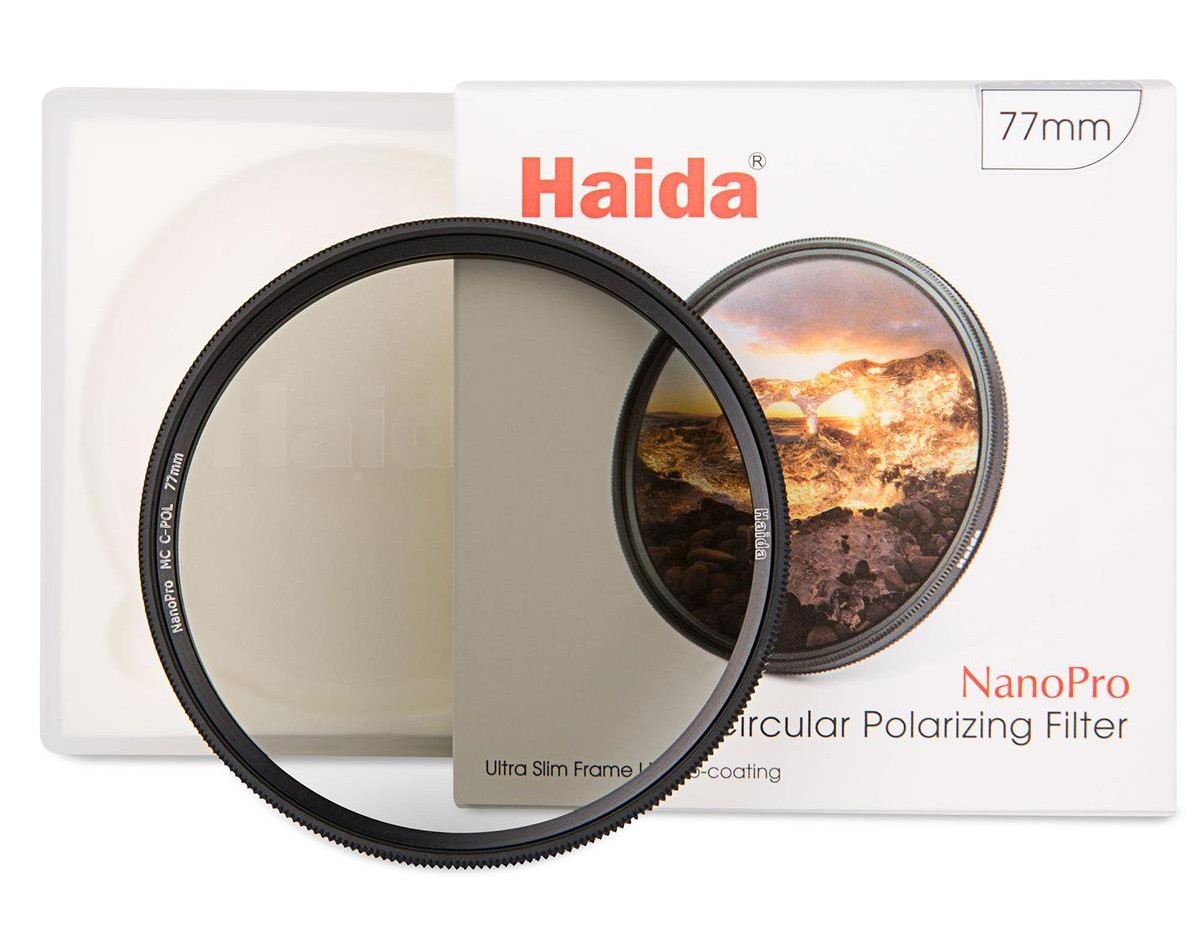
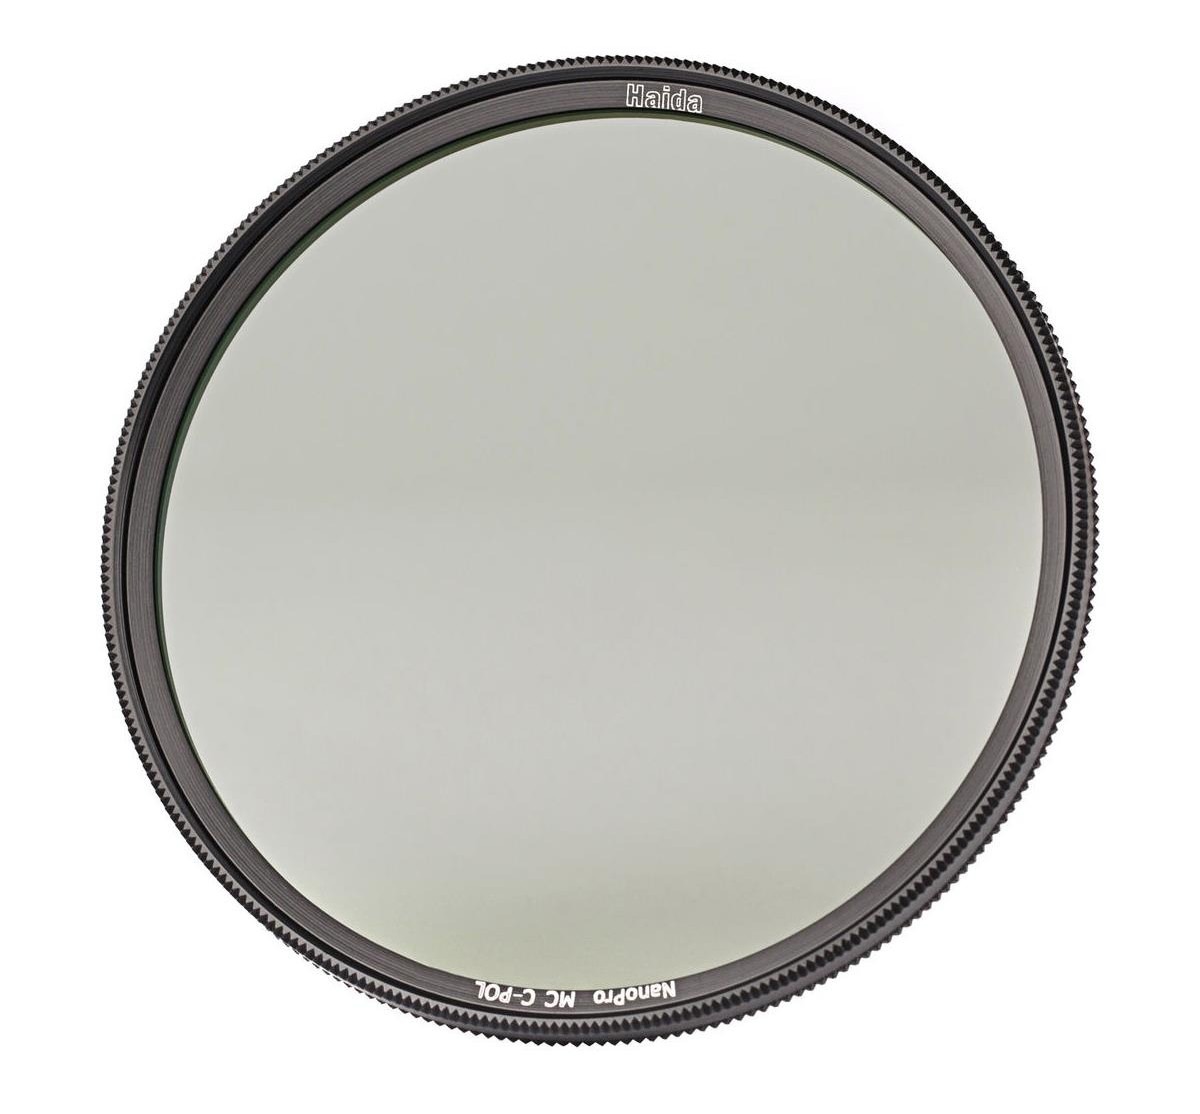
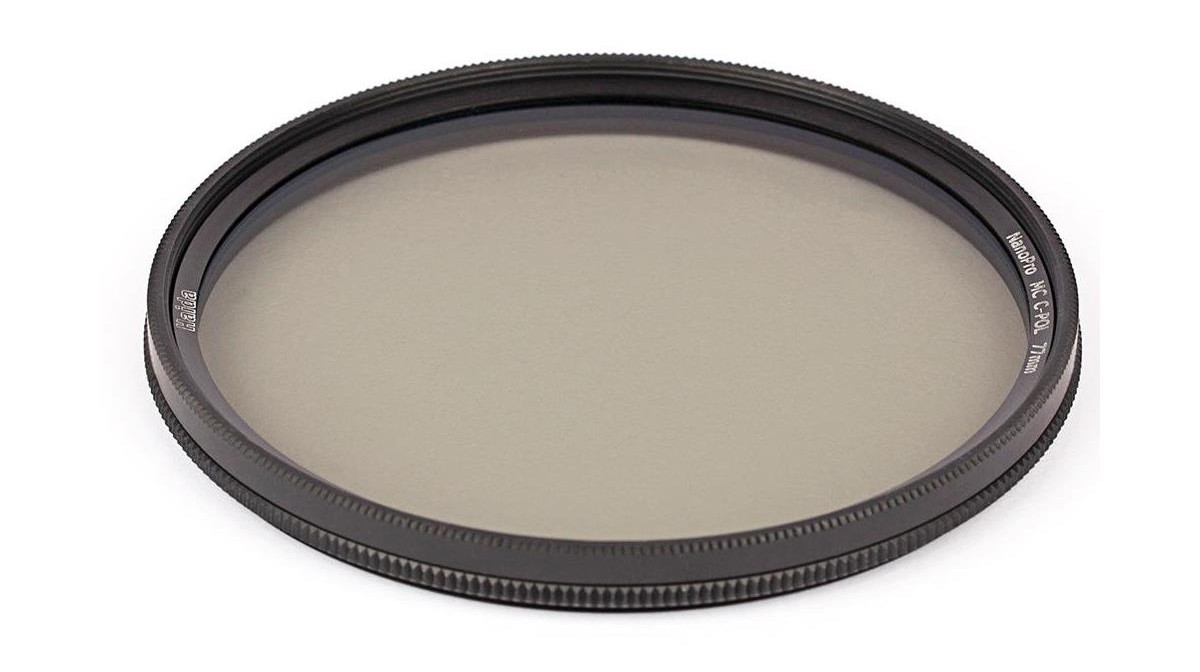
This is an important tip whether you use an entry-level, cheap filter (which, honestly, you should avoid) or you use a high-quality filter like the Haida NanoPro MC Circular Polarizer that I have on the front of my lens.
Tip 2: Use Lens Hoods
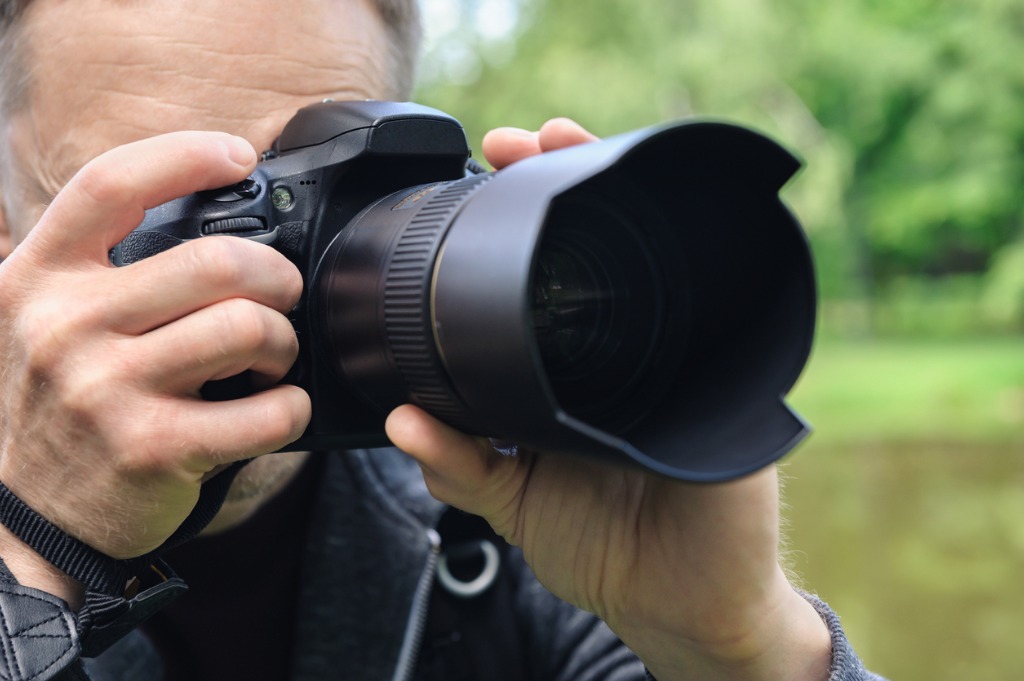
photo byyunava1 via iStock
But even that one has a compromise lens hood that allows about 170 degree coverage while offering a little bit of protection for that protruding front element. Generic hard or rigid lens hoods are available for most lenses if yours doesn’t have one.
Besides keeping me from touching the lens front element, a lens hood also helps guard against bumps and scrapes from the lens impacting with something. A soft or rubber lens hood is a good alternative to rigid versions.
Learn More:
Tip 3: Blow It Off
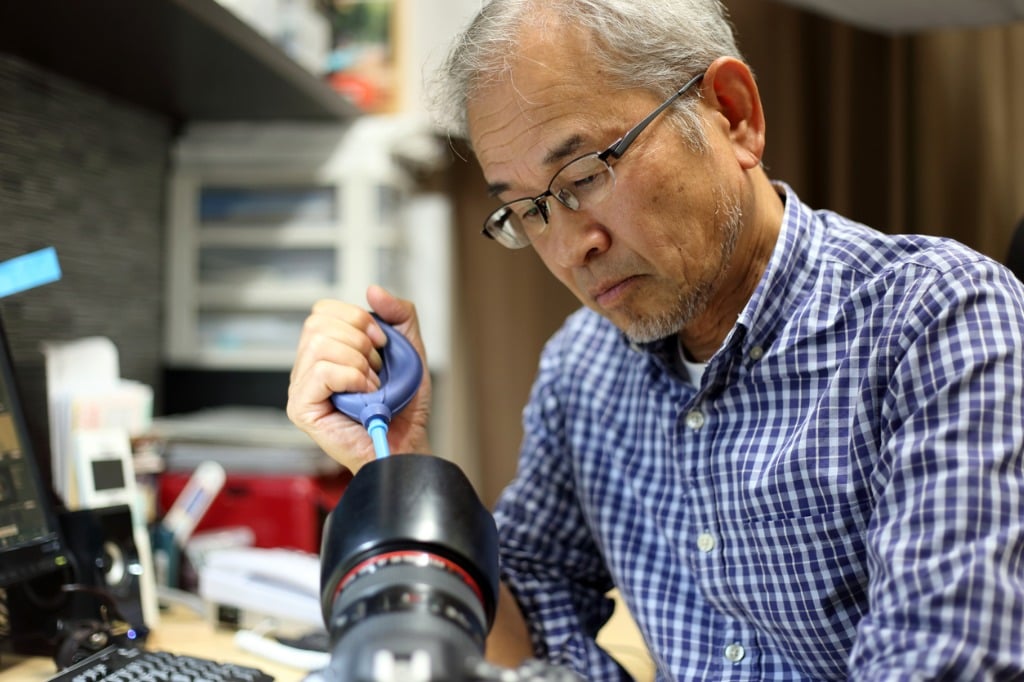
photo bykazunoriokazaki via iStock
Some things, though, simply can’t be helped. You’re outside shooting and the wind picks up junk which finds its way to your lens. Blowing dust or sand or even the seed of a dandelion might be resting on your lens front element.
You’re tempted to rub it off with your t-shirt, scarf, or tie, but don’t. That rub could scratch the element. Sure, it’s not at all noticeable, right now. But after repeated occurrences, the abrasion wears on a lens.
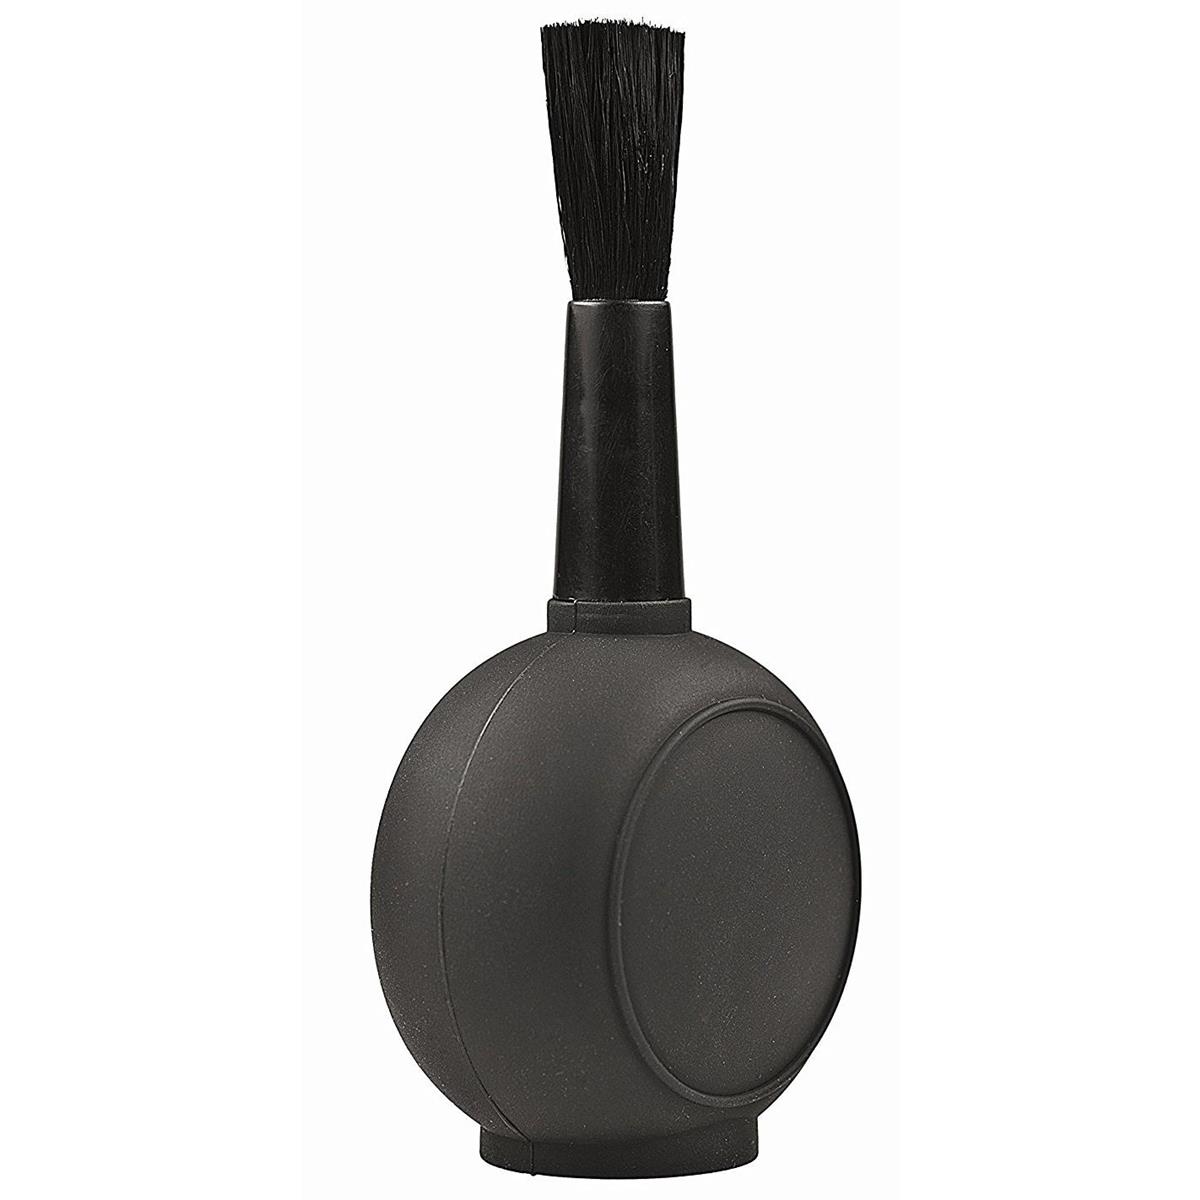
A small blower brush is a great tiny tool to keep handy. Put it in your camera bag side pocket. The blower bulb will gently remove most loose particles from your lens, while the ultra soft bristles of the brush will take care of more stubborn junk.
Some photographers will blow with their mouth and lips but that can add moisture to the equation which causes the dust, sand, or dirt to stick a bit more firmly to the glass surface. Even if you think you’re blowing dry air with your mouth, a blower brush will sidestep that issue completely.
Tip 4: Use a Microfiber Cloth
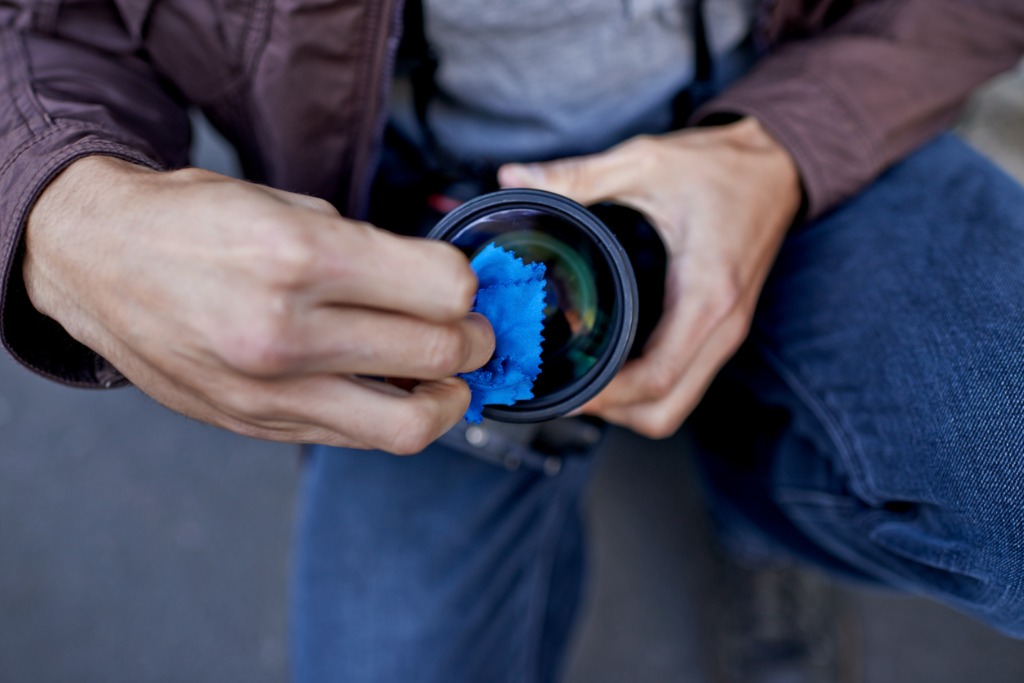
photo byPeopleImages via iStock
This is another item I keep in my camera bag. In fact, I have a variety of microfiber cloths in every bag or case I have, some in my desk, a couple in my car, and one in my front jeans pocket right now.
When cleaning your lens with a microfiber cloth, you should first take the time to use your blower or blower brush to remove any loose or big stuff. The microfiber cloth is great at removing fingerprints and smudges from our lenses. Instead of wiping at it straight, use small circular patterns all across the lens or filter.
A microfiber cloth is also perfect for cleaning your filters. A prime example of a filter that should be checked and possibly cleaned each time you use it is your circular polariser. Filters for photography are an important part of your optical gear, so keeping them clean will ensure the best performance.
You have likely already added to your basic gear an excellent polarizer such as the Haida NanoPro MC Circular Polarizer which gives you control over reflections, haze, and other glare.
If the filter is smudged on front or back surfaces, it won’t transmit the light as well as a clean filter, which would be a waste of the fine capabilities of this filter.
Tip 5: Lens Cleaning Liquid and Tissue
There are times when cleaning your lens or lens flyers that you simply must use a solution of some type. Very oily finger smudges, old fingerprints and smudges, water spots, and other similar things just won’t come clean with blowing and microfiber cloths.
Be sure to use a solution and tissue specifically designed for optical grade glass. Window cleaner is for windows, and the mom trick of licking your thumb and wiping is a bad idea for lenses and filters.
Lens cleaning solution, lens tissues, or pre moistened lens cleaning cloths are what you should use. For really stubborn smudges or spots, such as what I might encounter when picking up a used lens, I will use one tissue for the solution and one or two to wipe dry.
NEVER pour, spray, or apply lens solution directly to the lens. Always put it on the tissue and then wipe the moist tissue on the lens with circular motions. You don’t want any moisture finding its way into the interior of the lens.
Tip 6: Kits Have It All
A good lens cleaning kit that comes in its own small case is a handy thing to keep with or near your main gear bag. They make great gifts for photographers, too, as we always need more good ways to clean our lenses and filters.
Tip 7: Remember To Clean the Lens Barrel
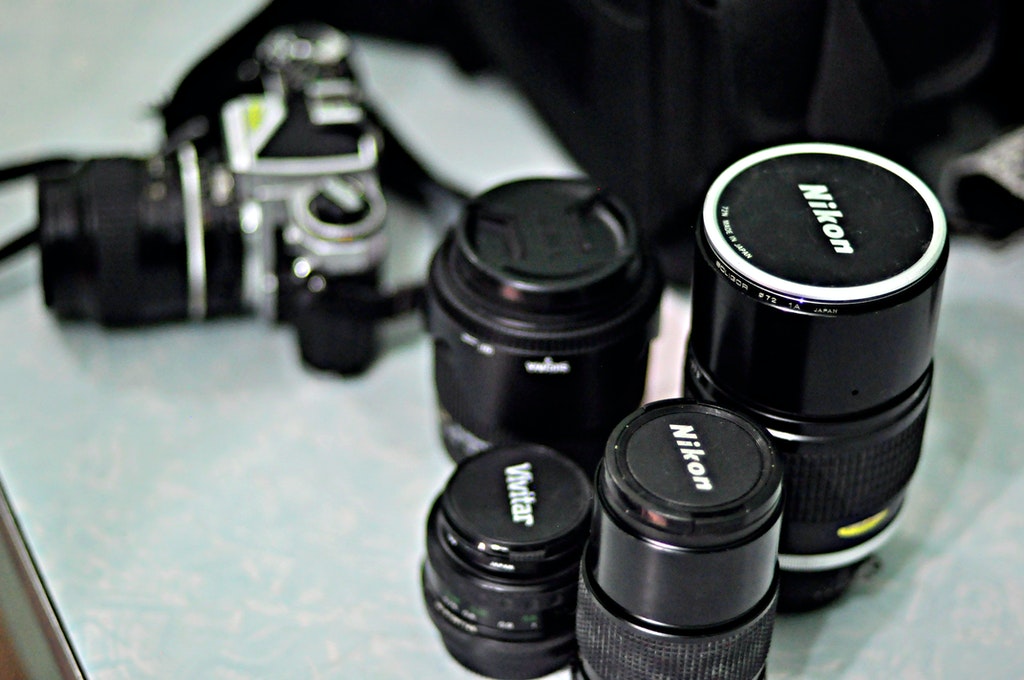
Photo by zohaib khan from Pexels
The lens barrel also gets quite a lot of dust and oily dirt on it. Almost everything listed above can be used on the lens barrels, but I tend to stick with a blower brush and microfiber cloth most of the time. If you do need to use solution, the rule of never applying liquid directly to the lens is in effect here, too.
You can even use all these tools and tricks with regard to the exterior of your camera body as well, but there are special tips and tools for cleaning battery contacts and sensors. We’ll cover that for you in another article.
Learn More:
- Circular Polarizer Do’s and Don’ts
- Photography Hacks You Need In Your Camera Bag
- What Do Lens Filters Do
We Recommend
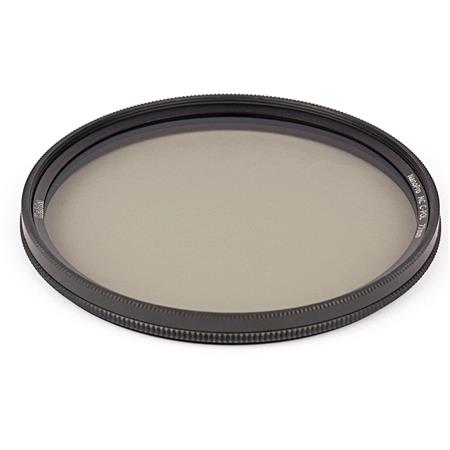
Common Questions About Circular Polarizers

photo byKoldunova_Anna via iStock
Circular polarizers allow your lens to take sharper images by lessening junk light and haze that enters the camera. They may seem old school with the advent of photo editing software but are still used by many professional photographers to reduce reflective light and improve image quality.
They are very popular among landscape photographers, and many swear by them and have them in their camera bags at all times.
Do you have questions about circular polarizers? We have the answers.
How Does a Circular Polarizer Work?

photo byhappylemon via iStock
Circular polarizers are filters that you screw onto the front of your lens to reduce glare, haze, and reflections. Once attached, you will be able to twist the front part of the filter to choose the amount of polarization you need and adjust it to your conditions.
These filters, when used properly, increase the depth and contrasts in your images. Colors are more vivid and vibrant when a circular polarizer is used. Skies are bright blue, clouds pop, and water is less reflective.
To use a circular polarizer correctly, you can’t be pointing your camera directly at the sun. You have to be perpendicular to the sun in order for the filter to do its magic.
Do I Really Need a Circular Polarizer? (Why Can't I just Photoshop it?)

photo by nd3000 via iStock
Yes, photo editing software can fix some of the problems encountered when shooting without a circular polarizer, but not all. And frankly, if you can get the shot right at the get-go, it’s a more gratifying sensation. Also, you can see the effect instantly when using a polarizing filter — no need to wait to get to your computer to “fix” it.
Photo editing is time-consuming and can get tedious. Sometimes it is absolutely necessary, and other times it can be avoided by getting the shot right, straight from the camera.
Another benefit of using a circular polarizer is that it will get you thinking and being more conscious about light. And we all know how light is important in photography. When you understand light better, you become a better photographer. It’s that simple!

photo by max-kegfire via iStock
Editors Tip: Did you know? Some portrait photographers use polarizers when photographing someone with glasses. A circular polarizer can reduce the reflections in the lenses and can also help matte shiny skin.
Can I Leave a Circular Polarizer on all the Time?

It’s not recommended that you leave a polarizing filter on all the time. It’s intended for specific purposes and will not be helpful (and actually bad) for some types of photography.
A circular polarizer filter removes about 1.5 stops of light from the shot. This is not something that you want in low light conditions, for example.
How Do I Choose a Circular Polarizer?

Quality and prices vary for polarizers, like in many other gear categories in the photography industry. The old adage “you get what you pay for” applies here too.
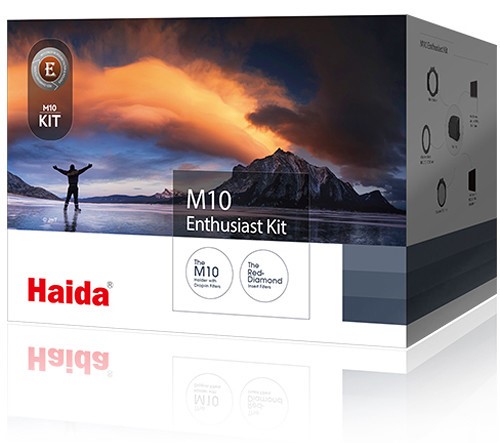
We like the Haida M10 Filter Kit for its quality, durability, and versatility. The filter kit is designed to allow the use of up to three separate 100mm wide, 2mm thick filters. It can be fitted on a lens with 82mm front filter threads and comes with an included circular polarizer.
We Recommend
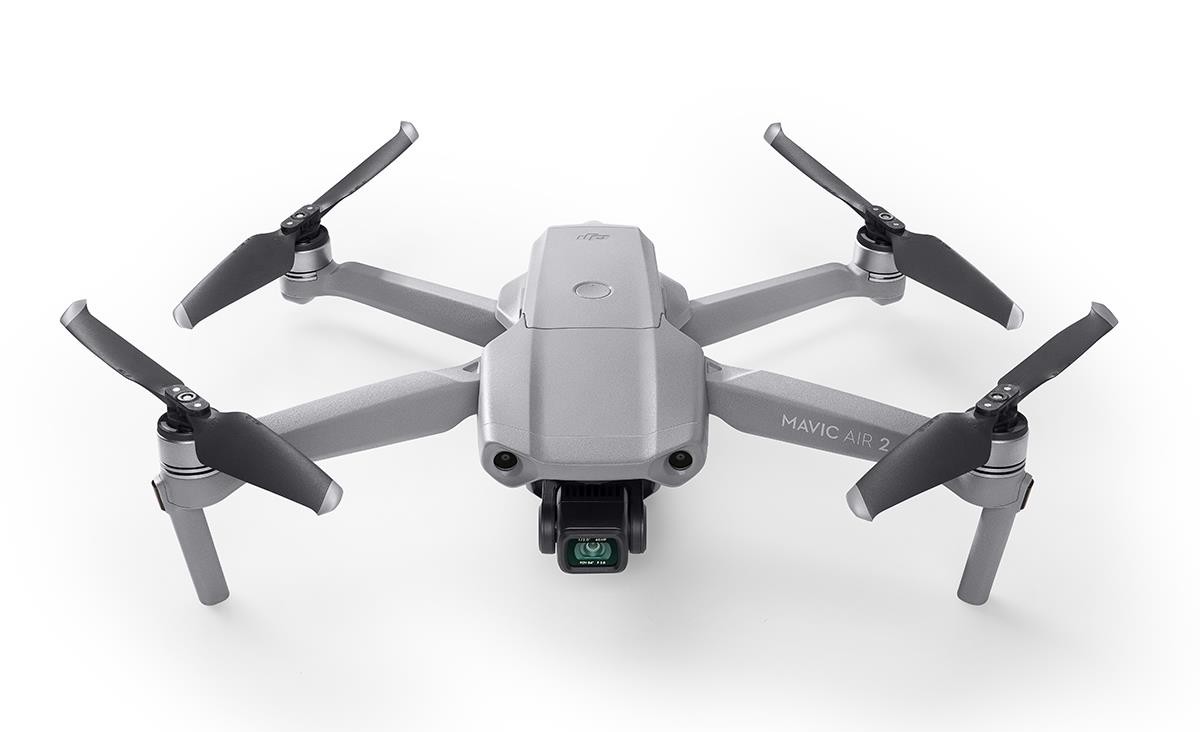
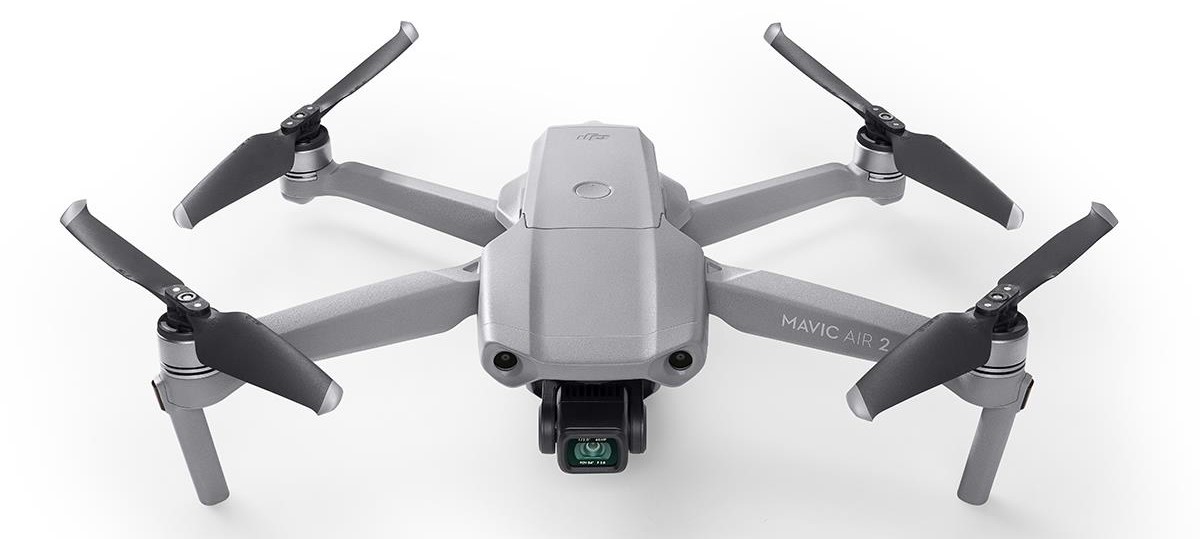
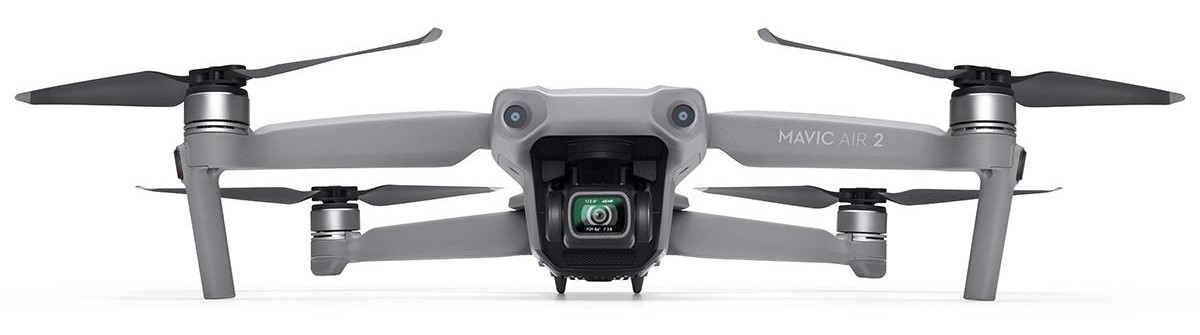
DJI Releases Mavic Air 2 With Upgrades to Sensor, Video, Battery, and More
I've been a DJI enthusiast for years. There's a lot of reasons for that, but one of the biggest is because DJI is constantly working to improve their products - and I get to reap the benefits of that as an hobbyist drone pilot.
One of my complaints about the original DJI Mavic Air was its terrible battery life - about 20 minutes is all I could get out of it.
But with the DJI Mavic Air 2 - which is available for pre-order right now - the flight time has improved significantly to 34 minutes.
And that's just the start of the upgrades...

The newest member of the DJI family has a half-inch 48-megapixel Quad Bayer sensor that can take 12-megapixel images. You also have the option of taking photos using the sensor's full resolution.
The camera has an f/2.8 lens with an equivalent focal length of 28mm. On the video front, the Mavic Air 2 is capable of 4K video at up to 60fps. You also get the option of HDR video at up to 4K/30 (the HDR functionality is available for panoramic photos too) as well as exporting 8K time-lapse videos.
Though not all the video modes will support 8K when the Mavic Air 2 ships, that functionality will be added later this summer.

For still photos, you can take advantage of DJI's new scene detection modes that will read the landscape for features like grass and trees, sunrises and sunsets, blue sky, and snow. You can enjoy upgraded autonomous flight modes as well.
There are tons of safety features on this drone, too.
It's the first DJI drone to come with AirSense, a safety program that warns you when other aircraft are nearby. It also has obstacle sensors on the front and back to help prevent collisions and a sensor on the bottom to assist in landing.
Speaking of the bottom, there are auxiliary lights that aid with landing in low-light situations.
On the design front, the Mavic Air 2 is a little bigger and heavier than its predecessor, but it's still a small and lightweight rig, for sure.
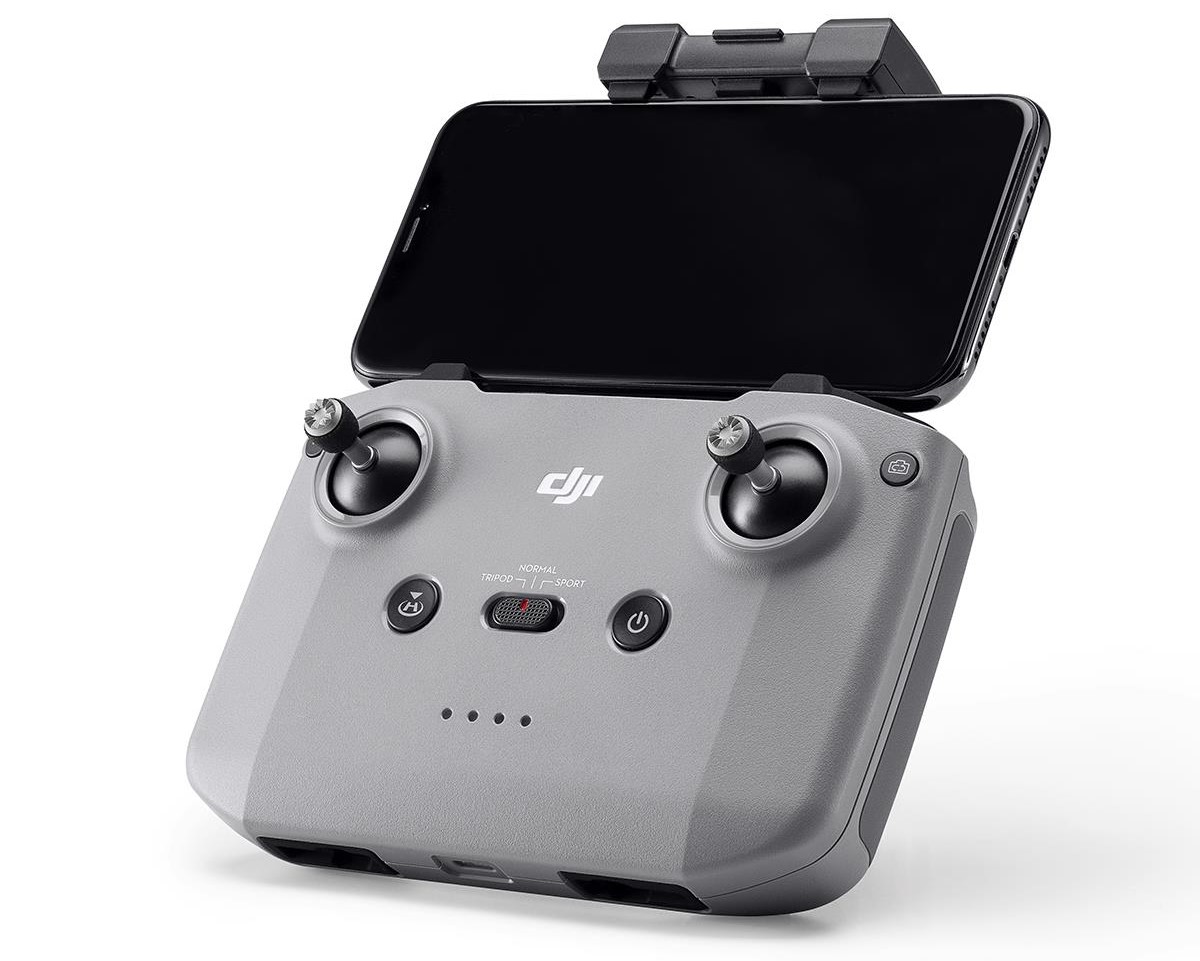
The biggest redesign was with the controller - there are no visible antennas, and instead there are spring-loaded mounts for a phone.

An initial look at the specs of the DJI Mavic Air 2 shows a drone that appears to be well designed, chock full of new features and updates, and continues the tradition of DJI design excellence.
I'll have updates and a review of the Mavic Air 2 coming in the next few months, so keep your eyes peeled here and on our YouTube channel for more Mavic Air 2 content.
In the meantime, you can pre-order the Mavic Air 2 for $799 or pre-order the Mavic Air 2 Fly More Combo fo $988.
UPDATE: You Can Also Get Filters for the Mavic Air 2
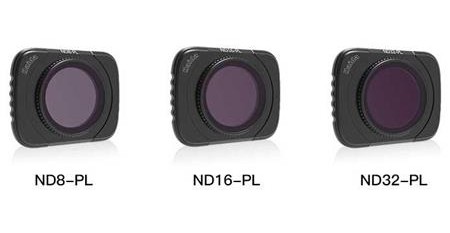
The Mavic Air 2 is a fully-featured drone, but having accessories to extend its functionality certainly won't hurt.
I've got my hands on Haida's NanoPro ND-Polarizer Filter Kit for the Mavic Air 2, and I'm loving the results I get with these filters.
These ND-Polarizer hybrid filters make it easy to take advantage of the benefits of polarizers and ND filters. I can control glare, minimize haze, and extend the shutter speed to my heart's content, all with a single filter!
This particular kit comes with 3-stop, 4-stop, and 5-stop filters to give me the flexibility I need to get the photos and videos I want.
Perhaps the best part, though, is the price - at less than $50, this Haida filter kit is a steal!
Originally reported by The Verge
We Recommend
Do I Really Need Lens Filters?
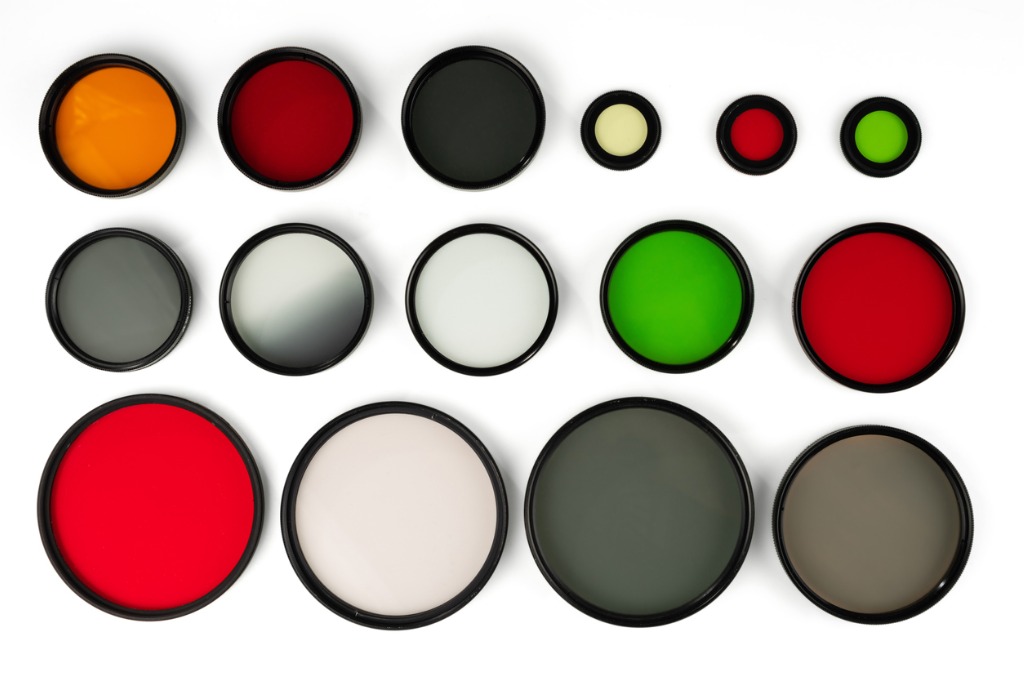
photo byVladK213 via iStock
There is an interesting phenomenon I see on social media concerning photography, namely the no filter (#nofilter) and straight out of camera (#sooc) hashtags. I call it interesting because it seems to imply that there’s something inherently wrong with processing images or using lens filters.
As a public service announcement, let me assure you there is nothing wrong with liking or posting filtered vs unfiltered or processed vs unprocessed images. I shoot, show, and enjoy them all. A good image is a good image. (By the way, every digital image is processed, even a #SOOC jpeg, and every photographic lens filters light in some fashion, just by the types of glass used and coatings.)
As photographers progressing from beginner photography, you are familiar with the image processing engine in all of our digital cameras, what post-processing can do for your image files, and the basic ideas of using lens filters.
The questions from photographers progressing from beginner to intermediate are more along the lines of “Since I can post-process images, do I really need lens filters?” and also “Exactly what do lens filters do?” and finally “What are the benefits of lens filters?”
If I Post-Process, Do I Really Need Lens Filters?

photo byFG Trade via iStock
As soon as we start shooting in RAW and post-processing, we realize how much real information is in each of our digital images. One of the first things we learn is that there is tons of detail in the shadows of our files, but not much in the highlight end. So we start thinking that we can fix any lighting or contrast challenge in post.
Well, in that lens filter vs no lens filter debate going on our head, we should look again at that RAW file situation in regards to exposure information embedded. While we can often pull out some detail from the shadows and midrange, anything blown out in the highlights is gone, you can’t pull it out.
If you’ve begun to practice and shoot while considering dynamic range or the scene, HDR photography, Zone System, and lighting contrast, you have learned there is no perfect, one-size-fits-all solution. Which is why many landscape photographers use graduated neutral density (GND) lens filters to bring highlight values down so they can be captured along with shadow detail.
A lens filter system with a filter holder, lens adapters, and square, rectangular, and round filters is the best way to take advantage of all the benefits of lens filters such as GND and other specialty lens filters. Haida Filters offers the M10 Enthusiast Kit II filter holder system which includes a 3-stop soft edge GND lens filter for blending and taming many dynamic range situations we come across as landscape or architectural photographers.
What Do Lens Filters Do?

photo bywundervisuals via iStock
There are some lens filters that accomplish what post-processing programs simply can’t do or are limited in doing for our images. A circular polarizer (C-POL) is one of those lens filters. A C-POL filter is one of the most useful lens filters for a wide variety of scenes.
Your C-POL lens filters control polarized light which allows you to deepen colors, see through water, eliminate reflections, and increase contrast between white clouds and blue sky. The Haida M10 Enthusiast Filter Kit II comes with a very high quality C-POL filter you can mount to virtually any lens you might own.
Except for some major replacement of image elements, there is little you can do with a post-processing program to change light polarization. And if you try to capture the image without a polarizer filter, it will often pale in comparison to the same view taken with the C-POL, provided it’s used properly.
Learn More:
- How To Get Better At Landscape Photography
- Why You Need a Filter Kit for Landscape Photography
- Circular Polarizer Do’s and Don'ts
Benefits of Lens Filters
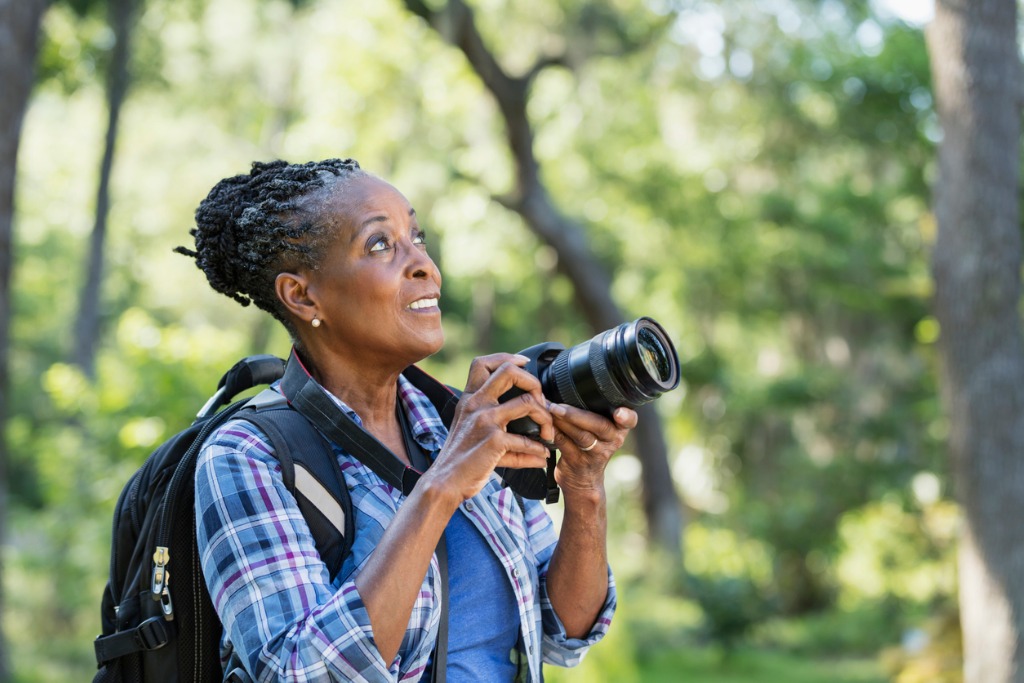
photo bykali9 via iStock
In the lens filter vs no lens filter debate going on in our heads, we can see that some of the benefits of lens filters for many types of photography is to either do something we can’t readily do in post-processing or that create a better image file in the first place that we can then tweak or enhance to make it as close to perfect as possible.
One of the benefits of lens filters such as a deep neutral density (ND) filter is that we can greatly adjust the exposure triangle to give us lens apertures or shutter speeds not available without the lens filters.
There is an excellent example of this type of lens filter in the Haida M10 Enthusiast Filter Kit II is the 10-stop ND filter. A full 10 stops of exposure density allows for opening up the lens aperture fully, slowing down the shutter speed greatly, or any combination of the two based on what you need from the exposure triangle.
This could allow you to use motion blur effects or selective focus techniques for landscape, architectural, portrait, or small product photography. These techniques can’t simply be done just because we want them, we have to change something radically to get there which is what ND lens filters are designed to do.
You Can Craft Great Images With Lens Filters
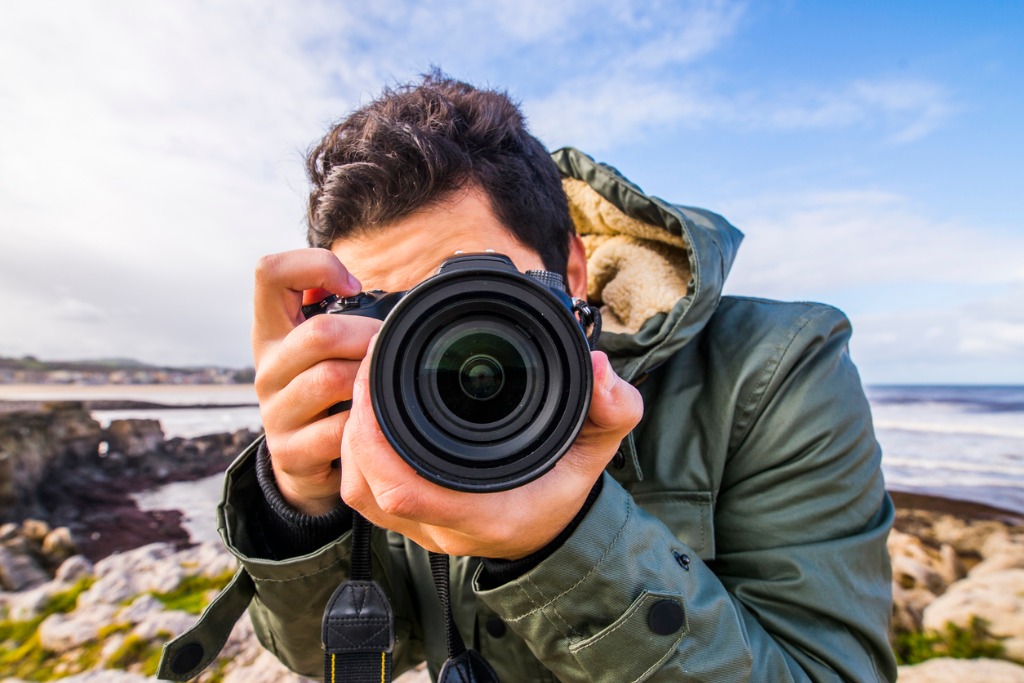
photo byMarioGuti via iStock
Sometimes the best use of our photographic talent is seen in an image we can show straight out of our camera without using any lens filters. But there are also many situations when we can create an even better image by using lens filters and post-processing properly.
Our main goal is capturing and crafting the best image to show what our photographic mind can make. Proper use of all of our equipment and learned techniques is how we get that great image.
Learn More:
We Recommend
Essential Travel Photography Tips for Improving Your Photos

photo bydeimagine via iStock
Heading out on the road? You might want to give these travel photography tips a look.
From gear recommendations to tips for packing, composition techniques to planning your trip, we’ve got what you need to get your trip off on the right foot.
Travel Photography Tip #1: Pack Light
photo by Nirut Punshiri via iStock
And I don’t mean to just pack light when it comes to your clothes and other personal items. You need to thin the herd when it comes to your gear, too.
As you stuff your Nikon Z7 and your Nikon D850 and your Sony a6400 and three lenses for each camera into your bag, you should ask yourself, “Do I really need all this?”
The answer is no…
Having too much gear is not only uncomfortable to carry but it also causes you undue stress worrying about whether your gear is safe.
Here’s a travel photography idea: take one camera, a good walk-around zoom lens (i.e., a 24-70mm), and a small travel tripod (like this one!). With this small kit, you can photograph just about anything on your travels and not kill yourself trying to carry it all.
Learn More:
Travel Photography Tip #2: Carry Your Gear in Comfort
Speaking of carrying your gear, you want a camera bag that’s not only comfortable but also helps you keep your gear safe and organized.
When traveling, that means you need a small bag that’s big on features, and for my money, there’s nothing better than the Holdfast Fundy Streetwise Bag.
Designed for street photography, this little bag will hold a camera and several lenses along with all the necessary accessories like extra batteries, memory cards, your wallet, and so forth.
In addition to the comfort and organizational factors, this bag is unassuming. It’s small, lightweight, and doesn’t look like a camera bag. That’s a big deal because thieves will be less likely to target you because they won’t know you have expensive camera gear inside.
Speaking of the inside, this bag has multiple compartments lined with sheepskin that keep your gear cozy and safe as you travel. No bumps or bruises for your gear when it rides in this thing!
On top of all that, this bag can be worn as a traditional shoulder bag or it can be attached to the impeccable Holdfast MoneyMaker. That means you can customize how you carry the bag to suit your specific needs.
Either way, you have quick access to your gear so you won’t miss any shots on your travels. What’s not to like about that?
Get the specs on the Holdfast Fundy Streetwise Bag.
Travel Photography Tip #3: Bring a Polarizing Filter
By far, one of the best accessories you can have for travel photography is a good polarizing filter.
Typically used for landscapes to reduce atmospheric haze, boost contrast in the sky, and minimize glare off of water and other non-metallic surfaces, circular polarizers have other uses too.
For example, you can use a polarized filter when taking portraits to reduce glare off of people's skin.
A polarizer can also be used as a neutral density filter in a pinch as it will slightly reduce the amount of light entering the lens, allowing you to slightly blur movement of things like clouds or moving water.
I've been using Haida Circular Polarizers as of late, and I've been impressed with the results I've been getting.
The filters are well made and durable, so they can stand up to the rigors of travel photography.
With 10 layers of multi-coatings, you get superb protection for the filter glass while also reaping the benefits of reduced glare.
Likewise, the multi-coating enables improved beading of water and oil, so they're easy to clean.
These filters are also easy to use...
With side knurling that provides a textured grip, you can more easily and precisely manipulate the filter to get just the right effect.
The filter housing is slim as well, which means less chance of vignetting when using a wide-angle lens.
There are just too many benefits of having a good circular polarizer with you on your travels. Do yourself a favor and add a polarizer to your kit today!
Travel Photography Tip #4: Plan It Out (But Still Be Spontaneous)
photo by wundervisuals via iStock
It’s important to plan your travels well ahead of time so you’re sure to be in each location at the ideal time of day. After all, getting to that quaint mountain village in the north of Italy at noon isn’t going to get you the best photos under that harsh, midday light.
So, while you’re figuring out where to go, think about when to go too. It’s one of the most important things you can to do improve travel photography
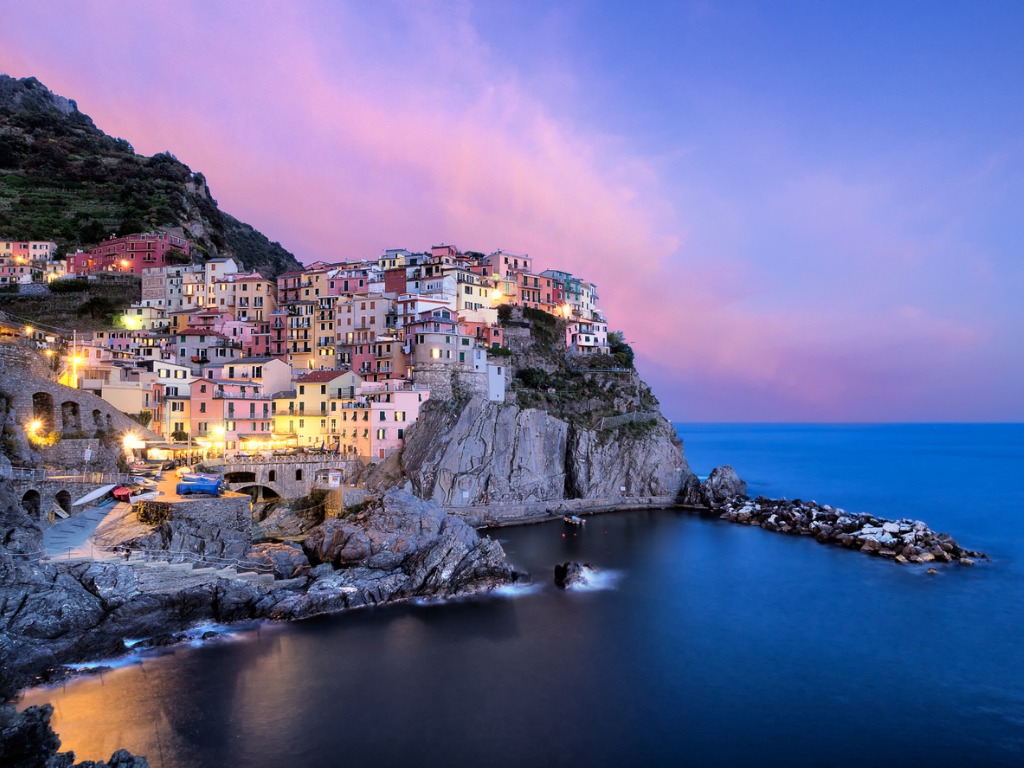
photo by FilippoBacci via iStock
The when part of the equation might be more complicated than simply deciding to be somewhere at dawn or dusk.
For deeper intel on the locations you’ll be traveling to, ask around. Get with your photographer friends and see if they’ve been to any of the locations you intend to visit. Once you’re in-country, ask the locals for inside knowledge about where you should go and when.
That brings up the “be spontaneous” part of this.
While you should leave home with a solid plan in place, don’t be tied down to it. Some of the best adventures (and best photos) result from ditching your initial plans in favor of something else at the last minute! Being willing to be spontaneous is a critical part of being a travel photographer.
Learn More:
Travel Photography Tip #5: Add a Human Element
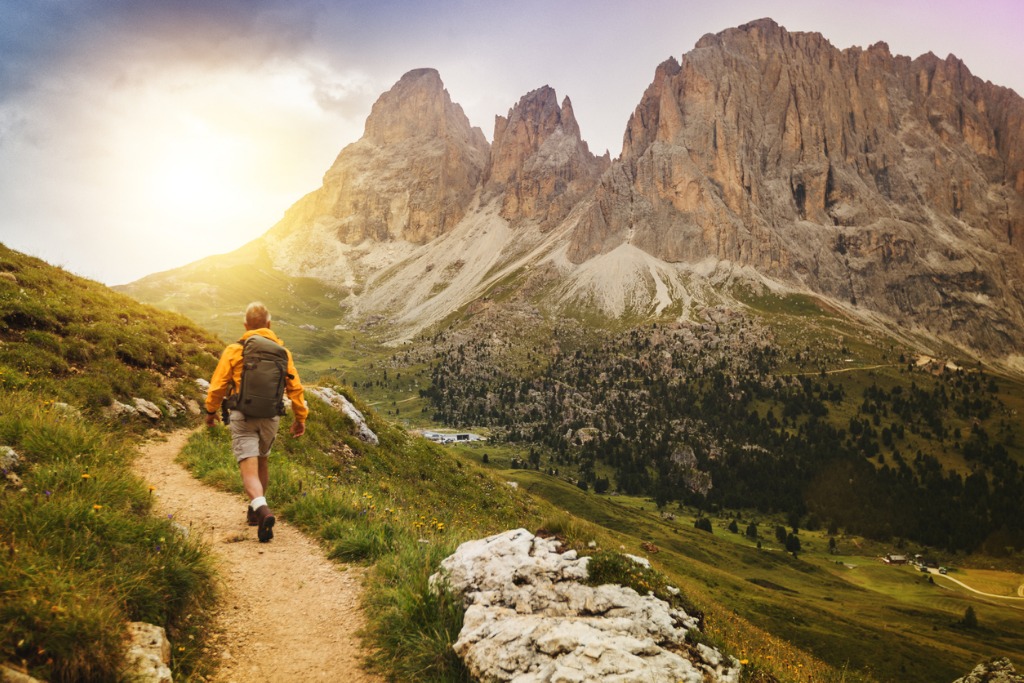
photo by piola666 via iStock
Sure, many travel photos will include people - portraits and street scenes and such.
But there’s a real opportunity to add more meaning and depth to your landscape photos by adding people or human elements to the shots.
Adding a person or a manmade object to a landscape is frowned upon by some landscape photography purists, but for me, doing so helps you tell a better story about that place.
photo by DieterMeyrl via iStock
Additionally, adding a familiar-sized object like a person to a landscape shot creates context and helps viewers understand the scale of the scene.
Likewise, human elements like roads and paths are perfect leading lines that help direct the viewer's eyes from the foreground to the background of the shot.
So, while beautiful, untouched landscapes are certainly worthy subjects, try adding a human element and see how doing so can make the shot that much better.
With these simple tips, you’ll end up with better photos and a more pleasant traveling experience. It’s a win-win!
We Recommend
First Impressions of the Haida M10 Filter system

I've tested tons of filters and filter systems over the years.
Some have been spectacularly unimpressive. Most have been just fine. Others have been really, really good.
Since I'm kind of a gear nerd, I picked up a new filter set to play around with - the Haida M10 Filter system.
I've had my hands on this for about a week now, and first impressions are quite good. I just wanted to share a few thoughts about it now as I'll have a detailed review coming up later on.

Out of the box, you can immediately tell that Haida put some thought into the design and build quality.
The M10 holder is lightweight (it's made of aluminum) yet really sturdy. Holding it in your hand, you can tell that it's a quality piece that can take its lumps.
The holder has a felt lining that will help prevent scratches as you drop the filters in and take them out.
The 100mm filters that come with the kit also feel superbly built and sturdy.
The holder has a quick-release clip for easy on and off, but unlike inferior filter holders with similar clips, this one has a good degree of tension that prevents you from accidentally knocking it off.
I mentioned above that this is a drop-in system, which is super functional because you can use round or square filters.
The kit I have has multiple square and circular filters, including graduated NDs, solid NDs, and a circular polarizer.
With two slots, you can mix and match and stack filters as needed.
I took the filter kit down to the beach to get some sunset shots, but the light turned all skunky so I didn't get the photos I wanted.
And, unfortunately, it'll be the weekend before I get a chance to field test this kit more as I'll be at VidSummit until Thursday.
However, during my quick foray to the beach and in taking a long look at the kit over several nights at home, my first impression is that this could definitely be the new filter kit that I've been looking for.
The kit is well-designed, easy to use, and its matte black finish with red accents looks killer.

The included filters are well built, and I was particularly impressed with the included polarizer, as it has a holder that seals light out. There's also a dial on top of the filter so you can rotate it in its housing without the need for moving the rest of the filter holder. This is extremely handy if you've stacked graduated NDs with the polarizer as that means you won't have to adjust the graduated ND each time you adjust the polarizer.
Keep in mind that this is just a quick first impression of this kit, and that I'll be putting it through its paces later on in a complete review.
But, for now, I'm extremely impressed with Haida and the quality of this kit. It might be worth you checking it out!
We Recommend
Get Better Landscape Photos With These Simple Tips
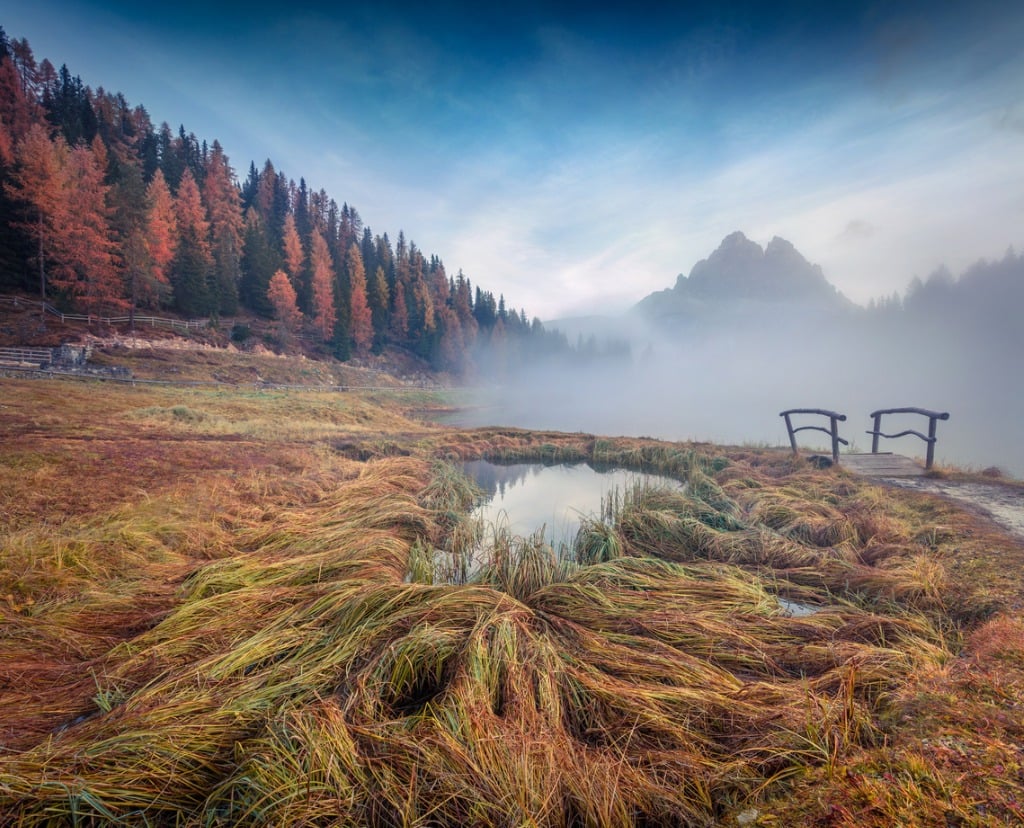
photo by Andrew_Mayovskyy via iStock
Every photographer I know wants to improve their images. Doesn’t matter if the photographer is a beginner or a working pro, using a smartphone or the latest mirrorless digital camera.
One of the topics I see a lot and get asked frequently concerns how to improve landscape photography, and how to make better landscape photos.
Table of Contents
- How to Make Better Landscape Photos
- Previsualization
- Rules of Composition
- Filters and Tripods
- HDR Photography
- Shoot in RAW
- Improve Your Landscape Photography
How to Make Better Landscape Photos
Photo by Robert Murray on Unsplash
Landscape photography can be a very personal endeavor for us as photographers. Oftentimes it’s just us and nature out there together. We enjoy the experience and desire to show others exactly what we see, how we feel about the scene in front of our lens.
Without having to guide or direct anyone else during the photographic process, we can concentrate on our art. Which brings me to the first of my easy landscape photography tips, previsualization.
Recommended Landscape Photography Reading:
- The Landscape Photography Book: The Step-by-Step Techniques You Need to Capture Breathtaking Landscape Photos Like the Pros
- National Geographic Greatest Landscapes: Stunning Photographs That Inspire and Astonish
- The Art, Science, and Craft of Great Landscape Photography
Previsualization
Photo by Jeremy Bishop on Unsplash
In order to create better landscape photos, I like to go back to a technique used by the masters of film photography from the 20th Century. Photographers such as Ansel Adams, Edward Weston, Dorothea Lange, and William Brandt would imagine the finished print and design every step of the way in order to achieve the desired result.
They knew the characteristics of the equipment and the processes they were using, thus they were able control them to their advantage. Film processing was an inherent part of their equations, so was the use of on-lens filters.
photo by x-reflexnaja via iStock
Previsualization continues to be a valid working method for modern photographers, the modern digital processes and equipment we used have their origins in film photography after all. This method also forces us to slow down and really craft the image we’re wanting, instead of relying so much on the awesome technology and automation at our fingertips.
I said this was one of my easy landscape photography tips, though it sounds like it takes a lot of work and knowledge. Well, it does indeed take some work, but it’s a type of work that seems to come naturally to artists and photographers. The effort put into this step is richly rewarded by better landscape photos.
Learn More:
- How to Improve Landscape Photography
- Mountain Photography Tips
- 4 Reasons to Use a Mirrorless Camera for Landscape Photography
Rules of Composition
photo by july7th via iStock
The rules of composition in photography are virtually the same rules that have been used in painting since the Middle Ages. Landscape artists were among the first to utilize rules of composition.
A couple of the most recognized of these is the Rule of Thirds and S Curves. The Rule of Thirds is a visual tool that has your scene divided into 9 equal parts. Two lines divide horizontally into thirds, two lines divide vertically. Placing subject or scene elements along the lines, in the 9 parts, or on any of the four line intersection points results in a natural appearing balance.
An S Curve can be any gentle curve within the scene that either leads you to or away from something. This composition method can be combined with the Rule of Thirds or other composition techniques. Using the rules of composition really does often result in better landscape photos.
Filters and Tripods
Photo by v2osk on Unsplash
The right landscape photography gear can also assist you in capturing better landscape photos. Obviously, gear alone won’t improve your images. You have to be making use of the proper methods and techniques first, but some gear and accessories can make it easier to get great shots with those methods.
Two essential pieces of landscape photography gear are a good tripod and a set of filters. The filters I recommend for digital photography are circular polarizers (C-PL), neutral density (ND), and graduated neutral density (GND) filters.
photo by nicky39 via iStock
A sturdy tripod will allow you to set up and use filter systems, implement techniques such as HDR photography, use long shutter speeds for water and cloud motion blur effects, and use smaller apertures to maximize depth of field.
In regards to filters, I like to use a filter system with a holder and different filters which attach to the lens via adapters for the correct size of the filter mount of the lens. This lets me invest in very high quality filters without needing a different set for each size of lens I have.
A filter system I’ve been very happy using is from Haida, the Haida M15 magnetic filter system. The holder can take round filters like their circular polarizers as well as square filters (shown below), such as the different GND filters Haida makes.
A good quality GND or C-PL filter can really raise your landscape photos from excellent to outstanding. The learning curve for using a filter system like the Haida M15 magnetic filter system is very easy. The optical quality of their filters is superb.
HDR Photography
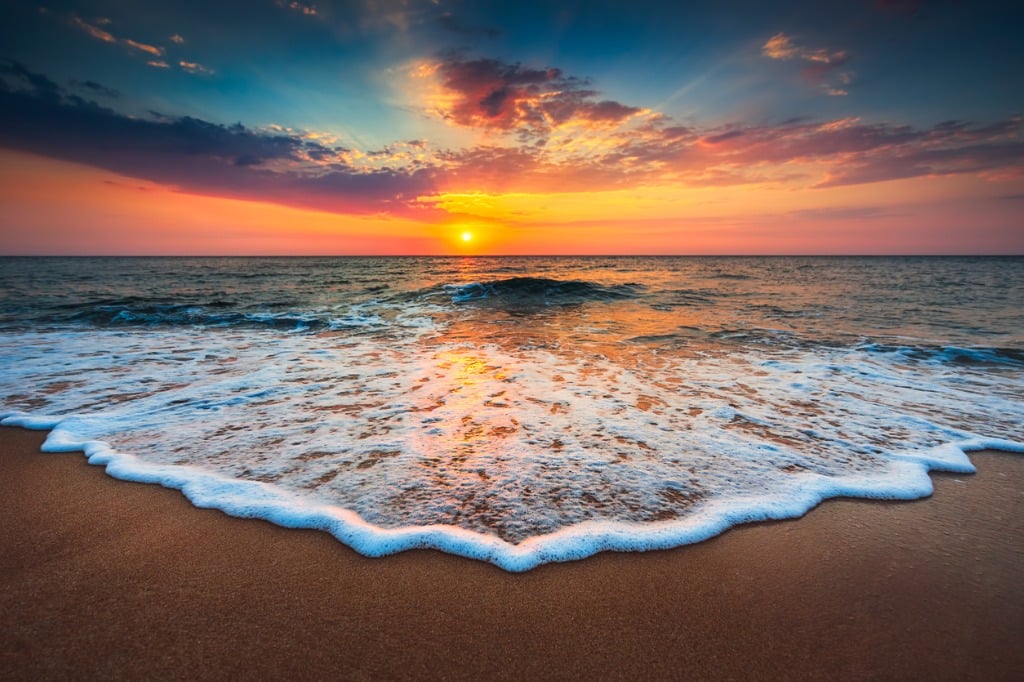
photo by valio84sl via iStock
One of the newest methods that digital photography makes possible is high dynamic range (HDR) photography. A tripod is an essential piece of landscape photography gear if you are going to get usable results from HDR photography.
HDR photography combines 2, 3, or more exposures in order to enable you to capture the entire range of exposure values within your landscape scene. When it first came up in photographer’s awareness, HDR images we were shown tended to look rather odd and unnatural. Natural looking HDR is very simple to accomplish and it really looks great in your final images.
Shoot in RAW
Photo by JESHOOTS.COM on Unsplash
You see me suggest this quite often. The reason is because it gives us more options for creating better landscape photos. A RAW image file contains more exposure information than a JPEG does, which means we have a greater ability to enhance and tweak our picture to end up with the final image we previsualized.
Of course, it means we will have to learn how to use a decent post processing program, but that’s one of my landscape photography tips too, choose and learn a good post processing program.
Adobe and other companies such as ACDSee have low cost subscriptions for these amazing programs. Free tutorials for the programs are found on YouTube and on the company websites. Take advantage of the tutorials even if you are already using such a program, it’s time well spent.
Improve Your Landscape Photography
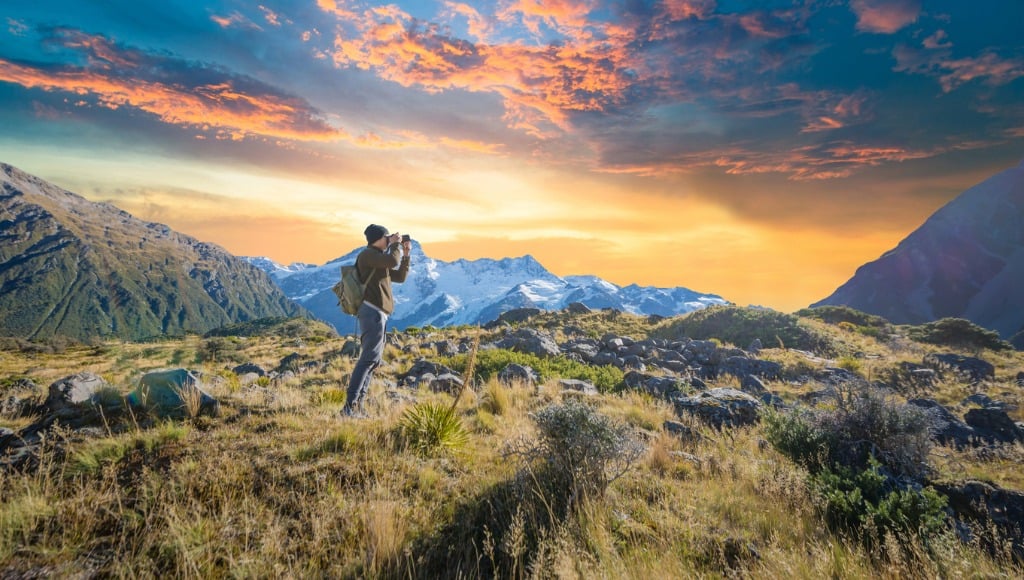
photo by primeimages via iStock
Achieving your goals of making better images of your favorite landscape scenes is within your grasp and easier than you might have thought. You’re already a good photographer, let’s move on up and get better. Trust me, you’ll love the results of these basic landscape photography tips.
And when you're ready to really step up your game, I'd suggest participating in an intensive photography workshop.
What's great about a photography workshop is that you get a lot of instruction and a lot of time to practice over the course of a short period - five days to a week, for example.
That means that you can learn and grow very quickly and leave the workshop with many new skills that will help you jumpstart your pursuit of being a better photographer.
For my money, an all-inclusive photography tour is the way to go. After all, why would I want to worry about hotels and food and where we're going?! I want to focus my attention on gaining new skills and honing existing ones.
That's exactly what you can do on a photography tour with Scott Setterberg from ColorTexturePhotoTours.
I've known Scott for a while now, and he's a knowledgeable, experienced photographer that's really down to earth and can help you elevate the quality of your photos with his easy-going and laid-back style of teaching.
What's more, Scott's tours are small - usually limited to just four people - so you are sure to get plenty of one-on-one time with Scott to learn new things and get feedback on your work.
Plus, in such a small group, you're bound to make new photography buddies that you can share your experience (and your photos!) with for years to come.
Scott offers tours in Costa Rica and Oregon, and in both cases, you just have to get yourself there, and he takes care of the rest.
It's one thing to learn simple tips and techniques in a photography article. It's another thing to learn from an expert in the field where you have hours and hours each day to practice what you learn. There's simply no better way to learn photography!
Learn More:
We Recommend
Gifts for Photographers Under $1,000 - 2020 Edition

photo bysl-f via iStock
With 2020 not going so well thus far, it’s nice to look ahead to the holiday season and start thinking of things you might want to get for your favorite photographer.
With a budget of $1,000, there is no end to incredible photography gifts that you can give to the photographer on your holiday shopping list.
From big, beautiful prints of their best photos to high-capacity memory cards, a nice monitor for editing photos and videos to a killer travel tripod, there are many gifts you can choose from.
Let’s see what photography gear makes our list of the top 10 gifts for photographers under $1,000.
Gifts for Photographers Under $1,000: CanvasHQ Print

One of my favorite gifts to give (and to get, while we're at it) is a big, beautiful print.
Personally, I like canvas because of the texture the canvas gives to the print. Besides, a canvas print is something that will continue to give joy to the person that receives it for years and years to come!
Now, I know what you're thinking...canvas is so old-school.
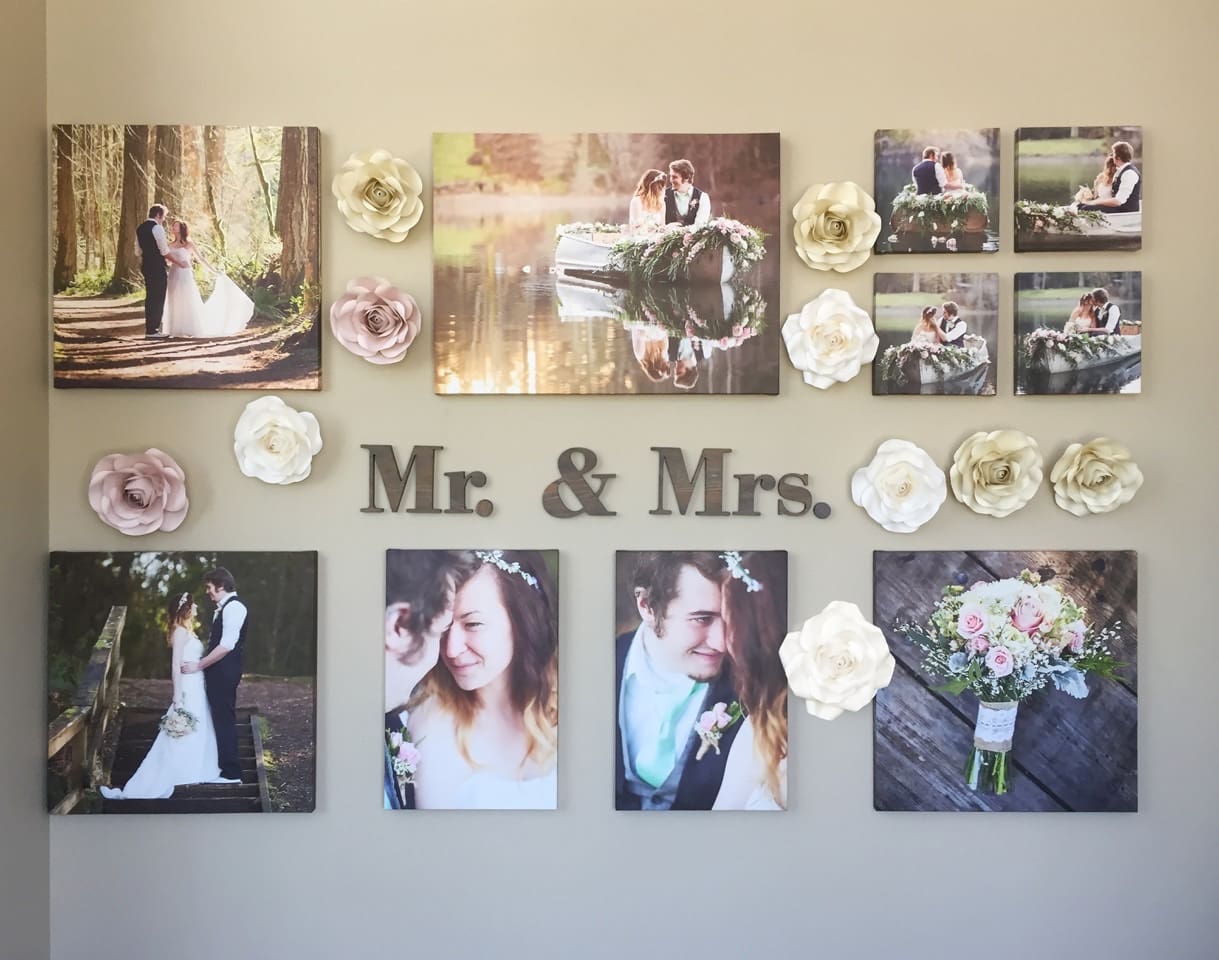
But if you order your canvases from the right printers, you can get something that is beautiful, well-made and looks modern, even if the substrate is perhaps a bit old-school.
I have tons of canvases in my home, the vast majority of which are fromCanvasHQ.
These are some of the best canvas prints I've ever purchased. The sharpness of detail, the color accuracy, and the overall build quality of these prints is next-level good.
Part of the reason for this is the materials CanvasHQ uses. We’re talking archival-grade canvas, commercial-grade inks that are water and UV resistant, and kiln-dried pine frames to keep everything straight and true.

But CanvasHQ isn't just tops in the quality department...
They have excellent customer service that makes you feel heard and as though you're the only customer they have to worry about at that moment.
These guys are committed to getting it right, so if something doesn’t go as planned, you won’t be hung out to dry.
If you have questions, they’ll answer them. If you have a problem, they’ll fix it. If you need assistance with uploading your photo or even picking the best finishes for your canvas, they’ve got your back.
In the video above, you can see how one of my CanvasHQ prints stacks up against similar prints from other printing companies. I think you'll see why I'm so loyal to CanvasHQ!
Start shopping for your favorite photographer today on CanvasHQ.
Gifts for Photographers Under $1,000: Holdfast Roamographer
With a $1,000 holiday budget, you can give the photographer on your list a gift that is impeccably designed, highly functional, and way under budget, too.
The Holdfast Roamographer bag is one of the finest leather camera bags on the market. It offers gorgeous aesthetics with an American Bison leather exterior that’s beautiful and rugged at the same time.
Not only will this leather stand up to the elements and age with grace, but it’s also weather resistant so you can be sure the contents of the bag remain safe and dry.
It’s a big bag and can carry lots of gear, but carrying it is a breeze with an adjustable shoulder strap with a shearling-lined shoulder pad for comfort.
Or, if you prefer, you can carry the Roamographer using the Holdfast MoneyMaker for even more functionality and comfort, as seen above.

The inside of the bag must be mentioned as well.
The removable camera insert means that no matter how much or how little gear your favorite photographer needs to carry, the Roamographer will help them keep it organized.
The padded insert has cubbies specifically for cameras, lenses, flashes, and other accessories, while there’s interior and exterior pockets for other goodies like a phone, car keys, and a tablet.
The insert is removable, too, so on weekends when they’re not on the job, the photographer on your list can use this as a weekend bag, too.
That makes the Holdfast Roamographer a beautiful, functional, and multi-purpose bag!
Learn more about the Holdfast Roamographer
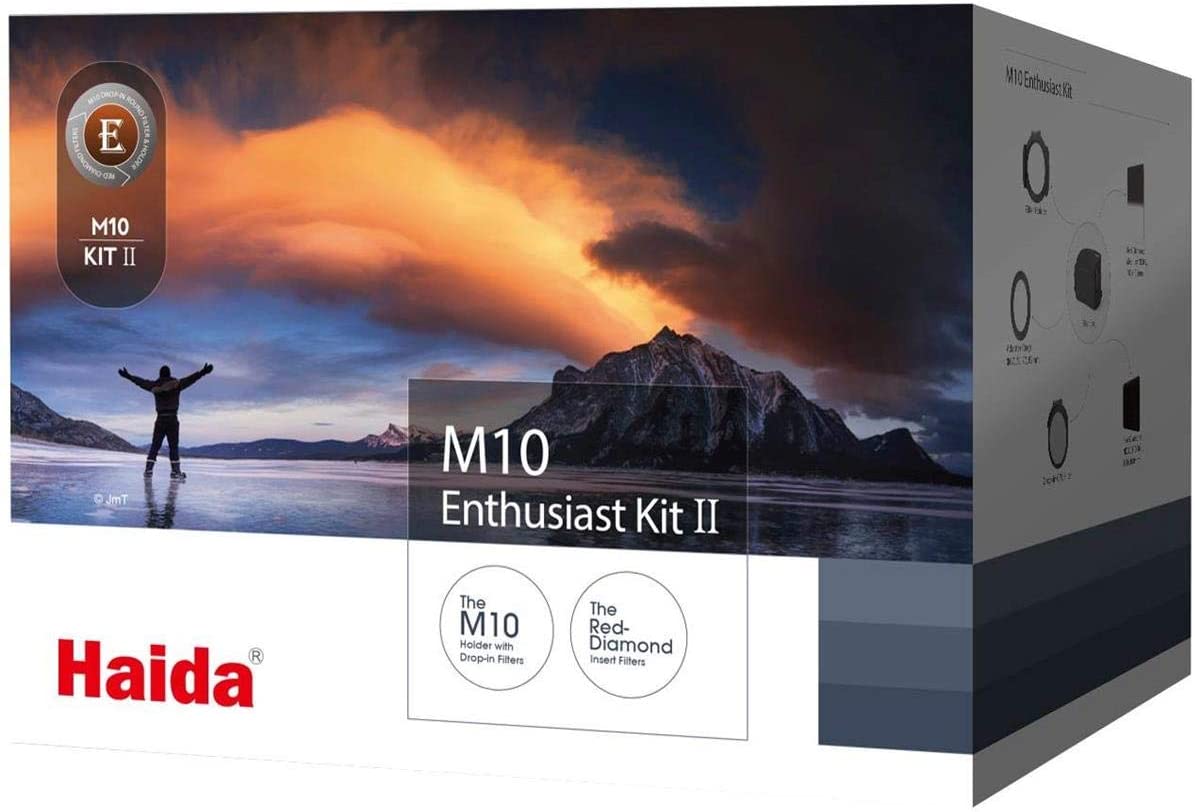
Gifts for Photographers Under $1,000: Haida M10 Enthusiast Filter Kit
I've tested tons of filters and filter systems over the years.
Some have been spectacularly unimpressive. Most have been just fine. Others have been really, really good.
Since I'm kind of a gear nerd, I picked up a new filter set to play around with - the Haida M10 Enthusiast filter kit.
This kit comes with everything the photographer on your list needs: the Haida M10 filter holder, an 67mm, 72mm, 77mm, and 82mm adapter rings, and a drop-in circular polarizer.
The kit also comes with a light barrier, a 100x100mm Red Diamond 3.0 neutral density filter, a 100x150mm Red Diamond medium 0.9 neutral density filter, and a filter bag to top it off.
In other words, in a single gift, you can give your favorite photographer the ability to create long exposures, to manage glare off of water, to boost contrast in the sky, and much more.
And because the kit comes with several adapter rings, it can be used on a variety of lenses!
Every landscape photographer needs a circular polarizer and a couple of neutral density filters. You can give precisely that (and more!) with the Haida M10 Enthusiast filter kit.
That makes the M10 Enthusiast kit the ideal gift for your favorite photographer. It's a gift that keeps on giving!
Learn more about the Haida M10 Enthusiast Filter Kit
Gifts for Photographers Under $1,000: ProGrade Digital 650GB CFexpress Type B Memory Card

When I bought my Canon EOS R5, I knew I would need to greatly upgrade my memory card situation. I needed something with a huge amount of storage and lightning-fast read and write speeds to accommodate shooting 8K RAW video.
So, I did a little research and decided that ProGrade Digital’s CF Express Type B cards were the way to go. After using these cards, I know I’ve made the right decision, and buying them for yourself or your favorite photographer this holiday season will be a good decision as well!
These cards have read speeds of up to 1700 MB/s and write speeds of up to 1500 MB/s. The write speeds are guaranteed not to dip below 1400 MB/s, so you have consistent speed no matter what you’re doing.
That speed is great for 8K video, but also 4K and 6K video (and fast burst shooting too). In any of these cases, these cards help clear the buffer quickly so you don’t miss any action.
If you have a camera with an XQD slot, you can use these cards. ProGrade made these cards backward compatible with XQD devices. All it takes is a quick firmware update and you’ll be ready to rock!
If you’re concerned about durability, that isn’t an issue with ProGrade cards. Not only are they resistant to shock, vibration, and X-rays, but they are also resistant to extreme temperatures. So, no matter if you’re in the Arctic or Death Valley, ProGrade has your back.
Another feature worth mentioning with these cards is that ProGrade has taken measures to ensure their authenticity. Each card has laser-etched serial numbers that help prevent counterfeiting. ProGrade even offers advanced recovery software that prevents your files from being corrupted. Nice!
Over time, memory cards slow down, but ProGrade has developed software that helps keep their cards running at peak performance for the longest possible time. Called Digital Refresh Pro, this software (which is available separately) sanitizes your card to keep it in tip-top shape. The software also lets you check the health of your cards before each shoot, that way you know that the card is primed and ready to record image and video data.
A great memory card is the foundation of creating beautiful images. Don’t let your favorite photographer continue working with subpar memory cards. Get them something durable, reliable, and fast from ProGrade.
Learn more about ProGrade Digital CF Express Memory Cards
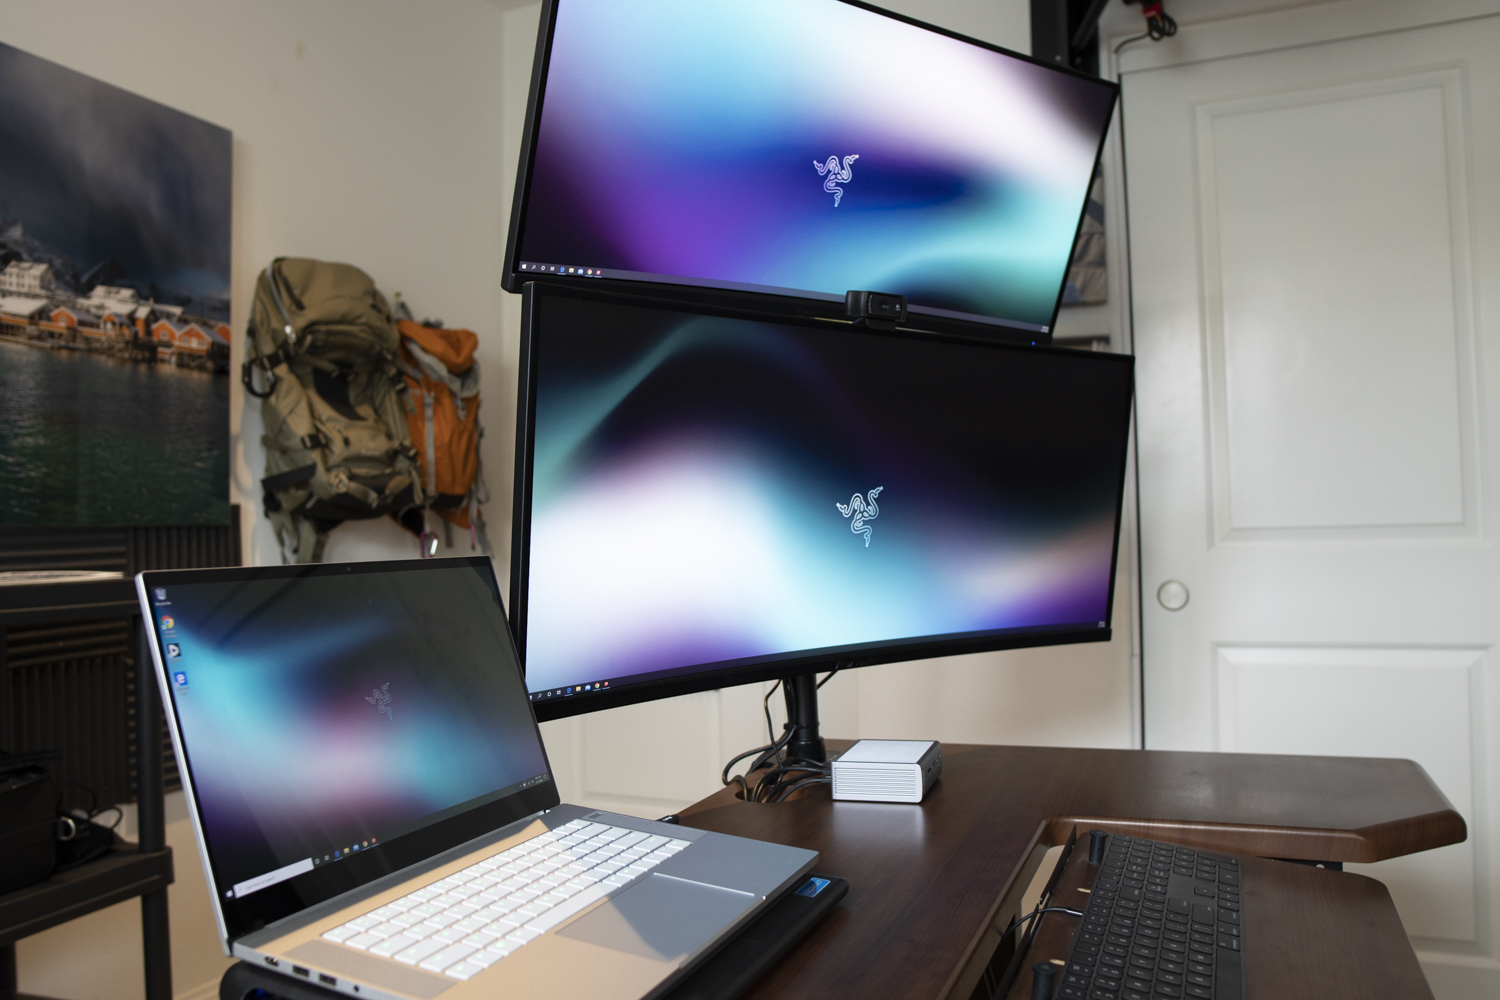
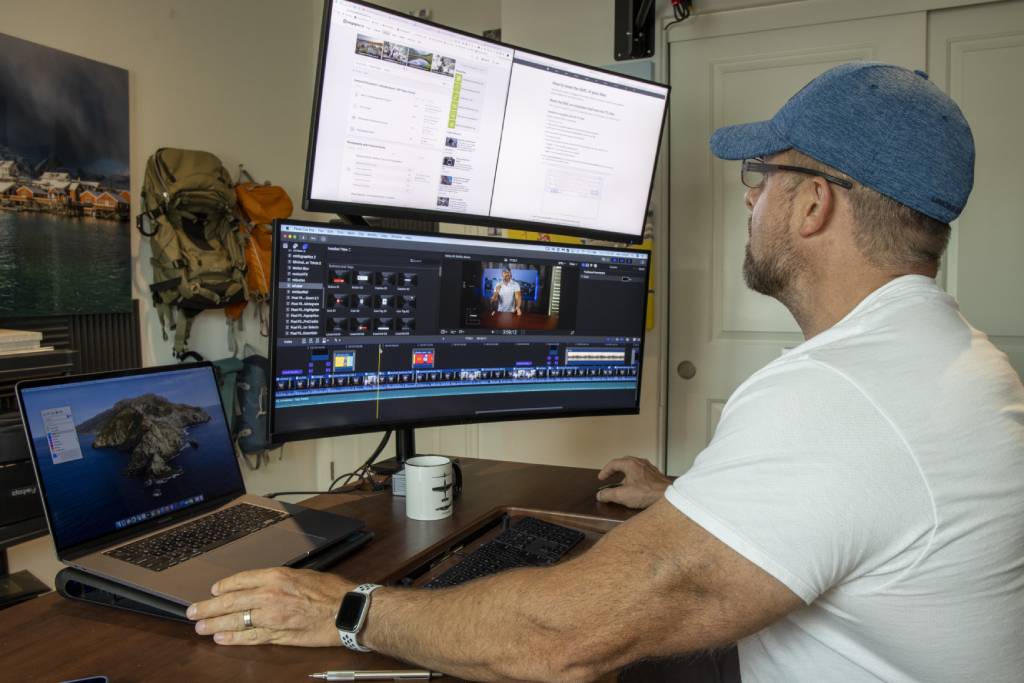
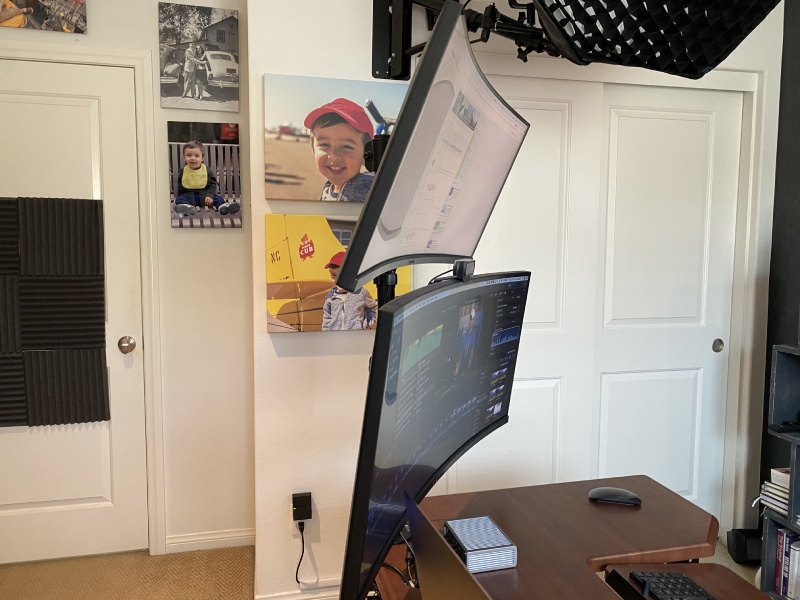
Gifts for Photographers Under $1,000: ViewSonic VP 3881 Ultra-Wide Curved Monitor

ViewSonic VP 3481 shown on top and ViewSonic VP 3881 shown on bottom.
I have this monitor in my home office (along with the 34-inch monitor discussed next), and I can't tell you how impressed I am with it.
As I noted in my first impressions review of this monitor, I was an LG monitor fan for the longest time, but honestly, these ViewSonic monitors are next-level in terms of the color accuracy and sharpness they produce.
ViewSonic VP 3481 shown on top and ViewSonic VP 3881 shown on bottom.
It has 60Hz SuperClear IPS technology that makes the monitor a joy to look at. The support for 4.39 trillion colors, 14-bit LUT, and 3D LUT capabilities aren't bad, either.
Truly, this is the best monitor I've ever had for photo and video editing - or any other purpose, for that matter. The color accuracy is next-level good. The sharpness is incredible too.

ViewSonic VP 3481 shown on top and ViewSonic VP 3881 shown on bottom.
I also love the 38-inch ultra widescreen curved design. It’s an immersive viewing experience that would be excellent for gaming, but it’s hugely helpful for editing photos and videos, too.
Add in integrated speakers, 6-axis color enhancement, ViewSplit technology (which allows you to divide the screen into multiple windows), and a three-year limited warranty, and you have the makings of the best ultra widescreen monitor money can buy!
Learn more about the 38-inch ViewSonic VP3881
Gifts for Photographers Under $1,000: ViewSonic VP 3481 Curved Monitor
ViewSonic VP 3481 shown on top and ViewSonic VP 3881 shown on bottom.
If the photographer on your holiday shopping list needs a new monitor, but one that’s not quite as large as the ViewSonic VP 3881 discussed above, the ViewSonic VP 3481 is a great alternative.
This wide-screen monitor features the same immersive curve with a 21:9 aspect ratio, but is four inches smaller than the VP 3881. Yet, at 34-inches, this monitor still offers a beautifully large viewing experience for editing photos and videos.

ViewSonic VP 3481 shown on top and ViewSonic VP 3881 shown on bottom.
You’ll find the same technology too - 4.39 trillion colors, 14-bit LUT, and 3D LUT capabilities.
Your favorite photographer can also enjoy 6-axis color enhancement, HDR10 support, and ViewSonic’s ViewSplit technology.
The VP 3481 has a frameless design and a wide range of viewing angles that make it easy to see the screen no matter if you’re sitting in front of it or off to the side.
Likewise, the integrated speakers make video editing all the more productive while also saving space on your desk!
This monitor is about $250 less than the VP 3881, but packs every bit of a punch!
Learn more about the ViewSonic VP 3481 Curved Monitor
Gifts for Photographers Under $1,000: DJI Mavic Air 2
Personally, I think the DJI Mavic Air 2 is one of the best gifts you can give with a $1,000 budget. In fact, I declared it the best drone money can buy under $1,000 - it’s that good!
Get a load of these specs…
- 48-megapixel Quad Bayer sensor
- 34-minute flight time (as compared to about 20 minutes in the original Mavic Air)
- Multiple hyperlapse modes for time-lapse videos (with 8K recording!)
- Completely redesigned remote
- Obstacle avoidance system with front, rear, and downward-facing sensors, and AirSense, which detects other aircraft and warns you when they are nearby
- 42 MPH top speed
Sure, the Mavic Air 2’s sensor is only a ½-inch, but DJI wrests all it can out of that sensor and offers a drone that can capture beautifully detailed images.
You can zoom in for a tighter shot without worrying about a ton of noise. Likewise, when you're processing the images, you can really appreciate the incredible detail, clarity, and colors in the photos.
It also helps that you can take 12-megapixel images or opt for using the full resolution of the camera to take 48-megapixel images when necessary!
Video quality is great too, though I will say I’d take the Mavic Pro 2 if video was my priority.
Nonetheless, this drone is loaded for bear for any photographer that wants to upgrade their drone photography experience.
Learn more about the DJI Mavic Air 2
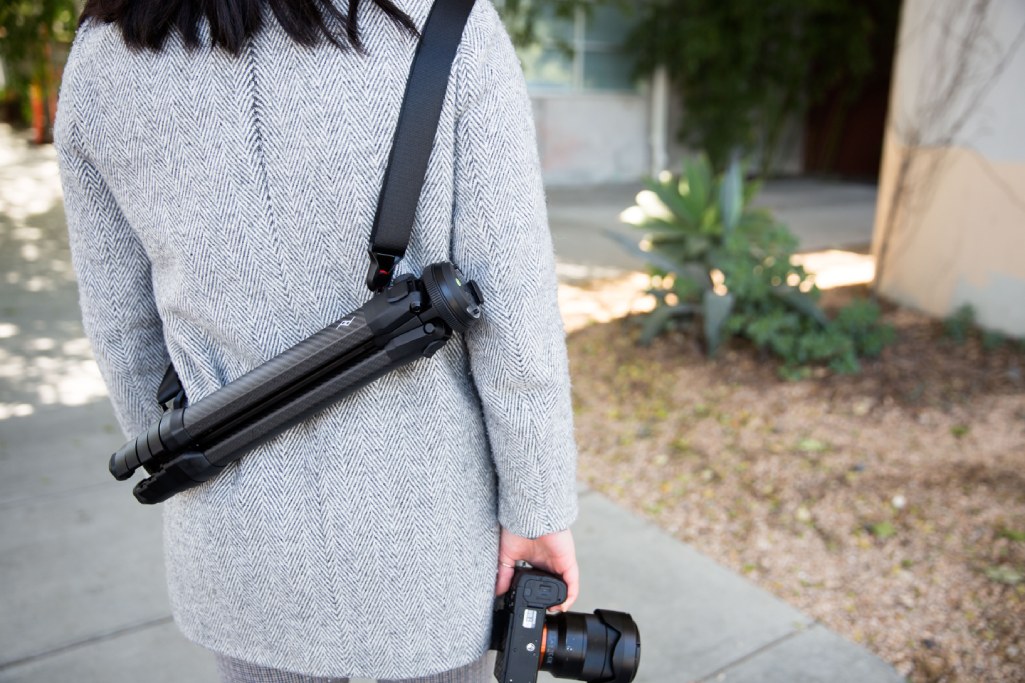
Gifts for Photographers Under $1,000: Peak Design Carbon Fiber Travel Tripod
I know most of us aren’t doing a heck of a lot of traveling right now, but if you’re shopping for a photographer that typically travels a lot, I’ve got a great gift idea for you.
The Peak Design Travel Tripod is an incredible bit of design. It’s a full-fledged tripod that’s ultra sturdy and durable, yet when collapsed is about the diameter of a water bottle for super easy packing.

This particular tripod is made of carbon fiber to keep the weight down and has aluminum leg locking cams that allow you to simultaneously release the leg’s 5 sections. This makes setting up the tripod a quick job.
The tripod extends up to 60 inches with the center column deployed and can get down to just 5.5 inches above the ground for low-angle shots.

You also get a ball head that was completely redesigned and includes no knobs or levers that stick out - which is part of what makes this tripod so packable and easy to travel with.
Add in a quick-release system that fits Peak Design plates and most Arca-type plates, a 20-pound load capacity, and non-slip shock-absorbing feet (among many other features), and you have the makings of a gift that your favorite photographer will be over the moon for!
Learn more about the Peak Design Travel Tripod
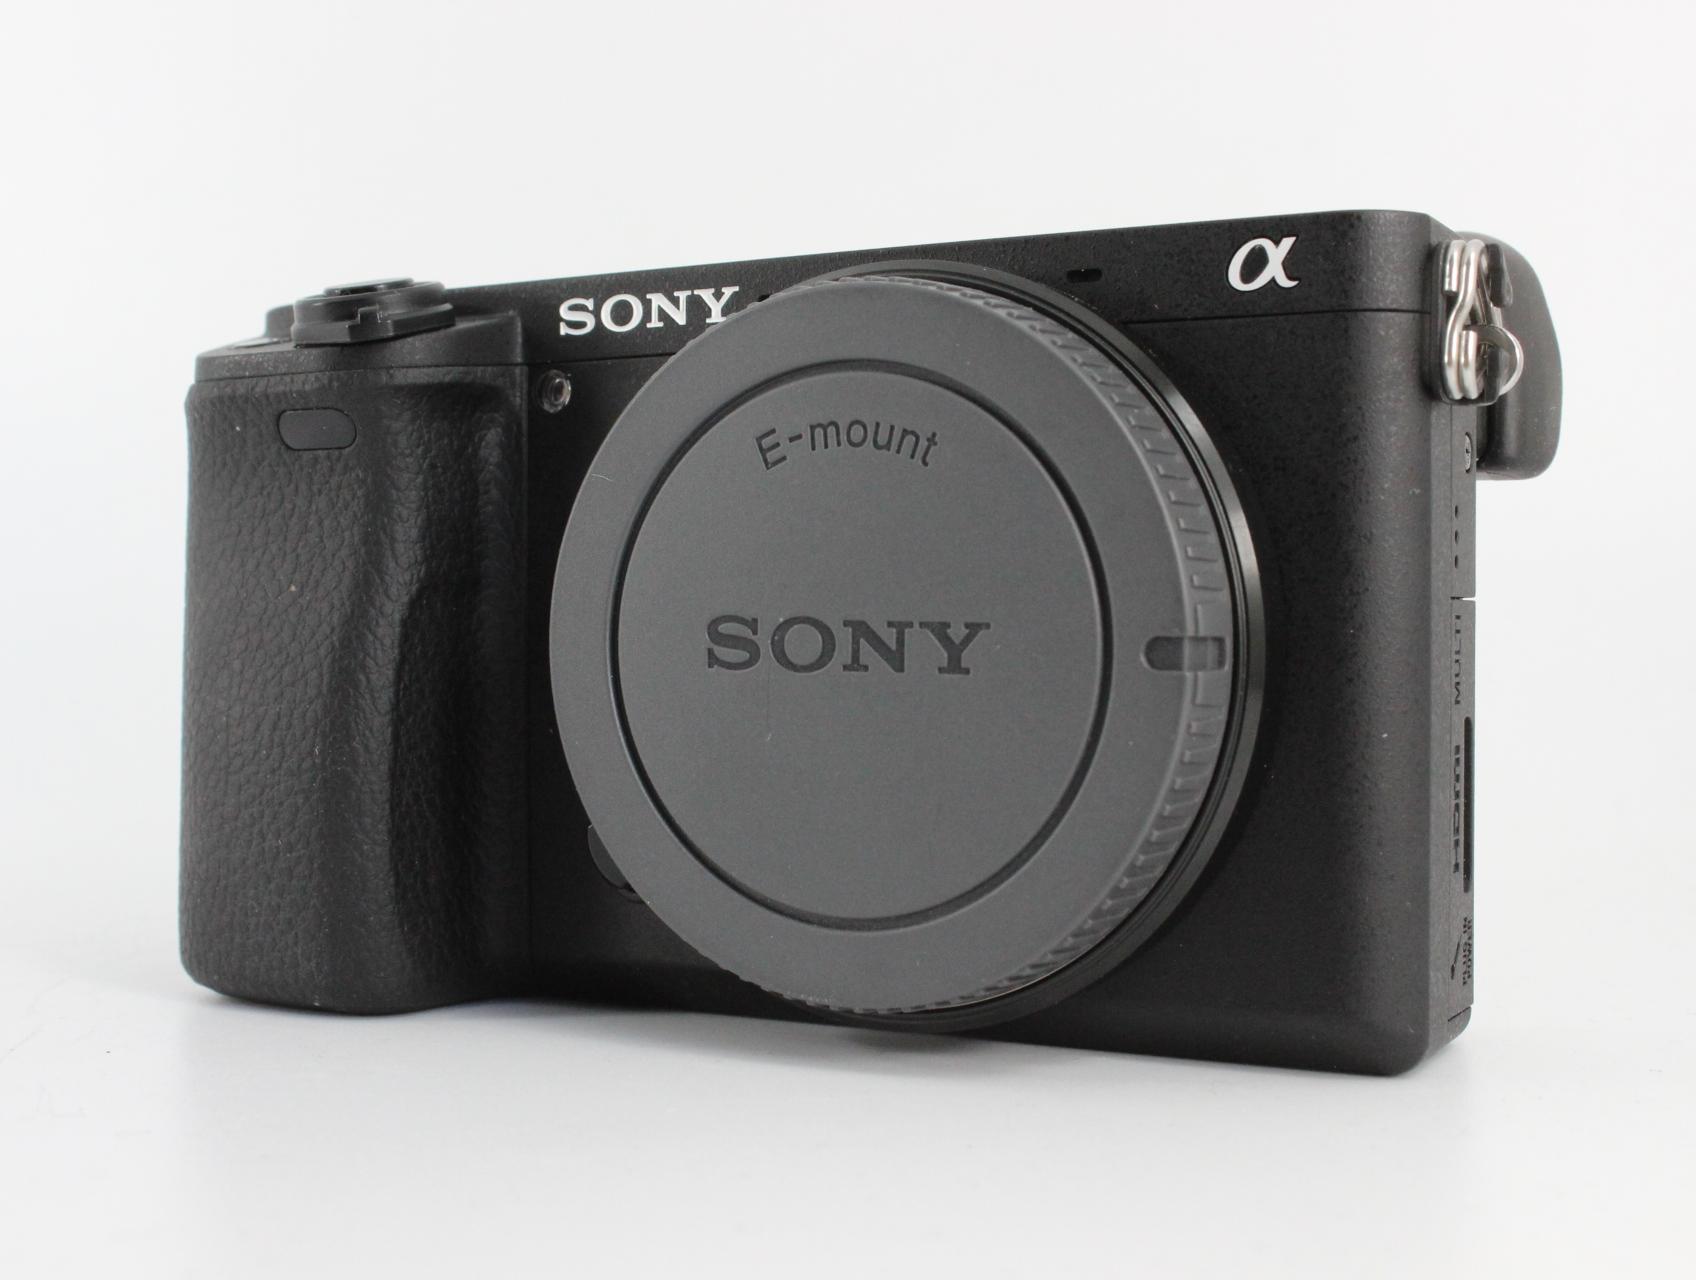
Gifts for Photographers Under $1,000: Pre-Owned Sony Alpha a6300
A great holiday gift idea for the photographer on your list is a Sony camera.
By opting for a pre-owned camera, you can save a ton of money while still giving an awesome gift this holiday season.
The Sony a6300 offers lots of features, including a 24.2-megapixel Exmor CMOS sensor, a BIONZ X image processor, 4K video at 30p, HD video at 1080p/120, and continuous shooting at 11fps.
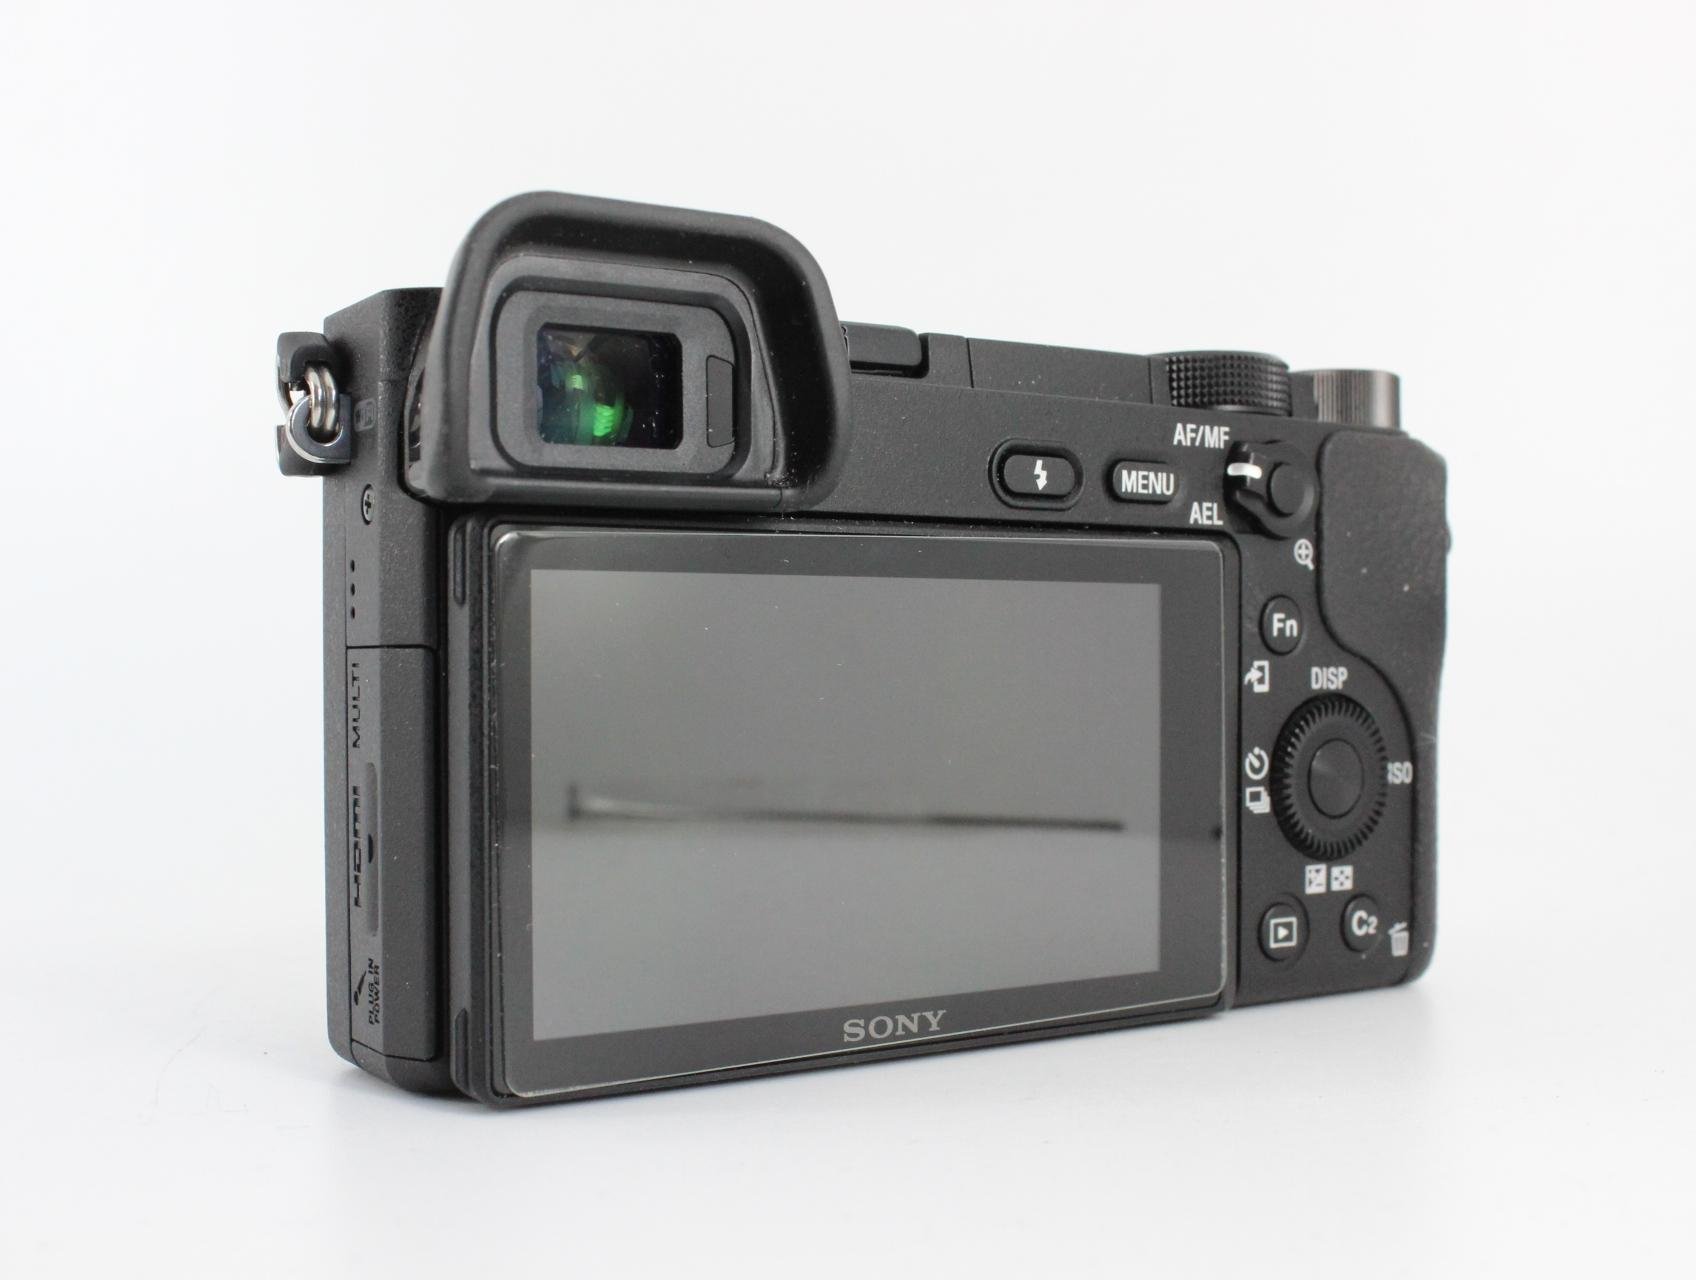
Add to that a spectacular 425-point autofocus system with tracking AF, excellent image quality, and a small, lightweight body, and the a6300 is a perfect gift for a photographer that needs a capable yet highly portable camera.
Plus, with the a6300, you give the gift of a small, yet mighty camera with superb photographic and video capabilities, but that can easily slide into a camera bag with loads of room to spare.
There are also many different lenses that work with this camera, so if you wanted to expand the gift-giving, you could potentially find a nice pre-owned E-mount lens to add to the mix.
Whether the photographer on your list photographs people, buildings, landscapes, wildlife, or something in between, this camera will be a welcome addition to their camera bag!
Learn more about the Sony a6300
Gifts for Photographers Under $1,000: Amazon Gift Card
![]()
Totally stumped regarding gift ideas for photographers on your list?
Why not go the easy route and get them an Amazon gift card?
Though a gift card isn't exactly the sexiest gift, when the photographer in your family sees that you have given them carte blanche to get what they want, they'll be stoked!
With an Amazon gift card, they can put the card amount towards whatever they want - a new lens, a second camera body, lighting gear, a laptop - you name it!
As far as flexibility goes, there's nothing better to give a photographer than a gift card.
Learn more about Amazon gift cards
We Recommend
Gifts for Photographers Under $2,500 - 2020 Edition

Photo by mapodile via iStock
I don't know about you, but I can't wait for the holidays.
It's been a tough year - I think we can all agree on that - so some holiday cheer will be a nice change of pace.
While it seems like the holidays are a long ways off, they tend to sneak up on us (at least they do me). But this year I've resolved to be ready ahead of time and get my holiday shopping done well in advance.
If you've got the same goal and have a photographer on your holiday shopping list, consult this list of the best gifts for photographers under $2,500 to get some gift idea inspiration!
Gifts for Photographers Under $2,500: CanvasHQ Print
One of my favorite gifts to give (and to get, while we're at it) is a big, beautiful print.
Personally, I like canvas because of the texture the canvas gives to the print. Besides, a canvas print is something that will continue to give joy to the person that receives it for years and years to come!
Now, I know what you're thinking...canvas is so old-school.
But if you order your canvases from the right printers, you can get something that is beautiful, well-made and looks modern, even if the substrate is perhaps a bit old-school.
I have tons of canvases in my home, the vast majority of which are fromCanvasHQ.
These are some of the best canvas prints I've ever purchased. The sharpness of detail, the color accuracy, and the overall build quality of these prints is next-level good.
Part of the reason for this is the materials CanvasHQ uses. We’re talking archival-grade canvas, commercial-grade inks that are water and UV resistant, and kiln-dried pine frames to keep everything straight and true.
But CanvasHQ isn't just tops in the quality department...
They have excellent customer service that makes you feel heard and as though you're the only customer they have to worry about at that moment.
These guys are committed to getting it right, so if something doesn’t go as planned, you won’t be hung out to dry.
If you have questions, they’ll answer them. If you have a problem, they’ll fix it. If you need assistance with uploading your photo or even picking the best finishes for your canvas, they’ve got your back.
In the video above, you can see how one of my CanvasHQ prints stacks up against similar prints from other printing companies. I think you'll see why I'm so loyal to CanvasHQ!
Start shopping for your favorite photographer today on CanvasHQ.
Gifts for Photographers Under $2,500: DJI Mavic 2 Pro

I've been a fan of DJI drones for years and years. In fact, when I've had my fill with one of their drones, I go right back to DJI and get a newer one.
I have two DJI drones at the moment, and one of them is the Mavic 2 Pro. To say that it's been a fantastic addition to my kit is a massive understatement.
While I use the DJI Mavic Mini for quick outings, the Mavic 2 Pro is my go-to rig for heavy-duty tasks. This is the case because of features like this:
- 20-megapixel 1-inch CMOS sensor (it’s a Hasselblad too!!)
- Variable aperture from f/2.8-f/11
- ISO range of 100-12800 (when shooting in manual)
- JPG and RAW photo files
- Multiple photo modes - QuickShot (Dronie, Circle, Helix, Rocket), HyperLapse (for shooting timelapses), HyperLight (for low-light shots), Panorama, ActiveTrack 2.0, Point of Interest 2.0, Waypoint 2.0
- 4K video at 30p (and 2.7K at 60p and Full HD at 120p)
- 4.3-mile range (perfect for getting long, sweeping cinematic videos of a landscape)
- 31-minute flight time (bring a couple extra batteries and you can fly for a solid 1.5 hours!)
- 44.7mph max speed (not that you can fly that fast and get good photos or videos…but it’s still fun)
- Omnidirectional obstacle detection (forward/backward, left/right, up/down)
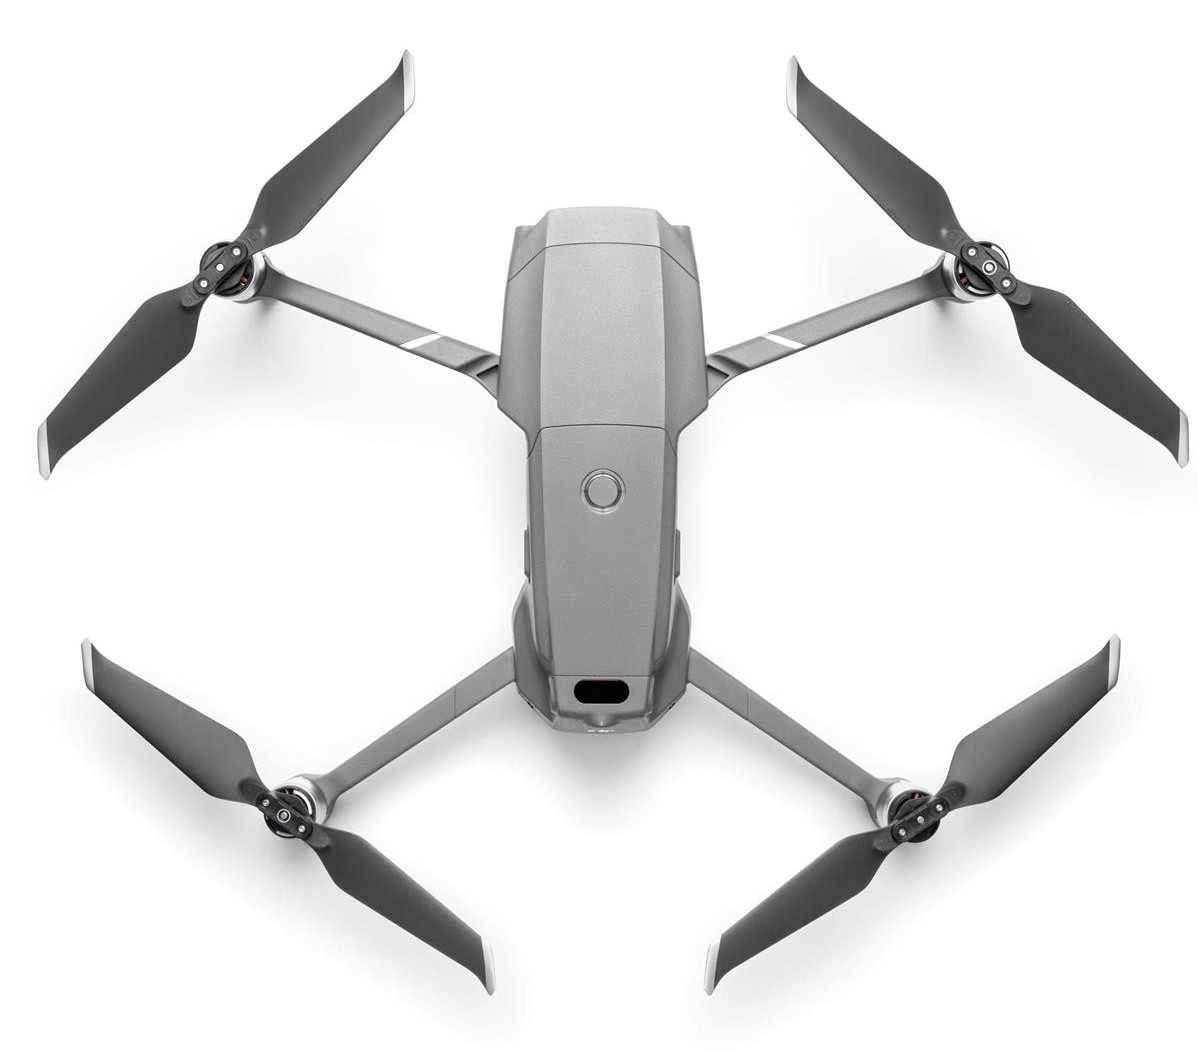
But don't think that because it's loaded with features that this is a big, bulky drone. Quite the contrary...
When it’s unfolded, the Mavic 2 Pro is 12.7 (L) x 9.5 (W) x 3.3 (H). But when it’s folded, it’s small form factor becomes much more apparent: it’s just 8.4 (L) x 3.6 (W) x 3.3 (H).
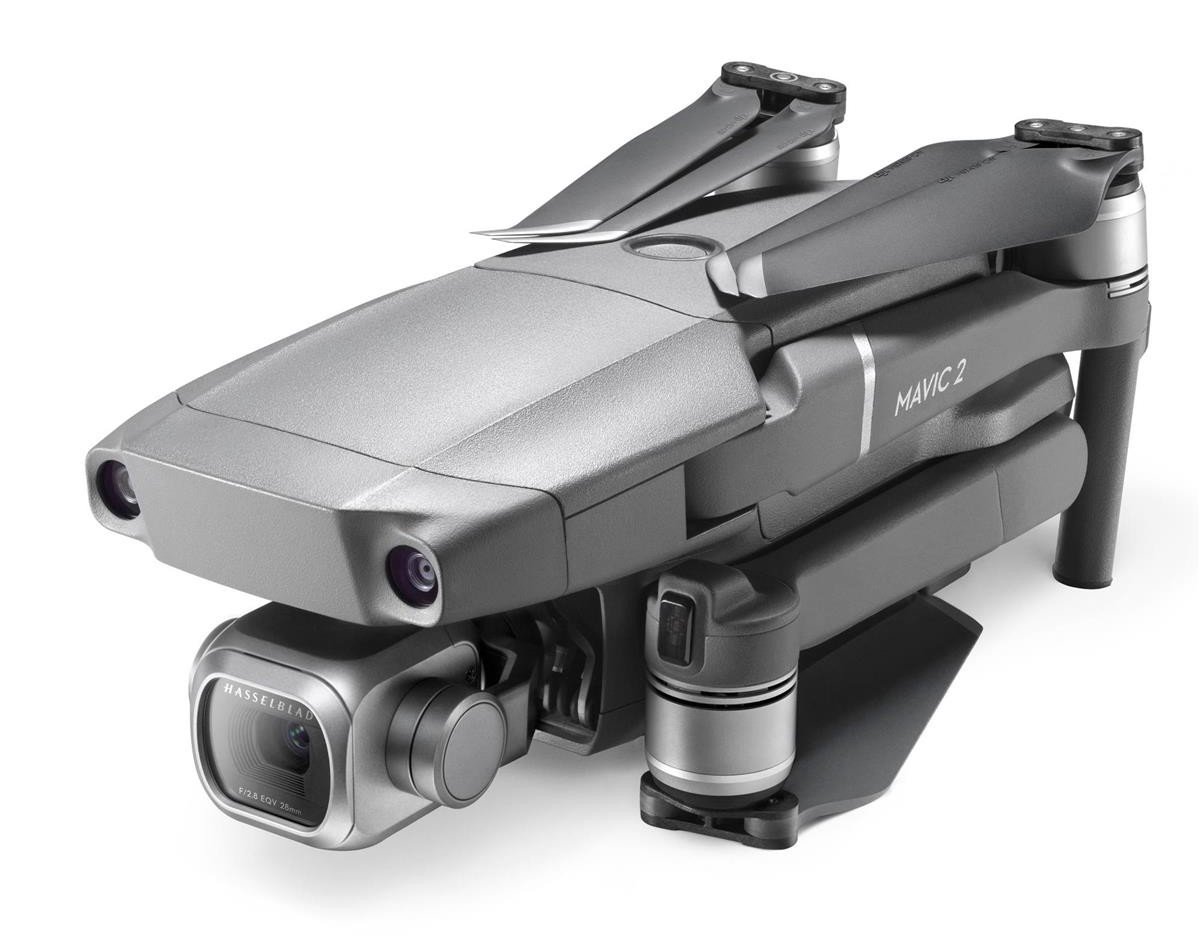
But perhaps best of all is the price!
The Mavic 2 Pro's price has steadily dropped, and right now it's the lowest it's ever been at $1,599.00. With a $2,500 budget, that gives you leeway to add in another gift for your favorite photographer this holiday season!
Learn more about the DJI Mavic 2 Pro
Gifts for Photographers Under $2,500: Haida M10 Master Filter Kit
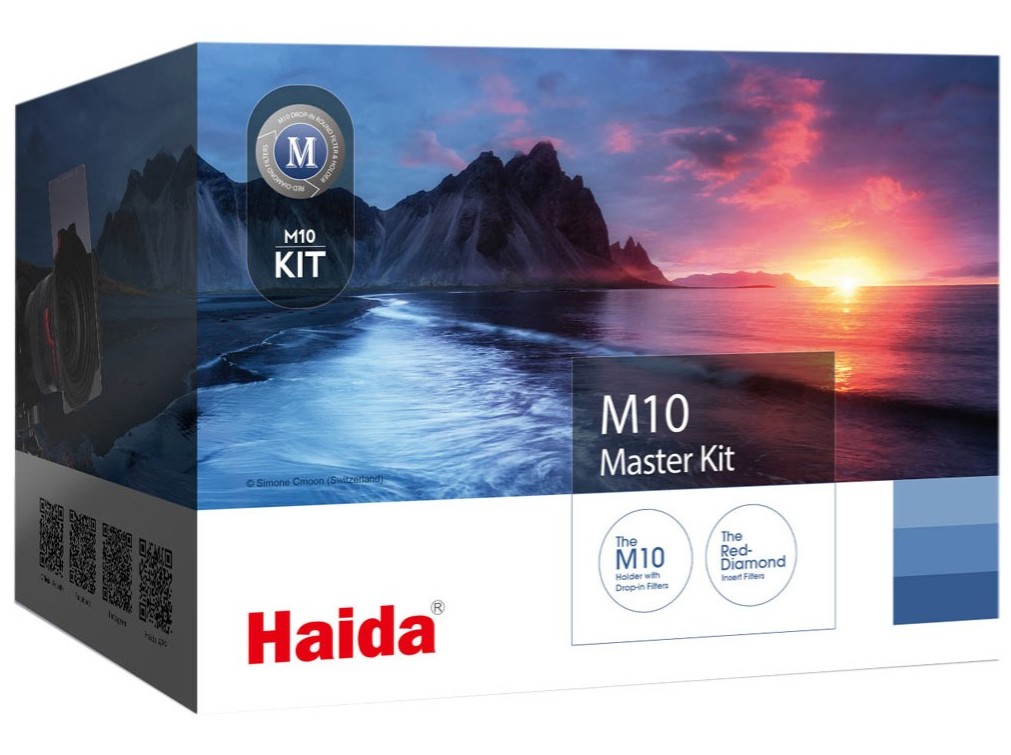
One of the most critical components of a good photography kit is a set of high-quality filters.
Sure, there are less expensive filters out there, but why put a cheaply-made filter in front of your expensive lens?!
If you want to give the photographer on your list the ultimate holiday gift, you might consider a professional filter kit, like the Haida M10 Master Filter Kit.

This kit has everything that's needed to be prepared for taking breathtaking photos.
It comes with the Haida M10 filter holder and 67mm/72mm/77mm and 82mm adapter rings. It also comes with a host of must-have filters:
- Drop-in circular polarizer
- 100x100mm Red-Diamond ND3.0
- 100x100mm Red-Diamond ND1.8
- 100x100mm Red-Diamond ND0.9
- 100x150 Red-Diamond Medium ND0.9
- 100x150 Red-Diamond Reverse Graduated ND0.9
- 100x150mm Red-Diamond Hard Graduated
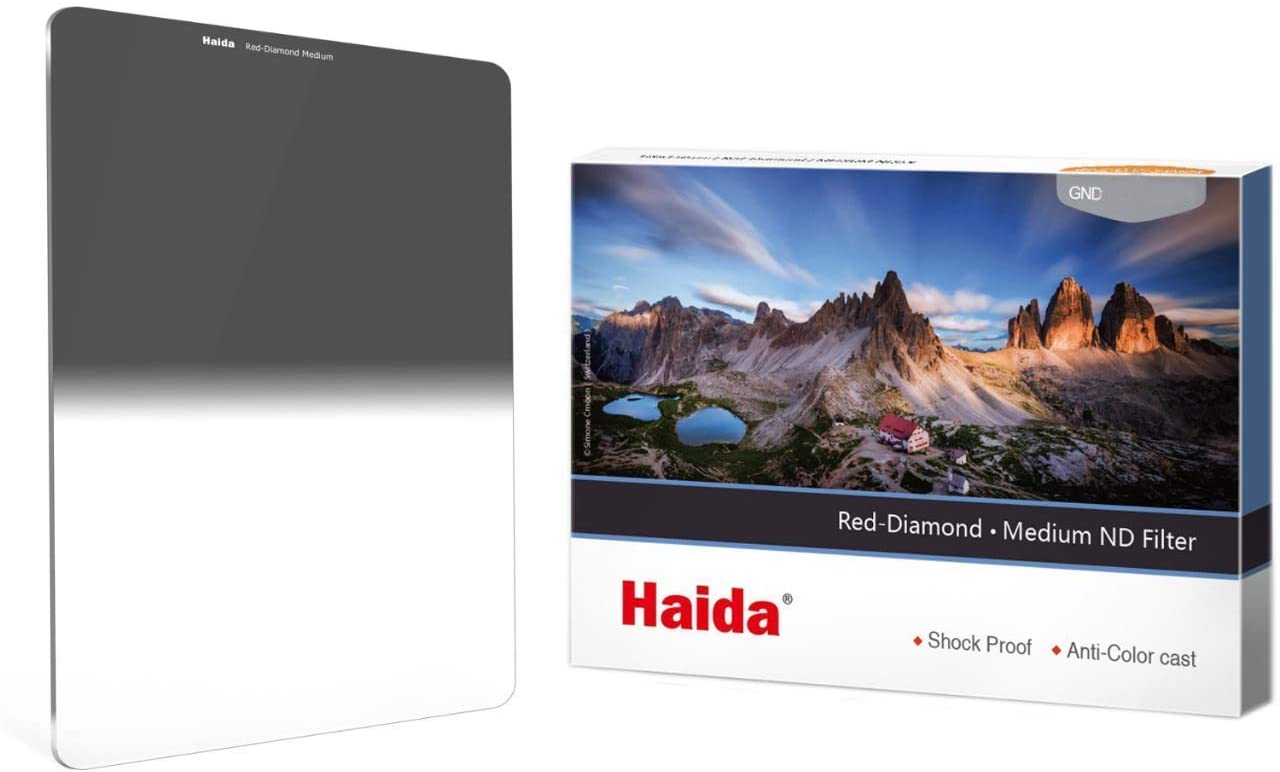
No matter if the photographer in your life is taking photos morning, noon or night, in the mountains or at the beach, or taking a normal photo or a long exposure, this kit has what they need to find success.
I've used the Haida M10 system for a while now, and it has proven to be worthy of the price tag over and over again.
This system is intuitive to use, highly durable, and the quality of the filters is simply second-to-none!
Learn more about the Haida M10 Master Filter Kit
Gifts for Photographers Under $2,500: Pre-Owned Canon EOS R
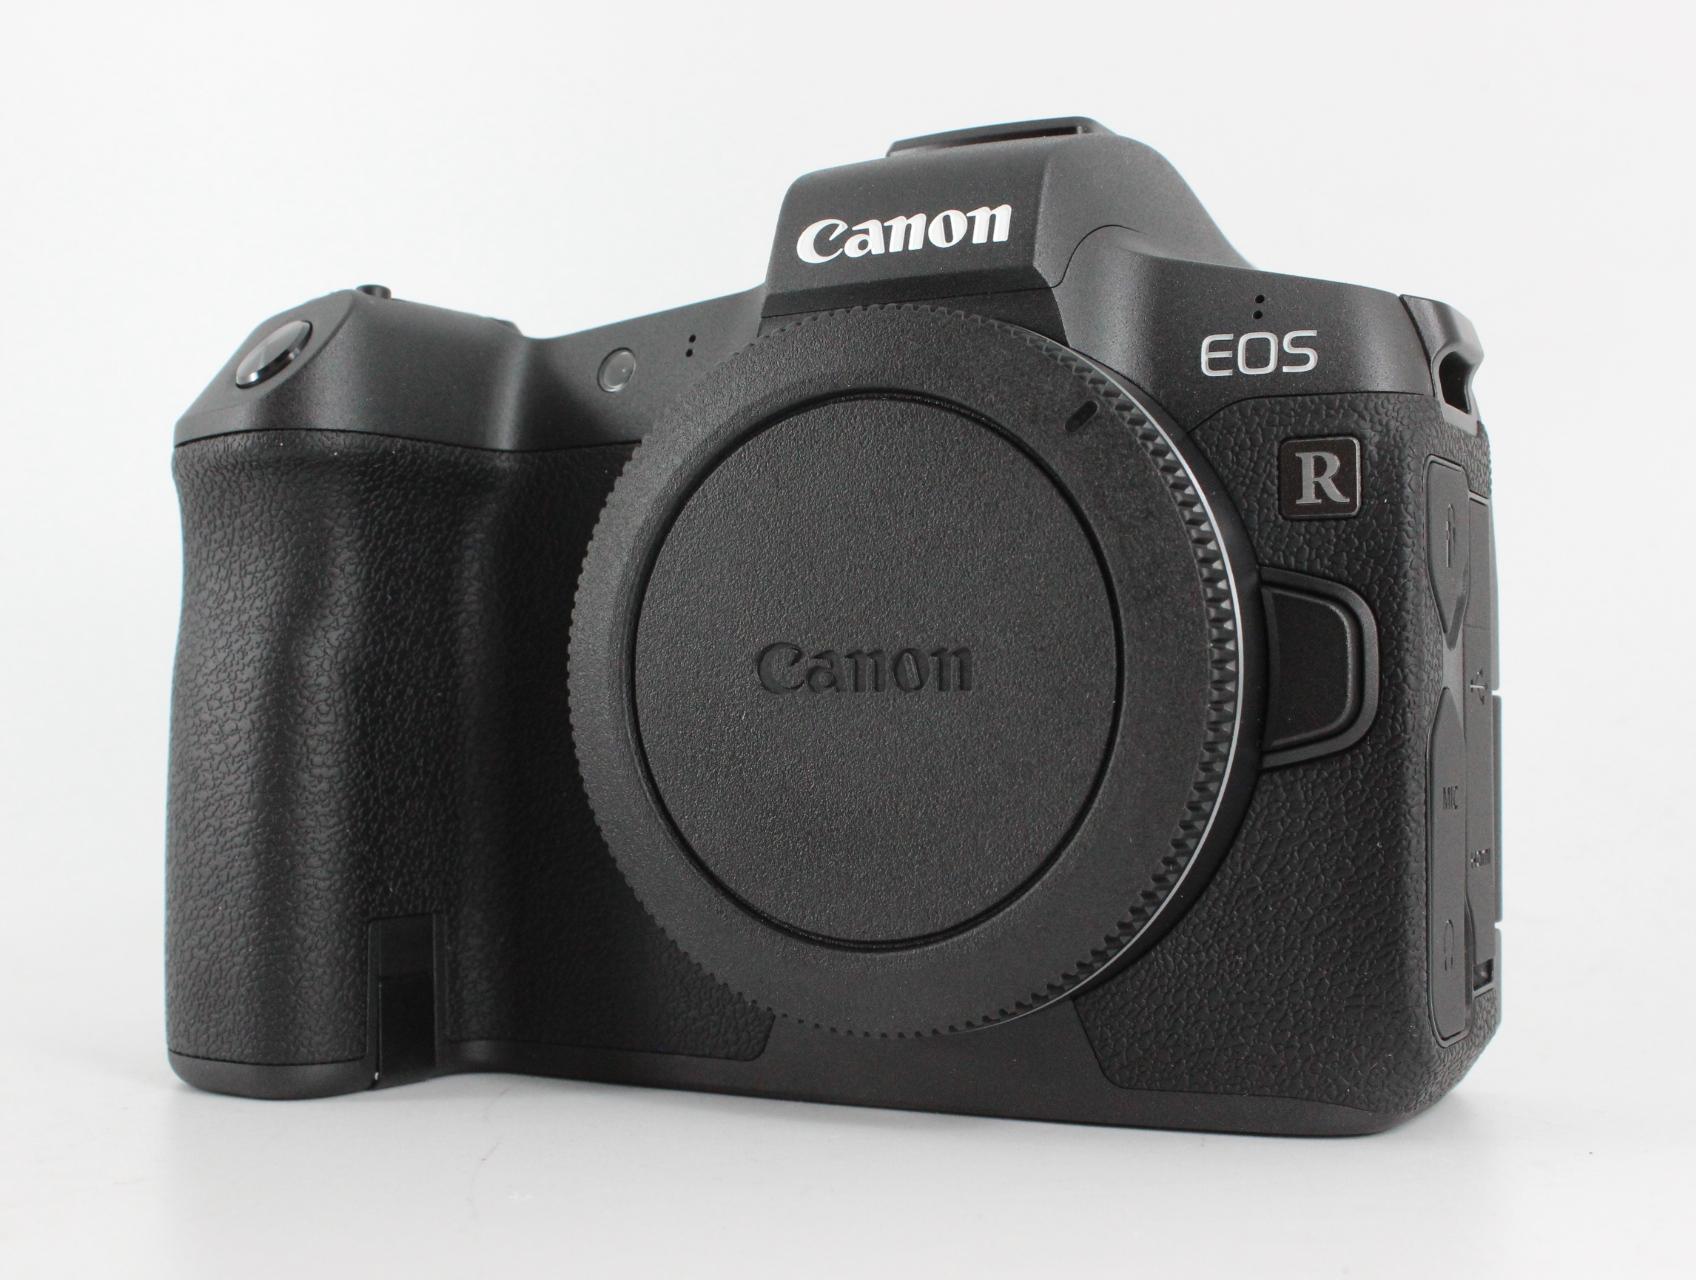
The EOS R is Canon's very first mirrorless camera, and if the photographer on your holiday list is a Canon shooter, there are few better gifts to give this holiday season!
The EOS R offers a bevy of features that starts with an ultra-resolute 30.3-megapixel full frame CMOS sensor.
Paired with a DIGIC 8 image processor, this camera is capable of shooting at 8fps and up to a native ISO range of 40000.
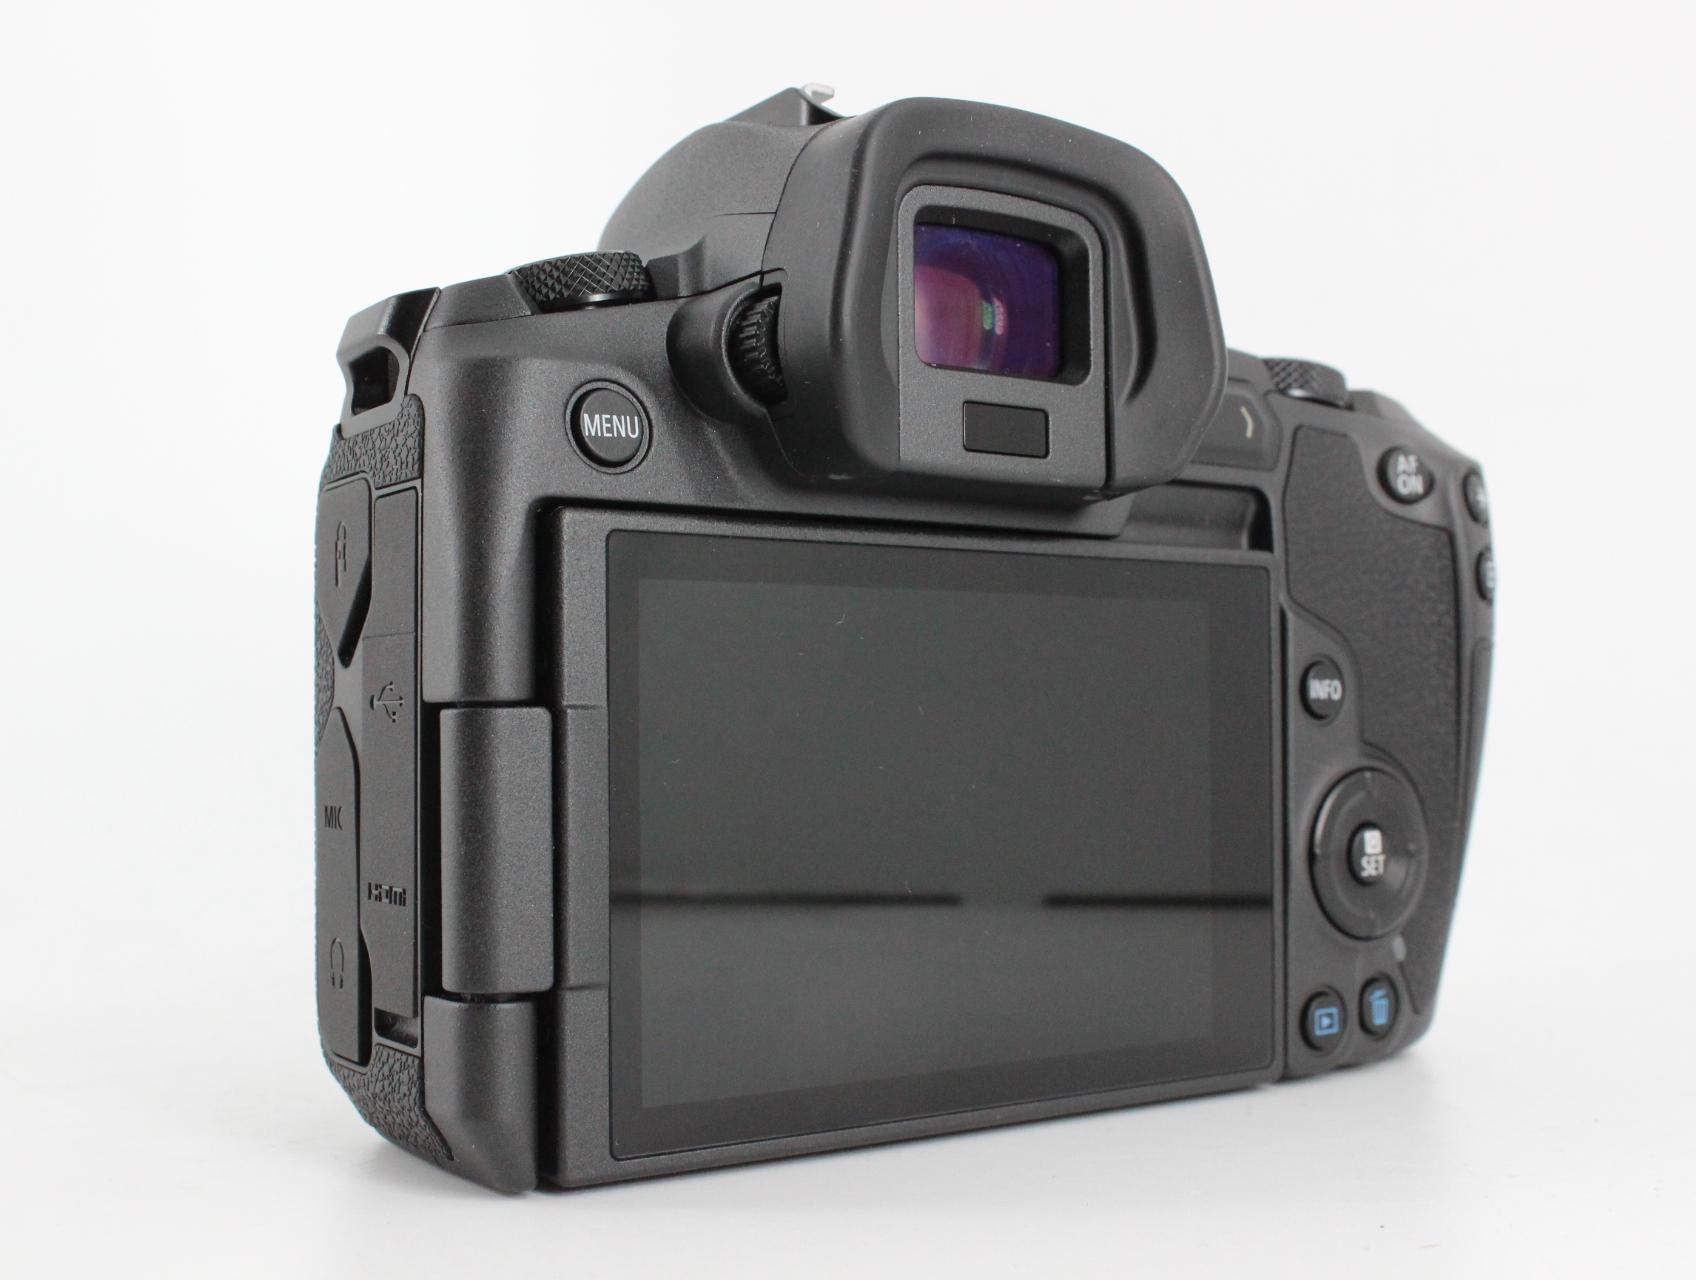
What's more, Canon gave the EOS R excellent video capabilities with UHD 4K video recording at 30fps.
One of this camera's best features, though, is the Dual Pixel CMOS autofocus system.
All told, it has 5,655 selectable autofocus points that allow photographers to quickly and accurately select where the focus of the image will be.
With a small, lightweight body, excellent build quality, great handling, and an increasingly large selection of lenses, the EOS R is definitely a fantastic gift idea this Christmas!
Learn more about the Canon EOS R
Gifts for Photographers Under $2,500: Aputure Light Storm LC 120d II Daylight LED 2-Light Kit With Case
I have an Aputure 120d II in my home studio, and as I explain in my review of this light, it is absolutely fantastic.
Each light has pretty incredible specs:
- 1000-watt Tungsten equivalent
- Integrated power and control box
- CRI & TLCI 97+
- Dimmable from 100 percent to just 1 percent
- Built-in lighting effects, including fireworks, fire, lightning, paparazzi, and TV flicker
- 18 dB quiet fan
- DMX Capability
- Wireless remote (328-foot range)
Not bad right?
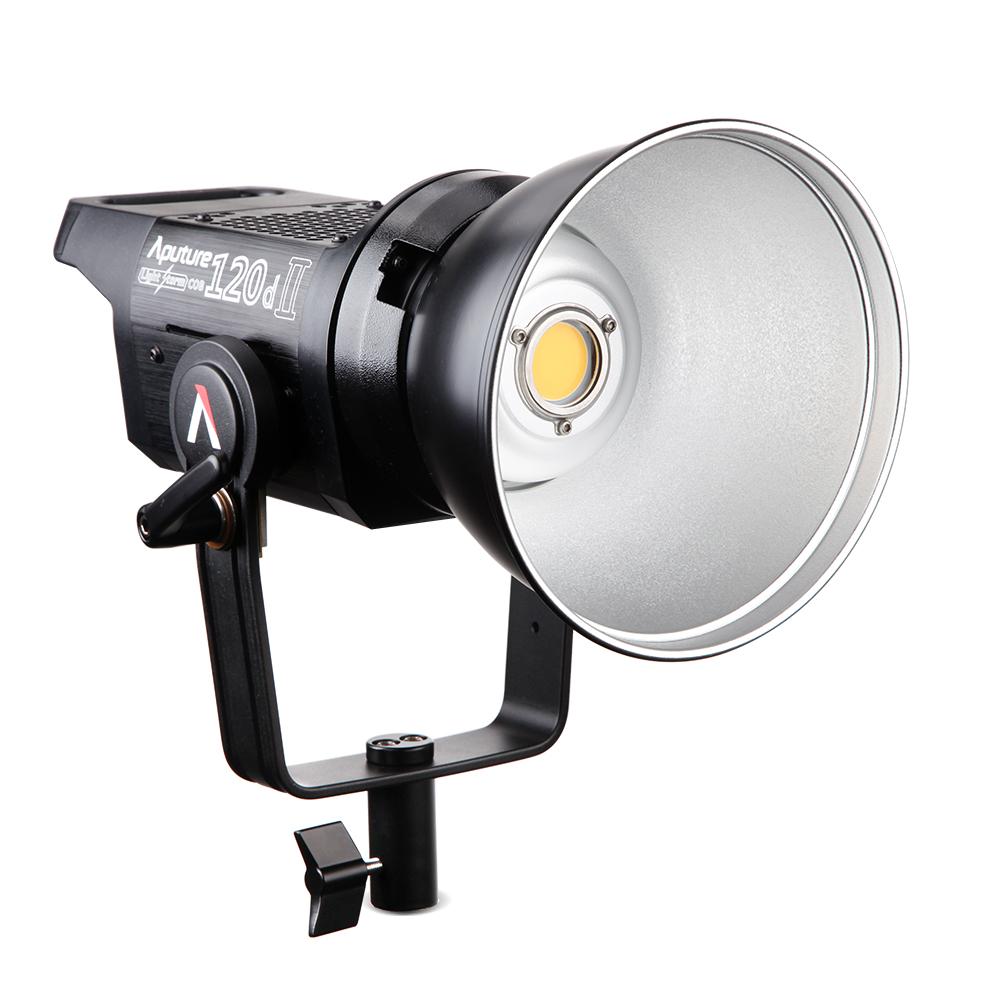
This kit gives you two of these lights, each of which has a set of four-way barn doors to customize how the light interacts with the subject.
Each light also has a controller with 100-240 VAC power, a wireless remote, and a 7.5-foot light stand. Aputure even throws in a padded SKB case with a custom Think Tank interior so the photographer on your list can easily and safely transport their new lighting kit from Point A to Point B.
Photography is all about good lighting, and Aputure certainly delivers on that front!
Learn more about the Aputure Light Storm LC 120d II Daylight LED 2-Light Kit With Case
Gifts for Photographers Under $2,500: Pre-Owned Nikon Z6

Like the EOS R I mentioned earlier, the Nikon Z6 is a fantastic mirrorless camera.
If your loved one is a Nikon shooter or if they just want to switch to Nikon, this is a great camera to entice them to do so.
The Z6 has a 24.5-megapixel full frame back-illuminated sensor that offers superb image quality with excellent detail, clarity, and sharpness.
The 12fps burst shooting speed is ideal for action photography while the 273-point autofocus system helps you keep track of moving targets.
On the back is a large 3.2-inch variable-angle touchscreen LCD with 2.1 million dots of resolution, so you can easily see the camera's menu system and take a peek at images you've shot.
The Z6 has Bluetooth and Wi-Fi, shoots 4K video, and has a battery life of 310 shots.
This camera is an excellent option for photographers that want a solid rig that can tackle still photos and videos all in one package!
Gifts for Photographers Under $2,500: Syrp Genie II Pan Tilt
If the photographer on your list is a video enthusiast as well, the Syrp Genie II Pan Tilt is an ideal gift for them.
Not only is this rig ultra-portable, but it gives you complete pan and tilt motion control that adds smooth, cinematic motion to your videos with 180-degree tilting motion and 360-degree panning motion.
The Genie II Pan Tilt offers options for real-time and timelapse videos, key-framing, panoramas, and much more. And since it has removable batteries, you can easily head off the beaten path with spare batteries in hand to shoot long and beautiful cinematic sequences.
The unit has a built-in screen for checking settings and starting quick motion sequences, but it also has a companion app that allows you to control the unit from your smartphone.
Whether the photographer on your list wants a motion control device for documentary work, interviews, timelapses, panoramas, or something in between, the Genie II Pan Tilt is the device to get.
Plus, it’s easily combined with Syrp’s Genie II Linear to get three-axis motion control in a super small and portable device. Nice, right?!
Learn more about the Syrp Genie II Pan Tilt
Holdfast Roamographer Duffle Bag, Camera Bag, and MoneyMaker
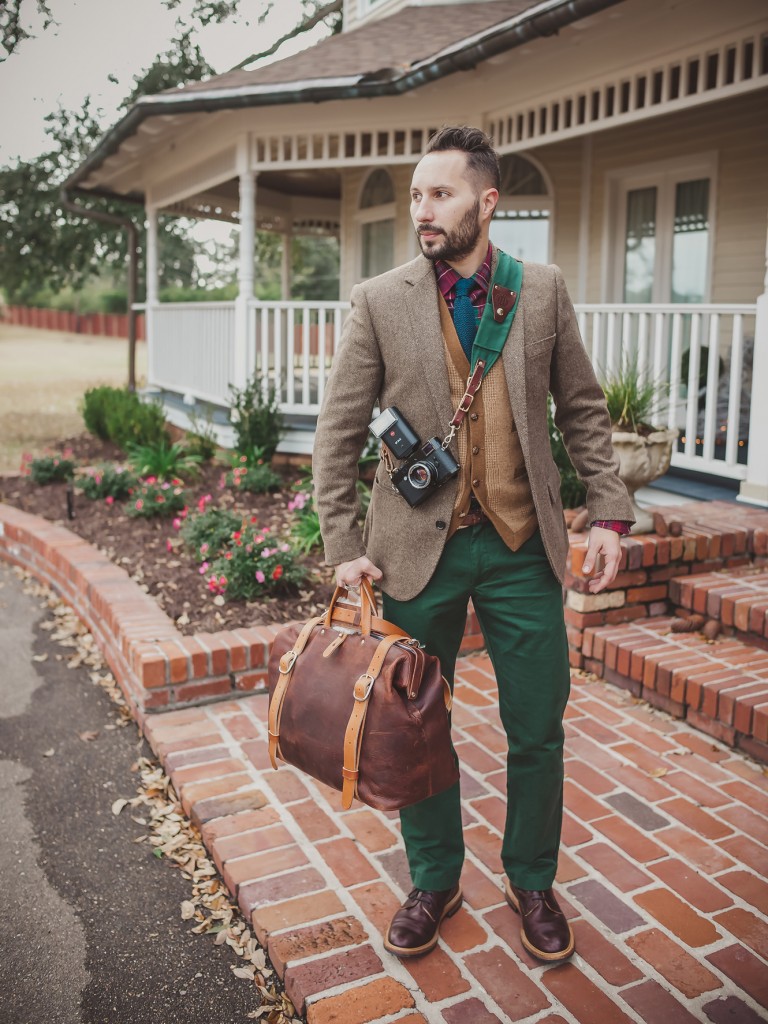
This might just be the ultimate photography setup...
If you want to impress a photographer, go ahead and give them a bundle of products from Holdfast.
Holdfast's venerable Roamographer bags not only look incredible, but they're also incredibly functional, too.
Give them the Roamographer Duffle Bag for those long weekends out taking photos.
The duffle is handcrafted out of American Bison hide and has a shearling-lined shoulder strap for easy carrying. It's the perfect bag for a quick trip, and with a metal frame that keeps the bag open during packing and unpacking, two boot bags to keep your shoes away from your clothes, and tons of pockets for small items, it'll become their favorite getaway bag.
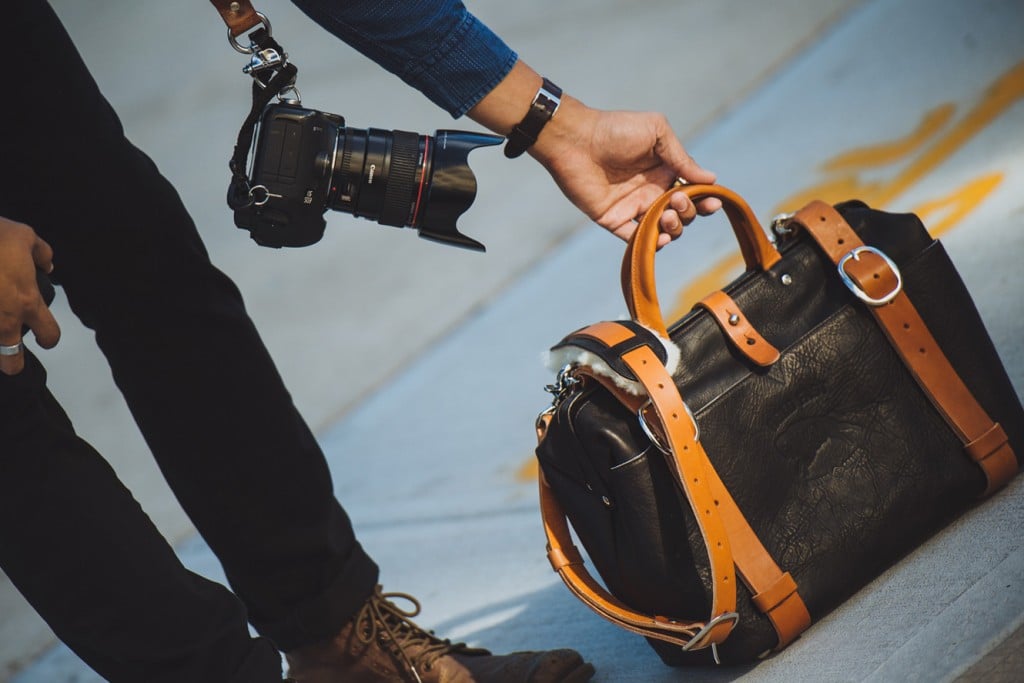
To carry their gear, you can include a Holdfast Roamographer Camera Bag as well.
Like the duffle, the camera bag has a vintage aesthetic but with modern features.
The camera insert cradles each camera item, ensuring their safety during transit.
The carrier straps accommodate a tripod for easy carrying, and the shearling-lined shoulder strap makes it easy on your favorite photographer's shoulder to carry the bag, too.
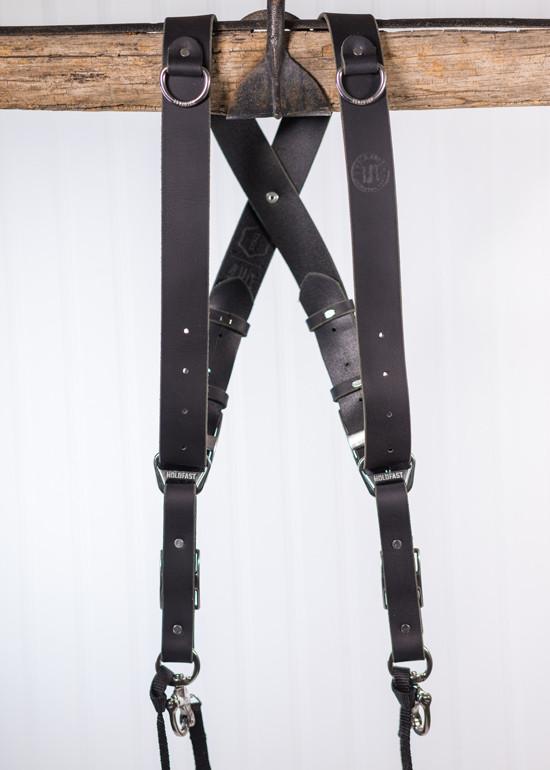
While you're at it, you can throw in a Holdfast MoneyMaker dual camera system.
The dual straps mean that a photographer can carry up to three cameras in ultimate comfort, and with their gear right at their fingertips for safe carrying.
What's more, for quick shots, their cameras are easy to reach, making the MoneyMaker just about the most functional gear you could give a photographer this holiday season.
And, like all other Holdfast products, the MoneyMaker looks like a million bucks.
You can pick up all three of these products and still have money to spare with a $2,500 budget!
Learn more about Holdfast products.
Gifts for Photographers Under $2,500: ProMediaGear Pro-Stix TR424L Carbon Fiber Tripod
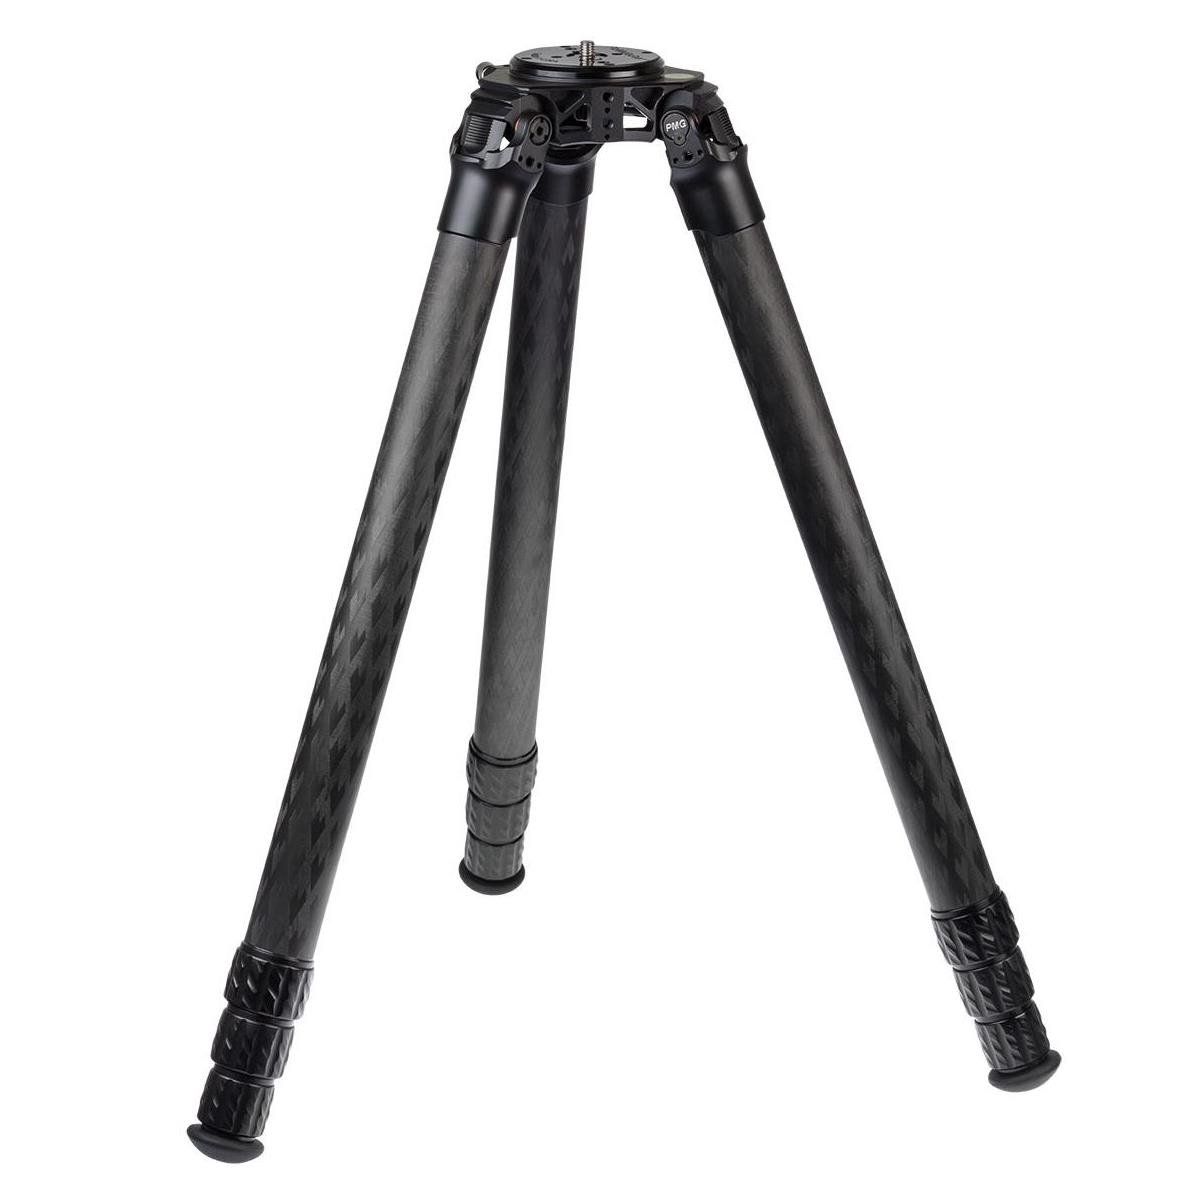
ProMediaGear tripods are among the best on the market. And that’s not just lip-service, either.
I’ve used ProMediaGear tripods, including the TR424L, for quite some time, and I can assure you that they are well-made, durable, and extremely functional.
These are professional-grade tripods, without a doubt. It can hold up to 125 pounds of gear thanks to its 42mm-thick carbon tripod legs.
Even when I’m out shooting video and I have a ton of accessories, it still doesn’t come close to that 125-pound mark!
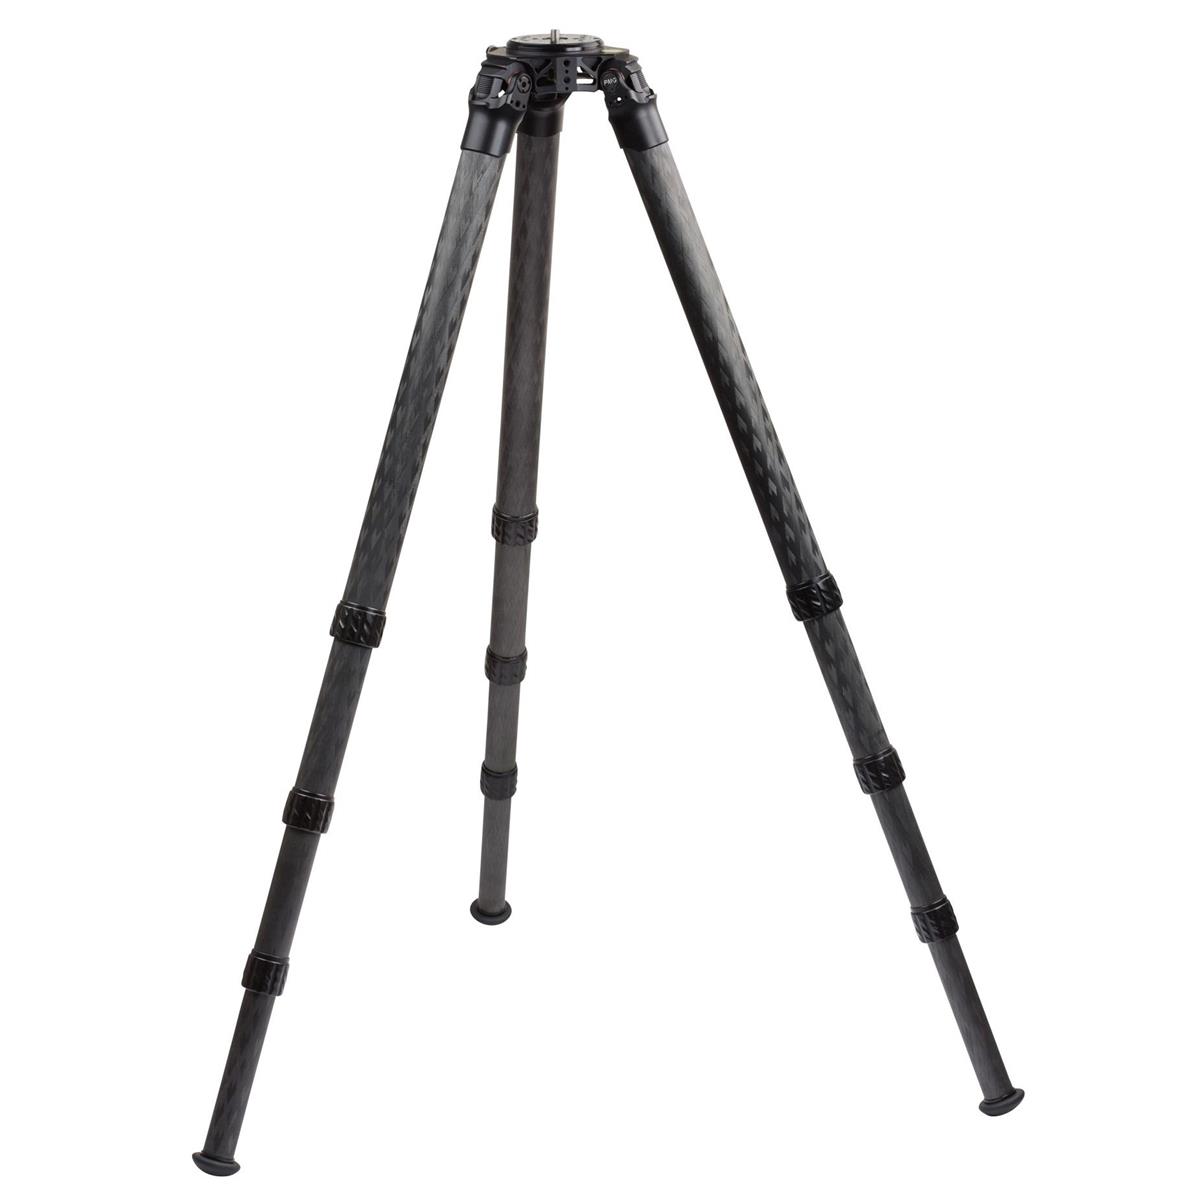
From a functionality standpoint, the legs have three-position angle locks so you can adjust the tripod to be perfectly level, no matter how uneven the terrain. The built-in bubble level helps in that regard as well.
Deploying the legs is simple, too - just a quarter-turn locks them in place.
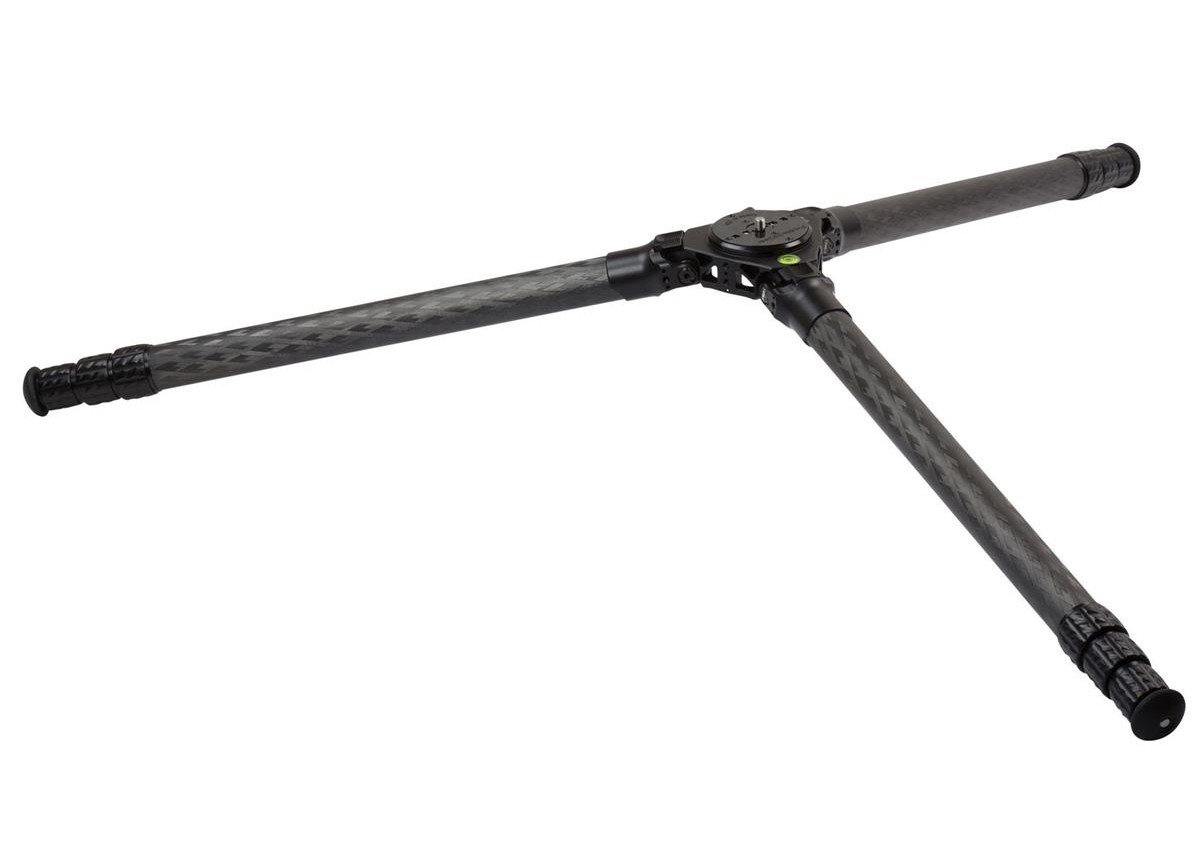
This tripod also has huge rubber feet, which as a landscape photographer is a favorite feature. The tripod doesn’t sink into soft soil and it doesn’t slip when things are wet or frozen. The metal spikes in the bottoms of each leg offer even more stability for truly rough shooting conditions.
You get all this in a tripod that folds down to just 26.3-inches tall, which can easily fit into a camera bag.
This isn’t a lightweight tripod by any means, but if the photographer on your list needs a go-anywhere, do-anything tripod, this is definitely it!
Learn more about the ProMediaGear TR424L Carbon Fiber Tripod
Gifts for Photographers Under $2,500: Amazon Gift Card
![]()
Totally stumped regarding gift ideas for photographers on your list?
Why not go the easy route and get them an Amazon gift card?
Though a gift card isn't exactly the sexiest gift, when the photographer in your family sees that you have given them carte blanche to get what they want, they'll be stoked!
With an Amazon gift card, they can put the card amount towards whatever they want - a new lens, a second camera body, lighting gear, a laptop - you name it!
As far as flexibility goes, there's nothing better to give a photographer than a gift card.
Learn more about Amazon gift cards
We Recommend
Graduated Neutral Density Filter Buyer's Guide
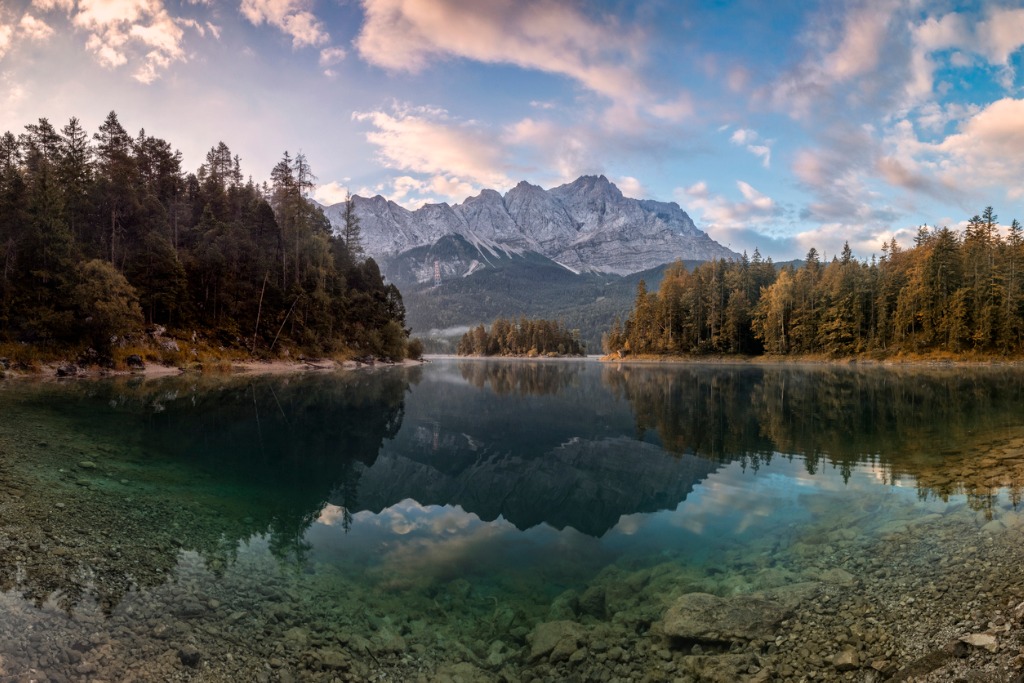
photo byDieterMeyrl via iStock
Landscape photographers, real estate photographers, and architectural photographers all love graduated neutral density (ND) filters for capturing great photographs. Graduated ND filters are best when they are in the form of a filter holder system and square or rectangular filters, which makes sense as we learn how to use graduated ND filters.
Why Graduated ND Filters Are Needed
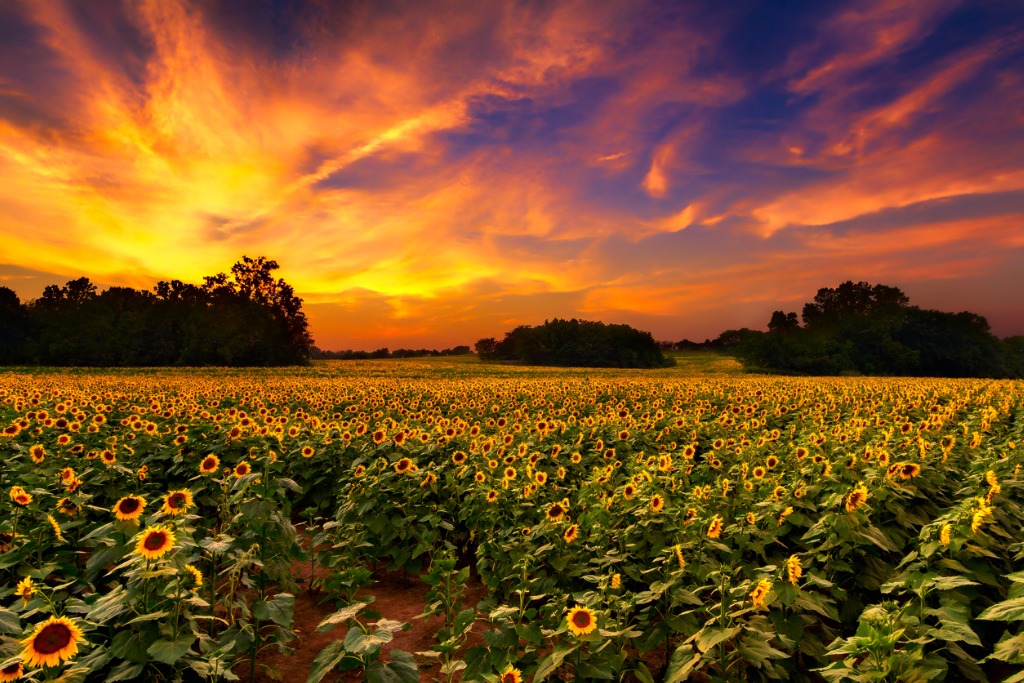
photo bytomofbluesprings via iStock
Graduated ND filters are used to tame scene dynamic range issues. Well, what is dynamic range and what issues can it cause?
At its simplest, dynamic range refers to the ratio of bright to dark within a scene and how it is recorded on an imaging sensor or film. You can actually measure the dynamic range in a scene by taking readings from the highlights and from the shadows and making note of the difference in stops of exposure.
Our eyes and brain see all of that but we instantly compensate and evaluate without even thinking about it. But, if you go from a bright outdoors quickly into a dark room, you will have a moment of poor vision while your eyes and brain adjust. The image sensor or film can only handle a fraction of the ratio of what our eyes can see.
Graduated ND filters can be positioned so that the densest part of the filter is covering the brightest part of the scene and the clear part over the darkest part, thus lowering the ratio of bright to dark. This gives our imaging device a better chance of recording the scene well enough to be a good photograph.
Types of Graduated ND Filters

photo byTrifonov_Evgeniy via iStock
As you could imagine, there are a lot of different situations where graduated ND filters would be useful. Not all scenes will have the same types of dynamic range issues and the areas of light to shadow can also vary quite a bit.
While there may also be some variations within the types, the three types of graduated ND filters are hard-edge ND filter, soft-edge ND filter, and reverse ND filter. Let’s examine these ND grad filters.
Learn More:
Hard-Edge ND Filters

The simplest form of graduated ND filters are the hard-edge ND filters. These ND grads are dark on one side and clear on the other with a very small transitioning area. The ND or dark part of the ND grad can be 2 stops, 3 stops, or even denser.
The Haida 100 x 150mm Red Diamond Hard-Edge Graduated Neutral Density 0.9 Filter is a 3 stop hard-edge ND filter with a very quick transition area. It can almost be considered a line, the transition is so narrow, but not quite. It fits into the Haida 100 filter holder allowing for precise placement of the transition.
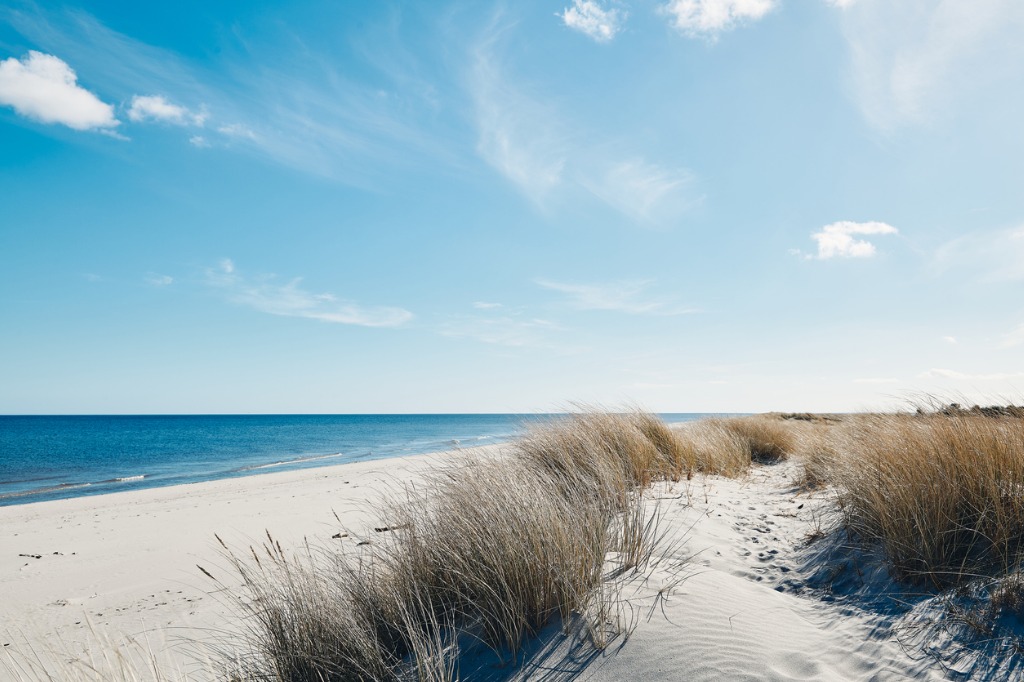
photo byandersdahl65 via iStock
With a hard-edge ND filter, it is very important to be careful where to place that edge so as not to call attention to the transition itself. Which is why a filter holder system is a preferred method for ND grads since you can slide the filter in and out of the imaging area as well as rotate it around, allowing precise placement.
Hard-edge ND filters are very useful when the transition from light to dark in the scene itself is very defined, such a clearly seen horizon line. Ocean and lake photography or prairie landscapes are examples of a situation for this ND filter.
Soft-Edge ND Filters
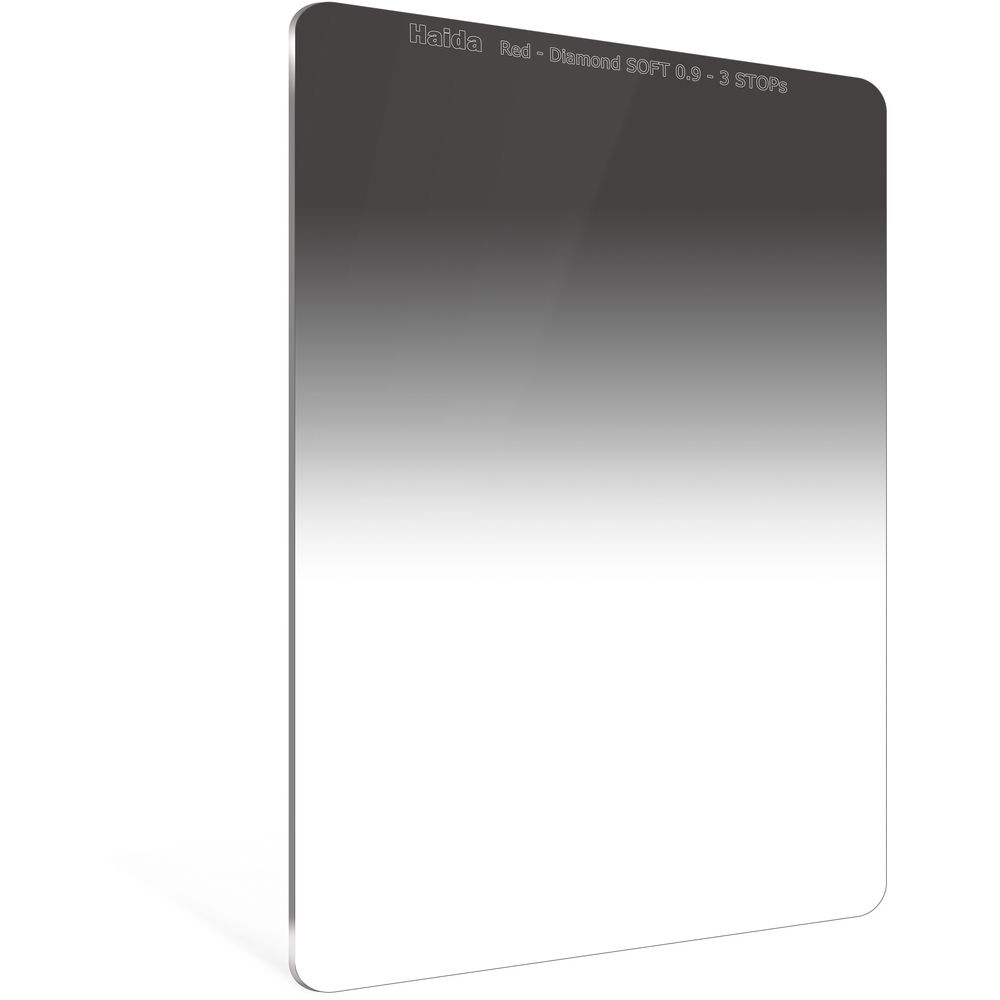
Many of the scenes we photograph with high dynamic ranges are not so clearly defined as to where to place the transition area. Architectural studies, cityscapes, real estate photography, and most landscapes or scenic views without a well defined horizon line fall into this category.
As an example of this type of graduated ND filter we have Haida’s 100 x 150mm Red Diamond Soft-Edge Graduated Neutral Density 0.9 Filter is a 3 stop ND grad for their filter holder systems. The Haida Red Diamond ND grads are designed as extremely high optical quality filters with low glare and also very scratch resistant to ensure the best images possible when using them.

photo byPPAMPicture via iStock
Another situation that makes using soft-edge ND filters a good idea is pretty specific to cityscapes and other architectural scenes. When a tall building or a large wall is silhouetted against a bright sky, a soft-edge ND filter can make it so that we can still get sky detail while properly exposing the structure.
Reverse ND Filters
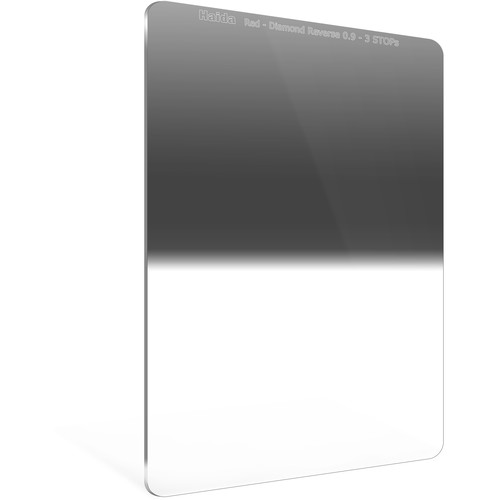
Reverse ND grad filters are a special design that combines soft-edge ND filters and hard-edge ND filters and has the darkest part of the filter near the center. The clear to dark transition line in the center is hard-edged with the rest of the density fading very softly towards the outer edge.
Haida makes the 100 x 150mm Red Diamond Hard-Edge Reverse-Graduated Neutral Density 0.9 to 0.3 Filter that has a hard-edge center transition to 3 stops that very gradually fades towards the outer edge until the ND is 1 stop.
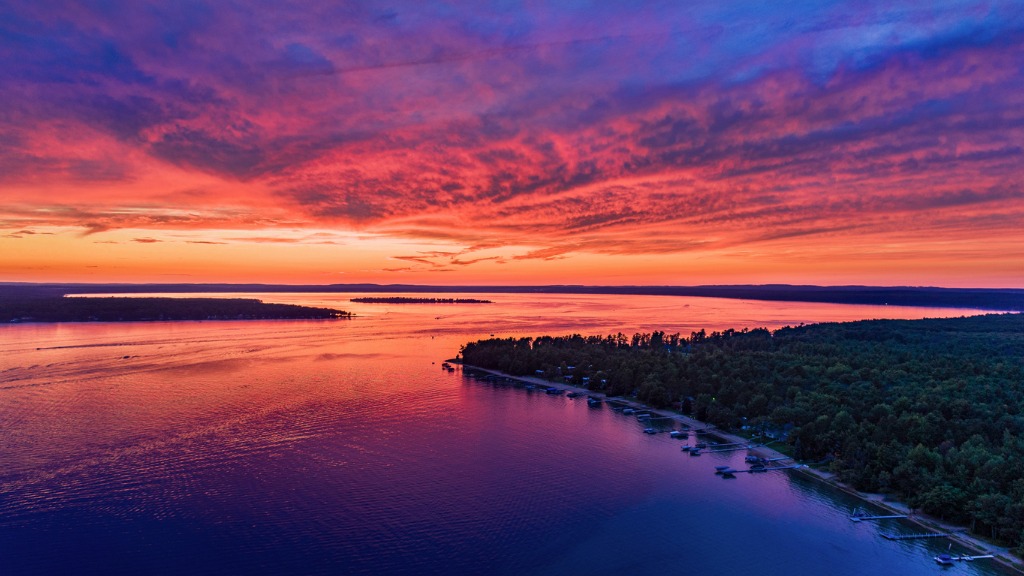
photo byWiltser via iStock
What are these types of graduated ND filters used for? Primarily sunsets and sunrises. The reason is because the brightest part of the scene is where the Sun is, with the sky above and the foreground being darker.
Using ND grads like this will let you maintain detail in buildings or vegetation (or rocks) and still get sky detail such as wispy clouds, too. It is a very useful filter for anyone into sunset and sunrise images.
Taming Dynamic Range In One Exposure
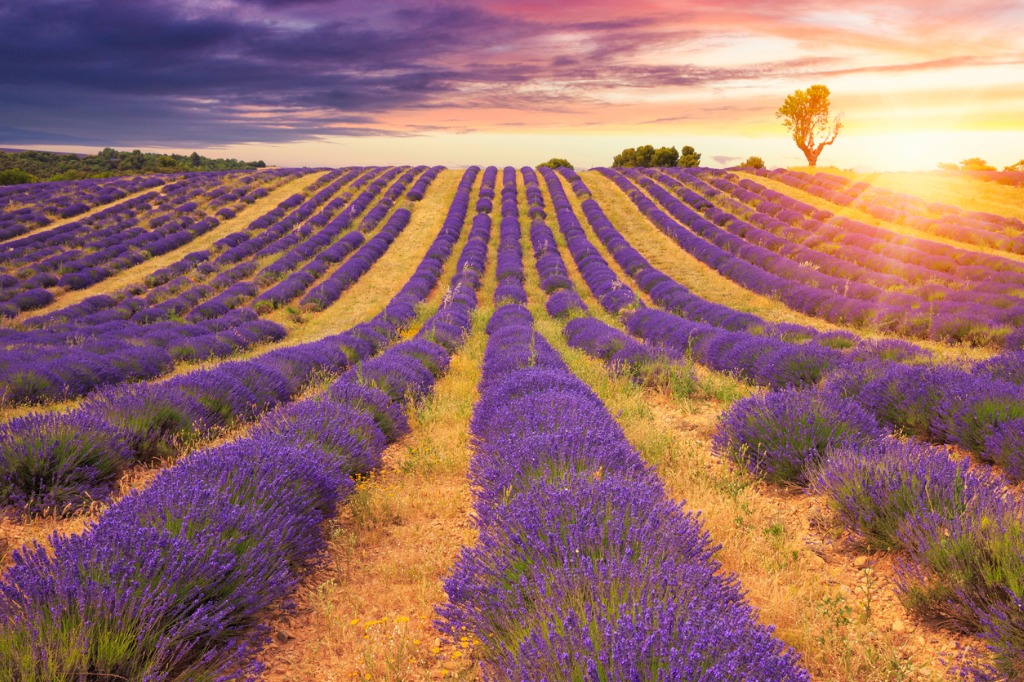
photo byRemedios via iStock
There are some other very good methods and techniques for taming high dynamic ranges in digital photography.
HDR (High Dynamic Range) processing, blending together several images taken at different exposure settings, can result in some outstanding final images, but it requires capturing several exposures and special processing.
Using graduated ND filters will let you accomplish the task of controlling the dynamic range of scenes with single exposures and minimal processing. Make sure to only use very high quality lens filters such as the ND grads from Haida to ensure the best possible images.
Learn More:
We Recommend
How Does a Variable ND Filter Work?
Photo by Matthew Leland from Pexels
A variable ND filter is an interesting piece of equipment. With one, you can dial in a changeable amount of attenuation instead of being held to one fixed amount of density. While many photographers enjoy using these interesting tools, others may have some questions about them.
Should you use a variable ND filter? How does a variable ND filter work? How do variable ND filters vs fixed ND filters compare? Are there any problems with variable ND filters to be aware of? Can you use variable ND filters for video?
We’ll tackle these questions and give you a few tips about variable ND filters and ND filters in general. Let’s start by looking at a good example of a variable ND filter that I’ve been using recently.
Haida NanoPro MC Variable ND Filter
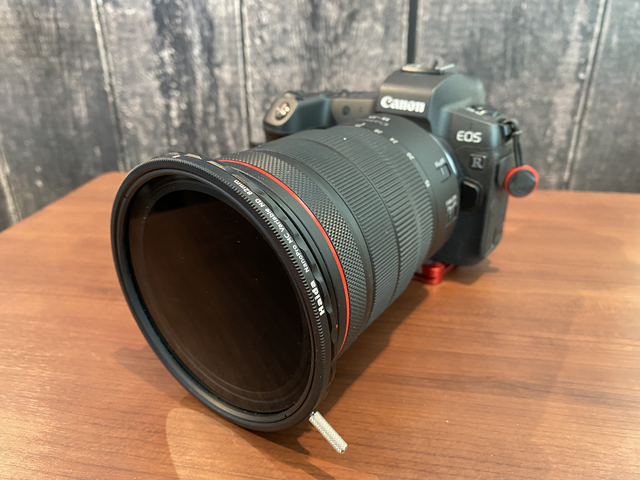
One thing I like to do with specialty screw-in filters is to buy the largest size I need and adapt it to smaller filter diameter lenses. So, for this screw-in variable ND filter, I picked up the 82mm size Haida NanoPro MC Variable ND Filter. You can see it mounted on my personal camera above.
The small handle makes it easy to adjust the variable attenuation and helps you avoid accidentally smudging the glass. Like all Haida filters, it’s multi-coated for reflection control and made from high quality optical glass and lightweight metal. It’s a lot of fun to use.
How Does a Variable ND Filter Work?
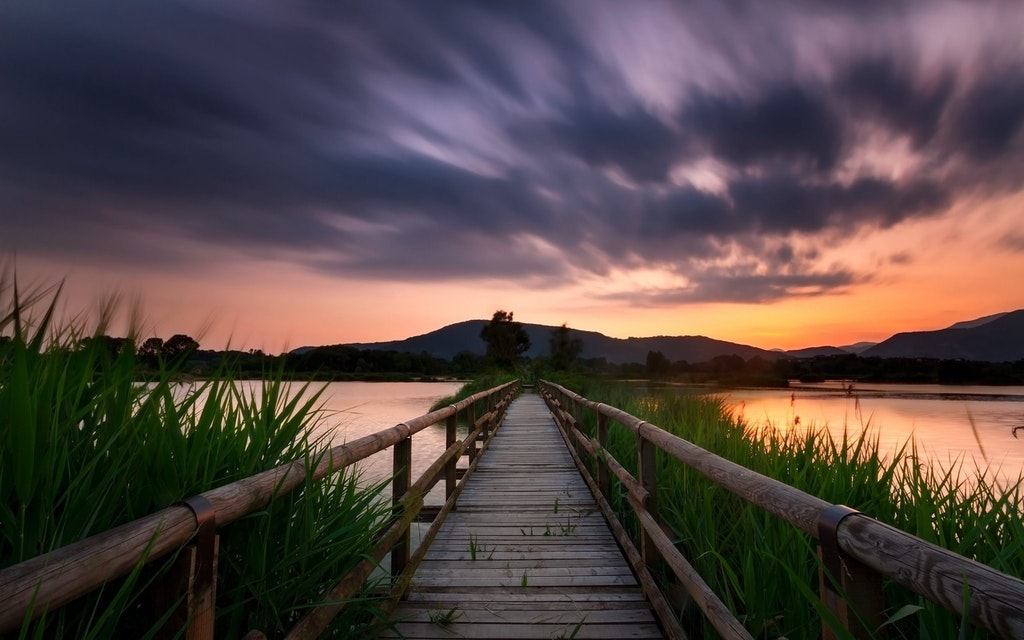
Photo by TIffany Pepe from Pexels
It seems like some form of wizardry to be able to twist a filter and have it slowly darken. What’s happening is called cross polarization. You may have played around before with your filters, mounting two polarizers together and seeing the view go from dark to complete black.
When two polarizing glass planes are both placed within a light ray, the polarization of both pieces can essentially block out most of the light from exiting that optical path.
This is how a variable ND filter works its magic. It is two polarizers mounted together which you twist around on an axis to see the gradual change of light attenuation. Words don’t convey the effect adequately, you’ll have to see it in action.
Learn More:
- Pros and Cons of Using Variable ND Filters
- Circular Polarizer Do’s and Don’ts
- Lens Filter Buying Guide
Should You Use a Variable ND Filter?
Photo by Ezekixl Akinnewu from Pexels
Sure! There are multiple uses that come to mind and not all of them include that awesome motion blur effect, though that is one good reason. So let’s start there. Using a variable ND filter to create the long shutter speeds needed gives you options on just how long an exposure time you get. It also allows for more creative use of aperture along with the long shutter speed.
While motion blur of water and clouds was my first thought when I got into ND filters, another very useful trick concerns aperture. Sometimes, a scene is so bright, I find it difficult to be able to use my portrait lens wide open enough for the selective focus effect. Using a variable ND filter, I can easily balance my creative wants with the exposure needs of the scene.
Variable ND Filters VS Fixed ND Filters
Photo by Ba Phi from Pexels
The whole reason for having a variable ND filter is to enable you to have options of how much density to add without physically changing filters. If that isn’t important enough, a fixed ND will work just fine.
I like to take my filter holder system with a lot of different filters with me when I’m on a nature photo trek. I take just my variable ND filter when I am planning on being more mobile such as an environmental portrait session or doing street photography. They are both valuable choices for my personal needs and style.
Problems With Variable ND Filters
Photo by Александр Прокофьев from Pexels
There isn’t too much to worry about with using variable ND filters in most photographic situations. The main things that might be problematic at times are due to pure physics.
Since a variable ND filter is really two polarizers, you might not get the polarization effect desired for a scene since your variable ND filter is already polarizing the light.
The other problem is that while the filter changes the effect gradually as you twist it, when you get close to the maximum attenuation, it happens very fast. So while it’s slow and gradual about 90% of the time, the density closest to maximum happens with very little extra movement, just something to keep in mind.
Can You Use Variable ND Filters for Video?
Absolutely! In order to achieve a frame rate that appears natural while still using your f-stop for focus depth control, a variable ND filter becomes a must-have tool for videography. Especially when filming in bright light like outdoors in broad sunlight.
Check the video above by Jaren Polin to see what I mean.
It’s a Tool and a Toy
Photo by Lisa Fotios from Pexels
My variable ND filters get quite a workout. I use them in videography all the time and they are my go-to filters for shooting more mobile genres and styles of photography.
Plus, I have to admit, sometimes I just go outside with my gear and play around. I love photography, it has made me happy. Not only do I get to make a living from it, I get to enjoy it as a creative pastime and hobby. As an added bonus, I get to share my fun with you!
Learn More:
- What Do Lens Filters Do?
- How Good Is the Haida M15 Magnetic Filter System?
- Get Better Landscape Photos With These Simple Tips
We Recommend
How Good is the Haida M15 Magnetic Filter System?
I’ve been enjoying using and testing the Haida M15 magnetic filter system, as you have probably noticed from several posts where I mention it.
So, how good is it? Is it really all that useful? Are the filters good optical quality? Worth the prices? Let’s find out!
Filter Systems
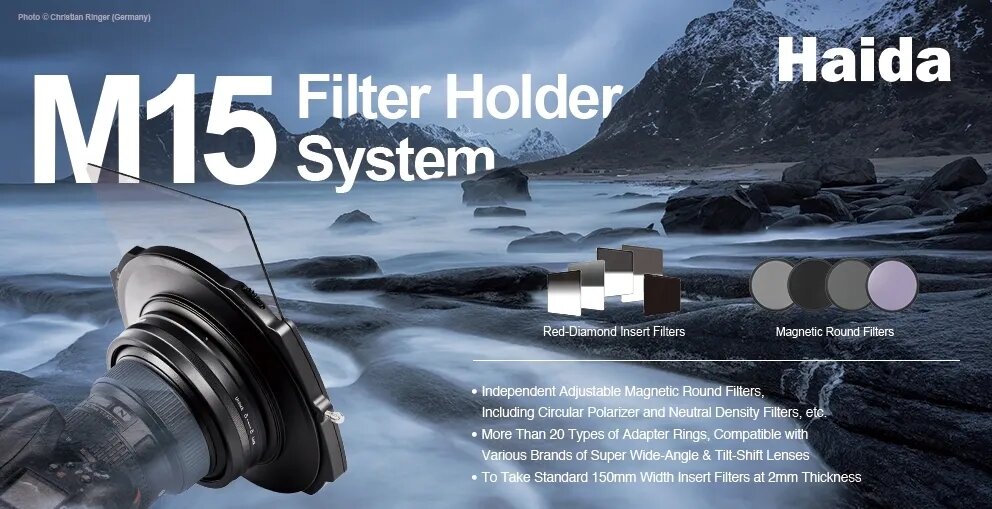
If you don’t know what I’m referring to, here is a brief overview of filter holder systems and the Haida M15 filter system in general.
With our photography gear, most lenses have a front thread for attaching filters or accessories to the front of the lens. Over time, certain diameters have become pretty much standardized, such as 52mm, 58mm, 72mm, etc…
If you have a variety of lenses, you may have several different filter diameters. Some camera and lens makers have tried to even out the filter sizes for their popular lenses. Such as my older Nikkor AI/S lenses, the 28mm f/2.8, 50mm f/1.4, and 105mm f/2.5 all had 52mm filter threads. My current Nikon AF zoom lenses mostly are 58mm.
Screw In Filters Vs Filter Holder System

Photo by Skitterphoto from Pexels
What happens, though, is that not all my lenses are the same front diameter, so I had to have a screw in filter kit in each size of my lenses. One of my lenses has an 82mm front diameter! For certain landscape photography filters like a circular polarizer (C-POL) or a 10-stop neutral density (ND), that meant doubling or tripling up on some rather pricey glass.
Stepping rings are one solution, but I have found that I much prefer the square filter holder system solution. While both methods work fine, a filter holder offers more versatility for types of filters. Plus, a square holder lets me place the transition zone of a gradual neutral density (GND) exactly where I want it by sliding in and out.
Learn More:
Haida M15 Filter Kit with C-POL

While I love the highest quality available for my photography gear, I am constantly reminded (by my spouse, often!) of the high prices involved for certain items. So, I am also a bargain hunter.
I consider the Haida M15 filter kit with magnetic circular polarizer as fitting both of my criteria. I can attach it to all of my lenses with the proper mount adapter, including that 82mm filter diameter lens.
The Haida M15 filter holder itself is an impressive piece of photography gear. It’s manufactured from aviation grade aluminum and polycarbonate materials, resulting in a very strong holder that is lightweight and easy to use.
The Haida M15 holder is designed to allow for use of up to two filters, either their 150x150mm or 150x170mm filters, as well as the magnetic round CPL. That is one of the more convenient aspects of using a filter holder system as opposed to screw in filters and stepping rings.
Since the filters are high optical quality, you can use two together without concerns of image degrading optical effects.
Recommended Landscape Photography Reading:
- The Landscape Photography Book: The Step-by-Step Techniques You Need to Capture Breathtaking Landscape Photos Like the Pros
- National Geographic Greatest Landscapes: Stunning Photographs That Inspire and Astonish
- The Art, Science, and Craft of Great Landscape Photography
Using the Haida M15 Filter System
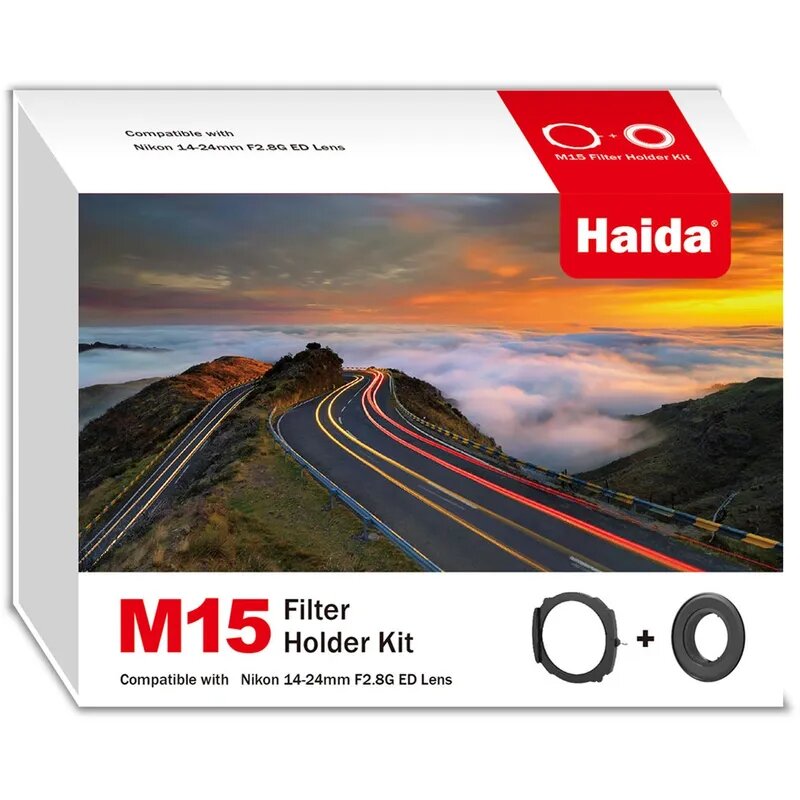
One of my top uses for C-POL and ND or GND filters is when I’m outside taking photos of landscapes, cityscapes, oceanscapes, and similar subjects.
Probably the most used of my landscape photography filters in my kit is the polarizer. The reason is pretty obvious once you know about how to use a polarizer.
As a short reminder, polarized light can show up anywhere in any type of scene. Many times reflections cause it. Light is either absorbed by or reflects off of things. From tiny dust and water molecules in the sky, to the surface of a lake or lagoon, to glass covered skyscrapers in the city, there are many things that reflect and polarize light.
In landscapes, there are often large expanses of open sky. Lakes, oceans, rivers. Leaves of trees in forests and blades of grass in meadows, wet or dry. All of these subjects tend to have polarized light. With a C-Pol, you can capture dark blue skies with puffy clouds, deepen colors of plant life, and remove glare from water and sand or rocks.
ND and GND Filters for Haida M15

Graduated neutral density filters are my second most used of my landscape photography filters in the filter kit of my photography gear bag.
By the way, my new favorite method for transporting all of my photography gear for landscape and cityscape photography is the Freelance™ sling pack from Hazard 4®. So when I say my photography gear bag, now you have a mental picture of the actual bag.
Having a very simple and usable way to take advantage of GND filters is a large part of the appeal of the Haida M15 filter kit system. You can even stack filters together. If I am using a C-POL to handle reflections or increase sky and cloud contrast, I can also employ my GND to even the exposure values between bright sky and a dark foreground.
The Haida M15 is Cost Effective

photo by Altayb via iStock
The Haida M15 filter kit system is very high quality, optically and mechanically. It isn’t a bargain basement purchase, but I consider the prices to be very reasonable.
If I were to add up each filter type I have in the Haida M15 filter kit system as though I had purchased a filter in the sizes of all of my lenses, that would be a very significant percentage of my photography gear budget.
Before I found the current line of filters, I would sometimes consider buying a specialty filter in the filter size of my largest lens and use step down rings to adapt to my other lenses. An okay solution, but still somewhat limited. And an 82mm C-POL filter from a quality brand is still pretty expensive.
Besides, with a filter holder like the Haida M15, I can stack filters without putting up with poor optical quality. So, overall, I would say the Haida M15 filter system is well worth the cost.
Don’t Take My Word For It

Photo by Julius Silver from Pexels
I can talk a lot about a lot of subjects, but the proof is in the pudding, as they say. Try it out for yourself and share your results with us. Keep learning, keep practicing, keep making great images.
Learn More:
We Recommend
How to Get Better at Landscape Photography
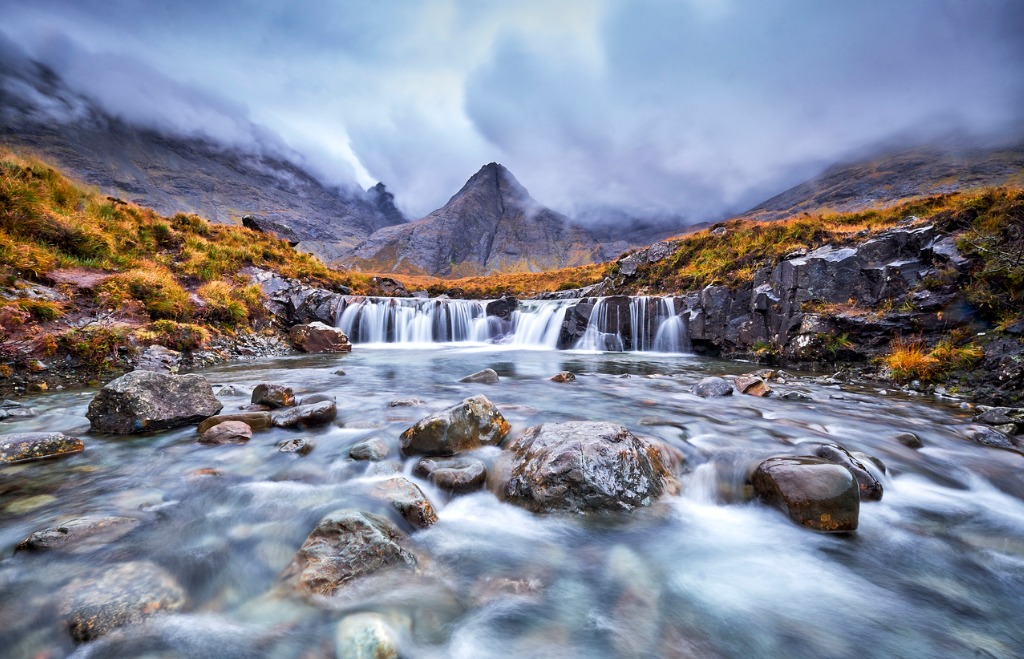
photo by1111IESPDJ via iStock
Landscape photography can be one of the most compelling artforms in all of photography, since unlike portraits or events, a landscape image can make anyone feel as though it is accessible to them. This is one of the key elements in how to get better at landscape photography, making people feel as though they are there in the image.
Technical prowess is vital for all great art, but for these landscape photography tips we’re going to focus a lot on landscape photography techniques that bring the viewer into the image. So the discussion will be both about those technical skills you’ve worked hard to achieve and the art behind great imagery.
Forget the Gear for a Minute
photo bysubinpumsom via iStock
To improve landscape photography, we look beyond merely thinking about what landscape photography gear we are using, though the gear does help us capture the picture we want, especially when used properly.
A good place to start is simply to enjoy the view before you. Now, your photographer's mind is already working on how to capture that view and that’s fine, that’s what we do. But what is it about the view that has you thinking that way? Take in the entire scene and then also look at interesting details. In other words, we’re going to train ourselves to see the forest AND the trees.
Do all this before you take your camera out of the bag. Two quotes I enjoy about landscape photography are from Yann Arthus-Bertrand: “The earth is art, the photographer is only a witness,” and Ansel Adams: “A good photograph is knowing where to stand.”
Understand what it is about what you are seeing that compels you to share that with others. In cliche words, feel the moment. Now we can get into the landscape photography techniques and gear.
Composition That Draws Viewers In - Leading Lines
photo byguvendemir via iStock
One of the first things beginner photographers learn is the Rule of Thirds for composition. It’s an important guideline and it really does work well most of the time. For compelling landscape photography, something more than the balance of thirds is often needed.
Leading lines is a composition technique that automatically draws a viewer into the scene. Even while still maintaining the rule of thirds, we can place ourselves so that there is something leading from us or near our position. Shorelines, rivers, paths, a clump of trees, or a fence can all serve well to lead the viewer from where you are into the image.
You can vary the way you include the leading lines by leading in from one side and then the other, or the leading lines can be mostly centered. If you can, take pictures of several orientations and then decide when reviewing which images to post-process to completion.
Learn More:
- Mountain Photography Tips
- How To Photograph Plains and Prairies
- How To Photograph Rivers and Streams
The Beauty of Curves - C, S, and Spirals
photo bymammuth via iStock
Along with leading lines and rule of thirds balance, including curves can also improve landscape photography images. Take a tour of an art museum and examine some of the landscape paintings from the Masters to see many examples of C curves, S and Reverse S curves, and the Golden Spiral.
Now, take that inspiration and apply to your landscape photography scene. Oftentimes, the line we’re using as a leading line will be a curve. Rivers, roads, shorelines, mountain ridges, all tend to naturally have curves.
Don’t limit yourself to only seeing curves from a horizontal thought, those rolling hills in the countryside and swells of waves on the ocean are curves in the vertical perspective. A great thing about the rules of composition for landscape photography is that you can ignore one in favor of another or you can combine several together in the same image.
Learn To Use Lens Filters
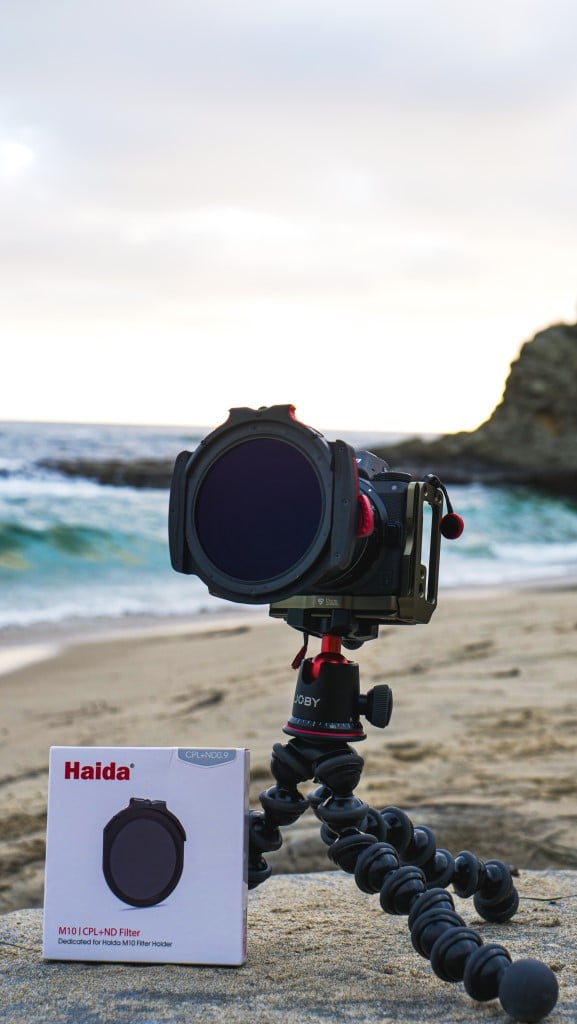
One of the top gear choices to improve landscape photography is a good set of lens filters, including circular polarizer (C-POL), neutral density (ND), and graduated neutral density (GND) filters.
Using filters for landscape photography is a good way to make the final image captured match up with the thoughts we came up with in our first step. Sometimes we simply need the proper tool to make our photograph work.
In digital photography, we don’t need to use filters to balance out color temperatures of the light or change color contrast for black and white, those things are done in camera or during post-processing. The three filters described above, C-POL, ND, and GND, are used to remove reflections, deepen contrast in sky and clouds, or balance out exposure values.
An excellent choice of landscape photography filters is the M10 filter system from Haida which combines high quality optics with convenience of filter use and placement. Your landscape photography deserves high quality filters to preserve the detail and beauty you’re working hard to capture, so you don’t want to skimp on your landscape photography filters.
Thankfully, filter systems like the Haida M10 Enthusiast Filter Kit II allow you to use one set of filters for all of your lenses by means of adapters, so the price of good filters for landscape photography is still reasonable for most budgets. The kit comes with a filter holder and the three filter types mentioned earlier.
Invest in a Good Camera Bag
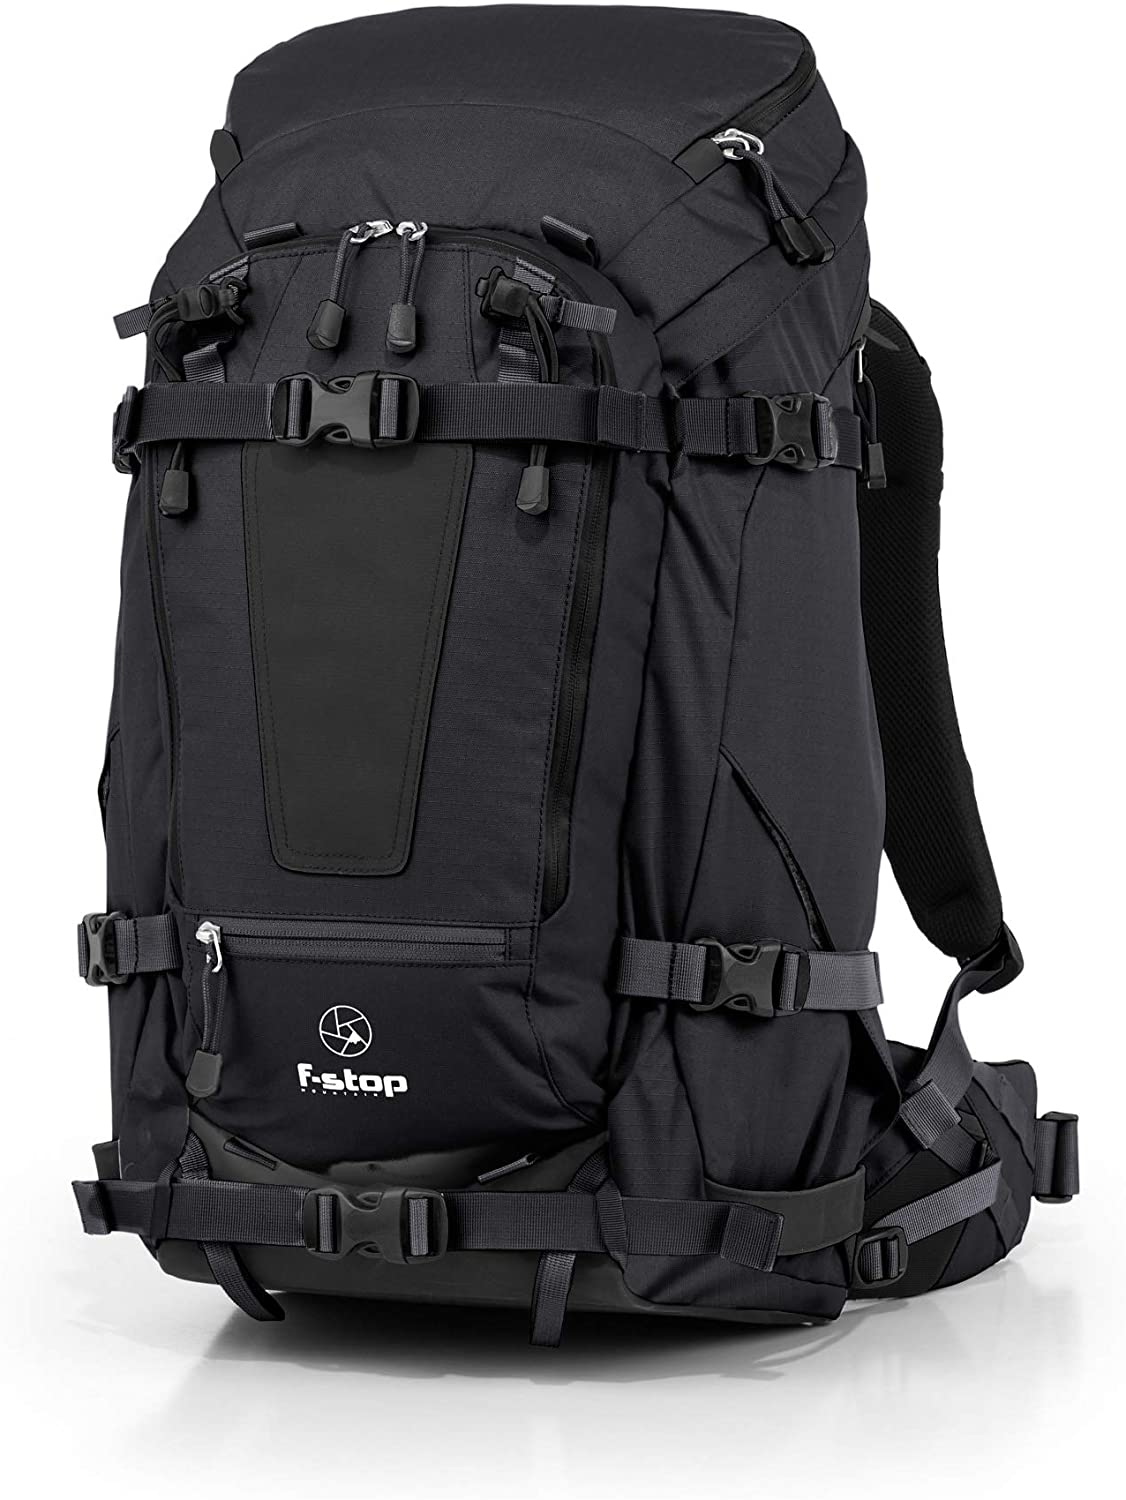
Though a camera bag won't directly help you take a better photograph, it can certainly help keep you organized, keep your gear safe, and keep you comfortable over the course of the day (or multiple days).
To be honest, there are a lot of bags that fit the bill here, but one that certainly stands out among the rest is the f-stop Tilopa.
This is a big bag - it holds 50 liters of gear - so it can easily accommodate all the gear you need for a weekend adventure.
Inside you'll find f-stop's ICU - internal camera unit - that provides cubbies for your camera bodies and lenses that protect them from damage as you hike around looking for the ideal shot.
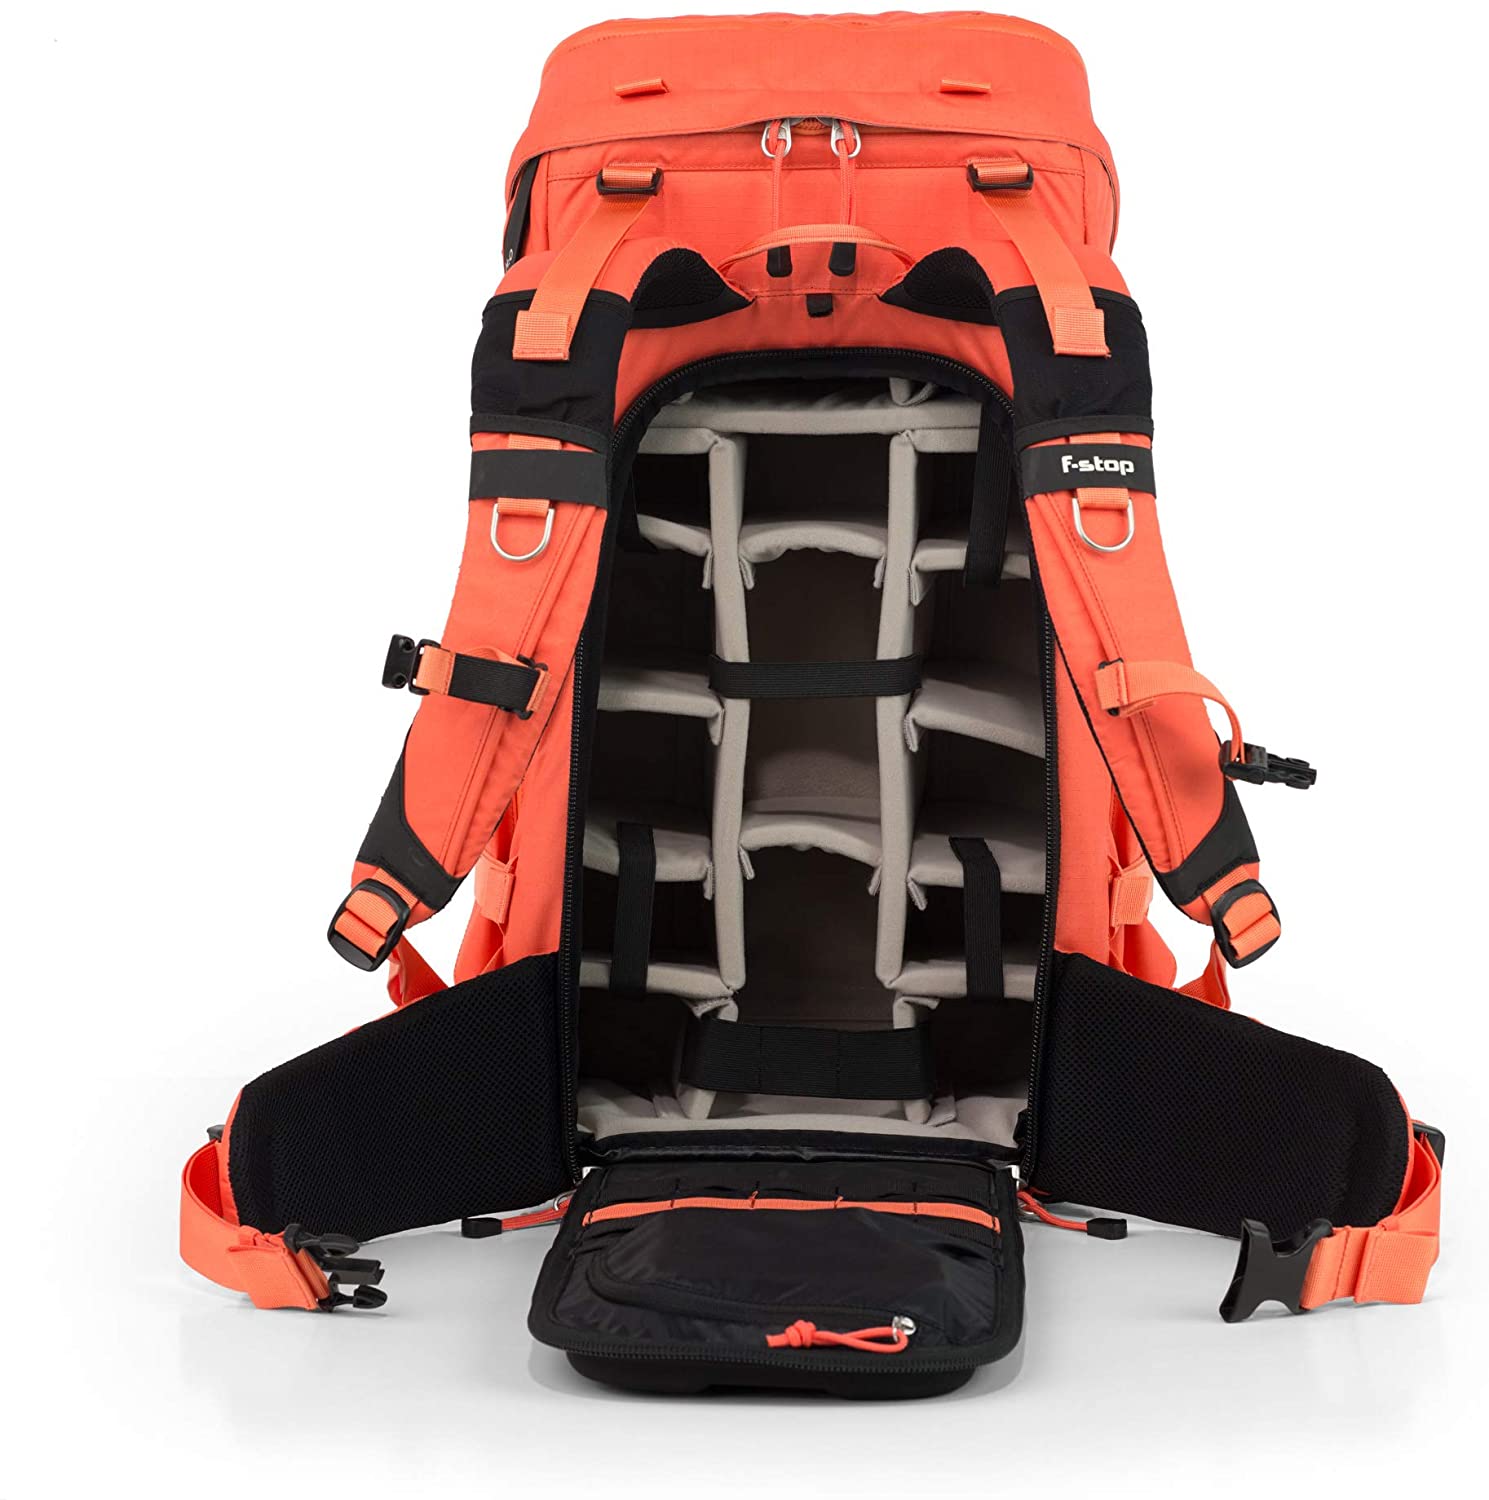
Outside, the bag has loads of goodies that make it the ideal companion for a landscape photographer.
It has an aluminum frame, super comfortable shoulder straps, a big, beefy waist strap, and it's water-resistant. Heck, there's even a rain cover that comes with it in case you're adventuring during the wet season.
This is just an all-around fantastic bag that will become one of the best accessories you have for your photography adventures. Check it out and see it for yourself!
Use Portrait Orientation for Landscape Photography
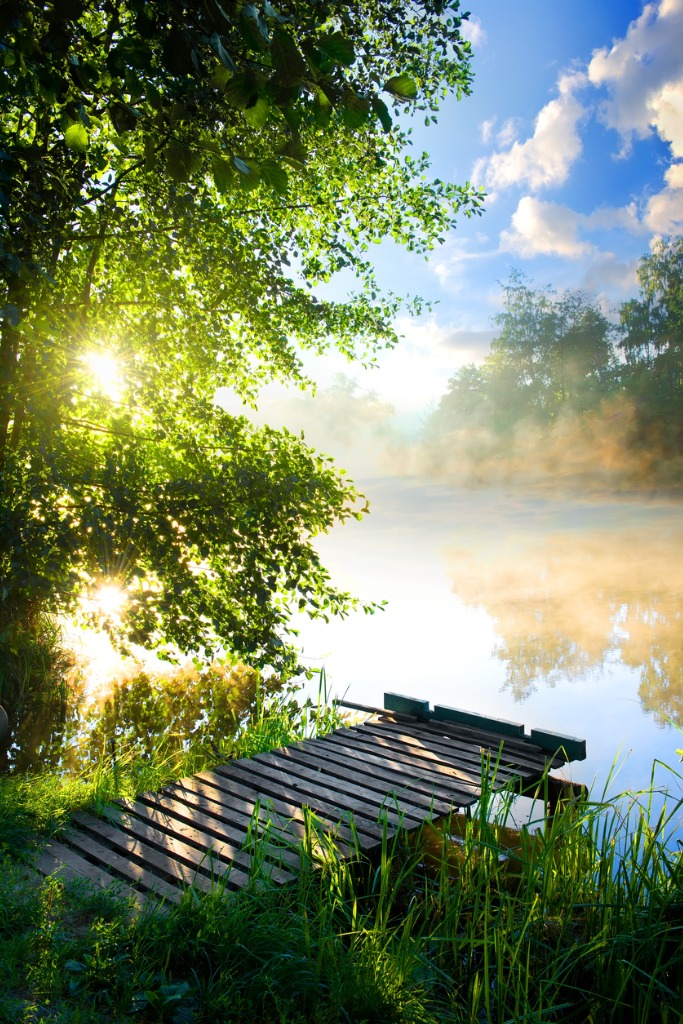
photo byGivaga via iStock
We tend to think of landscape photography as using the horizontal landscape orientation, but some views are better presented to the viewer in vertical or portrait orientation.
Why not take pictures in both formats? A forest of tall trees, a jagged mountain peak, or a thunderstorm over the sea or a lake might look better when shot in portrait orientation, allowing the viewer to really see the view you observed in your mind’s eye.
Combine Landscape Photography Techniques
photo bycorradobarattaphotos via iStock
The beauty of photographic rules is that they are all simply tools for us to use to create the images we want. We can adjust them, combine them, even break them if it leads to a better landscape photography image.
Learn to use lens filters to take complete control of exposure issues and vary your approach to what orientation to use. Take note of what composition techniques will enhance the scene you’re capturing. Spend a little time appreciating the view before using your camera.
Practice these landscape photography tips and then share your images with us and others so we can appreciate the art you captured with landscape photography.
Learn More:
- How To Improve Landscape Photography
- Long Exposure Tutorial: Beach Photography
- Why You Need a Filter Kit for Landscape Photography
We Recommend
How to Improve Landscape Photography
photo byDieterMeyrl via iStock
Though landscape photography might seem to some as simple - just point your camera at something pretty and press the shutter - it’s far more involved in practice.
What’s more, to get the best-quality shot, there are some principles you need to live by.
From taking care when cropping your images to using the right photography gear to simply taking your time, there are plenty of simple, yet highly effective steps you can take to improve your landscape photography.
Table of Contents
- Pay Attention to the Edges of the Shot
- Invest in a Graduated Neutral Density Filter
- Take Your Time
- Get More Tips
How to Improve Landscape Photography: Pay Attention to the Edges of the Shot

photo bydiegograndi via iStock
You know how the pros tell you that when you take a portrait that you need to check for oddities creeping into the shot, like a random tree branch or half a trash can?
These kind of elements distract the viewer's eye from the portrait subject and diminish the overall appeal of the photo.
Well, the same situation applies to landscape photography as well.
This requires you to take a few moments to check the framing of the shot in the field. Likewise, when you’re back home editing the photo, take a few extra moments to ensure that any cropping you do removes these sort of distractions (i.e., like cropping out the power lines in the bottom-right corner of the image above).
This is important because the best photos have a place for the viewer’s eyes to rest. It’s hard for them to do that when there’s distracting elements interfering with the subject!

photo byEloi_Omella via iStock
In the image above, for example, I would argue that a stronger composition would have resulted had the photographer framed the road and parking area out of the foreground of the shot.
To my eye, it’s just distracting and certainly doesn’t fit the dreamy vibe going on in the rest of the photo.
All it takes is a few seconds to scan the photo and a few more seconds to reframe it or crop it. But those few seconds can make or break the shot, so it’s worth it!
Learn More:
How to Improve Landscape Photography: Invest in a Graduated Neutral Density Filter
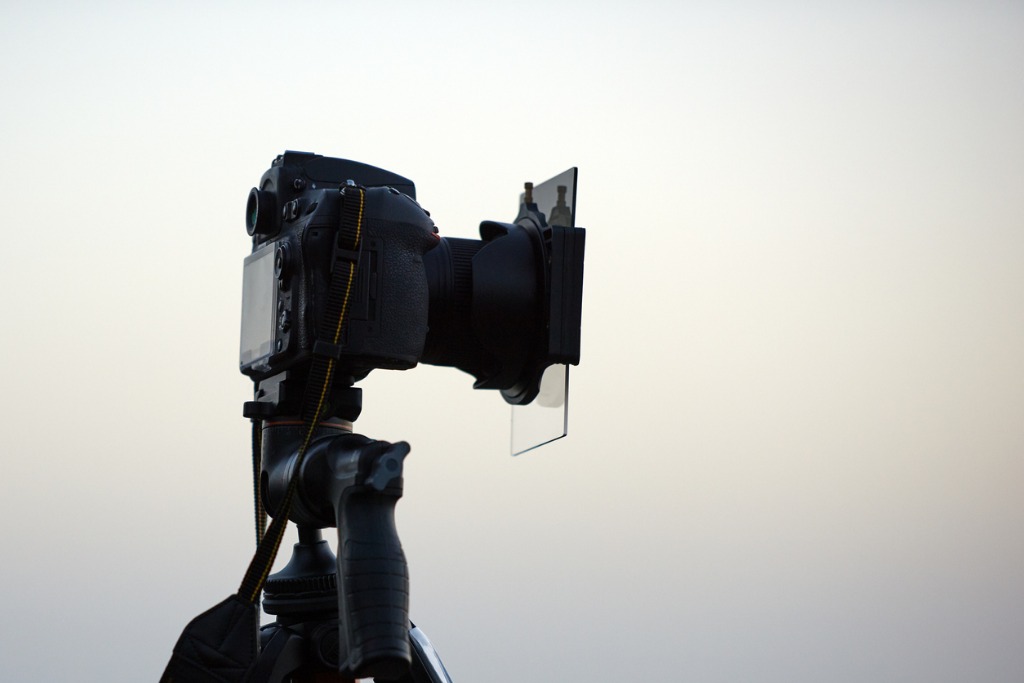 Photo by stock_colors via iStock
Ask any landscape photographer what the most challenging aspect of getting a high-quality photo is, and my guess is a fair share will say getting the exposure just right.
What makes exposures so hard to get perfect in landscape photography is that the sky is bright and the landscape is much darker.
This wide dynamic range is too much for even the most expensive cameras to accommodate, so you often end up with images with a well-exposed sky and an underexposed landscape or a well-exposed landscape and a sky that’s totally blown out.
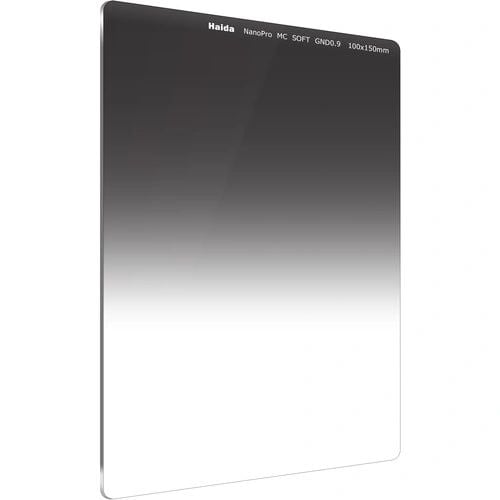
The easy solution to this problem is one of the best landscape photography tips you’ll ever get: use a graduated neutral density filter.
Graduated ND filters are dark on top and gradually lighten toward the bottom, as shown above.
This means that they darken the bright sky while having no effect on the brightness of the landscape.
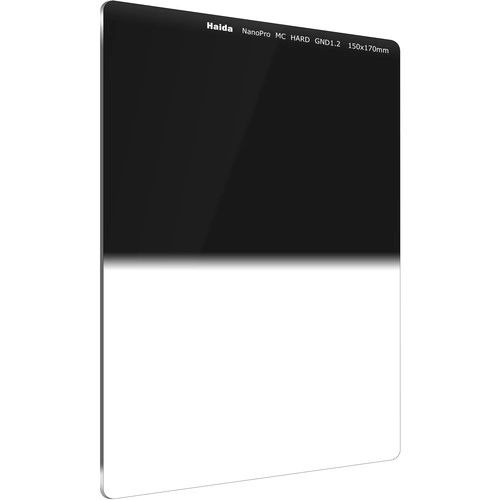
Graduated neutral density filters come in varying strengths and both soft-edge and hard-edge.
If you compare the two images above, you can see the first one has a soft-edge transition between dark and light and the second one, in addition to being much darker, has a hard-edge or abrupt transition.
Obviously, darker filters filter out more light, and allow you to overcome extreme dynamic range. And while soft-edge graduated ND filters are great for landscapes in which there is no definite horizon, hard-edge graduated ND filters are ideal for scenes like looking out onto the ocean, in which the horizon is perfectly flat.
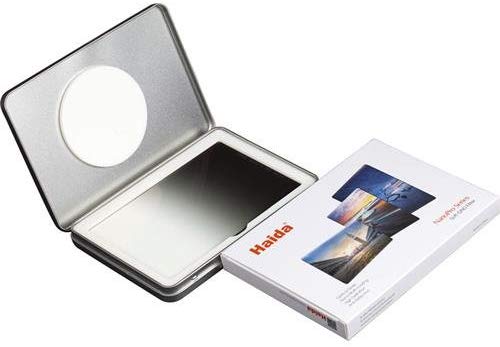
For my money, it's hard to beat the quality and price of Haida graduated neutral density filters.
Not only are Haida filters manufactured from high-quality optical glass, but they also feature NanoPro multicoating, which keeps dirt and smudges at bay.
Additionally, Haida's NanoPro multicoating helps minimize reflections and provides waterproofness and scratch-proof properties to the filter.
What's more, there is no color cast, so the results you get are truly neutral. Image sharpness is maintained as well for impeccable results.
You get all that (and a metal case) for a great price, too, so it's the best of both worlds!
Get more details about the Haida soft-edge graduated ND filter and the Haida hard-edge graduated ND filter.
How to Improve Landscape Photography: Take Your Time
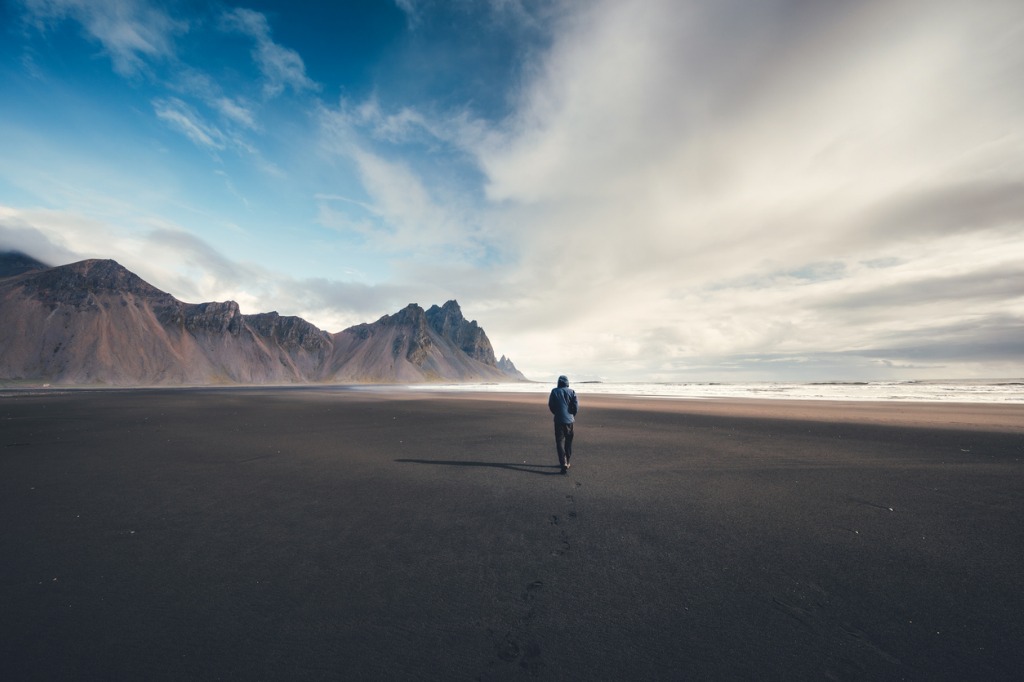
photo by borchee via iStock
I’ve certainly been guilty of rushing things when I’m out shooting landscapes, so this piece of advice is something I struggle to put into practice.
However, we’ll all have better photos if we simply slow things down and take our time with each shot.
Landscapes don’t change that quickly, so it’s not like we have to rush around and fire off shot after shot as though we’re photographing sports or wildlife or a subject that actually changes very quickly.
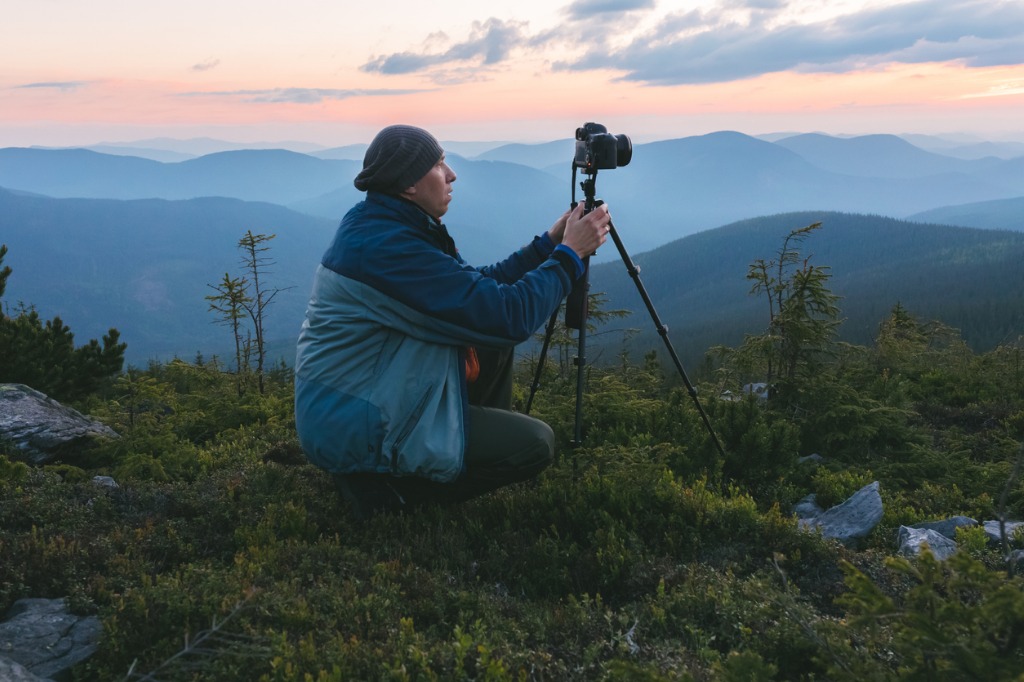
photo by tomch via iStock
Instead, taking your time ensures that you get a better shot on many different levels.
As noted earlier, taking your time helps you frame up an image that has fewer distractions.
Taking your time also helps you dial in the most appropriate camera settings to get an ideal photo.
There’s also something to be said for taking a few moments to look around and discover better vantage points or better compositions to create an improved photo.
photo by benedek via iStock
Besides, if you slow things down just a bit, you might actually get to enjoy your surroundings!
A few years ago, I went to Grand Teton National Park for the first time, and all I did was zoom from one location to the next in my rental car.
I’d hop out, take a few photos, get in the car, and drive to the next location and repeat.
Needless to say, my photos look rushed (which is why there’s a stock photo above) and I remember very little about the scenery. I was pressed for time, but rather than trying to photograph the entire park in one day, I should have selected a couple of spots to photograph and enjoy instead!
Learn More:
How to Improve Landscape Photography: Get More Tips
If we’re talking about landscape photography techniques that will help you improve your images, it doesn’t get much easier than the three I’ve outlined above.
But if you want more instruction on how to improve landscape photography, check out the video above by Nigel Danson.
He’s a fantastic photographer, and as you’ll see, his videos are supremely informative.
Give it a look and you’ll find that his landscape photography tips for beginners will give you a leg up the next time you head out to shoot.
We Recommend
How to Photograph Clouds
photo by photoschmidt via iStock
To get the most pleasing photos of clouds, there are a few things you need to consider regarding the gear you use, the composition, and the camera settings.
In this introductory tutorial on how to photograph clouds, we’ll address each of these topics in-depth, that way you have a strong base of knowledge to create the most impactful photos.
Without further ado, let’s get started!
How to Photograph Clouds: You Need a Polarizing Filter
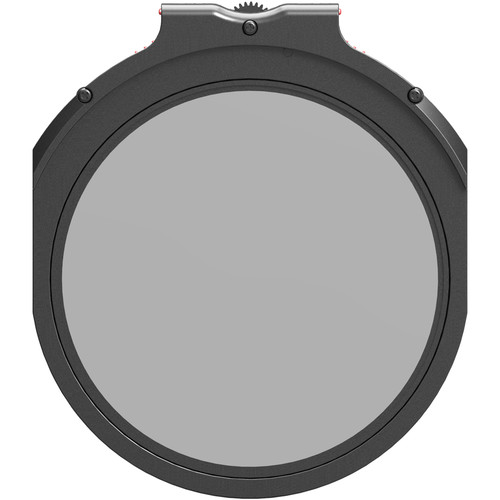
Of all the filters you should have in your camera bag, a polarizing filter is the most important.
Polarizers offer a ton of benefits, including reducing glare off of water and minimizing atmospheric haze, which makes distant objects in the landscape appear crisper and cleaner.
With regard to photographing clouds, polarizers boost the contrast in the sky, making the atmosphere a deeper blue and the clouds a brighter white.
The pop that results from this improved contrast is a great asset to have when taking photos of clouds during the daytime - rather than having a sky that’s dull and washed out, you have one that jumps out of the image.
Learn More:
How to Photograph Clouds: Concentrate on Interesting Compositions
photo byjoebelanger via iStock
Very seldom are photos of clouds by themselves all that compelling.
To spice up the composition, you need to add elements that provide interest and appeal to the image without taking attention away from the structure, shape, and color of the clouds.
For example, adding even just a hint of the landscape below the clouds, as was done above, helps ground the image and give viewers a better understanding of the sheer size and scale of the clouds in the shot. The lightning bolt doesn’t hurt in the visual appeal department either!
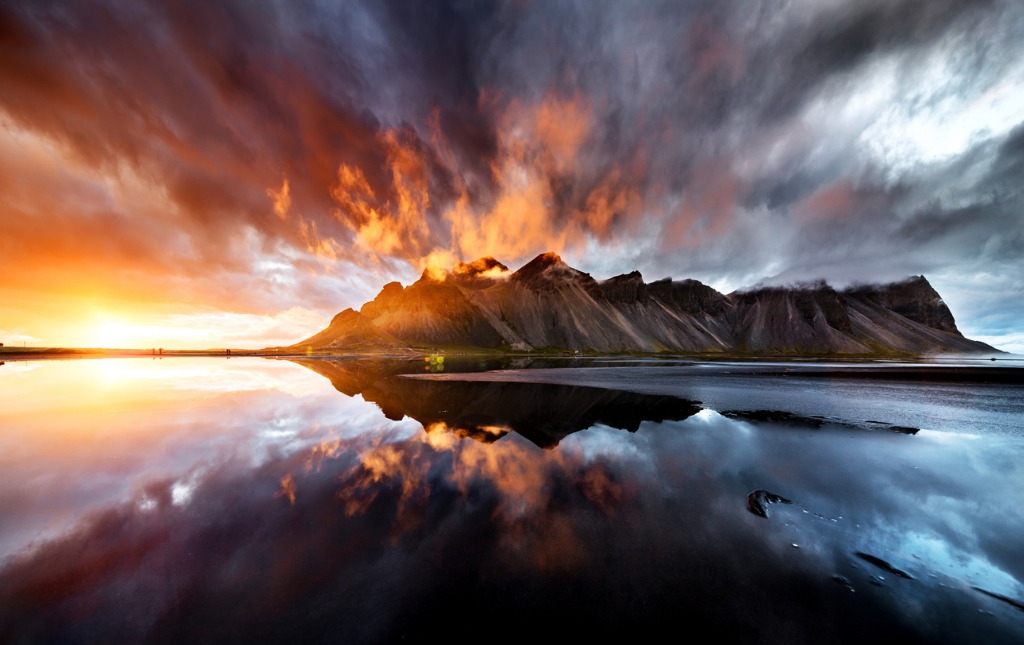
photo byskynesher via iStock
As another example, you can incorporate a much greater portion of the landscape in the photo without diminishing the impact of the clouds if there is a reflection in the image.
The photo above demonstrates this perfectly - the color and shape of the clouds is on full display both in the sky and in the water’s reflection, so even though the mountains occupy a large part of the frame, the clouds still have a ton of appeal.

If you photograph clouds as sunset, a good asset to have in your camera bag is a quality reverse graduated neutral density filter like the one shown above by Haida.
These filters are made specifically for shooting at sunrise and sunset, when the brightest part of the sky is just above the horizon.
To accommodate that, these filters have their darkest tinting in the middle to bring down the brightness of that area. The tint then lightens as you extend above and below the midline to help you turn featureless skies and landscapes into something breathtaking (as shown in the before and after images above).
Learn More:
How to Photograph Clouds: Use the Right Camera Settings
photo byBeyondImages via iStock
When photographing clouds, the key camera setting you need to master is shutter speed.
At a very basic level, if you want to retain the shape of the clouds as you see them, you need to use a fast shutter speed to freeze their movement. If you prefer a dreamy, blurry look to the clouds, you’ll need to extend the shutter speed.
Things are a little more complicated than that, though not overly complicated.
When you want to freeze the movement of clouds, try the following settings as a good place to start:
- Exposure mode: Shutter priority (S or Tv on your camera dial)
- Drive mode: Single shot
- Aperture: f/11ISO: 200
- Shutter speed: 1/200 seconds
Determining the camera settings to blur the motion of clouds is a little more complex, because you’ll need to extend the shutter speed, and to do that, you’ll need a neutral density filter (in most cases).
In the video above, Mike Perea offers a detailed look at how to blur the movement of clouds with and without a neutral density filter.
With that, you have a little more insight into how to capture beautiful photos of clouds.
Give each of these tips a try and see how they can positively impact the photos you create!
Learn More:
We Recommend
How to Photograph Foggy Landscapes
photo bySpondylolithesis via iStock
Fog photography can make some beautiful images for ourselves and others to enjoy. Fog photography can be scenic landscapes, urban views, or focused on the nature of fog in itself.
Each of these has its own unique characteristics and challenges, as well as fog photography tips for making it easier to capture what our mind’s eye is seeing.
How To Control Fog

Photo by Ricardo Gomez Angel on Unsplash
Forget about it, you can’t control it. You can, however, increase your chances of making a great fog image by learning a little bit about fog.
A meteorologist will tell you that in layman's terms, fog is a cloud in contact with the surface of the Earth. So, what causes ground-level cloud formation?
A cloud forms when the air is below the dewpoint, the temperature where the air can no longer hold the water vapor within it. So, tiny water droplets form that are suspended in the air.
Ground level fog usually happens when warm moist air meets a cooler air mass, but when there isn’t much wind, as wind dissipates fog. Anywhere near a large body of water or in a large expanse of moist vegetation may be prone to fog formation.
Certain times of year and the time of day come into consideration as well. Local weather websites can help you figure out when and where you are more likely to find fog.
Recommended Landscape Photography Books:
- The Landscape Photography Book: The Step-by-Step Techniques You Need to Capture Breathtaking Landscape Photos Like the Pros
- National Geographic Greatest Landscapes: Stunning Photographs That Inspire and Astonish
- The Art, Science, and Craft of Great Landscape Photography
Decide Your Focus
photo byYiuCheung via iStock
When considering how to photograph fog, you will need to decide what you’re intending to do.
Do you want a picture of the fog itself? Do you want the landscape or cityscape to be the primary focus with fog added as a visual element? Lastly, are we using the fog as some sort of giant diffusion filter for our scene? All three require a slightly different approach.
Learn More:
Imaging the Fog Itself
Photo by Jan Schulz # Webdesigner Stuttgart on Unsplash
Making the fog the primary subject of your image can create some beautiful pictures. One of the more important fog photography tips for this purpose is to find a great vantage point. Looking down on the fog emphasizes the nature of fog. A high-quality drone may be a good choice to use for this type of image.
Exposure will be the key factor for this approach. You don’t want the exposure to hide the fog with blown out highlights or extremely deep shadows. This may require using Neutral Density (ND) filters in order to get the right balance of exposure values.
It wouldn’t require much ND to accomplish this. A neutral density filter like the Haida Red Diamond 3-Stop ND filter would be an excellent choice for your fog photography gear.
Fog As an Image Element
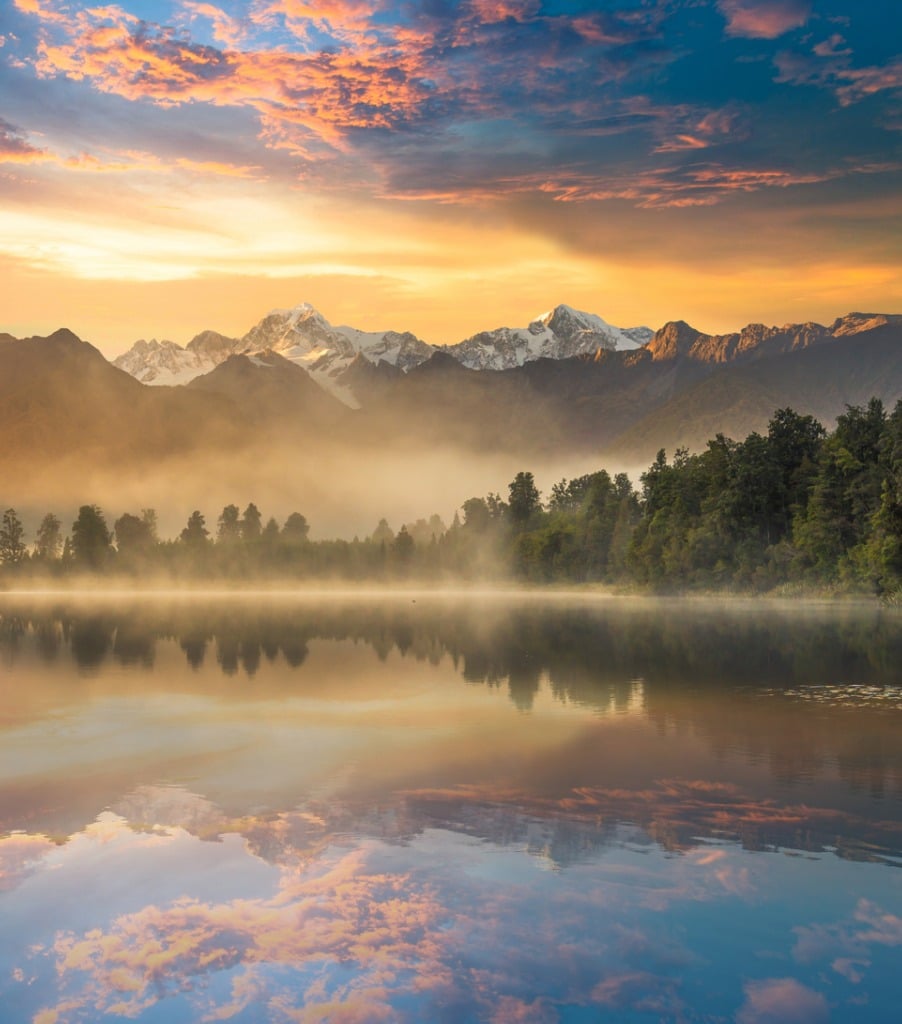
photo byprimeimages via iStock
Basic landscape photography tips are good to use when using fog as one of the visual elements of a scene.
Taking into account the rules of composition, the fog may be a visual balancer, a foreground or background object, or a subject to place within the Rule of Thirds. Fog can also be used either to obscure or to highlight another visual element of the scene.
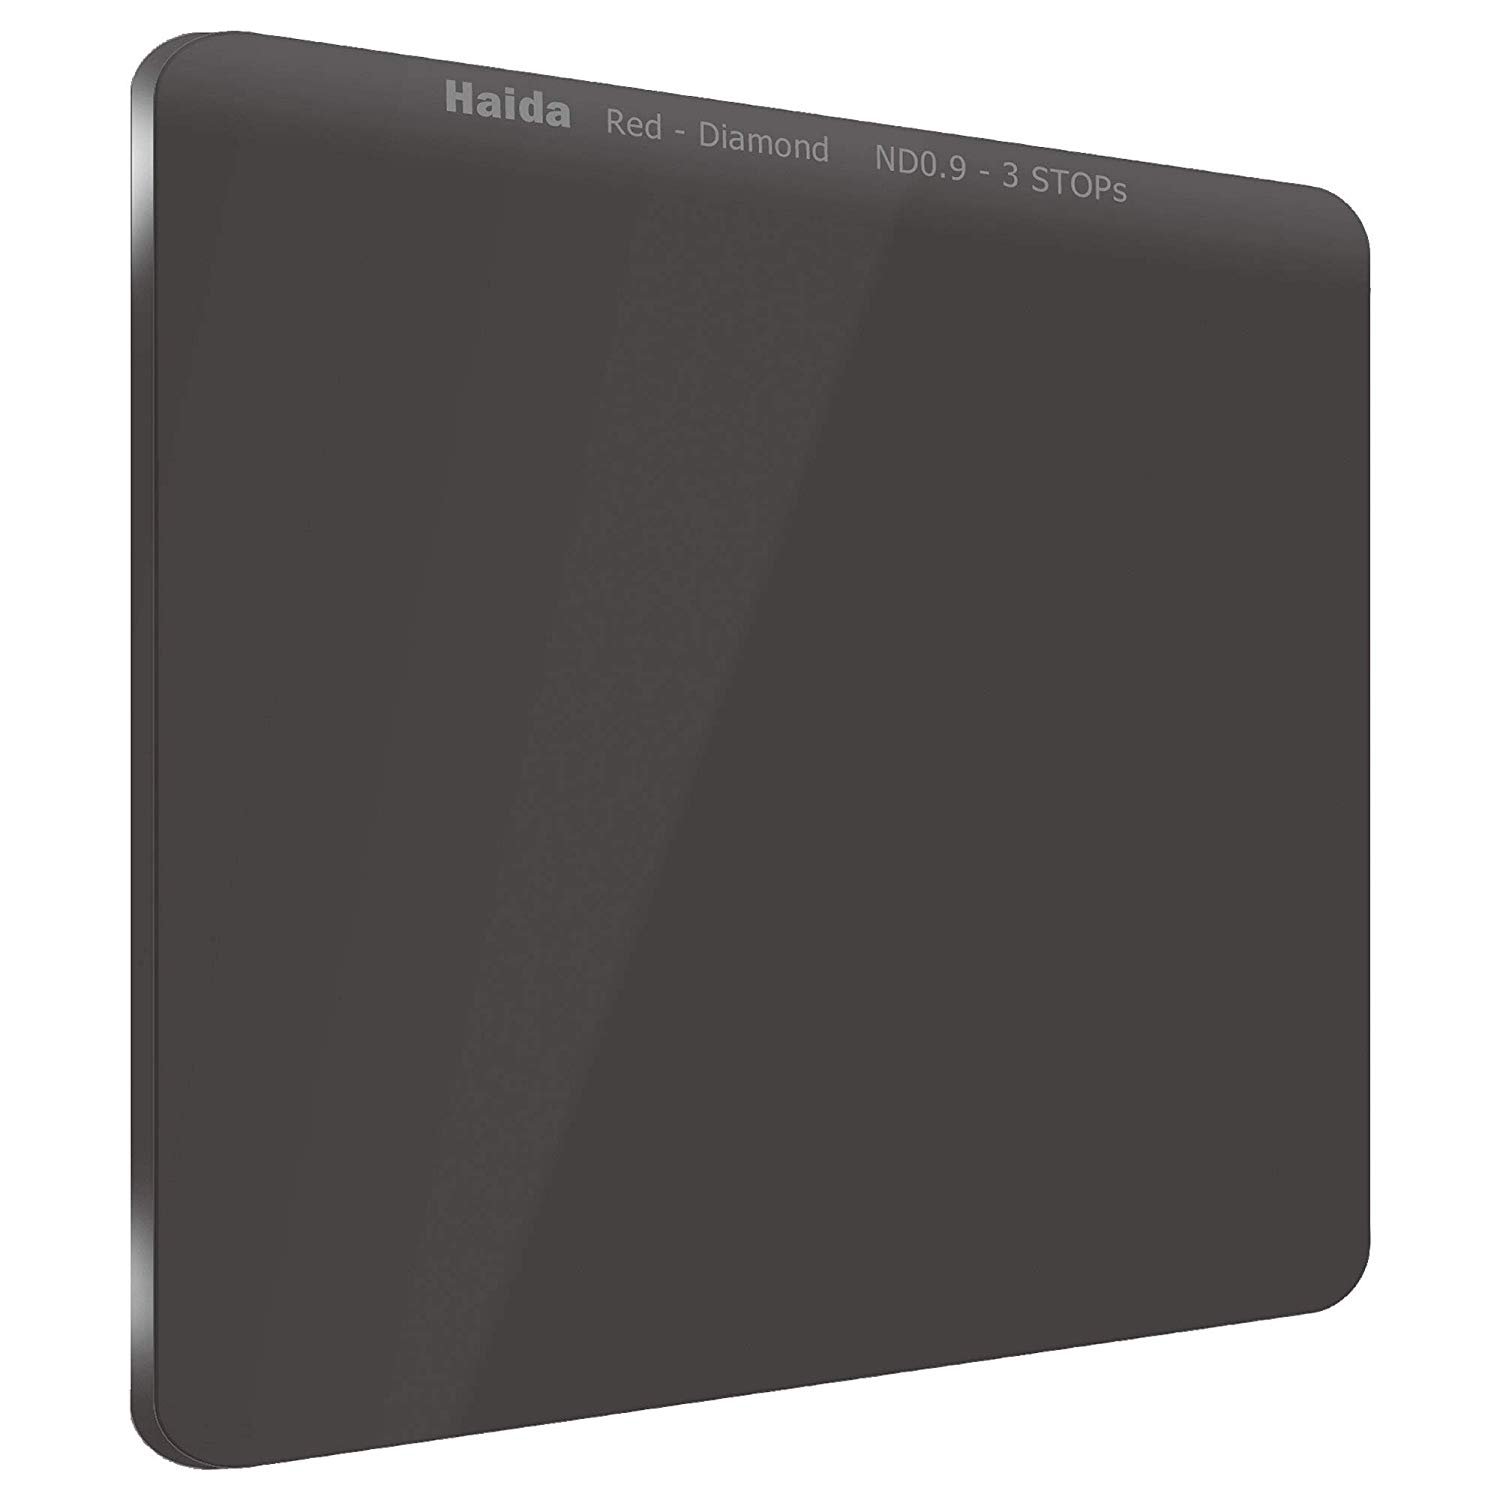
A high-quality ND filter like the Haida mentioned above can be quite useful for this approach, especially if you are trying to show the fog as a silky blanket in your scene.
The fog is moving, though it could be moving slowly. A slightly longer exposure can give you the desired effect. Just like blurring the waterfall or clouds in long exposure photography.
Fog as a Giant Diffuser
Fog can be used as a filter for either the light or the subject. Instead of looking at the fog from outside the fog, we are immersed in the fog.
Photo by Victoria Palacios on Unsplash
Filtering the light gives us a soft quality not often seen in outdoor sunlit scenes. This lets us concentrate on imaging the subject without causing distrating contrast. Nothing wrong with contrast, we use it a lot as photographers. But sometimes we have in mind a result that is better with lower contrast.

photo byNuno Valadas via iStock
Using the fog as a lens diffuser is super easy to do. Just shoot through the fog. All the same rules and guidelines for exposure and composition still apply. But now you have a natural diffusion filter.
Trial and Error
photo byborchee via iStock
All of these fog photography tips may take some time to be able to use. You can only put them into practice when you actually have fog.
So, get ready. Find a decent tripod or camera mount and a high-quality ND filter so all your options are available. And go look for foggy landscapes and cityscapes. Plus, whatever else looks good in your viewfinder.
Learn More:
We Recommend
How to Photograph Plains and Prairies
photo by Scott Cressman via iStock
Rugged mountains, pristine coastlines, waterfalls, and canyons might get more love from photographers, but plains and prairies have a distinct beauty that’s certainly worthy of your time.
The rolling hills, the potential for wicked thunderstorms, and the weathered old buildings are among many varied features make the plains and prairies of North America a diverse and beautiful place.
Let’s discuss a few tips that will help you make the most of your photographs of these incredible areas.
How to Photograph Plains and Prairies: Place the Horizon Just Right
photo by tomofbluesprings via iStock
Though these landscapes have terrain that ranges from rolling hills to badlands to farmland, by and large, plains and prairies are flat. That being the case, there will usually be a definite horizon in your photos.
When considering where to place the horizon, think about what’s going on in the photo.
For example, in the image above, there is an abundance of interest in the foreground while the sky isn’t especially eye-catching. This being the case, shifting the horizon line upward allowed the photographer to highlight the details of the landscape while minimizing the “boring” sky.
photo by TomasSereda via iStock
In this example, the opposite situation is true - the sky is what’s the most beautiful aspect of the shot. Therefore, the photographer lowered the horizon line in the frame to maximize our view of the sky.
Sometimes, having the horizon line in the middle of the frame pays off too - such as when you’re photographing a reflection. Putting the horizon line in the middle of the shot accentuates the symmetry of the scene.
Quick Tip: The wide-open spaces of the plains is ideal for using a drone. By getting above it all, you have an opportunity to use perspective to your advantage to create an eye-catching shot.
Learn More:
How to Photograph Plains and Prairies: Introduce Movement
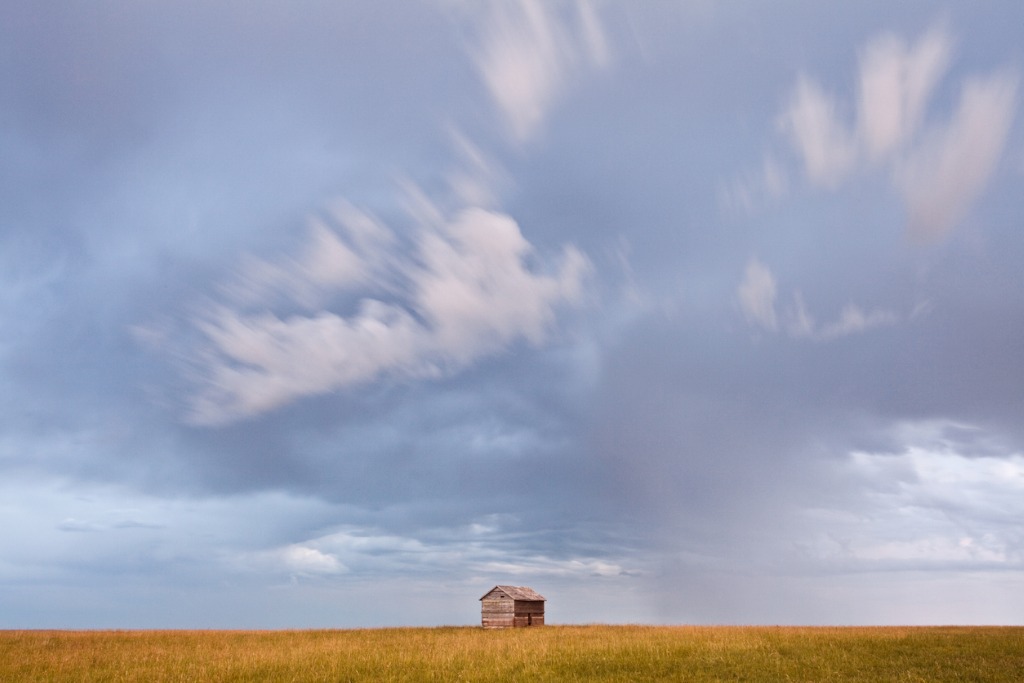
photo by ImagineGolf via iStock
One of the best ways to increase the visual interest of a photo of plains or prairies (or any landscape) is to introduce movement by using a long exposure.
Long, ethereal streaks of clouds, in particular, are an ideal pairing with the rolling hills or flat farmland of the Great Plains.
As you can see above, the landscape is beautiful on its own, but the shot is taken to another level with the introduction of the movement of the clouds.
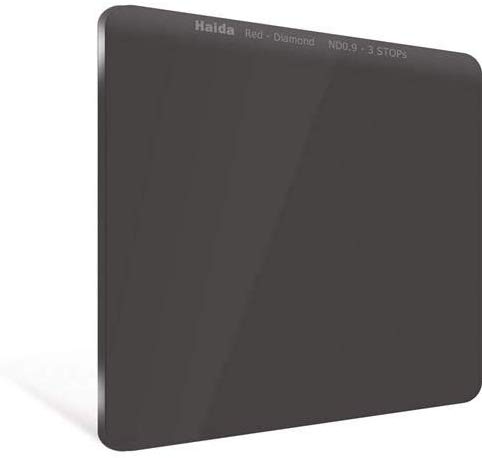
To get this effect, you need to use a neutral density filter to block out light, which allows you to extend the shutter speed to introduce motion blur.
Neutral density filters (like the Haida one shown above) come in various strengths, measured in stops. The higher the number of stops, the more light-stopping power the filter has.
The most common ND filter is a 3-stop, though there are many darker variations, from 4-stops to 15-stops (shown below). Obviously, the more you block the light, the longer the shutter speed can be and the more motion blur you’ll induce.
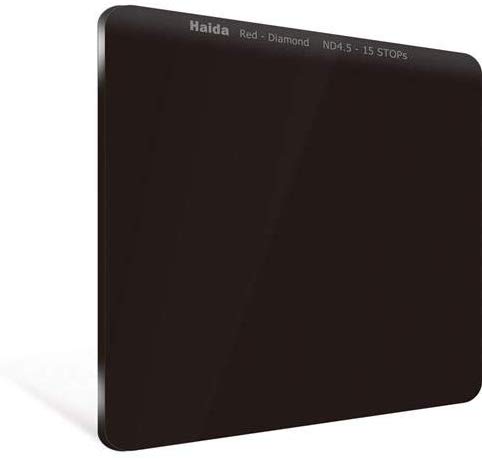
It’s important to note that not all neutral density filters are made alike.
Cheap filters often have color casts, which tints the image with unwanted colors. Likewise, cheap filters simply don’t hold up to usage over a long period of time.
This is why I use Haida Red Diamond neutral density filters.
Not only are they beautifully crafted with hyper-neutral results, but they are built to last for the long haul. Sure, there are cheaper alternatives, but in the end, investing in a quality filter like these means you’ll have a good set of filters for the long haul and you won’t have to keep buying cheap filters over and over again.
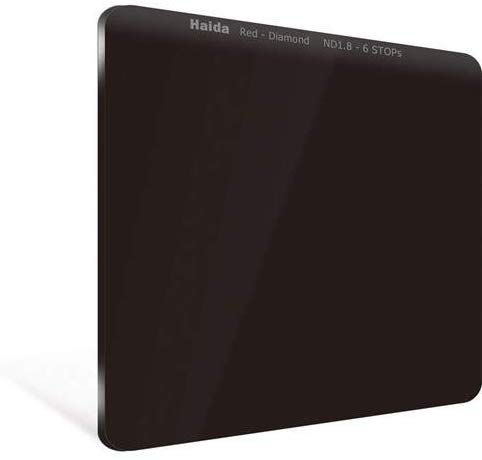
I particularly like Haida's Red Diamond line because they feature a shock and scratch-resistant design. When you're out and about in the wilderness, having tough gear is a must!
Additionally, Haida uses an ultra-thin Nano Multicoating that offers zero color casts and excellent sharpness, while being waterproof and resisting oils and fingerprints.
So, not only does this filter offer excellent results, it's beautifully made, highly functional, easy to clean, and best of all, affordable!
How to Photograph Plains and Prairies: Plan for Storms
photo by ImagineGolf via iStock
It’s no secret that the Great Plains is where to be to photograph storms.
What makes this area ideal for storm photography is twofold: first, it’s where storms occur in abundance, particularly in the spring, and two, the flat landscape gives you an unobstructed view for miles.
You also don’t want the landscape to compete with the sky in the shot, so a relatively featureless swath of farmland set below an electric sky makes for a beautiful shot.

photo by joebelanger via iStock
The key with photographing storms on the Great Plains is to plan ahead.
Not only do you need to figure out where storms are (or might develop), but you have to figure out how to get there, determine ideal vantage points, and have an exit strategy in case things get dicey.
As shown above, positioning yourself east of a storm and photographing it at sunset provides tons of visual interest for an appealing shot.
photo by ImagineGolf via iStock
Using tried-and-true photography rules like the rule of thirds is also advantageous.
In the example above, the lines created by the two-track draw your eyes into the shot, connect the foreground to the background, and give the image more depth.
photo by ImagineGolf via iStock
Quick Tip: Incorporating elements like abandoned buildings is another compositional trick you can use to create a more interesting image. Though plains and prairies have an inherent beauty, they can be a little monotonous without much change in landscape features. Abandoned buildings like the one above help break up that monotony for a more compelling photo.
Learn More:
We Recommend
How to Photograph Rivers and Streams
photo by skynesher via iStock
Whether your goal is to capture the sheer power of a roaring river or you simply want to capture the serenity of a babbling brook, there are plenty of possibilities for creating gorgeous photos that highlight rivers and streams.
Aside from the vast differences between small streams and raging rivers, you can approach how you capture their movement in different ways as well.
That includes using a faster shutter speed to freeze their movement, using a polarizing filter to reduce glare and improve the view into the water, and using a neutral density filter to get a gorgeous, milky blur of the water’s movements.
In this tutorial, you’ll learn how to photograph rivers using these techniques.
How to Photograph Rivers: Use a “Fast” Shutter Speed
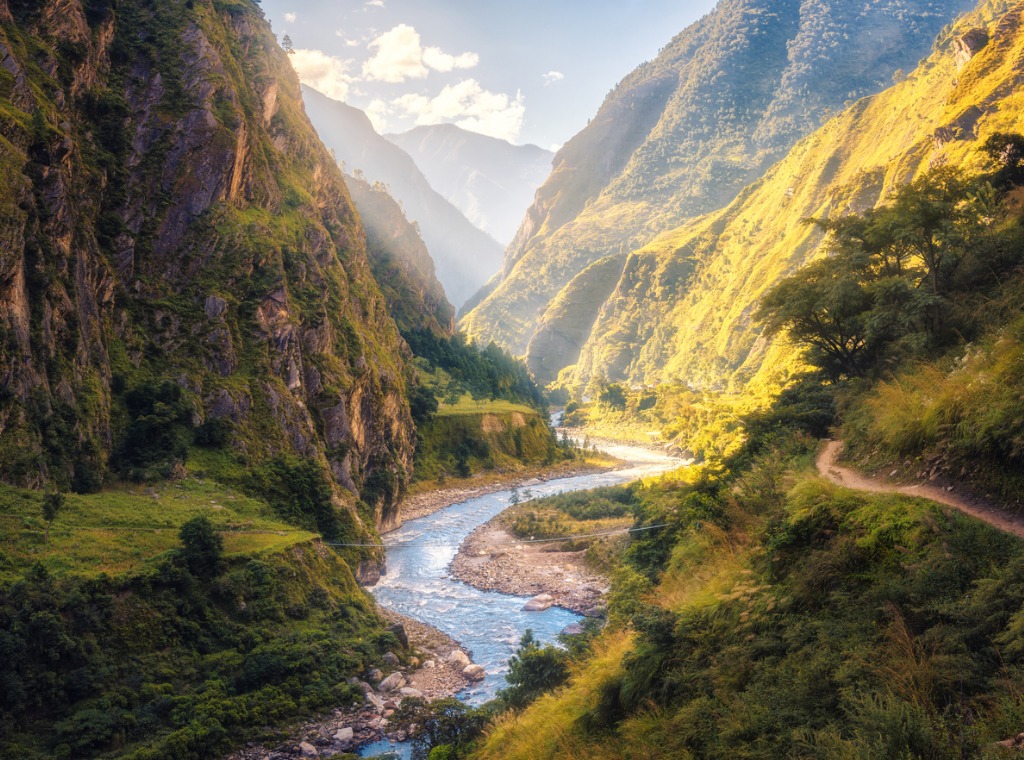
photo by en-belitsky via iStock
In many situations, using a slow shutter speed and either a polarizing filter or a neutral density filter is the way to go (more on that below). But occasionally, you might want to freeze the movement of water in your images.
You can do that by using a “fast” shutter speed - say, less than one second.
While this isn’t a fast shutter speed by any means, it’s certainly faster than the seconds-long exposure you need to blur the movement of water.
The result of this approach, as you can see above, beautifully captures the whitewater rapids of the river.
Since the river is so far away, this is a more effective approach than blurring the movement of the water with a long exposure.
photo by Hakase_ via iStock
Likewise, I often like to incorporate people into my landscape shots, and rivers are a perfect candidate.
As shown above, a fast shutter speed (in this case 1/250th seconds) froze the movement of the river, the movement of the little girl, and the movement of the water splashes she’s creating.
Quick Tip: When photographing rivers, try various vantage points to get the most creative composition. As seen in the images above, taking river photos from a very high point of view and a very low point of view creates completely different-looking images.
Learn More:
How to Photograph Rivers: Use a Polarizing Filter
Photo by Justin Campbell on Unsplash
One of the most important items you need for photographing rivers is a good polarizing filter.
A polarizer has many different effects on your landscape images. For starters, they improve the vibrancy of the colors in the landscape, like plants near the edge of the river and moss on rocks.
Secondly, polarizing filters help minimize glare off of water. That means that your images will have less blinding glare from the sun and more crystal clear waters. That, in turn, means that you can highlight features under the water’s surface, like the shape of rocks and boulders or even plantlike and fish under the surface.
Photo by Ville Palmu on Unsplash
Third, polarizers boost the contrast in the sky, making the blue color of the atmosphere deeper and richer while boosting the white of the clouds.
Not only that, but polarizing filters also cut down atmospheric haze, so if there are distant elements in the background (like the mountains in the image above), they’ll appear crisper and more detailed if you use a polarizer.
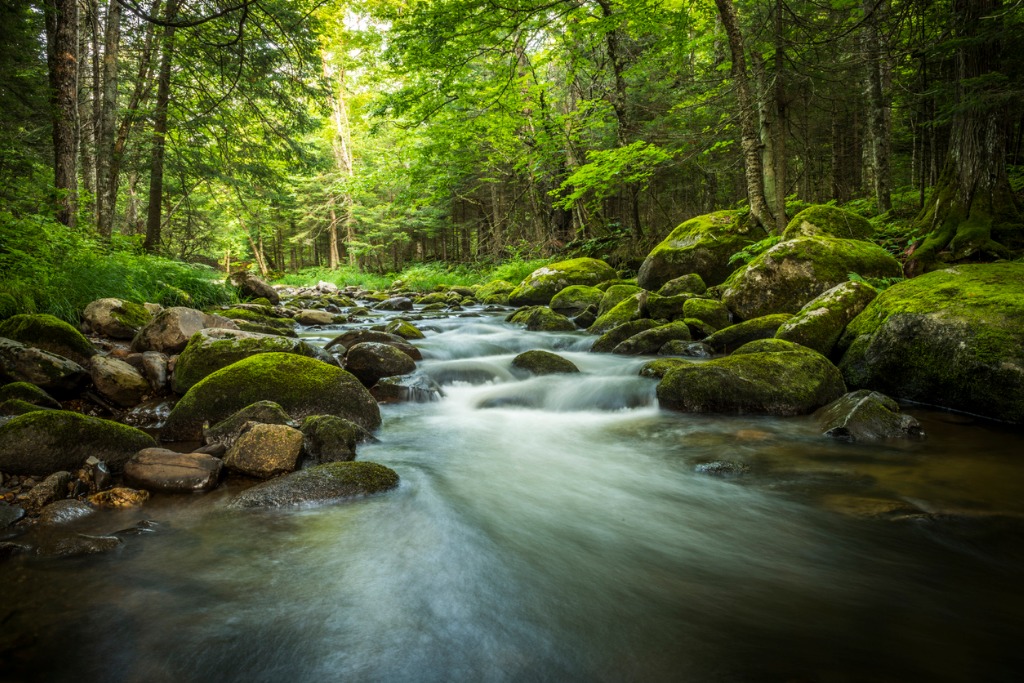
photo by Klod via iStock
Another benefit of a polarizer is that they slightly reduce the amount of light that enters the lens. Though they only extend your shutter speed by a couple of stops, it’s still enough to get blurry movement of the water.
If you don’t have a neutral density filter to really help slow down your shutter speed, a polarizer can be used as a solid substitute for getting a little bit of blur to enhance your photos.
Quick Tip: A polarizing filter works best when the sun is at a 45-degree angle from your shooting position. If you can’t position yourself at a 45-degree angle, strive to get as close to that as possible.
Ready to photograph brooks, streams, rivers, and other bodies of water? You need a polarizing filter first. Outfit your lens with a polarizer.
How to Photograph Rivers: Extend the Shutter Speed With a Neutral Density Filter
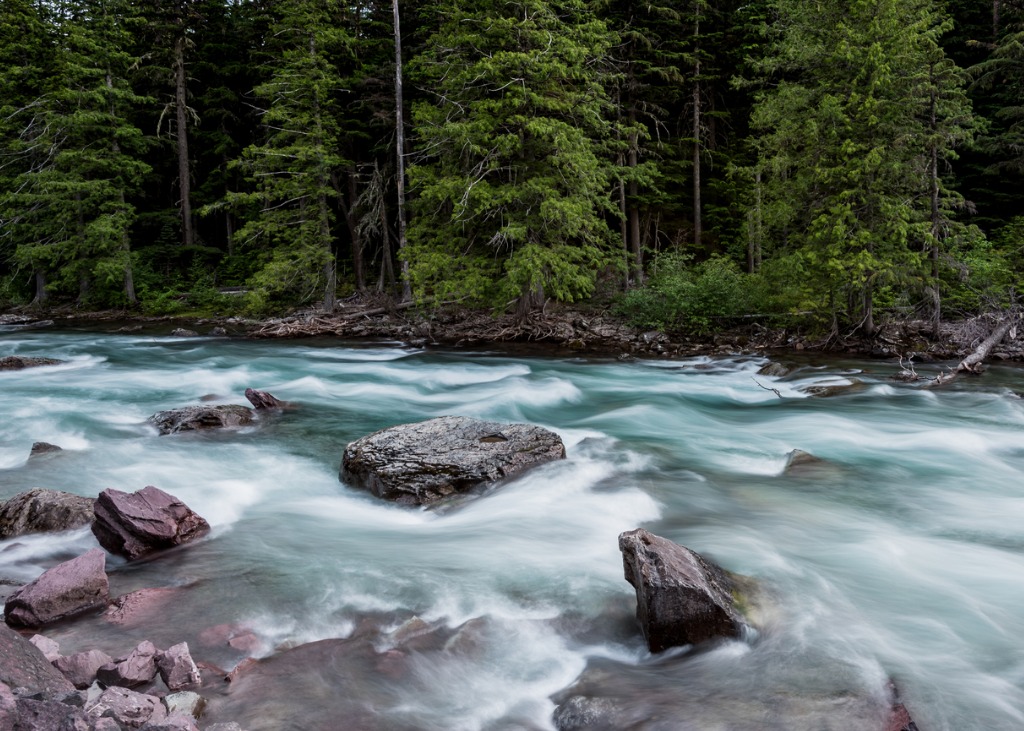
photo by kellyvandellen via iStock
To turn the movement of a river into beautiful, milky blur, you’ll need to extend the shutter speed to at least a couple of seconds.
The problem, of course, is that if you extend the shutter speed to that length of time, you’ll end up with a wildly overexposed image. That’s where a neutral density filter comes in.
I’ve used Haida neutral density filters for some time now (a 3-stop, 6-stop, and 10-stop), and they have proven to be a huge asset for my photography.
Of the three, I use the 3-stop and 6-stop filters most often for photographing rivers because allow me to slow the shutter to the perfect amount to get maximum blurry goodness.
The whole point of using a neutral density filter is to block light from entering the lens so you can extend your shutter speed while also producing hyper-neutral results. A poor ND filter will have a color cast that ruins your images, but high-quality filters like the ones I have from Haida won’t. You’ll get spot-on colors with beautiful blur!
photo by CasarsaGuruvia iStock
There are a lot of tricks to working with neutral density filters, most of which are an article all their own.
Quick Tip: ND filters can be pricey, but the higher the quality of the filter, the better results you will get. Just like with lenses, you want the best quality you can afford.
How to Photograph Rivers: Avoid the Sky
photo by DieterMeyrl via iStock
Though it might seem counterintuitive to avoid including the sky in your photos of rivers, it can actually work to your benefit.
That’s because by honing in on the river and surrounding landscape itself, you can create a much more intimate landscape photo. With that kind of close-up view of the water and landscape, you can create a much more detail-rich photo.
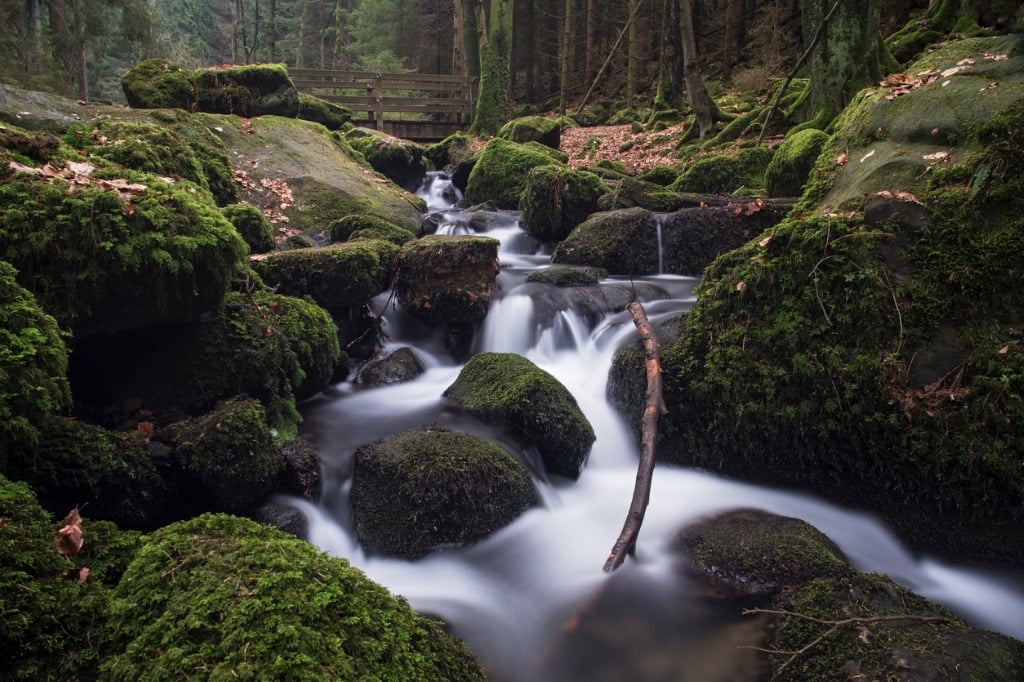
photo by Fotos von Reisen, schwarz weiß und diverse via iStock
Besides, if you’re trying to highlight the river as the primary subject, you don’t need the sky. If you’re shooting during the middle of the day, the chances are good that the sky will be extremely bright with little detail (unless you bracket your exposures). Likewise, if you shoot at sunrise or sunset, the colors of the sky might overpower the rest of the scene.
So, give a skyless river photo a try and see how they turn out. You might find that it’s the best kind of river photo!
Learn More:
- This Landscape Photography Trick is the Best Way to Photograph Water Reflections
- How to Photograph Clouds
We Recommend
How to Streamline Your Landscape Photography Workflow
Photo by Sidney Recato from Pexels
Landscape photography is full of rich rewards and also has some real challenges. Learning time-saving tips for landscape photography will assist you in turning challenges, major or minor, into pleasing results.
Landscape photography, including all the subgenres of scenic photography such as cityscapes, ocean views, cloudscapes, panoramas, long exposure photography, astrophotography, and others, all generally require us as photographers to slow down. We do this in order to take control of the process.
photo byantonyspencer via iStock
Even though we take a deliberate approach to capturing the images, certain situations in landscape photography may push us to not waste time. Sunrises and sunsets, Golden Hour photography, Blue Hour photography, or storm photography may push us because of the possible rapid changes in exposure values or cloud movement.
Simplifying or streamlining our workflow makes sense for these types of time constraints. Learning to streamline our landscape photography workflow also aids us in allowing more thought to go toward the creative process of creating outstanding landscape images.
Table of Contents
- Previsualize Your Images
- Invest in a Quality Filter Holder System
- Use a Bubble Level
- Add a Ball and Socket QR Head to Your Tripod
- Get in the Habit of Batch Processing
- A Better Landscape Photography Workflow
Recommended Photography Reading
- National Geographic Photo Basics: The Ultimate Beginner's Guide to Great Photography
- Photography: The Definitive Visual History
- Read This if You Want to Take Great Photographs
Previsualize Your Images
One of the first steps to take in order to streamline our landscape photography workflow is to determine ahead of time what type of image you wish to create, perhaps even details about the end results.
How this helps is that it gives you a goal to shoot for which reduces guesswork. If it’s a place I’ve never been to before, I will use tools like Google Maps online or on my mobile device to get an idea of what might be available as spots to set up.
This step is a good habit for many types of photography from portraits, to weddings, to architecture, to any nature photography. With a clear plan of what you want to accomplish, you save time for implementing your techniques and methods.
Invest in a Quality Filter Holder System
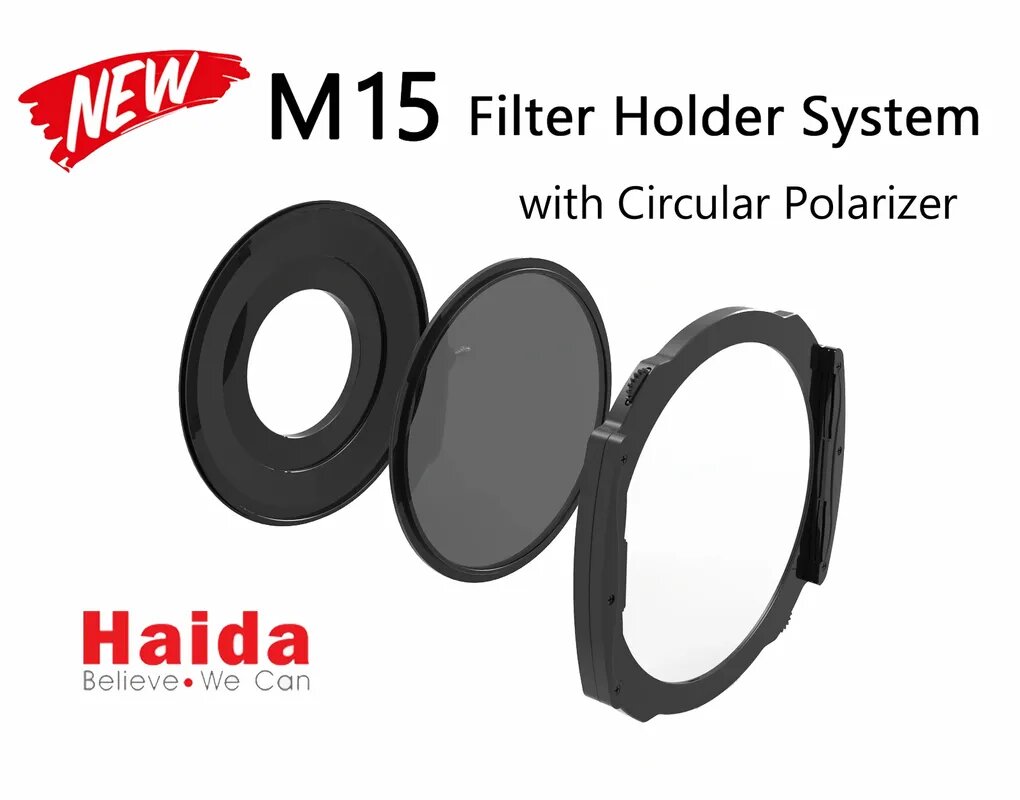
Filters such as circular polarizers (C-POL) and graduated neutral density (GND) are virtually essential parts of our landscape photography gear bag. I like the filter holder systems for my own landscape photography filters.
A huge reason for my preference is the convenience of magnetic filter systems like the Haida M15 which eases my landscape photography workflow concerns. A filter holder system is already a good idea for any filters for landscape photography, the magnetic quick-release of the Haida M15 system makes it even more convenient to use in the field.
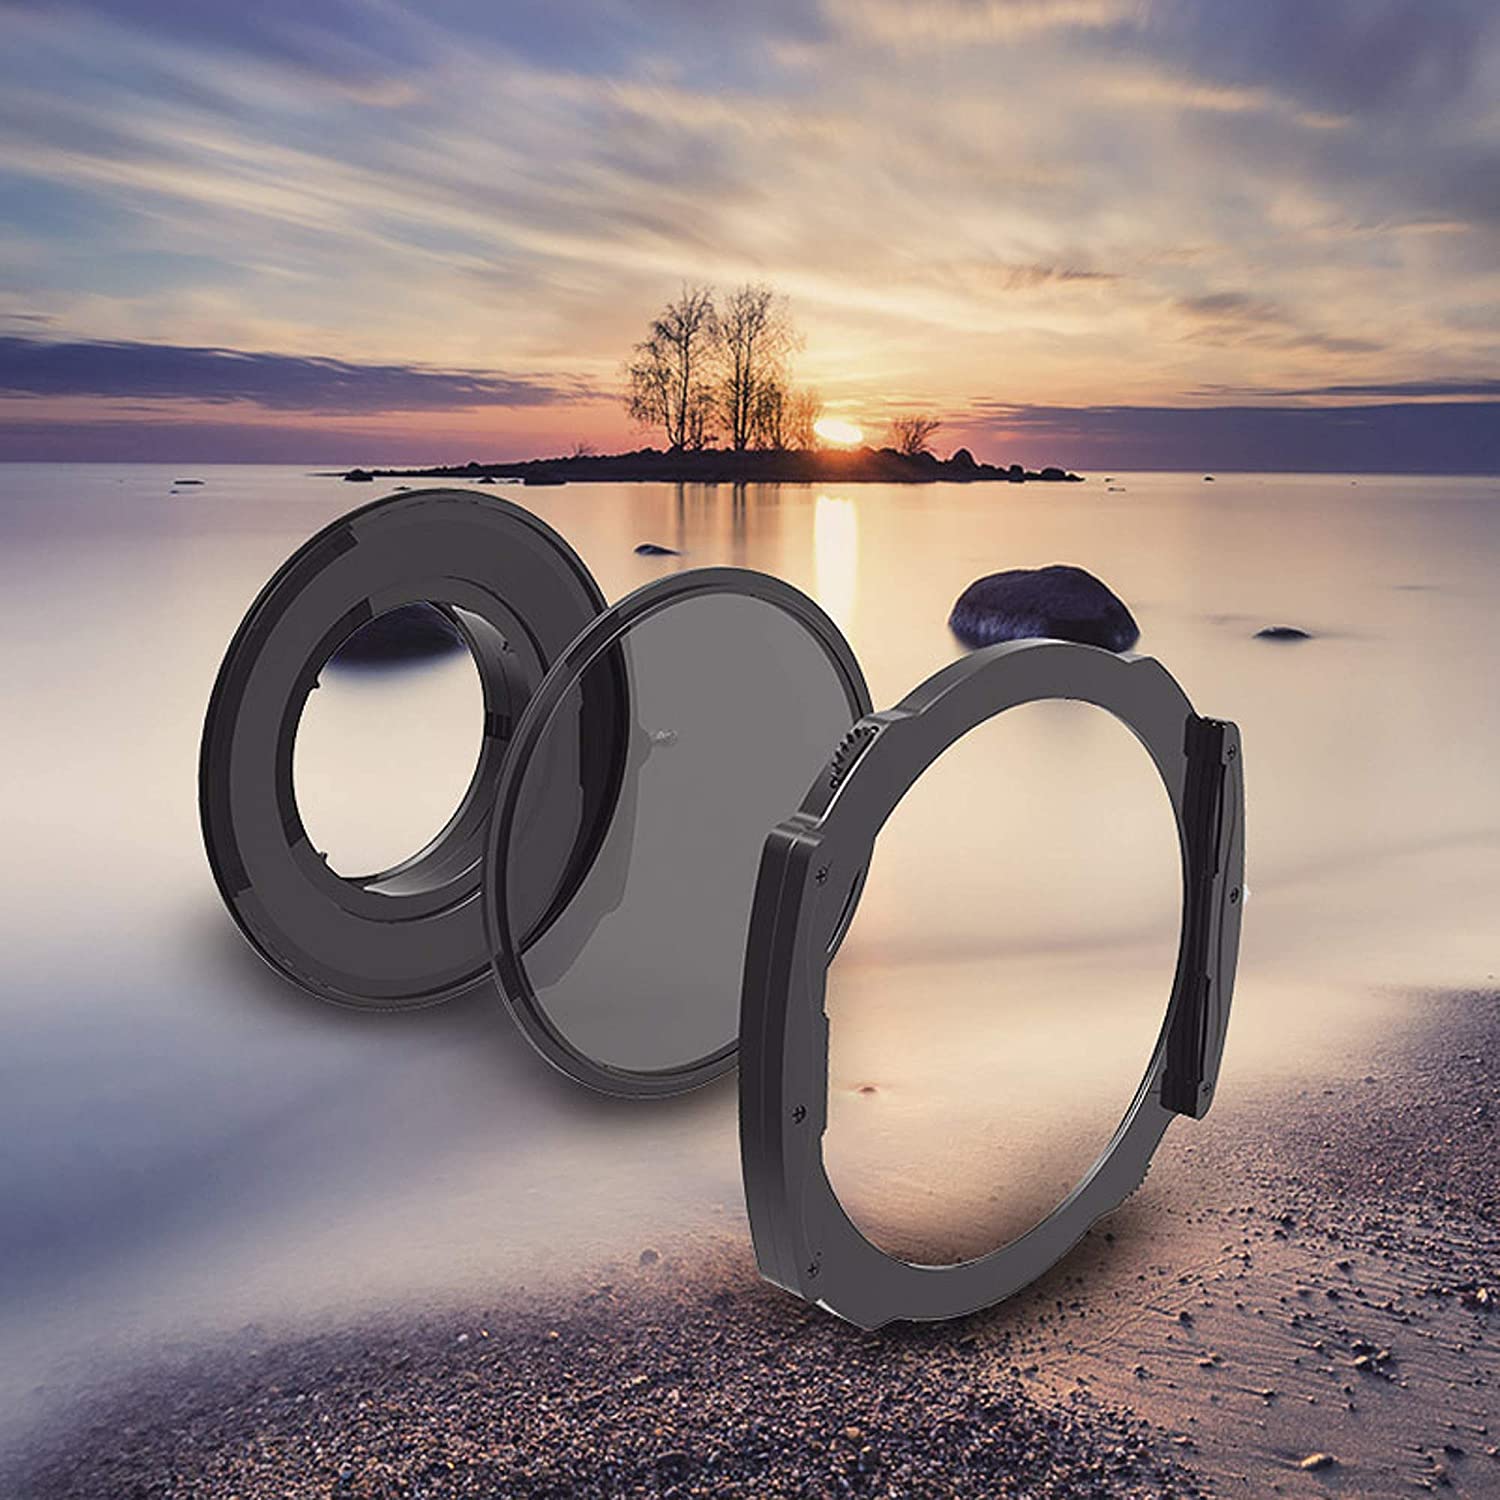
Since you only need to use one holder and one filter of each type for each lens you have, you aren’t carrying and changing filters for each different size filter diameter. Mounting the C-POL requires no screwing in, you just attach it to the holder and rotate it to achieve the polarization effect desired.
I already like the Haida M15 for the streamlined polarizer use, the GND filters from Haida also benefit from the magnetic holder system in order to streamline my landscape photography workflow with these amazing tools for adjusting the exposure values and dynamic range present in the scene.
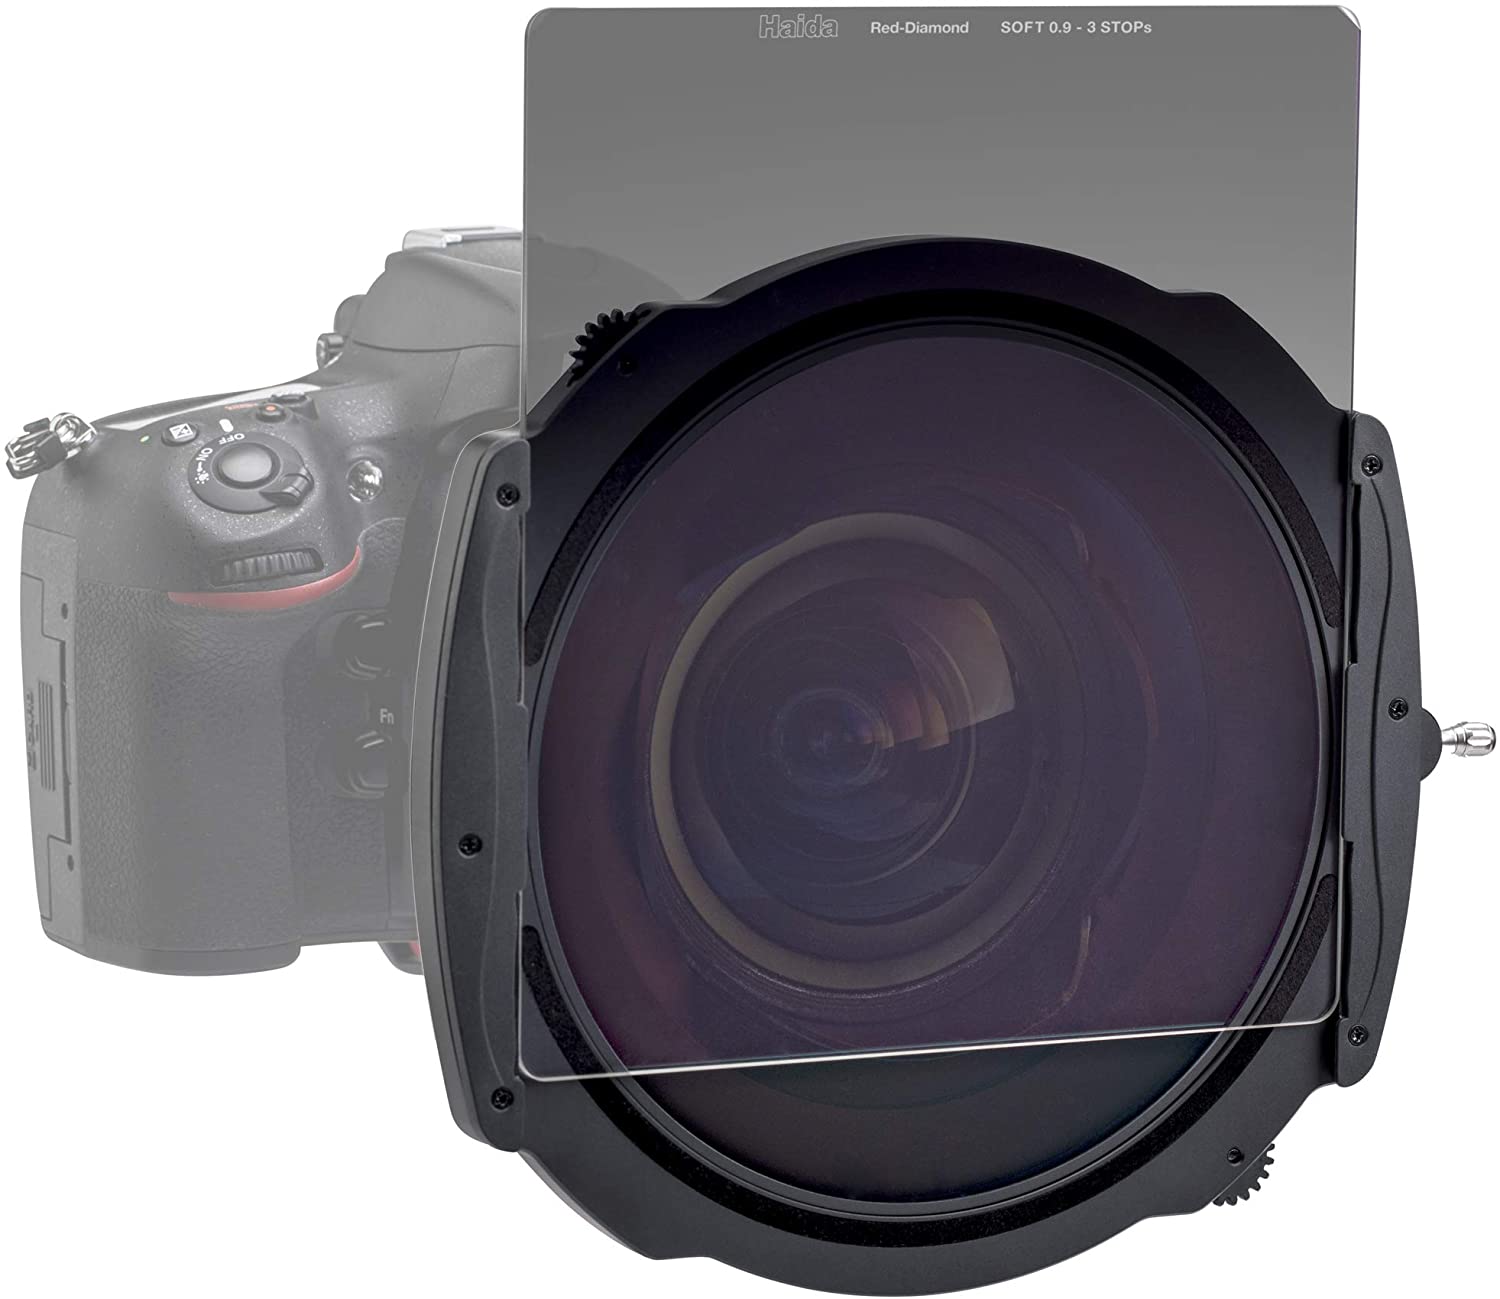
You can double up on filters, too. A GND and a C-POL used together can tame some difficult exposure and contrast situations present in certain landscape views. Sliding and rotating the filters and holder allows for quick positioning of these extremely useful landscape photography filters.
Learn More:
- Mountain Photography Tips
- How To Photograph Clouds
- Photography Hacks You Need In Your Photography Bag
Use a Bubble Level
This one of the cheapest items in my landscape photography gear bag, but it saved me tons of time both in the field taking pictures and on my computer during post processing.
Sometimes I can’t quite see the difference visually as I’m taking the pictures, but being off level shows up prominently when I look at them on a larger screen. This requires extra time in post processing and is actually kind of annoying.
A cheap cube of plastic with a couple of spirit levels inside takes care of leveling out the camera in mere seconds. Obviously, I’m assuming you’re using a good tripod, too.
Add a Ball and Socket QR Head to Your Tripod
Tripods are another tool I consider as a must have in my landscape photography gear bag. In order to simplify my landscape photography workflow with this piece of equipment that guarantees I take a more deliberate approach, I have found that I prefer a heavy duty ball and socket head with a secure quick release (QR) mount.
A high quality heavy duty ball and socket head is fantastic for quality landscape photography since it makes adjustments as quick as twisting one lever or knob and moving your camera and lens in all axis at once. A heavy duty head will lock down tightly with large and heavy lenses like ultra wide angle zoom lenses.
A secure QR system makes it easy to mount and unmount your camera in an instant. This is a great feature when you suddenly see something needing outside of what you planned during the previsualization stage of your landscape photography workflow.
I don’t like to cheap out on the ball and socket head or the QR system, since I value the safety of my gear and I also need my camera to be as steady as possible for generating the sharpest images my camera and lens can produce.
Get in the Habit of Batch Processing

Photo by Tranmautritam from Pexels
After the field work is over is when I really go to work with landscape photography. Post processing is a photographic fact of life in order to produce the highest level of quality. I will usually be shooting my landscapes in RAW, so some sort of post processing is a necessity.
Presets and batch processing in programs such as Adobe Photoshop Lightroom speeds up general and basic adjustments for the entire photoshoot, enabling more time to be spent on the individual tweaks and changes to bring out the best from the image files.

photo by RossHelen via iStock
An image processing program that uses non destructive adjustments saves the most time, in my experience. The files our cameras generate are huge. Cycling through all the steps for each image seems to take forever.
Photoshop Lightroom and other post processing programs with non destructive editing allow editing sessions to be greatly speeded up compared to other programs. This is one of the time-saving tips for landscape photography I have come to value highly.
A Better Landscape Photography Workflow
Photo by Andre Furtado from Pexels
Deciding on implementing tips and techniques for improving our landscape photography workflow will serve to free up much more than time. It frees up creativity.
More creativity results in better landscape images - photos that will amaze and outstand yourself and others.
Learn More:
We Recommend
How to Take Good Photos with a Kit Lens

Photo by Luke Porter on Unsplash
This is going to be a crash course in all things kit lens.
For those of you who don’t know, the term “kit lens” can refer to any starter lens that probably doesn’t add much value to a camera kit’s price. Hence, the name. It’s a lens that comes in your camera’s kit.
Kit lenses are usually 18-55mm. Kit lenses act as a beginner’s guide to photography most of the time, but they also have a lot of pros for even the pros.
I’m going to walk you through some pros and cons of kit lenses, teach you some quick tips on how you take good pictures with a kit lens, and finally suggest some updates to your old kit lens.
Table of Contents
- Pros of Kit Lenses
- Cons of Kit Lenses
- How to Take Good Photos With a Kit Lens
- How to Get the Most Out of a Kit Lens
Pros of Kit Lenses

Photo by NeONBRAND on Unsplash
The number one pro of a kit lens is that is extremely versatile. I’m talking, “If I had to pick one lens to take to a deserted desert island,” versatile.
Kit lenses (like the one shown above, right) allow you to zoom up to take portraits, zoom out to take landscape photos, and they do so with decent precision, too.
Kit lenses also offer more freedom.
Fixed focal length prime lenses are great when you need them, but it wouldn’t be my first choice if it were going to be the only lens I could use for the rest of my dried out, sad desert island life.
Kit lenses do a bit of the walking for you when you can’t. Sure, you’d always zoom in with your feet in an ideal world. But, unfortunately, this isn’t an ideal world and unless I want to fight a security guard at the Picasso exhibit, I’m going to need a camera that can do some of my leg work.
Kit lenses in 2019 also possess most of the capabilities of the most expensive lenses from under a decade ago. Many are image stabilized, have improved optics, and other goodies that make them much better than they were years ago.
For example, almost all Canon kit lenses come with Canon’s Image Stabilization. This new update to kit lenses allows you to circumvent one of the biggest cons of kit lenses that professionals complain about… the inability of a kit lens to shoot in low light situations.
Canon’s image stabilization in its kit lenses means you can have a slower shutter speed, let more light into the camera, and do so while holding the camera without as much worry of camera shake becoming a problem.
Get more details about kit lenses in the video above by Nicole S. Young.
Cons of Kit Lenses
As I just mentioned, one of the biggest issues with kit lenses are their inability to take good shots in low-light situations.
While manufacturers continue to improve this issue with kit lenses, most still cannot even begin to compete (with Canon as a rare exception). See how you can get low-light shots with a kit lens in the video above by Jared Polin.
However, there are workarounds for this issue. Long exposure shots with a kit lens can be nearly as good as with a more expensive lens. Slowing down your shutter speed (if you’re using a tripod) also does the trick.
A lot of kit lenses also lack sharpness.
However, a lack of sharp photos is really nothing considering most photographers nowadays are used to shooting on an iPhone or Android and sharpening the images in post-production anyway.
Kit lenses also tend to suffer from chromatic aberration, or color fringing. While this problem will probably persist at least for the next few years of kit lenses, it’s a super easy fix in Lightroom and most newer kit lenses barely color fringe. See how to do it in the video above by Scott Kelby.
Learn More:
How to Take Good Photos with a Kit Lens

Photo by Sara Kurfeß on Unsplash
Here’s a quick checklist to get you the best-quality photos with a kit lens:
- Use a short focal length for any wide-angle photography.
- Normally, you would use a wide-angle lens for landscape and architecture photography, among other types. So, when you’re using a kit lens to shoot something you would otherwise want a wide-angle lens for, you need to use the shortest focal length possible.
- If your kit lens is a 18-55mm, crank that bad boy down to 18mm if you’re taking pretty pictures of Roman architecture in Italy.
- Use a long focal length for portraits.
- When you’re using your kit lens to shoot portraits, use a long focal length and shoot at a wide aperture, like 55mm and f/5.6, respectively. While f/5.6 isn’t exactly a huge aperture, it’s the largest available on most kit lenses when zoomed in. Besides, on a crop sensor camera, your kit lens has an effective focal length that’s much longer (i.e., 88mm on a Canon camera), so you get some nice compression that’s flattering for the subject.
- Use a tripod (as often as possible).
- You definitely need a tripod (or at least some other means of minimizing the camera’s movement) if you’re going to be shooting night scenes (kit lenses stink at low light photography, as we discussed) or if you’re shooting landscapes (maximize the sharpness in your photo, which we also discussed).
- Use natural light whenever possible.
- This is just plain good advice for your photography career as a whole, but it’s especially pertinent when it comes to a kit lens. Use natural light to your advantage (and your camera’s advantage) by buying a collapsible reflector kit and bringing it with you to photo shoots.
- Shoot RAW.
- Just don’t shoot in JPEG. Please, just don’t do it. You can’t fix your inevitable errors (and your lens’s shortcomings) in post-production if you don’t have an entirely editable file. RAW is the way to go!
- Use Filters.
- Using filters with your kit lens will get you better results each and every time. A Haida circular polarizer, for example, reduces glare, boosts contrast in the sky, improves saturation of plants, and minimizes atmospheric haze. The result? Much-improved landscape photos! Adding a graduated neutral density filter is also a good idea, as it helps balance out the brightness of the sky with the darkness of the landscape to get a well-exposed image throughout. If you want to get really creative, invest in a solid neutral density filter, which blocks out light and allows you to extend the shutter speed to get beautifully blurry movement of clouds, water, and other features.
How to Get the Most Out of a Kit Lens

Photo by ShareGrid on Unsplash
A 24-70mm lens offers similar versatility when compared to an 18-55mm, plus the added telephoto capabilities of this lens are great for wildlife photographers and photojournalists.
These lenses are also similarly durable to your old kit lens. A 24-70mm is essentially just a step up the ladder of your photography career, particularly because they often have much larger maximum apertures for improved low-light shooting capabilities.
One reason you may not have added to your lens collection yet is that you’ve heard how pricey some 24-70mm lenses can be. While this is true of some lenses in the 24-70mm range (I’m looking at you, Nikon AF-S 24-70mm f/2.8E ED VR), Lensfinder has some good, cheap options for a small upgrade to your kit lens.

I use Lensfinder for all of my lenses because their community was built by photographers, for photographers. I’ve found that sellers are knowledgeable and have taken care of their gear, and that’s a definite bonus when buying used.
I also live in a small town and travel all the time so it’s almost impossible for me to find a good camera store near me with many options.
Lensfinder allows me to find other camera enthusiasts who are willing to ship their old equipment right to my door and I just need to pay shipping (the cheapest shipping option available, unlike some other online dealers...eBay).
For the largest selection of upgrades to your kit lens, check them out.
Learn More:
- The Best Sony Lenses for Just About Any Type of Photography
- Rookie Photography Mistakes You Need to Avoid
We Recommend
How to Take Killer Photos of the Night Sky
photo byInner_Vision via iStock
Photos of the night sky, also called astrophotography, are a definite challenge for any photographer, but the results can be outstanding and create a sense of awe and wonder. Some of the challenges can be met by equipment choices and proper use, other challenges are met by astrophotography techniques that have been proven over the course of time.
To be able to create your own beautiful photos of the night sky, follow this list of astrophotography tips and take a look at some of our previous astrophotography tutorials.
photo byInga-Av via iStock
Here is the short list of astrophotography tips for making great photos of the night sky:
- A Tripod is Essential
- You Need a Light Pollution Filter
- Grab a Remote Release
- Set Manual Focus
- Shoot RAW
- The 500 Rule
A Tripod is Essential
photo bybjdlzx via iStock
Astrophotography is almost always long exposure photography. The exposure times are commonly measured in full seconds but can stretch out to minutes or require stacking multiple exposures for certain astrophotography techniques.
Both long exposures and stacking multiple exposures requires that the camera be completely stable and unmoved. Any movement of the camera during a long exposure will degrade the image with a measure of streaking and any movement during stacking will result in registration errors.
You will want a tripod that is simple to set up and study enough to not have any chance of accidental movement. You will also want to practice good astrophotography techniques such as not touching the camera rig at all during the exposure or exposure sequence.
You Need a Light Pollution Filter
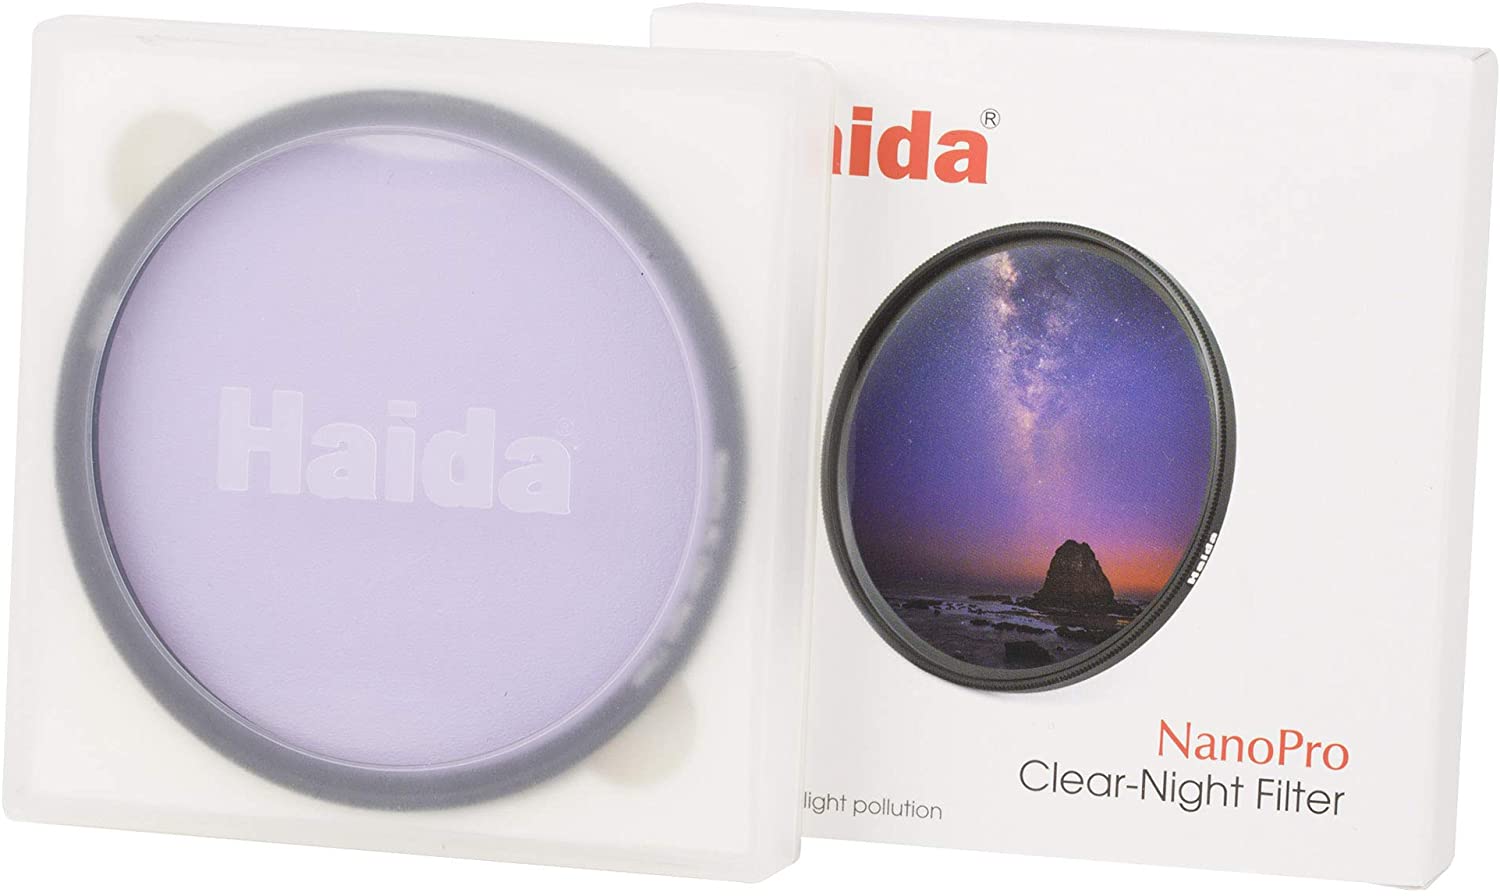
Light pollution is a very real concern for a large number of photographers when taking photos of the night sky. Just as smog pollution can obscure a view of any outdoor subject, light pollution can obscure the view of stellar and other night sky objects.
One solution that has been employed for decades of astrophotography is to travel to an area far from any city lights. Astronomers refer to these places as Dark Sky spots.
That requires a lot of time and effort for many of us, so another fine astrophotography technique is to add a filter designed to compensate for light pollution such as the Haida Clear-Night Filter that is available in a variety of sizes. I recommend buying the largest size you need and using a step ring to adapt to your other lenses.
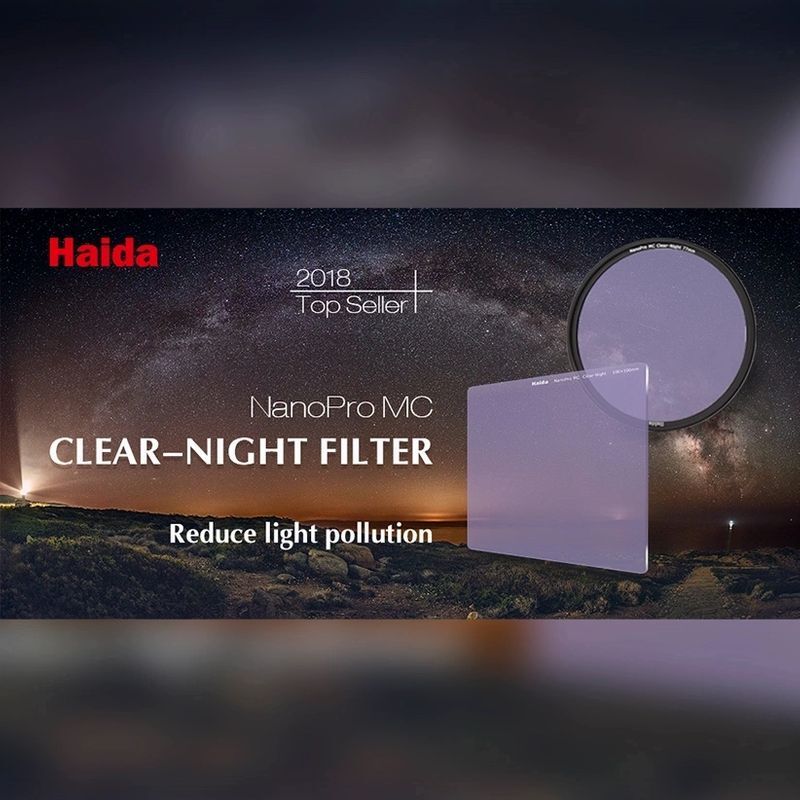
The Haida filter targets the spectrum emitted by sodium vapor and mercury vapor lights that are common in street lights, parking lots, and stadiums, and low CRI LED lights that are found in outdoor household lighting. By blocking or attenuating these wavelengths, the Clear-Night Filter opens up more light from deep sky subjects to be seen and recorded.
Grab a Remote Release
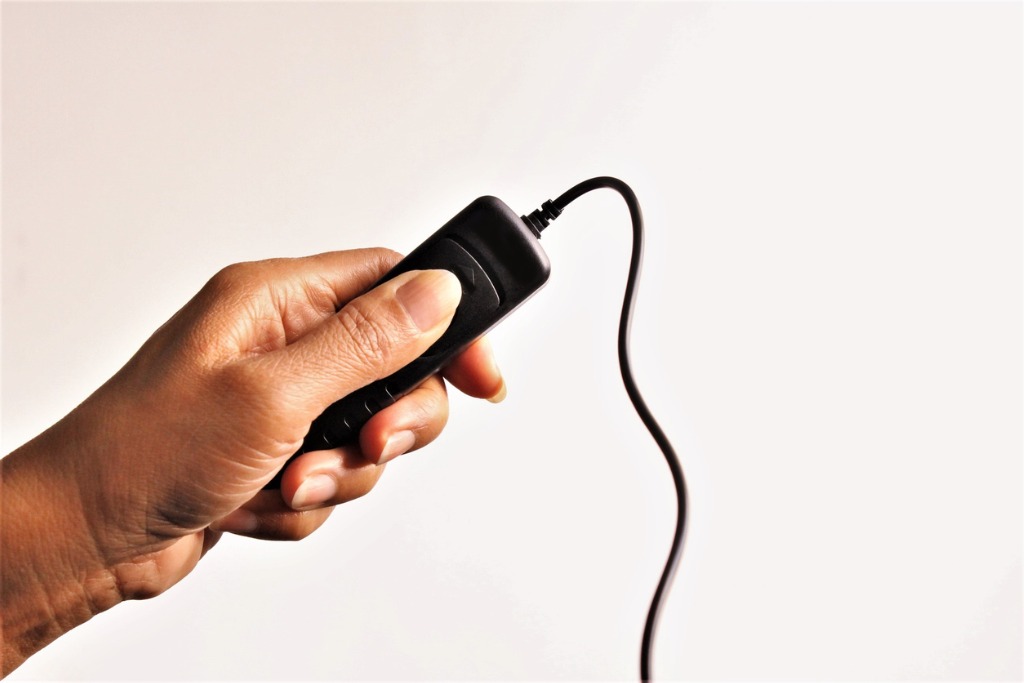
photo bySOMKHANA CHADPAKDEE via iStock
Since we are using long exposure techniques for taking photos of the night sky, an additional item to use with our tripod is a remote release. You really don’t want to touch the camera or tripod at all during these exposures, so having a long enough cord is also essential.
Many remote releases for modern digital cameras have extra features added beyond merely triggering the shutter. Some will also allow multiple exposures to be programmed or can be locked with the shutter open for extremely long shutter speeds.
Learn More:
Set Manual Focus
photo bystoffies via iStock
Turn off the autofocus feature of your camera. Everything in the night sky will be well beyond the furthest marked distance on your lens and will be at the lens infinity focus position.
What makes it a little more difficult than merely twisting the focus ring to the infinity position is that the infinity focus position can be a bit variable on many lenses, especially longer focal lengths. That’s why you may have noticed a little bit of play in the focus ring beyond infinity that has nothing to do with Buzz Light-Year.
Since the viewfinder may be a little hard to see for astrophotography, the rear viewscreen is a good option for confirming accurate focus. You might even use the magnify feature of the viewscreen if your camera offers that.
Shoot RAW
photo byPoike via iStock
Whenever we shoot in situations that have a lot of shadow detail area or unusual color temps, RAW is the preferred format for recording the files. Astrophotography certainly qualifies in both of those areas.
Shooting photos of the night sky in RAW means that we will have to post process in order to be able to view them on other devices or share them with others. An advantage of RAW is that we can assign a color temperature or a color profile that looks proper for the subject and also that we can pull out more detail from the dark areas than with a compressed file like JPEGs.
The 500 Rule
photo bybjdlzx via iStock
Subject motion is a huge issue when shooting photos of the night sky. Technically, it’s actually camera motion. Let me explain.
The deep sky objects appear fixed in the sky but they’re really not. Due to the motion of the Earth, its rotation specifically, that entire backdrop of sky is slowly moving on us. When we leave our shutter open long enough, the spots of light in the sky will eventually be streaked by this motion. How long do we have?
That’s the 500 Rule. 500 divided by the focal length of your lens equals the longest exposure time before stars start to streak, measured in seconds. So, for a 50mm lens, the longest we can expose before that dot becomes a line is 10 seconds. Our 24mm lens gives us 21 seconds and a 135mm lens reduces us to only 4 seconds.
All of this assumes Full Frame 35mm format. If using APS-C or MFT cameras, you will need to adjust the focal length by the crop factor before figuring the 500 Rule. So an 18mm lens on an APS-C camera will not be 28 seconds but rather 18 ½ seconds. Yes, it’s math, but you’re a photographer, you use math successfully all the time.
A motorized equatorial mount like you may have on your telescope is about the only way to get away from being bound by this 500 Rule.
Other Astrophotography Tips
photo byCylonphoto via iStock
There are other things to consider for capturing great photos of the night sky, check out our other astrophotography tutorials.
Some additional things to consider are what ISO to use, why you don’t want to shoot with your lens aperture either wide open or stopped all the way down, but rather at the ‘sweet spot’ aperture for your lens, and what the astrophotography techniques of image stacking and dark frame subtraction accomplish.
You are up to the challenge of making amazing photos of the night sky. All you need are a few specific items and some great astrophotography techniques in order to succeed.
Learn More:
- How To Take Good Photos With a Kit Lens
- Mountain Photography Tips
- Best Aperture for Landscape Photography
We Recommend
Jungle Photography Tips
photo byAlphotographic via iStock
Welcome to the jungle! Wilderness photography, jungle photography, landscape photography, all of these genres have something in common. You’re outdoors.
Perhaps you don’t have a rainforest outside your front door, and that’s okay. The same jungle photography tips for extreme locations translate into basic landscape photography tips that can help you make better images of your outdoors photography adventures.
Let’s get your creativity kick started with some helpful hints and jungle photography tips that include gear choices, techniques, and methods that can used to capture great images and video footage.
Circular Polarizer Filter
photo byMlenny via iStock
Since the earliest days of film photography, a polarizer filter has been a top choice for improving outdoor photographs. A circular polarizer (CPL), as opposed to linear (PL), is a special design of polarizer that will work with modern cameras that have autofocus and advanced metering systems.
Polarizers can be used to darken blue skies which increases the contrast between clouds and sky. You can see the effect in some of your favorite images that incorporate a dramatic sky.
A circular polarizer for your DSLR or mirrorless digital camera can remove reflections from glass or water. In some cases, it may even allow you to see through the glass or water in order to include whatever is beyond it into your image.
You have seen this in images of lakes, rivers, and tidal pools. It’s also useful in the concrete jungle of cityscapes that have so much glass on the skyscrapers.
Another, somewhat overlooked, source of light reflection in nature that can be tamed is plant leaves. A healthy, live plant has very reflective properties. Add in water vapor forming dew and there could be a lot of reflection from trees, bushes, and grass. A polarizer can help tame those.
photo bytobiasjo via iStock
Jungle photography, or wilderness photography in general, can have any of these conditions, or even all of them at once. So you can see how a high-quality polarizer can be considered an essential component of your landscape photography gear - especially in situations that involve a lot of water, plants, or sky, as you are likely to see in jungle and other wilderness scenes
Since you will need your filter choice to have superb optical quality, I like to recommend filter and holder systems. You get a holder with adapters to fit all your different lenses, and then choose a good filter to use in the holder. That way, you don’t spend a whole lot on separate filters for each lens.
Haida M10 Filter Holder System is one of the filter and holder systems I’ve found that incorporates high optical quality filters with robust, easy to use holders and adapters. In addition to the circular polarizer, this same system can be used for graduated neutral density (GND) filters and neutral density (ND) filters as well.
I discuss the M10 filter holder system in detail in this article. Check it out!
Recommended Landscape Photography Books:
- The Landscape Photography Book: The Step-by-Step Techniques You Need to Capture Breathtaking Landscape Photos Like the Pros
- National Geographic Greatest Landscapes: Stunning Photographs That Inspire and Astonish
- The Art, Science, and Craft of Great Landscape Photography
Golden Ratio / Fibonacci Spiral and Rule of Thirds
Photo by KS KYUNG on Unsplash
As a compositional tip for wilderness and jungle photography, look for natural occurrences of the Golden Ratio or Fibonacci Spiral. It is everywhere in nature and also in a lot of man-made structures you will find in the concrete jungle of urban landscapes. Learn more about the Golden Ratio in the video below by Photoshop Hustler:
Once you get used to this amazing gift that natural mathematics has given photographic composition, you will easily find it everywhere.
Much like the Rule of Thirds composition tool, it works because our brains are wired in such a way that this type of composition is comfortable to view in a finished photographic image. These rules are actually more like guidelines we can use or ignore, we can even combine them.
HDR Photography
photo by Lars Pohlmann via iStock
One of the more misunderstood methods and techniques for capturing great landscape images in High Dynamic Range (HDR) photography. It’s misunderstood partially because of the way some photography how-to articles have presented it.
HDR photography can result in some very unusual looking, unnatural appearing final images. Which is fine if that’s what you’re trying to do. The technique can also be employed to create a natural view of the scene in front of you.
Our eyes and brain can instantly process a scene with a dynamic range far outside what our cameras can record properly. HDR lets you post process several images shot at different exposures, blending them together for an image that shows what’s in the deep shadows without blowing out the highlights of the scene.
If you have ever viewed a real estate listing online or previewed your next hotel room on the company website, you were viewing an HDR image. It can be one of your most valuable outdoor photography tools, too. Give it a try.
Graduated Neutral Density Filter
Photo by Reiseuhu on Unsplash
Post processing or image manipulation programs and shooting RAW digital files in camera has eliminated the need for many of the basic filters that film photographers used to view as essential landscape photography gear.
Two filter types that can still be seen as basic equipment for modern digital photography are circular polarizer (CPL) and graduated neutral density (GND) filters. These filters are color neutral so they add no color cast to the image file.
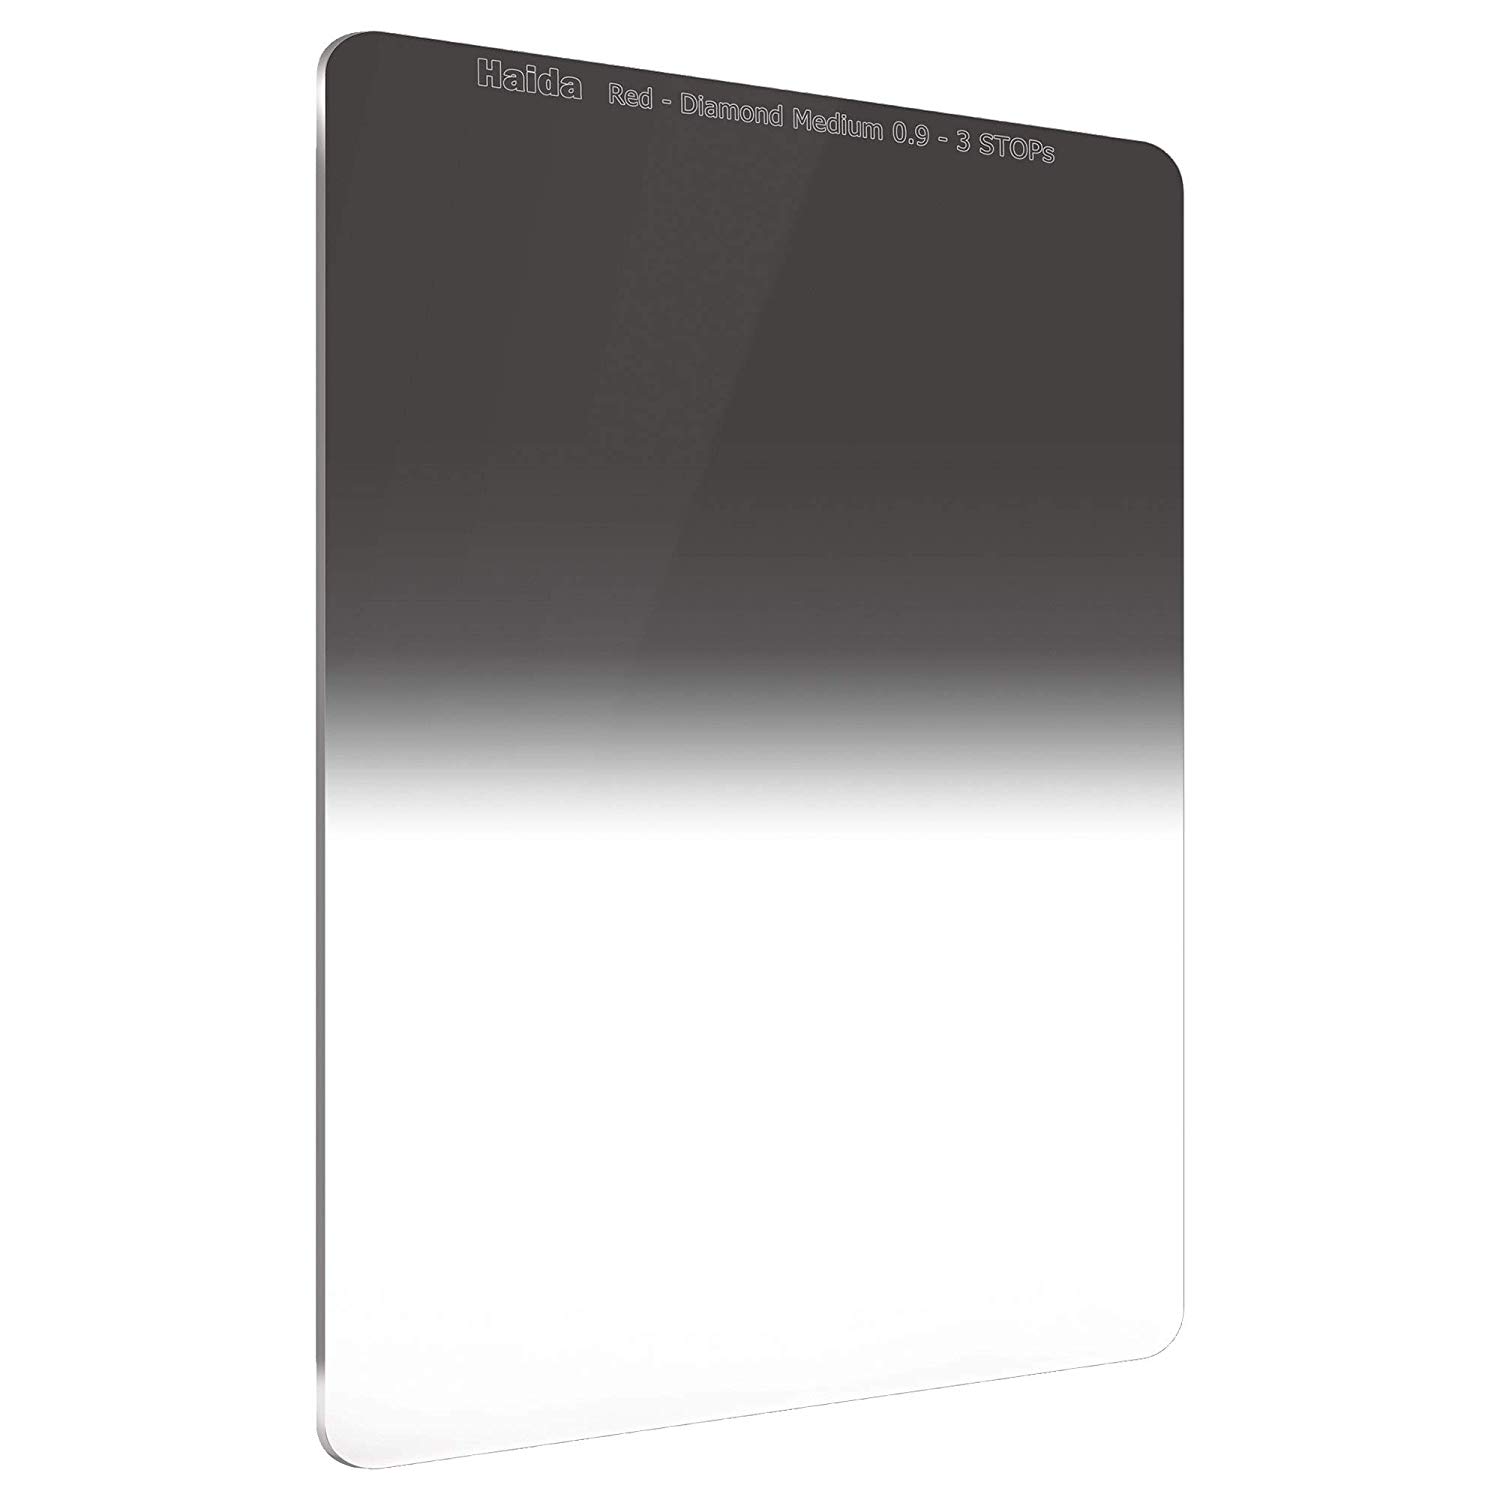
You can find GND filters in the same filter holder systems used for some CPL filters. For instance, if you have the CPL filter and holder listed above, all you would need to do is add the GND filter. In this case, the 100mm Red Diamond Medium Graduated Neutral Density Filter from Haida will fit in the same holder.
Graduated neutral density filters are useful in many landscape photography situations, including the scenes you would find in a lot of jungle photography. To summarize some previous tips we’ve given, use a GND to balance out the dynamic range of a view with lots of bright sky and darker foliage.
Learn More:
Gimbal Tripod Head
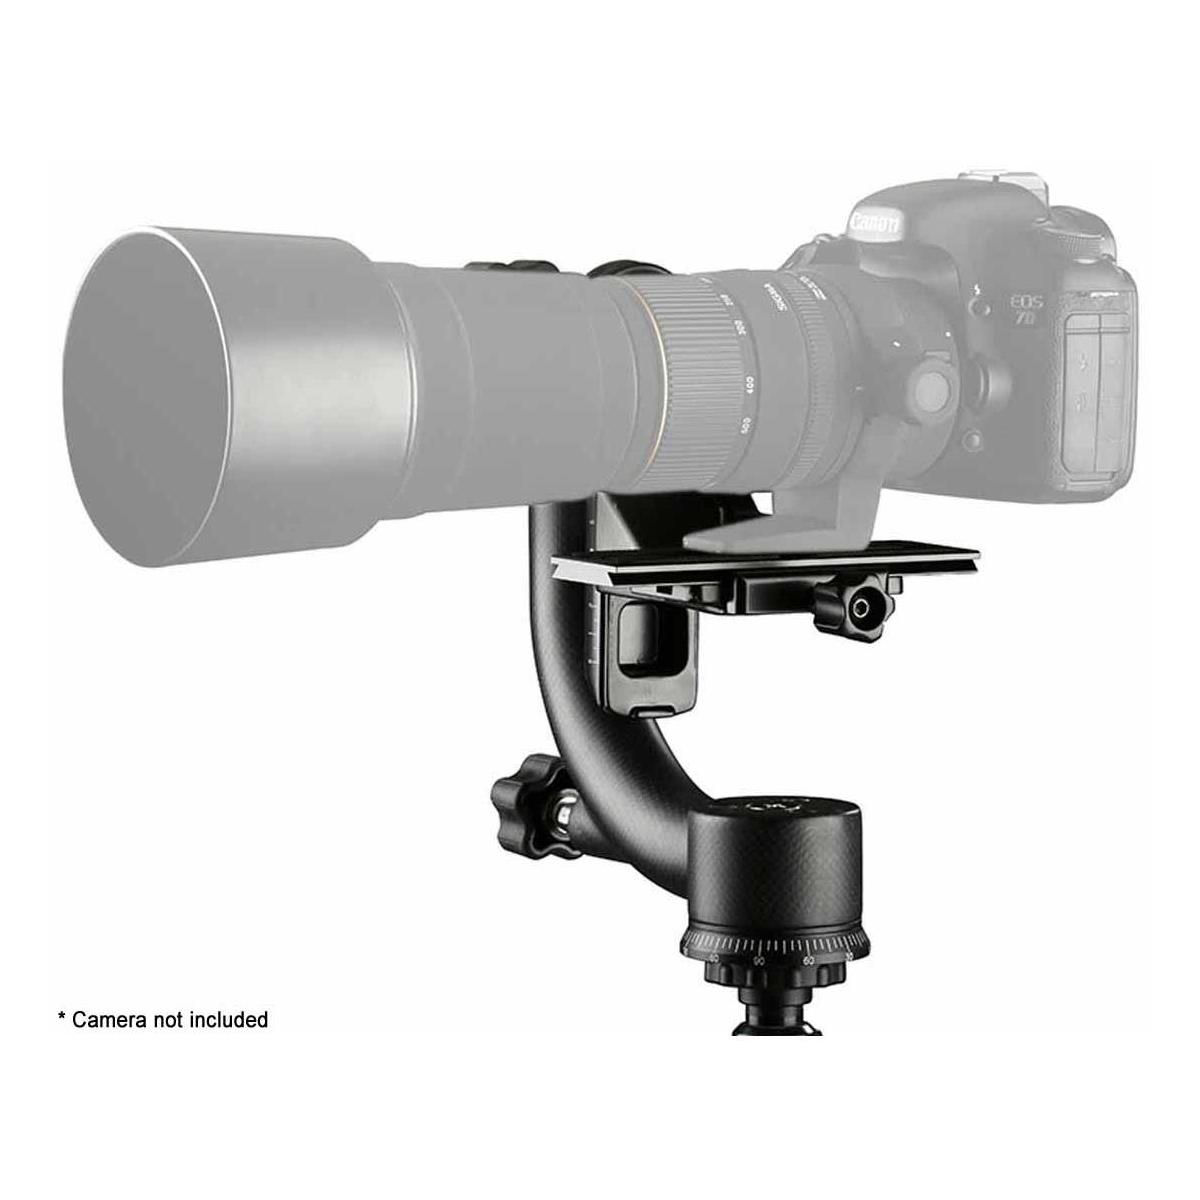
While it may not seem like carrying a tripod out into the jungle or wilderness is an optimal choice, proper camera support can make the difference in getting usable images versus not getting them.
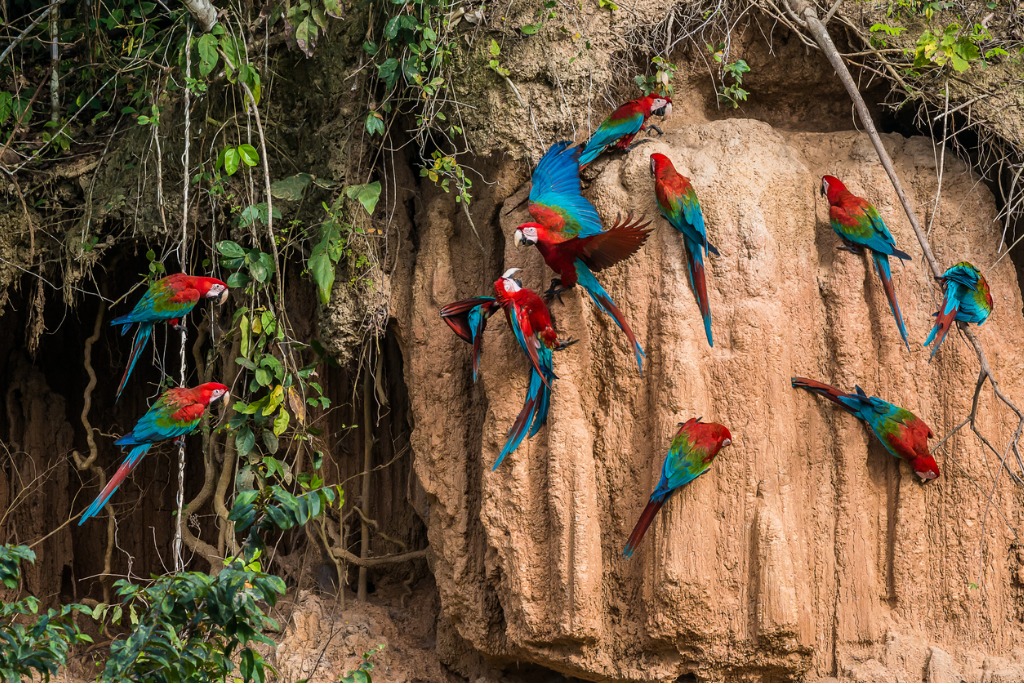
photo by OSTILL via iStock
This is especially true if you will be attempting any wildlife images while out on your wilderness or jungle photography trek. What sets a gimbal head apart from other tripod heads is they add a huge amount of versatility to your stable camera support. Add in a quick release system and you have a very capable tool to add to your wilderness and landscape photography gear.
Gimbal tripod heads with quick release systems can be found for just about any budget. The Sevenoak SK-GH02 Carbon Fiber Gimbal-Type Tripod Head is a good medium priced example that will fit most of the better tripods.
I chose this one because it’s carbon fiber to go along with my carbon fiber outdoor use tripod..Carbon fiber is my preferred tripod for hiking, jungle, wilderness, and other outdoor photography. It’s strong yet lightweight. Carbon fiber also is comfortable in extremes of heat, cold, or very wet conditions
The Jungle Is Everywhere
Photo by Darren Lawrence on Unsplash
A photographer on a weekend trek to the wildlife refuge, mountain forest, or isolated beach can use the same techniques, methods, and specialty photographic gear that a photographer deep in the Amazon or Congo does.
Combine these simple jungle photography tips into whatever works for your own style of photography. It may require a little more effort and expenditure, but the results will speak for themselves as being worth it.
Learn More:
We Recommend
Lens Filter Buying Guide

Photo by oxime via iStock
With the calendar firmly into 2020, I figured it was time to unleash an updated lens filter buying guide.
There is a wide variety of filters you can have in your camera bag, both in terms of types and manufacturers.
But like camera lenses, lens filters are not all made alike - cheap filters can cause color casts, vignetting, and degrade the sharpness of an image.
In other words, why invest in a great lens if you're going to put a junk filter on the front of it?
Bear in mind that I'm using "cheap" as a reference to build quality, not to price. There are many excellent budget lens filters that will give you excellent results.
Without further ado, let's get to the best lens filters for 2020 - lens filter kits, circular polarizers, ND filters, and more!
Haida M10 Pro Filter Kit

I recently got my hands on the Haida M10 Pro 100mm filter kit, and I have to say that I'm impressed.
I've used other Haida filter systems as well, and they are a great combination of features, quality, and price.
In this case, the kit has a 100mm filter holder that has a drop-in slot for a circular polarizer. This makes it quick and easy to add or remove the CPL as needed. As a landscape photographer, having a good circular polarizer is an absolute must!

In this case, I particularly appreciate the gear on the side of the drop-in filter slot that allows me to rotate the polarizer with much greater ease.
Likewise, the filter hold rotates 360-degrees so I can position the filters with precision. The locking mechanism keeps everything in place, too.
In front of that are three slots for 100mm filters, so you can purchase solid ND filters, graduated ND filters, or reverse grads and add them to the holder for the specific effects you need.
The kit includes four adapter rings to accommodate popular lens sizes (67mm, 72mm, 77mm, and 82mm), a storage pouch, and four lens caps. Get more details in the video below by Ikan International:
With all these components included in the kit, this is a great starter filter kit for any photographer.
And with Haida's extensive line of 100mm filters, you can add the necessary filters to the kit as you go along and build a high-quality system that helps you improve the quality of your photos.
Price: $228.27 at Amazon
Learn more about the Haida M10 Pro Filter Kit
Kenko Nyumon Circular Polarizer
 Photo by Gary Gray via iStock
If you ask me, there is no more important filter to buy than a circular polarizer.
That's because a polarizing filter can have a positive impact on your photos in a whole host of ways.
They cut down glare off of non-metallic surfaces like water and they also help boost the contrast in the sky for a deeper blue atmosphere and whiter clouds.
Additionally, a polarizing filter cuts down on atmospheric haze so distant elements in the shot appear to be crisper, as shown in the image above.

If you're after a budget-friendly polarizer, look no further than the Kenko Nyumon polarizer shown above.
This filter is crafted using optical-quality glass that's polished and coated to repel everything from water droplets to the oils from your skin.
On top of that, Kenko has smartly mounted it in a SLIM ring, that way there's less chance of vignetting occurring when using a wide-angle lens.

There's a wide range of sizes available as well, so virtually any lens you have, Kenko likely has a polarizer to fit.
And starting at less than $15.00, these things are easy on your bank account too!
This is a prime example of how budget lens filters can strike a balance between price and performance.
Price: Starting at $43.00 at Kenko Imaging USA
Learn more about the Kenko Nyumon Circular Polarizing Filter
Editor's Tip: Get Kenko’s latest updates and access to promos for discounted gear. Click here to sign up.
PolarPro Summit Filter Kit

Earlier, I mentioned that not all filters are made alike.
The Summit filter kit by PolarPro is an excellent example of that sentiment.
To begin, this system has an integrated circular polarizer.
As you can see above, the polarizer slides into the filter holder to create a light-sealed system. The CPL is both low-low profile (to prevent vignetting) and it installs and removes easily.
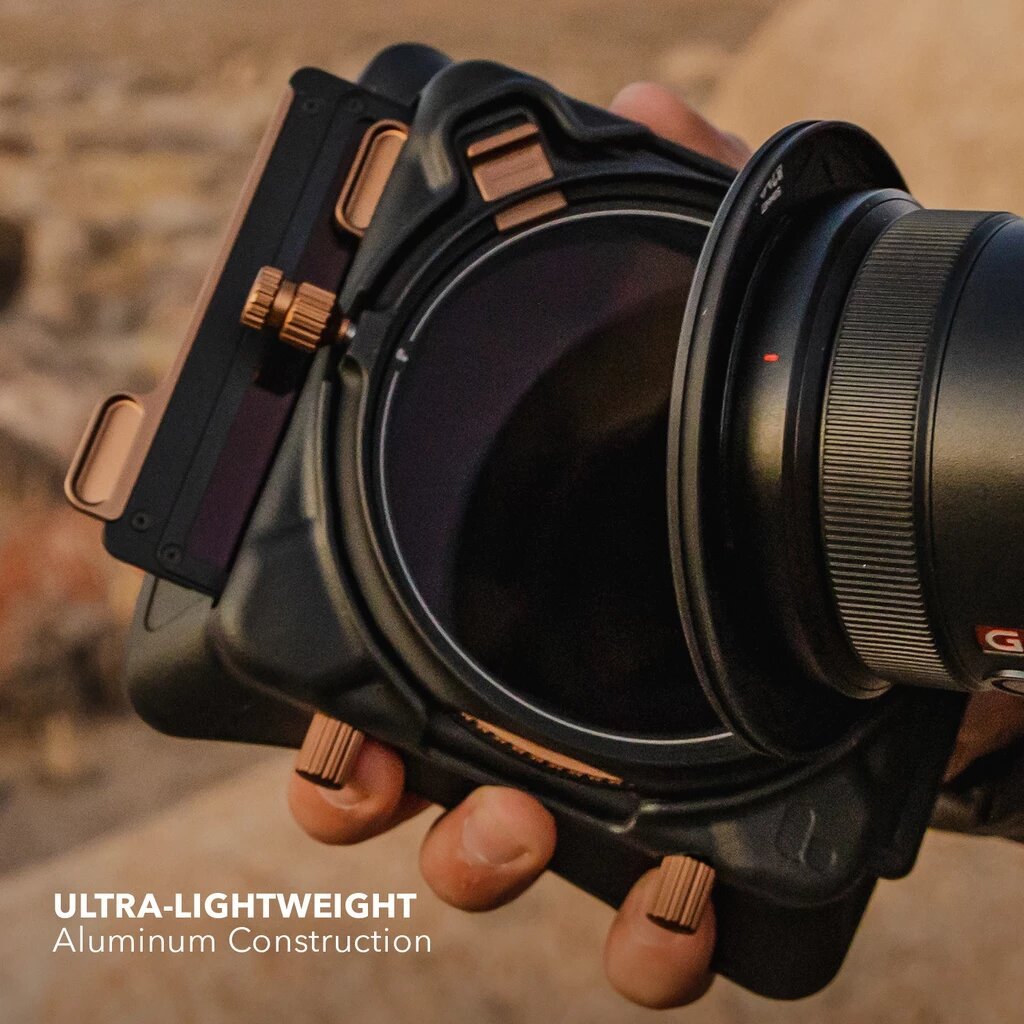
What's more, the Summit system has tool-free mounting options, a tool-less rail mount, and a snap-on hood attachment that make using this system a breeze. This is a huge benefit for those instances in which the light is changing quickly and you need to adapt your setup sooner rather than later.
PolarPro has made the Summit system super lightweight, too, so you don't have to carry a big, heavy, bulky set of filters around with you as you seek the next great photo opportunity.
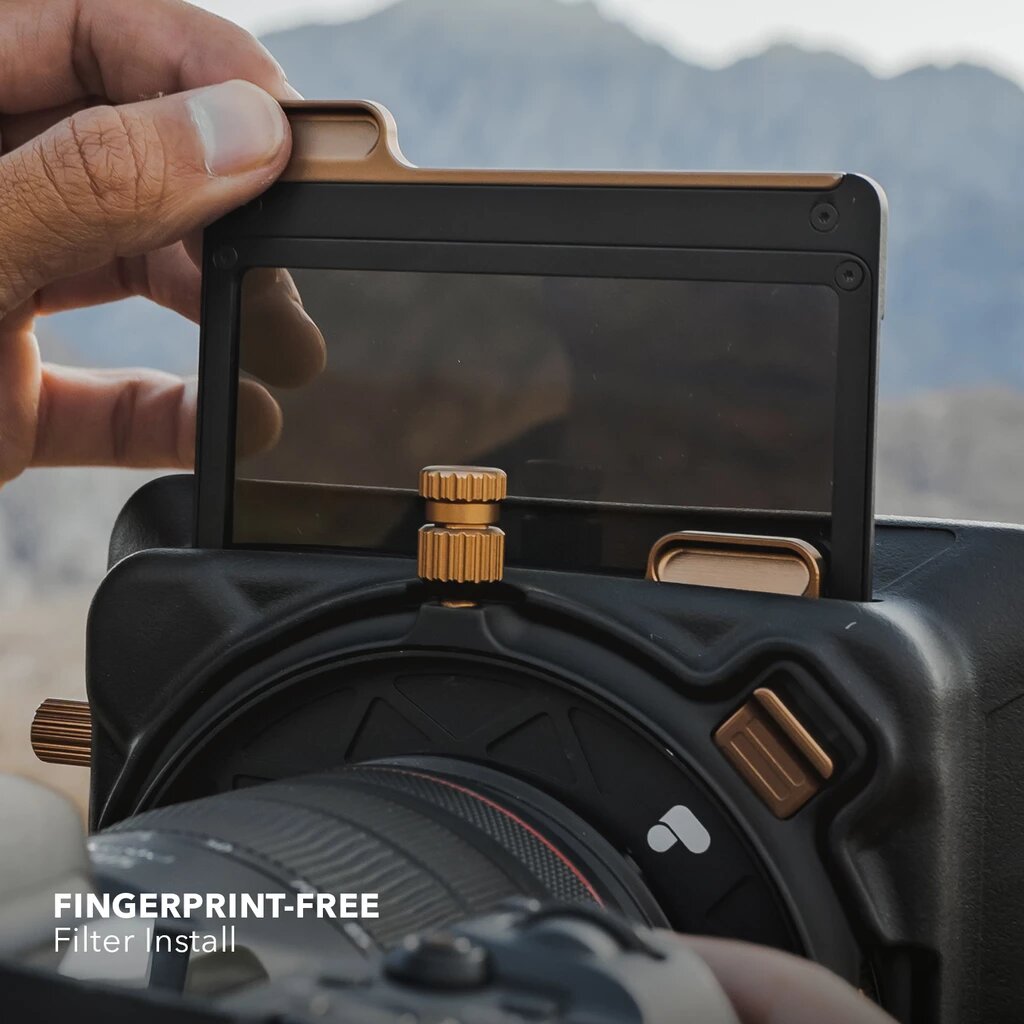
It helps that each filter has an aluminum frame, as that reduces fingerprints on the filter glass while also maximizing protection for the filter.
And since these filters are available in 67mm, 72mm, 77mm, 82mm, and 95mm, you can find the right size for your specific needs.
If you're a landscape photographer and you don't have a good set of filters, the PolarPro Summit system is an excellent option for you.
Price: $599.99 at PolarPro
Learn more about the PolarPro Summit Filter System
Formatt-Hitech Firecrest Ultra ND Filter

A solid ND filter allows you to slow down the shutter speed or open up the aperture when shooting in bright conditions without overexposing the image.
Photos with blurred motion wouldn't be possible when shooting in broad daylight, because all that light from the long shutter speed would result in a completely blown out photo.
ND filters come in all kinds of strengths, with darker ND filters blocking out more light, thus allowing you to get longer exposures or use larger apertures.

Formatt-Hitech's Firecrest Ultra ND filters are a good choice because they offer excellent features without busting your budget.
These filters are bonded, which helps protect the filter's coating from damage. This means that you get a filter that helps you achieve your photographic goals while also giving you longer-lasting and durable performance over the long-term.
Formatt-Hitech also uses a lap and polish technique when manufacturing the Firecrest Ultra ND filters, which results in glass that offers hyper-neutral performance. There is no color casting and you get superb sharpness, minimal aberrations, and enhanced clarity, too.

These filters are available as 100mm x 100mm squares and come in a wide range of popular densities from 1 to 10 stops.
If you're in need of an ultra-dark filter, though, Formatt-Hitech has Firecrest Ultra NDs that go from 13 stops up to a whopping 24 stops!
It's that kind of variety that enables you to select the precise ND filters you need to create beautiful long exposure images, even on the brightest of days.
Price: Starting at $179.00 at Formatt-Hitech
Singh-Ray Variable ND Filter

Years ago, variable ND filters didn't have a good reputation. They just didn't work well and left you with images that had artifacts that ruined your images.
But today's variable ND filters are a new breed, and options like this one from Singh-Ray are among the best.
A variable ND filter is one of the best filters for landscape photography.
In a single filter, you have the capability of blocking anywhere from two to eight stops of light with the turn of the filter in its housing.
If you need to build a run and gun setup, having a single variable ND filter could be advantageous, rather than carrying multiple ND filters to achieve the same feat.
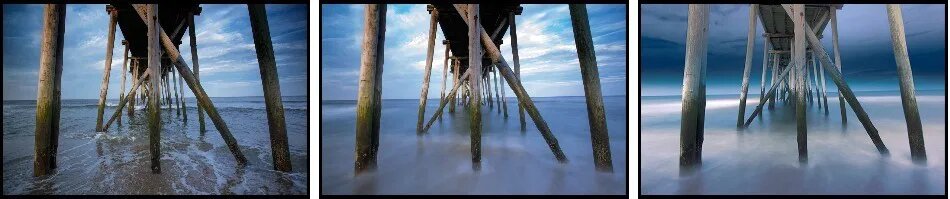 Image Credit: Marco Crupi
As explained earlier, an ND filter is a must-have if you want to introduce motion effects - like blurry water or clouds - when photographing during the daytime.
With this filter, all you have to do is turn the filter to control how much light passes through the lens. And since it's a Singh-Ray, you can depend on quality construction that retains the color fidelity of the scene (and the sharpness, too).
Variable ND filters aren't just for still photography, though - you can utilize them when shooting video as well!
Price: $340.00 at Amazon
Learn more about the Singh-Ray Variable ND filter
Breakthrough Photography X4 Circular Polarizer

Breakthrough Photography's X4 circular polarizer is a top choice of many photographers thanks to its excellent performance and superb build quality.
The durable design is built to withstand the rough-and-tumble world of landscape photography. You can use it in high winds, in the presence of saltwater or dust, and other arduous environmental conditions and not worry that it will fail.
Additionally, these filters are guaranteed to maintain their optical clarity and color neutrality for 25 years thanks to its weather-sealed design.

This polarizing filter is one of our best filters for 2020 because of its nanocoating. Breakthrough Photography utilizes a bespoke nanotec coating that beads water and other elements off the glass. This means a cleaner filter for improved results while minimizing smearing, fingerprints, and so forth.
Paired with the SCHOTT Superwhite B270 optical glass, you get excellent light transmission, particularly in the ultraviolet, visible, and infrared spectrums.
Add to that a state-of-the-art multi-resistant coating that reduces reflections and improves contrast, and you have a recipe for a polarizer you can get a lot of mileage out of (and great results, too).
Price: Starting at $129.00 at Adorama
Lee Hard-Edge Graduated ND Filter

Our Lens Filter Buying Guide 2020 wouldn't be complete without a hard-edge graduated ND filter.
This one, by Lee, comes in various sizes to accommodate different setups, including 75mm x 90mm, 100mm x 150mm, and 150mm x 170mm. They're also available in various strengths, from 1-stop to 4-stops.
These hard-edge grads are perfect for landscape situations in which there is a definite horizon.
The quick transition from darkened to undarkened areas allows you to match up the filter with the horizon and get the desired filter effects for the sky while leaving the landscape below it untouched.

What sets this filter apart from those by other manufacturers is that it is hand-made with a gradual build-up of the ND gradation.
The gradation on the filter is created by dipping the filter into baths of dye. As a result of this hand-made process, you get hyper-accurate results that give you the ultimate in creative control.
With a hard-edge grad or two in your bag, you'll be better equipped to create beautiful landscape images that are well-exposed throughout.
Between the quality build and reasonable prices, you can see why this is among the best lens filters for 2020!
Price: Starting at $113.00 at Adorama
Learn more about Lee Hard-Edge Graduated ND Filters
Argraph Marumi M100 Filter System

Marumi’s Magnetic M100 Filter Holder and their line of magnetic filters are just what the doctor ordered for photographers that are sick of sliding filters in and out of their holders.
The M100 filter holder sports a slim 10mm design with strong magnetic attachments that hold the filter in place. The foam gaskets on the filter holder ensure that there are no light leaks to ruin your photos.

If using a circular polarizer, it rotates independently in the filter holder and features water and oil-repellent coatings on both sides that minimizes clean up.
The filter also has anti-static-anti-scratch, and anti-reflection properties that ensure you have the ideal shooting experience.

The other magnetic filters in Marumi’s lineup have the same features, including their graduated ND filters and solid ND Filters.
The graduated ND filters include hard-edge, soft-edge (as shown above), and reverse grads for photographing landscapes with a definite horizon, a variable horizon, and at sunrise and sunset, respectively.

Of course, there are also many different solid ND filters available from 2-stops all the way up to 15-stops.
Like the other Marumi filters mentioned above, these ND filters are made of durable Schott 5270 glass that offers high-definition results.
When photographing landscapes, the quality of light can change from one second to the next. That’s why this magnetic system is so compelling - by reducing the time spent swapping out filters, you can spend more time photographing the beauty before you!
Price: $149.99 for the M100 Filter Holder, $139.95 for the circular polarizer, and $199.95 for solid ND filters.
Cokin P-Series Soft-Edge Graduated ND Filter

Another popular filter for landscape photographers is a soft-edge grad, like this one by Cokin.
A soft-edge grad is ideally suited for use when there is not a definite horizon.
Unlike the hard-edge grad we discussed above, this one has a much more gradual transition from the filtered to non-filtered areas.
This allows for use in situations in which there are undulations in the horizon line, and when buildings, trees, and other objects that extend above the horizon.


What makes this Cokin soft-edge grad so great is its price - it's one of the best budget lens filters we've yet to find at less than $28.
But don't let that cheap price fool you - this is a well-built filter that performs well (as shown by the before and after photos above), which is why it has 4.5 out of 5 stars on Adorama!
It's specifically designed for use with Cokin's excellent P-series filter holder and features hyper-neutral results that you would expect from a high-quality filter.
This filter comes as a 3-stop, which is an ideal strength for many landscape photography situations in which the bright sky needs to be brought down a little.
Price: $27.61 at Adorama
Learn more about the Cokin P-Series Soft-Edge Graduated ND Filter
Haida NanoPro MC Reverse ND Grad

Last but not least, a great filter to have in your camera bag is a reverse ND grad, like this one by Haida.
A reverse ND grad is specifically designed for sunrise and sunset photos when the brightest part of the sky is along the horizon.
As you can see, the darkest part of the filter is in the middle, and it gradually gets lighter as you go toward the top (with no filtration on the bottom). This means you can manage the brightness of the sky along the horizon without impacting the darker areas of the sky above and the darker landscape below.

As you'd expect from Haida, this filter is well made without a huge price tag.
You get a high-quality, multi-layered filter that helps repel dirt and smudges. These filters are also extremely scratch-resistant, which is exactly what you want for your landscape photography outings.
These filters offer excellent sharpness, zero color casting, and they reduce reflections as well.
The high-grade optical glass is durable, too.
Price: Starting at $90.00 at Adorama
We Recommend
Long Exposure Tutorial: Beach Photography
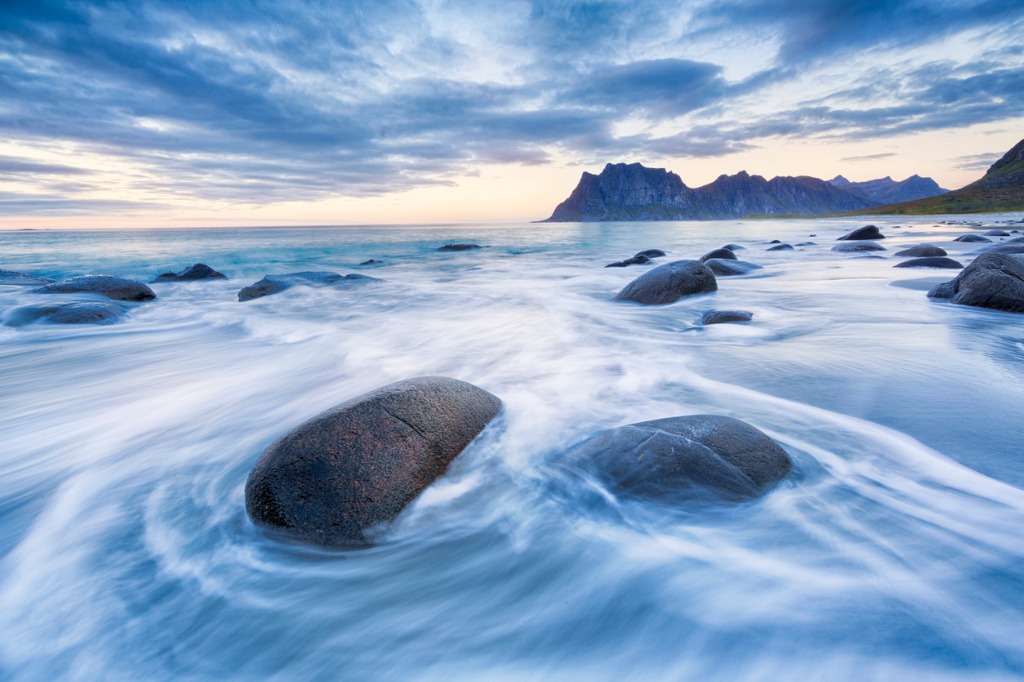
photo bytunart via iStock
Long exposure images are fun to create and the results can look absolutely amazing if done well. Good long exposure images involve more than simply letting the shutter remain open for a long time. We will provide a brief long exposure tutorial for the beach to give you somewhere to start beyond the remote shutter cord.
Ocean photography, beach photography, and photographing waves all require long exposure to come up with that smooth, sometimes misty water effect. The long exposure camera settings have much to do with this, but some other aspects of photography also figure into our calculations and set up for this style.
Plan Ahead

photo byvalentinrussanov via iStock
My long exposure tips are similar to many other special photography tips, at least as far as the number one tip. There’s a reason I’m constantly saying to plan ahead, do your research, previsualize, and take control of the imaging process from beginning to end - it makes the difference between getting good pics and creating outstanding images.
Since long exposure beach photography is basically the art of photographing waves, we need to know where the waves are. We need to know more than just “at the beach,” we also want to be aware of what time of day looks best, what special shore features could enhance our images, and what time is high tide.
Choose the Time
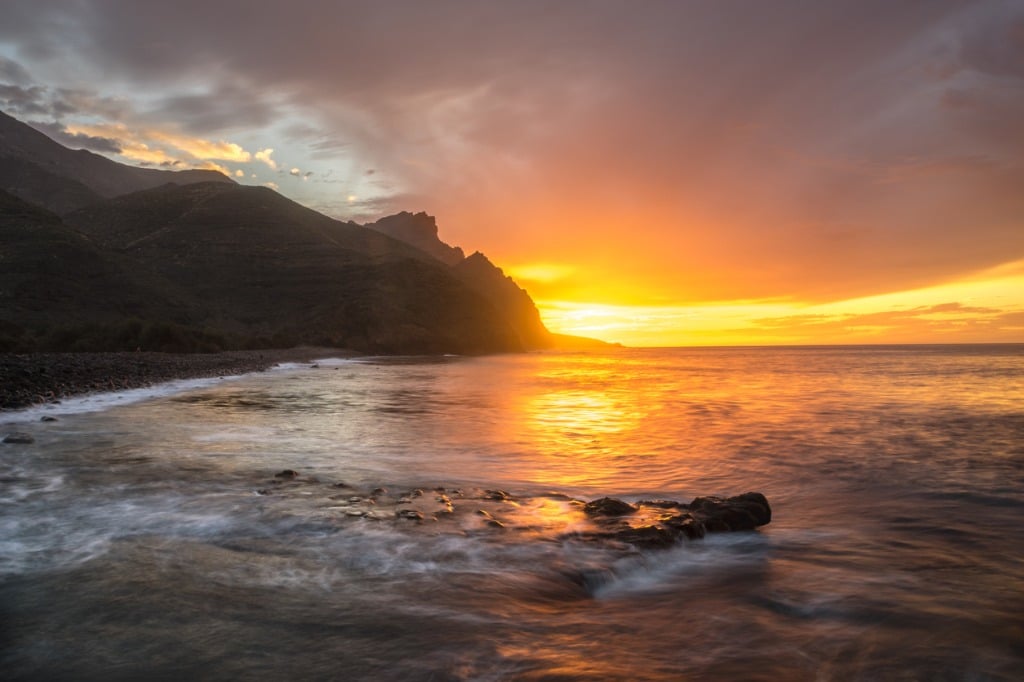
photo byMikeMareen via iStock
The time of day is a variable that could completely change the final image as far as exposure, lighting conditions, direction of the light, and the color of the light. Sunrise and sunset may both look good for ocean photography, but the light will be coming from different directions, making shadows on opposite sides of other scene elements such as rock formations or man made structures.
There is sometimes a subtle color difference between sunrise and sunset, it depends on some other factors such as atmospheric conditions and the surrounding landscape, but there is a huge difference in light color from high noon to golden hour, sunset or rise, and twilight.
Shore Features
photo byDieterMeyrl via iStock
The landmarks we use for navigating around the beach often make great visual elements for our long exposure beach photography. If all we have in the image area of our photograph is the blurred water, it may not look all that interesting. Including the shore features we enjoy in the images of ocean photography will add a lot of visual interest. Photographing waves looks great when they are part of an overall image.
High Tide
photo byandipantz via iStock
As the public safety part of our long exposure tutorial, it is vitally important to know when high tide is where you will do your beach photography long exposures. If you are caught up in taking photographs and don’t notice the water rising to cut off your way out, you could lose more than your camera gear. It could turn deadly.
Besides, the high and low tide will definitely impact the visual aspects of your beach and ocean photography. In some areas, it can radically alter the view. If you aren’t familiar with the timing of tides, it is super to find it online with a google search on your smartphone or computer.
Guard Your Gear
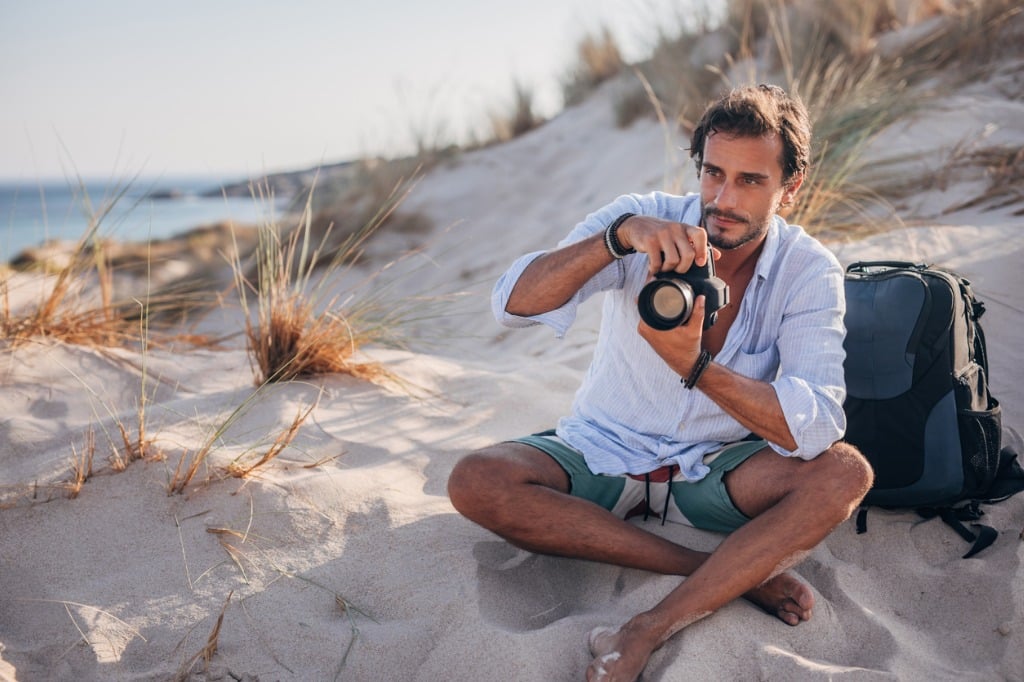
photo bySouth_agency via iStock
Beach photography can play havoc with your photographic equipment. The sand and the salt air are the two biggest concerns. Blowing sand can mess up the mechanics of your camera and lens, the salt air can adversely affect the electronics. A rain shield of some type is a good idea, as is thoroughly cleaning everything once you get off the beach back home or in your hotel room.
You also want to guard your gear from accidents such as dropping them while you're climbing, dunking from a huge breaker or tripping into a tidal pool (yes, I’ve done that), or tipping over your tripod due to shifting sand underneath or a strong wind gust. Basically, if you just pay attention and be careful, you’ll be fine.
Use a Tripod
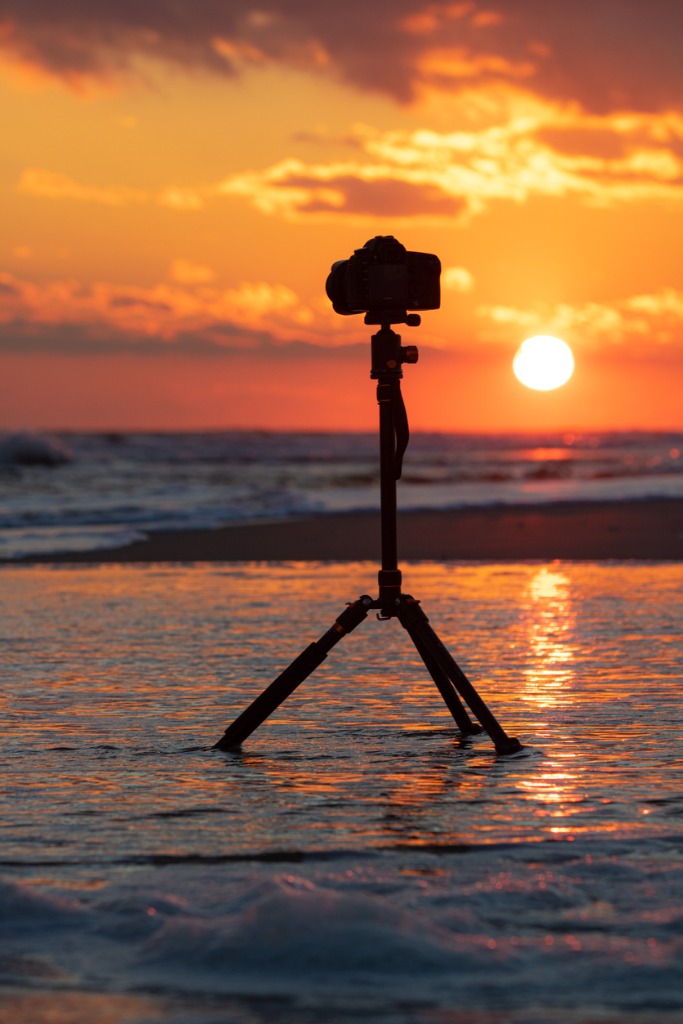
photo byScott Heaney via iStock
And now, we get to talk about the picture taking part of our long exposure tutorial for ocean and beach photography. Since we are specifically looking at long exposures for photographing waves, keeping the camera position stable is a prime consideration. I like the carbon fiber tripods for beach photography, but any large enough tripod will work well.
Learn More:
- How To Streamline Your Landscape Photography Workflow
- 6 Expert Tips For Improving Your Landscape Photography
- Why You Need a Filter Kit For Landscape Photography
Filter It If Light Is Too Bright
Sometimes, beginner and experienced photographers alike will lose sight of one very important option with regards to setting the exposure with a long enough shutter speed to create the right amount of blur we want to capture.
Daytime beach photography is already difficult enough for our poor exposure meters, often requiring us to dial in exposure compensation, but full daylight sun also generally means short shutter speeds to satisfy the exposure triangle.
The solution is as elegant as it is simple, use neutral density (ND) filters. A good ND filter will let you slow down the shutter speed to something that blurs the wave action even in high noon full daylight. You’ll want the filters to be very high quality so your image sharpness isn’t diminished, and you want them to be easy to use as well.
I am a big fan of filter holder systems for ND filters and graduated neutral density (GND) filters since they allow precise placement of the filter transition line for GND filters and are easy to add or remove filters for ND and other types such as circular polarizer (C-POL) filters.
Haida M10 Filter System
I’ve been enjoying the Haida M10 system and their fine set of high quality filters such as the 3 ND set with 6, 10, and 15 stop ND filters. Another great filter choice is the CPL+ND filter that combines a C-POL filter with a 10 stop ND filter.
As with any polarizer filter, you would adjust the filter by turning it until you see the effect you want in regards to darkening the sky or removing reflections or atmospheric haze. With the Haida CPL+ND filter, you ten also get to add in 10 full stops of exposure time. That can change a 1/250th shutter speed to 8 full seconds. That’s enough to blur out vigorous wave action.
If you use your ND filters at golden hour or twilight, you can achieve long exposure times of over a minute which can also give substantial motion blur to clouds and virtually flatten even a storm driven set of waves.
Diffraction Limited Aperture
photo byAntonio Bordunovi via iStock
Since we’re using ND filters to change the shutter speed to a long exposure, we can now select our optimum lens aperture or f-stop. The optimum aperture for maximum sharpness is called the diffraction limited aperture. This means that it’s the f-stop that eliminates the aberrations caused by wide open apertures but before the smaller apertures start causing unwanted image softening diffraction. With most lenses, about 2 or 3 stops down from maximum aperture is the sharpest f-stop.
Obviously, if you want deep depth of field to go along with your long exposure for beach photography, you’ll use smaller apertures and just deal with the slight issues caused by diffraction. With high quality lenses, it can be only a slight problem anyways.
Composition and Other Concerns
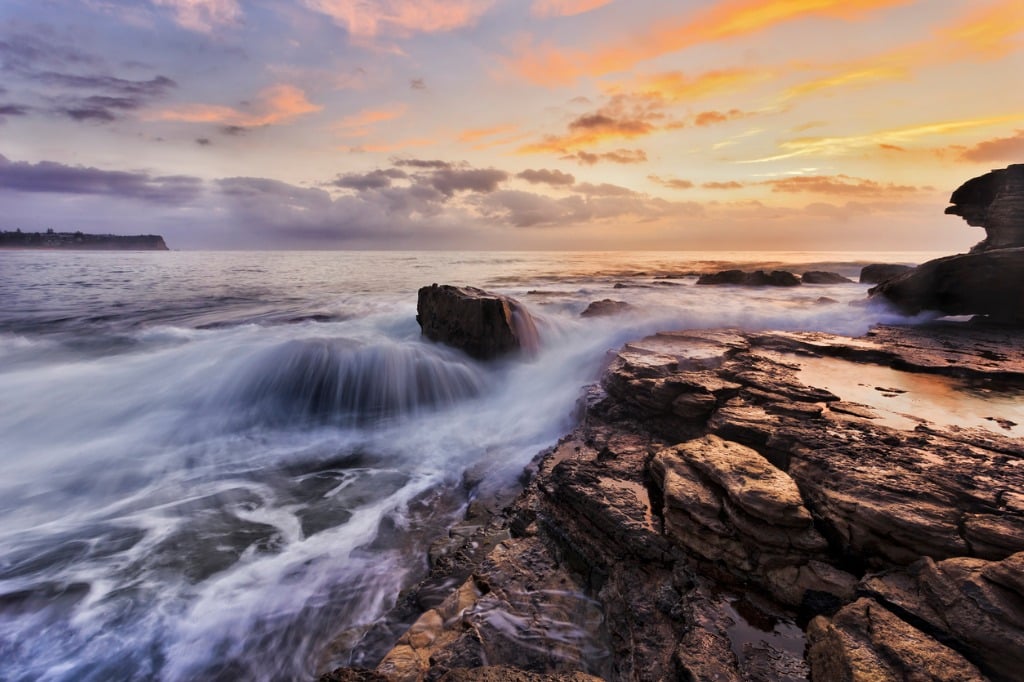
photo byzetter via iStock
We still want to use good composition techniques such as Rule of Thirds, Leading Lines, and Golden Spiral in order to create an truly outstanding long exposure ocean photography image. After all, the blurred water effect we’re making looks best if we have a solid object for contrast with the motion effect.
A balanced composition and the blurring of moving water can create a serene, maybe even a surreal photograph. The long exposure is merely the part of the process that creates the blurred water effect, it still needs to be a good image before the effect in order to make a truly outstanding long exposure photograph of waves.
In this long exposure tutorial, we learned that iIf we plan ahead for knowing the tides and lighting conditions, take advantage of our special equipment such as ND filters, and use our basic landscape photography techniques such as rules of composition, we will end up with a fine collection of long exposure beach photography and have a whole lot of fun making them.
Learn More:
- Circular Polarizer Do’s and Don’ts
- Get Better Landscape Photos With These Simple Tips
- Best Aperture for Landscape Photography
We Recommend
Mirrorless Camera Accessories You Need Right Now
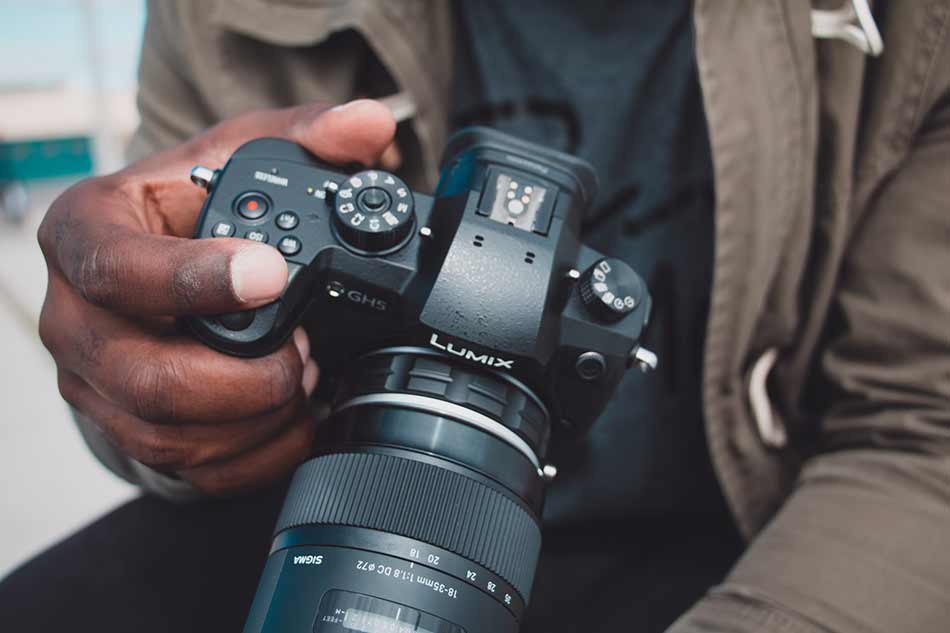
Photo by Jeff David King on Unsplash
I don’t want to say that the days of the DSLR are done, but I can’t help but wonder how many more years that the likes of Canon, Nikon, Sony, and other major companies will continue to make them.
With so many mirrorless cameras now available, and with Canon and Nikon jumping into the mirrorless deep end as of late, more and more photographers are bound to make the switch to mirrorless.
The question is, once you go mirrorless, what accessories do you need to complete your kit?
Here’s a few recommendations that I’ve enjoyed using with my Nikon Z7, Panasonic GH5, and Sony a6400 as of late.
Top Mirrorless Camera Accessories: Haida 77mm NanoPro Multi-coated Circular Polarizer Filter
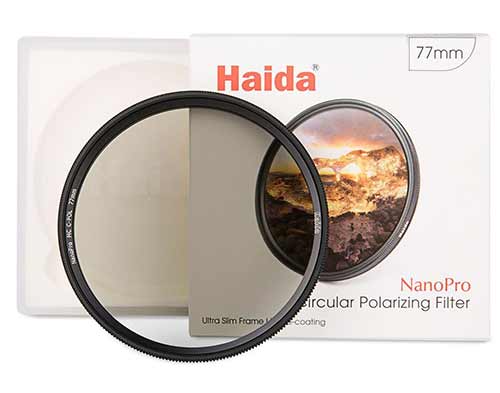
I picked up a Zeiss Batis 18mm f/2.8 lens a few months ago for my Sony a6400, and I enjoy using that combination of camera and lens for shooting landscapes.
On the a6400, which is a crop sensor camera, this lens has an effective focal length of 27mm, which isn’t as wide as I’d like for some landscapes, yet it still provides a pleasing view of the subject matter.
More to the point, this lens is ludicrously sharp, so elements from near to far are rendered in gorgeous detail.
Helping matters is my Haida 77mm NanoPro circular polarizing filter.
At just $80, it won’t break the bank, which is a good thing since that Zeiss lens isn’t exactly cheap.
But just because it’s an affordable filter doesn’t mean that it skimps on performance…
Like any quality circular polarizer, this filter helps reduce reflections and glare off of water and non-metallic surfaces while also minimizing atmospheric haze.
On top of that, the filter boosts the contrast in the sky, making the white clouds brighter and the blue atmosphere deeper and more saturated.
And since this filter is made of optical glass, I get excellent clarity, contrast, and color fidelity.
Additionally, Haida has incorporated 10 layers of multi-coatings to minimize reflections, protect the filter, and reduce the need for cleaning because oils and water bead off the surface of the filter.
I appreciate the thin mount on this filter, too - just 5mm thick, it doesn’t cause vignetting when used with a wide-angle lens.
This is just a well constructed and well-designed filter that will help you achieve improved photos with your mirrorless camera.
Learn more about the Haida 77mm NanoPro circular polarizing filter
Top Mirrorless Camera Accessories: E-Image EK650 Professional Video Tripod
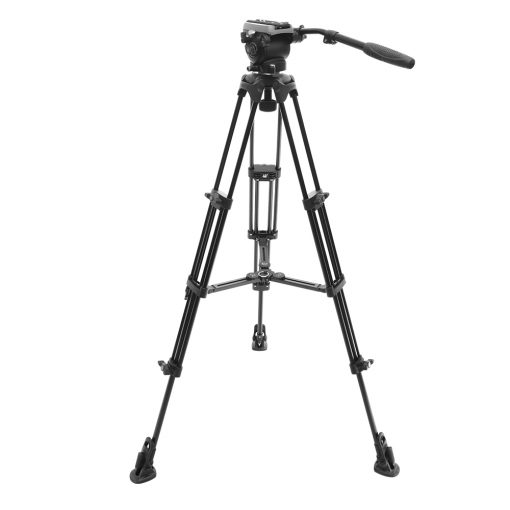
When I’m out shooting videos with my Panasonic GH5, I need a good, solid tripod to support the camera, and for that, the E-Image EK650 is a great choice.
Not only does this tripod support up to 11 pounds of gear, but it also offers a nice height range of 30.5-66” so I can vary the eye level of the footage I’m shooting.
The fluid head that comes with the tripod has a 75mm bowl and a fixed counterbalance that allows it to support the weight of your gear. There are also independent pan and tilt locks, a quick-release plate, and a removable right-sided pan bar.
The tripod has twist leg locks that make for easy setup and help prevent accidental disengagement of the lock, as sometimes occurs with flip-lock mechanisms.
To give the tripod more support, there’s a removable mid-level spreader that improves stability as well as removable rubber feet with spikes underneath, which are perfect for uneven or slippery terrain.
At around nine pounds, this tripod is lightweight enough to easily carry from one location to the next, too.
This tripod has been a durable, reliable rig addition to my kit and has proven its worth whether I’m filming in the studio, in the city, in the country, and points in between. And at $200, it’s well-priced!
Learn more about the E-Image EK650 Professional Video Tripod
Top Mirrorless Camera Accessories: HEX Ranger Sling Bag

Okay, okay, the HEX Ranger Sling Bag is marketed as a DSLR bag, but this thing is so versatile and so well put together that it can certainly be used to carry mirrorless gear like my Nikon Z7.
What makes this a great mirrorless bag is that it is designed with the utmost attention to detail and use of space.
Where other sling bags are on the bulky side and often don’t fit you all that well, the HEX Ranger fits snugly (but not too snugly!) and stays in place on your bag as you maneuver around.
Shooting with a mirrorless camera is all about taking advantage of its small form factor and light weight, and this bag mirrors that.
It weighs just 1.3 pounds and measures 14.5"L x 7.25"W x 4.75"H. As you can see above, it hugs your body and is totally unobtrusive, yet easily accessible to get your gear.
Speaking of access, this bag has a large top opening to access your gear and tons of pockets for storing your phone, glasses, keys, tablet, memory cards and other items.
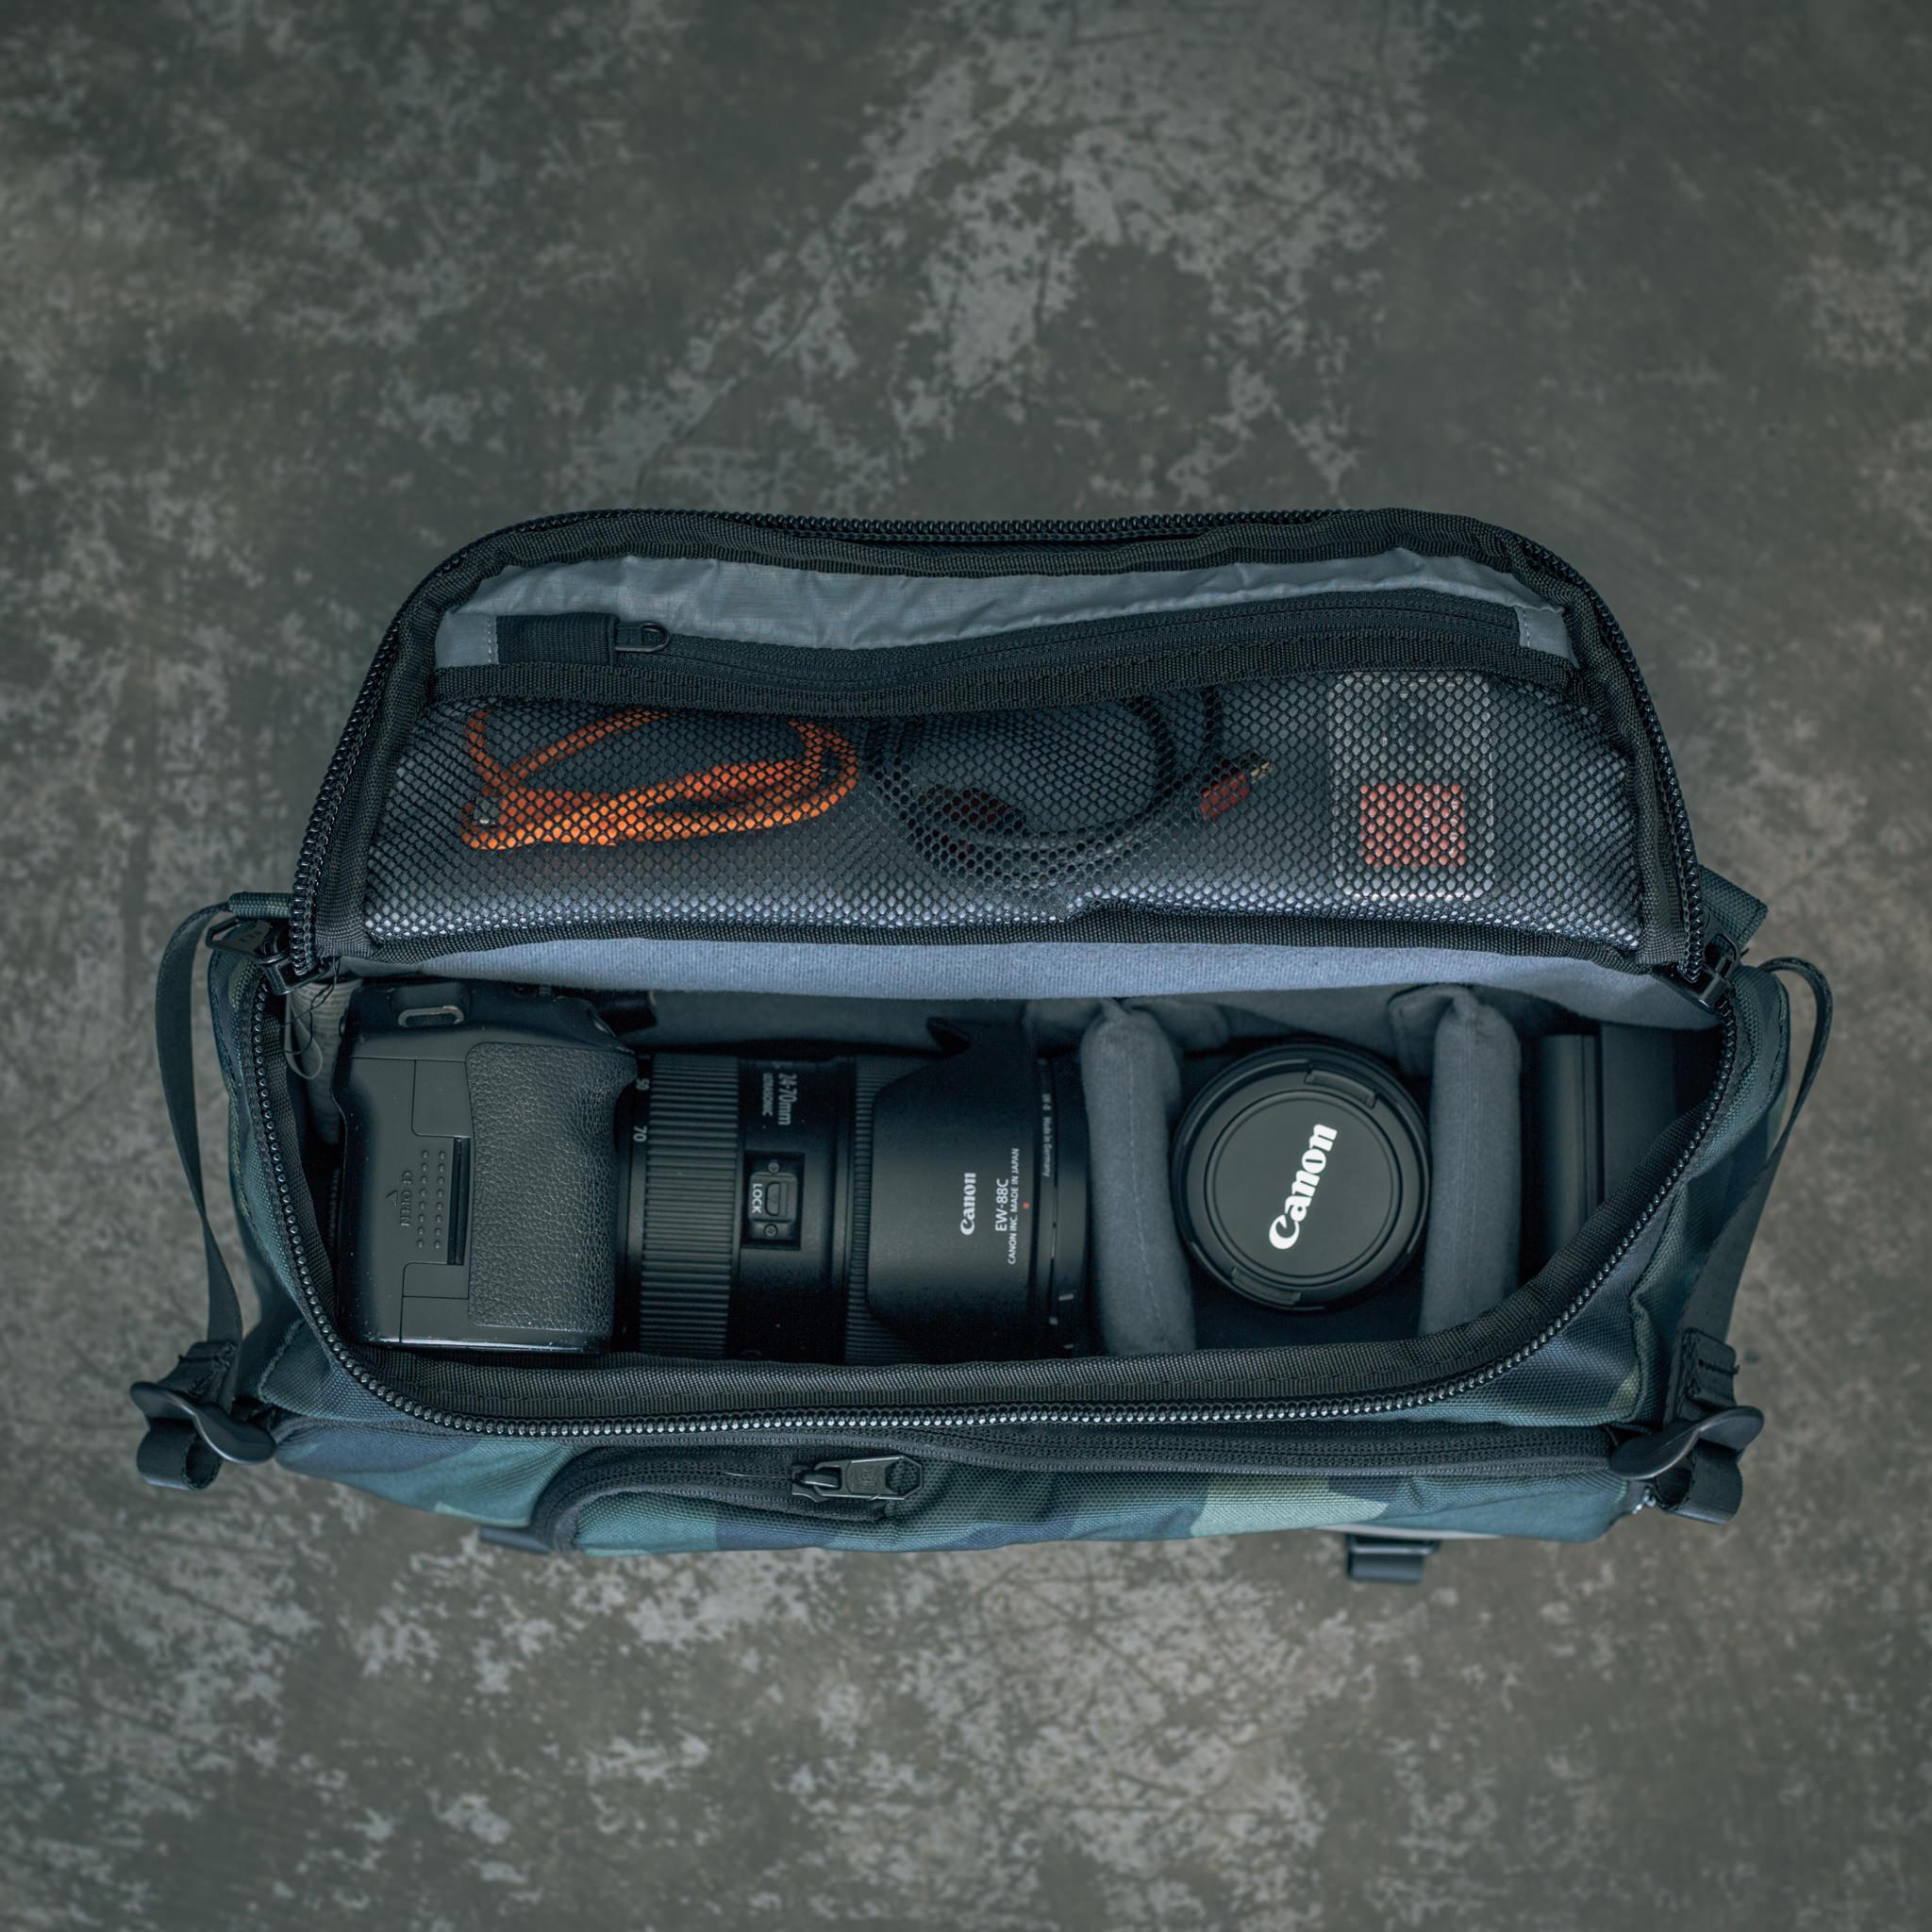
This bag is made of premium, water-resistant Cordura and has genuine YKK zippers with custom metal pulls that offer superior durability and performance.
Inside, the fold-out bottom panel allows the bag to be folded flat for packing while the fleece-lined main compartment offers configurable and removable partitions to keep your gear safe and sound.
HEX simply thought of everything when they designed this bag. And since it can hold eight liters of gear, you can bring your mirrorless camera, a couple of lenses, a tablet, and other accessories, no problem!
Learn more about the HEX Ranger Sling Bag
Top Mirrorless Camera Accessories: Camera Canopy

Try as you might to predict the weather and rely on the weather forecast, at some point you’re going to be out shooting and find yourself in a rain storm that wasn’t expected.
More to the point, there are many occasions when you might want to go out shooting, only to find that the weather is rainy and dreary. That shouldn’t stop you from going out to take photos, though.
A while back, I picked up a Camera Canopy for my Nikon Z7, and it has been a great addition to my kit for those days when the rain just won’t go away.

What’s so clever about the Camera Canopy is that it attaches to the hot-shoe mount of the camera and covers both the camera body and lens from above.
That means that you have unencumbered access to the camera’s buttons and LCD, which is certainly not the case when you use a typical bag-like rain cover.
What’s more, since the Camera Canopy extends beyond the end of the lens, it protects the lens glass from moisture so you can shoot during a downpour without worrying that water droplets are going to interfere with the shot.
If you’re a landscape photographer with a mirrorless camera, Camera Canopy is a must-have for your kit!
Learn more about the Camera Canopy for Mirrorless Cameras
Top Mirrorless Camera Accessories: Litra Torch LitraPro
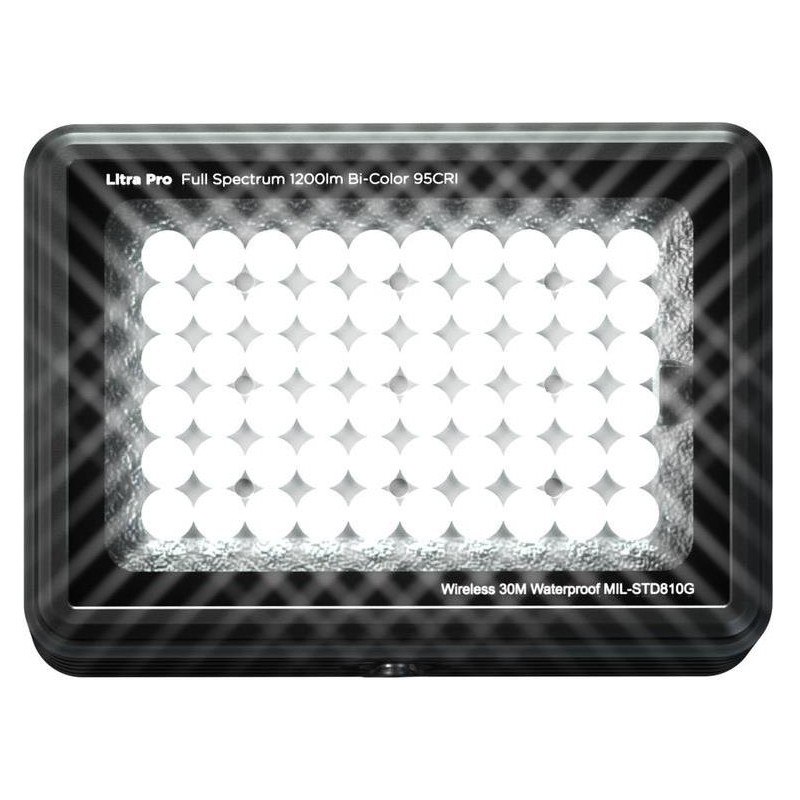
No matter if you’re taking still photos, videos, working in the studio, or working in the field, having a solid light source is a must.
But what you don’t want is to lug around big, heavy lighting gear, which is why the Litra Torch LitraPro is my go-to light.
Measuring just 2.8 x 2 x 1.2" and weighing 6 ounces, this little light is ultra-portable and won’t take up hardly any space in your camera bag (that’s it on top of my Sony a6400 below).
But don’t think that because it fits in the palm of your hand that it doesn’t pack a mighty punch…
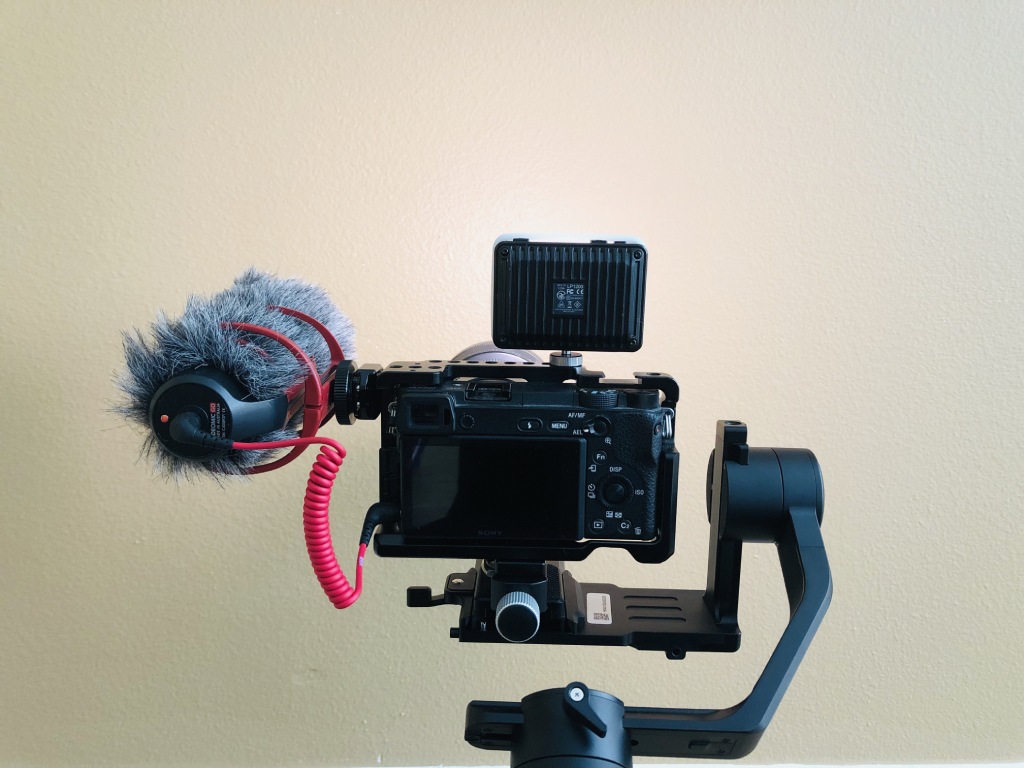
With 60 LEDs that can pump out 1200 lumens of brightness, this little light punches above its weight class.
Not only that, but the LitraPro is a full-spectrum bi-color light so you can adjust the color temperature (from 3000-6000K) to suit the specific shooting situation.
It puts out good quality light, too, with a CRI of 95.
On top of all that, this light has a 10-hour rechargeable battery, multiple mounting points, Bluetooth, and is waterproof up to 90 feet.
In other words, it’s a go-anywhere, do-anything light!
Learn more about the Litra Torch LitraPro
Top Mirrorless Camera Accessories: Batteries and Battery Chargers
Mirrorless cameras don’t offer the same battery performance as their DSLR cousins, so it’s important to have extra juice on your outings.
For all three of my mirrorless cameras, I have three spare batteries, all of which are fully charged the night before a shoot.
Likewise, a dual battery charger enables faster charging, that way they’re ready to roll for the next day.
Though batteries and chargers aren’t as sexy as the items outlined earlier, they’re still a necessity!
We Recommend
Mountain Photography Tips
 Photo by Xsandra via iStock
I don't know about you, but my favorite landscapes involve mountains.
There's something so majestic about soaring mountain peaks. And when combined with other landscape elements - rivers, canyons, wildflowers, and so forth - it's a recipe for a drop-dead gorgeous shot.
If you're ready to take your mountain landscapes to the next level, give the following simple and easy mountain photography tips a try.
Mountain Photography Tip: Wide-Angle is Great, But Not Always Great
 Photo by Anubhav Saxena on Unsplash
I'll be the first to say that I often use a wide-angle lens for landscape photography.
The wide angle of view allows me to capture more of the scene in a single shot, thereby giving the viewer the "lay of the land," so to speak.
Wide-angle lenses are especially advantageous when you're near the mountains, as far-off features look quite small in a wide-angle shot.
Furthermore, if there's foreground interest, as shown above, a wide-angle lens gives you the ability to incorporate that interest into the photo of the mountain.
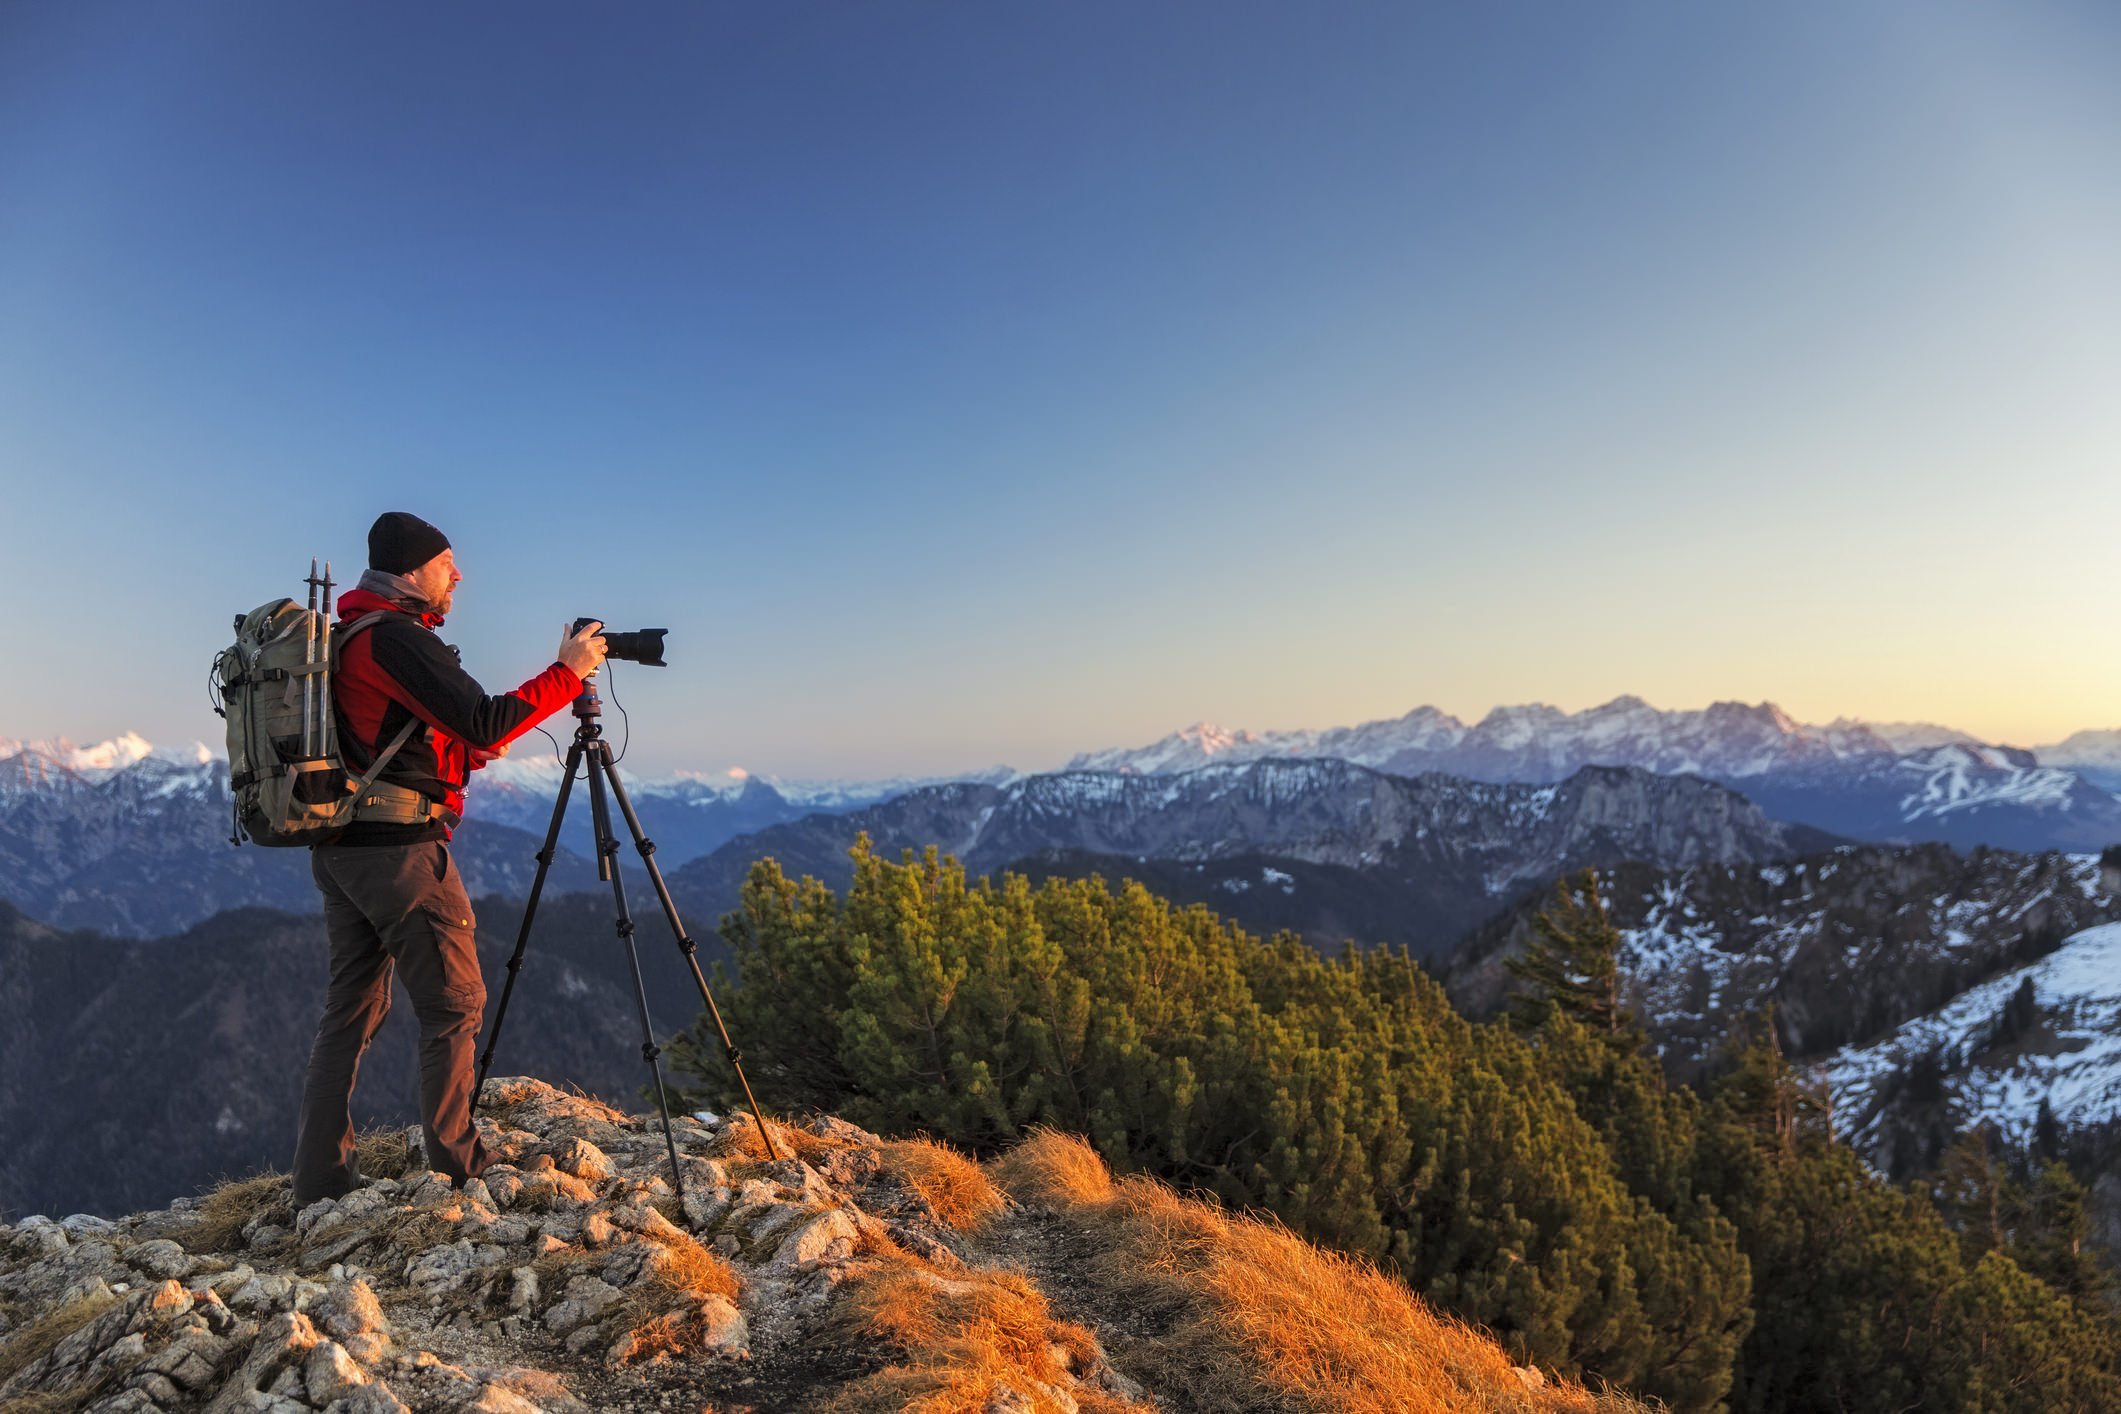
But, there is a time and a place for ditching your wide-angle lens and opting for a longer one.
Telephoto landscapes can be quite breathtaking, if for no other reason than they view you get is completely different from what you see with your own eyes.
Opting for something in the 200mm range or longer gives you a chance to create a deliciously intimate landscape shot that highlights a specific feature, like the very peak of a mountain.
If you want the best collection of mountain photography, switch things up and shoot wide-angle and telephoto shots each time you stop to shoot.
Throw in some shots with a standard lens (i.e., 35-50mm) too, just for good measure!
Learn More:
Mountain Photography Tip: Use a Graduated ND Filter
 Photo by miroslav_1 via iStock
One of the predominant problems you encounter when photographing mountains is that the landscape can be quite dark compared to the sky, as shown above.
Most cameras - not even high-end professional rigs like my Nikon Z7 - can accommodate such a huge dynamic range in a single shot.
To help the camera out, you can use a graduated ND filter.
As I explain in this article, graduated ND filters are dark on top and light on bottom. This serves to limit the brightness of the sky without doing so on the landscape below.
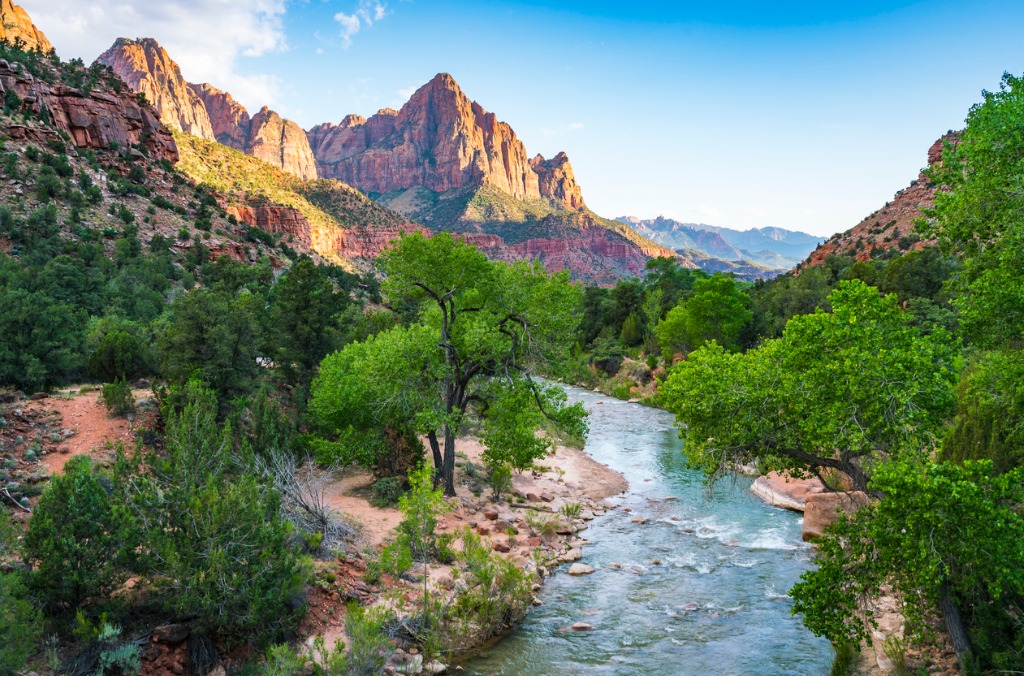 Photo by Joecho-16 via iStock
The result of this is that your mountain photos have a much more even exposure, as shown above.
Not only do you get the nice details of the mountain and the foreground, but you also retain the details in the sky.
Now, not all graduated ND filters are the same...
There are different strengths of filters, from 3-stops to 10-stops and above. The more stops the filter is, the darker it is.
There are also hard-edged ND filters, which have an abrupt transition from the filtered top to the unfiltered bottom. These grads are best for landscapes with a definite horizon, like a shot looking out at the ocean.
For mountains, though, you need that transition to be gradual, which is why a soft-edge grad is the better choice. You can see the difference between a soft-edge and a hard-edge grad below:
There are all kinds of options for ND grads out there, but I recommend Haida filters.
Not only are these things well-built and durable, but they don't affect the color of the image so you get true-to-color results.
Likewise, I appreciate the fact that Haida filters have a NanoPro Coating that maintains color neutrality, even with longer exposure times (which can sometimes lead to color casts in the image).
The NanoPro Coating also helps bead water and repel oils from your skin so you can spend more time shooting and less time cleaning your filter. These filters are also extremely durable, scratch-proof, and waterproof!
Sure, you can bracket exposures and try to fix exposure problems in post-processing, but if you ask me, using filters in the field is more fun and gets you better results to boot!
Get more details about Haida soft-edge graduated ND filters and Haida hard-ege graduated ND filters.
Mountain Photography Tip: It Takes Longer Than You Think to Get a Great Shot
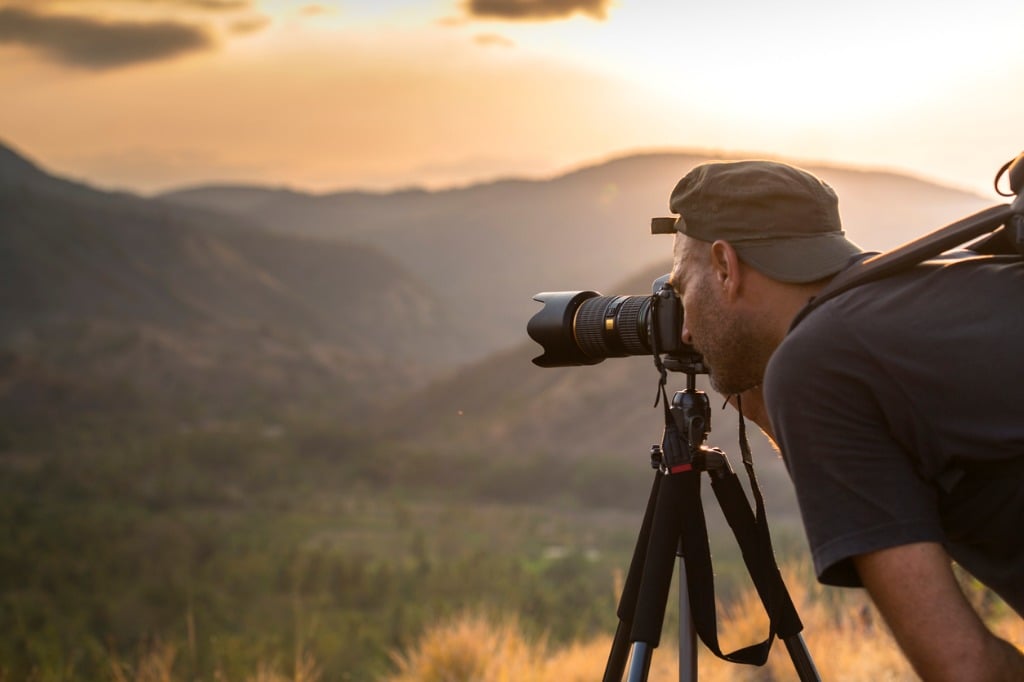 Photo by joakimbkk via iStock
Getting high-quality landscape photos of any kind requires a measured approach with time spent ahead of time planning your trip and tons of patience in the field.
All the gorgeous images you see on the internet aren't just by happenstance - by and large, the outstanding photos you come across that are eye-poppingly beautiful were hours, days, and weeks in the making thanks to a thorough planning process.
You need to scout locations, examine how the sun interacts with the scene, find the ideal vantage points for the best shot, and so forth.
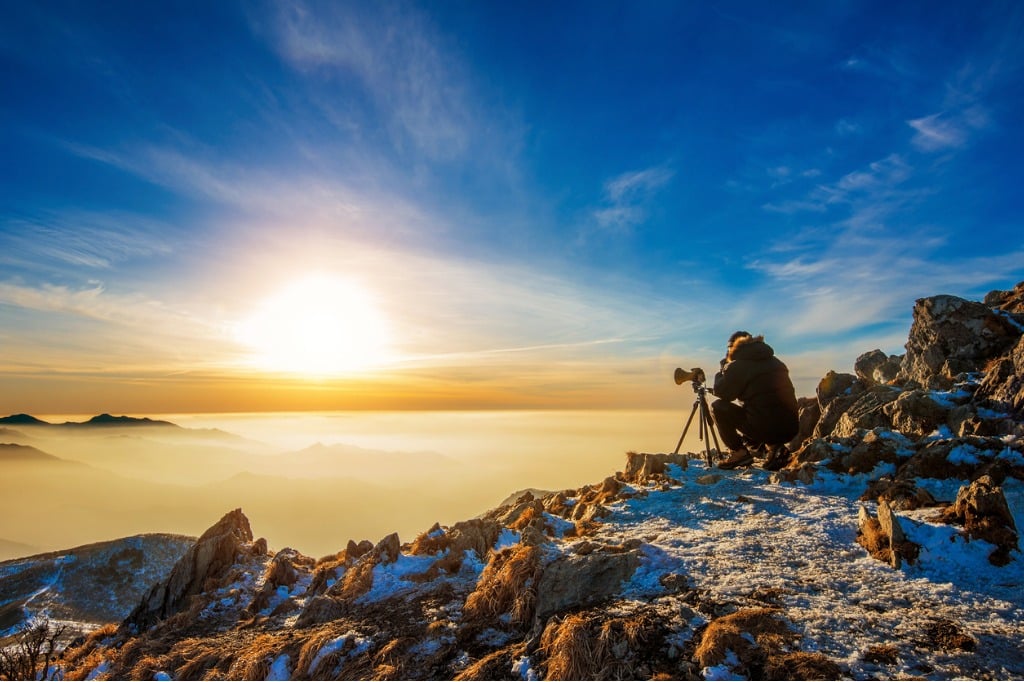 Photo by tawatchaiprakobkit via iStock
Then, once you're out there with your gear, you need to take the time to get things set up properly, get the exposure just right, adjust your filters, check for sharpness, and so on.
There's an element of sitting and waiting as well.
While the light might be fantastic right now, five minutes from now it might be even more spectacular.
Of course, there's time required to examine, cull, and process your images after the fact.
So, getting beautiful mountain photography is a process, and not a short one, either!
Learn More:
Mountain Photography Tip: Simple is Often Better
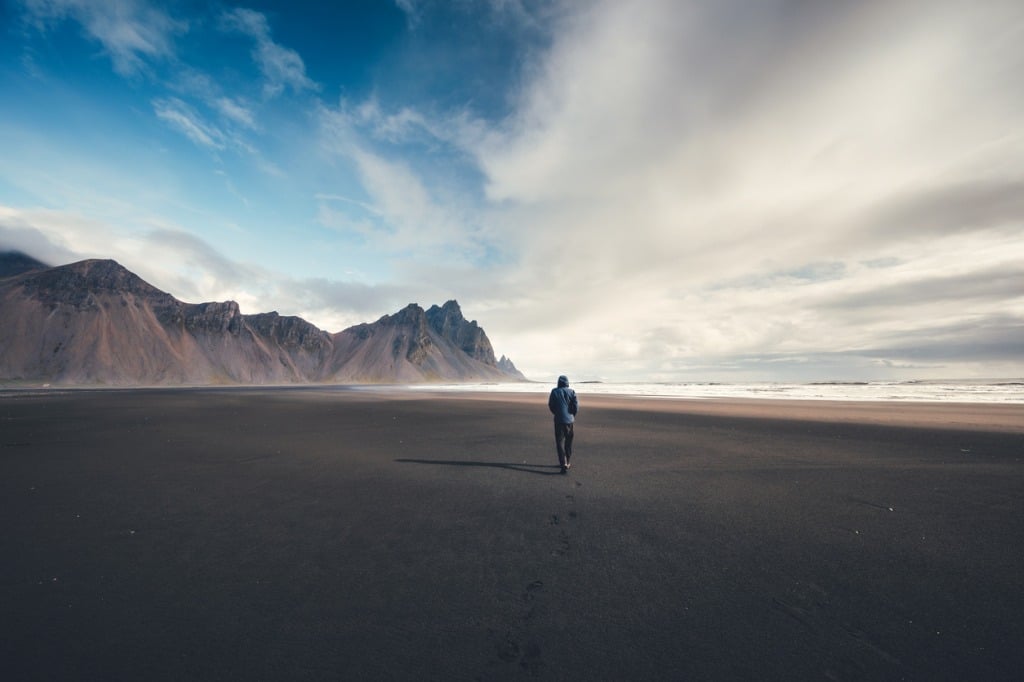 Photo by borchee via iStock
Landscapes are often ripe with beauty, but sometimes all those details can translate into an image feeling a bit cluttered.
To get around this, focus your attention on finding ways to simplify the composition.
Using a telephoto lens is certainly one way you can do that, but there are other ways, too.
For example, you against the norm and use a shallow depth of field to bring a foreground element into sharp focus while the mountains in the shot are beautifully blurred.
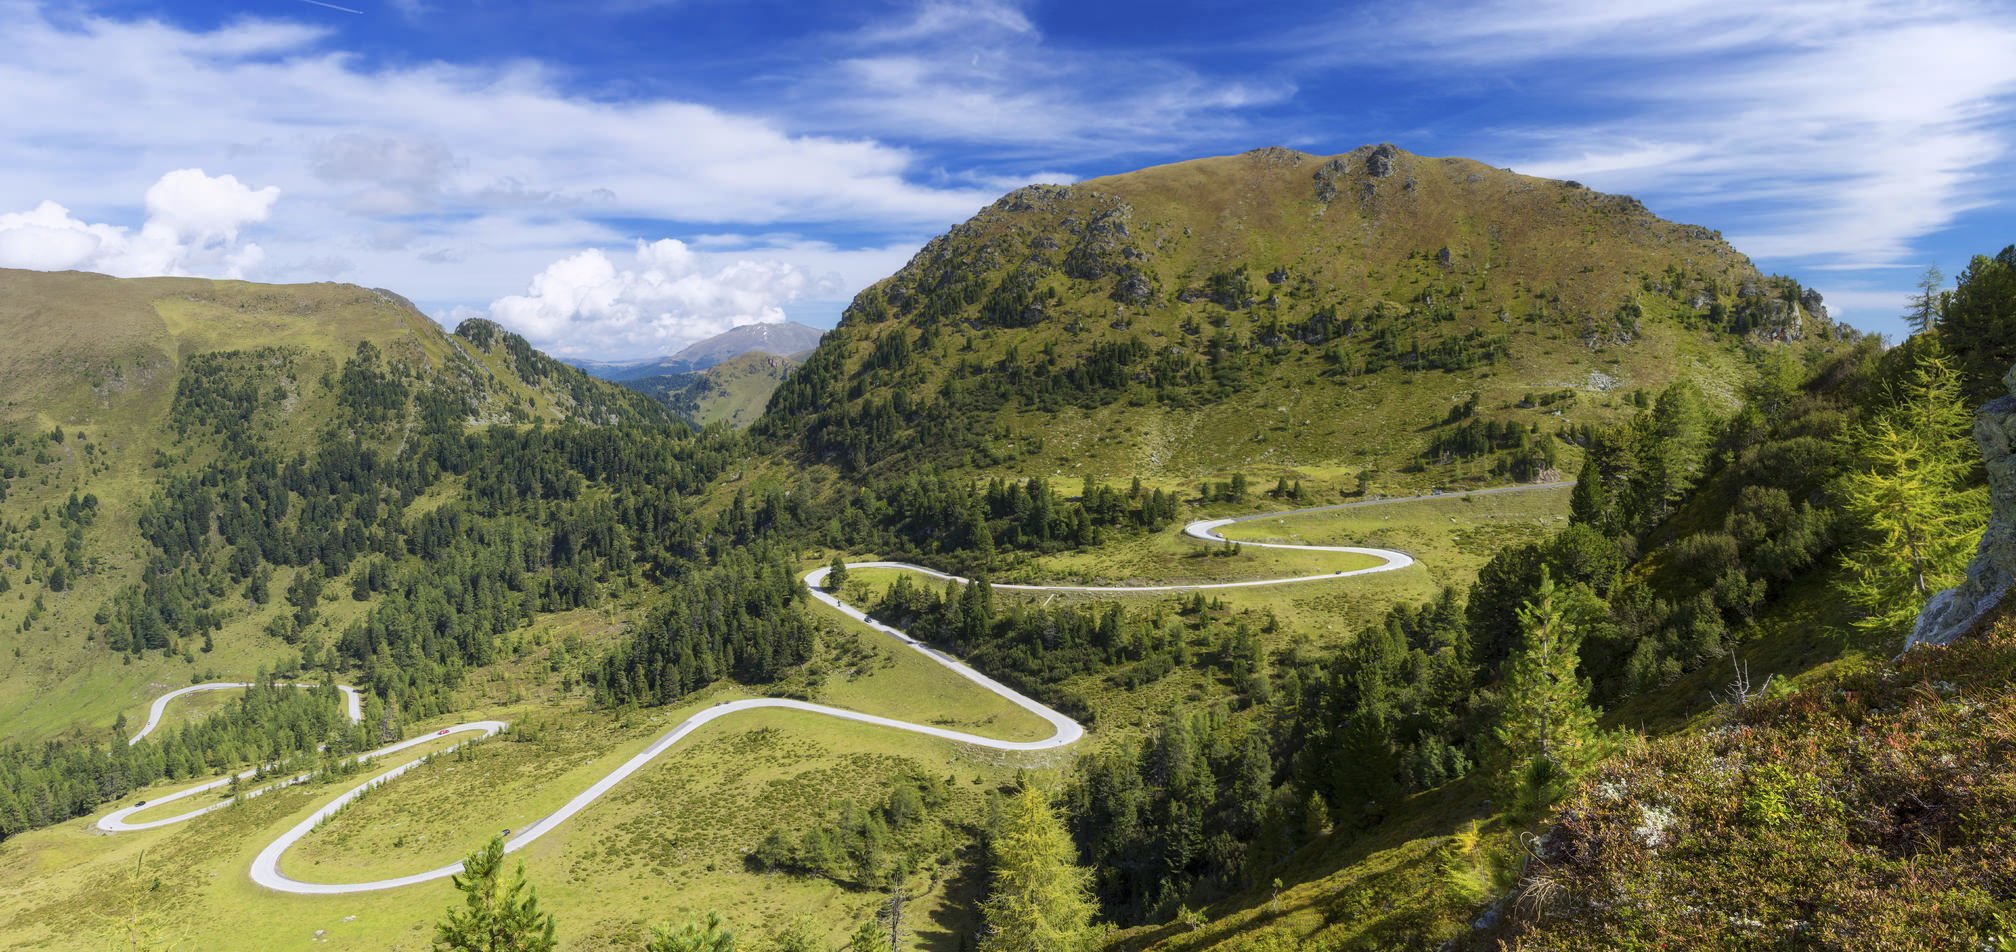
Another idea is to use leading lines to help drive the viewer's eyes where you want them to go.
In the example above, the winding road brings our attention from left to right in the photo.
Not only does this help guide us through the shot, but it also give this mountain photo more dimension and depth.
With that, you have a few quick and easy mountain photography tips to help you get better results.
Give each one a try and see how they can help you capture those beautiful mountain moments!
Mountain Photography Tip: Get the Right Camera Bag
Hiking through the wilderness with your camera gear is a much different exercise than roaming the city streets looking for scenes to photograph.
As such, you need to equip yourself a little differently - for street photography you might use a small sling bag, but for mountain photography, you need something more robust, and ideally, it should be a backpack.
I know what you're thinking, too - who wants to schlep around a giant backpack full of gear? Fortunately, not all backpacks designed for landscape photography are big and cumbersome.
The F-Stop Lotus is a prime example of this. As you can see above, it's a slim and trim backpack that allows you to remain nimble as you navigate narrow hiking trails and uneven terrain.
It offers 32 liters of storage, which is plenty for all your essentials, but maintains a slim profile. Speaking of slim, the bag has an ingenious harness system that makes for a more comfortable carrying experience, but the harness is lightweight so you aren't bogged down.
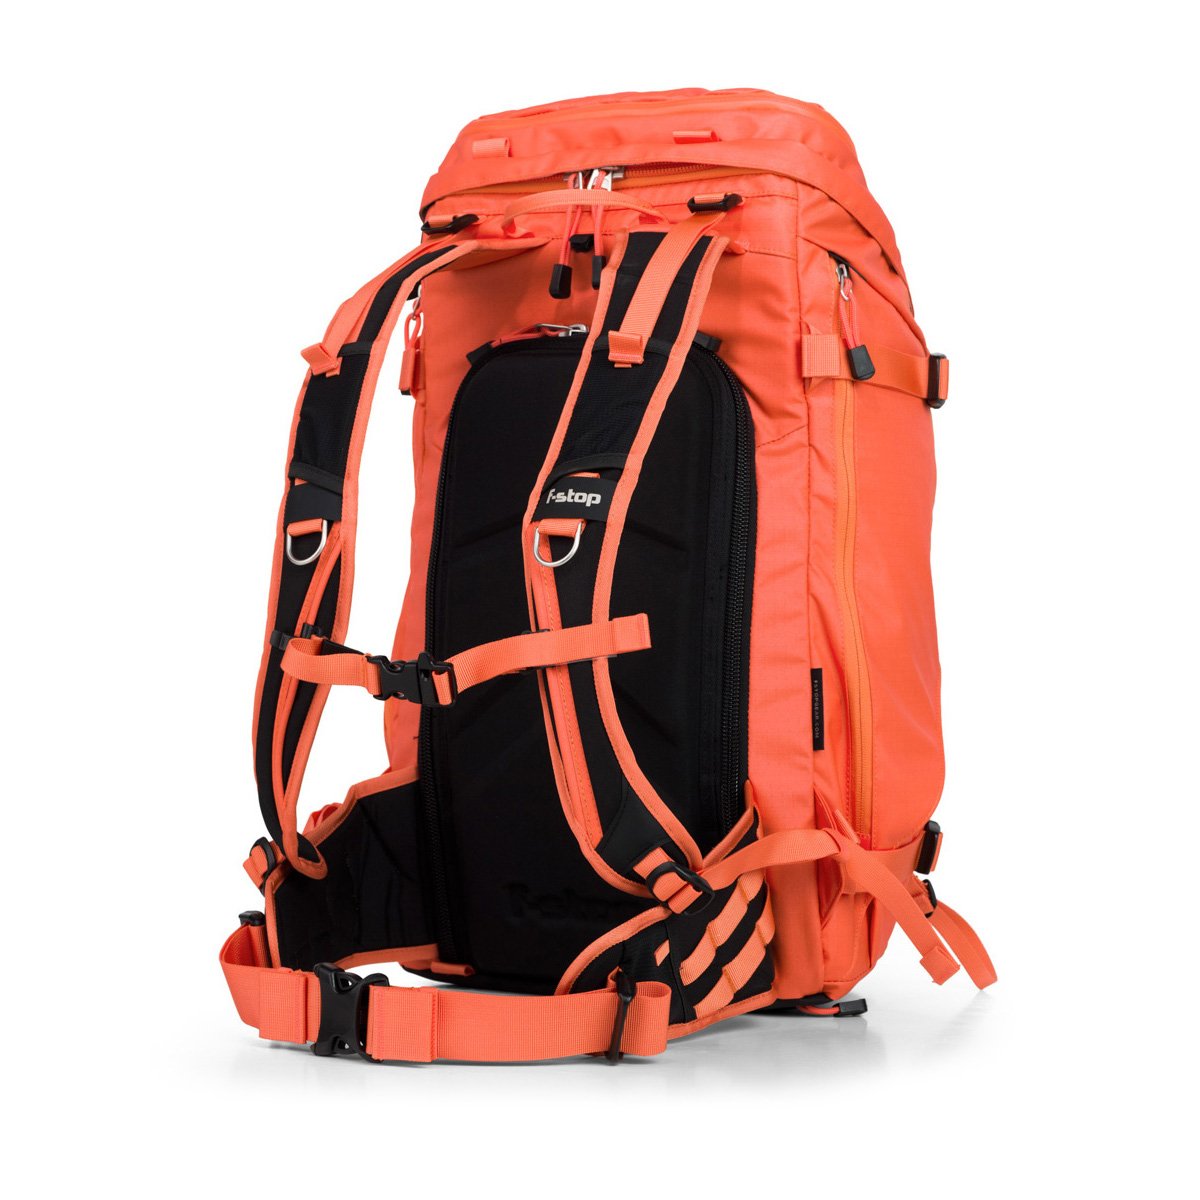
Features include a built-in hydration system, an internal aluminum frame, an ergonomic Soft Flex belt and shoulder straps, and quick-release side compression straps.
Add to that easy-access side pockets, an internal sleeve for your laptop, and a large front panel for your jacket or avalanche shovel, and you have the makings of an awesome mountain photography bag.
You can also add an F-Stop ICU (Internal Camera Unit - sold separately) to keep your gear nice and tidy inside the bag. If you're like me, you'll find that the added padding and organization is a Godsend!
We Recommend
Must-Have Items for Your Camera Bag

Photo by GaudiLab via iStock
Let's face it...
There's about a million things you could put in your camera bag. But what are the things you must have in there?
There will undoubtedly be some arguments about what a "must-have" list should include. This list includes some of the usual suspects as well as a couple of items you might not have considered.
Having said that, let's get to the list!
First Things First...You Need a Good Camera Bag
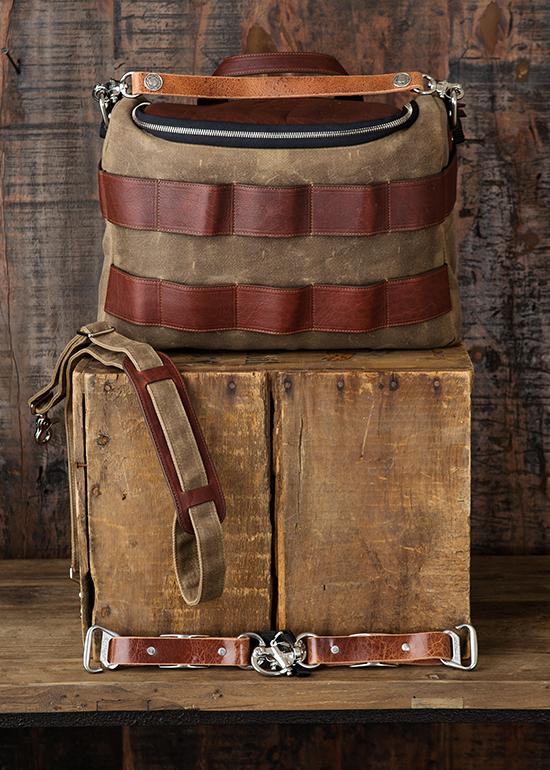
Before you begin investing in must-have camera accessories, you need something to carry them all in.
And while it might be tempting to go the bargain-basement route and pick up the cheapest bag you can find, trust me when I say that this is not a good idea.
Think of a quality camera bag as a long-term investment, something that you will get years and years of use out of. This cannot be said of cheap bags - they will fall apart much more quickly, and then you'll be back to square one and in need of a bag again.
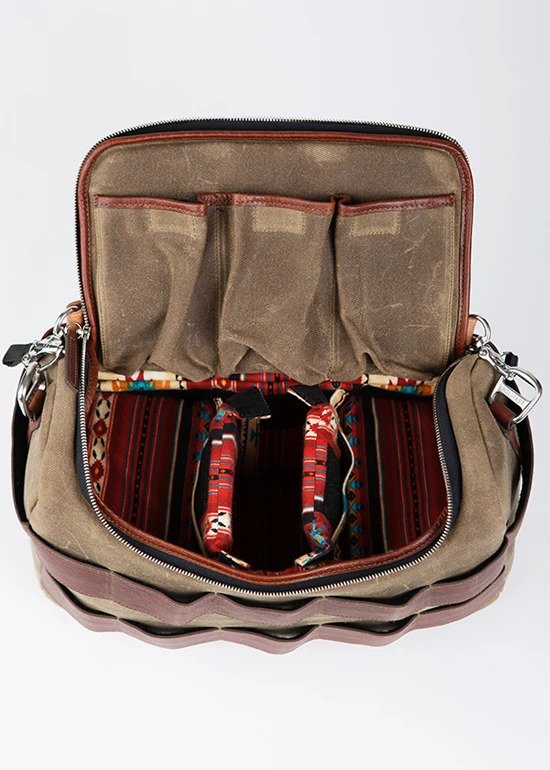
I've used Holdfast bags for years and years, and the quality and craftsmanship these guys put into these bags is second to none.
A great option I like to recommend is the Holdfast Sightseer.
This bag is a great size - not too big and not too small - and offers tons of features that make it a joy to use.
Not only is it a gorgeous bag that’s durable and made of high-quality materials like waxed canvas, American Bison leather, and Aztec flannel fleece, but it’s also a modular system that can expand as your collection of gear grows.
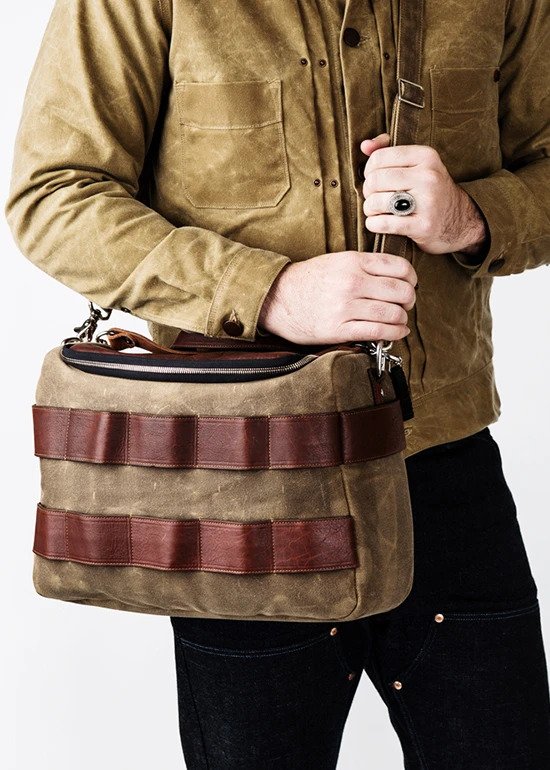
That means you can start out lean and mean with just the Sightseer bag by itself, and then add additional pockets and pouches as needed to protect small, medium, and large lenses. There’s even add-on pouches for small and large phones!
Better still, each lens pouch has a false bottom so you can carry your spare batteries, memory cards, or other odds and ends with ease. That means you can carry three pieces of gear inside the bag (i.e., your camera body and two lenses) and then add several more lenses or other accessories to the outside of the bag via the add-on modular pouches.
Take it from me - you’re better off in the end if you invest in a top-notch camera bag like the Holdfast Sightseer right from the start. Don’t fumble around with ineffective and poorly constructed bags. Get something that’s purpose-built for photographers that looks good and performs well too.
Essential Camera Gear: Weather Protection for Your Camera and Lens
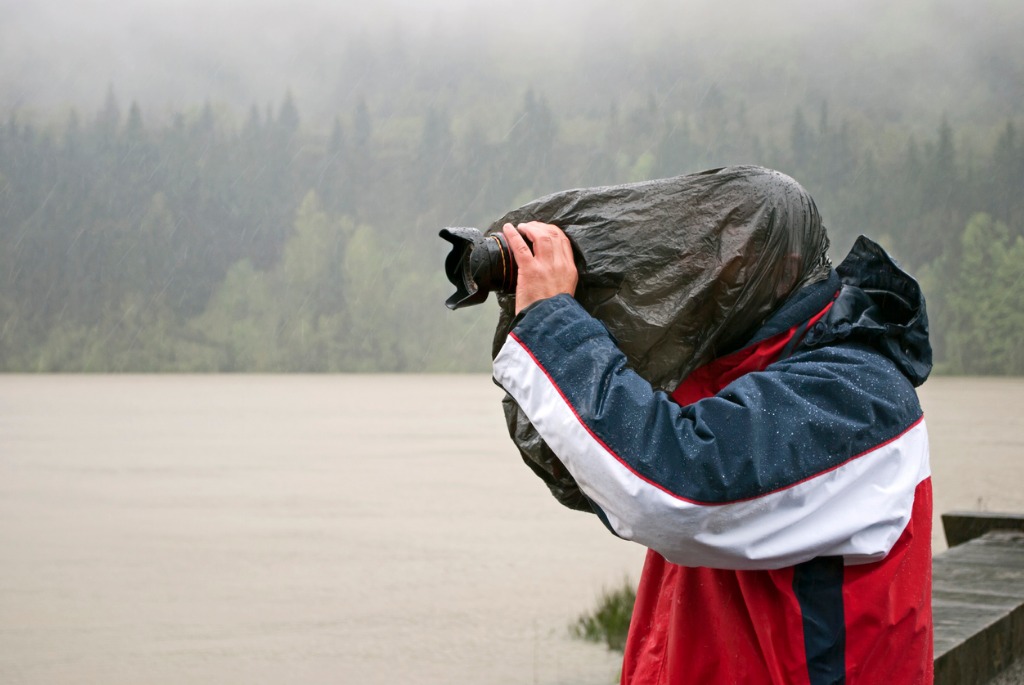
Photo by Josef Mohyla via iStock
I live in Southern California, so I don't have to be as concerned about rain as much as someone in Seattle or Portland.
But I like to travel, and when I do, I want to be sure I have the proper device for protecting my camera and lens from moisture. For that, the Camera Canopy is the way to go.
You've probably seen your fair share of photographers over the years with one of those plastic rain jackets (or a garbage bag) over their camera. And while they are pretty good at keeping the moisture out, they are not much fun to work with.
They obscure the viewfinder. They are often ill-fitting. You have no protection for the rear of the camera, either.
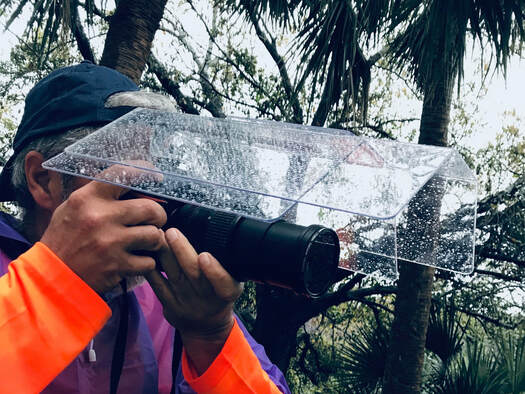
That's why Camera Canopy is such a great piece of gear to have in your bag.
These gadgets come in regular and mini sizes to accommodate both DSLRs and mirrorless bodies. The plastic shield extends long enough to cover a 500mm lens on the regular Camera Canopy, so you get protection no matter if you're shooting ultra-wide-angle photos or using your big telephoto lens.
Best of all, there's no fighting with a plastic bag to use your viewfinder or see the LCD. What's more, the shield hangs over the back of the camera so you can put your eye to the viewfinder and not get raindrops on your glasses!
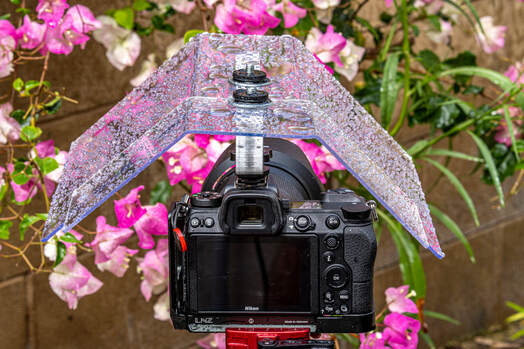
In addition to its functionality and customizability, what I appreciate about Camera Canopy is that it is made in the U.S.A.
Add to that a great price - $87.99 for the regular and $59.99 for the mini - and you have the makings of a useful, innovative item that deserves a spot in your camera bag.
Learn More:
- This Modular Camera Gear Will Change the Way You Work
- Cheap Camera Accessories You Need in Your Camera Bag
Photography Must-Haves: Camera Stability
There are certainly occasions when handholding your camera to take a shot is warranted. But there are also plenty of times when you need to have a tripod or tripod alternative to give your camera the support it needs. Long exposures are one such example.
Investing in a good, solid tripod will set you back a good chunk of change - probably over $100. And like a good camera bag, a good tripod is an investment for the long term. Spend as much money as you can to get a tripod that will last you for years to come.
But you also need something smaller and lightweight that you can stuff in your camera bag for quick trips. Octopad is a great option.

Octopad is essentially a weighted doughnut-shaped device that provides the support and stability your camera needs.
Since it's so small - it's 6.5-inches in diameter and weighs 1.6 pounds - you can easily throw it in your bag.
It has an anti-skid base so it'll stay right where you need it, and with an integrated 1/4-20-inch threaded bolt, you can use Octopad to support anything from your camera to a light to a phone mount.
The wide base prevents Octopad from tipping over, and since it doesn't rely on a suction cup, you don't have to worry about it suddenly coming detached.

The integrated high-force ball head gives you the security you demand for your camera or another accessory. And with a cable strap included, you don't have to worry about cords getting in your way or suffering damage.
Octopad also has a clip grommet so you can use a carabiner to attach it to the exterior of your bag for quick and easy use.
Best of all, this little guy is less than $30!
Photography Gear List: A Polarizing Filter
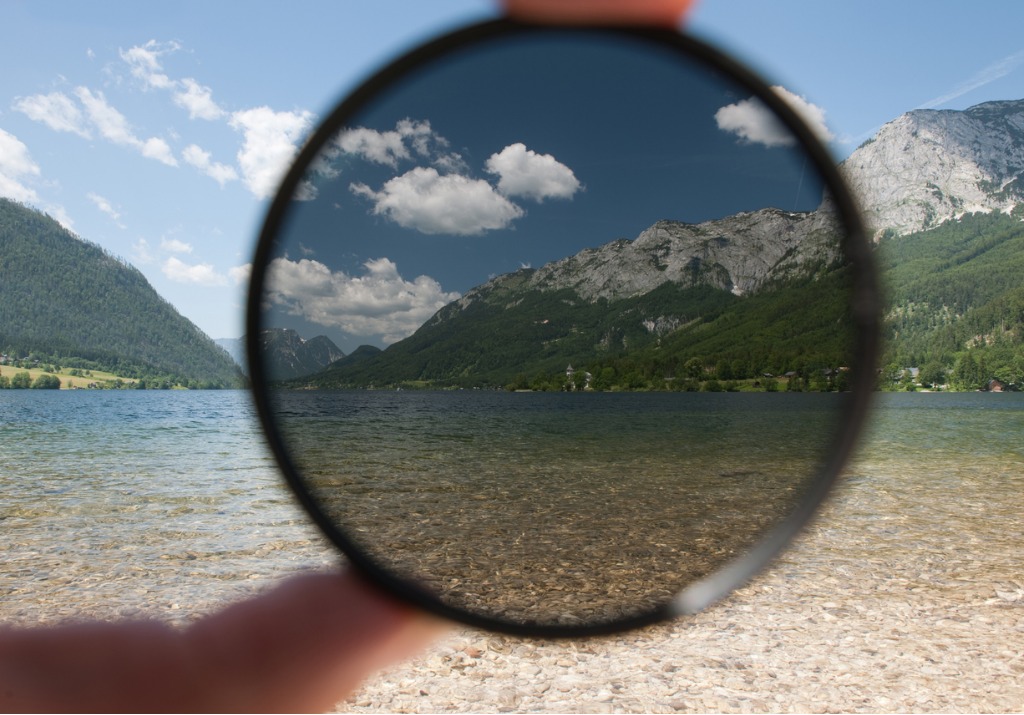
Photo by 4FR via iStock
If you're into landscape photography, you absolutely need to have a polarizing filter in your camera bag.
Polarizing filters help eliminate reflections off of non-metallic surfaces, like water. But their benefits don't stop there...
Polarizers also help boost the contrast in the sky. This gives your images a lot of impact with bright white clouds and a deep blue atmosphere.
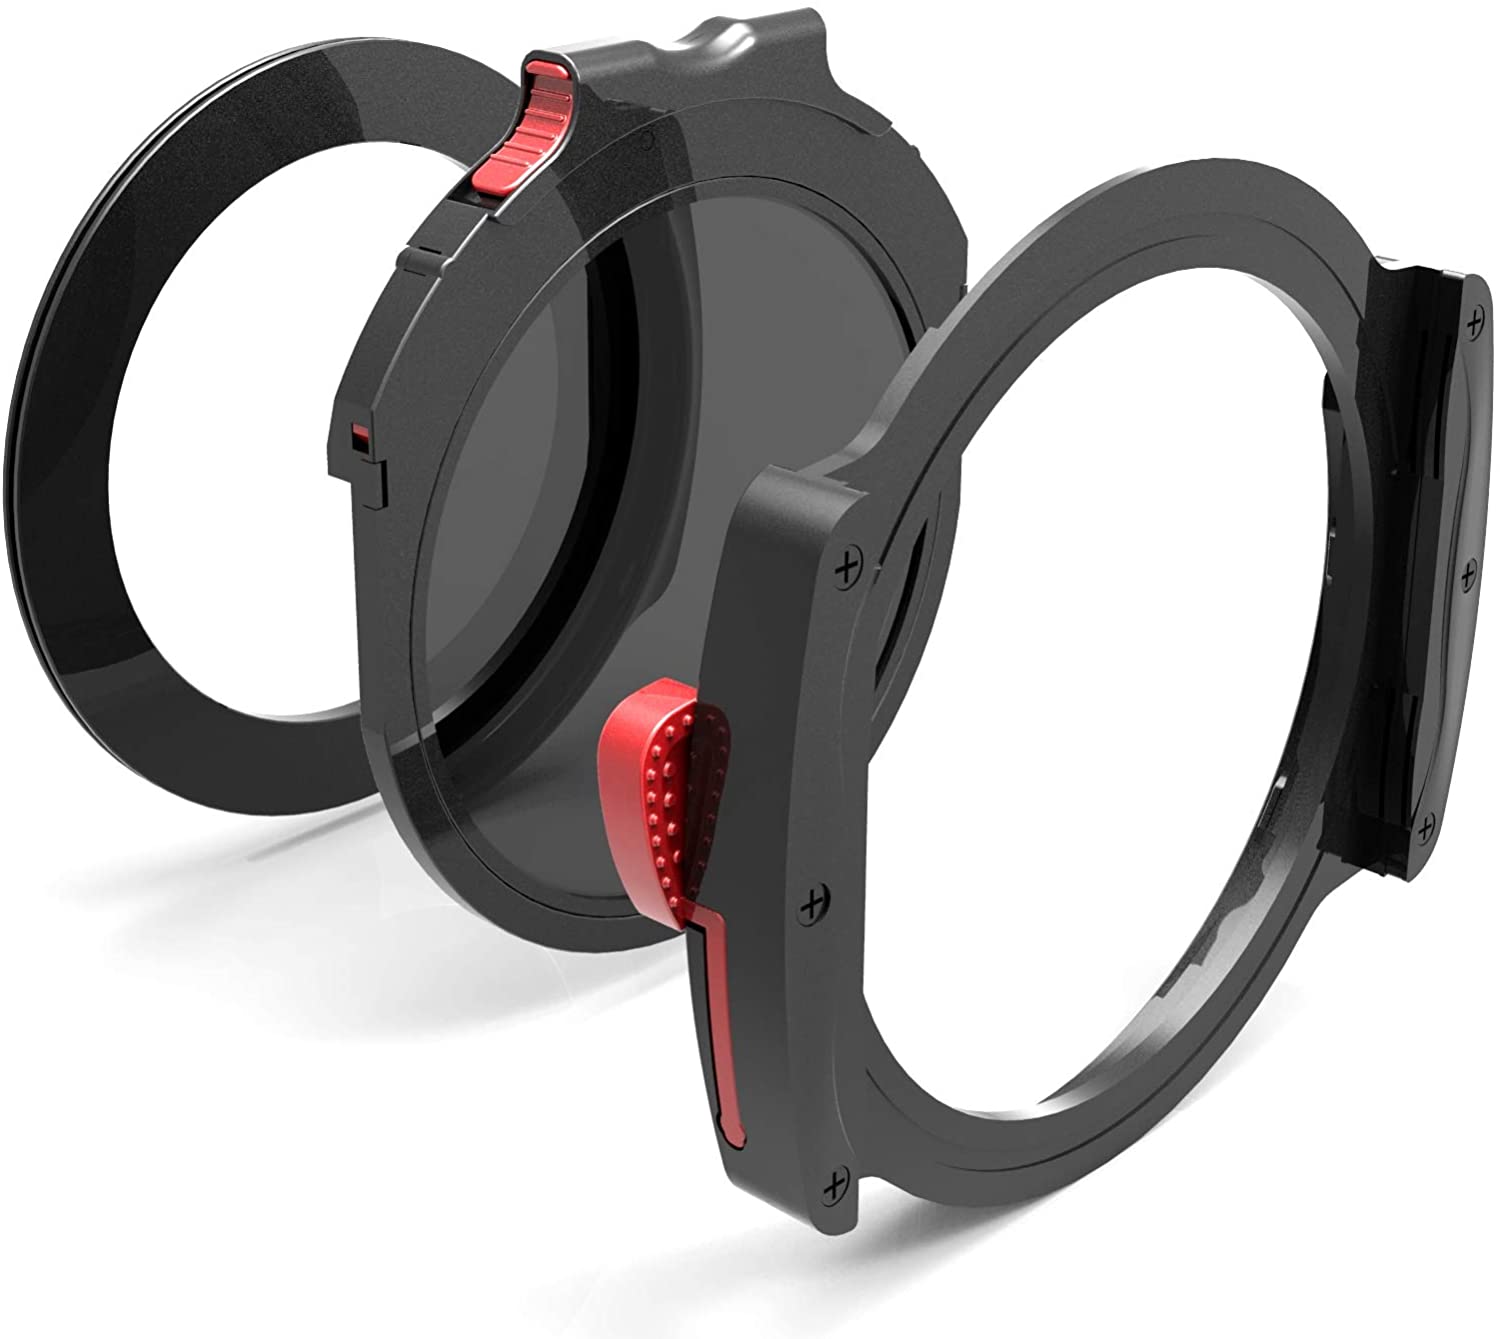
And if you've noticed that the distant features in your landscape images look a little hazy, a polarizer can help mitigate that, too.
But cutting down on atmospheric haze, a polarizing filter will give your landscapes a newfound clarity and increase the visual appeal of the image.
Like camera bags and tripods, you get what you pay for when you buy a polarizer. Cheap polarizers just cannot match the quality you get with high-end filters, like those from Haida.
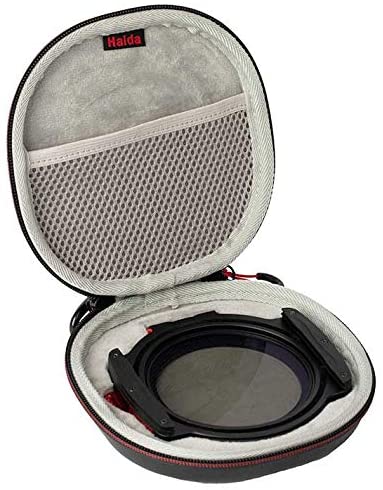
I've been using Haida filters for over a year now, and they have never disappointed me.
A great option for beginners is the Haida M10 filter holder kit.
This kit comes with a drop-in polarizing filter with an integrated seal while also giving you two 100mm filter slots for adding graduated neutral density or neutral density filters.
This particular kit also comes with a 77mm metal adapter ring and a padded storage case.
There are just too many benefits derived from using a polarizer to not have one in your bag. Pick up one today, and you'll immediately see a difference in your photos!
Learn More:
We Recommend
Must-Have Landscape Photography Accessories
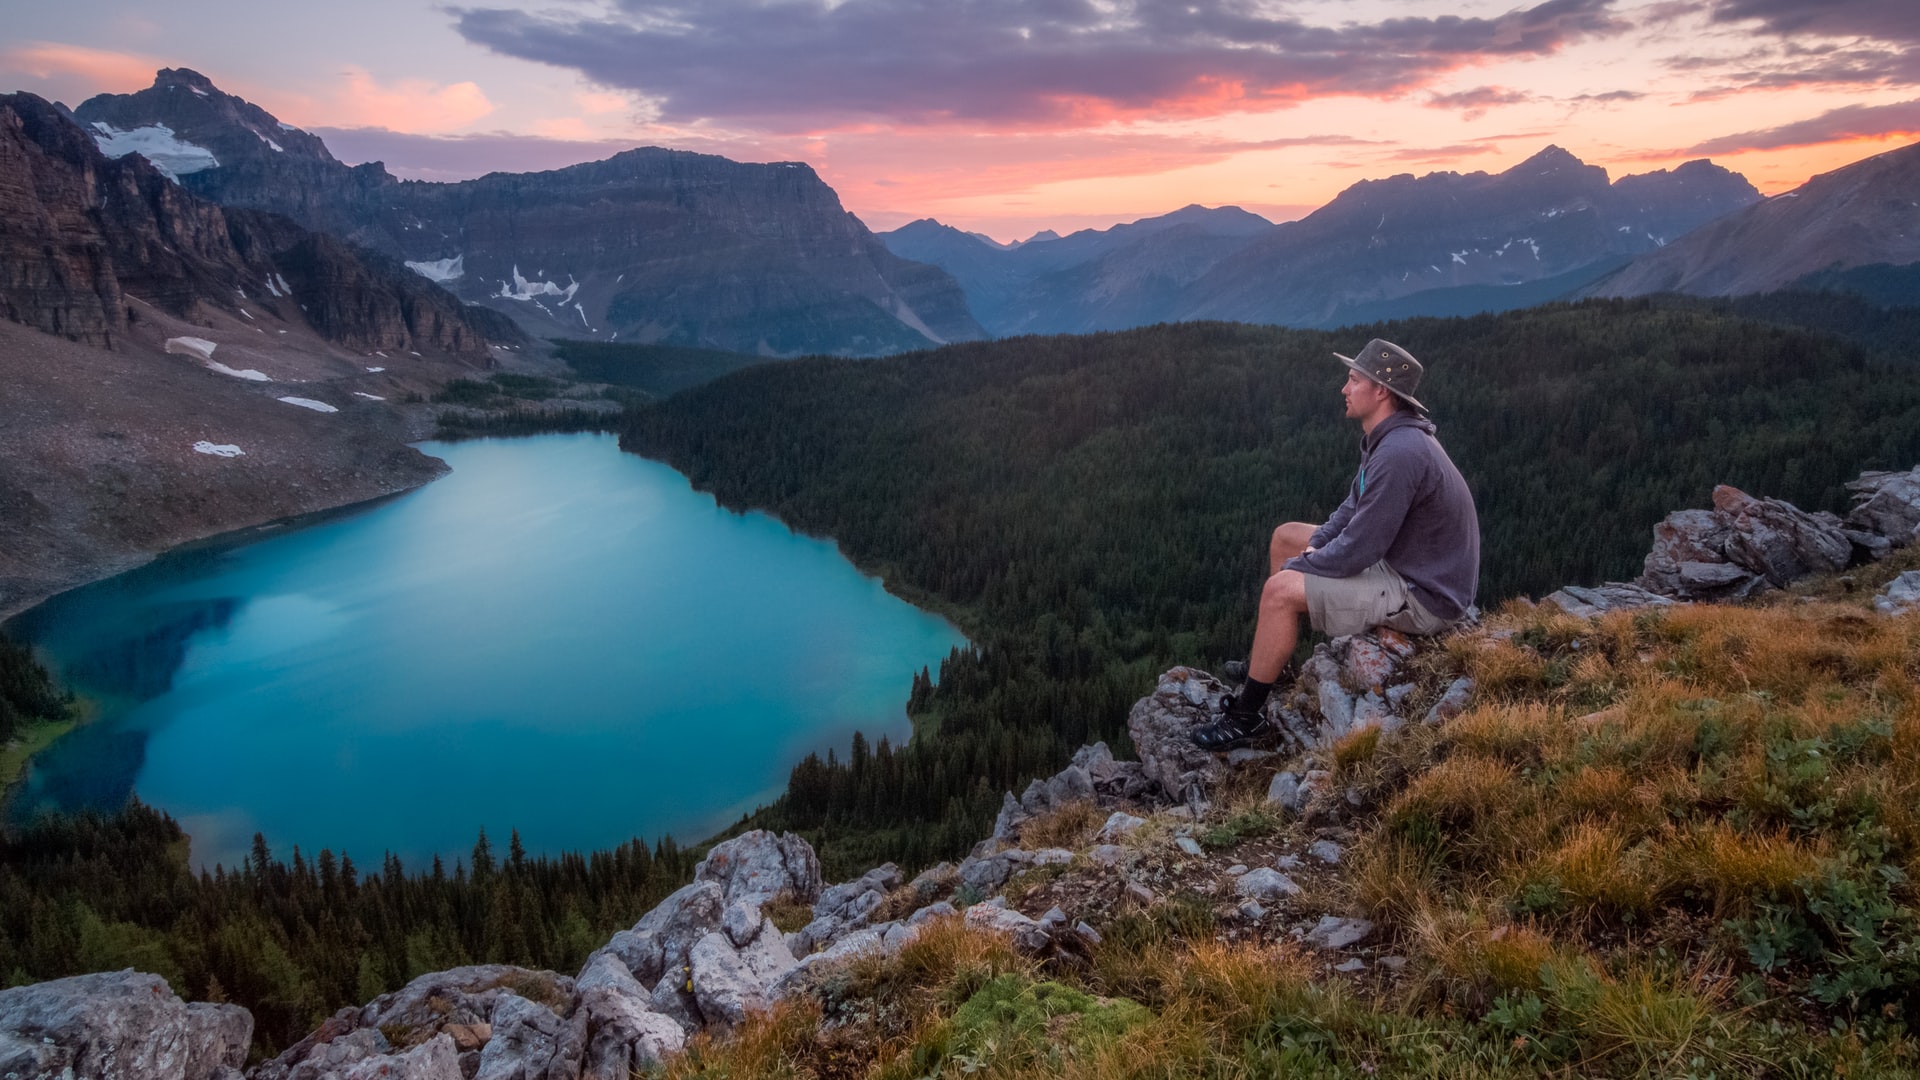
Photo by Kalen Emsley on Unsplash
Landscape photography accessories help make capturing beautiful images a little or a lot easier. Your skill level is what matters the most, then the quality of your main landscape photography gear, the camera and lens.
After those things, the other stuff adds to the ease of your landscape photography, or gives you a capability over your basic gear, or allows you to accomplish something special.
Camera and Lens
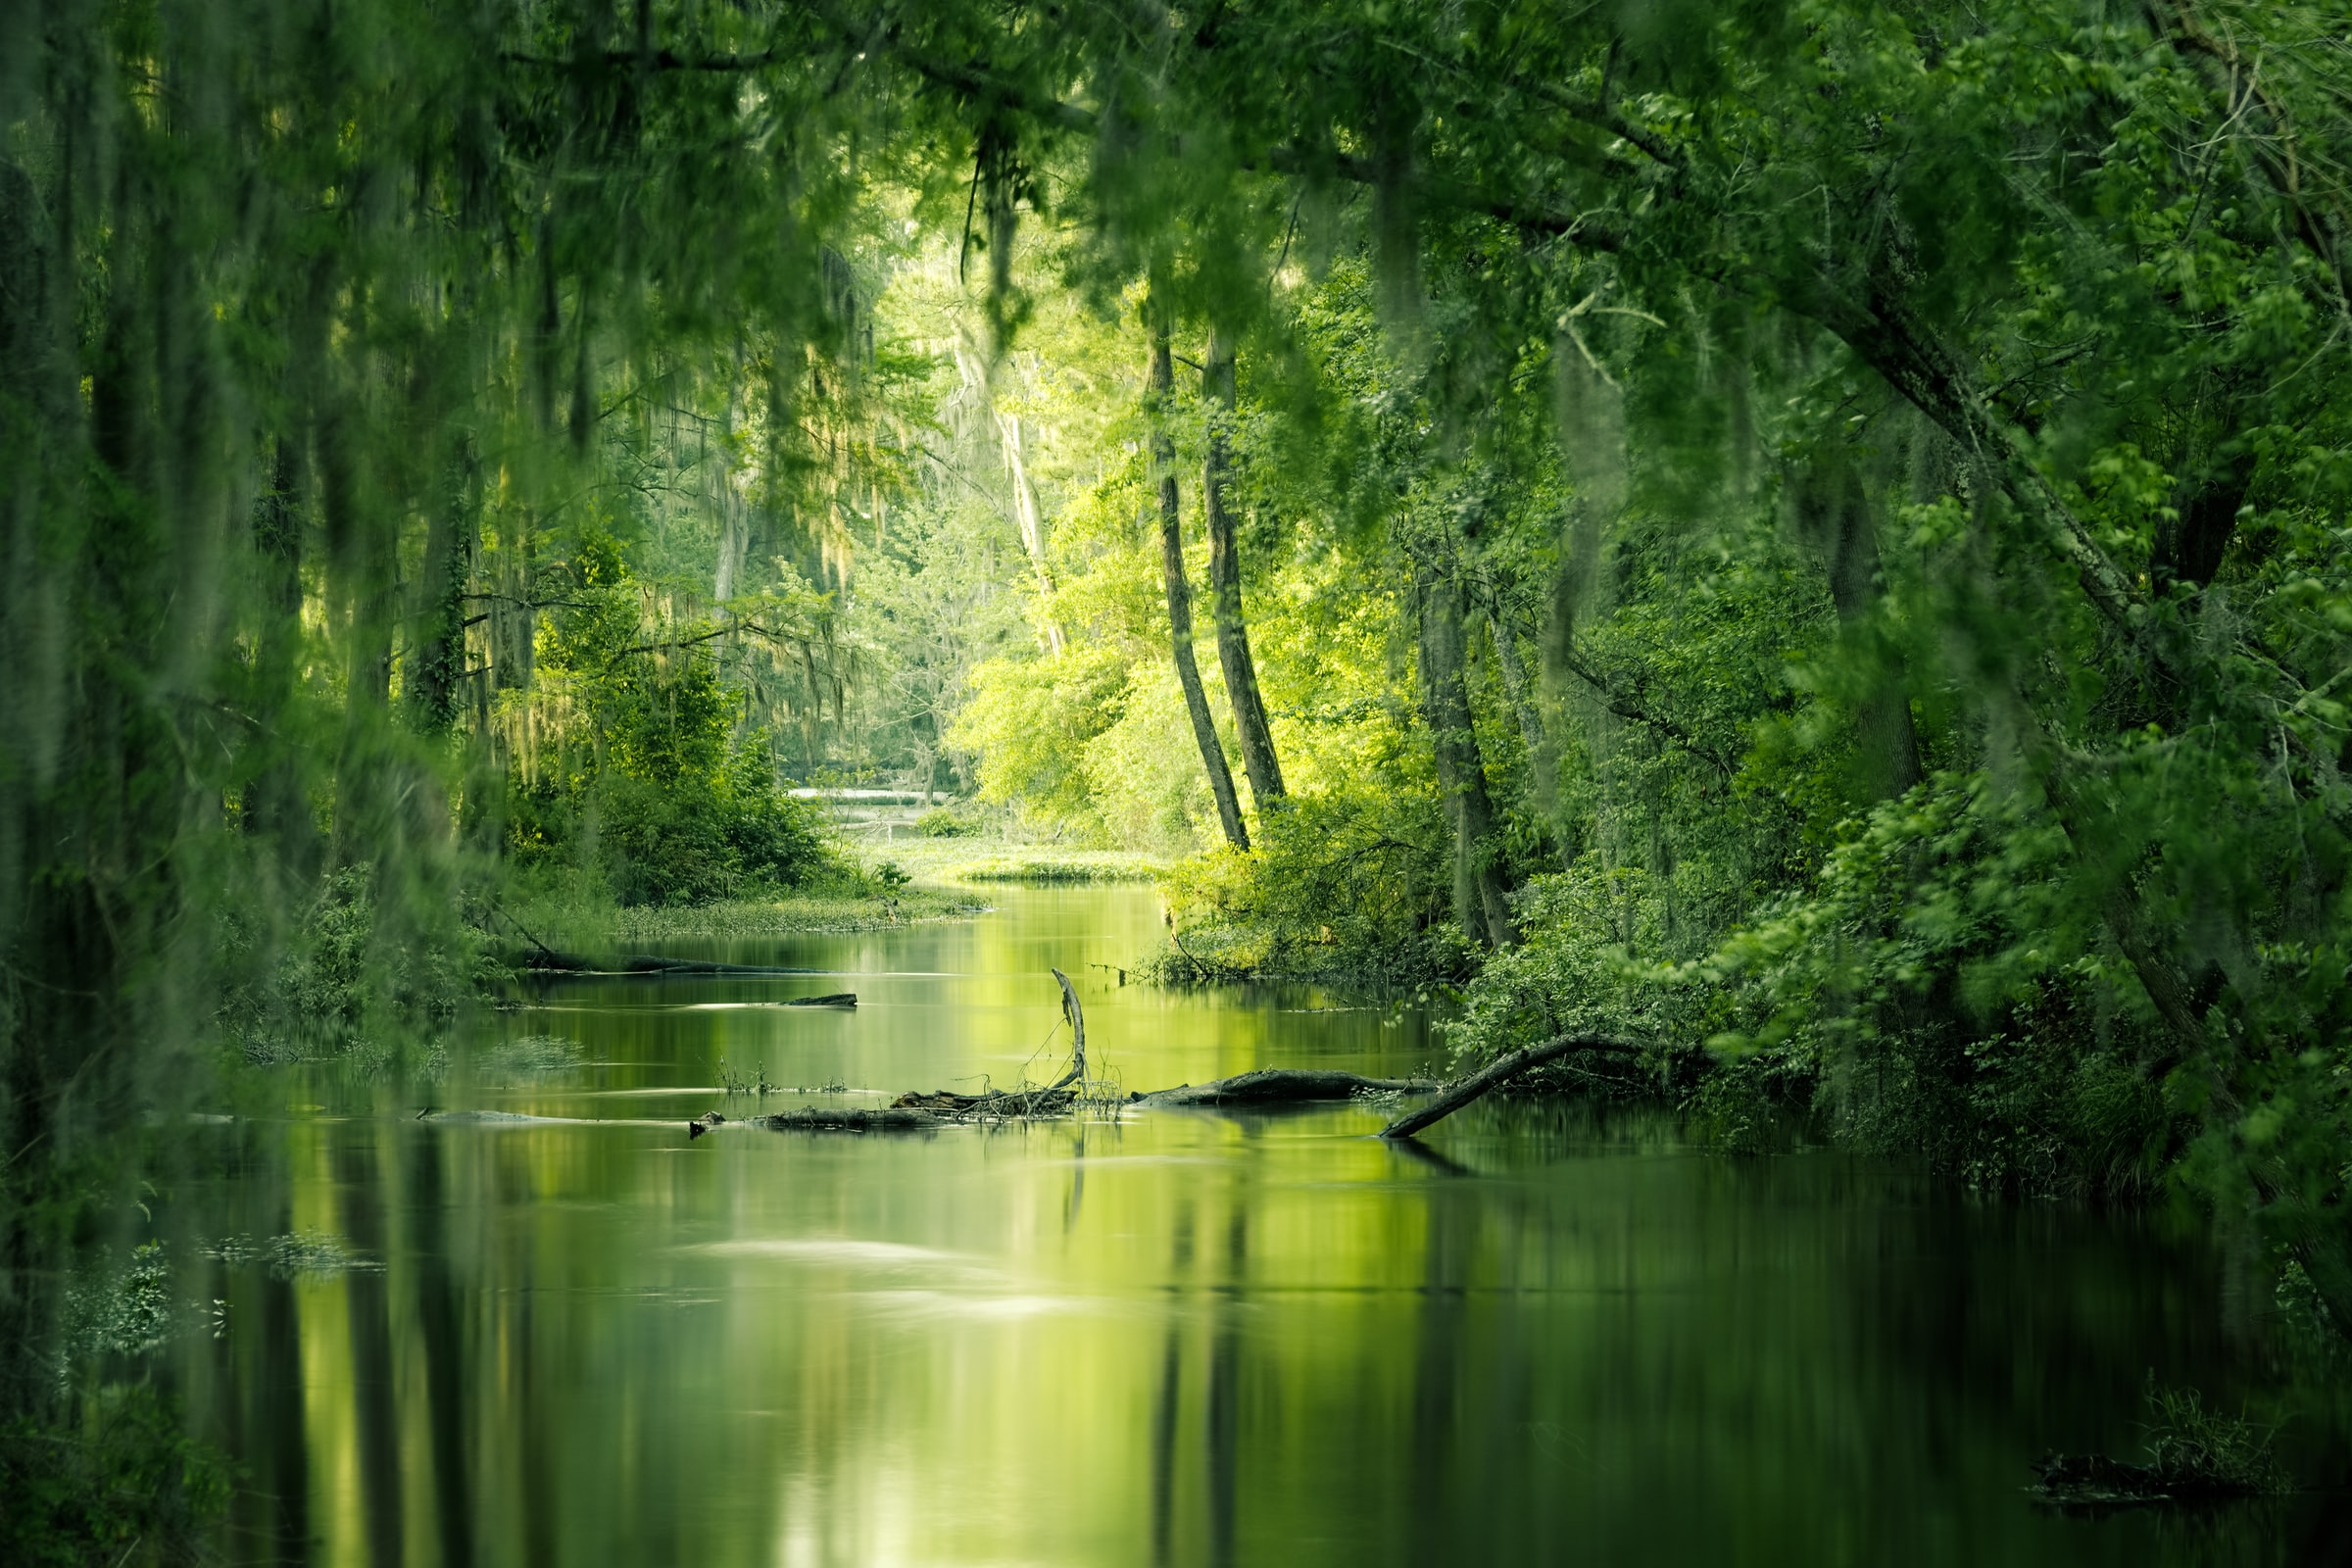
Photo by Nils Leonhardt on Unsplash
These two items are the core pieces of your landscape photography gear. Whatever you are currently using and comfortable with is a good choice. If you are near time for an upgrade, there are some qualities and features you should consider.
Entry-level cameras, like the Canon EOS Rebel SL3 are fantastic, and pro-level cameras, like the Nikon Z7, are amazingly complete tools, but there’s a level or two of cameras in between I like for outdoor and landscape photography. I’ll call them enthusiast and prosumer cameras.
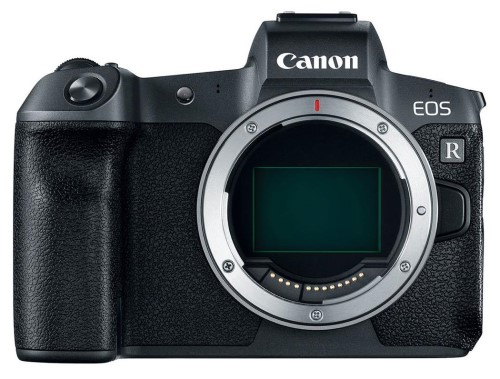
While being smaller, lighter, and less expensive than top-of-the-line pro models, these camera types add features, capabilities, and quality above the entry-level cameras. Two prime considerations are useful functions that are easy to access and more durable and rugged construction. Examples of enthusiast and prosumer cameras include the Nikon D5600, the Canon EOS R (shown above), and Sony a6400.
Along with that, the lenses that are a step up from kit lenses have the same considerations as the landscape photography camera choices. In the video above, I talk about three of my favorite landscape lenses. My choices are more expensive, pro-level lenses, but you can get a good idea of features and ideal focal lengths to look for that fit your budget.
After the camera and lens is chosen, I have three prime categories of landscape photography gear and several other landscape photography accessories I prefer.
Recommended Photography Reading
- National Geographic Photo Basics: The Ultimate Beginner's Guide to Great Photography
- Photography: The Definitive Visual History
- Read This if You Want to Take Great Photographs
You Need a Great Tripod
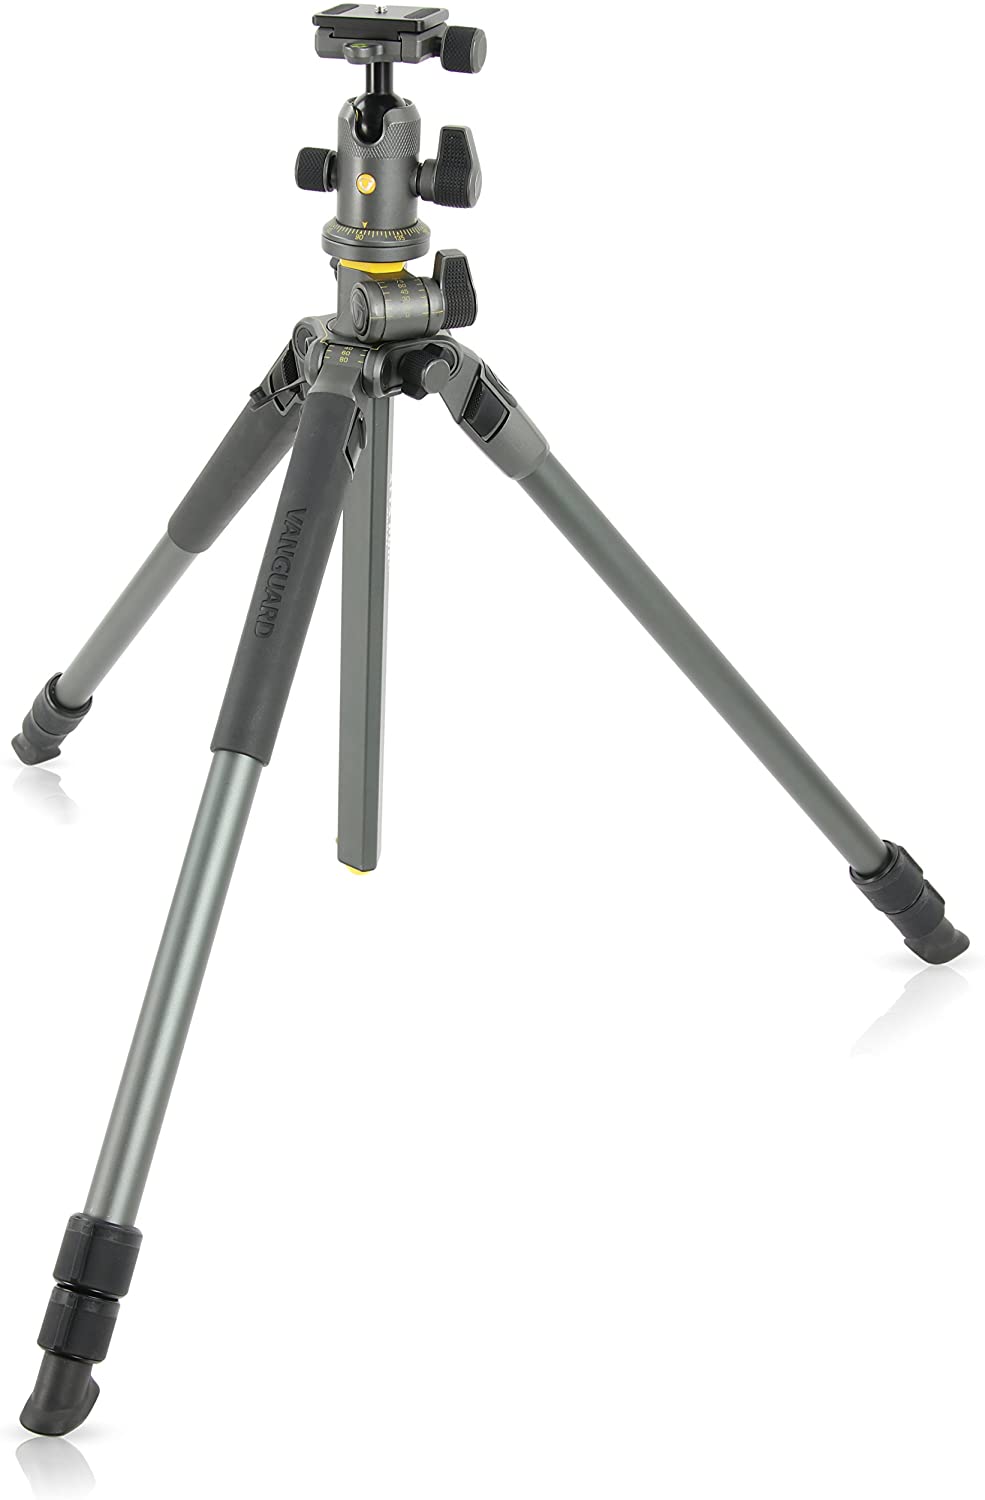
A great tripod is on my short list of must-have landscape photography accessories. In some photo situations, it’s absolutely vital to have one you can use with ease and that you can trust with your camera and lens.
My criteria for an outdoor use tripod are sturdiness, portability, and versatility. Sturdiness is listed first because if I’m going to go through the effort to have a tripod in my landscape photography gear, it better do the job I need it for.
Portability and versatility will make it easy to carry out into the field and give me some extra options. The Vanguard Alta Pro 2+ 263AB 100 aluminum tripod with Alta BH-100 ball head is one of the most versatile and study tripods in a moderate price range. Extremely sturdy, the multi angle center column is what really makes this tripod stand out as great landscape photography gear.
Along with a tripod, add in a remote release, wired or wireless. This will increase the stability of the camera on the tripod during the exposure since you won’t need to touch the camera to take the picture.
Learn More:
- Camera Bags For Every Kind Of Adventure
- Five Things You Need to Know About Tripods Before You Buy One
The Right Filters
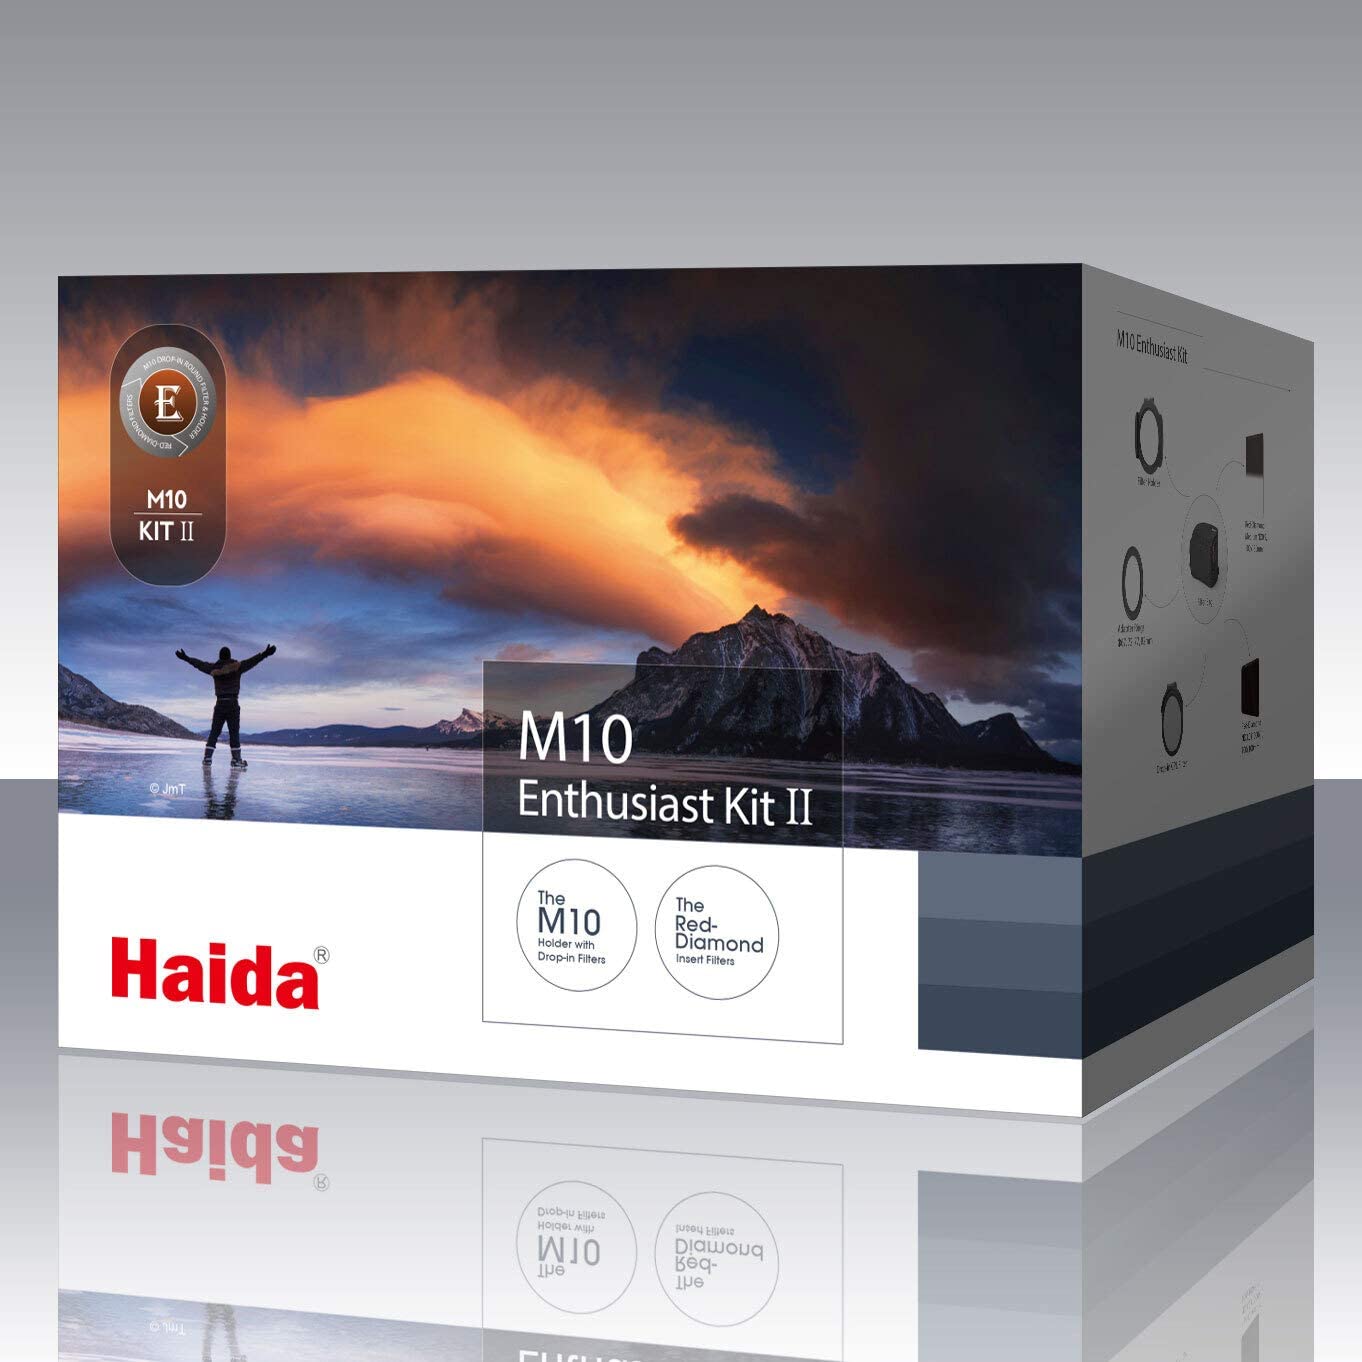
Three filters are in the prime category for must-have landscape photography filters. C-POL, ND, and GND.
Circular polarizer (C-POL) filters remove reflections, deepen colors, and adjust contrast for capturing outstanding landscape photography images. Neutral density (ND) and graduated neutral density (GND) filters give us the capacity to tame the extremes of exposure variables within our scenes.
A filter system such as the Haida M10 Enthusiast Filter Kit II has a filter holder and lens adapters plus the C-POL, ND, and GND filters most desired by landscape photographers.
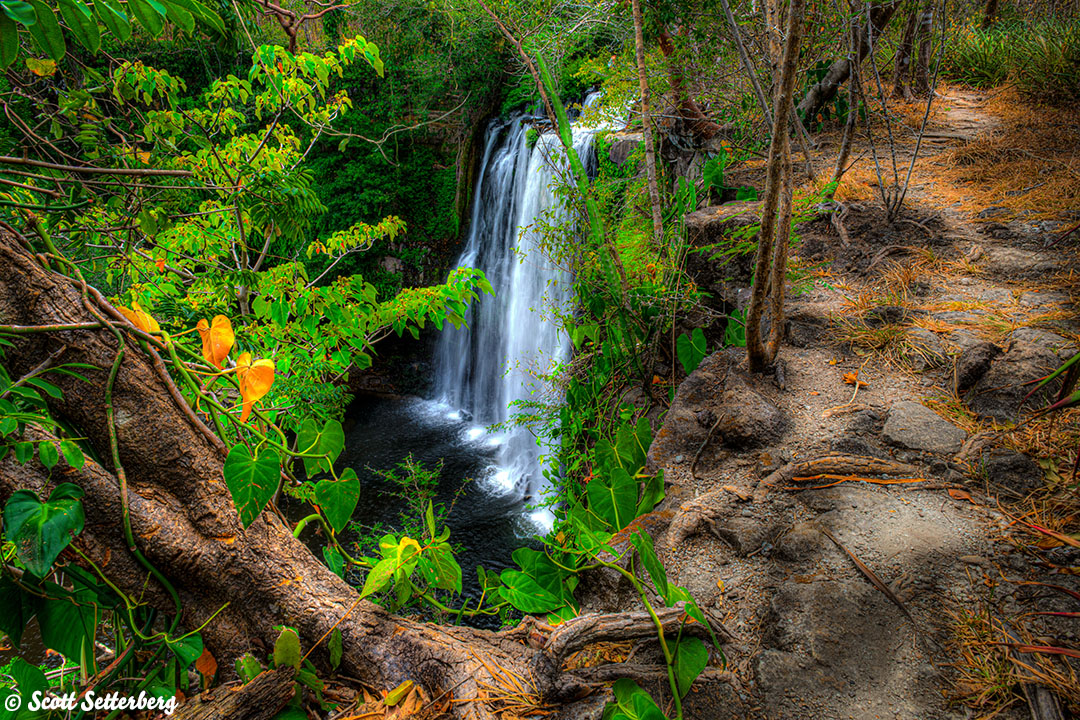
Editor's Tip: Having the right gear for landscape photography is just one part of becoming a better photographer. You also need to learn new skills, practice what you learn, and get feedback on the images you create. A great way to accomplish all of these tasks is on a photography tour! ColorTexturePhotoTours, led by Scott Setterberg, offers all-inclusive packages that put you in beautiful settings where you can develop your photography skills in a small-group setting. You get plenty of one-on-one time with Scott, opportunities to share your photos and get feedback from the group, and enjoy beautiful accommodations, fine food, massage therapy, and many other amenities. Visit ColorTexturePhotoTours today to see what your next photography adventure will look like!
A Protective and Efficient Bag
The outdoors can be rough on a camera. Just look at what it does to your shoes! The best landscape photography camera bag will combine rugged protection for your landscape photography gear with making it easy to get at your camera when you’re ready to take a photo.
One of my favorite bags for carrying my cameras, lenses, and the rest of my landscape photography accessories is the Blastwall™ sling pack camera bag from Hazard 4®, manufacturer of extreme use tactical gear.
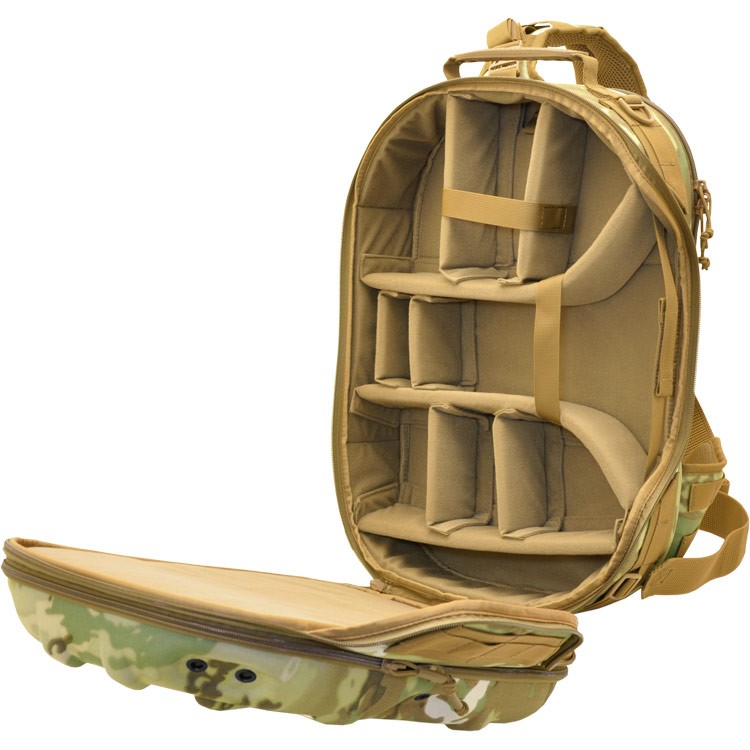
It is a sling pack design, comfortable to carry and convenient to access as needed. Lightweight shell construction and convertible pads for gear protection with Hardpoint® hardware and also strap rests for attaching tie-downs, straps for a tripod, and other extra items. It’s made so that nothing blows in the wind during extreme weather or riding on a motorbike or ATV.
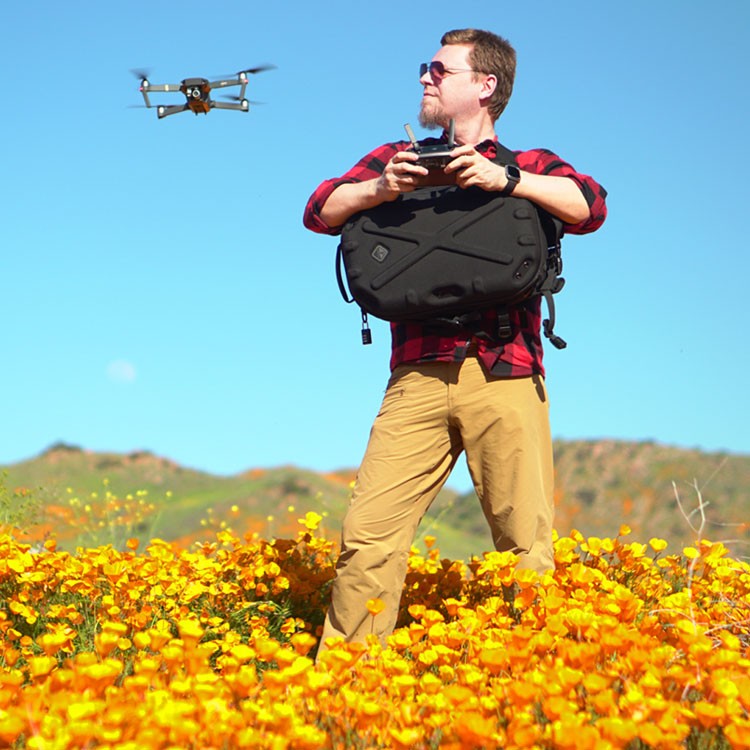
The Blastwall™ features multiple MOLLE webbing on the sides and main strap along with a patented roto-locking buckle keeps the sling pack secure. Heavy duty construction features YKK zippers, real Cordura® 1000D nylon or 600D Polyester and reinforcing stitch patterns for added durability. There’s even space for a laptop computer or a water bladder for hiking refreshment.
It’s one of the best extreme use outdoors and landscape photography camera bags to protect your camera gear and give you rapid access.
The next few items either solve specific problems or make landscape photography more convenient and pleasurable.
Bubble Level
Some cameras have this as a built in function, for others you will need an external level. Especially when using ultra wide lenses or attempting a limited panorama, keeping the camera level will avoid odd and uncomfortable viewer apparent perspectives.
If your camera has this function, find out how to turn it on. It may be buried in a deep menu tree. If not, or if you prefer an external visual aid, a hot shoe mounted bubble level like the ChromLives Hot Shoe Bubble Level multi pack is very useful.
It has two different styles of bubble or spirit levels for adjusting your camera with a wide lens while on a tripod. It’s cheap as pocket change and you can keep one in your pocket, making it a must-have landscape photography accessories choice.
Extra Batteries or a Battery Pack
photo by Alexthq via iStock
Some photographers prefer to carry extra charged up batteries in their camera bag, while others like having a camera mounted battery pack with extra batteries in that. Either way, the intent is to make certain you don’t run out of battery power before your photo trek is over.
Because if you run out of power, your photo trek IS over. Which is why extra batteries are must-have landscape photography accessories.
Extra Memory Cards
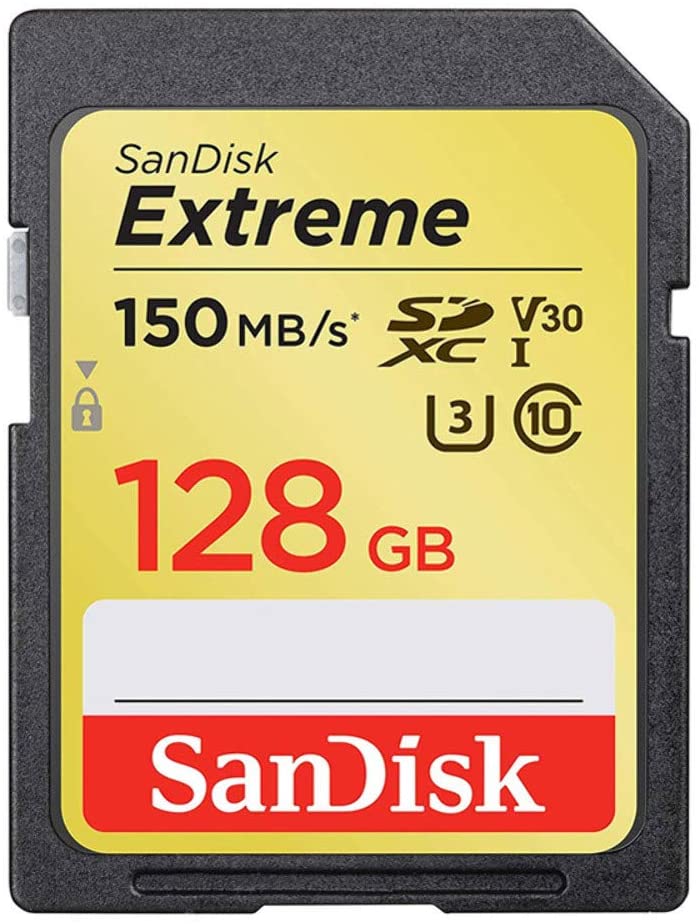
Same reasoning as with batteries, once you’re out of a place to keep your images, you’re done. This is the equivalent of running out of film.
Most of the enthusiast and prosumer cameras use SD cards. Options are a couple of high capacity cards, or several smaller cards. Either way, extra memory cards are must-have landscape photography accessories.
What’s In Your Bag?

Photo by Avi Richards on Unsplash
The landscape photographer has a great job. Outdoors, taking pictures. What could be better? These landscape photography accessories can make that endeavor easier, more productive and more fun. Let me know what’s in your bag.
Learn More:
We Recommend
ND Filters for Beginners
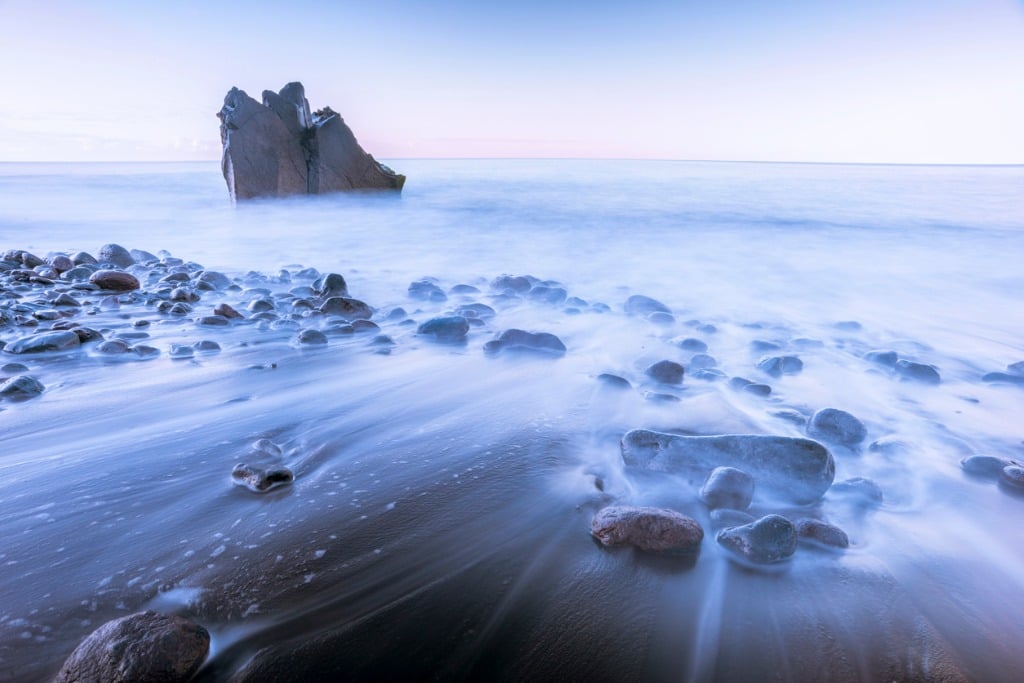
photo byyuriz via iStock
Neutral density filters (ND filters) are some of the most useful optical accessories for photographers. ND filters for landscape photography can be used for a wide variety of effects and techniques. Introducing ND filters for beginners will open up new ideas for creating beautiful images.
As a beginner’s guide to ND filters for photography we will examine what are ND filters, how do ND filters work, and include a brief ND filter buying guide.
We will also look at some of the best ways to use ND filters for landscape photography and the types of situations and images you can use them for making outstanding images.
What Are ND Filters
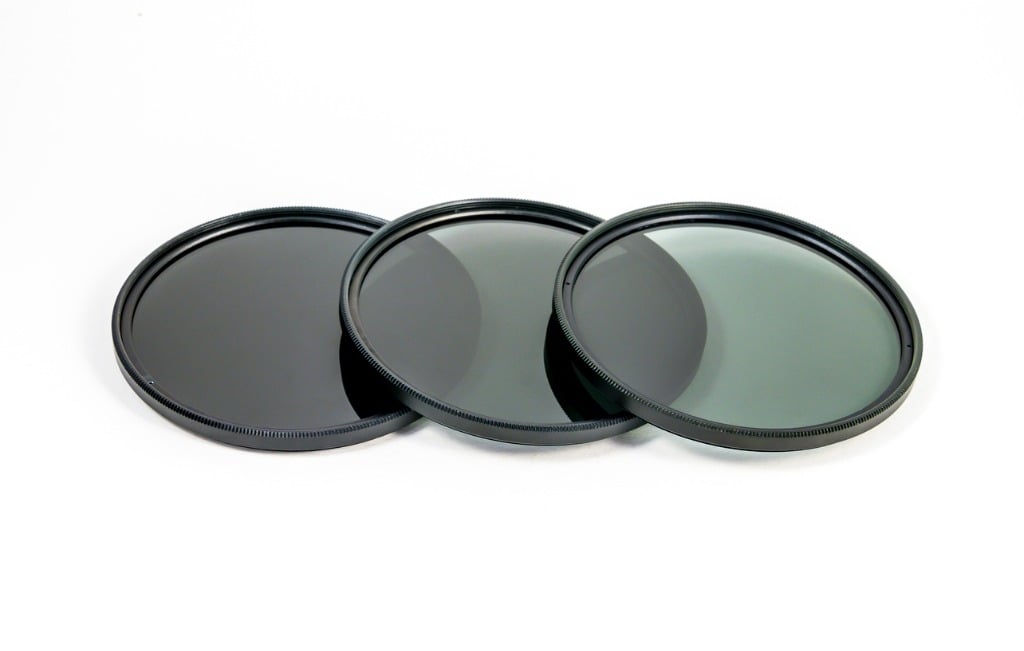
photo byJoecho-16 via iStock
ND filters are optical glass that go in front of the lens (or sometimes behind the lens) and add a colorless density to the light path. In other words, the glass is attenuating the light path without adding any color tint.
So the words neutral and density refer to adding density to the optical path of light with no hint of color, neutral and density. In photographer talk, we tend to refer to them as ND filters as a form of verbal shorthand.
ND filters can be single filters in a screw in mount like a protective UV filter or in large squares or rectangles that fit into a filter holder which can fit a variety of different lens sizes. One other style of ND filters are the specialty rear filter mounts for ultra wide angle lenses that have extremely curved front lens elements that preclude adding filters to the front of the lens.
Here is an example of a screw in lens filter that attaches directly to a lens.
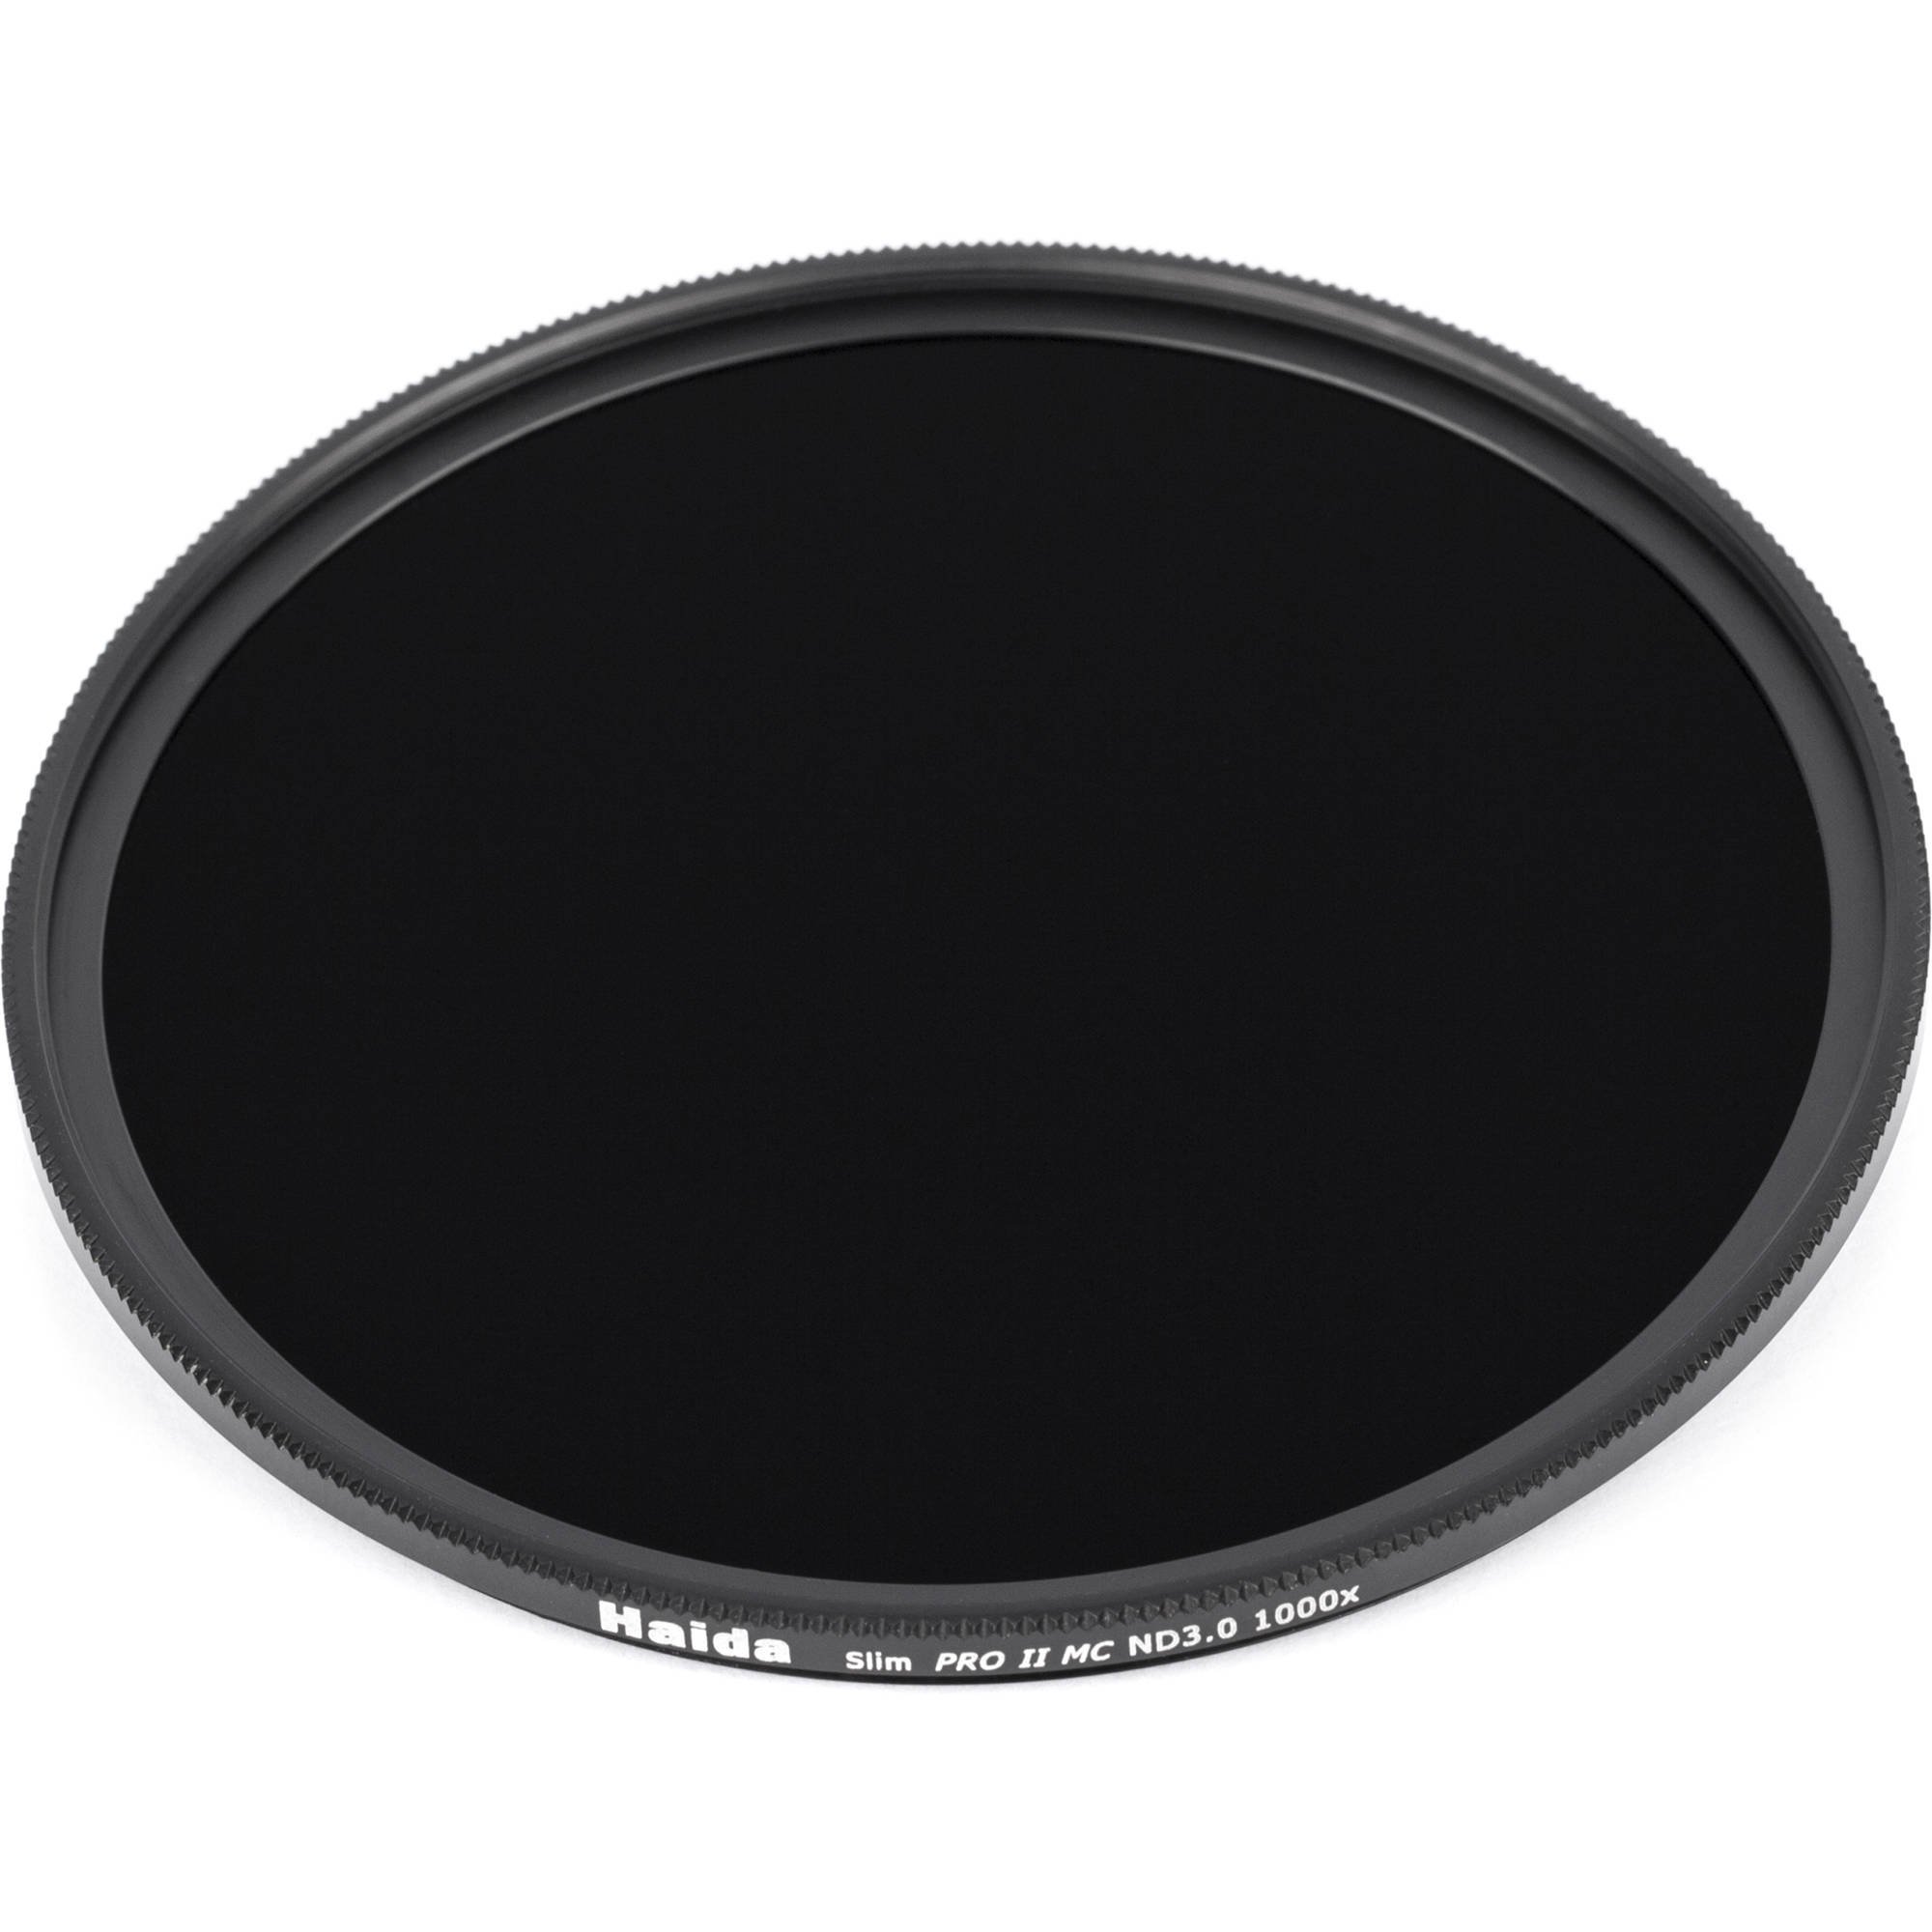
This is the Haida Slim Pro II 10 stop ND 3.0 ND filter in 72mm size such as you might use on a Nikkor Z 24-70mm f/4.0 S lens for the Nikon Z 5 Full Frame mirrorless camera.
How Do ND Filters Work
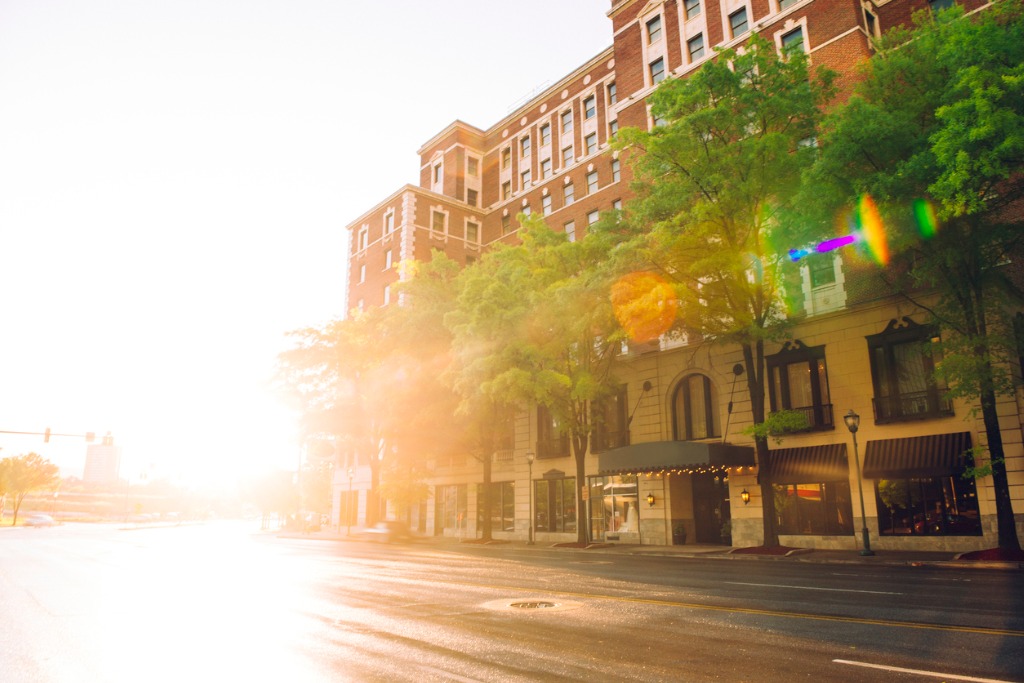
photo byLorraine Boogich via iStock
Part of learning ND filters for beginners is knowing what the numbers mean. While we are thinking of the stops of exposure, such as 3 stops, 6 stops, or 10 stops, the filters will be marked with numbers labeling optical density that correspond to a logarithmic scale (like many equations in photography).
For instance, the numbers ND 0.3, ND 0.6, and ND 3.0 equal 1 stop, 2 stops, and 10 stops of density. As you get deeper into creative photography, you learn how photographic artists use the science and math of optics and light to accurately predict how making changes to any part of the photographic exposure methods will affect the final image.
Thankfully we don’t have to constantly be consciously thinking of math and science as we go through our photographic techniques and methods. For one, the equations are intuitive, predictable, and understandable. Secondly, much of the math is done for us with basic camera settings and with the amazing automatic systems in our cameras.
ND Filters for Landscape Photography
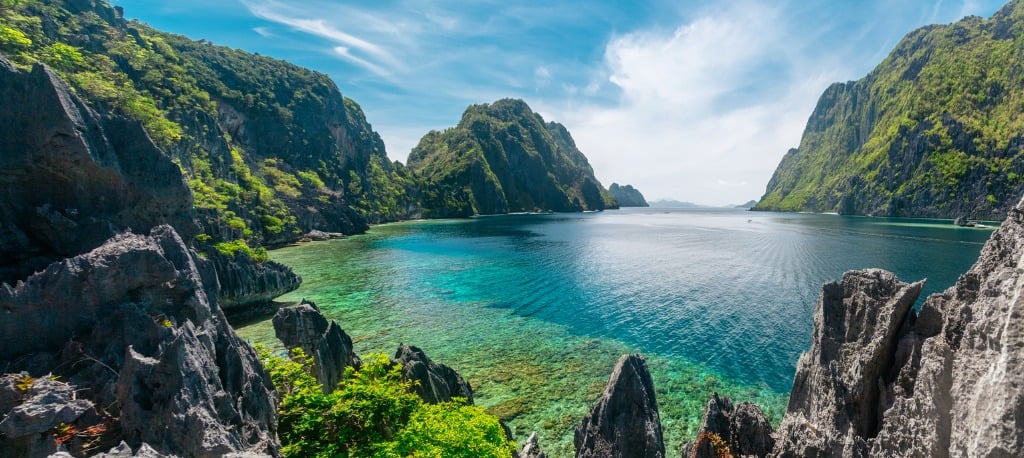
photo bydanilovi via iStock
Besides the variations of density in ND filters, the construction of them also has differences for how we want to use ND filters in our photography. For landscape photography, graduated neutral density (GND) filters are a useful type.
GND filters have neutral density on one side of the filter, no density on the other, and a transition area in between. The transition area may be very gradual (soft-edge) or rather small and quick (hard-edge). Both are useful for several types of scene lighting scenarios.

Here is an example of a soft edge, gradual transition GND filter that filters into a filter holder system.
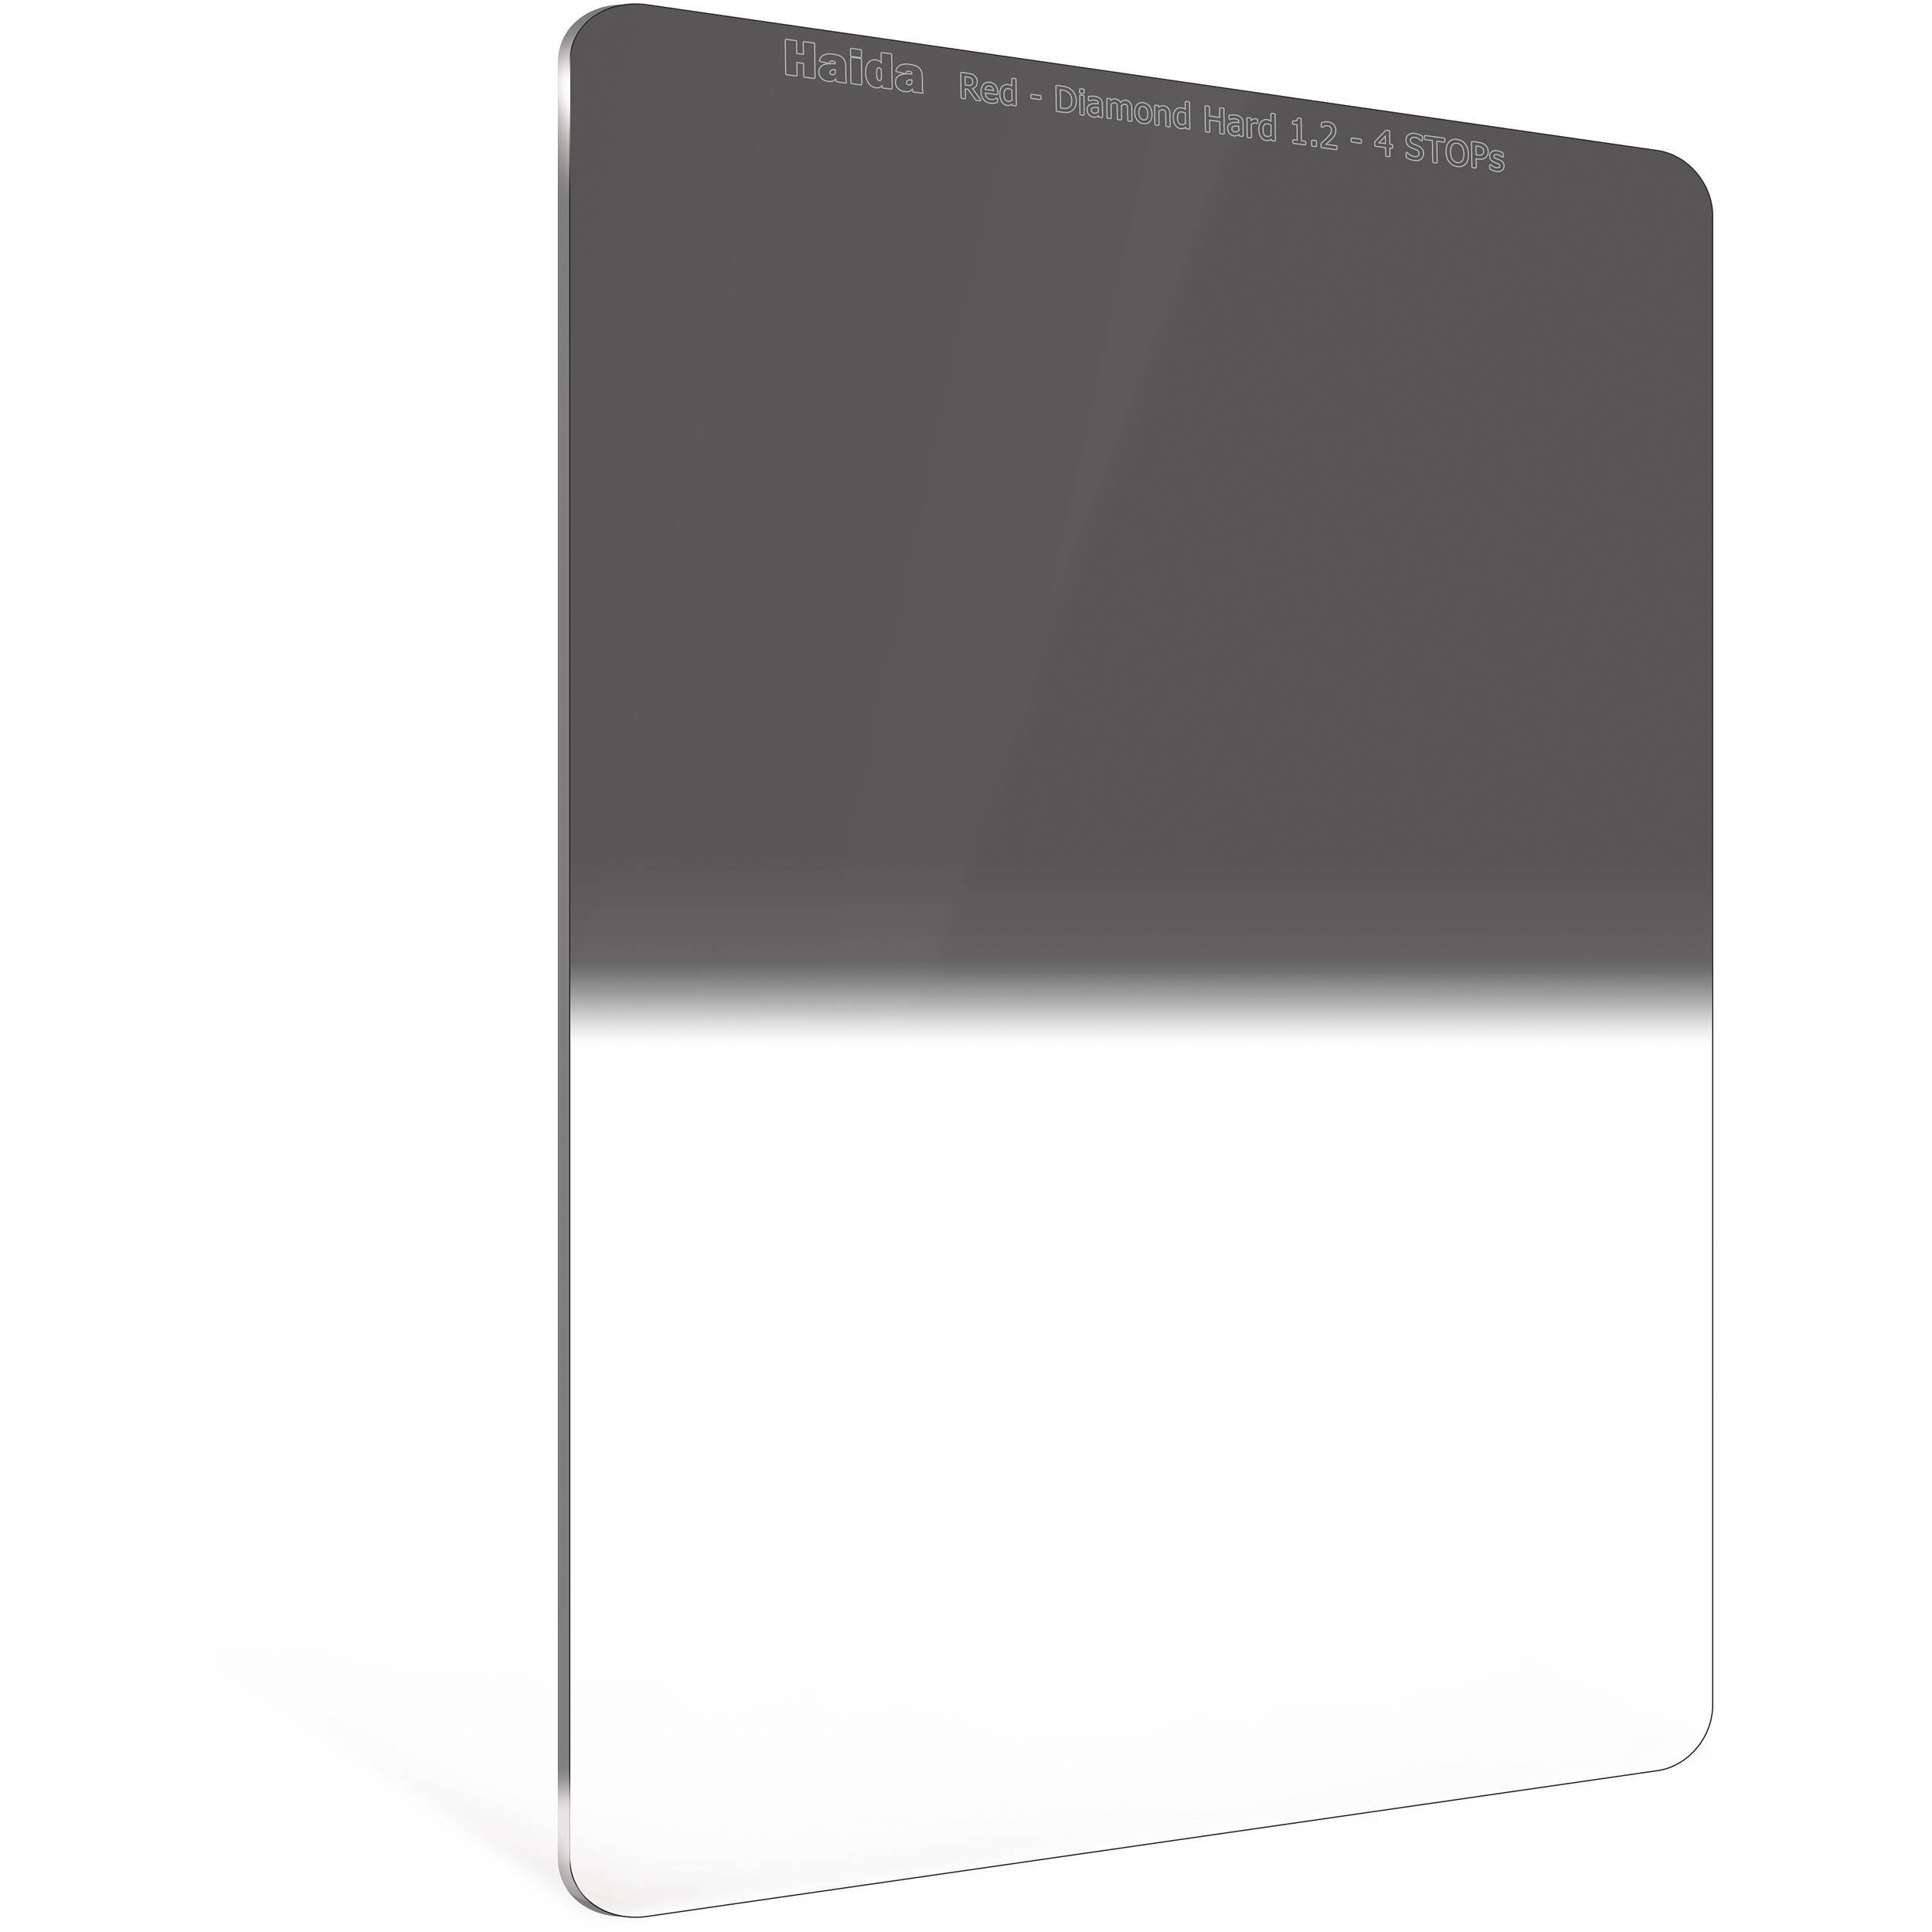
This is what a hard edge, quick transition GND filter looks like. It is also the style that fits into a filter holder system.
By filter holder system, we’re referring to a holder for multiple filters that can be adopted to several different lens sizes and can hold multiple filters at the same time.
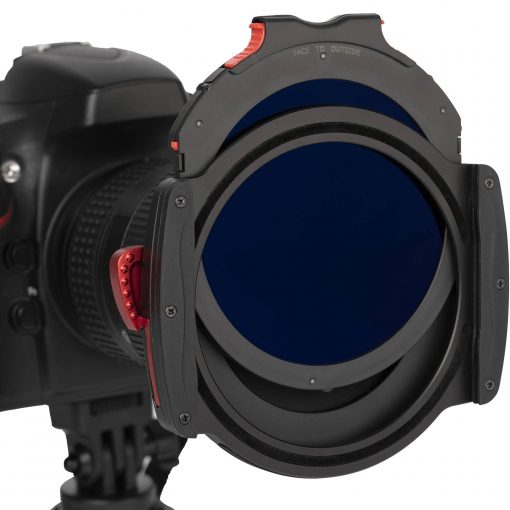
Pictured above is the Haida M10 Pro 100mm filter system with a circular polarizer included. A circular polarizer (C-POL) is another of the most useful lens filters for use in landscape photography. It adds its own ND filter light attenuation but also helps tame reflections and increase color saturation.
A filter holder system allows you to use these two fantastic filters at the same time. A landscape photography situation that is fairly common, sunset or sunrise over water, is a perfect example of gaining benefit from mounting a C-POL and a GND filter together.
Learn More:
- What To Look For In a Monopod
- Camera Gear Upgrades With a Lot of Bang for the Buck
- The True Value of a Good Tripod
Using ND Filters for Beginners
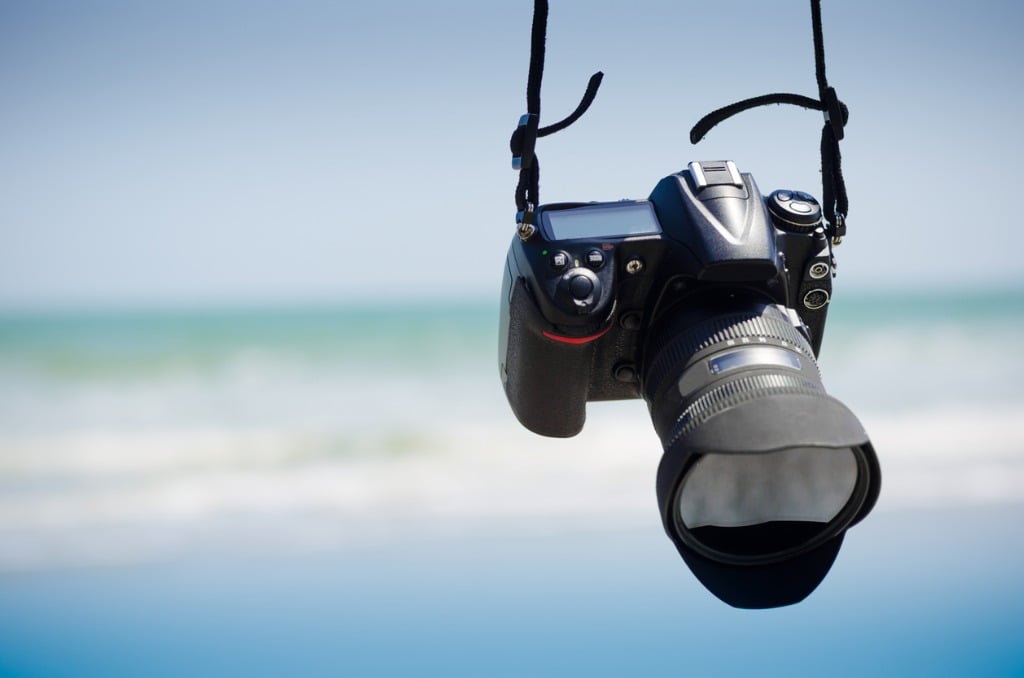
photo byprimeimages via iStock
So why do photographers use ND filters? There are several good reasons to use C-POL filters, GND filters, and ND filters for landscape photography. Changing exposure, taming dynamic range issues, and creating long exposure images are a few of the reasons to use ND filters.
Changing Exposure

photo byGu Studio via iStock
The Exposure Triangle tells us that ISO, shutter speeds, and lens apertures or f-stops are intertwined together in creating correct exposure for any given scene lighting values.
So, a scene’s lighting value may result in a combination of 1/500th of a second at f/16 with the ISO set at 400. You might recognize this as a great exposure calculation adaptation of the Sunny 16 Rule on a bright sunny day.
But what if you wanted to use a wider aperture to limit depth of field? Well, you could shorten the shutter speed to 1/8000th of a second which gives you f/4.0 for the lens aperture. And that’s pretty good, but what if the f-stop still gives you too much depth and you really want a very limited selective focus?
You could open up the lens aperture to f/2.0 but you’ve run out of shorter shutter speeds now, so the photo will end up overexposed. In order to achieve the wider lens aperture, you need to attenuate the light with a 2 stop or ND 0.3 filter. This adds enough density to let you change the exposure that extra bit without over exposing.
Taming Dynamic Range Issues
photo byExplora_2005 via iStock
Dynamic range in a photographic scene means how great is the difference from the darkest part of the scene to the brightest. The range of lighting in many scenes can be accurately captured by the digital sensor in our camera.
But sometimes the brightness level range exceeds what our sensor can cause. When this happens, we get little or no detail in either the highlights, or bright spots, or in the shadows, the darker parts.
In this situation, we use GND filters to add density to one part of the scene which balances the entire scene’s dynamic range of brightness to a level that our sensor can handle. This lets us capture detail in bright clouds as well as the darker part of our image such as the foliage in the foreground.
Sunsets and sunrises are probably the common uses for using graduated ND filters for beginners. There are many other situations that can benefit from GND filters, such as architectural photography, beach scenes, and mixed lighting indoors.
The filter holder systems make positioning the filter’s transition area an easy endeavor since we can rotate the filter and move it around inside the image area.
Creating Long Exposure Images
photo bykonradlew via iStock
Some of the most captivating landscape images involve moving water such as waves against a shore, a running stream, or a majestic waterfall. In order to get the longer shutter speeds necessary to blur the motion enough, we need a pretty long shutter speed or exposure time.
With ND filters, we can add enough exposure time, from about 2 stops, which quadruples the time, to 10 stops. If we adjust the ISO and close down the lens aperture along with adding a 10 stop ND filter, we can get shutter speeds measured in full seconds, maybe even minutes, instead of the tiny fractions of a second we’re used to.
Create Beautiful Images with ND Filters
photo byRomanKhomlyak via iStock
As you learn more about ND filters for beginners, you’ll find many uses for them, increasing your joy of using the science and math of optics and exposure to create beautiful art. The best part of learning photography techniques is how simple it can be to create our art once we learn the basics.
Learn More:
We Recommend
Photography Equipment List for Beginners
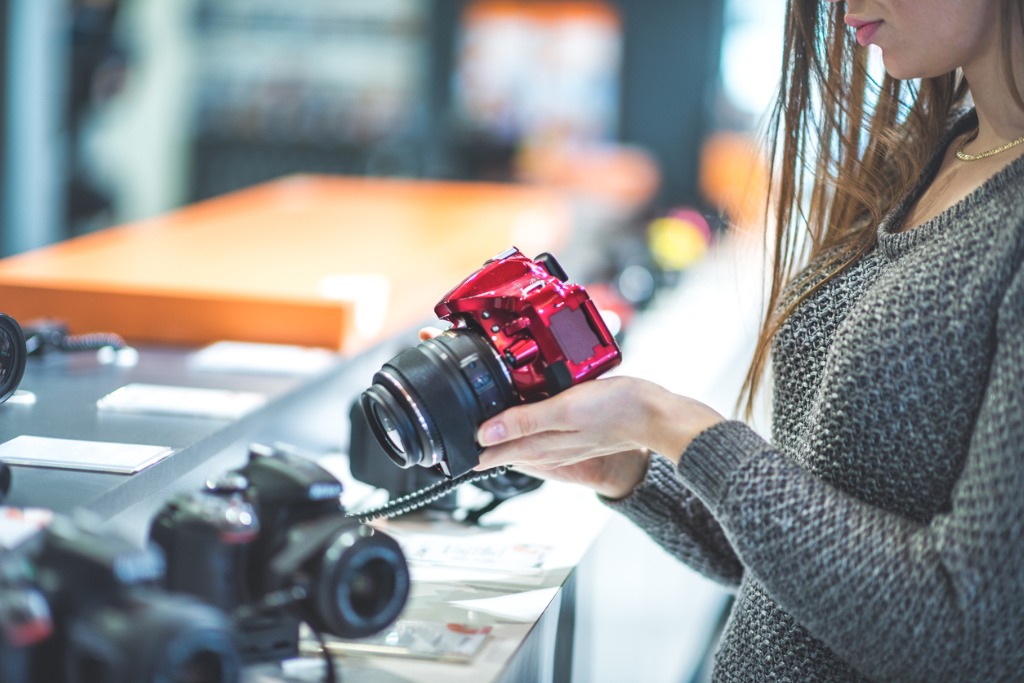
photo byEXTREME-PHOTOGRAPHER via iStock
One of my favorite things to see online are questions from beginner photographers. Seeing or being asked questions tells me that the wonderful hobby of serious photography is growing and new photographers are reaching out to learn.
A common set of questions from beginners concerns the best photography equipment to purchase. I get asked this all the time and I have decided to create a photography equipment list for beginners that mirrors what I tend to say in person as replies. A beginner photography gear checklist, more or less.
The Camera

photo bywundervisuals via iStock
The Camera is the title of one of my favorite photography books, but I’ll get to books later in the list. Right now I am looking at good camera choices for beginners.
I usually assume that anyone asking about what camera to choose is probably a photographer who either has outgrown their smartphone or a photographer who used to shoot a lot on film as a hobby back when.
This type of beginner is familiar with the creative process and wants to do more, but also sees a new camera as a significant purchase that they don’t want to make a mistake getting. Basically, you’re simply needing an interpretation of all that ad junk so you can figure out what’s best for you.
I recommend one of the two larger crop format camera types. Either APS-C or MFT. These cameras come closest to the hobbyist film cameras of just a few years ago. So, they will feel correct to anyone coming back to photography. They are also full of helpful features that will be appealing to photographers coming from current smartphones. Get more details on APS-C vs MFT formats in the video below by The Hybrid Shooter:
If we were speaking in person, I would ask you several more questions myself to narrow down your wants and needs, but for now I can point you in a general direction of a couple of nice entry level but full featured cameras.
In the APS-C format DSLR category, a fine camera is the Canon EOS Rebel T6. It has an 18MP sensor, Wi-Fi, video recording, 3” rear screen, and a bright optical viewfinder. It has autofocus, auto exposure, full manual override, and menu options with special effects.
A mirrorless MFT format camera choice is the Olympus OM-D E-M10 Mk II. This superbly designed camera boasts a 16MP sensor, electronic eye level viewfinder, in body 5-axis image stabilization. Adding classic camera styling makes this an attractive camera for beginner photographers.
Recommended Photography Reading
- National Geographic Photo Basics: The Ultimate Beginner's Guide to Great Photography
- Photography: The Definitive Visual History
- Read This if You Want to Take Great Photographs
Prime and Zoom Lenses
photo by delihayat via iStock
Most of the entry-level cameras suitable for beginners come in kits with an all-around multi-purpose zoom lens. Lenses like 18-55mm or 14-42mm are common. These lenses have some limitations but are generally very optically sharp. So go ahead and buy the camera with the kit lens, the prices of most cameras with the kit lens is usually very close to the price of the camera body alone.
Part of the joy of moving into interchangeable lens cameras is having lenses to interchange. After the kit lens, other good choices are a telephoto zoom lens, an ultra-wide-angle zoom lens, or a fast prime lens.
You will probably get a telephoto zoom first, and as I explain in the video above, that’s a good choice. Telephoto lenses have long focal lengths that allow you to get up-close images of far-away objects, making them prime tools for things like sports and wildlife photography, though they have many more uses.
The fast primes available for these formats will allow for low-light imaging and selective focus tricks. Ultra-wide-angle lenses open up many interesting views for landscapes, interiors, and other creative ideas. This is the beginning of a decent photography equipment list for beginners.
If you picked up a DSLR like the Nikon D3500 as your first camera, several Nikon brand lenses fit those criteria and are also relatively inexpensive. Some lens choices could be:
- Nikon 55-300mm f/4.5-5.6G ED AF-S DX NIKKOR VR telephoto zoom lens
- Nikon 35mm f/1.8G AF-S DX NIKKOR prime lens
- Nikon AF-P DX NIKKOR 10-20mm f/4.5-5.6G IF VR ultra-wide-angle lens
Each camera brand making the best photography equipment of APS-C or MFT cameras has a similar range of inexpensive lenses targeted for beginners and enthusiasts. Several independent brands such as Sigma and Tokina do so as well.
Learn More:
Flash or Speedlights
Photo by Tom Pumford on Unsplash
Those built in pop-up flashes are great photography tools for snapshots and to get good exposure for people pictures up-close. Their range is limited, though. As are their features. A virtually essential early purchase of photography equipment for beginners is an external flash.
An external flash opens up a whole bunch of opportunities for photographers, so be sure to include one on your own personal photography equipment list for beginners. External flashes give more power for increased range and a variety of exposure settings, plus they usually have zoom, bounce, and swivel functions, opening up yet more lighting options.
The camera brand speedlights can cost almost as much as the initial camera kit kit with lens does, but other, less expensive options exist. YONGNUO YN560 IV speedlite has most of the same features as camera brand flashes, such as TTL metering, slave and wireless control, and a deep menu.
Neewer NW-670 is another nice choice for our photography equipment list for beginners. It also has the features you expect and is a great lower priced option.
Tripod
A tripod of some sort definitely deserves a spot on our photography equipment list for beginners. Newer DSLRs and mirrorless cameras and their lenses have amazing image stabilization features. Even so, having a good tripod gives you the ability to take advantage of special techniques such as HDR, panoramas, and ultra long exposure.
The trick with choosing a good tripod is figuring out the balance between a stable platform and a portable tripod. Two good tripod choices for our beginner photography list checklist are the GEEKOTO AT24EVO aluminum tripod and the Vanguard 263AB-100 3-Section Aluminum Alloy Alta Pro 263-AB Tripod Legs with SBH-100 QR Ballhead.
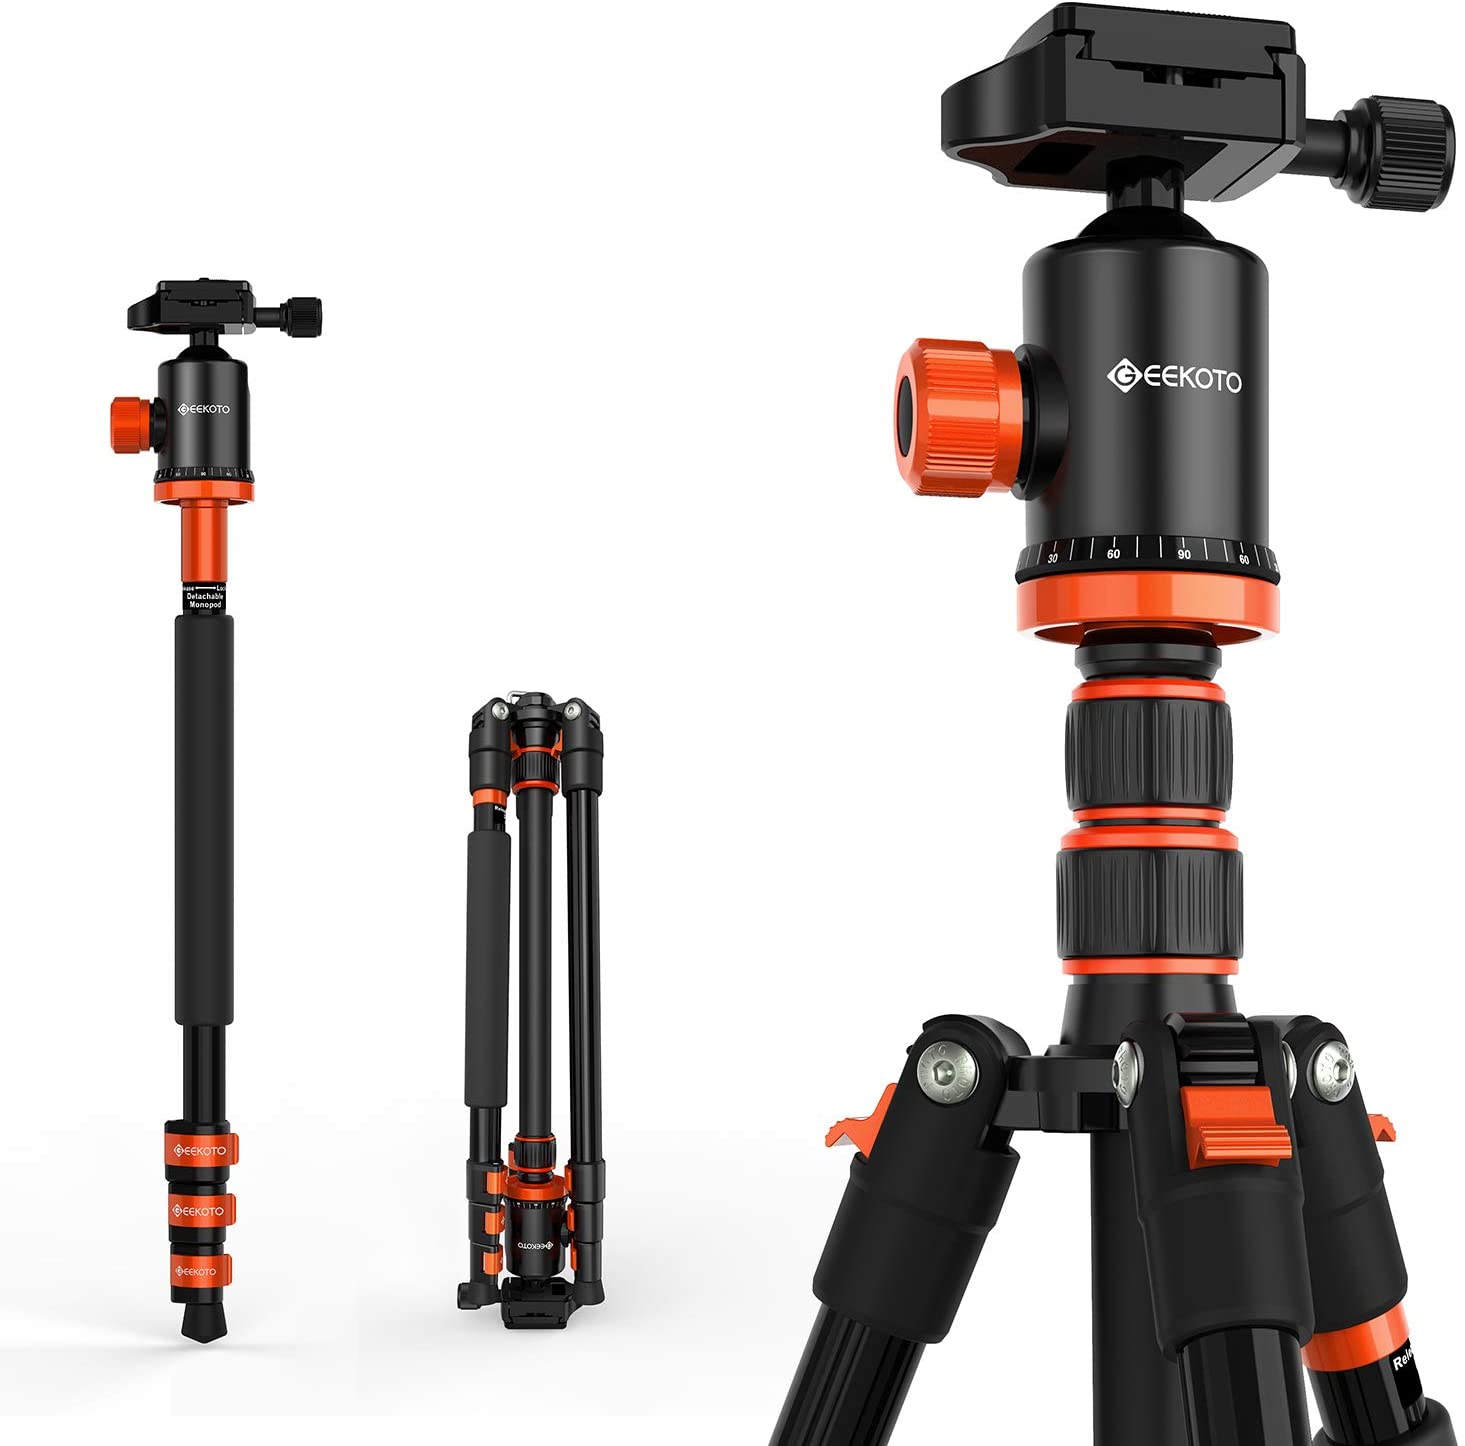
The Geekoto tripod has a removable center column that doubles as a monopod and the Vanguard Alta Pro has a center column that pivots plus extremely spreadable legs to let you put your camera anywhere you need for the picture.
If you’re going to have photography tools such as a tripod, it may as well be one that you can use to the full.
Learn More:
Filters
Photo by Chris Yang on Unsplash
If you’ve come from the world of smartphone photography, the term filter probably brings to your mind apps to use for certain effects or functions. Interchangeable lens camera systems use different filters, optical filters that fit on the lens.
A couple of extremely useful optical filters that belong on our photography equipment list for beginners are circular polarizers and neutral density filters.
Personally, I prefer filter systems with a filter holder, lens adapters, and the various filters to fit them. An advantage of a filter system is that you only need to buy one filter that can be adapted to fit on all of your lenses, and you can position the filters exactly as needed.
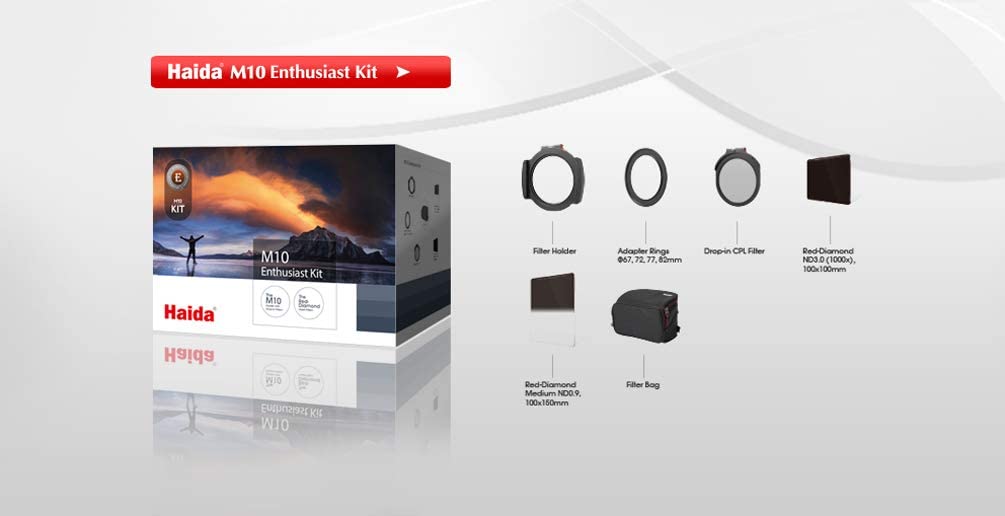
A fantastic set of filters is the Haida M10 Enthusiast Filter Kit with holder, adapters, circular polarizer (C-POL), 10 stop neutral density (ND), and graduated neutral density (GND) filters.
This kit may be a little more expensive than what you expected, but the beauty of a filter system is that it can be used on many different lenses, so it will grow along with you as you move on to other high quality photography tools including professional caliber cameras and lenses.
If your photography equipment list for beginners budget is more modest, an essential filter purchase that is easy to afford is the screw in circular polarizer. A high quality example is the Hoya Pro-1 C-POL filter, available in a variety of single sizes.
The polarizer filter is one of the most useful of all the photographic filters. We have a lot of good things to say about circular polarizers.
Camera Bag
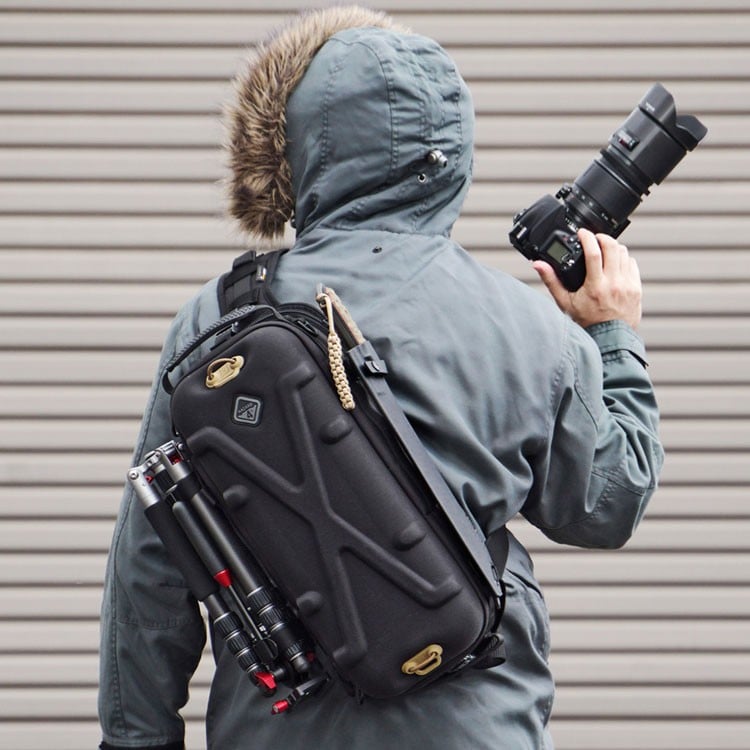
You have a fair amount of the best photography equipment for you to use now, you also need a way to carry it safely and efficiently. It’s not enough to carry your photography tools around safely, you also need to be able to access them efficiently. Therefore, a camera bag should be designed around photography, not just the gear.
HAZARD 4® Plan-B Hard™ - Go-Bag Shell Sling-Pack is one of the better examples of a bag that meets both criteria for fantastic protection and very efficient operation. A less expensive, somewhat more traditional approach is the Lowepro m-Trekker SH 150 Shoulder Bag. Both bags are far better than the bag that was included in the kit you may have started with.
Learn More:
Extra Batteries
Learn from our mistakes. You don’t want to be at the photo opportunity of the year and have your battery die on you because you forgot to charge it. A very inexpensive way to make sure this doesn’t happen is also simple, keep an extra battery in your bag.
There are off-brand or third-party brands that fit and function well in many cameras, but some cameras don’t act properly with other brands that are not the manufacturer batteries. The camera brand batteries aren’t that much more expensive, so be sure to read the customer reviews to find out if the battery you are considering will work properly.
The battery for the Nikon D3500 and for the Canon EOS Rebel T6 will hold a charge for a long time in storage making them one of the essential photography tools that should be on our photography equipment list for beginners.
Memory Cards

Memory cards are part of the film for digital cameras, taking what the sensor sees and holding it for transfer or storage. Just as with film, not all memory cards are created equal.
Besides the size of the card’s storage capacity, file transfer speeds are also an important consideration. With large file sizes, the speed a camera can write those files to memory may make a difference in capturing the best image.
So, we look for a balance here, too. A balance among memory size, durability, transfer speeds, and price. Good news for beginners is that there really isn’t a bad card out there. Most of the entry level cameras will use a variant of the SD card, a format with a good track record in digital photography.
You can either get a larger capacity cardor you might like having several smaller capacity cards. Either way, you’re covered if you have a few extra memory cards in your beginner photography gear checklist.
Post-Processing Program

photo by vgajic via iStock
Now comes the scary part. Photoshop! It’s really not that hard to learn, there are even tutorials you can take to give you a head start. Post processing is an essential part of digital photography, just as a darkroom or photo lab was a part of consumer film photography.
It can be a lot of fun, don’t let it worry you. Scaled down versions of some of the most powerful programs are simple and inexpensive, putting them on our best photography equipment list for beginners. Adobe Photoshop Elements 2020 and Auto FX software are two fine choices.
Learn more about post-processing in our continuing series of articles on this website.
Photography Books

photo by MesquitaFMS via iStock
You learn by doing, you also learn by instruction. Some of the best instruction for photographers comes from books written by experts. Websites with member forums and manufacturer websites are other good resources for helpful information.
Besides books like Nikon, Canon, or Sony for Dummies, there are general photographic instruction books that will expand your knowledge and skill set. DSLR Photography for Beginners
Is available in Kindle or dead tree versions. Another fine book, paper or electronic, is Mastering Aperture, Shutter Speed, ISO and Exposure.
Thousands of great instructional guides are out there, check the reviews to see which ones work for your photography equipment list for beginners.
Learn More:
What’s On Your Own List?
Pick and choose from our photography equipment list for beginners. You know your wants, needs, budget…
Then, give us a shout out here. I would love to hear what worked for you. By the way, welcome to the wonderful world of serious photography!
We Recommend
Photography Hacks You Need in Your Camera Bag
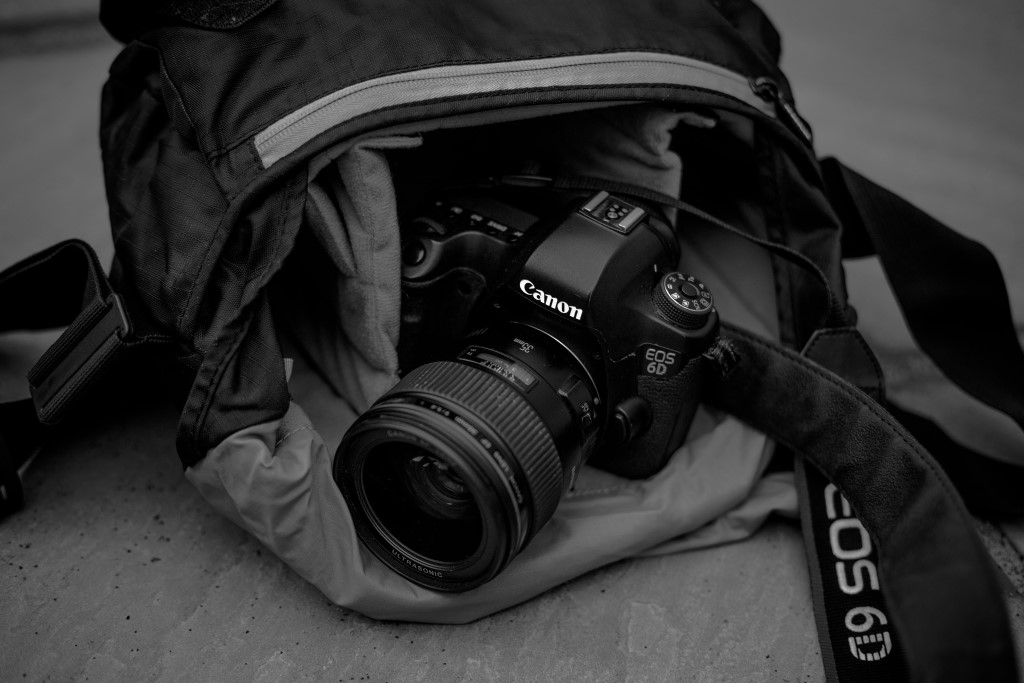
Photo by Smart on Unsplash
I love photography hacks, especially DIY photography hacks that are cheap or free. Photography hacks allow photographers to truly show off their creativity (I think we do this better than anyone) and save money at the same time.
I always say if you really want to get to know a photographer, ask them what they keep in their camera bag.
For instance, I have a diaper shoved somewhere in mine at almost all times. That definitely tells you something about how hectic my work life is.
But, I also have some items you might not think about. Here are some of my favorite photography hacks.
A Rubber Band to Stop Zoom Creep

photo byJoKMedia via iStock
We all hate zoom creep, or when your zoom lens zooms without you wanting it to. But, there’s an easy way to stop zoom creep by using a rubber band.
You simply place the rubber band around the zoom ring on the barrel of the lens to prevent any shifting.
SnareMan uses a Lensband in their video about stopping lens creep, but the best part about this photography hack is that it is an easy photography hack, meaning you don’t need to go buy a specific product because it works just as well with a regular sized rubber band.
Recommended Photography Books
- National Geographic Photo Basics: The Ultimate Beginner's Guide to Great Photography
- Photography: The Definitive Visual History
- Masters of Street Photography
An Innovative Filter Holder
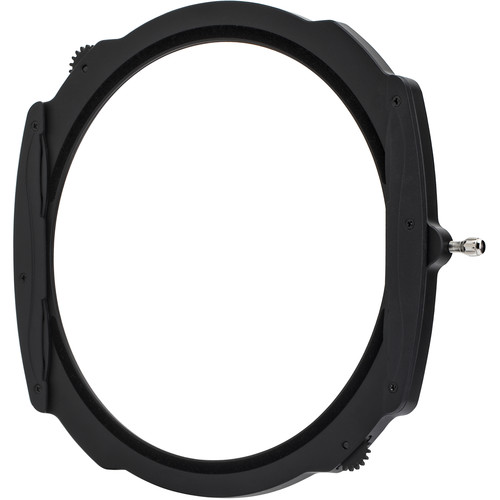
Filters are a must-have for any photographer.
But innovative filters are a great hack to include in your camera bag...
I recently got my hands on Haida's M15 filter holder system, which is an innovative system because it's magnetic.
Once the magnetic M15 filter holder is mounted to a separately available adapter ring for your lens, you can mount a Haida M15 magnetic filter to it quickly and easily.

The filter holder's pull-and-release locking knob ensures the connection between the filter and filter holder is solid to prevent light leaks. But at the same time, the holder can be rotated 360-degrees so you can place the filter just right to get the shot you want.
This is advantageous when you use rectangular filters like a graduated ND, which requires fine-tuning to its positioning to get the desired effect.
Gone are the days of having to screw in filters and messing up the positioning of your camera while doing it...
Haida's M15 system makes quick work of filter changes and does so with the added benefit of not disturbing the camera. It's a win-win!
DIY Sandbags for Your Tripod
Justin Phillip is a man after my own heart because he’s largely dedicated his YouTube channel to DIY photography hacks. One of which are DIY sandbags.
While I do have regular sandbags, sometimes, or maybe more like all the time, these are extremely difficult to take on trips. After all, why would I want to give 10 pounds of my 50 pound luggage allowance up for… sand.
Instead of lugging your sandbags around with you all the time, simply buy some Ziploc bags, some cable ties, and beans or rice from the grocery store and make your own.
Learn More:
- 5 Landscape Photography Accessories You Can’t Live Without
- Photography Gear Upgrades You Should Make in 2020
Vaseline for Your Models Lips
Photo by Houston Ray on Unsplash
I always carry a small thing of vaseline in my camera bag for one really important reason: portraits.
If I’m photographing someone who doesn’t feel comfortable wearing makeup or forgot theirs at home, I can use vaseline as lip gloss that will produce beautiful shimmering effects.
Plus, vaseline is just a few dollars, so this is a very inexpensive DIY photography hack!
Old Fashioned Pens and Paper

photo by tolgart via iStock
As annoying as it is, technology fails. Your phone screen cracks, your camera dies, and in these dire times, it is absolutely necessary that you have old-fashioned pen and paper.
As an additional photography hack, put a little bit of tape around your pen so that way you don’t need to carry a whole roll around in your bag but you have some if you need it.
How to Carry These DIY Hacks in Style
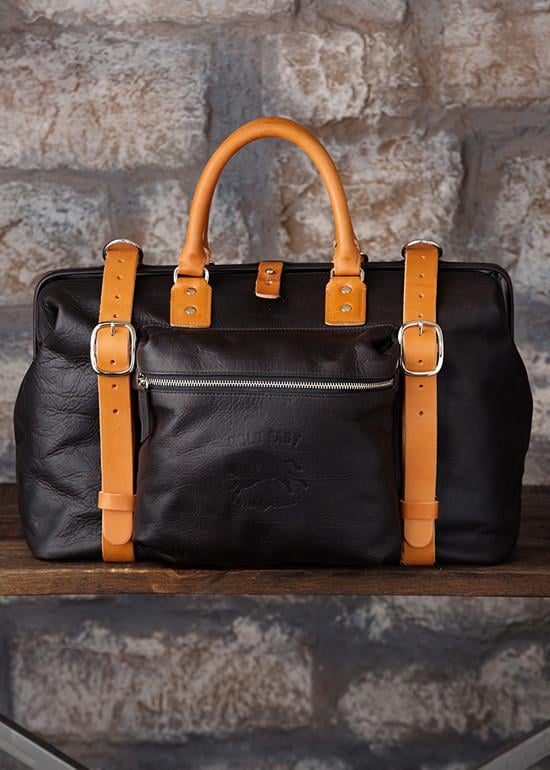
Photo by Brandon Burk
No matter how many easy photography hacks you have in your back pocket, they won’t be very helpful if you don’t have an incredible bag to pack them in.
Holdfast’s Roamographer bagis that bag. It features vintage aesthetics that make you look professional and put together with modern functionality. It’s shoulder strap is lined with shearling, making it extremely comfortable; it’s large enough to carry all of your DSLR gear and a large laptop.
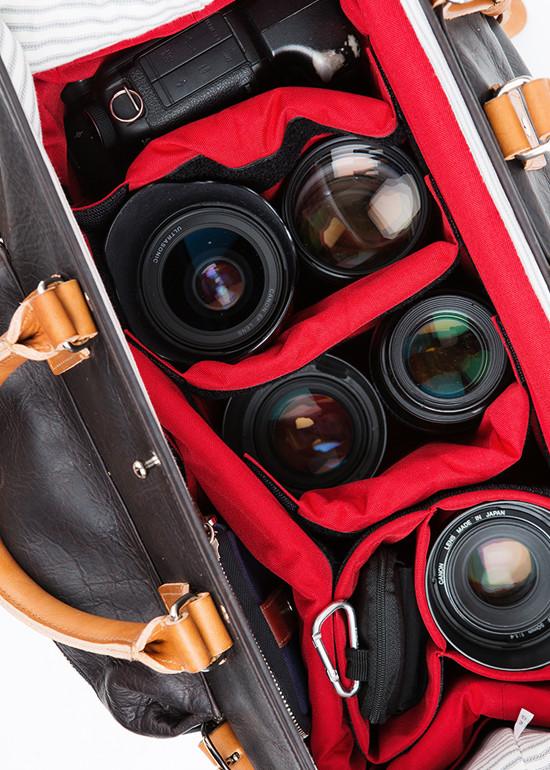
Photo by Brandon Burk
Plus, most importantly, it can fit all of your photography hacks.
While it is an investment, Holdfast gives you a lifetime warranty on all of their products, meaning you’ll never need to purchase another camera bag ever again.
Learn More:
We Recommend
Pros and Cons of Buying a Filter Kit
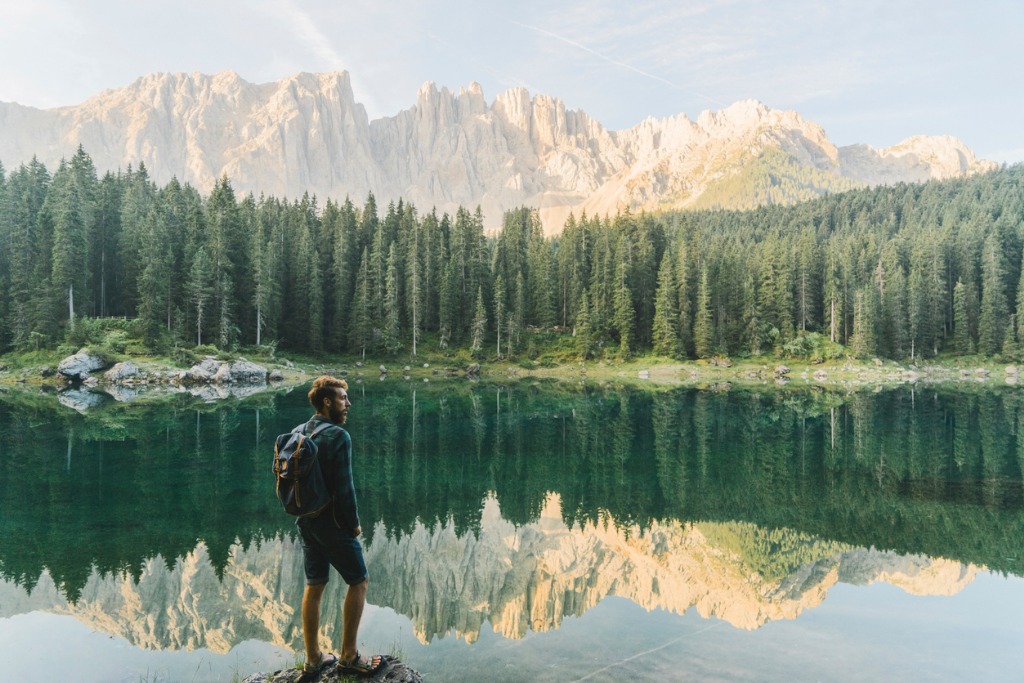
photo byOleh_Slobodeniuk via iStock
Lens filters for digital photography are extremely useful and can sometimes make the difference between getting an outstanding image and capturing one that is pretty good. The most useful filters for landscape photography are circular polarizer filters (C-POL), neutral density filters (ND), and graduated neutral density (GND) filters.
A good filter kit for landscape photography will include a couple of these filters or maybe more. A filter holder system is an excellent way to use these filters for landscape photography since in a filter holder system you can adjust the GND filters as needed and can use two or more filters together.
If you haven’t yet invested in a filter holder system, you are probably looking at a filter kit for landscape photography with two or more filters and the holder plus lens adapters and maybe a case. These filter kits are a pretty good idea for many photographers but there are pros and cons to consider.
Pros of Filter Kits
Convenience
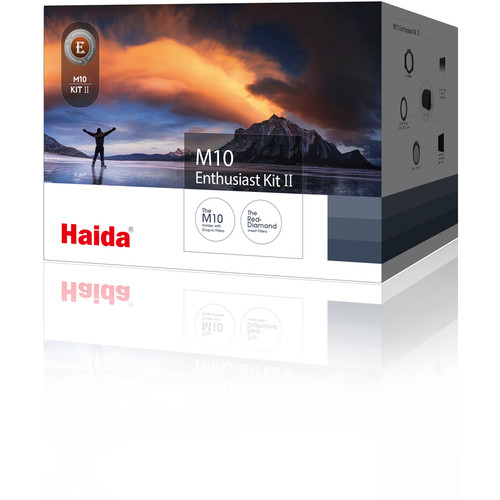
One of the nice things about buying a filter kit is that you don’t have to piece together a starter kit based on salesman recommendations or our own guesswork. An excellent filter kit for landscape photography is the Haida M10 Enthusiast Kit II.
The Enthusiast Kit II comes complete with the M10 filter holder, four different size adapter rings for attaching to various lenses, a C-POL filter, and a 10 stop ND filter. With the exception of a GND filter, these are perhaps the most used filters for landscape photography.
Cost Efficiency
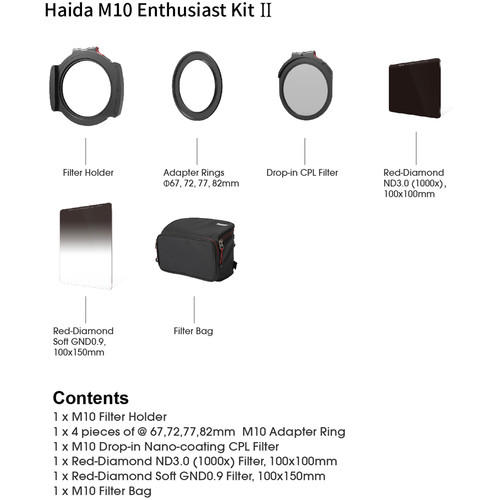
Filter holder systems are preferred by many photographers for the convenience of using one set of filters for multiple lenses which not only speeds up the landscape photography workflow but is also much more cost effective than single screw in filters for each lens filter size you have.
A filter kit for landscape photography will often be a little discounted than the total cost of each individual piece in the kit. Plus, filter kits like the Haida M10 Enthusiast Kit II also include a nice carrying case for storage and transport.
Learn More:
- How To Get Better at landscape Photography
- Why You Need a Filter Kit for Landscape Photography
- Circular Polarizer Do’s and Don’ts
Cons of Filter Kits
Limited Choice
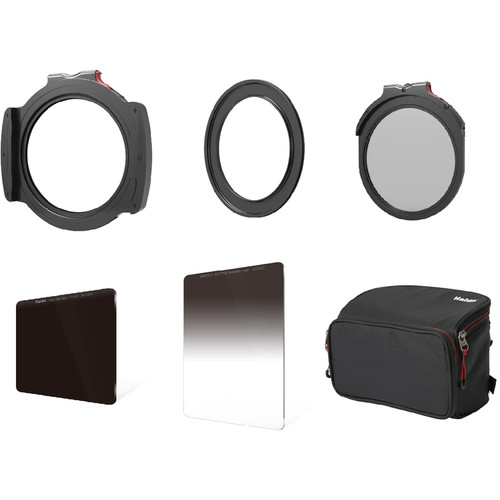
While filter kits may make the process of buying your landscape photography filter kit a little easier, you are limited to what the manufacturer or retailer has decided to include in it.
Many filter kits for landscape photography will include a C-POL and an ND filter, but you may prefer to get a GND filter instead. In fact, you can pick and choose any variety of filter types and filter strengths for your own particular needs.
Filter kit manufacturers like Haida have scores of filters in various sizes and strengths for hundreds of possible combinations.
High Price
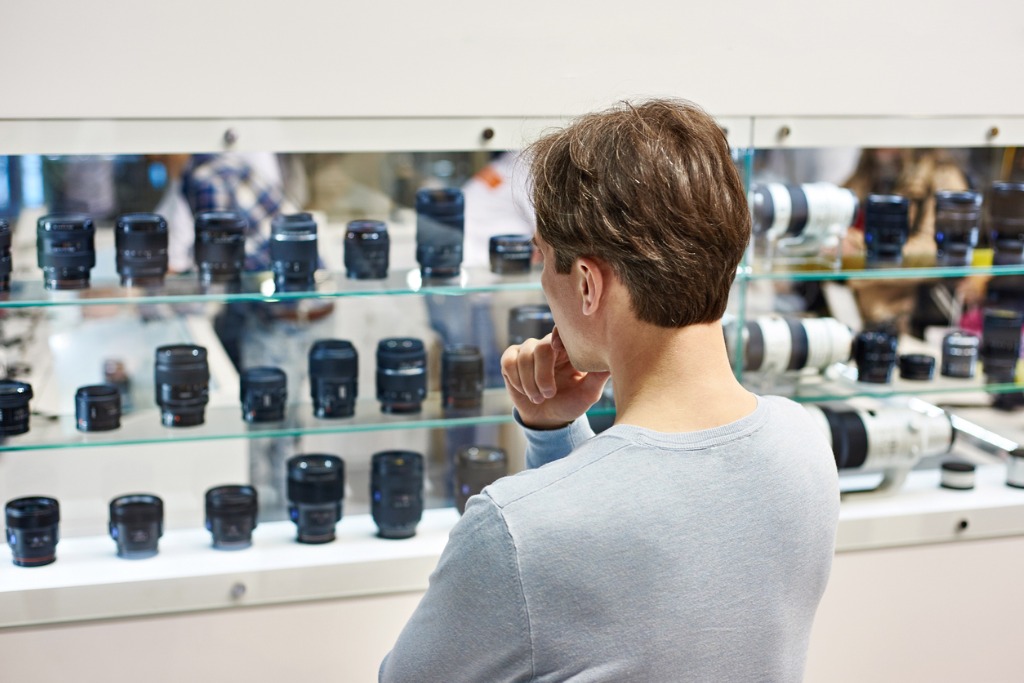
photo bysergeyryzhov via iStock
Even though a filter kit such as the Haida M10 Enthusiast Kit II is a good value based on the price of the individual pieces and especially the price of filters for each lens you own, it is still a fairly high price for an initial investment.
Compared to the price of an entry level digital camera and kit lens, the price of a filter kit for landscape photography could cause a little sticker shock, since it’s close to the same price as the entry level camera.
More Pros Than Cons
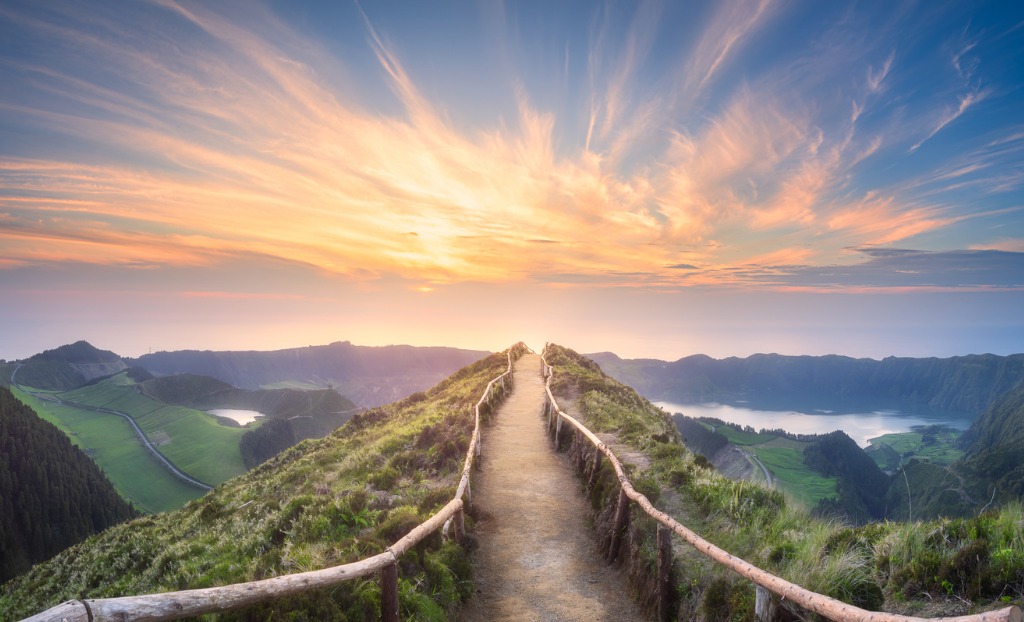
photo byboule13 via iStock
All things considered, the pros for buying a filter kit for landscape photography outweigh the cons. Granted, it is a fairly high initial investment, but once you get past that, a filter holder system is far more convenient and cost effective than individual screw in filters.
Check out some of our other articles to find out other great advantages to filter holder systems for landscape photography.
Learn More:
- Get Better Landscape Photos with These Simple Tips
- Types of Graduated ND Filters
- How To Improve Landscape Photography
We Recommend
Pros and Cons of Using Variable ND Filters
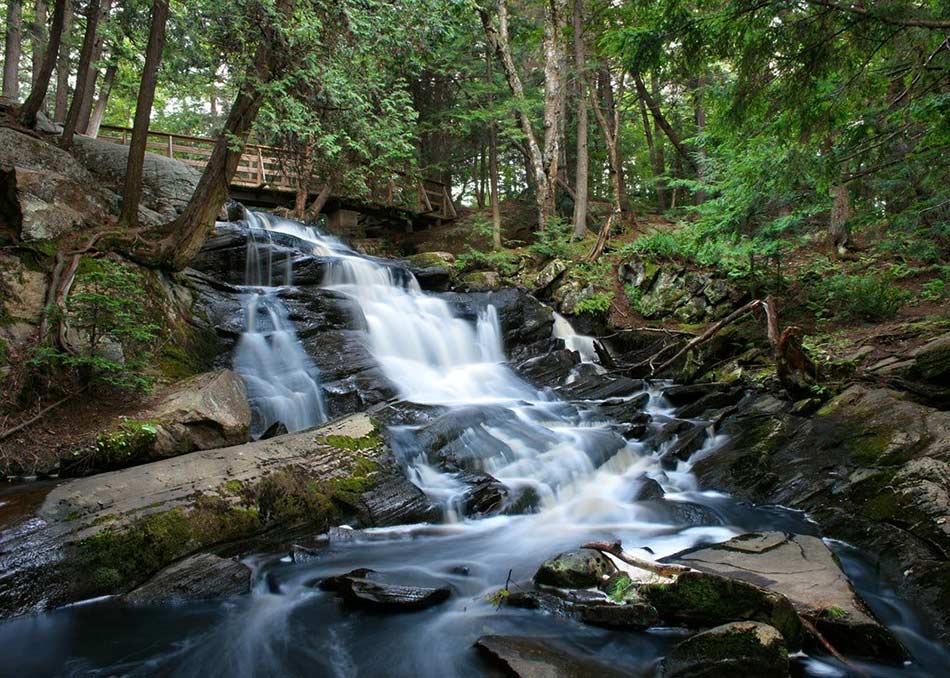
Photo by 500photos.com from Pexels
Neutral density filters are amazing tools for photographers needing extra control over exposure conditions or wanting to use some special techniques for creating interesting images.
Variable ND filters are preferred by many photographers while others like ND filters with a fixed value.
Let’s discuss the benefits and detriments of using the former - variable ND filters.
Table of Contents
- What is a Variable ND Filter?
- Variable ND vs Fixed ND
- Pros of Variable ND Filters
- Cons of Variable ND Filters
- Using Variable ND Filters
What is a Variable ND Filter?
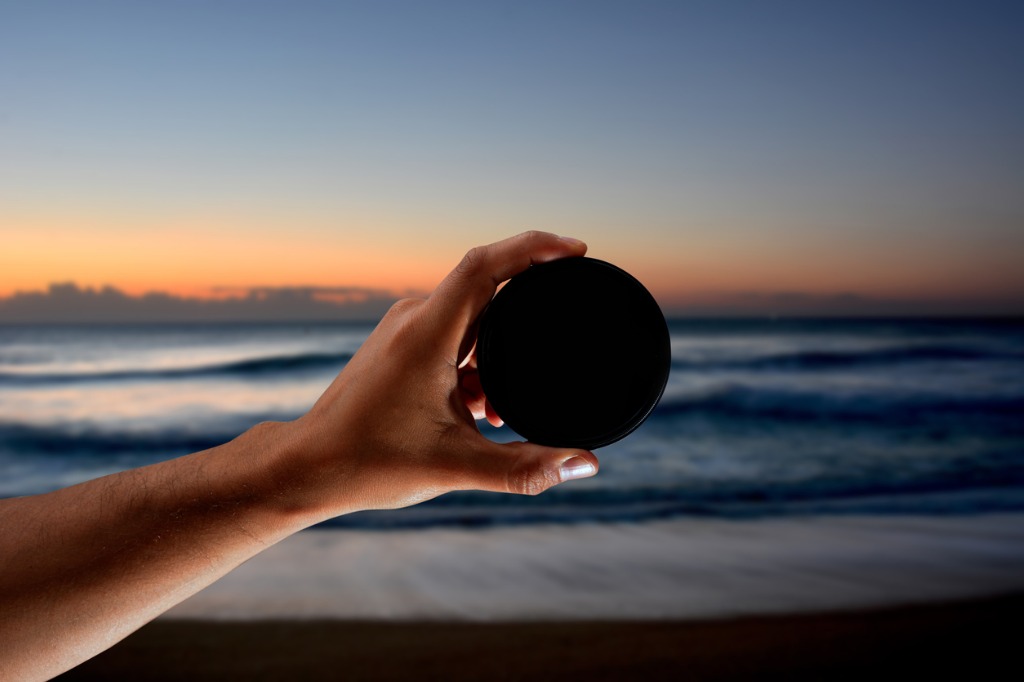
photo byistockphotoluis via iStock
Neutral density filters add density to the light path when taking a photograph. Adding density is basically the same as subtracting light. ND filters attenuate the intensity of the light reaching the film or sensor and do it without affecting any colors.
The term variable in the name variable ND filters refers to the amount of that attenuation being able to be changed by the user. The mechanism used is actually quite similar to circular polarizers, but instead of affecting the light for a polarizing effect, two polarizing layers are used together with the result being a significant darkening of the light getting through.
Variable ND vs Fixed ND
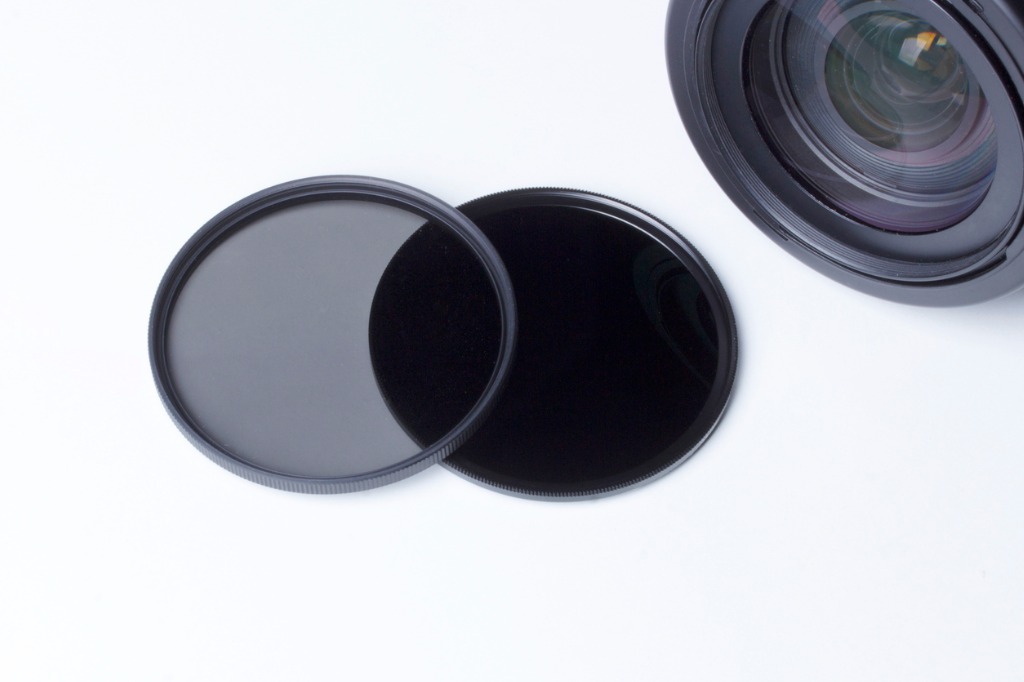
photo byjavitrapero via iStock
Neutral density filters give photographers the option of using the f-stops and shutter speeds they need for certain effects while in lighting conditions that wouldn’t normally support those settings.
For instance, if you wanted to use a very fast aperture for limiting depth of field, but the scene’s light intensity would’t let you there no matter how much you played with the Exposure Triangle, an ND filter can get you into that aperture.
Another example would be trying to get a long enough shutter speed to intentionally blur motion in moving parts of the scene such as water, clouds, or people. In order to take advantage of that effect, sometimes you need a very long shutter speed. So, again, the ND filter gets your exposure triangle into the right area.
For many of us, when we first thought of using an ND filter for those reasons, we went with the most extreme attenuation we could find. As we got used to using ND filters, we realized that we don’t always want a huge ND factor, something a little or a lot less would work for this particular image.
So you have two ways of tackling the issue of needing different ND factors for different subjects, needs, or situations. One way is to buy several ND filters of different strengths. The other way is to buy variable ND filters that cover the range you want.
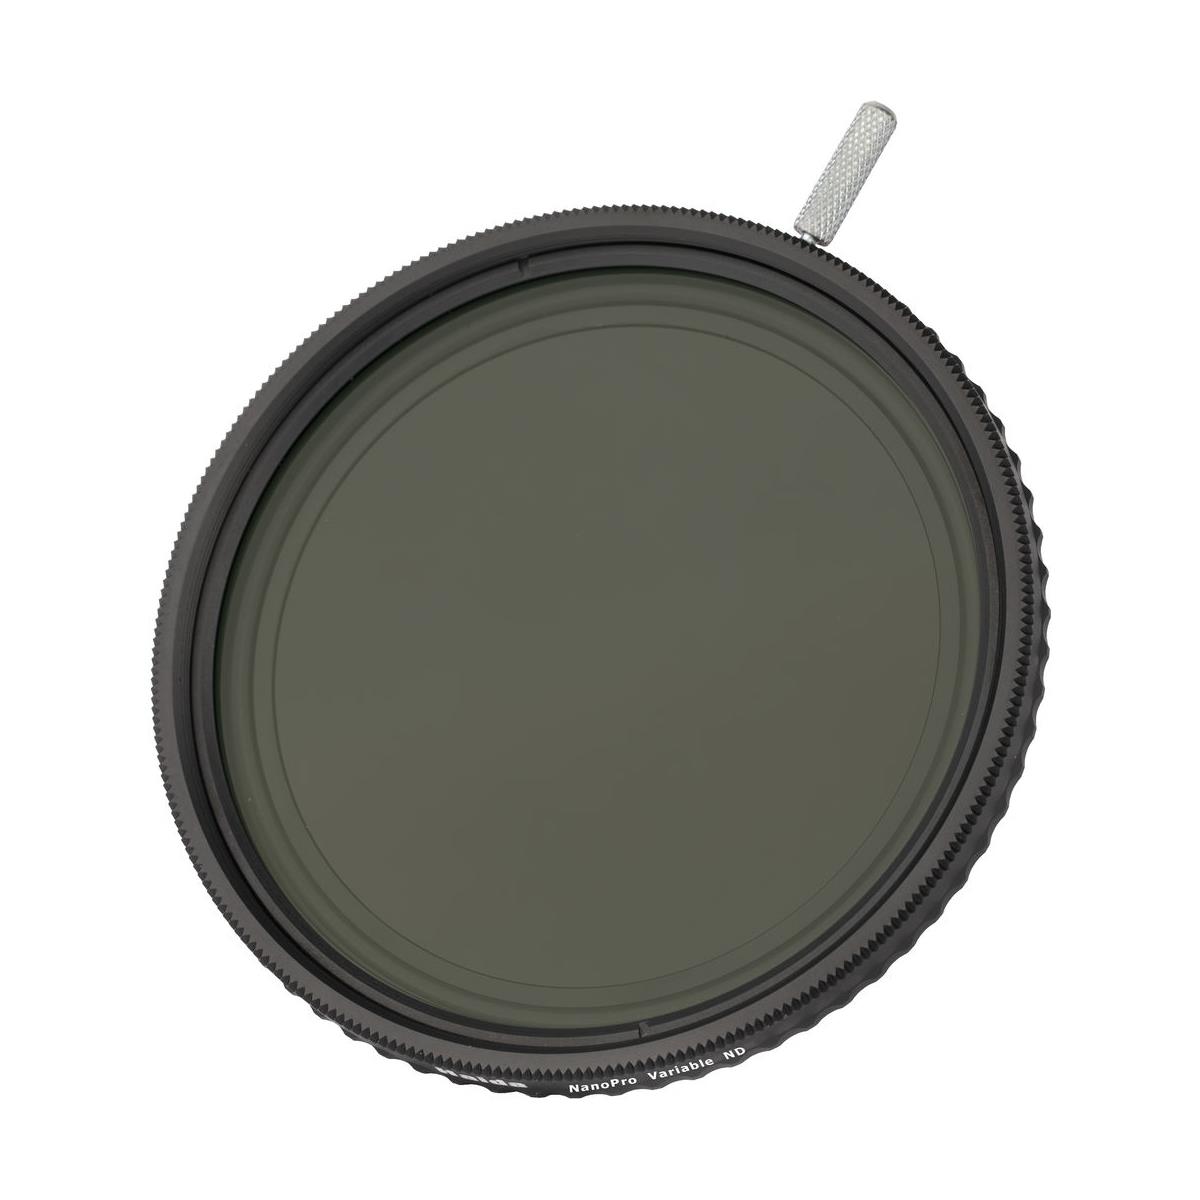
Either way works, though purchasing several ND filters at once could add up pricewise. Variable ND filters that deliver great results can be much more cost effective. An example of a high quality variable ND filter is the Haida 82mm NanoPro MC Variable Neutral Density 1.2 to 2.7 filter which covers a range from 4 to 9 stops of attenuation.
Haida filters are multi-coated on both sides of all glass elements to reduce reflections and flare, ensuring accurate color light transmission and good contrast. The elements are optical glass so no loss of sharpness for your fine lenses. The filter rings are high grade aluminum which resists binding due to temperature extremes.
Learn More:
- Best Aperture for Landscape Photography
- How To Improve Landscape Photography
- How To Photograph Rivers and Streams
Pros of Variable ND Filters
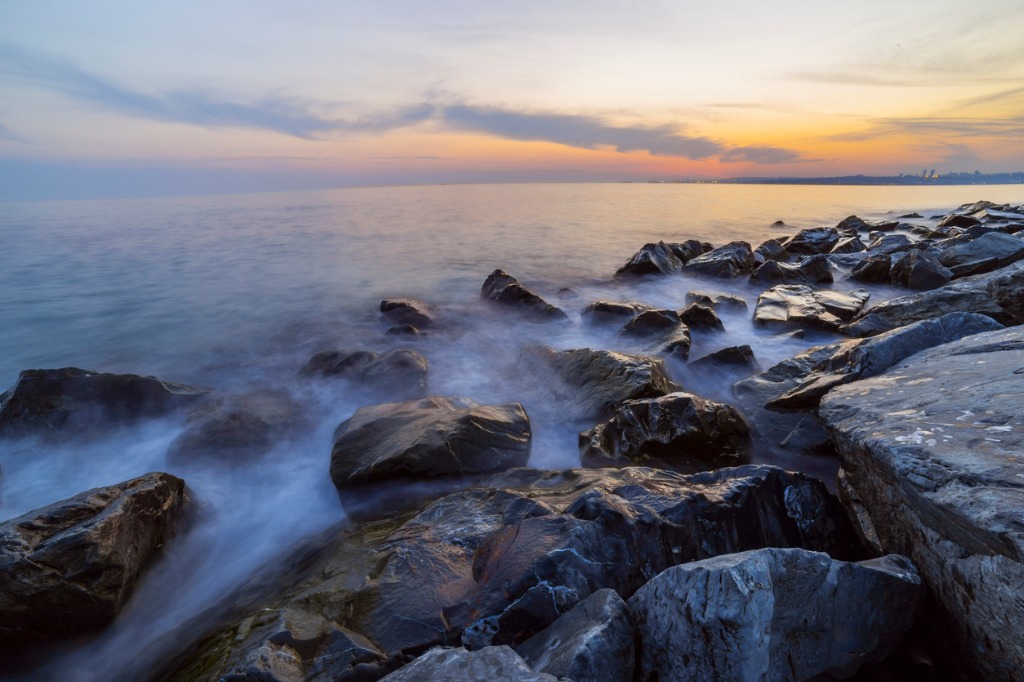
photo bytigristiara via iStock
There are two huge plusses in the case for variable ND filters, cost and versatility. While variable ND filters may cost a little bit more than a fixed value ND filter, when you add up the price of 4 or 5 filters needed to cover the range in a single variable ND filter, the savings can be significant.
In the long run, though, costs of our gear are absorbed, so it’s not always as big a factor as we might first think. That versatility aspect, though, can be huge when shooting in the field under changing lighting conditions.
Changing and challenging lighting is likely going to be the normal situation when we’re using these variable ND filters. Since we are probably going to use our ND filters for outdoor photography of some type. It could be a landscape, seascape, cityscape, or environmental portraiture, all of these are outdoors photography.
Another plus or pro factor is convenience of storage and travel with our filters. Since we have just one filter to account for, we can easily fit in with our other gear and also not worry about scratching the elements against each other.
Cons of Variable ND Filters
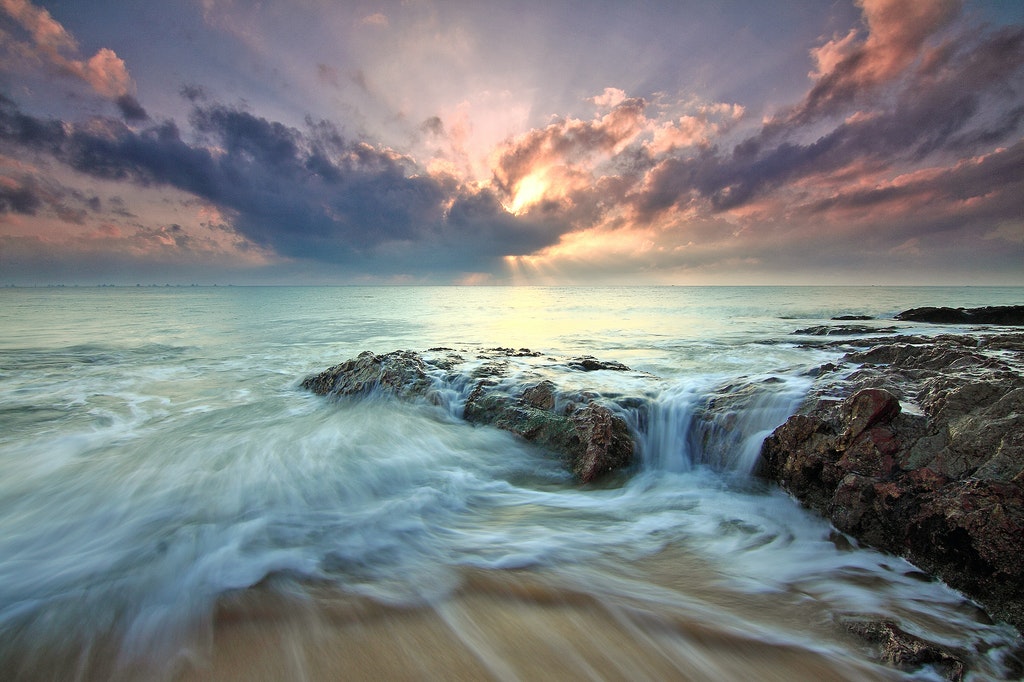
Photo by Pok Rie from Pexels
There is only one big con to consider about using variable filters, and you can get around it with minimal effort. The con is that variable ND filters use polarization effects to vary the amount of attenuation.
How is that a con? I’m glad you asked. Because if we’re using these filters outdoors or in some other challenging exposure and lighting conditions, won’t we want to be able to use polarization? Sure, but how much of each effect is desired can become a balancing act of sorts.
The proper position or orientation for the ND attenuation we need may not be the same position for any polarization effect we want to have in addition. Or, we may not wish for any polarization at all.
If we constantly find ourselves in this type of situation, a fixed ND and polarizer or a combination fixed ND with C-POL may be what we should use. It’s not a problem that is likely to come up often at all, but if it does, you’ll just have to adjust either the filter or your expectations for that image.
Using Variable ND Filters
photo byRudyBalasko via iStock
Variable ND filters will be a very useful addition to many photographer’s gear bags. They are especially useful for photographic effects that depend on settings affected by the Exposure Triangle. Selective focus that needs a wide open aperture, or blur effects that require long shutter speeds.
You will find other valid reasons for taking advantage of the properties and features of variable ND filters once you take out into the field on your next photo shoot.
Learn More:
- How To Take Good Photos With a Kit Lens
- Mountain Photography Tips
- Circular Polarizer Do’s and Don'ts
We Recommend
Small Camera Accessories That are Worth Their Weight in Gold
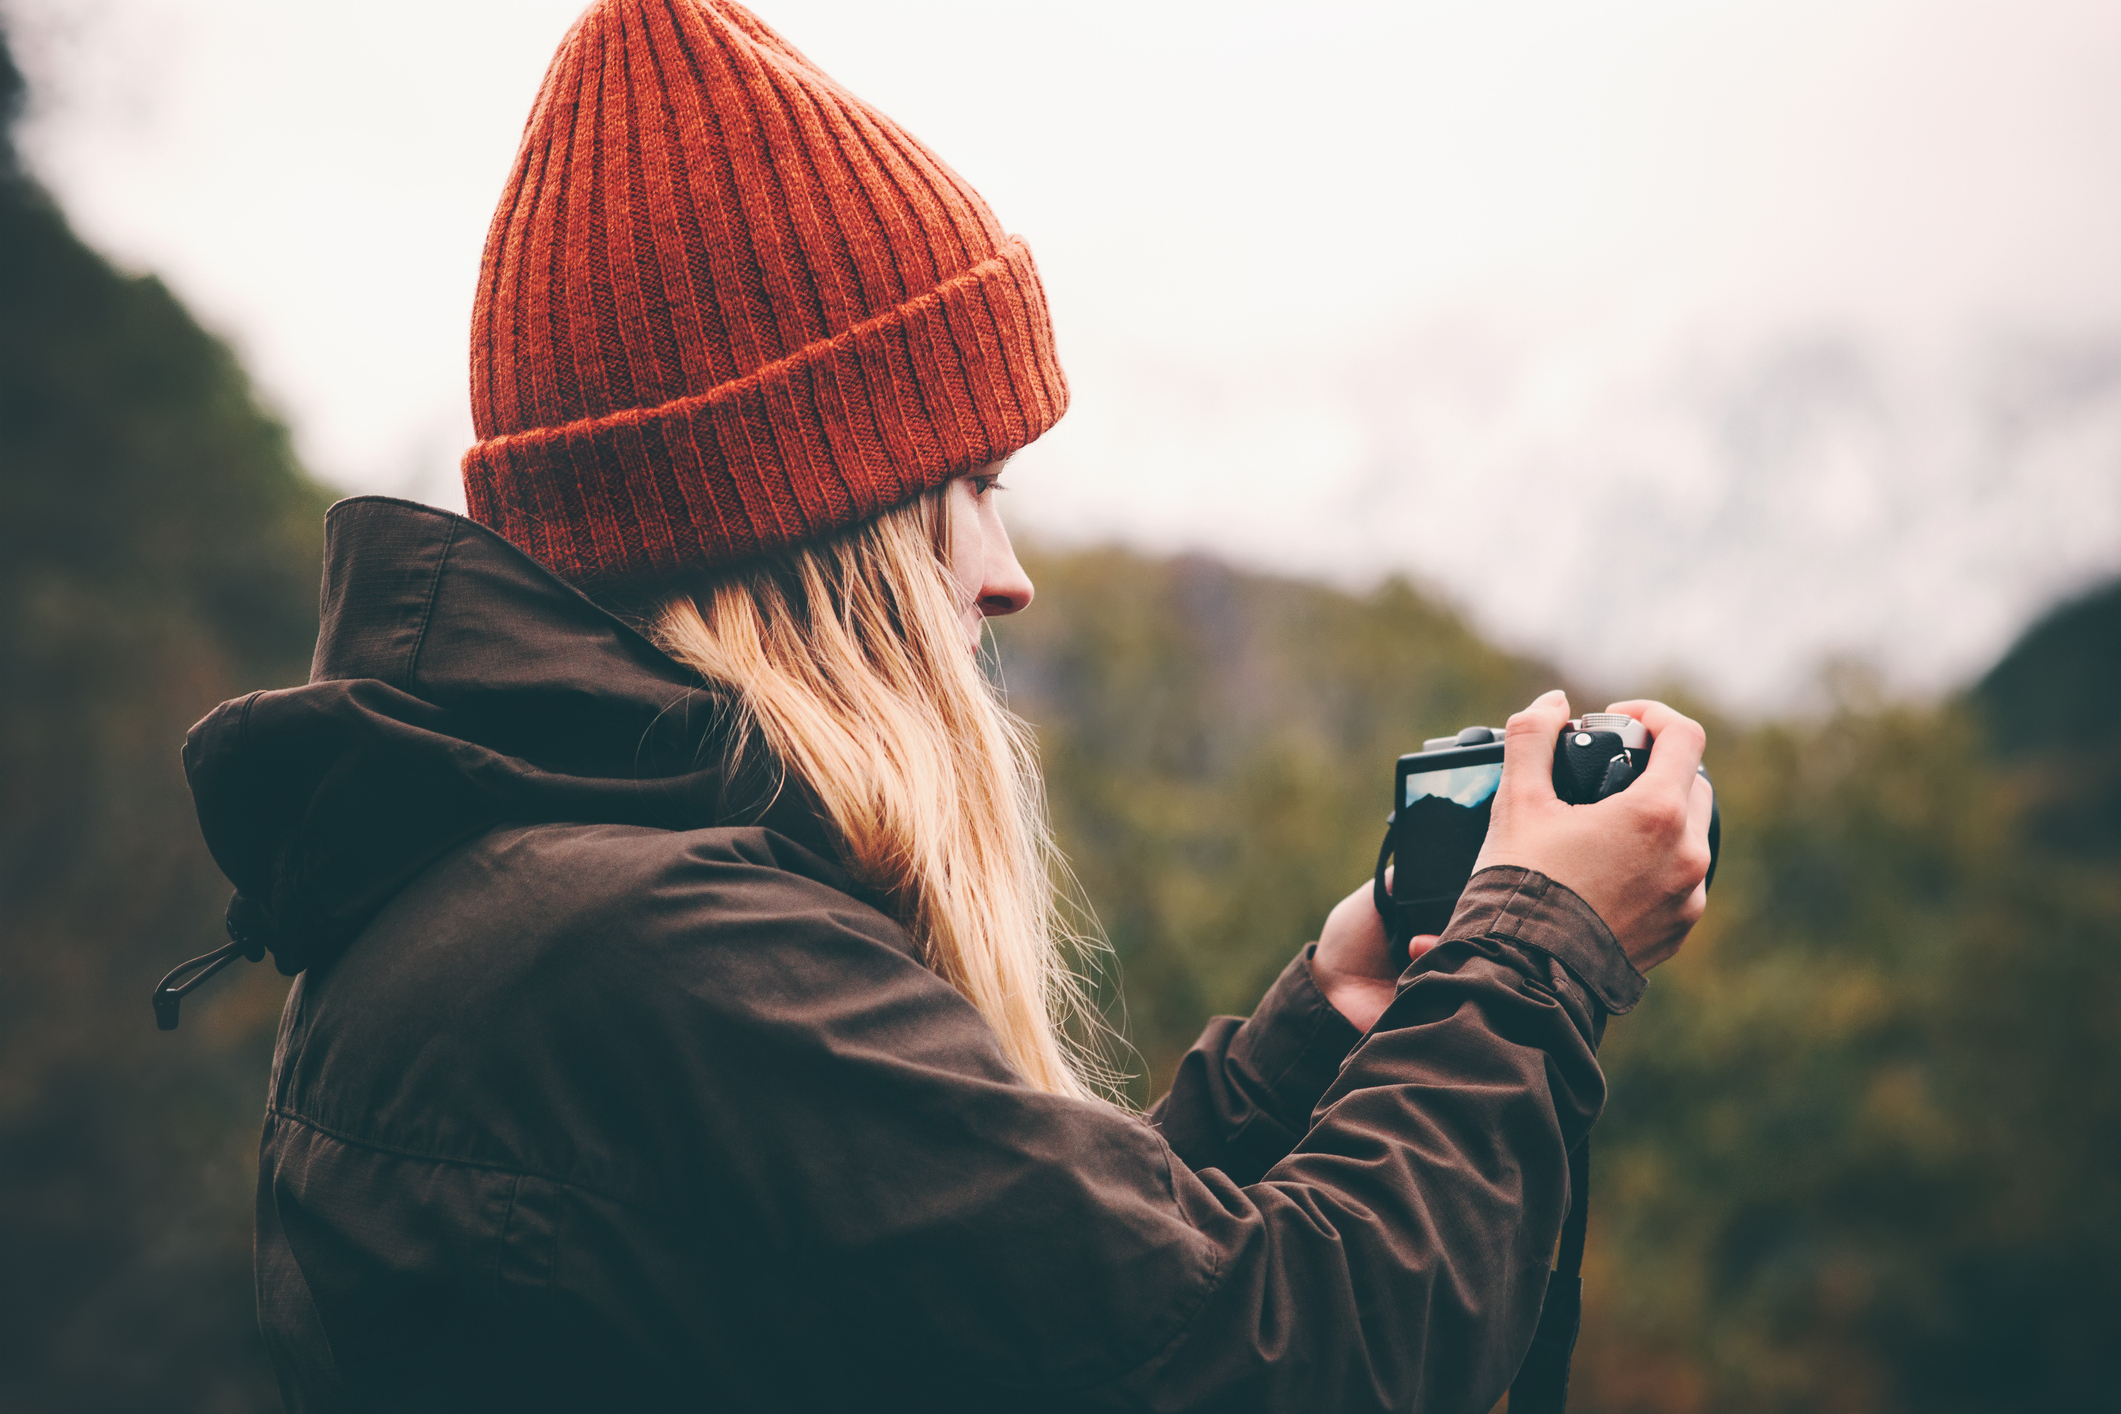
photo byEverste via iStock
There are lots of big, flashy things you can buy for photography like a sweet new camera or a nice, big lens.
But there are also many small camera accessories - things that could even fit in your pocket - that can have a significant impact on the quality of the images you take and the workflow required to get those images.
Just like paying attention to the small details is important when framing up a shot, it’s also important to consider the small camera accessories you need in your bag. Here’s a few of my favorites…
Table of Contents
Haida NanoPro Circular Polarizing Filter
 Photo by Dimitris66 via iStock
I’ve said it before, and I’ll say it again - a polarizing filter is one of the best camera accessories money can buy.
That’s because polarizers impact your photos in so many positive ways…
For starters, they minimize glare off non-metallic surfaces like water, wet rocks and plants, and glass.
For landscape photographers, this means being able to see the surface of the water (and perhaps even underneath it) without the sun’s glare getting in the way. If you compare the two images above, you can see how profound this effect can be.
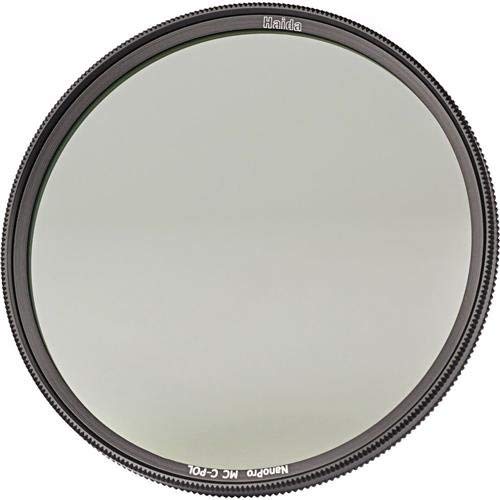
Secondly, polarizing filters minimize atmospheric haze. Not only does this make distant landforms clearer, but it also enhances the colors in the scene so they’re more vibrant.
Speaking of colors, polarizing filters also boost the color of the sky. The enhanced contrast of the deep blue atmosphere and the bright white clouds makes for a beautiful backdrop for any landscape photo.
And perhaps best of all, using a polarizer is easy - just screw it onto the end of your lens, position your camera at a 90-degree angle to the sun (or as close to that as possible), and fire away!
That’s a simplistic version of how to use a polarizer, but it’s truly not much more difficult than that!

To get the best results, you need to invest in a high-quality polarizer, not buy some $15 knock-off. Cheap polarizers can cause vignetting, color shifts, and more, so buying a good filter is a must.
I like Haida polarizing filters because they perform well, aren’t too expensive, and have been well-thought-out and designed to maximize their effect.
For example, Haida uses a NanoPro Coating on its polarizers that helps shed moisture and make it easier to clean dust, dirt, and smudges off the filter glass. In fact, there are 10 layers of anti-reflection coatings!
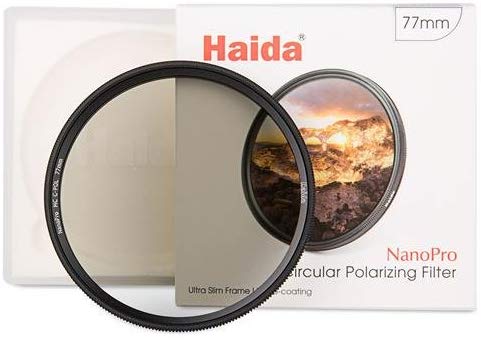
The optical glass in the filter maximizes clarity while 5mm lightweight aluminum mount allows you to stack filters if need be.
The filter housing also has side knurling that offers a textured grip for making adjustments super easy.
This polarizer has been in my camera bag for a good, long while now, and it’s never let me down. It’s a small camera accessory I highly recommend for your camera bag!
Learn more about the Haida NanoPro Circular Polarizing Filter
Learn More:
LitraTorch 2.0

Over the course of the last few months I’ve gotten more and more involved in video production. And one of the first things I picked up for that was a small, yet powerful light.
Making a great video isn’t just about the footage. Instead, it’s about the story you tell, the quality of the sound, and the quality of the lighting, too.
When you’re out shooting video, the last thing you want is to have to lug around big, heavy lighting equipment. Sure, you can rely on natural light, but sometimes shooting at dusk or at night is necessary. That’s where the LitraTorch 2.0 comes in.
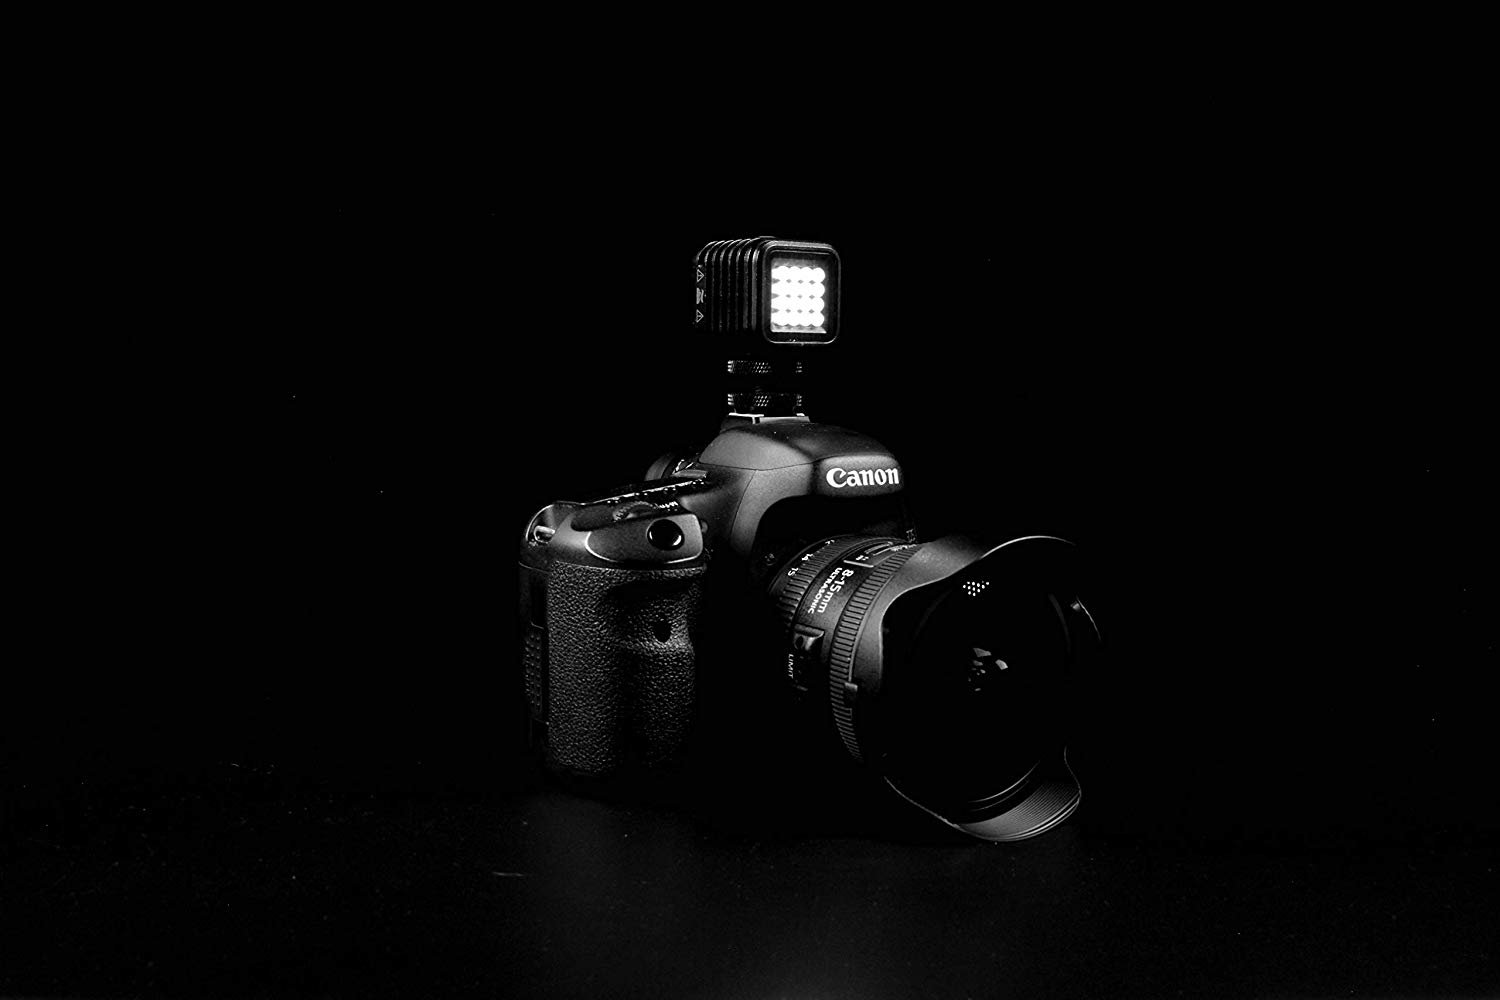
This little guy is about 1.5 inches square and weighs just over three ounces, so it’s incredibly portable.
But don’t think that because it's so small that it doesn’t pack a big punch!
Litra crammed 16 LEDs into this thing, and it can put out up to 800 lumens of light. That’s pretty incredible for a light this size.
What’s more, the light is adjustable, so you can set it at 450 lumens or 100 lumens - whatever you need.

But it isn’t just the portability of this light or the customization options for its output that are worth mentioning.
The quality of light is also excellent. It’s flicker-free, has a color temperature of 5700K, and has a CRI of 90+ and TLCI of 92. Not bad!
The light is surprisingly clean and crisp, too, especially from a light that’s barely even noticeable in the image above!

All of this comes in a rock-solid package that’s been MIL-SPEC 810 tested and is waterproof to 60 feet.
In other words, this is a go-anywhere, do-anything light that can have a significant impact on the quality of your videos and photos. Having one in your bag will enable you to get better shots in challenging lighting conditions. What’s not to like about that?!
Learn more about the LitraTorch 2.0
Learn More:
Holdfast MoneyMaker Solo

Okay, so this camera accessory can’t exactly fit in your pocket, but it’s still a slim and trim piece of kit you need to have if you’re a single-camera shooter.
I use the Holdfast MoneyMaker Solo when I want to run and gun with a small camera, like my Sony a6400 or my Nikon Z7.
What’s so great about this camera strap is that even though it’s small, it doesn’t lack in features.
It’s supremely comfortable thanks to the huge, padded shoulder strap that distributes the weight of your gear over a larger area. That makes for long days of shooting to be vastly more comfortable!
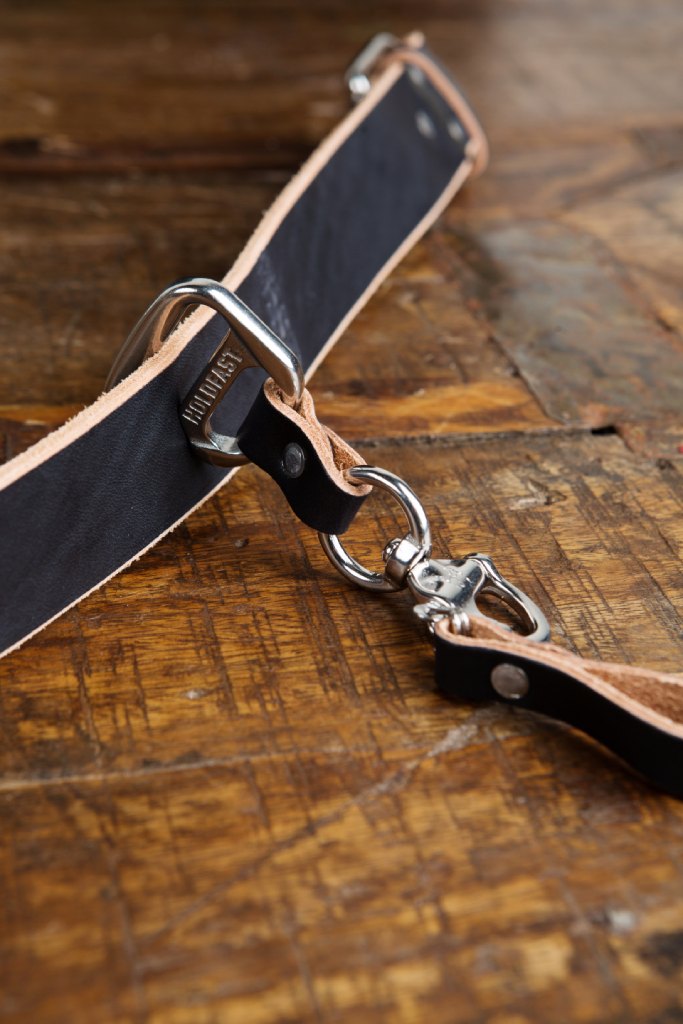
Secondly, this thing is impeccably constructed.
Made of a single piece of full-grain leather, this strap will long outlast your camera, lenses, and other accessories. That makes it an investment for the long-term that will keep on giving you functionality and performance for years to come.
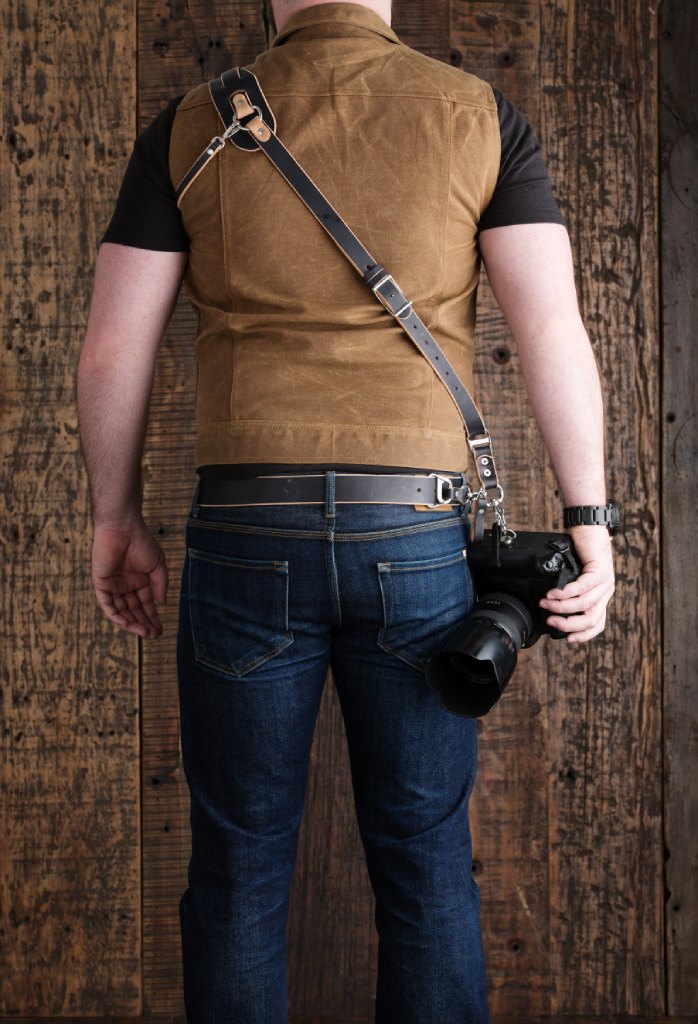
This strap is also supremely functional - just what you want in a camera strap!
Not only does it keep your camera right there at your fingertips, but with a Belt Anchor attached to your belt, your camera is locked in place.
So, even if you’re running from one shot to the next, your camera is secure at your side - no flopping around or bouncing around.
And to release the camera to take a shot requires a single one-handed motion. When you’re done shooting, the camera can be easily anchored once again with one hand.
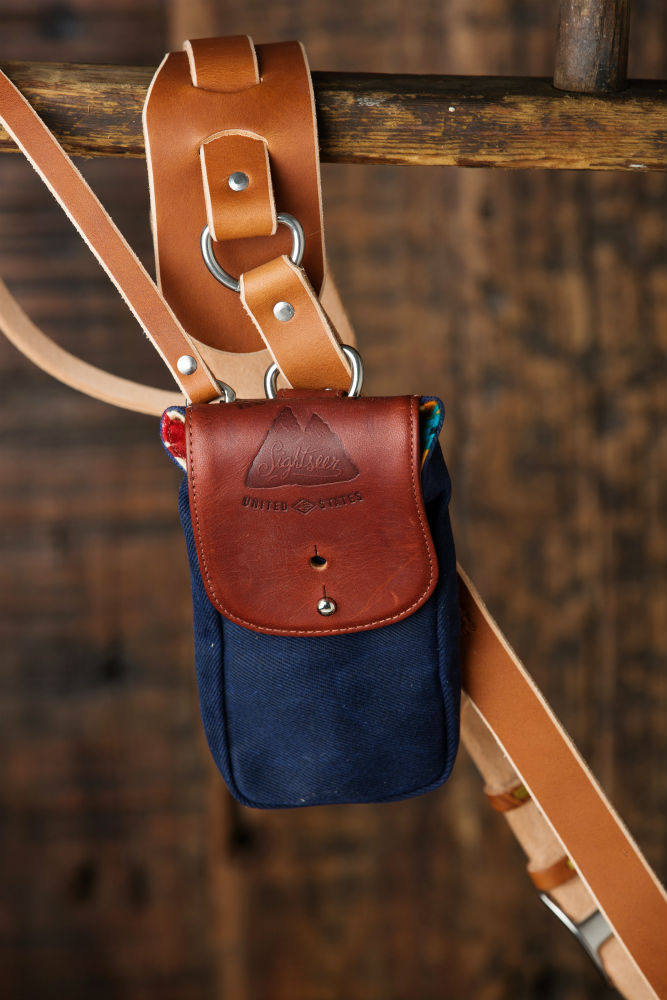
Holdfast simply thought of everything with this strap - including being expandable with the addition of lens pouches (as shown above) or a cell phone pouch.
It’s comfortable, durable, functional, and easy on the eyes, too.
That’s not a bad combination of features for a killer camera strap!
Learn more about the Holdfast MoneyMaker Solo
Learn More:
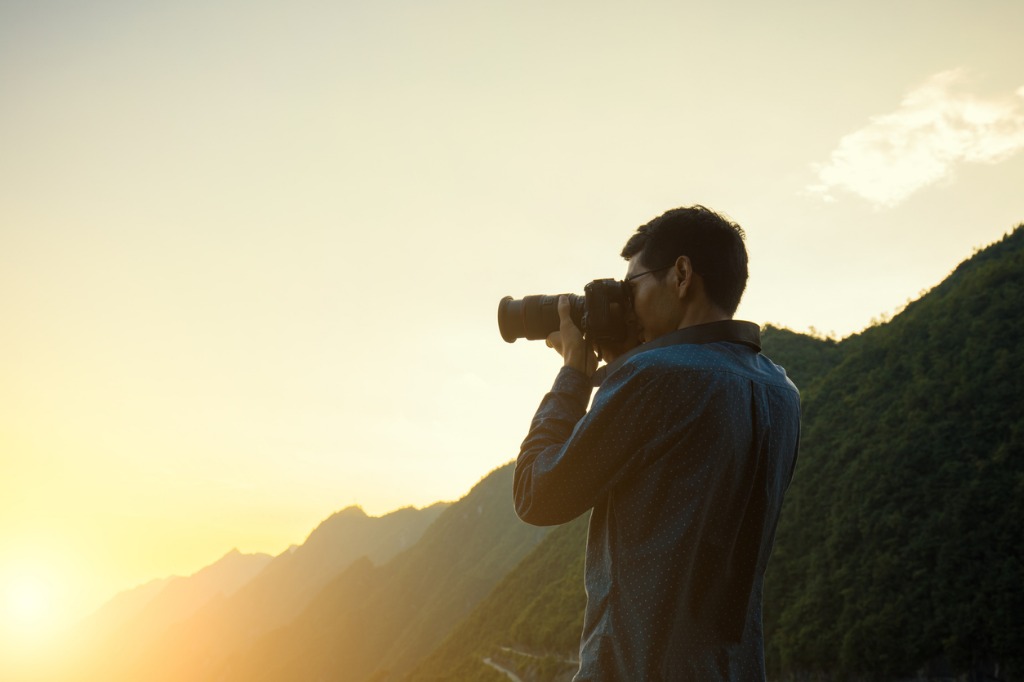
photo by xijian via iStock
There are tons of other cool camera accessories out there that you can add to your camera bag to improve your workflow and get better results.
But for my money, the items on this camera accessories list are the best of the bunch. I’ve used all three extensively and can speak to their value in making better photos and videos!
We Recommend
The Benefits of Filters for Drone Photography

photo byborchee via iStock
Using filters for drone photography isn’t all that different from using filters for more traditional photography here on the ground. And because of that, the benefits of filters for drone photography are quite similar.
But, for the sake of being thorough, let’s review how filters can help you improve the results you get when taking photos with your drone.
Polarizing Filters for Drones

photo byStefan Tomic via iStock
A polarizing filter offers a ton of benefits for your photography, starting with its ability to minimize reflections.
If you’re shooting a landscape and water is involved, the glare of the sun off the surface of the water can be extremely distracting. But with a polarizing filter, that glare is minimized so the viewer gets a better look at the beauty captured in the shot.

photo byMariusz Switulski via iStock
Likewise, polarizers help increase the contrast in the sky, making the atmosphere a deeper blue and clouds brighter white. It can add a nice degree of pop to a landscape photo.
On top of that, polarizers reduce atmospheric haze. This is important for drone photography because sometimes distant elements in the landscape can look a little hazy. But with a polarizer on your drone’s lens, that haze is all but eliminated, resulting in a cleaner, crisper shot.
The primary difference between a polarizer for a drone and a polarizer for your normal camera is that when you’re using a normal camera, you can easily adjust the polarizer’s strengths. This is obviously not possible when the polarizer is flying around attached to your drone.
Instead, you have to preset the polarizer before you launch the drone and hope that whatever setting you chose on the polarizer works for the shots you want.
Neutral Density Filters for Drones

photo byzsv3207 via iStock
Along with polarizers, neutral density filters are the most commonly used filters for drone photography.
An ND filter’s task is to block light. The amount of light it blocks depends on its strength. For example, an ND4 filter reduces the amount of light entering the lens by two stops. However, an ND16 filter reduces the amount of light by four stops. This means that with an ND4 you can slow the shutter speed from 1/100 seconds to 1/25 seconds, and with an ND16 you can slow the shutter from 1/400 seconds to 1/25 seconds.
But why would you want to do this?

photo byMongkolChuewong via iStock
Extending the shutter speed allows you to create long exposure images in which the movement of things like clouds, water, and cars is blurred. Today’s drones have incredibly sophisticated stabilization systems that make taking long exposures possible.
Likewise, having the ability to extend the shutter speed can help you shoot better video.
Let’s say you’re out filming on a sunny afternoon. If you relied simply on the camera settings, you’d have to use a very fast shutter speed to prevent the video from being overexposed. The problem is that a fast shutter speed gives video a very choppy look. This is where an ND filter comes in.
By blocking some of that sunshine, you can extend the shutter speed and create a video that has smooth action and a much more cinematic look.
ND-Polarizer Filters for Drones

Some companies, like Haida, have developed ND-polarizer hybrids (shown above) that give you the best of both worlds in a single filter.
There are many advantages of using this type of filter, not the least of which is that you don’t have to swap one filter out for another. Instead, you can leave the same filter on the drone’s lens whether you need to extend the shutter speed or you want to minimize glare.

Another benefit is that you don’t have to stack filters.
Rather than overloading the drone’s gimbal with the extra weight of a second filter, these ND-polarizer combo filters enable you to get the effects you need without compromising the performance of the drone’s camera system.

I have this 3-pack ND-polarizer filter kit from Haida for the DJI Mavic Air 2.
These filters have impressed me with the high-grade build quality that includes K9 optic glass for the ultimate in sharpness.
And since the frames of the filters are made with aerospace aluminum, they’re both strong and super lightweight. They’re also waterproof and have 10 layers of coatings to protect against scratches, water and oil, and reflections.

The kit includes a 3-stop, a 4-stop, and a 5-stop ND-polarizer so I have wide latitude for creating the specific looks in my photos and videos that I’m after.
Getting top-quality images and videos with your drone requires a lot more than having filters on the camera’s lens. But as we’ve discussed here, there are plenty of benefits of investing in a good set of drone filters. So far, I’m really impressed with this Haida filter pack - give it a shot and see for yourself!
We Recommend
The Best Drone Under $1,000: The DJI Mavic Air 2

You might have noticed that I've been doing a lot of articles and videos lately about drones. A big reason for that is having the opportunity to test the DJI Mavic Air 2 and dji mavic pro accessories.
While I've tested tons of drones over the years, my favorite is the DJI Mavic 2 Pro. For my needs, it has the best blend of photography and videography capabilities of any drone in the DJI lineup.
But...
I have to say that I have been absolutely blown away by the capabilities of the Mavic Air 2, particularly when it comes to still photography. But the most surprising part is this - I owned the original Mavic Air, and it sucked! I hated it so much that I sent it back within a couple of weeks. That should indicate to you how much time and effort that DJI put into improving the Mavic Air 2.

In fact, in the time I've had the Mavic Air 2 in my hot little hands, I've come to the conclusion that it is the best drone you can buy for less than $1,000. In many regards, this drone hits way above its weight class. And, honestly, with the exception of a couple of things, it goes toe to toe with the Mavic 2 Pro very well.
So, what specifically makes the Mavic Air 2 such a great drone? Let's take a look at some of its best features.
For more information or to buy a DJI Mavic Air 2, click here.
The 48-Megapixel Sensor
As I discuss in the video above, the Mavic Air 2 still only has a 1/2-inch sensor, but it's a 48-megapixel Quad Bayer sensor that gives the drone far better photo capabilities. In fact, if I had to choose between the Mavic Air 2 and the Mavic 2 Pro strictly for photography purposes, I'd choose the Mavic Air 2.
You can zoom in for a tighter shot without worrying about a ton of noise. Likewise, when you're processing the images, you can really appreciate the incredible detail, clarity, and colors in the photos.
It also helps that you can take 12-megapixel images or opt for using the full resolution of the camera to take 48-megapixel images when necessary!
The Battery Life

One of the absolute worst features about the original Mavic Air was its flight time. I could scarcely keep it in the air for 20 minutes...
But the mad scientists at DJI figured out how to wrestle more time out of the battery - a lot more time, in fact.
The Mavic Air 2 is rated for a flight time of 34 minutes (under ideal conditions, of course). I've been able to meet that mark on the few occasions lately when the wind wasn't ripping around.
Even with the vast improvement in battery life, I would still invest in a second (or third) battery. But the fact that the Mavic Air 2 improved so much in this department and can now stay in flight longer than the Mavic 2 Pro says a lot about how good this drone is.
Editor's Tip: Ready to upgrade to the Mavic Air 2 but don't have enough cash? Sell your old drone and use the proceeds to help finance the Mavic Air 2! By selling your old drone and other photography gear on Gear Focus, you can clean out your collection of gear while making money to buy new. Selling on Gear Focus couldn't be easier, either. Just sign up for a free account, create a free listing, and when your item sells, you pay the lowest seller fees out there - just 3.5%! Get started selling your old gear today.
Hyperlapse Options
As I explain in the video above, the Mavic Air 2 has four - yes FOUR! - hyperlapse intelligent flight modes: Free, Circle, Course Lock, and Waypoint.
Though they aren't all at the same level in terms of ease of use or intuitiveness (I'm looking at you, Waypoint...) they all provide you the opportunity to create some truly compelling footage.
On top of that, the Mavic Air 2 allows you to shoot in 8K when you're in hyperlapse mode. The detail you can get in 8K is really awesome.
I'll admit that it's weird there's no 4K hyperlapse option - just 8K and 1080p. But I'd rather have 8K than 4K!
The Remote
I fully admit that if I had to choose between the Mavic Air 2 remote and the Mavic 2 Pro remote, I'd choose the latter.
However...
That doesn't mean that the Mavic Air 2's redesigned remote isn't completely badass.
I love that DJI concealed the antennas to help give this big remote a smaller form factor. I also like that the joysticks are removable and that you can stow them away in the bottom of the remote. It makes storing the remote and removing it from my bag much easier.
I also really like the way the phone seats on top of the remote. On the original Mavic Air, I felt like I had to fight the controller to get the phone to seat properly. That's certainly not the case now.
This remote will charge your phone, and if I'm honest, I like how it looks as well.
For more information or to buy a DJI Mavic Air 2, click here.
There's Awesome Accessories

Even though the Mavic Air 2 is brand-new, there are already a host of awesome accessories you can buy to boost its functionality.
For instance, Haida makes ND/polarizer filters for the Mavic Air 2 that allow you to take long exposures and control the shutter speed as you film videos.
What's so great about these combination filters is that you don't have to mess around with multiple filters - you get the best of both worlds in one filter.
That means you can control glare with the polarizer while extending the shutter speed with the ND at the same time.
This kit comes with 3-stop, 4-stop, and 5-stop options so you have much-improved flexibility in how you use your drone for photo and video purpose.
They're inexpensive too! At less than $50, these filters are a steal for your Mavic Air 2.
Mavic Air 2 Price
All of the features I list above make the Mavic Air 2 well worth the price of admission. But when you add what I consider to be a bargain-basement price to the list, this drone becomes an even better buy.
At $799, it's half the price of a Mavic 2 Pro at the moment. But you don't get half the drone for that price. As I noted earlier, the Mavic Air 2 goes toe to toe with the Mavic 2 Pro in virtually every category.
In fact, as I see it, the only categories in which the Mavic 2 Pro beats the Mavic Air 2 is in video quality, the controller experience, stability in flight, and speed.
I'm not trying to bash the Mavic 2 Pro here. After all, it is my favorite drone of all time. But I'm trying to give context to just how good the Mavic Air 2 is. If it can play with the big boys this well at this price point, it's hard to argue against the notion that it's the best drone for under $1,000!
We Recommend
The Best of 2020
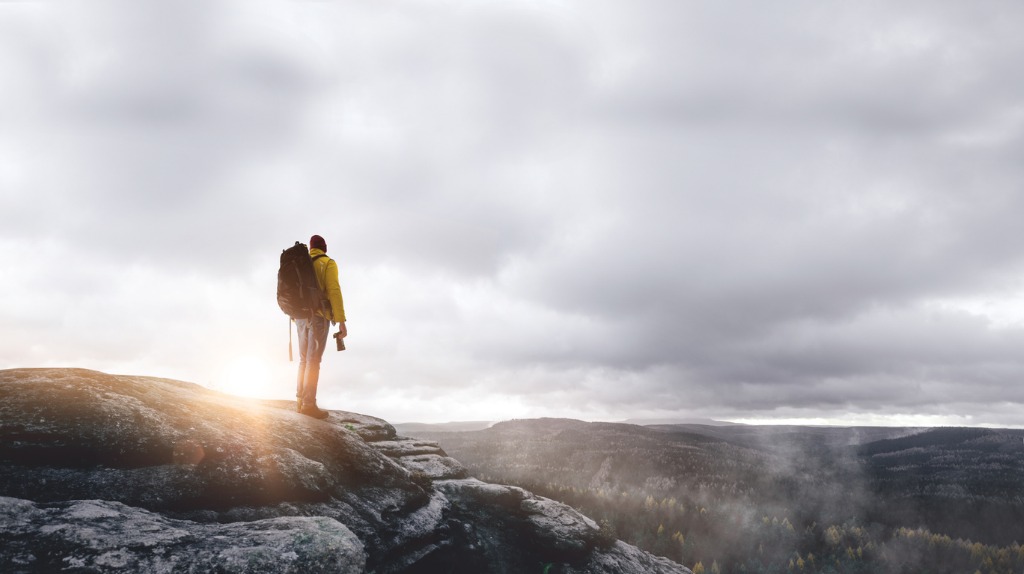
Photo by Marcus Millo via iStock
Each year I buy and test a ton of photography gear. And a lot of that gear is really good stuff that impresses me from moment one.
But a small percentage of that gear falls into the "innovative" or "game-changer" category. It's hard to be on the leading edge, yet the companies on this list have managed to plant themselves firmly at the forefront.
Below is my list of the Best of 2020. From bags to cameras, filters to monitors, there is something for everyone on this list.
Let's get to it!
Hex Brand Ranger Sling Bag
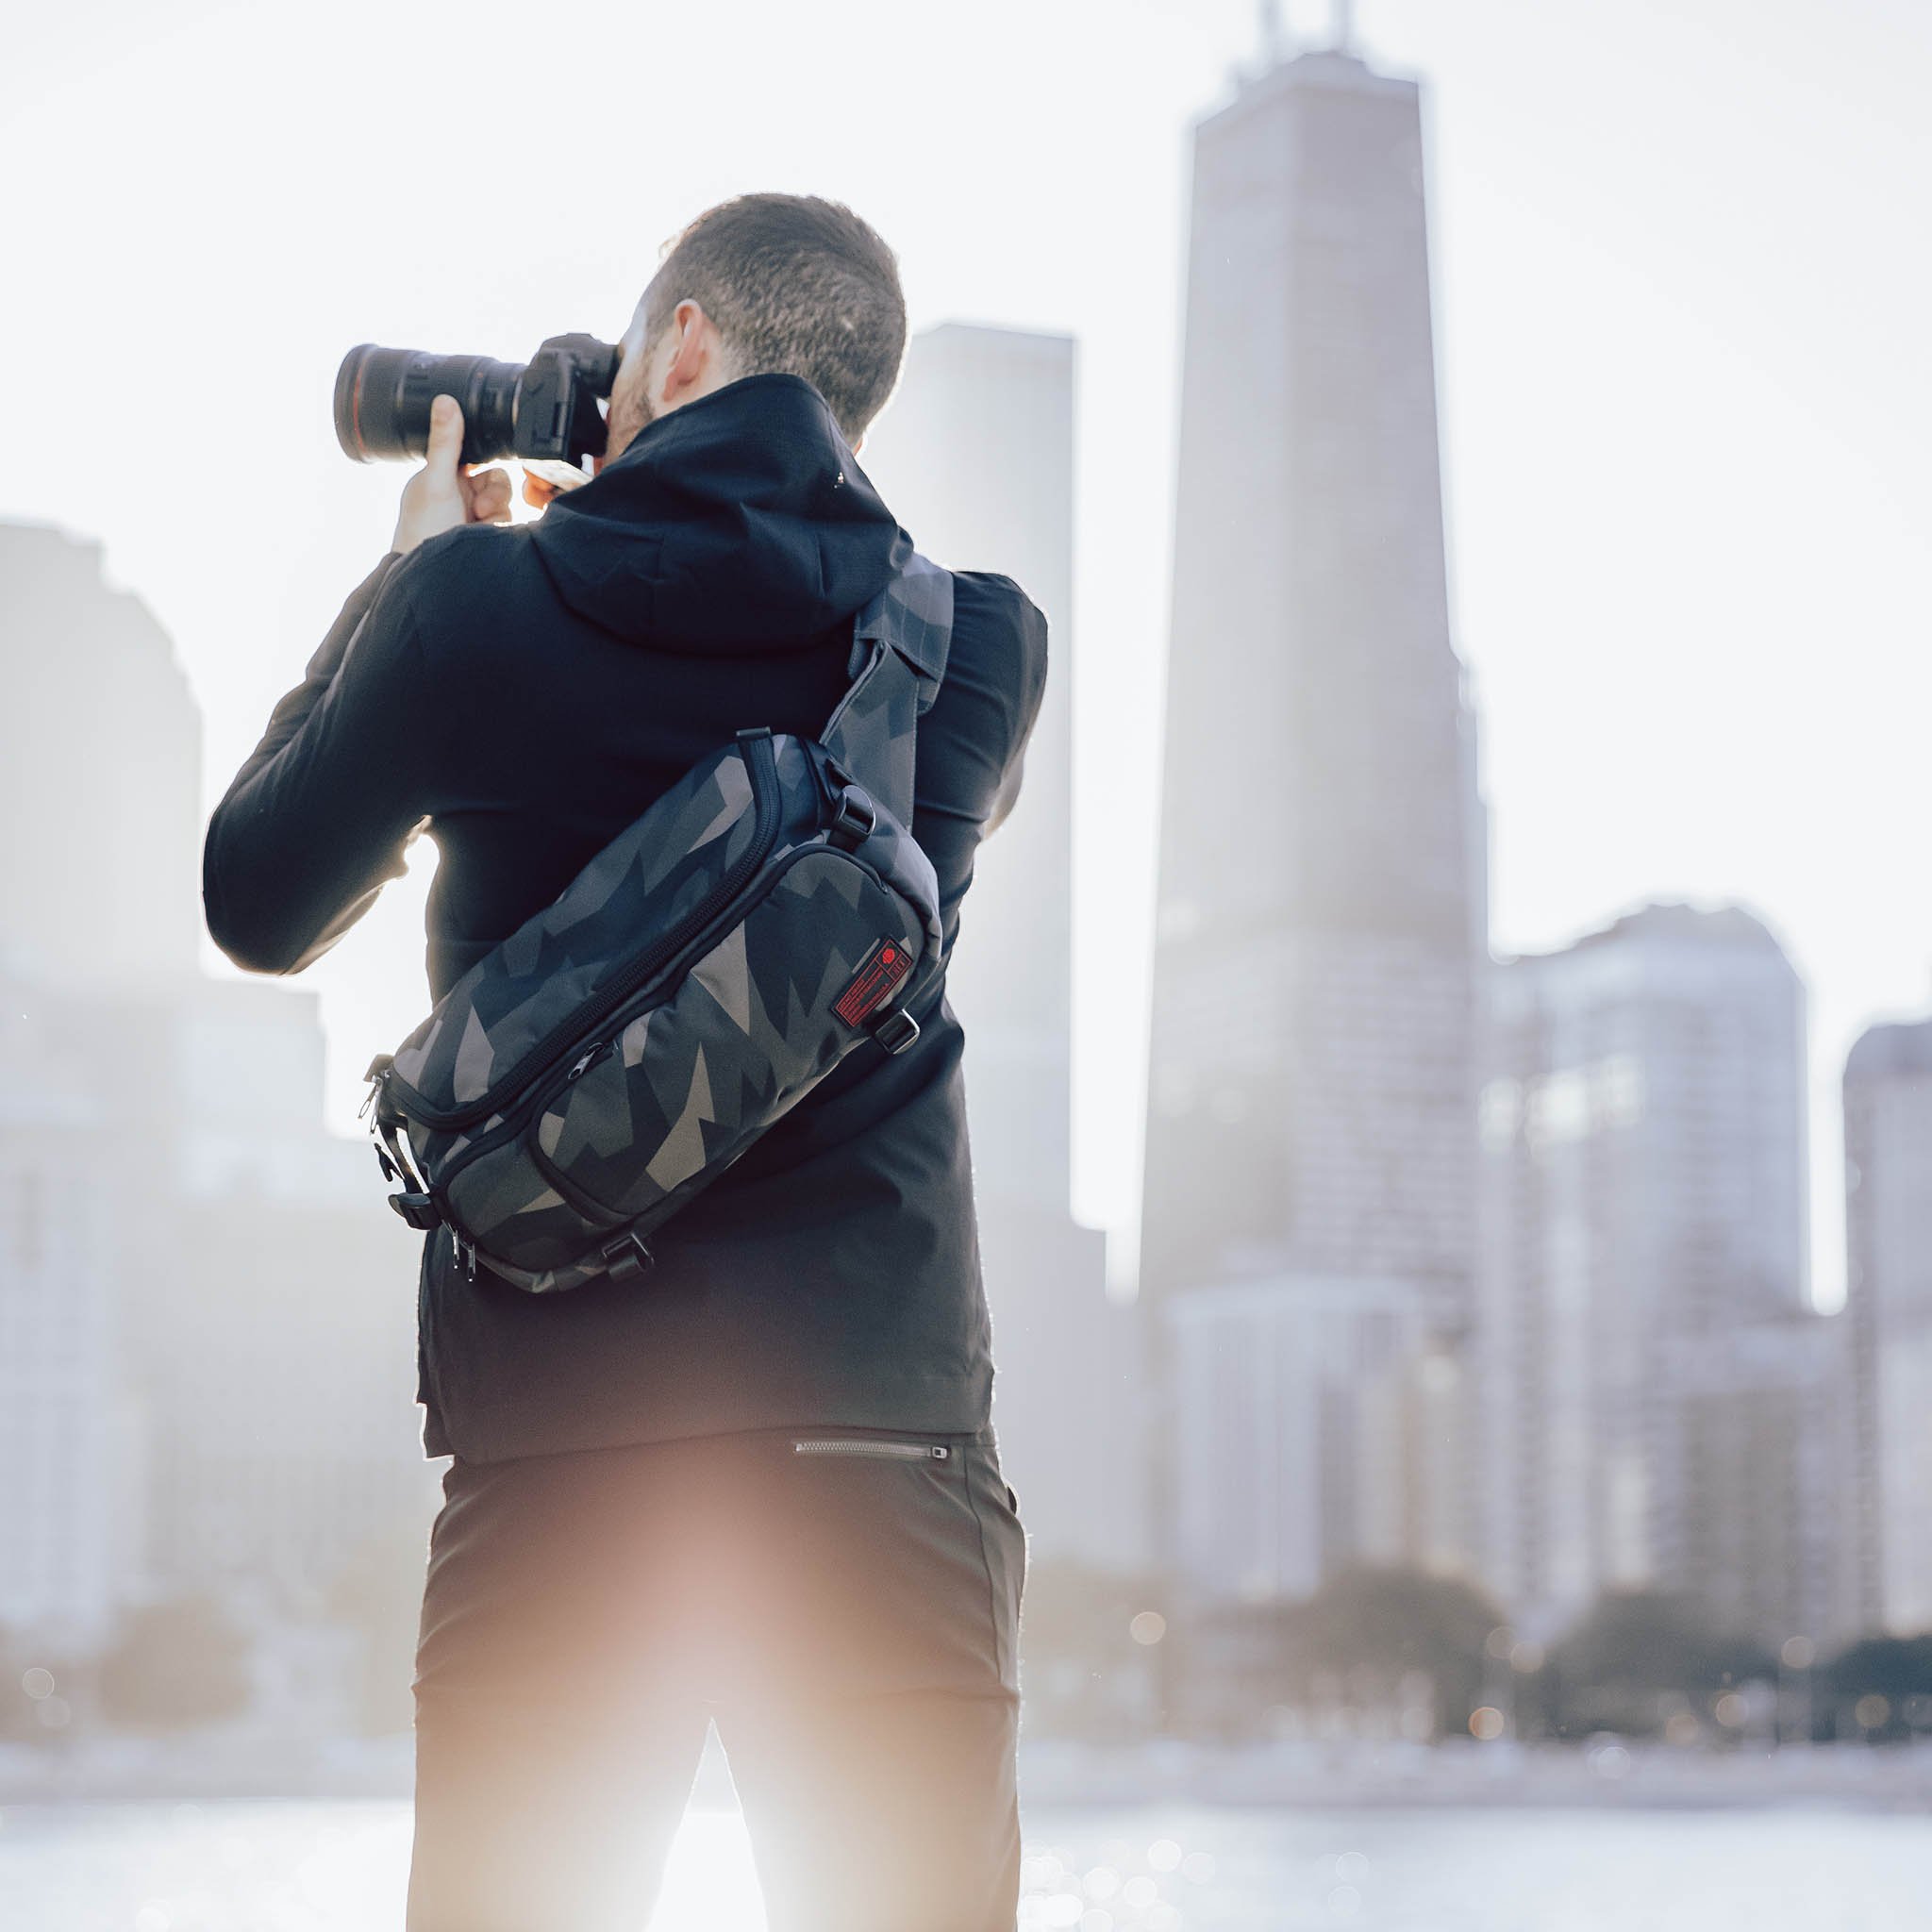
You might recall that the HEX Ranger Sling Bag was on my Best of 2019 list.
The new-and-improved Version 2 has appeared on this list because, just like its predecessor, it is an absolutely fantastic bag.
I remember when I brought this bag home for the first time just how impressed I was with it in every aspect.
The design of it is spot-on. It's big enough to hold eight liters of gear, but the way it's designed it hugs your body.
So, this means that you get all the room you need for quick photography outings, but in a bag that doesn't flop around or get in the way.
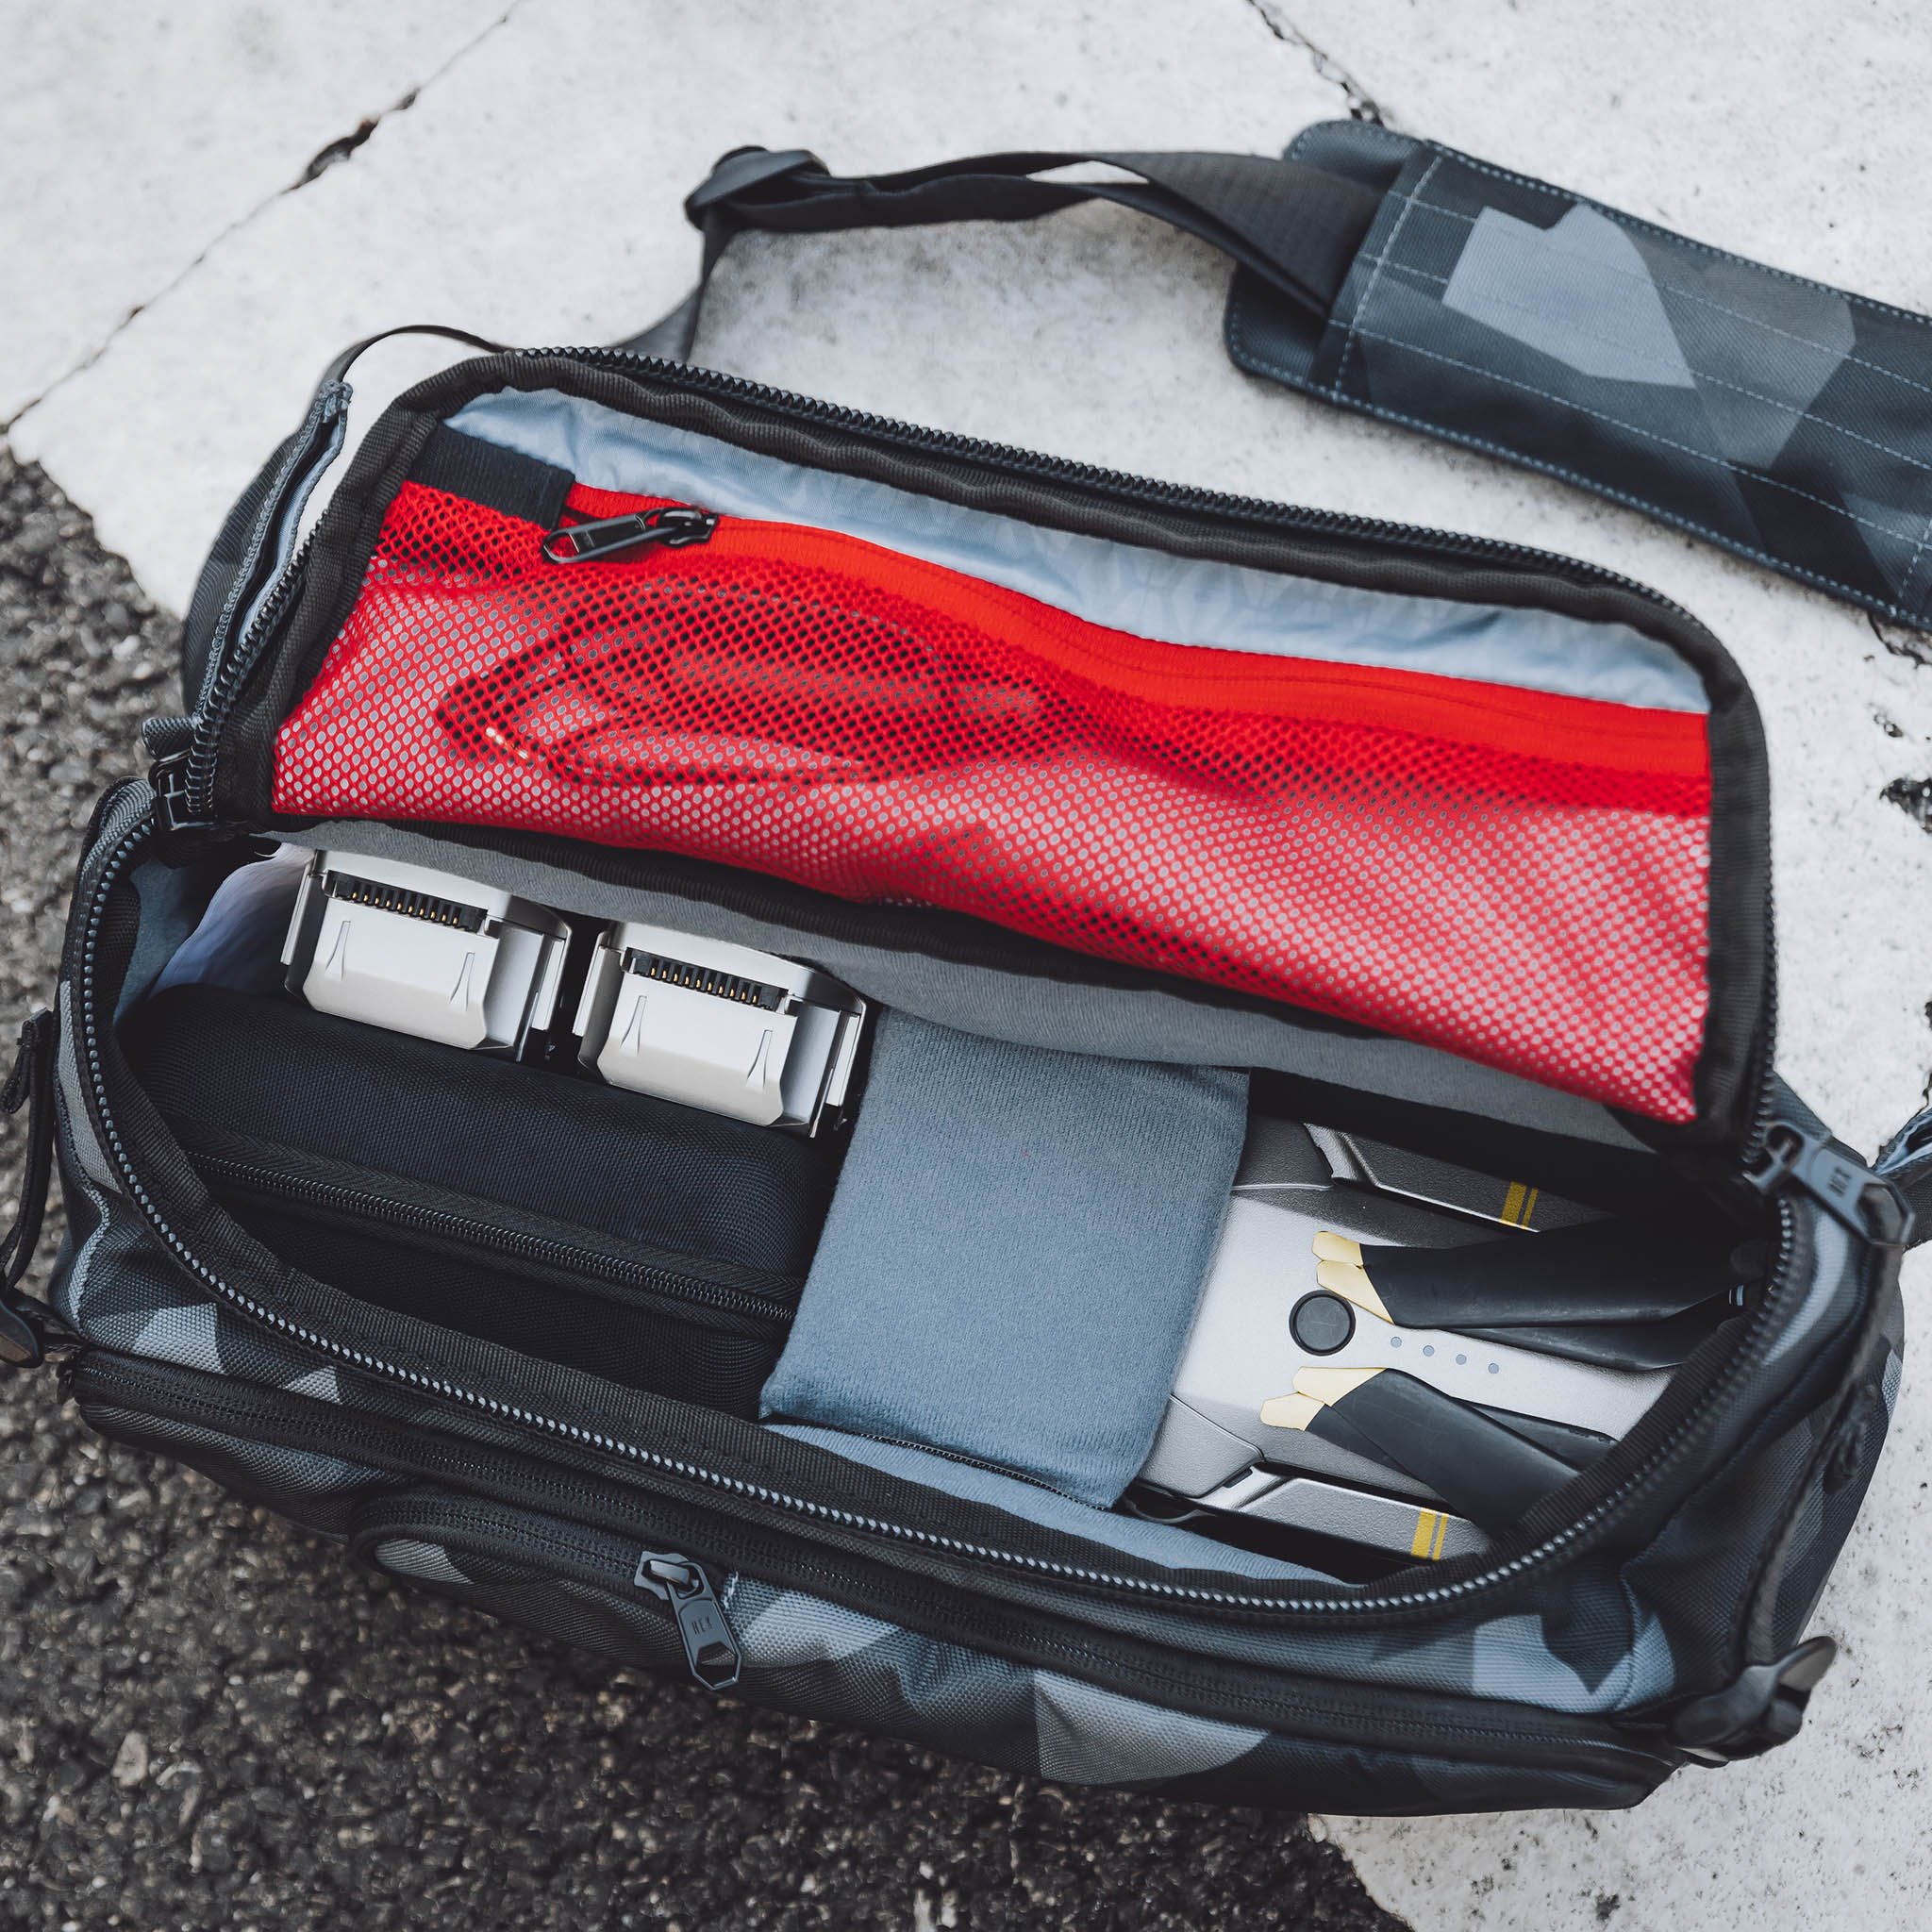
In fact, I've never owned a bag that conforms to my body as well as this one does. It's perfect for running and gunning, street photography, and trips where long hikes are involved.
Additionally, when you look at the stitching of this bag you really see the attention to detail.
It's thoughtfully constructed - and well-constructed too - which makes it a bag that works well for multiple purposes (and will work well for years to come).
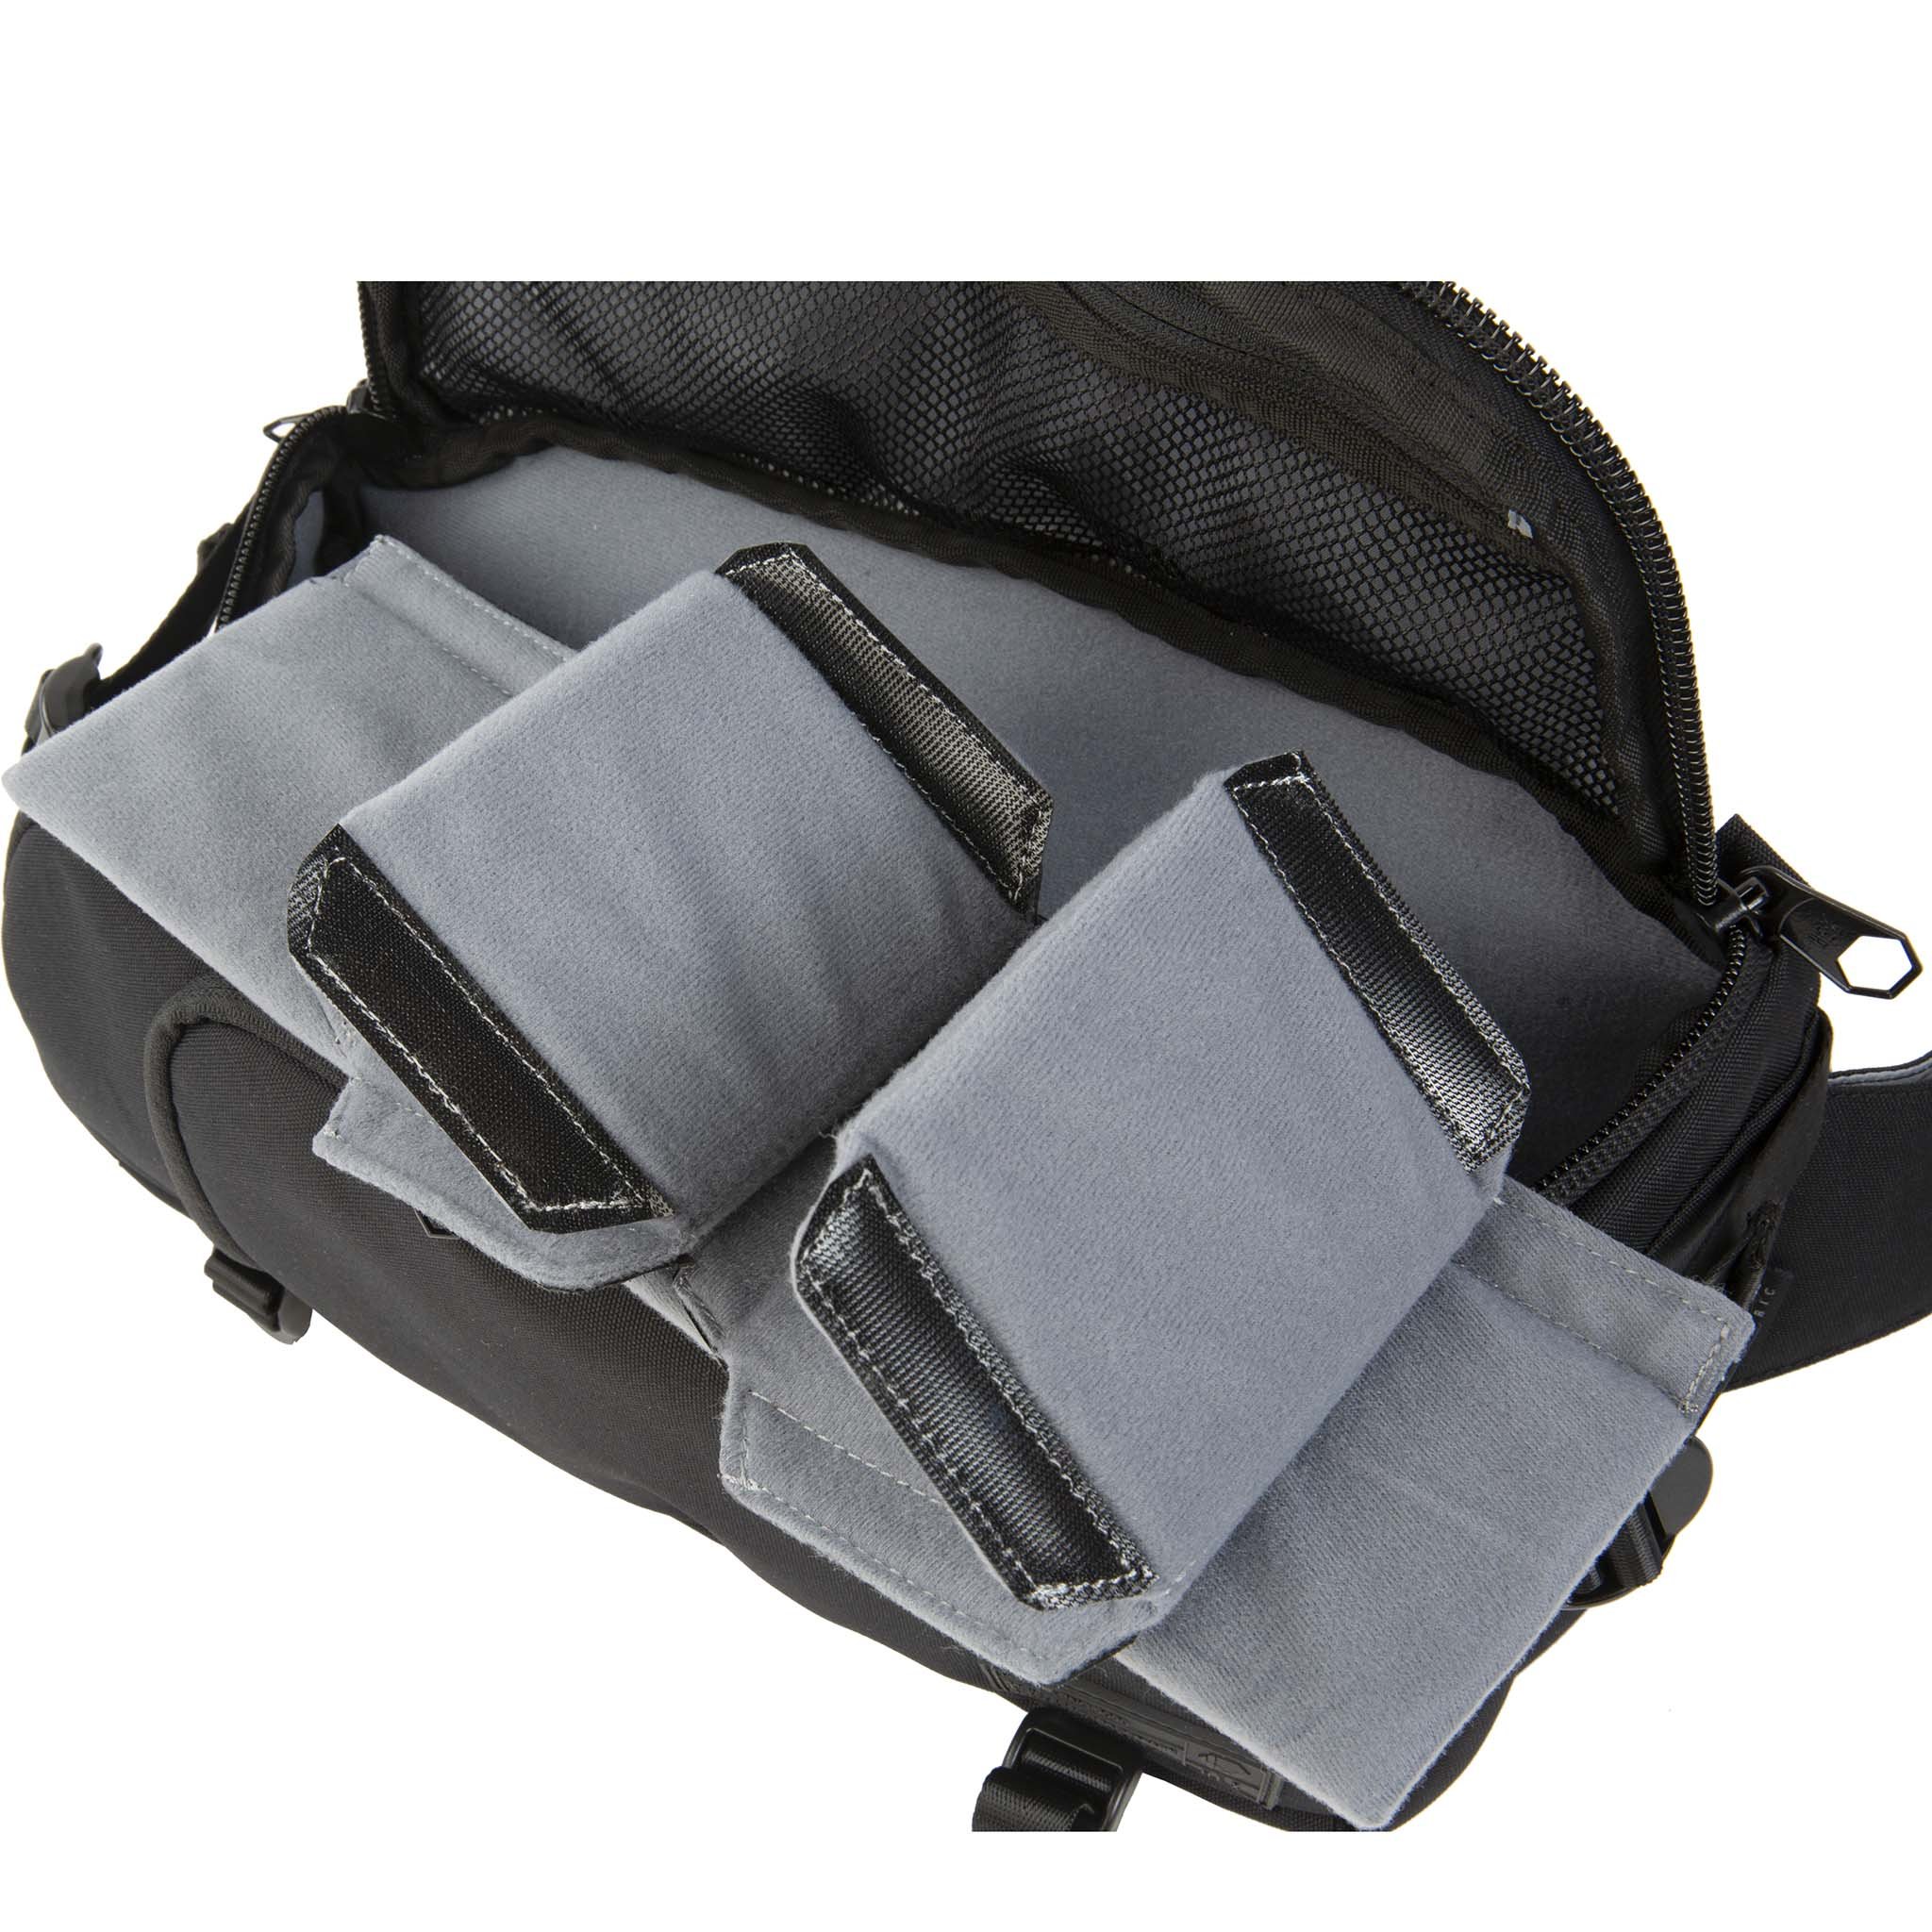
Another feature of this bag that's truly a home run is the collapsible interior dividers.
Having these dividers means a couple of important things. First, this bag is incredibly packable. It packs completely flat so you can stash it inside your carry on or another bag with ease.
Second, the collapsible dividers (which includes the bottom divider) mean you can completely customize the interior compartment to meet the needs of each individual photography outing. Not bad, right?
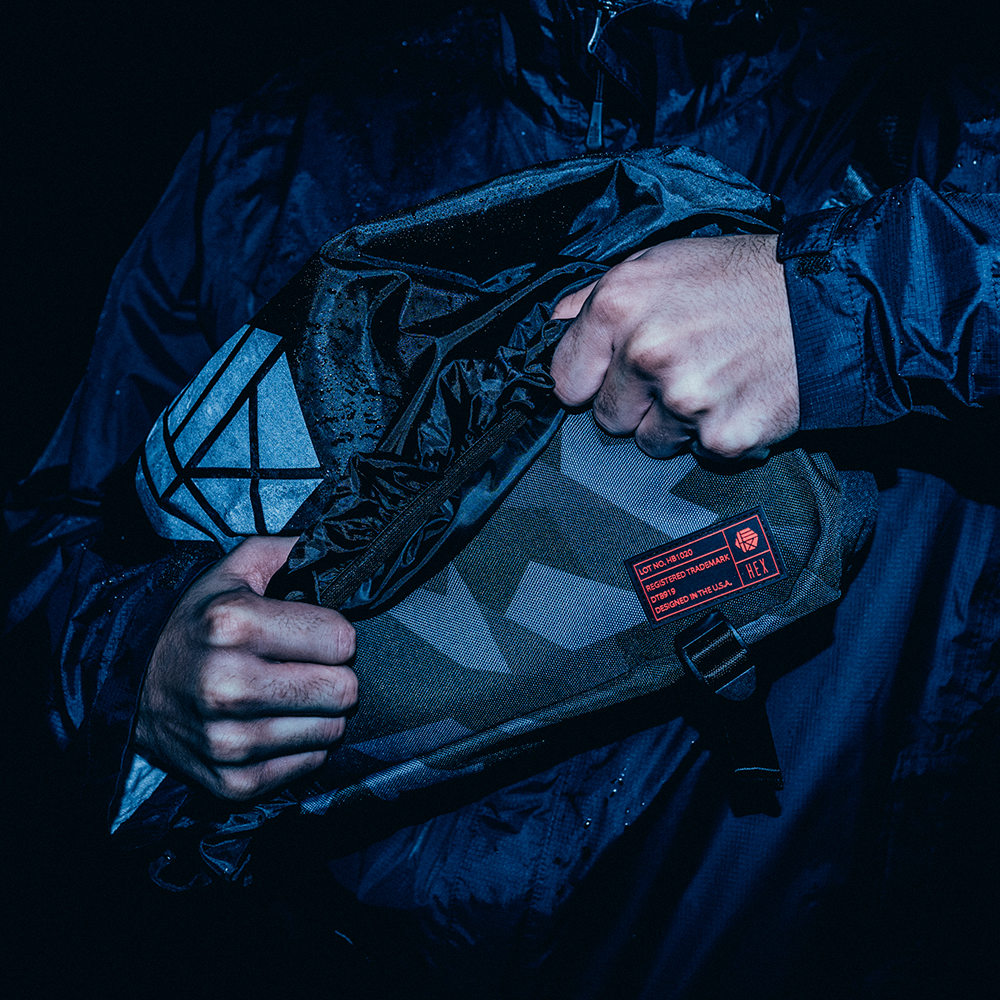
This bag has loads of other features that make it so useful for so many photographers...
There's a hideaway rain fly (shown above) for those drizzly days out shooting and increased padding on the top lid for added protection.
HEX also added more padding to the shoulder pad for added comfort and a double buckle strap that allows for more sizing options.
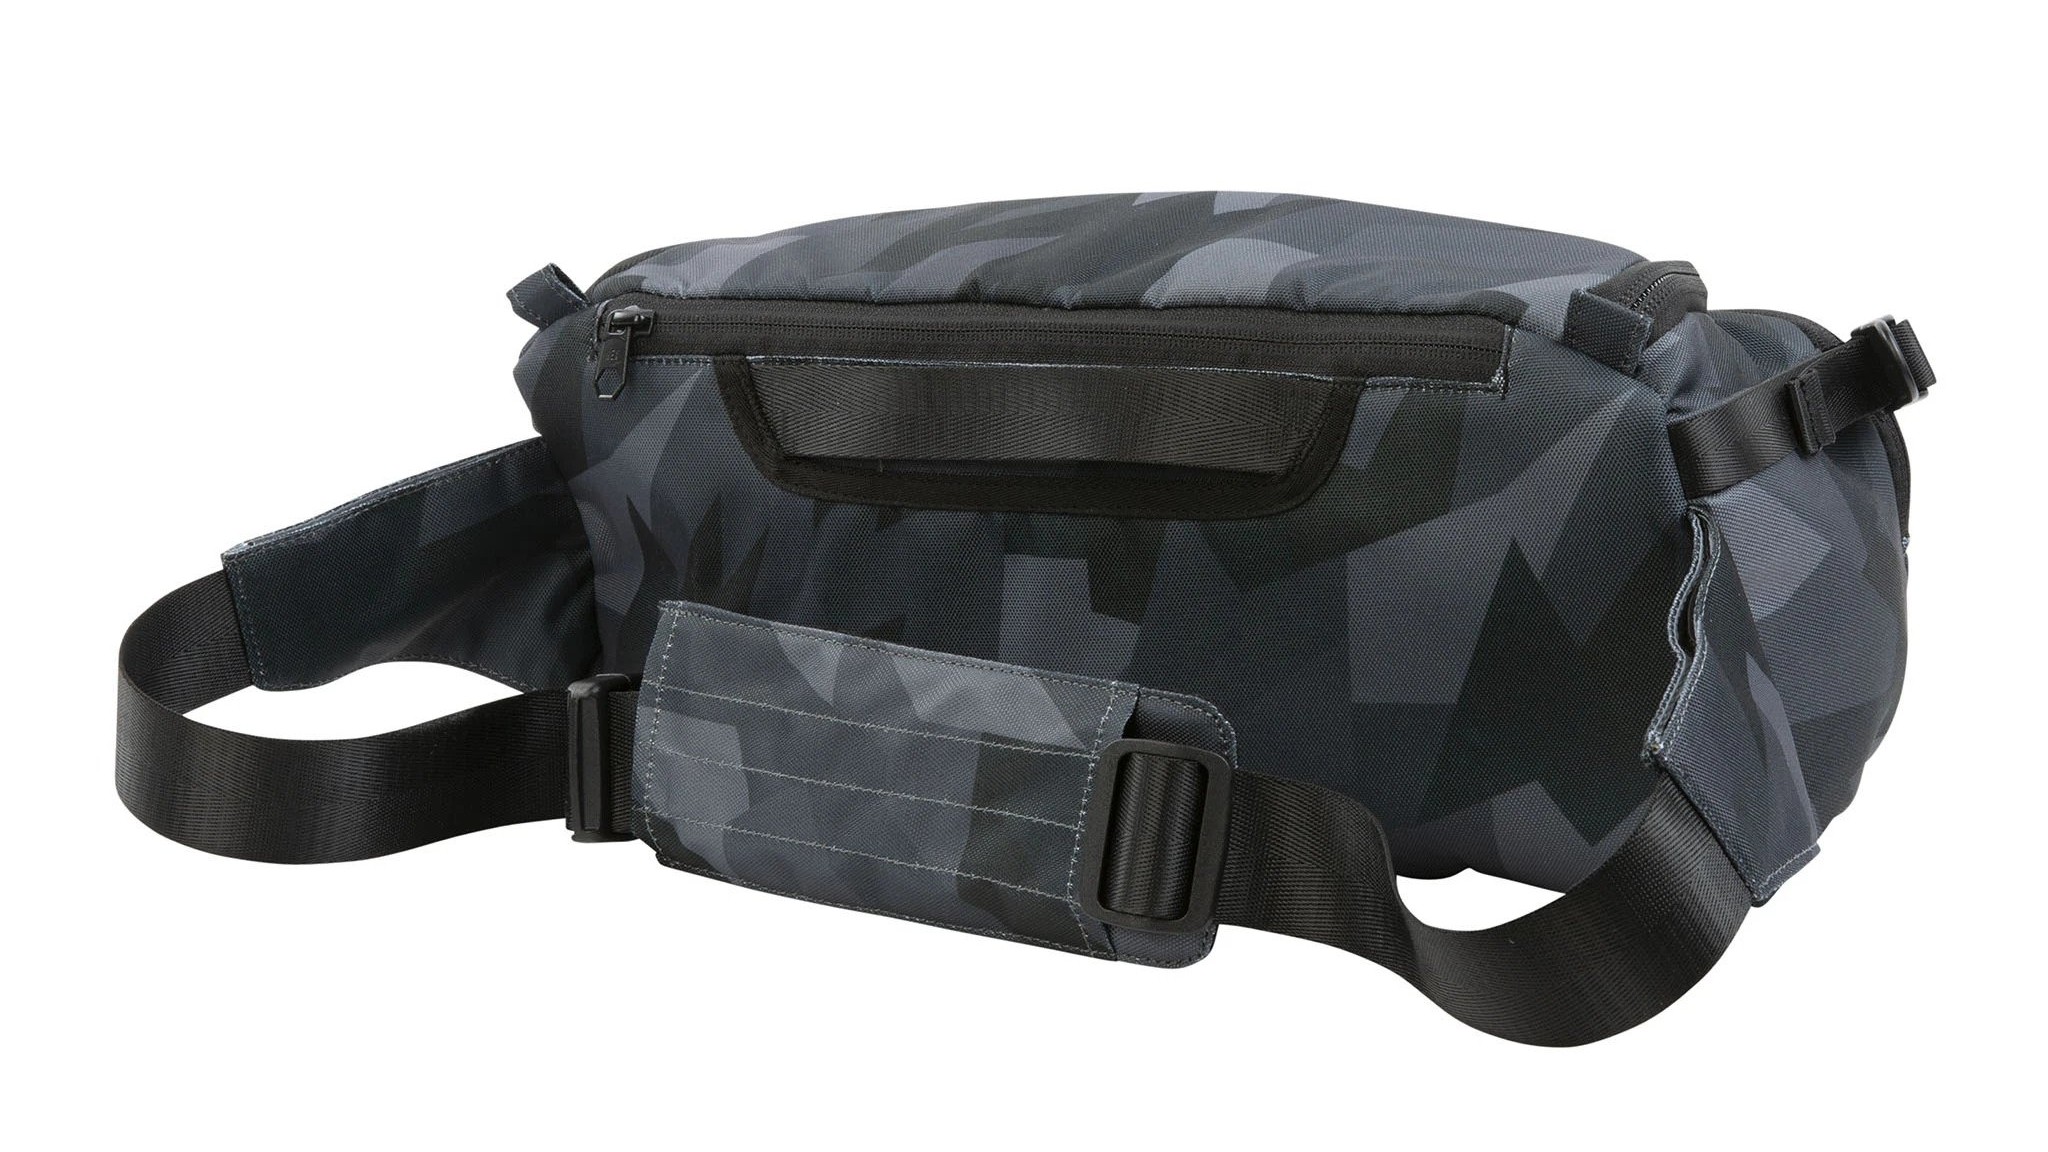
There are also side adjustable load straps and an adjustable bottom carry straps so you can carry your tripod or other gear if need be.
On the inside, you'll find pockets galore to keep your small items like memory cards neatly organized. Add to that a faux fur-lined pocket for your phone, another faux fur-lined pocket for your tablet, and multiple hidden Velcro stash pockets that are perfect for hiding your credit card or cash.
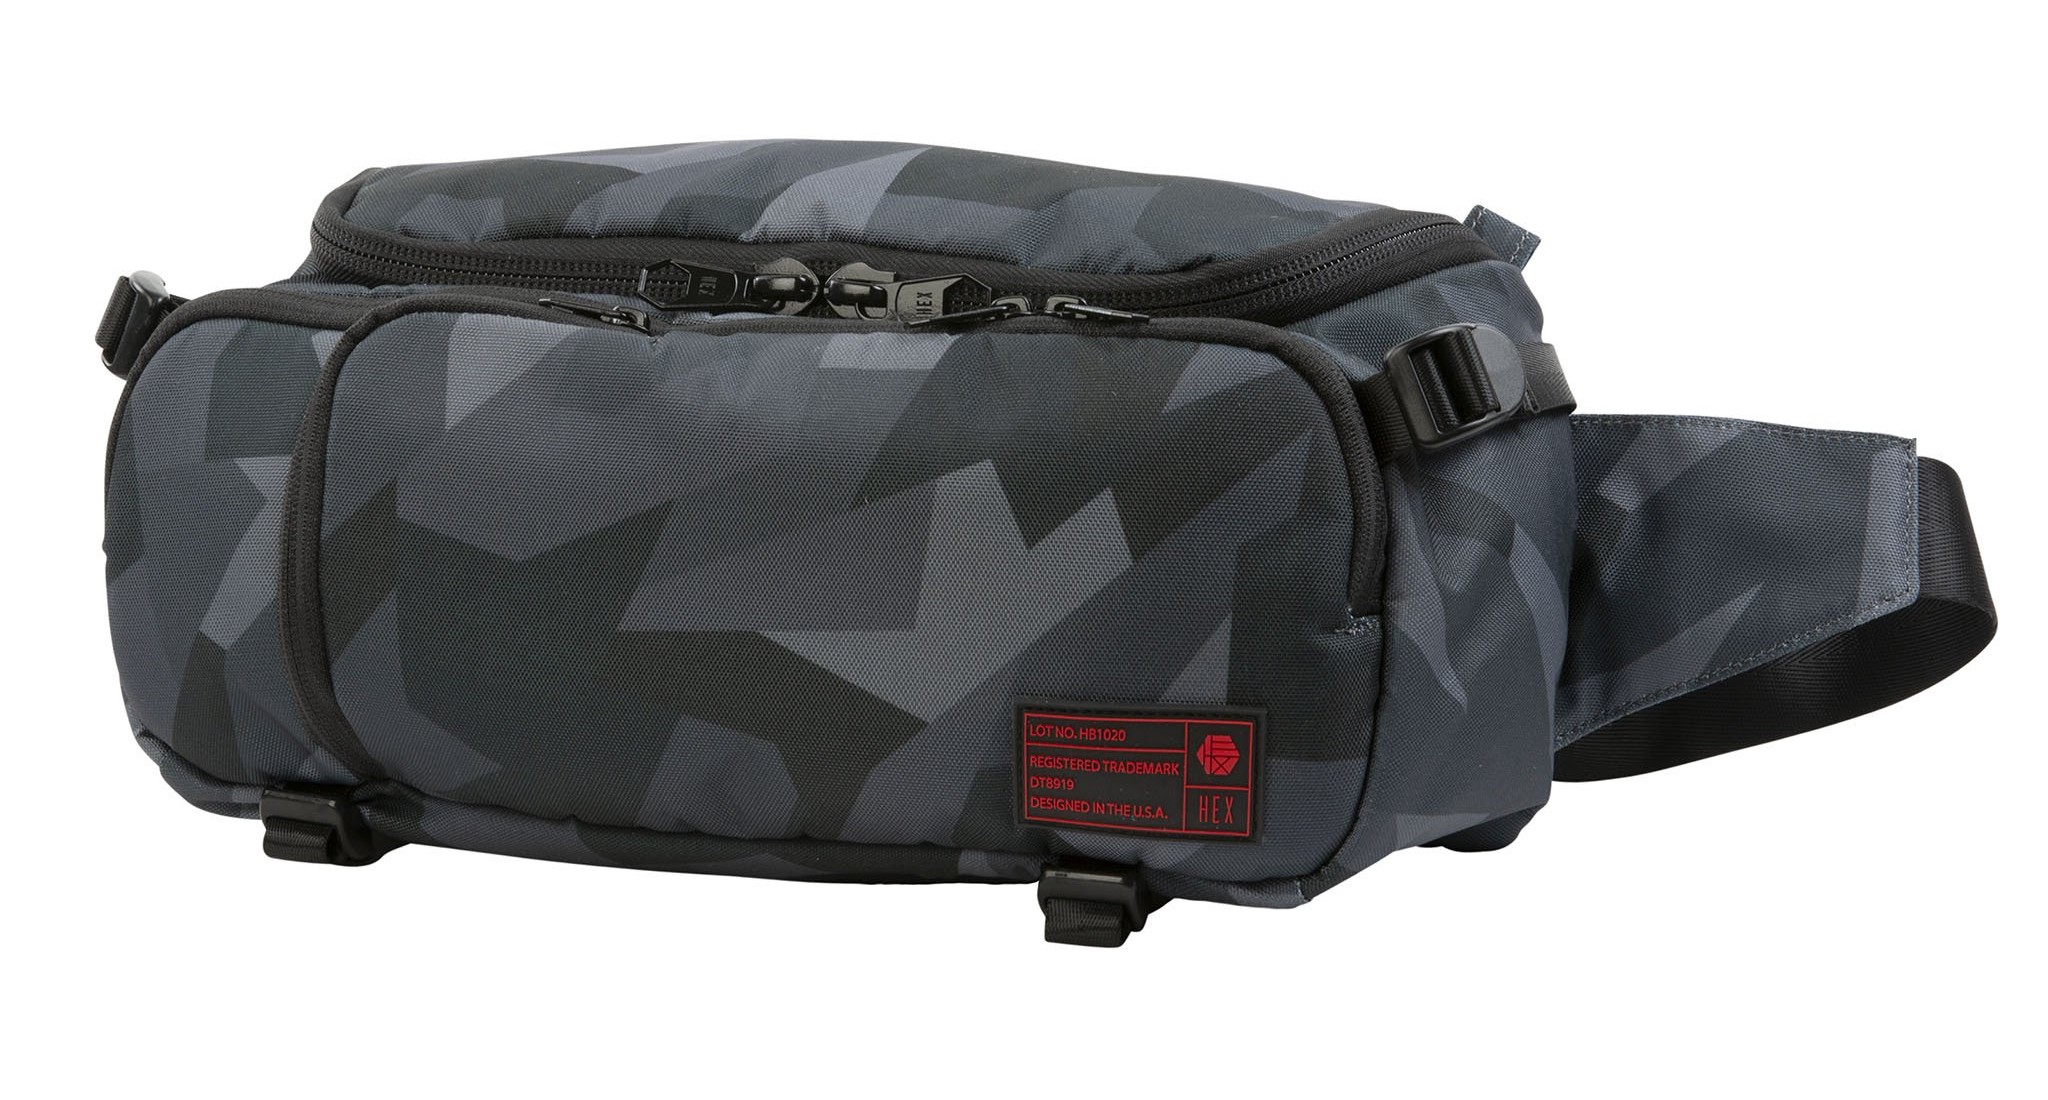
Back to the exterior, you'll find that it's made of genuine Cordura material for supreme durability. There are genuine YKK zippers with metal pulls as well, so you can rest assured that the bag will withstand years of use.
Between the streamlined design, the impeccable construction, the smart use of space, and the price tag of less than $100, you should be able to understand why this bag took top honors on my Best of 2020 list!
Learn more about the HEX Ranger Sling V2
ViewSonic VP3881 38-Inch Ultra-wide Curved Monitor

I have always used laptops for work simply because I want the mobility of being able to take my work with me when I travel.
So that means I need a larger monitor for my home office, that way I'm not staring at the tiny laptop screen all day.
Earlier this year, I upgraded my home office with a ViewSonic VP3881 38-inch ultra-wide curved monitor, and man, was that ever a good decision!
I had been an LG monitor user for years and years, but I decided to give ViewSonic a try after hearing so many good things about their 38-inch widescreen monitor.
When ViewSonic says the curved widescreen design is an "immersive...curved viewing experience," they aren't kidding.
This thing has impeccable colors, gorgeous detail, and superb sharpness.
The 60Hz SuperClear IPS technology makes the viewing experience incredibly pleasant...even when I'm staring at the monitor all day long.
The monitor has multiple color spaces plus a 4.39-trillion color display. It has 14-bit LUT and 3D LUT capabilities as well. I also appreciate the simple calibration setup, that way I can quickly and easily make sure that the display matches the colors in my images files.
The frameless design means there isn't a huge bezel to look at, which I also appreciate. And with ViewSonic's ViewSplit technology, I can create multiple viewing windows to give my productivity a boost.
Add in U.S-based customer service and a three-year warranty, and you begin to see why I've put this monitor on my Best of 2020 list. It truly is the best monitor I've had the pleasure of using! Get more details about this monitor and how it's impacted my workflow in the video above.
Learn more about the ViewSonic VP3881 38-Inch Ultra-Wide Curved Monitor
H&Y REVORING
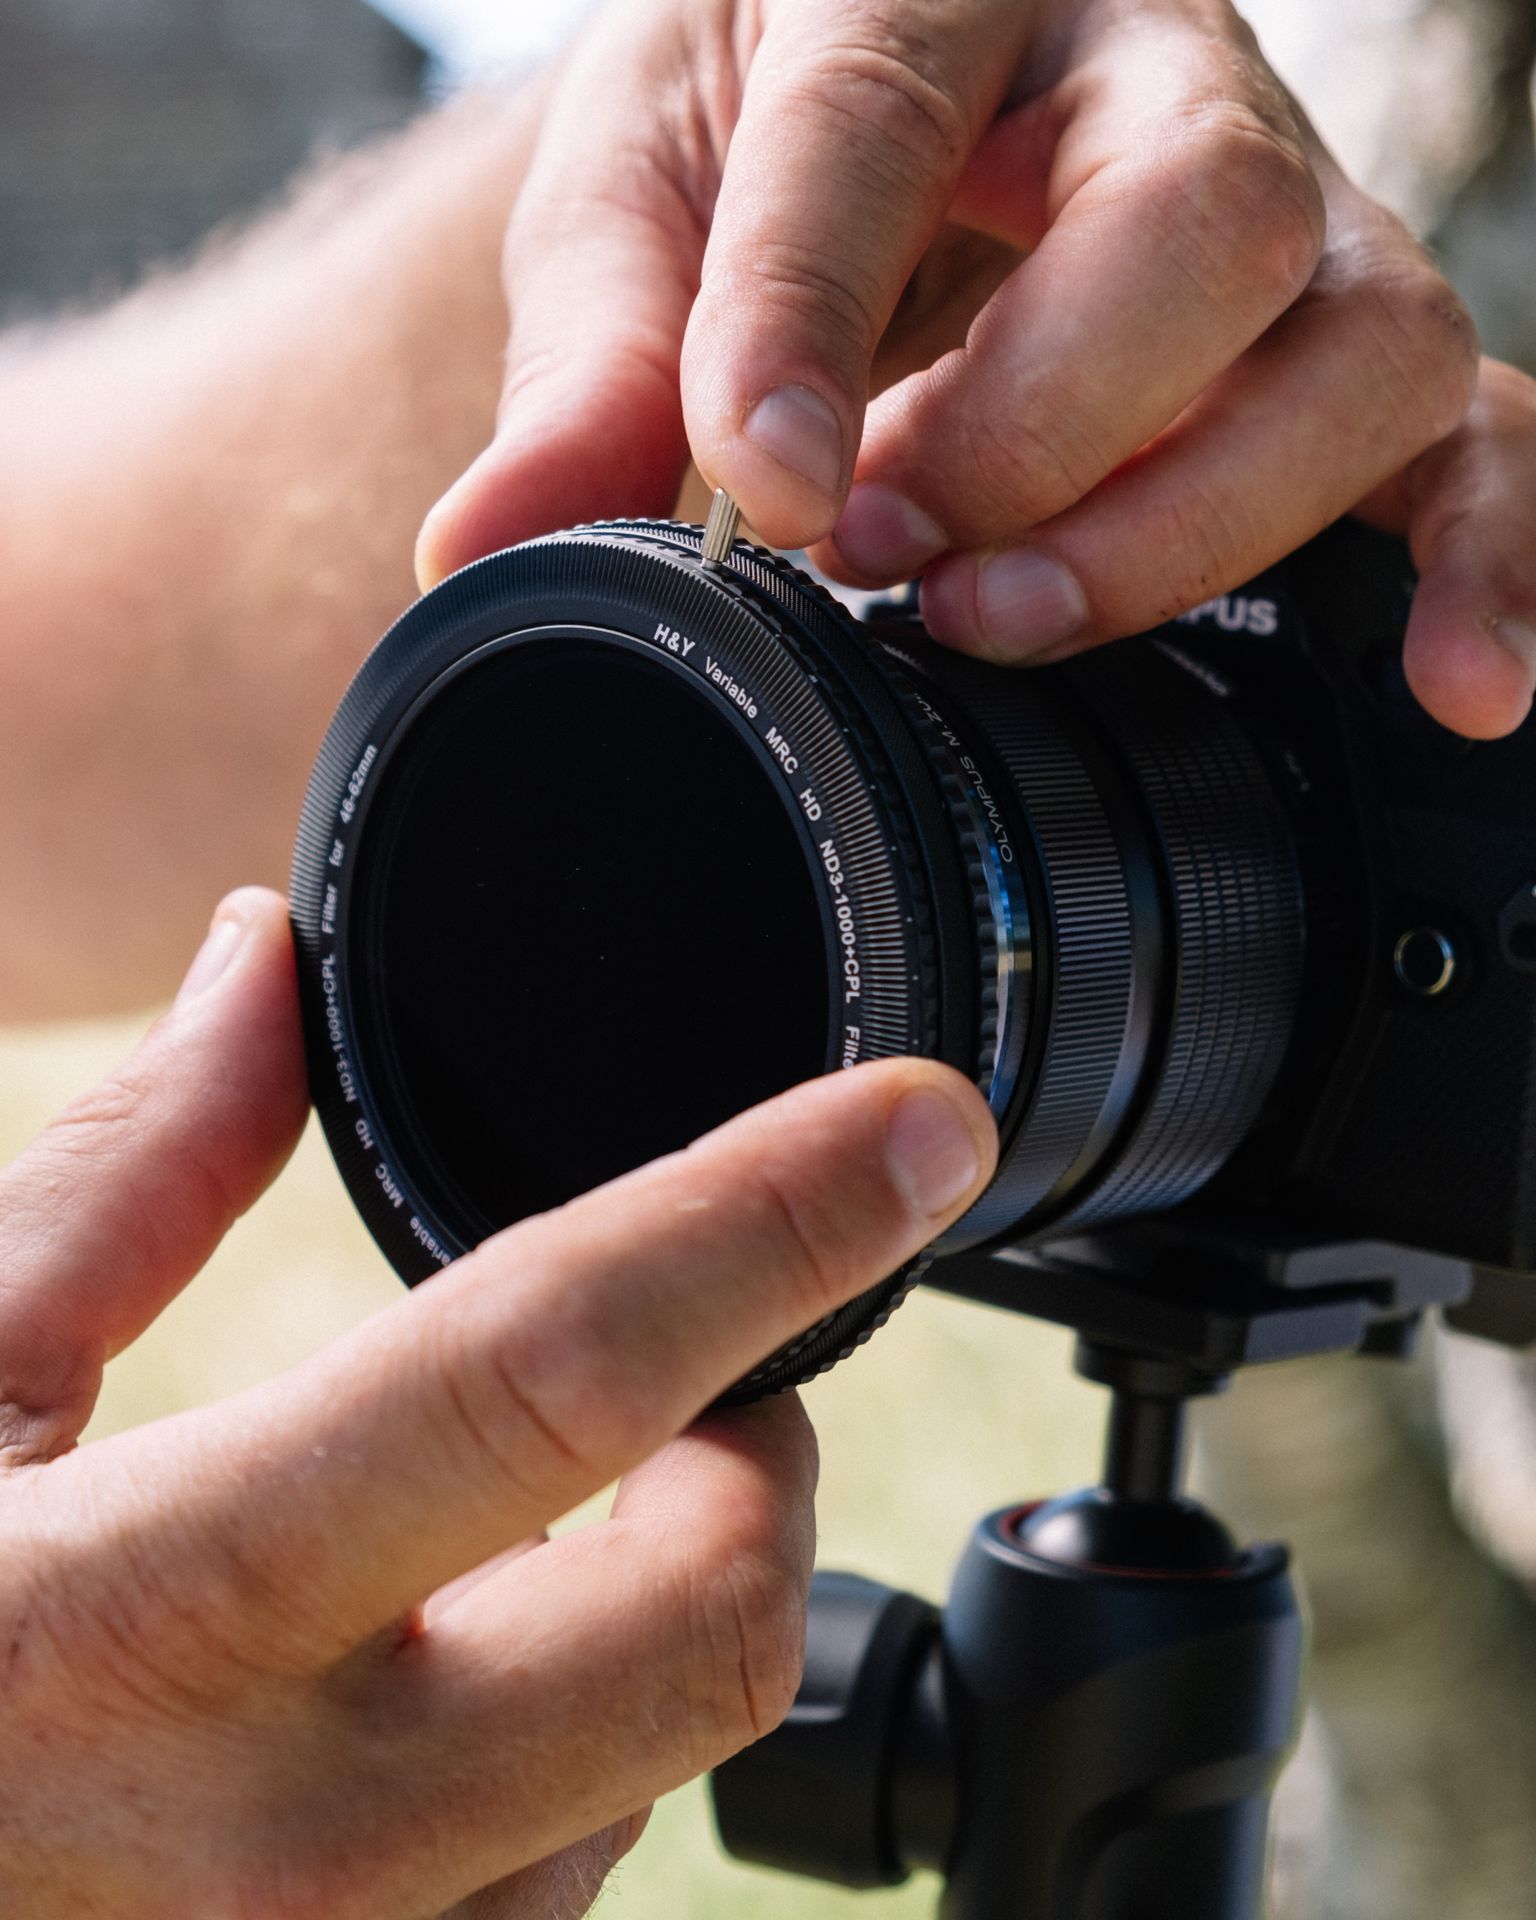
One of my favorite products to come out in 2020 is definitely H&Y's Revoring.
In short, Revoring is a variable step ring. It eliminates the need to have a pile of step rings in your bag and replaces it with one easy-to-use gadget.
But Revoring is so much more than easy-to-use. It is inexpensive, so you can save money. It also saves weight and space in your camera bag. On top of all that, it will help you improve and streamline your workflow. That's not a bad list of benefits if you ask me!
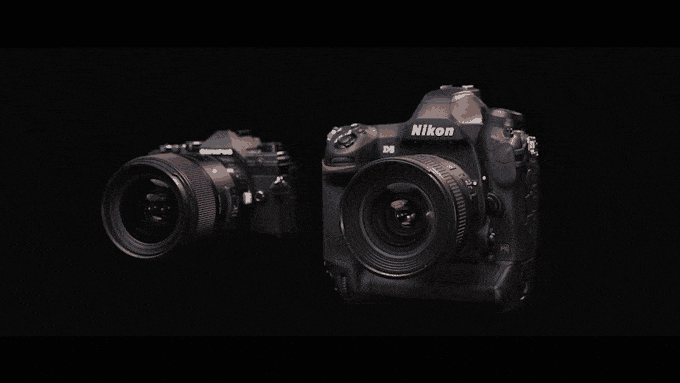
Using Revoring couldn't be easier...
As you can see in the GIF above, you simply twist the mechanism built into the filter to adjust its size. It then locks into place on your lens, allowing you to use different-sized filters with multiple lenses.
Revoring comes in three different variations:
- 37-49mm
- 46-62mm
- 67-82mm
This means, for example, that you can use the same filters with your lens with a 46mm thread as you do with your lens that has a 52mm thread.
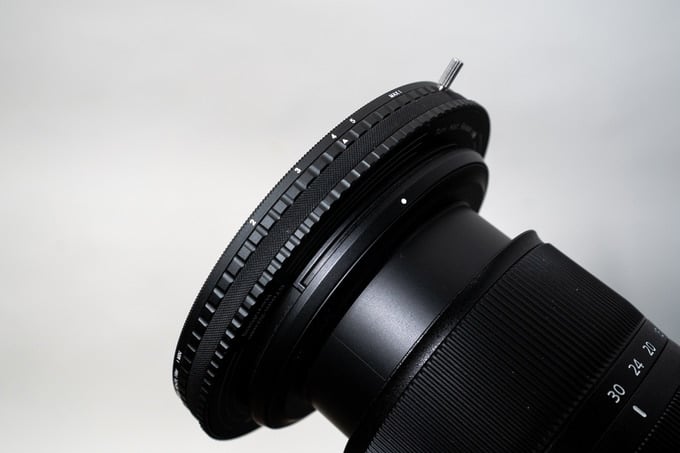
But that's not all H&Y had up their sleeve...
They developed another Revoring that has a built-in circular polarizer and a built-in variable ND filter.
This Revoring works just like the other one - just twist the housing to adjust it to the size of your lens, lock it in place, and off you go.
Since it has separate controls for the polarizer and the variable ND filter, you get all the precision control you need to create beautiful images.
This is truly one of the most innovative products to come out in 2020 - if not the previous several years. It can totally change your workflow for the better...I know it has for me!
Learn more about the H&Y Revoring
Haida M10 Filter System
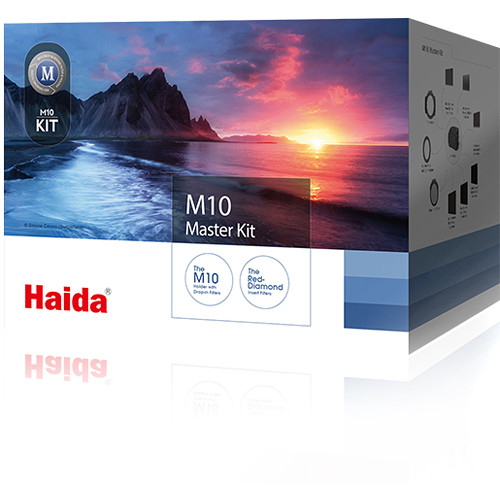
The Haida M10 Filter System gets a nod on my Best of 2020 list for a wide range of reasons.
For starters, I've tested my fair share of filter systems over the years, and this one is definitely among the very best.
Right out of the box, this filter system demonstrates how committed Haida is to quality.
The M10 holder itself is super lightweight. As you hold it in your hand, you can tell that despite its light weight it is a durably-constructed piece.
Something else I appreciate about the holder is that it has a felt lining that prevents scratches as you insert and remove filters.
Additionally, there is a quick-release clip for quick and easy removal. Even the clip shows a durability and quality that's above the norm - it has a good degree of tension that prevents you from accidentally knocking it off.
And since this is a drop-in system, it is super functional because you can use round or square filters.
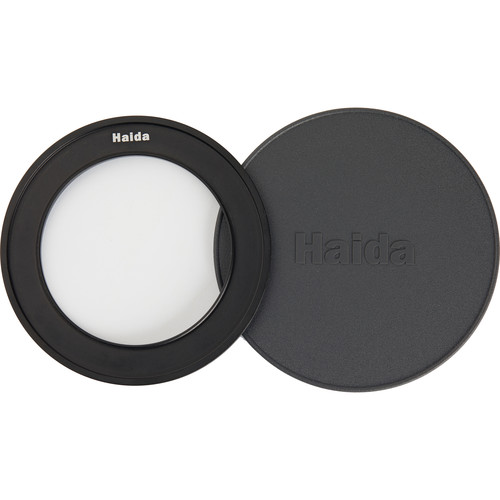
Speaking of the filters, the filters in this kit are impressive.
The kit I have has multiple square and circular filters, including graduated NDs, solid NDs, and a circular polarizer.
With two slots, you can mix and match and stack filters as needed.
The kit is well-designed, easy to use, and its matte black finish with red accents looks killer.
The included filters are well built, too.
Since I'm primarily a landscape photographer, the included polarizer is something that caught my eye from moment one.
Its holder has a seal that prevents light leaks for cleaner shots. There's also a dial on the filter that allows you to rotate the filter in its housing without having to move the filter holder.
Needless to say, this is very handy if you have stacked filters along with the polarizer!
This kit is well put together and super functional. I highly recommend it to my fellow filter snobs!
Learn more about the Haida M10 Filter system
Epson SureColor P900 Printer
A few years ago, I made the switch from Canon printers over to Epson. My first Epson was the SureColor P800.
That printer completely changed how I viewed the quality that a desktop printer could produce.
Don't get me wrong...my Canon printers were reliable, functional, and did a great job. But that should tell you just how impressive that P800 printer was!
Now Epson has a new-and-improved version out, the SureColor P900.
Here's a quick overview of some of its basic specs:
- 17-inch printing capability
- Borderless printing
- 30-sheet media input tray
- Calibrated internal light
- 2.4 and 5 GHz Wireless
- 4.3-inch touchscreen panel
- 10-channel print head
- MicroPiezo AMC Print Head that has an ink-repelling coating that prevents clogs
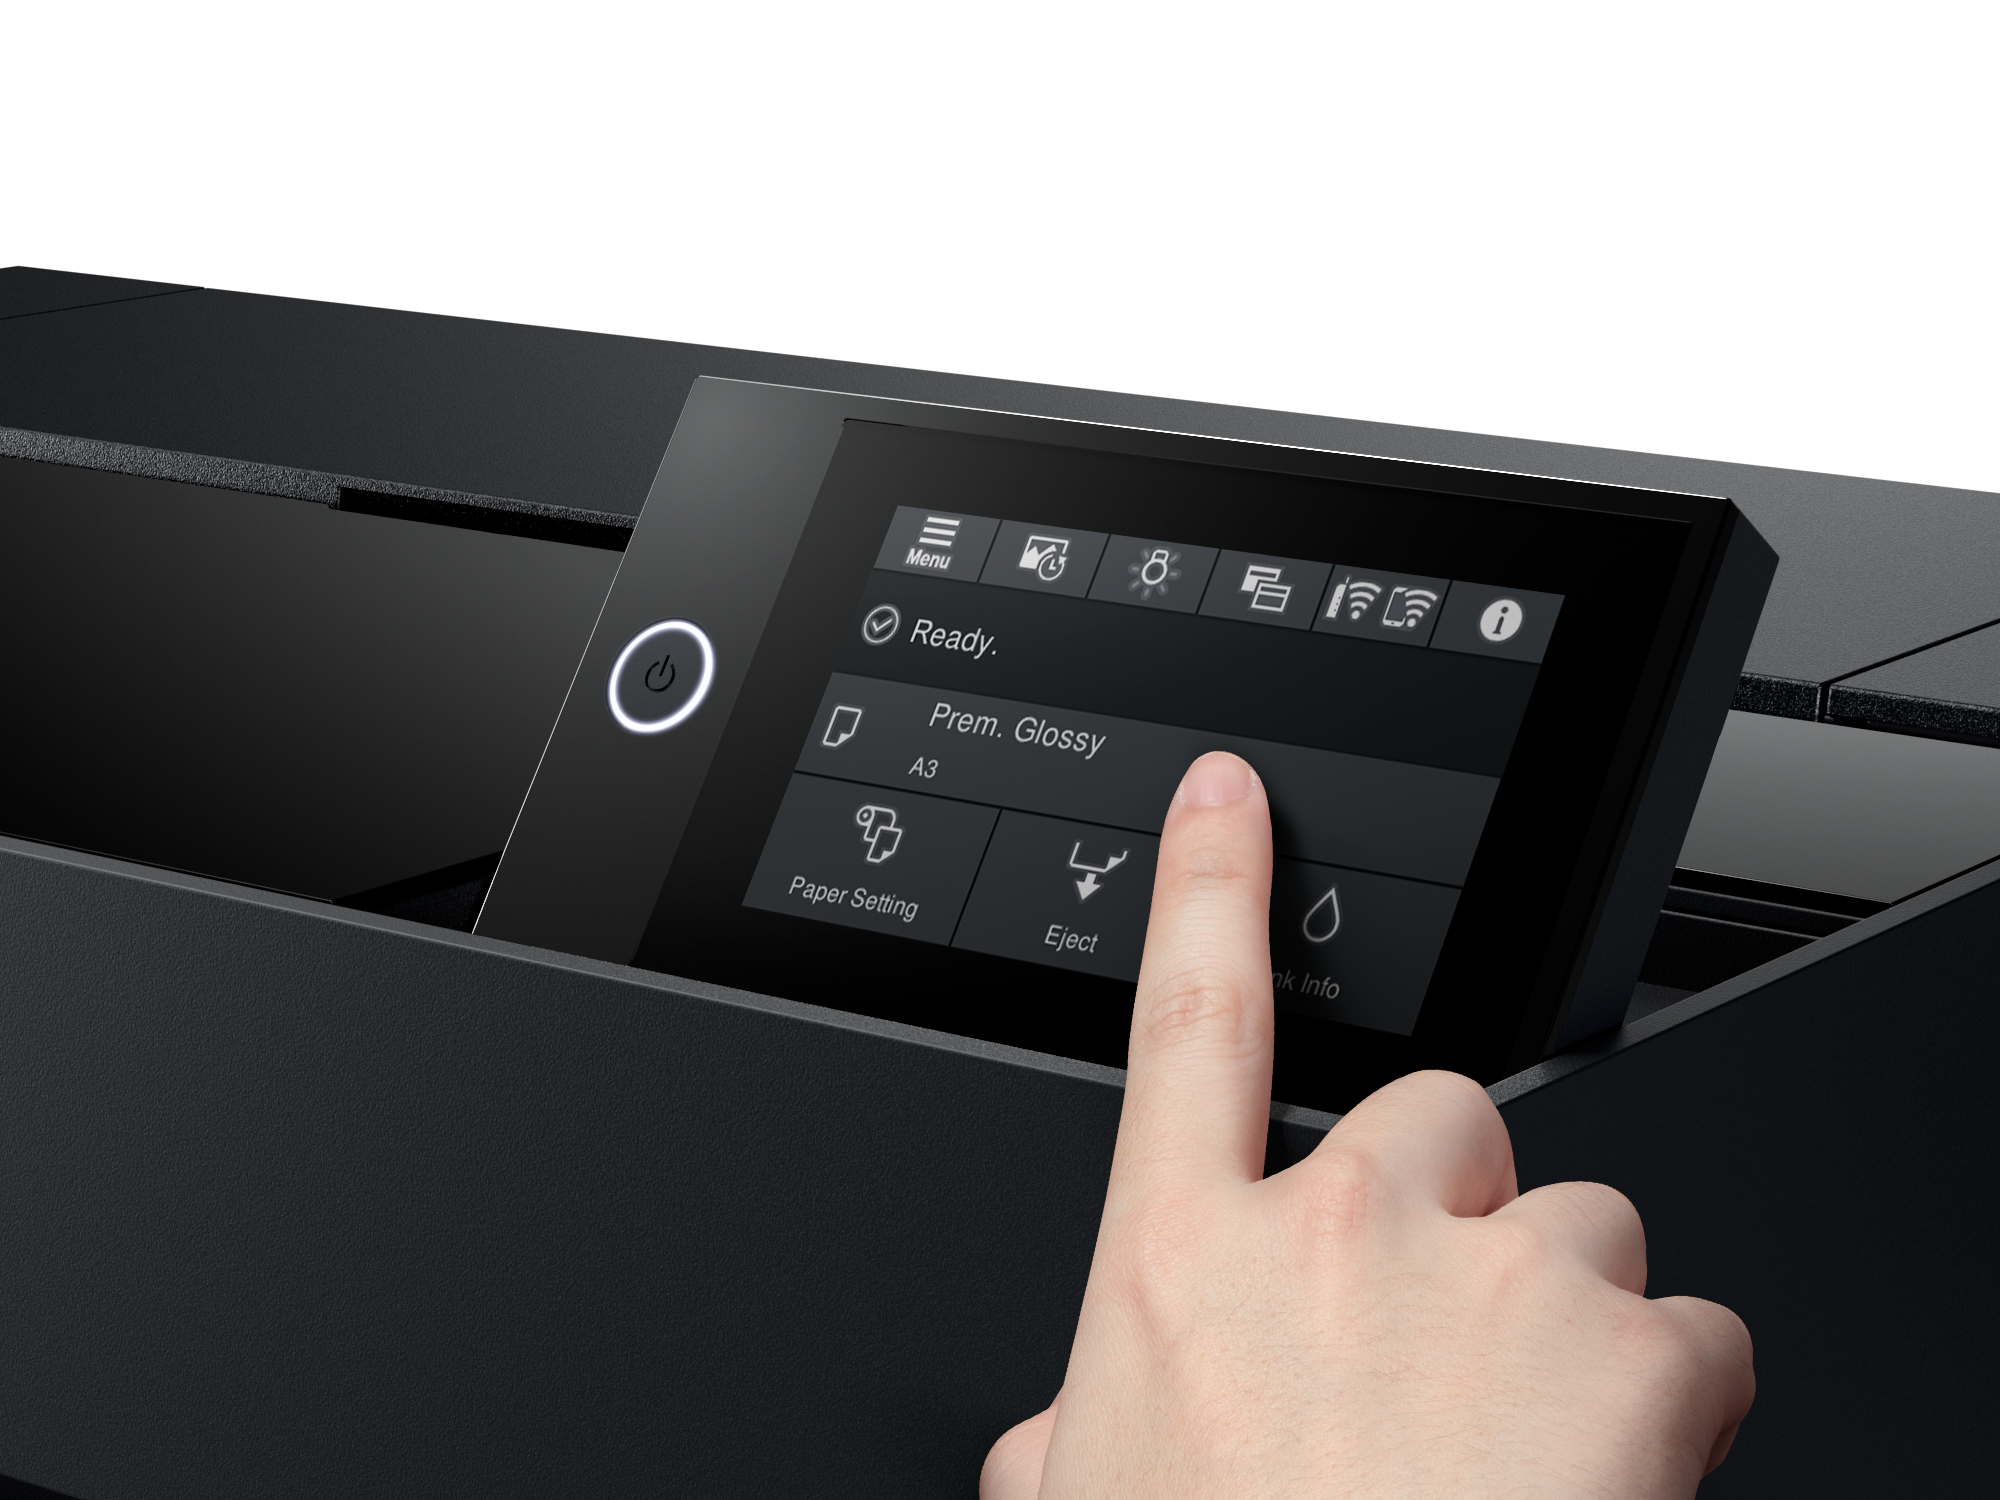
The P900 also has a larger 4.3-inch touchscreen that I really appreciate. The P800's touchscreen was 2.7-inches, so it wasn't tiny by any means, but the P900's screen is definitely easier to use and read.
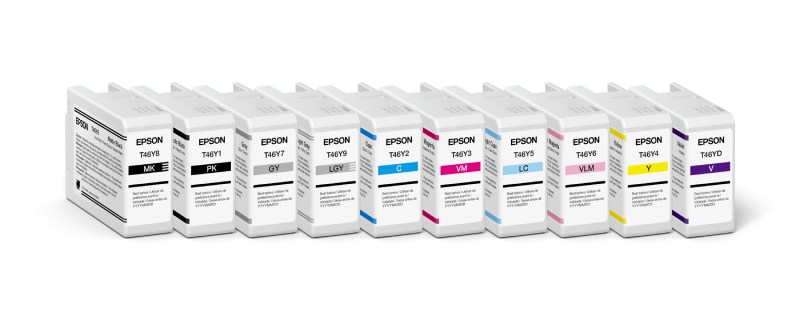
10-channel ink cartridges for the Epson SureColor P900
Second, the 10-channel print head is something to behold.
With 10 channels for printing, you get dedicated Matte Black and Photo Black. This means that you no longer have to swap between these cartridges. That's a very handy feature.
This 10-channel print head also has a new violet channel that gives you much-improved color rendition of violet, purple, and blue tones. In fact, the P900 has a 6 percent wider color gamut than its predecessor, and you can definitely see it when you print your photos!
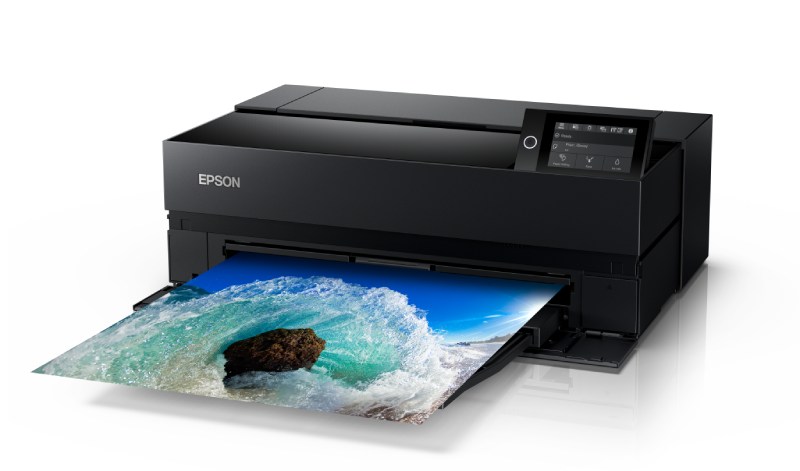
Additionally, these printers can use different printing medias, so you can adjust your printing process to your specific needs.
For example, you can use the 30-sheet media tray and use traditional photo paper, but you can also use rolls up paper up to 10-feet in length.
Add in high-capacity cartridges, color permanence that's measured in centuries, and updated print drivers, and you begin to see why I've put the Epson SureColor P900 on my list of the best of 2020!
Learn more about the Epson SureColor P900 Printer
PolarPro Shutter Collection for GoPro Hero 9 Black
PolarPro has a long-standing reputation for developing innovative products, and their three-pack of ND filters for the GoPro Hero 9 Black is no exception.
By using these ND filters, you can slow the shutter speed on your GoPro to cinematic levels, giving you the ability to capture gorgeous slow-motion video and long exposures even in the brightest daylight conditions.
The pack includes ND8, ND16, and ND32 filters that are custom-engineered to directly replace the front lens element on the GoPro.
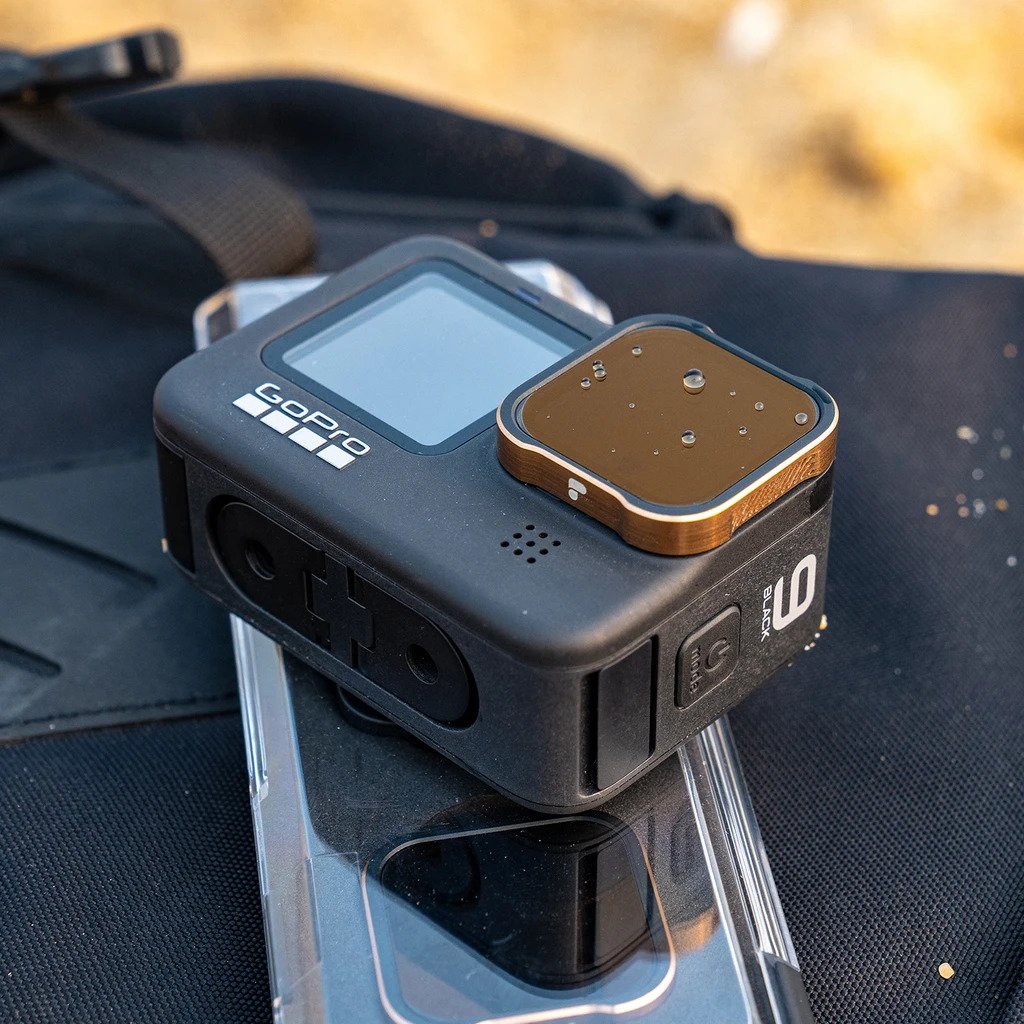
Each filter has CinemaSeries™ Glass, which offers superb durability and protection from impact while you're out adventuring.
Not only that, but the CinemaSeries™ Glass also has 16 layers of coatings that help protect from scratches, fingerprints, and oils. These coatings also minimize flare.
Add in a storage case for the filters, a low price, and PolarPro's Adventure Assurance™ money-back guarantee, and you have the makings of one heck of a photography product for 2020!
Learn more about the PolarPro Shutter Collection
Peak Design Mobile
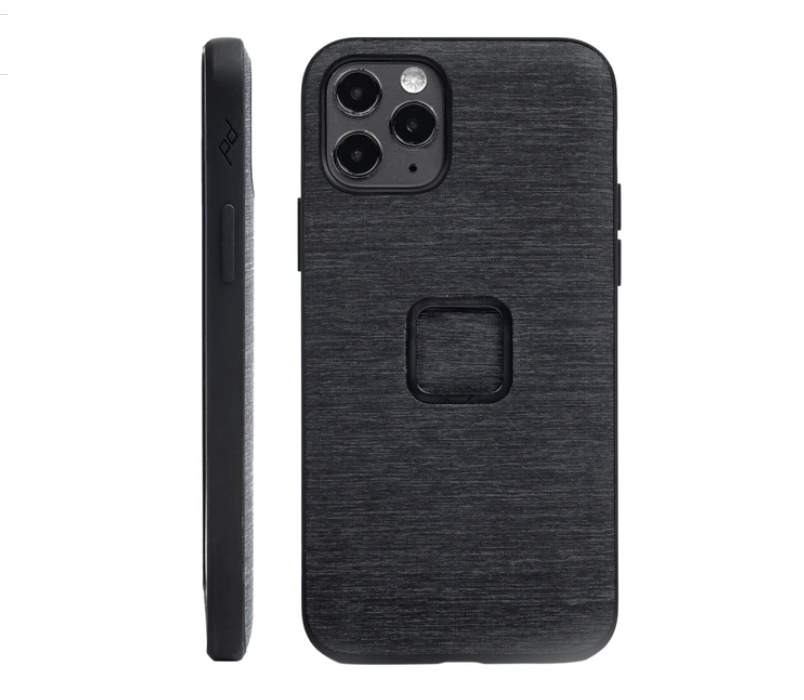
I've been a peak design fan for years and years.
I have a number of their bags. I also have their incredible Travel Tripod.
And now I will be adding their Mobile products to my kit.
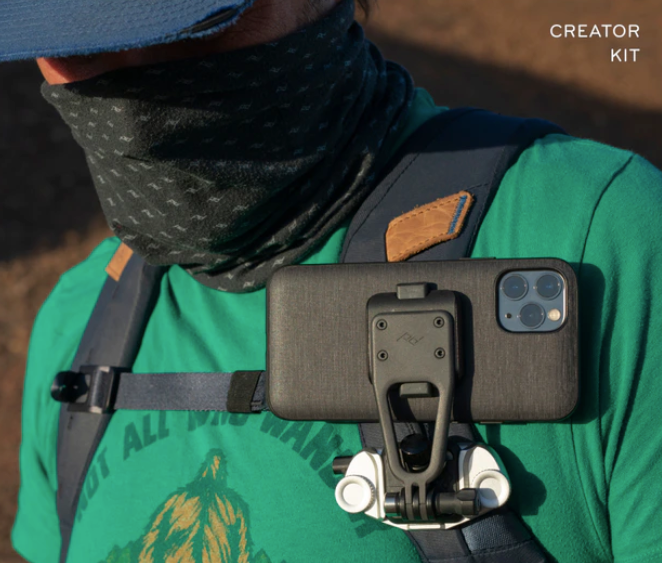
As usual, Peak Design is launching this product on Kickstarter. Their past campaigns have been hugely successful. This one is no exception.
Peak Design has a reputation for designing and building high-quality, innovative products. Their Mobile by Peak Design products will follow that trend.
I have the pre-production versions of the Mobile line, and I have to say that I am very impressed.
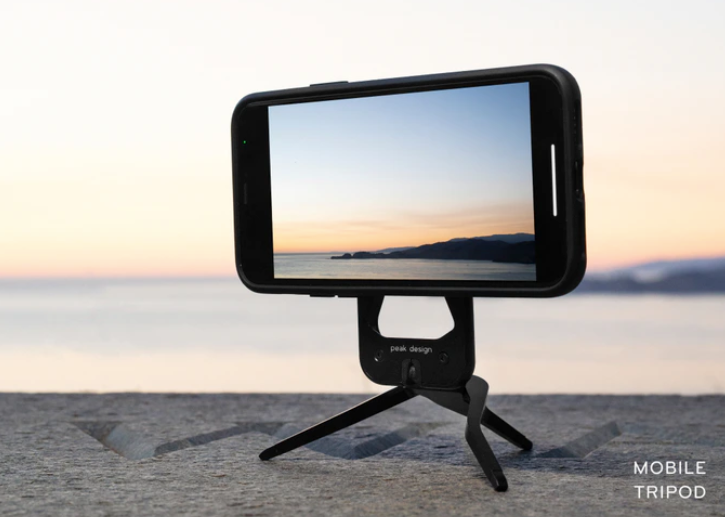
This isn't just some fancy phone cases...
Instead, the collection includes mounts, chargers, and other accessories that will help you integrate your phone more seamlessly into your life.
There's a kickstand wallet, a tripod, and a Creator Kit with goodies for content creators to maximize the power of their phone.
These accessories are compatible with the new MagSafe system on the iPhone 12, but they are also compatible with other phones, including some Androids.

All these accessories are centered around the Everyday Case.
This is a sleek, low-profile case with stunning good looks. Better still, it wraps around your phone rather than adding bulk.
One of the most interesting aspects of this case is its dual-locking mechanisms.
There's a soft lock that uses MagSafe-compatible magnets for light-duty use, like mounting your phone to your car's air vent. There's also a hard lock that has mechanical claws for a heavy-duty connection for rugged use - like riding dirt bikes.
In other words, this slim case and mounting system bring ruggedness, ease of use, a slim profile, and good looks together in one awesome package.
Each accessory in this collection has auto-aligning magnetic connections for ease of use and is made from premium materials. Each item is also individually serialized and is guaranteed for life. No more buying cheap accessories that fall apart...buying these bad boys is a lifelong investment!
Perhaps most impressive is that the Mobile line from Peak Design is 100 percent carbon neutral. That means you can score some killer gear while helping save the planet. Nice!
Learn more about Peak Design Mobile
Podium

If you run a photography business, you understand how the little tasks of the day can really add up to a significant amount of time.
That's why I'm always looking for ways to streamline my day so I can make more efficient use of the time I have.
One of the most interesting business tools I've come across in recent years helps you do just that. It's called Podium.
If you lament how much time you have to spend responding to emails, contact requests from your website, Facebook messages, and so forth, you can stay up-to-date with all those things (and more!) without leaving the Podium platform. It truly is a one-stop shop!

Rather than having to check all your socials and email and so forth, Podium allows you to text clients and prospective clients and organizes all those messages in a single dashboard, shown above.
Podium is built on the idea that the best way to get leads and turn prospects into customers is timely, genuine communication. This is important in any business, but particularly so in photography, where you're likely to have stiff competition for clients from other photographers in your area.
You want to make it as easy as possible for people to ask you questions or find what they’re looking for, and Podium will do just that!

If you use Podium, it not only saves a lot of time, but it can also help your photography business earn more money by ensuring that you're always the first one to respond to potential clients.
Podium even has a feature that lets you invoice clients right from the app so you can also get paid more quickly. It's these kinds of conveniences that make Podium a solid choice for the Best of 2020!
Razer Blade 15 Studio

Some of you might recall that I have a 2019 Razer Blade 15 Studio.
It's been an incredible computer, to be sure. The graphics card alone makes it one of the best laptops I've ever had.
But for this list, I want to talk about the 2020 model, which is even better...
It's retained many of the best features of the 2019 version and juiced up many others.
Get a load of these specs:
- Windows 10 Pro
- 8-core 10th Generation Intel Core i7 processor with up to 5.1GHz max boost
- NVIDIA Quadro RTX 5000 GPU
- 15.6” OLED touchscreen with Corning Gorilla Glass
- Up to 4TB of SSD storage
- Up to 64GB of dual-channel DDR4 memory
- Upgraded backlit keyboard

The biggest news with the 2020 Razer Blade 15 Studio is that it keeps the incredible GPU from the 2019 model - the NVIDIA Quadro RTX 5000.
When I say that this GPU is high-end, I mean it.
I've had plenty of laptops (and desktops, for that matter) that have claimed to have a "high-end" graphics card, but none have come close to what this NVIDIA card can do. In fact, I'd describe it as having Hollywood studio-level stuff in your laptop at home!
A second very exciting feature on the 2020 Razer Blade 15 Studio is that you can now get one with an 8-core processor.
Combined with the raw power of the NVIDIA GPU, these new 8-core processors make this a true workhorse for intense photo and video editing.
I appreciate the bigger OLED touchscreen that gives you 15.6-inches of real estate to view. The display is even color-calibrated and has a Gorilla Glass panel to beef up its durability.
This laptop has tons of ports, a UHS-III card reader, and a gorgeous anodized aluminum body as well. It is truly a work of art if you ask me!
Learn more about the Razer Blade 15 Studio
f-stop Coffee

Each year, our “best of” list includes photography gear that is innovative, unique, unusual, and above all, highly functional for photographers.
So while coffee might seem like a strange item to have on my list of the best of the best photography gear for 2020, when you think about it, it’s an essential part of the day for many photographers.
Speaking from experience, I just can’t get my brain to work until I’ve gotten my day kickstarted with some coffee.
Now, I fully admit that I’m a huge coffee snob. I’ve tested dozens of coffees over my lifetime, and I know when I get a great cup of coffee and when the coffee simply falls shot.
f-stop Coffee certainly belongs in the former category...it is quite simply a fantastic cup of Joe!
I first tested their f/1.4 Light Roast, and it was so good that I immediately added it to my 2020 list of the best gifts for photographers under $25.

I’ve now had the chance to take their f/11 Medium Roast and f/22 Dark Roast coffees for a test drive and they proved to be equally as tasty.
I’ve prepared f-stop coffee in two ways - in my Chemex coffee maker and in my French press. In both cases, f-stop’s coffee was tantalizingly good and allowed the different flavors and notes of each coffee to come shining through.

I’m a landscape photographer, so there are plenty of early mornings, late nights, and cold climates for me. f-stop Coffee is just what the doctor ordered when I’m out adventuring and need a pick-me-up. The same goes for right here in my office!
When you combine great taste, a full selection of brews, and inspiration from photography, you get the best coffee for photographers...f-stop!
Learn more about f-stop Coffee
ProGrade Digital 650GB CFexpress Type B Memory Card
A few months back when I bought my Canon EOS R5, I knew that I would need a big, beefy memory card to handle all the data that the camera recorded, particularly when shooting 4K and 8K video.
I needed a card with a huge amount of storage space as well as one that has quick read and write speeds.
The obvious solution was the ProGrade Digital 650GB CF Express Type B memory card...
This card can read up to 1700MB/s and write at up to 1500MB/s. Not only that, but the write speeds are guaranteed not to fall below 1400MB/s. This gives you the consistent speed you need no matter what kind of data is being written on the card, be that 8K video, 6K or 4K video, or fast burst shooting of still images.
Regardless, this card helps keep your camera's buffer clear so you don't miss any action.
On top of that, ProGrade Digital made this card backward compatible with XQD devices. All you have to do is download a quick firmware update and you're ready to roll.
And since this is a shock-resistant, vibration-resistant, temperature-resistant, and X-ray-resistant card, you don't have to worry about durability. It will give you long-lasting performance for years to come.
Plus, this card has features that many other cards don't...
For example, each card has laser-etched serial numbers to help prevent counterfeiting. ProGrade has advanced recovery software that helps prevent your files from corrupting too. On top of that, ProGrade has software that helps keep your card running at peak performance. Called Digital Refresh Pro, this software (which is offered separately) sanitizes your card to keep it at the top of its game.
In other words, this is a beast of a memory card that is worth every penny!
Learn more about ProGrade Digital CF Express Memory Cards
GoPro Hero 9 Black & Media Mod
I've used GoPros for years and years. They have always been innovative little gadgets, but with the Hero 9 Black and Media Mod, these cameras are now becoming a more functional, all-around rig that you can use for much more than crazy adventures.
For those of you like me that had a Hero 8 Black, you'll immediately notice that the Hero 9 Black is bigger. In fact, it's about 10 percent larger.
As a result, some of the mods from the Hero 8 (like the Media Mod) won't fit. That's a bummer, but the trade-off is that the Hero 9 has a larger rear screen and a full-color front-facing screen as well. Having those features is well worth the price of having to buy a new Media Mod.
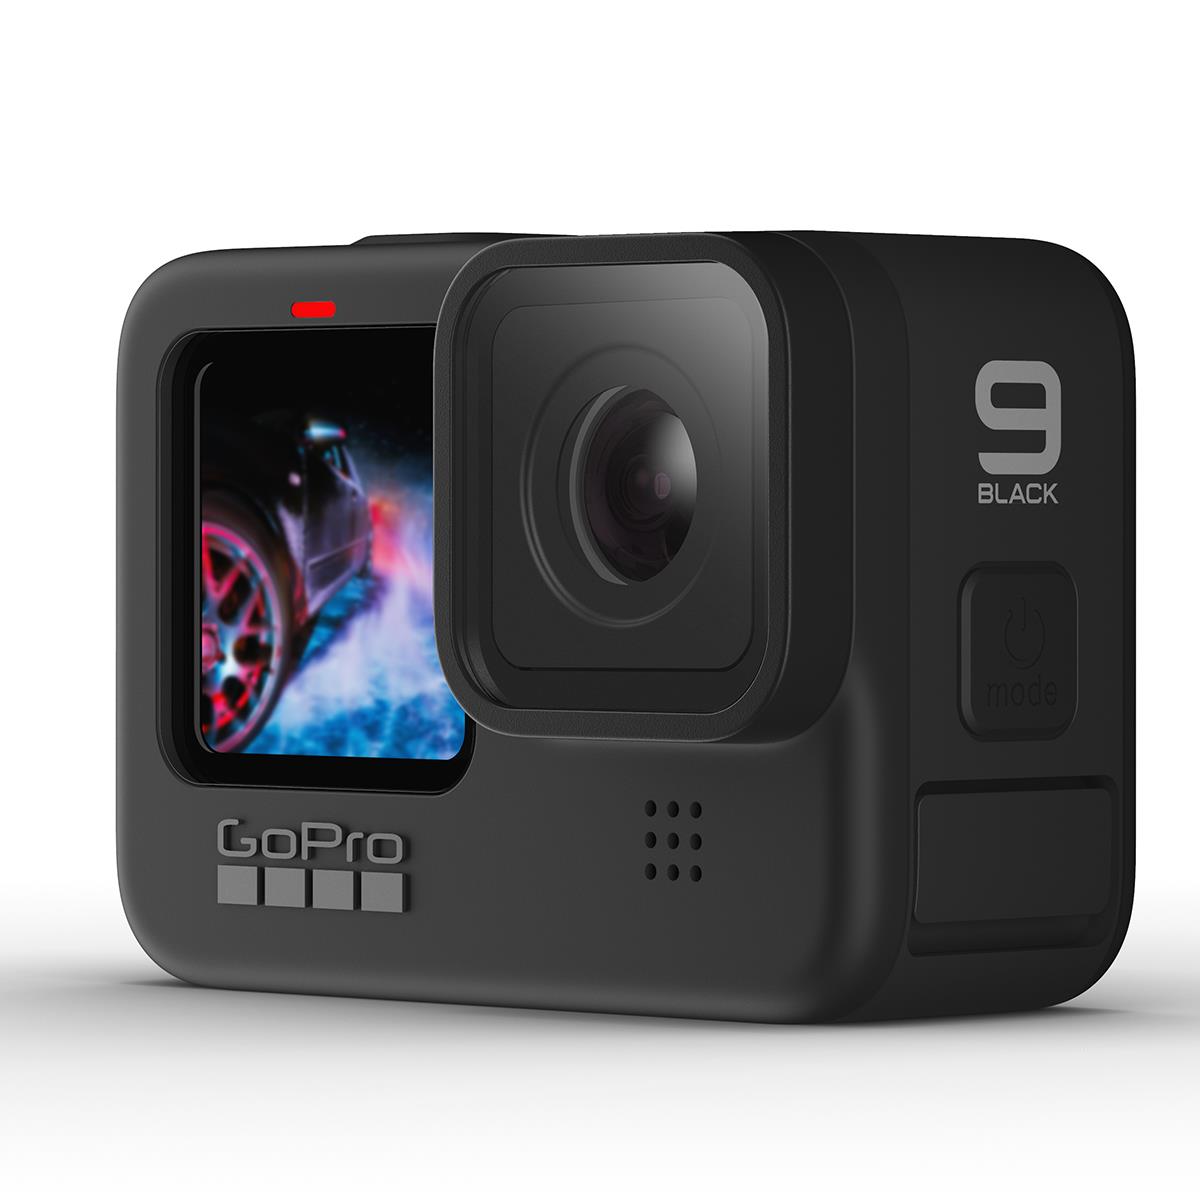
Another consequence of the larger size is that GoPro was able to fit a larger sensor inside. The Hero 8 has a 12-megapixel sensor but the Hero 9 has a whopping 23.6-megapixel sensor.
As a result of the larger sensor and added resolution, the Hero 9 can shoot 5K video at up to 30p. And for still images, the sensor allows for 20-megapixel photos that have a higher level of crispness than what you get on the Hero 8.
The list of improvements doesn't stop there, either....
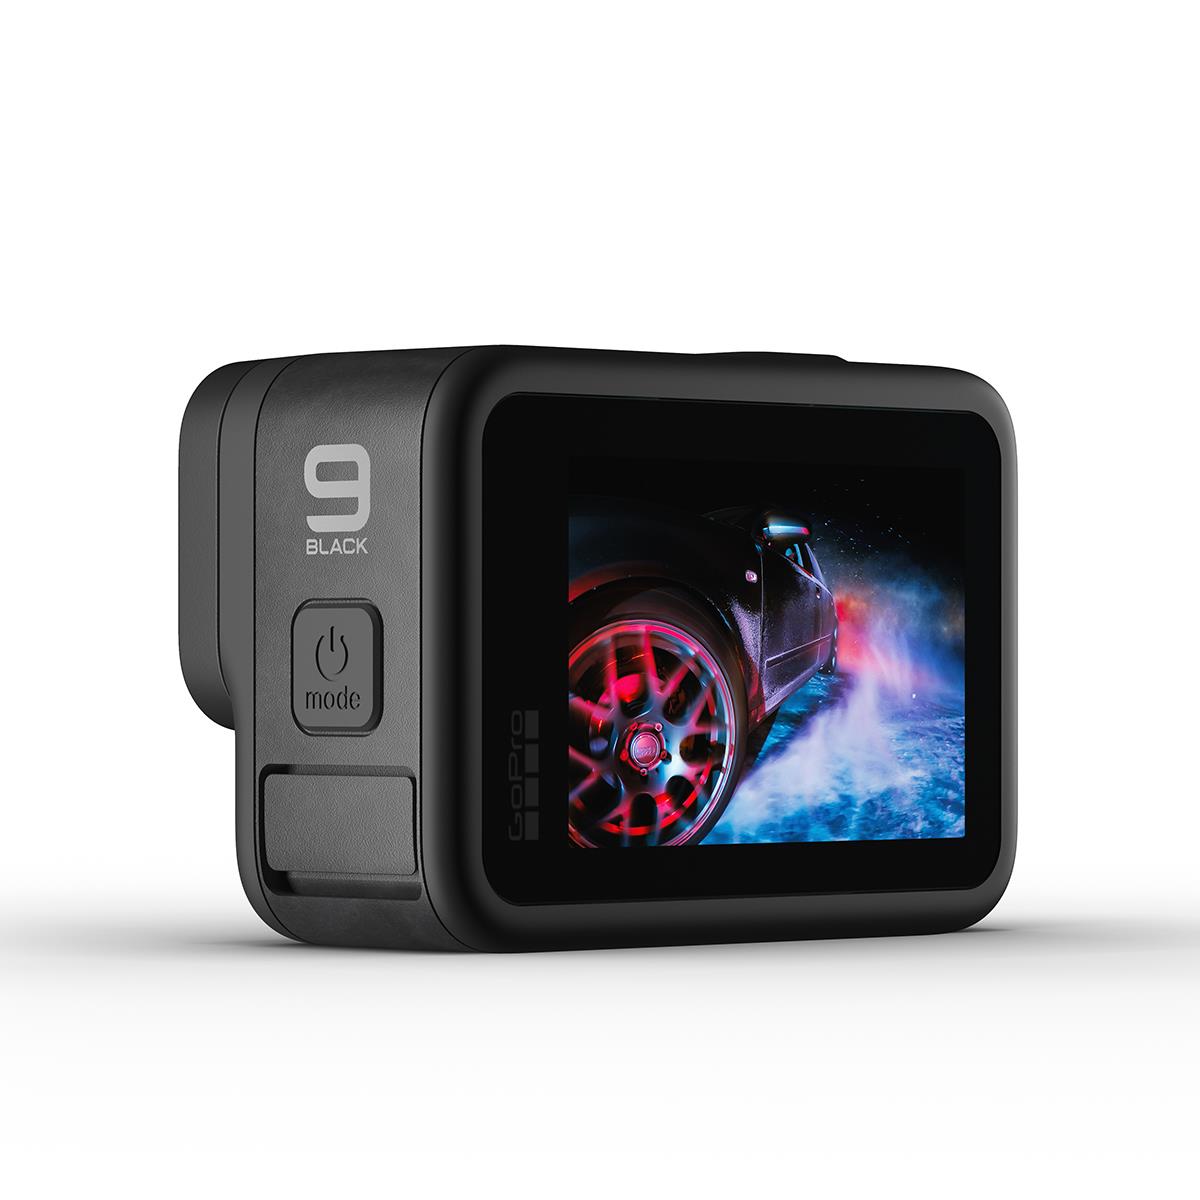
There's a new longer-lasting battery that has 30 percent more life. You also get built-in horizon leveling, HyperSmooth 3.0, and Hindsight, which records 30 seconds of video before you press the record button.
The Hero 9 also is also compatible with the new Max Lens Mod that gives you various lens options. You can also shoot 2.7K video at 60fps with a 155-degree angle of view.
Speaking of mods, the Media Mod is one of my favorite GoPro accessories...
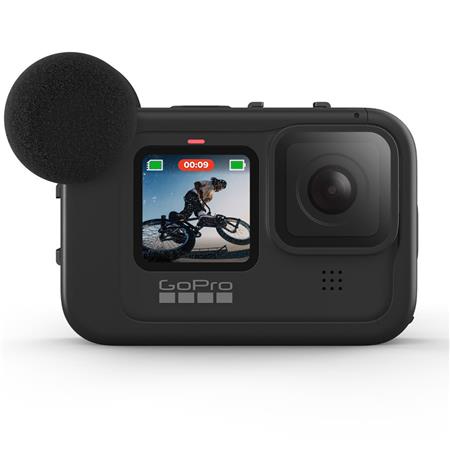
It has a built-in 3.5mm jack for an external mic as well as two cold-shoe mounts for adding accessories like the Light Mod.
There's a built-in microphone, which is okay, but definitely not up to par with my RODE mics. You also get an HDMI port so you can quickly review the footage you've shot
I like the design of it too - it fits the Hero 9 perfectly and feels like it's part of the camera rather than an add-on. And speaking of add-ons, there are all kinds of third-party accessories you can add to the Media Mod.
Learn more about the GoPro Hero 9 Black and Media Mod
Canon EOS R5
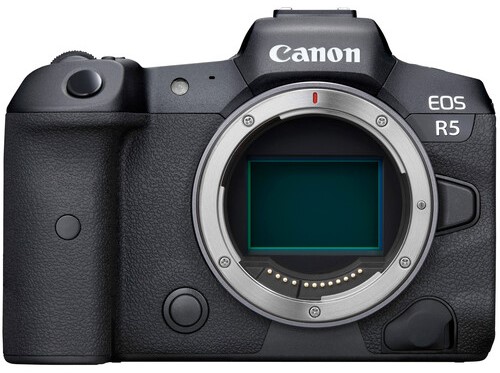
I was a Nikon shooter for my entire career until I sold off all my Nikon stuff and bought a Canon EOS R.
I decided to make the switch for a number of reasons, not the least of which was the RF lineup of lenses. So, really, the EOS R was a placeholder for me until a professional-grade camera came out to take advantage of the RF lenses. That camera is the R5.
To say that the R5 is the best camera I've ever owned is an understatement.
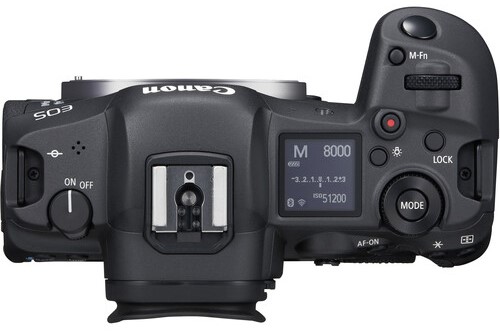
We all know about its game-changing 8K video capabilities...
And we also know about its 5-axis in-body image stabilization.
But I think my favorite feature of this camera is its Dual Pixel AF system with 1,053 AF areas.
This is an incredibly accurate autofocus system whether you're shooting stills or videos. Its ability to acquire and track a person's (or animal's) eyes is truly impressive. In fact, even when the camera can't see the animal's eyes, it can still figure out where the animal's face and body are.
And then there's all the other awesome specs...
- 45MP full frame sensor
- DIGIC X Image Processor
- ISO Range of 100-51200, expandable to 102400
- 12 fps burst shooting with the mechanical shutter
- 20fps burst shooting with the electronic shutter
- Dual card slots
- 5.76 million dot OLED EVF
- Vari-angle LCD touchscreen
- 2.4/5GHz Wi-Fi
- Bluetooth
I mean, the list goes on and on...
I reserve only my top picks for these lists each year. The products I include have to be innovative in some way, and this camera ticks multiple boxes on that front.
I honestly believe that in 10 years we'll look back at the R5 as being the one that changed how mirrorless cameras are made and what they can do.
I guess we'll have to wait a few years to see if I'm right!
Learn more about the Canon EOS R5
DJI Mini 2
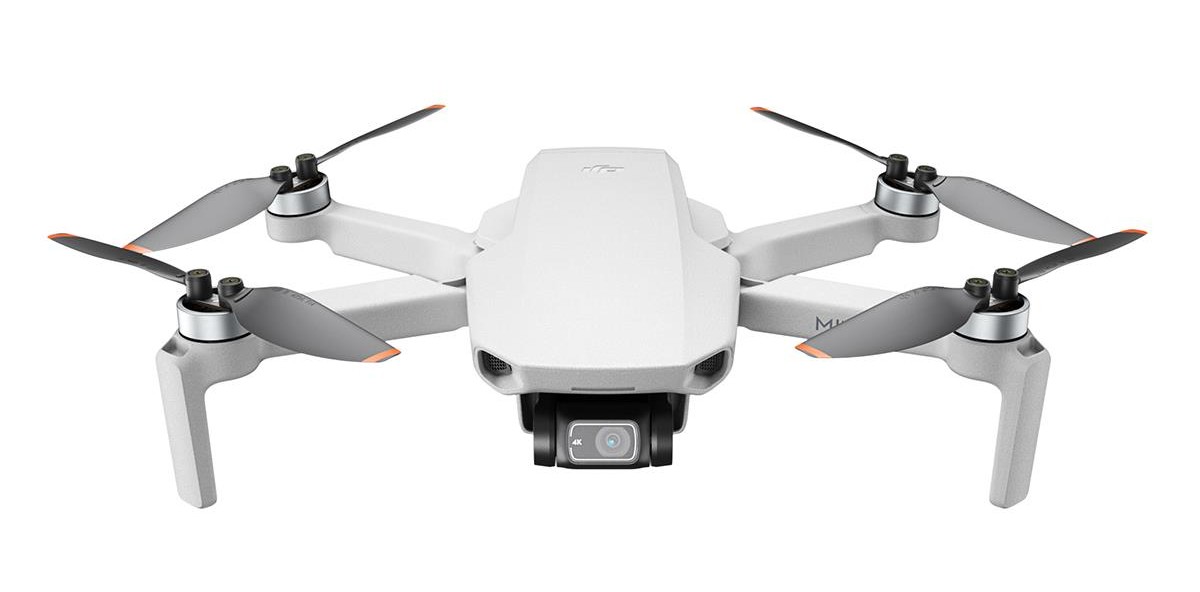
I've had DJI drones for years and years.
My current stable of drones includes the Mavic 2 Pro, the Mavic Air 2, and the original Mini. I recently added the Mini 2 to the fold as well.
Of these drones, my favorite is the Mavic Air 2. I think it's the best drone for the money out there.
However, that doesn't mean that the Mini 2 isn't a really impressive drone...
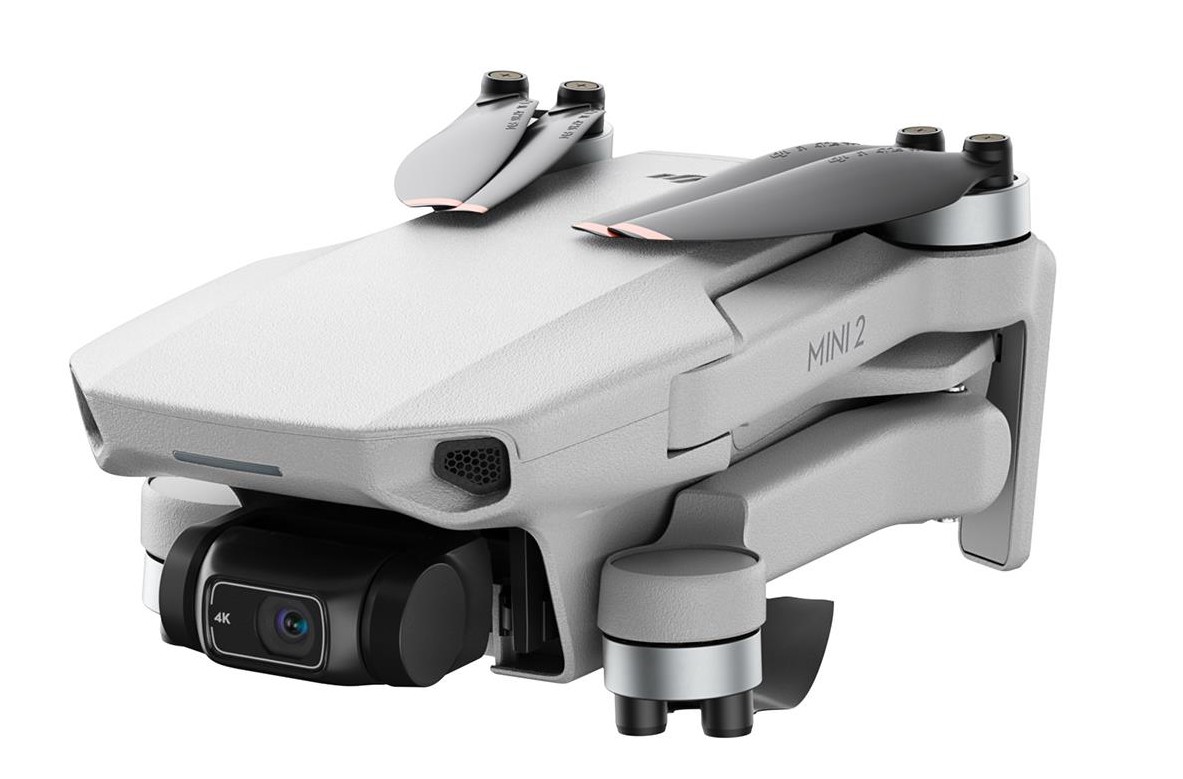
For starters, there are plenty of upgrades over the original Mini that makes the Mini 2 a huge leap forward.
And some of those new features are things you wouldn't expect on a drone that's priced under $500.
You get 4K video at 24, 25, and 30p, 2.7K video at 24, 25, and 30p, and 1080 video at up to 60p.
It's equipped with Occusync 2.0, which gives you a much stronger signal than the Wi-Fi transmission system on the original Mini, and you get no interference.
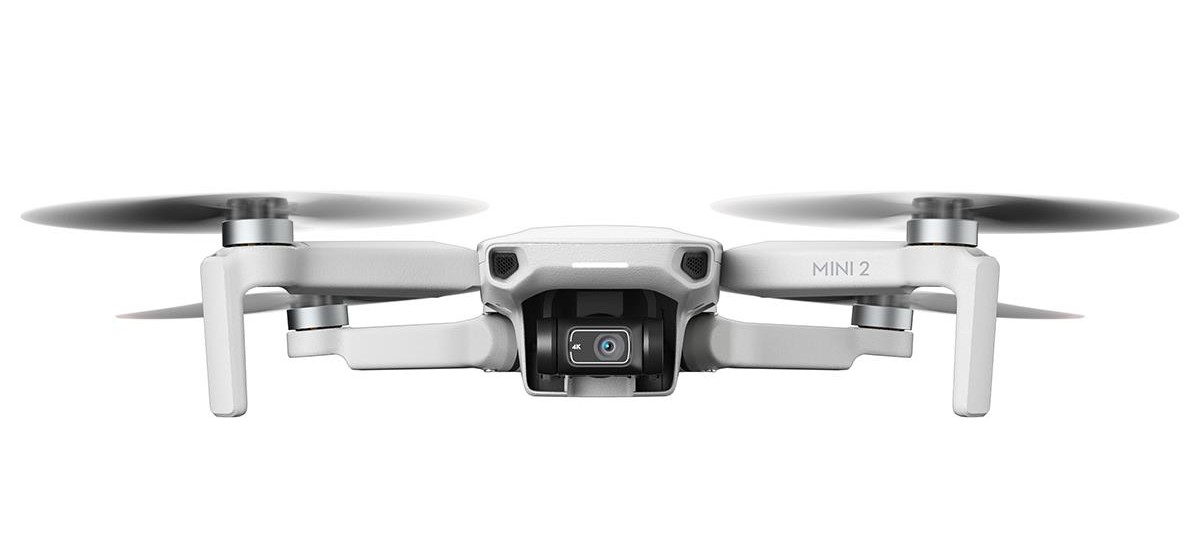
The Mini 2 has 4x optical zoom to go with its 24mm equivalent lens.
The 12-megapixel sensor can record JPEG and RAW options, and with a 3-axis gimbal, your images will be sharp and your videos will be beautifully smooth.
You get multiple QuickShot modes, including dronie, circle, helix, Cinesmooth, and rocket. And you have time to cycle through those QuickShot modes with a 31-minute flight time.
There's a new controller as well - the same redesigned one that comes with the Mavic Air 2. The controller has an updated battery too.
Then there's the transmission distance...it's 6.2 miles thanks to the Occusync 2.0 system.
So, you can see why I've counted this little guy as one of the Best of 2020. It has some high-end features while retaining an entry-level price.
If you're considering getting into drone photography and don't want to bust your budget, this is the drone for you!
Learn more about the DJI Mini 2
Holdfast
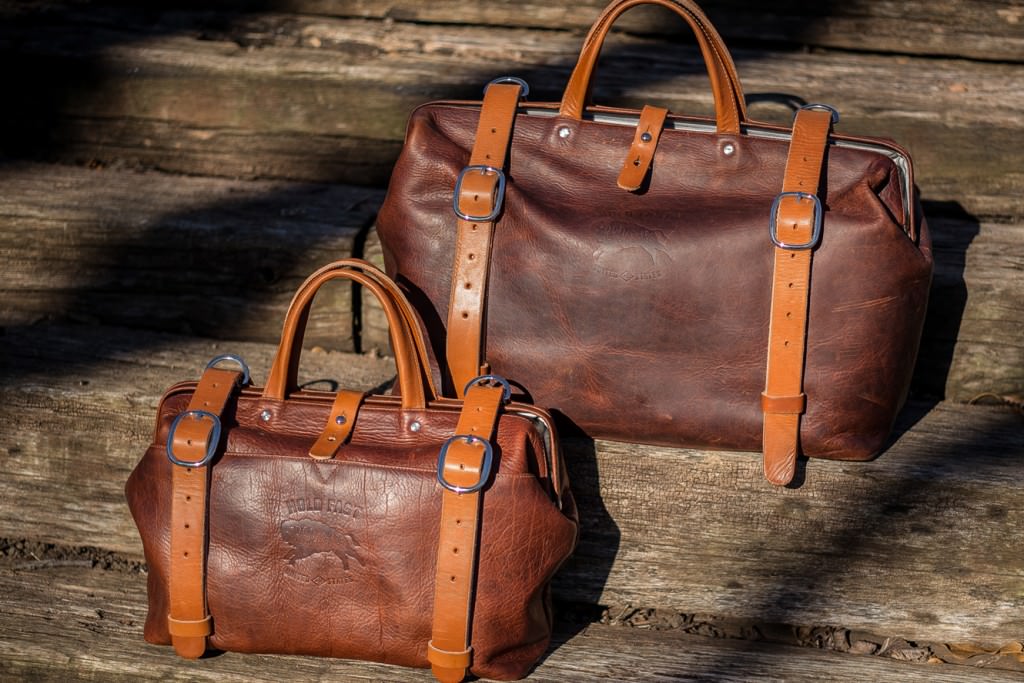
Holdfast has been one of my favorite photography brands for years.
And it isn't just because they continue to come out with innovative and functional photography gear...
Holdfast also has a high standard of quality that ensures each product is constructed in a way that makes that product reliable, durable, and beautiful too.
I appreciate that the Holdfast team is based in the U.S. and manufactures their goods here as well!
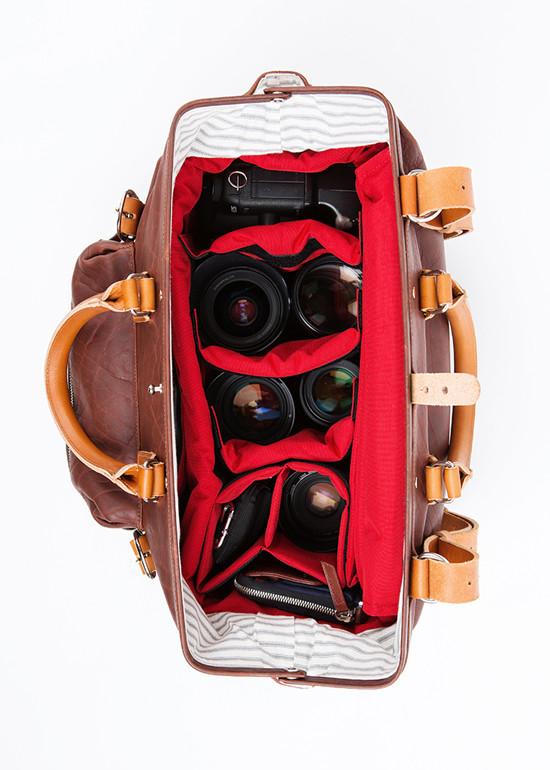
My first experience with Holdfast was with their Roamographer camera bag.
Not only is this bag big enough to fit my entire kit, but it does so in a way that keeps my gear organized, safe, and keeps me comfortable carrying it.
The Roamographer is impeccably designed, beautifully crafted using the finest materials, and it’s versatile, too.
Just remove the camera insert and you’ve got a gorgeous weekend bag with tons of space for all your clothes and other necessities for a fun few days away from home.
Another product I've enjoyed using is their MoneyMaker Solo camera strap.
Sometimes when you want to go out for a quick shoot, you just need a lean and mean strap for your camera. That's what the MoneyMaker Solo is.
The Solo is a streamlined version of the original MoneyMaker dual-camera strap. In fact, the Solo uses the same leathers and metal materials.
It has a big, contoured shoulder strap that offers you a comfortable carrying experience while the integrated stabilizer strap helps keep the shoulder pad in place.

The included Belt Anchor adds further stability to the MoneyMaker Solo by keeping your camera locked into place no matter if you’re walking, stooping, kneeling down, or something in between.
Just pull the release tab on the Belt Anchor and your camera is free so you can get the shots you need. A quick one-handed action engages the Belt Anchor again to lock your camera back in place.
The MoneyMaker Solo might be small, but with the ability to add lens pouches or a cell phone pouch, it’s got all the features and functionalities you’d expect from a Holdfast product!
We Recommend
This is the Perfect Christmas Gift for Landscape Photographers
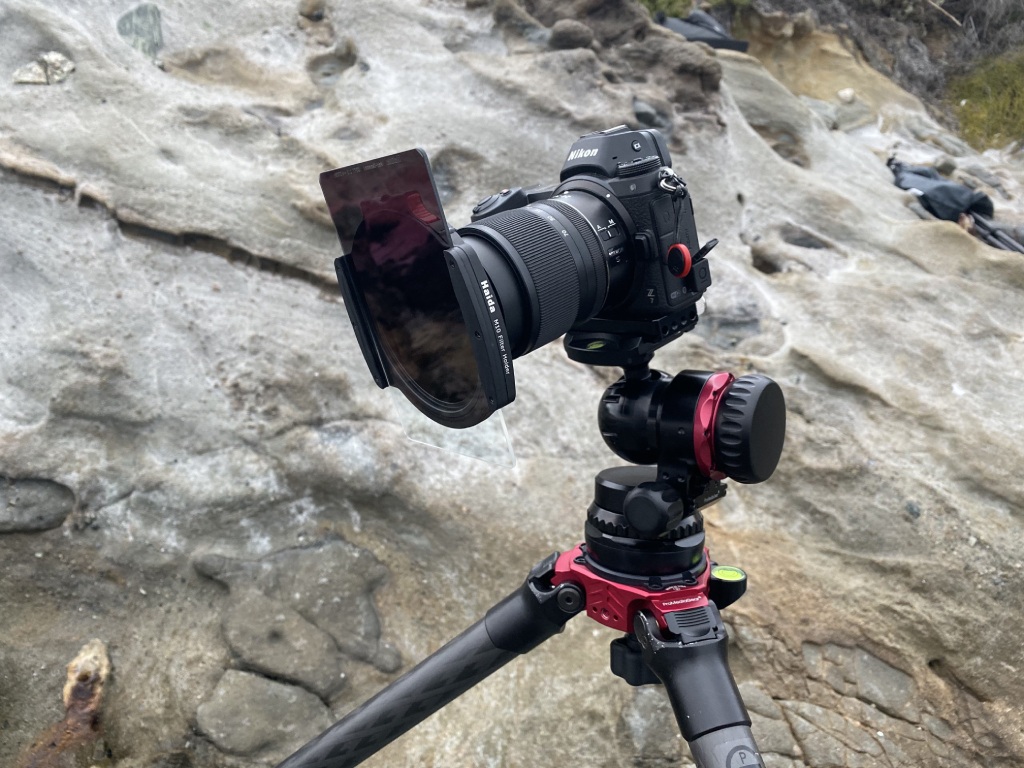
Is there a landscape photographer in your list of gift recipients? Then they’ll be super happy that you thought of the Haida M10 Professional Filter Kit as the perfect gift for landscape photographers.
Filter Holder Systems
When choosing gifts for photographers, we have a whole lot of options. Tripods and tripod alternatives, bags, lights, lenses, and filters are nice to receive as landscape photography gifts. If your giftee is a landscape photographer, you can be pretty certain that they will have some of this gear already.
Which is partly what makes the Haida M10 Professional Kit a good choice as holiday gifts for photographers. It’s a filter holder system so you don’t even need to worry about what format their camera is or what lenses they have since filter systems adapt to most cameras and lenses on the market.
Why I Like This Kit
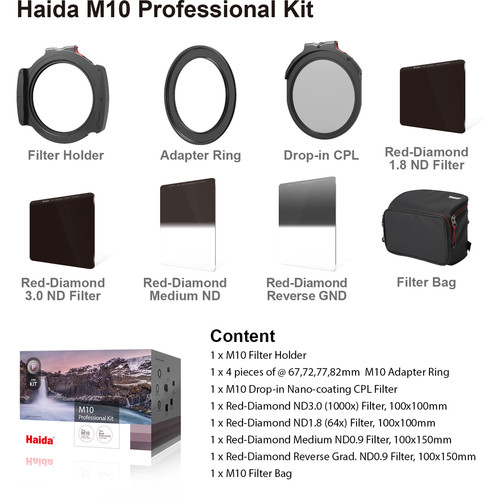
I consider myself first and foremost a landscape photographer, so I looked carefully at this Haida kit with an eye toward critiquing the choices of what’s included in the kit. If you are searching for gift ideas for photographers, is this Haida M10 Professional Kit the right choice?
Learn More:
What Is In the Kit
Haida M10 Holder
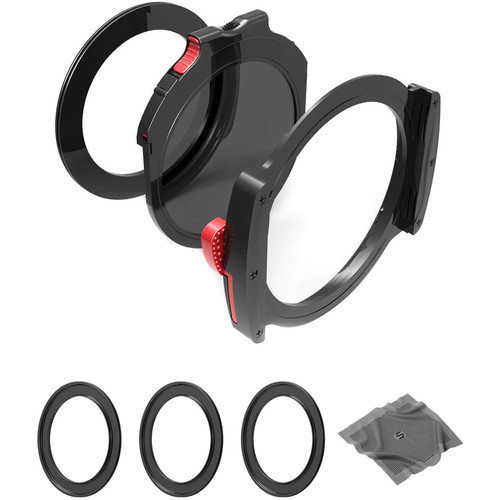
The Haida M10 filter holder is constructed from high-grade aluminum for durability. It accepts a drop-in circular filter such as C-POL and has two slots for 100mm wide square or rectangular filters. It has gasket material and a blank light barrier ring for glare-free light transmission while using any combination of filters.
Lens Adapters
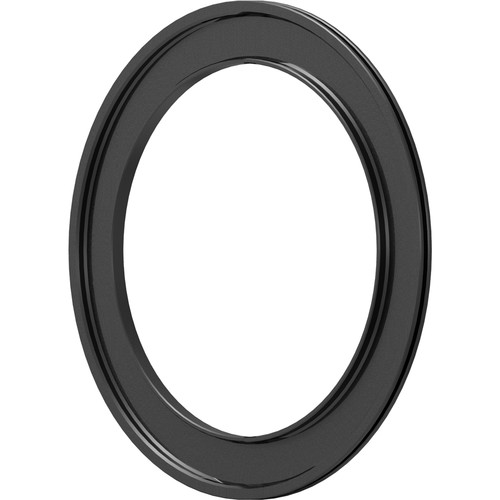
A total of four lens filter aluminum adapter rings are included: 67mm, 72mm 77mm, and 82mm. I would have preferred being able to choose my ring sizes myself since I need a 58mm adapter for some of my smaller diameter lenses, but the larger rings will fit most of the lenses your landscape photographer friends are likely to have. The holder rotates around the adapters and can be locked in place.
Drop-In C-POL
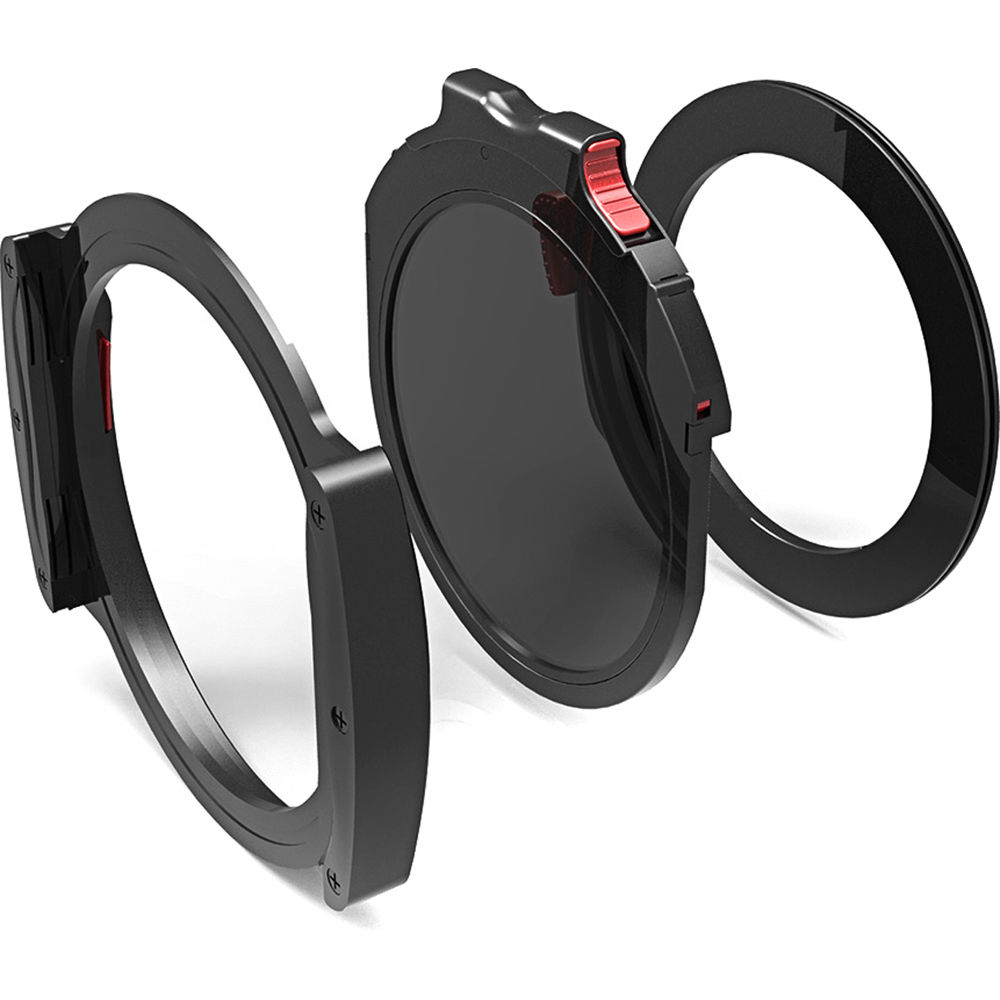
As far as an optical gift for landscape photographers, it’s hard to go wrong with a high-quality circular polarizer (C-POL) filter. Haida C-POL filters are made of super high-quality optical glass and aluminum frames. The glass is also multi coated for glare control and oil and scratch resistance. You can rotate the filter inside the filter holder.
Red Diamond 10-Stop ND
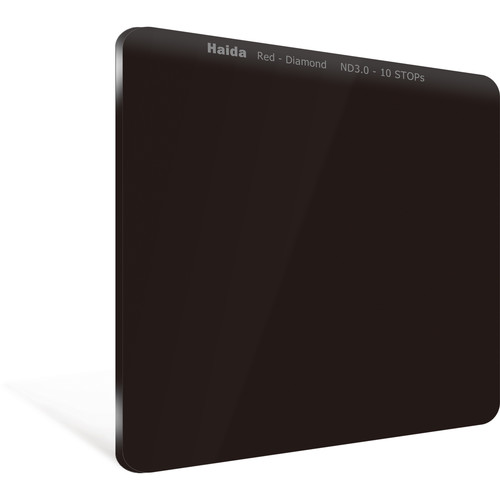
One of the most useful ND filters in any landscape photographer’s gear is a very dense ND filter for extreme long exposure effects. A 10-stop filter gives you a lot of density for creative exposure control.
Red Diamond 6-Stop ND
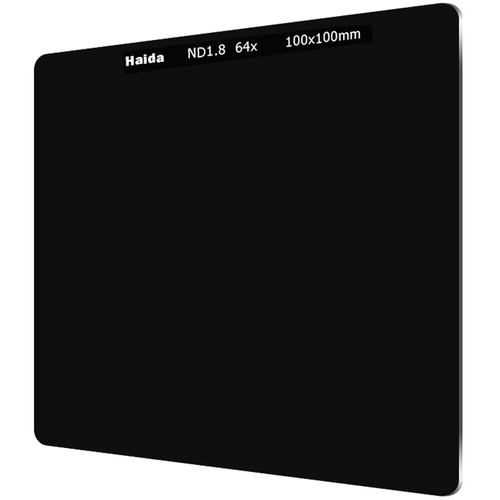
If I had only one ND filter to use, I would pick a 6-stop filter - they’re that useful. But in a kit, I would have preferred a 3-stop ND since I already have a 10-stop ND in the kit. A 3-stop ND is great for opening up the aperture for selective focus techniques.
100x150 3-Stop Medium GND
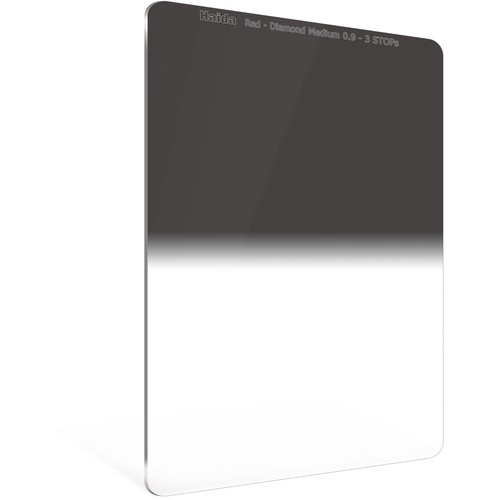
Graduated ND filters are also an excellent choice as a gift for landscape photographers. These allow photographers to balance dynamic range issues in a scene for capturing beautiful landscape images. A 3-stop filter offers great range and the medium edge for transitioning from clear to density is useful in a wide range of conditions. Being 150mm on one side gives the photographer room to maneuver the filter inside the holder.
100x150 3-Stop Reverse GND

The best thing for sunsets and sunrises, this reverse GND is perfectly matched for most landscape photographer’s sun-on-the-horizon imaging needs.
PhotographyTalk Approved Gift Choice!

photo byFilippoBacci via iStock
We’re already sold on the high quality and fantastic usefulness of Haida filters, this Haida M10 Professional Kit kit gets my full approval for everyone shopping for holiday gifts for photographers!
Learn More:
- Why You Need a Filter Kit for Landscape Photography
- 6 Expert Tips for Improving Your Landscape Photography
We Recommend
This Landscape Photography Trick is the Best Way to Photograph Water Reflections
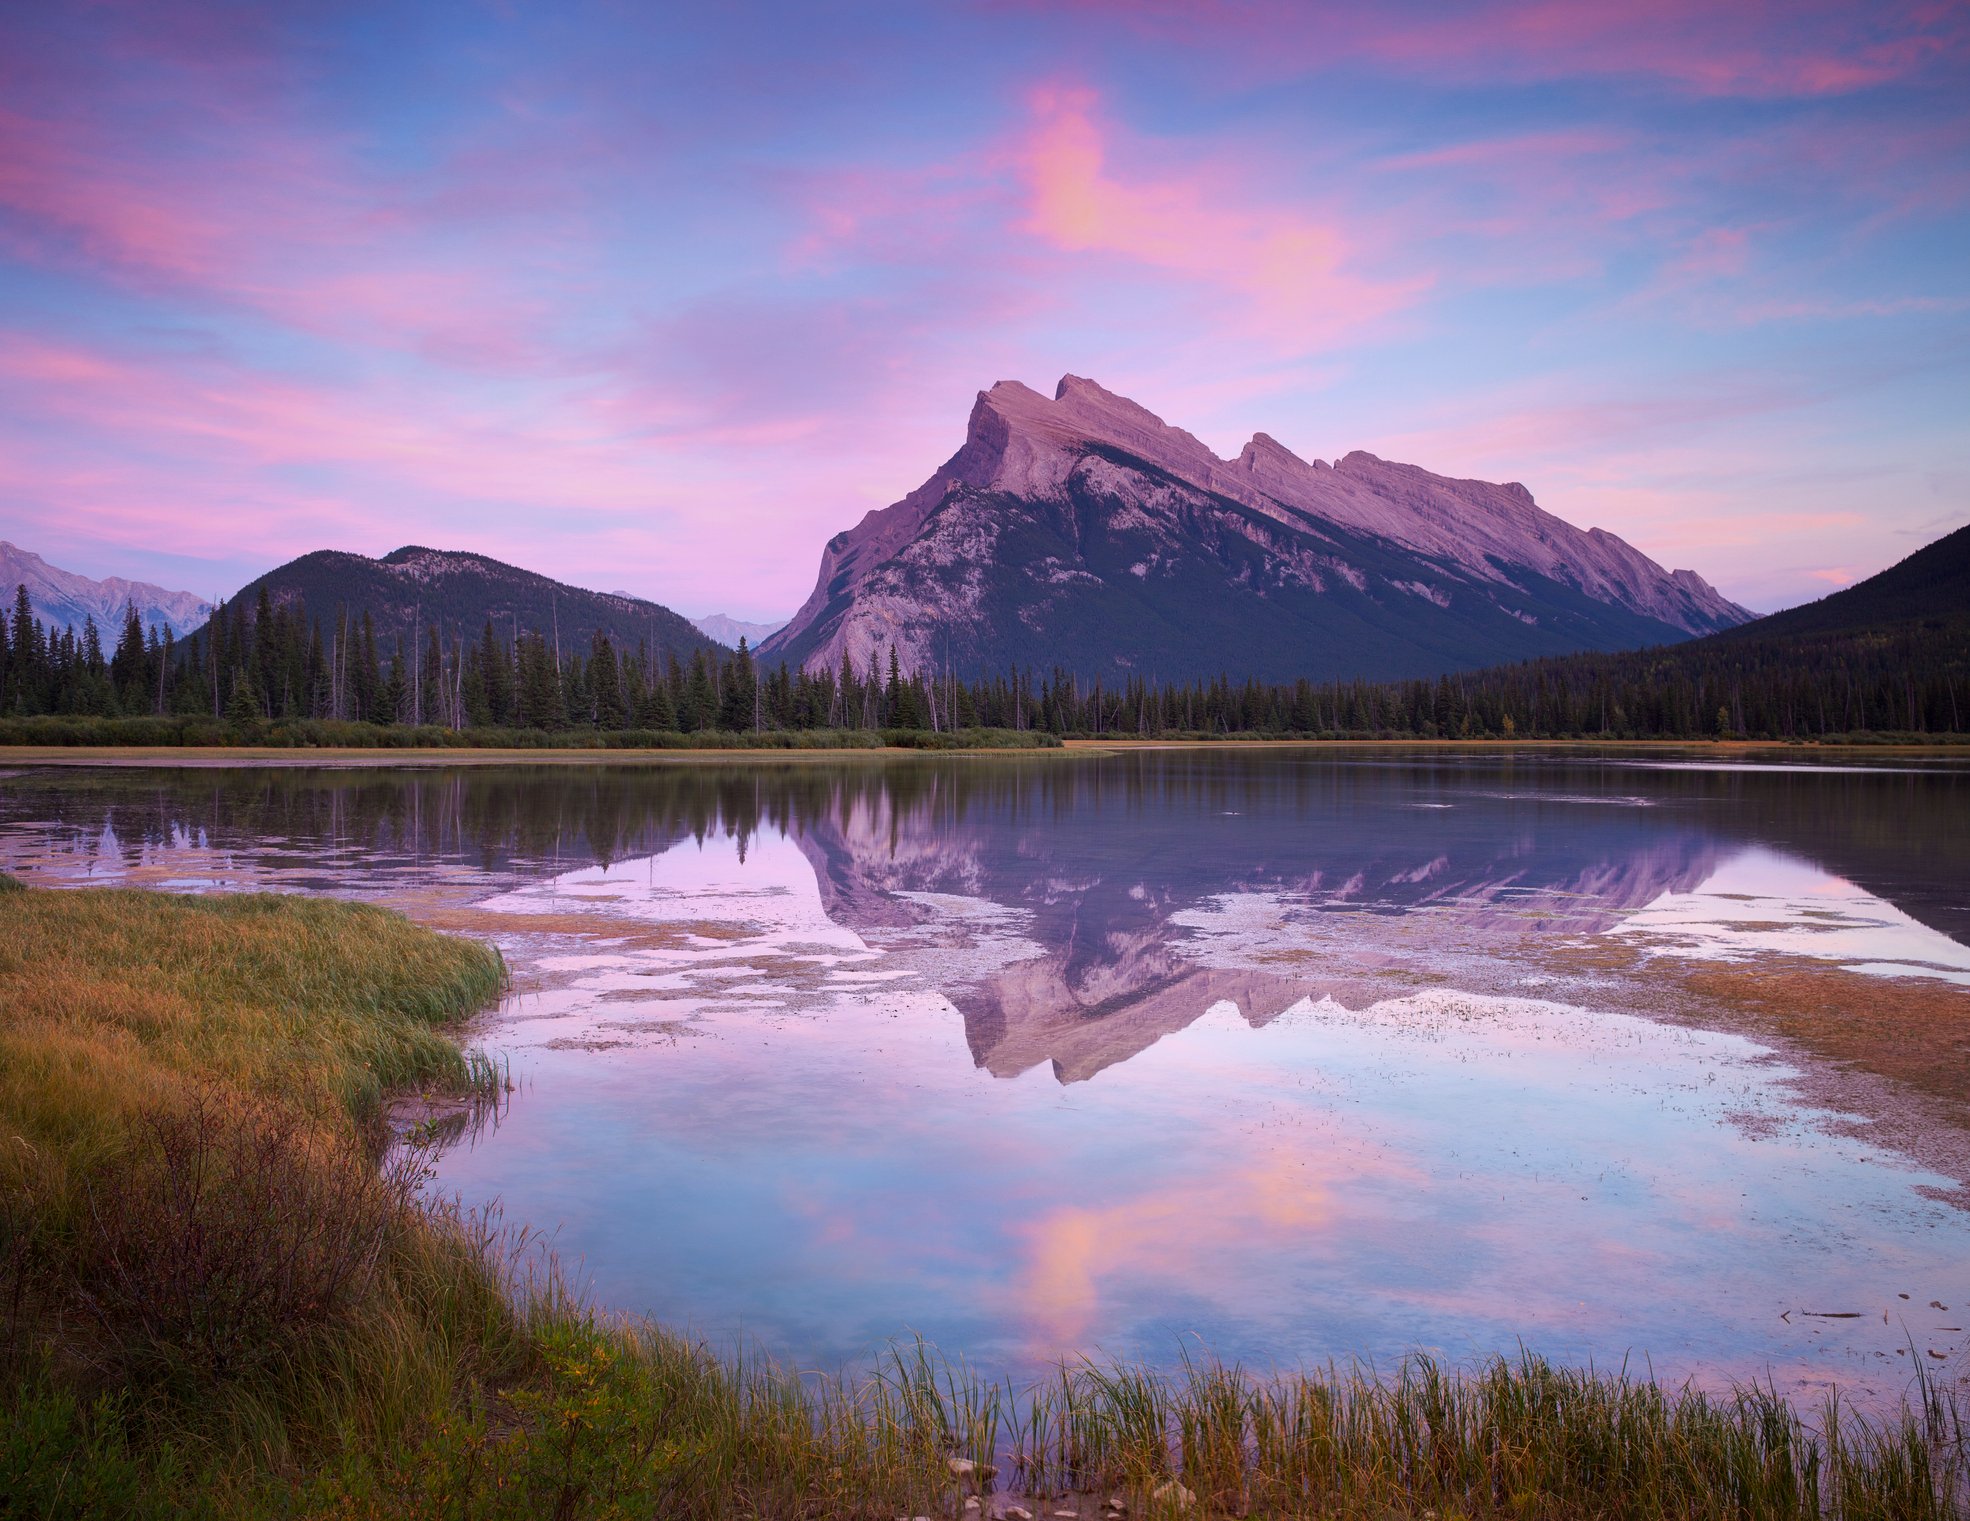
photo byAdonisVillanueva via iStock
I don’t know about you, but I love photographing water reflections...
The symmetry that results from a perfect water reflection photo seems so calming to me. Besides, why not double up on the beautiful landscape you’re photographing by creating a mirror-image of it in the reflection?!
There are some challenges to photographing water reflections, however.
In particular, when the sky is bright, you have to figure out how to manage that brightness to prevent an overexposed sky. Additionally, you have to manage the brightness of the reflection of the sky as well.
So the question is, how do you do that?
How to Photograph Water Reflections: The Basics
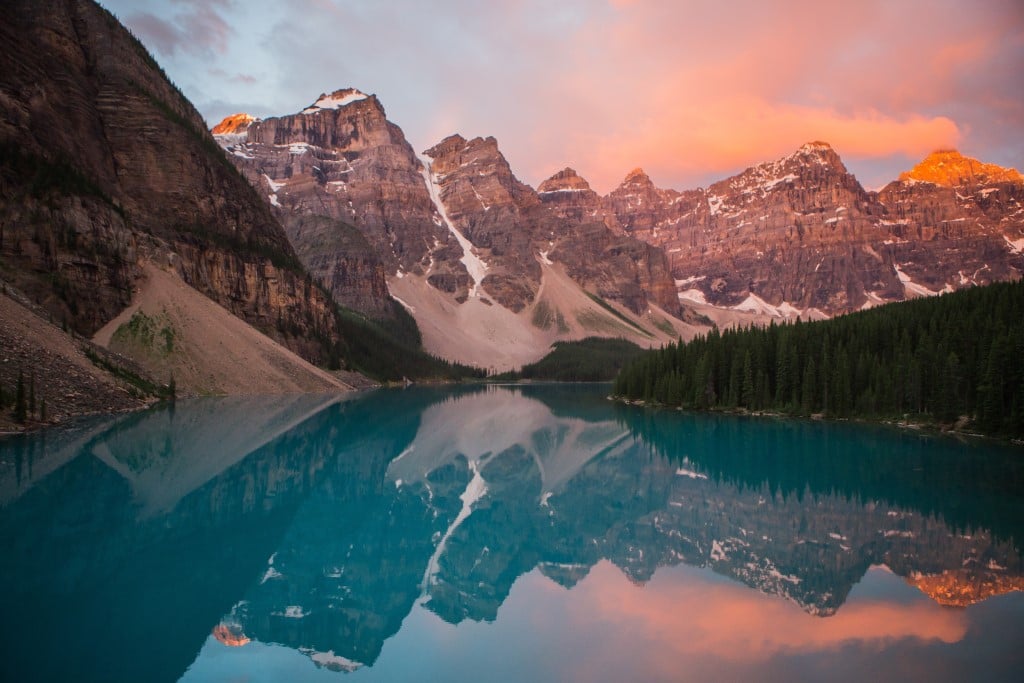
Photo by garrett parker on Unsplash
There are plenty of simple things you can do to enhance the quality of your reflection photos.
From a timing standpoint, sunrise and sunset are hard to beat, as the rich colors of the sky reflected on the surface of the water can help you create something truly dramatic.
Photo by Anubhav Saxena on Unsplash
From a compositional standpoint, adding foreground interest - rocks, plants, leading lines, and so forth - can help ground the shot and give it more depth.
When thinking about framing, water reflection photos can be enhanced by using a frame within a frame, again, to give the photo more perceived depth. You can also experiment with narrow and wide shots to determine whether a tight or wide frame best suits the subject.
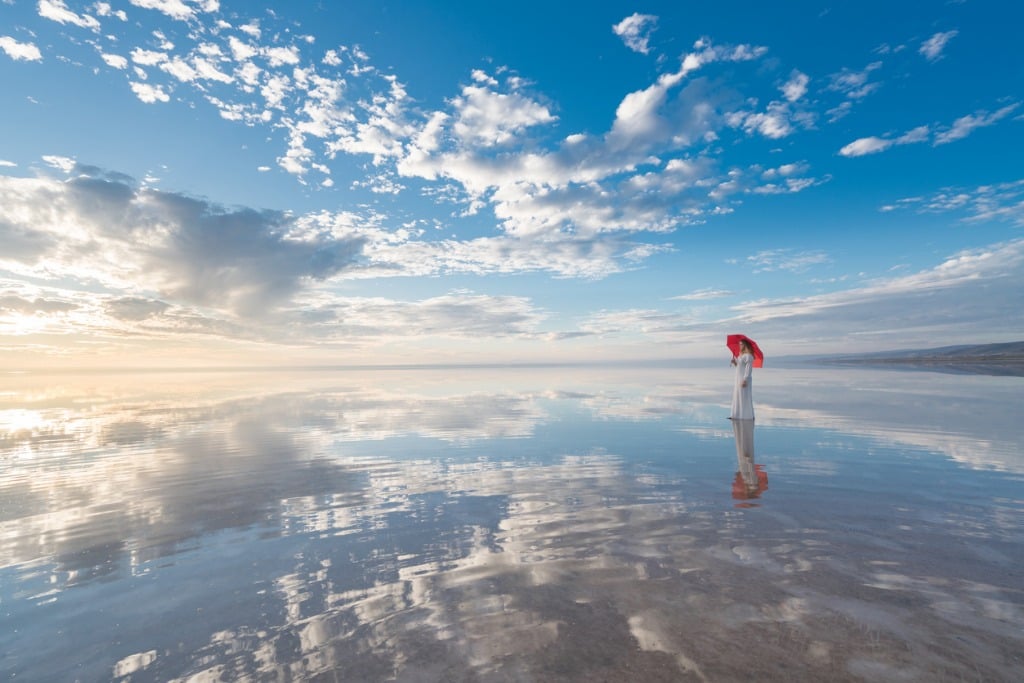
photo by mustafagull via iStock
I’m a big fan of adding people to water reflection shots as well.
Not only does adding a person to the shot help the viewer understand the scale of the scene (thanks to a familiar-sized element in the shot), but it also helps the viewer put themselves in that moment. From a storytelling point of view, adding a person to the image makes the image that much more compelling.
photo by SumikoPhoto via iStock
There are gear considerations to make too.
Typically, when discussing gear you need to photograph water reflections, the first thing you think of is a polarizing filter because one of the benefits derived from using a polarizer include minimizing glare off the surface of the water.
Naturally, when learning how to photograph water reflections, it’s important to eliminate glare so the beauty of the reflection shines through.
But there’s another landscape photography trick - one that you might have never heard of - that can really enhance your ability to photograph water reflections.
Learn More:
Best Way to Photograph Water Reflections: Use Two Graduated ND Filters
photo byslavemotion via iStock
Yep, you read that correctly…
You can use two graduated ND filters to make your water reflection photos that much better.
A common problem you encounter when photographing landscapes is a bright sky. The solution for that is to use a graduated neutral density filter to darken the sky to prevent blown out highlights.
While this works great for landscape photos without a reflection in the foreground, it doesn’t exactly help when photographing reflections because the water will be nearly as bright as the sky.
Photo by Johannes Plenio on Unsplash
The solution to this problem is simple: use two graduated neutral density filters - one for the sky and another for the reflection.
All you have to do is mount the filters together, one right side up for the sky and the other inverted so the darkened area is on the bottom to bring down the brightness of the reflection.
Easy, right?
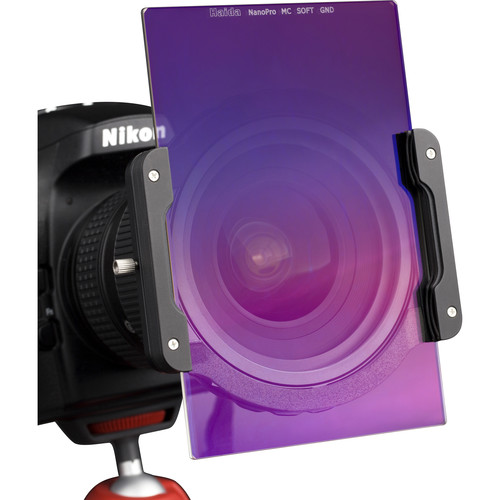
Because the sky is brighter than its reflection, you need a darker filter, like a Haida 4-stop graduated ND (shown above). Then, reverse-mount a Haida 2-stop graduated ND (shown below) in front of that to take care of the brightness of the reflection.
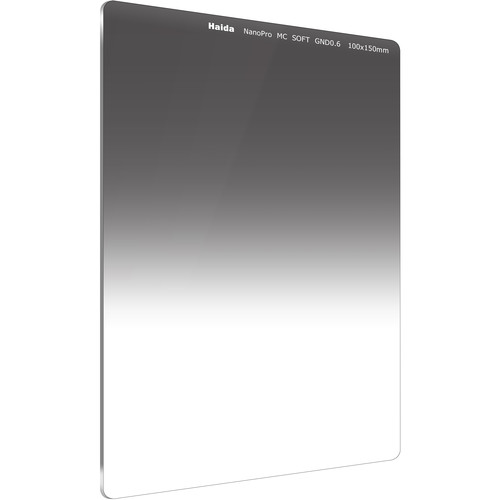
Using soft-edge graduated ND filters makes sense when the landscape does not have a definite horizon. But, if you’re in a situation in which the horizon is very clear, using hard-edge graduated NDs would be warranted.
And that’s it! This is a simple trick to use that can dramatically improve the quality of your water reflection photos.
Learn More:
We Recommend
This Lens Filter Could Be a Game-Changer for Your Workflow
Adding a lens filter is one of the best ways that any photographer can improve their images, especially is this true in landscape photography. Two of the most used filters for landscape photography are circular polarizer and neutral density filters.
What can these two filters do for your landscape photography and is there a better way to use landscape photography filters?
C-POL and ND Filters - What They Do
Photo by Vincent Rivaud from Pexels
The two most useful landscape photography filters for my own photography are the circular polarizer (C-POL) and neutral density (ND) filters. A polarizer helps control reflections which includes contrast lowering atmospheric light scattering. The effect on the image can be seen in the camera viewfinder.
Photo by Johannes Plenio from Pexels
Neutral density filters are useful to change the overall exposure value of a scene to allow you to use a shutter speed or aperture that you really want for a specific photographic technique, such as selective focus or motion blur. We have covered both C-POL and ND filters in depth in some previous articles.
Lens Filter Systems
For my own landscape photography filters, I like to use a lens filter system as opposed to single screw in filters. A lens filter system, like the Haida M10 Filter System, makes using various special lens filters easier, faster, and more cost effective than screw in filters.
How does it work and how does it save time and money?
How It Works
The Haida filters in the M10 system fit in a filter holder, the lens filter holder attaches to the lens by means of an adapter.
The filter holder is machined aluminum and can hold 3 insert filters and 1 drop in filter at the same time. Light blocking material prevents any extra light from the sides getting into the light path or causing unwanted reflections in the filters.
The inserted filters are either square or slightly rectangular in the case of some of the graduated neutral density filters (GND). Width of the filters is 100X100mm, or 100X150mm for GND, and the thickness is 2mm. Drop in filters like the C-POL are round and fit in a different slot.
The GND Haida filters are longer so that you can place the transition line wherever you need it to be for that particular image. The C-POL filters have their own built in turning wheel for adjusting them without requiring you to turn the entire filter assembly.
Learn More:
- Must-Have Landscape Photography Accessories
- Two Lens Filters that are Must-Haves for Your Camera Bag
- Circular Polarizer Do’s and Don'ts
Improve Workflow
Using a lens filter holder system for your landscape photography filters improves your workflow, too. With a set of your most desired filters for landscape photography like the circular polarizer and neutral density filters, you can quickly and easily swap out one filter for another.
As an example, I do much of my own landscape photography with my camera and lens mounted on a tripod. This gives me more control for this style of my personal photography. With a Haida filter system mounted on the lens, I can take several different types of images without a lot of fuss.
Instead of screwing and unscrewing multiple filters, I simply slide them in and out. If I need two filters at once for a certain image, I just put two filters in the holder. This especially helps when using a circular polarizer and a GND filter together.
The Haida filter holder system also improves workflow when I use different lenses. I mount the proper adapter on each lens ahead of time, then all I have to do after changing lenses is remount the filter holder to each lens.
The lens filter workflow for my landscape photography is also improved by not having to have several different filters of various types and sizes taking up real estate in my camera bag. The Haida filter systems even have their own cases that keep it all organized inside my bag.
Saves Money, Too

Photo by Karolina Grabowska from Pexels
High quality lens filters for landscape photography are a little bit more expensive than some run of the mill filters. If I had to replicate the same filter multiple times for several different lens sizes, these better filters will quickly eat up a good portion of my budget for photography gear.
Using Haida filters, you can save even more by choosing some of their combination filters such as the circular polarizer plus neutral density filters like their C-POL + 8X ND filter. Even if this particular filter is an additional lens filter in my kit, for the times I need it, it still improves my workflow for those shots by combining the effects into one filter.
A Game-Changer for Me
As you can see from multiple previous articles, I love using lens filters for landscape photography. The Haida filters are ultra high quality, simple to use, easily stackable, and quite cost effective. I’m sure you will love them, too.
Learn More:
- Lens Filter Buying Guide
- Get Better Landscape Photos with These Simple Tips
- How To Improve Landscape Photography
We Recommend
This Might Be the Ultimate Landscape Photography Filter Set
 Photo by tawatchaiprakobkit via iStock
There are a lot of filter kits floating around out there, each with its claim to fame for being the best of the bunch.
But some filter kits fall short, either because of their build quality, their performance, their functionality, or a combination thereof.
But the last month or so, I’ve been testing the Haida M10 Filter Kit, and I’m thinking it might just be the ultimate landscape photography filter kit on the market today.
Below, I’ve outlined just a few reasons why I think the Haida M10 is my forever filter kit.
The Haida M10 Filter Kit Exudes Quality
Every component of this filter kit looks, feels, and functions like a high-quality piece of machinery.
From the aluminum alloy filter holder that’s both durable and lightweight to the filters themselves, which are made of shock-resistant optical glass, you find yourself more impressed with each component that you explore.
The build quality of this kit is found in the little details, too.
For example, the drop-in circular polarizer has a wheel on top of the filter that allows you to adjust the polarization without moving the filter housing.
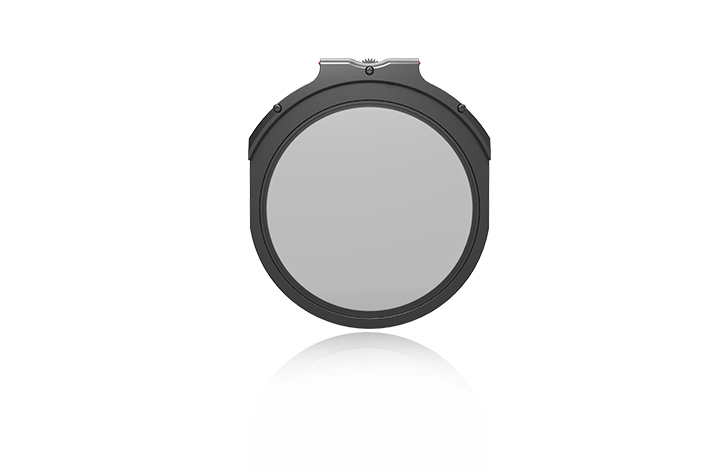
This means you don’t have to re-adjust any stacked filters each time you adjust the polarizer. Nice!
Another feature that demonstrates the quality of this filter system is the thought that went into the filter design.
For starters, each filter has 10 layers of anti-reflective nano coatings to eliminate ghosting and reflections. Likewise, each filter also has 10 layers of hydrophobic, anti-scratch coatings, which add to their durability and make for easier cleaning since water and oils are repelled.
Haida even thought to round the corners of the rectangular filters, which improves your ability to insert them into the filter holder. It’s little touches like this that make this system so impressive.
The Haida M10 Filter System Has All the Components You Need for Landscape Photography
A good filter kit for landscapes includes a polarizer, a selection of solid ND filters, and graduated ND filters. This Haida system certainly delivers.
The kit includes:
- A drop-in circular polarizer
- 10-stop, 6-stop, and 3-stop Red Diamond solid neutral density filters
- 3-stop medium-edge Red Diamond graduated ND and 3-stop hard-edge Red Diamond graduated ND
- 3-stop reverse hard-edge Red Diamond graduated ND
The kit also includes four adapter rings and an empty filter housing that you can drop into the polarizer slot. The empty housing then seals light out from the sides, thereby preventing light leaks.
All of this comes in a handy case for keeping all the components organized and safe from damage.
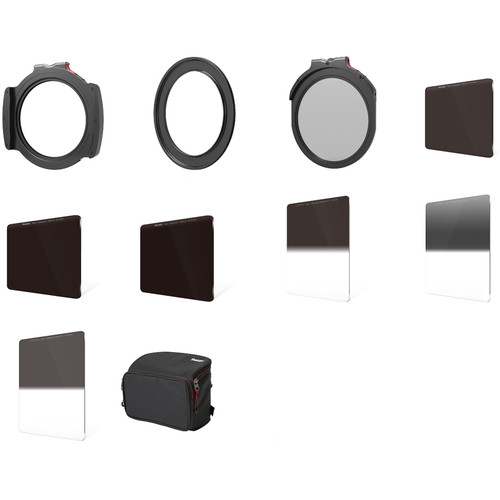
When looking at the included filters, there is virtually no landscape photography situation you can’t address.
With the polarizing filter, you can reduce atmospheric haze, thereby making distant subjects appear clearer. You can also eliminate glare off of non-metallic surfaces like water, and boost the contrast of the sky for more dramatic results.
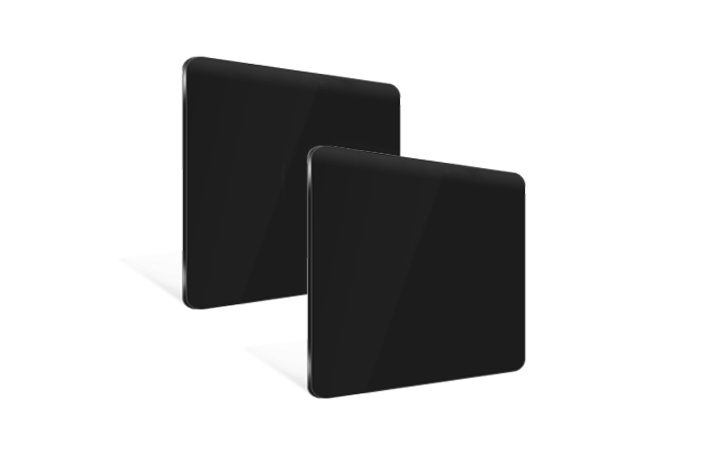
The solid ND filters allow you to extend the shutter speed during the daytime to blur the movement of water and clouds, while also giving you greater control over depth of field by using larger apertures without the risk of overexposing the shot.
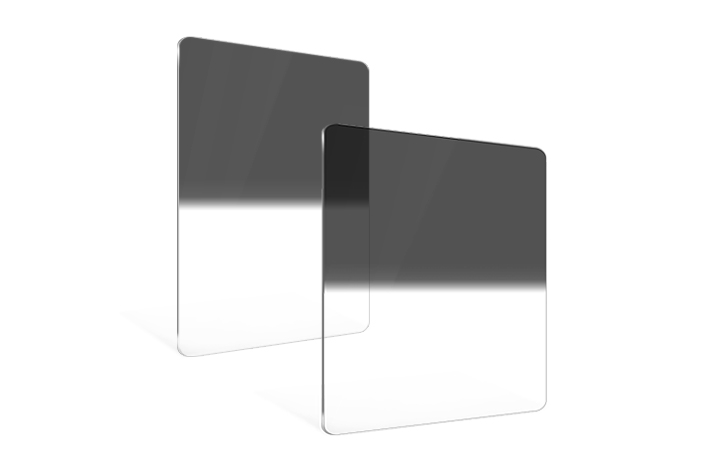
The graduated ND filters address the all-too-common situation in which the bright sky and a dark foreground have too much dynamic range for the camera to handle.
With the darker area of the filter on top, it blocks some of the light from the sky while having no effect on the foreground. The result is a more even exposure without a blown out sky or a landscape that’s too dark.
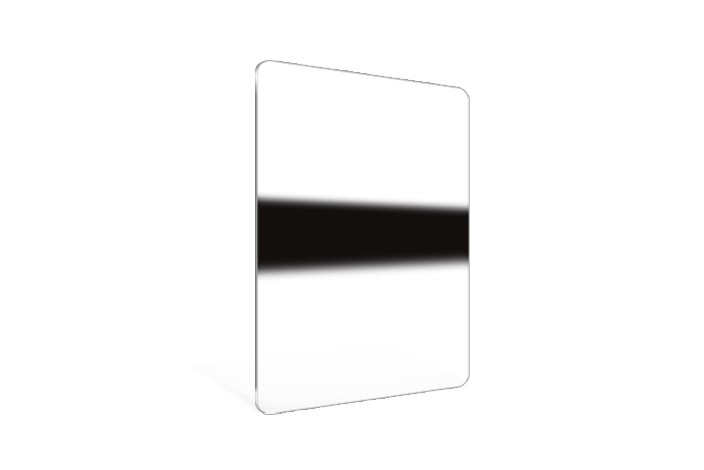
The reverse ND grad is specifically designed for taking photos during sunrise or sunset, when the brightest part of the sky is along the horizon.
To address this, a reverse ND grad is darkest in the middle of the filter and gradually lightens toward the top and the bottom.
With so many filter options, you have a much greater likelihood of being able to get the exposure just right.
What’s So Special About This Filter System?
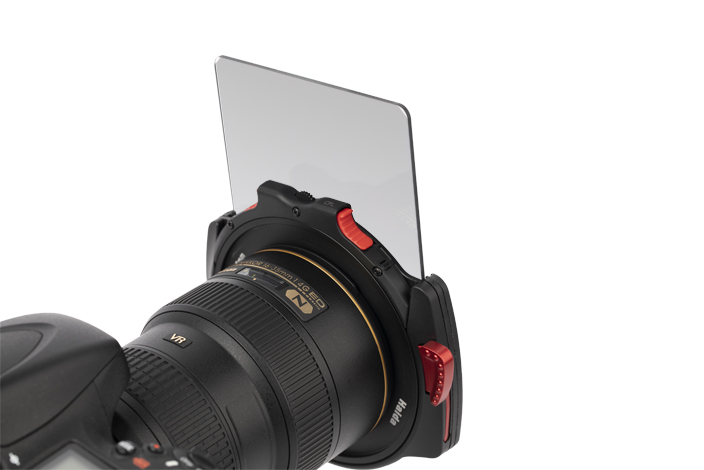
In addition to the build quality and the selection of filters that come with this kit, it’s packed with features that make it supremely functional and easy to use.
Earlier, I mentioned that the polarizing filter has a wheel on top of the housing that allows you to adjust the polarization without having to re-adjust any of the other filters.
That’s just one excellent feature…
The filter holder is built to accommodate two rectangular filters in front of the drop-in slot, but components are included in the kit to add a third filter slot. That means you can stack up to four filters if you ever had the occasion to do so.
Likewise, for each rectangular filter, there is a light-blocking gasket, which seals the filter and the filter holder together. This helps prevent stray light, which could result in unwanted flare and other exposure effect.
This filter holder also has an ingenious lever system for removing the holder from the lens. Just pull the lever and you can quickly and easily remove the holder.
In other words, this filter system has it all - quality materials, a diverse selection of filters, and innovative design features that make it easy to use.
Yes, this system is expensive, but in my mind, it’s better to invest in something that will do its job, do it well, and do it for years and years to come than to buy cheaper kits that need replacing after a couple of years.
So while the M10 filter system isn’t cheap, it will certainly be ready to work for you for the long-haul!
We Recommend
Top 10 Gifts for Photographers Under $250 - 2020 Edition

Photo by franckreporter via iStock
I'm writing this the first week of August, so as you can imagine, it's a little weird talking about holiday gifts.
However, the first seven months of 2020 have flown by - despite the challenging circumstances - so I figured the next four months would be equally as fast. I might as well start naming my top gifts for photographers now, that way you have time to pick up the items you want for yourself or for the photographer on your holiday shopping list.
While $250 might not seem like a big budget for photography-related gear, you might be surprised at what you can find for less than that price point.
Below are ten of my favorite photography gifts for $250 or less.
Gifts for Photographers Under $250: CanvasHQ Print
One of my favorite gifts to give (and to get, while we're at it) is a big, beautiful print.
Personally, I like canvas because of the texture the canvas gives to the print. Besides, a canvas print is something that will continue to give joy to the person that receives it for years and years to come!
Now, I know what you're thinking...canvas is so old-school.
But if you order your canvases from the right printers, you can get something that is beautiful, well-made and looks modern, even if the substrate is perhaps a bit old-school.
I have tons of canvases in my home, the vast majority of which are fromCanvasHQ.
These are some of the best canvas prints I've ever purchased. The sharpness of detail, the color accuracy, and the overall build quality of these prints is next-level good.
Part of the reason for this is the materials CanvasHQ uses. We’re talking archival-grade canvas, commercial-grade inks that are water and UV resistant, and kiln-dried pine frames to keep everything straight and true.
But CanvasHQ isn't just tops in the quality department...
They have excellent customer service that makes you feel heard and as though you're the only customer they have to worry about at that moment.
These guys are committed to getting it right, so if something doesn’t go as planned, you won’t be hung out to dry.
If you have questions, they’ll answer them. If you have a problem, they’ll fix it. If you need assistance with uploading your photo or even picking the best finishes for your canvas, they’ve got your back.
In the video above, you can see how one of my CanvasHQ prints stacks up against similar prints from other printing companies. I think you'll see why I'm so loyal to CanvasHQ!
Start shopping for your favorite photographer today on CanvasHQ.
Gifts for Photographers Under $250: ViewSonic VG1655 Portable Monitor

Sometimes you need a bright, portable monitor, and for those occasions, the ViewSonic VG1655 is a great option.
This monitor has a frameless IPS 15.6-inch screen and weighs a mere two pounds. It has two-way power, dual USB-C ports, a stand cover, and a screen protector. It can be used in portrait or landscape orientation.
To help reduce eye strain, the monitor has a blue light filter. The flicker-free technology gives you a beautiful picture to view as well.
You can use this monitor with laptops, PCs, and Macs and comes with a three-year warranty. There are even dual built-in speakers!
Learn more about the ViewSonic VG1655 Portable Monitor
Gifts for Photographers Under $250: Haida NanoPro MC Variable ND Filter

One of the best things about having a variable ND filter in your camera bag is that you can replace multiple ND filters with a single one.
That might not sound like a big deal, but for me (and many other photographers), it's nice to be able to streamline your camera bag and your photography workflow while you're at it.
What's so nice about the Haida NanoPro MC variable ND filter is that you get 4-stops to 9-stops of variability. This allows you to attack all sorts of long exposures in different lighting situations. Additionally, you can increase the aperture to control depth of field for beautiful background blur in your images.
This particular variable ND filter has nano multi-coatings on both sides of the glass that improves beading when the surface comes in contact with oil or water. So not only does it protect the filter glass, but this coating also results in a much more efficient cleaning process.
Speaking of efficiency, Haida included visual cues on the front filter ring that represent the different density values. This helps you dial in the desired density settings both easier and faster, and allows you to repeat the process more easily as well.
Where some variable ND filters reduce the overall clarity and color accuracy of the images you take, Haida has protected against both of these problems by using optical glass. Each surface also includes 10 layers of anti-reflection coatings to minimize internal ghosting and reflections.
You can also use this filter with other filters thanks to the front filter threads. Add in a side lever for easy rotation, a plastic case to protect the filter during transport, and a price WELL below the $250 mark, and you have the makings for one heck of a holiday gift idea for the photographer on your list!
Learn more about the Haida NanoPro MC Variable ND Filter
Gifts for Photographers Under $250: A Pre-Owned Canon EF 50mm f/1.4 Lens
Ask just about any photographer what their first lens purchase was, and they'll say a Nifty Fifty. That makes it the ideal gift idea for photographers this holiday season!
There's a lot to love about 50mm lenses, too...
For starters, it's a great focal length for learning all kinds of photography, from landscapes to portraits and everything in between.
That also makes it an incredibly versatile lens.
In fact, put a 50mm lens on your camera, and you can shoot all day long without ever needing a different focal length. They're even great for shooting video!
You can find 50mm lenses with large apertures, too, like the Canon EF 50mm f/1.4 USM shown above.
At f/1.4, photographers can more readily shoot in low-light conditions without having to push the ISO too high, which helps reduce digital noise.
Having a large aperture like that is also beneficial for gathering tons of light, that way a faster shutter speed can be used. It's also helpful for blurring the background in portraits to get a more professional-looking shot.
Another benefit of a 50mm lens is that they force you to think more creatively about how you frame up your shots.
That is, since 50mm lenses have a constant focal length of 50mm, there's no zoom to rely on for getting close-up or wider shots.
By using a 50mm lens and "zooming with your feet," becoming a master of composition can be an easier task because you're forced to physically move further away or closer to the subject.
Of course, the biggest benefit of 50mm lenses is the price. These lenses are well-priced so you can bestow a great little lens with tons of functionality and versatility upon your favorite photographer without busting your budget.
That sounds like a win-win deal to me!
Learn more about the Canon EF 50mm f/1.4 lens
Gifts for Photographers Under $250: Holdfast MoneyMaker Solo
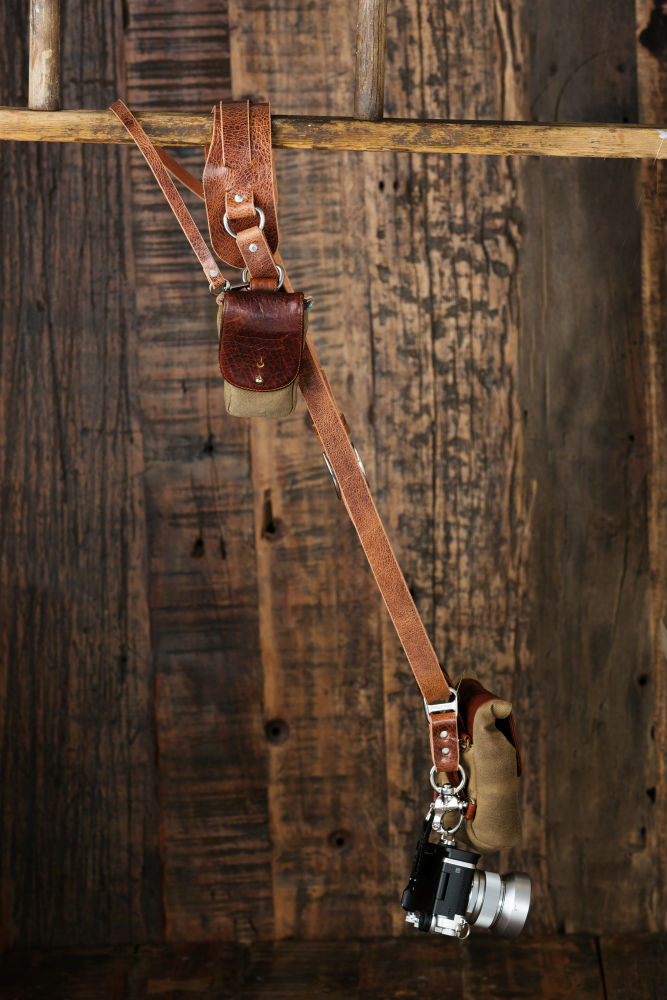 Photo by Brandon Burk
Designed specifically for single camera shooters, the Holdfast MoneyMaker Solo is a perfect choice for the photographer on your holiday shopping list.
The MoneyMaker Solo features impeccable designs and a commitment to quality for shooters that don’t need two or three cameras on their person as the original MoneyMaker provides.
Worn as a sling strap, the MoneyMaker Solo has a big, soft, contoured shoulder strap that ensures that you’ll have a comfortable carrying experience whether you’re only out shooting for a couple of hours or if you’re out shooting for an entire day.
With an integrated stabilizer strap, the MoneyMaker Solo will stay put on your shoulder so you don’t have to worry about it slipping off.
What’s more, you can use the Holdfast Belt Anchor to give the Solo even more stability, it locks the camera to your belt, no more flopping around as you maneuver and bend over while working. Then a quick pull on the release tab as you grab your camera and you’re ready to take the shot!
As well, you can also use all of the Holdfast Gear accessories with the Solo like a Holdfast Cell Phone Pouch or Lens Pouch. See how it all comes together in the video above.

Just like the original MoneyMaker, the MoneyMaker Solo gives you unparalleled freedom of movement so you can get the shots you want without having your gear in the way.
In that regard, the MoneyMaker Solo ticks all the boxes - it’s highly functional, incredibly comfortable, works without getting in your way, and it looks like a million buck!
Learn more about the Holdfast MoneyMaker Solo
Gifts for Photographers Under $250: Insta360 GO
Photographers these days are almost as much about video as they are about still images. And for that reason, a camera that captures video is a must.
But not everyone wants a traditional video camera. That's where the Insta360 GO comes in...
This tiny stabilized camera shoots 30-second or 60-second clips with the press of a button. From those clips, you can find the best still frames if you wish, all with the help of artificial intelligence.
In addition to being stabilized, the Insta360 GO features Hyperlapse, automatic editing, timelapse, and slow-motion capabilities.
Using the Barrel Roll feature, you can adjust the rotation of the shot with a simple swipe. It's also water-resistant and can even withstand a quick dunk in the water.
Transferring files is as simple as plugging the camera into your phone. And with a battery that can handle about 200 shots on a charge, you can amass a lot of images and videos!
Learn more about the Insta360 GO
Gifts for Photographers Under $250: PolarPro Apex Minimalist Tripod
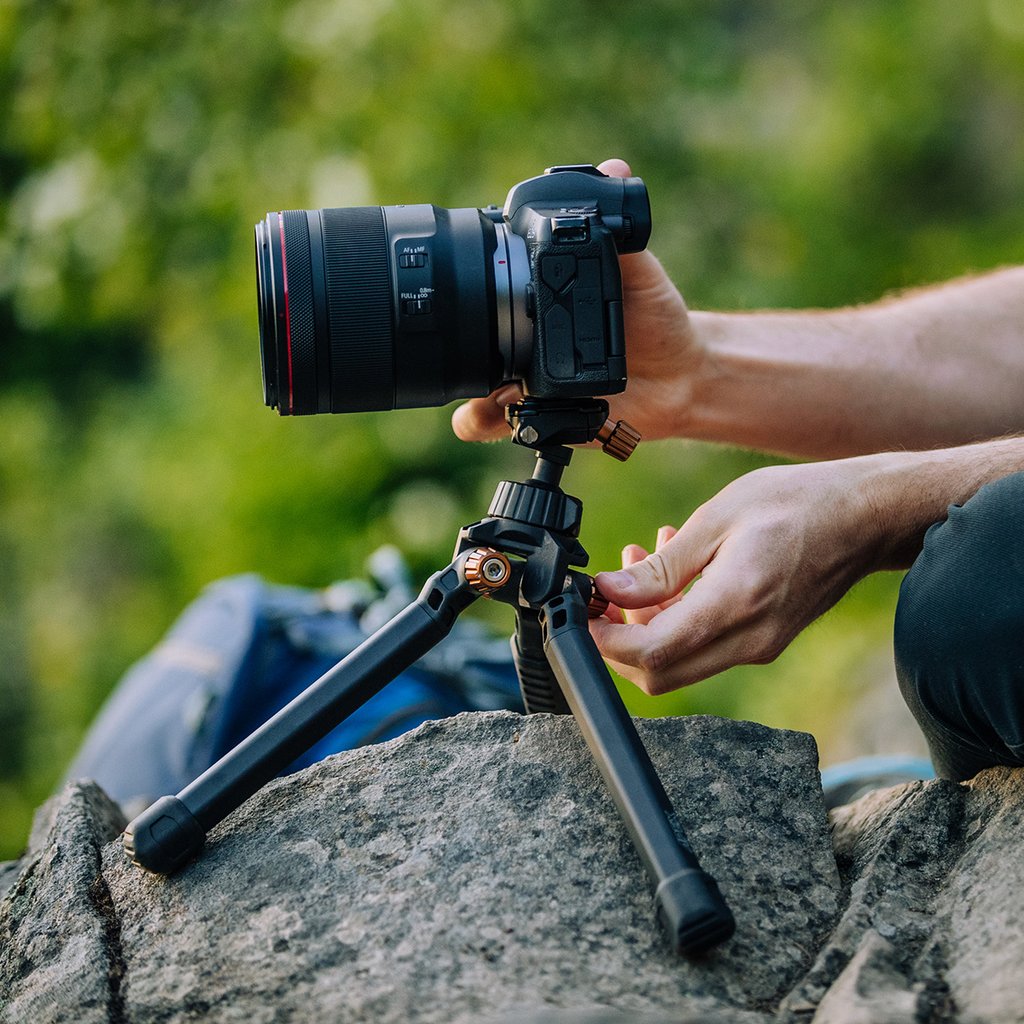
While PolarPro might be better known for their impeccable lens filters, they've expanded their product line to include many other useful tools, like the Apex Minimalist Tripod.
But don't let this tripod's small stature fool you...
It is every bit a PolarPro product with robust construction, superb design, and top-notch functionality.
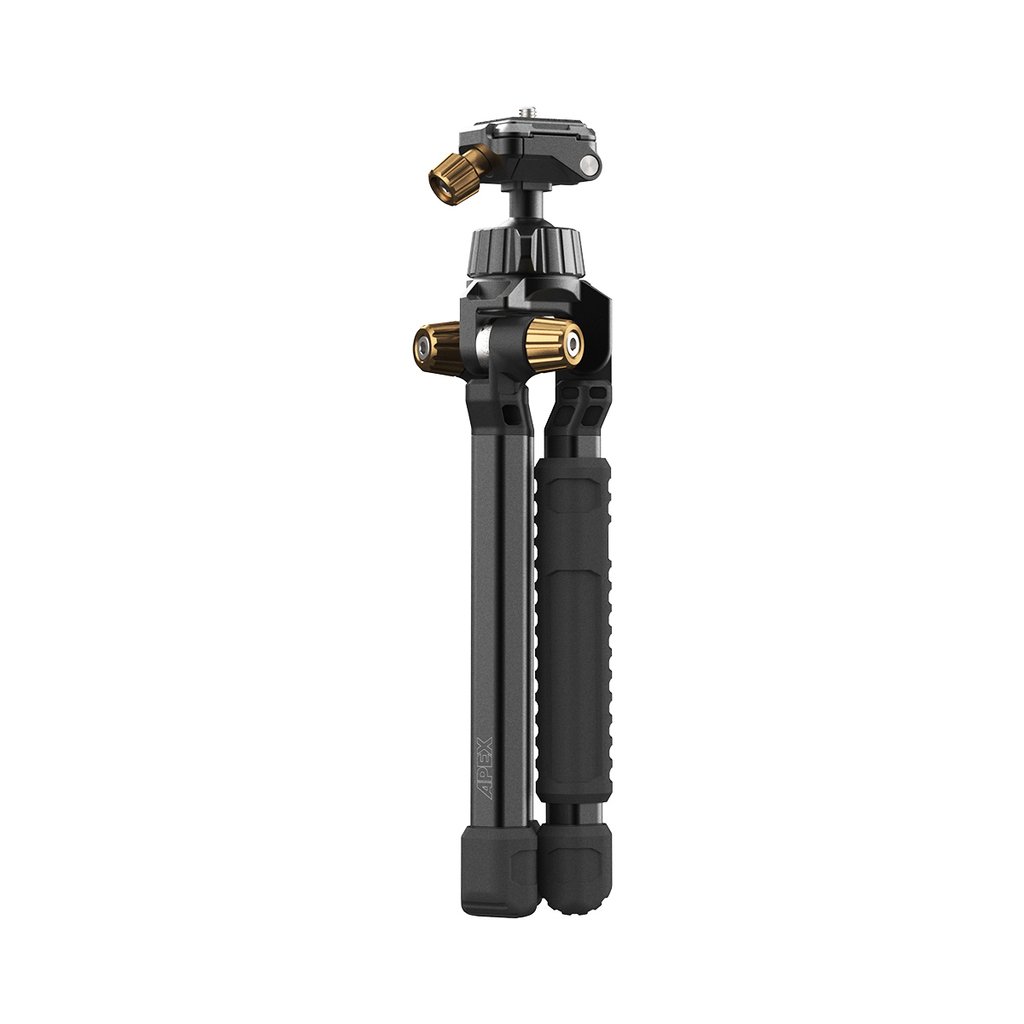
The smaller form factor of this tripod not only makes it a perfect companion for mirrorless or smartphone photography, but it's also a perfect addition to any photographer's travel bag.
The tripod can be completely locked into place by using PolarPro's excellent TiltLocks.
These locks allow you to lock the tripod down in many different orientations, that way you can get the precise shot you envision.
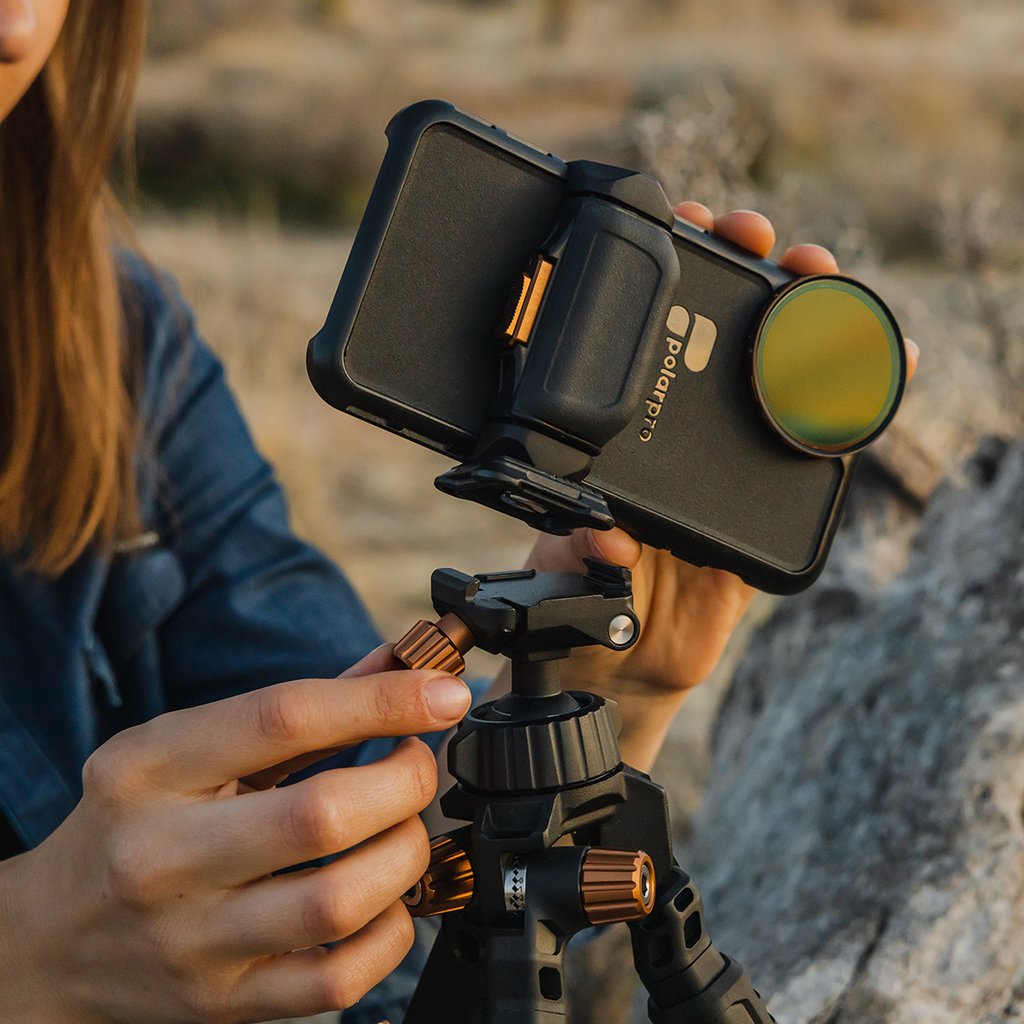
Additionally, this tripod comes with PolarPro's Apex ball head, removable rubber feet with aluminum spikes inside, and a 35-degree angled plate release know, which enables you to hot-swap other tripods and mounts.
And since this tripod is 95 percent aluminum, it's lightweight and durable at the same time.
If the you or the photographer on your holiday shopping list have been itching for a robust, yet small tripod, the PolarPro Apex should be something you take a long, hard look at.
Learn more about the PolarPro Apex Minimalist Tripod
Gifts for Photographers Under $250: H&Y K-Series Filter Holder
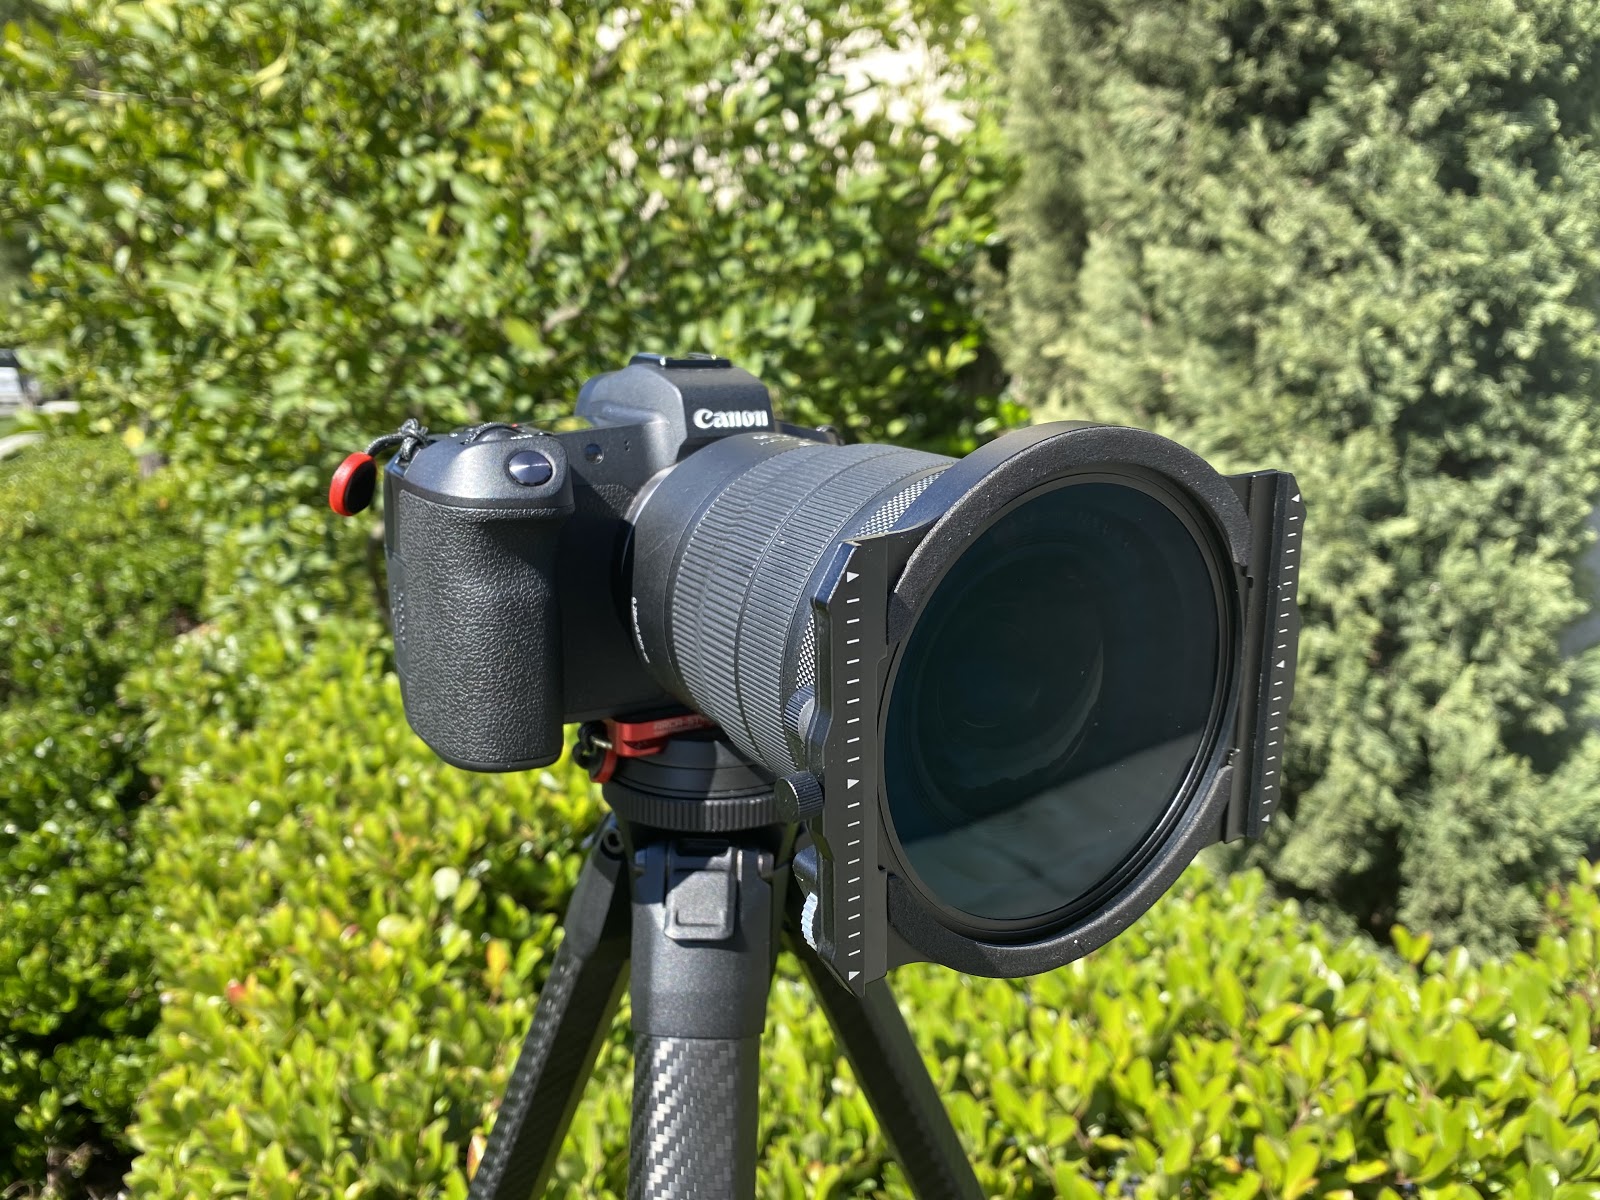
Another top pick for your favorite photographer is a rock-solid lens filter holder.
For my money, it doesn't get any better than the filter holder shown above - the H&Y K-Series.
What sets this filter holder apart from the rest is the quality of construction. Where many filter holders are made of plastic, this one is crafted of aluminum to give you the durability you need without adding unnecessary weight.
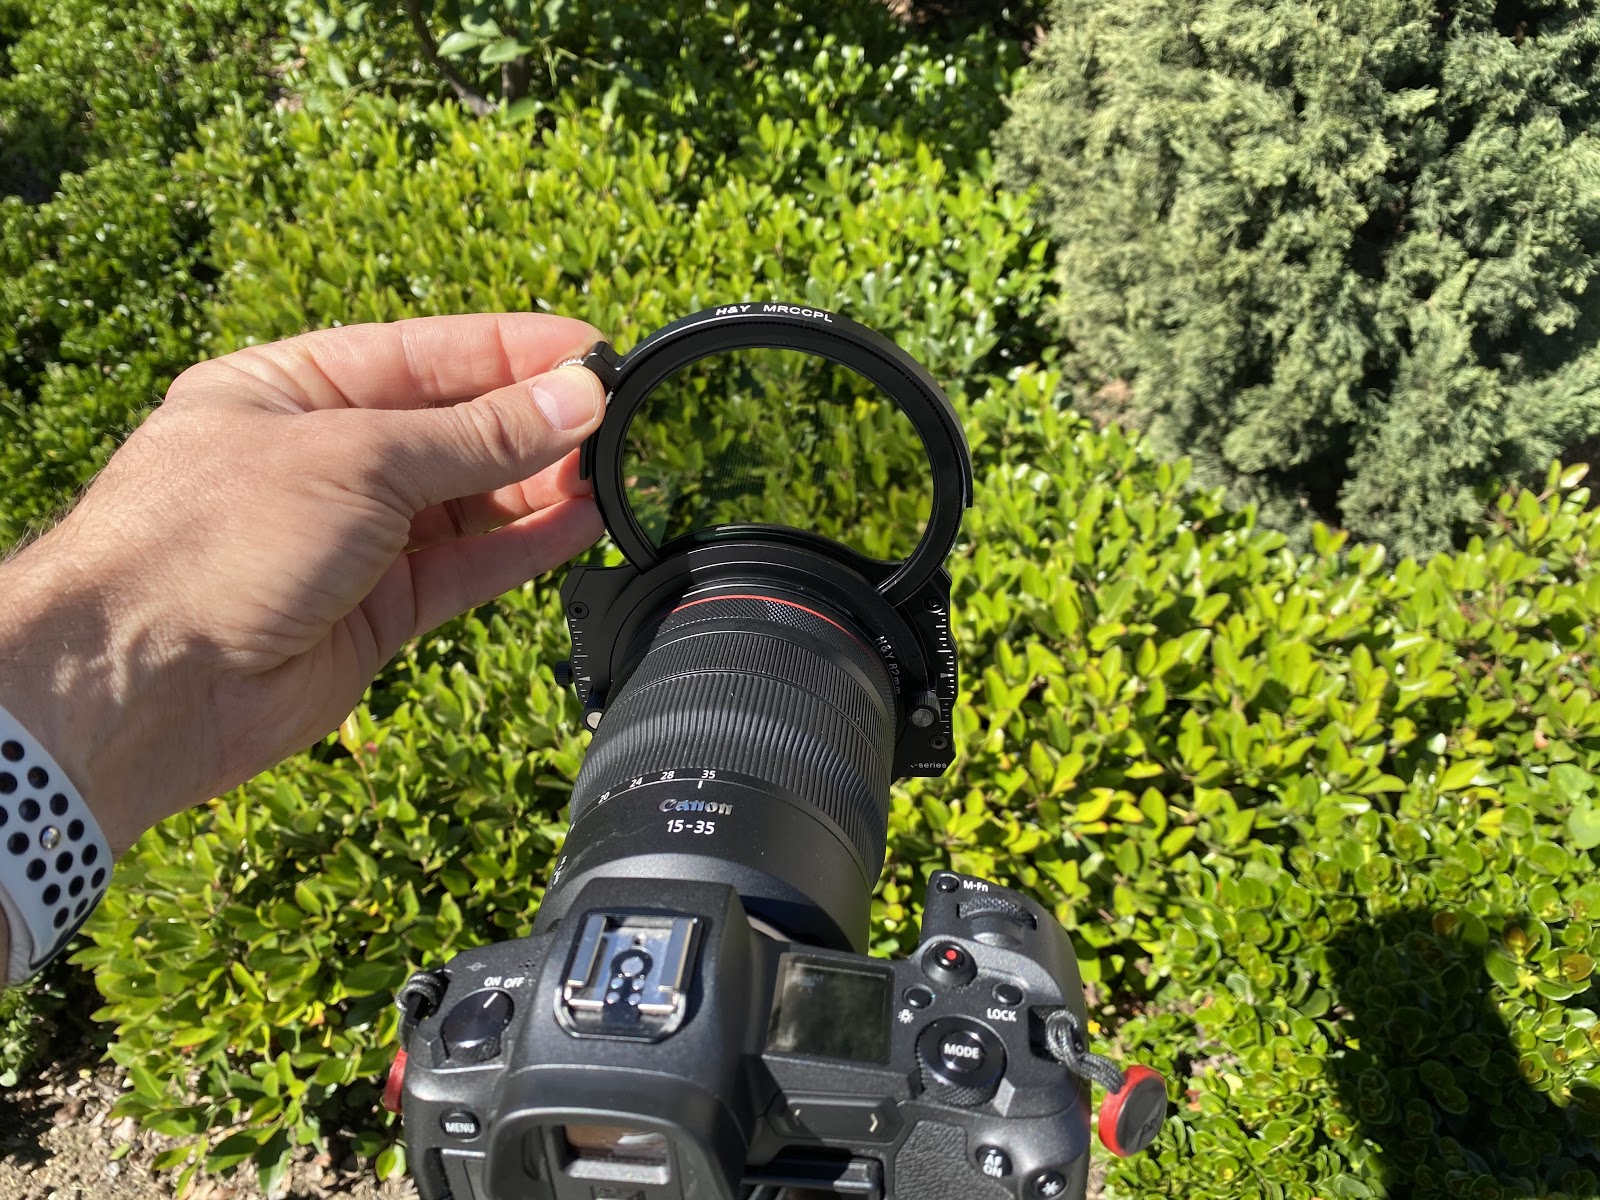
This particular holder also comes with a drop-in 95mm circular polarizer that features SCHOTT glass. The glass gets an HD polishing technique that improves light transmission so your images have even more reason to shine.
This circular polarizer also has multiple nano coatings that make it scratch-resistant, oil-repellant, and water-repellant.
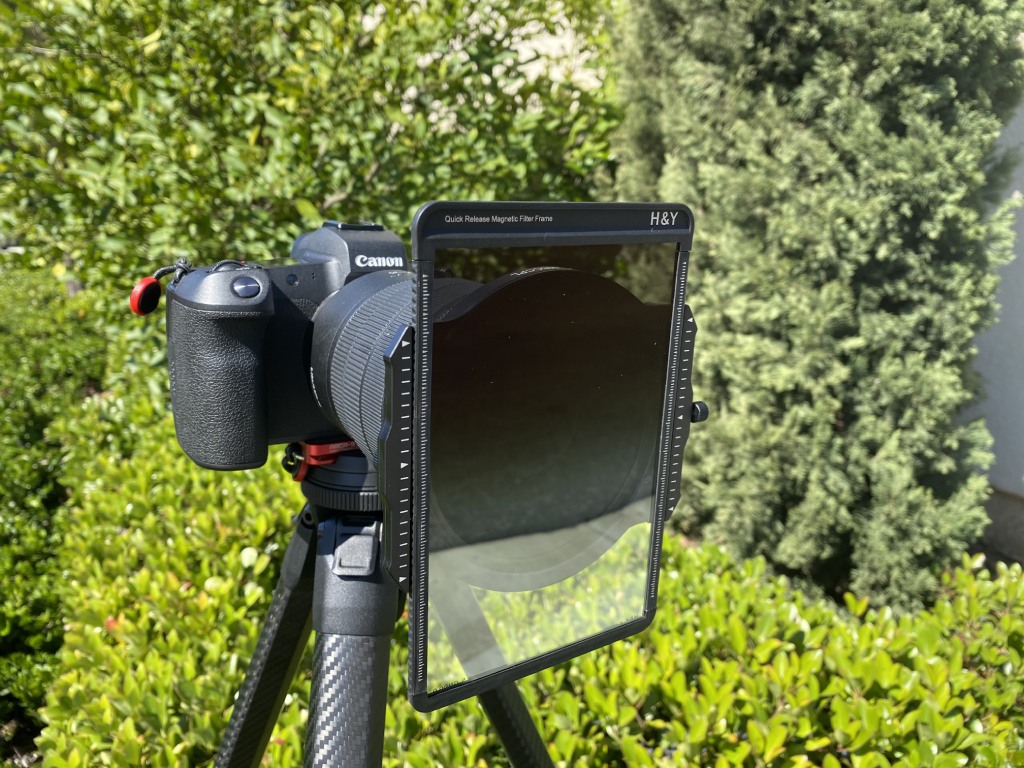
Of course, a high-quality filter holder needs to minimize light leaks, and the K-Series is more than up to the task.
There are foam seals that prevent light from leaking in, that way the results you get with your images fulfill your precise vision.
Plus, this is a magnetic holder, so you can use any of H&Y's magnetic rectangular filters (like this one).
This is a filter holder system that's well designed, well built, and worth every single penny. The photographer on your list will love having this bad boy in their kit!
Learn more about the H&Y K-Series Filter Holder
Gifts for Photographers Under $250: HEX Ranger Clamshell DSLR Backpack
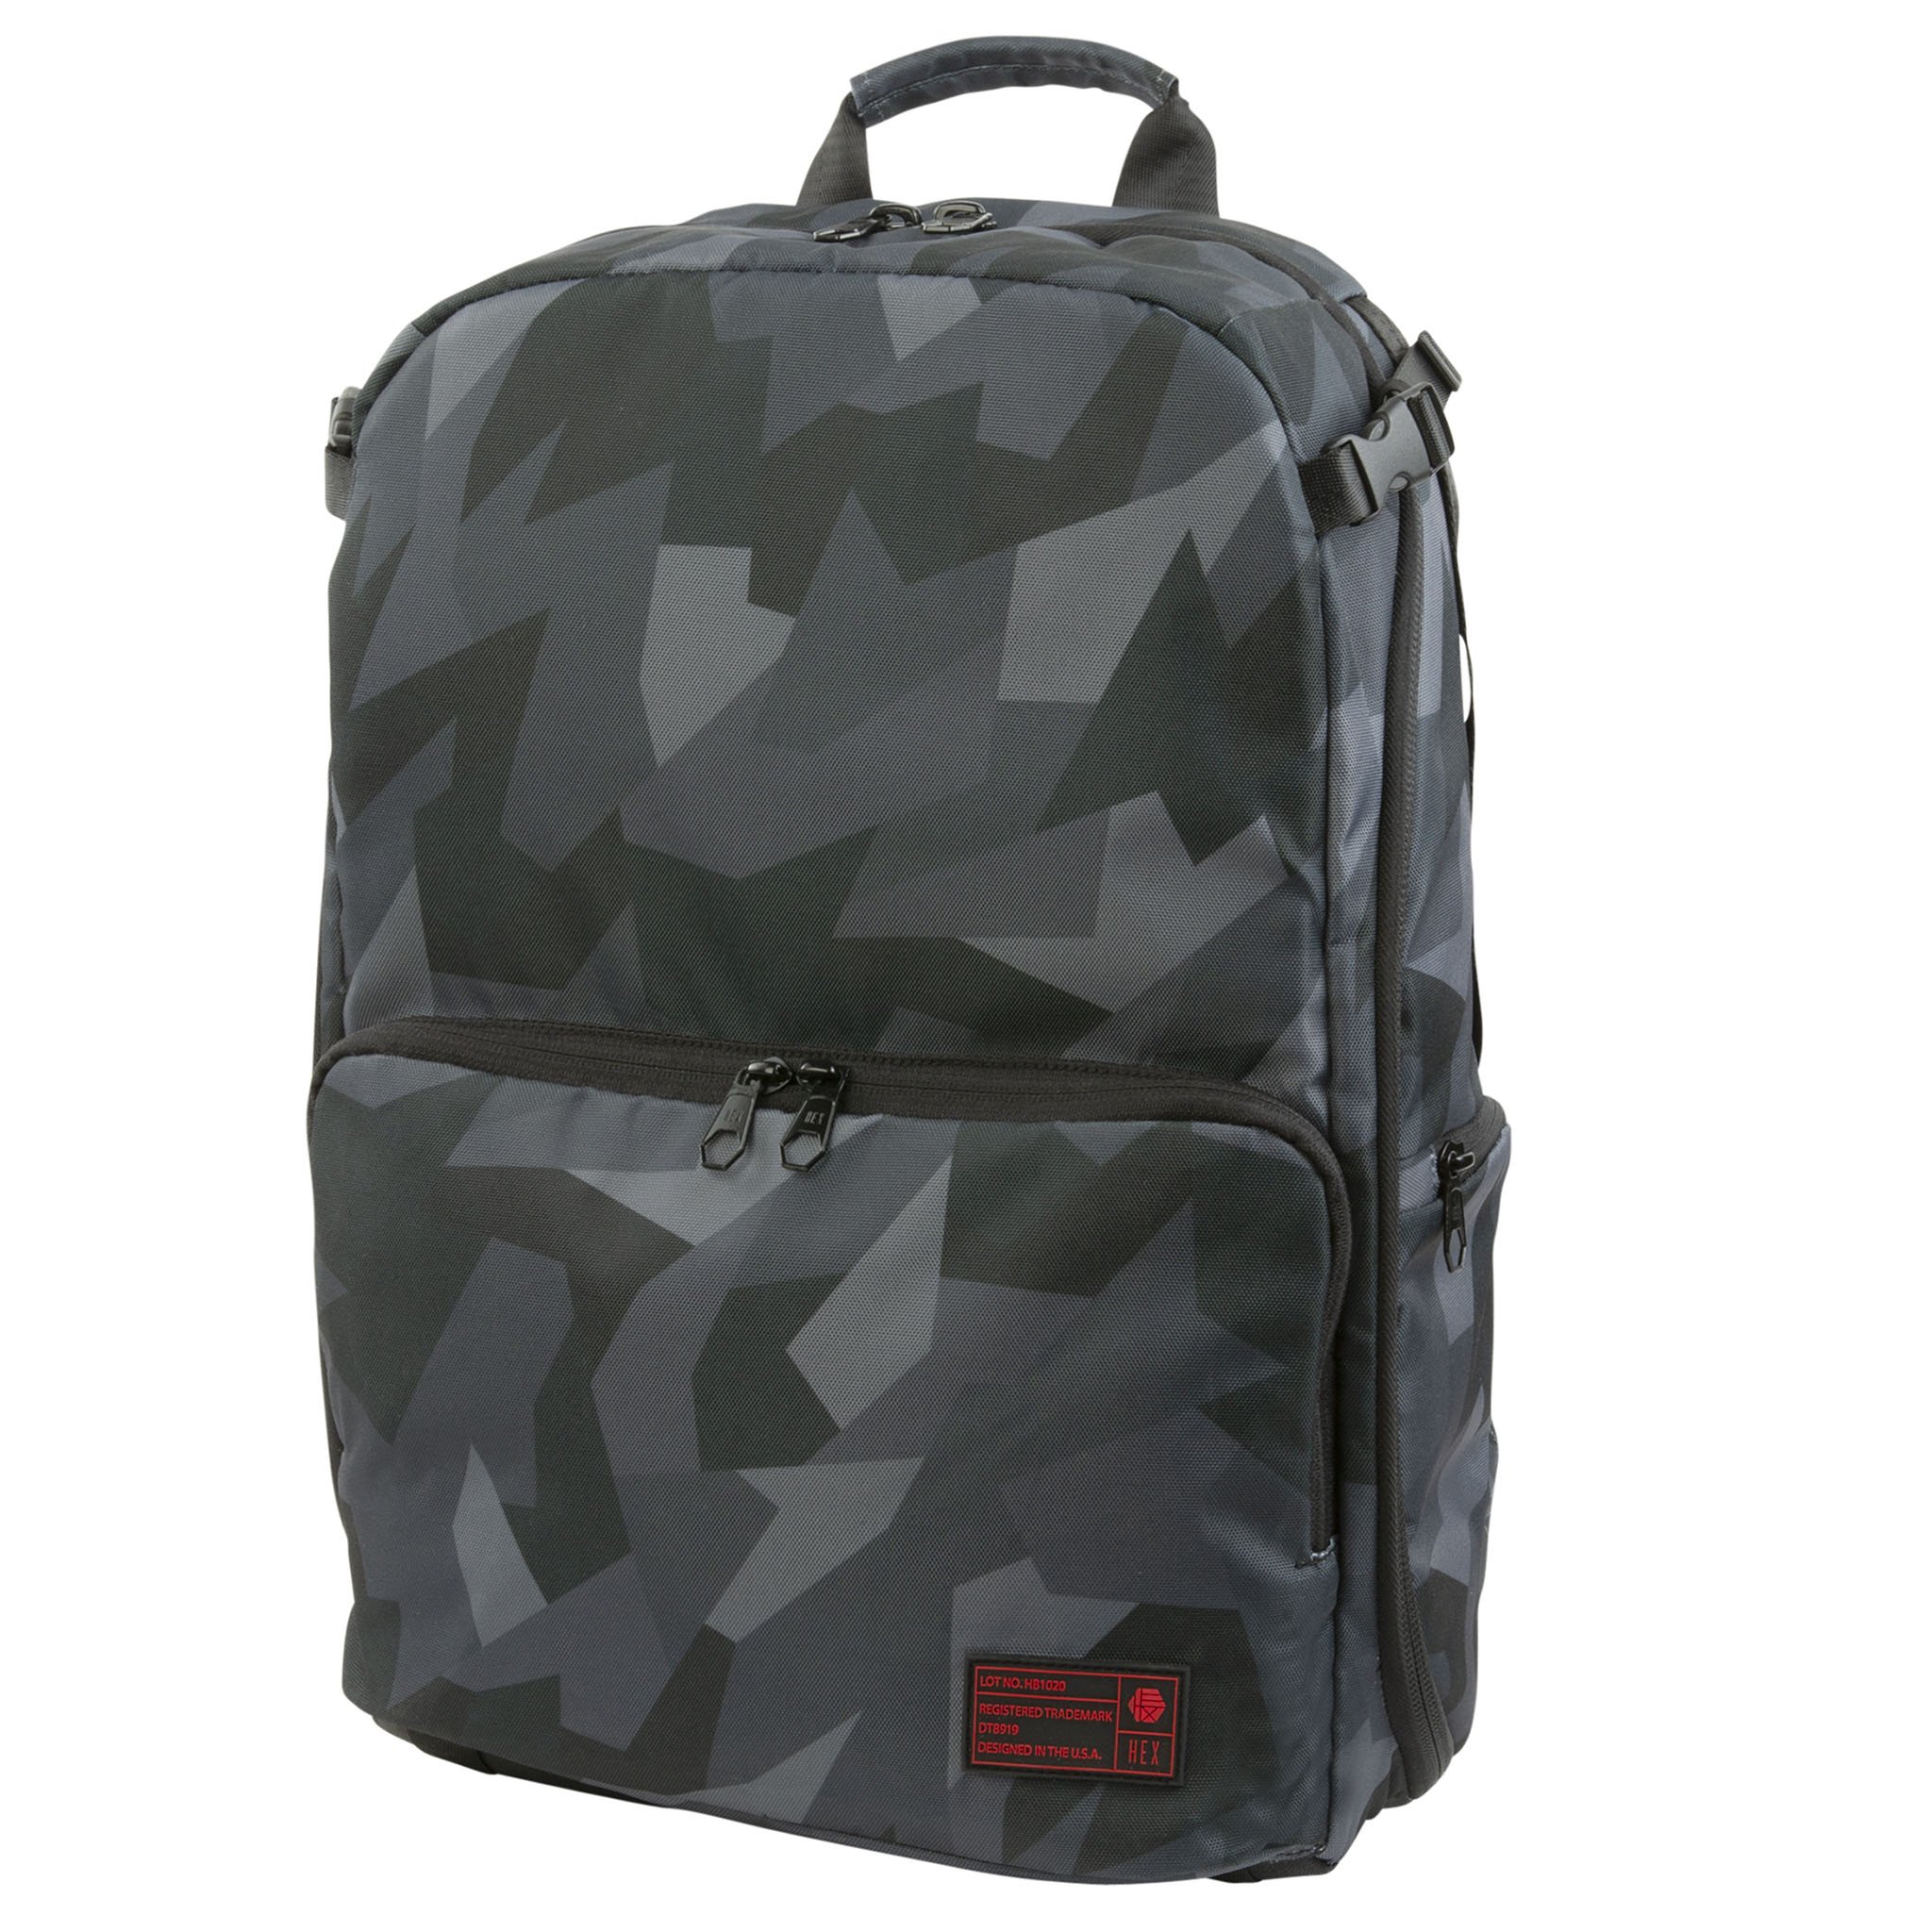
The folks at HEX have a passion for what they do, and it shows in the products they design and create.
I actually have a HEX Ranger DSLR Sling Bag. Talk about a camera bag!
But if the photographer on your list needs to carry more gear than I do, the Ranger Clamshell DSLR backpack is a prime choice.
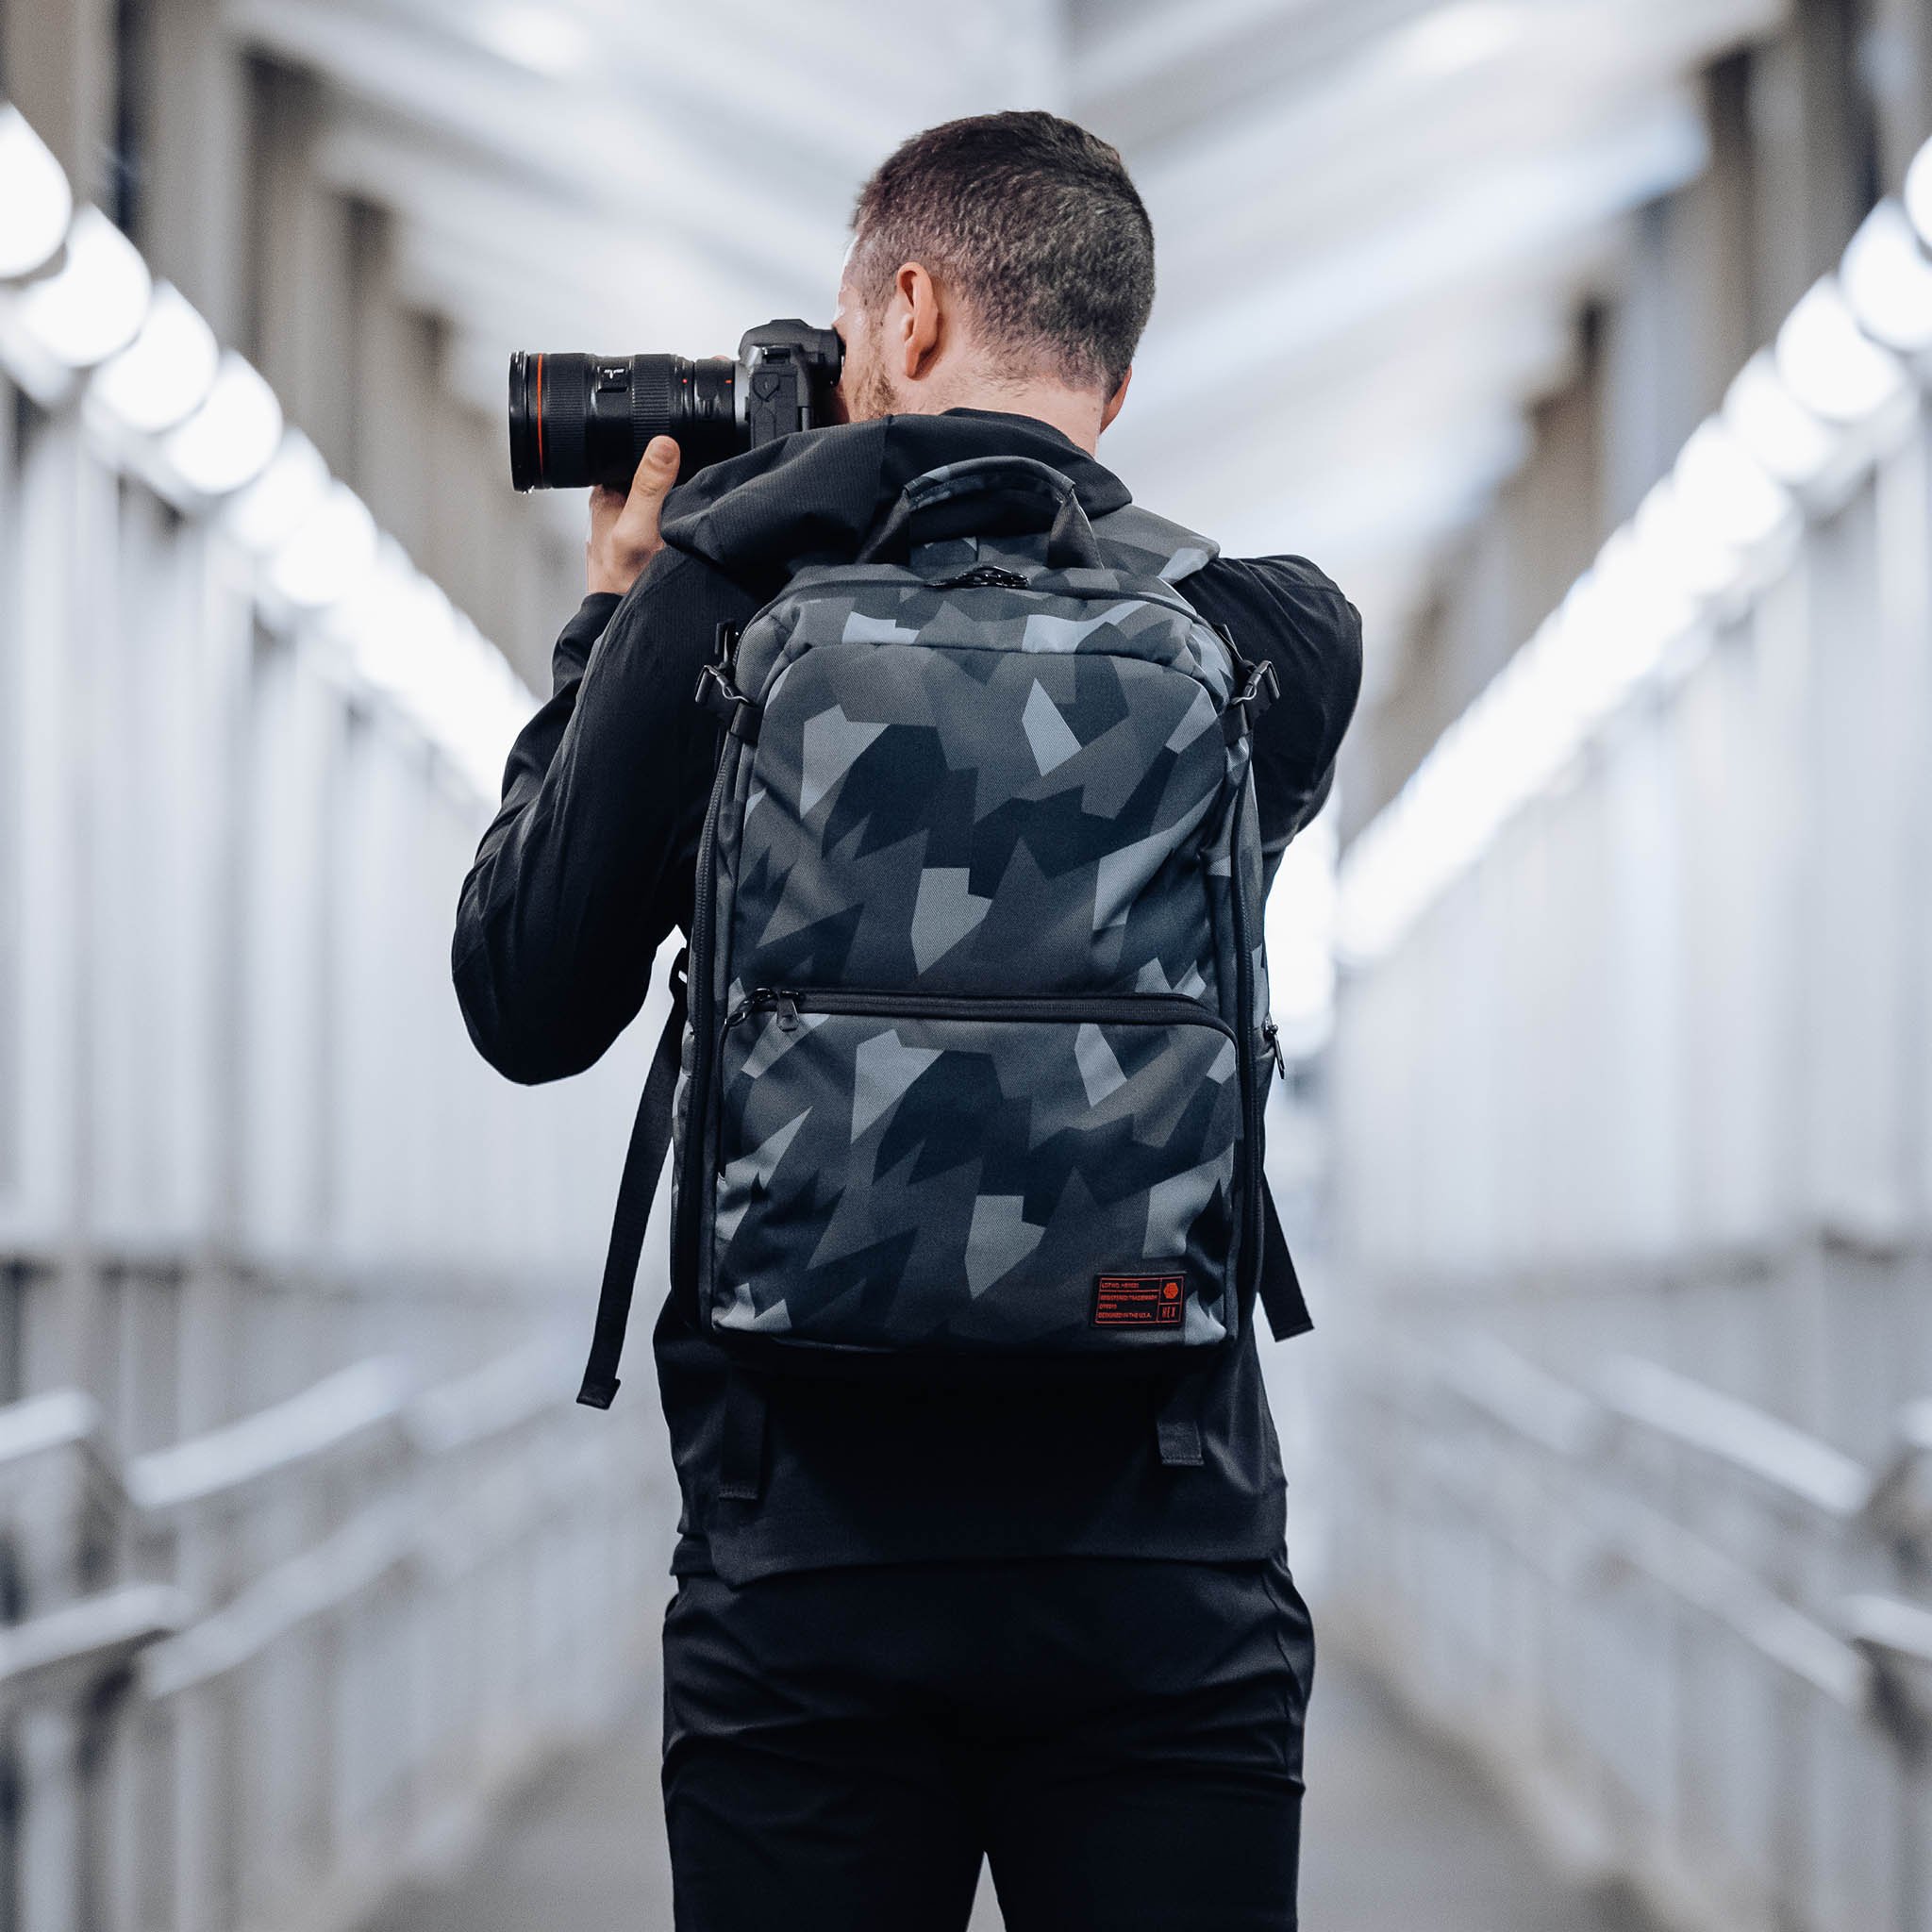
With a capacity of 21 liters, this bag can hold a ton of gear - a DSLR with lens attached, a couple more lenses, a laptop, a drone, and accessories, in fact!
The clamshell design makes it easy to see your gear, retrieve it, and put it away. And with fully customizable inserts, you can make the bag work for you no matter what arrangement of gear you need.
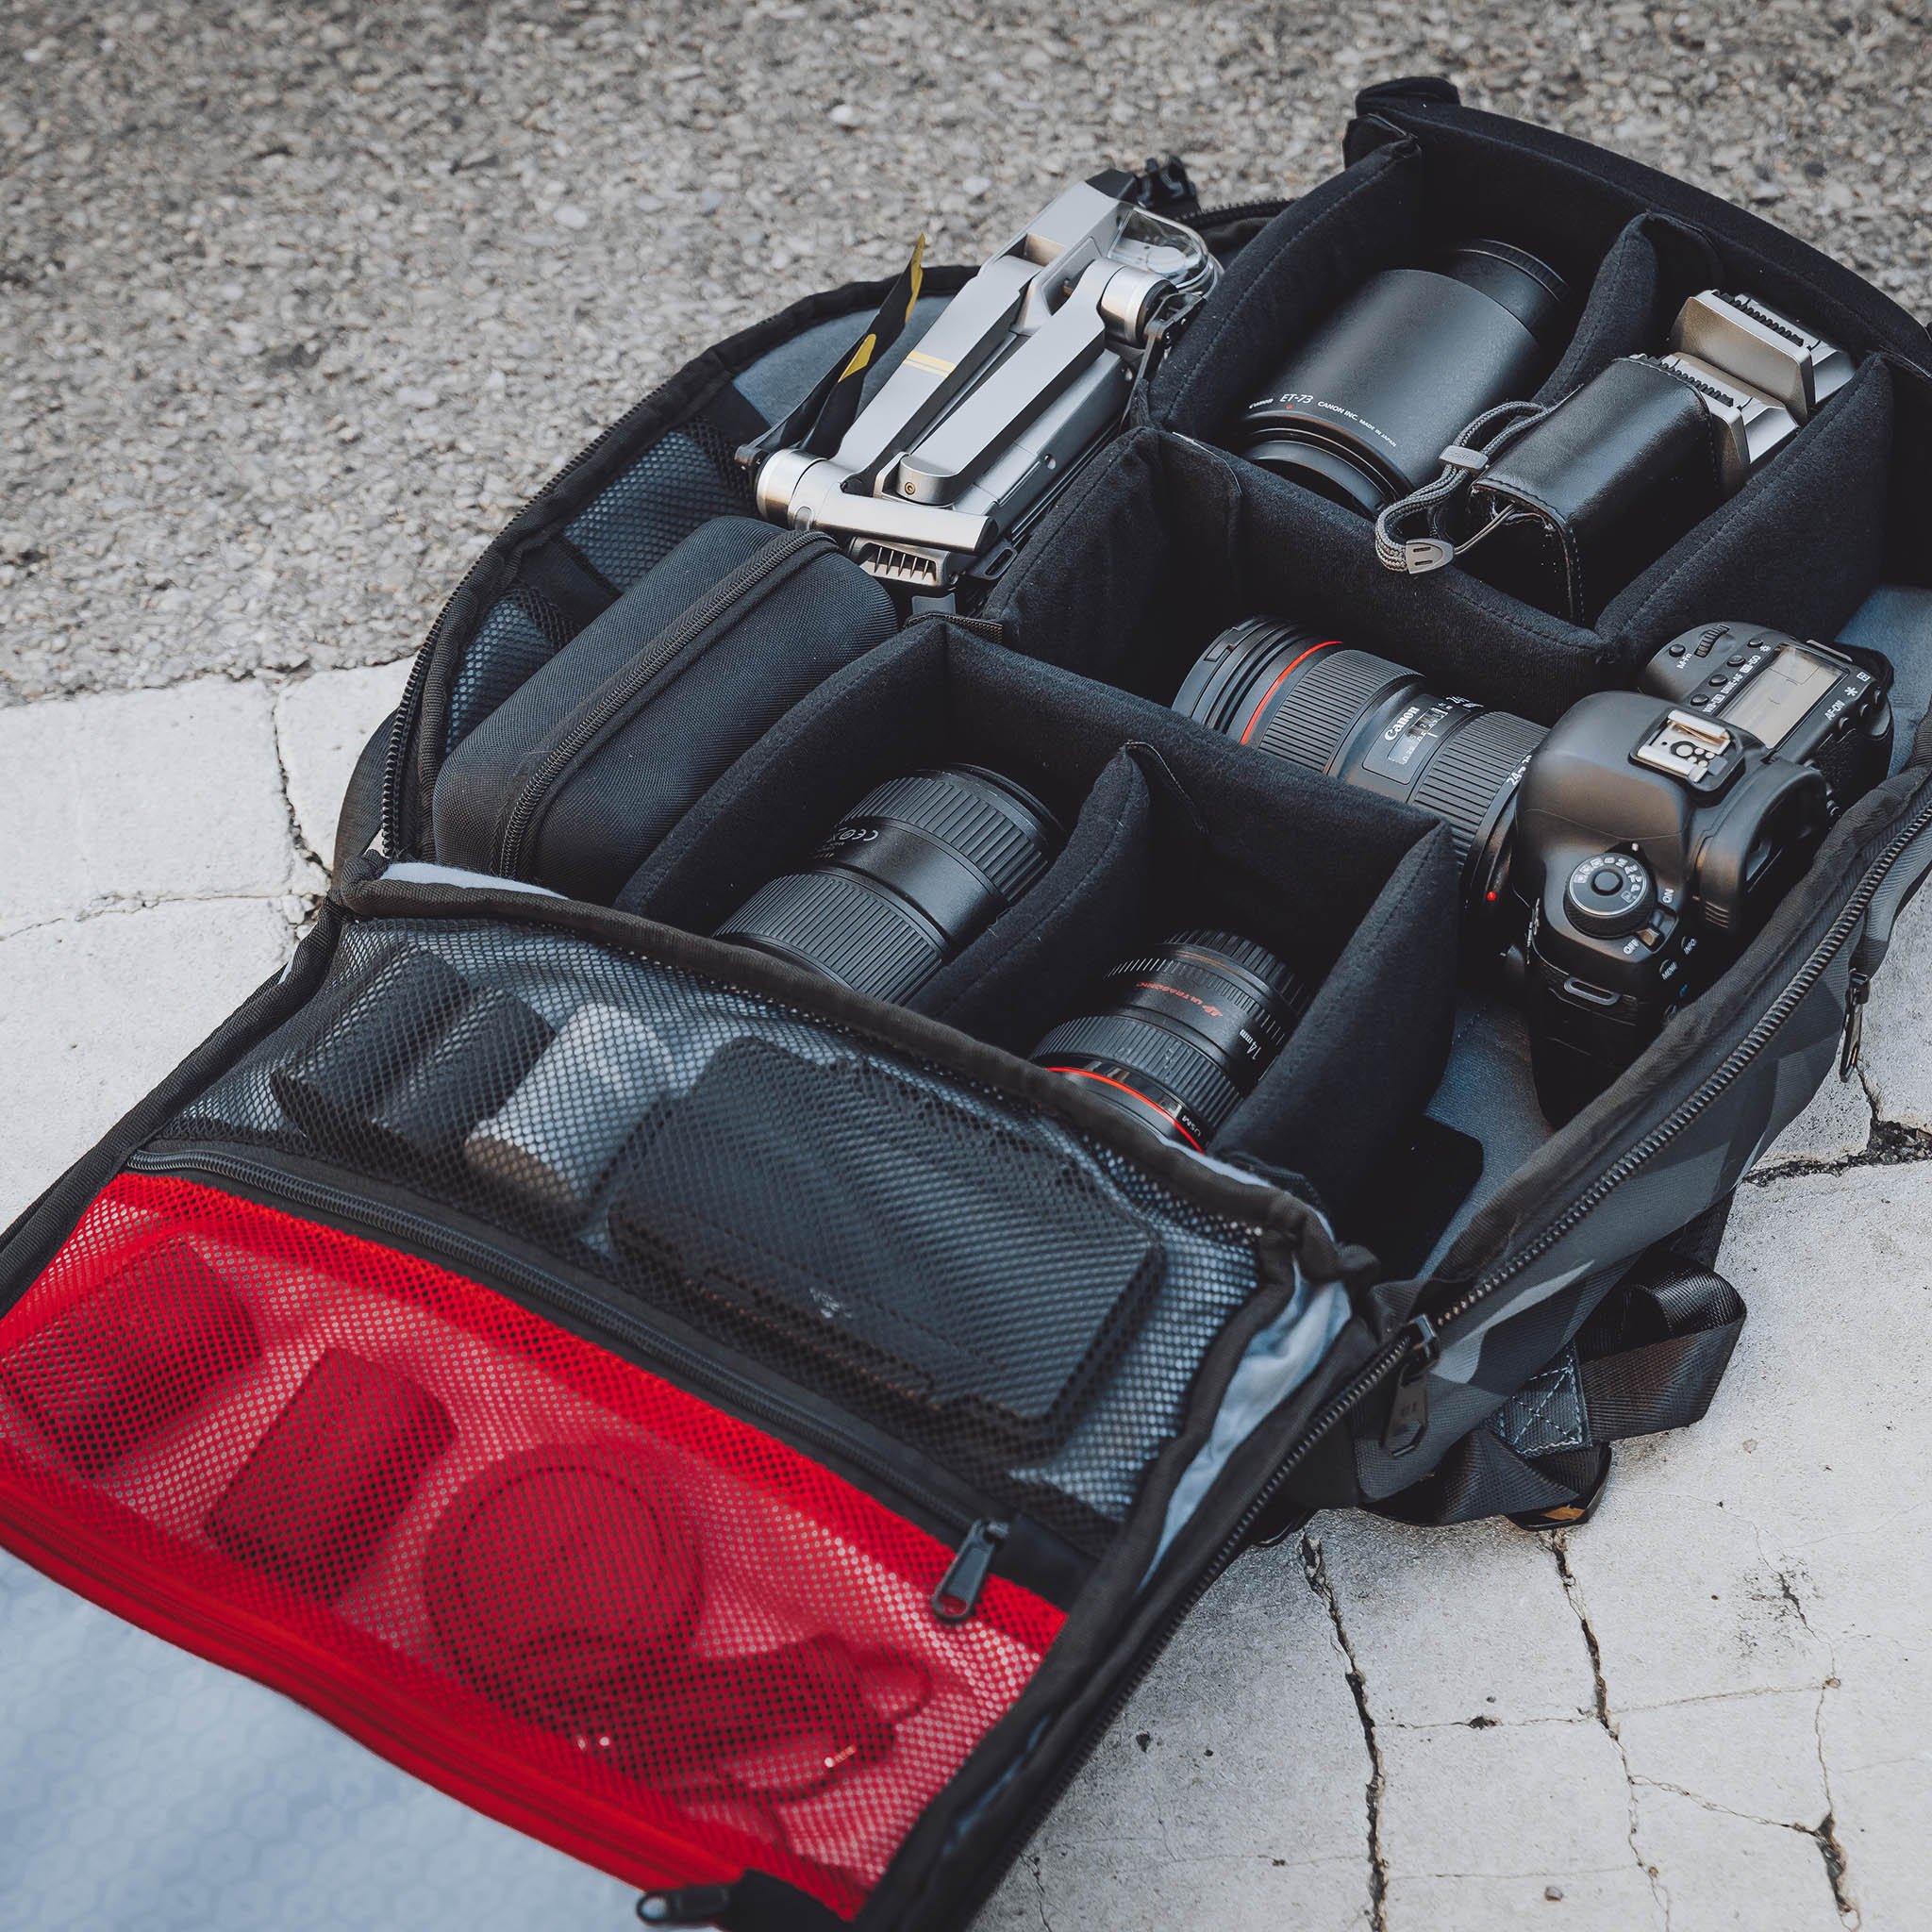
The all-important comfort factor is off the charts, too. It has ergonomic shoulder straps that hug your shoulders and fit perfectly. The air mesh construction will keep your shoulders and back cool as well.
Additionally, HEX included a custom molded and foam padded back panel, that way even when you’re carrying a heavy load, you’ll still be comfortable.
With tripod straps on the bottom, side straps for attaching more gear, a hidden rain cover, a water bottle pocket, and tons of other handy features, this is a bag that the photographer on your list will love, without a doubt
Learn more about the HEX Ranger Clamshell DSLR Backpack
Gifts for Photographers Under $250: EF to E-Mount Lens Adapter
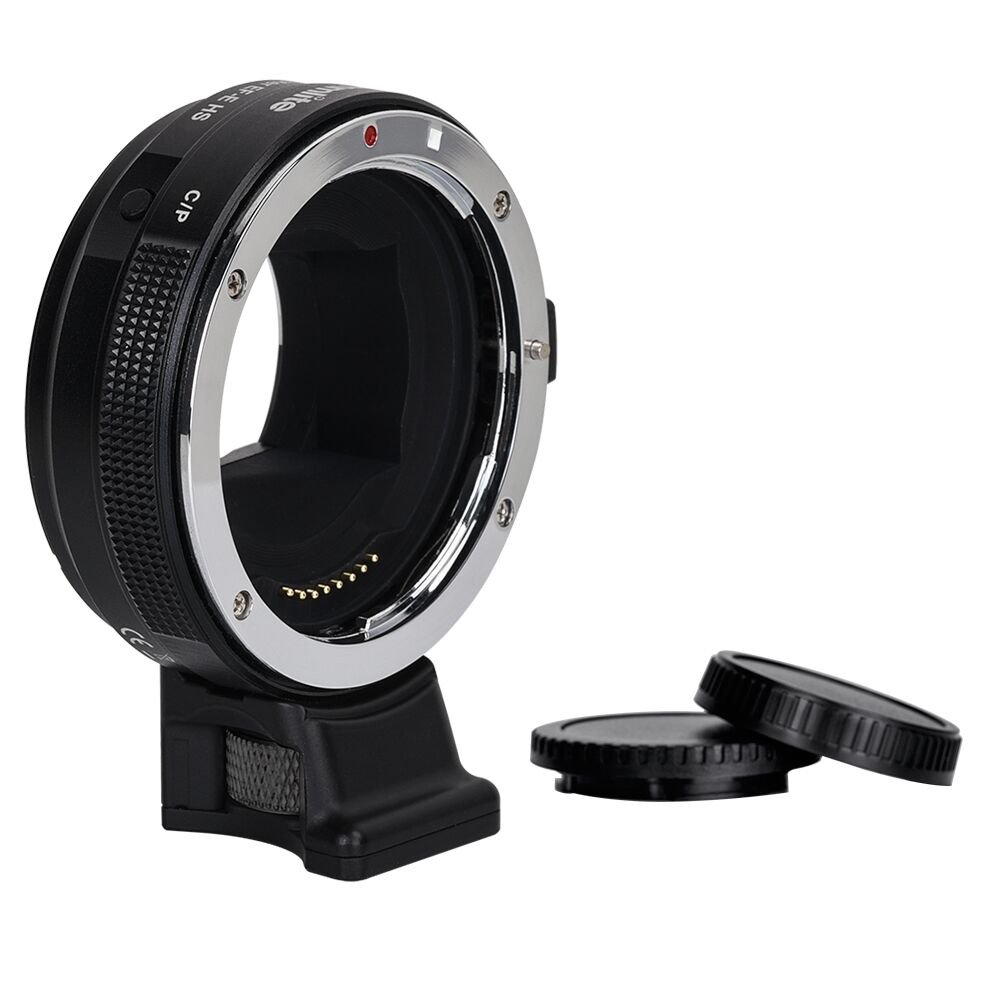
If the photographer you're shopping for used to be a Canon shooter and now has a Sony camera, you can give them this handy adapter that allows them to use their old EF and EF-S lenses on a Sony E-mount camera, like the a6300, a6400, a6500, a9 or a7, among many others.
This adapter has both autofocus function and aperture control, as well as a handy USB port for firmware updates.
You can switch between phase and contrast autofocus modes, and there's EXIF signal transmitting and IS functionality too.
There's simply no easier and more functional way to pair Canon lenses with a Sony E-mount camera!
Learn more about the EF to E-Mount Lens Adapter
Gifts for Photographers Under $250: Artbeat Studios HD Metal Print
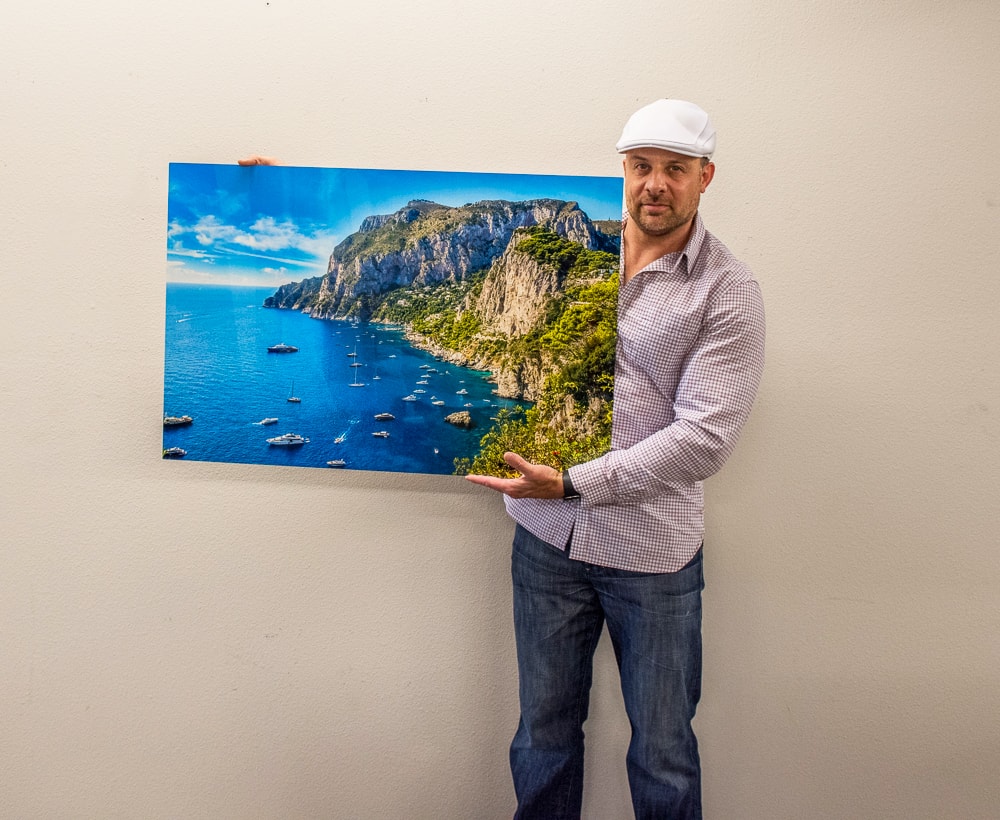
Looking for a gift with a ton of visual appeal without it having a huge impact on your bank account? Look no further than an HD Metal Print from Artbeat Studios!
The great thing about an HD metal print is that it can be put just about anywhere in a home or office and immediately draw the attention of anyone that sees it. That’s due to the high-quality materials that Artbeat Studios uses to craft their prints.
For example, you can choose between a glossy or matte finish, where a glossy treatment adds depth to the image and creates a lot of drama and a matte finish eliminates glare and offers a more subtle viewing experience.
What’s more, you can choose from natural or black wood wall mounts, or if you prefer, silver or black aluminum wall mounts to further customize how the print looks. The mounts can be recessed from the edge of the print to give it the appearance that it’s floating on the wall, or you can opt to have the mount flush with the edges of the print to give it a little more depth and heft.
No matter how you choose to customize the print, it’ll be well worth the money!
Learn more about Artbeat Studios HD Metal Prints.
Gifts for Photographers Under $250: Pre-Owned Olympus OM-D E-M10 Mark II
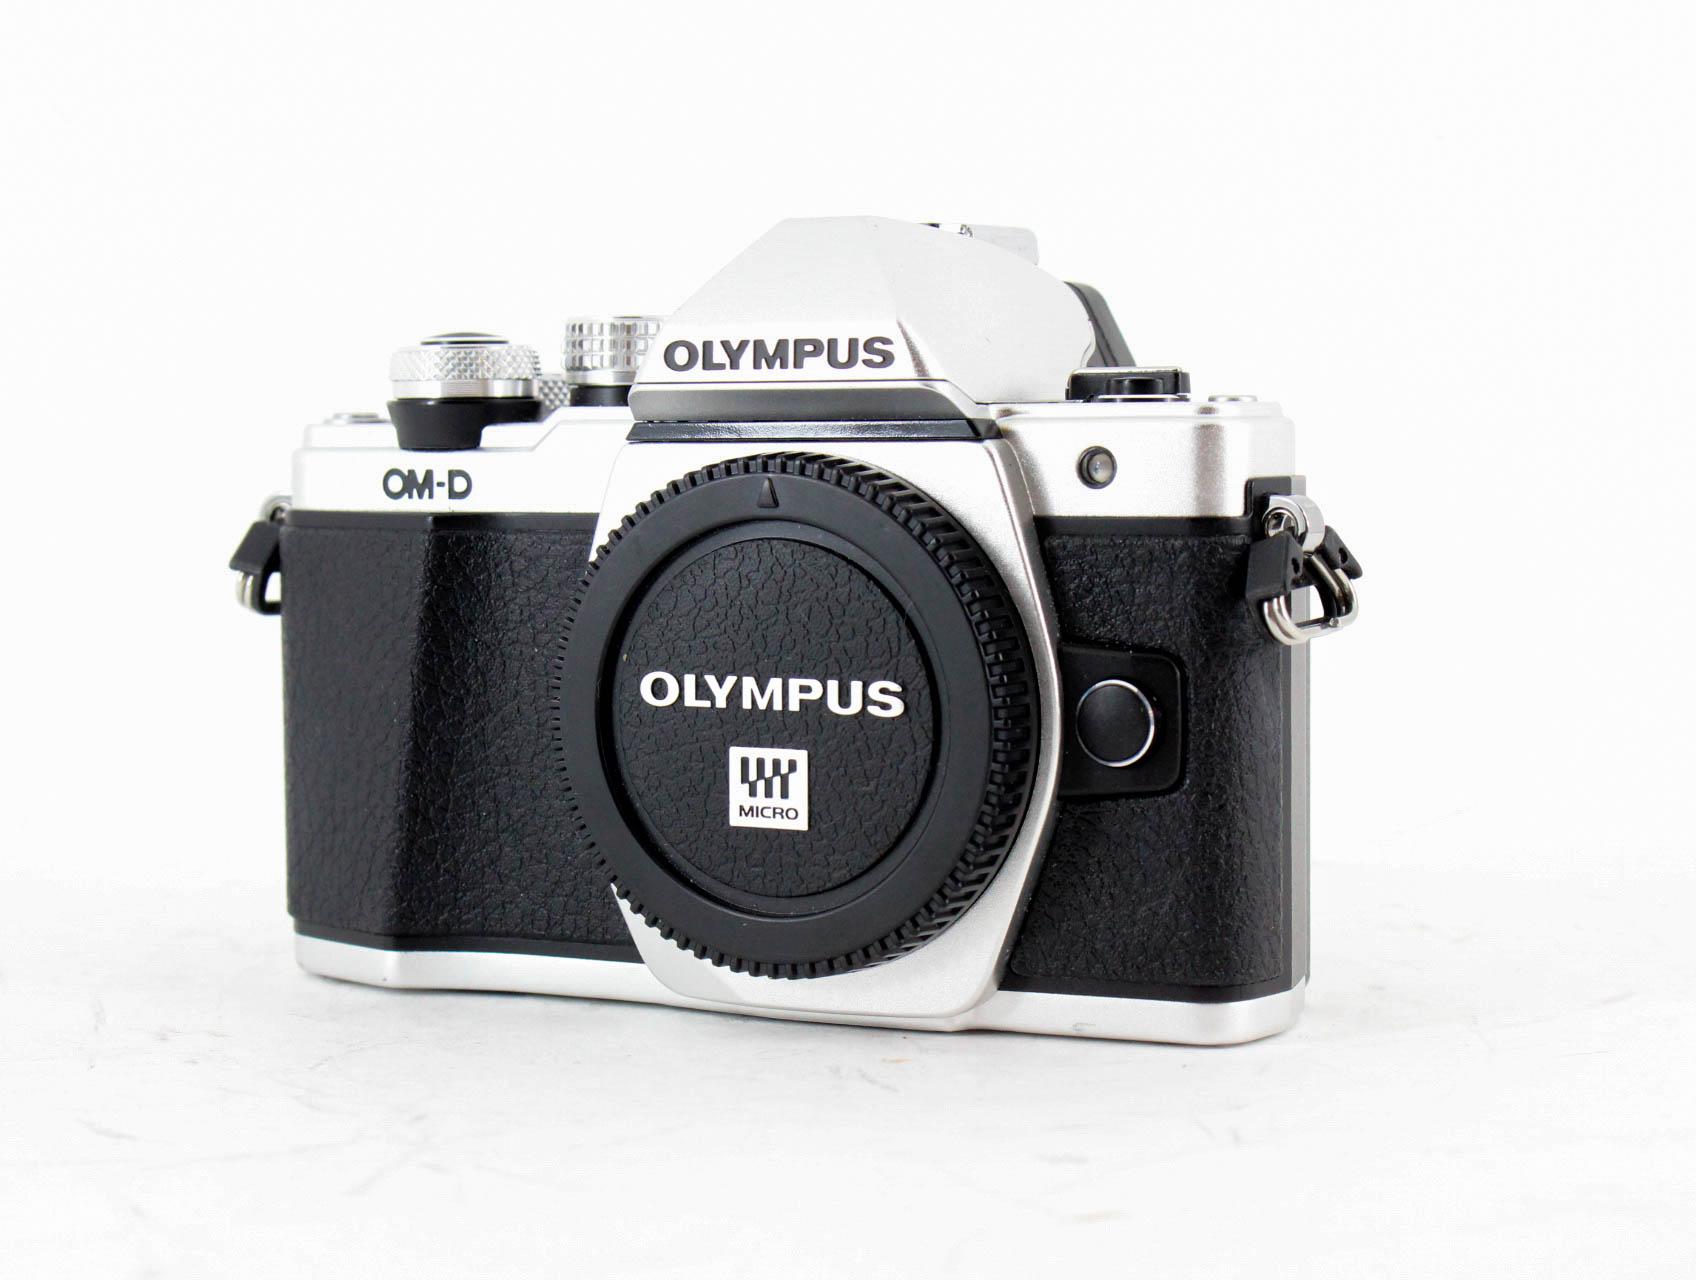
Whether the photographer on your list is just starting out and needs a solid first camera or is more experienced and wants a second camera body that's easy to handle and travel with, the E-M10 Mark II is a great option.
This camera is super small and lightweight, making it an easy addition to any camera bag.
But despite its small size, it's loaded with features that your favorite photographer will appreciate.
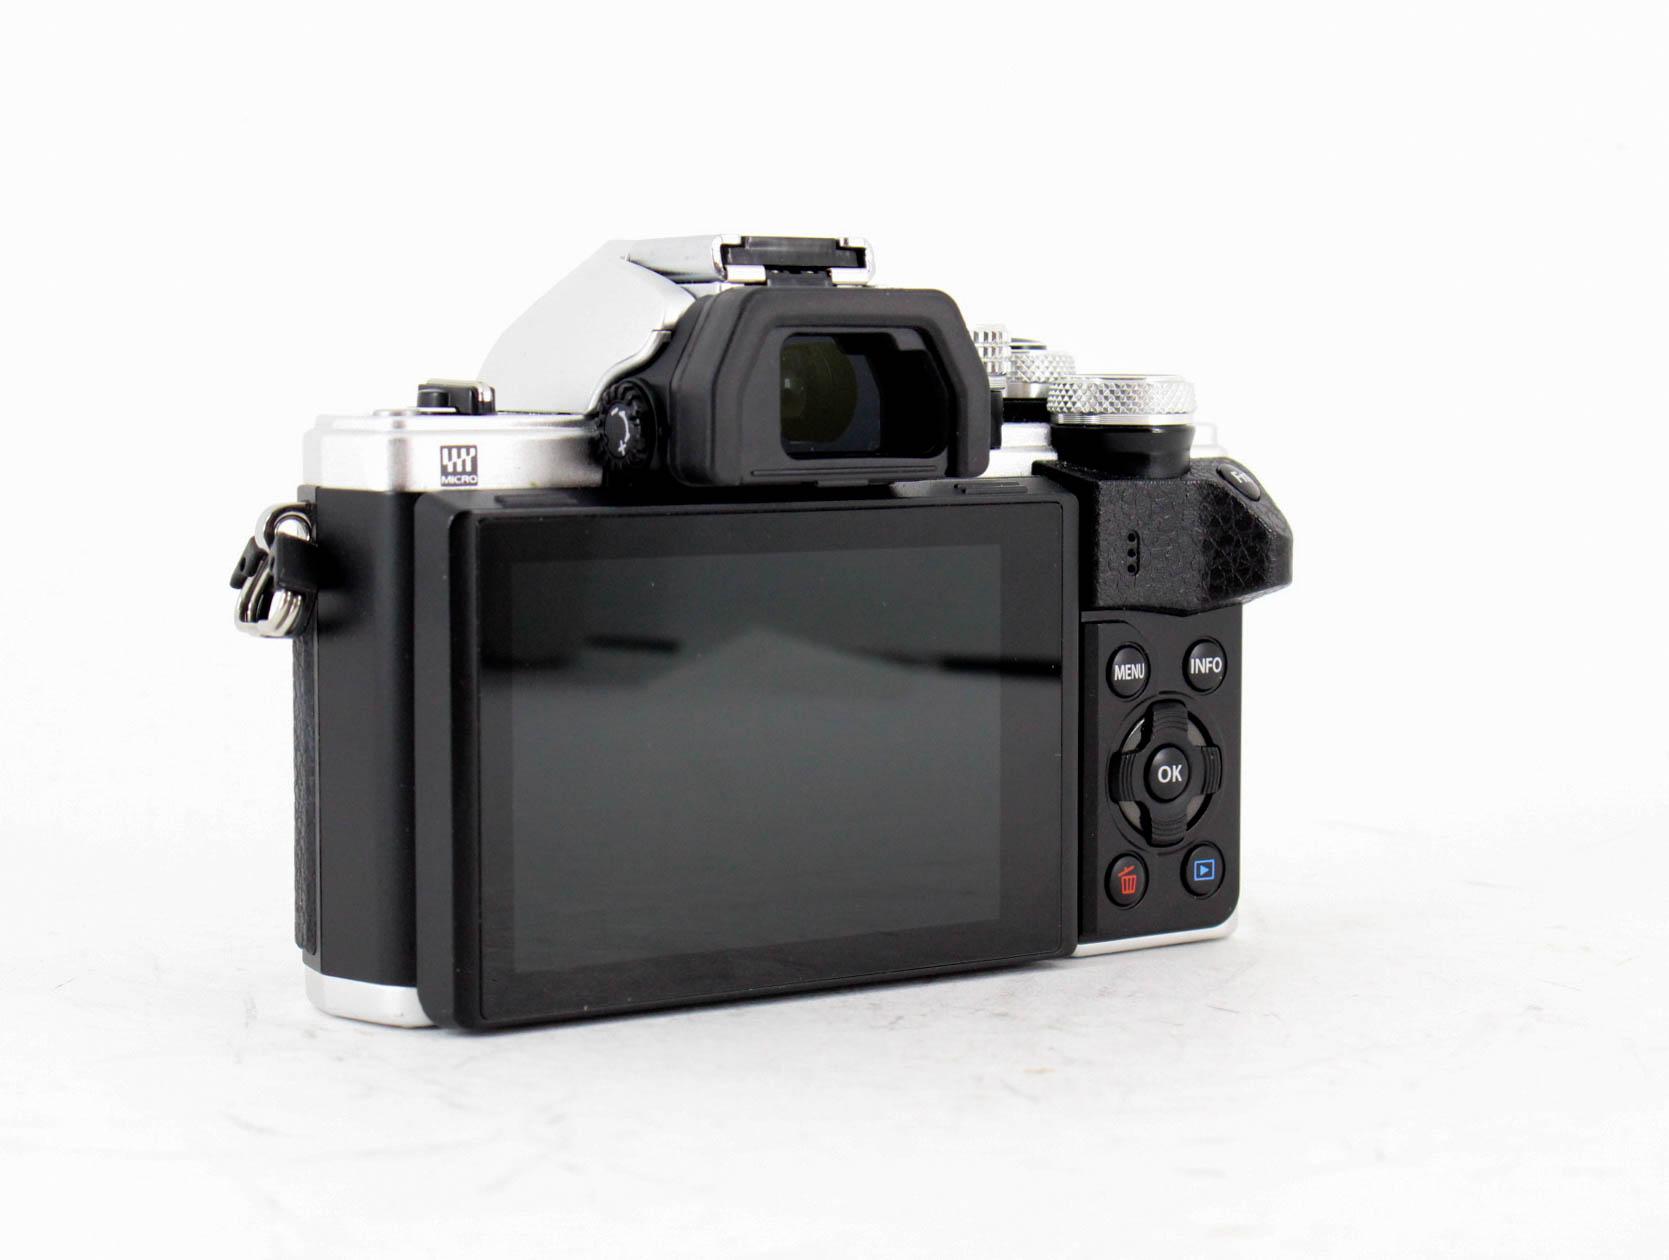
It has a 16.1-megapixel micro four thirds sensor paired with an 81-point autofocus system.
This camera has five-axis in-body image stabilization, a native ISO range from 100-25600, and 8fps burst shooting capabilities.
Additionally, this little Olympus offers 1080p HD video at up to 60fps, a beautiful electronic viewfinder, and a 3-inch LCD screen.
This camera is several years old, but still has many top-notch features that photographers today will enjoy. You'll enjoy the small price tag just as much!
Learn more about the Olympus OM-D E-M10 Mark II
Gifts for Photographers Under $250: Amazon Gift Card
![]()
Totally stumped regarding gift ideas for photographers on your list?
Why not go the easy route and get them an Amazon gift card?
Though a gift card isn't exactly the sexiest gift, when the photographer in your family sees that you have given them carte blanche to get what they want, they'll be stoked!
With an Amazon gift card, they can put the card amount towards whatever they want - a new lens, a second camera body, lighting gear, a laptop - you name it!
As far as flexibility goes, there's nothing better to give a photographer than a gift card.
Learn more about Amazon gift cards
We Recommend
Top 10 Last-Minute Gifts for Photographers - 2019 Edition
 Photo by evgenyatamanenko via iStock
Even though I'm writing this the last week of October, you and I both know that there will be some scrambling as the holidays draw near to find the perfect gift for the photographer in your life.
A lot of photographers are picky (myself included), so it can be difficult to find just the right gift that will bring a smile to their face and that won't end up shoved in the back of the closet.
With that in mind, I've put together the following list of awesome last-minute gifts for photographers that should give you some inspiration for your gift-buying this holiday season.
Let's get to it!
Camera Canopy

Those of you that follow my ramblings here on PhotographyTalk know that I love to shoot landscapes.
But something I definitely do not love is using those clingy camera rain covers that feel like you're reaching into a wet plastic bag.
Granted, I don't have to worry about the rain all that often here in Southern California, but when it does rain, I have my Camera Canopy with me.
As you can see above, the Camera Canopy sits above the camera and extends outward to protect both the camera body and the lens.
It attaches to the hot-shoe mount on your camera, so it's easy to attach when the weather turns sour.
The shield extends and retracts, so it'll protect your gear whether you're using a 50mm lens or a 300mm lens.

What's more, there are versions for DSLRs and mirrorless cameras, so no matter the camera system the photographer in your life uses, there's a Camera Canopy they can use.
Aside from the ease of use and the fact that the Camera Canopy protects the end of the lens from getting wet, I love that it doesn't obstruct the camera's LCD or controls. No more clingy wet plastic bag!!
So, this thing is convenient, functional, and well-designed, and would make an ideal addition to any photographer's kit.
Learn more about Camera Canopy for DSLRs or Camera Canopy for Mirrorless Cameras
A Large Print from AP Solutions & Graphics
What photographer wouldn't appreciate a large print or graphic of one of their photos?!
AP Solutions & Graphics makes it easy to give the gift of a beautiful large print thanks to their quick and simple online ordering process.
In fact, you can easily get a quote for your print based on your specifications, including height, width, depth, and media type.
They offer fine art canvases, photographic prints, and signs, banners, and other display medias too.
If you order from AP Solutions & Graphics, you can rest assured that the item you order is made from the finest materials and is constructed right here in the USA.
I appreciate the fact that these guys are dedicated to turning your favorite photos into lasting memories. And the photographer on your holiday shopping list will certainly appreciate it too!
No one wants to get a sub-par print, especially if it's of their own photos. But you don't have to worry about print quality with AP Solutions & Graphics because they use high-quality canvas, fine art photo paper, quality fabrics, top-grade inks, and more.
As a U.S. Navy Veteran, I try to patronize businesses that are owned by fellow veterans, and AP Solutions & Graphics fits the bill.
This veteran-owned, U.S.-based business is ready to make your last-minute holiday gift dreams come true!
Learn more about AP Solutions & Graphics
Hazard 4® Freelance™ Sling-Pack

Rarely do you encounter camera bags described as “tactical,” but in this case, the rank definitely fits the Hazard 4® Freelance™ Photo Sling-Pack.
Hazard 4® designs exceed military specs, so these are trusted by demanding users in the harshest environments - special forces to expedition reporters. Thoughtful sizes, organization, and ergonomics, with 1000 D Cordura® fabric, YKK zips, and patented hardware protect cameras, accessories and survival gear in a futuristic aesthetic that deflects harsh use.
You can cleverly rotate Freelance™ from back to chest for quick gear access without taking it off. Sized for most mirrorless systems with movable padded dividers to organize lenses and accessories, it’s also made in a Drone Edition with special dividers and “Drone Pilot” patch on its velcro I.D. panel.
Three exterior pockets fit extra gear. A sweat managing thermo-molded zip back panel cradles 10.5” iPads®. An admin panel organizes pens and SD cards, among other small items. A molded shell fits two Mavic® Pro batteries and has a patented Hard Point® bus for attaching Hazard 4® systems loops and tie-downs or GoPros® via a ¼-20 screw.
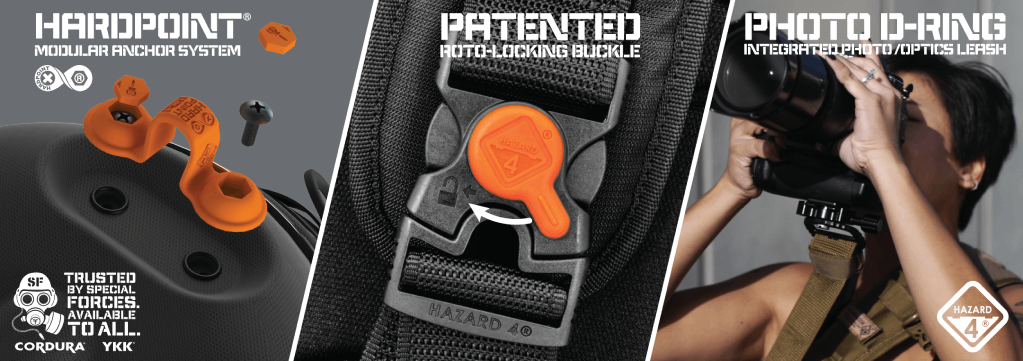
Modular webbing (molle) throughout allows exterior gear expansion. A patented roto-lock buckle prevents drops. Add grab-handles, tripod/compression straps, and more for the makings of one killer last-minute gift for the active photographer on your holiday shopping list!
Learn more about the Hazard 4® Freelance
PolarPro Summit Filters

PolarPro has built a reputation over the years of developing well-built, high-performance products, and their newest filters are no exception.
The Summit series was specifically developed for the rough-and-tumble world of landscape photography.
These filters are built to withstand the rigors of shooting outdoors in harsh conditions while at the same time having a design that makes them incredibly easy to use.
On the one hand, the ND and graduated ND filters have aluminum frames that both protect the filter and help minimize fingerprints getting on the filter glass.
So, not only do you get filters that are more durable, but you also won't spend as much time cleaning the filters to get rid of fingerprints. It's a win-win!
On the other hand, the filters and filter housing feature materials that ratchet up the build quality.
For example, the filters are made of fused Quartz glass with 16 layers of coatings that improve color fidelity and clarity while reducing glare.
As another example, the filter frames are made of lightweight aluminum that helps cut weight in your pack while providing you strong durability for years to come.
Add in a user-friendly design, light-sealed slots, filter locks to lock down the filter position, and the ability to rotate the filter system 360 degrees, and you have the makings of the ideal landscape photography filter kit to give your favorite photographer this holiday season!
Learn more about the PolarPro Summit Filter System
Snaptiles
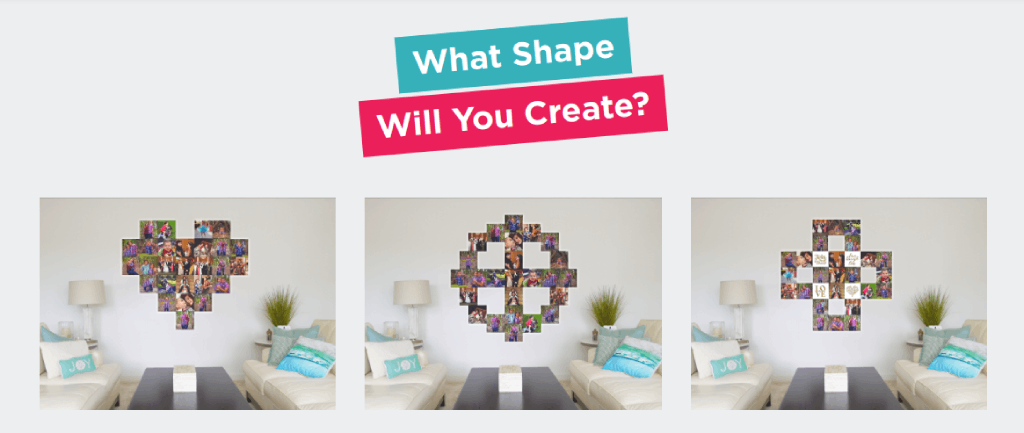
If you’re cutting it close for the holidays and need a killer photography gift, look no further than Snaptiles. Snaptiles are a new patented Magnetic Photo Tile that is 8”x8”x1” and super lightweight.
This innovative system uses a single wall mount with a built-in level to anchor a central print to the wall. Then you can snap together the other tiles onto the first! The wall mount uses four adhesive strips that don’t damage the wall, yet offer all the support that’s needed to display up to 12 tiles. Just make sure you press down firmly for 10 seconds. You can also push in the 4 included thumb tacks for additional support, then mount up to 30 tiles on the first tile! Not a bad tradeoff for 4 little pin holes in your wall.
The process is simple: just attach the wall mount to the wall, mount the anchor tile to it, and then begin to create an array of mixed tiles by adding additional Snaptiles.
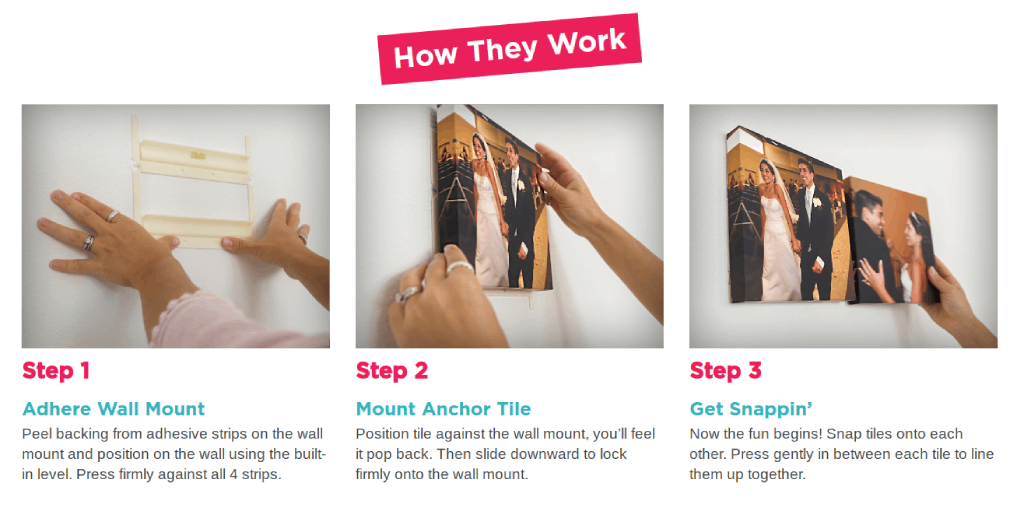
Each tile connects with strong magnets, so there’s no worry of the tiles sagging or slipping.
Best of all, though, this system enables you to swap images out as you get new photo tiles, rearrange them in the display, and create different shapes with an array of images.
It really couldn’t be any easier!
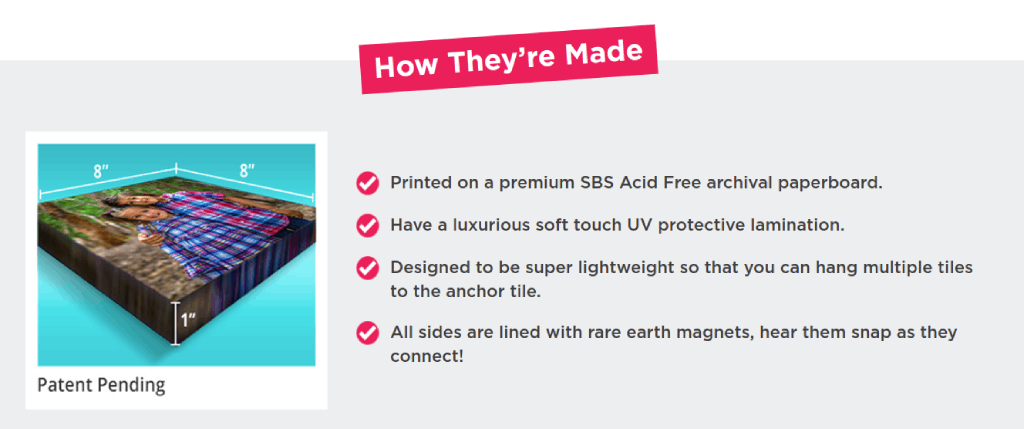
The images are printed on a premium SBS Acid Free archival paperboard to give you long-lasting durability. On top of that, the UV protective lamination on the tiles has a beautifully soft touch.
I just ordered 25 of these photo tiles for my son’s room. He loves art and he loves building, and I think he will love putting his Snaptiles together (with my help of course!) on his bedroom wall.
This isn’t just a great last-minute gift, but it’s also a fun project you can share with whomever you give them to. It’s a win-win!
Travel School Membership
 Photo by anyaberkut via iStock
Wouldn’t it be nice to travel the world as you make money, pursuing your dreams without being encumbered by a traditional job?
If that sounds like a dream that’s too good to be true - it isn’t! Even better, it’s a dream you can make a reality for that special person on your last-minute holiday shopping list.
Travel School is a comprehensive training program for starting an independent affiliate marketing business. It will take your loved one step-by-step through the process of building a business that is not only wildly successful in the short-term, but can sustain steady growth for the long-term too.
But Travel School isn’t just a step-by-step training program. Instead, it will change your loved one’s outlook on what it means to work, and at the same time will be a transformational experience that will change their entire life for the better.
With specific, actionable steps, the person on your holiday shopping list will learn how to connect with established brands, develop core marketing skills, and activate multiple income streams to realize their dream of living a life full of travel and freedom.
Travel School founder Emilian travels the world with his furry friend, Divak, and is eager to share his knowledge and experience with you and help you build a successful affiliate marketing business that will allow you to quit your traditional job and travel the world like you want!
Not only does Travel School aid in leveraging the credibility of amazing companies, but they will also offer weekly private webinars to keep your loved one motivated and on track toward accomplishing their goals.
Additionally, all training sessions are recorded and available at any time, that way if questions come up down the road or a little extra motivation is needed, the lessons can be easily accessed. There are opportunities to learn and collaborate with other students too!
It’s not often that you have the opportunity to give the gift of freedom, but in this case, Travel School is just that!
Learn more about Travel School
Deity D3 Pro Microphone

More and more photographers are getting into video production, and to do that, they have to expand their arsenal of tools beyond traditional photography gear.
And while having a camera with good video capabilities is a must, so too is having a high-quality microphone to record audio for the videos. After all, a video can have incredible footage, but with poor audio quality, the video will fall flat.
That's where the Deity D3 Pro comes in...
This super cardioid directional condenser shotgun mic has a sensitivity of -50dB to 28dB and uses an on-board microprocessor that digitally talks to the audio input it's connected with.
That means it can work with a tablet, a DSLR, a mirrorless camera, or a smartphone - essentially anything with a 3.5mm microphone jack.
The internal battery offers a whopping 51 hours of runtime, yet it charges in less than two hours.
A neat feature is that you can adjust the gain by using the stepless analog gain adjustment dial. This is the only microphone in the world that has this feature!
Add in on-board low-cut filters, a rycote shock mount, and broadcast-quality sound, and you have the makings of an ideal gift for a photographer that wants to step up their videography game!
Learn more about the Deity D3 Pro Microphone
Octopus.Camera OctoPad

If you’re rushing around trying to find that perfect last-minute gift for your favorite photographer, you might consider the Octopus.Camera OctoPad as an excellent choice.
The OctoPad offers what many other stabilization devices don’t - it doesn’t collapse under the weight of gear it’s supporting and it doesn’t slide around, even if it’s placed on a smooth or an uneven surface thanks to its weighted non-slip mat design.
The OctoPad has a built-in male 1/4-20 inch threaded bolt for attaching accessories and a high-capacity removable ball head that also has an adjustable 1/4-20 inch threaded male bolt.
That means that not only is the OctoPad well-equipped to stay in place, but it can also support a wide range of gear, from a GoPro to a smartphone to a light or microphone.
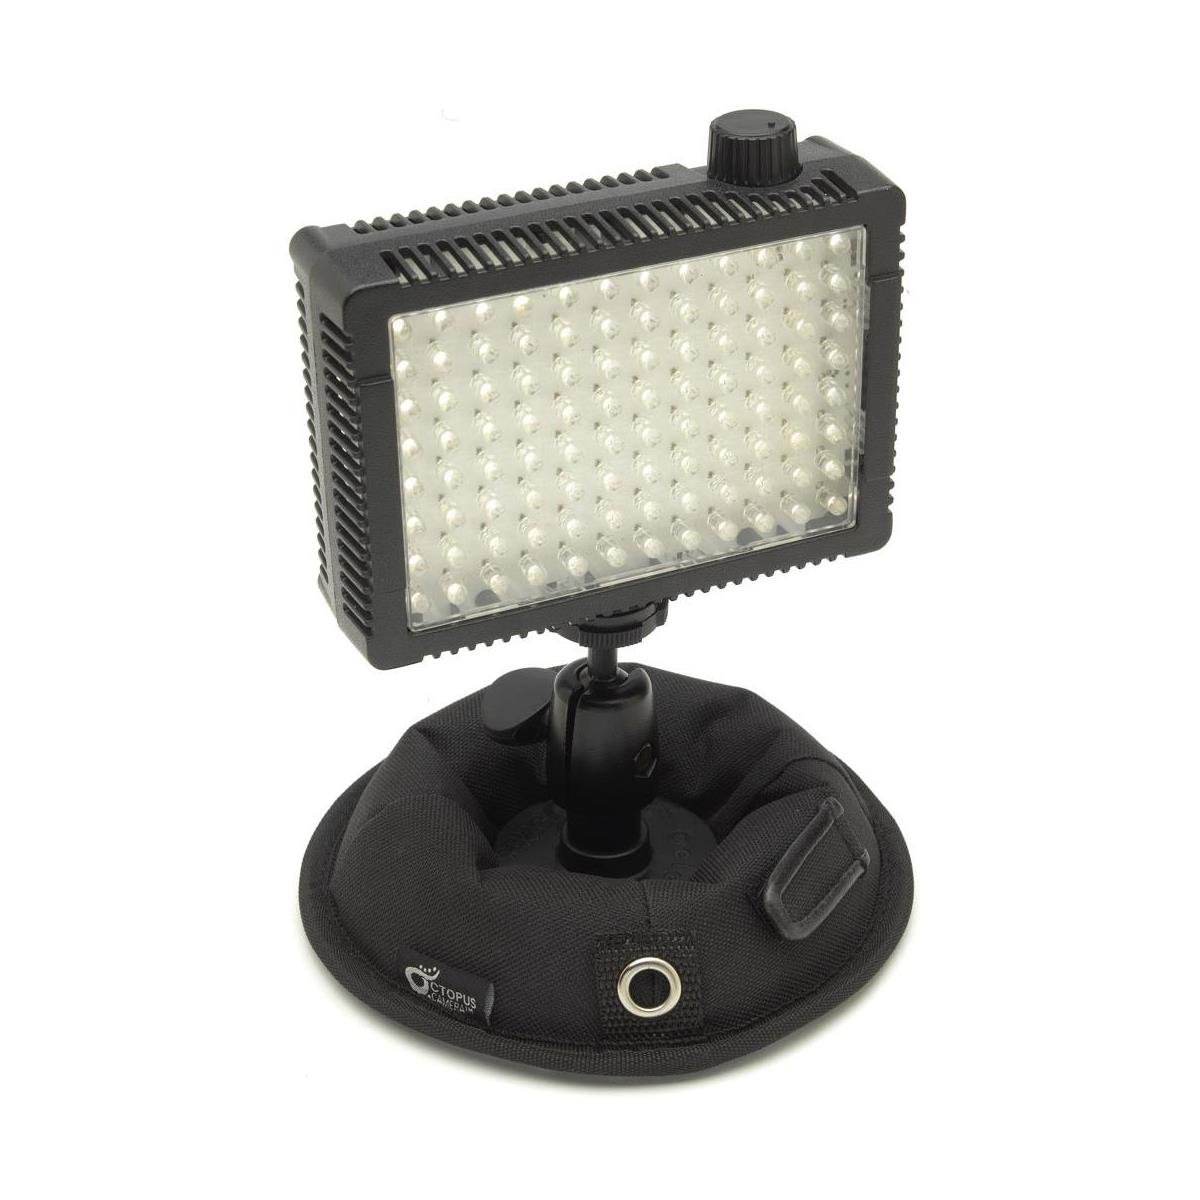
There’s even a built-in cable strap to keep cables from getting in your way and a clip grommet for attaching a lanyard to easily carry the OctoPad.
What photographers want in a gift is something that’s versatile and functional, and the OctoPad is definitely both. Best of all, it’s just $26.95, so you can give an awesome gift without busting your budget!
Learn more about the Octopus.Camera OctoPad
Aputure Amaran AL-MX Bi-Color LED Mini Light
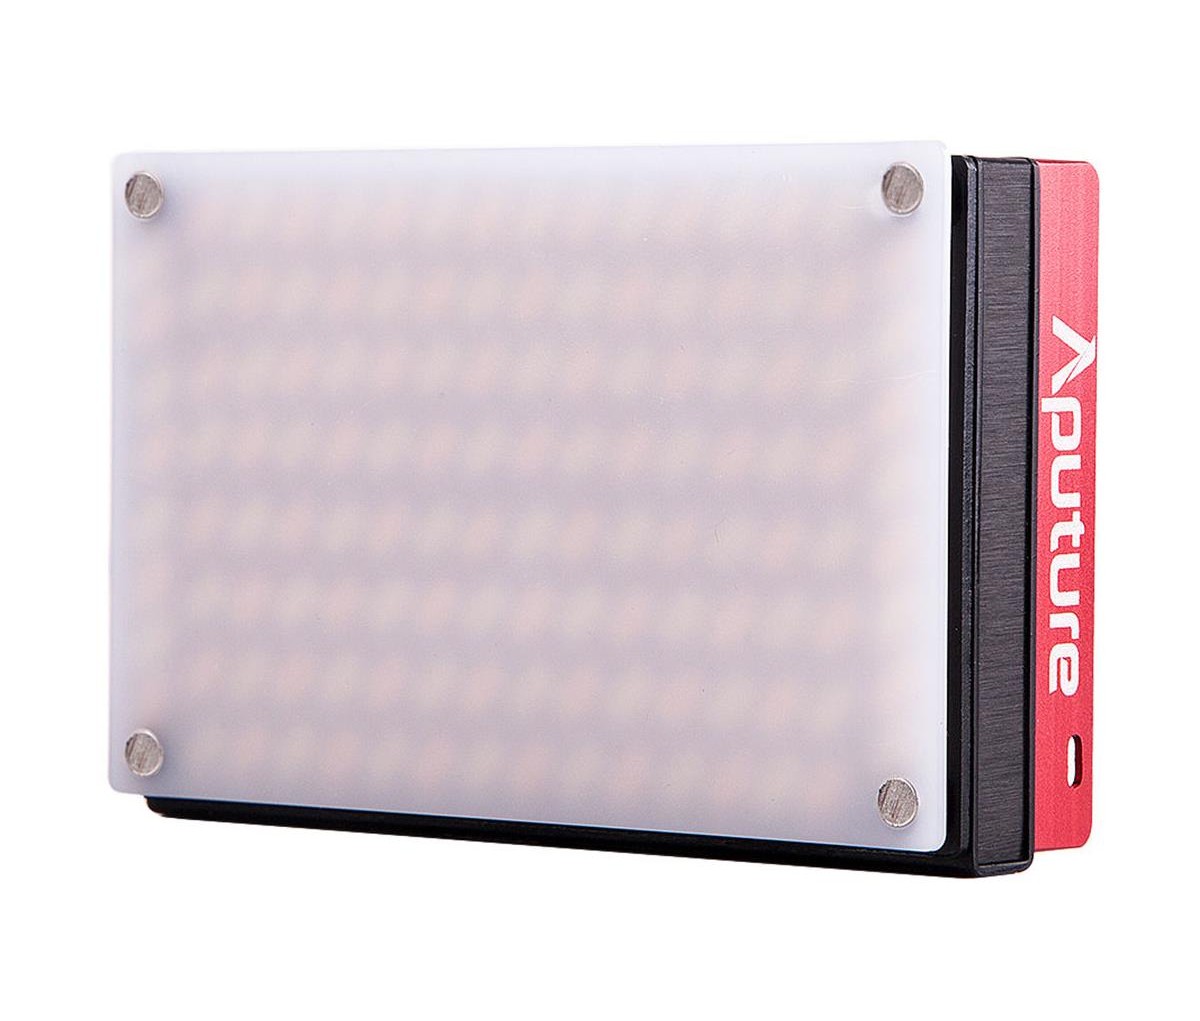
This pocket-sized light might be small, lightweight, and portable, but it packs a mighty punch with 128 LEDs, 3200lux of brightness, and a "boost mode" that increases brightness by 30 percent for bursts of 60 seconds.
Add to all that power the ability to tune the light from 2800-6500K so the photographer on your list can make fine adjustments to how the light looks to suit each and every photograph.
The quality of the light is top-notch, too - it offers a CRI of 95+ and a TLCI or 95+ as well.
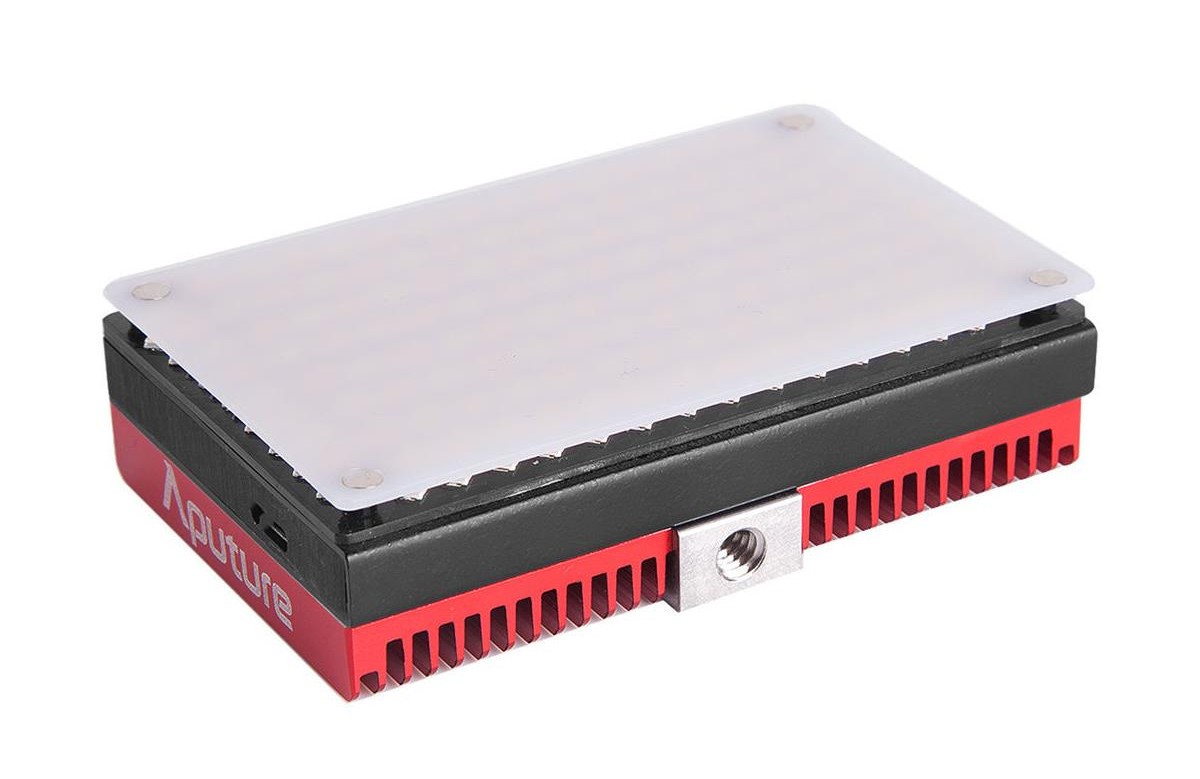
This light has a wide beam angle of 120-degrees, a portable design that's about the width and height of a credit card, and a durable metal body that's crafted of aircraft-grade aluminum.
It has a 1/4 screw and a universal cold-shoe mount so it can be mounted on a camera, a tripod, a light stand, and so forth.
This unit has a built-in battery that offers about an hour of runtime at full power and four hours of runtime at minimum power. The battery is rechargeable via a USB-C cable.
This is simply a well-built, bright, easy-to-use light that any photographer would appreciate in their stocking this holiday season!
Learn more about the Aputure Amaran AL-MX Bi-Color LED Light
Haida M-10 Filter System
One of the newest additions to my camera bag is the Haida M-10 Filter System, and I can't sing its praises enough.
The filter holder is super lightweight thanks to its aluminum construction, so it's durable and sturdy, but doesn't add unnecessary weight to your lens.
Inside the holder are slots where you can drop filters in. The slots are even lined with felt to help prevent scratches to the filters!
Another neat feature is that the holder has a quick-release clip for easy on and off. The clip is well-built and has a good amount of tension, so you don't have to worry about accidentally disengaging the clip as you work.
You can use square or circular filters with this holder. In fact, the kit comes with a variety of filters, including a circular polarizer, a variety of graduated ND filters, and solid ND filters as well.
And since the holder has two filter slots, you can mix and match filters as needed.
Both the filters and the holder are very well built - you can tell when you're holding them that they are high-quality products that will last a good, long while.
That being the case, if the photographer on your list has been hinting at needing a new filter system, you've got the perfect gift for them!
Learn more about the Haida M-10 Filter System
Exposure Software

The latest version of Exposure - Exposure X5 - was released just a few weeks ago to much fanfare.
Exposure has a ton of easy-to-use, yet powerful editing tools that any photographer would appreciate. This includes:
- An extensive library of film presets that you can customize
- Creative tools like tilt-shift, creative lens focus, and film grain
- Non-destructive editing with layers
- Selection and masking tools to apply effects to specific areas
- An intuitive and easy-to-use workspace
On top of all that, Exposure X5 has 3D color masking functionalities that will give the photographer on your shopping list the ability to have precise control over where an adjustment is made to an image.
These color controls can be defined by very specific features, like saturation, hue, and luminance, which means you can target the sky, skin tones, or other specific color ranges, all with just a few clicks.
This software also has vignette correction, chromatic aberration correction, fringe removal, and custom camera profiles to boot.
You can even test-drive Exposure for free for 30 days to see if it's something you want to give as a gift this holiday season.
Hakutatz Pocket Size RGB+AW LED Light
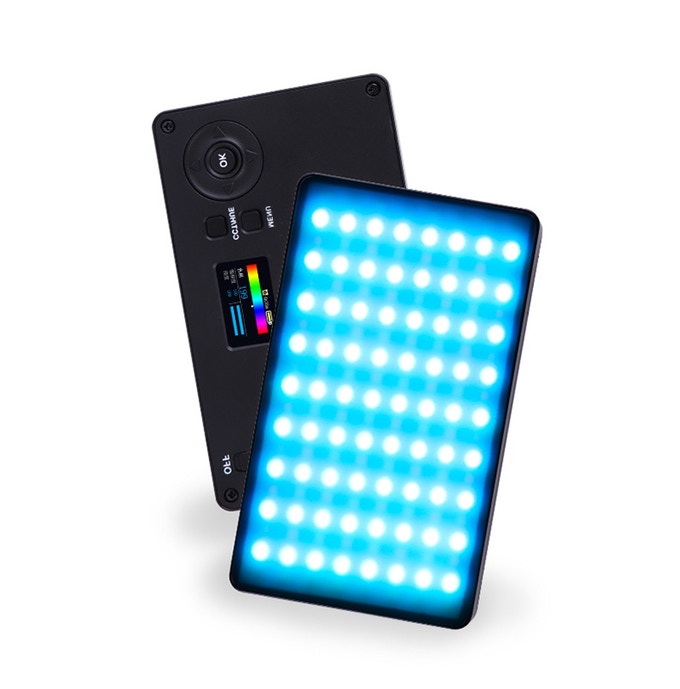
If you’re not sure what to get the photographer on your holiday shopping list, an ideal last-minute gift is the gift of light.
Light - good light - is essential for making high-quality photographs, and good light is exactly what you get with the Hakutatz Pocket Size RGB+AW LED Light.
This rechargeable light is ultra-portable and will fit in a photographer’s pocket for easy transport.
Photographers can utilize both white and amber light and a wide variety of RGB lighting options that allow for precise adjustments to get just the right light for each shot.
With 152 LEDs (40 white, 40 amber, and 72 RGB), adjustable saturation from 1-100%, 1480 lux brightness, and an adjustable color temperature from 3000-6500K, this light offers superb functionality and tons of customizations.
The light connects to any Android or iOS smartphone, which allows for changing the color temperature, the RGB color, and dialing in special effects. These changes can be made both quickly and easily thanks to the intuitive and user-friendly LCD display.
Use one light on its own or multiple lights to combine effects to get the perfect shot. Either way, photographers have the power to add vibrancy, visual interest, and accents to their photos right at their fingertips!
Learn more about the Hakutatz Pocket Size RGB+AW LED Light
BlueTooth Photo

I don’t know how many BlueTooth speakers I’ve had over the years. Come to think of it, I couldn’t even tell you how many BlueTooth speakers I have in my house right now.
They’re utilitarian. They’re forgettable. Most BlueTooth speakers are nothing special.
But the patent-pending BlueTooth Photo changes all that because it turns your favorite photo or piece of art into a canvas that sings.
All you have to do is upload your image and the fine folks at BlueTooth Photo do the rest. You get a premium-grade, artist-quality canvas that showcases your favorite images all the while being the perfect vessel for fantastic audio quality for your music.

What better way to enjoy music than by listening to it emanate from your favorite photo? And what better way to appreciate your favorite photo than by having a look at it each and every time you want to listen to your favorite songs?
It’s the best of both worlds!
BlueTooth Photo is a fantastic gift idea for the photographer (or anyone else!) on your holiday shopping list. Get them an 8x12 image in either portrait or landscape orientation this Christmas for just $89.00.
Use the coupon code PT20 to get $20 off your purchase!
Learn more about BlueTooth Photo
Luminar 4

Yet another top choice for a last-minute gift for the photographer on your list is Luminar 4.
At the time of this writing, Luminar 4 is still a couple of weeks from being released, but I've had a chance to look at it, and WOW is a word that immediately comes to mind.
Luminar makes use of artificial intelligence to allow photographers to make specific and detailed edits to their photos, but without the process being one that's laborious or time-consuming.
For example, Luminar 4 features an AI Sky Replacement tool that allows you to automatically change the sky in any photo. Yes, change the sky - not just edit it to look prettier.
Better still, you can change the sky without creating masks or making selections, and the AI Sky Replacement Tool will relight the entire image, that way the original image and the new sky match in terms of brightness.
Luminar 4 also has handy tools for portrait photographers, like the AI Skin Enhancer, which detects blemishes and removes them, all the while preserving details in the skin. This tool will detect skin anywhere in the photo (not just people's faces), and its corrections are made with just one click.
There's also an AI Portrait Enhancer that has 12 tools that enable you to make corrections to the face, eyes, and mouth in a way that maximizes control while maintaining ease of use.
Needless to say, Luminar 4 is packed with features and will make a great addition to any photographer's workflow!
Wiral LITE Cable Cam

I've had the Wiral Lite Cable Cam for a couple of months now, and I can't tell you how much fun I've had using it.
It is incredibly easy to use, too, as it has a simple rope system that allows for quick setup.
And once you have it setup, you can get beautifully smooth, dynamic tracking shots that take your videos to the next level.
This patent-pending rope system is called "Quickreel," and uses an ultra static rope so you get superb performance with excellent safety. The beauty, though, is that this rope doesn't add bulk or weight, so it's easy to carry.
This rope system can be used with a variety of cameras, from a GoPro to your smartphone to a DSLR or mirrorless camera.
If you watch the video above, you can see the kind of long, smooth video sequences that are possible.
It looks like a video that was taken using a big, expensive setup!
But this rig is less than $500...
Quick setup, loads of features, huge functionality, and a great price. What more could you want in a last-minute gift for the photographer on your list?!
Learn more about the Wiral LITE Cable Cam
Holdfast MoneyMaker Solo
One of my favorite pieces of gear is my MoneyMaker Solo camera strap. This thing is gorgeously crafted, easy on the eyes, and super functional, too.
What I like most about this strap is the comfort it offers.
It has a big, contoured shoulder strap that helps keep fatigue at bay. The shoulder strap stays in place on your shoulder too (go figure!), so carrying your camera for extended periods of time doesn't turn into making constant adjustments to how the strap interacts with your body.
Part of what helps the strap stay in place is the stability strap that wraps under your arm.
The other component of that is the ingenious Belt Anchor, which keeps the camera attached to your hip, rather than flopping around as you walk.
Not only does that improve the comfort level, but it makes it a safer endeavor to carry your camera, especially in crowded areas.
The construction of this thing is worth mentioning, too.
It's made of a single piece of full-grain leather, so it's absolutely stunning to look at.
The high-quality leather is paired with stainless steel hardware, so you know that the strap and its components will last the photographer on your list for years and years and years to come!
Check out my Holdfast MoneyMaker Solo Review to get more details on this awesome gift idea for photographers.
Learn more about the Holdfast MoneyMaker Solo
We Recommend
Top 10 Last-Minute Gifts for Photographers - 2020 Edition

Photo by Geber86 via iStock
I take full responsibility for being one of "those" photographers that are very, very hard to shop for...
I'm picky. I like the things I like. And I have much of what I already want. Yeah. I'm that guy.
And if you're reading this article, you most likely have one of those people on your holiday shopping list. Either that or you didn't get your holiday shopping done on time!
Whatever the case, I've got ten fantastic gifts (each of which I have personally tried or owned) that should bring a big smile to the face of your favorite photographer.
I give an overview of each item in the video above. Or if you're the reading type, I've highlighted each gift idea below.
Without further ado, let's get started!
Last-Minute Gifts for Photographers: Herman Miller Embody Chair
If the photographer on your holiday shopping list is like me, they spend hours and hours and hours at their desk editing photos (and probably a fair amount of videos, too).
As the hours drag on, you can get really uncomfortable - especially if you don't have the right desk chair that gives you the support you need.
In the past, I tried a wide range of desk chairs and was pretty underwhelmed with the support and level of comfort they offered. Then I bought my first Herman Miller Embody chair.
I know that calling a desk chair "life changing" would be taking it a bit too far, but this chair has proven to be the ultimate in comfort. I've actually had two of these chairs over the last ten years, and after using them, I'll never go back to any other kind of office chair.
I love everything about this chair:
- The fabric is soft and helps dissipate heat as I'm seated.
- The back is highly adjustable so you can position it to be perfectly in line with your spine.
- You can adjust the seat depth and the arms.
- The design of the chair was done with input from physicians and PhDs in biomechanics, physical therapy, ergonomics, and vision, to help Herman Miller create a chair that is the ultimate in comfort and ergonomics.
In short, this chair not only looks good, but it also offers you loads of utility. The seat and back conform to your movements, allowing the chair to distribute your weight as you're seated. This helps reduce pressure points, encourage movement, improve circulation, and help you maintain your focus.
As photographers, there's a lot of time needed sitting at our desks, and with a chair like this, that time will be far more comfortable. If you want the ideal gift for the photographer on your list, the Herman Miller Embody chair is it!
Learn more about the Herman Miller Embody
Last-Minute Gifts for Photographers: CanvasHQ Canvas Print
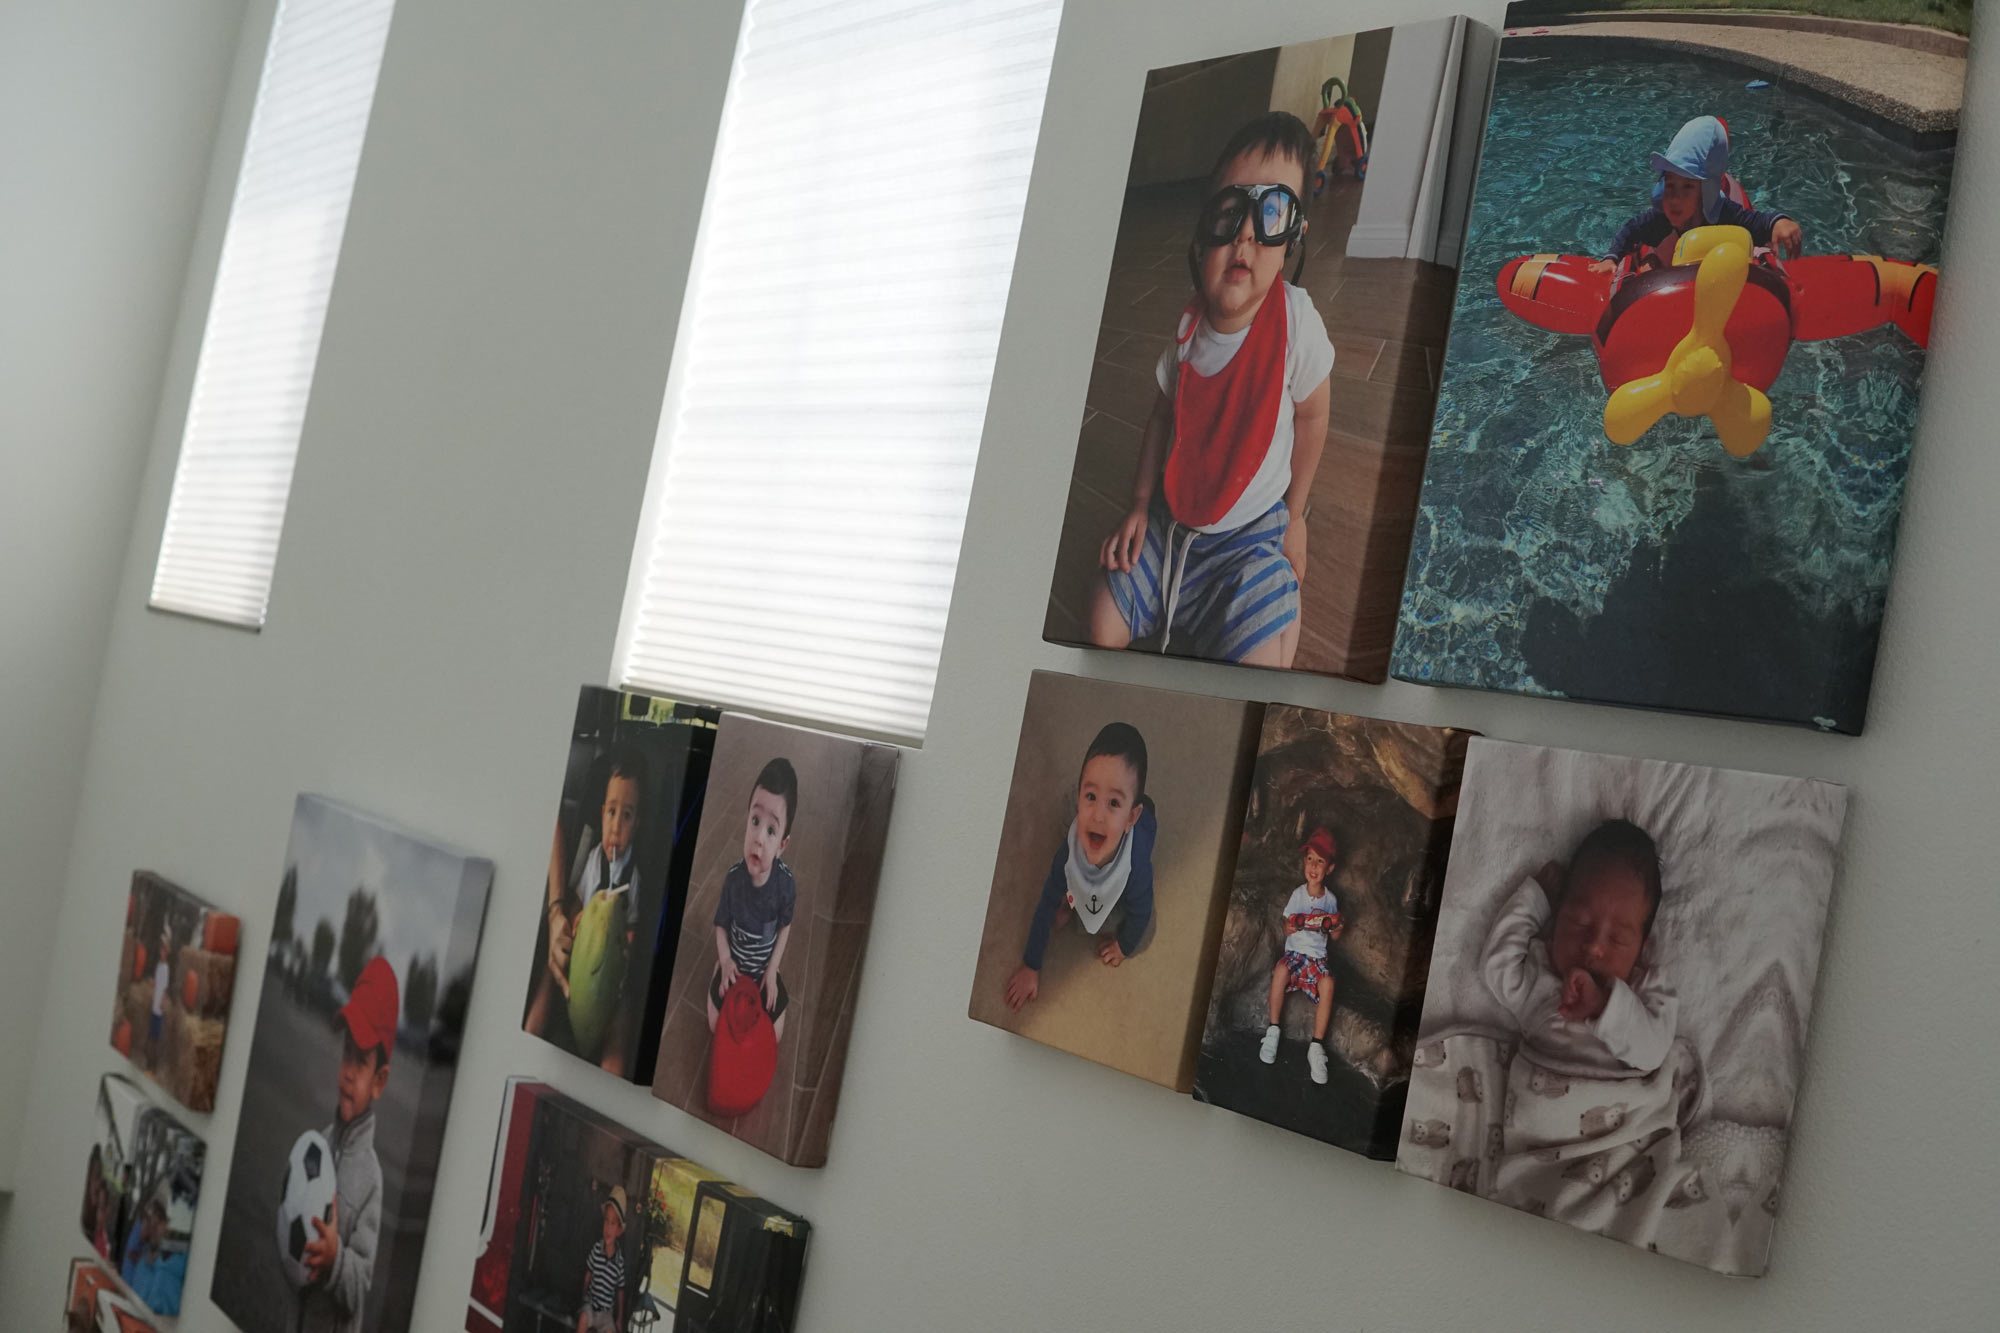
This is just a sampling of my CanvasHQ prints!
Here's what I love about canvas...
The texture brings my images to life by giving them a touch of added depth and interest. Plus, I love the depth that the frame gives to the photo as it hangs on the wall. It really makes it an experience to view the image.
I started using CanvasHQ years ago as my go-to canvas printing company, and I’ve never turned back.
I have dozens of canvases from these guys of all sizes, and I’ve never been disappointed when I opened the box to reveal the print.
I mean...there’s a reason why CanvasHQ has won our $100 secret shopper canvas print shootout for two years running!
The quality of these prints is just incredible...they use professional-grade inks, archival-grade canvas, and they hand make the frames using kiln-dried wood.
In other words, their commitment to quality shows in every aspect of the process. Each print is truly a showpiece that gives your images that extra visual appeal.
Whether you’re in the market for a little last-minute gift for yourself or someone on your list, a canvas print from CanvasHQ is a great option this holiday season. Plus, they have a quick turnaround time. Nice!
Last-Minute Gifts for Photographers: Used Nikon D500 from MPB
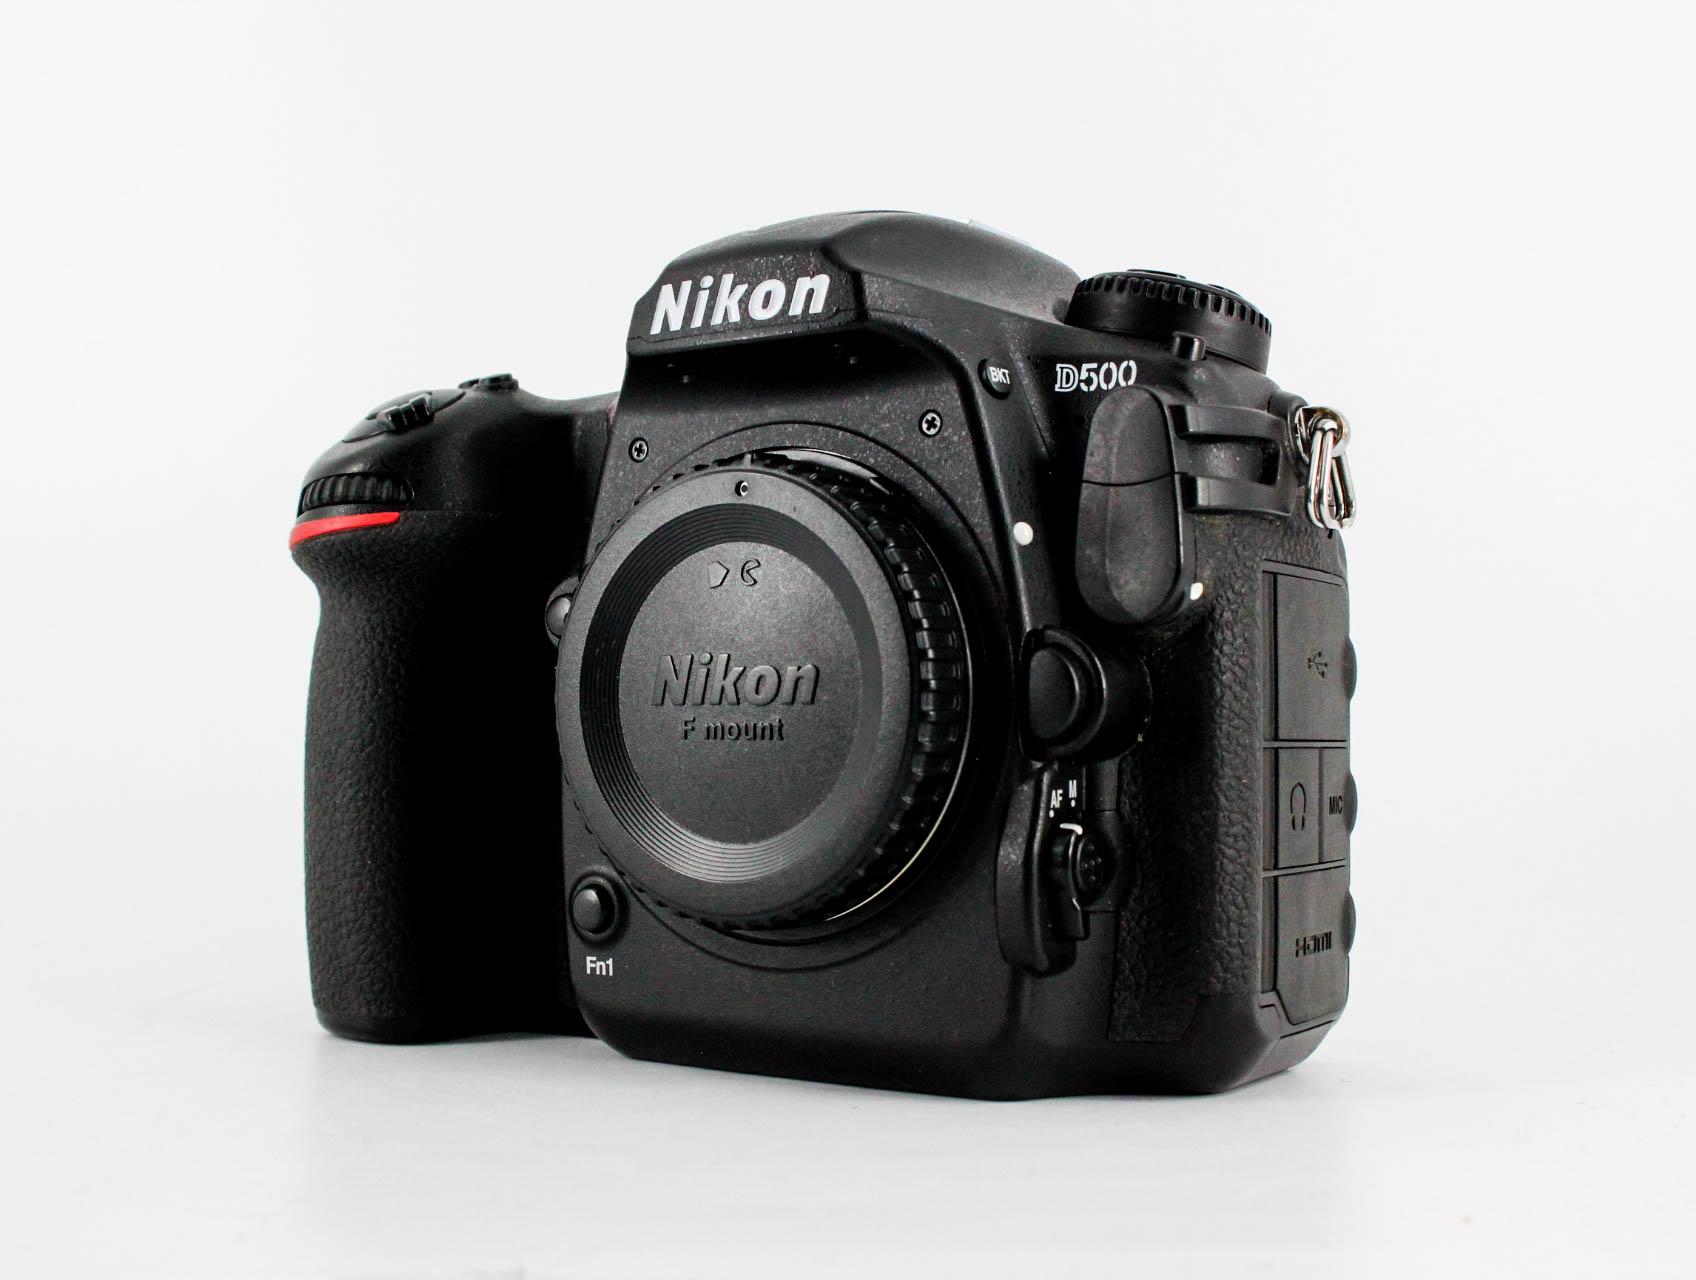
I’ve worked with MPB for a number of years. I’ve bought and sold gear on their site, and the experience was always top-notch.
So that got me thinking…
A great gift for a photographer on your shopping list is a tried-and-true camera like the Nikon D500.
MPB has a number of D500s in stock, starting at around $1,000, which is about half of the price of a new D500 when it was released in 2016.
And don’t be scared by the fact that this is a four-year-old camera. It still has some great specs, like:
- 20.9-megapixel sensor
- EXPEED 5 processor
- Multi-CAM 20K autofocus system with 153 AF points including 99 cross-type points
- 10fps continuous shooting
- ISO range of 100-51200
- 4K UHD video at 30, 25, and 24p
- 3.2-inch 2.3 million dot tilting RGB LCD touchscreen
- Bluetooth, NFC, Wi-Fi
Plus, since the D500 has an APS-C sensor, the camera body is smaller and lighter than a full frame camera. This makes it an ideal option for wildlife photographers, sports photographers, and photographers that travel.
A new D500 will set you back about $1,500, so a used one at about $1,000 is a great buy.
Learn more about the Nikon D500
Last-Minute Gifts for Photographers: Camera Bag
Obviously, I can’t have a holiday gift guide for photographers without a recommendation for a camera bag…But in this case, this is a two-for-one situation.
My primary bag is the Peter McKinnon Nomatic Camera Pack.
As I explain in the video above, apart from being a beautiful bag, this thing is hugely versatile and full of features. Get a load of some of these specs:
- Holds 35 liters of gear (expands to 42 liters)
- Water-resistant
- External straps for things like your tripod
- Removable interior dividers for customizing the bag to your needs
- Easy side access for quickly grabbing your camera
- Comfortable straps (including chest strap and waist belt) for a more comfortable carrying experience
- Space for your clothes too!
You can tell that this bag was designed by a photographer. It is simply fantastic from the standpoints of size, customization, comfort, and ease of use.
This bag is $400, and while that might seem like a lot, when you consider that this is a bag that you’ll have for YEARS, it’s really a long-term investment.
Sure, you can buy a cheap bag, but when you are carrying around gear on your back, don’t you want the most comfortable bag you can get?
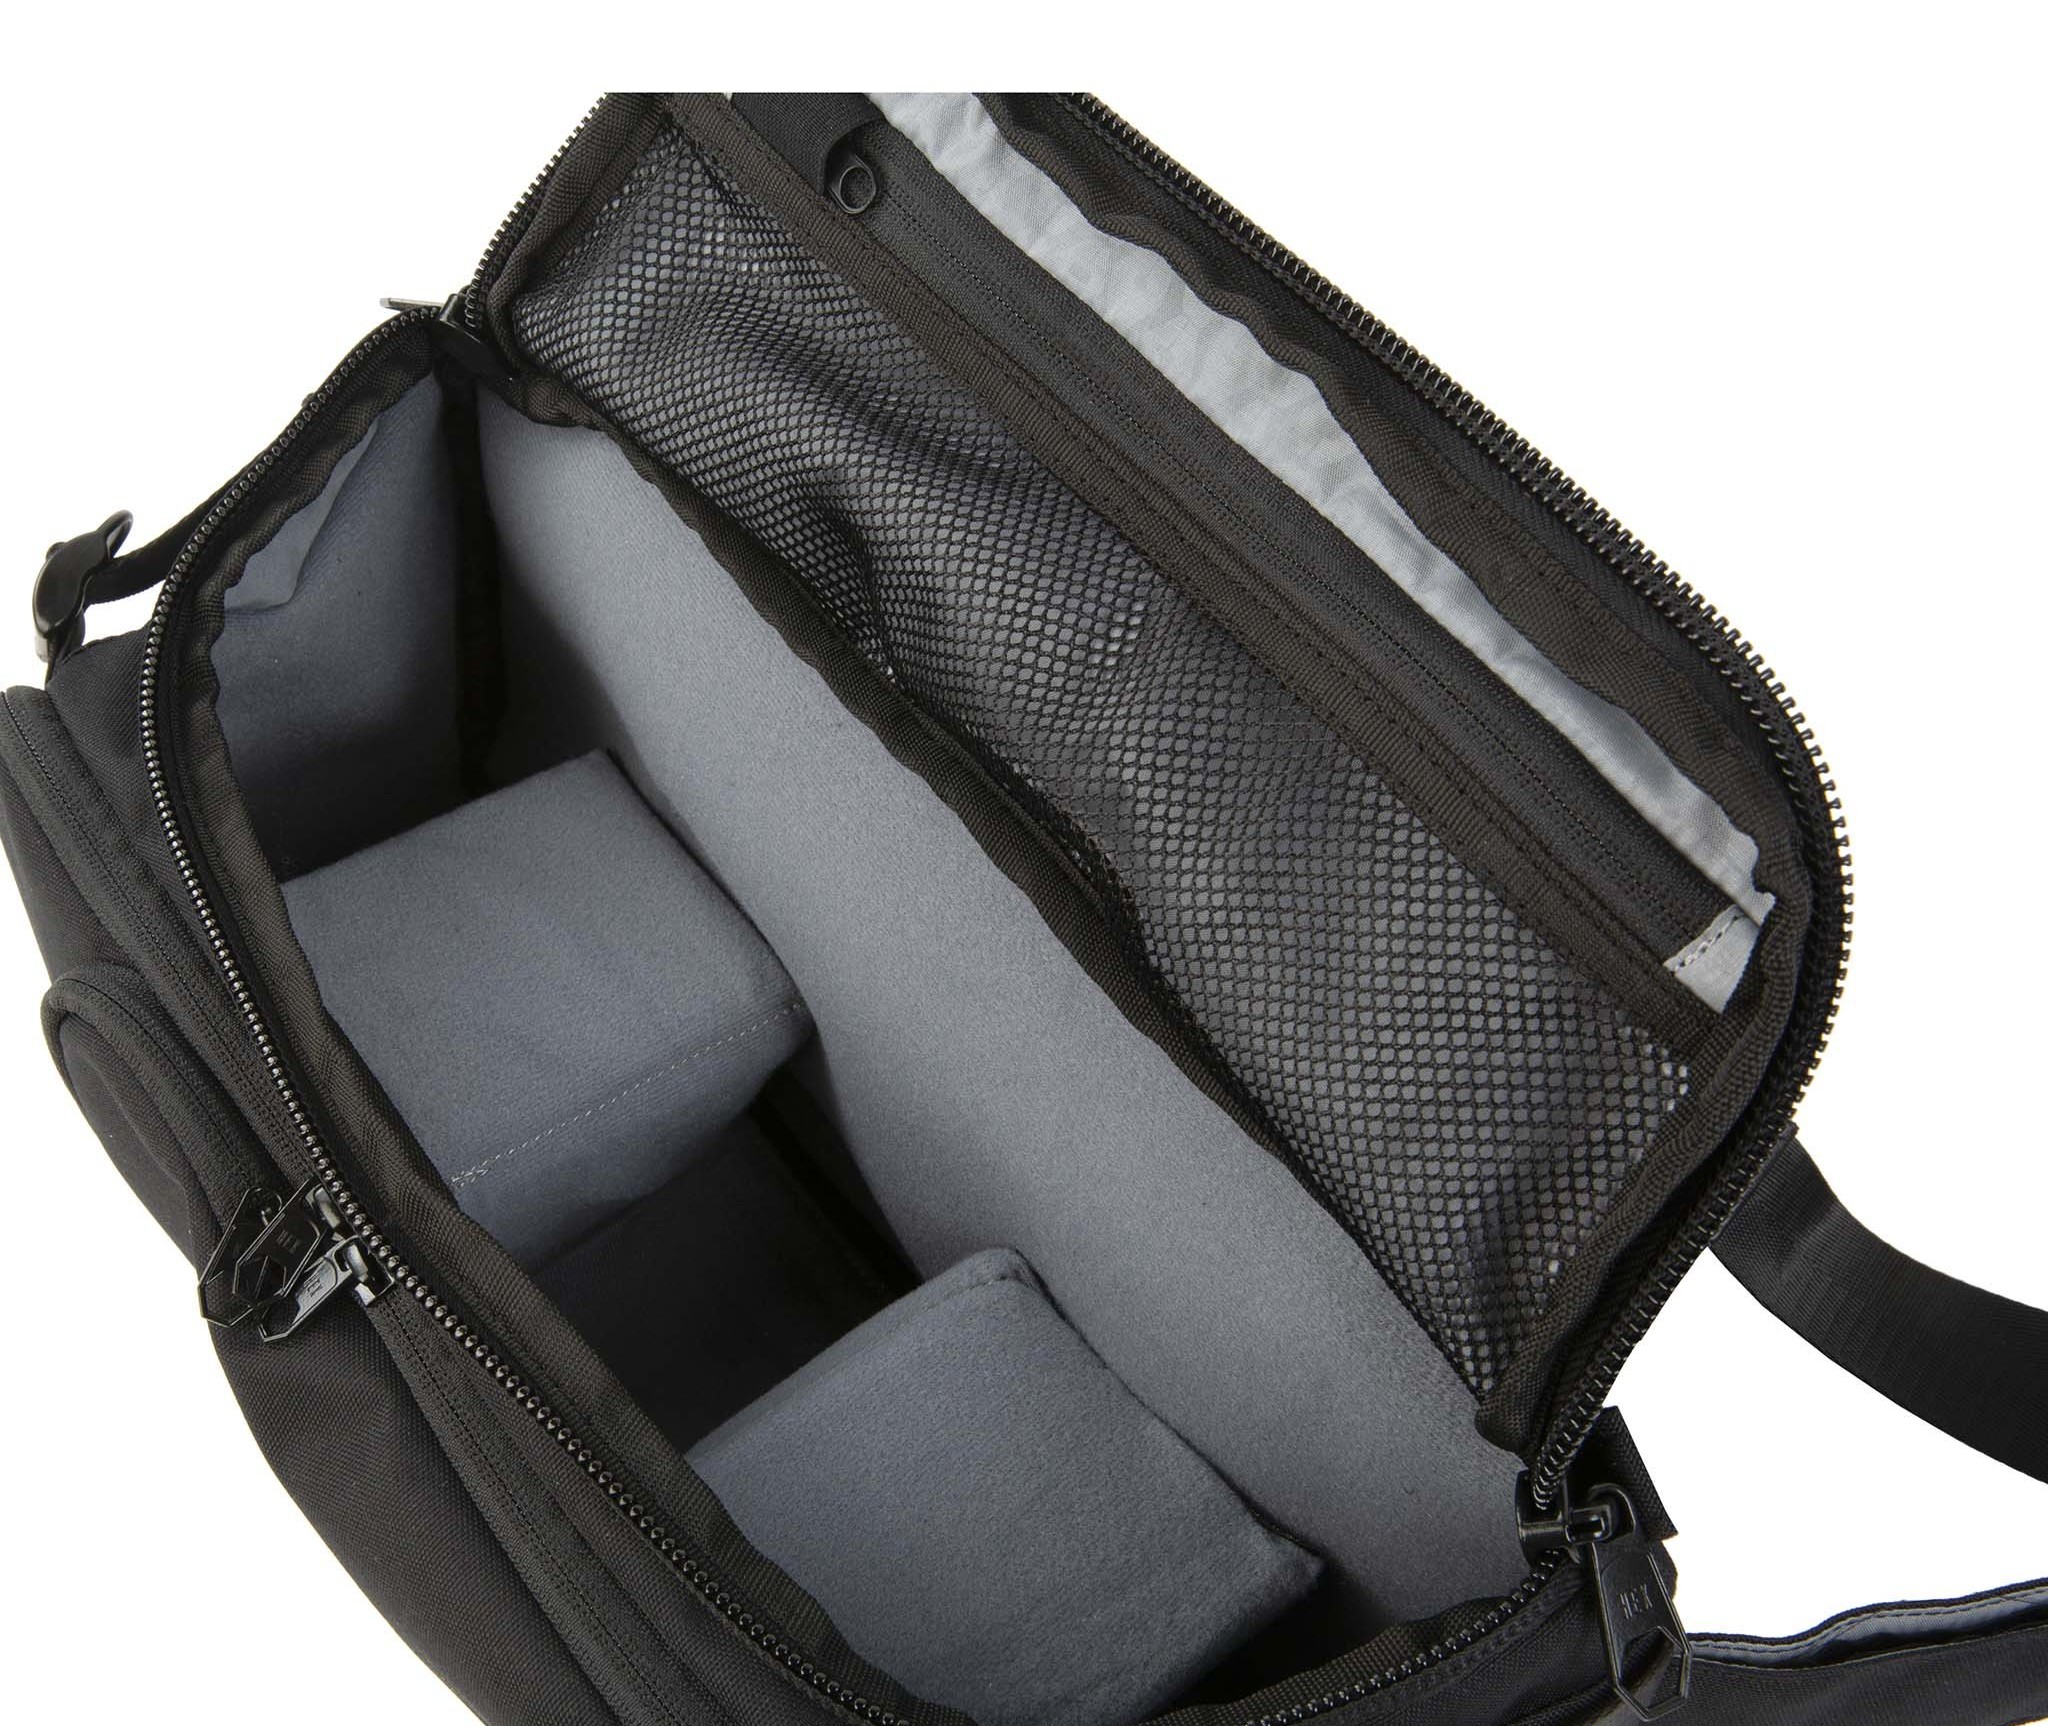
Now...you don’t need a big bag for every trip.
When I want to run and gun with a single camera kit, I opt for my HEX Ranger Sling V2 bag.
This little guy holds up to 8 liters of gear, which is perfect for carrying a single camera, lens, and accessories.
What I love most about this bag is that it hugs your body...unlike other slings I’ve tested over the years, this one doesn’t flop all over the place as I’m moving.

It’s loaded for bear with features too:
- Genuine Cordura exterior with YKK zippers
- Adjustable bottom carry straps
- Hideaway rainfly
- Improved padding on the shoulder pad for an even more comfortable carrying experience
- Double buckle strap so you can size the bag perfectly to your body
- Collapsible interior dividers so you can pack the bag down to almost nothing
- Tons of organization including a front organizer pocket, a faux-fur lined phone/sunglasses pocket, and a faux-fur lined tablet pocket
So as you can see, this is a bag that is small but mighty! Plus, it’s priced at less than $100, so it’s also a budget-friendly gift!
Learn more about the Peter McKinnon/Nomatic Camera Pack and the HEX Ranger Sling V2. Give the HEX Ranger Sling V1 a look too!
Last-Minute Gifts for Photographers: Artbeat Studios Metal Print

In addition to loving canvas prints, I’m also a sucker for a good metal print.
I like how sleek and modern metal prints look. And if you get your metal print from the right company, you’ll find that the colors, sharpness, and vibrancy really come out in your image.
I got my first metal print from Artbeat Studios a few years back. I still remember how amazed I was at the quality of the print the first time I laid eyes on it.
I’ve used Artbeat Studios over and over again to get metal prints because they simply offer the best combination of quality and customer service that I’ve been able to find.
And I’ve looked a lot!!
Artbeat Studios was crowned our 2020 best metal print company earlier this year after I got metal prints from them and several other companies.
In a head-to-head evaluation, the print from Artbeat Studios stood head and shoulders above the rest.
So, if you want to add a big, beautiful metal print to your home or the home of someone on your list, give Artbeat Studios a try...you won’t be disappointed!
Learn more about Artbeat Studios
Last-Minute Gifts for Photographers: Photography Books
I couldn’t even tell you how many books I have around my house…and in my Kindle.
I really LOVE books. I love learning. I love to improve my skill set. And this holiday season, you can do that for yourself or for a photographer on your list with a good photography book.
There are tons of titles I could recommend, but since 2020 has been such a crappy year, I wanted to recommend a photography book that might inspire you and offer you a little hope.
For that, I would say that Photo Therapy Motivation and Wisdom: Discovering the Power of Pictures by Rick Sammon is a GREAT choice.
This book has lots of quotes that will inspire you to get out there and shoot. Likewise, the book makes you think about how you approach photography and how you have the power to become a better photographer.
You’ll learn about things like “Seeing vs. Looking,” “Emotional Intelligence for Photographers,” and how to create your own reality in your images.
Rick even put a bunch of photography missions you can undertake in order to learn new skills and gain confidence behind the lens.
I checked Amazon and this book is available for $10 on Kindle or $15.99 in paperback. It’s a great inexpensive last-minute gift that will inspire photographers to take their game to the next level.
Learn more about Photo Therapy Motivation and Wisdom: Discovering the Power of Pictures
Last-Minute Gifts for Photographers: ProGrade Memory Card
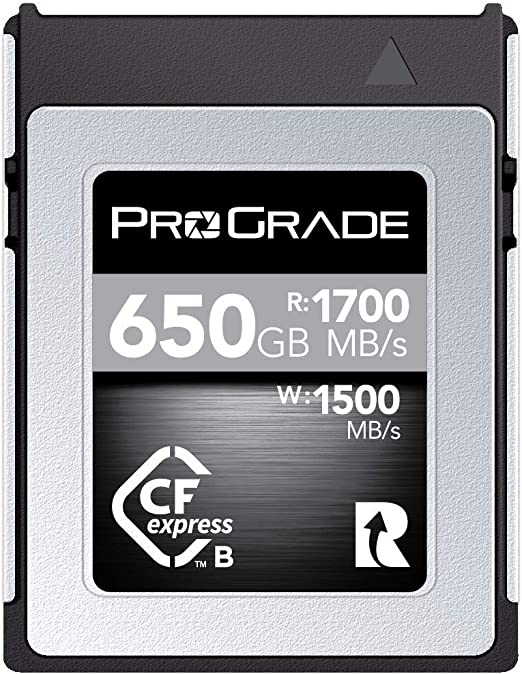
A good, reliable memory card is a fantastic gift that any photographer will love. It’s a great stocking stuffer too!
A few years ago, I’d be talking about Sandisk cards right now, but after I had a bad experience with a failed card, I started exploring other options.
I started using ProGrade cards after hearing about them from several other photographers. Once I got my first one and experienced its incredible speed and reliability, there was no looking back!
I now have several ProGrade cards, including SD cards and CFexpress cards for my EOS R5 and R6.
In both cases, these cards have proven their worth with reliable performance and blazing speed regardless of whether I’m shooting stills or video with my Canon cameras.
This is DEFINITELY one of those things where you get what you pay for…and for my money, nothing beats ProGrade!
Learn more about Prograde SD cards and Prograde CFexpress cards
Last-Minute Gifts for Photographers: Used Canon 5D Mark III From MPB
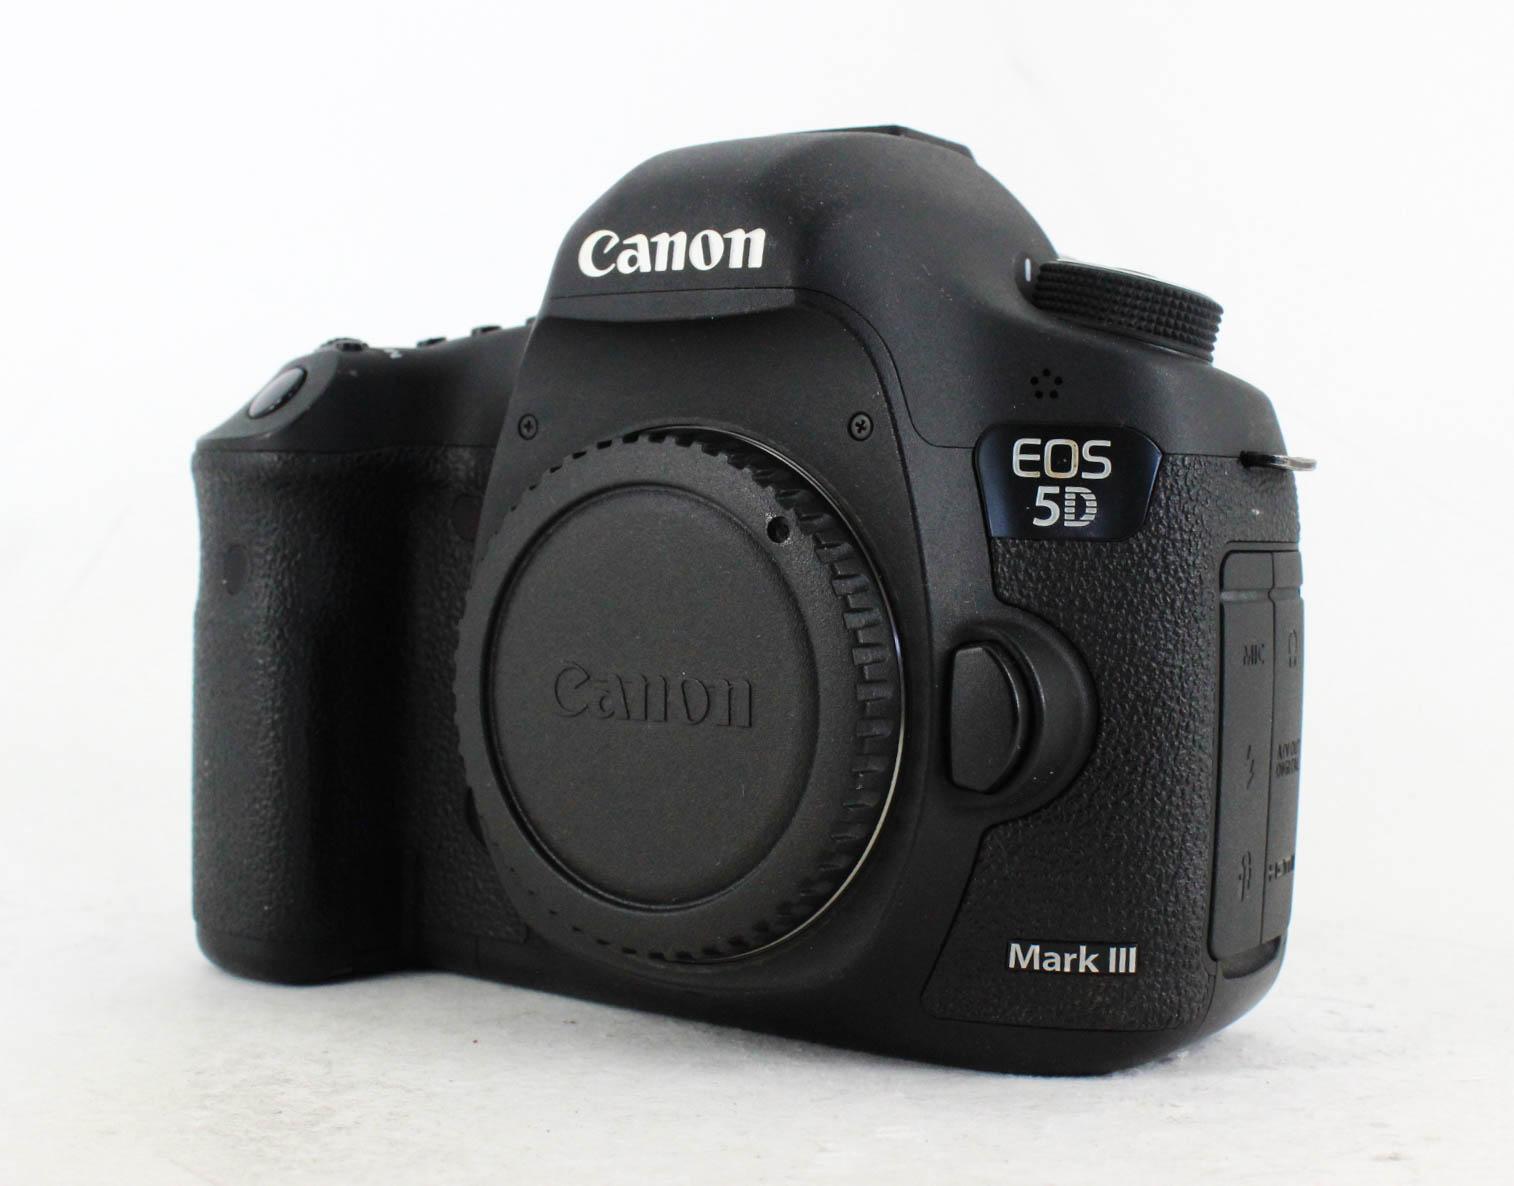
If you’re shopping for a Canon shooter, you might consider getting them a 5D Mark III to add to their kit.
This would make the perfect second camera body for a professional photographer.
It’s a full frame, professional-grade camera that has great specs, even for an eight-year-old camera. Check these features out:
- 22.3-megapixel sensor
- DIGIC 5+ processor
- 61-point AF system including 41 cross-type points
- 6fps continuous shooting
- ISO range of 100-25600
- Full HD video
- 3.2-inch LCD with 920,000 dots
Sure, this camera doesn’t offer some of the modern features like 4K video, WiFi, or a touchscreen, but for photographers looking for a second body or for photographers that want to jump into a full frame camera, this is an affordable and reliable option.
MPB has a bunch of these in stock, which start at just $650. Which considering you can still buy this new at $2700…this is a crazy deal!
Learn more about the Canon 5D Mark III
Last-Minute Gifts for Photographers: A Good Filter Kit
This is yet another one of those items where you get what you pay for...
Think about it...it doesn’t make sense to invest in a good lens and then slap a cheap filter on the front of it.
Instead, think of filters as another one of those long-term investments where paying a little more now will pay dividends for years to come.
I have filters from a number of different companies that have proven to be extremely well made, reliable, and give me the results I want in my images.
If you’re on a tighter budget, a great option is Haida Filters.
I’ve tested their M10 and M15 filter systems, and found them to be very easy to use.
Their individual filters, like their polarizers, NDs, and graduated NDs show a high level of craftsmanship and durability as well.
If you have a bit of a higher budget, I recommend PolarPro Summit filters.
This series of filters includes NDs, soft grads, hard grads, a reverse grad, and a polarizer.
There’s also a mounting bracket and a variety of thread plates to adapt the bracket to various lenses.
I think the most impressive thing about these filters is the aluminum frame that helps you get a good grip on the filter without touching the glass.
Better still, the frames are lightweight, yet durable too, which is exactly what you want in a filter!
I also like how the circular polarizer fits seamlessly into the filter holder...there are ZERO light leaks with this thing!
Again, these filters are a little more expensive, but man do you get what you pay for!!
Learn more about Haida Filters and PolarPro Summit Filters
Last-Minute Gifts for Photographers: Holdfast MoneyMaker
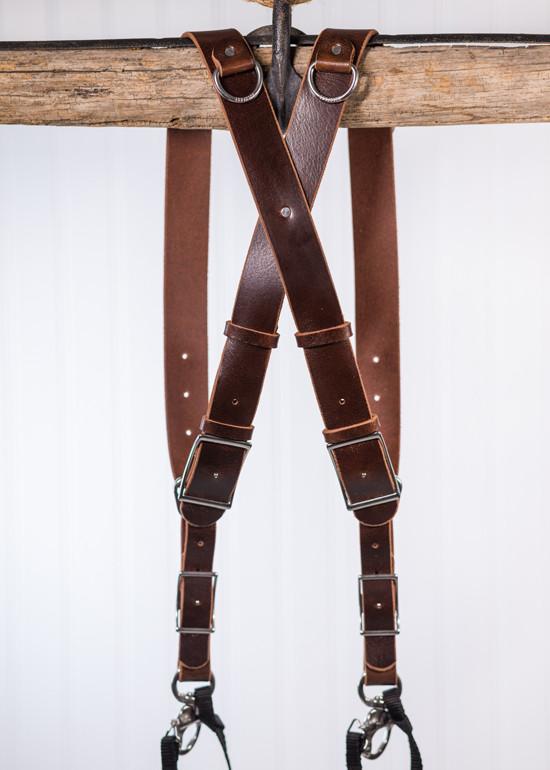
I’ve tested dozens of camera straps, but I always come back to one that I’ve had in my kit for years...the Holdfast Moneymaker.
There’s a lot to love about a leather strap...they’re incredibly durable, they conform to your shoulder more and more as you use them, and in the case of Holdfast, the leather is premium grade and absolutely beautiful.
You can get these in all kinds of sizes with all kinds of leathers and in a variety of colors.
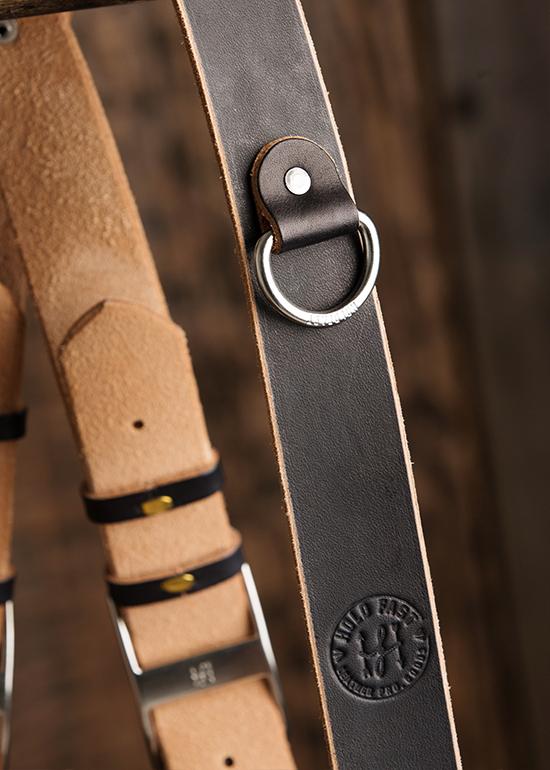
But regardless of which specifics you pick, you’ll get American-made quality!
I got my first Moneymaker years ago. That was a dual camera harness. Then I picked up the MoneyMaker Solo which is a single camera system that’s every bit as beautiful and functional as the original Moneymaker, as I describe in my review video below:
There’s a reason why these camera straps have worked so well for me...they are built like tanks and will do everything I need them to do no matter where I am or what I’m shooting.
Besides, leather raises the value of the gift...the sights and smells associated with leather immediately tell the person opening the gift that you went all out!
The Moneymaker Solo is $175 and the Moneymaker Harness starts at $230, so both are reasonably priced for gear that will last for years and years to come.
Learn more about the Holdfast MoneyMaker and MoneyMaker Solo
Last-Minute Gifts for Photographers: Leatherman Skeletool CX
Last but not least, if you have a photographer on your holiday shopping list, a gift like the Leatherman Skeletool CX will be most appreciated.
My wife gave this to me last year, and it’s on this list because it has become one of my most-used tools by far.
This thing is beautifully made and incredibly versatile, so I can use it when I need a knife, pliers, wire cutters, a bit driver, or even a bottle opener.
You can also use it one-handed, which is a huge benefit when you’re out shooting or adventuring and you only have one hand to spare.
This sucker is lightweight, ready to work, and guaranteed for 25 years. Plus, it’s budget-friendly at $80!
Learn more about the Leatherman Skeletool CX
We Recommend
Top Accessories for the DJI Mavic 2 Pro & Mavic 2 Zoom
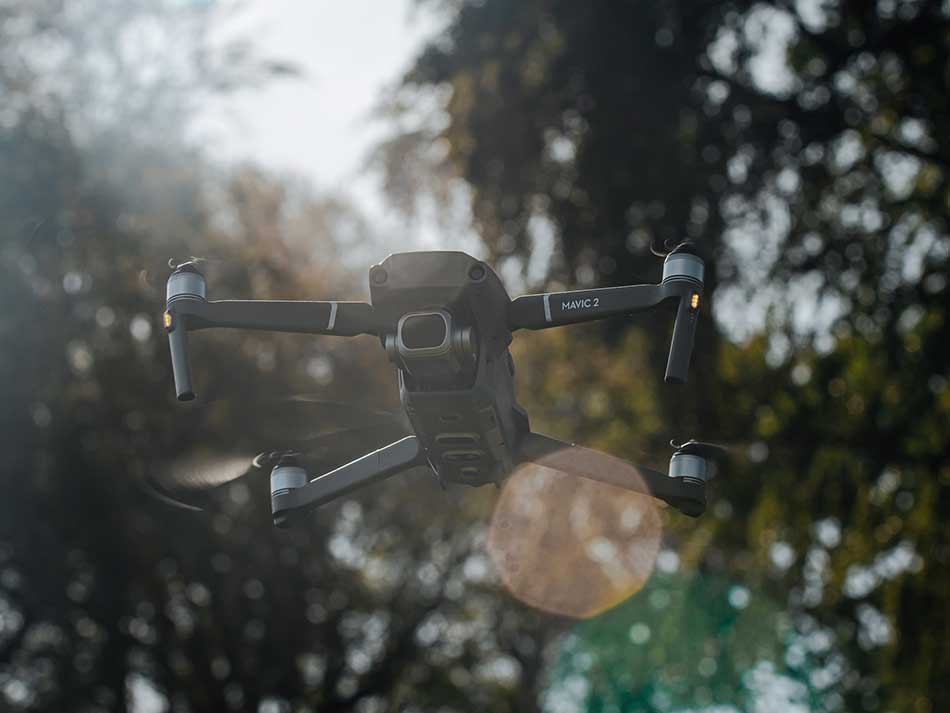
DJI Mavic 2 Pro Photo by Jacob Buchhave on Unsplash
Two of the best drones for photography and videography are the DJI Mavic 2 Pro and DJI Mavic 2 Zoom. The best DJI Mavic Pro accessories and the best accessories for the DJI Mavic 2 Zoom will expand their capabilities, make them more versatile, and ease your workflow.
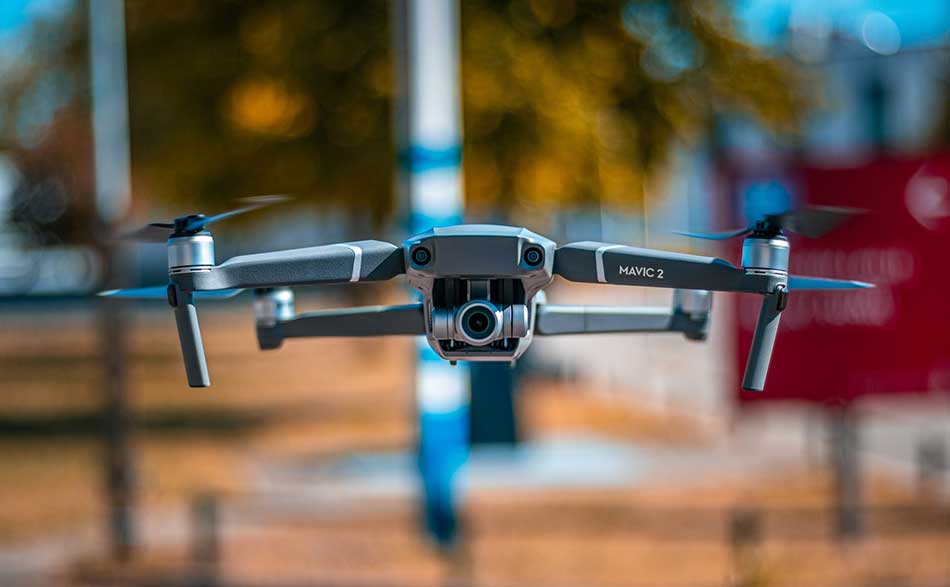
DJI Mavic 2 Zoom Photo by Tommy van Kessel ? on Unsplash
Sometimes the least thought of accessory will become the one item you now realize you can’t live without. For the DJI drones, the items listed below have been chosen as the most likely to become that item for you.
Hazard 4® Freelance™ Sling Pack

Among the best bags for active photographers is the Hazard 4® Freelance™ Sling Pack. The sling pack design combines the comfort of a backpack for hauling heavier gear with the ease of access of a belt pack or regular camera bag.

The Hazard 4® Freelance™ Sling Pack also offers a secure way to access your gear while in the field. Some other features that make it a great bag choice over all are the thermoformed panels for protection and comfort, the adjustable internal dividers, and HardPoint™ external accessory mounting points.

The DJI Mavic 2 Pro accessories fit perfectly in this bag along with the drone and even a tablet. Your drone deserves protection and you need to have everything readily available while you’re in the field. And it looks good, too.
DJI Smart Controller

Instead of using your smartphone, this controller is the best way to fly and film with your DJI Mavic 2 Pro or Mavic 2 Zoom. The DJI Smart Controller has a 5.5 inch touch screen, two joysticks, and dedicated buttons to make controlling all the advanced features of the drones easy to access.
Automatically switching frequencies allow for an extended range between drone and controller. The SkyTalk feature lets you live stream video feed to various online platforms while you’re flying.
The screen is incredibly bright, letting you clearly see things in the harshest sunlight, making this one of the best Mavic 2 Pro accessories for users filming under various weather conditions.
The DJI Smart Controller will synch to the drone from the moment you power up the drone. It’s customizable via DJI and third party apps so you can design features and capabilities based on how you will use the drone. It operates under extreme weather conditions from -20 C to 40 C, letting you fly and film virtually anywhere.
ND Filters for Mavic 2 Pro

Mavic 2 Pro accessories for controlling exposure options include ND Filters for Mavic 2 Pro. The Haida NanoPro ND Filter Kit includes neutral density filters of ND0.9 (8x), ND1.2 (16x), and ND1.8 (64x).
The DJI Mavic 2 Pro has one of the top cameras of any drone in its class, the 20MP Hasselblad L1D-20c gimbal camera with its large 1-inch CMOS sensor and f/2.8 lens that stops down to f/11.0.
On very bright days, ND filters are an exposure taming option that lets you shoot at reasonable shutter speeds and a natural appearing frame rate for video which makes them some of the best accessories for the DJI Mavic 2 Pro.
These are very high quality filters, so you won’t be losing anything by using them on the amazing camera in this drone. Optical grade glass, multi coated on both sides, and mounted in aircraft grade aluminum, these ND filters for Mavic 2 Pro match up fine.
ND & Polarizers for Mavic 2 Zoom
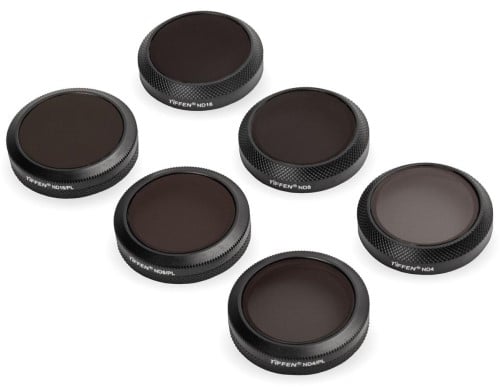
DJI Mavic 2 Zoom accessories also include a fine set of filters. The ND & Polarizers for Mavic 2 Zoom by Tiffen is a set of 6 filters to optimize your use of the zoom lens and high end camera in this drone. In addition to neutral density, you also get the option to add polarization to the neutral density.
The 6 filters in the kit are ND4, ND4PL, ND8, ND8PL, ND16 and ND16PL filters. This set gives wide ranging exposure options as well as offering control over glare and reflections. They also improve contrast and color saturation when that is a priority.
Made of high quality optical glass, these Tiffen filters feature anti glare coating and hydrophobic coating which makes the surface waterproof and also has scratch prevention technology. So these filters are tough as well as superb optically.
Propeller Guards

PGYTECH Propeller Guard for DJI Mavic 2 Pro and Zoom are essential accessories for two reasons. They protect the propellers and they protect what the propellers might come into contact with.
The propellers on drones spin at extremely high RPM rates. Even when piloting very carefully, you could accidentally impact something which could either be damaged itself or cause damage to your drone’s propeller blades. If the blades are damaged, that’s the end of that flying session.
Things that could engage the propellers are twigs, leaves, and lines outside, or furniture and cords insides. Let’s not forget fingers, hair, clothing, and curious pets either. These prevent injury and damage under regular and difficult flying conditions.
They don’t add much weight, nor do they impede any airflow characteristics, so using them all the time is a viable option.
Intelligent Flight Battery

What makes a battery intelligent? When used with the DJI GO app, the DJI Intelligent Flight Battery lets you monitor overall battery status, real-time battery cell status, circle number, temperature, and other vital information.
Other things that make the Intelligent Flight Battery smart is overcharge protection, eliminating rapid discharge in flight, and cold weather fatigue protection. Additionally, when the battery senses that it has been in storage for a while, it automatically discharges down to 50% charge to prevent damage and to optimize the overall life of the battery.
Since drone batteries have to power a lot of stuff, having an extra battery or two for your drone is the simplest way to ensure you don’t run out of juice while flying and recording.
Car Charger

Another way to ensure you don’t run short of power is use a car charger to power up the batteries for your drone. The Mavic 2 Car Charger can charge up batteries while you’re driving and it won’t overcharge the batteries either due to its advanced circuitry.
It’s safe, reliable, and it does the job, keeping your batteries charged and ready to use for extended flying and filming sessions.
To Sum Up

Some of the most useful and beneficial accessories for the DJI Mavic 2 Pro and Mavic 2 Zoom are ND and polarizer filters for controlling exposure, contrast, and reflections, propeller guards to prevent damage to the blades or to other things that get in their way, and extra batteries plus a way to charge them in the field.
Upgrade to the Smart Controller for advanced piloting and filming, and then pack it all into the Hazard 4® Freelance™ Sling Pack for the ultimate in protection and easy access. Added to the superior capabilities of these two drones, you will be ready for making great video and capturing superb images.
We Recommend
Top Software and Gear Updates That Rocked 2019

photo byzeljkosantrac via iStock
It was a great year for photography, particularly on the software and gear fronts.
From camera accessories to post-processing software, camera bags to lighting gear, we saw tons of new, updated, and innovative products and services come to market in 2019.
It would be impossible to review everything that rocked the photography world this year, so we’ve done the next best thing and outlined more than a dozen of our favorite updates below.
Luminar 4
I’ve been a big fan of Luminar going back to when it was called Luminar 2018. And when Luminar 3 came out, I got my copy and began enjoying it immediately.
Now Luminar 4 is here, and with a host of improvements and expanded capabilities, it is the best Luminar yet.
If you’re unfamiliar with Luminar, let me give you a quick overview…
It’s chock-full of revolutionary tools that help you create better photos, faster.
That’s thanks in large part to artificial intelligence that drives easy-to-use tools that streamline your workflow yet still give you pinpoint control over how your images look.
Joining tools like the Accent AI Filter and the AI Sky Enhancer from Luminar 3 is a suite of new AI-powered tools that take image editing to a whole new level.
For portrait enthusiasts, the AI Skin Enhancer and Portrait Enhancer tools will revolutionize the way photo editing is done.
Using human-aware technology, the AI Skin Enhancer detects all the skin in a photo, smooths it out, removes blemishes, and does so while preserving the texture of the skin, pores, and hair.
It takes just one click to apply the Skin Enhancers edits, and then with a single slider you can adjust its strength for a picture-perfect result.
The AI Portrait Enhancer gives you a host of tools to quickly and easily make detailed changes to portraits, like whitening teeth and eyes, removing dark circles under eyes, and removing red eye, just to name a few.
In all, the Portrait Enhancer includes twelve revolutionary tools that turn editing portraits into a process that takes a minute or less!
Luminar 4 has some goodies for landscape photographers as well.
Primary among them is the AI Sky Replacement tool.
As its name suggests, this tool replaces the sky in your photos automatically - there’s no masking or selections to be made on your part.
The selection algorithms work so well, in fact, that it knows to exclude leaves, grass, and animals from the sky selection.

Not only that, but this tool relights the entire image, that way the foreground matches the brightness of the new sky.
It’s advancements like this that make Luminar 4 one of the most powerful, easy-to-use editing programs on the planet today.
Need more convincing? Get Luminar 4 today and see for yourself!
Hakutatz Pocket Size RGB+AW LED Light

Gone are the days when you have to lug around huge lights to get the key light or fill light you need for awesome portraits.
Instead, companies like Hakutatz have developed powerful pocket-sized LED lights that give you the power to customize the type of lighting to your specific needs.

This particular light has RGB, amber, and white LEDs, so you can add accent colors to your photos and videos or dial in the ideal white balance by using the amber or white lights.
This light is completely adjustable, with controls for saturation, brightness, and color temperature. Better still, you can adjust the light’s settings via a well-designed and user-friendly smartphone app.
That means that with a simple touch or a swipe of your finger, you can fine-tune everything from the RGB color to special effects. You can even control multiple lights at the same time right from the app. No wonder their Kickstarter campaign was such a huge success!

Hakutatz literally puts the power to dial in complex lighting schemes in the palm of your hand, and does so in a way that’s clean, simple, and super functional. That’s by this little light rocked the photography world in 2019!
Be on the lookout for Hakutatz’ online store to have these lights in stock in December!
Learn more about the Hakutatz Pocket Size RGB+AW LED Light
Hazard 4® Cyclone™

Framing shots with your action cam in direct sun can be frustrating; glare in your eyes and the camera’s tiny, reflective screen are really fatiguing. Blowing sand, water or snow don’t help. But the best action is shot outside - Cyclone™ is the first real solution.

This patent-pending optic blocks the sun, but it’s lens also magnifies the screen and protects it. You effectively add mirrorless camera style composition and review to your tiny affordable GoPro or DJI action cam that survive where real mirrorless can’t. Better still, the viewfinder mounts to your action cam’s bottom screw in seconds, so there is no fumbling. But you’ll probably choose to keep it on since this little guy doubles as a tiltable handle - keeping fingers out of frame and for extension. With cheap additional hardware you can even head mount it for hands-free composition while biking, paragliding etc, and it tilts out of the way at will.


The simple, waterproof, tough, design accordions flat for easy portability and flattened can be a selfie mini tripod. It has diopter focus - even helping out ageing eyes. The high-vis cap self closes to protect the lens. And you get a tether loop action cams don’t include.

Hazard 4® has a reputation for innovating outdoor photo accessories; the Cyclone™ is no exception. As usual they have gone above and beyond to design a multi-functional, easy to use bombproof solution to a common video shooter problem. Perhaps this may push GoPro® or DJI® to finally up the resolution on their LCD’s under magnification and drive the mirrorless wars into the action cam space. Either way, you don’t have to rely on the wide angle lens for your framing anymore- you can actually compose like a pro.
This device is currently on Kickstarter, with a fund date of January 7, 2020. Head over to Kickstarter now to learn more about this device.
The Camera Pack by Nomatic and Peter McKinnon

Billed as a “functional camera pack for all types of travelers,” the Camera Pack by Nomatic and Peter McKinnon is certainly worthy of inclusion on this list.
The Kickstarter campaign to fund this pack had a goal of $100,000. It raised nearly $2.3 million. That speaks to the reputation of Nomatic and Peter McKinnon!
This bag is ridiculously well designed and has a functionality level that’s off the charts.
It’s designed to cure the woes of travel photographers who have to have one bag for their gear and another bag for their personal items.
The Camera Pack solves this problem by having a clothing side and a gear side which are separated by an interior panel. This keeps everything neat and tidy so you aren’t rifling through the entire back when you need something.
Better still, the bag has a “Cube Pack” inside, which serves as the ideal organizational module within the interior ecosystem. However, as the gif below shows, the Cube Pack converts to a daypack, so if you need to run and gun a little, you don’t have to take the larger Camera Pack with you. Ingenious!

Overall, the Camera Pack can hold 35 liters of gear, but can be expanded to accommodate up to 42 liters of gear. That’s a lot of stuff! And with a full clamshell opening, you can see all the gear you’ve stowed away with ease.
And everything is neatly organized thanks to a main camera compartment with moveable interior dividers. There’s a sleeve for your tablet, pockets for your camera accessories, and quick side access for easy retrieval of gear, too.

On the clothing side, there’s compression cubes for your clothes, compression straps to keep everything where it should be, and more pockets for smaller items.
This is just a really well designed and impeccably built backpack. And with the input of a photography expert like Peter McKinnon, you know that it’s been designed with photography needs in mind.
Learn more about the Camera Pack by Nomatic and Peter McKinnon
GearFocus.com
If you buy and sell your used photography gear on places like Craigslist, you’re doing it all wrong.
That’s because there are much better alternatives that take the hassle out of buying and selling used gear. GearFocus.com is certainly one of the best.
One of the top reasons GearFocus makes our list of the Top Software and Gear Updates is because they focused on building a community where people like you and I can buy quality used gear and get fair market value for stuff we sell.
Unlike other used gear sites, GearFocus doesn’t take a giant chunk of your profits when you sell your gear. Instead, they offer the lowest seller fees among B2C and C2C marketplaces, which means more money in your pocket when your item sells.
Additionally, GearFocus ensures each transaction is safe and secure by screening and monitoring every single post and transaction. Gear Focus was made by creatives, for creatives and they’ve been in this business long enough to be able to spot suspicious listings and red flags from a mile away. Without scammers creating fake listings, the buying and selling experience is enhanced so you can get the best deal on used gear and the most money for the items you sell.
Heck, they’ll even intervene on your behalf if something goes wrong! Having that kind of peace of mind alone is enough to land these guys on this list!
It’s not often that you find companies like this that prioritize community building and supporting one another over making a buck. That focus on customer service is just the icing on the cake for patrons of GearFocus. They are here to help FEED YOUR PASSION!
Learn more about GearFocus.com
Litra Studio
To say that the Litra Studio is powerful is an understatement.
Weighing in at just 33.5 ounces and measuring 5.5" x 3.9" x 2.9", the Litra Studio is certainly easily transported without taking up a ton of space in your camera bag.
But don’t let its small size fool you - this light can produce over one million unique colors that will help you light up your portraits and videos.

The Litra Studio can produce up to 3,000 lumens of continuous light and up to 6,00 lumens of flash. In CCT mode, you get 2,000-10,00K adjustable bi-color lighting with green and magenta color shift controls to allow for tunable blue and green screen optimization.
On top of that, this light is fully tunable and dimmable, and offers CCT, HSI, RGBWW, gel presets, flash modes, and effects, too.

The light it produces is clean and flicker-free at all shutter angles. The CRI and TLCI of 97 speak to its impeccable color accuracy.
Litra even made sure this light is rugged and durable. It’s waterproof, has highly efficient passive thermal management, and offers up to 20 hours of battery life on the low setting.
That makes this a go-anywhere, do-anything light that made huge waves in the photography world this year.
Learn more about the Litra Studio
GoPro HERO 8

While the GoPro HERO 8 doesn’t boast any major updates, it does represent a culmination of a wide range of smaller updates that, taken together, make it the best GoPro thus far.
In fact, I’d say this is the most innovative and user-friendly GoPro yet.
It has built-in mounting pins so you can directly mount the camera to accessories rather than needing a frame to do so.

There are built-in digital lenses for multiple field of view settings from Narrow and Wide to Linear and Superview. The camera’s physical lens cover is not not removable and it twice as strong as those found in older models.
Also on the ease-of-use front are numerous capture presets that allow you to create and save popular types of videos. SuperPhoto, which is GoPro’s version of HDR, gets a refresh that results in improved image quality as well.
The GoPro HERO 7 debuted incredible image stabilization with HyperSmooth, and the HERO 8 builds on that with even better results with HyperSmooth 2.0.
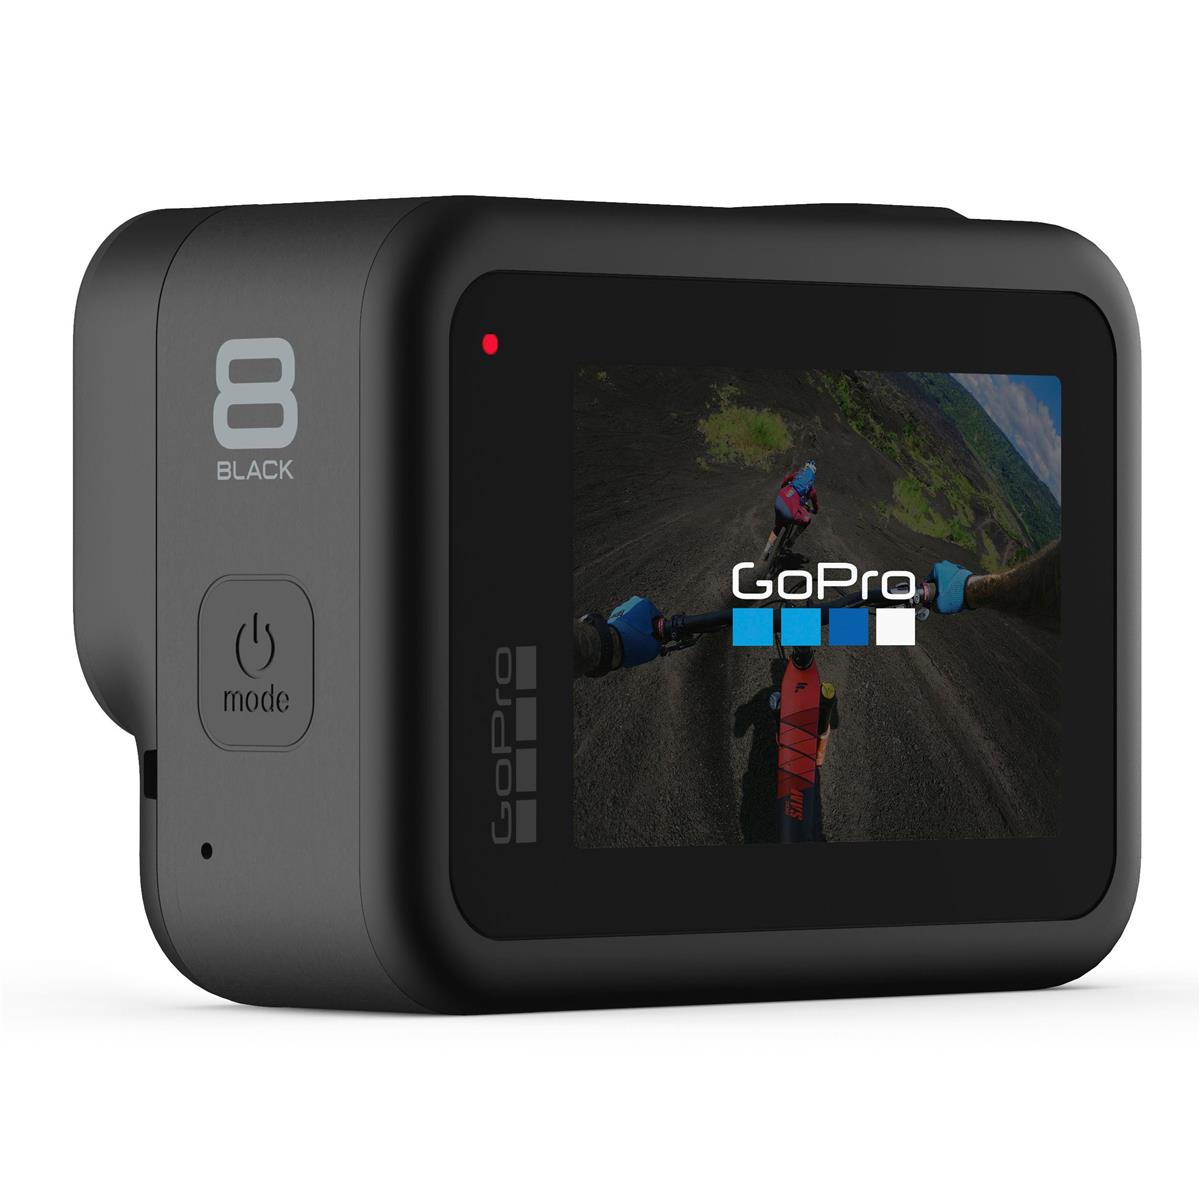
The HERO 8 also gets upgraded TimeWarp features, including an auto mode that uses sensor to detect motion and adjust the recording speed accordingly.
The camera also has improved photo-taking capabilities with face detection, smile detection, and blink detection functions, as well as LiveBurst mode for taking 1.5-second-long images before and after the shutter button is depressed.
Add in built-in GPS, motion sensors, live streaming capabilities at 1080p, 4K video at 60fps, and a host of mod accessories to expand the camera’s capabilities, and it’s no wonder that this rig set the photography world on fire in 2019!
Learn more about the GoPro HERO 8
Aputure 120D II

As far as studio lights go, it’s tough to beat the quality lights that Aputure puts out.
And at the top of their lineup is the 120d II, a light I reviewed earlier this year and was very impressed with.
This light is 1000-watt tungsten equivalent, so you get plenty of brightness for your studio work. It’s fully dimmable, too, and has a CRI and TLCI of 97+. That kind of quality light is a must-have for discerning photographers.
Aputure also included a variety of built-in lighting effects so you can dial in custom looks for your images. With this light, there’s nothing stopping your creativity!

But what’s really impressive about the 120d II is what’s “behind the scenes.”
It has an integrated power and control box, which keeps clutter to a minimum in the studio. Any studio photographer will appreciate that!
What’s more, it has an 18dB quiet fan, which keeps that annoying “whooshing” sound to a minimum so you can concentrate more thoroughly on getting killer shots.
Add in the fact that this light is 25 percent brighter than its predecessor and that it has DMX controls, a wireless remote, and excellent portability, and you have the makings of a top light for your photography studio.
Learn more about the Aputure 120d II
Exposure X5
Exposure X5 is yet another software update that sent shockwaves through the photography world in 2019.
Its predecessor, Exposure X4, was highly functional, user-friendly, and super powerful, so it was hard to imagine how the folks at Exposure could make X5 better. But they did.
For starters, Exposure X5 has custom camera profiles that allow you to control how the software interprets color from RAW files. These profiles (created by X-Rite, among others) can be applied automatically by matching the serial number of your camera or by using the camera model. Furthermore, these profiles can be matched to a specific lens or ISO range.
You get advanced chromatic aberration correction in X5 too. This allows you to remove unwanted artifacts using lens profiles, or you can remove them by making manual adjustments if you prefer.
There’s also a new fringe removal tool, so X5 makes getting rid of chromatic aberrations easier than ever before.
There are a host of other new features too.
Exposure X5 includes new complementary color presets, new season-inspired looks, and new light and airy presets that give you expanded creative potential when editing your photos.
There are more black and white film options than ever before, support for grayscale TIFF and JPEG images, and new image flip options too. Exposure X5 also has multiple language options, including English, German, and French.
But for me, the best new feature in Exposure X5 is 3D color masking.
Basically, you can use this tool to make incredibly precise selections for applying adjustments to your photos. You can see it at work in the video above.
This fine level of control is made possible by using specific color characteristics (hue, saturation, and luminance) to define the adjustment areas.
What this means is that you can quickly and easily target specific areas for color masking, like the sky in a landscape photo or skin tones in a portrait. This is all done with just a few clicks.
Exposure X5 is powerful, easy to use, and incorporates tons of new features that make it the best Exposure software to date. If you’ve never tried exposure, give it a test-drive for free.
Holdfast Tanker Belt

I’ve been a Holdfast customer for a long time, and what initially drew me to them was the absolutely outstanding build quality of their products.
They use only the finest materials - things like full-grain leather and stainless steel - so when you buy a camera strap or harness or bag, you get something that is durable and will last you for years.
But as the years have gone by, I’ve come to appreciate more and more the sheer innovation that these guys display when developing new products. That being the case, I had to include Holdfast on this list of the best gear updates of the year.

One of Holdfast’s latest products is the Tanker Belt, which changes the way you carry your gear.
It’s actually two belts in one, the first of which cinches around your waist like a normal belt and the second, outer belt, which forms loops for attaching your gear.
This ingenious design means the belt stays put (as do your pants) while maximizing the amount of gear you can carry around your waist.

There are three D-rings on the belt for attaching things like your keys or a wallet, and the D-rings are moveable, so you can customize precisely where your items hang on your waist.
And, as you’d expect with Holdfast, this belt looks and feels like a million bucks - it's gorgeous handmade leather is something to behold!
Better still, the Tanker Belt was designed with functionality in mind, so it’s compatible with a wide range of Holdfast products.

You can attach the Ranger Leash to the belt and take Fido for a hands-free walk, or you can add a cell phone pouch and keep your smartphone safe and secure and out of the elements.
Add a lens pouch or two (small, medium, or large) so you have extra glass for your next shoot too!
With sizes from 28-inches up to 44-inches and multiple colors (black, tan, chestnut, and burgandy), you can customize the Tanker Belt to your specific needs and tastes.
Learn more about the Holdfast Tanker Belt
Panasonic 10-25mm f/1.7 Lens
I picked up a Panasonic GH5 earlier this year, and it quickly won me over with its astonishing video capabilities.
It wasn’t until recently, though, that I got to test out the Panasonic 10-25mm f/1.7 lens, and I have to say, I wish I would’ve gotten my hands on it a lot sooner! This is a fantastic lens, to say the least.
You can get some of my thoughts on this lens in the video above, but I want to expound on its features a little bit more.
Make no mistake - this is a gigantic lens, especially for a micro four-thirds camera. Fortunately, it’s not hard to handle at all, and despite its footprint, it’s actually not all that heavy.

But it’s massive size means that Panasonic was able to cram lots of goodies inside to help you get superb images.
This lens is supremely sharp, beautifully responsive, and gets you clean, crisp images each and every time. Its bokeh is buttery smooth and there’s wonderful brightness throughout its aperture range.
It has 17 elements in 12 groups, including three aspherical lenses and four extra-low dispersion elements which work to all but eliminate spherical aberration, distortion, and chromatic aberration. The result is images with impressive quality.
But where this lens was a game-changer in 2019 was in its video capabilities…

It’s compatible with up to 240fps high-speed sensor drives and offers silent operation thanks to the inner focus drive system and the de-clicked aperture ring.
The focus clutch is a nice touch as well, as it enables instant switching between autofocus and manual focus as well as improved accuracy when manually focusing.
With next to zero focus breathing, a micro-step drive system that accommodates brightness changes when panning and zooming, and Leica build quality, this lens certainly doesn’t disappoint!
Learn more about the Panasonic 10-25mm f/1.7 lens
Sony a7R IV

When the Sony a7R IV was announced earlier this year, it set the internet on fire with news of its massive 61-megapixel sensor. And while the sensor is impressive, it’s just the beginning of the impressive specs of this camera.
Paired with a BIONZ X image processor, the a7R IV’s back-illuminated sensor is capable of rendering images that are beautifully crisp.
You get an eyeful of all that beauty with the brand-new UXGA OLED Tru-Finder viewfinder, which has a whopping 5.76-million dots of resolution for a clean, bright, detailed look at what you’ve framed up in the shot.
This camera has a native ISO range of 100-32000 for low-light shooting, and with 15-stops of dynamic range rendering, you’ll have no problem getting tons of details in the shadows and the highlights.
Of course, the a7R IV carries on the Sony tradition of excellent autofocusing, with an ultra-fast hybrid AF system that has 567 phase-detect AF points to give you quick and accurate autofocus tracking.
Throw in UHD 4K video at 30p, Real-Time Eye AF tracking, 10fps shooting, and a bevy of other features, and you can see why the Sony a7R IV was one of the best gear updates of 2019.
Learn more about the Sony a7R IV
Haida M10 Filter System
The Haida M10 filter system is something I’ve been testing as of late, and I have to say that I’m impressed with this system.
Like the other products and services on this list, I’ve found numerous innovative and unique features that compelled me to include this product on this list.
Haida is a great value for the money with well-built components that show an attention to quality and detail that many filter companies just can’t match.
I have multiple components in my kit - the M10 filter holder, a circular polarizer, a couple of solid ND filters, and a soft-edge grad (shown above) - but you can also buy complete kits of varying sizes, including their Master Filter Kit, their Professional Kit, and their Enthusiast Kit, if you’d rather go that route.
Either way, I think you’ll find, as I have, that the Haida system is one that enhances your ability to get quality shots.
The aluminum alloy filter holder can accommodate two 100mm filters, but it can expand to include a third slot if needed. The Haida filters are made of shock-resistant optical glass and features 10 layers of anti-reflective nano coating and 10 layers of scratch and water resistant coatings.
The holder rotates a full 360-degrees, which is enormously helpful for getting just the right positioning when using graduated ND filters.
I also like the fact that Haida incorporated gaskets in the filter slots to help prevent light leaks. They even include a “dummy” filter housing that can be dropped into the filter if you’re shooting without the circular polarizer in place. Again, this helps prevent light leaks so you get a cleaner exposure.
The pinch and pull system for adding and removing filters make using this system super easy, as do the rounded edges of the rectangular filters - they’re much easier to slide into the filter holder without sharp edges.
This is just a well thought out system for beginners and enthusiasts alike!
Learn more about the Haida M10 filter system
Sony a6600

Though the Sony a7R IV probably got more attention, the Sony a6600 is certainly not something to forget about…
With a much smaller price tag than the a7R IV and more applicability for more photographers, the a6600 rocked our world this year by bringing many flagship features to a mid-range camera.
Its 24.2-megapixel Exmor CMOS sensor is ideal for capturing beautifully resolute images while the native ISO range of 100-32000 gives you excellent low-light shooting capabilities with reduced noise.

As I get more into video creation, I appreciate the fact that this camera sports UHD 4K video capabilities that can be internally recorded in XAVC S format.
The five-axis image stabilization is a dream, giving you five full stops of stabilization, while the weather-sealed construction means you can head out in adverse weather with less worry about what will happen to your camera.
With additional features like a beautiful XGA OLED Tru-Finder viewfinder, a tiltable LCD monitor, 11 fps continuous shooting, and much more, this camera is certainly worthy of the title of gear that rocked 2019!
Learn more about the Sony a6600
RODE Wireless GO

A final product I wanted to mention on this list of the top software and gear updates is this handy little guy, the RODE Wireless GO.
This wireless system automatically pairs in just three seconds and transmits via RODE’s new Series III digital transmission system. It’s a 2.4GHz system that’s optimized for short-range operation, particularly in environments in which there is a lot of RF and Wi-Fi interference. It also offers line-of-sight range of up to 70 meters.
You also get broadcast-grade audio thanks to the built-in condenser mic’s superb isolation and transparency. Alternatively, you can use it with a lavalier mic using the 3.5mm TRS input.
Additionally, the Wireless GO system operates up to seven hours on a full charge, and since the unit is so small and compact, it’s super lightweight and portable.
You can even use up to eight systems in one location if you have the need!
If you’ve ever used a ROD mic before, you know they’re some of the best in the business. The RODE Wireless GO is certainly no exception!
Learn more about the RODE Wireless GO
We Recommend
Travel Photography Do’s and Don’ts
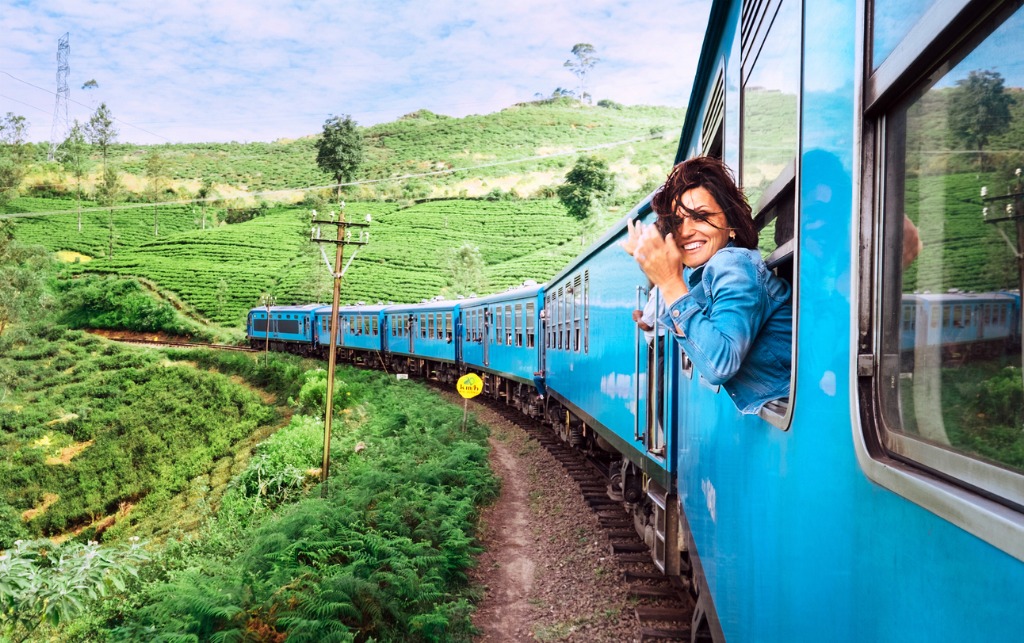
photo bySolovyova via iStock
I’m asked for my list of travel photography do’s and don’ts a lot. In fact, it’s one of the questions I’m asked most frequently. People are genuinely curious how I can afford to live the lifestyle that I do, but moreover they want to know how to get the most of their own travel photography trips.
Most of my travel photography tips are easy and not terribly sexy, like being overly cautious when walking with your equipment or being overly polite so as not to give your home country - or photographers - a bad name.
But everyone once in a while I see somebody do something so cringey, I have to write it down. This is that list.
Ask Permission in Their Language

photo bynito100 via iStock
With technology nowadays, it takes 30 seconds to Google how to say, “May I take your photo,” in hundreds of languages. Use this power.
This protects you as much as it protects the privacy of someone who may not feel comfortable being in a ton of strangers’ photos.
For example, in many areas with high rates of tourism, people will dress up in the traditional garb of that country and expect payment if you take photos of them. So, if you take their photo without asking, they’ll chase you down for money.
Plus, it’s simply polite. More often than not, you’ll find plenty of people willing to pose for you. And if someone says no, move on!
Recommended Travel Photography Reading:
- The Enthusiast's Guide to Travel Photography: 55 Photographic Principles You Need to Know
- Destinations of a Lifetime: 225 of the World's Most Amazing Places
- Lonely Planet's Guide to Travel Photography
Don’t Get Stuck Behind Your Camera
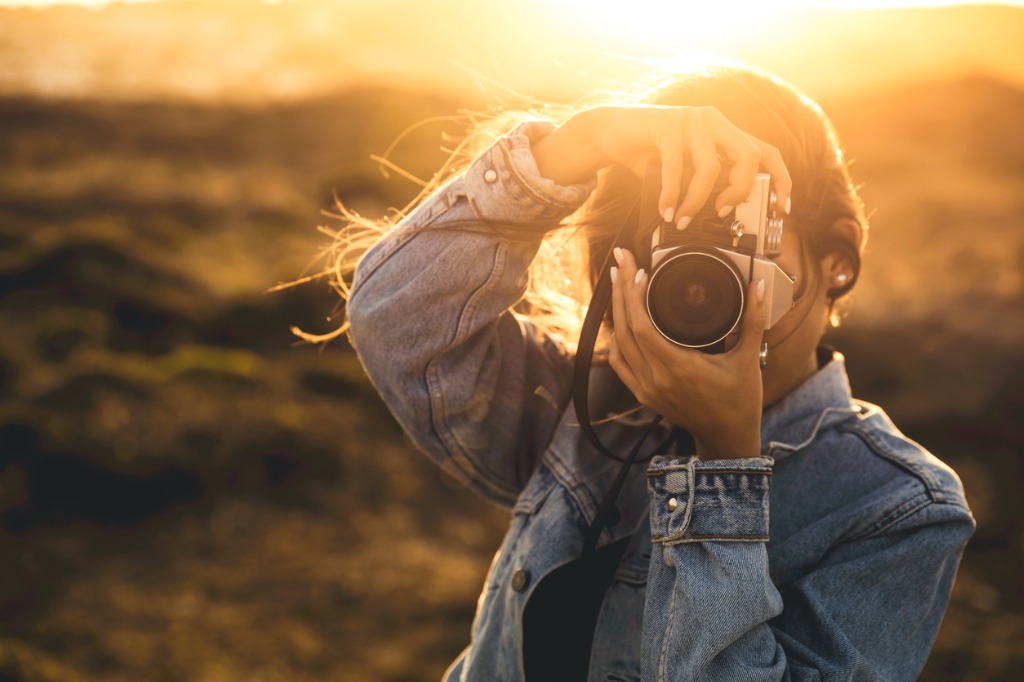
photo by erikreis via iStock
Travel photography is only half about the photography. It’s also about the travel. You’ll never find incredible scenes to shoot, or incredible food to capture, if you’re stuck behind your lens all day every day.
A good rule of thumb is to set a timer when you are shooting, either for a half hour or hour at a time, and to then go enjoy the rest of whatever that place has to offer you.
A good photographer knows when to pick their camera up, but a great photographer knows when to set their camera down.
There’s no better way to practice this than with travel photography, because you will be so tempted to capture all of the exciting, new things you’re experiencing.
Learn More:
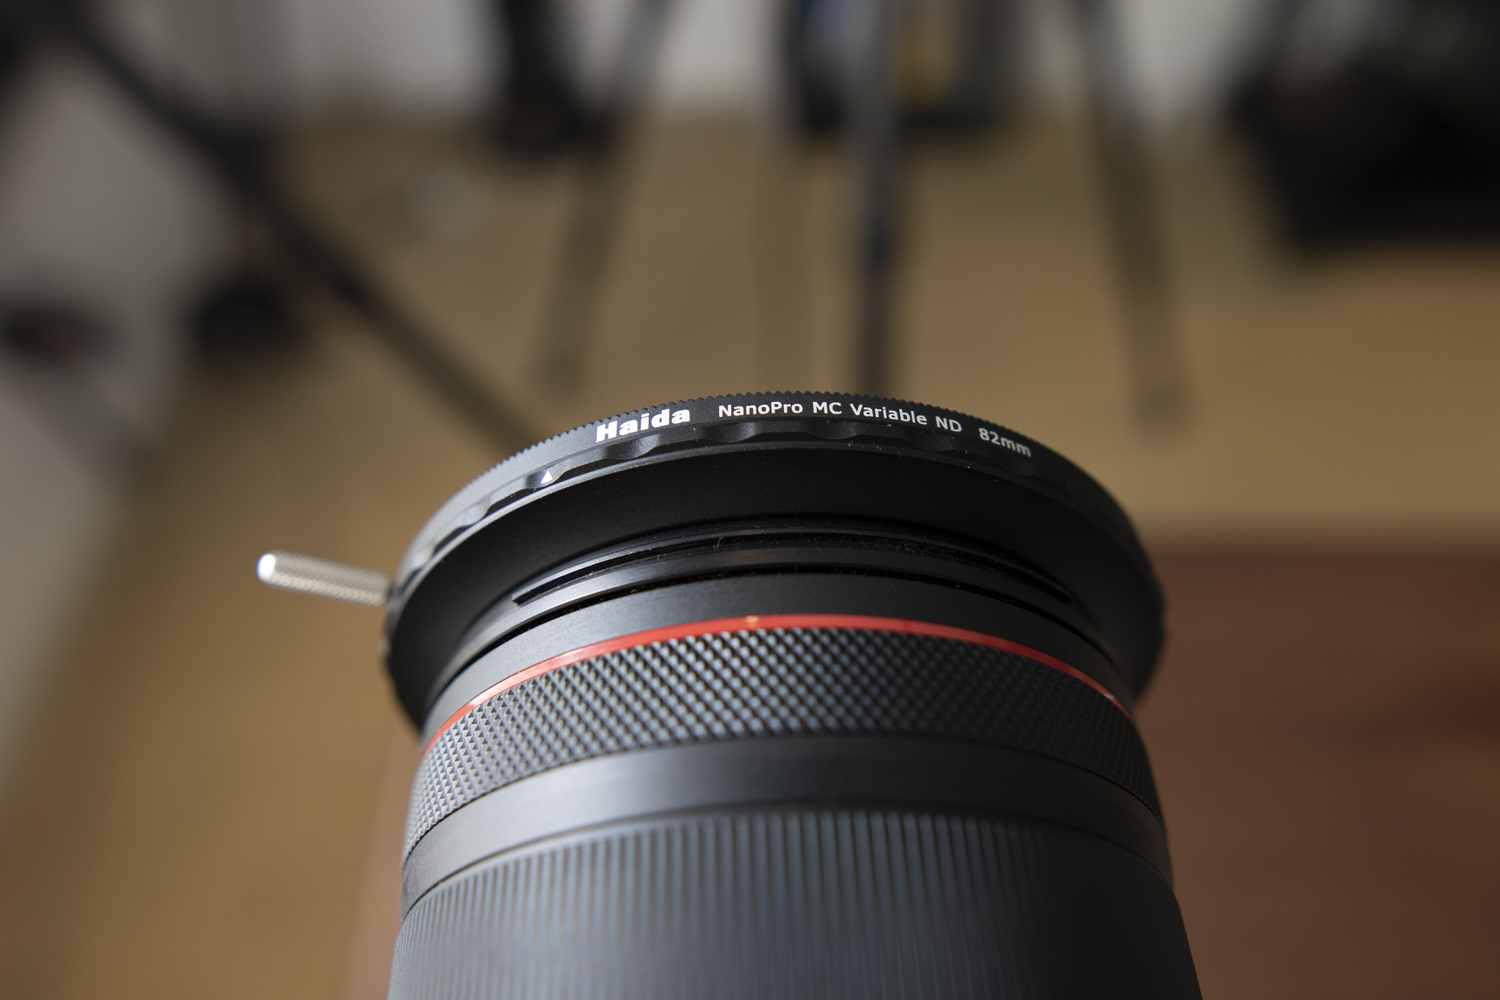
Editor's Tip: Rather than carting around a whole set of ND filters as you travel, bring along one variable ND filter! Variable ND filters like my Haida NanoPro MC(shown above) offer tons of versatility in a small package. You get light-stopping power from 4-stops to 9-stops in a single filter, which saves space in your bag while also saving you time in the field. Rather than having to constantly swap out ND filters, all you do is turn the housing to adjust the darkness of the filter. I especially appreciate the knurling on the filter housing because it makes it SO easy to adjust. It's simply a far better setup for slowing the shutter or opening the aperture if you ask me!
Be Patient
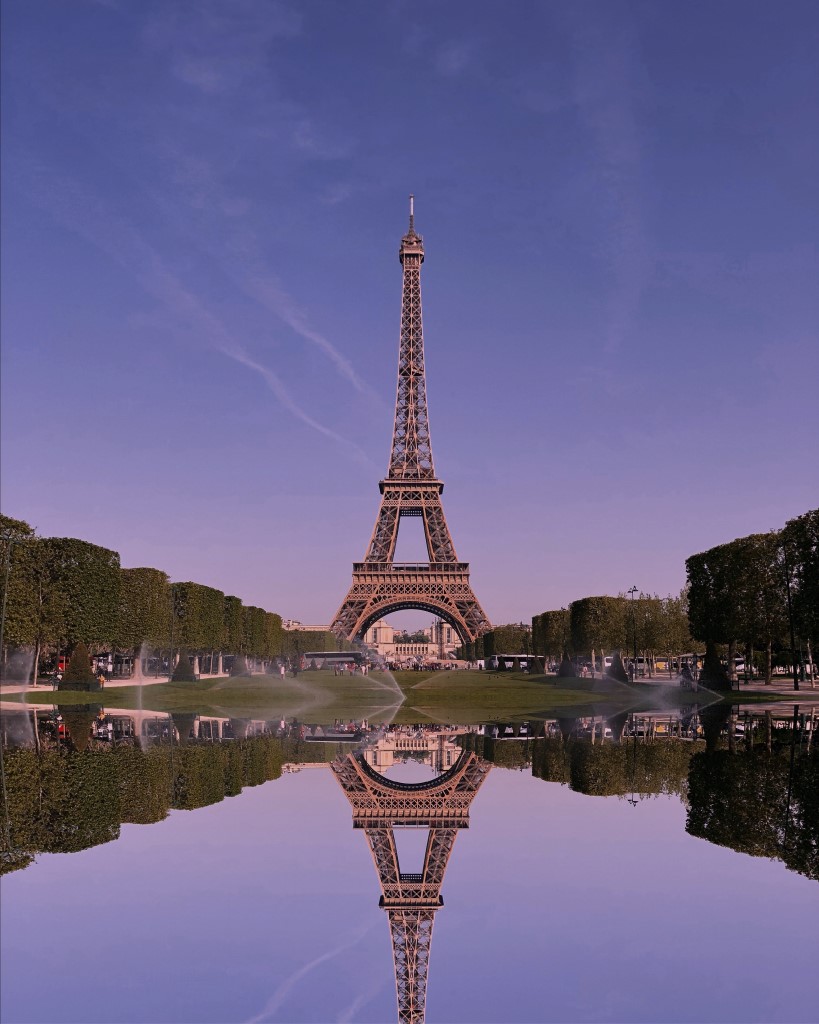
Photo by Alex Ovs on Unsplash
Do you want to know how this person snapped this photo of the Eiffel Tower? They were out during a period of time nobody else was (most likely during August, when many Parisians escape the city for their summer breaks).
They also exhibited incredible patience. If you’re planning to take a travel photography trip to a part of the world where everyone takes their travel photography trips, then you’re going to be fighting crowds 75% of your day.
It can get exhausting, which is why remembering to get out from behind your camera lens is essential. You never want to be that photographer yelling at tourists to get out of your shot.
Photo by Michael Grant on Unsplash
This is what the Eiffel Tower truly looks like. There are crowds of people in the park below, tourists climbing up and down it, and vendors hawking whatever it is the tourists will buy.
The last time I was in Paris it took a 4:00 am alarm, a grueling hike, and about an hour of shooting to get that perfect shot I wanted. I promise you, this patience will pay off.
Don’t Injure Yourself Chasing the Perfect Shot
Photo by Valdemaras D. on Unsplash
By this point, we’ve all heard about selfie deaths when people are trying to take their perfect travel photography shot and end up falling off a cliff or falling in front of a bus instead.
I have a few travel photography tips about getting the “perfect shot.” I never approach animals, I don’t break cultural norms, and I don’t let my need for one photo injure myself or others.
Generally, if there’s a sign warning you not to do something, you can bet it’s because it would be dangerous for you to do that thing.
If you’re uncomfortable while taking the shot, that’s your intuition warning you. Listen to it!
Learn How to Make Money While Traveling

photo by surasaki via iStock
My beginner trips for travel photography list always includes some information about affiliate marketing, because affiliate marketing has allowed me to live the life of my dreams and I don’t know why more people aren’t doing it.
Basically, affiliate marketing is when you include links to products on your photography blog and if any of your readers purchase that product from that link then the company pays you for the referral.
The problem with learning affiliate marketing for travel photography is that it’s difficult. You not only need to learn all of the affiliate marketing basics, but you then have to learn how to apply it to whatever niche you’re interested in.

However, there are schools for affiliate marketing, and Travel School was established specifically for travel photographers.
The company’s founder, Emilian, learned all of the tips he needed to learn about scaling his business, creating multiple revenue streams, and marketing, so you don’t have to.
You can learn from his mistakes and start doing travel photography full-time. Yes - full-time! With the support and guidance of TravelSchool, you can pursue the passion that you love with less worry about how you’re going to pay for it.
The tips, tricks, and techniques you learn with TravelSchool will prove invaluable to you as you build your affiliate marketing business. Check it out, and I’m sure you’ll see the value TravelSchool offers!
Learn More:
We Recommend
Two Lens Filters That are Must-Haves for Your Camera Bag
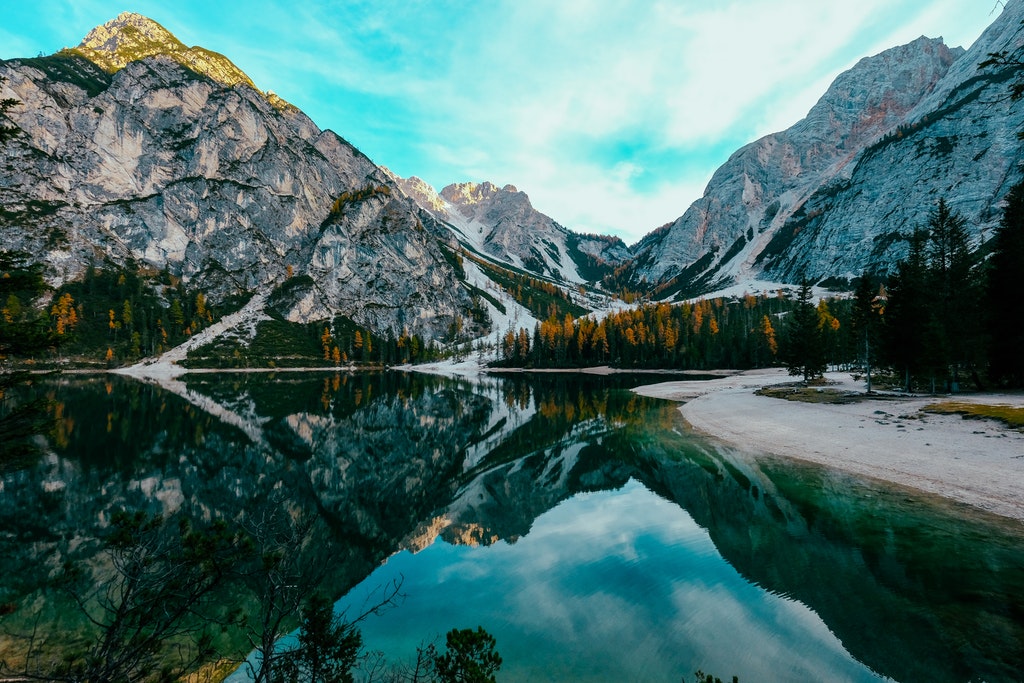
Photo by Francesco Ungaro from Pexels
I like lens filters. There are so many adjustments and enhancements that we can do with post processing programs such as Adobe Photoshop Lightroom, Auto FX, or Authentech. Like many other photographers, I prefer to make my in camera image files the best they can be before any post processing is done.
Quality lens filters allow us to do this. A couple of lens filters I consider to be must-have lens filters are circular polarizers and variable ND filters. These are virtually essential landscape photography filters, but have many other uses as well.
The Case For Circular Polarizers
Photo by Prashant Gautam from Pexels
There are multiple benefits of circular polarizers that can change your images for the better. A circular polarizer is one of the top lens filters choices for all photography. I recommend getting one as soon as possible if you haven’t already.
The benefits of circular polarizers are multiple and can be very noticeable. Primarily, circular polarizers adjust polarized light. A large portion of polarization that affects photographic images comes from reflections.
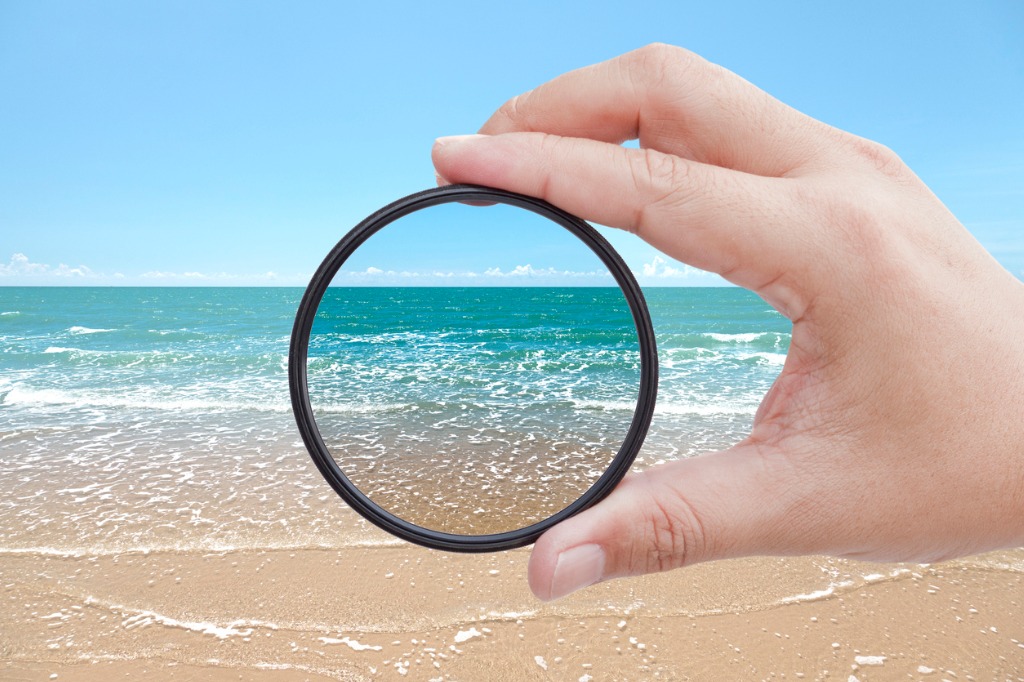
photo bydarksite via iStock
Even the dust and water molecules suspended in the atmosphere reflect light. That’s part of the reason that the sky is blue. A circular polarizer tames that scattering. The result shows immediately in your viewfinder or viewscreen and also in your images. The sky turns deep blue and any clouds present literally POP out in fluffy contrast.
There are other benefits of circular polarizers that can positively affect many different categories of images and light situations. You can find more information of the value and use of circular polarizer lens filters in other articles on this site.
Learn More:
Haida NanoPro MC Circular Polarizer Filter
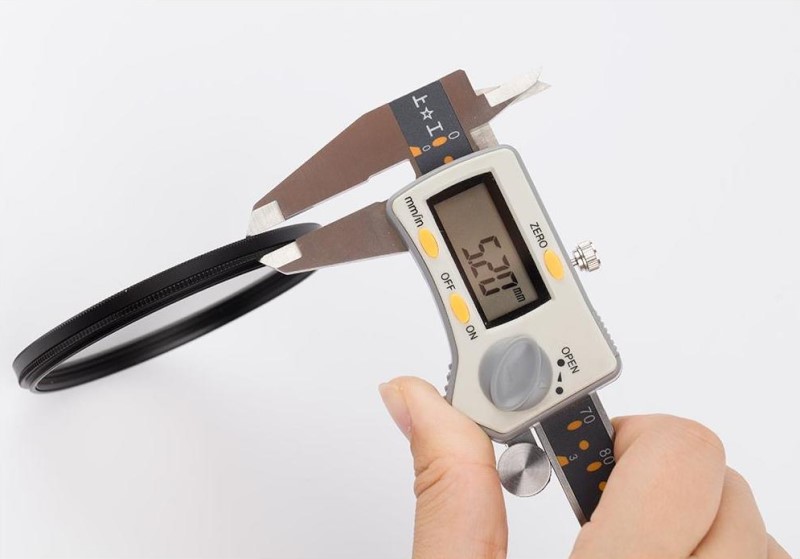
Haida C-POL lens filters are very high quality and are made in sizes to fit most of the current lenses from camera and lens makers. They are all glass and metal, very thin to avoid any vignetting. The prices are nice, too.
In the image below you can see this slim lens filter mounted on a mirrorless full frame format camera with a large aperture zoom lens. Operation is simple. The rear knurled ring you see is what you screw into the lens, the outer knurled ring is what you use to rotate the filter. As you can also see, even in such a large diameter filter size, the filter still has a very slim housing.

Haida lens filters are multi coated to lessen glass reflection and improve light transmission. The Haida multi coating also helps prevent scratches, smudges, and dust collection. Made in sizes from 49mm to 82mm.
Variable ND Filters
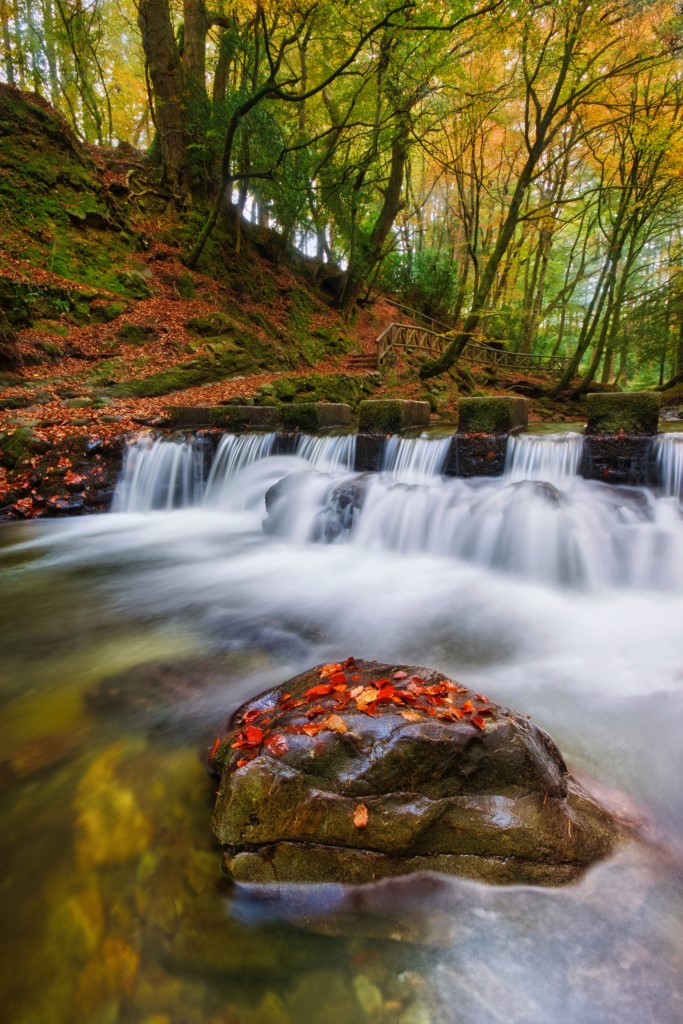
Photo by Steven Hylands from Pexels
Neutral Density lens filters are used to attenuate the light entering your lens and reaching your sensor. This allows photographers to change exposure settings in order to take advantage of certain techniques.
One technique that ND lens filters let you use is selective focus. If the light is bright enough to use small apertures and faster shutter speeds at the same time, yet you want a wider aperture to limit depth of focus, you would use an ND lens filter, since neutral density lowers how much light passes through the lens.
The benefits of variable ND filters is letting you adjust how much density to use. Some ND lens filters are in just one density level, variable ND lens filters let you adjust that value.
Haida NanoPro MC Variable ND Filter

The Haida NanoPro MC variable ND filter is available in sizes from 52mm to 95mm. An interesting feature of this lens filter is the small metal handle that you can use to rotate the outer filter in order to change how much ND to add.
Below, you can see the filter attached to the same camera and lens. The handle may seem a little obtrusive at first. It’s actually pretty small, plus it makes operating the filter feel smoother and more in control.
It’s heavier and thicker than the C-POL, but it enables variable attenuation of neutral density from 4 to 9 stops of exposure. That’s enough to change a shutter speed or exposure time from 1/15th of a second to over a full minute. Or an aperture from f/22 to f/1.4. And lower values in between.
That’s a whole lot of exposure value variation firepower. Besides the scenarios mentioned above, check out other uses for ND filters in [our articles here]
Must-Have Lens Filters
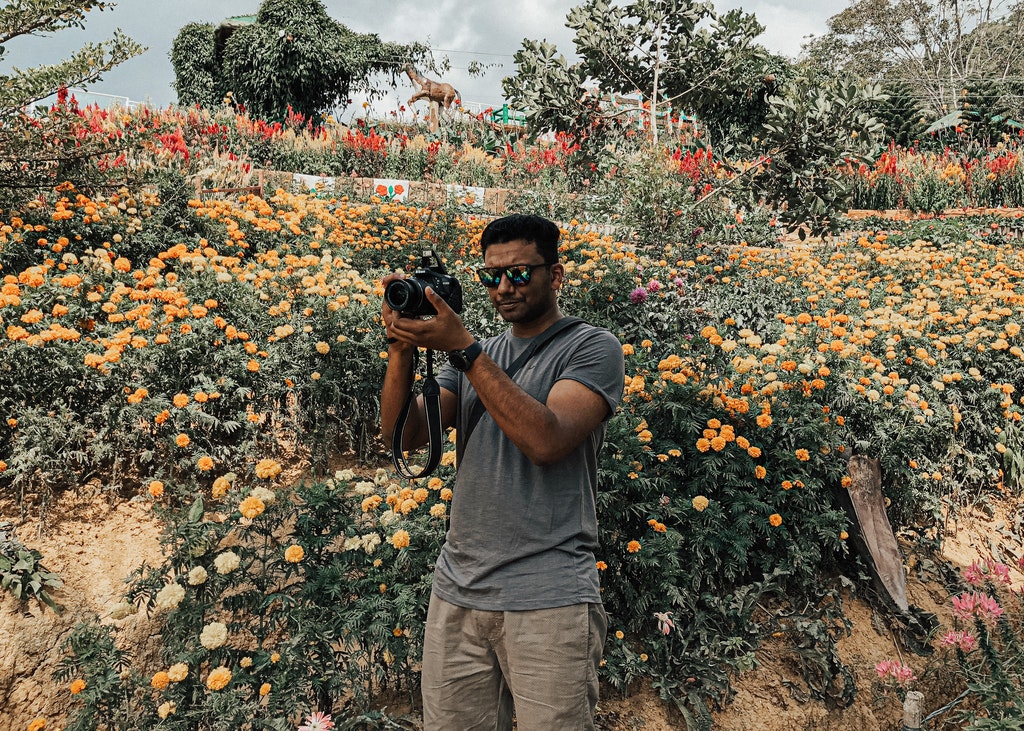
Photo by GLYSON Tomas from Pexels
The circular polarizer and variable ND lens filters are extremely valuable filters for landscape photography due to the specific challenges in making great scenic images. These are also useful for many other types of images you want to capture.
Polarizers and ND filters are great for portrait work, especially outdoors. Real estate and architectural photography as well. What are you using your C-POL and ND lens filters for?
Learn More:
We Recommend
Types of Graduated ND Filters
photo byMedley of Photography via iStock
Graduated neutral density filters are one of the neatest innovations to have come around in photography and photographic accessories. What types of types of graduated ND filters exist? Is it easy to learn how to use a graduated ND filter? What are the benefits of a graduated ND filter for your photography?
Physical filters that fit on lenses have been in use since near the beginning of photography itself. Neutral density (ND) filters are often used in situations where exposure needs to be adjusted and using lens aperture, shutter speed, and film or sensor sensitivity does not give enough control.
Why Neutral Density Filters Are Used
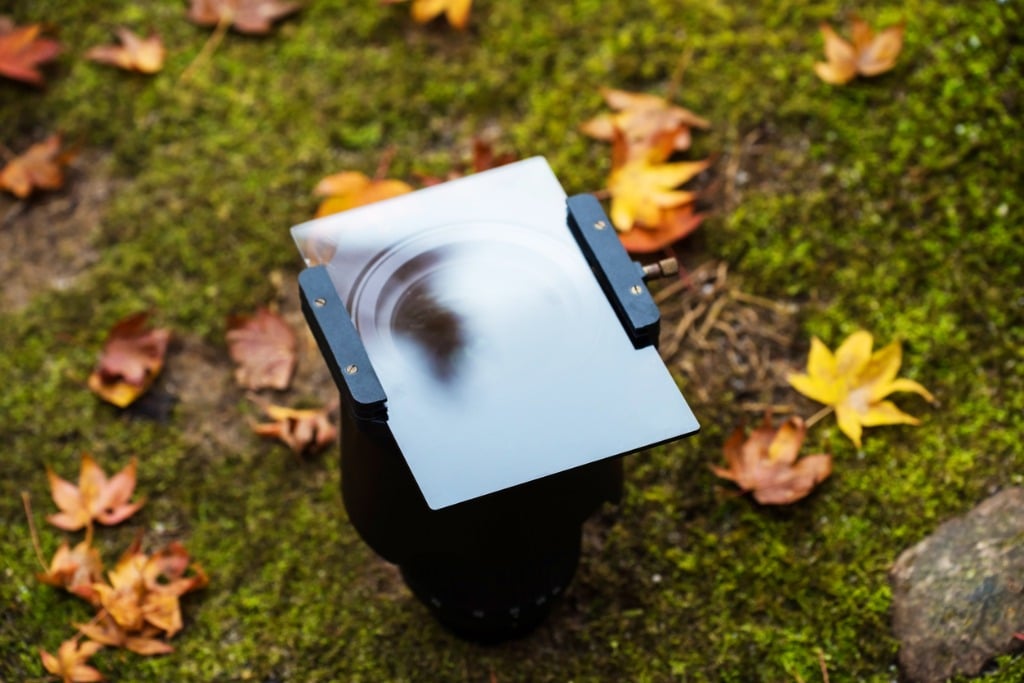
photo byblanscape via iStock
The world of photography quickly figured out that you could apply neutral density to only part of an image. A scene in front of your camera that has a large bright area and a large dark area causes a problem with metering to determine exposure.
Do you measure for the bright area to be properly exposed? If you do this, the darker areas end up underexposed, perhaps severely underexposed, with little detail showing.
The same thing happens in reverse if you set exposure based on metering the shadow. There will be good detail in the darker areas but no detail in the highlights. Exposure is outside the dynamic range of your recording medium.
Photo by Jovyn Chamb on Unsplash
If you average the exposure value for shadow and highlight, you get a workable exposure, but detail and maybe color will suffer on both sides. Now, if you could block some of the brightness from the highlight side, then you could get a balanced exposure within the dynamic range of your digital camera or film.
A graduated neutral density (GND) filter lets you do just that.
A well made ND or GND filter should not affect color or image sharpness. That’s part of what the “neutral” in graduated neutral density or neutral density means.
Types of Graduated ND Filters
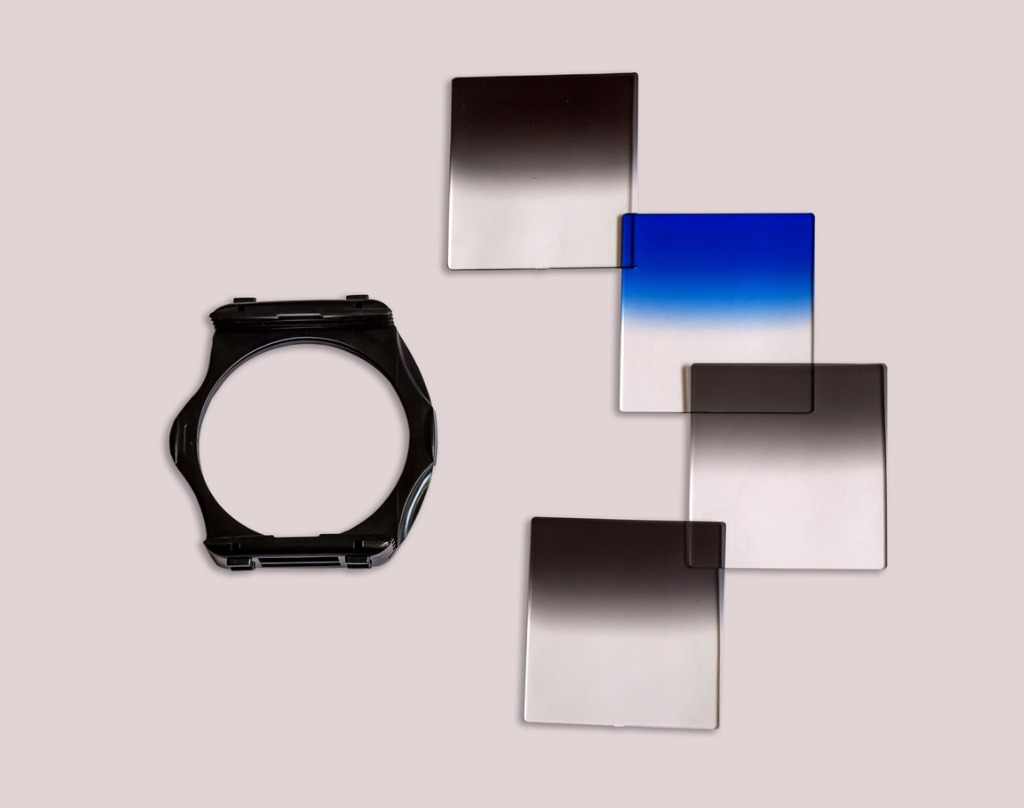
photo by Roop_Dey via iStock
Graduated neutral density filters are dark on one side, clear on the other, and the transition is gradual. A plain split ND filter has no transition area, it goes from full to clear.
Graduated filters can have a hard or soft transition, but they don’t go from 0% to 100% on a line. Rather, the changeover is progressive. It is very similar in concept to progessive lenses for eyeglasses. The old style of bifocals had a hard line, progressives don’t.
There are, however, variations in how much area is used for the change. A hard edge GND changes over in a very short area of the filter whereas soft edge GNDs have a larger 0-100% area.
A reverse GND is clear on one side and the other side has a density that is darkest at the center, a little less at the edge.
Learn More:
Benefits of a Graduated ND Filter
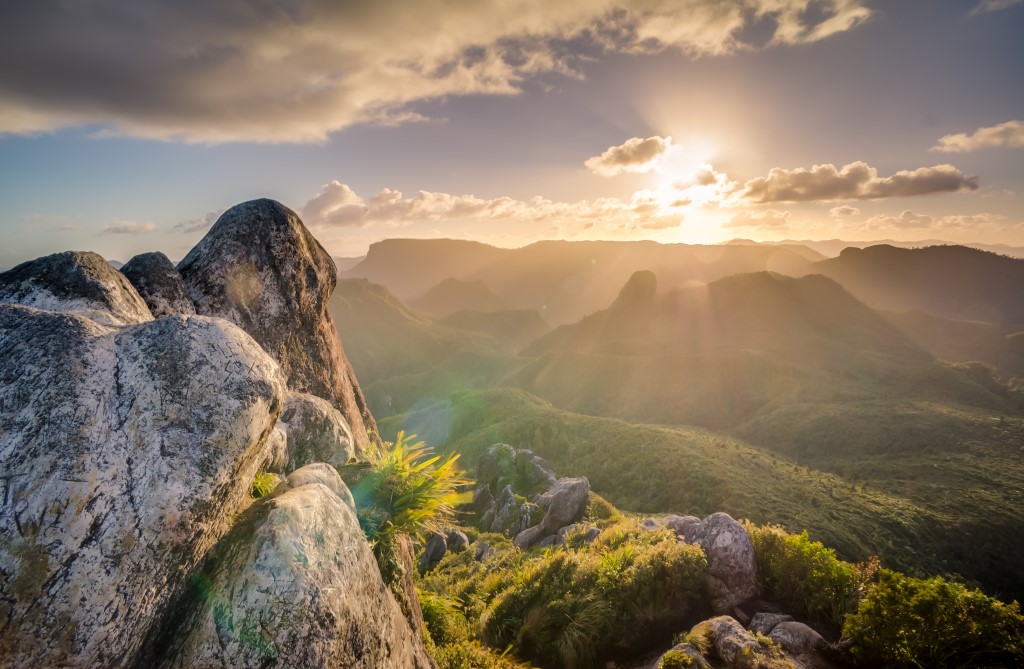
Photo by Jasper Boer on Unsplash
We mentioned balancing exposure values to create a manageable dynamic range, but what does that mean? What situations would benefit from doing that? Certain scenes in nature are difficult to properly expose for the entire range of bright to dark within the frame of what will be imaged.
A sunset or a sunrise come to mind right away. In order to catch the beautiful colors in the sky while keeping detail and interest in foreground areas, you need to hold back on brightness while allowing enough exposure for shadow areas.
Architectural subjects may sometimes have similar challenges, perhaps because of different materials used for adjoining areas. Any scene that has a large expanse of dark and another of light is a good scene to apply GND filtration.
Soft Edge GND Filters
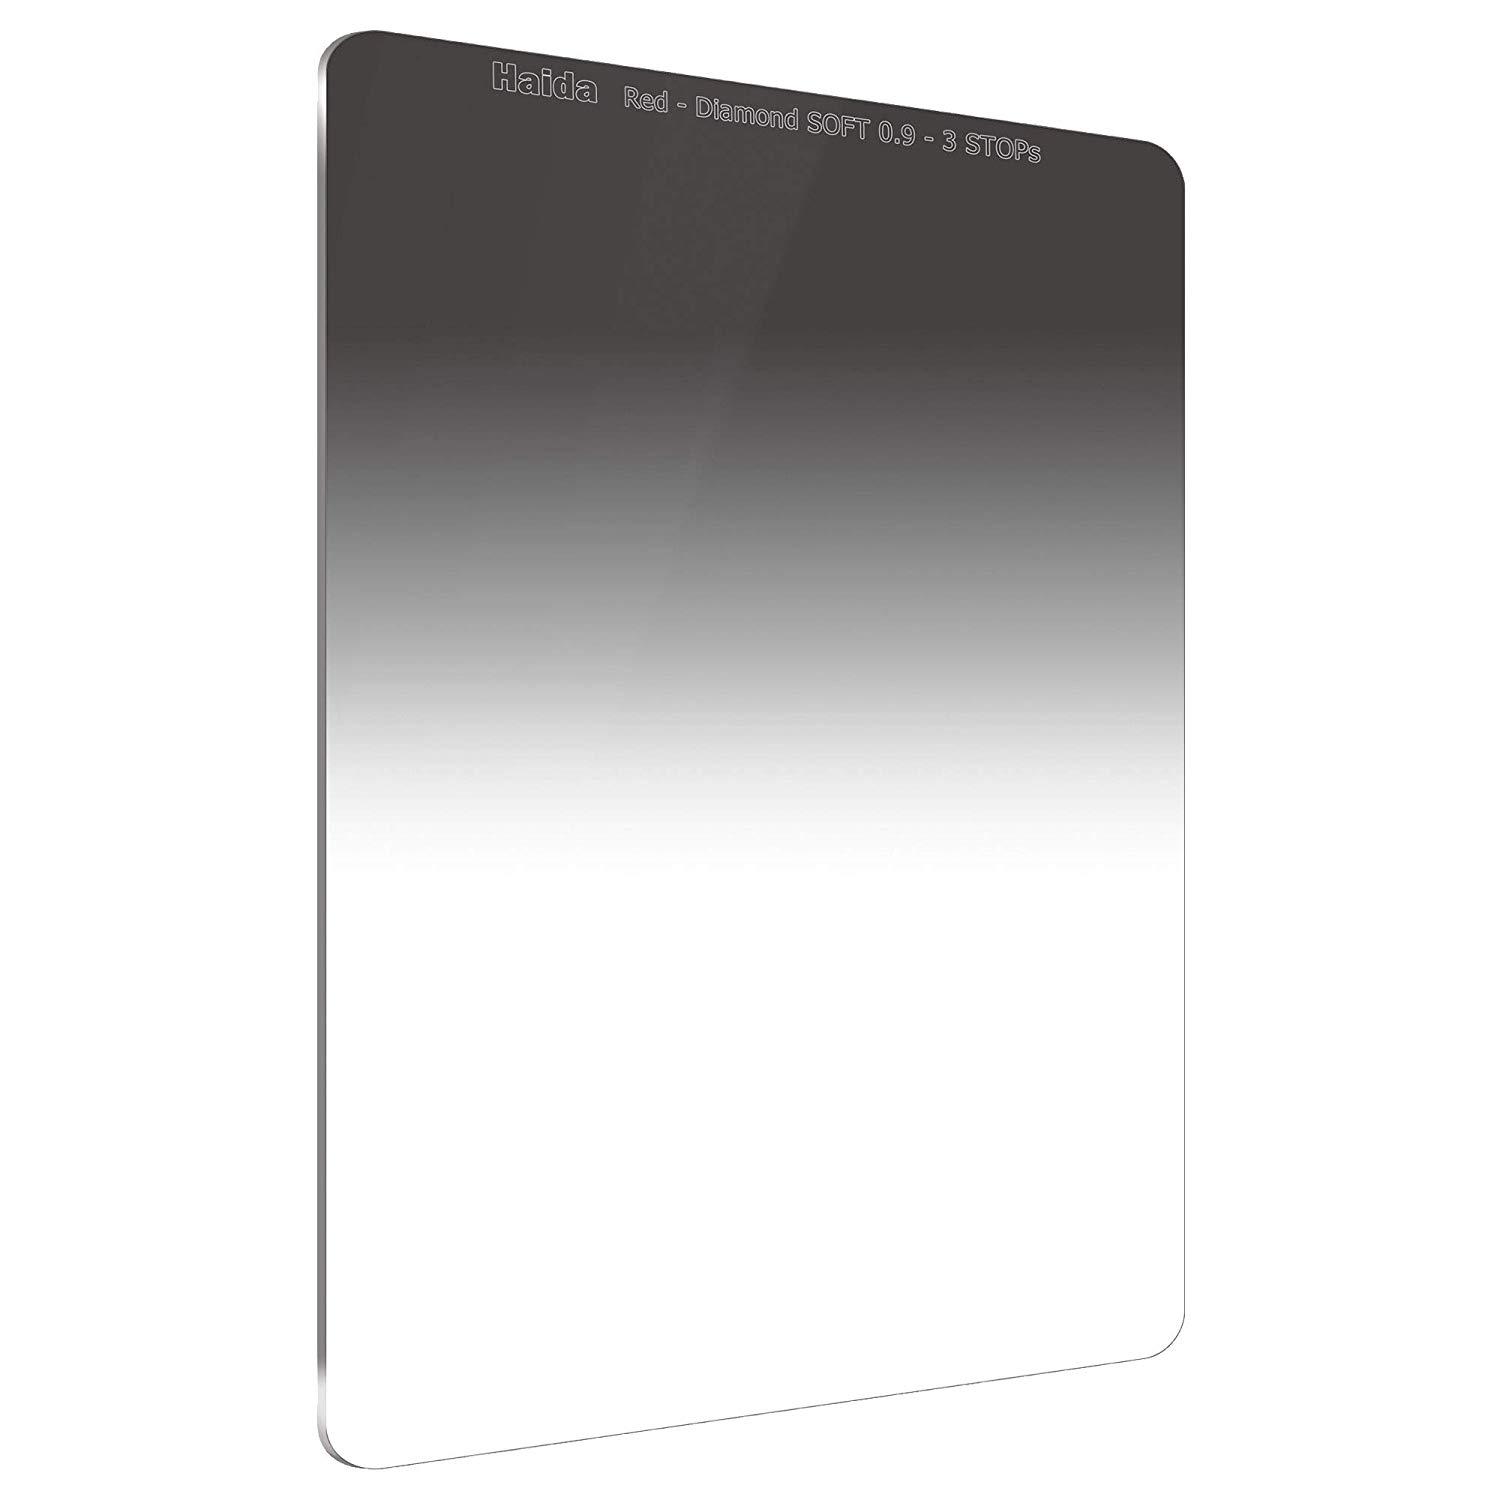
A soft edge GND filter, like this Haida Red Diamond 100mm 0.9 3 Stop Soft Graduated ND filter, has about 3 stops of density on one side, fading to completely clear on the other, with the center having a soft edge. Other strengths of density are available.
Square filters in a holder give you exacting control over where to place the edge and what direction the dark to light fade goes.
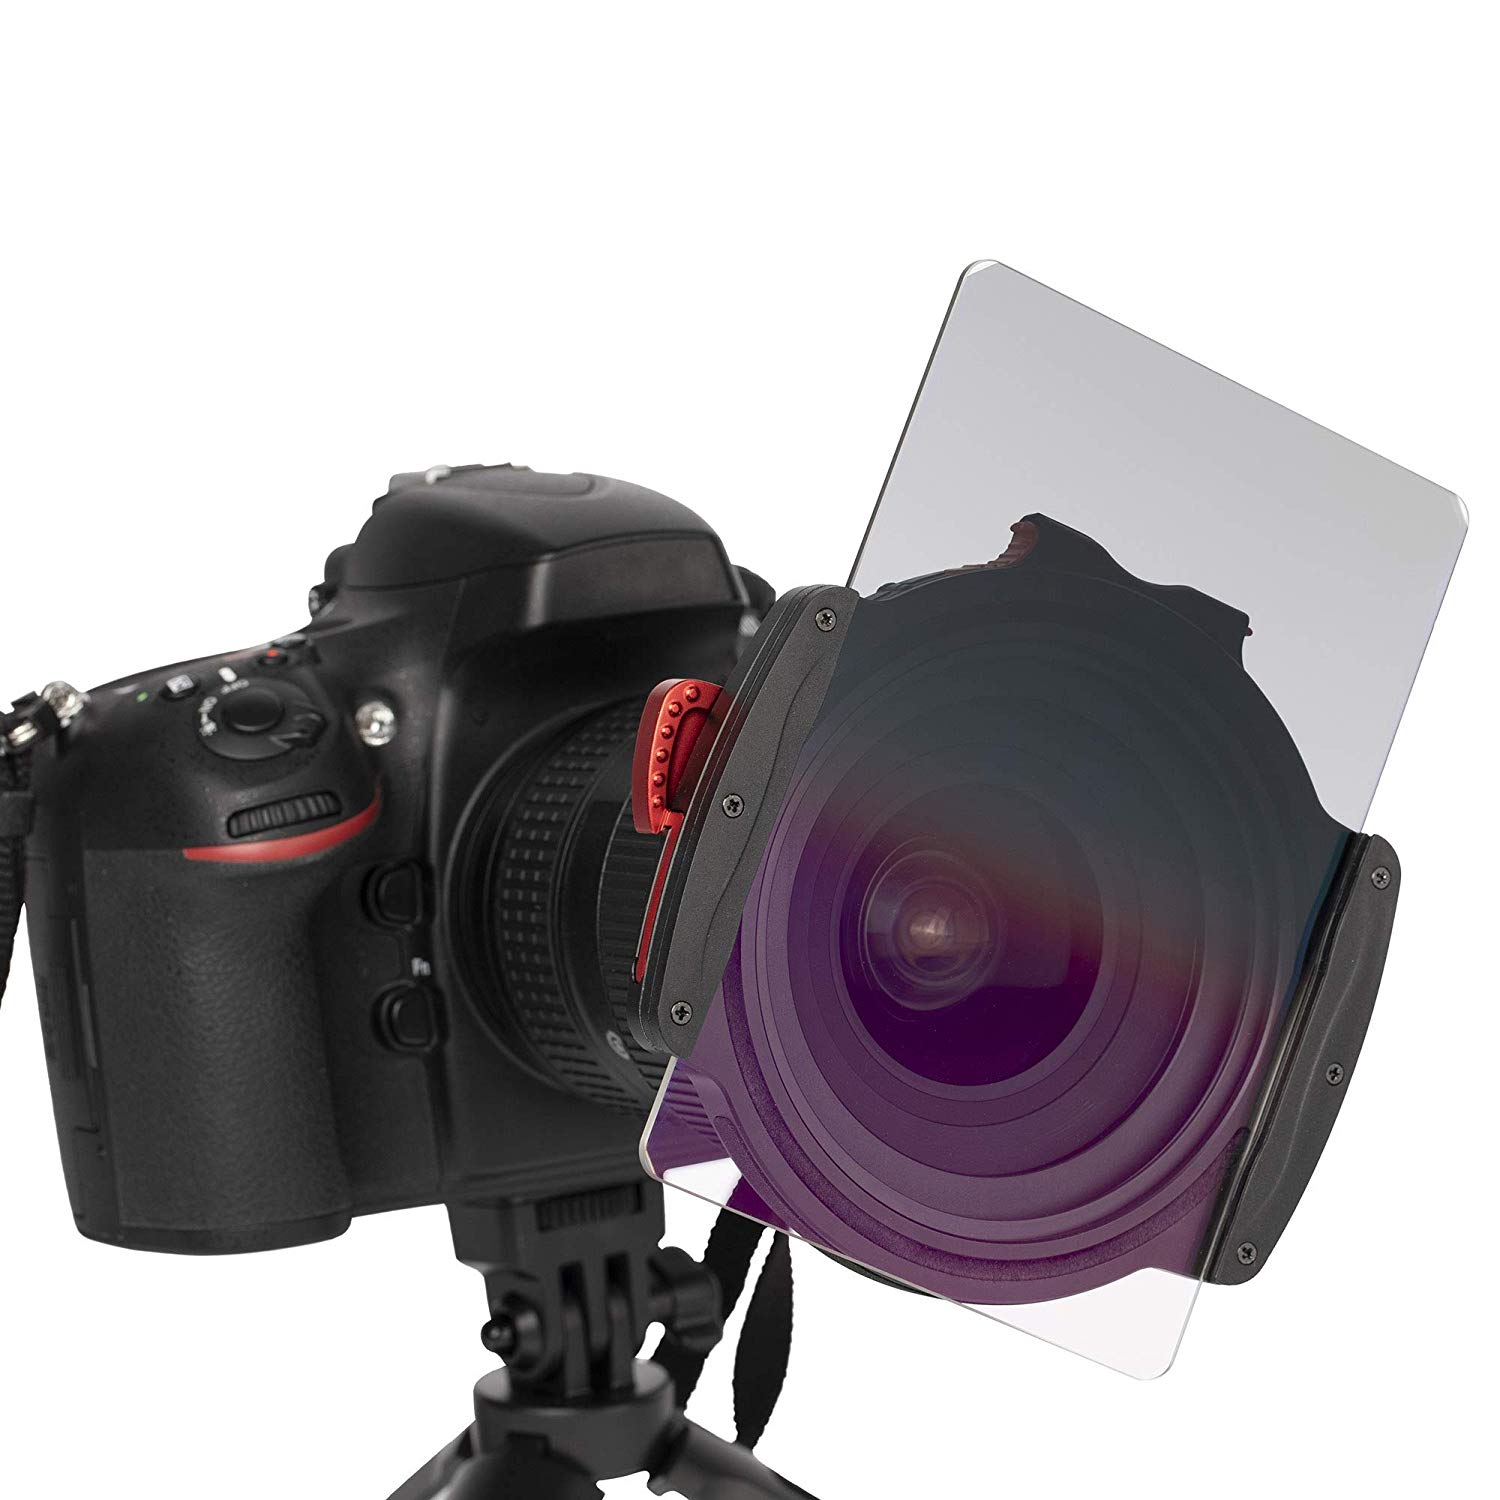
You can spin the filter holder around on the adapter and slide it up and down or side to side within the holder. That way, you put it in precisely the position it needs to be. This holds true for any type of GND filter and other filters as well.
Hard Edge GND Filters
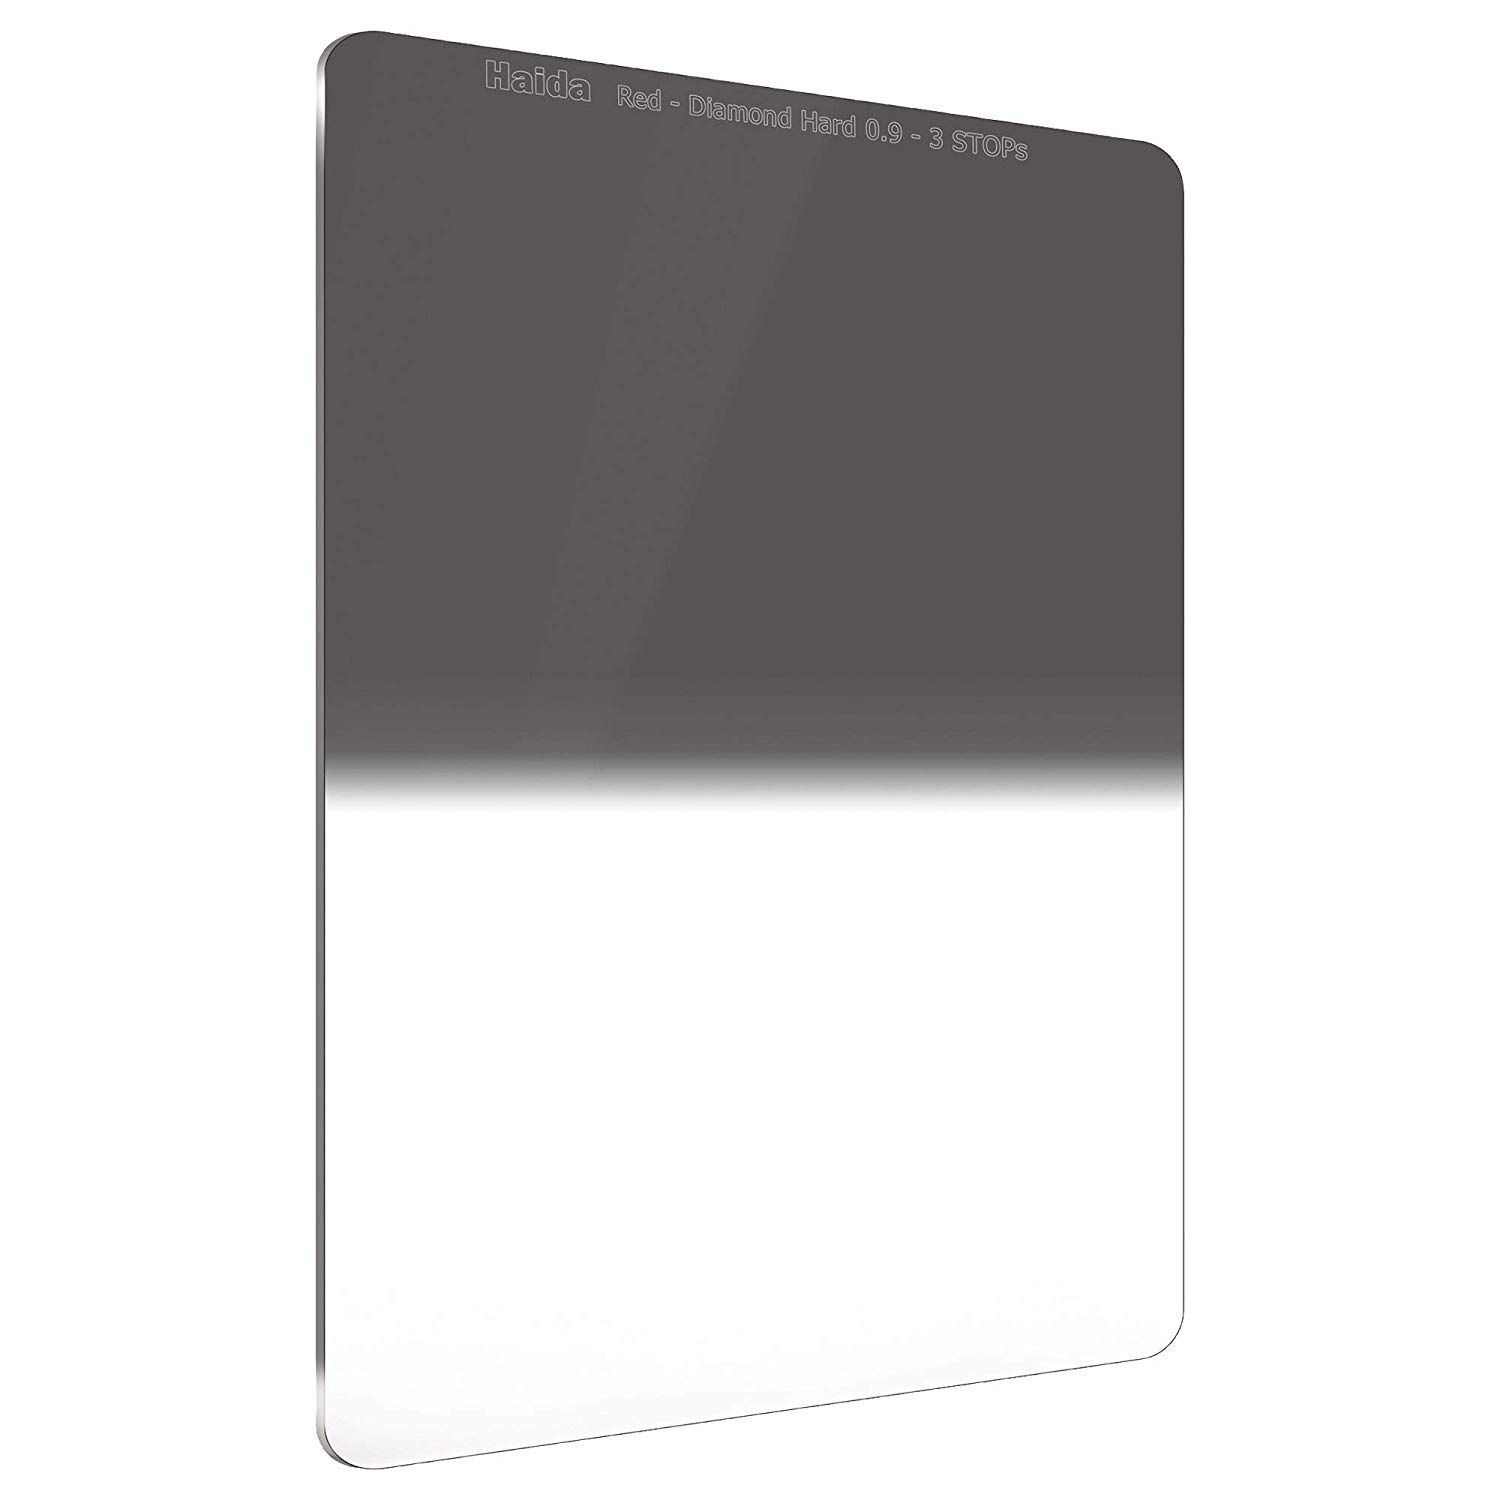
The hard edge filters have a stark divide in the center. It’s still a gradual transition, but the change over occurs within a very short distance. An example of this type of filter is the Haida Red Diamond 100mm 0.9 3 Stop Hard Graduated ND filter
While it may seem that a soft edge GND filter is more usable, there are many uses for hard edge GND filters. Lake and ocean vistas with a clear view of the horizon would benefit from a hard edge GND filter. Experiment with the dark part over the sky and over the land and see how it changes the final result. Some of the architectural scenarios we may run into would benefit from this as well.
Reverse GND Filters
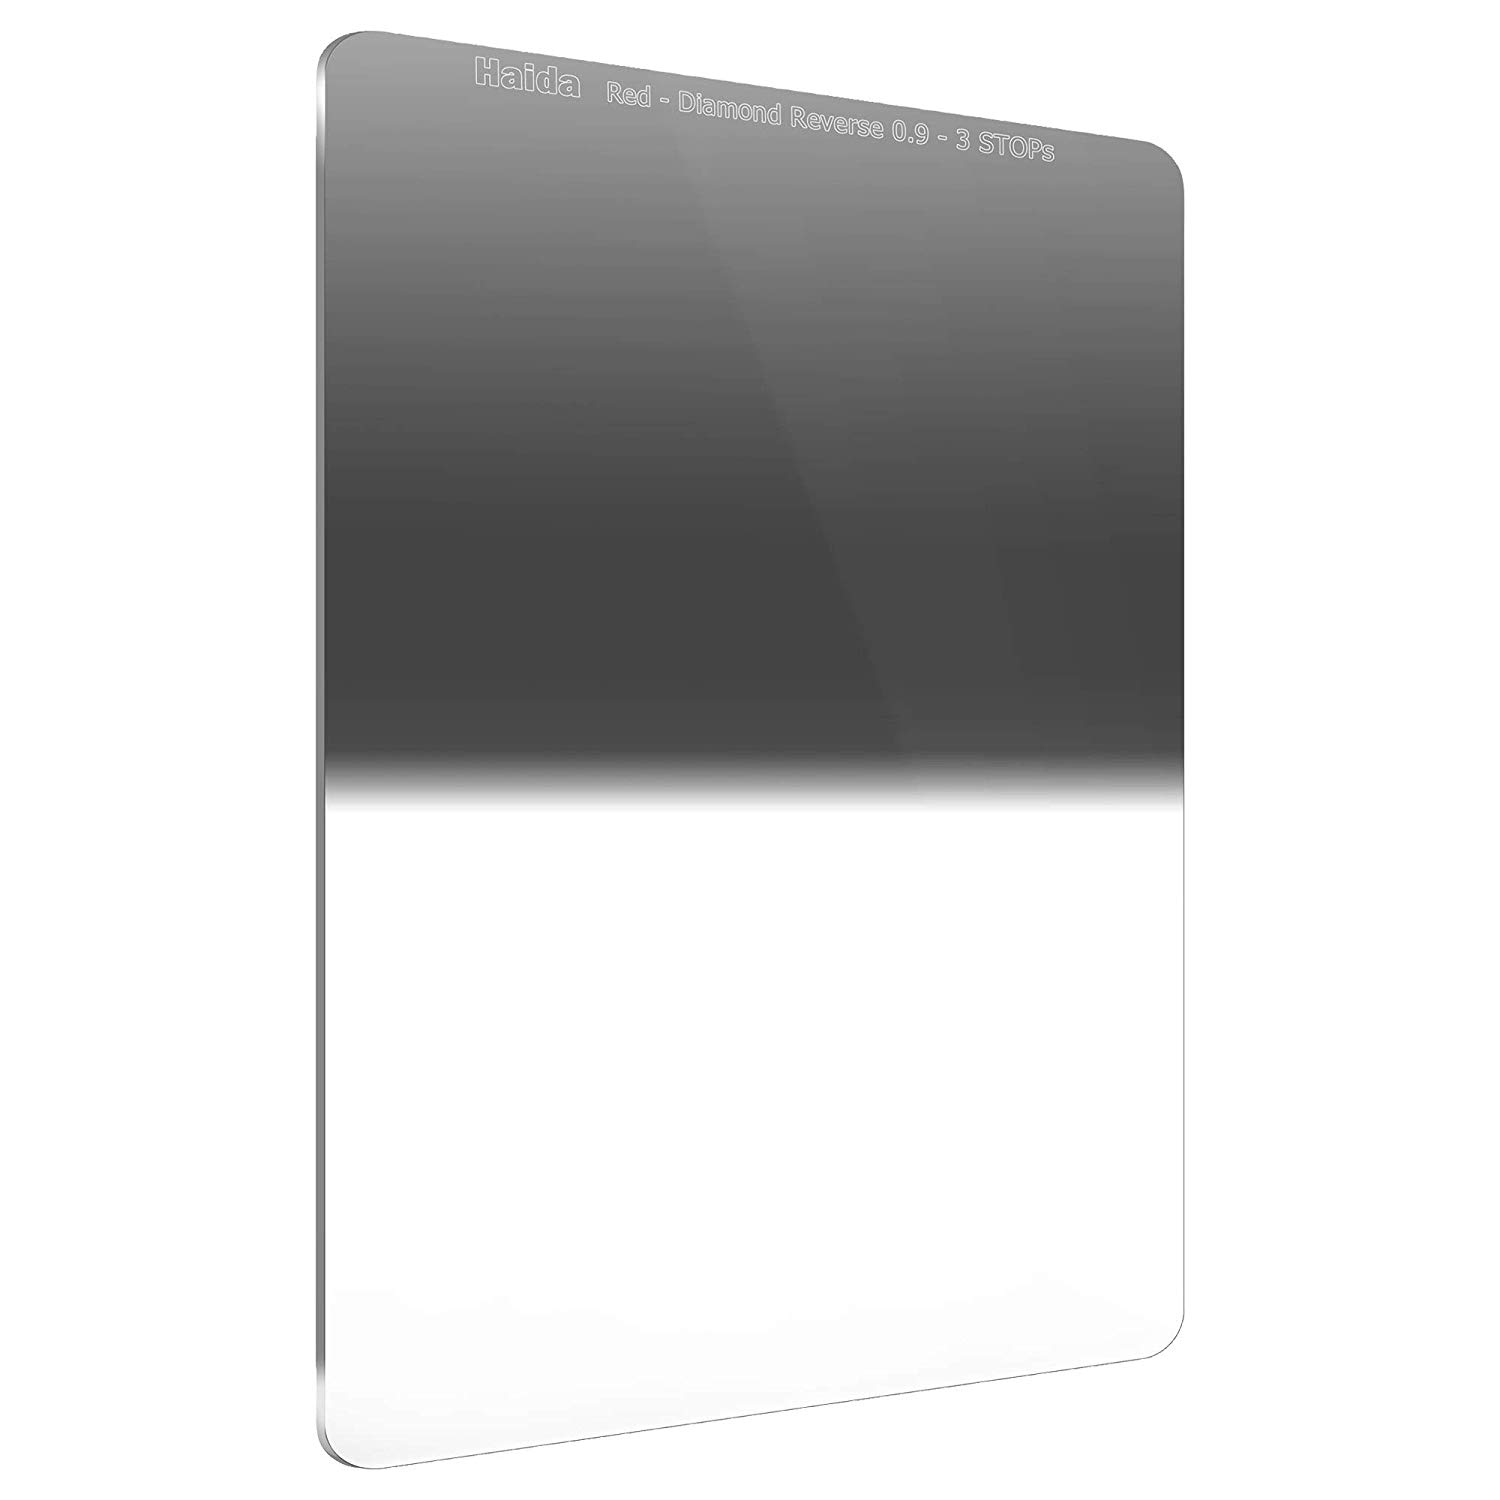
Reverse GND filters, like the Haida Red Diamond 100mm 0.9 3 Stop Reverse Graduated ND filter, also have a gradual fade from light to dark, but the darkest part of the fade is near the center of the filter. So it is like a soft edge GND with a hard edge transition in the center.
These are specially designed for the specific exposure range conditions in a typical sunset or sunrise view. Once you try one of these, you will likely want to use it for every sunset and sunrise you shoot.
GND FIlters Are Extremely Useful Photographic Tools
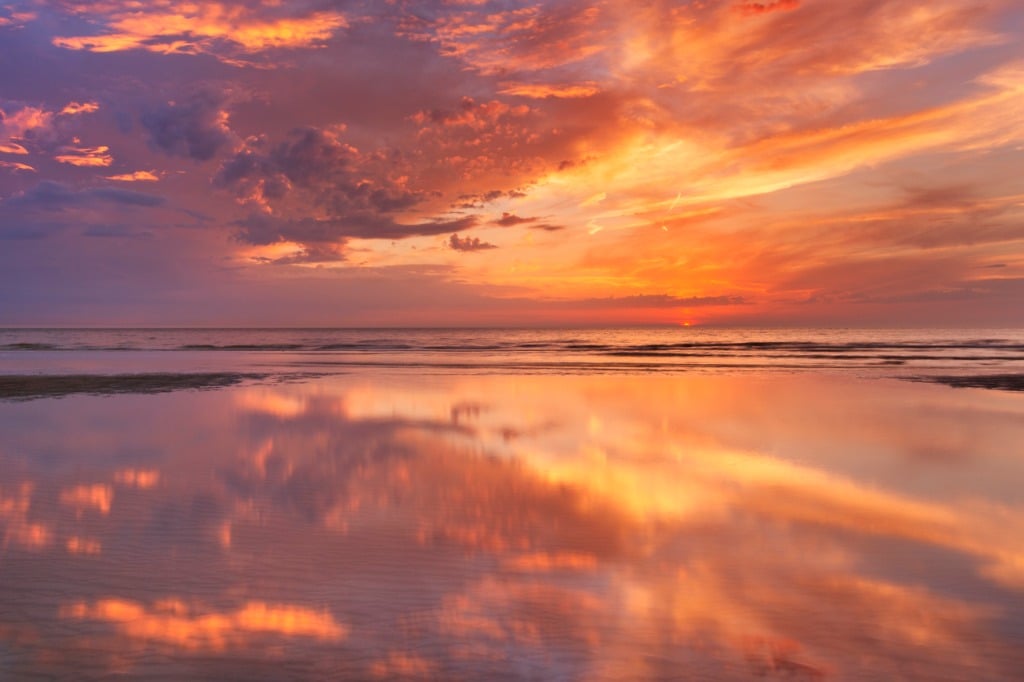
photo by sara_winter via iStock
In order to create and capture usable images in conditions where the scene has a wide dynamic range, there are only a few ways to handle the challenge well. One way is HDR, another way is Photoshop.
But graduated Neutral Density Filters are my first choice. Ease of use and versatility are what give them the edge in my gear bag...pun intended!
Learn More:
We Recommend
What are Rear Lens Filters?
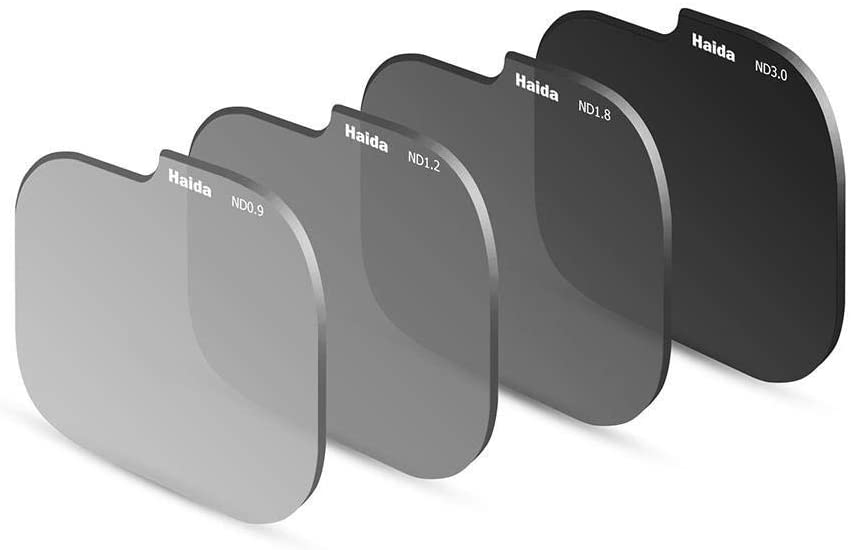
Rear lens filters are an interesting concept and have proven to be extremely useful photographic tools.
But what are rear lens filters? These are regular photographic filters that fit inside a lens or behind the rear element instead of being mounted up front.
Why Use Rear Lens Filters?
We’re pretty used to screw-in lens filters and filter holder systems so why would we use rear lens filters vs traditional lens filters?
Two main reasons for the existence of rear lens filters are size and specialty lens design. Let’s talk size first.
Very fast lenses tend to have large front elements. Especially fast telephotos. In the past, some camera and lens makers recognized that buying and handling a set of 122mm size lens filters can become rather inconvenient, so they included two options for filters, the front screw thread or a drop-in small filter near the rear of the lens.
Lens design, such as very wide angle lenses with a huge front diameter and also often a protruding curved front element make attaching front filters extremely difficult to do if at all. In certain lenses, a rear mount is available to use for filters.
The thing is, not all lenses with these issues have a filter holder or rear mounting screw thread for adding filters. That’s when you need to consider other options. Just because we don’t have a front screw thread doesn’t mean we can’t use any filters.
Learn More:
Haida Rear Lens Filters
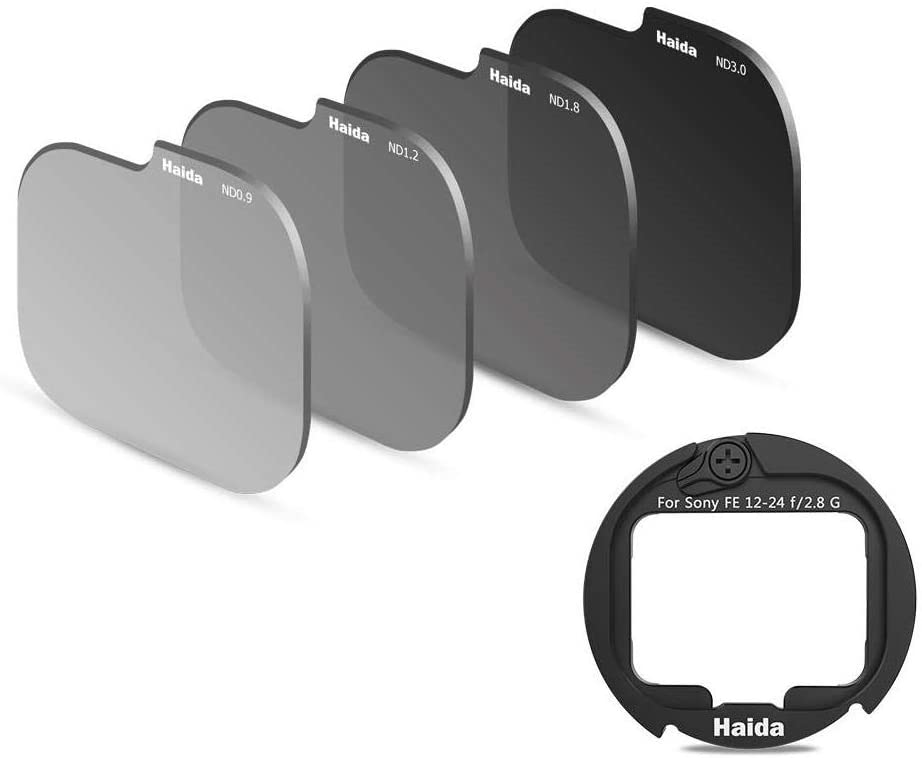
One of my favorite lens filter manufacturers has come up with a great option for adding filters to lenses with no easy filter options. Haida has a filter mounting kit that fits in the back of certain lenses.
As examples, let’s look at rear lens filters for two pretty amazing lenses, the Sony FE 12-24mm f/2.8 and the Sigma 14-24mm f2.8 Art lens for Sony FE or Leica L mount.
The only way to use filters on the front of these lenses is to attach a large filter holder to the outside of the built in lens hood with set screws due to the very large diameter but mostly because of the protruding curvature of the front element. This adds quite a bit of bulk to the already large lens.
But, you want to use some ND filters for selective focus or long exposure techniques, what do you do? Well, either find a filter holder and ND large enough (which is still a good, if bulky, option), or use the new options of rear lens ND filters.
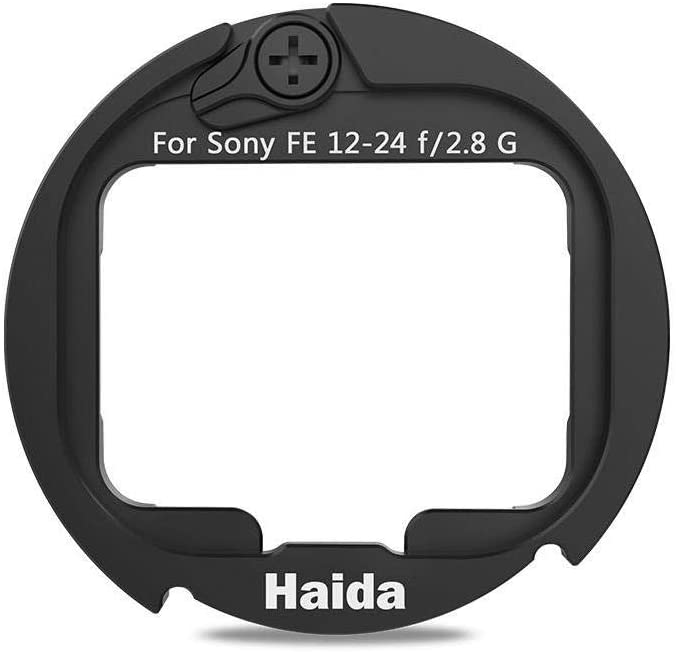
Here is the ND rear lens filter kit for the Sony FE 12-24mm, and this one is the rear lens ND filter kit for the Sigma 14-24mm. Both of these kits feature rear lens ND filters in strengths of 3 stops, 4 stops, 6 stops and 10 stops. The filters fit into a specialty adapter that fits neatly in the back of the lens. You choose your filter, put it in the adapter, place the adapter in the rear of your lens, and remount the lens to your camera.
Ten full stops of exposure change can take you from a shutter speed of 1/60th of a second to 16 full seconds, enough for some nice water motion effect, while 3 stops can change your aperture from f/8.0 to f/2.8 for selective focus effect even with a lens this wide. Or you could adjust any combination of exposure triangle factors to get what you want for exposure value.
Which Is Best?
There will be other adapters for different lenses as time goes on, so we may have a decision to make. What are the factors to consider for rear lens filters vs traditional lens filters?
Size, convenience, cost. As for size, the rear lens filters will be smaller, no question about that. As for convenience, front filters will need a large holder with a specialty attaching method, while the rear lens filters require you to remove the lens from the camera to add, remove, or change.
Cost differences can be significant, rear lens ND filters costing much less, but that might be an issue for you considering how much you obviously are willing to invest in photographic equipment having one of these lenses and the camera to use them.
One thing for sure, since you spent the money on these high priced lenses and cameras to use them on, you definitely want the filters to be high enough quality to match the superb optics. So, stick with top brands such as Haida for whatever ND filters you choose, front kits or rear lens filters.
Learn More:
- How To Photograph Clouds
- How To Photograph Rivers and Streams
- Long Exposure Tutorial: Beach Photography
We Recommend
What Do Lens Filters Do?
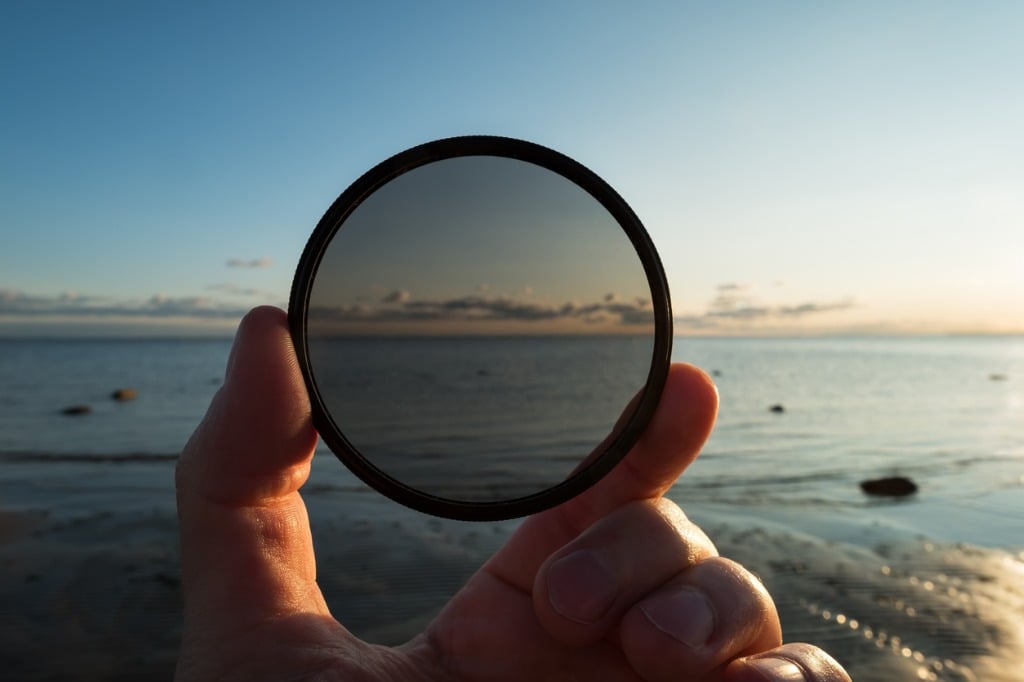
photo byKoldunova_Annavia iStock
What is a lens filter? What does a lens filter do? Do I need a lens filter?
These are some of the questions asked by photographers from absolute beginners to advanced enthusiasts.
Table of Contents
- Not a Smartphone App
- Just What Do Lens Filters Do?
- Do I Need a Lens Filter for Protection
- What are the Best Lens Filters?
- Which Filters are the Best Filters for Beginners?
- Using Polarizer Filters
- Filter Holder Systems
- Neutral Density and Graduated Neutral Density Filters
- What Lens Filter Should I Use?
Not a Smartphone App

Photo by Rami Al-zayat on Unsplash
When a photographer discusses filters, they may be discussing an application used on the ever-increasingly sophisticated smartphone cameras. Some of these apps are capable of very impressive effects.
For this discussion, though, we’ll be examining physical filters that attach to a lens in one way or another.
Just What Do Lens Filters Do?
In the most basic of definitions, a lens filter attenuates the light passing through a lens. In other words, it changes the light coming through the lens.

Photo by Christian Fregnan on Unsplash
The change could be diminishing the intensity of the light. It may be that the filter either adds or subtracts a particular color. Filters can also eliminate certain types of glare or haze, allowing you to see through water or glass.
A filter can also act as a protective barrier for preventing damage to the front element of a lens.
Learn More:
Do I Need a Lens Filter for Protection?
The firm, definitive answer is … Maybe
There are two schools of thought here. One, a relatively inexpensive piece of glass can take the brunt of anything that could damage the exposed front element of your valuable lens. Two, why put a possibly inferior piece of glass right in the light path of your superbly designed lens?
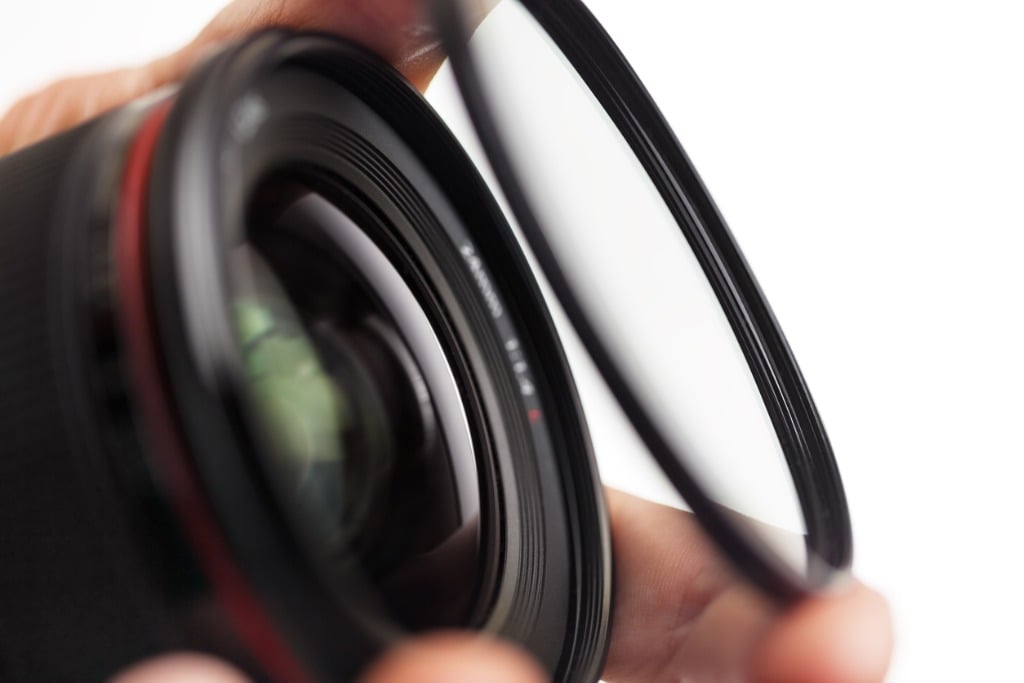
photo by Dimitris66 via iStock
Both points are valid, but I do like to point out that a rigid lens hood can provide great protection against inadvertently bumping into things with your lens.
What Are the Best Lens Filters?
Among the most common lens filters that are great for many types of photography are polarizer filters, neutral density filters, variable neutral density filters, and graduated neutral density filters.
You may notice what seems like a curious absence on this list. I didn’t list color filters or special effects filters. Primarily because there aren’t a lot of reasons to use them on a regular basis. It doesn’t mean they’re bad filters, just that their usefulness is limited.
In the days of film photography, color filters were used a lot. I used to carry a filter wallet with about a dozen color filters inside. Colors like red, orange, and yellow were used to change contrast in black and white film.
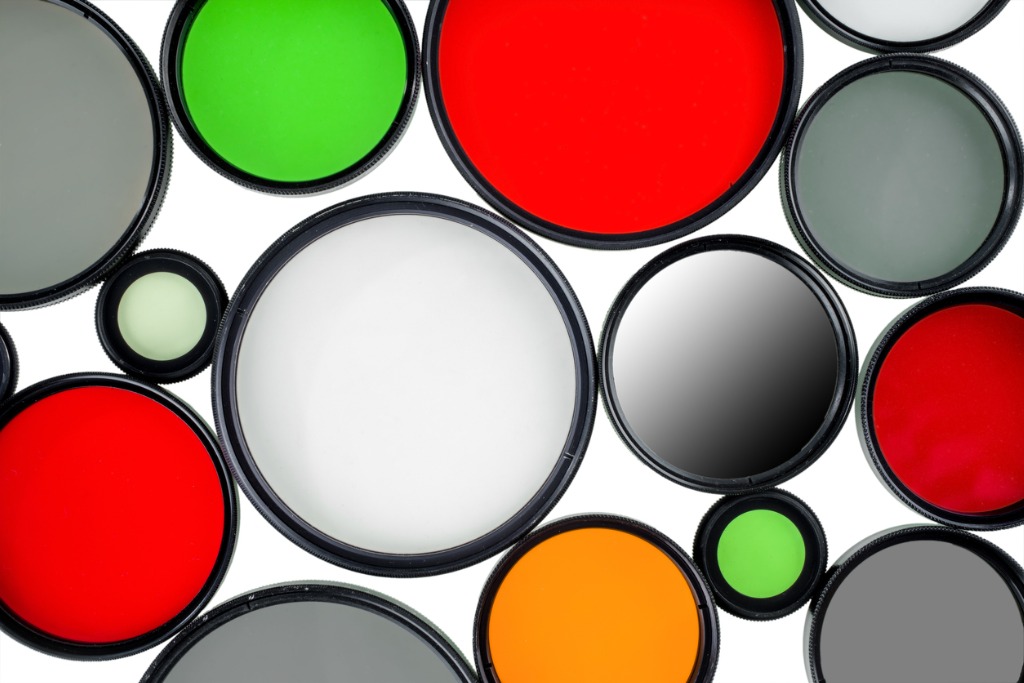
photo by VladK213 via iStock
Color correction filters were used to balance color film types with certain types of light, something that is now done in-camera or with an image processing program.
Other special effects filters are fine for limited use, such as a star point filter or a multi-prism filter. Trust me, the initial thrill of using these filters soon fades. But they can be fun from time to time.
Which Filters are the Best Lens Filters for Beginners?
Hands down, I recommend starting out with a high-quality polarizing filter. A polarizer filter attenuates polarized light reaching your lens. That means that light rays which are reflected in many different directions are corralled by the filter.
The effect of this is removing haze and certain types of reflections. By removing haze and reflection, your images will have deeper colors.
Using Polarizer Filters
As an example, a scene of a mountain lake, blue sky, and a forest of trees has many areas that can be improved with a polarizer. The sky haze is reduced, making for a bluer sky. The leaves of the trees have glare reflection removed, giving them richer hues. Even the glare of sunlight off of the water can be reduced or removed.
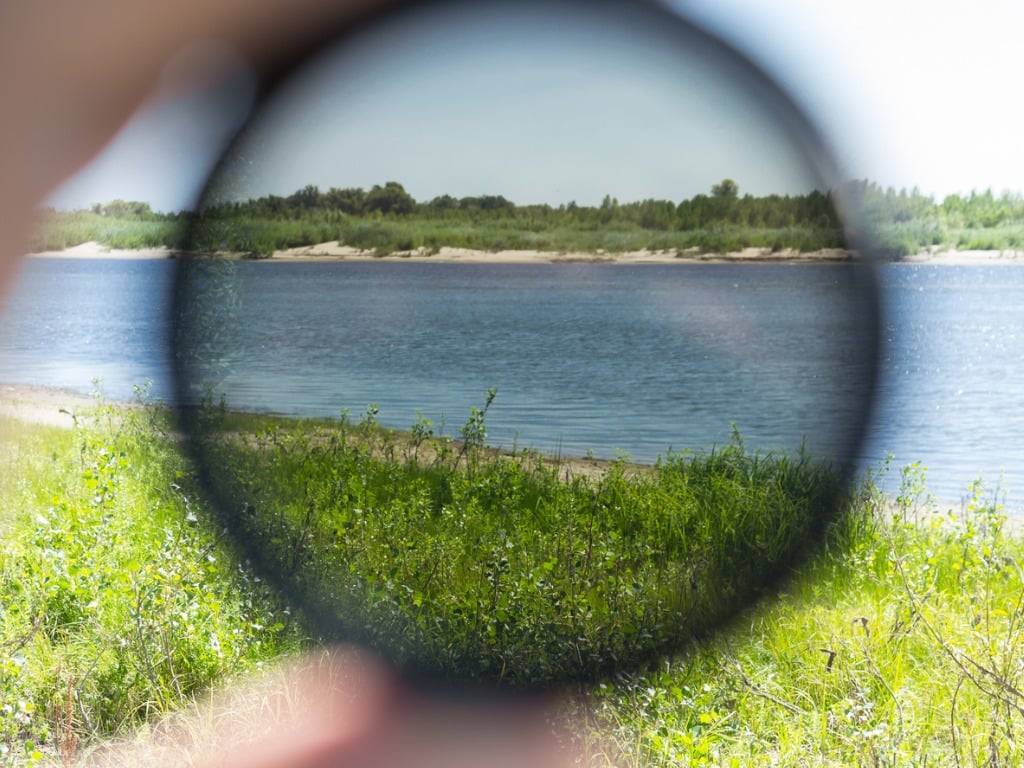
photo by Алексей Филатов via iStock
Since you can use a polarizer for a wide variety of images, you will want one that is very high quality. High quality often equates to higher costs, so you will want to maximize your value.
If you have several lenses, there is a good chance that each lens has a different size filter thread diameter. So, instead of buying a filter for each lens, a filter holder system becomes a great choice.
Learn More:
Filter Holder Systems
When purchasing high-quality filters for extended use, a lens filter system becomes a viable alternative to filters in each size needed for your various lenses.
The Haida M10 filter system is one example of this. The way it works is simple. A large filter holder is used with a variety of filter types. The holder itself can use different filter mount adapters for each size filter diameter of your lenses.
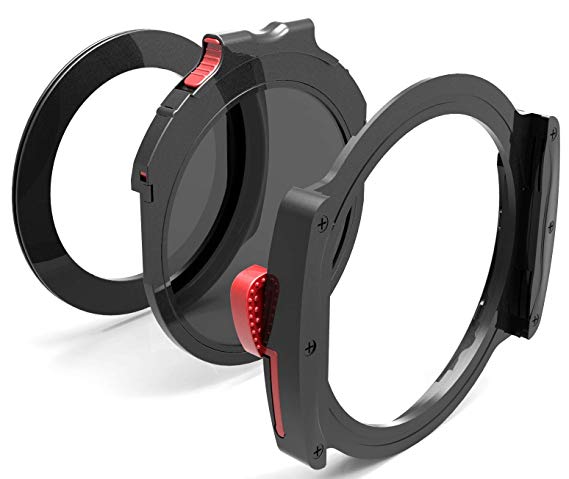
Another advantage of a filter system is that the holder can be used for different filter types as well. In addition to the polarizer, other filters made in this style are neutral density and graduated neutral density
One of the other most useful lens filters for beginners and advanced photographers alike is the graduated neutral density filter.
Neutral Density and Graduated Neutral Density Filters
A neutral density decreases the amount of light coming in through the lens. They are often used to enable a photographer to increase exposure time.
Lengthening the exposure time is a method used to blur motion within a scene, such as moving water or clouds. That’s how you get that ethereal look in scenics of waterfalls, oceanfront beaches, mountain streams, and other similar scenes.
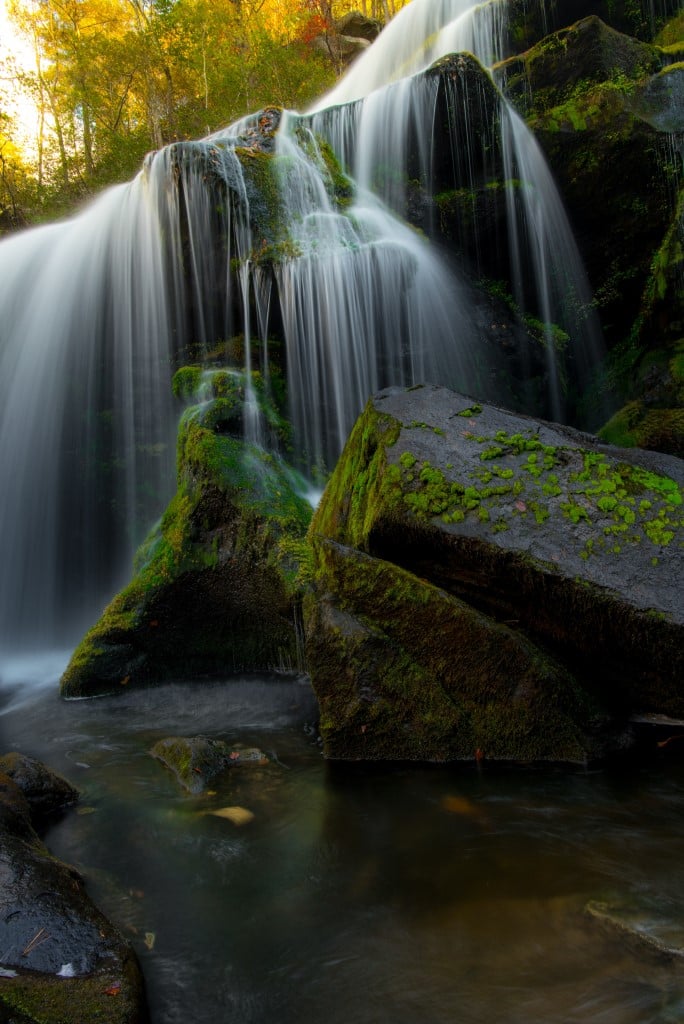
Photo by Nathan Anderson on Unsplash
Increasing exposure time can also allow you to ghost out people or traffic in crowded spaces. As an example, you want to take a picture of an interesting looking building downtown, but you don’t want to see all those people. With a long enough exposure, passersby won’t register in the final image.
A graduated neutral density filter is used to lower the brightness of one part of a scene while not affecting the other part. This lens filter purpose can even out scene contrast or allow you to capture detail in a sunset scene in both the bright sky and the dimmer foreground.
What Lens Filters Should I Use?
A filter system like the Haida M10 I mentioned earlier is probably one of the next purchases to make if you are looking at improving your landscape photos or architectural images. Your other images will also benefit from using a high-quality filter holder system for polarizers and neutral density filters.
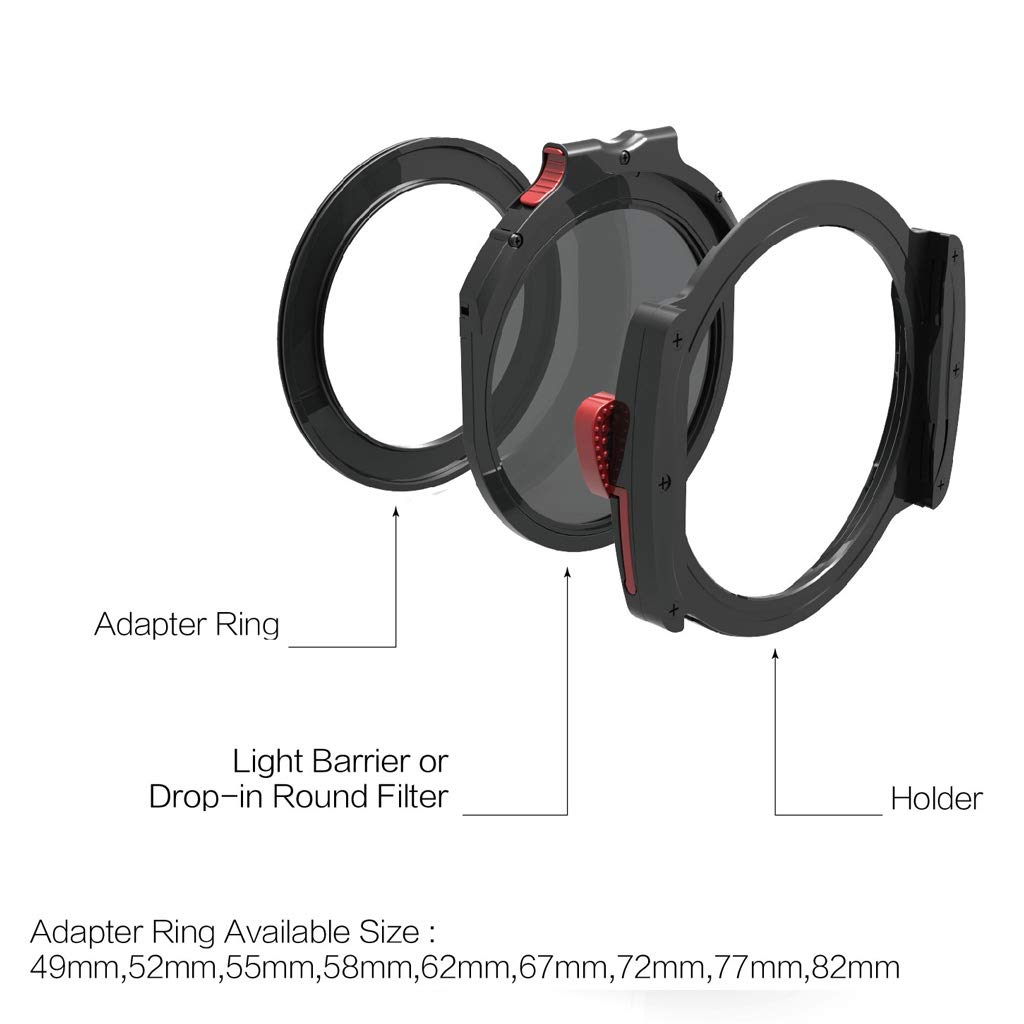
One of the ways that using lens filters helps you improve your photography is that they require you to be a little more deliberate and calculated in your techniques and methods. Which means you’re thinking more about each image, a surefire means of growth in personal photographic excellence.
We Recommend
What You Need in a Good Landscape Filter Kit

photo byVladK213 via iStock
Are you looking for the best filters for landscape photography? Congratulations! You are growing as a photographer. You have probably already started with techniques and methods of composition and exposure, and now you want to take it a little further in order to capture stunning images.
Filter use is as basic to photography as a coffee pot is to breakfast. You can do just fine without, but it can better with good filters and techniques for using them.
What Is In a Landscape Filter Kit?
photo by drbimages via iStock
We can accomplish much with proper use of a well-designed post-processing program. For most images, we want to start out with the best image file from the camera in the first place. Then, instead of fixing an image, we’re enhancing it.
Three different filters can make a huge difference in our landscape, scenic, or nature photography. A basic landscape filter kit should include a polarizer, a graduated neutral density, and a solid neutral density filter.
Let’s examine what these three filters can do for your personal landscape photography.
Polarizer Filter
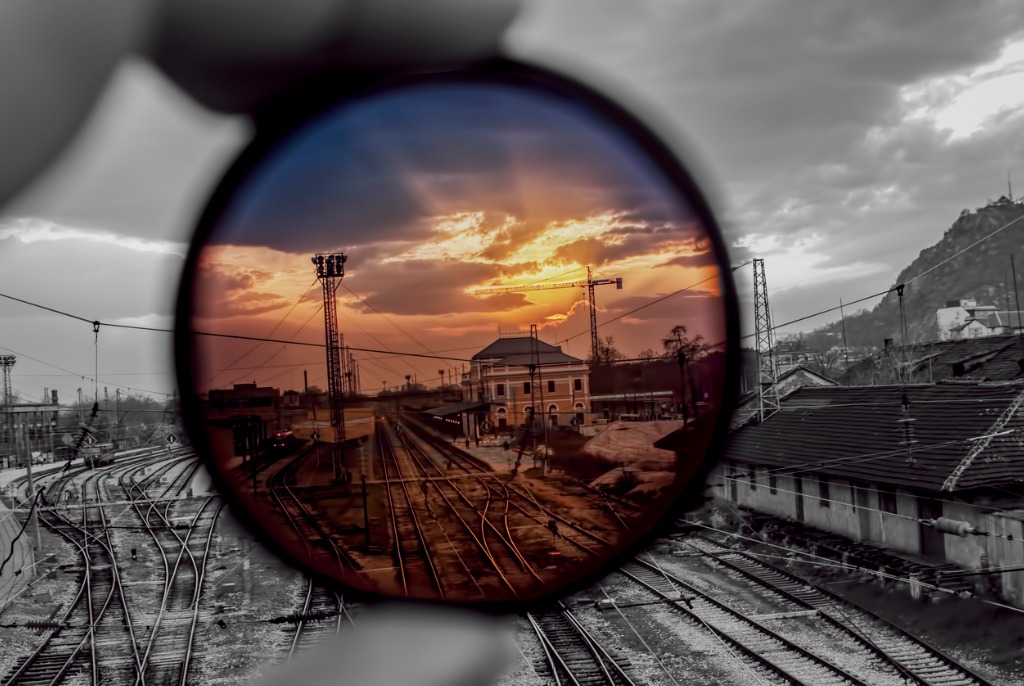
photo byGerdzhikov via iStock
Light is interesting. It has so many different qualities and can be changed in a bewildering array of ways. Light can be polarized and unpolarized by reflecting, scattering, transmission, and absorption.
In practical terms, we can modify the properties of light affected by one of those methods by using another of the methods to modify it again.
As examples, if light is reflecting off of a glass window towards our camera position, we can reduce or remove the reflection under certain controlled circumstances. Light scattered, causing a form of glare or haze, can be modified under controlled circumstances.
Photographically, optically, the controlled circumstances involve using a polarizer filter.
Understanding exactly what the polarizer filter is doing to the light is not vital. What is important is knowing how to use the action to your advantage.
Learn More:
How to Use a Polarizer Filter

photo by zodebala via iStock
Attaching the polarizer to the front of your lens is the first step. Next, we rotate the filter in one direction or the other until we see the desired result in our viewfinder or viewscreen. As you do this, you will see the effect of the filter to a greater or lesser extent depending on the orientation of the filter.
By removing the glare and reflection from water or glass surfaces, we can effectively see through them. Because the glare from the reflection was preventing us from seeing through them. Of course, there are also other optical properties of glass and water to deal with, but a polarizer controls the reflections.

photo by 4FR via iStock
Another reason for polarizers being in a landscape filter kit is that those same properties apply to light scattering. Using a polarizer, scattered skylight is tamed, deepening the color of the sky, water, and foliage, and increasing the contrast between things like the sky and clouds. This is how you get images of bright puffy clouds “popping” out from the dark blue sky.
Autofocus and metering sensors can be fooled by our use of a linear polarizer filter, but a circular polarizer filter is usable photographically with modern cameras. The labels on the filters are POL for a linear polarizer and C-POL for circular. Only use a C-POL for most current cameras.
Neutral Density Filters
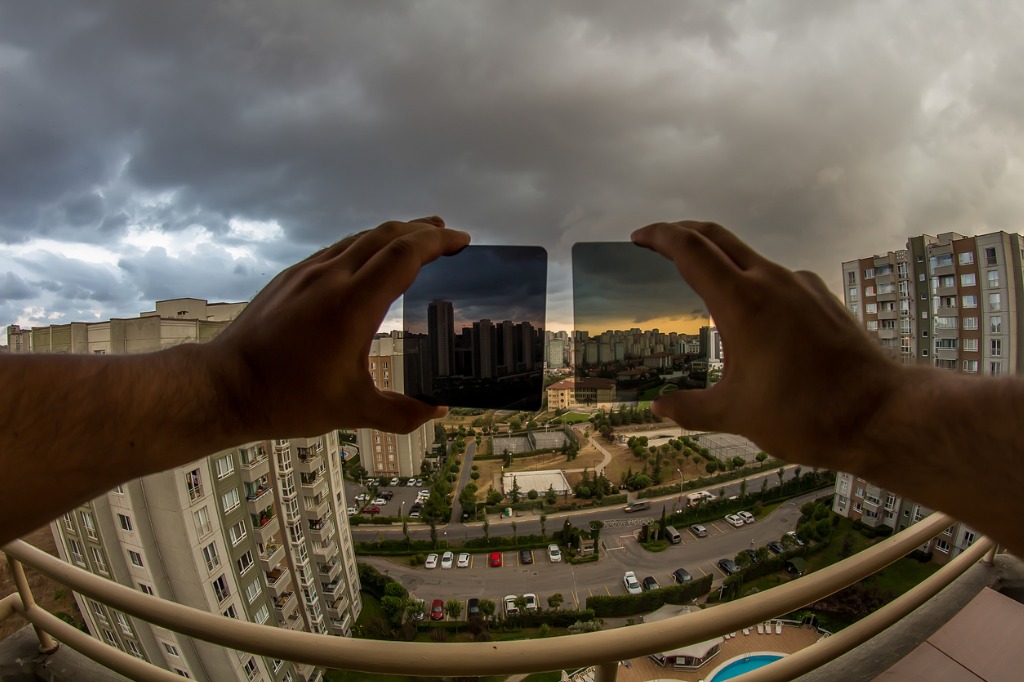
photo by tigristiara via iStock
Passing light through a density attenuates the intensity of the light. Being neutral, there is no color cast added or subtracted.
A reason for having a neutral density filter in our landscape filter kit is to change our exposure options. A two-stop neutral density filter (like the one shown above, left) will allow a shutter speed two speeds slower than otherwise usable. Using 10 stops filters means we can use a shutter speed 10 stops slower.

photo by Bike_Maverick via iStock
One of the effects of this is that intriguing water or clouds blurring. It can really be quite lovely when applied properly.
Another thing you can accomplish with ultra long exposures is ghosting out people from your scene. If you can adjust your ISO, f-stop, and shutter speed to enable use of a multi seconds long exposure in broad daylight, you can capture an image of a busy area with no people showing. This is valid if the people are moving fast enough to not register during the long exposure.
Learn More:
Graduated Neutral Density Filters
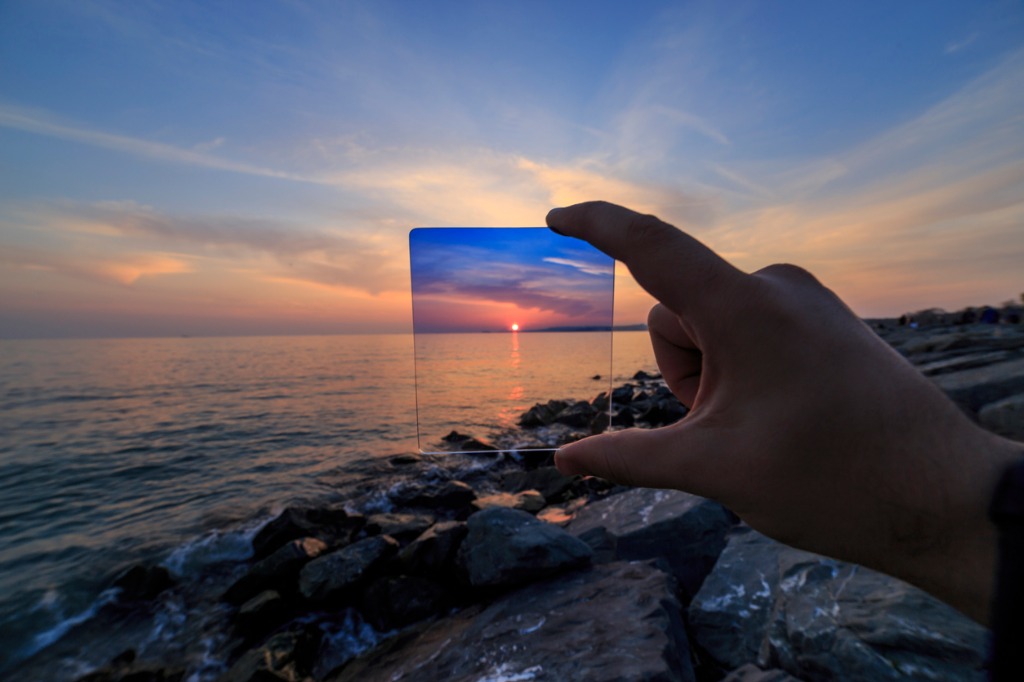
photo by tigristiara via iStock
One of the best photography filter kits I’ve used recently had a graduated neutral density filter (GND) in it. GND is clear on one side, neutral density on the other, and has a graduated transition from clear to dense in the middle.
A popular use of these filters is for sunset, sunrise, Golden Hour, and Blue Hour images. It lets you balance out the range from light to dark into something which your sensor or film can record properly.
You move the filter around in its holder to get the transition area of the filter to line up properly with the transition from light to dark in the image. It’s not just a neat trick, it really works!
Filter Holder for Your Landscape Filter Kit
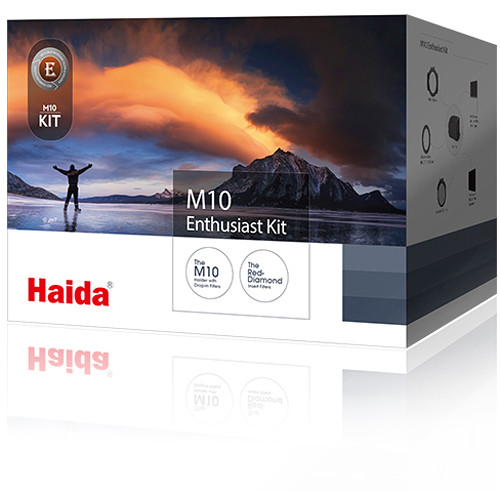
You heard me talk about rotating filters or moving them around in the holder in order to get the lines to match up. The way to accomplish this is by using a filter kit with a holder and adapter rings.
The filters themselves are square and they fit into grooves in the filter holder or filter mount. The filter holder attaches to your lens by means of an adapter ring in the proper filter diameter. The adapters let you use the same filters for a variety of lenses without the need to have a separate set for each size.
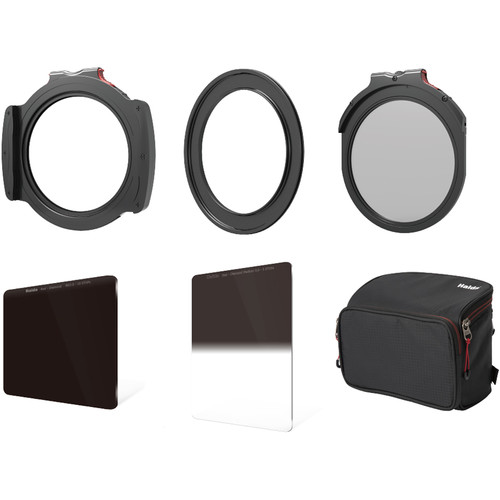
A high-quality landscape filter kit I’ve been using is the Haida M10 Enthusiast Kit. It comes with a 10 stop ND, a GND, and a C-POL, plus the filter holder, adapter, and a case to carry it all. Since you can adapt the filter holder to different lenses, you can afford to make sure you obtain a basic photography kit with superb optical quality.
Have Fun with Filters
Now that you know what to expect from your landscape filter kit, go out and find reasons to use them. Revisit the spots of your favorite images and retake them, applying all your new techniques and using any new gear you’ve acquired.
Remember, you can capture beautiful images with any equipment. Using better equipment and better methods will likely increase the visual appeal of your photographs.
We Recommend
When to Use a Graduated ND Filter
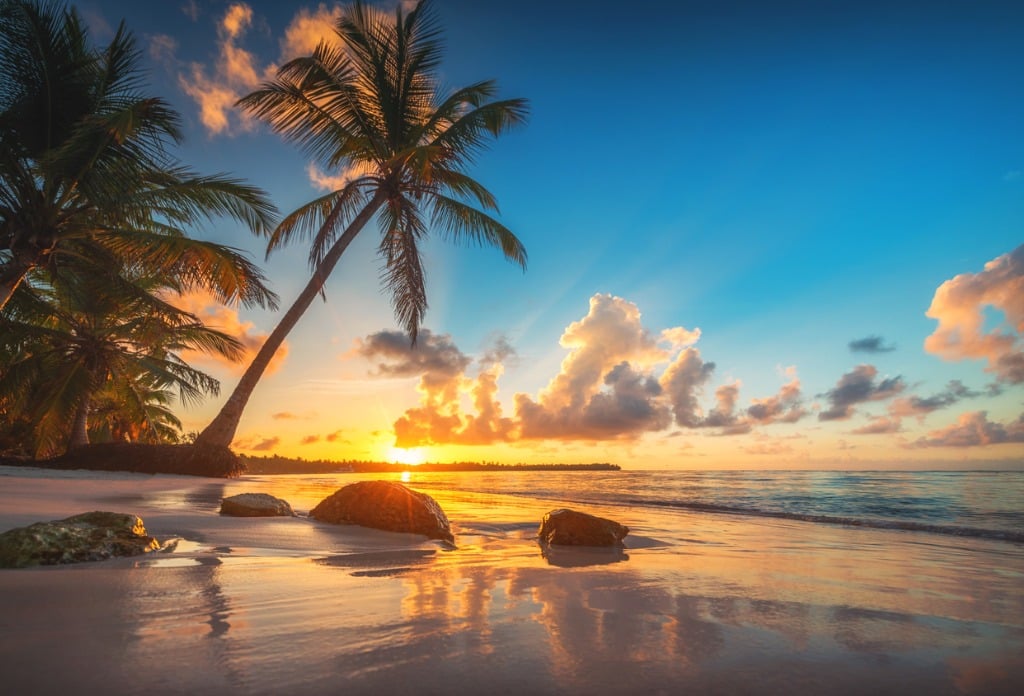
photo byvalio84sl via iStock
A graduated ND filter, also called GND or graduated neutral density filters, are handy tools for making better landscape images and other types of photos. If you have looked at them and wondered when to use a graduated ND filter and what the different types do, please keep reading.
Graduated ND filters for landscapes are found in three main styles: Hard-Edge Graduated ND, Soft-Edge Graduated ND, and Reverse Graduated ND filters. We’ll cover what the differences are and in what situations each type helps.
Soft-Edge Graduated ND Filter
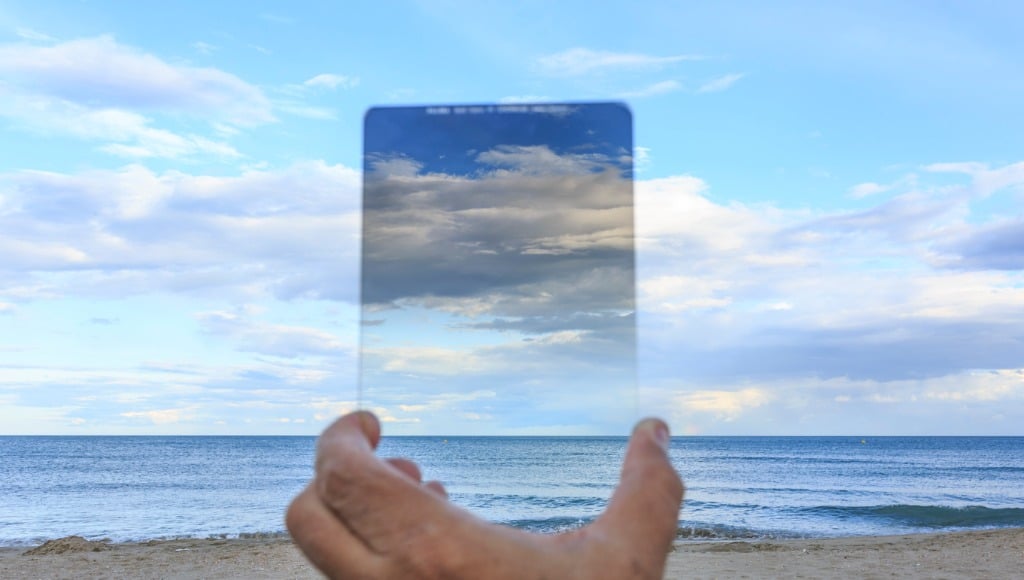
photo byIgnacio Ruiz Casanellas via iStock
This is probably the graduated ND filter I end up using the most often primarily because it is very simple to employ and there are so many situations in which to use one. All graduated ND filters are dark in part and clear in the other, it’s the transition area that changes among the 3 types.
A soft-edge graduated ND filter has a very gradual transition from clear to dark, making the placement of the filter a simple thing. Take a look at the image above to how gradual the transition is.
I use a lot of Haida M10 Filters from Ikan Corp in my landscape photography work as they are high quality and have beneficial features. You use the filters in a filter holder which can hold several filters at once.

The graduated ND filters are rectangular instead of square or round so that you can adjust their position in the holder as needed and the holder can spin around the axis of the lens, too so your placement of light to dark can be precise.
When do we use a graduated ND filter with a soft-edge transition? Any time we have a scene with a large dynamic range that we want to balance out in exposure, we can block out some light intensity from one part of it.
A scene with a bright sky and relatively foreground is one example that springs to mind. When there isn’t an element within the image with a distinct boundary between light and dark, a soft-edge ND filter is the answer.
This can apply to more than landscape photography, cityscapes, architectural, even product photography might benefit. Remember also, the transition area for any graduated ND filter doesn’t have to be a horizontal line. It can be in the vertical plane or even diagonal.
Hard-Edge Graduated ND Filter

Any time the transition in the scene from light to dark is narrow or perhaps a line is when to use a graduated ND filter with a similarly narrow transition. These are labeled hard-edge graduated ND filters. By the way, there are also medium-edge ND filters, but I find them not as useful as either hard or soft. You might find that you prefer the medium-edge, though.
All of what we discussed about soft-edge graduated ND filters applies to hard-edge filters except for the placement of the transition line. With a hard-edge graduated ND filter, a straight line such as a horizon, a wall, a shoreline, a building edge, and so on is the prime spot for where to place the transition.
Remember, it can be horizontal or vertical, but it’s probably more likely to be a horizontal line. Using the graduated ND filters in a filter holder system makes it a simple operation for exact placement since you can spin the filter holder around and slide the filter from side to side or up and down.
As just one example of when to use a graduated ND with a hard-edge transition is an ocean or lake scene with beautiful clouds in a relatively bright sky. In order to keep detail within the cloud formations while not underexposing the foreground or anything else that’s not bright sky, we place the ND part over the sky with the clear part underneath and the transition line on the horizon.
LearnMore:
- What Is a Camera Cage?
- Types of Tripod Heads
- 5 Landscape Photography Accessories You Need In Your Bag
Editor's Tip: Carry your filters (and all your other gear) in complete organization and style in the new Nomatic x Peter McKinnon Everyday Backpack and Sling. These bags are true to form for Nomatic - they're impeccably designed, durable, and the height of functionality. From weather-resistant exterior materials to loads of storage and organization solutions inside to an incredibly comfortable carrying experience, these bags are precisely what you're looking for to accompany you on your landscape photography adventures. Check them out on Kickstarter to get all the specs and details!
Reverse Graduated ND Filters

I have found the perfect use for when to use a graduated ND filter with the variation from light to dark reversed, sunset and sunrise. As a disclaimer, I didn’t invent that use, I read it in a photography blog years ago and quickly put it into practice myself.
If you look closely at the image of the reverse graduated ND filter above, you will notice that the transition from clear to density is a hard edge but it’s different from other hard-edge ND filters in that the darkest density is right at the transition and then it gradually lightens towards the outer edge.
This is perfect for a sunset or sunrise with a sky above the Sun full of beautiful colors or those colors in clouds above the Sun. In order to capture those colors without washing out the exposure and still get detail in whatever is on the ground or ocean, we need to subject light value selectively by using a reverse graduated ND filter.
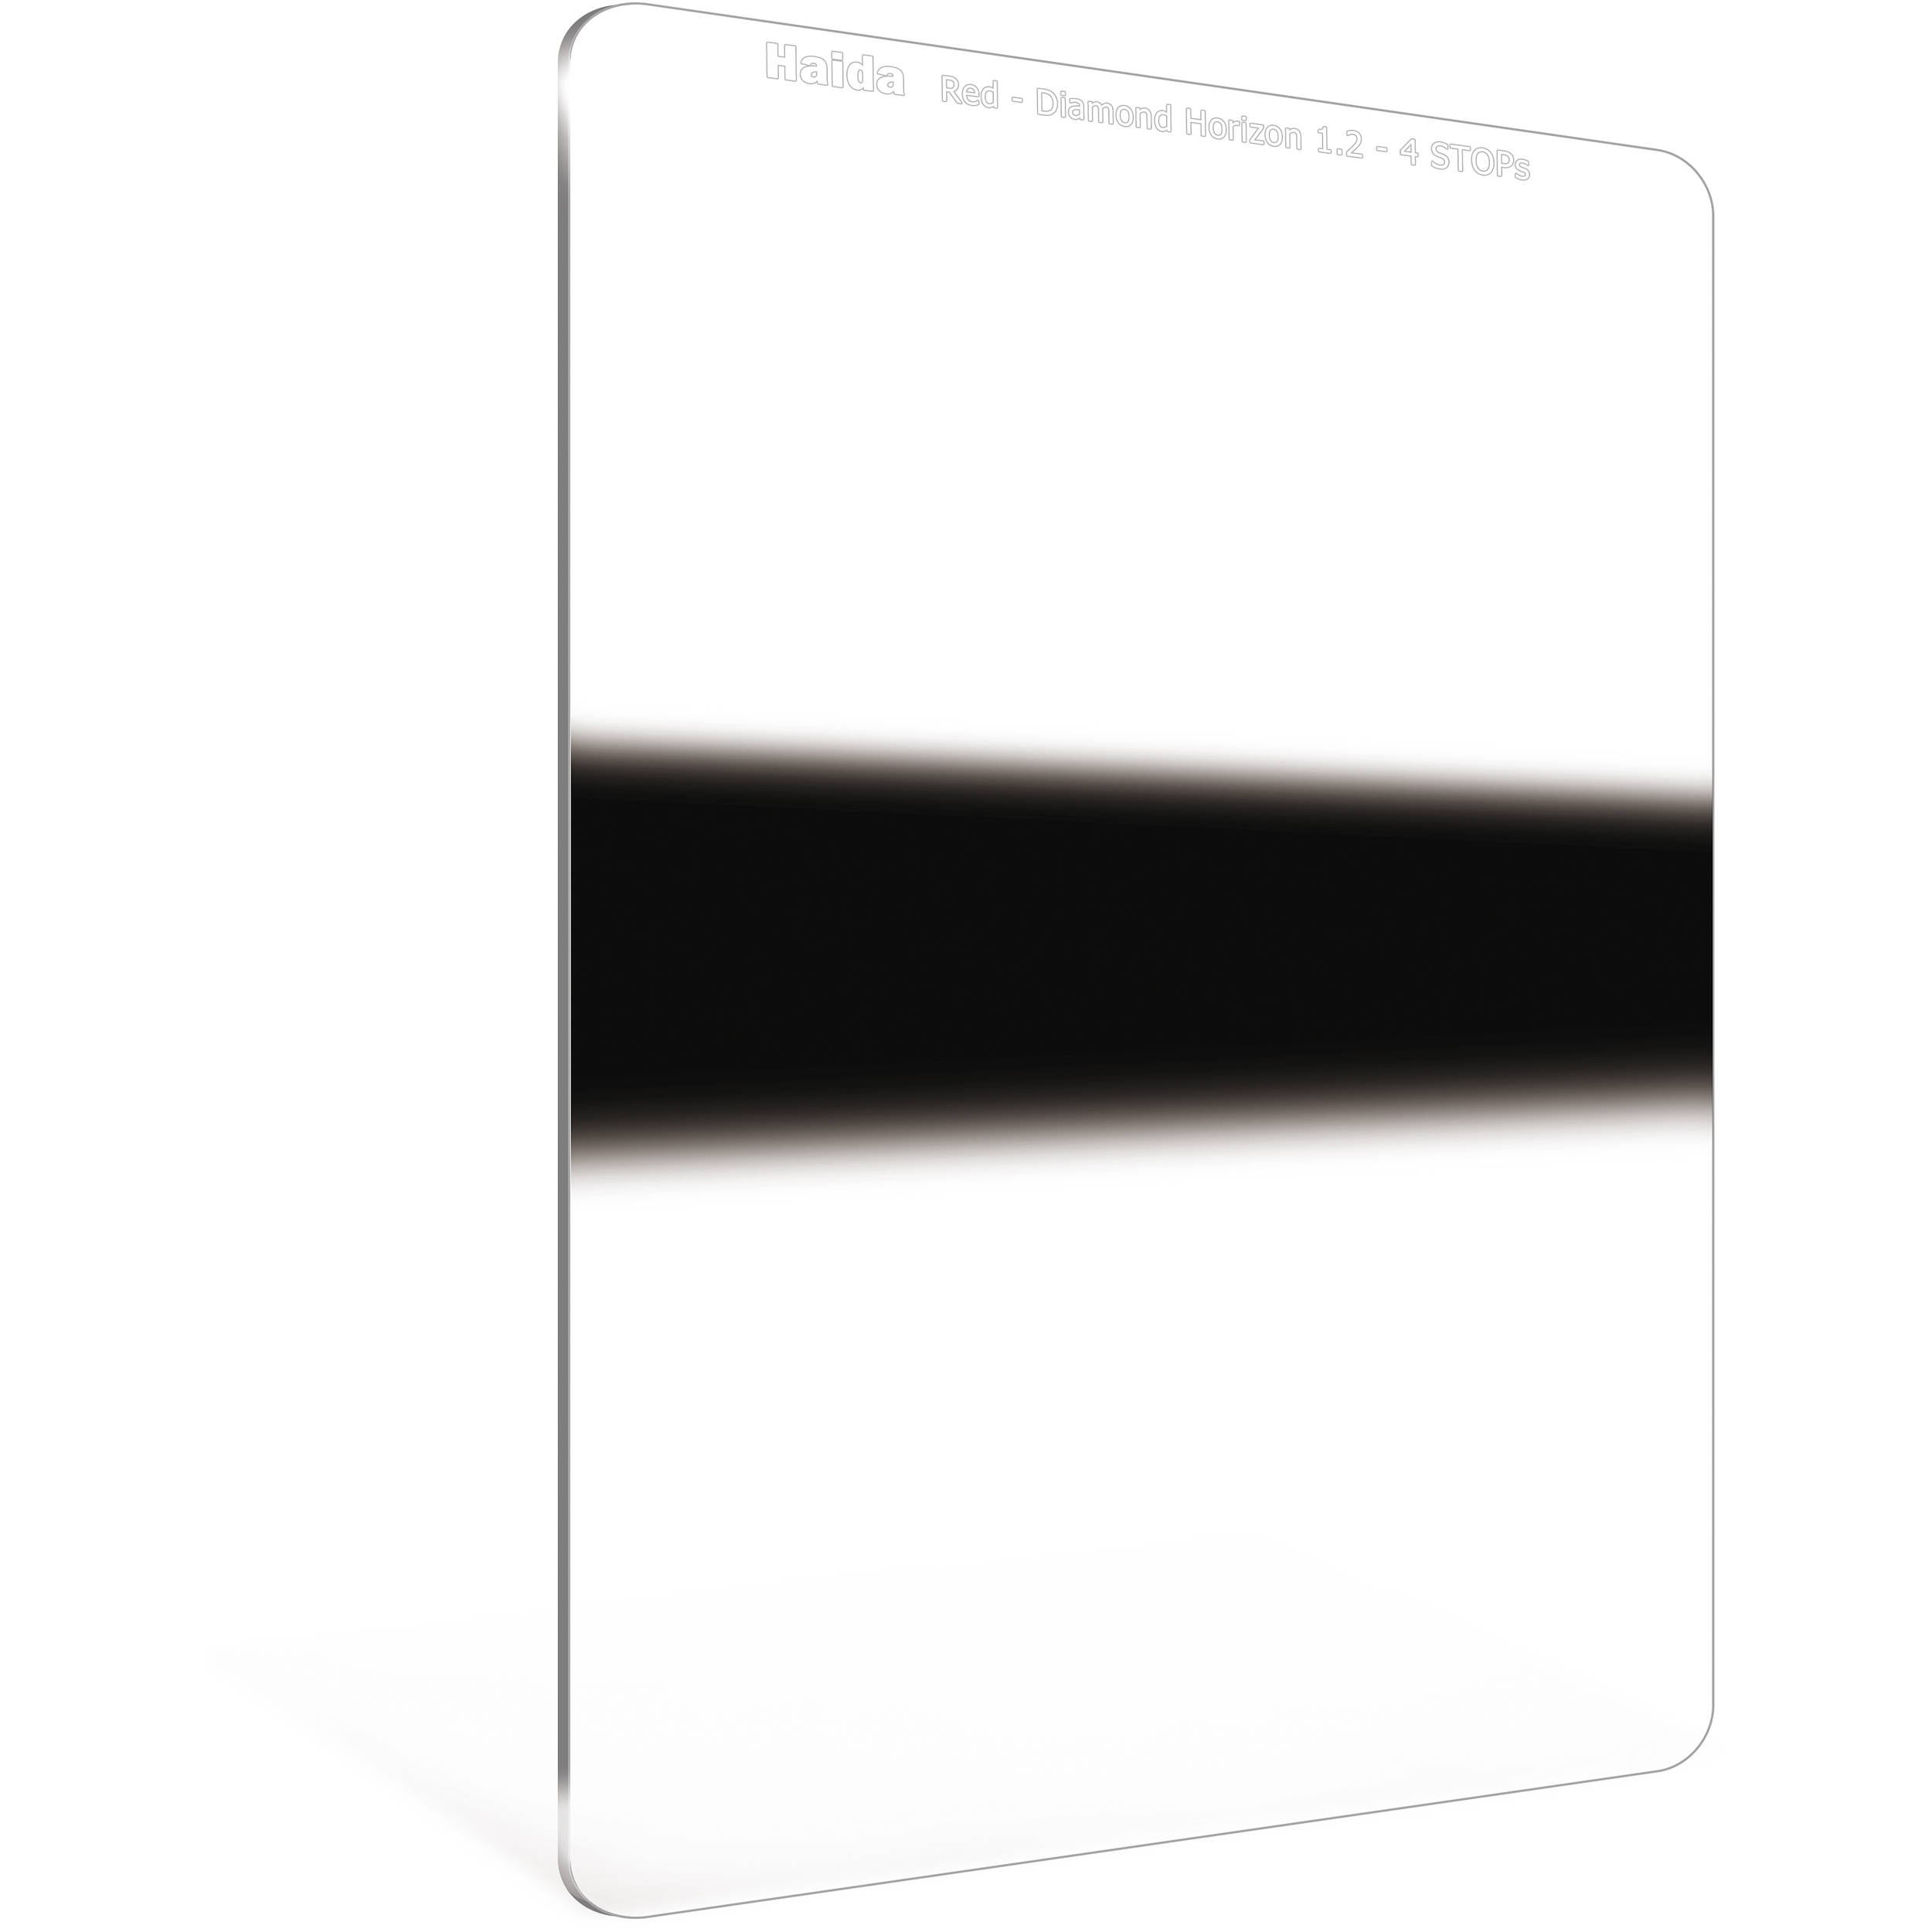
There is an even more extreme type of filter for sunrise and sunset or other similar lighting conditions, the horizon ND filter. This filter is probably a little too much specialty use for most of our photography that needs a graduated ND filter, but when you do run into that specific situation, it is probably the only filter that will do exactly what we want to accomplish.
Filter Holder Systems
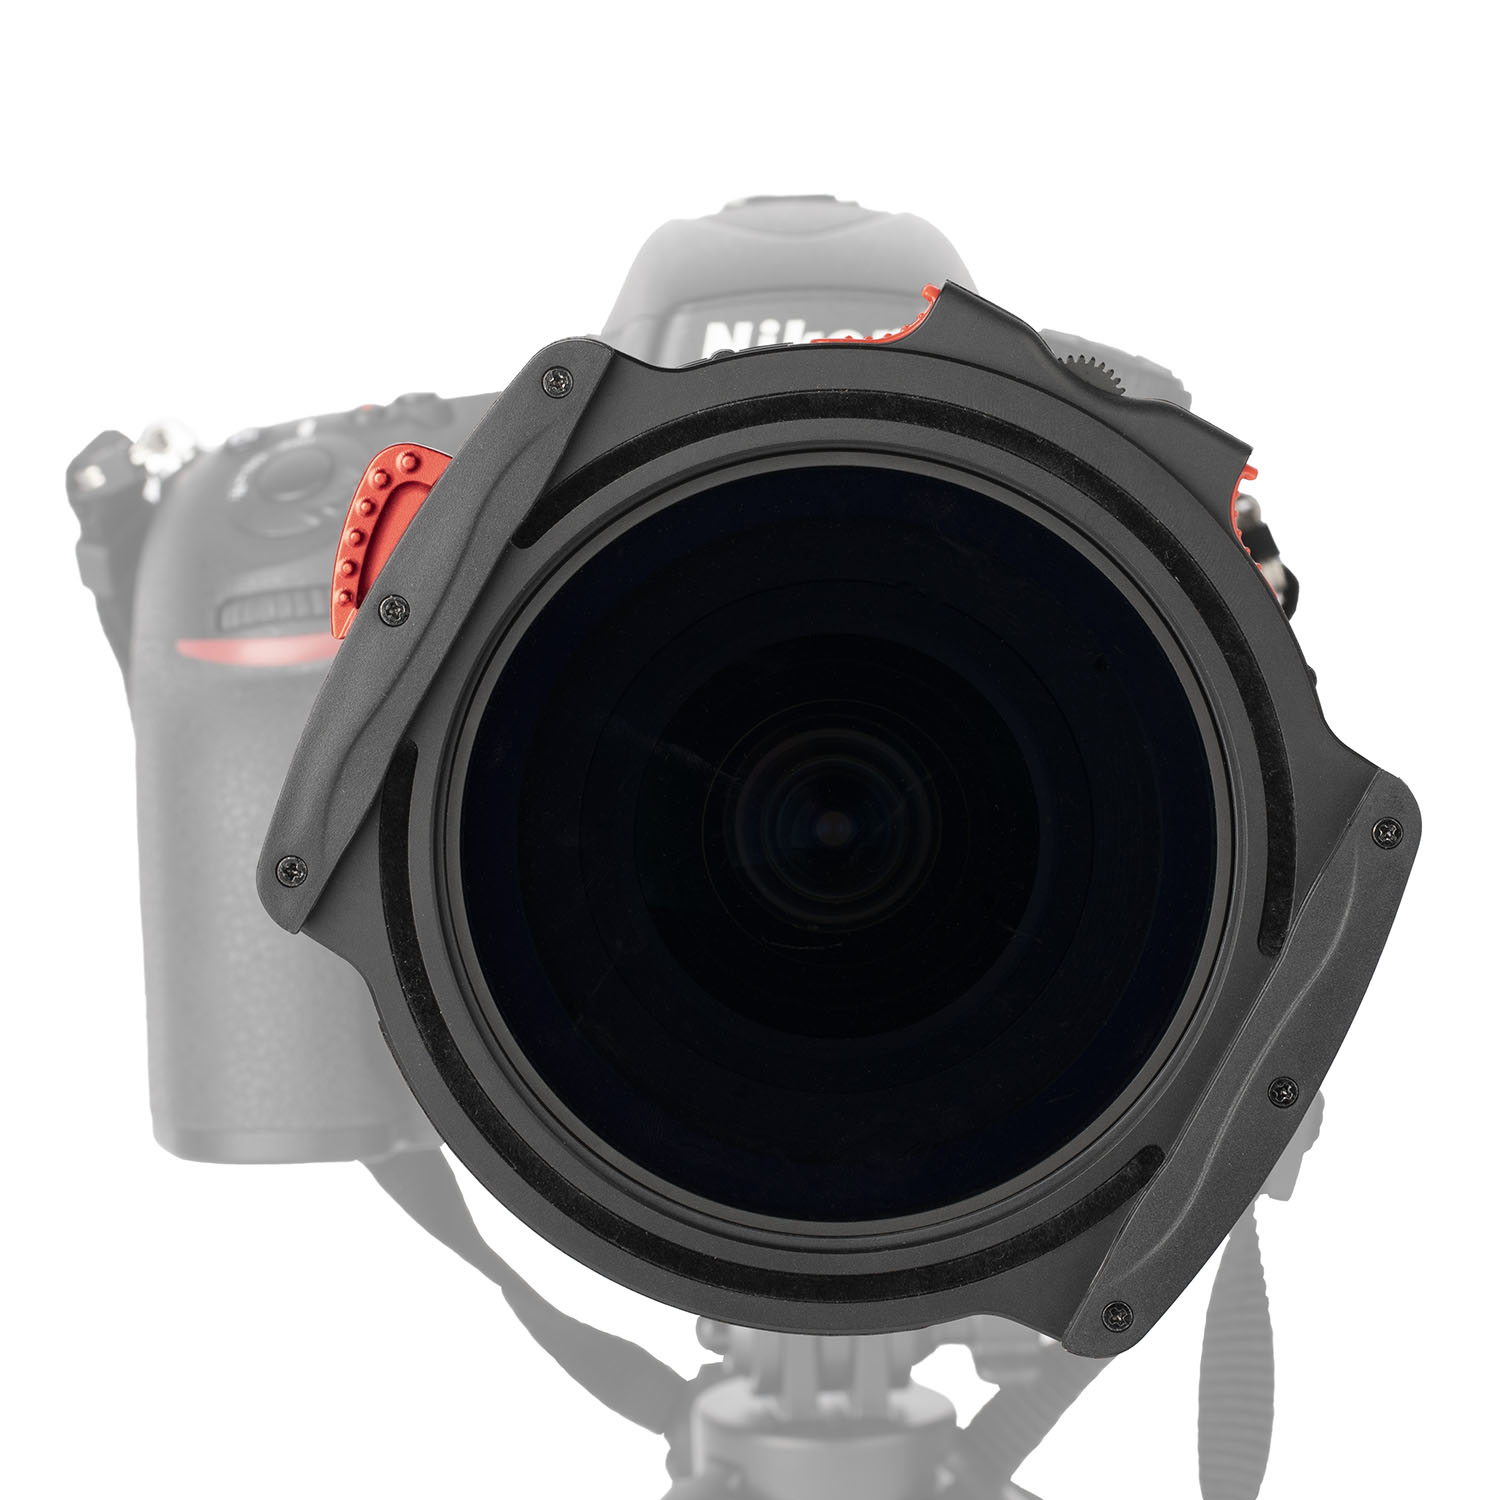
The best way to make use of any of these graduated ND filters is in a filter holder system. A system like the Haida M10 professional filters we've been highlighting allows for the most versatility of exact filter placement.
A filter holder system consists of a holder with adapter rings to mount to various size lens diameters and round, square, and rectangular filters that can fit in the holder, often several at once. This lets you use a C-POL filter along with a GND, for instance, when capturing that mountain scene or sunset at the beach.
A filter holder system also makes sense for using professional filters since you only need to buy one size of each type of filter because the adapters let you use them on all your lenses. So instead of investing double or triple purchase for each lens, you can make the most of your filter budget.
These filter holder systems with full ND filters are also perfect for 4K video since we can have more control over the rolling shutter and lens apertures to capture exactly what we want to capture.
Once we have these filters, we will find many ways to use them in all sorts of photographic and videography situations.
Learn More:
We Recommend
Which ND Filter Do I Need?
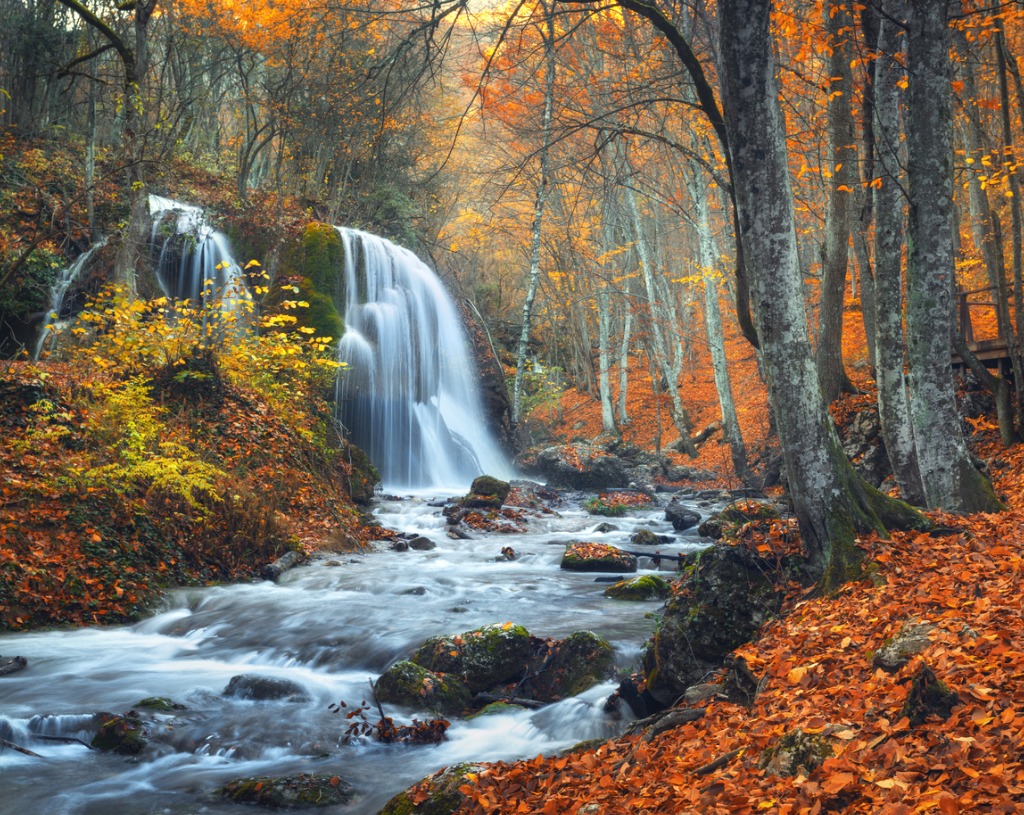
photo byden-belitsky via iStock
Neutral density or ND filters are an extremely useful tool for digital photographers for a wide variety of reasons. In addition to many ND filter uses in still photography, these ND filters are also very beneficial in videography, an important point since there is a huge uptick in the demand and response for digital video.
ND Filters Explained
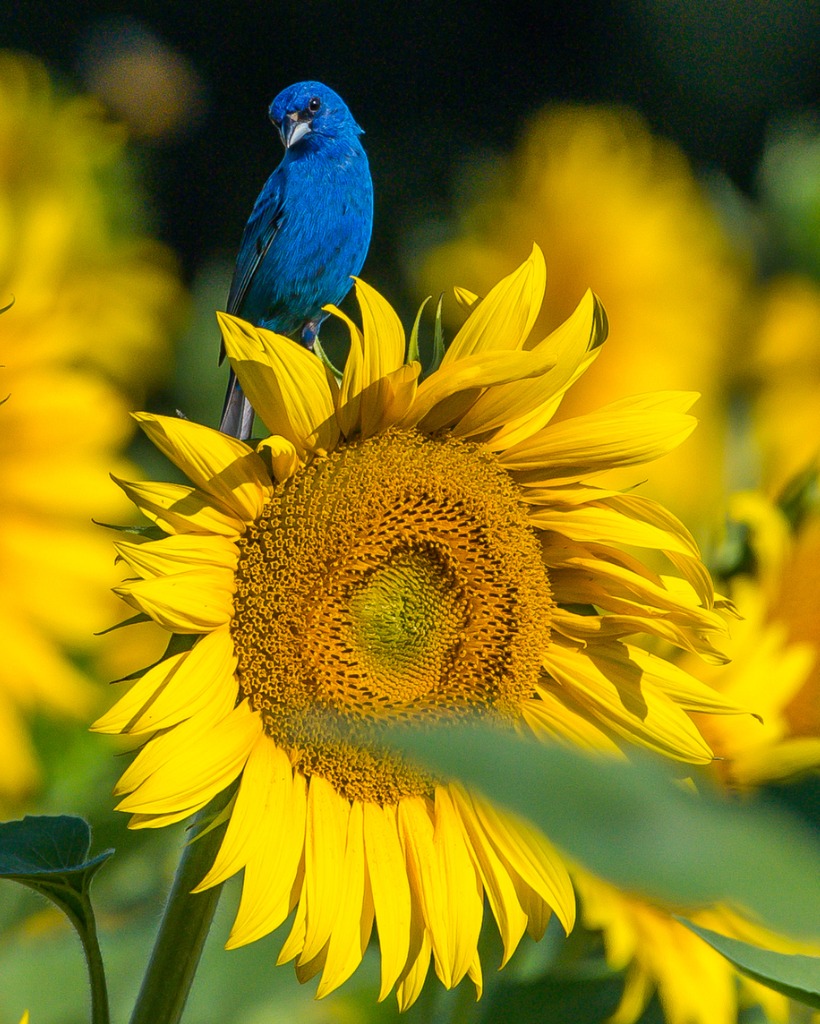
photo byWilliam Krumpelman via iStock
A neutral density filter is designed to attenuate or lesson the light passing through the optical path used to record to a sensor or to film. Density because it is dark, neutral because it has no color tint. ND filters will diminish the amount of light coming through the lens without affecting anything else.
Based on the exposure triangle, you can use ND filters to increase the shutter speed timing, open the lens aperture, or enable different frame rates for video. All of these ND filter uses either fix an exposure issue or open a creative alternative.
Types of ND Filters
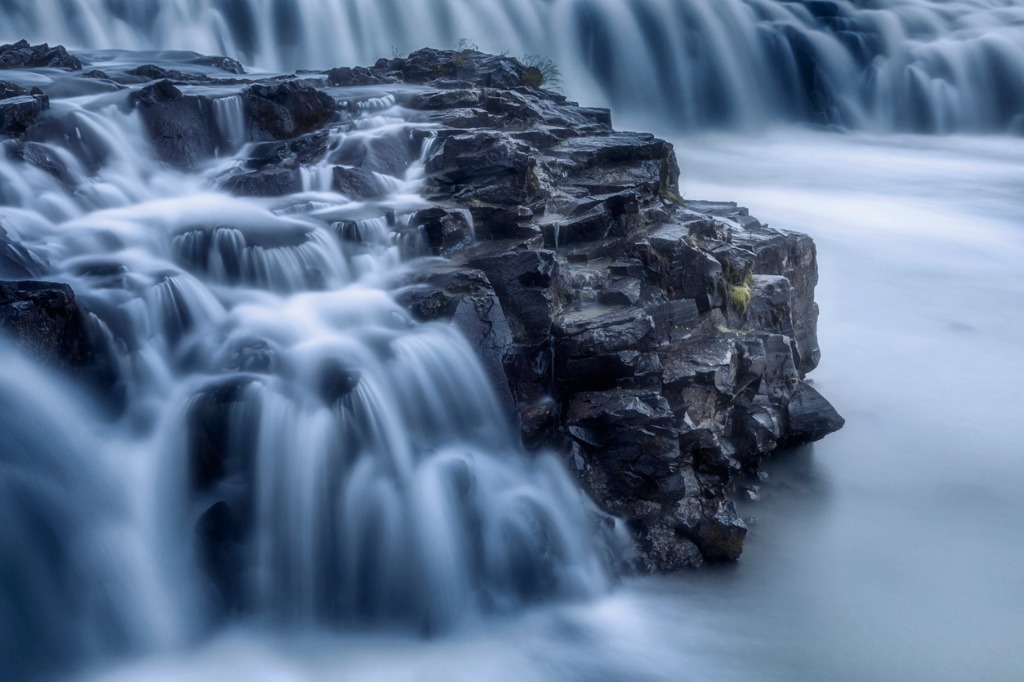
photo bytunart via iStock
There are several different types of ND filters and variation within these types. You can use this as a broad outline of an ND filters buyer’s guide. The major types of ND filters are solid ND filters, graduated ND filters, and reverse graduated ND filters.
Within these general types of ND filters are different strengths of density, such as 3-stop ND filters, 6-stop ND filters, and 10-stop ND filters. Graduated ND filters (GND) also have varied strengths and can also be differentiated by the type of transition zone between clear and density being either hard edge or soft.
We have several tutorials on graduated ND filters, so we’ll concentrate on solid ND filters. Your ND filters can be either screw in filters or part of a filter system with a filter holder, adapters, and square or rectangular filters. For specialty filters, a filter holder system is preferred by many photographers for ease of use, versatility, and cost effectiveness.
photo byKonstantinos Ouzounidis via iStock
You will want to look for high-quality ND filters for your photography and videography. A lens filter goes right in the optical path of light reaching your sensor, so you don’t want to put substandard material in that path. That would be like putting ketchup on a perfectly seasoned steak. While it may be perfectly adequate, you want to preserve the high-quality you started with.
High-quality brands, such as Haida Red Diamond ND filters use superior optical grade materials and specialty coatings for scratch and reflection control just like your fine lenses.
Now, on to some specific filters and their uses and benefits.
Learn More:
- How To Photograph Rivers and Streams
- What Do Lens Filters Do?
- 6 Expert Tips for Improving Your Landscape Photography
3-Stop ND Filter
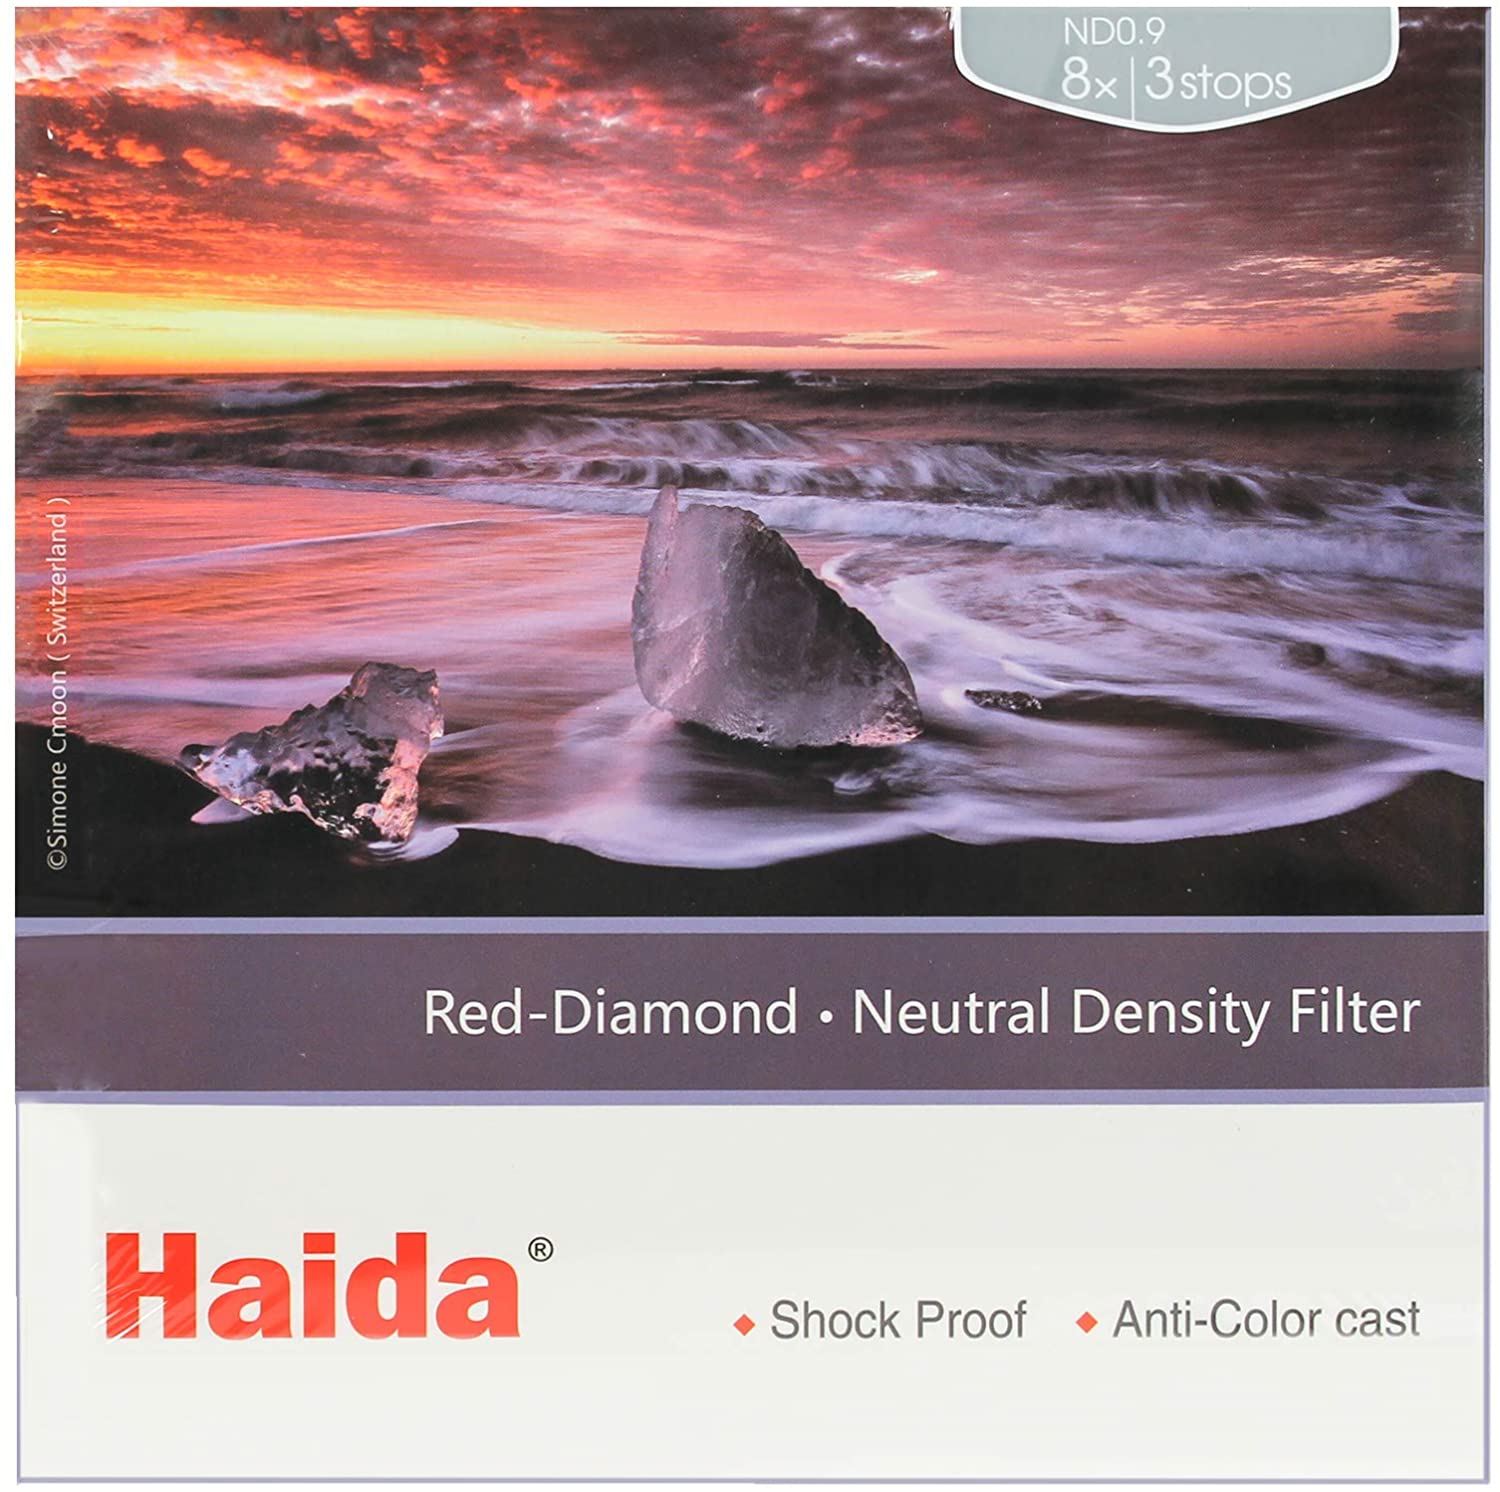
The 3-stop ND filters are among the most useful for many photographic and video uses since they attenuate by just a few stops of exposure difference. Haida Red Diamond 3-Stop ND filter is a good example of this type of ND filter.

photo byRapidEye via iStock
Using a 3-stop ND filter opens up a lot of very useful options for adjusting the exposure triangle to fit our artistic vision. We might want to use a wider lens aperture for selective focus techniques, a slightly slower shutter speed for panning along with action, or to change the video frame rate to a natural appearance.
A 3-stop ND filter is probably the strongest you would consider hand holding, as any other ND filter use is probably best accomplished on a tripod.
6-Stop ND Filter

Many photographers new to ND filters are likely to start out with a 6-stop ND filter like the Haida Red Diamond 6-Stop ND filter. Six full stops of exposure difference can be really effective in giving you the ability to use blurring effects for water such as a beach with waves or a waterfall.
As an example, if you have a meter reading reading at ISO 400 that says correct exposure might be 1/500th at f/8.0, changing ISO, stopping aperture, and adding a 6-stop ND filter will result in a shutter speed of 2 full seconds at f/16 and ISO 100. This is a long enough time to record a softening blur from moderately fast moving water like you might find in a babbling brook, waterfall, or wave action against rocks.
10-Stop ND Filter

The Haida Red Diamond 10-Stop ND filter will allow even more extreme effects by allowing even longer shutter speeds. If we’re still in the exposure situation highlighted above, a 10-stop ND filter will give you an exposure time of around 30 seconds. If you came back to that scene during Golden Hour or Blue Hour that has less light intensity, you could easily attain exposure times measured in minutes rather than seconds.
photo by Matthew Murphy for MurphyMadevia iStock
Having a 10-stop ND filter in your filter kit opens up another awesome photographic technique for popular landmarks with lots of tourist foot traffic, ghosting people out of the frame. The idea is that if your exposure time is long enough for the static part of the scene, anyone moving through the scene won’t be in one spot long enough to register in the exposure. You are effectively removing them from the photograph.
ND Filter Techniques

photo byParshina Olga via iStock
In order to fully utilize the stronger versions of ND filters, you will need to learn some special techniques such as shooting in RAW, manually focusing before adding the filter, super steady tripod and remote techniques, and other tips and ideas you can find in our library of instructional articles.
Let us see what you’ve shot with your own ND filters.
Learn More:
- How To Take Killer Photos of the Night Sky
- Long Exposure Tutorial: Beach Photography
- First Impressions of the Haida M10 Filter System
We Recommend
Why You Need a Filter Kit for Landscape Photography
What filters do I need for landscape photography? This is one of the more common questions I hear or see from fellow photographers.
I have my favorite go-to filter kit for landscape photography that I will share with you as well as some reasons to have lens filters in the first place.
What’s In My Filter Kit?
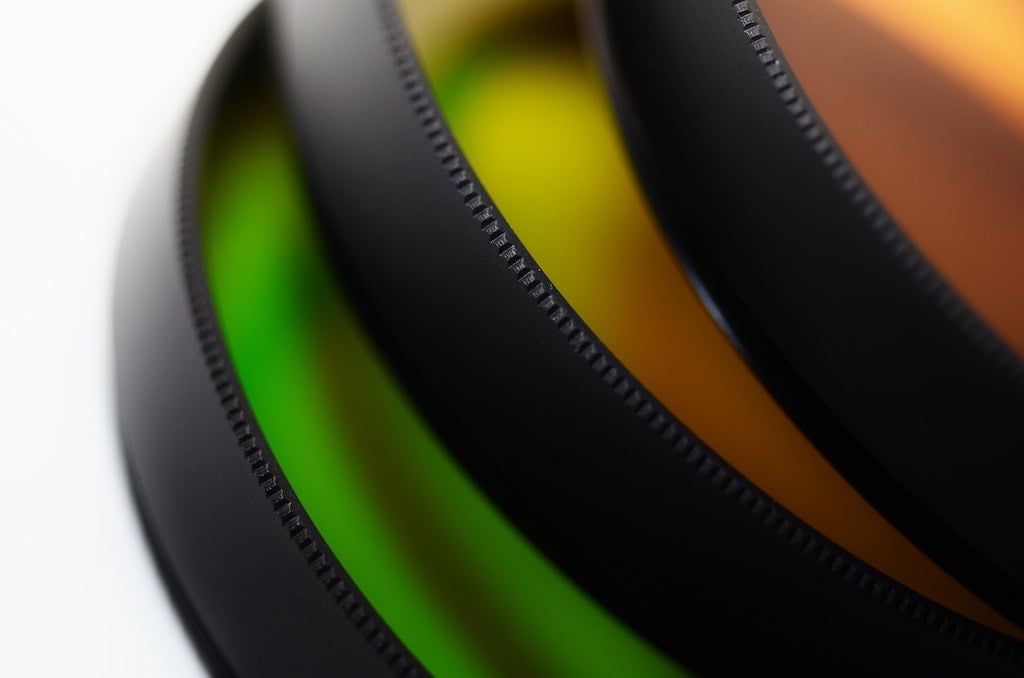
photo bySkitterphoto via Pexels
Filter kit can mean a couple of different things to different photographers, so let me clarify first what I’m calling a filter kit these days.
One photographer may refer to their various screw-in landscape photography filters as a filter kit. For instance, when I shot film, I carried around a pouch of my most used filters such as the polarizer, a red #25 and yellow #8 for B&W, an 81A warming filter to compensate for cool skylight when shooting color, plus a set of step up and step down rings.
The other definition of filter kit is something like the Haida M15 Filter Kit. In other words, a filter holder with adapters for various lenses and a mix of very usable filters for digital photography such as neutral density (ND), graduated neutral density (GND), and circular polarizer (C-POL) filters. This is what I usually mean now when discussing filter kits.
Why Use Lens Filters In Digital Photography?
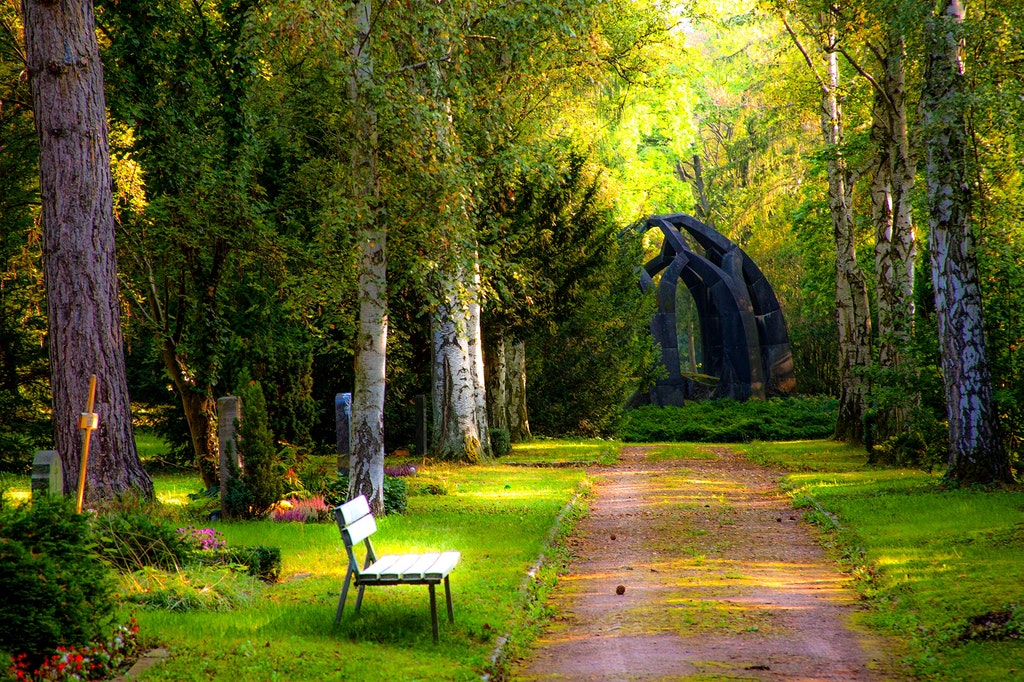
Since we have so much post processing capability with digital photography, are there reasons to have lens filters as part of our gear?
There are good reasons to have lens filters for our modern DSLRs and mirrorless cameras. The one that jumps out at me is that you can’t post-process everything. Even with the marvelous programs we have available to us, some issues are better handled in camera.
This seems especially true with our landscape photography filters. While I might be able to use Lightroom or some other program to adjust for color balance and certain exposure issues, I find that if I limit my use of post processing to tweaks, as opposed to major changes, I get consistently better results.

Photo by Ekaterina Bolovtsova from Pexels
Additionally, there are some things that simply can’t be done after the exposure. Handling polarized light and attenuating the overall exposure value of a scene are two situations that require physical lens filters.
Learn More:
Landscape Photography Filters for Digital Cameras
So, let’s have a look at my current filter kit for landscape photography, the Haida M15 Filter Kit with several magnetic filters, a C-POL, and a couple of different GND filters, a 15 stop ND, and their specialty Clear Night Filter.
A great aspect of this system is the magnetic filter holder which makes changing and adjusting filters super convenient, quick, and allows for precise positioning. You change adapters for the different lens diameters, but you only need one filter holder and one of each filter type.
Circular Polarizer Filter
This is a large circular shaped filter that operates like any other C-POL filter does, in other words, you turn it around while monitoring your viewfinder or viewscreen to verify the effect. What makes the Haida filter special is the high grade optical glass and the magnetic mounting.
Not having to screw in a large filter saves a little bit of time but the convenience of not worrying about cross threading or smudging any of the surfaces is a real plus. Since I started using the Haida series of filters with magnetic mounting, I don’t really want to go back (though sometimes I still do, life of a photographer).
GND and Reverse GND Filters
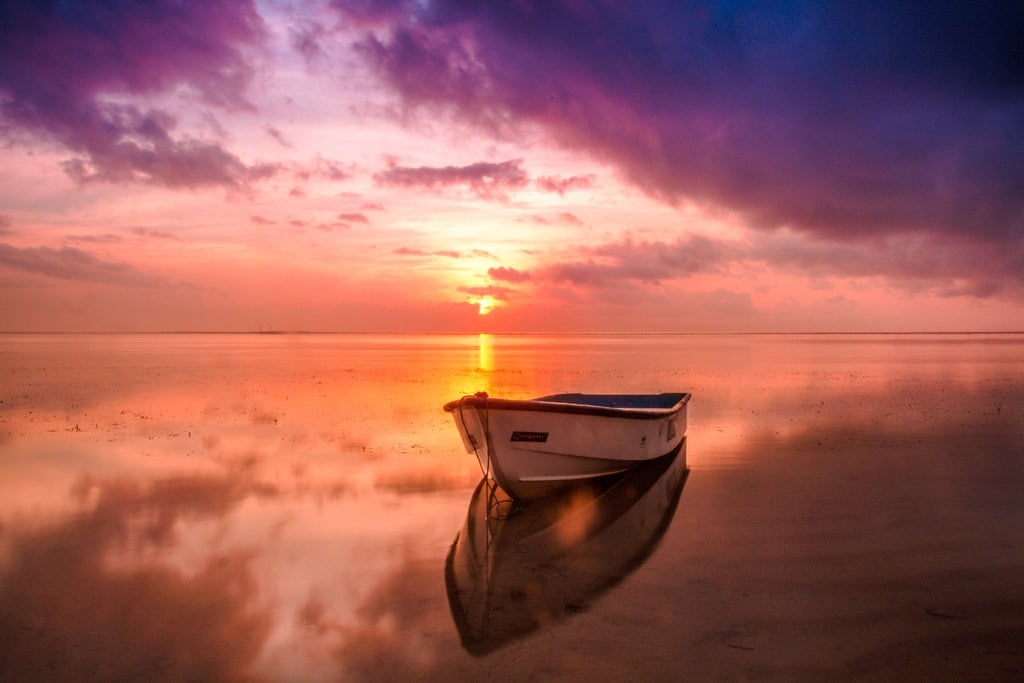
Photo by Nuno Obey from Pexels
These filters are why I got into the Haida system in the first place. Combining their rectangular shape with the magnetic mount system makes thes GND extremely versatile and useful.
I use this type of filter to balance out the extremes of light and dark in certain scenes without requiring me to spend hours on the computer for what I consider substandard results.
The GND 0.6 (2 stop) hard edge filter gives a hard but not instant edge between clear and ND. That plus the ease of positioning allows for precise placement of the filter, such as on an horizon or turned vertically for urban landscape uses such as against a building. A softer edge version is also made for all of the densities.

Reverse GND filters are best used in sunset or sunrise situations where you need extra density near the center third of the image, but they can be used anywhere with some creative thought. I tend to go a little darker on the density, the ND 0.9 GND (3 stop) is my usual choice.
Deep Neutral Density
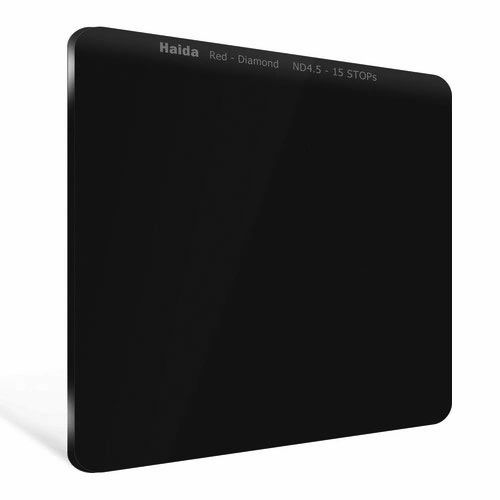
I don’t know a better way to describe this style of filter. It is far denser than the typical ND filter for creating some very entrance effects.
A regular neutral density filter in the 2 or 3 stop range is invaluable when taking environmental portraits or for landscape photography in bright sunlight while wanting to use wider apertures for selective focus.
Haida makes a 15 stop ND filter, the ND 4.5, useful for extreme exposure time adjustment, like what you might want for a seascape, river rapids, waterfall, or for storm photography. Counting 15 full stops could take you from ISO 100, f/11, and 1/60 second to 17 minutes and change at f/16. Think what you could do with that!
Clear Night Filters
When considering landscape photography filters, we sometimes tend to think in daylight terms only. The Clear Night Filter opens up the world of nighttime photography for anyone that doesn’t have a dark sky spot in easy reach.
Why do you want this in your filter kit? Light pollution! Photographing landscapes near any moderate to large metropolitan area introduces a phenomenon known as light pollution or sky glow that adds an unnatural color tint, lowers contrast, and obscures all but the brightest stars.
Photo by Xain Sheikh from Pexels
Seriously, many city dwellers have never seen the Milky Way with their own eyes! Amateur astronomers have used eyepiece filters for decades, these Clear Night FIlters from Haida work the same way for your imaging. Try one out in the nearby countryside or even in your own urban or suburban neighborhood.
Filter Stacking
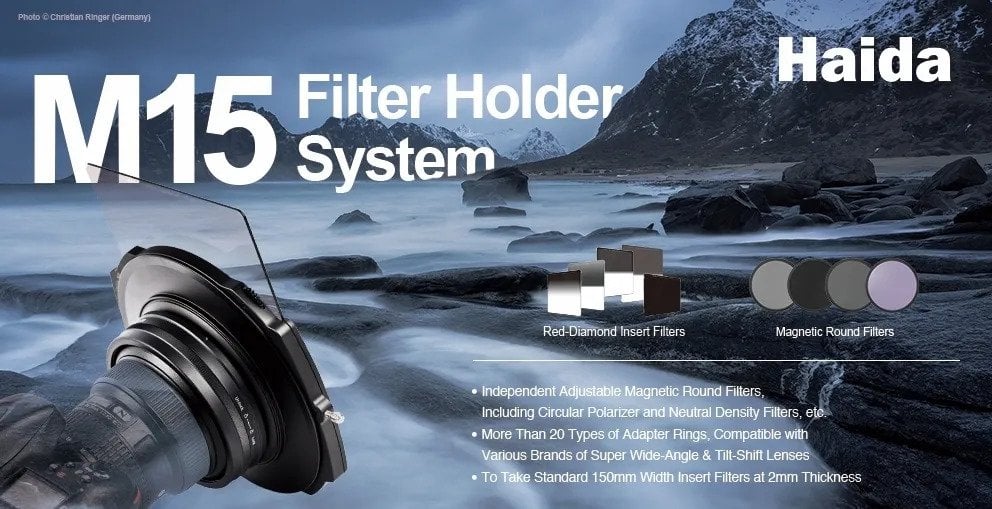
Another great advantage to any filter holder system is the ability to stack filters without vignetting the edges of your image frame. Plus, you can combine effects for truly interesting landscape images. The Haida magnetic mounting makes this process even easier.
What’s In Your Filter Kit?
Photo by Oladimeji Ajegbile from Pexels
Your filter kit for landscape photography will likely differ in a few key areas. It depends on what you intend to do. The reasons to have filters and use them in this digital age are numerous and include making files in camera that you won’t have to turn into a fictional work of art, but merely tweak the image file for best results.
I want to see what you’re using and the images you’ve made with them. Join our discussion forum and share!
Learn More:
- How To Photograph Clouds
- Types of Graduated ND Filters
- How Good Is the Haida M15 Magnetic Filter System?