HDR Photography Tutorial for Beginners
photo byBike_Maverick via iStock
High Dynamic Range HDR photography is a method and technique allowing a photographer to capture an extremely wide range of light and dark areas in the image. In this HDR photography tutorial, we will show you how to do HDR and some useful HDR photography tips.
In order to understand what is HDR and the HDR photography benefits, it helps to know what the concept of dynamic range in photography is in the first place.
Dynamic Range
photo byFilippoBacci via iStock
As we look at a scene with our own eyes, we take in a lot of information that the vision center of our brain processes automatically, rendering a mental image of everything within that scene. We see the things that are stationary and in motion, we discern all sorts of colors, and we can make out things in deep shadow at the same time we see other things bathed in light.
No film or digital sensor can capture all of that at once. In fact, film and sensors can only capture a range of the total information of exposure value within any scene. If you are at a beach in broad daylight and look at a log of driftwood casting a deep shadow on the bright sand, that is a dynamic range of exposure values that is likely beyond what the camera is capable of recording. Either the highlights or the shadow detail will suffer, or both extremes.
Taming Dynamic Range - GND Filters
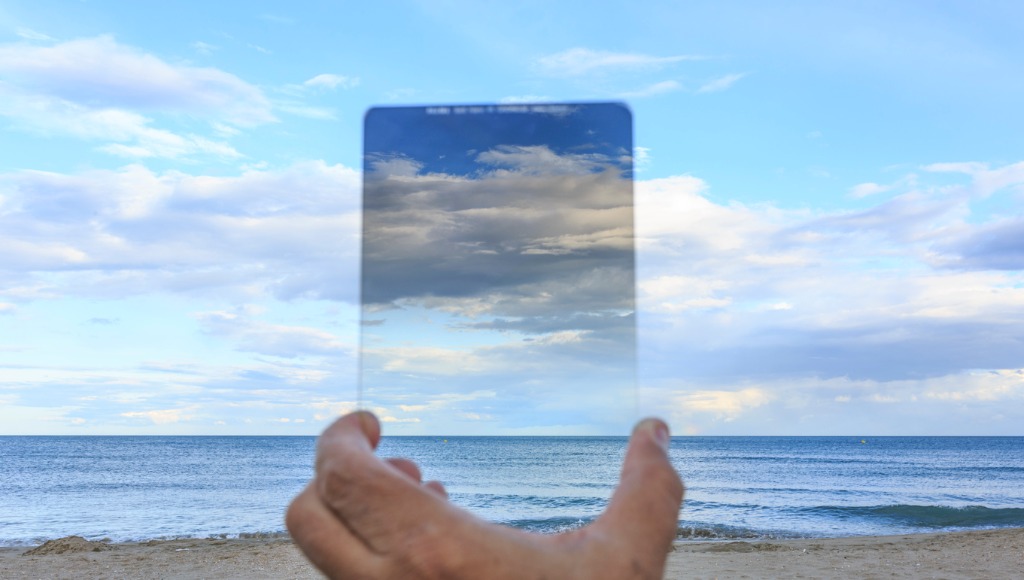
photo byIgnacio Ruiz Casanellas via iStock
A method that has been used in digital as well as film photography to help narrow the broad range of exposure values is using a graduated neutral density (GND) lens filter. The idea is that you use the density side of the filter to lower the bright highlights down to an exposure value that can be captured along with the lower value in the shadow or darker side of the exposure range.
It takes some work, but the results are really great looking. It isn’t a perfect solution, though. Especially if there is fine detail that is important to the image in the highlights, shadows, and middle range of the scene’s exposure values.
Learn More:
Dodging and Burning
photo byMaxiphoto via iStock
Another method that was used regularly in B&W film photography and is a basic tool in most digital photography post processing programs is dodging and burning.
The way this works is that you expose for detail in either the highlight or the shadow end of the range, and then remove or add light in the printing process to portions of the image that need more or less exposure, which is mimicked by the dodge/burn tool in your image manipulation post processing software.
Shoot in RAW
photo bygan chaonan via iStock
The image file format of camera RAW is an uncompressed recording of the image information captured by your camera sensor. It has more exposure value (EV) and color information than a camera processed JPEG which is a compressed file format.
Since the RAW file holds more EV information, you could expose for better highlight detail and use post processing to pull out more detail in the shadow part of the image’s EV. This works for many situations but it isn’t a one-size-fits-all solution. For one thing, you will lose detail in either the shadow or highlights, just not as badly as in a JPEG.
Just because we can pull out some detail from the shadow side doesn’t mean we captured all of it that we could have. Additionally, if we lose any highlight detail in our in camera exposure, there is no way to retrieve any of it. If you don’t capture accurate highlight detail, it’s simply not there.
Benefits of HDR Photography

photo byEloi_Omella via iStock
All of these reasons are why HDR photography was invented in the first place. HDR photography is totally dependent on digital photography. This is because it works by adjusting image files in a computer program.
The benefit in HDR photography is that you can capture accurate highlight and shadow detail in separate exposures and blend them together to make an image with a high dynamic range of exposure value.
And that also clearly answers the question of “what is HDR photography?” It is exposing separate images for different exposure values and blending these images together in HDR photography software for a single final image with all of the detail of the captured EVs present.
How To Do HDR Photography
photo bydennisvdw via iStock
Now we come to the nuts and bolts of how to do HDR photography. The first step is to calculate correct exposure for the scene.
Wait a minute! Isn’t HDR a way to fix exposure issues? Actually, what it fixes is the dynamic range issues specified earlier, but the image still needs a good starting point of correct exposure settings for the EV of the scene.
One of the most useful HDR photography tips is where to start in regards to the base exposure. The base exposure is the middle of the dynamic range exposure setting. A good practice is to place an 18 percent gray card in the scene and meter from it. Try to place the card in what looks to you to be the middle value of light, not sitting in deep shadow or the brightest and strongest light.
Another method for calculating the initial exposure is to set your camera for averaging meter mode, which averages the scene’s exposure values. This method works well when you can’t place a gray card in the scene. Either way you do it, this is your starting point.
Multiple Exposures
photo bykickstand via iStock
At the core of HDR photography is that you are blending multiple exposures of the same scene into one image. The one image is what comes out of your HDR photography software, what you enter into your software are at least 2 image files, with 3, 5, or 7 images being most common.
From that base exposure that you figured in step 1, now you also take extra exposures at different settings or EVs. Since you want to capture shadow and highlight detail, you will now increase and decrease the next exposures. Plus and minus 1 or 2 stops of EV will give the HDR photography software something to work with for blending. You can see what I mean in the video below by Anthony Turnham:
The more multiple exposures or the larger change of stops will allow for a wider dynamic range to be rendered. Many new digital cameras have a feature that helps, AE bracketing. Your camera can be set for 3 to 9 exposures to be recorded in one burst, changing settings up and down by ½ to 3 full stops. You can even use this feature in the automatic exposure modes, but setting the base value manually ensures consistency throughout your HDR photography workflow.
Because of how the HDR photography software does the blending, another of the important HDR photography tips is to use a tripod so that the camera doesn’t move between exposures ensuring proper registration of all image elements.
Since AF changes can sneak in when shooting multiple exposures, it’s also a good idea to set focus manually too.
HDR Photography Software
photo byscyther5 via iStock
Besides the methods and equipment for taking the multiple exposures for HDR photography, you also need to have a program that blends the images together. Not any post processing program will have that capability built in.
There are two types of post processing programs that can be used as HDR photography software. A stand alone program or a full featured with a blending mode available. A fantastic choice for a stand alone program is Photomatix Pro. A good program for general photography that also works for HDR photography is Adobe Photoshop Lightroom.
Both of these programs allow for quite a bit of variation in how subtle or extreme to render the final image. You can adjust for a very natural look, such as you see in hotel brochures or real estate photography which both rely heavily on HDR photography, or you can create a very artsy rendition of the scene, or anywhere in between.
One of the HDR photography tips we like to emphasize is that you aren’t required to make it completely obvious that this is an HDR image. Sometimes, it’s just a little bit of extra dynamic range that is needed to capture and show a wider dynamic range than is capable of being captured in a single exposure.
Smartphone HDR Photography
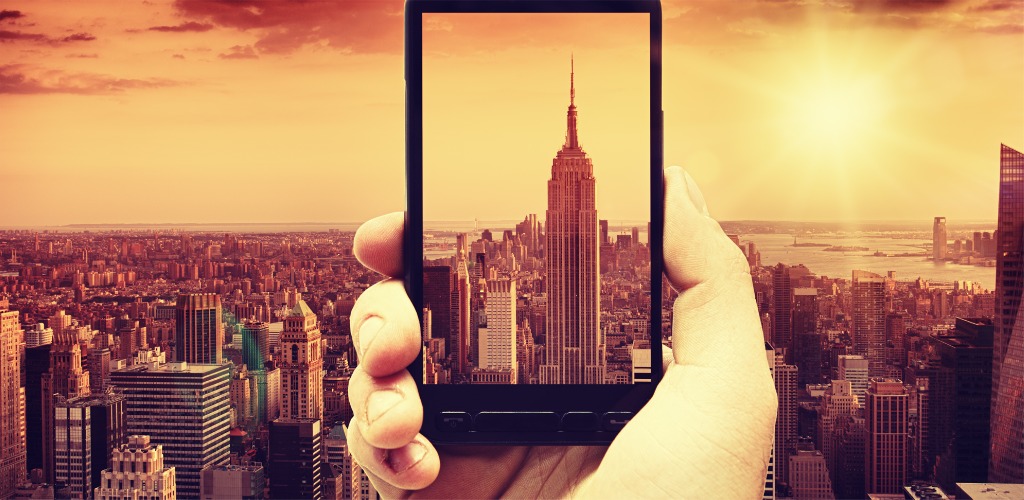
photo byfranckreporter via iStock
Several of the newer smartphone cameras offer HDR photography modes. The Apple iPhones and Android Samsung Galaxy smartphones have this capability, as so several others. Check your manual or the in phone camera menu to see if yours does.
Smartphone HDR photography works in the same basic way as regular HDR photography, but is usually limited to a little bit of extra dynamic range. The camera quickly takes 3 pics
at once and blends them with a preprogrammed set of instructions, giving you a pretty good example of HDR photography.
How Much HDR?
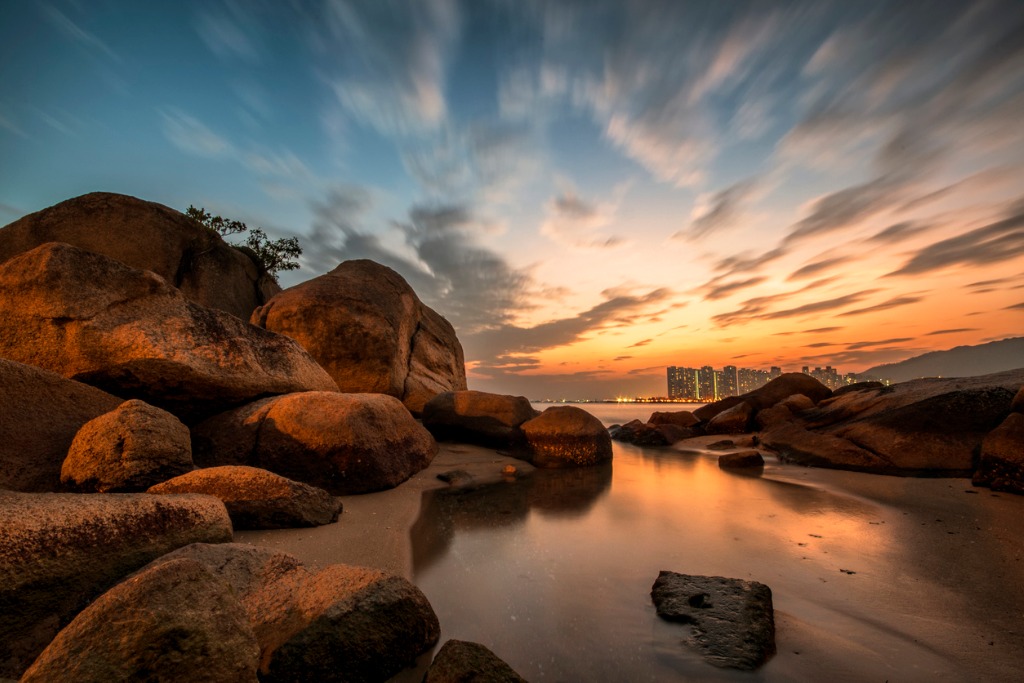
photo bystevecimages via iStock
How much HDR do you want in your image? That artsy look can really turn out some beautiful images, but the subtle, natural rendition can also be fantastic. How much HDR you want to do is totally up to you.
Take a photo trek to your favorite spot and try out all the methods for capturing an image with a high dynamic range. You will quickly find out what you like in regards to HDR style and then you will be hooked on HDR photography jst like we are.
Learn More:
- Best Camera Settings for Landscape Photography
- Beginner Landscape Photography Mistakes You Need to Avoid
We Recommend
Master the Art of Drone Photography: Part 1

If you have a drone - and these days, who doesn’t - you understand the trials and tribulations as well as the joys of using an aerial vehicle for photography.
But to think that taking photos from above is the same as it is from your handheld camera is a total misconception. There are the photographic considerations, including subject matter and camera settings. There are also the issues related to the responsible, safe, and legal use of drones.
In the first part of our two-part series on drone photography, we explore legal and privacy issues, as well as topics related to safely flying your drone.

Legal Issues

As drones have become ever more popular, more and more laws have been passed governing their use. Since consumer-based drones are still relatively new, governments worldwide are scrambling to devise rules that pertain to when, where, and how drones can be used, and by whom.
At the center of it all is the common sense use of your drone. Naturally, flying it near buildings, over your neighbor’s backyard, or near airports will do nothing but get you in a heap of trouble. Additionally, flying your drone over something that could be damaged or destroyed should the drone crash is a simple matter of using your head and your wits. In short, if you’re about to fly your drone somewhere and you have doubts about the appropriateness of it, don’t do it!

In the United States, the Federal Aviation Administration has issued a broad spectrum of rules of which you need to be intimately familiar before you take your first flight. The FAA’s Unmanned Aircraft Systems website is the go-to place for the latest in terms of news, regulations, instructions on how to register your drone, and procedures for flying. Other entities, like states, and cities, may have their own set of rules as well. These regulations also vary from country to country, so it’s best practice to check with local authorities before sending your drone up into the sky.
Another excellent resource is the Know Before You Fly Campaign. With guidelines for responsible flying, resources for drone enthusiasts, and much more, it is worth a visit if drone photography is in your future.
Practice Makes Perfect

Once you’ve explored the legalities of flying a drone, it’s time to practice.
It goes without saying that you will need to examine a practice area to ensure that it is safe and legal to fly there. A wide-open area would be an ideal spot, such as an empty field in a rural area. Granted, not everyone that has a drone has the luxury of an open field nearby, so this is another common sense moment. Choose a location that is as open as possible and affords you sweeping views so you can maintain eye contact with your drone at all times. Above all else, ensure that your practice location has nothing that can be damaged and no people that can be hurt. If it crashes, you want to deal with a broken drone at the worst, not a destroyed car windshield or a hurt bystander.
You’ll also want to check the weather to be sure you’re taking to the skies in the best possible conditions. The less wind, the better, for obvious reasons. You will have enough to worry about just trying to master the controls of the drone; you don’t need a breezy day to add more stress to the situation!
Beware of the Battery

Many drones are equipped with a feature that, in case of an emergency, it will return to its launch point automatically. This is great for both you and the drone if something goes awry.
However, if you don’t keep an eye on the battery levels of your drone, it will land wherever it pleases, which can be inconvenient at best and downright destructive at worst. It’s far too easy to get caught up in the process of flying, and once you add taking photos, there is an awful lot to command your attention.
As such, you will need to develop a system for checking your battery life. Set a reminder on your phone. Have a friend time your flight and call out how many minutes of battery life are left. Try to launch the drone as close to the area you want to photograph as possible. These are simple steps, but they could very well save you lots of trouble should your drone run out of juice.
Understanding the factors that reduce battery life is essential as well. The more camera weight it has to carry, the less time your drone will be able to fly. Windy conditions and cold weather have a deleterious impact on battery life as well. Be prepared to cut your flight time in these conditions by as much as half!
Final Thoughts

There is far more to know about flying a drone for photography purposes, so be sure to check the resources provided in this article before you attempt to tackle drone photography. As noted above, it’s mostly about using common sense and being informed about what you can and cannot do with your drone. Be responsible, check local regulations, and take the time to learn how to fly your drone safely before you attempt to add photography to the mix.