10 Tips for Studio Portraits
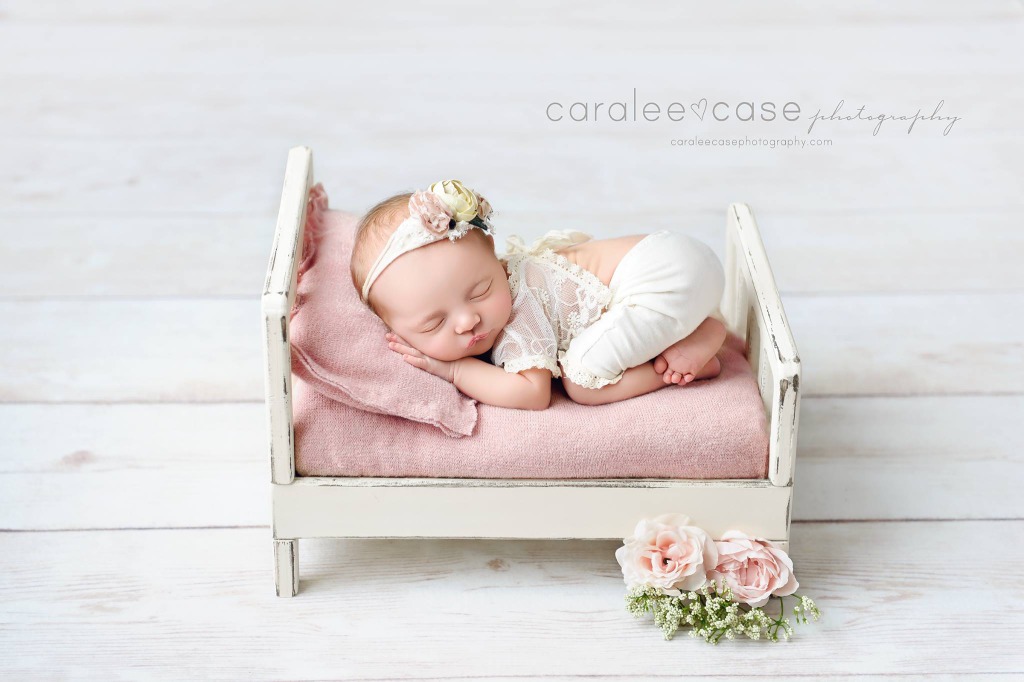
Photo by Caralee Case
Shooting portraits on location and in a studio share many similarities. There are many differences as well.
When shooting on location, you work with natural light or a combination of natural and artificial lighting. When in a studio, you're responsible for developing a lighting plan.
Likewise, shooting portraits on location means you have to find an appropriate spot for the shot with a pleasing background. In the studio, you can just unroll your background of choice.
These and other differences mean that you have to take a bit of a different approach to portrait work in a studio.
Here's a few portrait photography tips to help you become a studio photography master.
Don't Skimp on the Background
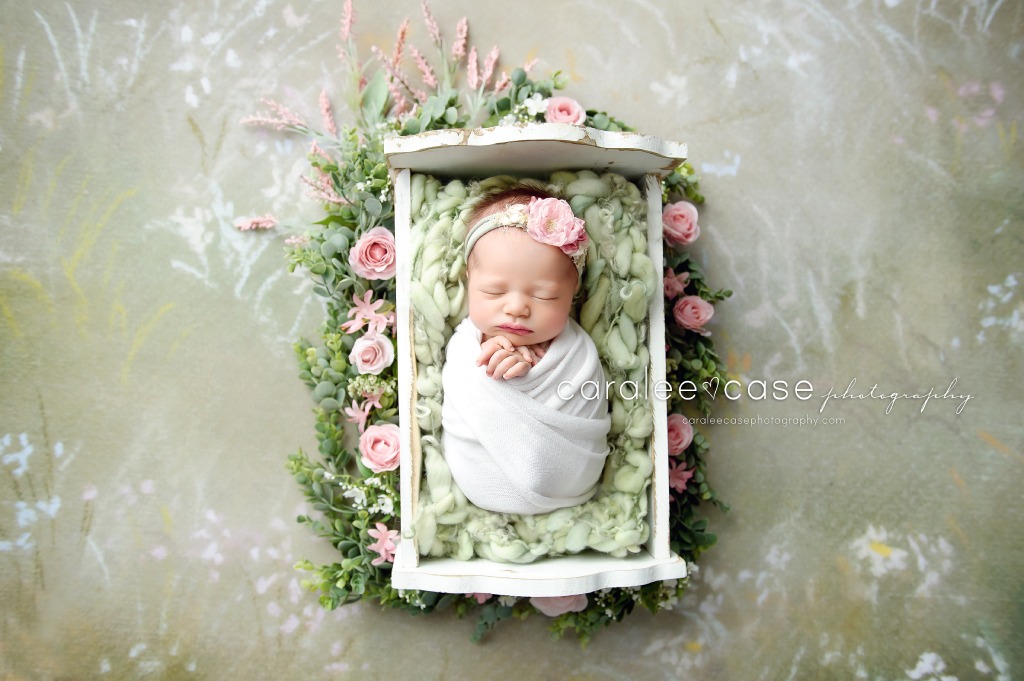
Photo by Caralee Case
Sure, the portrait subject is the star of the show, but the background they're in front of can have a dramatic impact on how the image looks.
Cheap, wrinkly backgrounds certainly won't add anything positive to your photos, nor will backgrounds that are dirty, outdated, or just plain ugly.
That means that you need to spend some time finding quality backgrounds that will add color, depth, and drama to your photos.
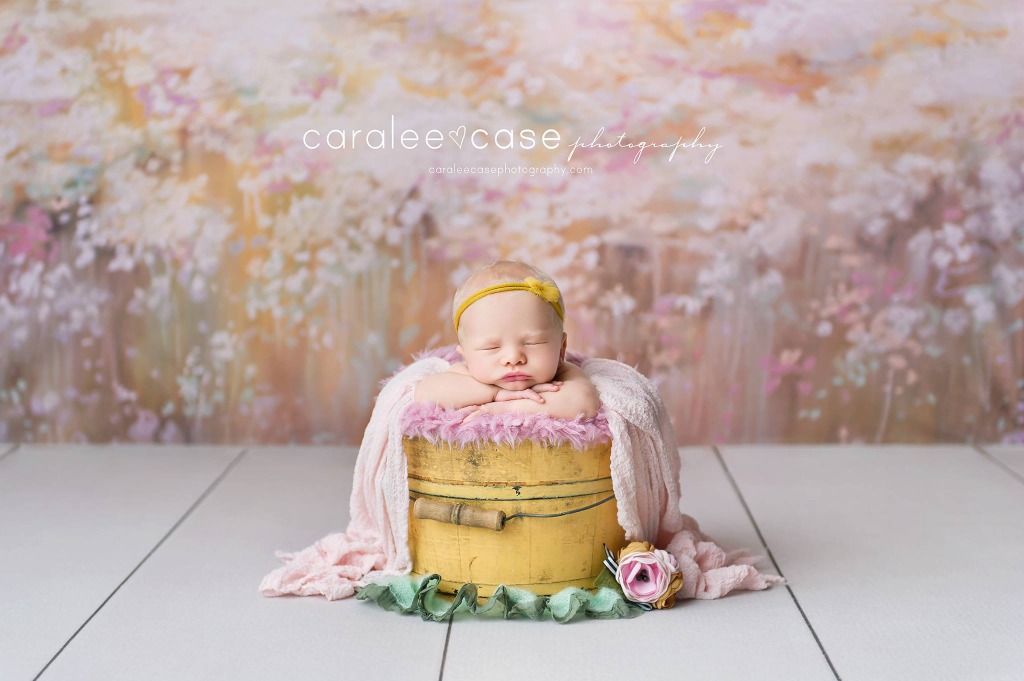
Photo by Caralee Case
As far as finding the perfect background for your studio work, it's hard to beat the selection that Intuition Backgrounds offers. As I recently discovered, they have over 700 designs!
You can choose from floral designs, solid colors, fine art backdrops, and even hand painted options on a number of materials including fabric, poly, canvas, and others.
Explore the possibilities for your studio with gorgeous backgrounds, floors, and props.
Better still, you can outfit your studio with floors and props too, that way you have the complete package for creating gorgeous studio portraits.
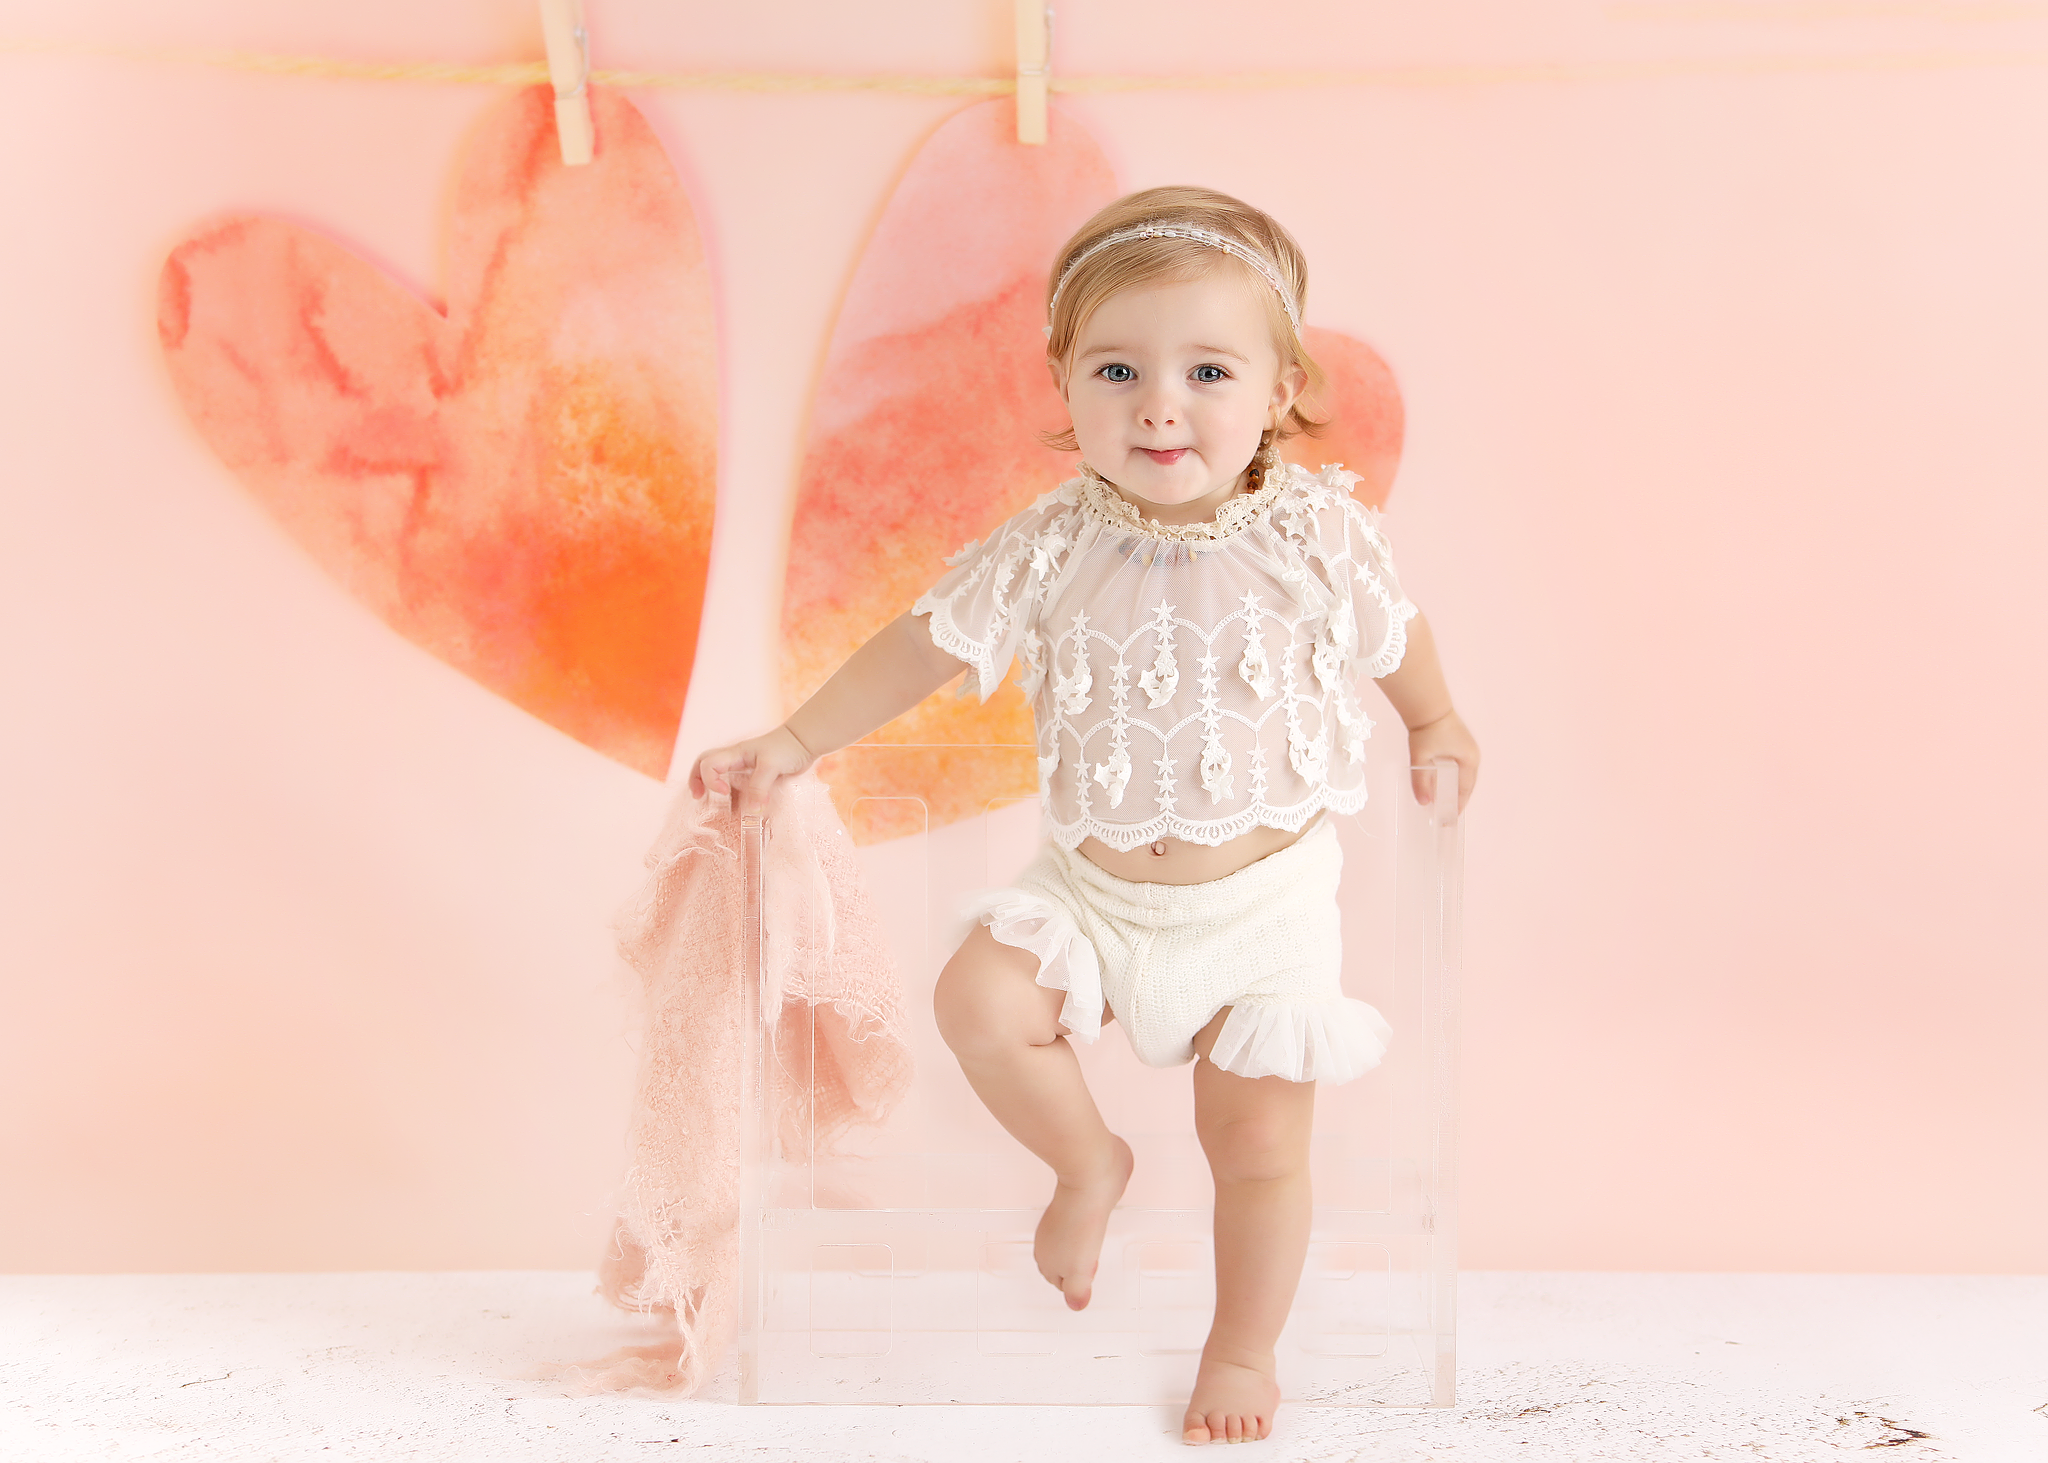
Photo by Patty Othon
Remember - working in a studio means that you're restricted by space. That means that the background and the floor need to look their best.
Without any room to hide, you need to present the best-looking background for your studio work.
Keep Your Studio Space Organized
It’s hard to work efficiently and effectively if you don’t have an organized studio space…
Between your cameras and lenses, lighting equipment and computer, props, backdrops, floors, wardrobe options, and so forth, it’s easy for your studio to become a cluttered mess.
Staying organized doesn’t have to be a big job, though.In the video above, learn how Joshua Klinkenberger made a DIY storage and staging area for his gear.
As you’ll see, it’s a straightforward project that you can complete in a weekend, but it’ll give you more organization for years and years to come!
Try Using Just One Light
Even if you had a studio full of light stands, speedlights, softboxes, and other lighting gear, you don’t have to use it all for every single shot you take.
In fact, challenging yourself to utilize just one light can get you beautifully dramatic results. That’s true even if you use a simple table lamp!
A single light keeps things simple and clean, yet you can still get dramatic shadows.
Perhaps even better, if there’s a window handy, try creating a portrait without using any artificial lighting at all.
The point is to experiment - find what works best for you, sure - but also be willing to change things up and stretch your boundaries. You never know when you might find your new favorite way to light your studio portraits.
Learn More:
Think of Composition in Linear Terms
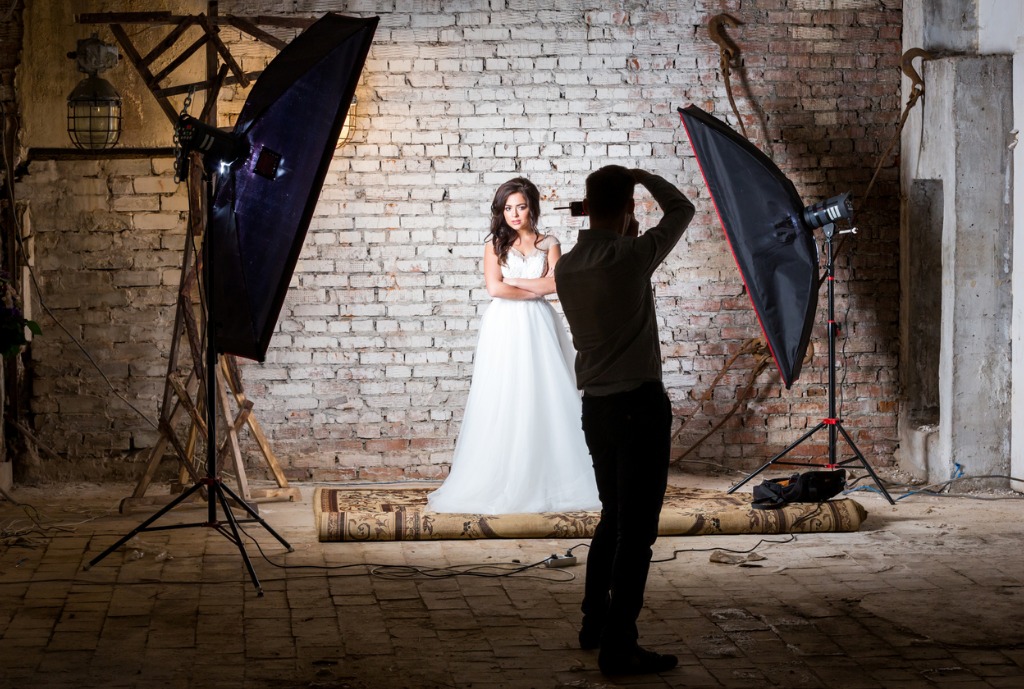
When shooting a portrait on location, you can move about, circle the model, get down low and up high, and shoot at various angles.
You can’t really do that in a studio…
Instead, think about how you frame the shot in linear terms - almost like you and the model are on a long, straight stretch of highway and neither one of you can move from the center yellow line.
That means you can move closer to the model or back up, but if you want a profile shot, for example, you’ll have to adjust the model’s positioning.
Try Different Backgrounds
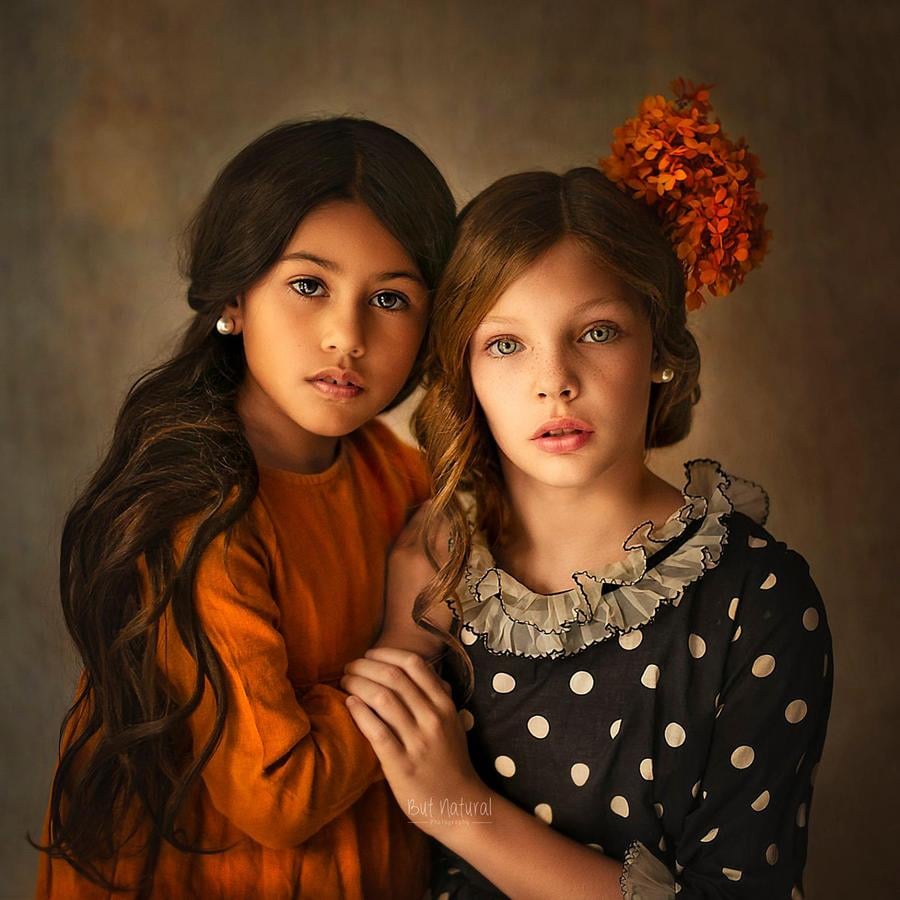 Photo by Sujata Setia
Just because you’re in a studio doesn’t mean that you have to work with just one or two backgrounds.
In fact, as noted earlier, you can create a virtually endless variety of looks in your studio photos by investing in quality backgrounds, like the fine art background shown above and below.
In the image above, for example, the photographer used an earth-toned backdrop to create a warm, earthy portrait with slightly golden tones.
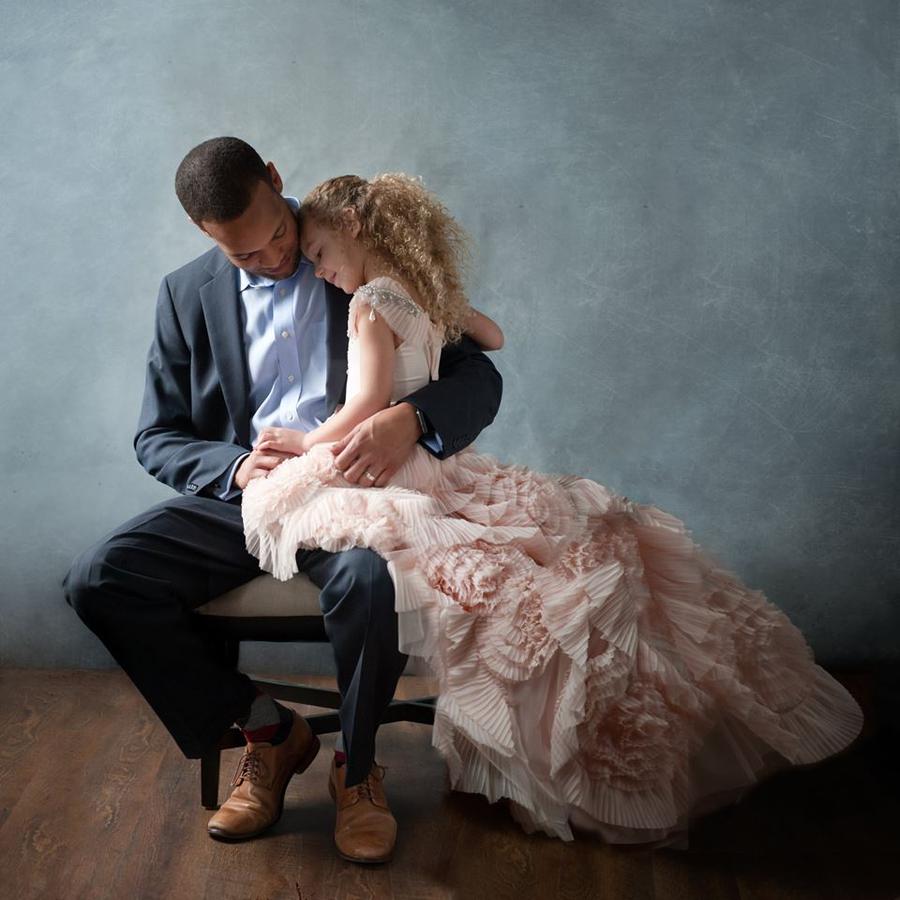
On the other hand, using a blue backdrop helped this photographer create a completely different look.
This shot is cooler and crisper as a result, but still has a warm and cozy feel thanks to the wood-look floor that was used to ground the shot.
Compare hundreds of backdrops and find the perfect one for your studio.
I’m not suggesting that you buy 50 different backdrops...
Quite the contrary. If you have just 5-10 on hand, you can mix and match and give your clients all the variety they need.
A Prime Lens is Ideal
Ultimately, the lenses you use for studio portraiture are up to you and what works best for your workflow.
In my experience, though, prime lenses are much better suited to studio work than zooms. After all, it’s not like you need to have wide-angle to telephoto focal lengths when you’re in a studio…
If you’re just starting out and you’re unsure of what lenses are best for portraits, it’s hard to go wrong with old standards like a 50mm f/1.4 or an 85mm f/1.2.
Learn More:
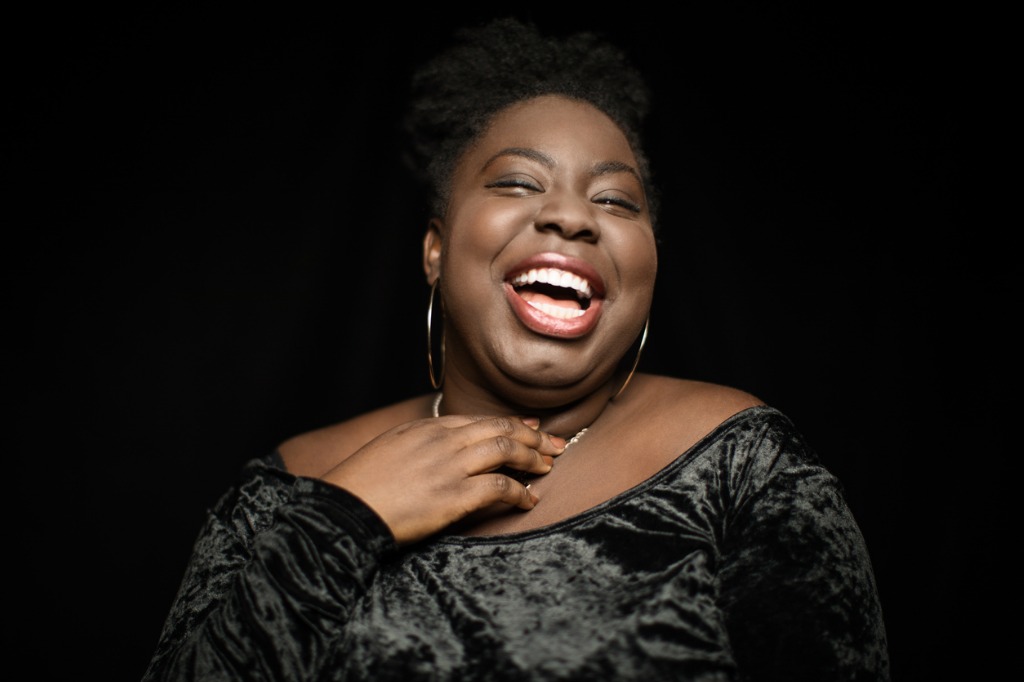
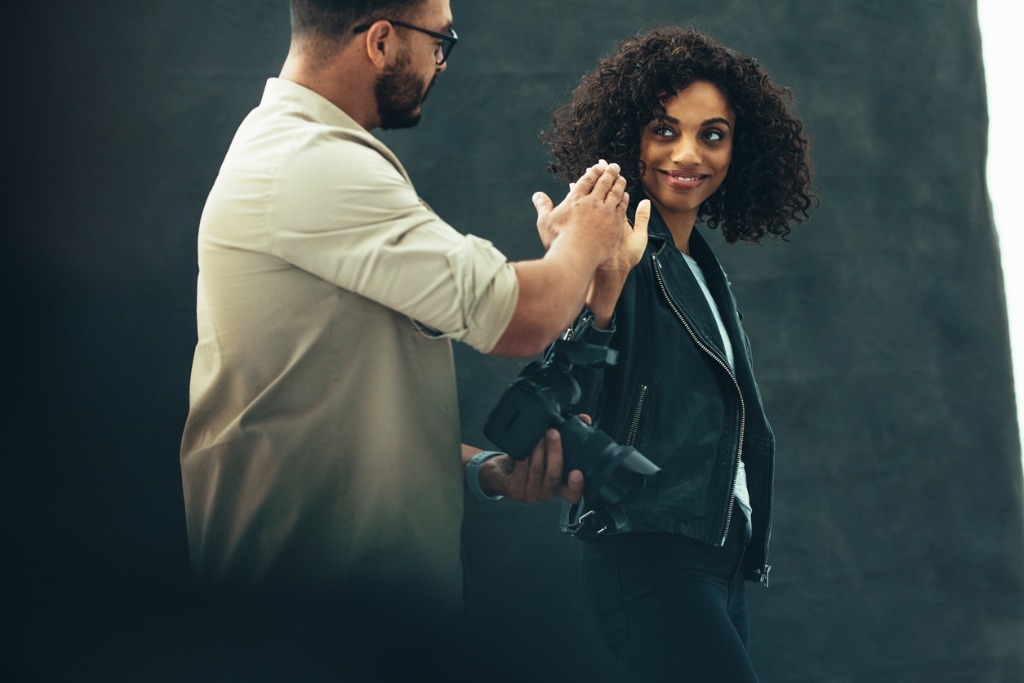
Experiment With Posing and Expressions

One of my pet peeves is when portrait photographers stuff their models in a stiff pose and tell them to smile for the camera.
It’s not the most natural-looking of photos, is it?
Instead, experiment with how the model is posed to introduce a more relaxed and natural-looking shot.
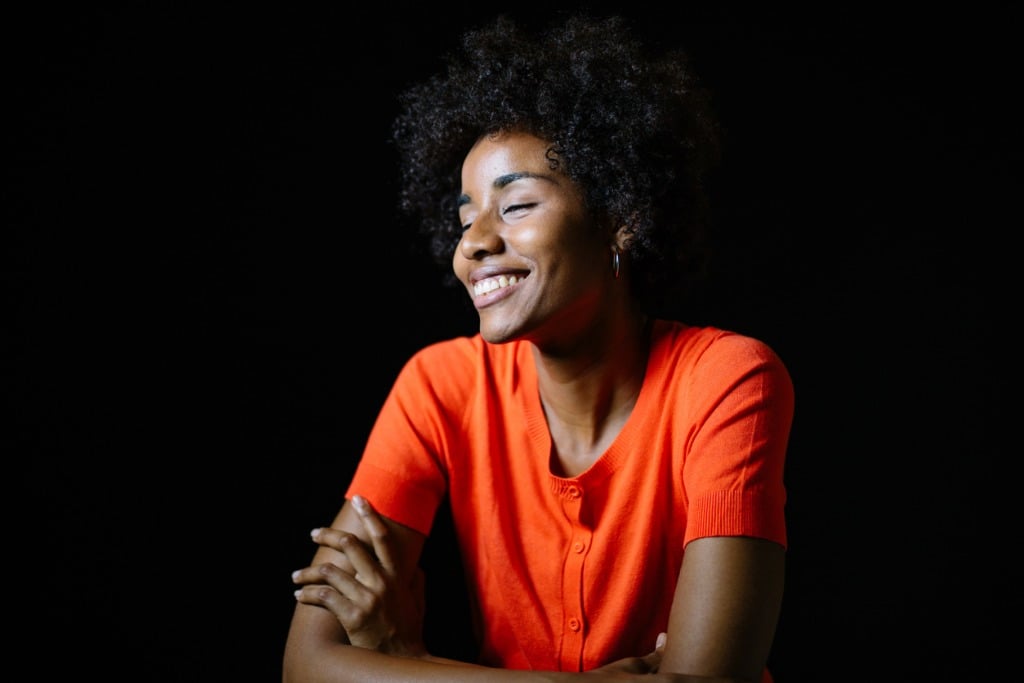
As you can see above, even something as simple as having the model turn slighting to one side and closing her eyes makes this portrait much more interesting than the one prior.
Of course, the dramatic lighting has a lot to do with that, but nevertheless, this portrait is much more relaxed and natural-looking!
Try Filling the Frame

Photo by master1305 via iStock
Speaking of making more dramatic portraits, one way to add some variety to your shots and highlight the features of the model is to fill the frame.
This is a surefire way to create something dramatic while also affording the viewer an opportunity to view the model in a more personal and intimate way.
You certainly don’t want every portrait you take to be a close-up, but a few here and there will add nice variety to the overall collection of images you provide to the client.
Experiment With Eye Contact
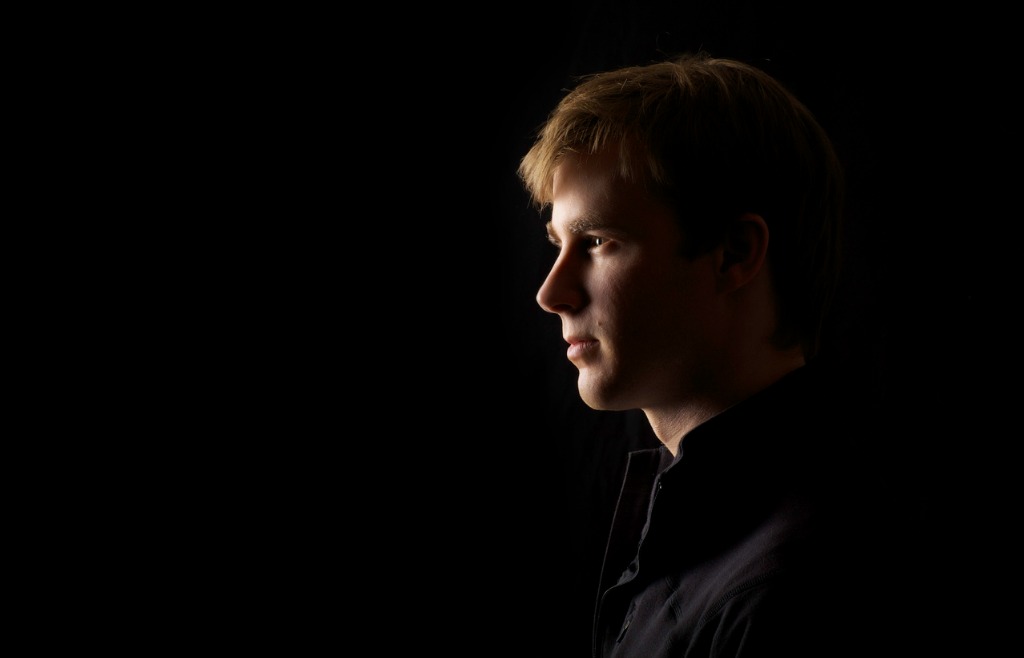
Photo by Jeff Farmer via iStock
Rather than every studio portrait having strong eye contact between the model and the camera, switch things up and experiment with where the model looks in your portraits.
You can have them look off-camera to create intrigue and interest - just what are they looking at, anyway?
Alternatively, you can have them look within the frame, which creates another point of interest in the photo. This can take many forms - looking at their hands, looking at a prop within the frame, or looking at another person.
Again, this is all about creating something that’s unique and visually interesting and breaks the mold of what a traditional studio portrait can be.
Learn More:
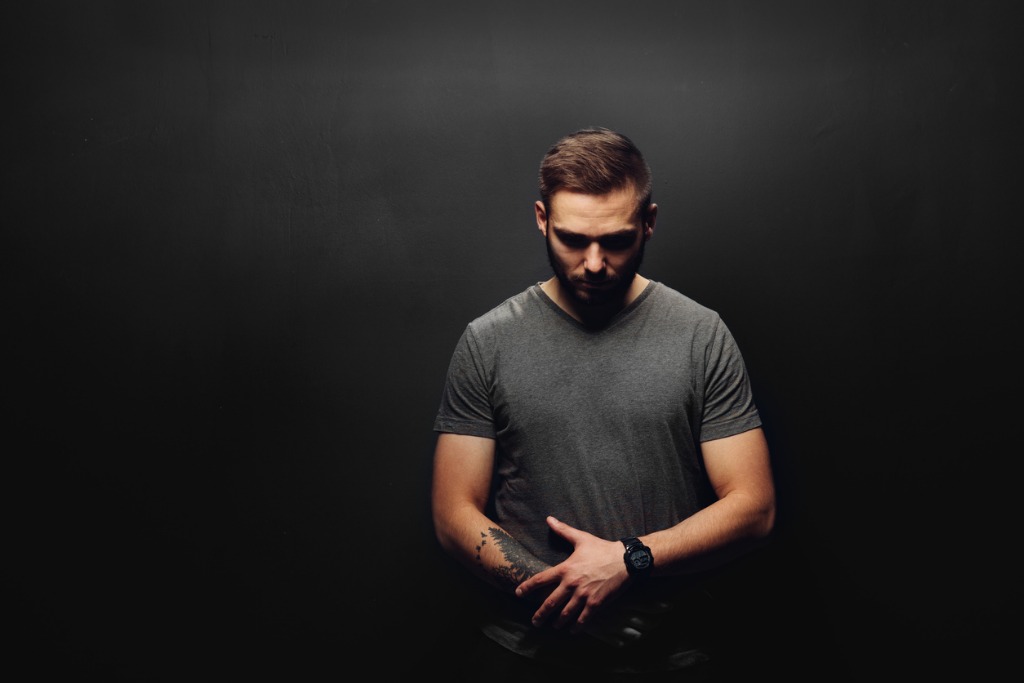
Get the Eye Level Just Right
Though there are certainly exceptions, studio portraits are almost always shot at the model’s eye level. This is true even if you can’t see the model’s face!
By adjusting your shooting position to accommodate the model’s height, you’ll be able to capture a great looking portrait no matter if you’re photographing a toddler or a professional basketball player.
Granted, this means you might be on the floor for some shots and on a ladder for others, but all that moving around will help you get the perspective just right.
There are certainly plenty of other studio photography tips out there, but if you kick things off with these ten tips, you’ll be in good shape!
We Recommend
3 Portrait Photography Techniques You Can Master Today
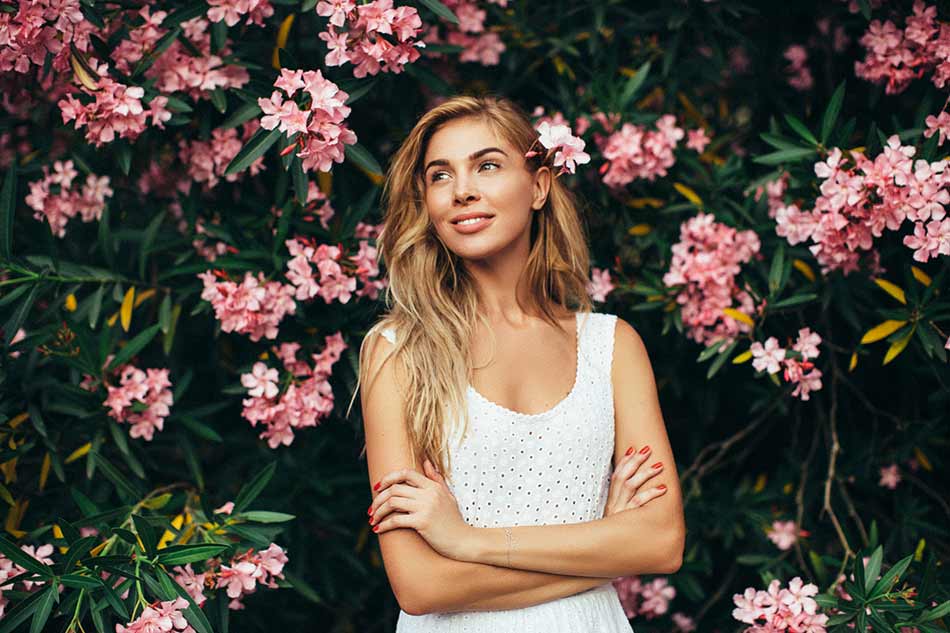
photo by CoffeeAndMilk via iStock
Getting better at portrait photography requires a lot of time, practice, and patience.
But that doesn’t mean that you have to spend hours every day practicing portraits…
Instead, there are plenty of portrait photography techniques you can try - and master - in just a few minutes time.
Let’s have a look at a few of my favorite quick, yet impactful techniques for taking better portraits.
Portrait Photography Technique #1: Get a Better Background
photo by Caralee Case
Though the person you’re photographing is obviously the most important thing in a portrait, the background is important as well.
Think of it like a necklace or cufflinks that give an outfit that extra bit of pop…
If you get it right, the shot will be that much more visually appealing. Get it wrong, and the background can become a distraction.
photo by Caralee Case
Of course, the keys to getting a beautiful background is knowing where to look and getting a background that’s well made and will last you for a good, long while.
For that, Intuition Backgrounds is a fine place to start.
photo by Patty Othon
They have an incredible inventory - over 700 designs - that includes solid colors, hand-painted options, floral designs, and just about anything else you can think of.
Get the perfect background for you portraits.
You can choose from canvas backgrounds, poly backgrounds, fabric backgrounds, and several others as well.
photo by Sujata Setia
That combination of designs and materials means you can find the perfect background to help you capture the perfect portrait.
And it takes next to no time to get your background, too! Just hop on their website, check out their catalog of backdrops, and place your order. You’ll have a gorgeous backdrop in your hot little hands in a couple of weeks.
photo by Caralee Case
Better still, you can outfit your portrait studio with mats, props, and other goodies to complete the look.
Just like a high-quality backdrop will help enhance your portraits, having the right floor and a few props can elevate your portraits to the next level.
What are you waiting for?! Better portraits await at Intuition Backgrounds!
Learn More:
Portrait Photography Technique #2: Natural Light is Where It’s At
Not everyone has a portrait studio at their disposal, nor do all photographers have the lighting gear needed for portraits taken indoors.
Luckily, natural light is a great alternative (and free!) that can be far more flattering in a portrait anyway.
The key is to either shoot early in the morning or late in the evening to capitalize on the soft, warm light of Golden Hour to give your photos a beautifully soft look.
As you can see above, there’s no harsh shadows on the model’s face to distract the eye - just gorgeously even light.
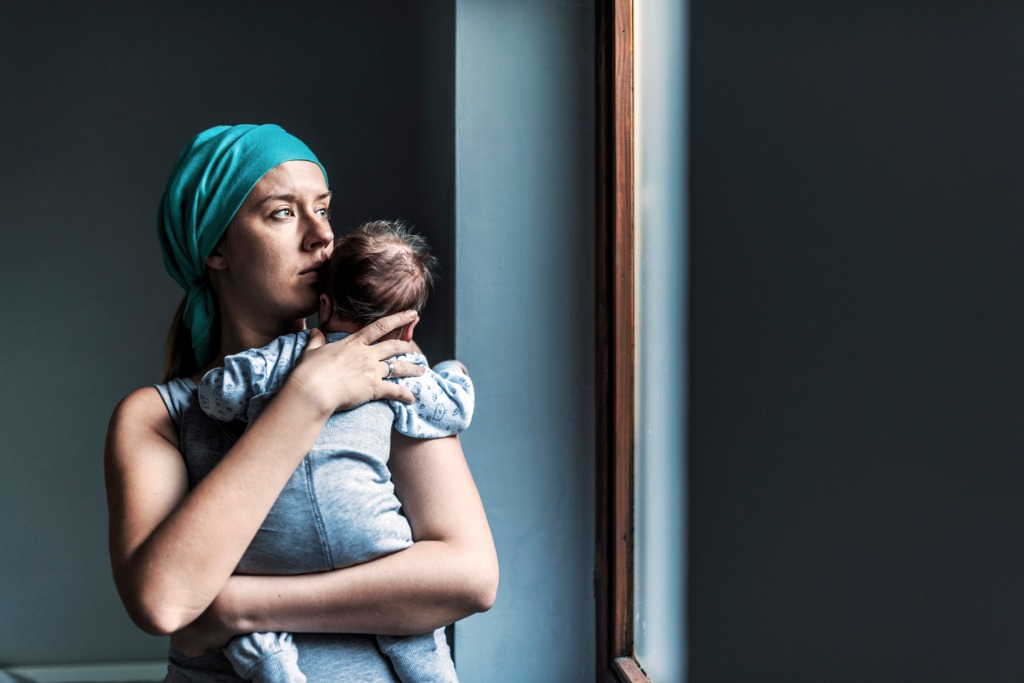
photo by ljubaphoto via iStock
If you’re shooting indoors, simply position the model in front of a window to make use of the natural lighting coming into the space.
Beware that you might need to soften the light to prevent deep shadows, but that’s easy to do by hanging a sheer curtain or even a white sheet in front of the window.
Either way, without all that much effort or time, you can use natural light to enhance your photos and make your models look that much better!
Learn More:
Portrait Photography Technique: Add Another Person

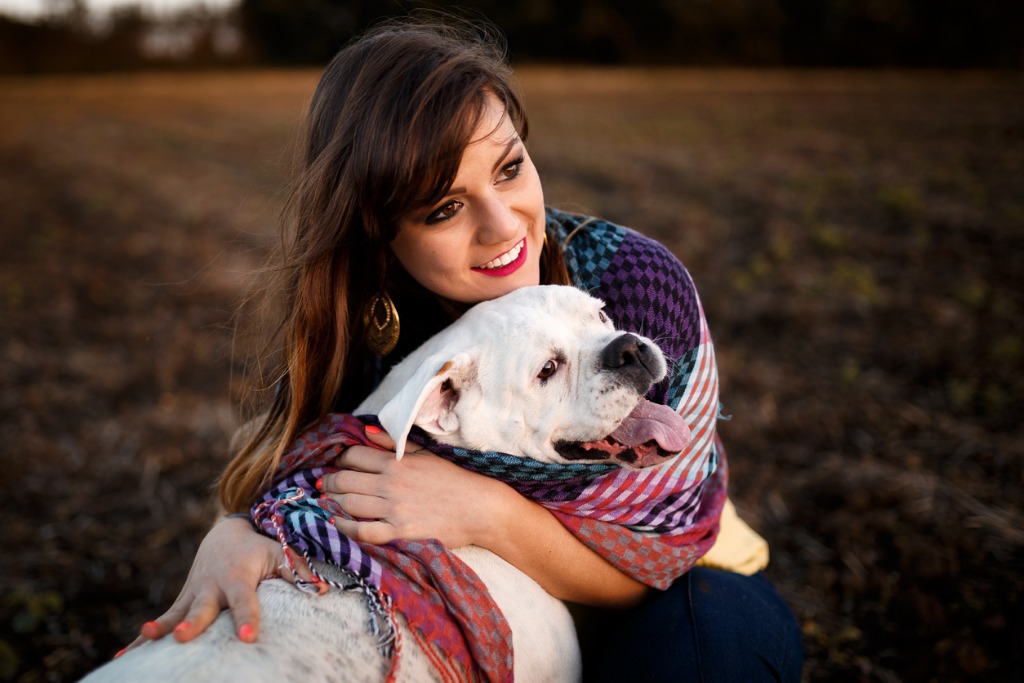
Not everyone is comfortable in front of the camera, so if you find that the person you’re photographing is a little nervous or stiff-looking, introduce another person into the shot.
Having another person in the shot means that there’s less pressure on them to “perform” for the camera.
That is, rather than having to stand there with a forced smile, having a family member or friend alongside can introduce more candid moments into the scene.
Whether they’re laughing, holding hands, looking into one another’s eyes, or something in between, the resulting photo will likely be far more emotive - and relaxed-looking as well.

photo by PeopleImages via iStock
Alternatively, you can introduce props into the portrait, as many people feel more comfortable with something in their hands.
What causes many portraits to fail is that they just look too stiff and posed. By introducing a prop or another person, you can avoid that problem, and it only takes a moment to do so!
Learn More:
- Innovative Portrait Photography Tips You Need to Use Today
- Photography Terms Every Beginner Should Know