Do We Really Need Another Flash Modifier?


When it comes to flash modifiers, there are a ton on the market today.
So when KOBRA came along and developed their flash modifier, that left me wondering, do we really need another one?
The short answer to that question is yes, absolutely.
Here's why...
Direct Flash (and Many Flash Modifiers) Just Can't Compete

One of the taglines for KOBRA is "paint with light, not spray." That gets right to the heart of why we all need KOBRA.
A lot of the modifiers out there simply don't produce the kind of results you're looking for when using a flash.
They spray light all over the place, getting you sub par results that leave you wondering why you wasted your money on the modifier in the first place.

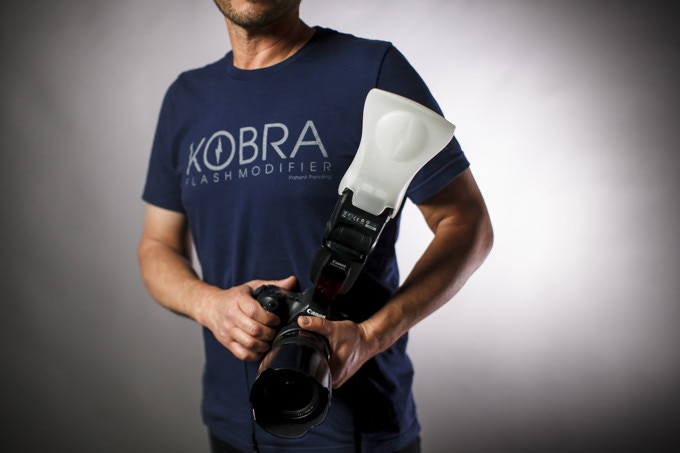
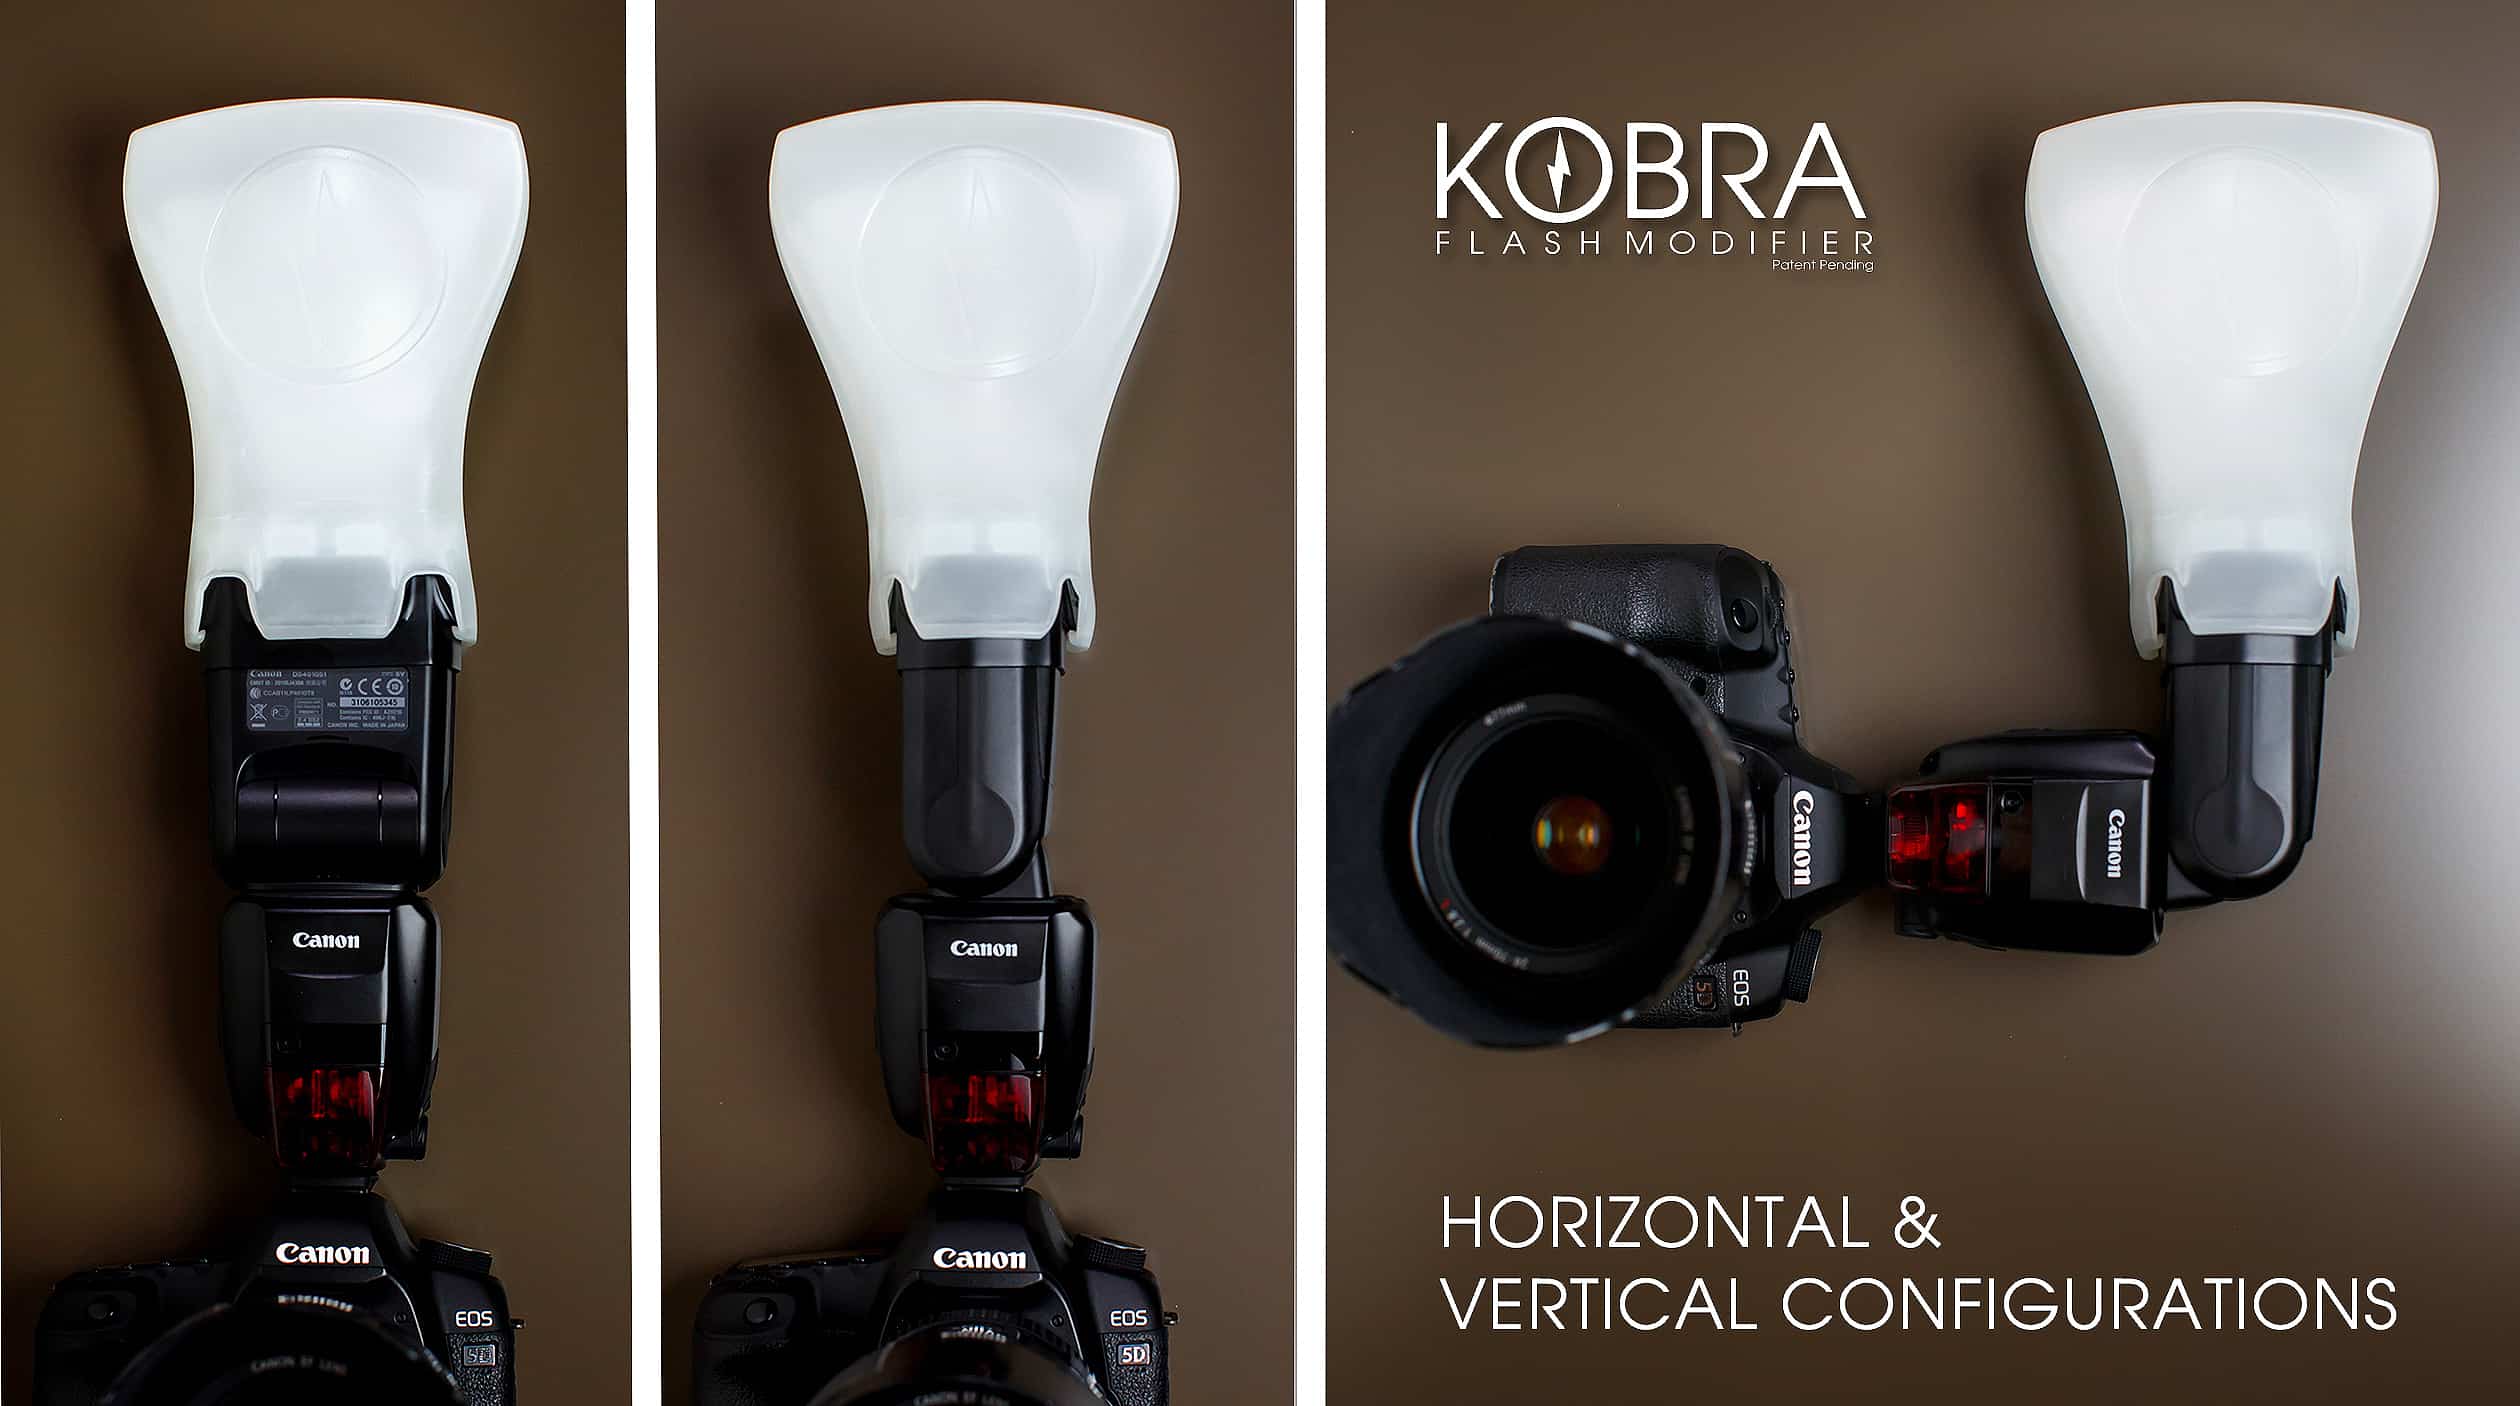
But as you can see in the images above, KOBRA really does allow you to paint with light.
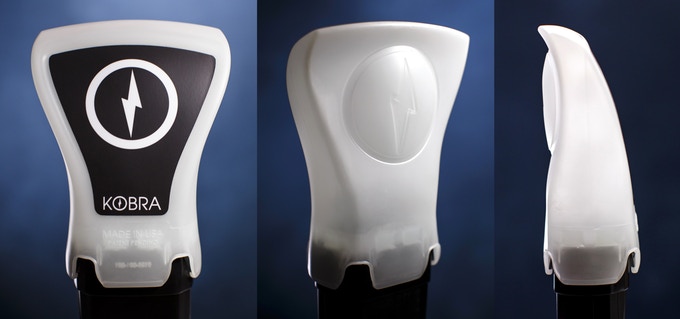
That's because it has a built-in reflector that bounces light from the flash forward through a layer of clear silicone.
That gives you a second layer of light diffusion that results in the soft, even lighting you see in the images above. The difference between direct flash and the diffused light from KOBRA is incredible, to say the least!
Learn More:
Some Flash Modifiers are Big and Bulky

Another thing that I appreciate about the KOBRA Flash Modifier is that it's small, compact, and lightweight.
In fact, this little guy weighs in at just 4.5 ounces, so you scarcely notice any added weight.
What's more, because it's made of flexible silicone, KOBRA can be folded up like a piece of paper and stored flat inside your camera bag.
The next time you need it, it'll resume its original molded shape, and you can go right to work.
Other Flash Modifiers are Complicated

I don't mean to lump all other flash modifiers into one big "complicated" category, but let's call it as it is...
Where other modifiers require hook and loop closures or magnets to attach them to the flash, KOBRA has an ingenious state-of-the-art (and patent-pending!) attachment system called KOBRA Band.
KOBRA Band is made from high-grade, flexible silicone that is impervious to high and low temperatures.

It simply slides onto the flash head and then you can attach the KOBRA Flash Modifier right to it.
That means that getting your modifier set up and ready to go literally takes just seconds. And once it's on there, it's on there, as you can see in the GIF above.
Learn More:

Other Flash Modifiers Need a White Background Surface

Where a lot of existing flash modifiers need a white wall or ceiling off which to bounce light, KOBRA doesn't.
That's because of its game-changing design that incorporates the built-in reflector and second layer of diffusion that I spoke about earlier.
The result is soft, gorgeous light that fills in shadows and results in softer skin tones, unlike anything that other flash modifiers can provide. In that regard, KOBRA truly is like having your own white wall with you.
KOBRA is Simply the Most Effective and Versatile Flash Modifier Out There

I've tried my fair share of flash modifiers, and I have to say, I've never seen results like those that are generated by KOBRA. There's a three-dimensional quality to the light that's bright yet soft.
What's more, KOBRA is an incredibly versatile modifier.
It can be used when shooting horizontally or vertically. It's effective with on-camera hot-shoe flashes and off-camera flashes as well.
And the KOBRA Band is versatile as well, being that you can use it to hold the KOBRA Flash Modifier or KOBRA Gels.
It took about six years and 26 different prototype models for KOBRA to come to life in its current form.
But as I've outlined above, the results were certainly worth the wait!
If I still haven't convinced you that we really do need another flash modifier, check out the video above to see KOBRA in action!
Wrapping It Up

We've all struggled at one point or another with shooting in less-than-ideal lighting conditions.
But solving those issues with less-than-ideal flash modifiers certainly doesn't work...
Instead, there's a better option - KOBRA Flash Modifier - that can help you and I create improved pictures with soft, flattering light that make our subjects look like a million bucks.
KOBRA Flash Modifier is currently on Kickstarter where you can get your own modifier with a contribution of just $58 (provided the project reaches its funding goal).
Learn More:
We Recommend
How to Take Control of Your Off-Camera Flash

Off Camera Flash
It's interesting that when someone first gets into photography, they get a camera, a lens, a tripod, and maybe even a camera remote, but neglect to get a flash.
After all, light is critical to photography, and the light emitted from the pop-up flash is certainly not the kind of light you want to use.
What's more, unless you learn how to use light - both in natural and artificial forms - how can you expect to create the best images?
With that in mind, let's explore a few ways that you can take control of your off-camera flash so you can start making better photos.
Step 1: Get a Trigger
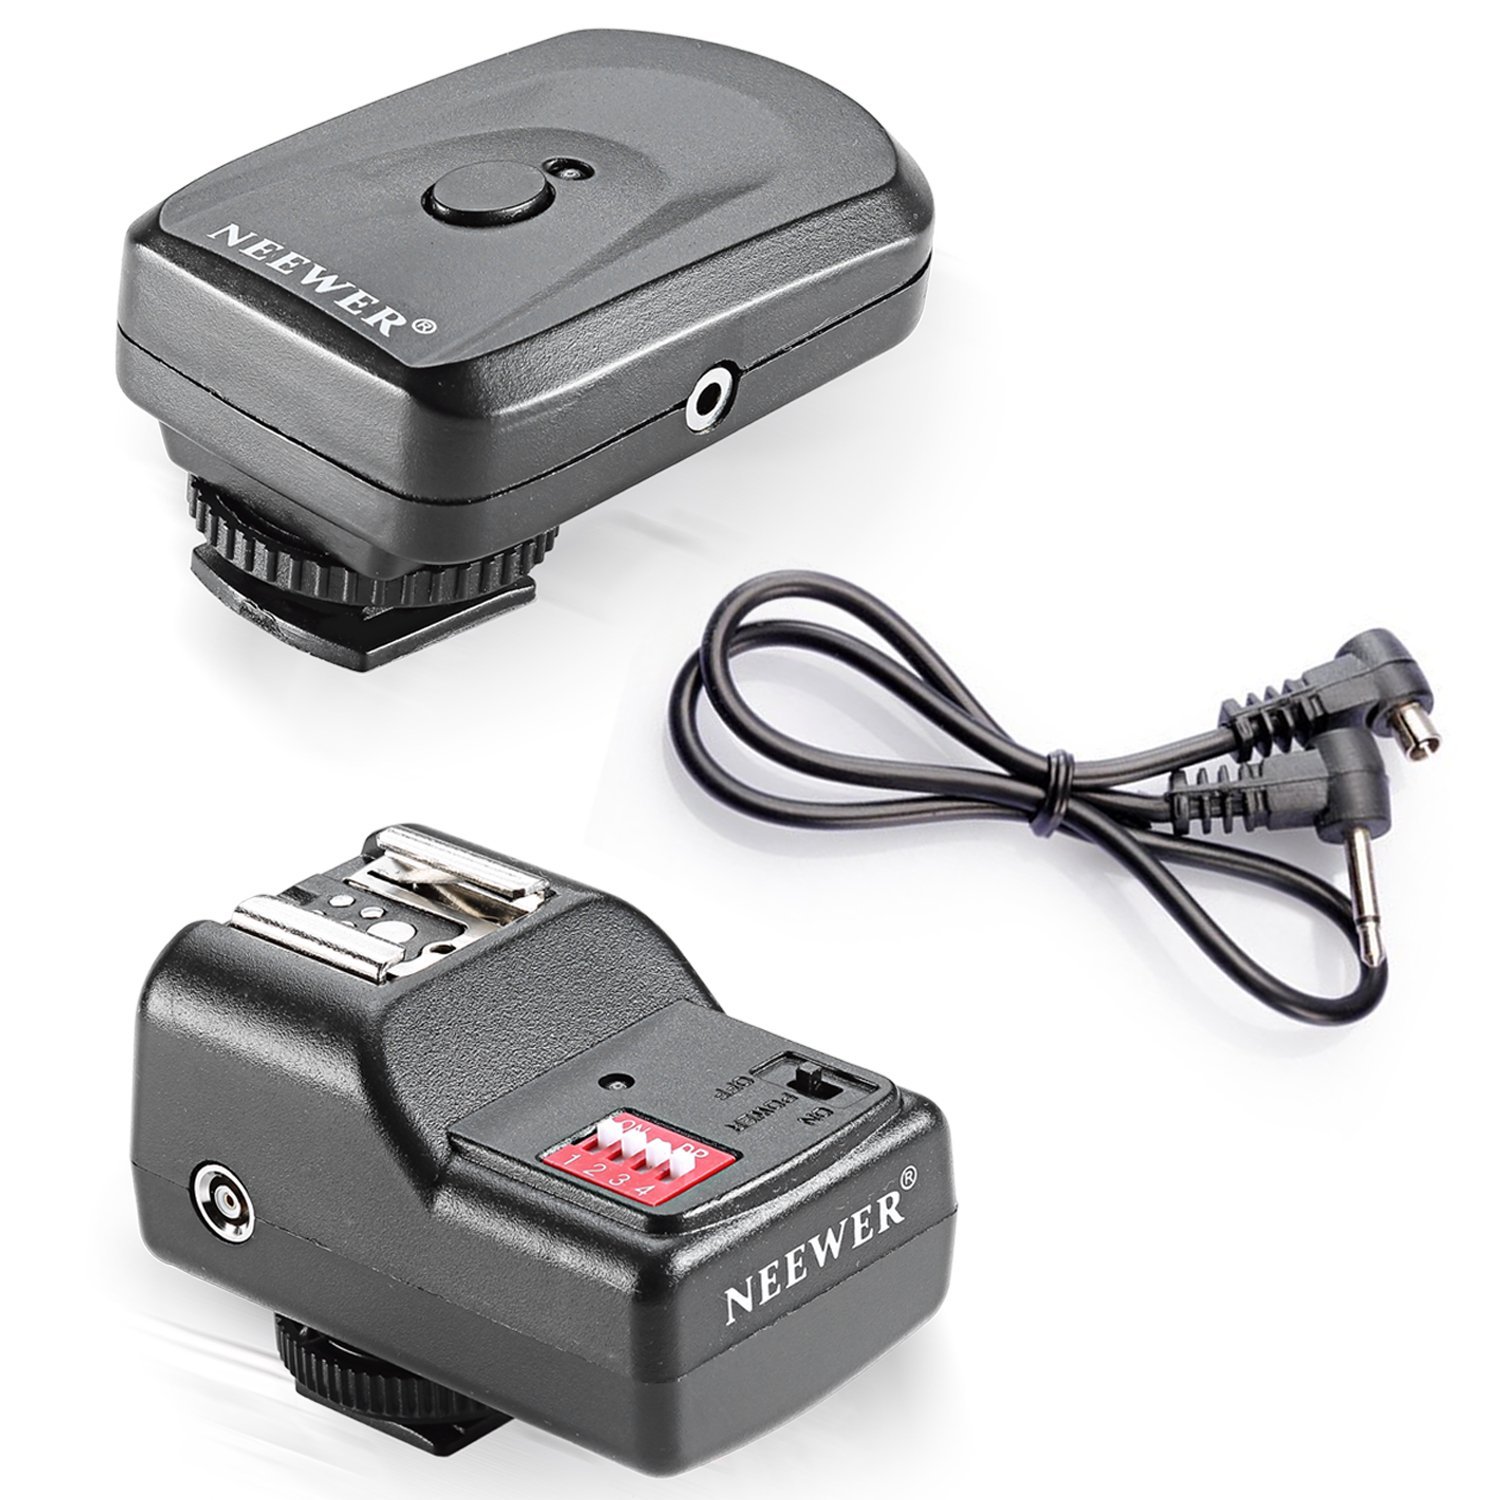
Since we'll be working with the flash off-camera, we'll need a way to trigger the flash.
Wireless triggers like the one shown above will do the trick.
Just pick up one (you can find them on the cheap), attach it to your camera's hot-shoe mount, and it'll send a signal to the receiver (which is attached to the flash) whenever the shutter is triggered.
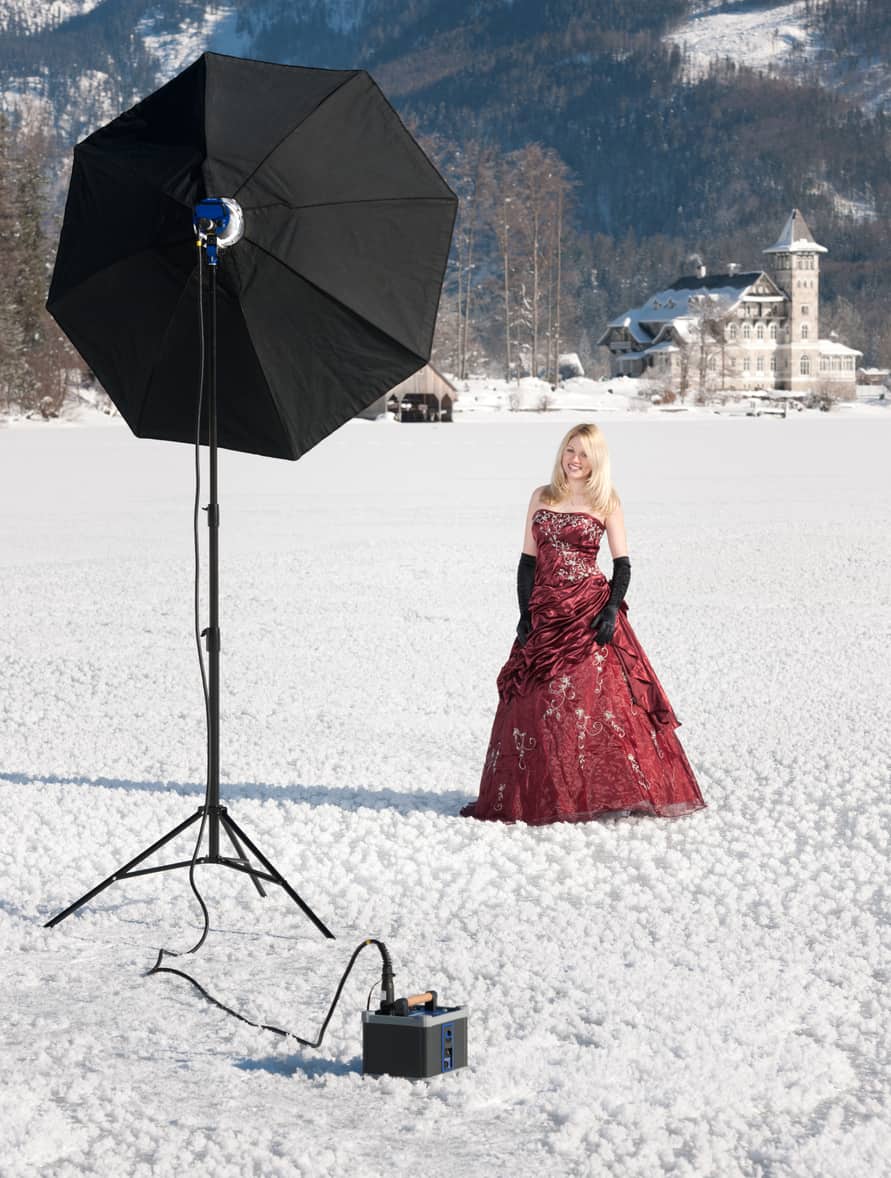
Since the flash won't be on the camera, you'll need a means of supporting it. A light stand or a tripod is ideal as they're easy to move around and adjust the height to customize the lighting.
As is the case with many budget-friendly triggers, manual flash is the only option.
That means you have to adjust the power of the flash on your own, which isn't a big deal.
Just select a power rating, take a test shot, and if there's too much light, tone it down. If there's not enough light, ramp it up!
Learn More:
Step 2: Dial in the Camera Settings

The next step is to get everything in the camera setup.
Start with an aperture of f/5.6, a shutter speed of 1/200 seconds, and an ISO of 200.
Granted, these settings will vary depending on a number of factors, not the least of which is the flash sync speed of your particular flash. Nevertheless, these settings should be a good starting point for most situations.
Then, get the subject into position and place the flash to the left or right of the subject, approximately three feet away.
Adjust the height of the flash so that it's about at head height and set it to half power.
Compose the shot, then fire the shutter.

If you find that the shot is overexposed, try dialing down the power of the flash. You can also decrease the ISO to correct this problem.
Conversely, if the image is underexposed, boost the flash power or increase the ISO.
Either way, leave the shutter speed alone as it will not have an impact on the intensity of the light emanating from the flash.
Lastly, set the white balance setting to Flash, that way your images have accurate colors.
Learn More:
Step 3: Experiment With Light
Now that we have the first photo out of the way, it's time to experiment a little.
Try moving the flash nearer the subject and then further away.
Also try varying the angle of the flash, taking some photos with it horizontal to the ground and others with it positioned increasingly upward toward the ceiling.
Move the flash lower and higher relative to the model's head as well.
And you might be wondering, can you use modifiers in full sun?
Yes, you can! Just be very careful and use High-Speed Sync on your camera and flash.
Keep the subject at close range, too, no further than 10 feet away. Set your flash to full power, 1/1 on manual, and only use a wide aperture and a fast shutter speed.
For example, the shot below was taken with a KOBRA Flash Modifier at an aperture of f/3.5 and a shutter speed of 1/4000 seconds.

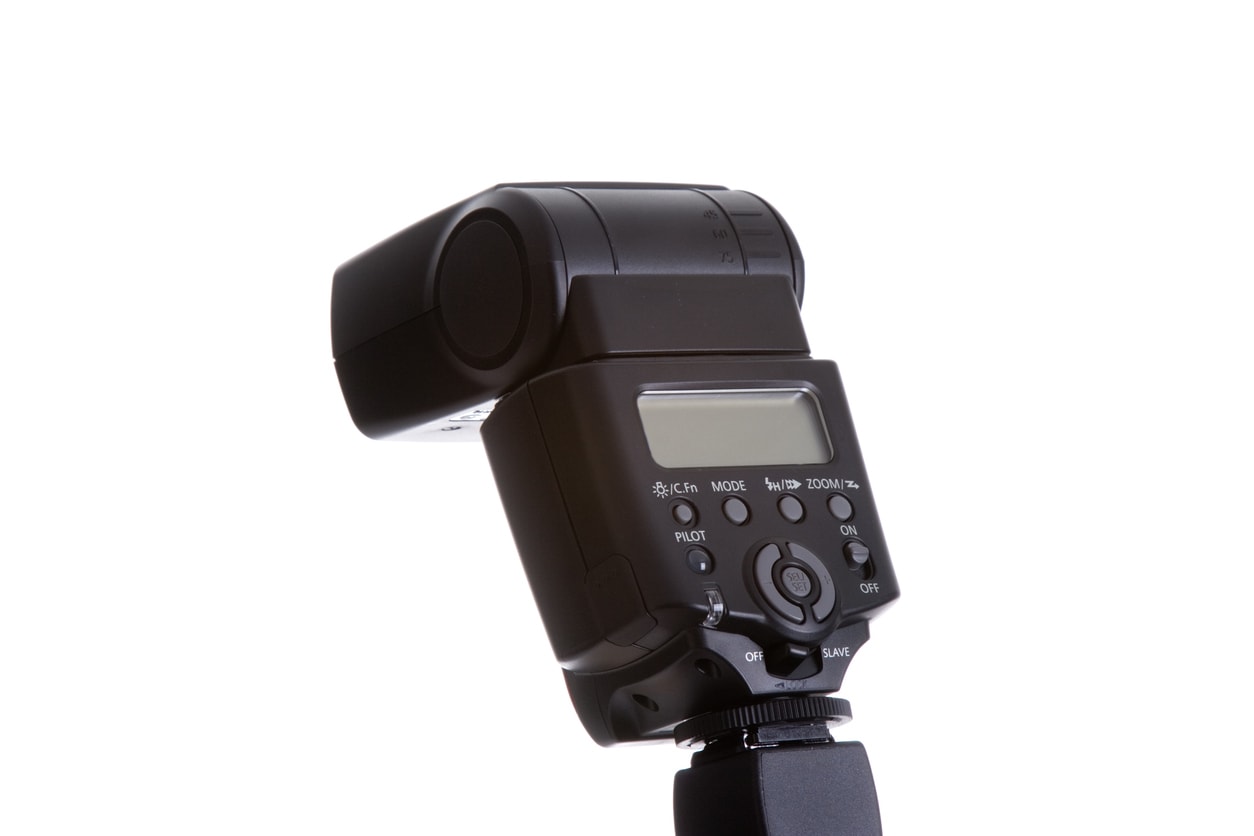
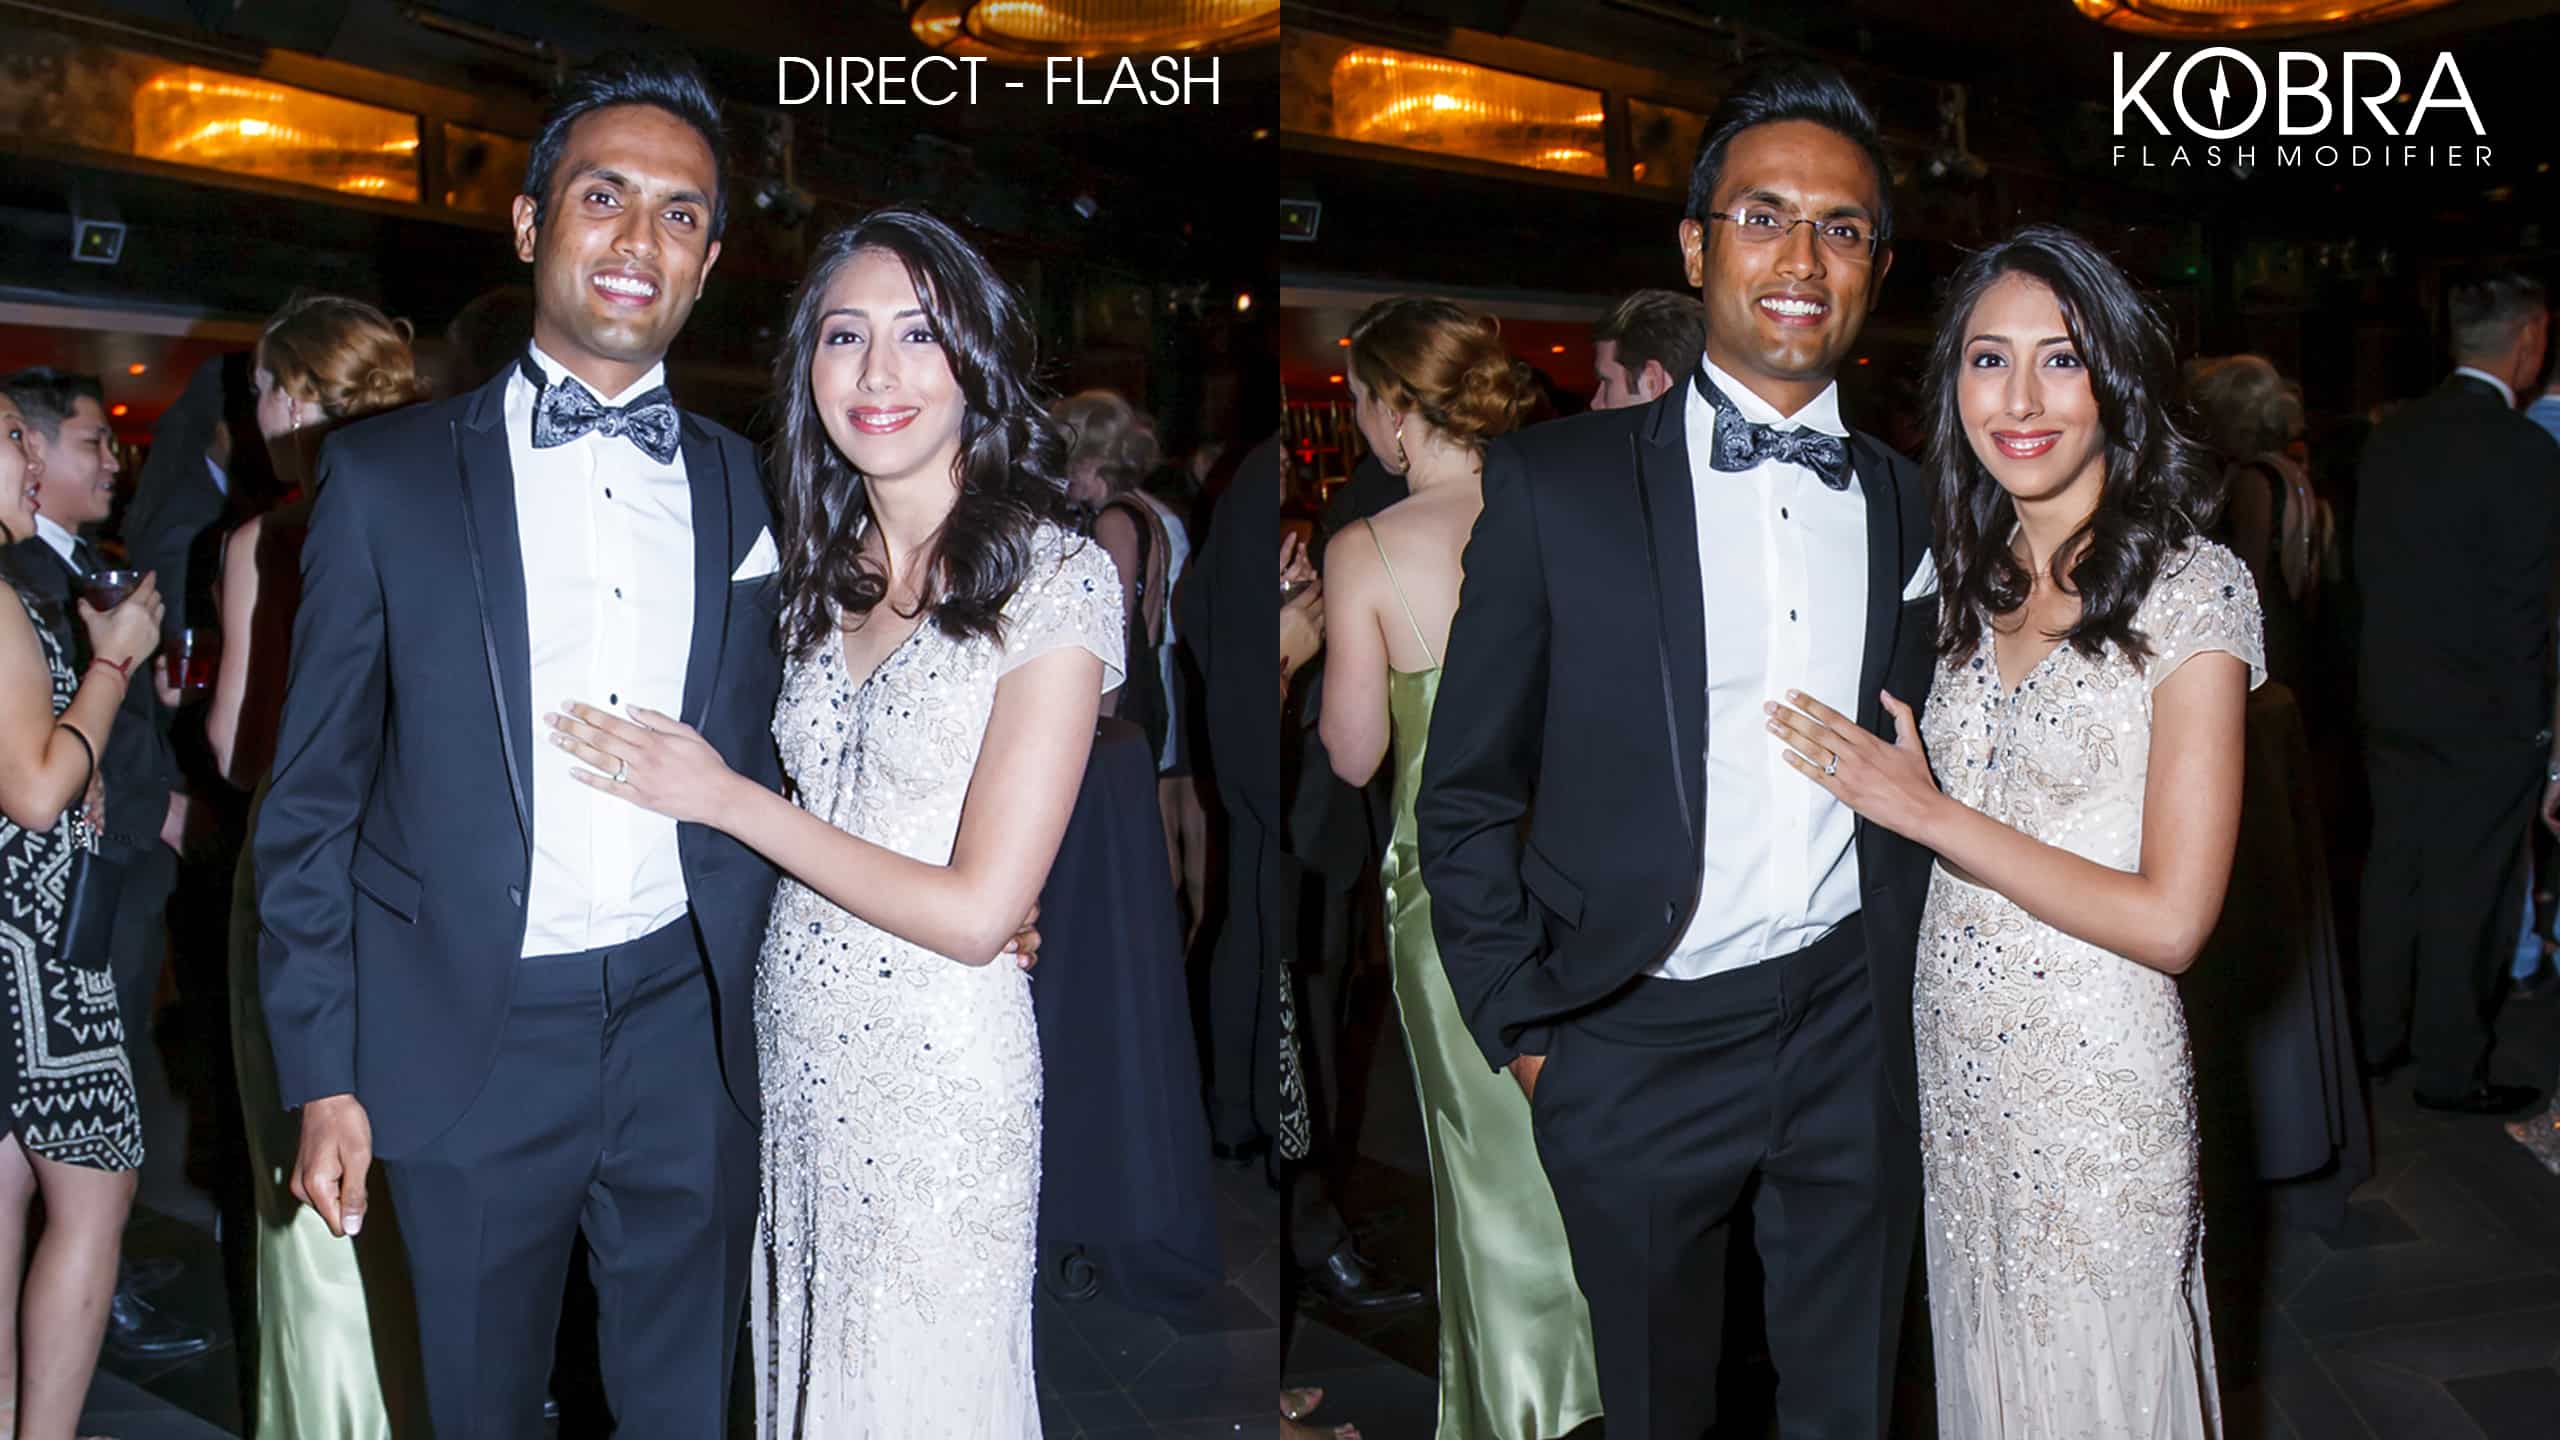
A great way you can experiment with an off-camera flash is to play around with its intensity by using a flash modifier.
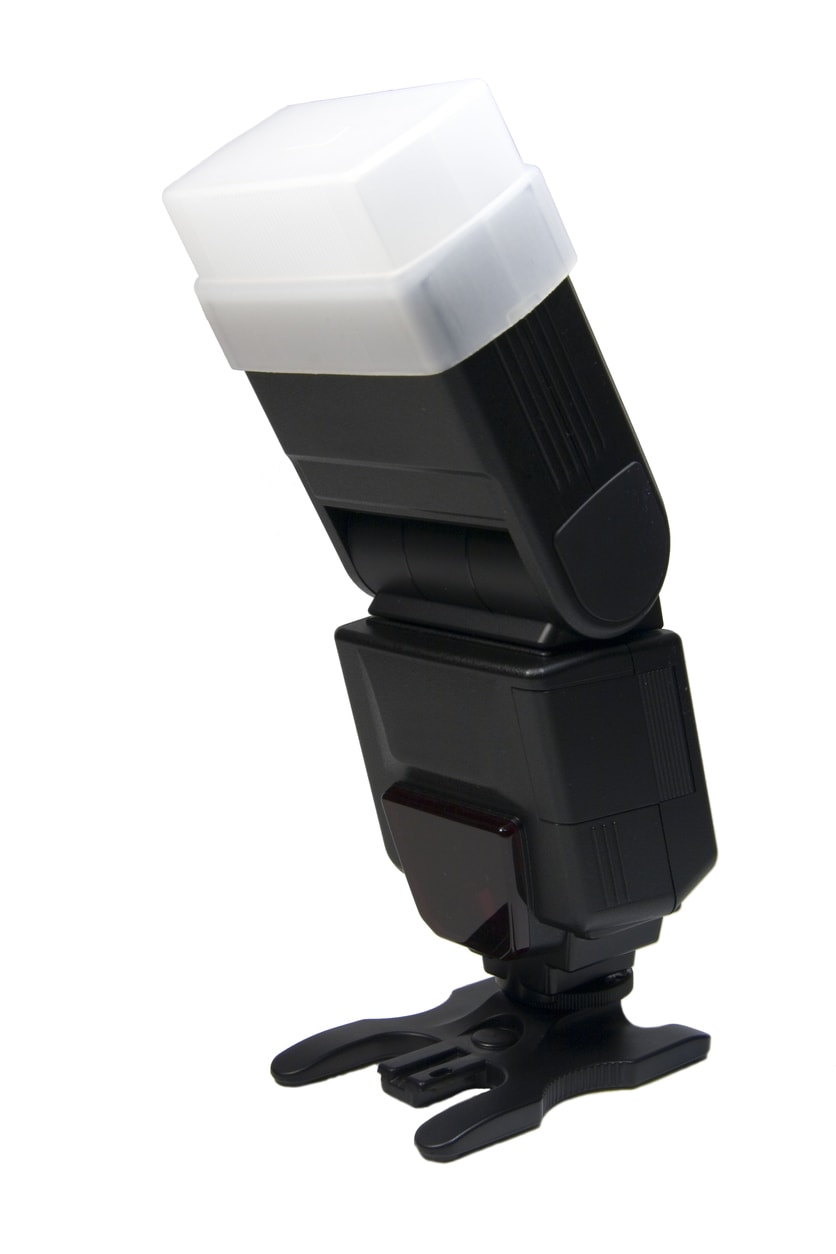
Modifiers like the KOBRA Flash Modifier shown above take light modification to another level because it has a built-in reflector that bounces light forward through its clear silicone body.
That gives you much more accurate control over how your off-camera flash looks because there are two layers of diffusion to soften the intensity of the light.
That's beneficial whether you're shooting with one off-camera flash or multiple off-camera flashes.

In fact, with a KOBRA Flash Modifier, you can get high-quality lighting even with a hot-shoe mounted flash, as you can see in the comparison of the two images above.
Again, that's because this little gadget diffuses the light in two ways, giving you clean, soft light that helps minimize shadows.

What's more, KOBRA can be used for portrait or landscape oriented shots. And since it weighs just 4.5 ounces, you don't have to worry about feeling like you're bogged down with heavy gear, either.
Perhaps my favorite part is that when you're done shooting, you can fold the flash modifier up, slide it in your bag, and when it's time to use it again, it'll return to its original shape.

In the end, having a flash modifier not only helps you get better lighting, but it also helps you be more creative. Use it off or on-camera. Use it with one flash or have a couple on hand in instances in which you have a couple of flashes going.
You can even use the KOBRA Band - the silicone attachment that grips and holds the KOBRA Flash Modifier to your flash - to hold gels as well for adding a bit of color to your shots.
So, if you're looking for a way to truly master using an off-camera flash that gives you plenty of creative latitude, I recommend you visit the KOBRA Flash Modifier Kickstarter page!
Learn More:
We Recommend
The Biggest Misconceptions About Flash Photography

I'll be the first to admit that there is something about natural lighting for portraiture.
It's pretty simple to use - you just have to wait for the right time of day.
It's free, too, which for a hobby that's as expensive as photography, that's hard to beat.
Natural lighting can also have an unmatched beauty about it - soft, warm, and full of life.
But exalting the qualities of natural lighting has meant that over the years, photographers have come to the conclusion that artificial lighting can't be any of those things.
In fact, the biggest misconceptions about flash photography are that it produces ugly light, that it's too complicated, and that it's much too expensive.
I'm here to tell you that that's not the case...
Flash Lighting Can Be Beautiful - If You Have the Right Tools
Yes, light from a bare flash can be way too intense and create harsh shadows and a washed out subject.
But given the right tools, you can exert more control over how that light appears and create portraits that are well-lit, have gorgeous areas of light and shadow, and provide just enough contrast to help you create a beautiful, stylistic portrait.
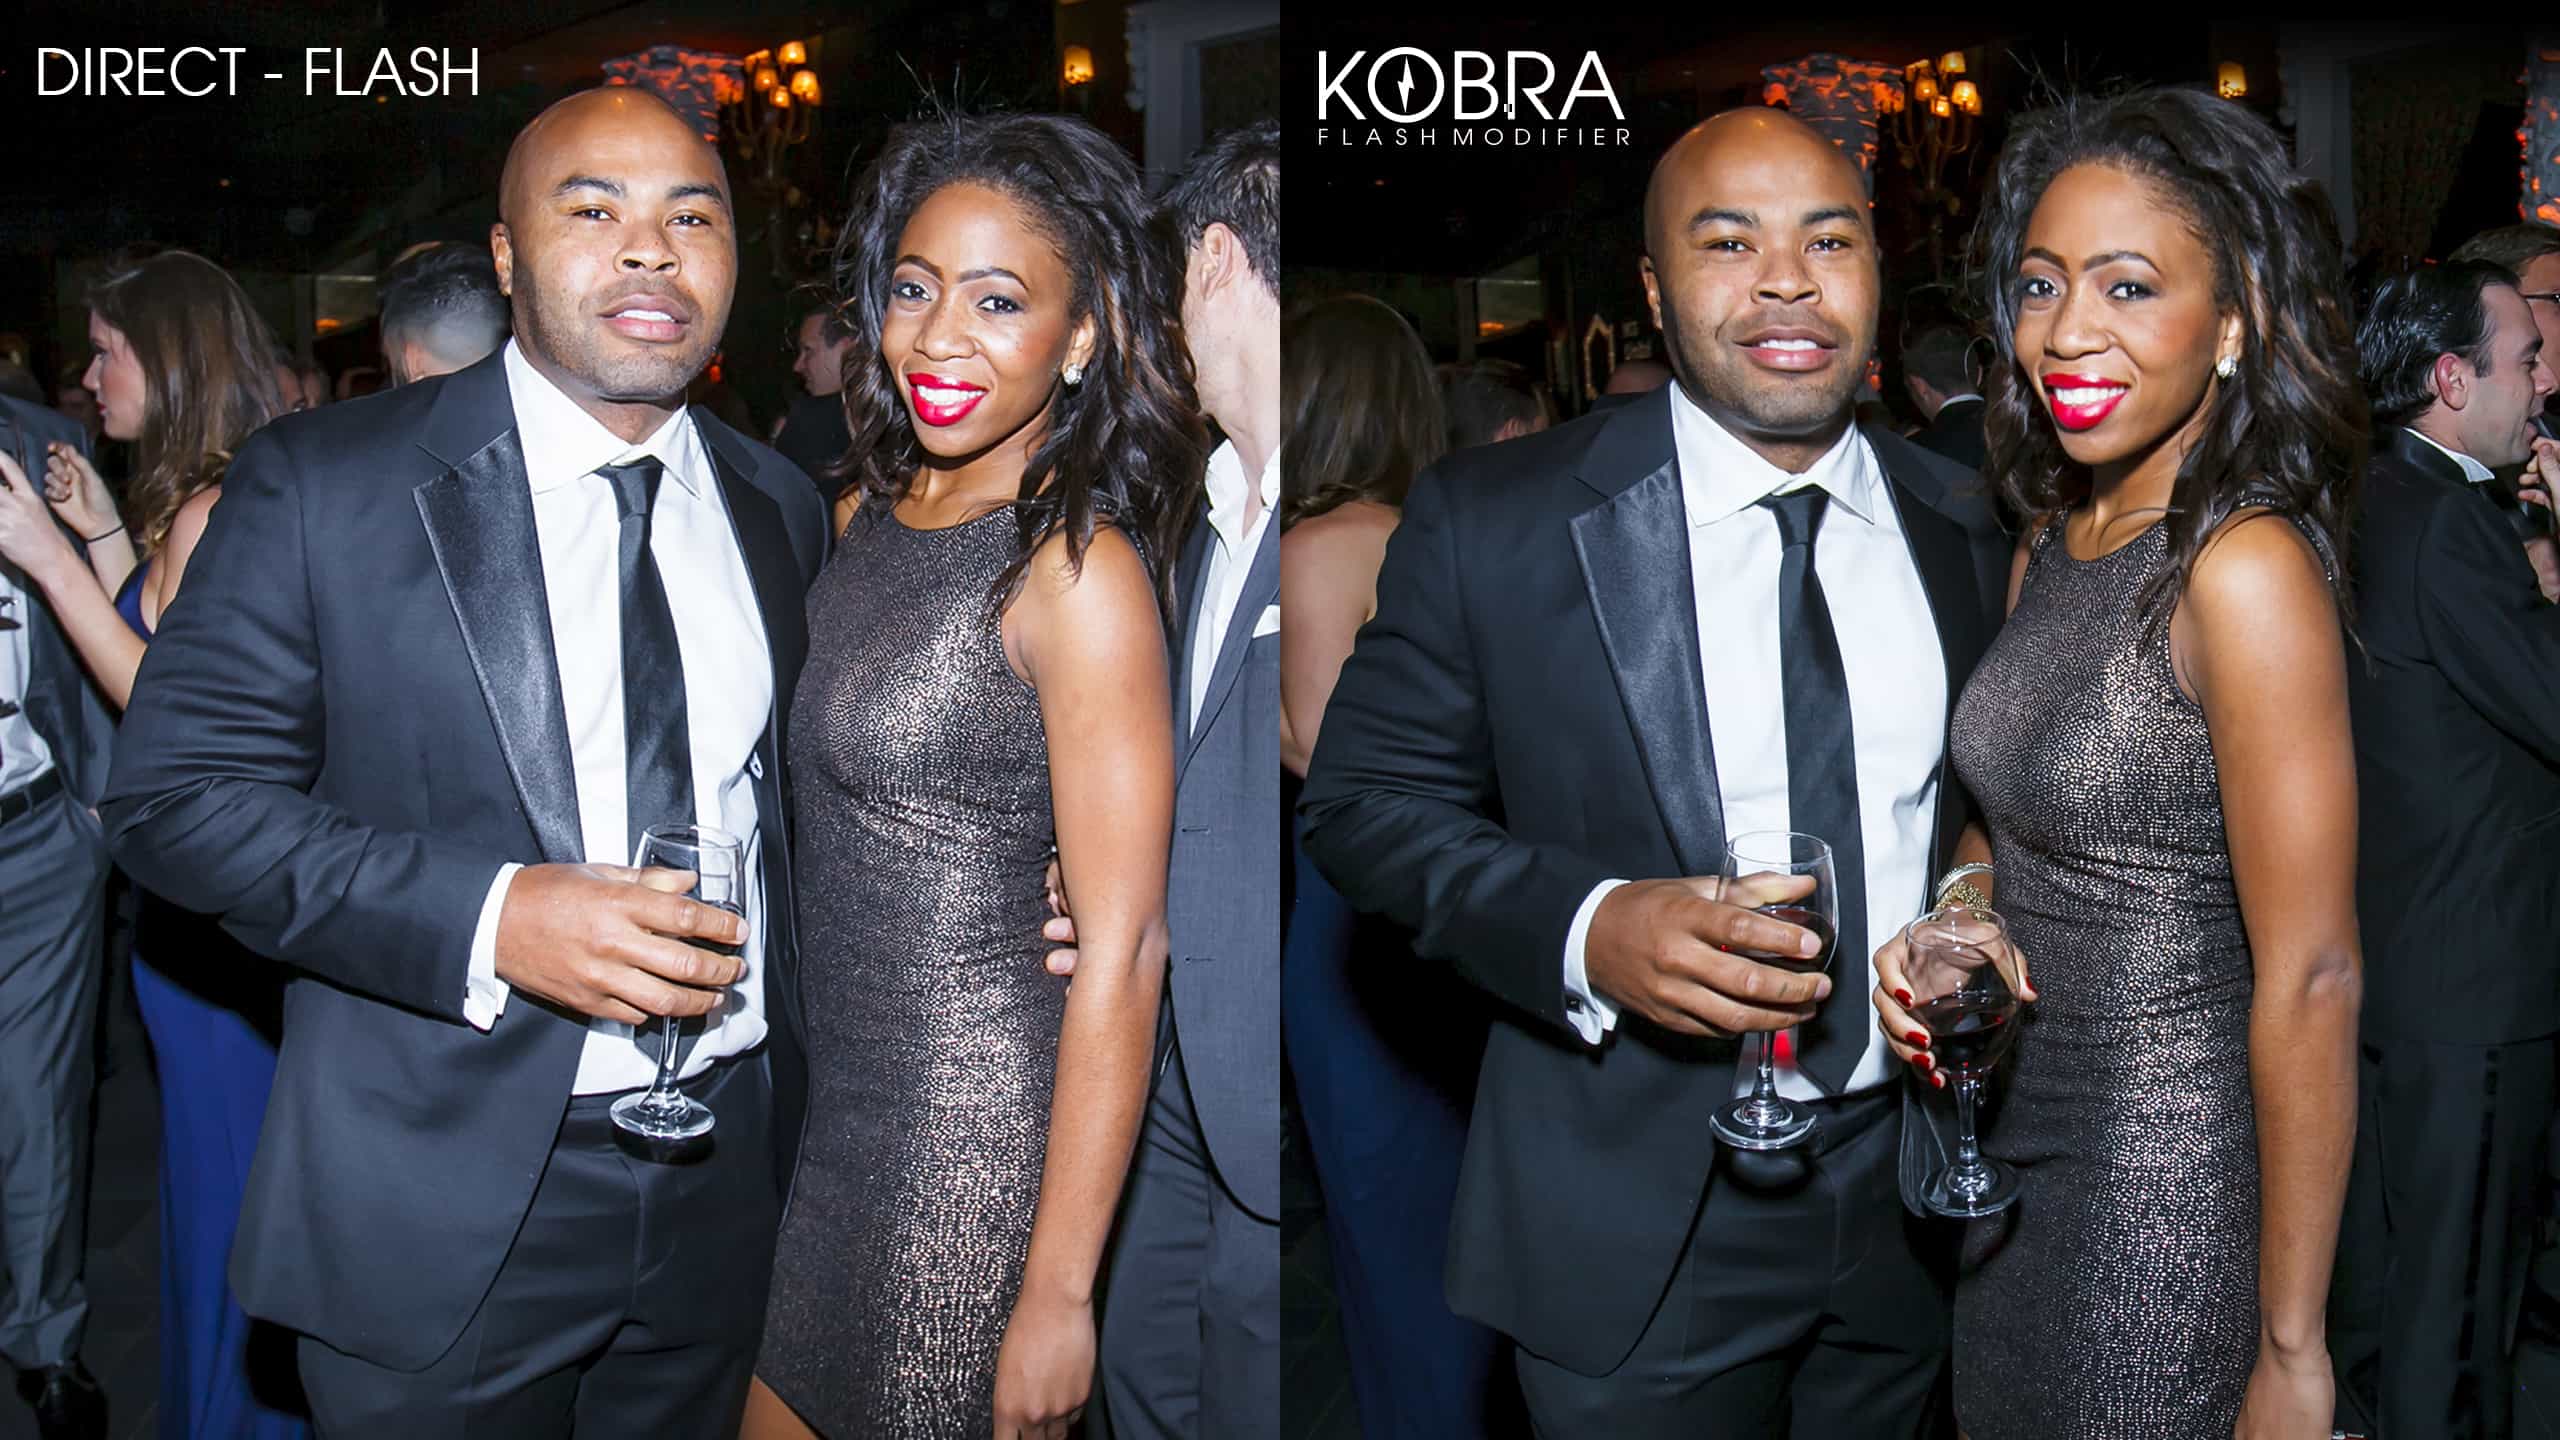
Look at the side-by-side images above to see what I mean.
On the left, the direct flash creates a ton of glare that washes out the subjects. Note the harsh shadowing that appears throughout the image (like under the chin).
But on the right, neither of those issues arise because the photographer used the KOBRA Flash Modifier to soften the light and create a much more pleasing portrait.
Because KOBRA has a built-in reflector, it allows you to direct the light from the flash toward the subject. However, because KOBRA has a clear silicone body, that light is highly diffused, resulting in the softer, more even lighting that you see in the images above.
As a result of that softer, more even lighting, notice how the couples in both images look so much more natural.
The shadows are soft, their skin tones are accurate, and because the light has been diffused so evenly, each couple is well-lit from head-to-toe.
You can't get results like that with a plain old flash, that's for sure!
Learn More:
Using a Flash Can Be Easy, Too
I totally understand why a photographer wouldn't want to set up a full portrait studio lighting scheme each time they had a portrait to take.
Between the flashguns, umbrellas, softboxes, light stands, and other necessities, it's just a huge, complicated mess to deal with.
But that doesn't mean you can't find simpler ways to use a flash and use it well.
Again, the KOBRA Flash Modifier comes to the rescue...
It doesn't get much simpler than sliding a silicone KOBRA Band onto your external flash and attaching the KOBRA Flash Modifier.
There's no velcro straps, no magnets, either.
The modifier clicks into place on the band, the band hugs the flash tightly, and you're ready to shoot. And as you can see in the GIF above, you can get wild and crazy, and the KOBRA products will stay put!
Compare a handful of seconds for putting the KOBRA on your flash to the long, drawn-out process of setting up umbrellas, light stands, and so forth, and you can see how the KOBRA Flash Modifier makes easy work of using a flash.
Learn More:
You Don't Have to Spend a Ton of Money for Better Flash Photography
Sure, if you price out a full-on portrait studio lighting kit, you'll be in it for a big chunk of change.
But again, you don't need all that gear most of the time. In most situations, a KOBRA Flash Modifier will do the trick and help you capture beautiful portraits just like you envision them.
The KOBRA Flash Modifier is on Kickstarter as we speak, and you can throw your support their way and get the KOBRA Band and Modifier for just $58.
That's a steal no matter which way you look at it, but it becomes an even better deal when you drill down into what you're getting.
Not only do you get a high-quality flash modifier that gives you great lighting and that's easy to use, but it's also incredibly durable and easy to carry.
In fact, you can cram the KOBRA Flash Modifier into a nook or cranny in your bag, and when it's time to use it again, it'll pop back into shape in a snap.
What's more, it weighs only 4.5 ounces, so it's not like you're carrying a heavy load to get better artificial lighting, either.
And you can't argue with the results you get when using this thing...
As noted earlier, the quality of light is incredible, but as a result of that, you get images that are more vibrant with less color casting.
And since KOBRA diffuses light so well, unlike other flash modifiers, you don't need to bounce light off of a white wall or ceiling.
If you've ever been at an event taking photos, you know that this alone makes KOBRA worth the price of admission because white walls and ceilings are less common than one would think.
When it comes down to it, using a flash for your portraits isn't as scary and intimidating as everyone seems to think.
The key, of course, is simply having the proper tools that allow you to extract all the value you can out of your flash.
The KOBRA Flash Modifier is just that tool!
But don't take my word for it...check out the video above to learn all about KOBRA.
Learn More:
We Recommend
Top 19 Mistakes to Avoid as a Photographer
Sometimes, getting better results with your camera is as much about what you avoid as it is about what you actually do.
There are tons of mistakes that we've all made along the way, some big and some small.
And though making mistakes is a great way to learn, it's even better to learn from the mistakes of others. That's the whole point of this post!
If you can avoid these 19 embarrassing photography mistakes, you'll end up with much better photos.
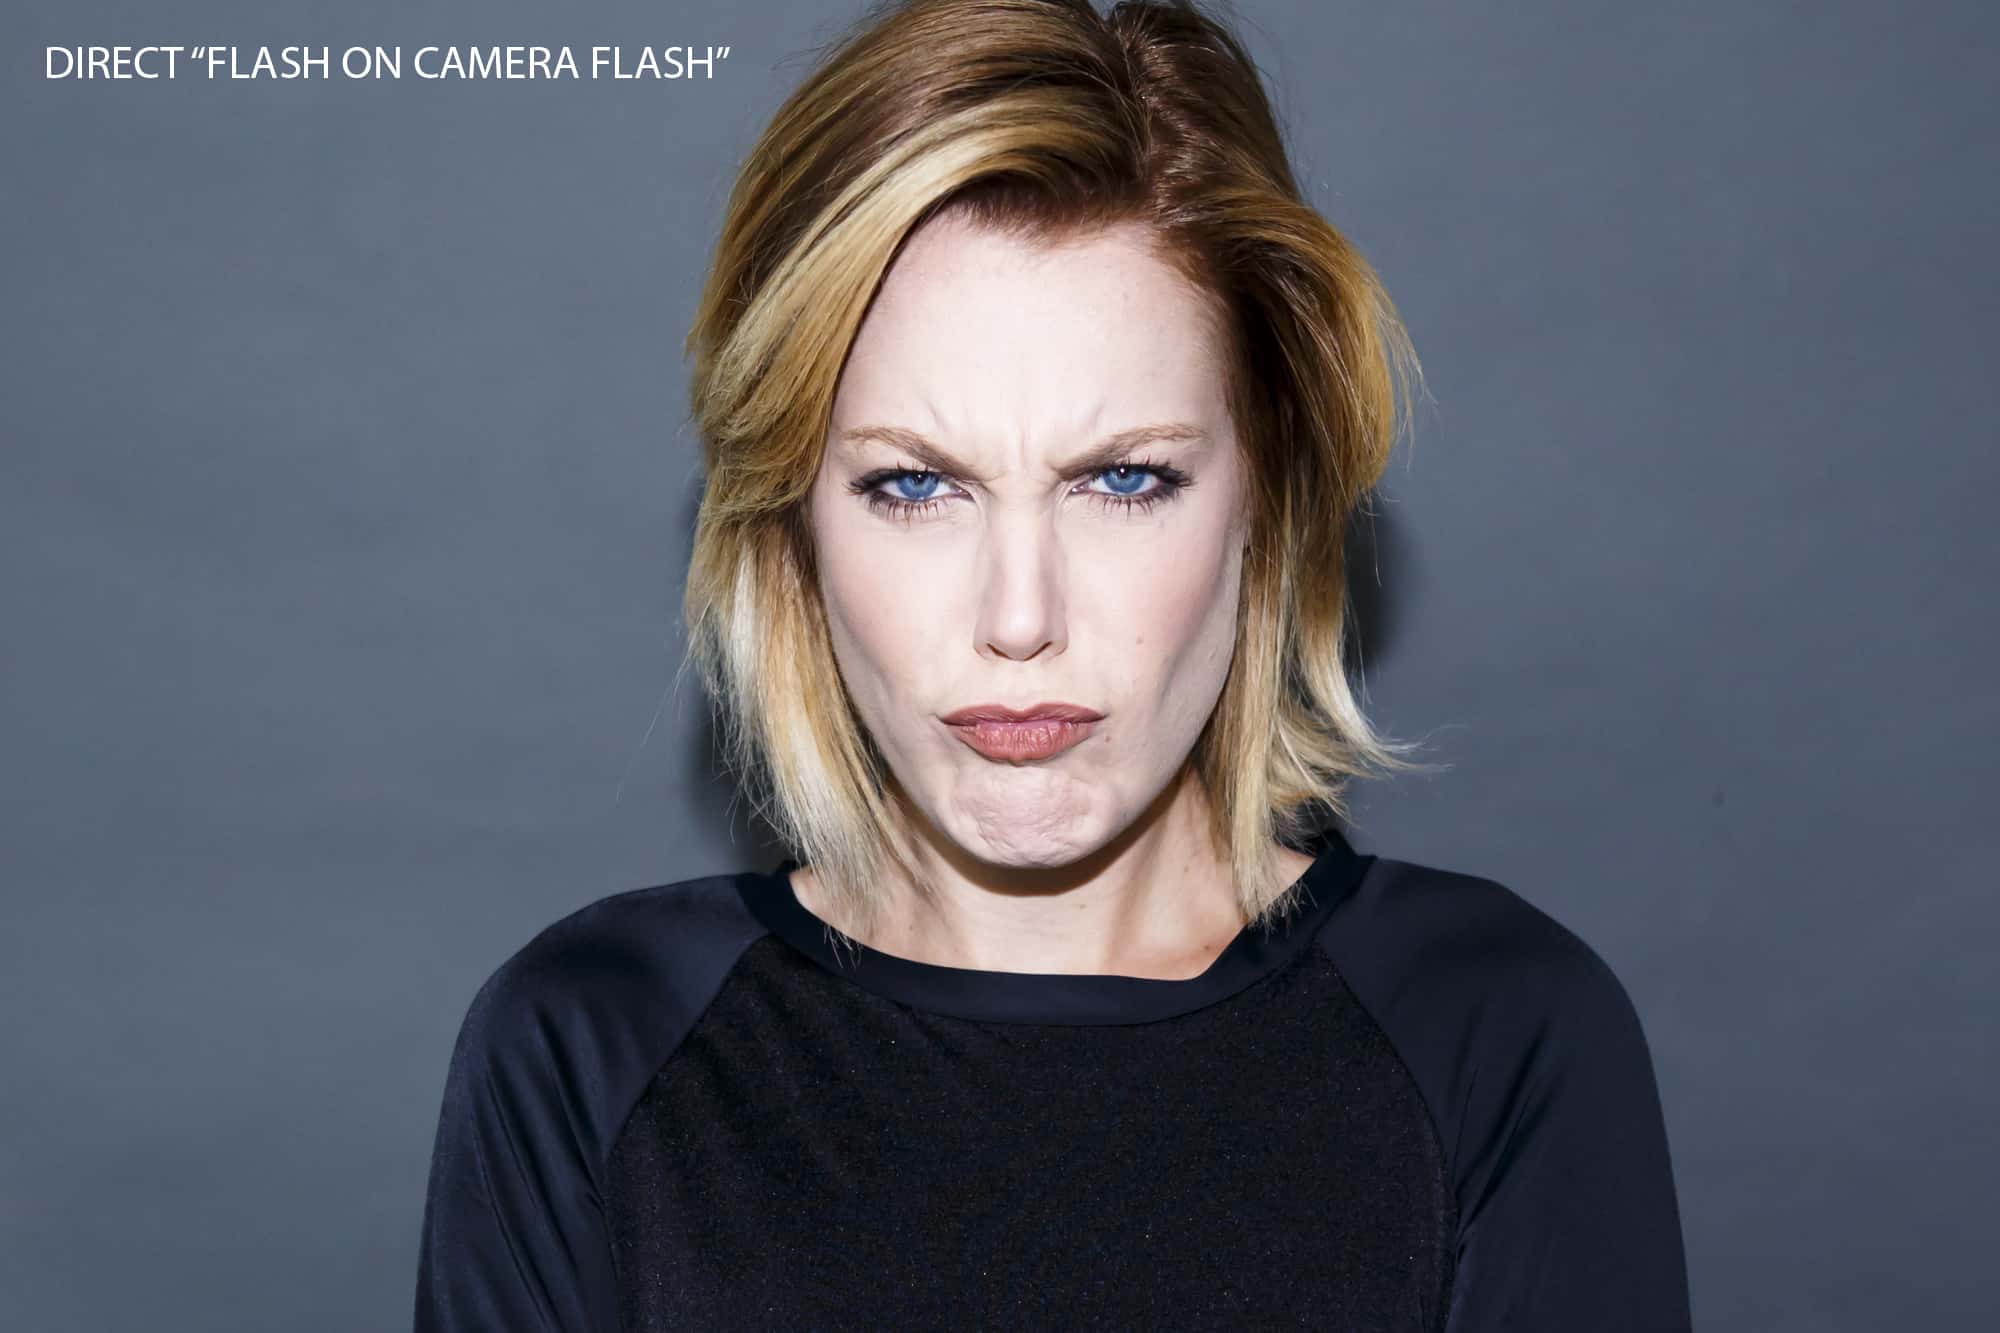
Using Direct Flash Without a Modifier
I see so many photographers struggle with using artificial lighting.
Some opt to use the pop-up flash on their camera, which is a huge no-no.
The pop-up flash produces extremely harsh light that washes out subjects. In a word, the lighting is terrible.
I also see a lot of photographers use a hot-shoe mounted flash or an off-camera flash, but without a modifier.
Without a modifier to soften that light, you end up with the same problem - harsh, unflattering light that washes out the subject and creates deep shadows.
There are a lot of flash modifiers on the market today, but the one I recommend is the KOBRA Flash Modifier.
There's a lot to like about this little gadget, but for me, the biggest draw is the sheer impact it has on the look and feel photos.
One look at the images above, and you can see the dramatic difference between the light from an unmodified flash and the light from a flash that's using KOBRA.
Additionally, KOBRA is small, lightweight (just 4.5 ounces!), and it's actually foldable too, so you can slide it into a pocket in your camera bag to save space, and then when you get it out again, it'll go right back to its original shape.
In other words, you can easily avoid having harsh, unflattering lighting in your images. All you have to do is modify the light with a KOBRA Flash Modifier.
Learn More:
- Check the full specs, photos, and video of the KOBRA Flash Modifier
- How to Take Control of Your Off-Camera Flash
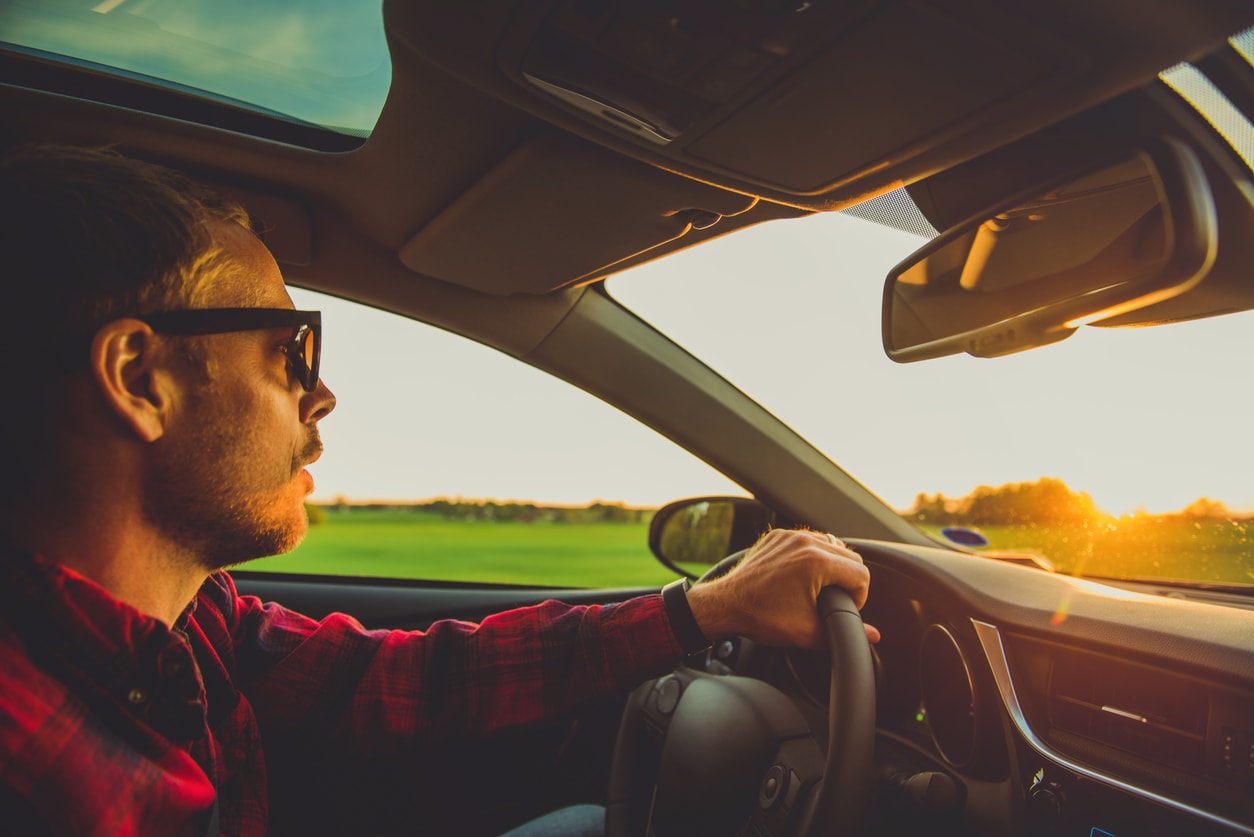
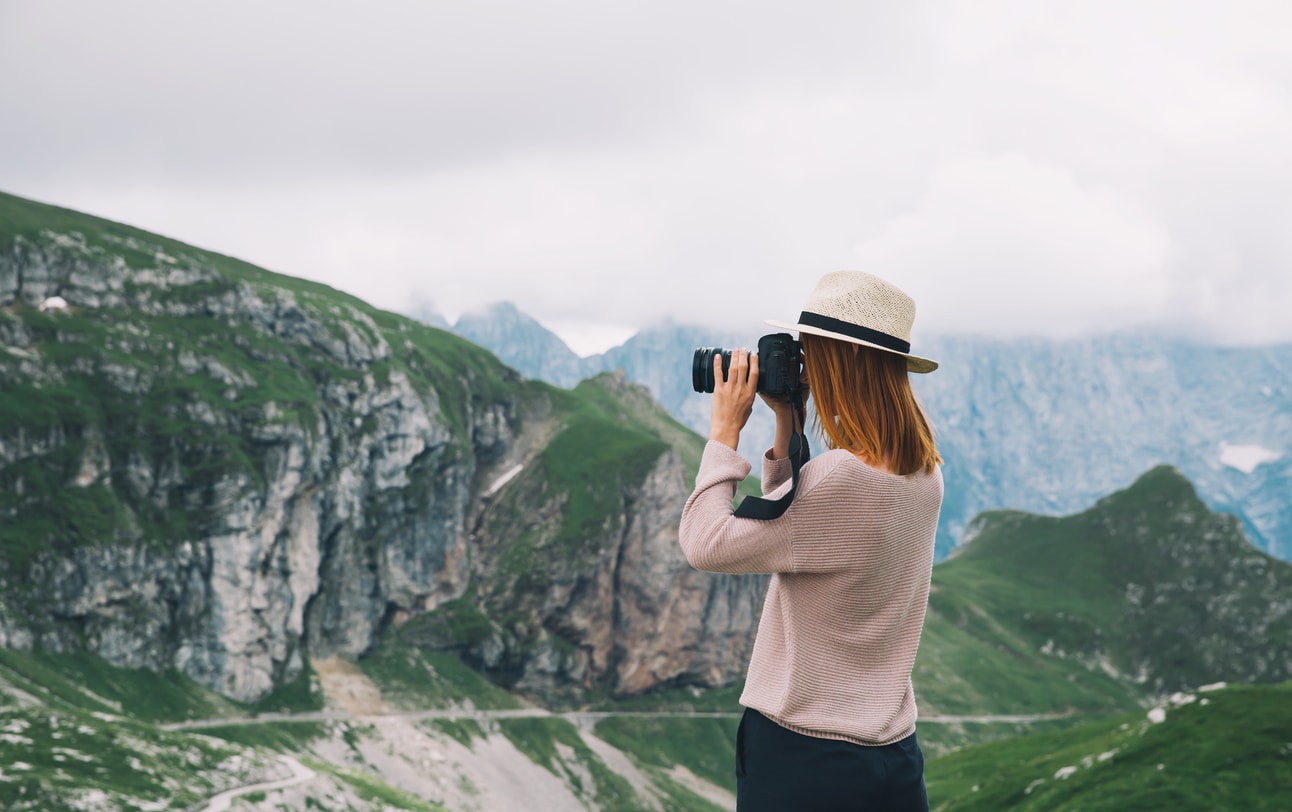
Leaving Your Camera at Home
This is a cardinal sin because the best way to get better at photography is to take a lot of photos, and to take a lot of photos you need your camera with you!
Granted, there are some situations in which you might not want to take your big DSLR, but you have a great camera right in your pocket - your smartphone.
That means there are zero excuses. Take your camera - any camera - with you to shoot at least a few frames each day. With time, that practice will pay off!
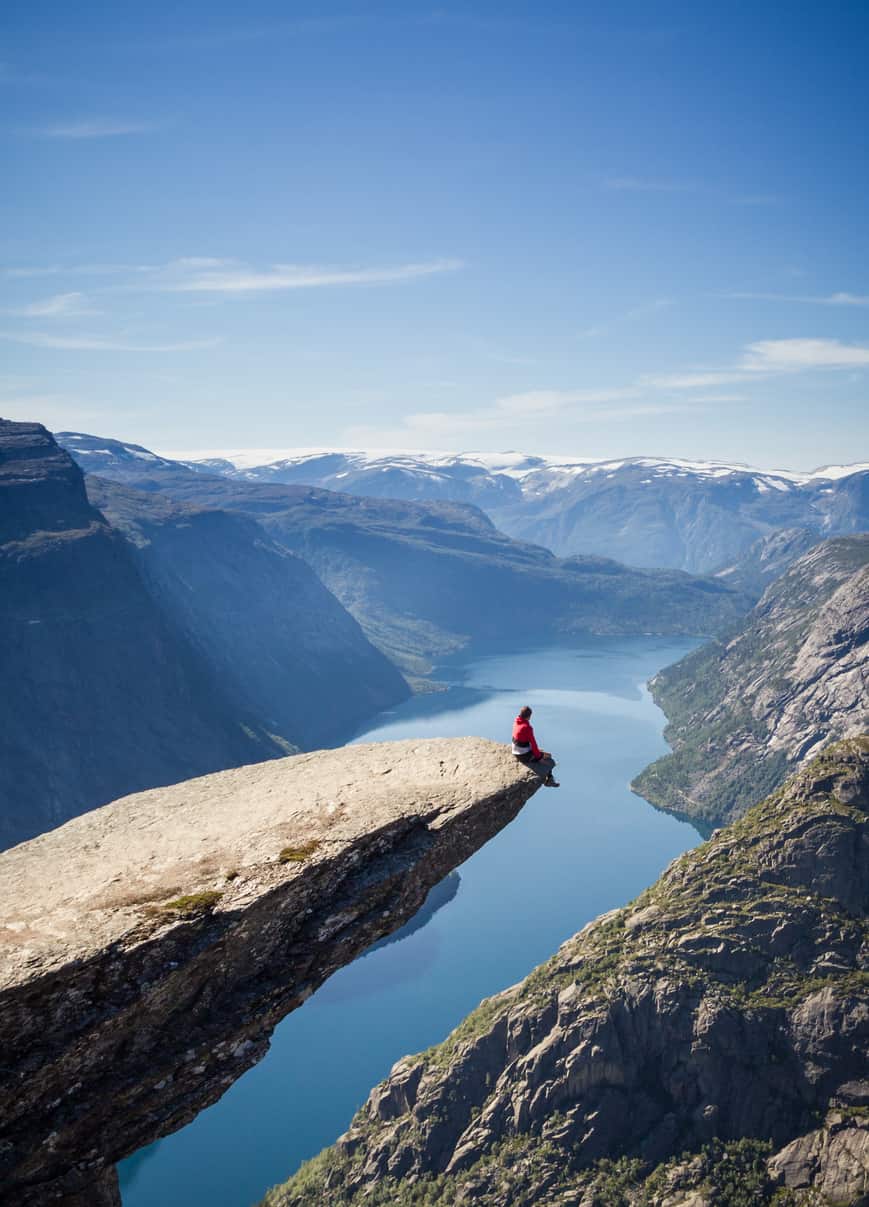
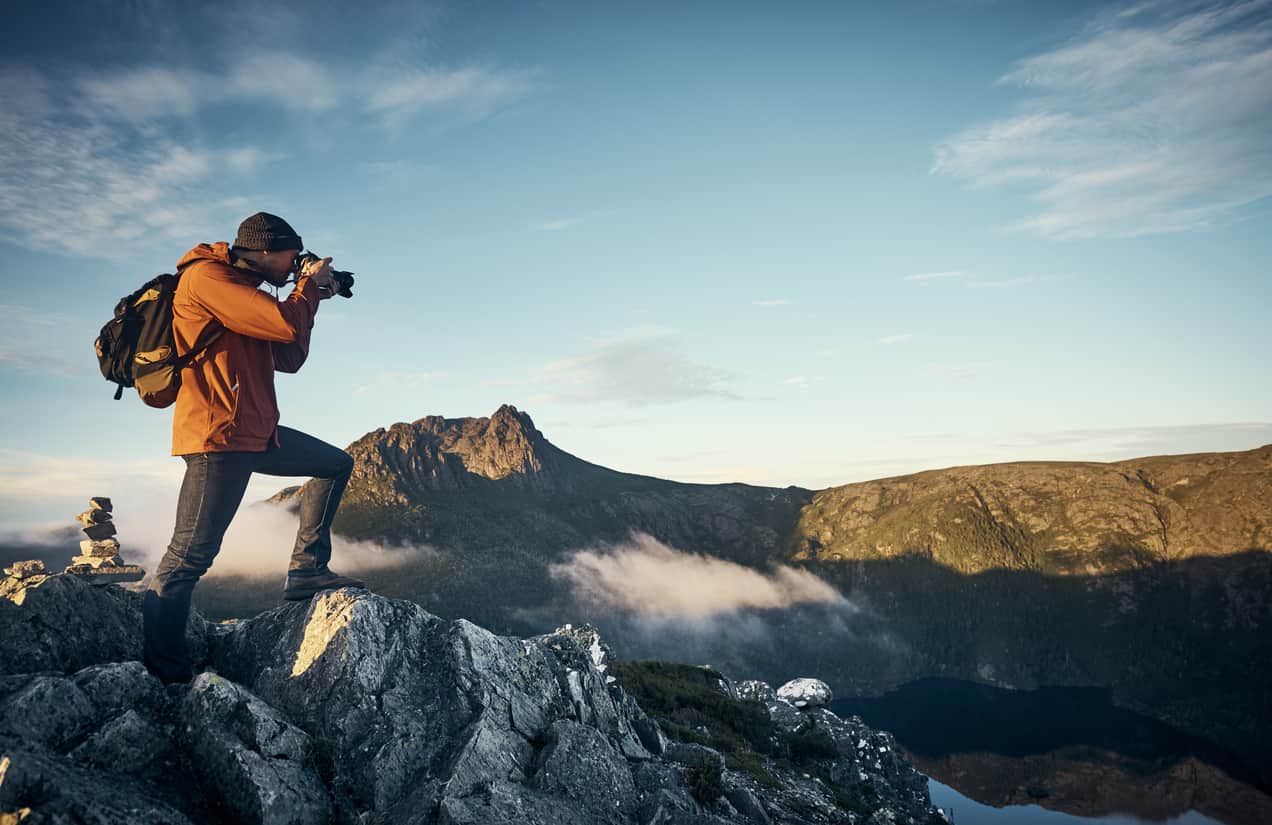
Shooting Landscapes Only in Horizontal Format

Sure, most landscapes probably benefit from shooting in horizontal format, but sometimes, they look even better in vertical format.
By switching things up and shooting landscapes in a vertical orientation, you can incorporate much more sky and foreground into the shot.
That's especially advantageous at sunrise or sunset, or when there are interesting elements in the foreground, as seen above.
Not Cleaning Your Gear
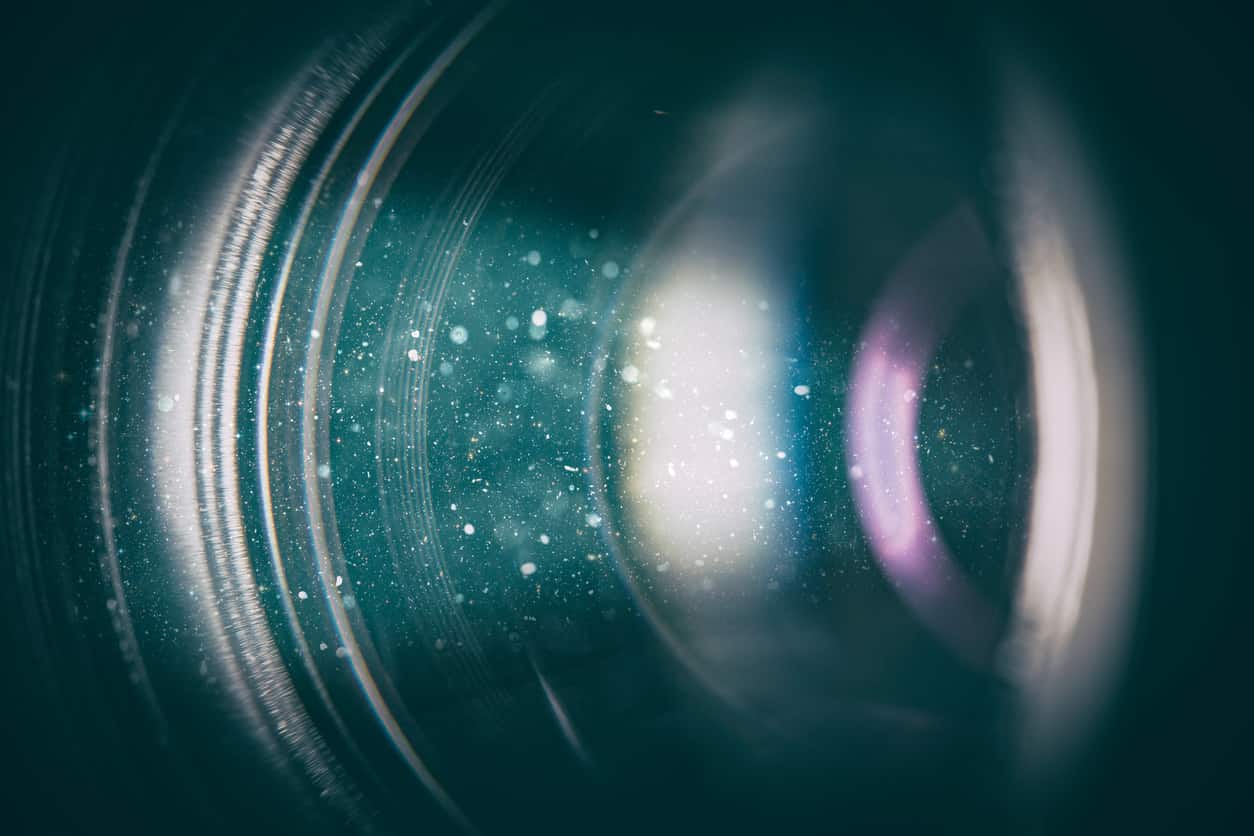
I took a great shot of Yosemite back in the day. It was perfectly composed, I had great light from the sunset, and I was sure to include foreground interest in the shot to invite viewers into the image.
Unfortunately, I hadn't cleaned my camera or lens for a good, long while, so my "great shot" ended up having dust specks and smudges appearing all over the place.
Cleaning your gear isn't just necessary for the best shots, either. You want to keep your gear in good working order, because who wants to pay all that money to buy new stuff?!
Never Leaving Full Auto
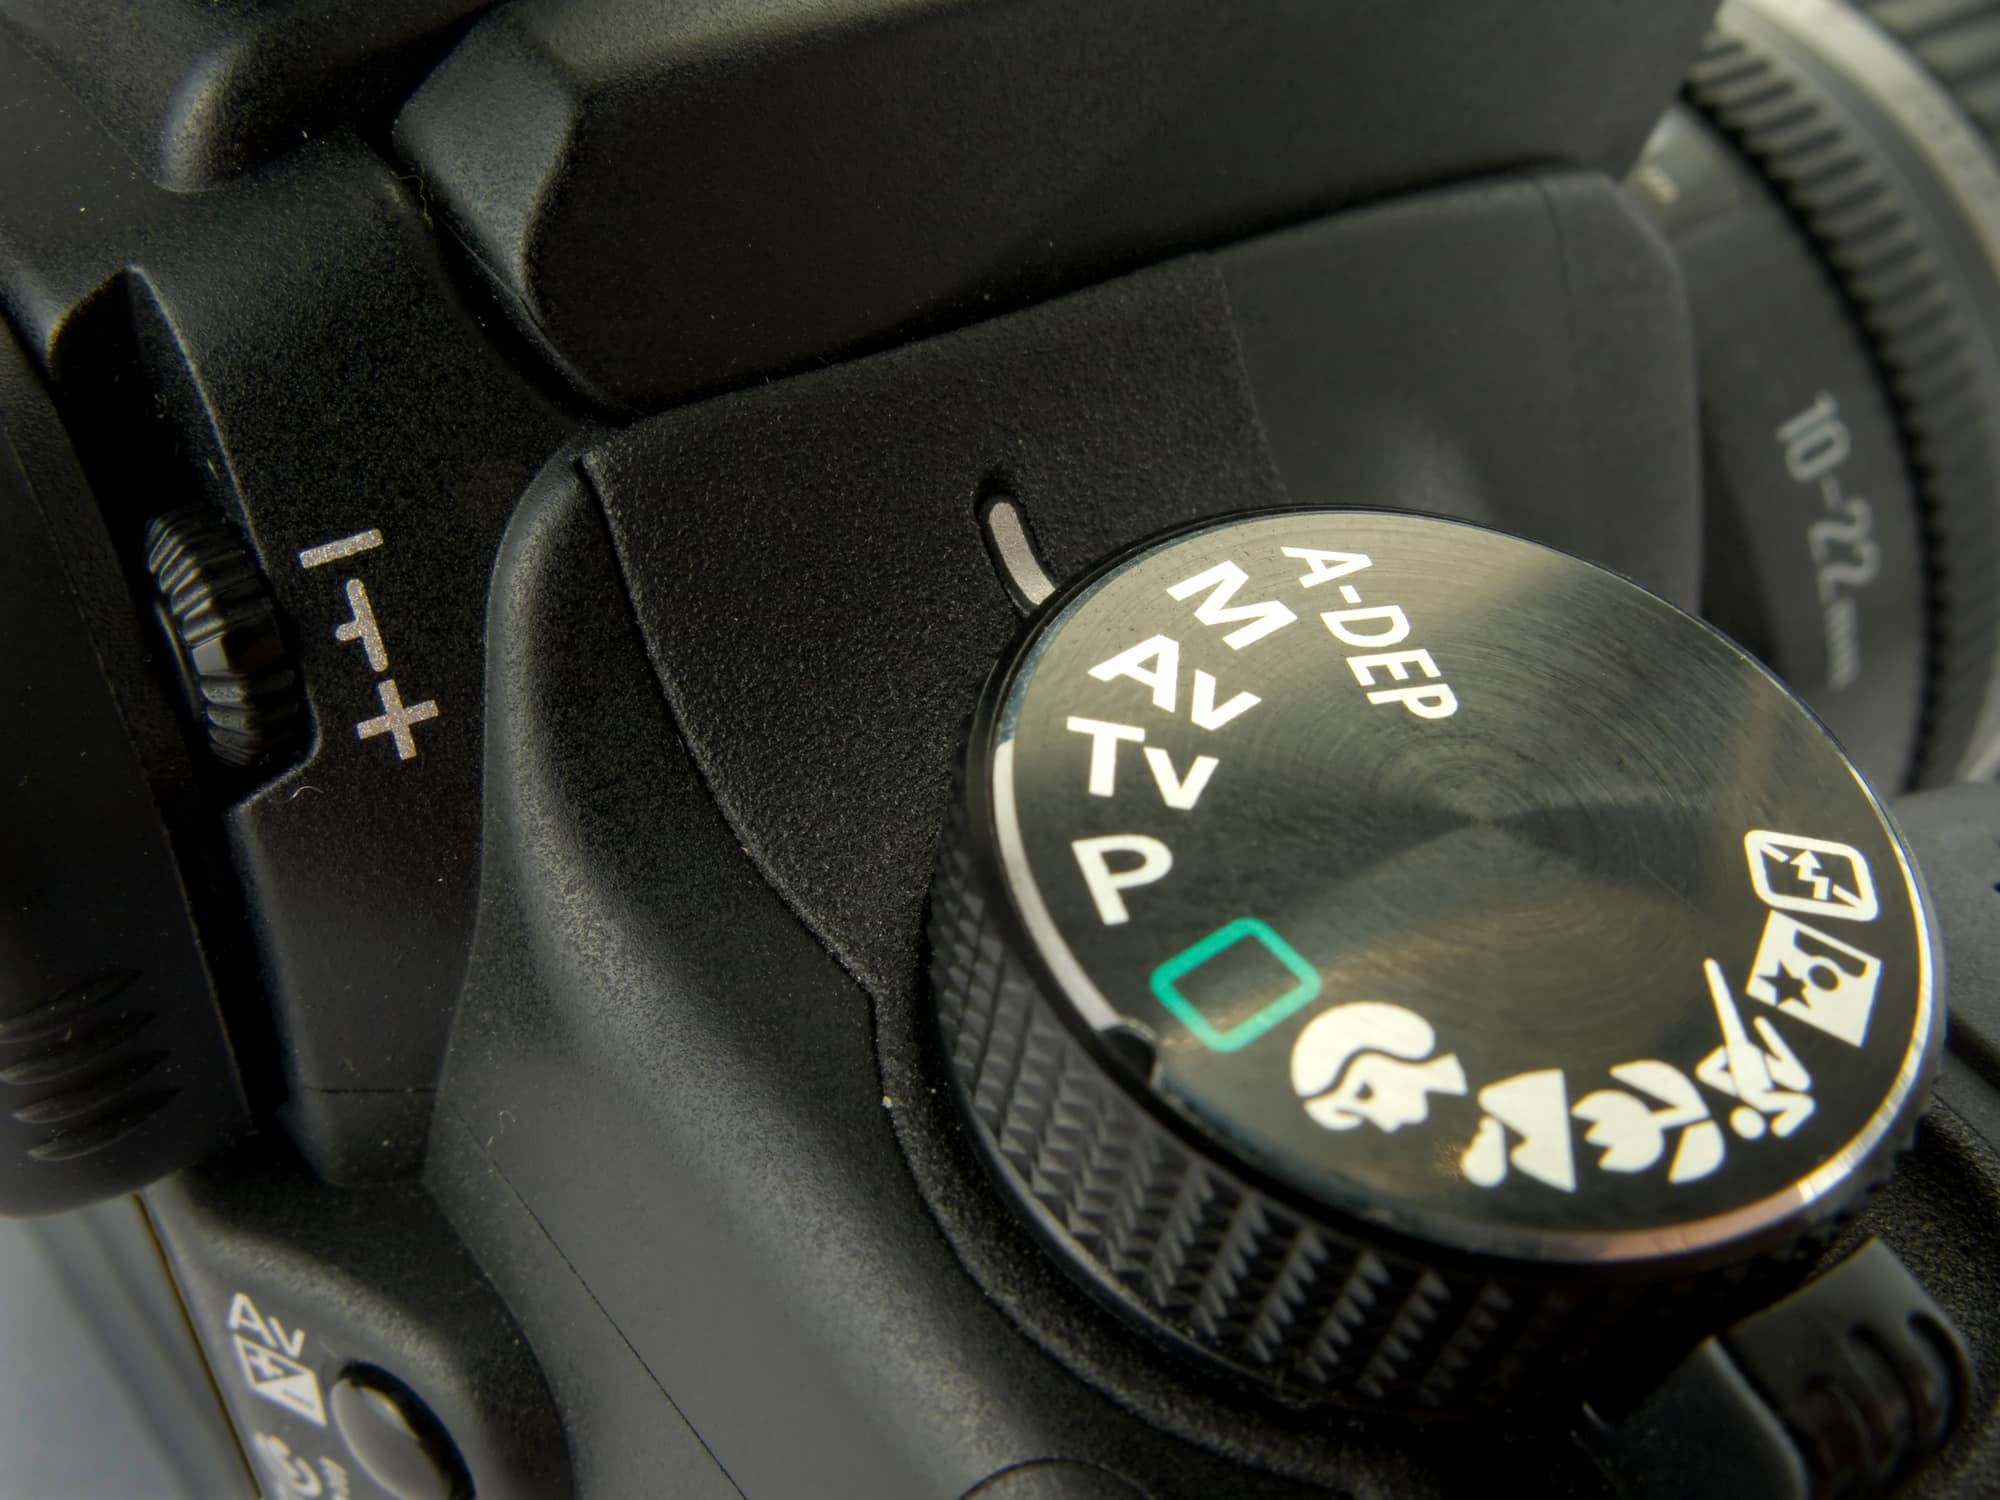
Full auto is a great learning tool when you're just starting out, but to stay in full auto isn't going to do you any favors.
Instead, challenge yourself to learn aperture priority mode, shutter priority mode, program mode, and, eventually, manual mode.
The more you know how to use your camera, the more confidence you will have, and that will mean you'll be able to take better shots in more varied conditions.
What's not to like about that?!
Learn More:
- Beginner Photography Tip: Advanced Controls That Will Take Your Photos to the Next Level
- Why You Need to Shoot in Program Mode
Not Adjusting Your Shooting Angle

If you take all your photos at your eye level, your collection of images will look a little boring.
Instead, vary your eye level a bit to find unique and unexpected ways to portray the subject.
Get up high. Get down low. Look up and look down. Even if it means laying down on the ground, give it a try!
Not Using a Tripod
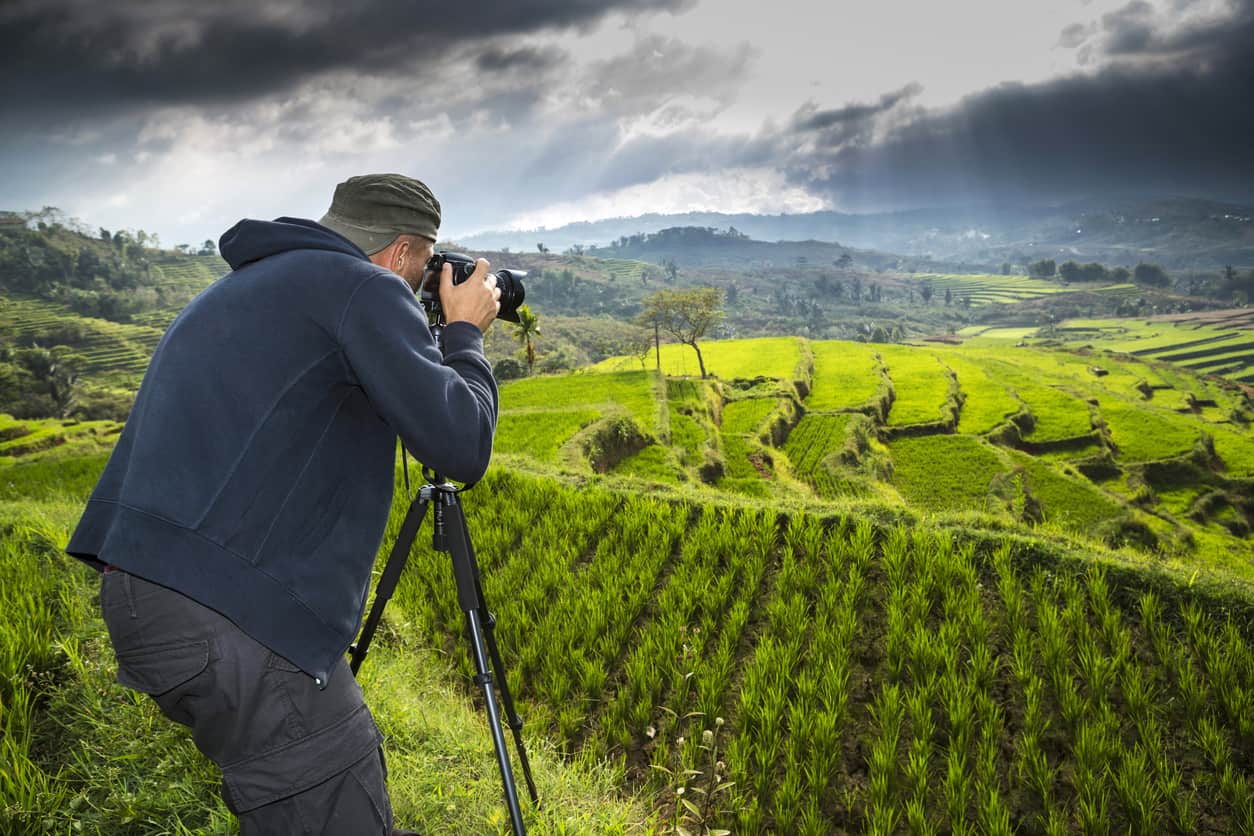
Something that will kill the mood of even the best-composed images is if they're blurry due to camera shake.
Though there are plenty of ways to try to avoid camera shake, the easiest one for beginner photographers is to use a tripod.
It'll give your camera the stable base it needs to get the sharp results you want. Plus, using a tripod helps slow you down a bit, so you have a few more seconds to pay attention to things like your camera settings, the framing, composition, and so forth.
Overediting Your Photos
Photoshop, Lightroom, and other photo editing programs exist to help you make them look better, not to help you make them look like they've been edited to death.
Try making small adjustments first - enhancing colors, adjusting the contrast, cropping the image, and so forth - in an attempt to make the image more eye-catching but while also leaving the image's integrity in tact.
If your photo looks like the one above, with totally unnatural colors (and too much saturation, at that), then you might consider toning it down a bit!
Learn More:
Not Including People in Landscape Photos
Very few landscapes on earth haven't been touched somehow by humans, so it makes sense to include people or manmade objects in landscape photos.
By putting a human figure, for example, in a landscape, the image then becomes about that person's relationship with their surroundings.
In other words, by adding a person to a landscape, it can help you tell a more compelling story with your image!
Having a Crooked Horizon

Whether it's a landscape, a cityscape, an outdoor portrait, or something in between, if there's a horizon line, be sure it's absolutely level.
Many tripods have built-in bubble levels you can use, or you can even buy one to put on your camera's hot-shoe mount. Use the rule of thirds grid in live view on your camera as well.
In other words, there's no excuse for your horizons to be off-kilter.
Not Watching the Background

Whether it's a trash can or a car, a tree branch or another person, when you're taking a portrait outdoors, there's a ton of things that can ruin the shot if you aren't paying attention to the background.
All it takes is a couple of extra seconds to scan the scene through the viewfinder and adjust your positioning or framing accordingly.
That's a much easier approach than to try and remove an unsightly feature from a portrait in post-processing!
Only Taking Posed Portraits

There's a time and a place for posed portraits, but that's not the only kind of portrait you should take.
Candid portraits are typically more genuine and have more life and vitality to them than ones that are heavily posed.
Save the posed portraits for things like weddings and graduations, and the rest of the time, see what you can do to get a fun candid shot like the one shown above.
Learn More:
Failing to Do Something With Your Images

My mother loves taking photos, and she's actually pretty good at it.
The problem is, she doesn't do anything with them!
She doesn't print them out. She doesn't even process them. In fact, many of them stay on the memory card, and when it gets full, it goes into a drawer with dozens of other cards.
If you're going to take photos, actually do something with them, look at your work, share it with other people, and learn from that process so you can become even better at your craft.
Too Much Clutter

An easy way for a photo to go wrong really fast is if there's simply too much going on in the shot.
This can be a problem for any type of photo, too.
If you find that you're having trouble processing all the subject matter, shapes, colors, shadows, and so forth, do what you can to eliminate some of those visual elements from the shot.
After all, sometimes less really is more!
Taking Only a Few Shots
Earlier, I mentioned that you need to have your camera with you so you can practice.
Building off that tip, you need to take a lot of shots!
There's no reason why you can't keep firing away with your camera. Today's memory cards can hold thousands of photos, so when you go out shooting, keep shooting!
Shooting Without a Plan
Then again, even though you should keep shooting and shoot often, don't take a "spray and pray" approach.
Instead, develop a plan for each outing, develop some goals, and see how close you can get to achieving those goals each time a camera is in your hand.
The more you plan and execute your plans, the better skilled you'll become, and the more likely you'll be able to quickly adapt to changing situations in the future.
Learn More:
Shooting Without a Memory Card
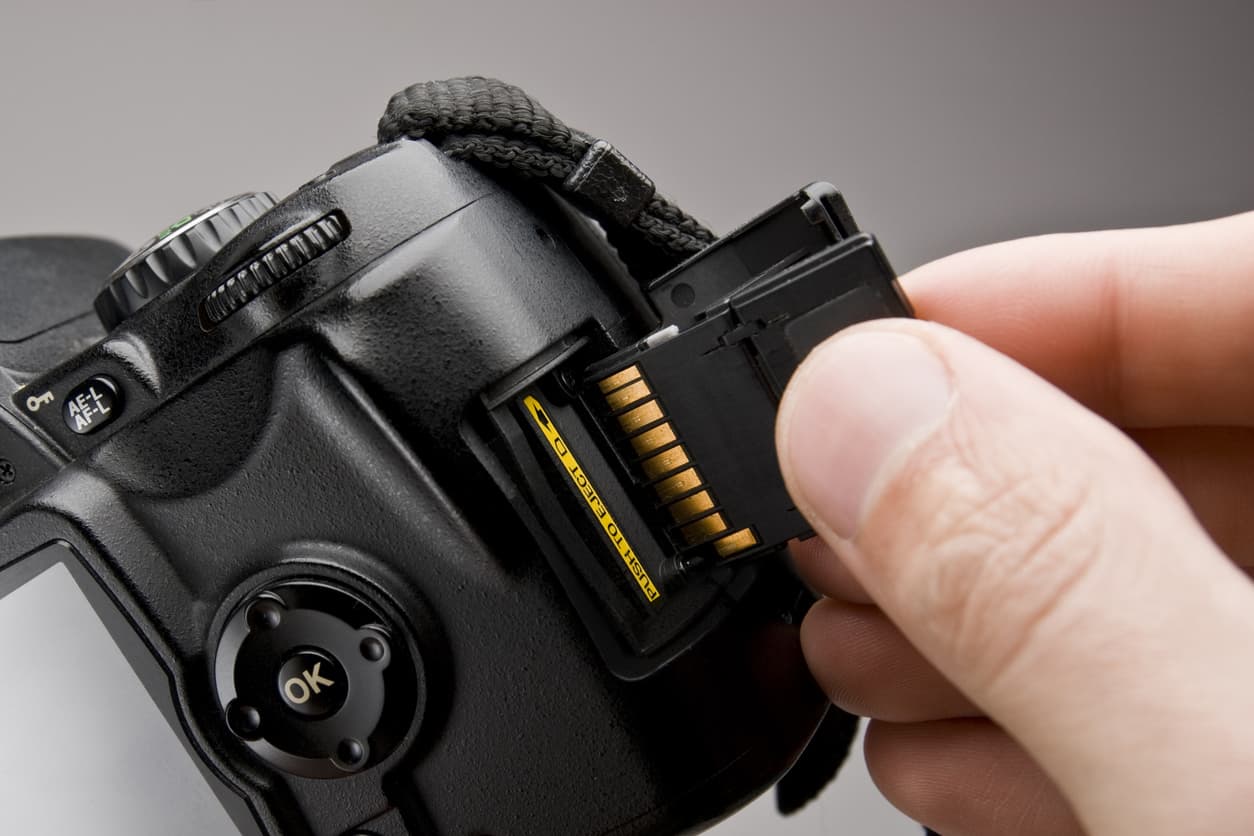
There's nothing quite like taking the time to grab some great shots, only to find when you come home that you didn't have a memory card in the camera.
It's a rookie mistake, but one you'll likely only make once!
Or, if you don't want to ever make that mistake, check your camera's owner's manual for instructions regarding how to set the camera to not take a photo unless a memory card is installed.
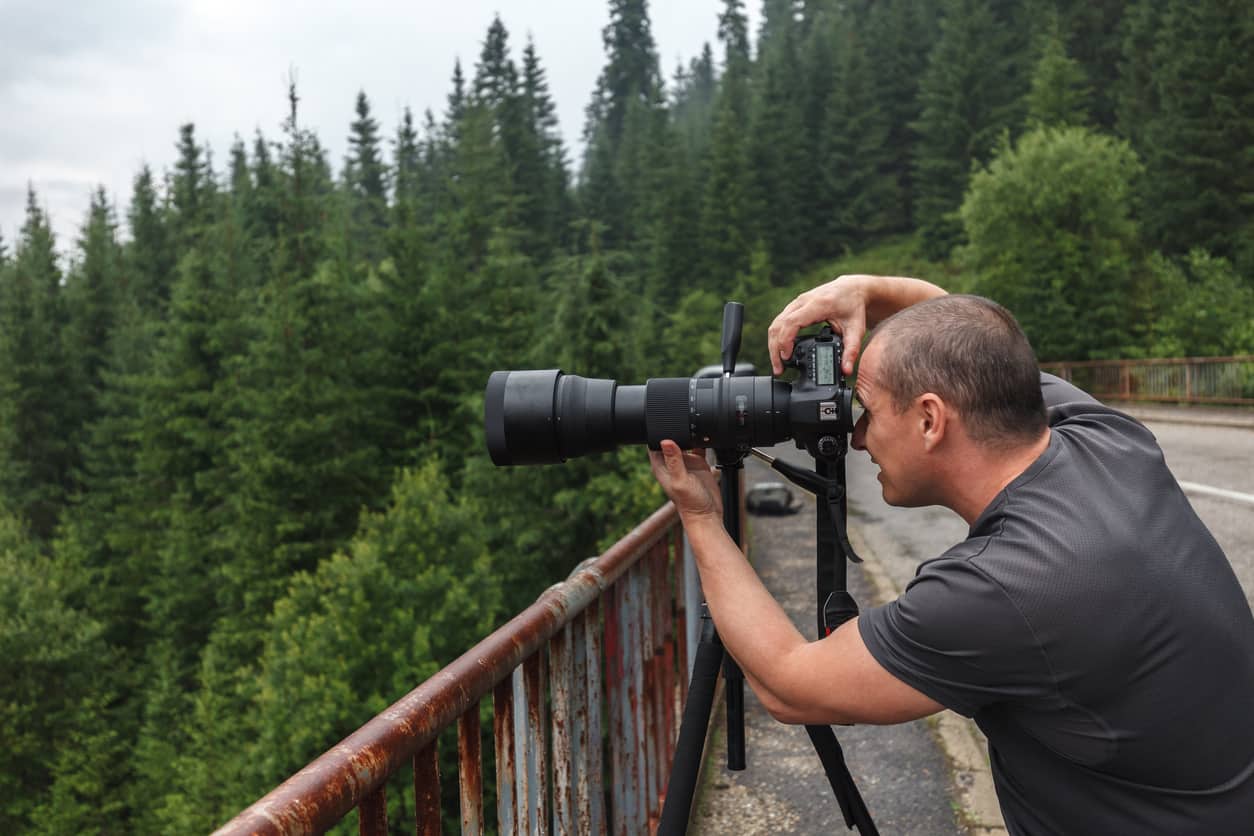
Only Using a Zoom Lens

Zoom lenses are great because you have a range of focal lengths in one lens.
However, they typically aren't as sharp as fixed lenses (also called prime lenses), nor do they perform as well in low-light situations.
If you want to up your game, find a good prime lens like a 35mm or a 50mm and see how it challenges you to try new things!
Getting Hung Up on the Rules
It's easy to get overwhelmed with all the tips, tricks, suggestions, and rules of photography, so much so, that you might find that when you go to press the shutter button, that you're second-guessing yourself.
That, in and of itself, is a mistake!
In the end, use the tips like those I've outlined above as guidance, but don't think of them as hard-and-fast rules that if not followed will result in you being expelled from the photographer's fraternity.
After all, photography is an art form, and each of us has our own personal style and vision!
We Recommend
Top Tips for Shooting With an External Flash

I'll fully admit it - even after all these years of taking photos, I try to avoid using a flash at all costs.
I'm guessing that if you're reading this article, you've been in the same situation...
Lighting is obviously one of the most important aspects of a photo, but lighting with a flash can be a struggle.
Sure, a flash is a great way to help get a good exposure, but sometimes it's at the expense of harsh lighting and strong shadows on your subject.
But with the right flash photography tips and the right gear, we can get over our fear of using the flash!
Option 1: Bounce the Light
One of the most common ways of making flash lighting more pleasing is to bounce it.
Bouncing light helps enlarge and soften it, which in turn makes it look less harsh and less artificial.
Flashguns typically allow you to tilt the head upwards at varying degrees and swivel it around so you can make use of a wall, ceiling, or even a reflector or mirror to increase the size of the light source.
Of course, there are problems with bouncing light.

First, it can actually make the lighting have too much contrast, which is just as big of an issue aslight that's way too harsh.
Second, bouncing the flash can result in deep shadows and blown out highlights in certain areas.
Lastly, bouncing light requires that the bouncing surface be neutral white. If it isn't, you run the risk of having unnatural looking color casts in your image.
Learn More:
Option 2: Use a White Bounce Card

To get around the shadowing problem that I noted above, you can use a large white bounce card.
The large white bounce card reflects light forward onto the subject, even when the flash is tilted upwards. That results in soft fill light to minimize shadows.
This technique is also a great way to add a catchlight in your portrait subject's eyes, as seen above.
Many higher-end flashguns have an integrated white bounce card, but if your flash doesn't have that feature, all you need is a piece of white card and a rubber band, and you can fashion a DIY card.
Option 3: Use a Light Modifier
I think we can all agree that the light emitted from an on-camera flash is terrible. If you need convincing, just look at the image above! It's far too harsh, necessitating a means of lighting the scene with softer light. Bouncing the light or using a white card can help with that.
Another way to do that is to fire a flashgun from a more neutral position, say, to the left or right of your portrait subject.
That allows you to get a little more distance between the flash and the subject for a softer look, and you can manipulate the direction of the lighting for a more creative lighting scheme.
Of course, not all situations allow you to have your flash off-camera and mounted on a tripod with an umbrella. Besides, that takes a ton of extra work to set up and move around.
Yet, you obviously need a way of getting soft, pleasing light...
A more practical solution for softening the light from a hot-shoe mounted flash is KOBRA Flash Modifier, the gadget seen in the image above.
This modifier is a completely innovative way to modify light because it has a built-in reflector that bounces light forward through its clear silicone body.
That gives you two layers of diffusion so you can more accurately control the light.

That also means that you don't have to rely on having a white ceiling or white wall to bounce light.
With KOBRA, you bring your white wall with you because the light bounces off the internal reflector, creating beautiful, three-dimensional light that results in far better images.
In fact, KOBRA lets you paint with the light, not spray, which is exactly what you want!

KOBRA is easy to use too.
It attaches to your flash with a state-of-the-art, patent-pending molded attachment system. That means it's totally self-contained and doesn't need any magnets or hook and loop closures to keep it on your flash.
One of the big selling features of the KOBRA is the weight. It's just 4.5 ounces (o.1275 kilograms), making it super light for a modifier!
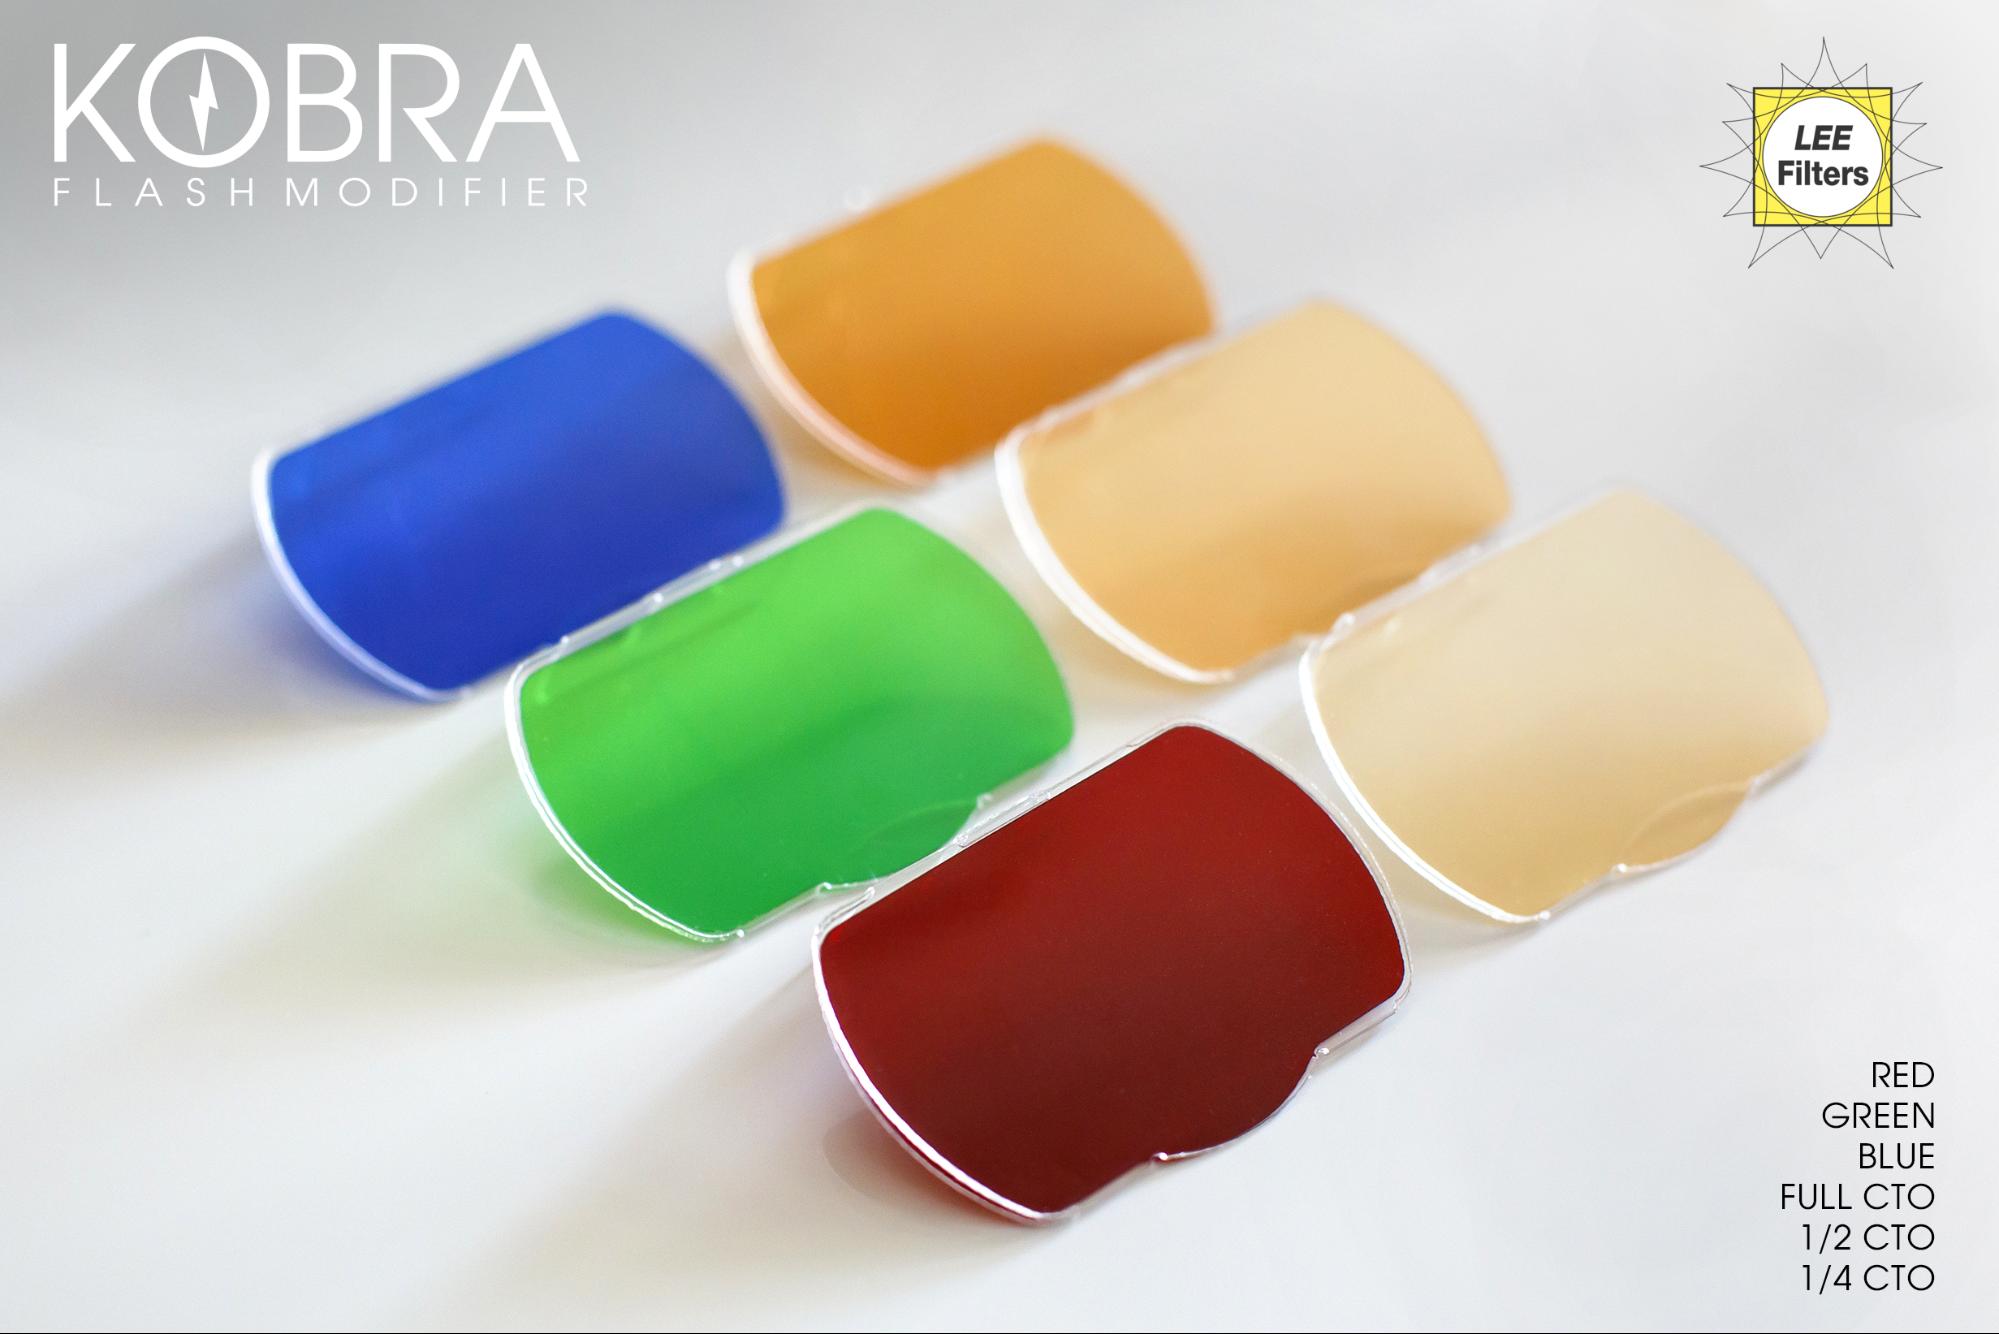
KOBRA even multitasks by allowing you to shoot in vertical and horizontal format. It even secures the KOBRA Color Gel System as well.
Even the materials it's made of are innovative. It's molded from high-grade, flexible clear silicone that's immune to temperature fluctuations.
That means that it will return to its original shape, even after being folded up and stored in your camera bag.
In other words, if you really want to take control of portrait lighting while also giving yourself more flexibility to be creative, the KOBRA Flash Modifier is the way to go.
It's small, yet packs a powerful punch, durable and well-made, and gives you the kind of lighting you need to create gorgeous portraits.
If you aren't intrigued yet, check out the KOBRA Flash Modifier in action in the video above!
Learn More:
Wrapping It Up
Getting beautiful light with a flash is paramount to getting the top-quality images you want.
Bouncing light can help, but can also result in deep shadows.
Using a white card can help, too, but if your flash doesn't have one built-in, you have to DIY one, which can look a little low-brow.
If you ask me, the best bet is to modify the light with something like the KOBRA Light Modifier.
It generates the most pleasing light for the best results, it's easy to use, durable, and affordable, too!
What's not to like about that?!
Visit KOBRA's Kickstarter page for more details and to lend your support.