
Photo Tip of the Week: 3 Critical Mistakes New Wedding Photographers Make and the Simple Solutions That Will Save You From the Same Fate
-
- Get familiar with your camera’s histogram, exposure meter, and auto exposure features ahead of time. Using them to correct for overexposed or underexposed images on the fly will help you get better images.
- Scout the wedding venue in advance, preferably during the same time of day that the wedding will occur. Note where the sun will be, and identify the best spots for photos of groups large and small. Remember to find backgrounds that are pleasing and not distracting.
- Pay attention to the details of the day. When making your shot list, include images of the wedding rings, the flowers, the table settings, and other little elements that bring detail to the overall photo story.
Talk about pressure! Taking photos of a wedding is just about the most stressful photography assignment imaginable. The fate of the day’s memories rest in your hands, and screwing it up is not an option. Yet, there are several critical errors that every new wedding photographer makes.
In this week’s Tip of the Week, we explore three of the most critical wedding photography errors and offer advice regarding how to overcome them.
Mistake 1: Bad Exposure
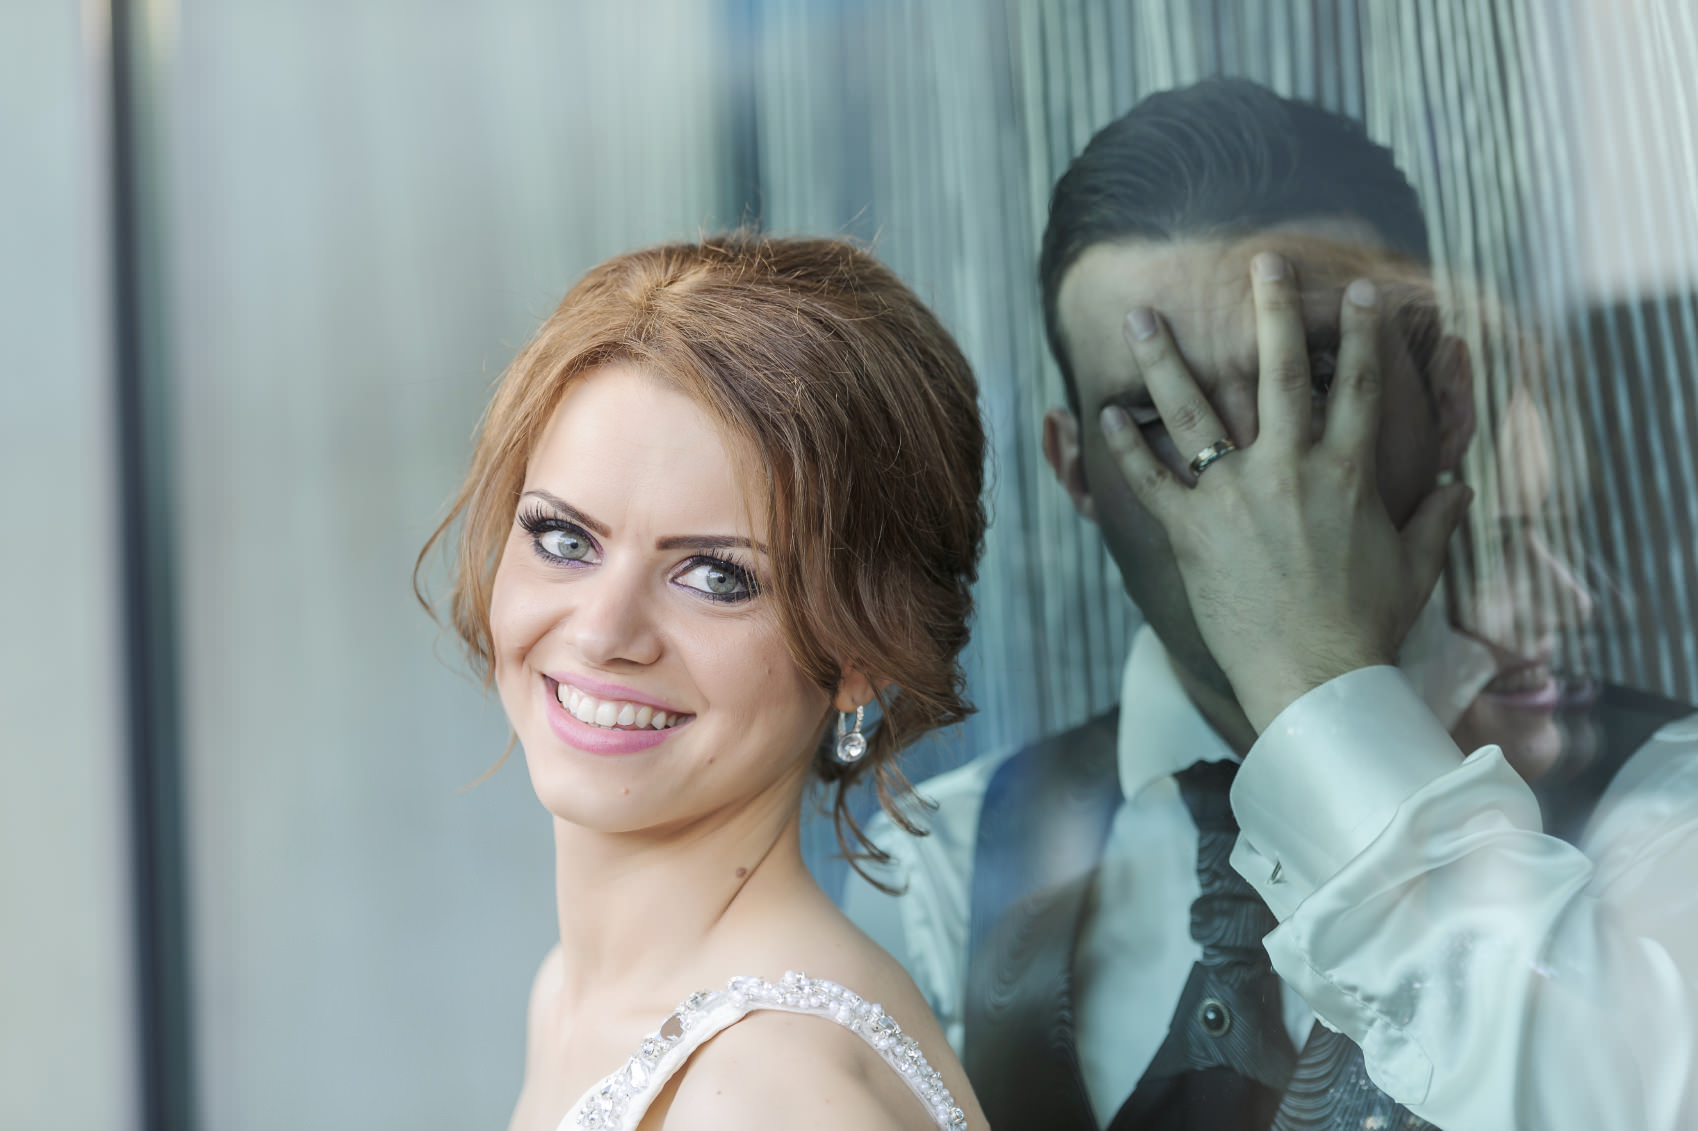
Getting the exposure right in wedding photos can be extremely problematic. The lighting situation changes from indoors to outdoors and from day to night, requiring you to adjust your camera settings to maintain proper exposure. Then there’s all the white and black present – the white dress of the bride and the black tuxedo of the groom, for example.
Brides want to be able to see the detail of their dress, so getting the exposure right is critically important. If it’s underexposed, the dress will appear gray and gross. But if it’s overexposed it will turn into a blob of ultra bright white with very little detail, as is the case in the image above. Obviously, the goal is to get an exposure that allows for detail throughout the range of tones.
The easiest way to ensure you’ve got good exposure is to constantly check exposure on your camera’s histogram. Ideally, you want the peak of the histogram slightly right of center. You also want to avoid large peaks toward the ends of the histogram. If necessary, use the exposure meter to make quick adjustments by dialing exposure up and down.
Bracketing exposures is also a great way to make sure you’ve got a well-exposed image. Use your camera’s auto exposure bracketing function to take a series of photos, each at a different level of exposure. Or, if your camera lacks this function, simply take a series of images in which you manually adjust exposure each time. Doing so will help you find the best exposure for each situation.
Supercharge your photography skills. 600+ Premium lessons waiting for you HERE.
Mistake 2: Not Doing Your Homework
The wedding begins at 4:00 PM, so you arrive at 3:00 PM to get set up. That’s enough time right? No way!
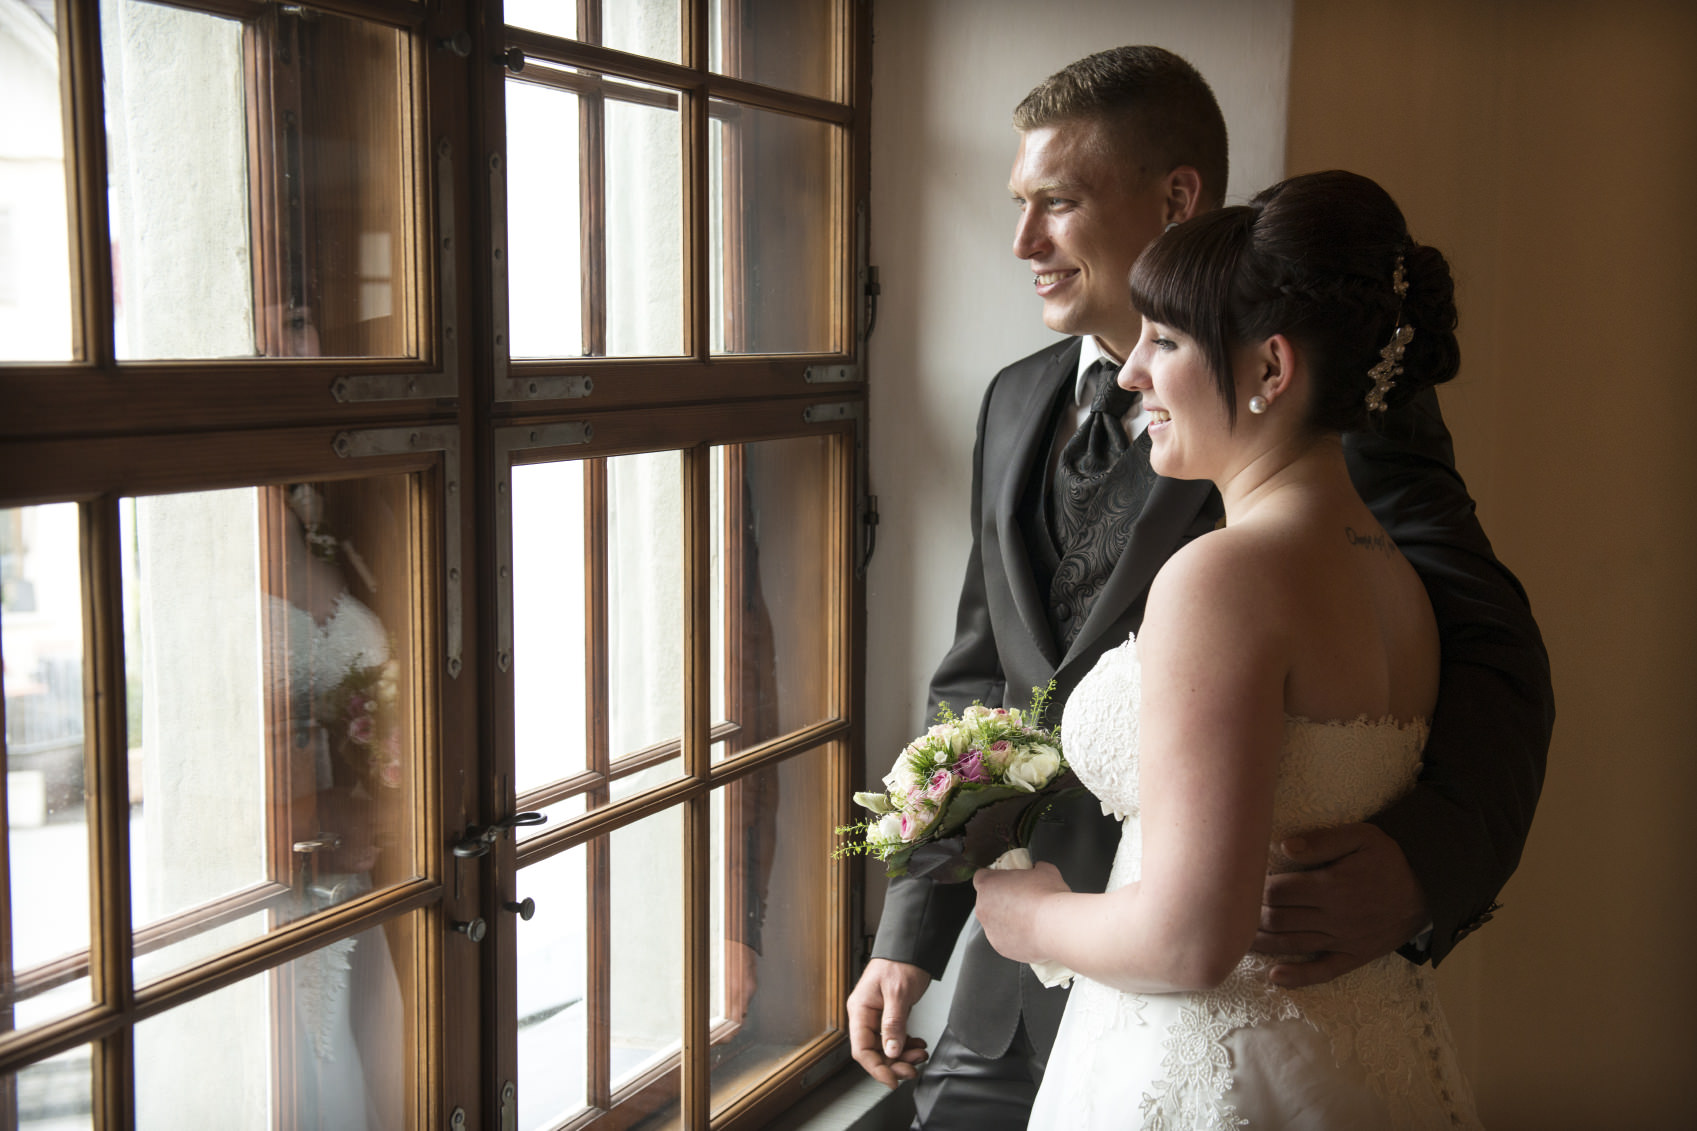
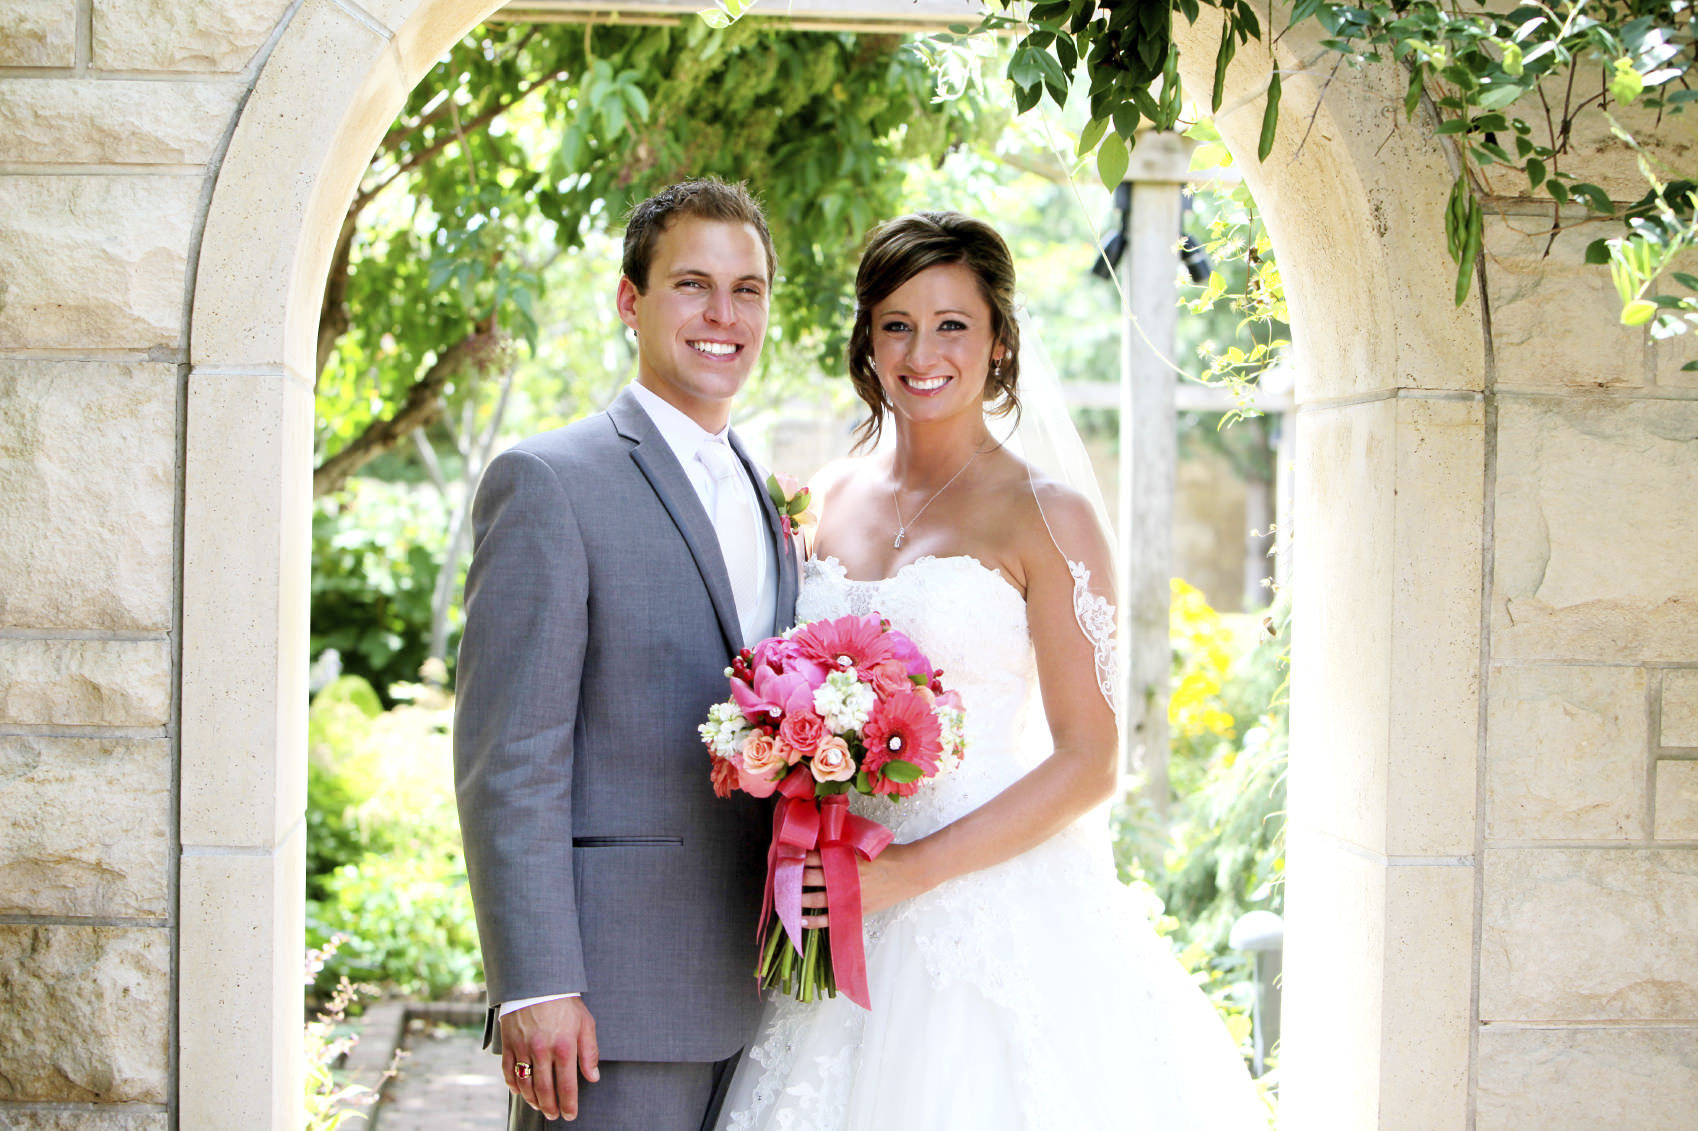
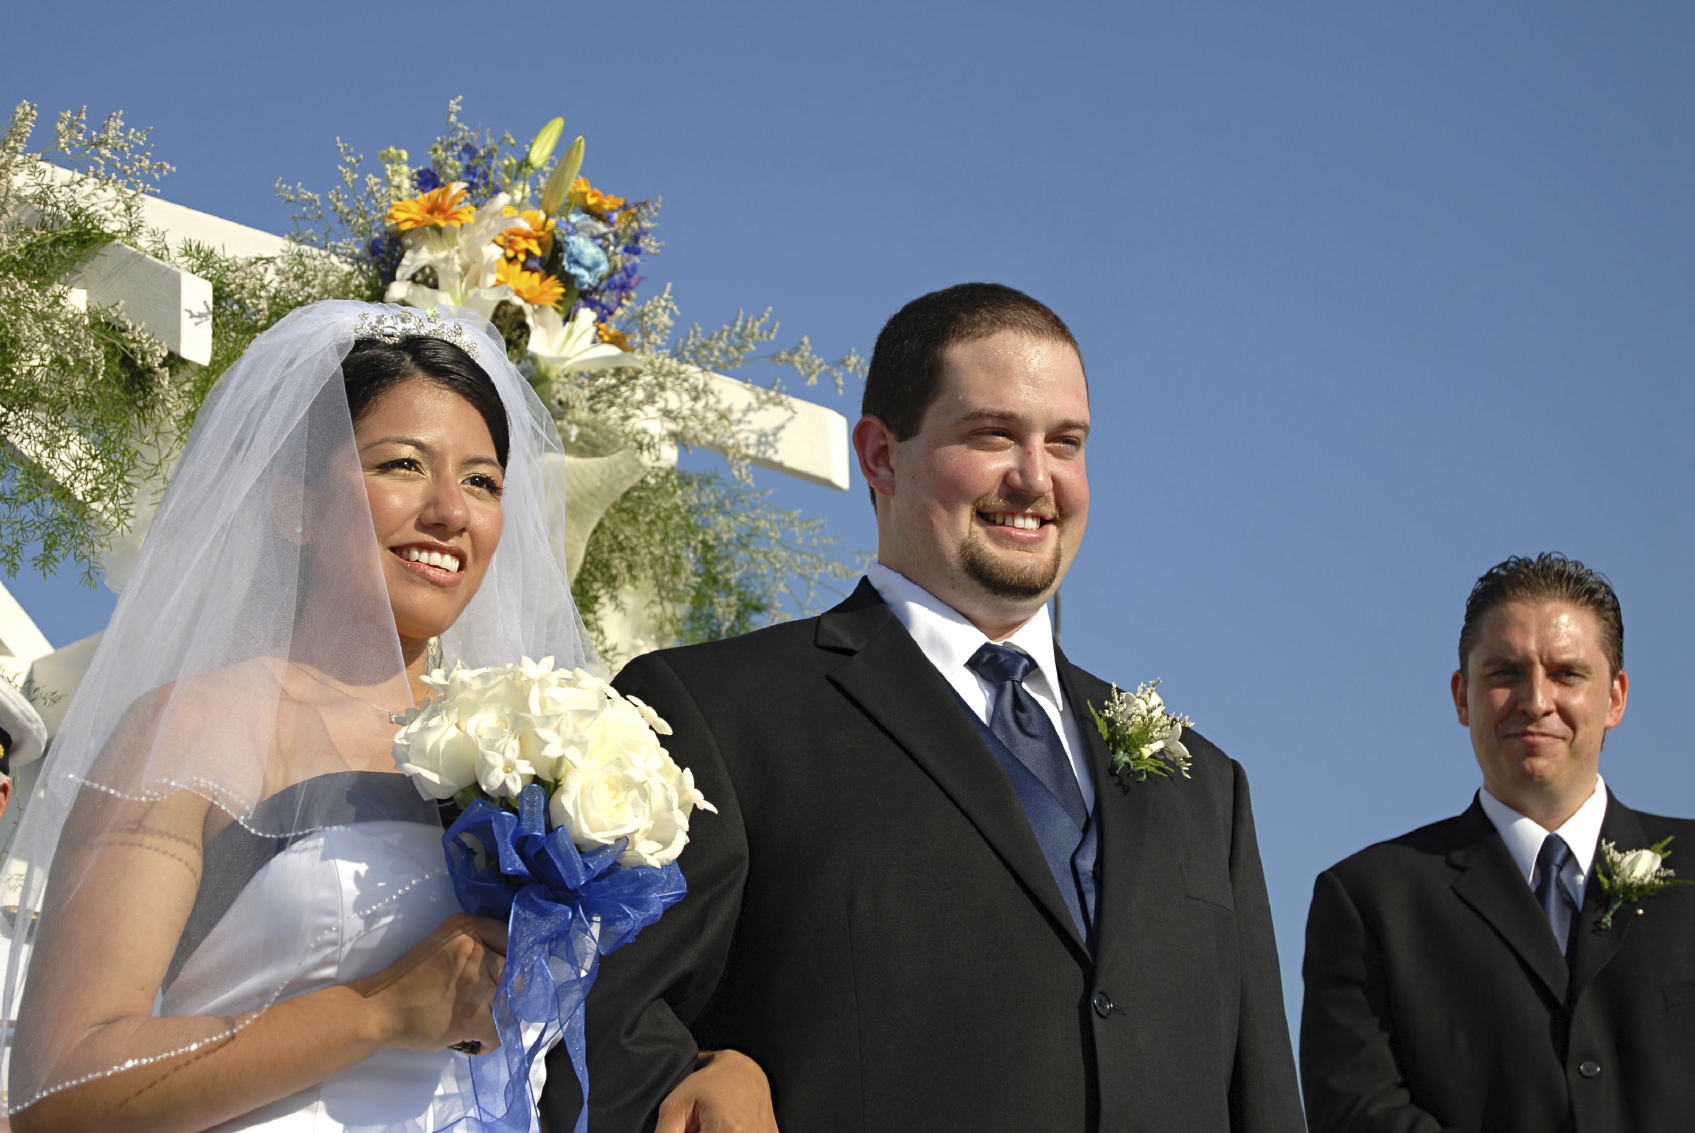
Wedding photographers need to spend a significant amount of time pre-planning their work for the big day. This includes going to the venue(s) to scout the best vantage points from which to shoot, identifying potential issues with lighting, finding areas to take photos of the wedding party, and the like. This will ensure you end up with images like the one above, that has an interesting composition that enhances the mood of the shot, and not one like the image below, which is taken from a terrible angle and makes the bride look as though the flowers on the arch behind her are actually on her head.
Likely the easiest way to prepare is to visit the venue the day before at the same time of day you will be taking photos. This will give you insight into the locations at the venue that will garner you the best light, areas with nice backgrounds for your shots of the wedding party, and so on. Going on a scouting mission will also allow you to identify where your helpers (which you absolutely should have!) can be positioned in the venue to get secondary shots.
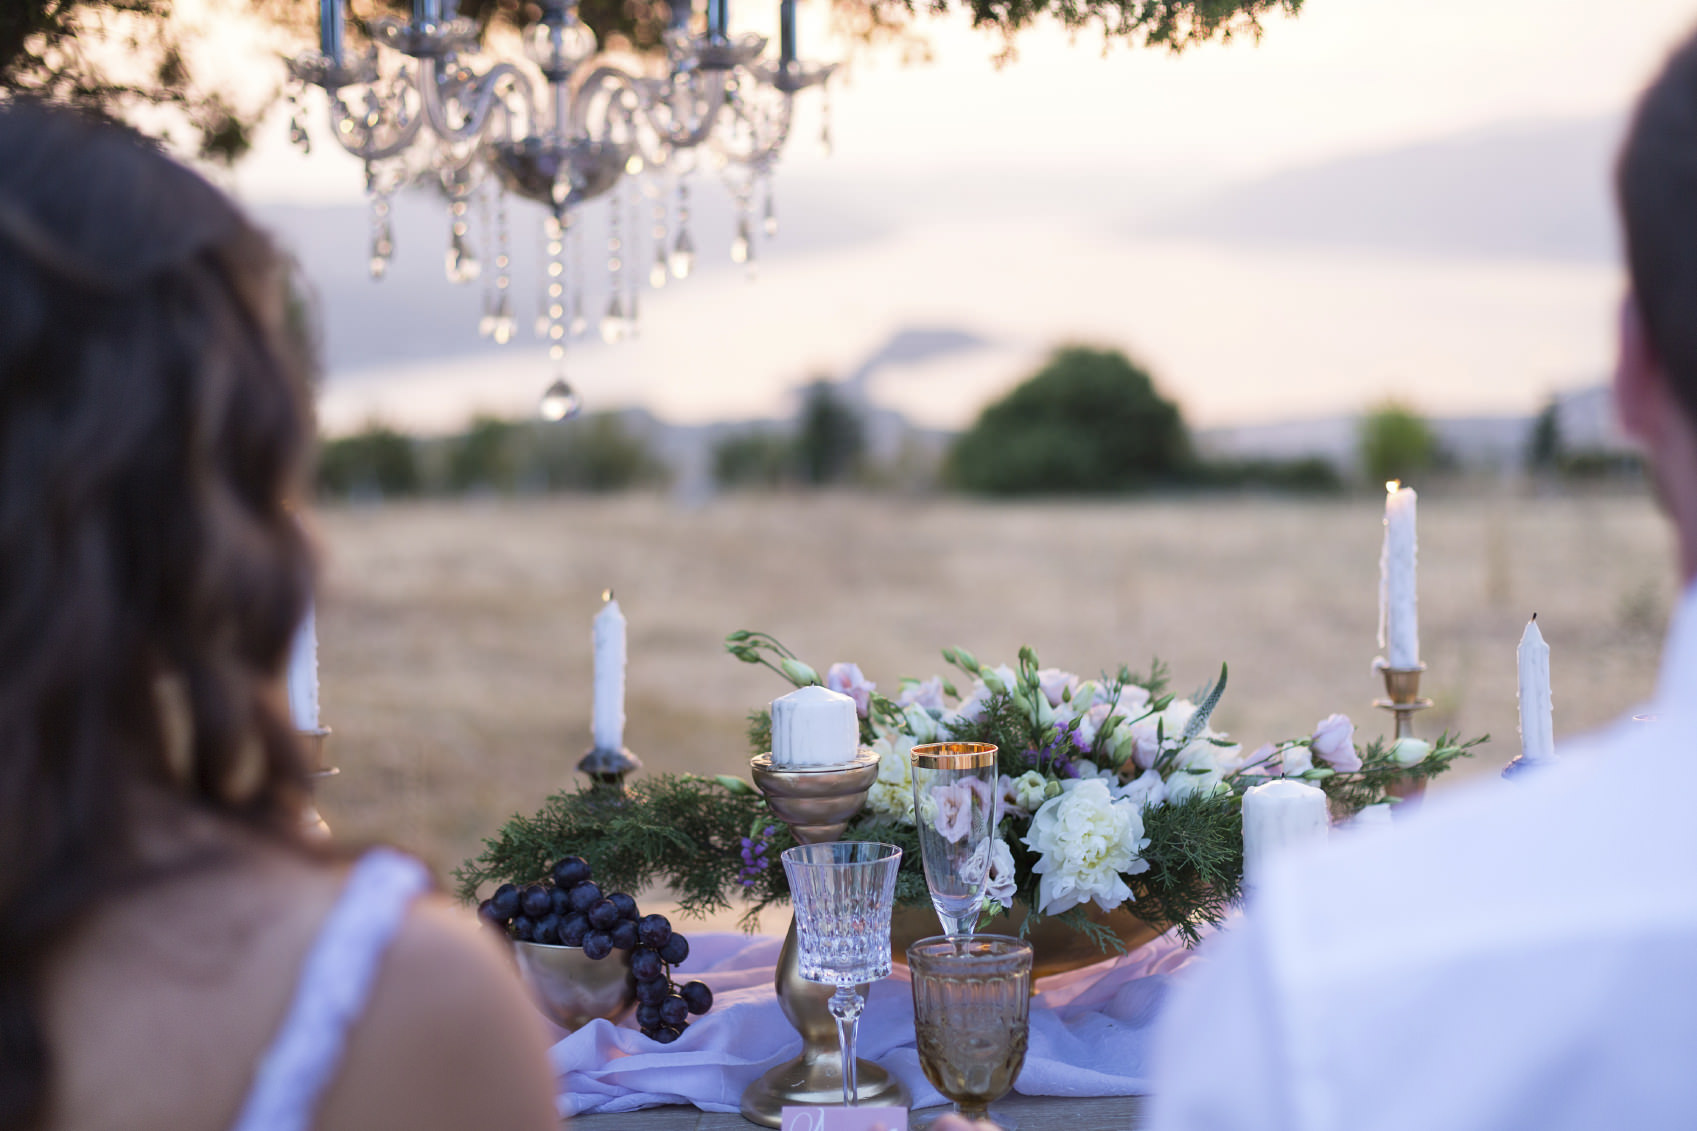
Before you scout the location, you should have already discussed with the clients the types of shots they want and have a shot list developed that includes the non-traditional images they might want, like the one above. When scouting the venue, refer to your shot list so you can identify the specific areas around the venue that would be well suited for each shot. The more you prepare and are able to direct the wedding party, the faster the photos can be taken and the more grateful your clients will be for getting the job done in an efficient manner. You will produce better images too!
Mistake 3: Forgetting the Small Stuff
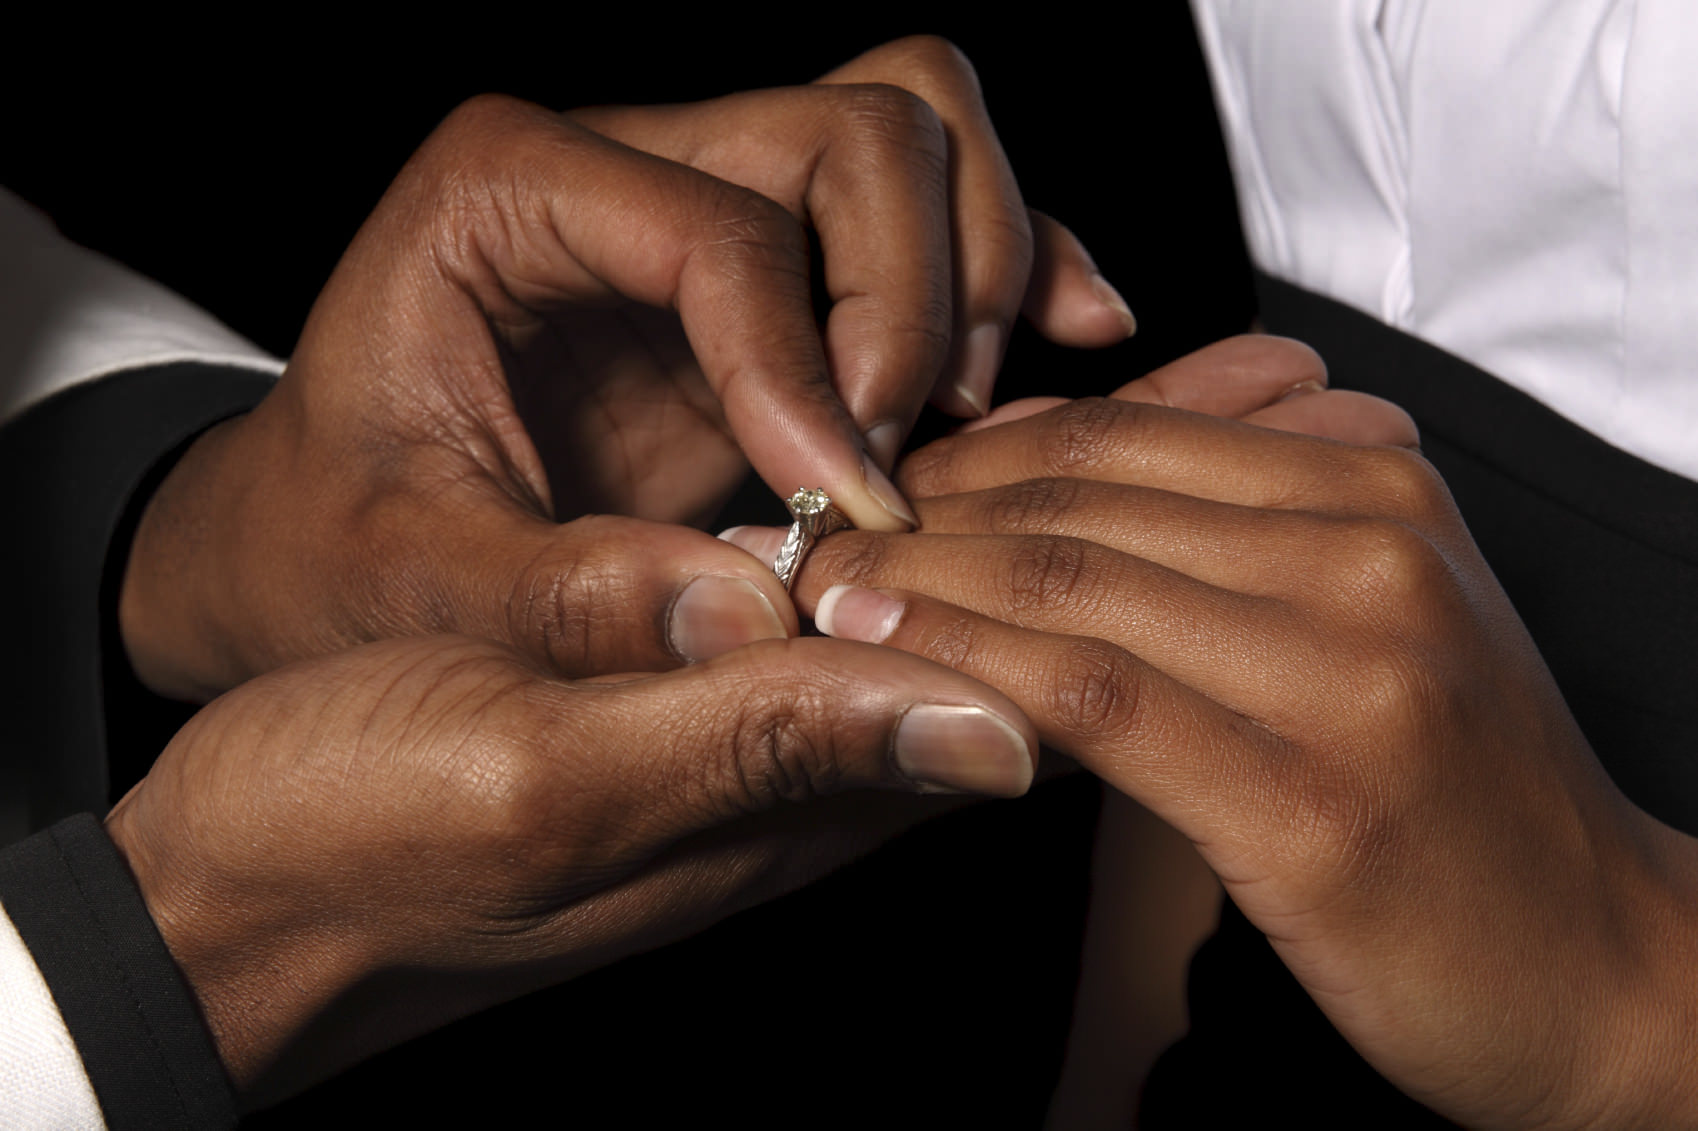
As the wedding day progresses, it’s easy to get sucked into the massive moments like the wedding party entering the venue, the exchanging of the rings, and the happy couple’s emergence from the venue as birdseed flies in all directions, and totally forget to capture the small, yet meaningful moments that occur throughout the day.
The couple will have spent a significant amount of time perfecting the details of their wedding, like the flowers, table settings, and the rings. Taking time to get images of these small, but important elements will help you tell a more detailed story of the big day.
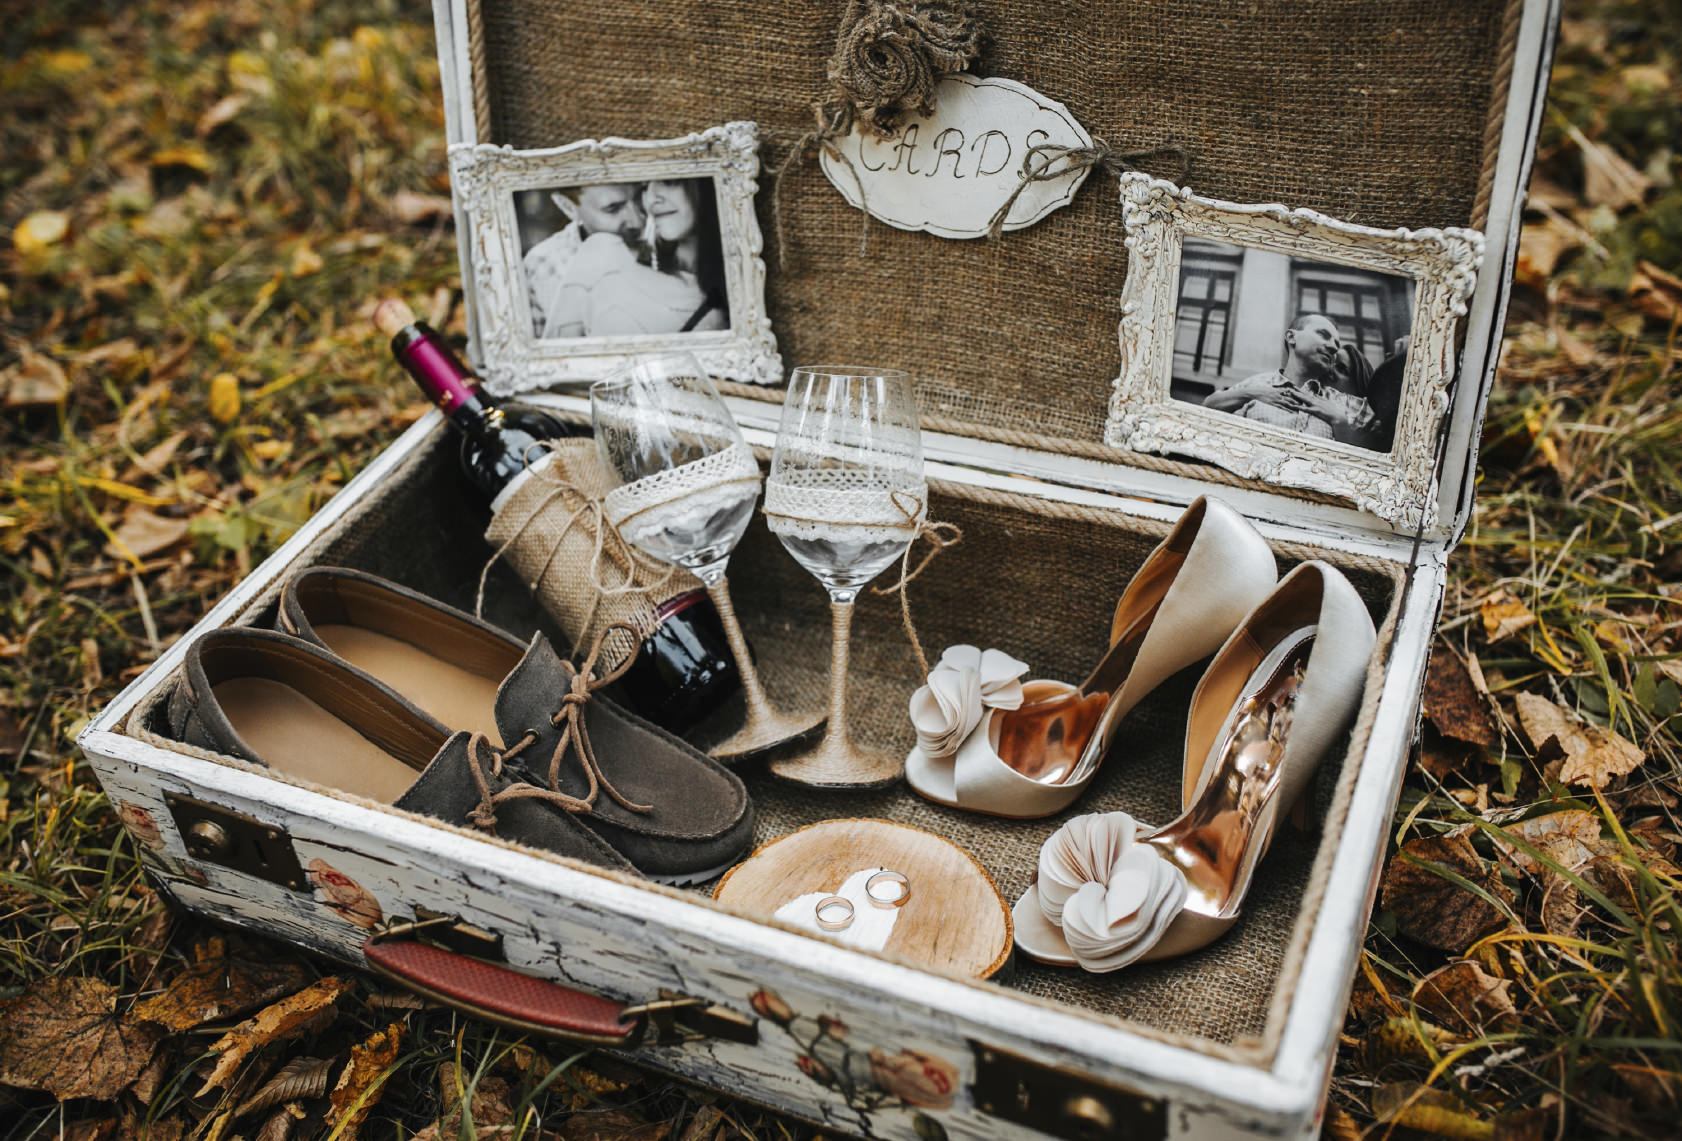
The trick, of course, is to photograph the small details in a manner that is still well composed and visually interesting. The last thing the couple wants in their wedding album is a bunch of images that look like they belong in a newspaper advertisement. Remember to play with lighting, composition, and perspective to get the most interesting shots.
Want more premium photography lessons? Click HERE.
Conclusion
Being asked to photograph a wedding is a great honor, but one that can cause even the most seasoned of wedding photographers a great deal of stress. You and you alone are responsible for capturing lasting memories, and taking time to prepare will help you accomplish that goal.
Scout the wedding venue in advance and get to know every nook and cranny so you know where the best spots are to take photos. Use your camera’s histogram, exposure meter, and auto bracketing function to get well-exposed images that highlight the details of the wedding party’s attire. And, speaking of details, don’t forget to find those small moments throughout the day that bring an added dimension of detail to the overall story. Doing so will improve your images and help you have a successful day of shooting.
Actionable Steps