
Tip of the Week: How to Take Incredible Shots of the Moon
- Tripod – A sturdy base for your camera is a must-have for moon photography. Your tripod doesn’t need to be super fancy, just something that will keep your gear safe, secure, and stable with no movement to cause unintended blur.
- Zoom Lens – You can’t photograph the moon with your camera’s kit 18-55mm lens, unless of course you want it to look like a tiny white speck. Instead, use a telephoto lens with a focal length of 200mm or higher. The longer the lens, the greater the magnification and the more prominent the moon will be in your image.
- Remote – You won’t always need a slow shutter to get a good shot of the moon because of its incredible brightness. But on occasions when you do need to slow the shutter down, you will need a remote shutter release. If you haven’t got a remote, use your camera’s timer function. Either one would be a good choice to use no matter the circumstances, just to minimize the chance that camera shake enters the equation.
- Collect the appropriate gear for moon photography. At a minimum, you need a sturdy tripod, a zoom lens with a focal length of at least 200mm, and a remote shutter release.
- Getting the exposure right is one of the most difficult aspects of taking images of the moon. For the best results, keep the ISO low (in the 200 range) and the aperture on the smallish side (f/11 is a good place to start). Begin with a fast shutter speed (in the 1/200s range), and if need be, slow it down from there. Make adjustments to aperture as needed as well (but leave the ISO alone) to get the exposure right for your particular setting.
- Avoid images of the moon by itself. It works much better as one piece of a larger scene. Incorporate foreground interest like trees, buildings, or other natural or manmade objects to bring more interest to the shot.
- Choose a location with minimal light or air pollution, as both will negatively impact the sharpness and clarity of the image.
- Try to shoot during the “blue hour” – the hour after the sun has set or before it rises – as the contrast in the sky will be minimized and the task of getting a good exposure will be made easier.
The moon is a favorite target of photographers. It’s such a simple object in the night sky, yet it makes for gorgeous and mesmerizing nighttime images. But for many photographers it remains a mystery regarding the best way to go about photographing the moon.
This week’s installment of our Tip of the Week series heads into the dark and shadowy world of moon photography. From equipment choices and camera settings to composition and finding the best shoot locations, we’ve got you covered. Let’s get to it!
Get the Gear
Supercharge your photography skills. 600+ Premium lessons waiting for you HERE.
There are a few pieces of equipment you need before you can take incredible shots of the moon:
Focus on Exposure
Getting a well-exposed image of the moon is hard. Very hard. Its brightness, combined with the darkness of the sky that surrounds it, makes for a high contrast situation that your camera will find difficult to overcome on its own.
So, you will need to shoot in manual mode. Dial in a low ISO to avoid noise and choose a fast shutter speed. Most times, the light reflecting off the moon will be plenty of light for your camera’s sensor. Try an ISO of 200, a shutter speed of 1/200s, and a smallish aperture in the f/11 range to begin with and see what your exposure is like. Obviously, these settings won’t work for all situations, so you will need to do some fine-tuning to get the right exposure for your particular situation.
For the best results, bracket your exposures. Most DSLRs have an exposure bracketing setting in which the camera will take three images, each at the same ISO and aperture setting but with three different shutter speeds. That way you increase your chances of getting at least one image with the right exposure with just one action of the camera.
Make Good Compositional Choices
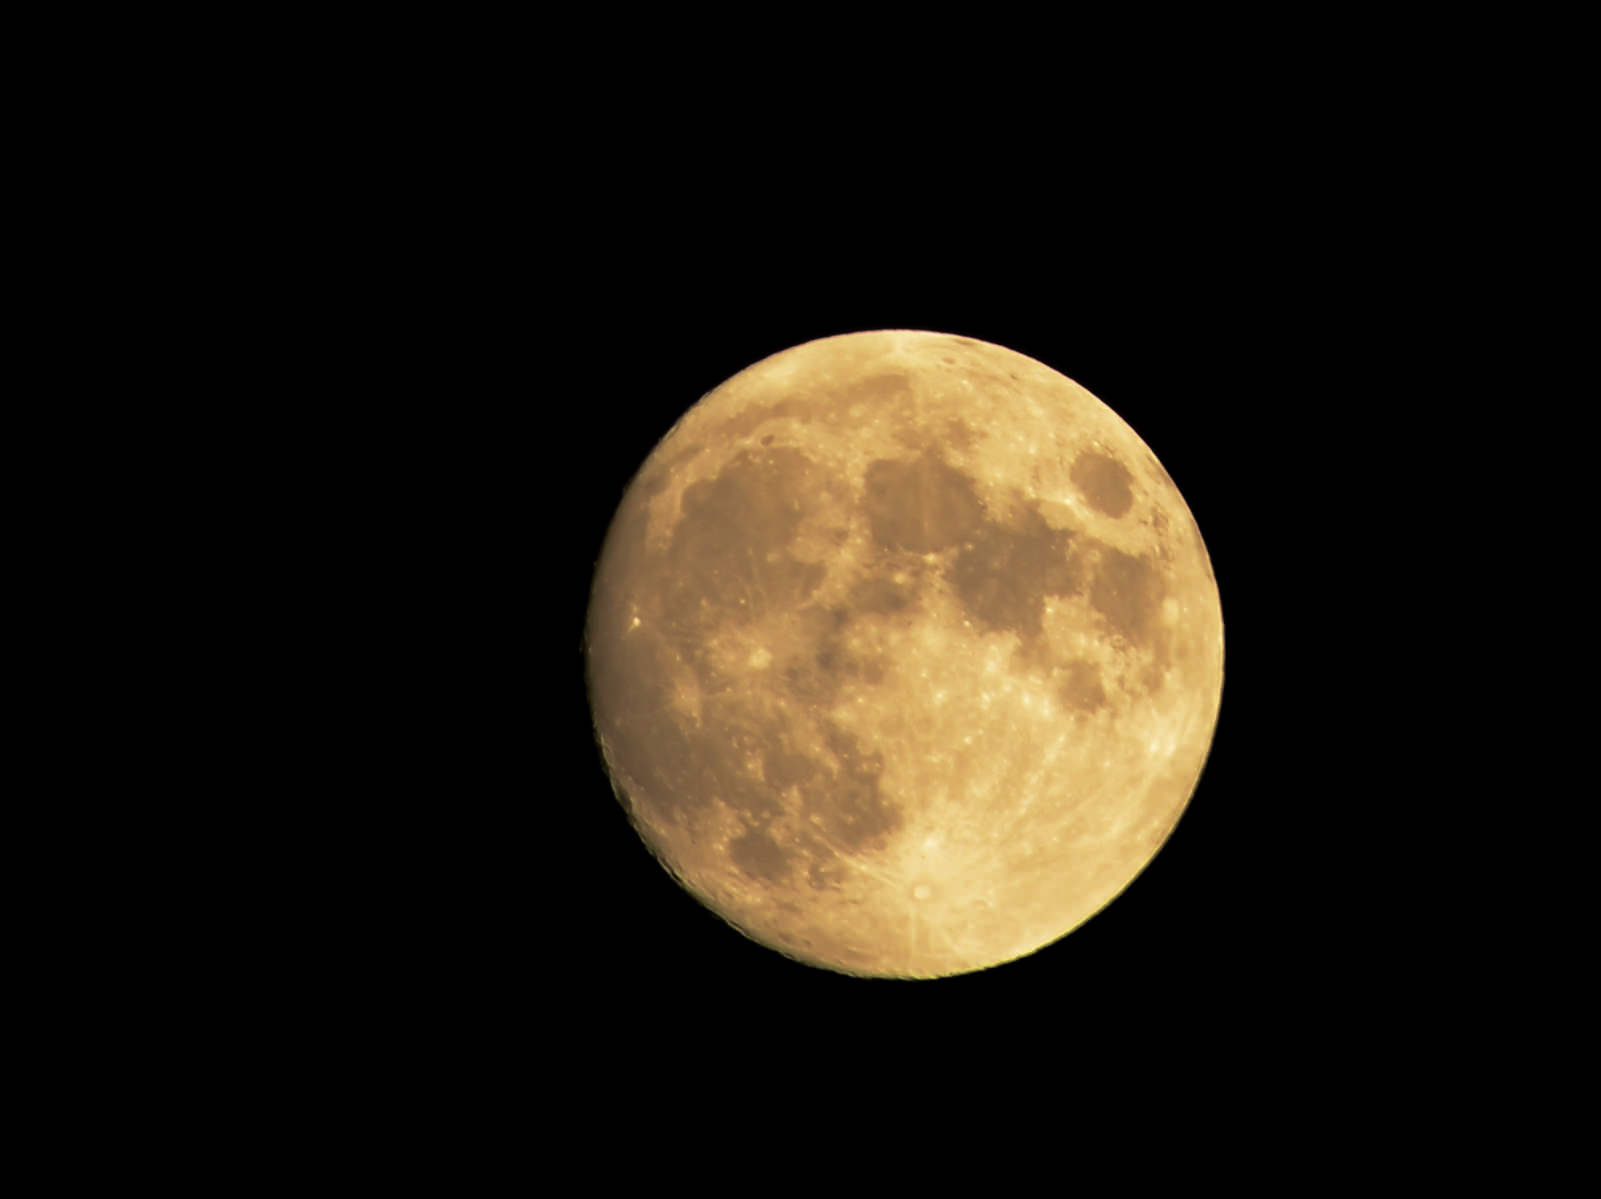
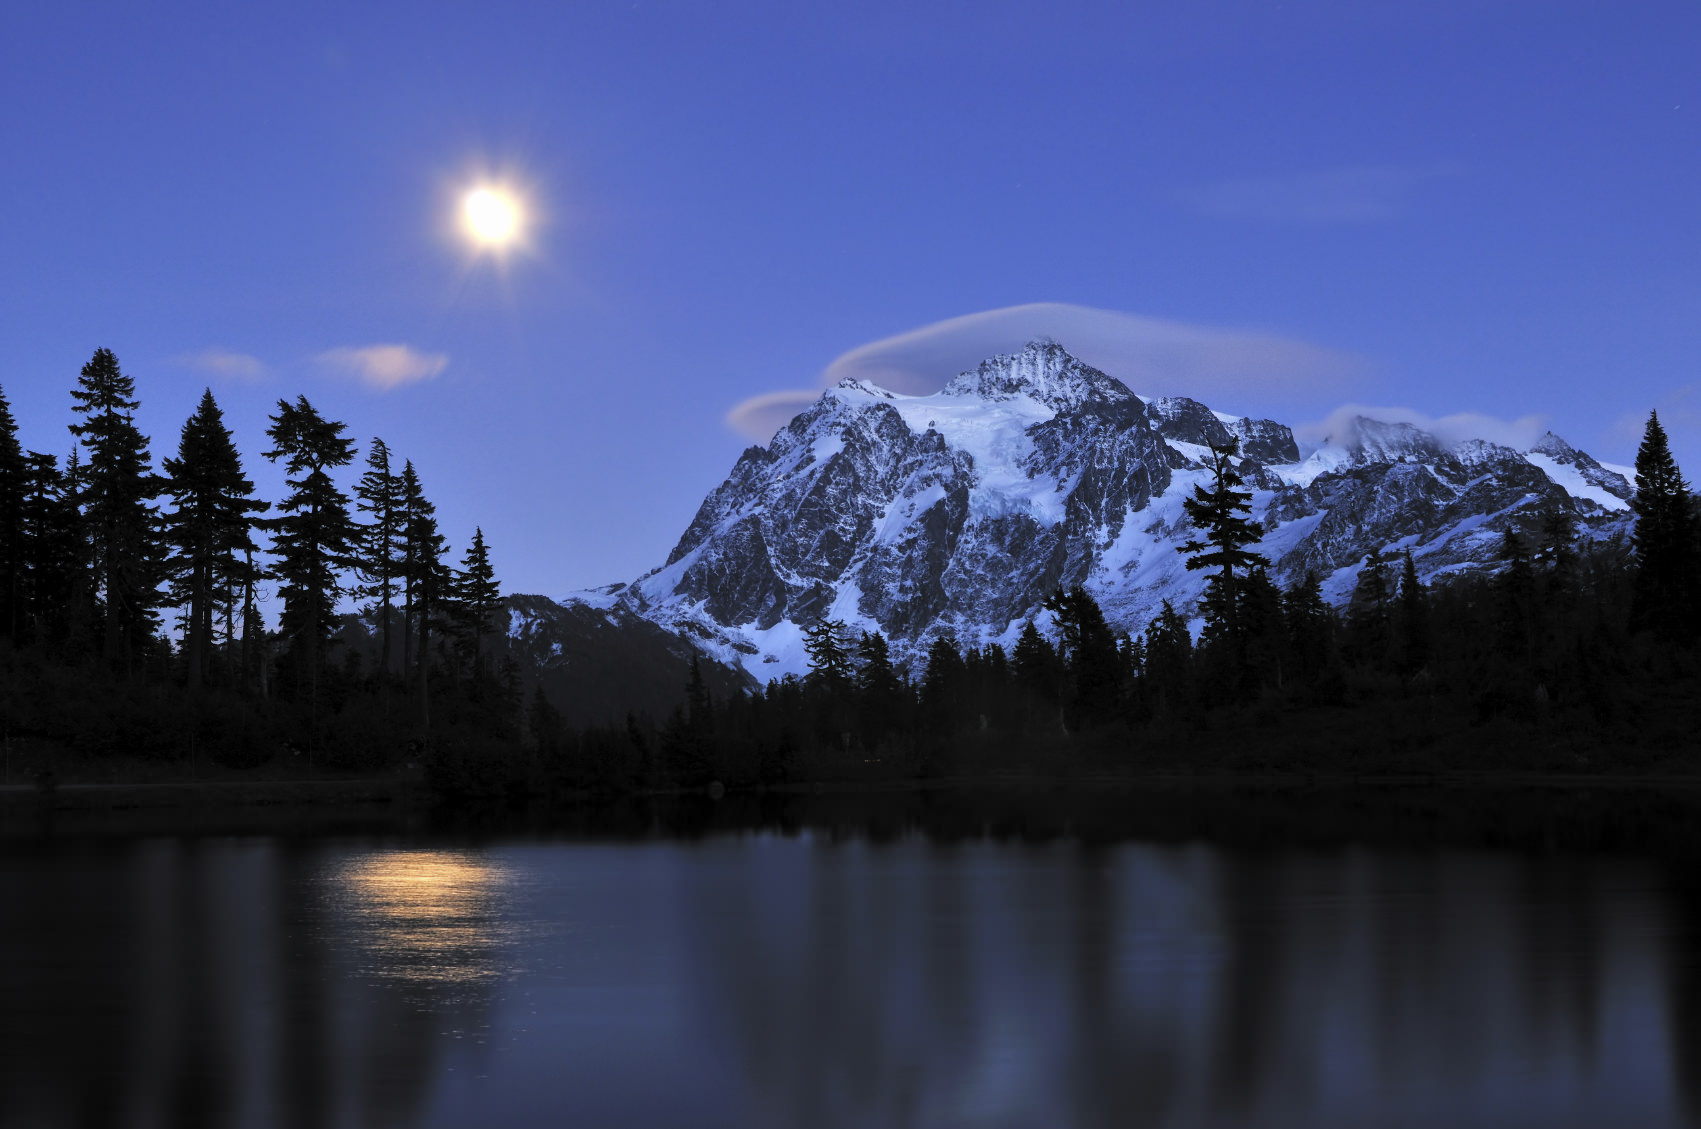
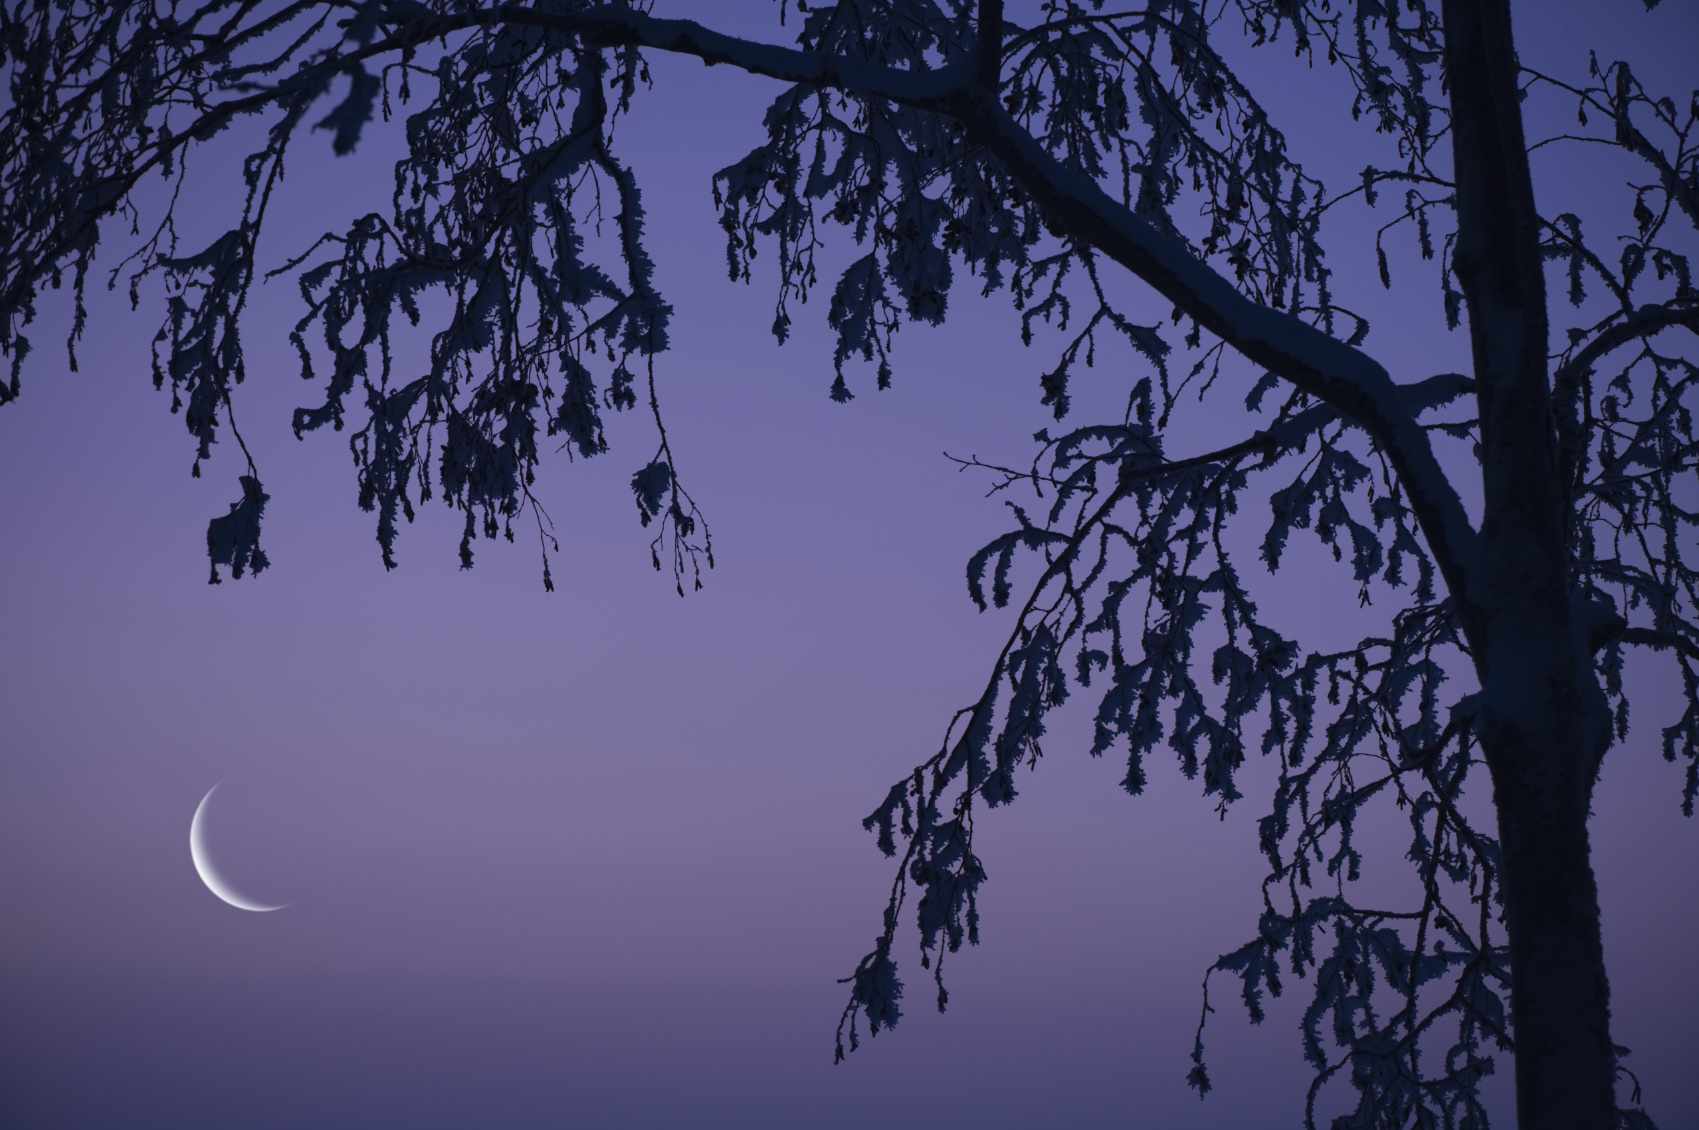
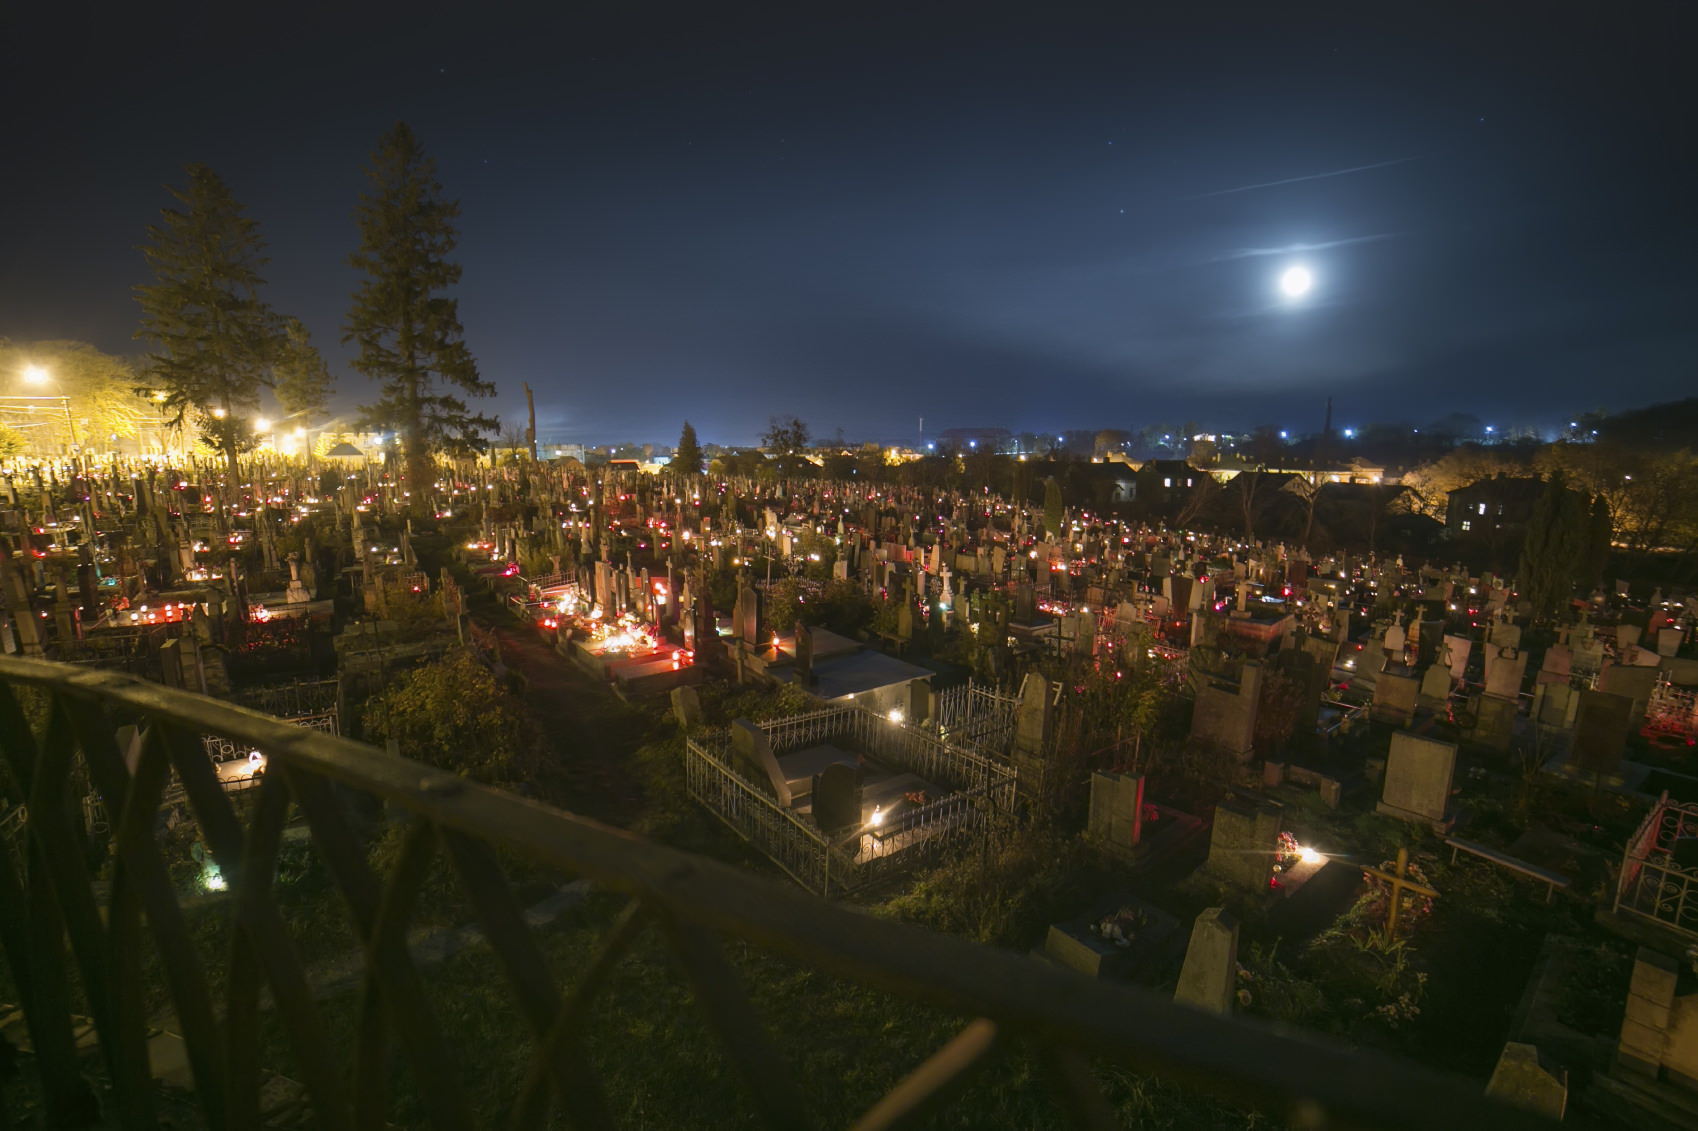
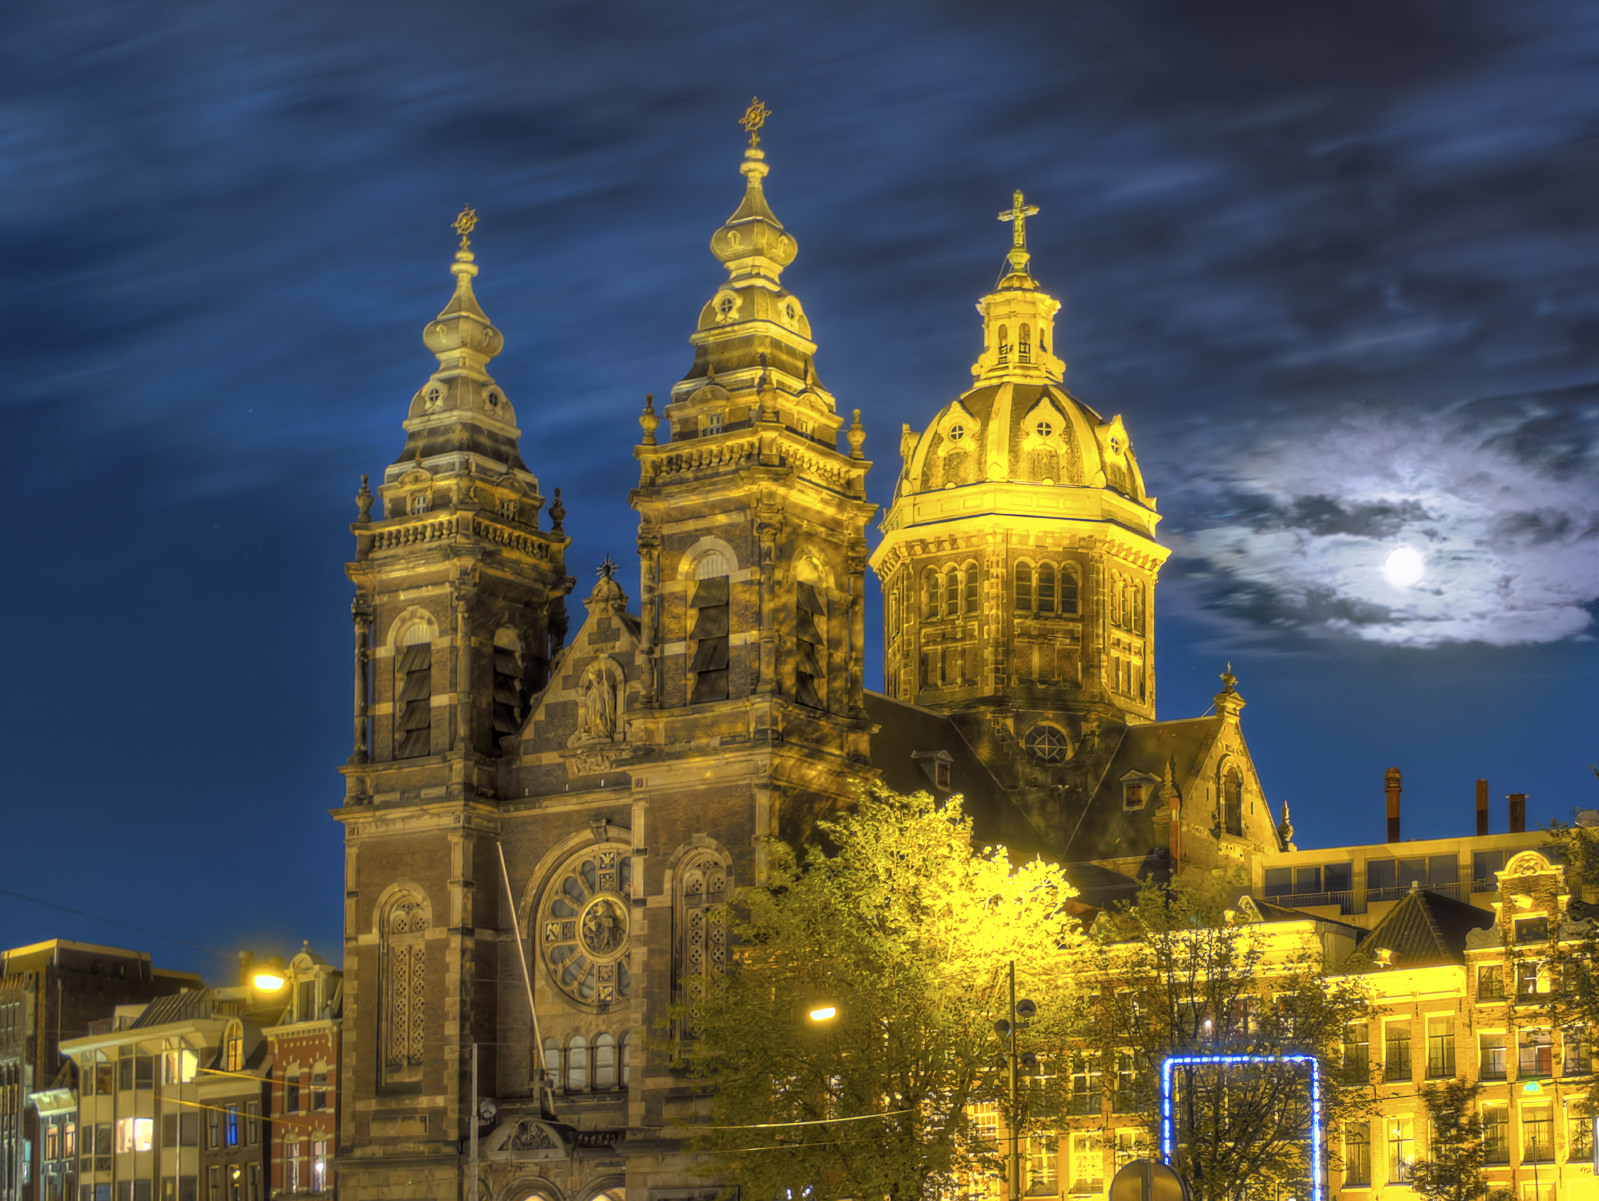
The moon is a gorgeous subject, but framing it in an image by itself is really quite boring. Sure, the details of its craters are nice, but once you’ve seen a close-up picture of the moon like the one above, you’ve seen them all. Instead, consider elements in the environment that can provide some interest to your shot.
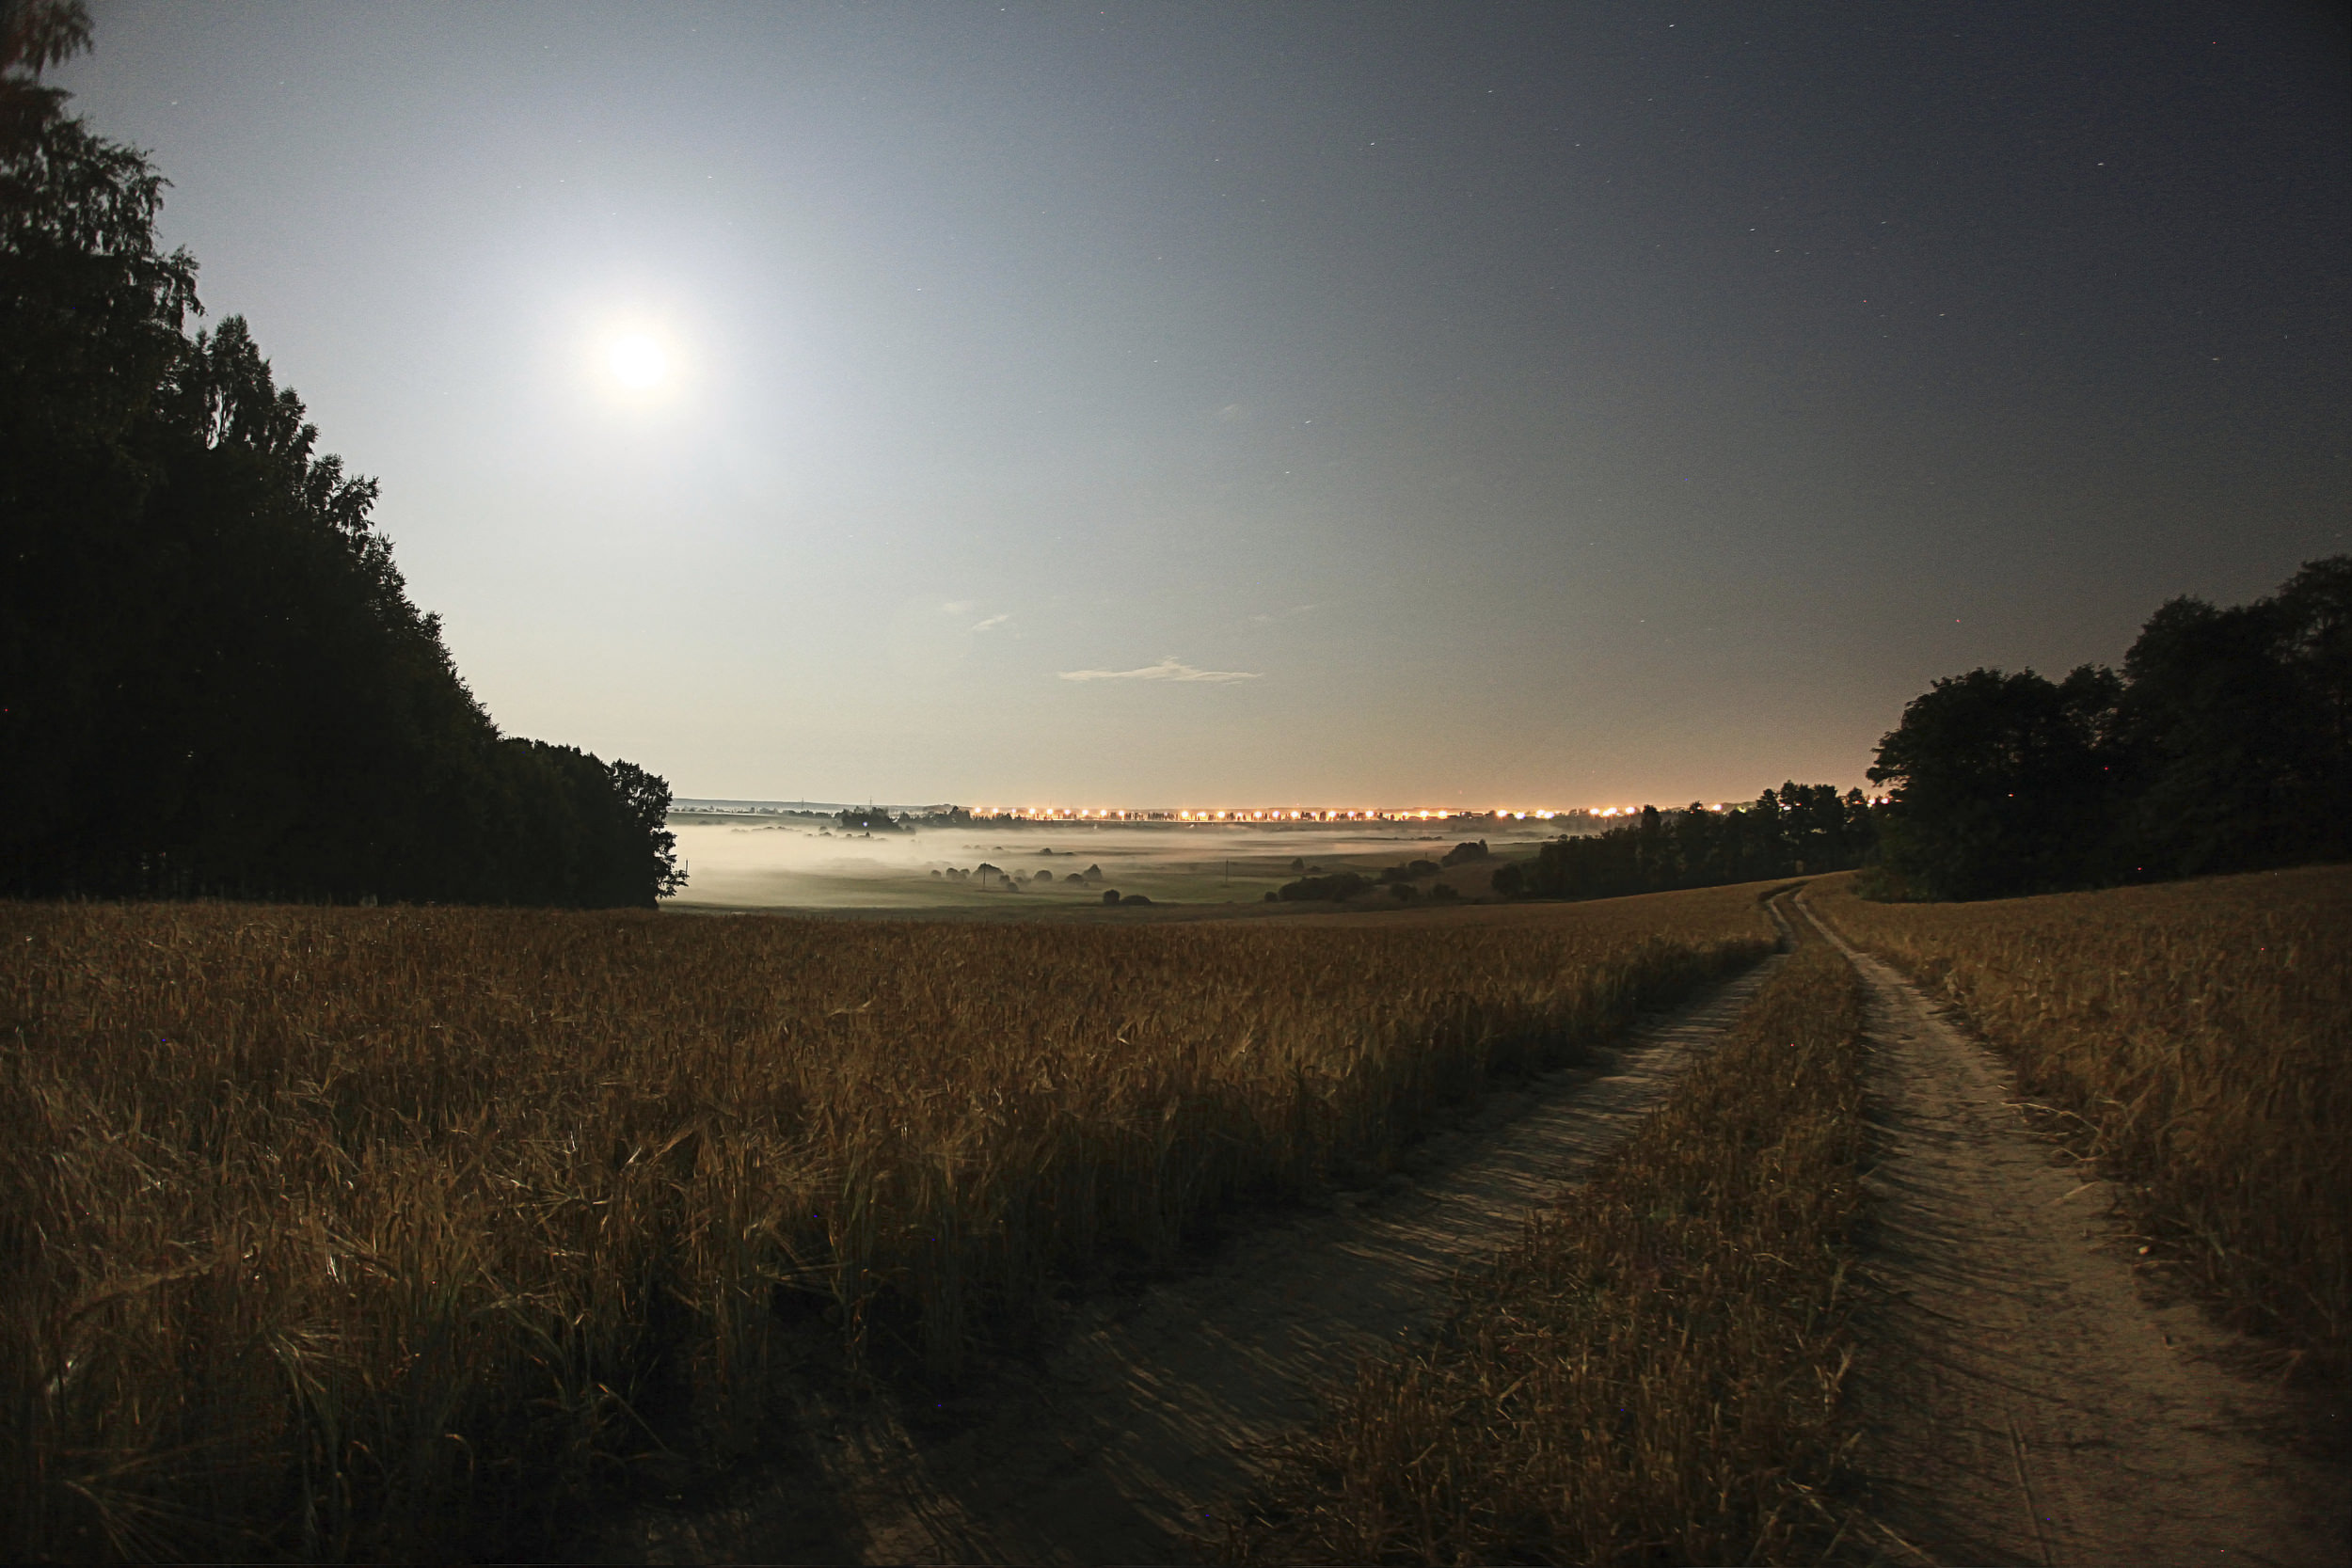
Including trees, clouds, buildings, bridges, or other natural or manmade elements can give your moon photo the depth and dimension it needs. Place objects in the foreground to give the moon some context in the greater scene or think about taking a non-traditional shot of the moon, such as its reflection in a body of water. The point is that the moon should be just one part of a larger whole rather than a single subject all on its own.
Scout the Best Location
Both light pollution and air pollution can diminish the quality of your moon photos. If at all possible, get out into the country where you can take your images with a clear, dark sky. The images you get will be much better for the extra effort.

Having said that, taking images of the moon in rural areas with little or no light pollution presents the challenge of very strong contrast between the brightness of the moon and the surrounding dark sky. Rather than waiting until it’s completely dark, try instead to shoot the moon in the hour or so immediately after the sun goes down or rises. During this “blue hour,” there is far less contrast in the sky and you will have a much easier time getting a good exposure.
Want more premium photography lessons? Click HERE.
Conclusion
The moon is one of those everyday objects that is easy to forget about, yet it makes for a great addition to nighttime photography or landscape shots. Use the tips we’ve outlined here to get the right gear setup, dial in the appropriate settings, make good compositional choices, and find the best shoot location, and your moon images will be much better for having done so. It’s just a matter of getting out there and shooting!